Computer Controlled Machining
This week I worked with Computer Controlled Machining. A CNC robot is any advanced equipment designed solely for machining purposes. This CNC manages different projects on its own following protocols. In most cases, these robots do not require any input from an operator. I worked with Asia Robotica CNC. All the details of this information are found in Computer Controlled Machining-FabLab Puebla
Stages of the process
Although it was not a very complicated week, each week has its challenge. I did this task in different stages: Stage 1: idea & design Stage 2: post-processing of the dxf file in the VCarve program Stage 3: safety & work area Stage 4: machining Stage 5: assembly
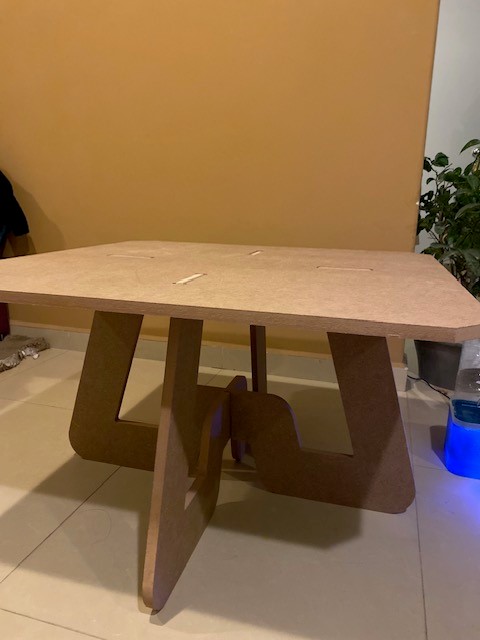
1. Idea & design Imagining the object to make this week was difficult because accessories such as nails, screws, glue or hinges could not be used and the volume to be cut had to be 1m3. I would have liked to print something more sophisticated but I chose to make a coffee table. I used Fusion 360 to make the design and saved the file in DXF format.

2. Post-processing of the dxf file in the VCarve program The program can be downloaded as a trial version at Computer Controlled Machining-FabLab Puebla
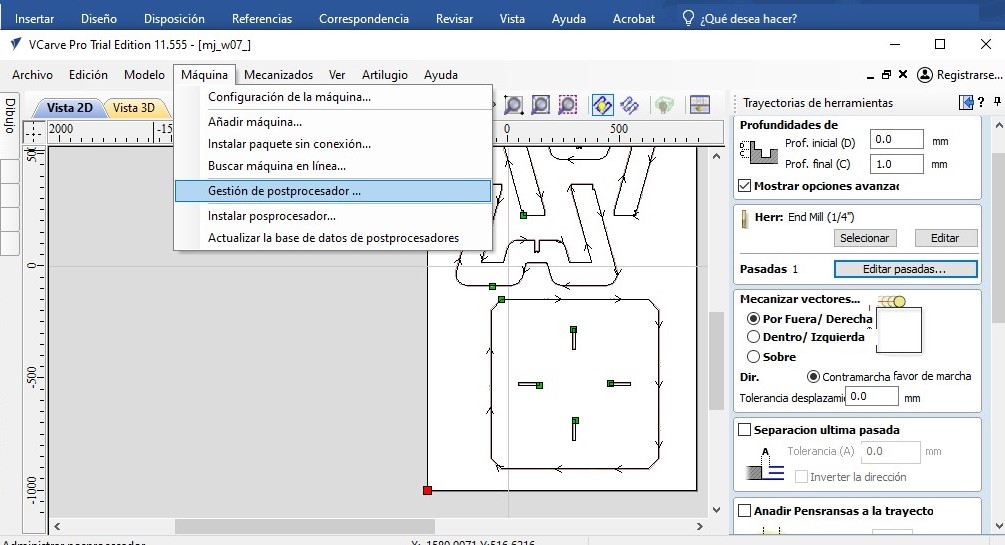
A. Need to set the material: Unilateral. X=1200mm, Y=2400mm, reference position (piece zero) in the lower left corner.
Note: check the file to make sure all figures are joined and without double lines. /p>

B. Make the profile path
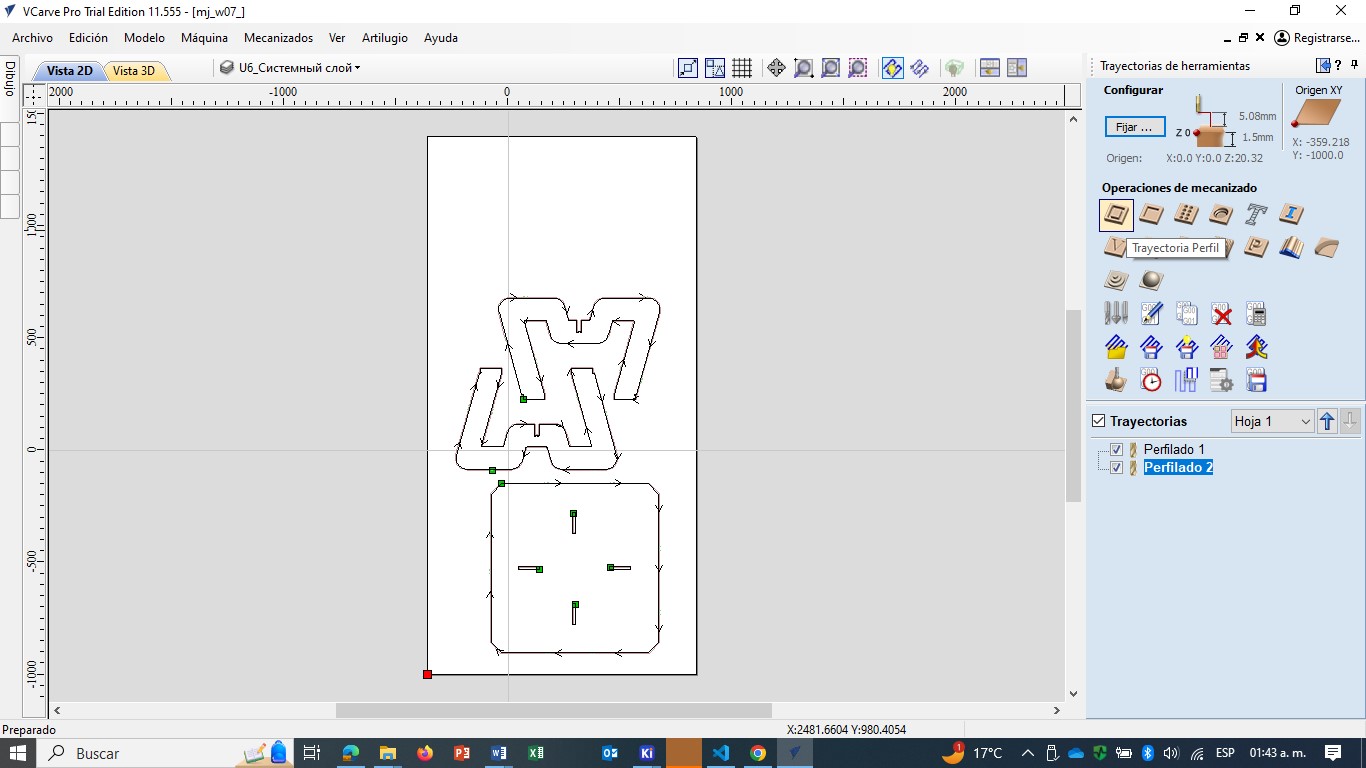
C. Select tool, in this case end mills 1/4", pass= 5
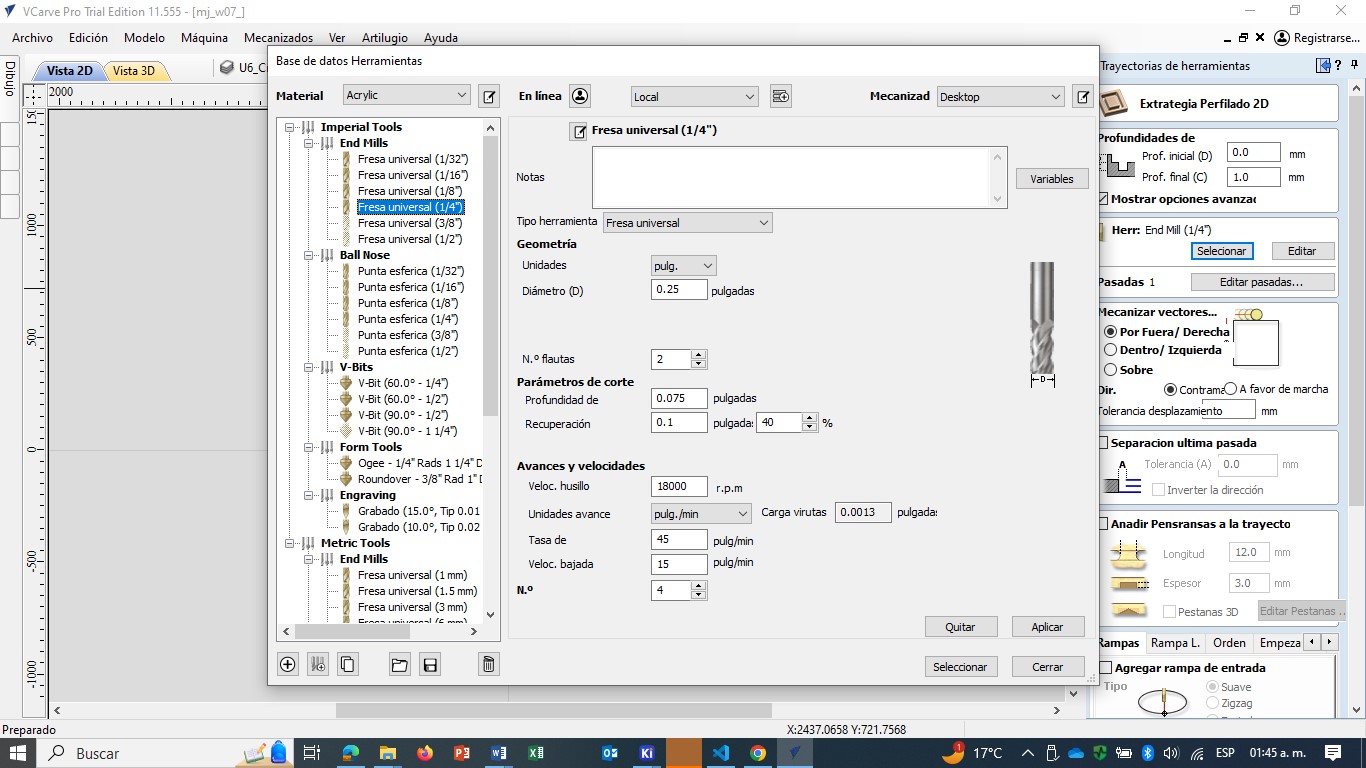
D. Edit vectors inside and out: Geometry: Units= mm, Diameter (D)= 6.35 mm; Cut parameters: Deep= 3.15mm, Recovery= 2.54 mm 40%. Spindle speed =16000 rpm, rate= 3600 mm/min, low speed= 1000mm
E. Depth, final depth= 15.3 mm
F. To add tabs to the journey, they are according to the design and needs of each piece
You cannot work in the machine room alone. Safety shoes, overalls, safety glasses and ear plugs are required. Note: The area must be clean and clear. If there is a lot of dust from previous cuts, it is necessary to vacuum to avoid slipping.
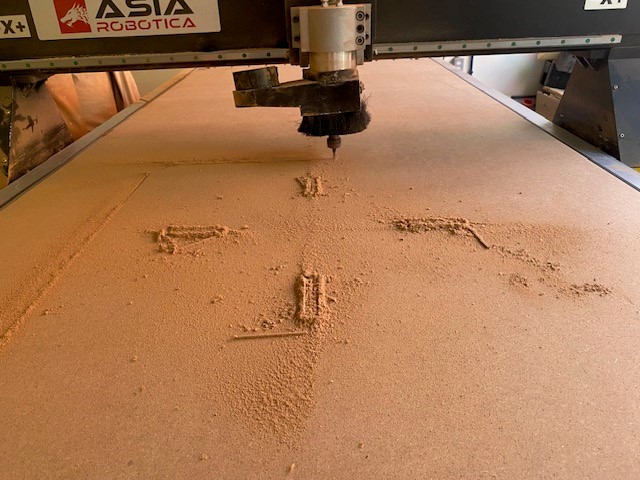
4. Machining
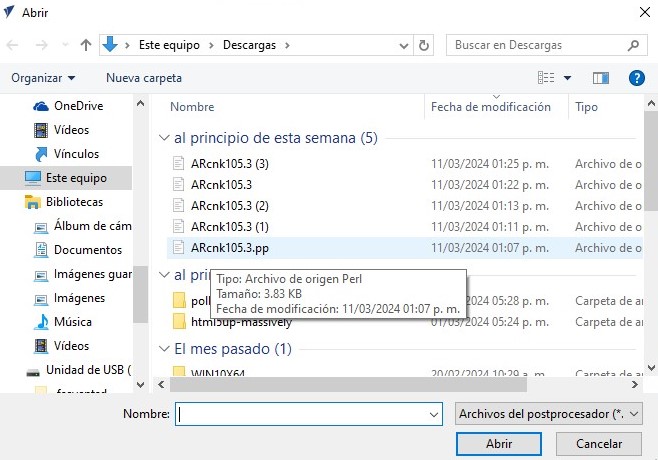
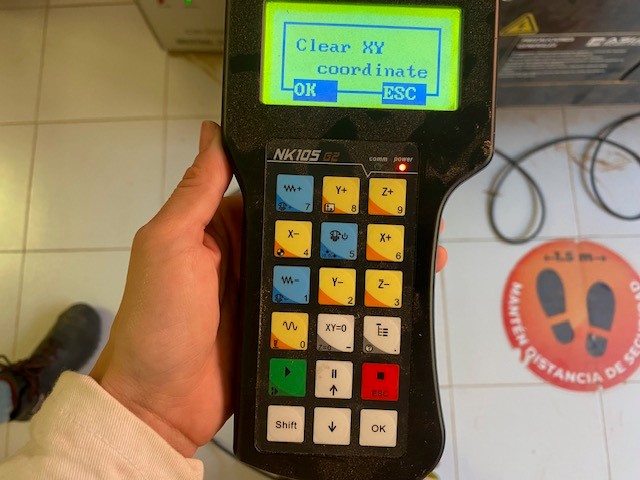
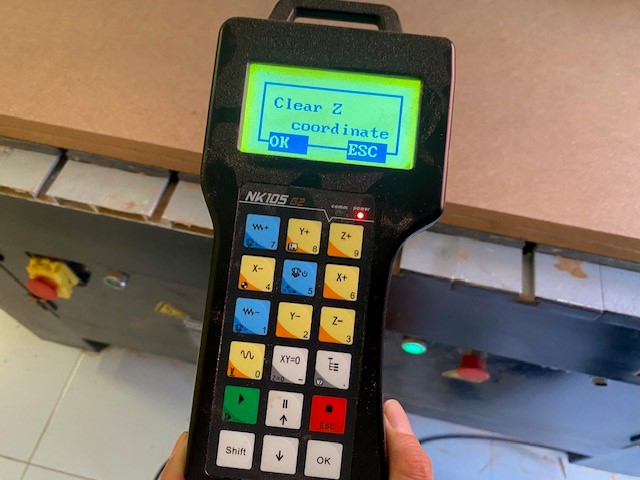
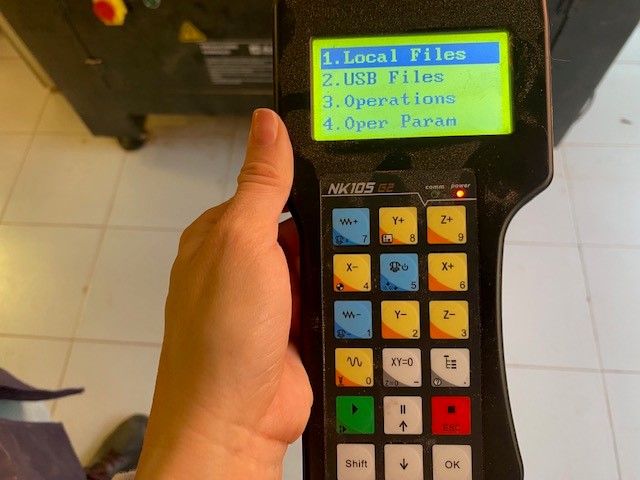
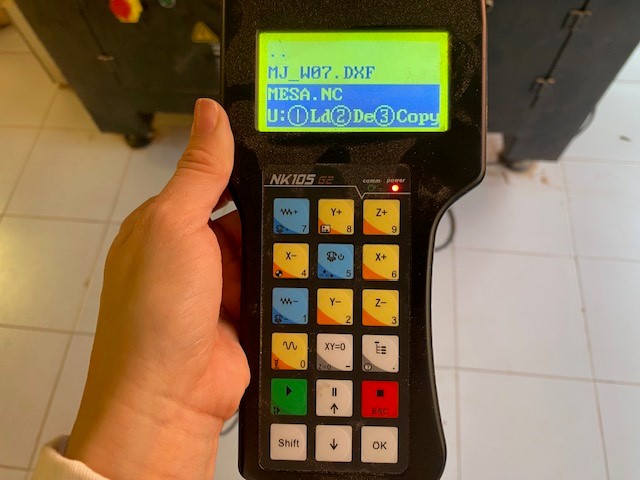
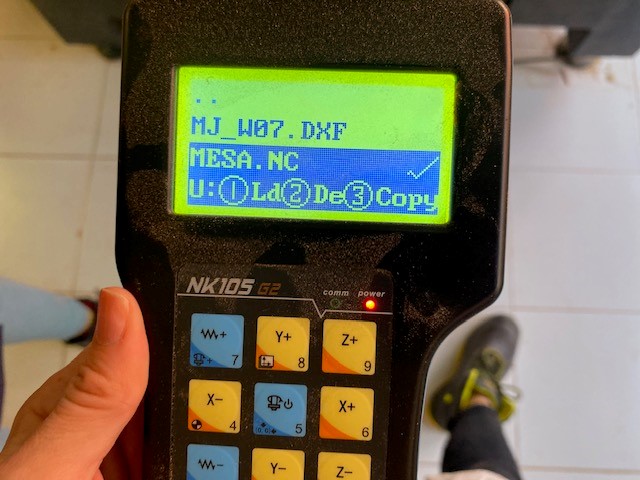
To place the board and secure it from the edges. The tool must be fixed in the lower left corner with the control moving the X and Y coordinates. To insert the USB into the CNC and open the corresponding file.


5. Assembly Once all the pieces are cut, they are removed from the work table, the area is cleaned and the USB is recovered. In my case some measurements were slightly out of proportion so I had to use sandpaper to make the assembly correct.
Conclusion
It was a very active week, using the CNC is not complicated once you have the design. I wasted a lot of time editing post-processing conditions, but in the end the goal was achieved.