Interface and application programming
GROUP ASSIGMENT
This week, week 14 of Interface and Application Programming, has been very interesting. I have always wondered how it's possible to go from a program with many lines of code to something as simple as clicking a button to make the entire program work, and this week was the perfect opportunity to learn that.
I considered it important to continue exploring the functionality of the neopixel strip, so I decided to keep using my PCB board from Week 8, which will be the board for my final project. This fits well as it doesn't require something too complex, since it is new to me and only needs to turn on, turn off, and illuminate a color pattern.
QTCreator
For this purpose, I used Qt Creator, a cross-platform integrated development environment (IDE) that simplifies the development of applications and user interfaces using the Qt application framework. It provides features such as code editing, debugging, and building tools that are essential for creating robust applications. You can download here

Let's star
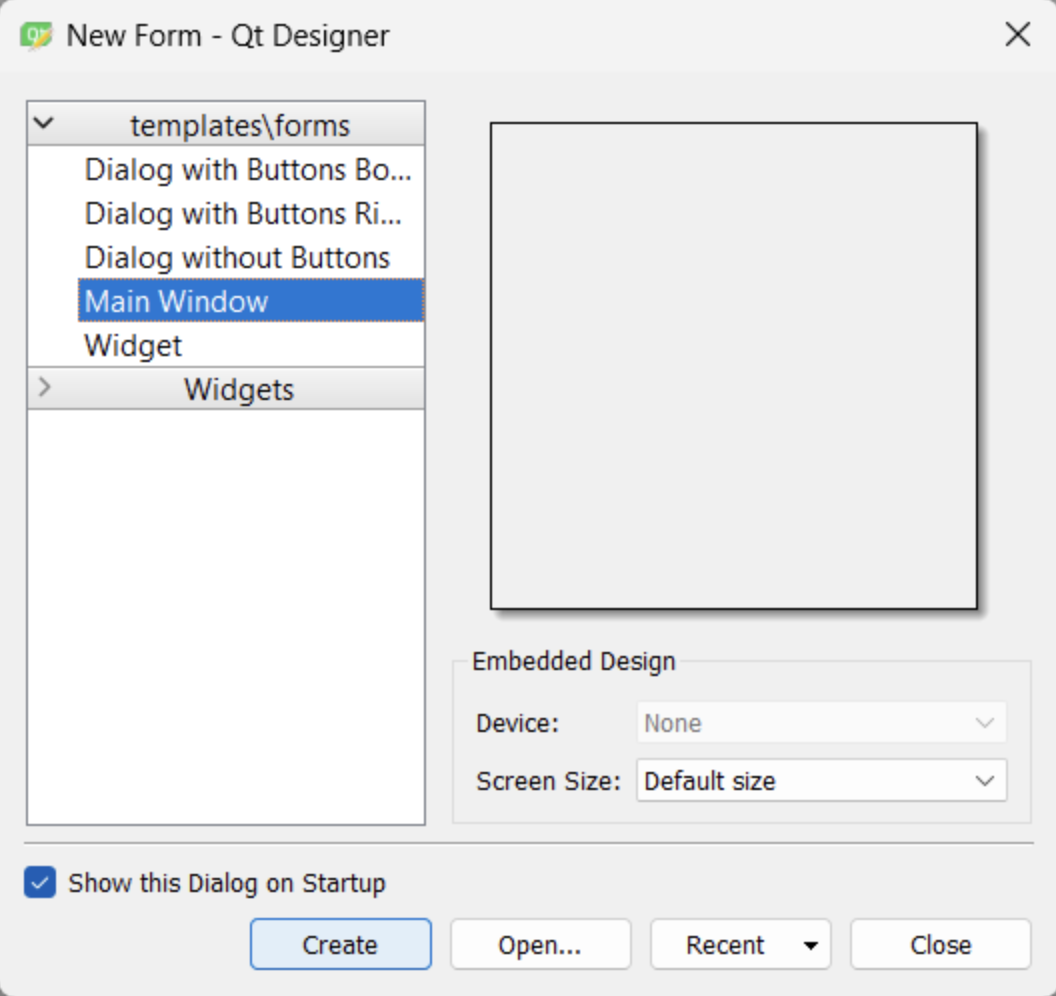
First of all, we are going to create a new project, so we will go to Main Window and then click on Create.
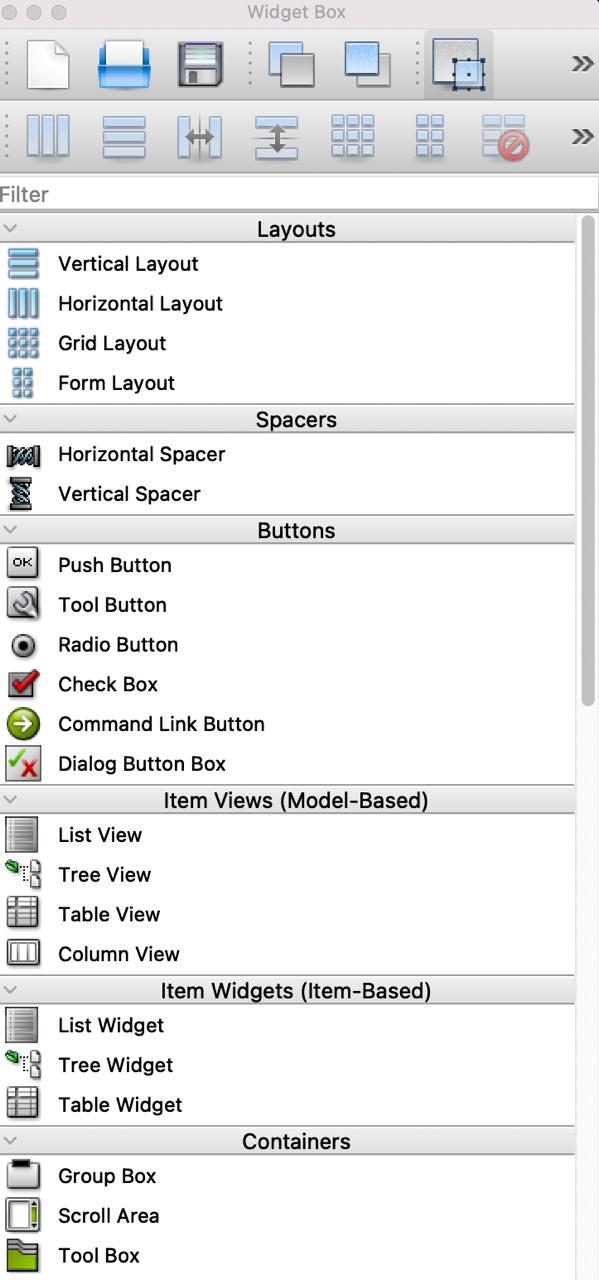
In the widget box, we have all the necessary elements to create our interface, such as buttons, layers, tables, etc. I will only need three push buttons.
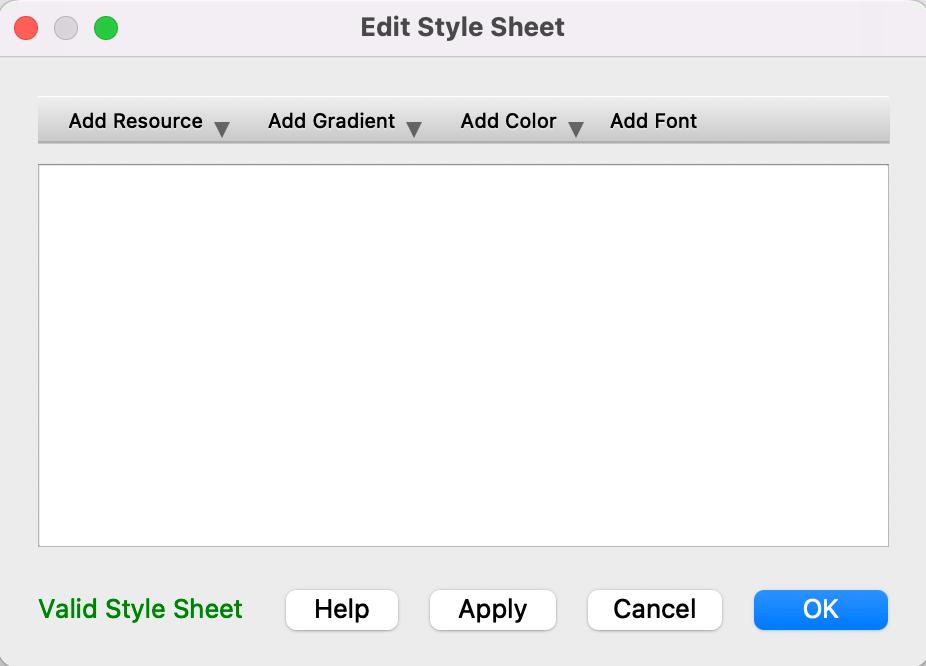
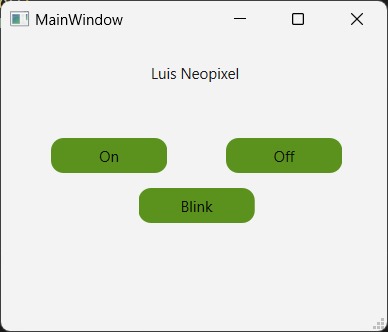
I added 3 buttons: On, Off, and Blink with rounded frames and green color. To change the design of the buttons, we right-click and enter the stylesheet.
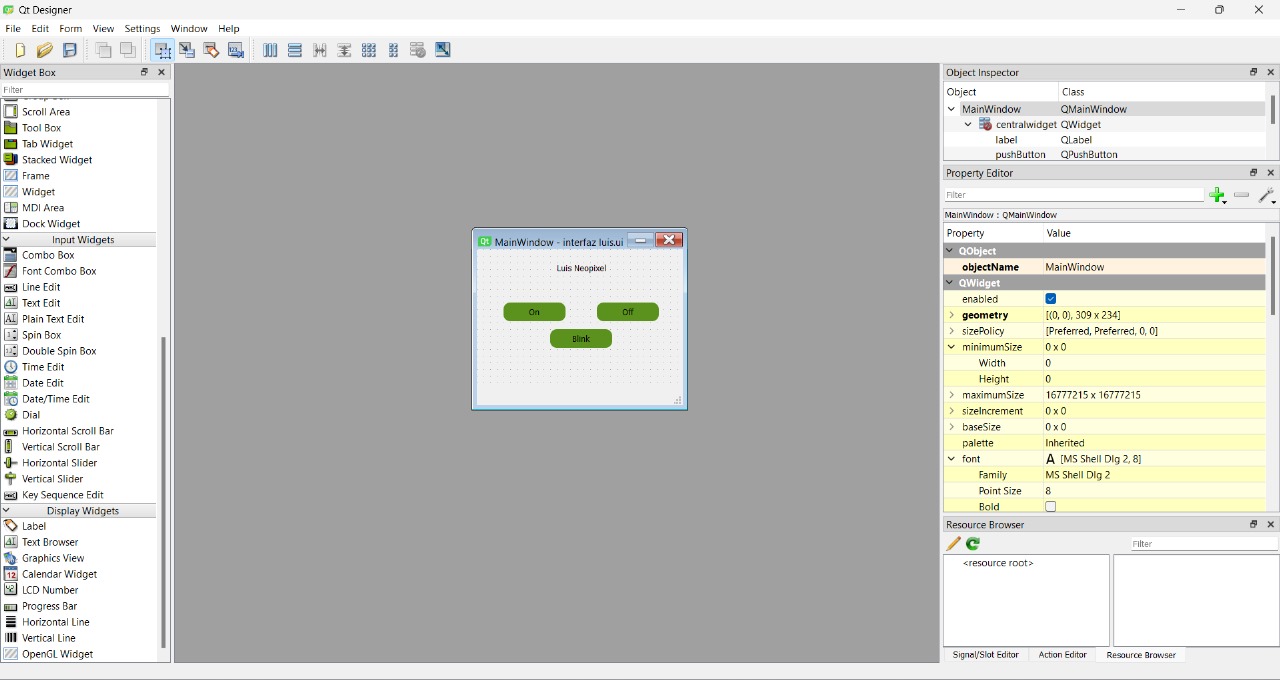
Doing all the changes I want my interface will look like this
Programming
Here is where all the magic begins. We will need to download a Python interpreter for communication between the interface and the code. You can download the Python version from the Python website.
Once Python is installed, we will need to create a virtual environment to install all the necessary libraries in a specific location.
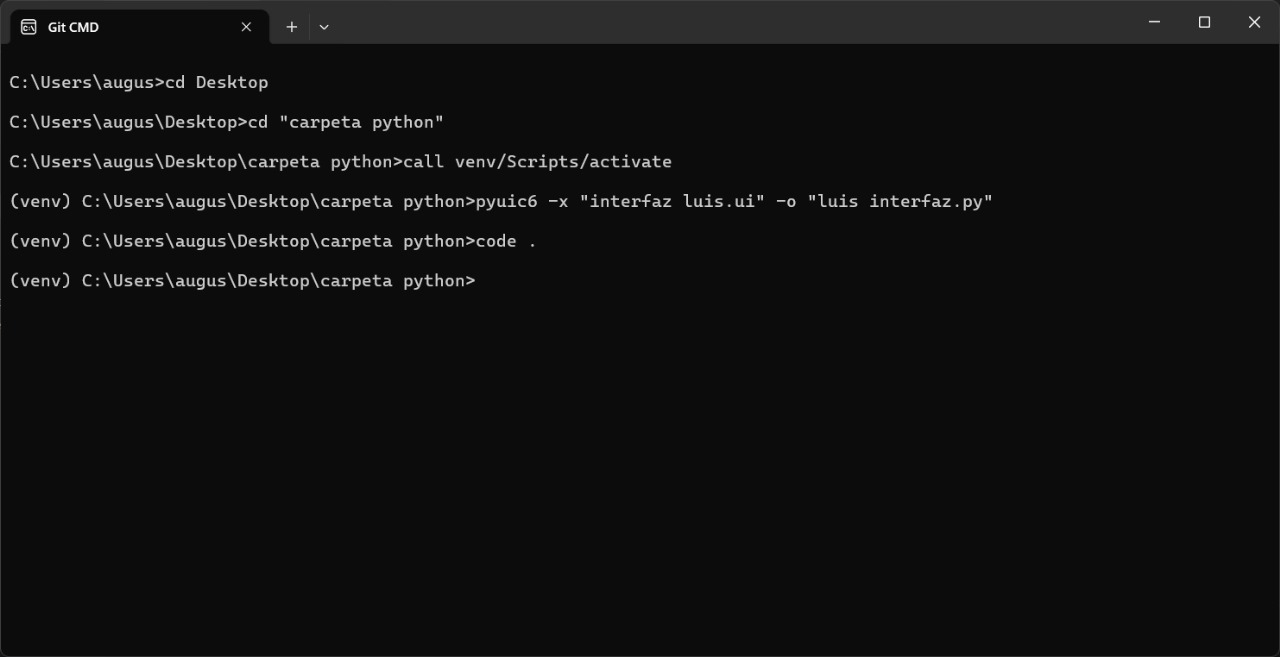
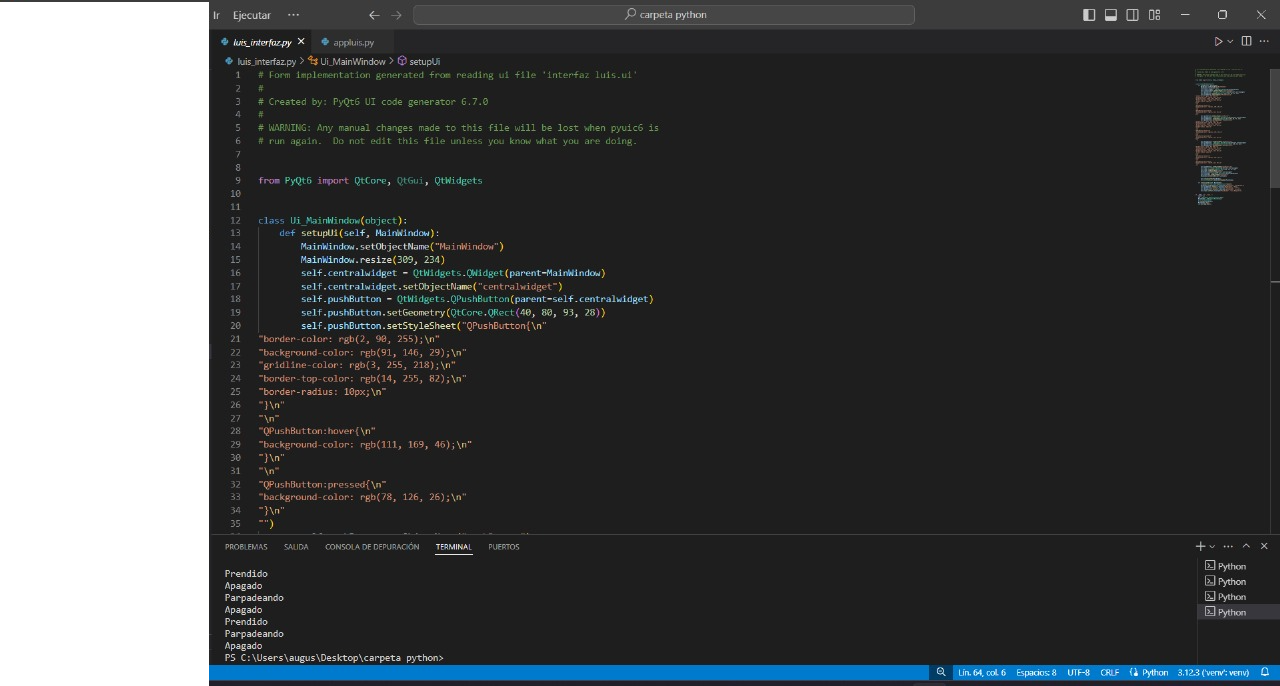
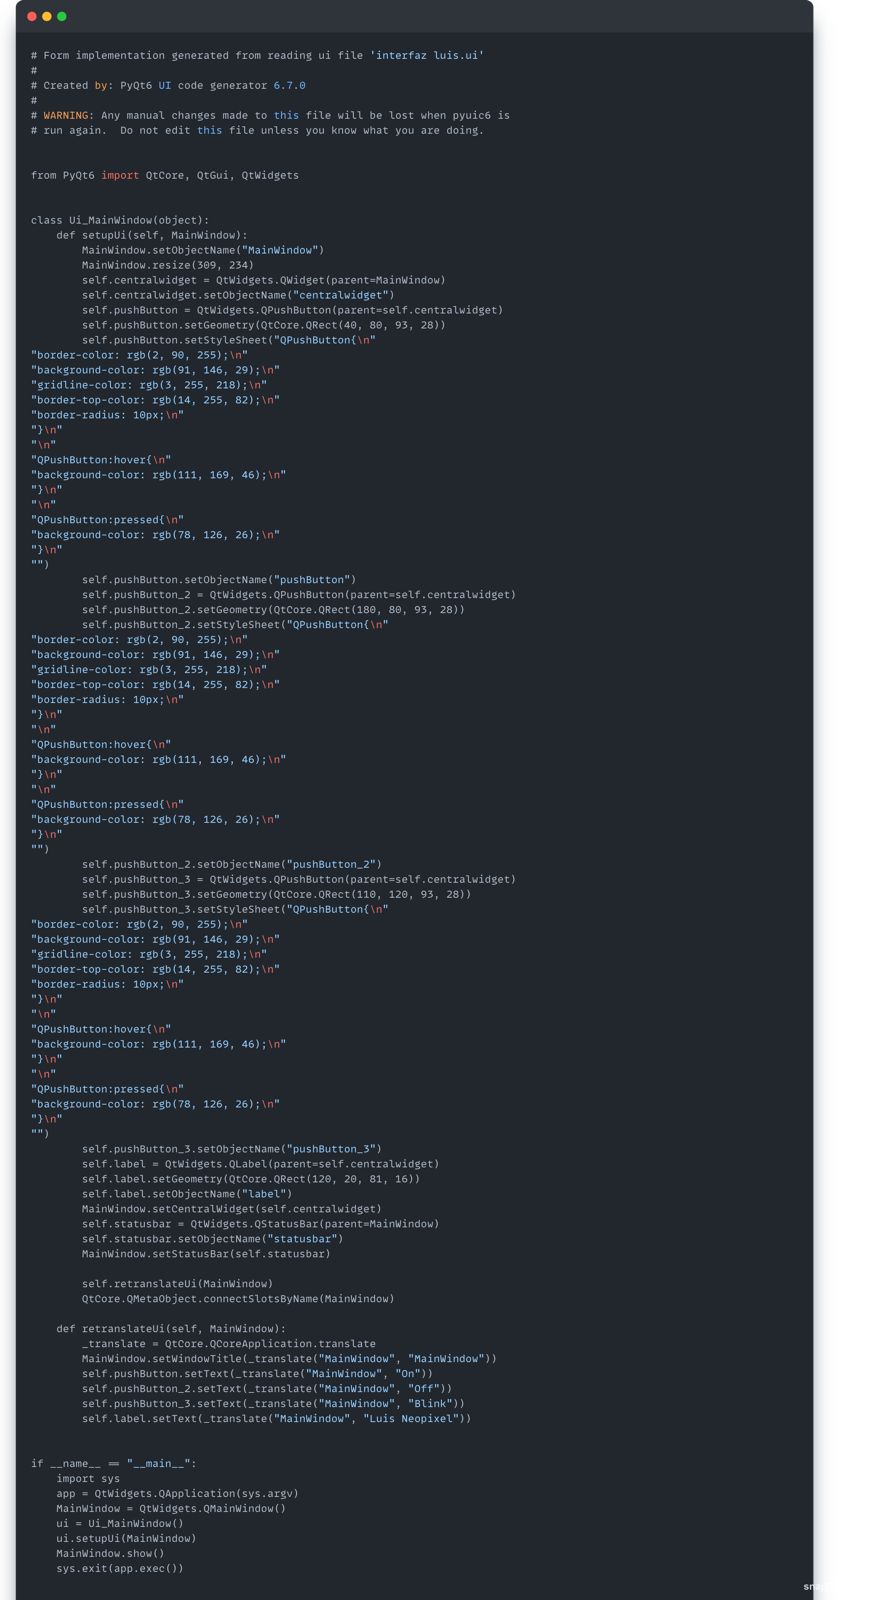
In Visual Studio Code, we will open our Python file and import the PyQt6 library.(wee need to have the .ui File)

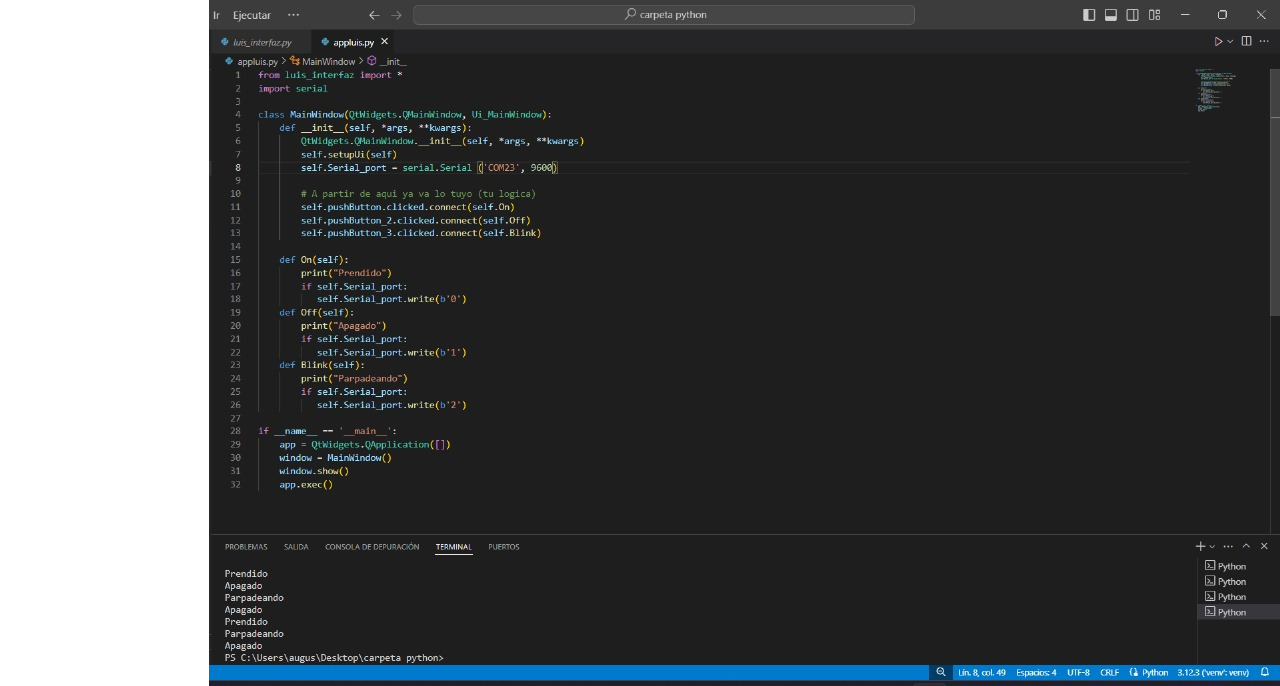
The next code imports necessary modules and sets up a PyQt6-based GUI application. It connects to a serial port (COM23, 9600 baud rate) using the `serial` library. I've defined functions to handle button clicks: "On" turns something on, "Off" turns it off, and "Blink" makes it blink. Each function sends a specific signal (`b'0'`, `b'1'`, `b'2'`) through the serial port to control external devices or processes based on user interaction.
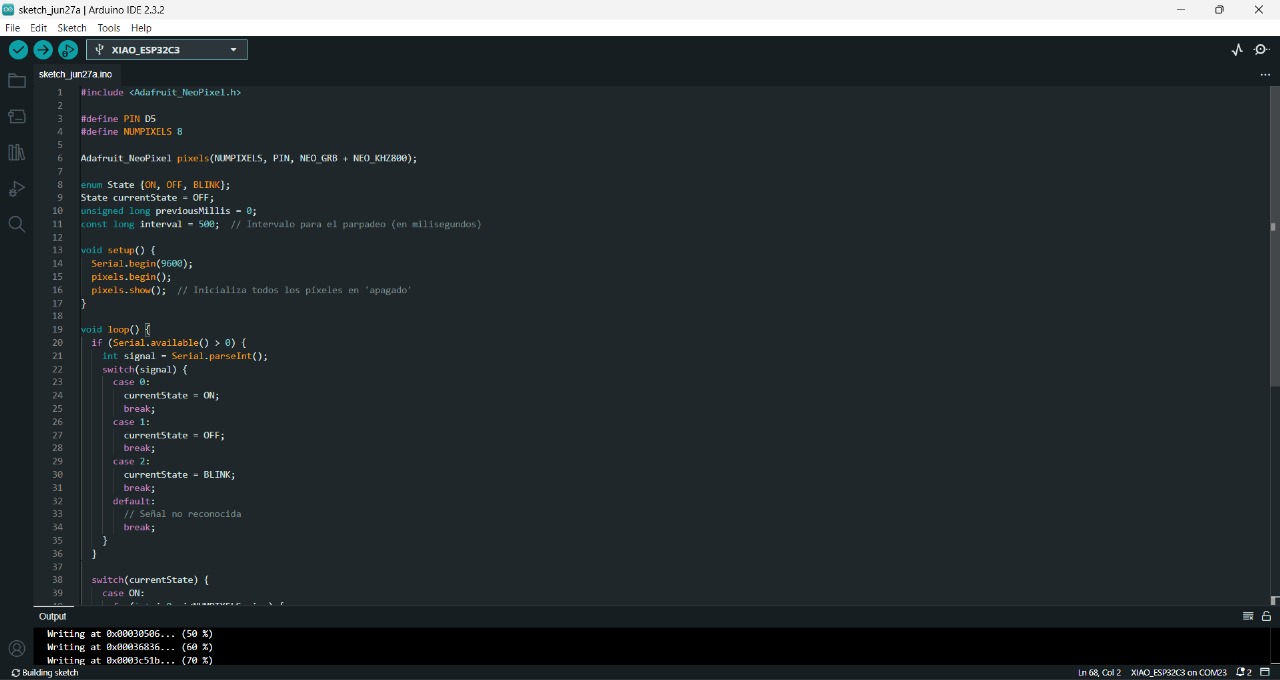
Arudino code
this code sets up serial communication and connects the servo to pin D5 that its connect our neopixel.
Interface
The interface successfully communicates with the Xiao ESP32. The Neopixel strip turns off with the "Off" button, turns on with the "On" button, and blinks with the "Blink" button.
Problems
There were no issues with this practice. Despite being something new, everything was executed perfectly.