3D Scanning and Printing
GROUP ASSIGMENT
I consider this week to be one of my favorites, I learned how to use scanning and 3D printing and this has always been a topic that has caught my attention because I consider it very easy to get an idea and materialize it in a different way such as in the different types of materials that can be printed.
One advantage I consider about 3D printing is that it does not require much investment or complex machinery to create almost any idea that one has and wants to bring it to the real world as are other methods to model and prototype something.
3D Printing
For my 3D printing I want to make a cat toy, the idea is to do a “prison” in the shape of a ball, and inside there is a small ball that weighs with the bottom of the prison so the piece is always standing up this will be helpfull for the cat to play more comfortable, the measurements I have planned to use is 55mm x 55mm
3D Design
First to start the fusion design, I created a square sketch with the measurements 5mm x 5mm that represents the thickness that the bars will have and then, I revolutionized it in the x axis
As a next step, I made a circle on the y axis and create a pattern of the barrots
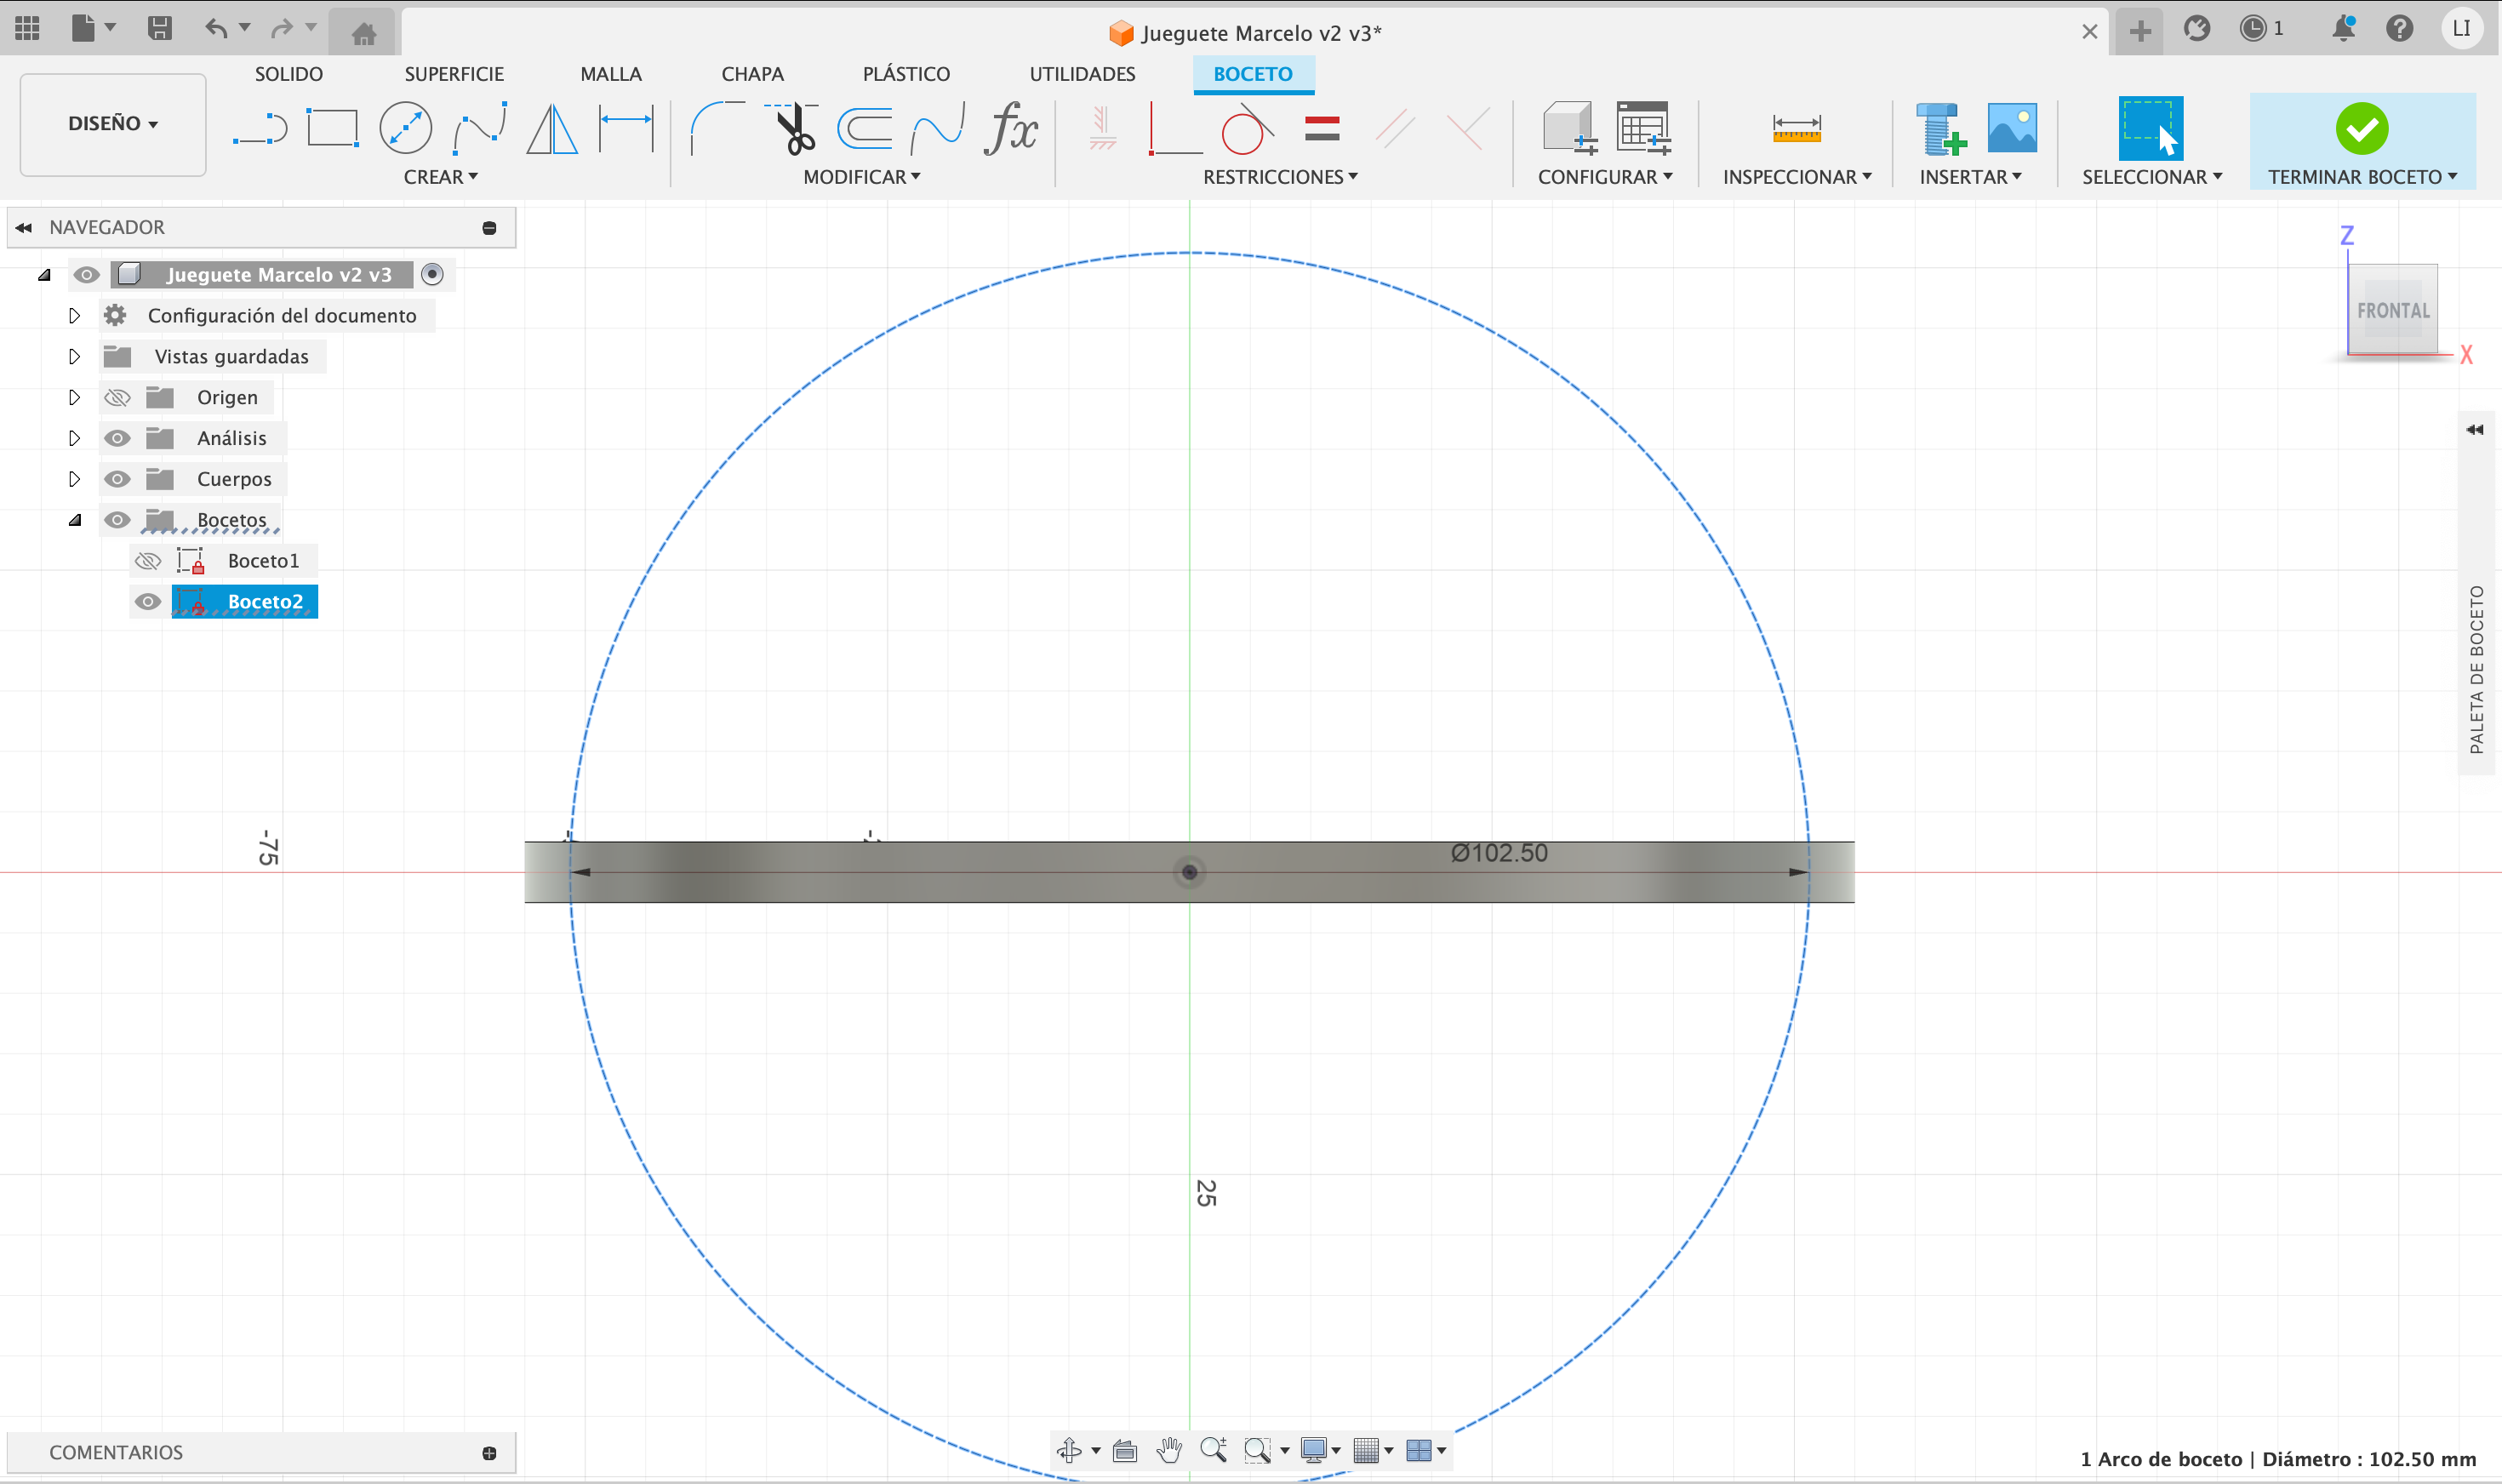
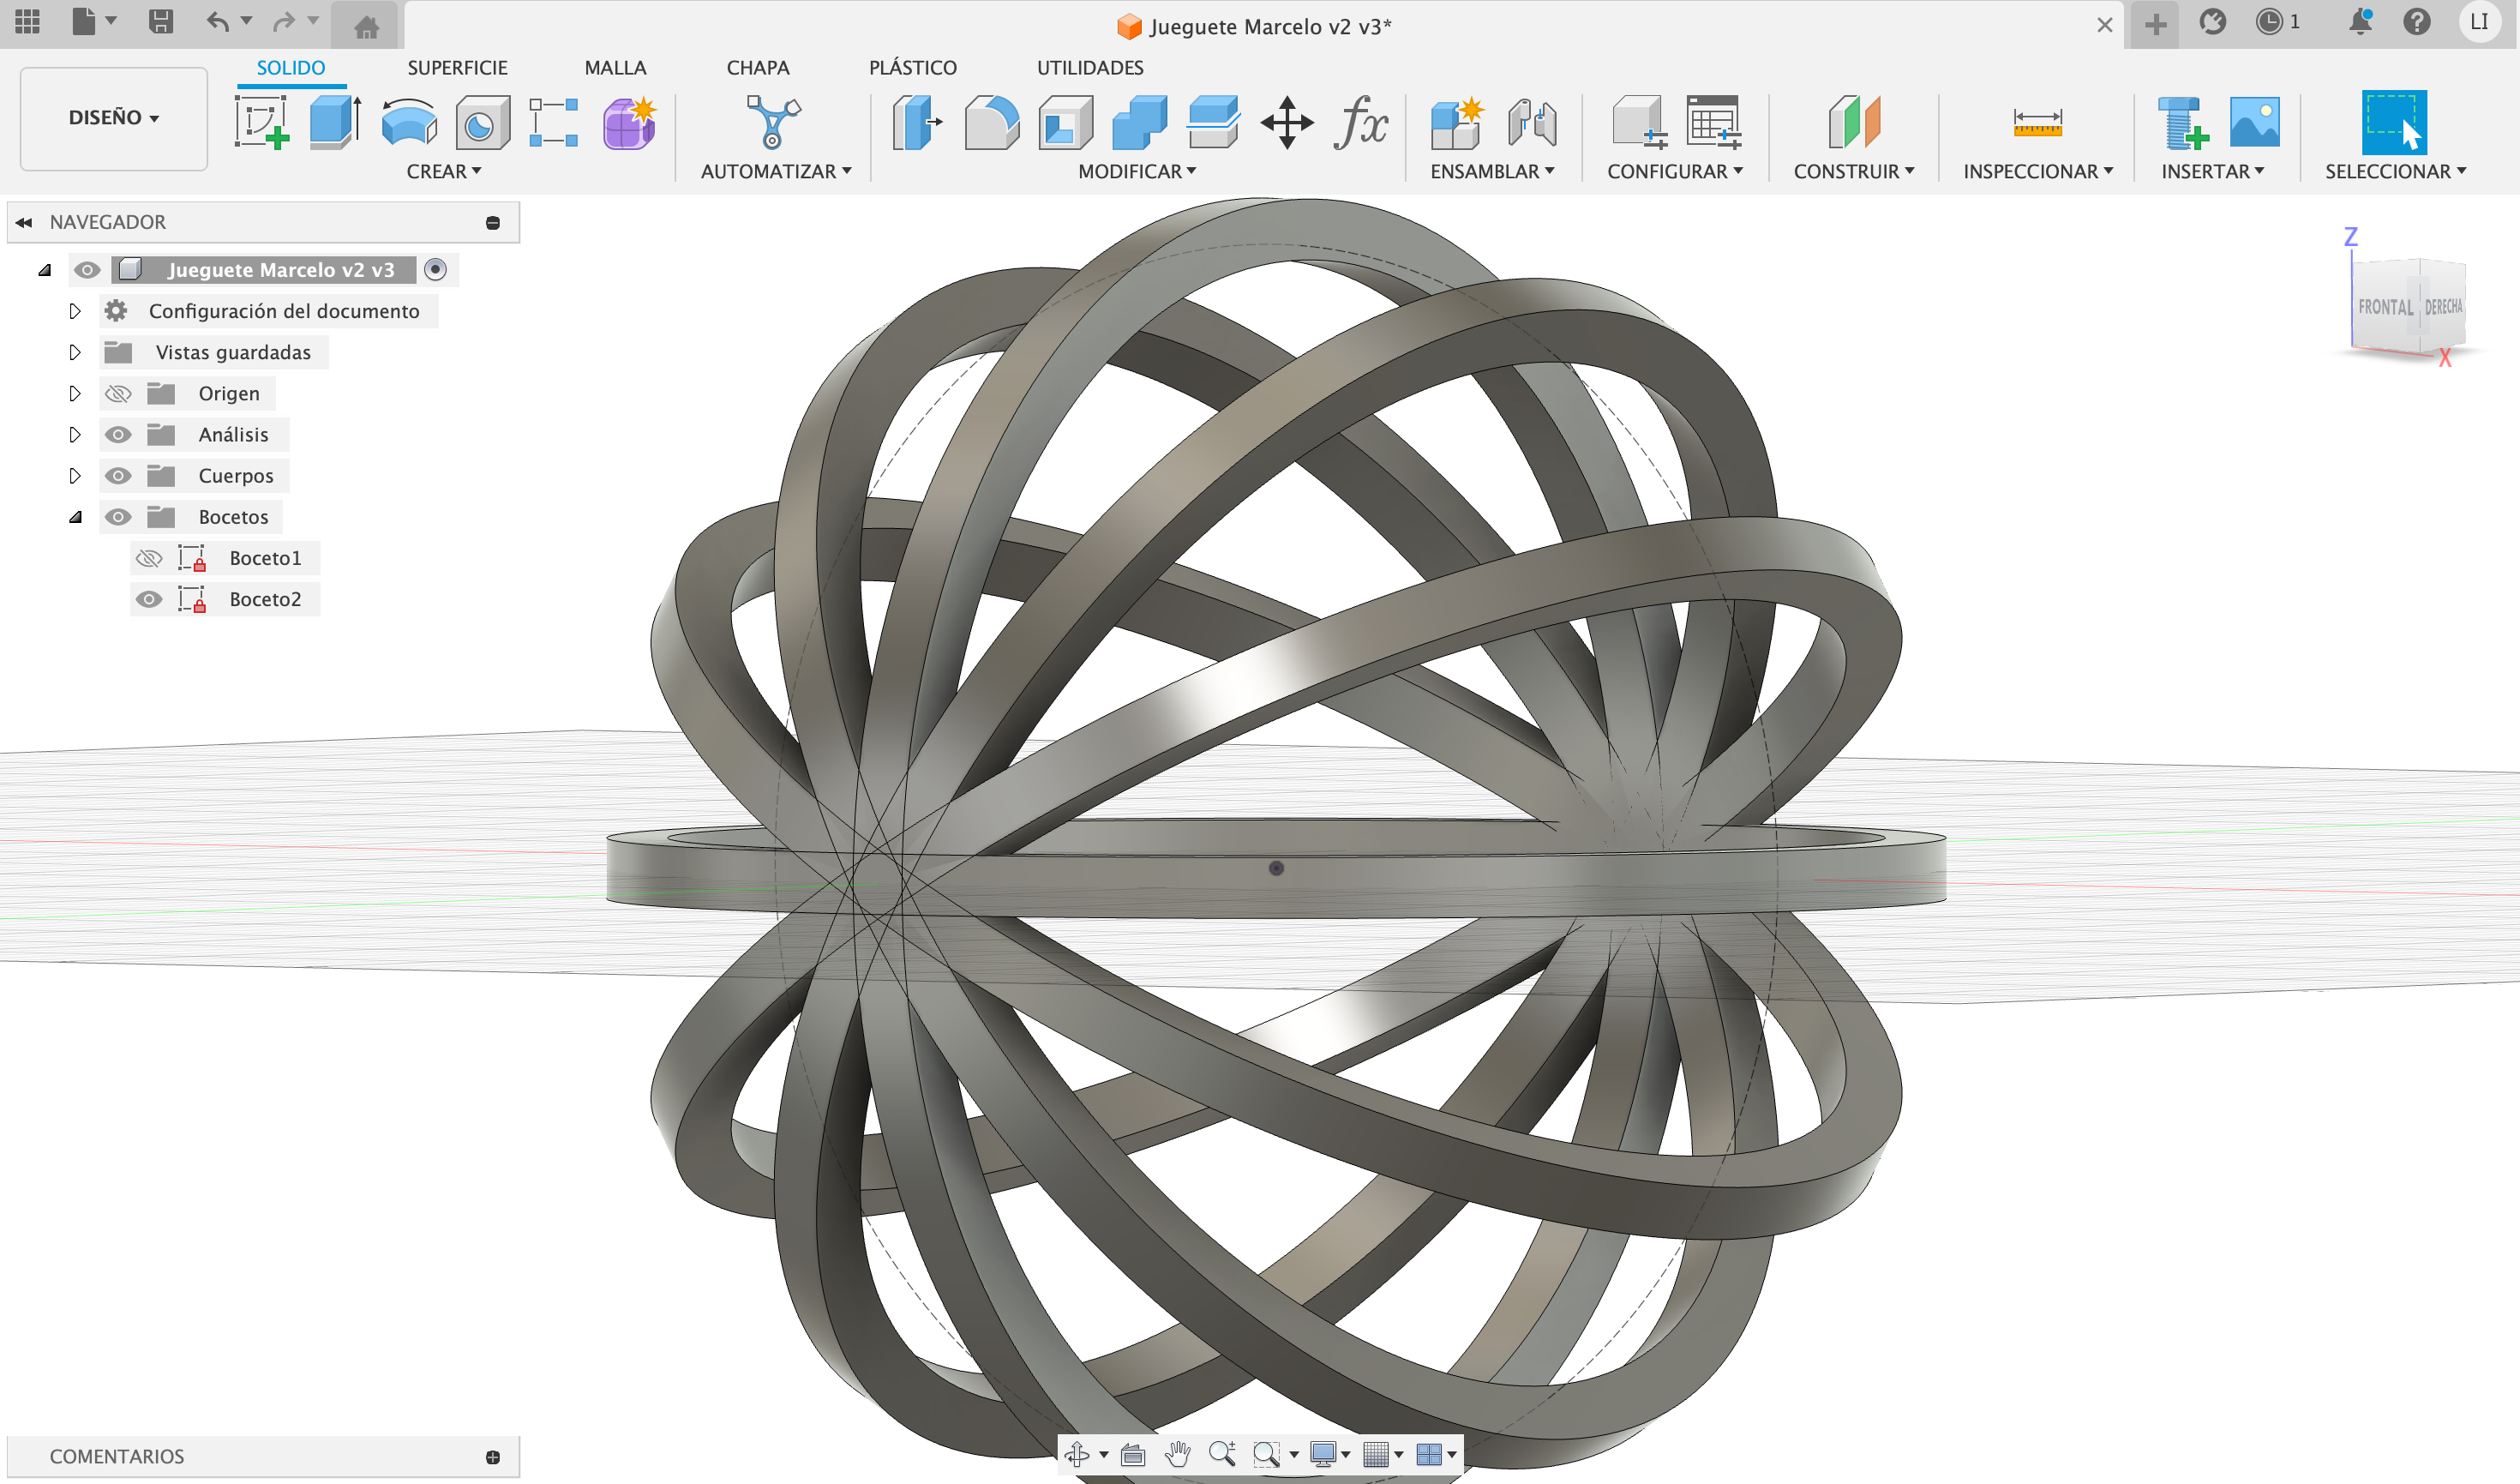
Finally I made the ball inside with a diameter of 30mm

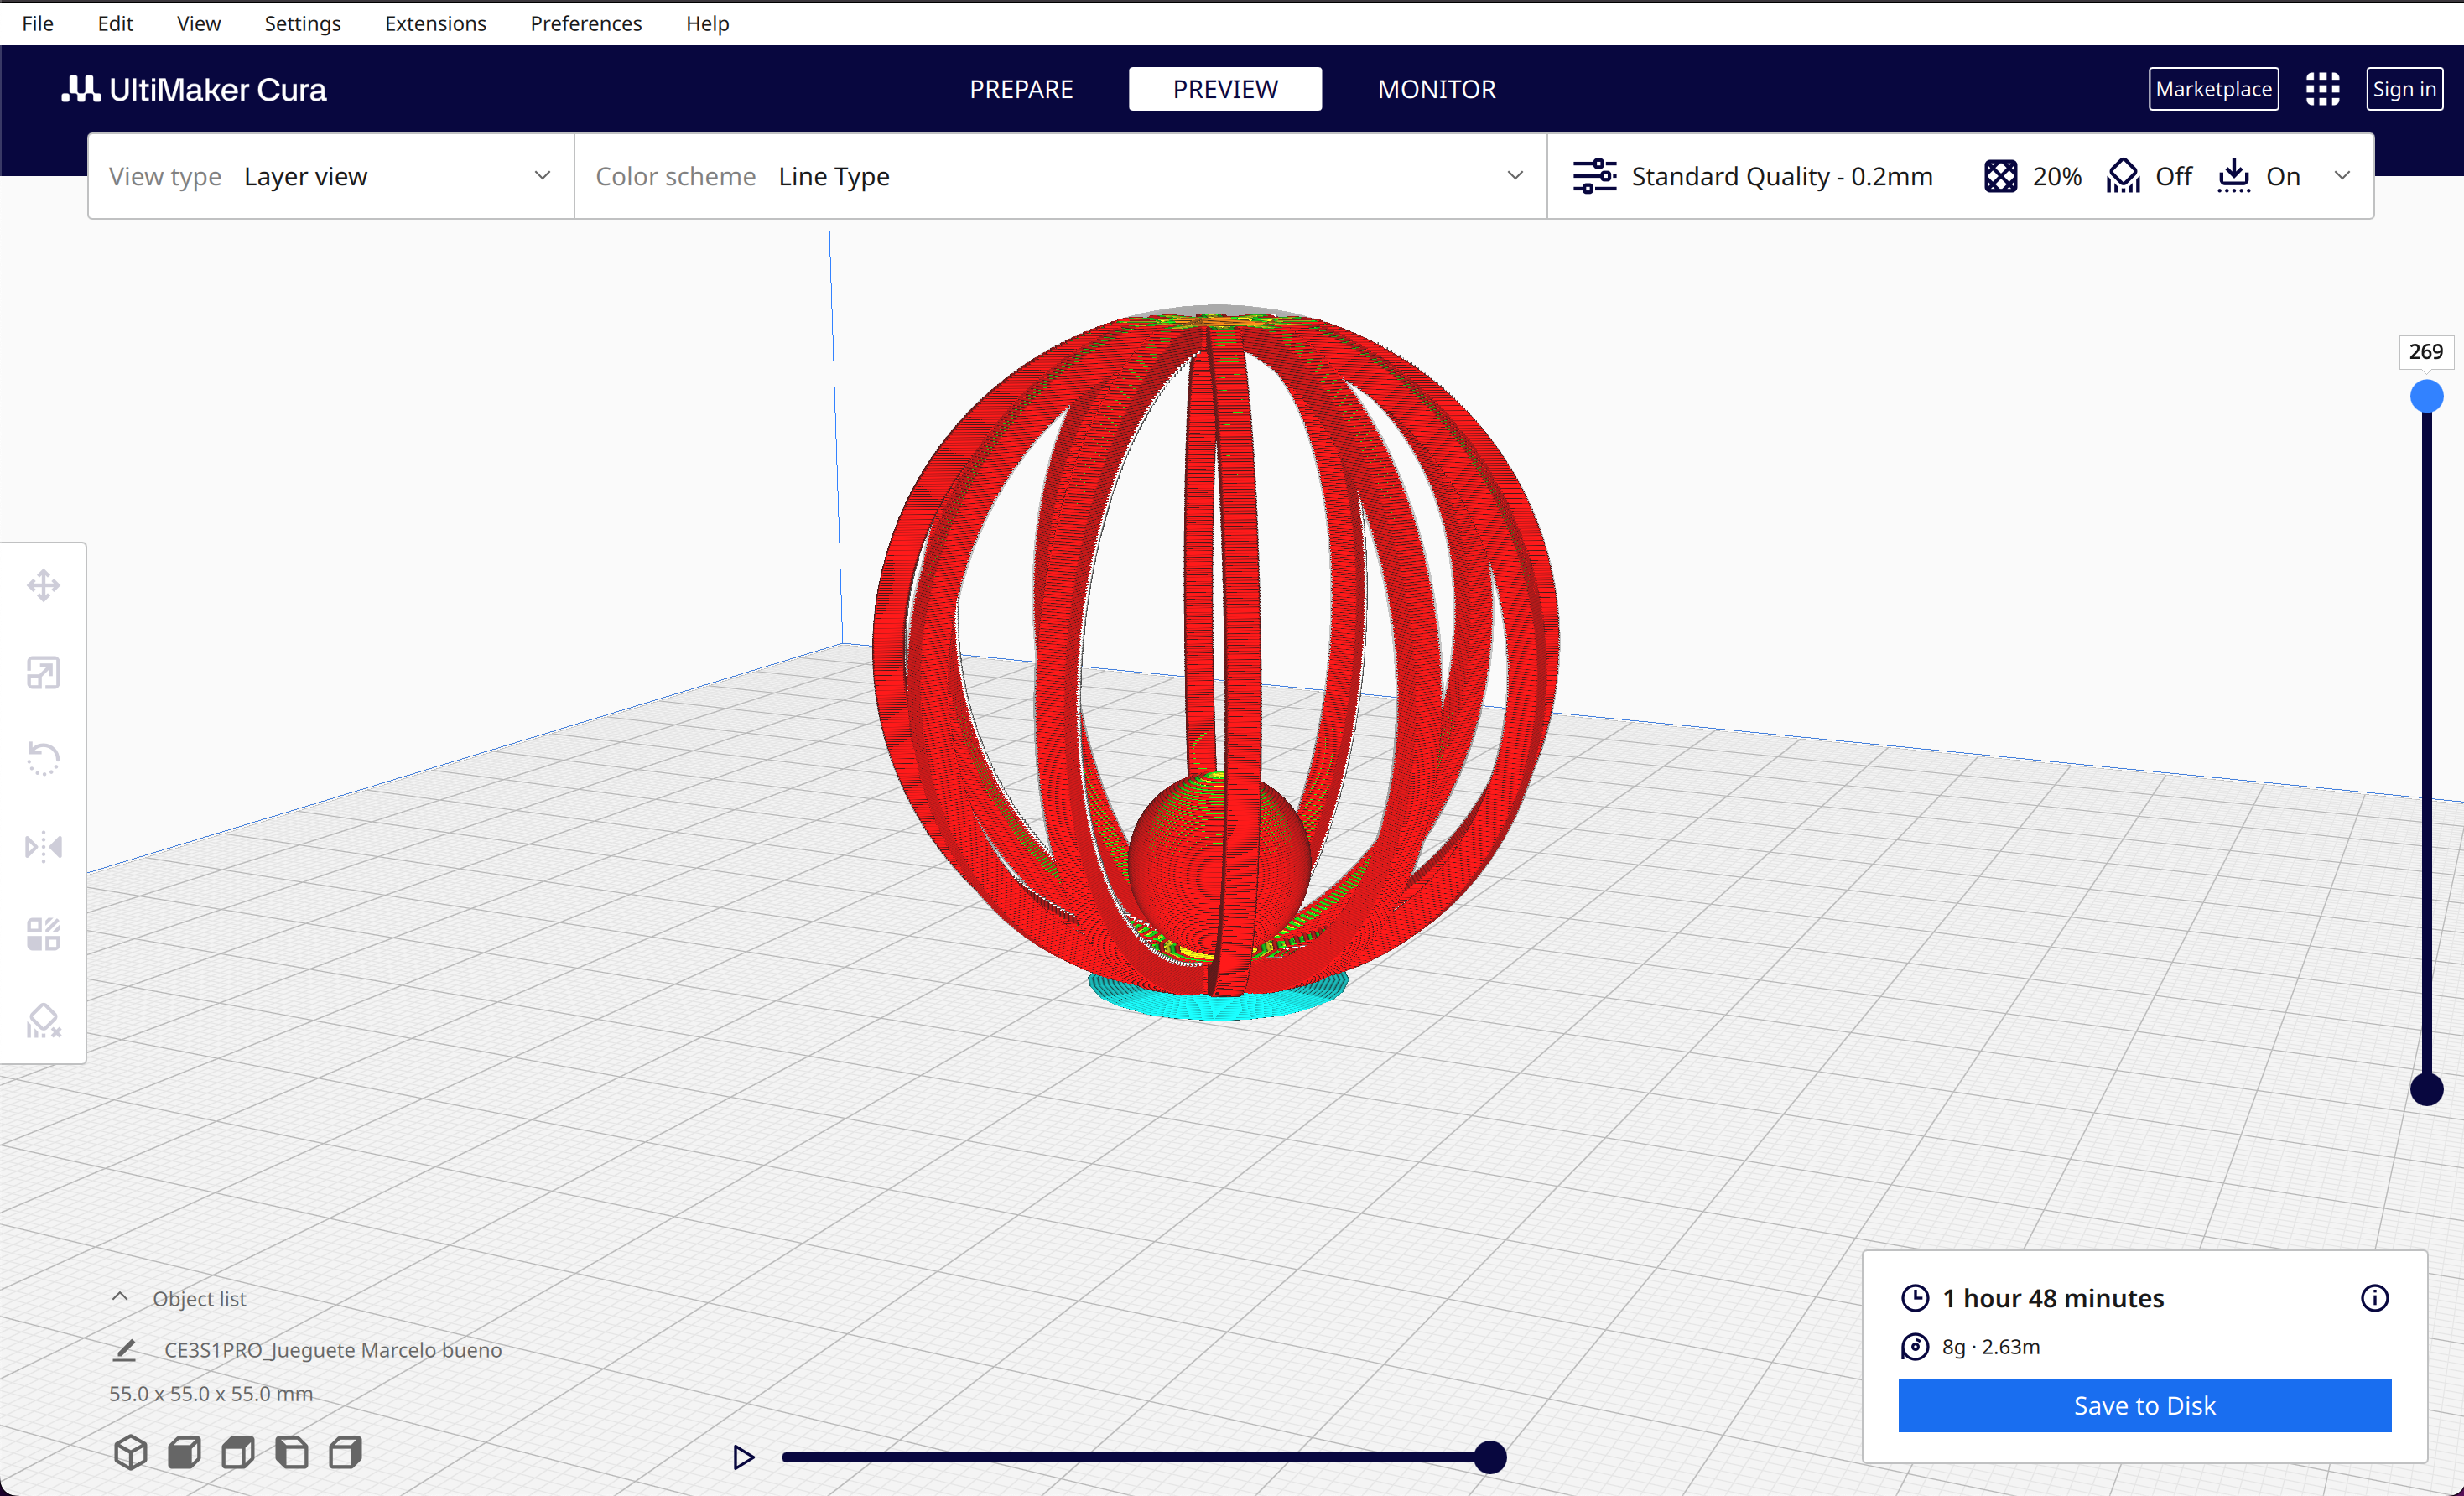
We export it to stl format and then open it in UtltimateMakerCura
3D printer
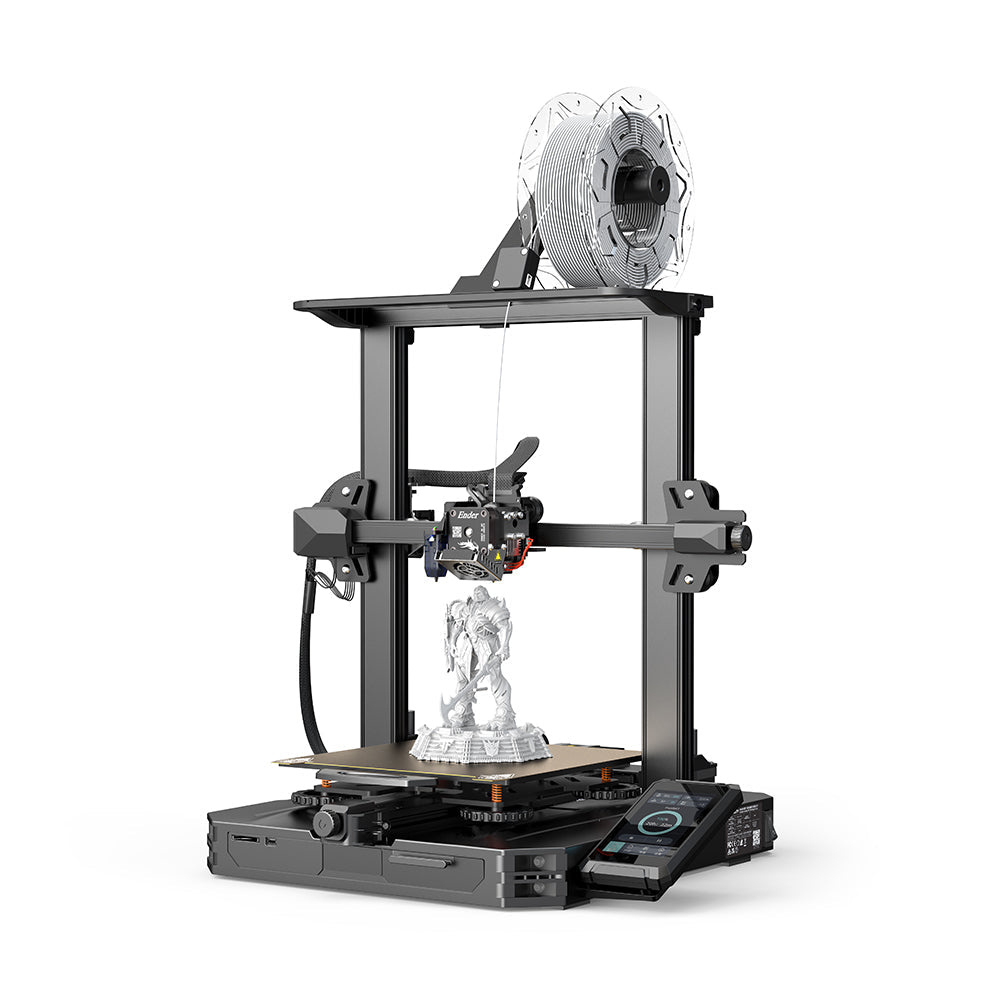
The printer used was an Ender-3 S1 Pro 22x22x27cm using the following specifications
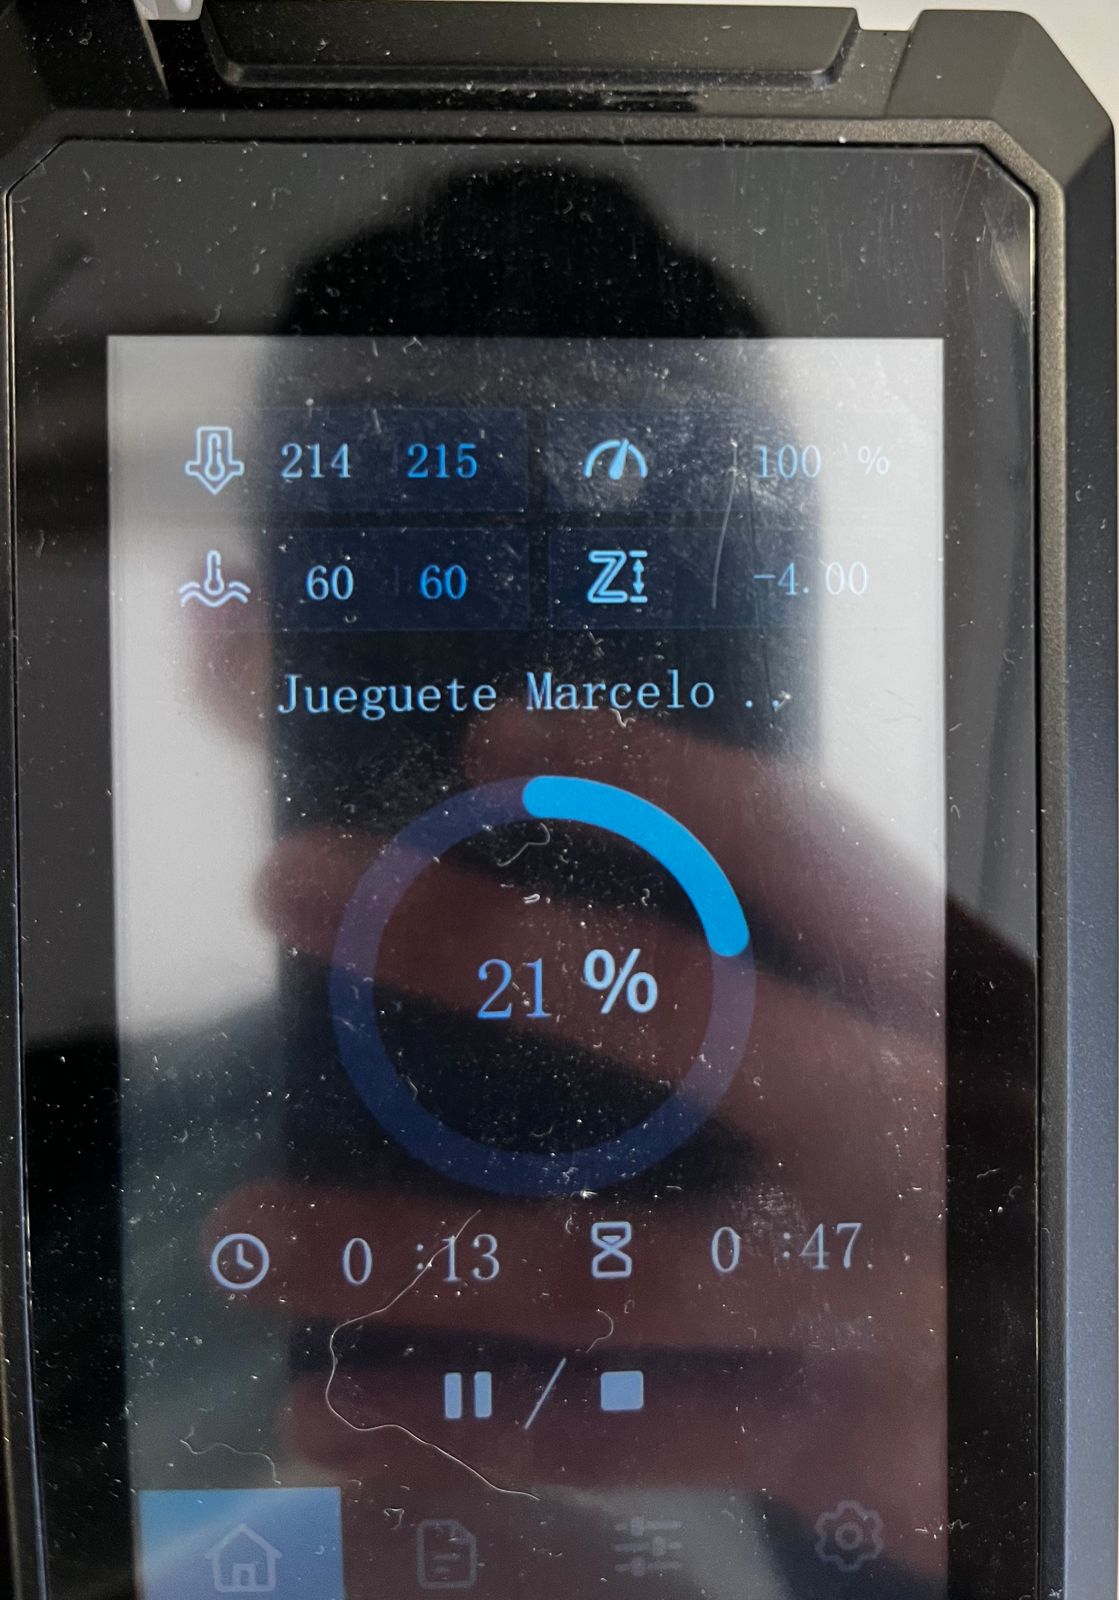
- Extruder temperature: 215°
- Temperature bed printing: 60°
- Infill: 20%
- Print speed: 100%
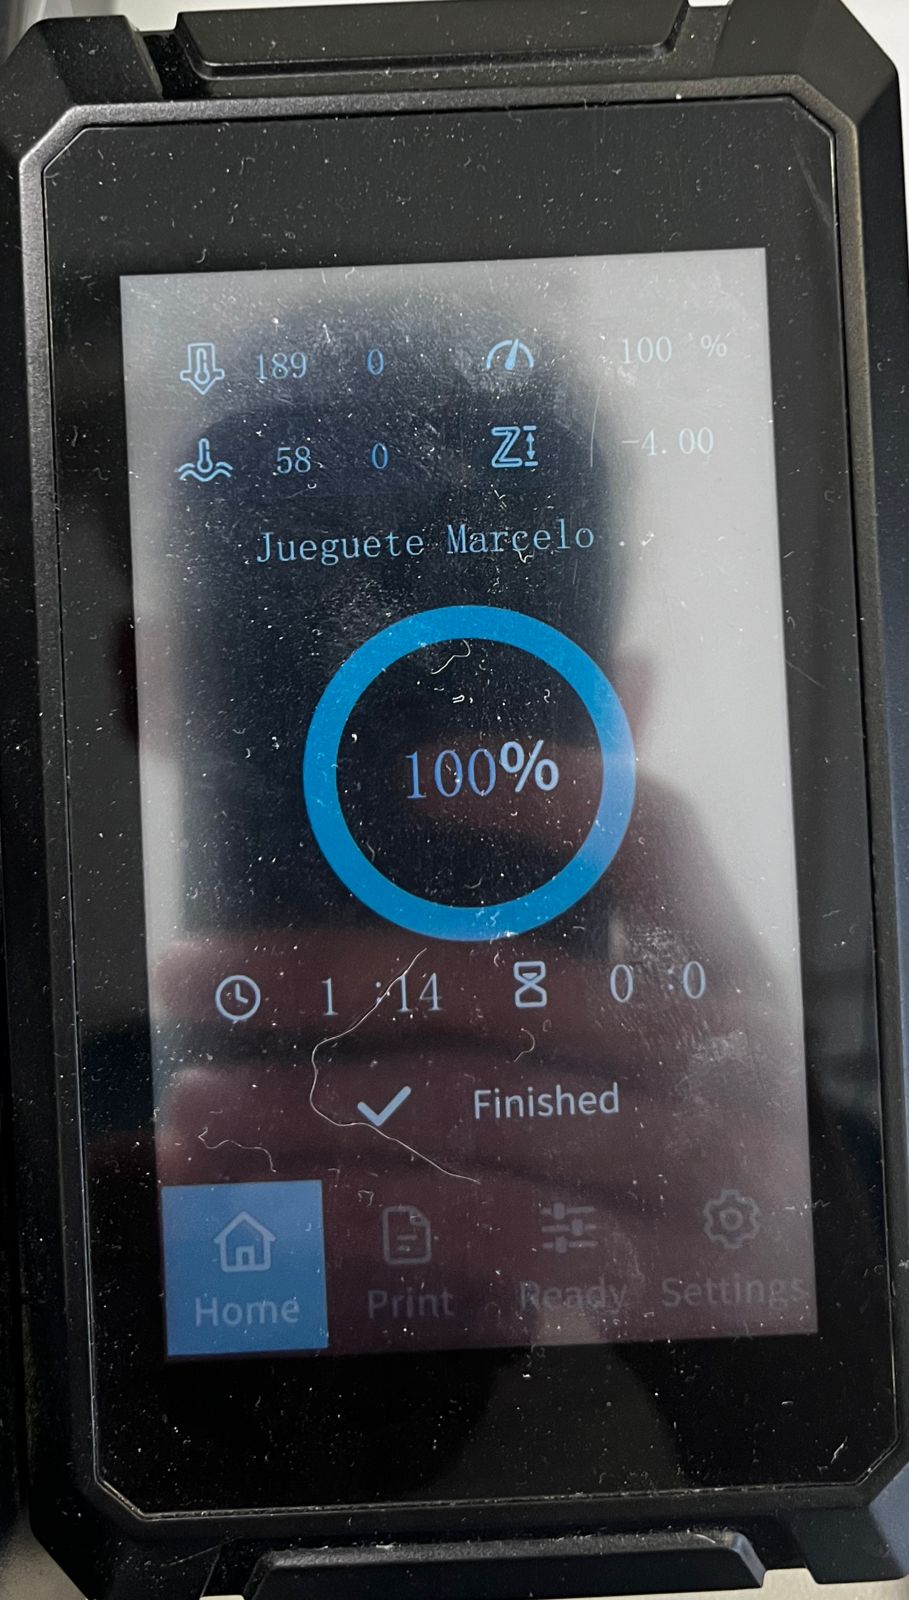
- Print time: 1.15hr
Print Settings
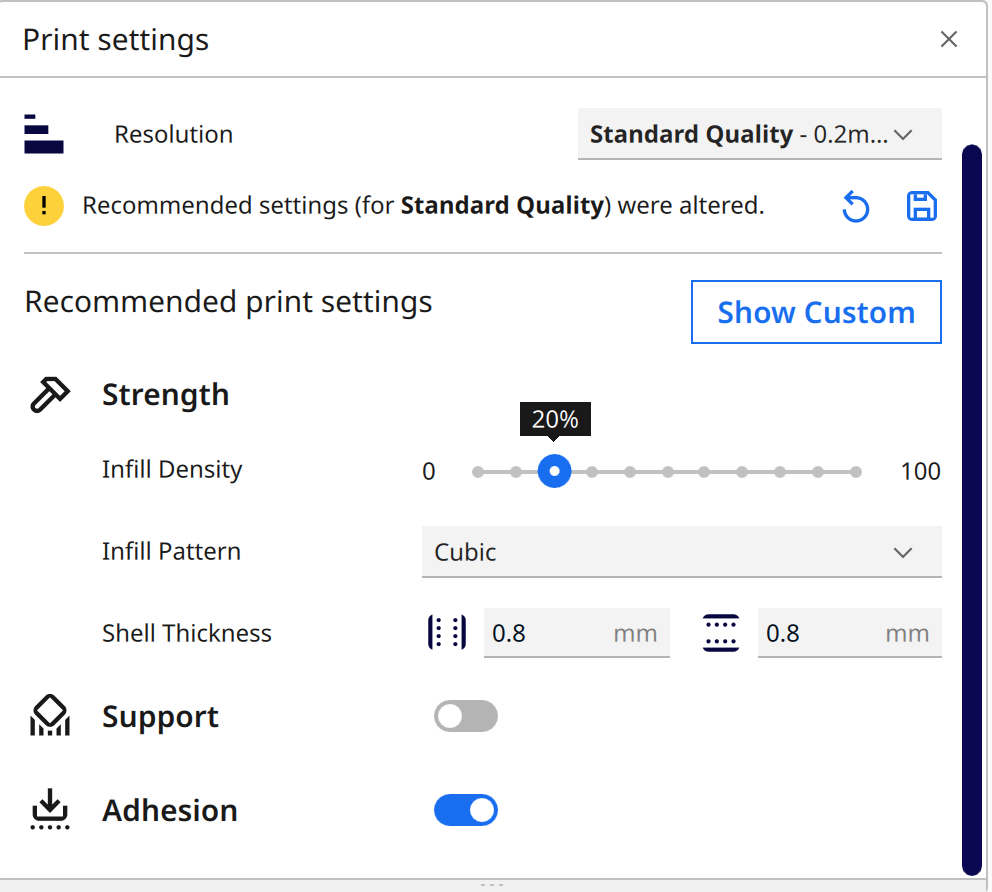
Slicer in UtltimateMakerCura
Let's go to the printer
When you insert the SD memory and select the file that we are going to print, the printer will start a preheating with the parameters already mentioned before, once the appropriate temperature is reached it will start to print the piece
Final result
After waiting 1 hour and 15 minutes the piece is finished

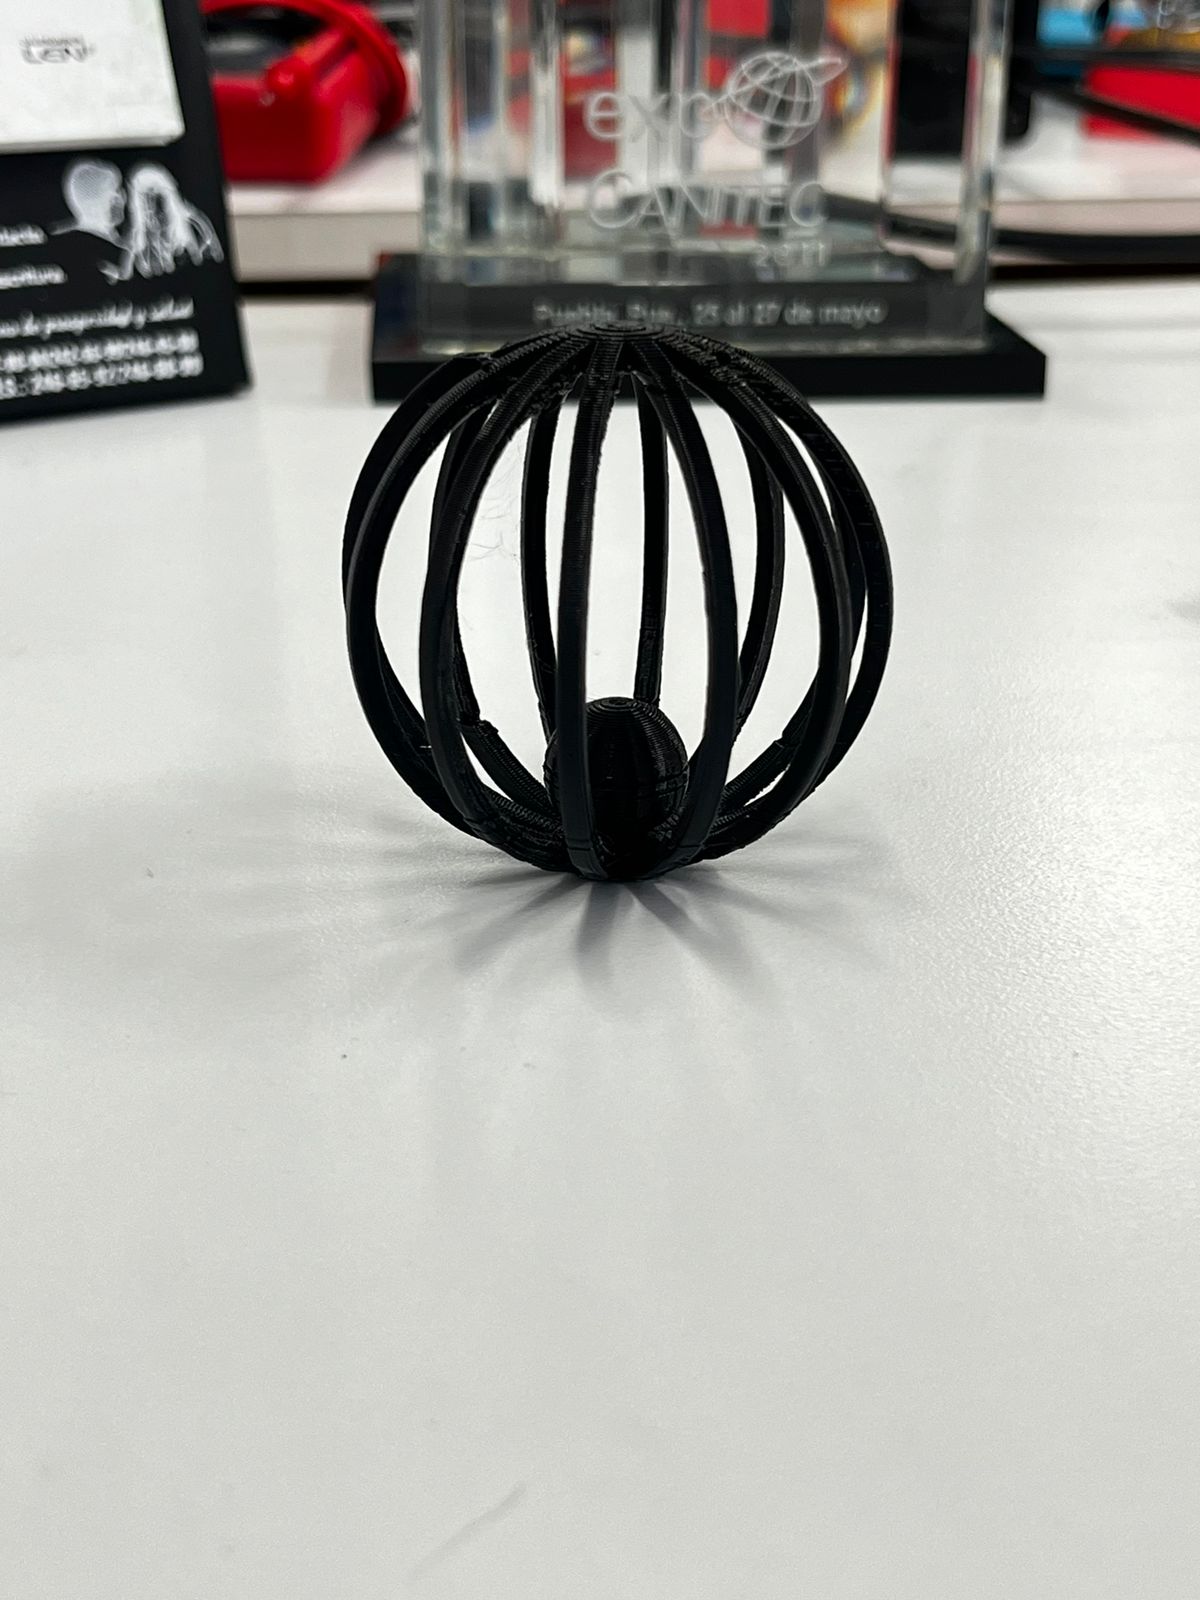
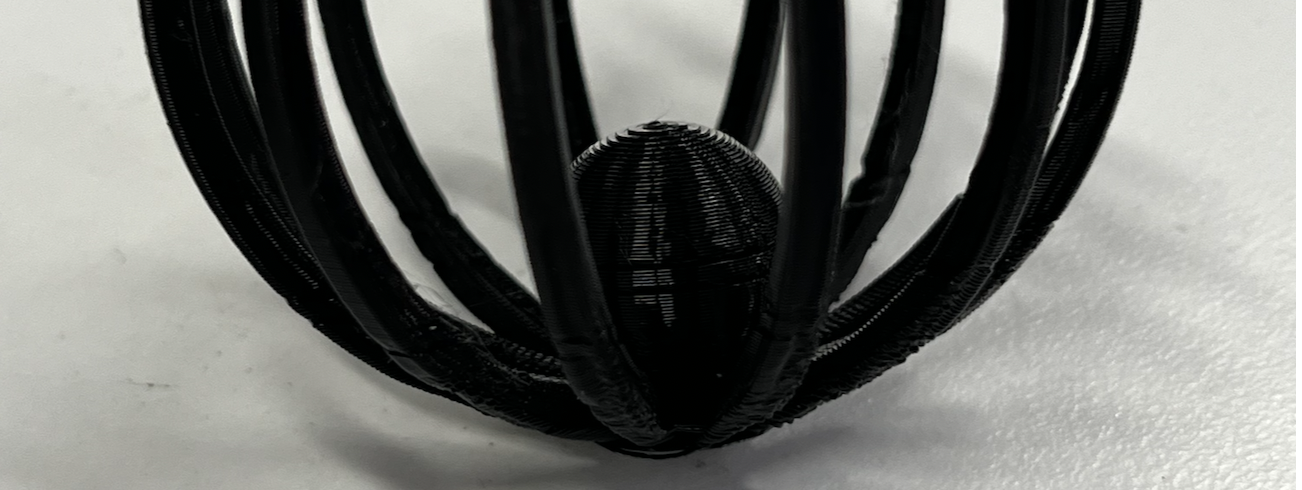
Problems with the toy
When I finished the print, I was able to notice that the small ball that should go inside the cage was stuck to the base. I tried to remove it with a small shovel, but I couldn't. I tried to do it with a screwdriver, but I also realized that the bars were too thin, and if I put pressure on any of them, they would end up breaking, so I decided to leave the ball attached to the base. It didn't turn out as bad as I expected; since the ball is attached to the base, it generates a counterweight that makes the toy stay upright. Let's see what Marcelo thinks.
The moment of true
Even though it didn't have a loose ball inside, Marcelo ended up liking it too much.
Scanning
In the sacnning part I used as model my amiibo pickachu figure
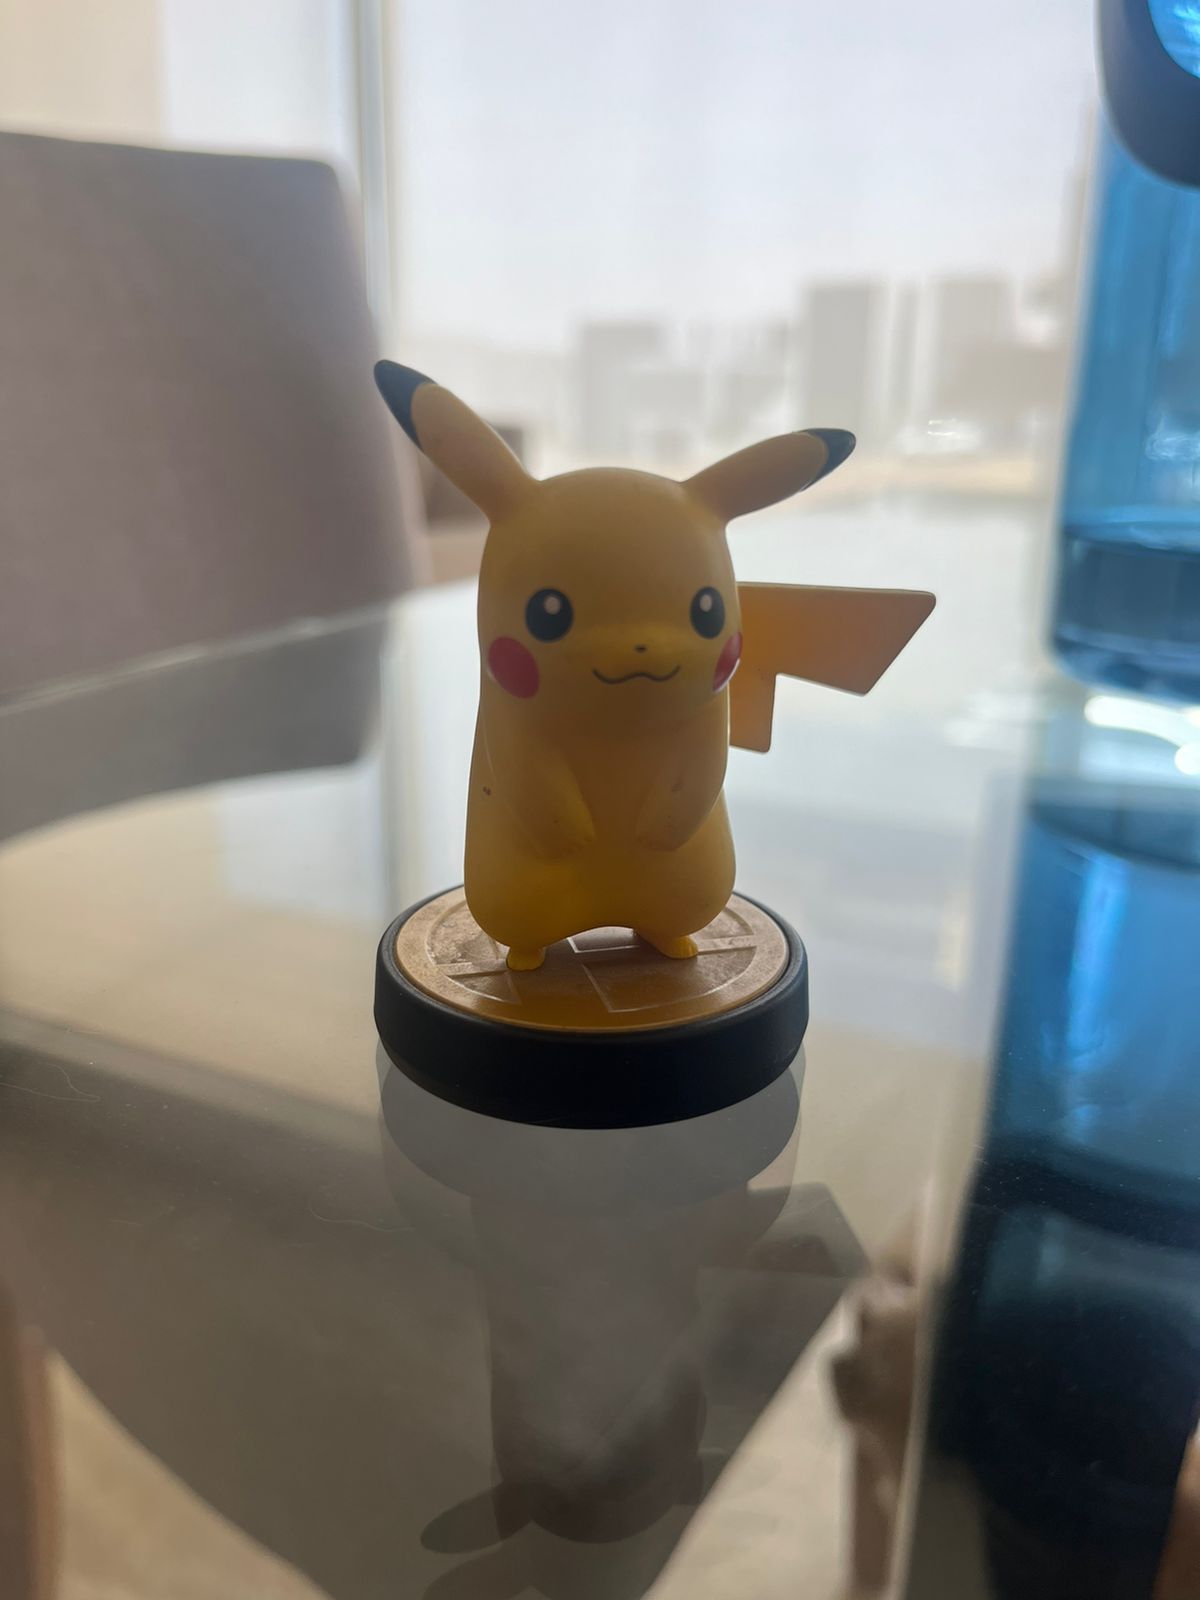
The measurements of the pikachu are as follows
- Total height: 7.48cm
- Total depth: 3.74 cm
- Total width: 5.12cm
The model of the 3D scanner is the EinScan-SE a 3D scanner produced by Shining 3D. It's a structured-light scanner designed for capturing high-quality 3D models of objects with moderate complexity.
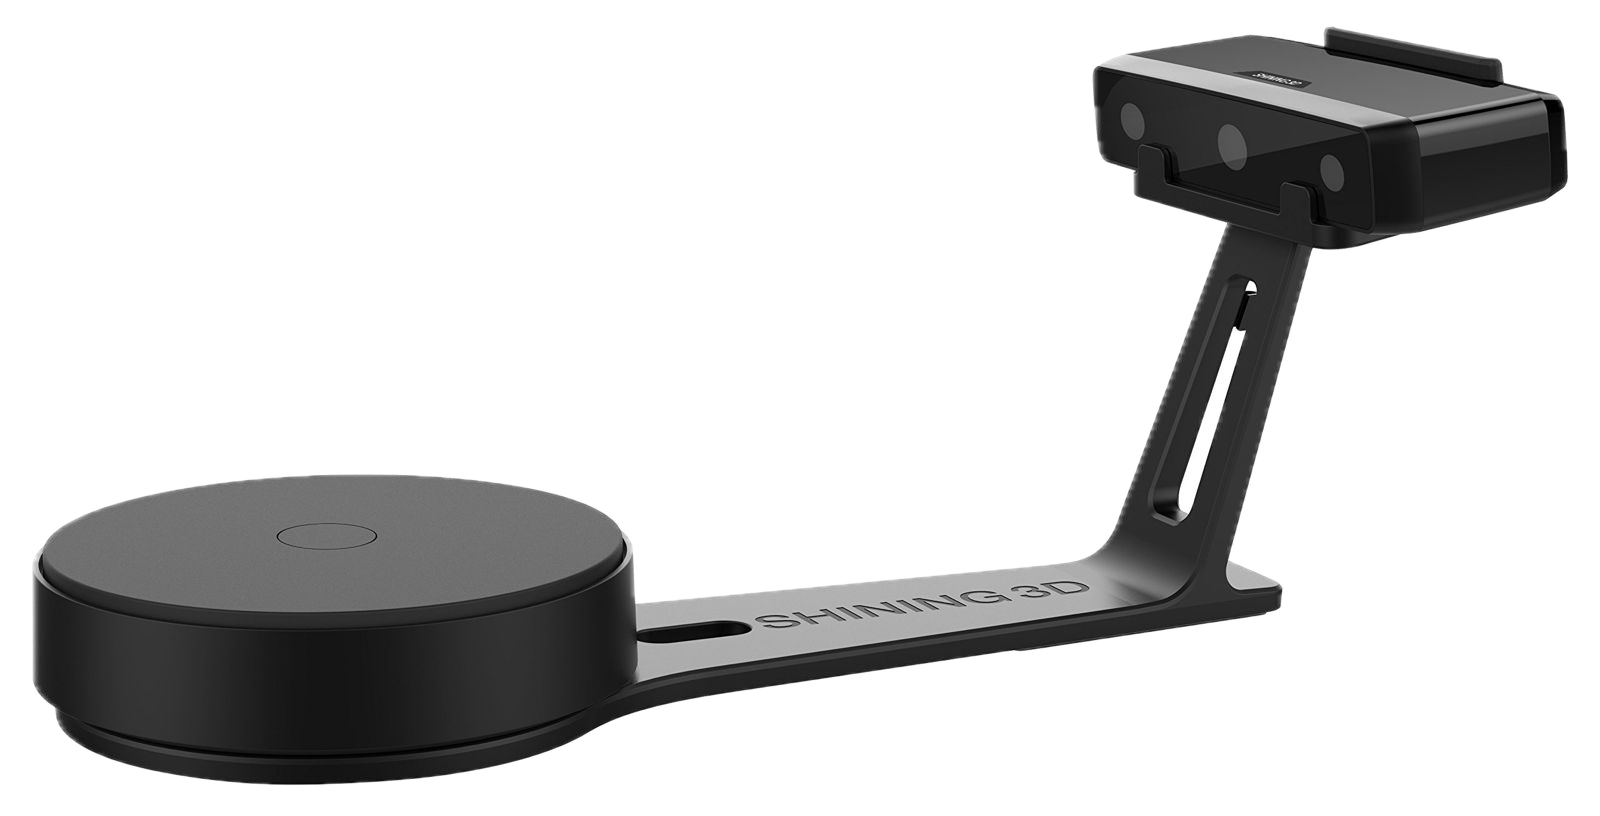
The software i used was EXScan-S a portable handheld 3D scanner developed by Shining 3D. It is part of the EinScan series and is designed to provide users with a lightweight and versatile solution for capturing 3D data.
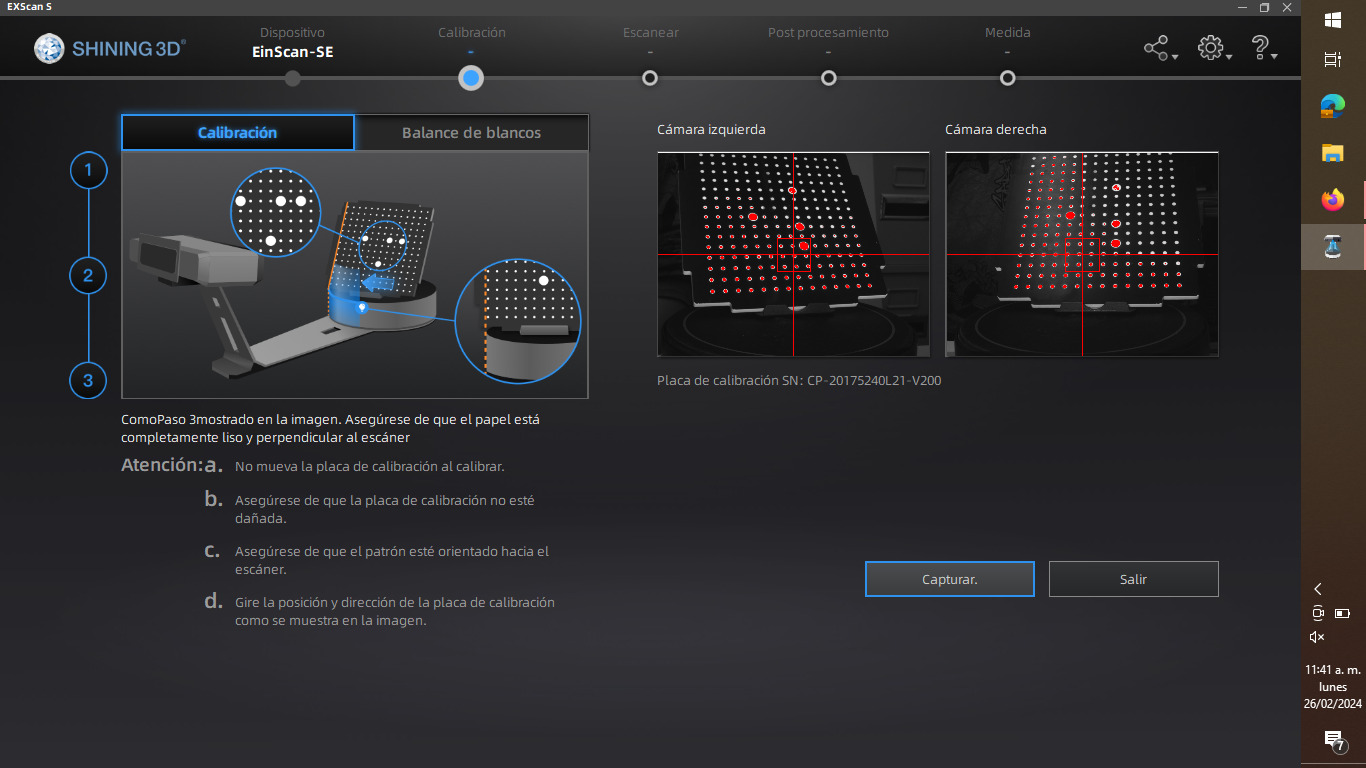
The software that the scanner uses is exclusive to Windows and my personal laptop is MacOS, so I had to use a colleague's computer. When I plugged the scanner and open the program, it first asks you to calibrate it, to do this the scanner comes with sort of tripod and a sheet of plastic with dots so I put it in the scanner and start the process
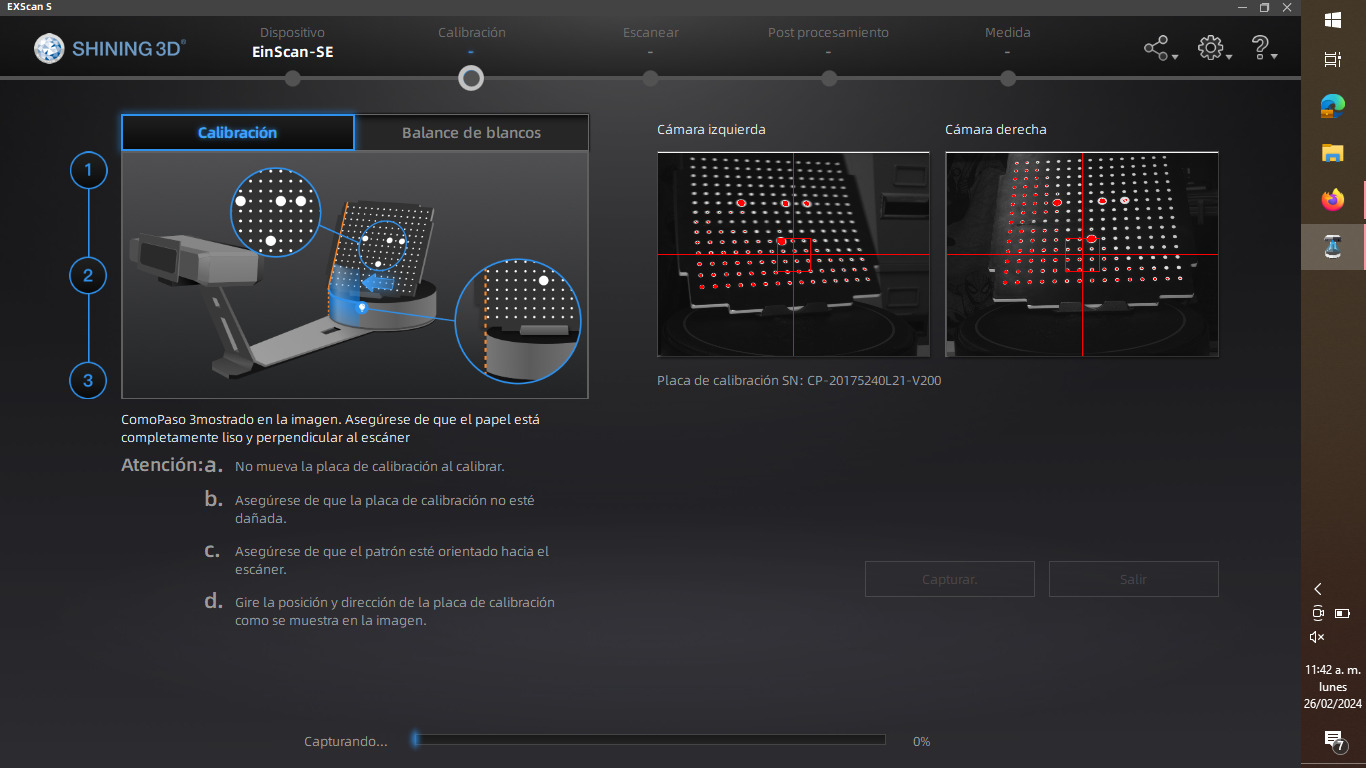
While it is in the calibration process, the software gives you information about what is happening in this process and some instructions so that it is concluded satisfactorily.
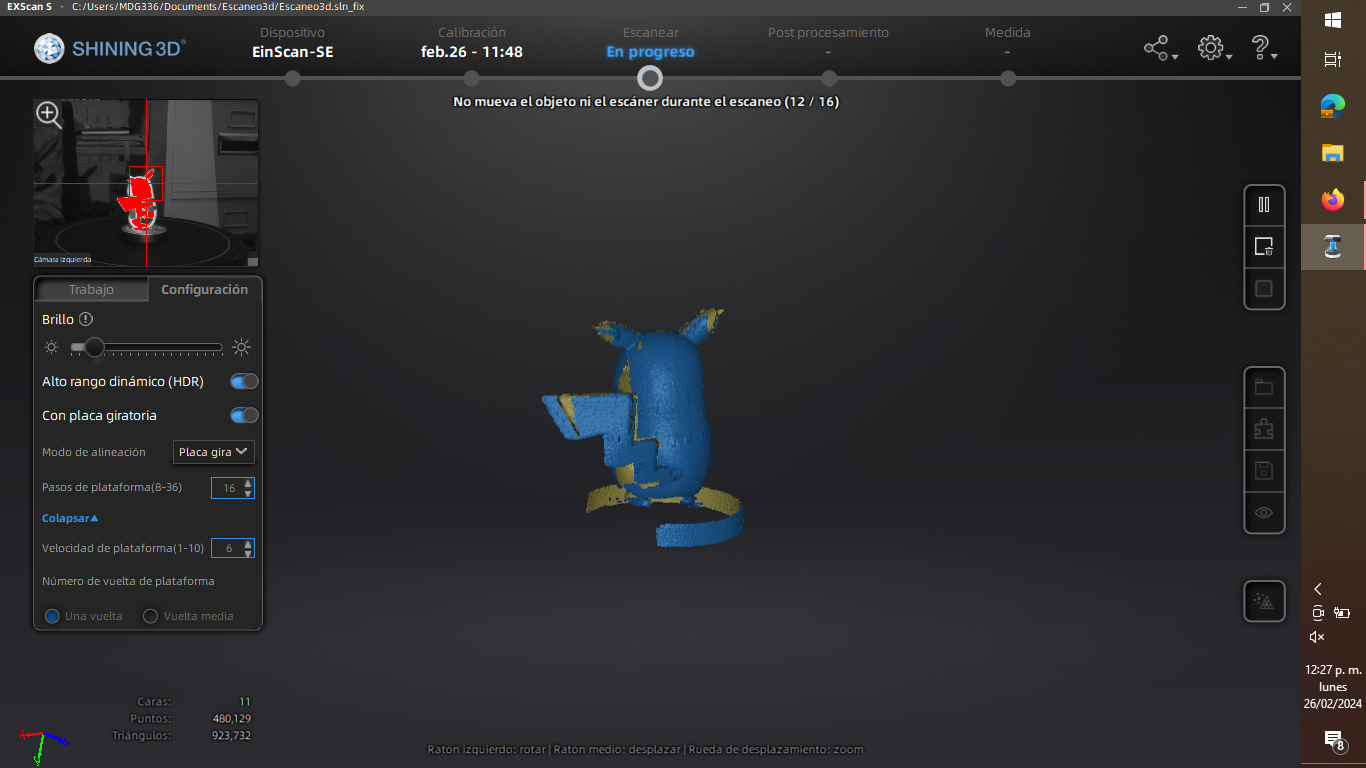
Done! once this process finished I put my pikachu on the scanner and press start sacanning and it's going to start scanning
By continuing with the scanning process in the program you can see how the figure is modeled.
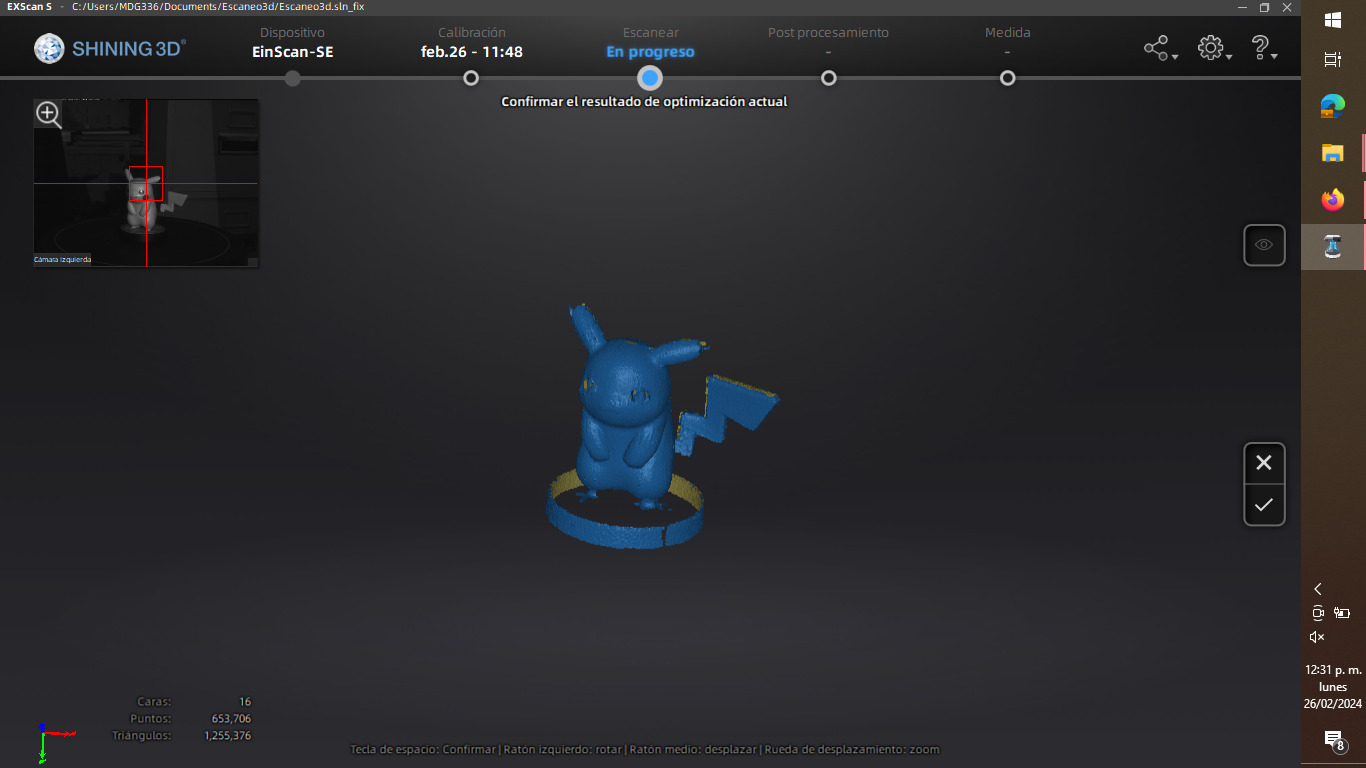
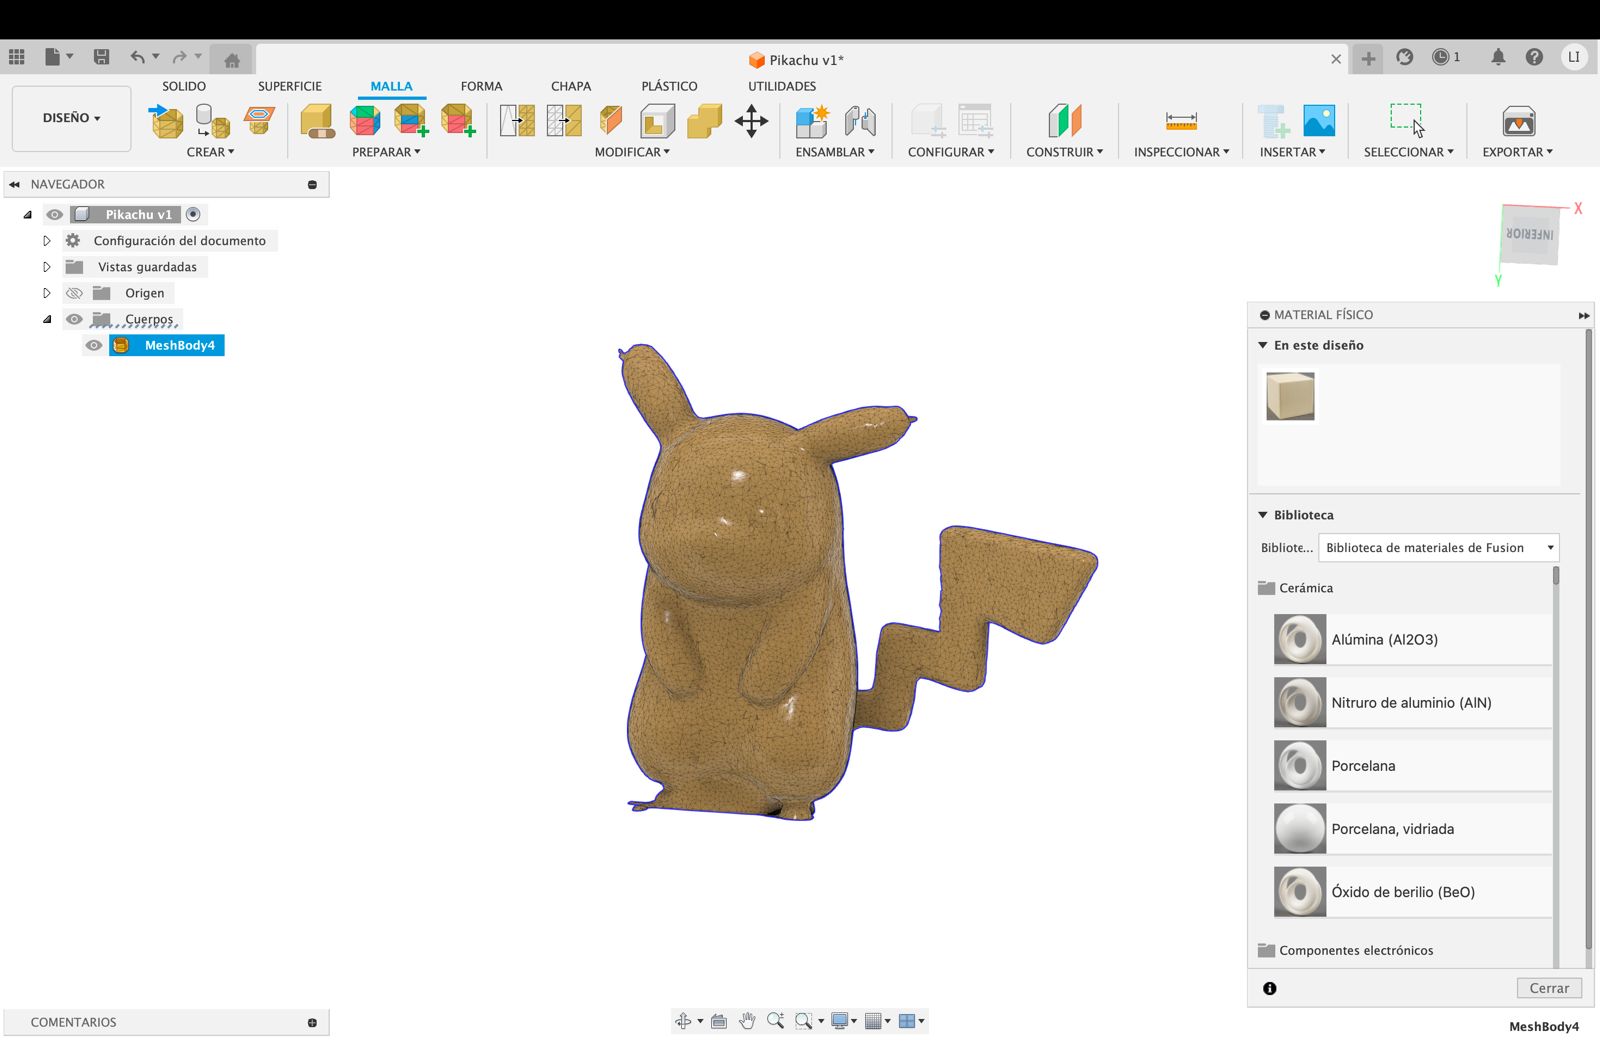
Once the scan is finished, we will obtain a .stl file that, for reasons of convenience and the function of converting mesh, I decided to open it in the Fusion360 software. I was able to notice that the scan could not detect the tip of the ears, perhaps because since they were black, I had to put talcum powder on them so that they could capture the light better.
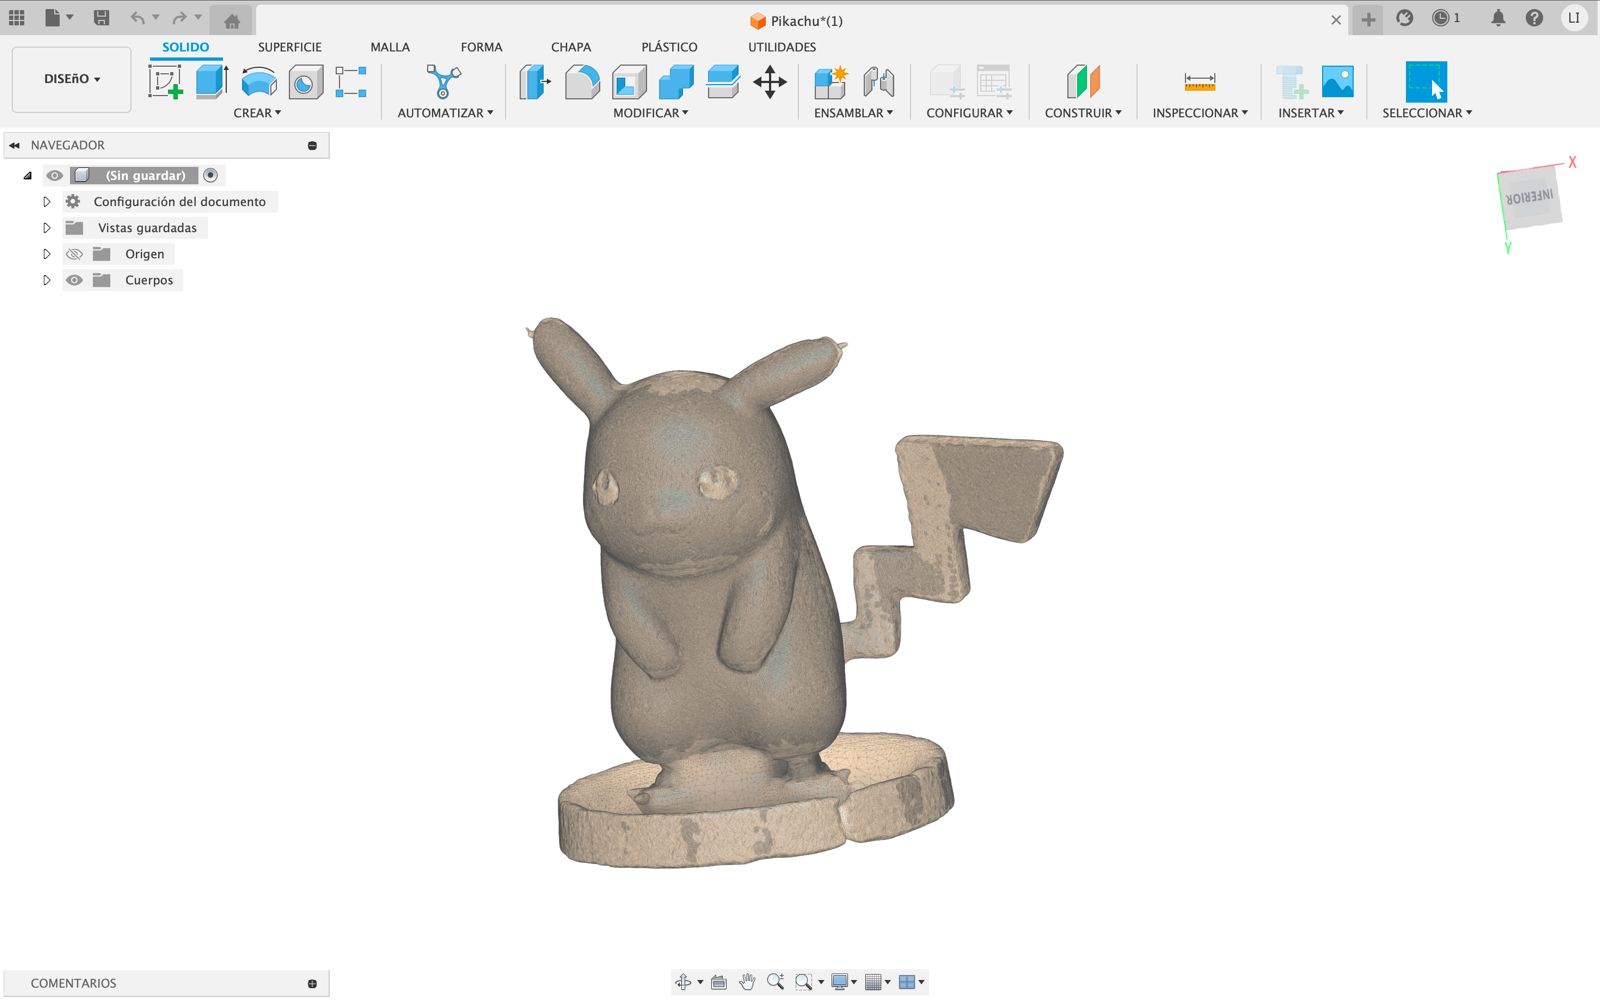
I will be using Fusion360's feature of converting a mesh body to a solid body which is a very useful feature
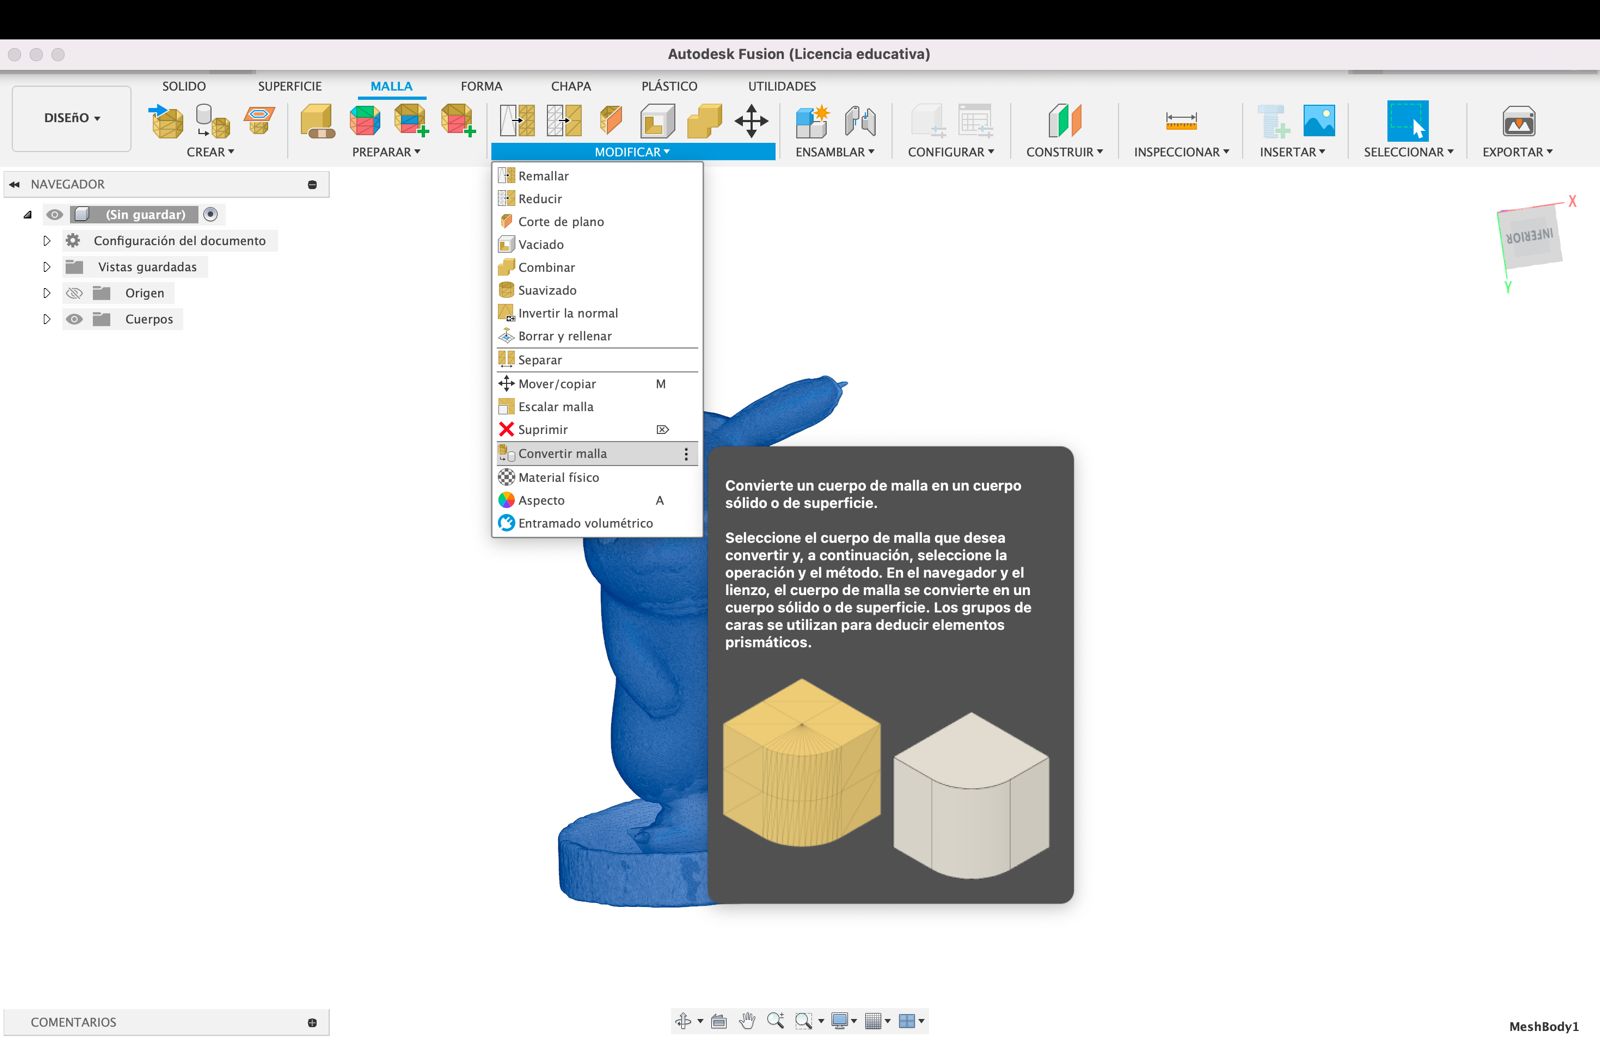
Ohh!! We got some problems
When I clicked, a warning message appeared "This mesh has more than 10,000 triangles. The calculation will take a long time." seconds later the program crashed

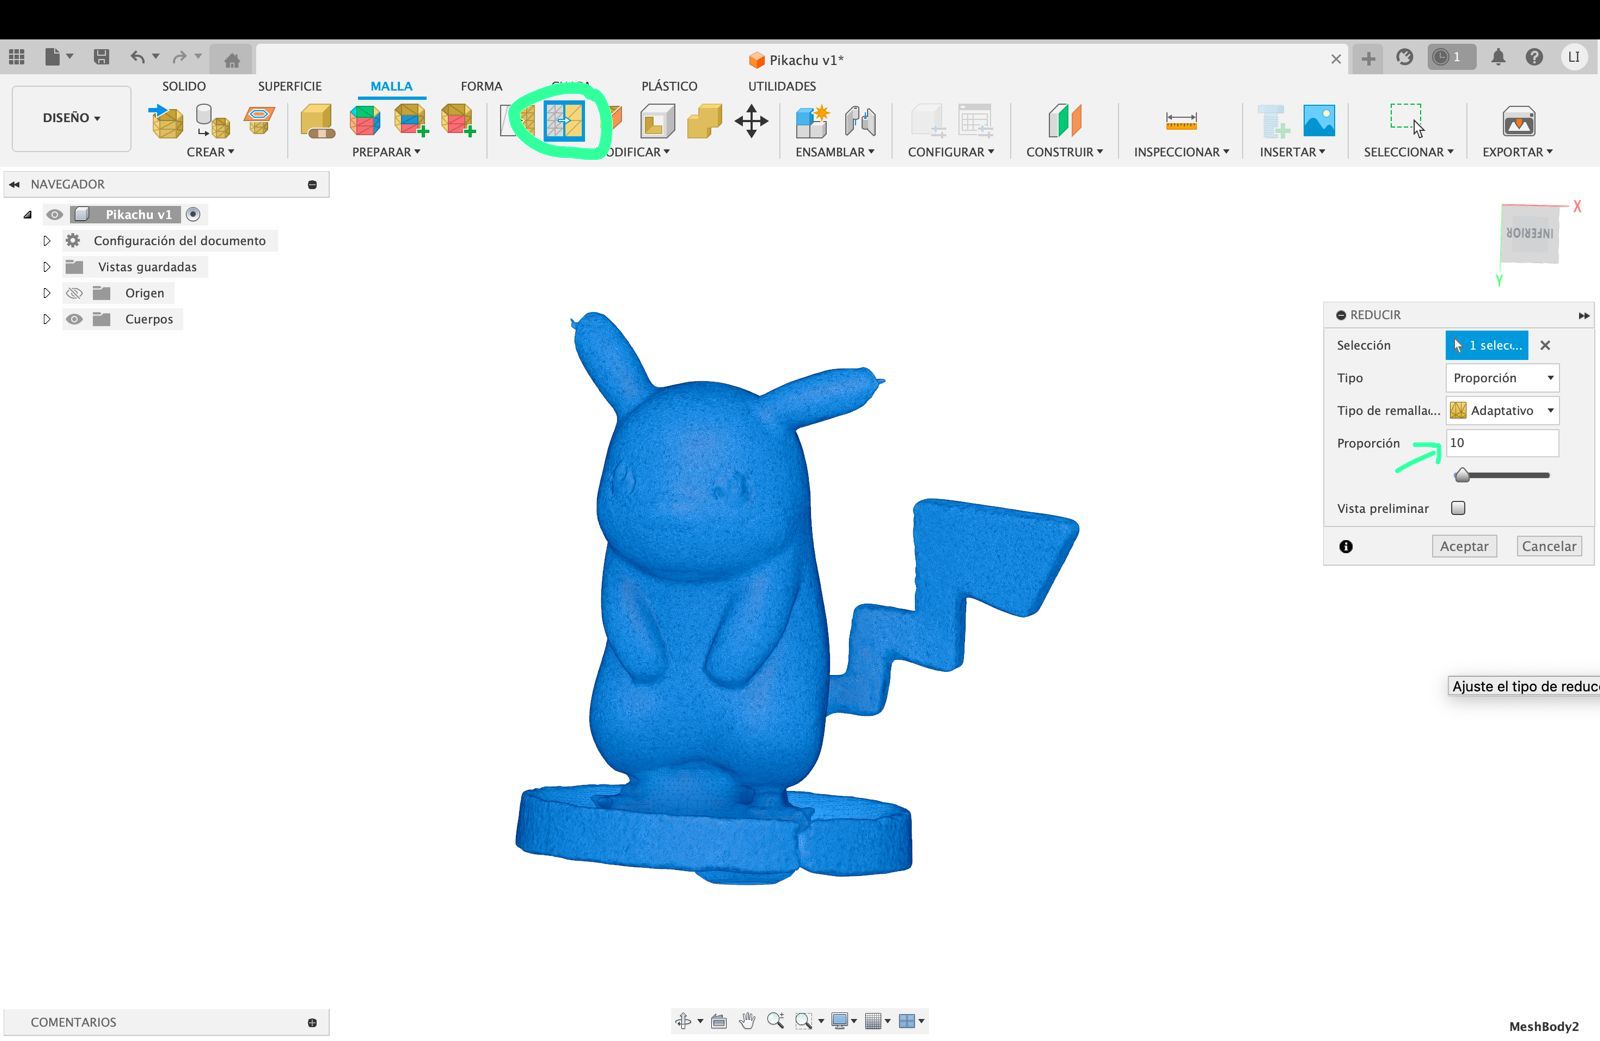
To solve the problem I reduced the mesh size to a portion of 10, which I consider to be a good measure.

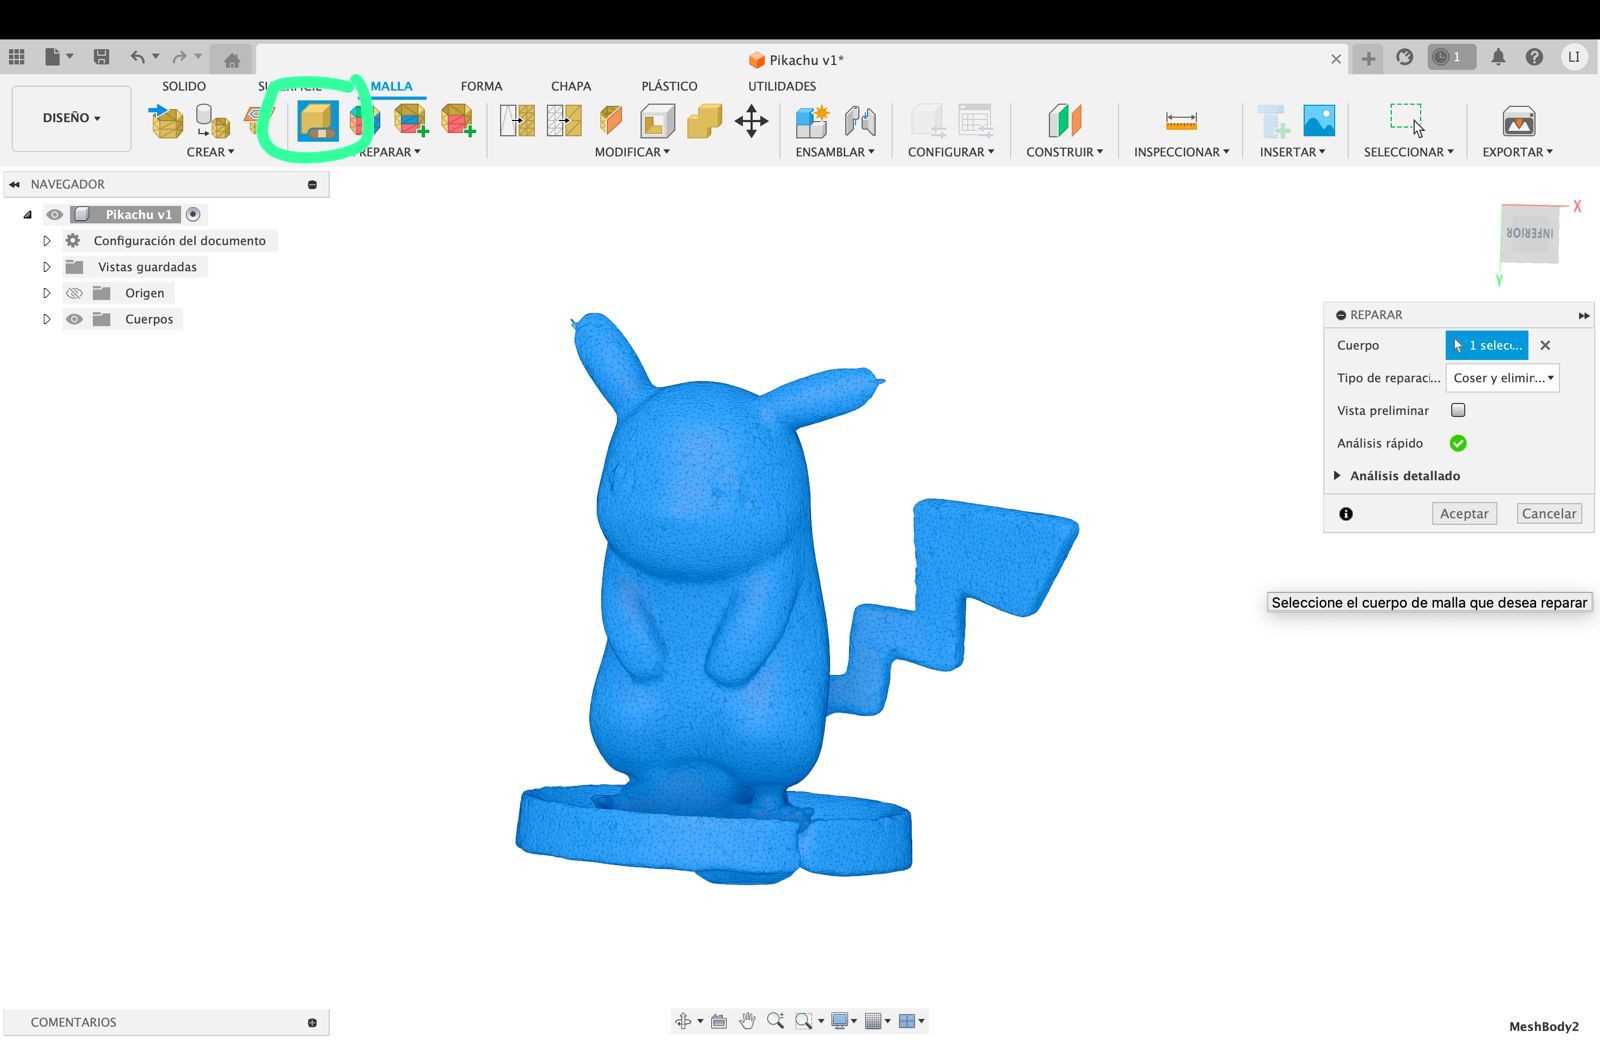
Afterwards to repair the mesh and sew and close the holes, we give the option to repair
And as the last step we add texture and cut the base and that's it! We have our scanned and post-processed pikachu that you can download below