5. 3D Scanning and Printing
In this week's practice, we were asked to perform a 3D scan and a 3D print. For the scanning, we were introduced to multiple tools such as fixed scanners, mobile scanners, and different types of scans. Moreover, they presented us with the option to scan objects using a cellphone, through applications using photos from different angles. The idea behind this is to bring something from the real world into the computer. For an extra point, we were asked to print the scanned piece. For the 3D printing, we were asked to design something that could not be manufactured using the subtractive method.
What is 3D printing?
3D printing, also known as additive manufacturing, is a process of creating solid three-dimensional objects from a digital file. This process is carried out by the successive addition of material layer by layer, which differentiates 3D printing from traditional subtractive manufacturing methods, which are based on cutting or drilling pieces from a solid block of material. This technology is widely applied in rapid prototyping, product manufacturing, personalized medicine, construction, education, and art, revolutionizing the way of creating from prototypes to final products and artworks with complex and personalized designs.

There are several methods of 3D printing:
- Fused Deposition Modeling (FDM): Uses thermoplastic filament to deposit material layer by layer.
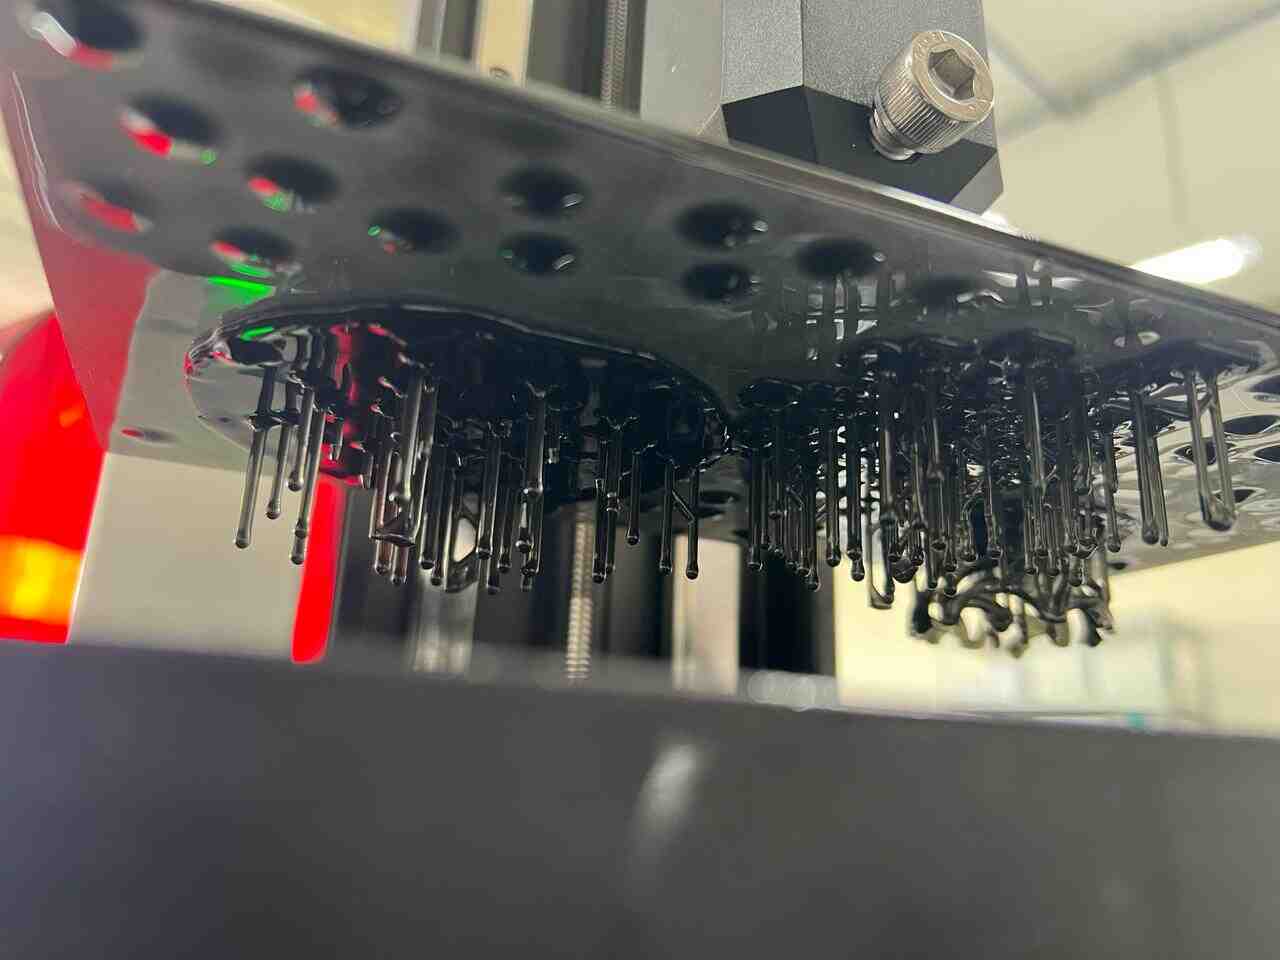
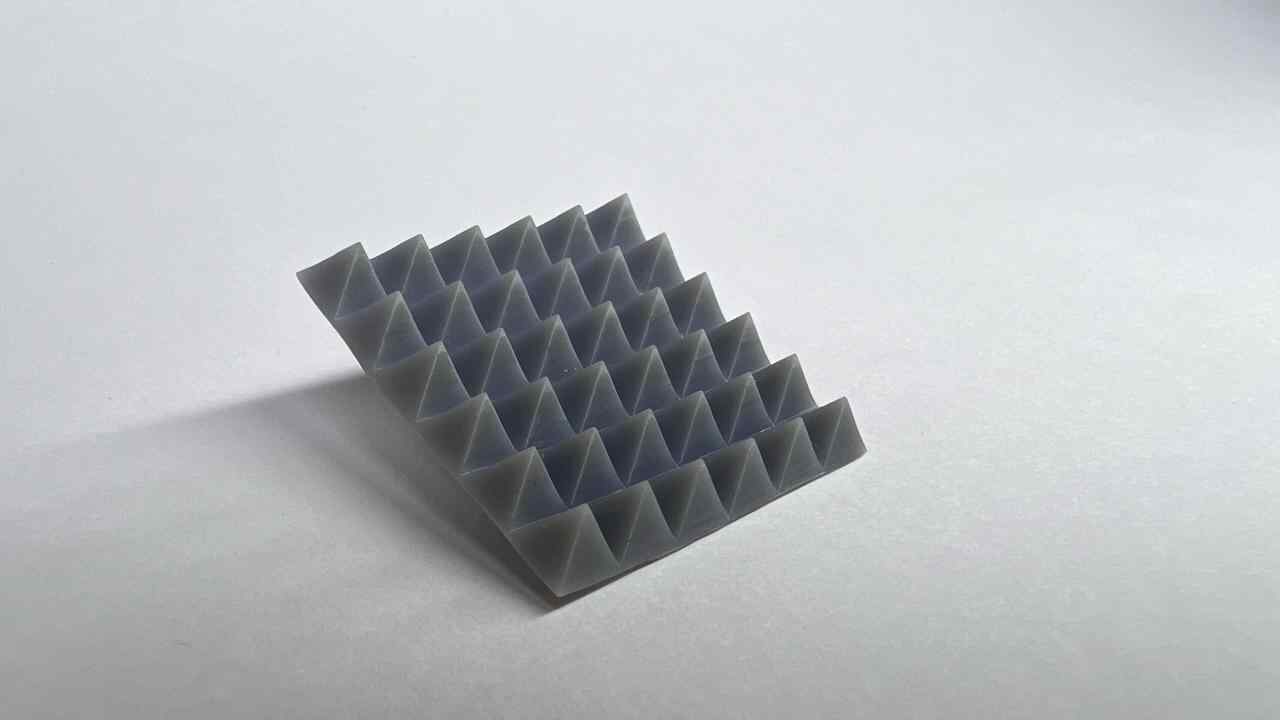
- Stereolithography (SLA/MSLA): Uses an ultraviolet laser to cure and solidify liquid resin layer by layer.
- Selective Laser Sintering (SLS): Fuses powder particles with a laser to form objects.
- Liquid Ink 3D Printing: Solidifies liquid materials to create the desired object.
FDM or filament printing is the most common of all, and some of the most used materials for this type of printing are:
- PLA
- ABS
- PETG
- TPU
- Nylon
Another very commonly used type of printing is SLA and MSLA, which are resin printers, these have much higher quality than filament printers. There are various types of resins:
- Standard
- Transparent
- Flexible
- High Temperature
- Dental
For more information, printing parameters, and tests, check this link from the GROUP PAGE .
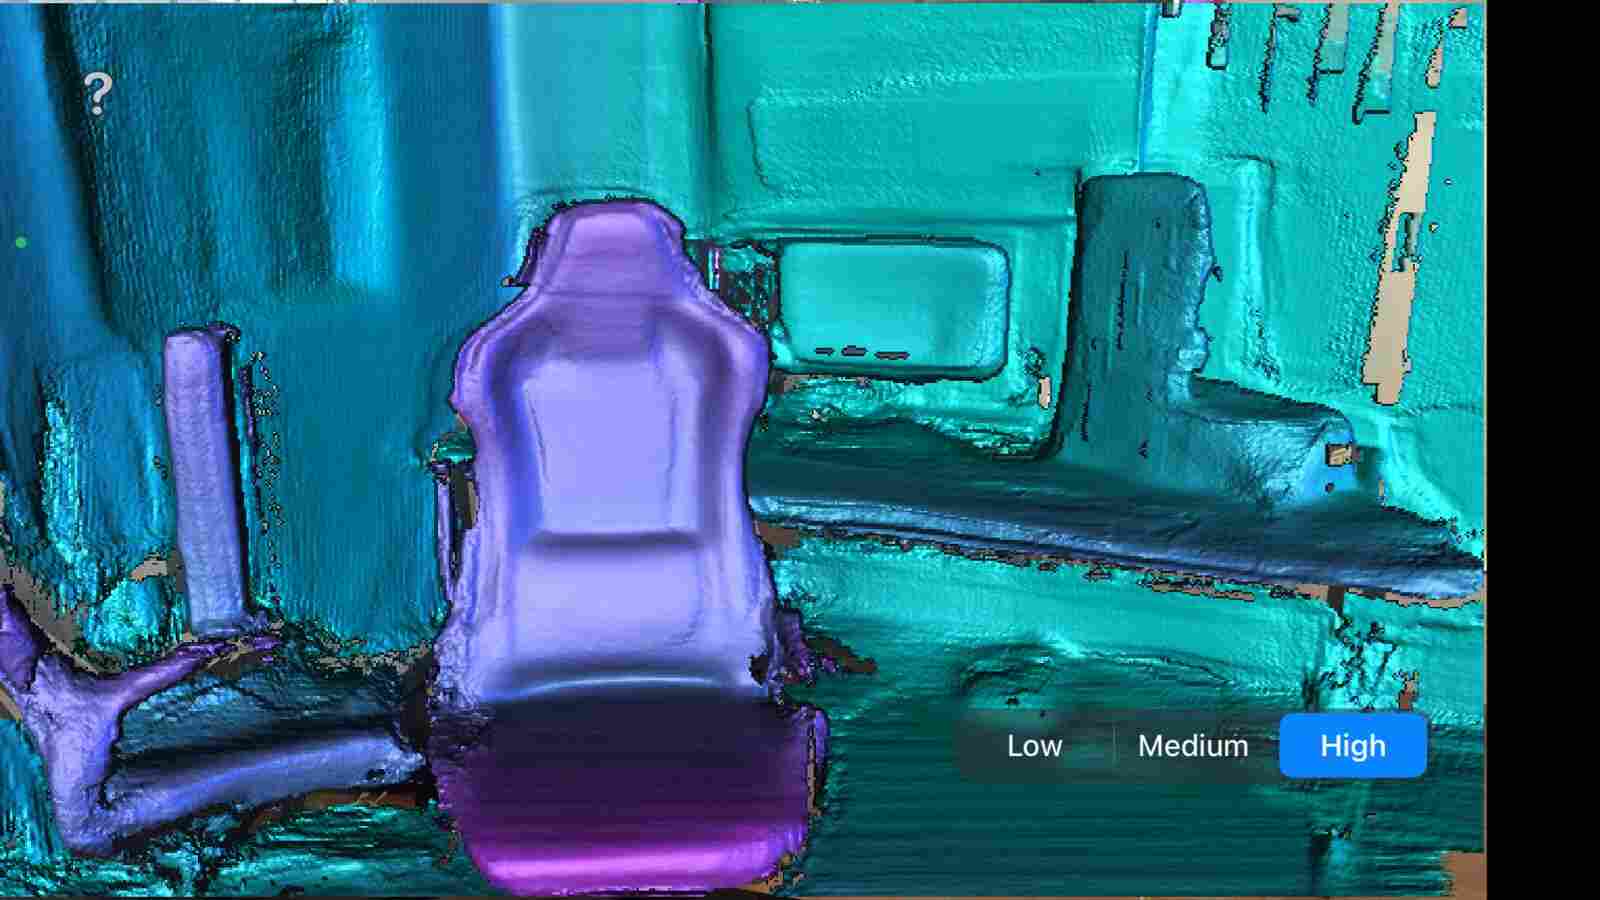
What is 3D scanning?
3D scanning is a technological process that captures the physical shape of an object or environment in the real world and converts it into a three-dimensional digital model. This technology uses a variety of methods and tools, such as lasers, structured light, photogrammetry, and other capture systems, to accurately measure the distance and shape of objects.
3D Printing
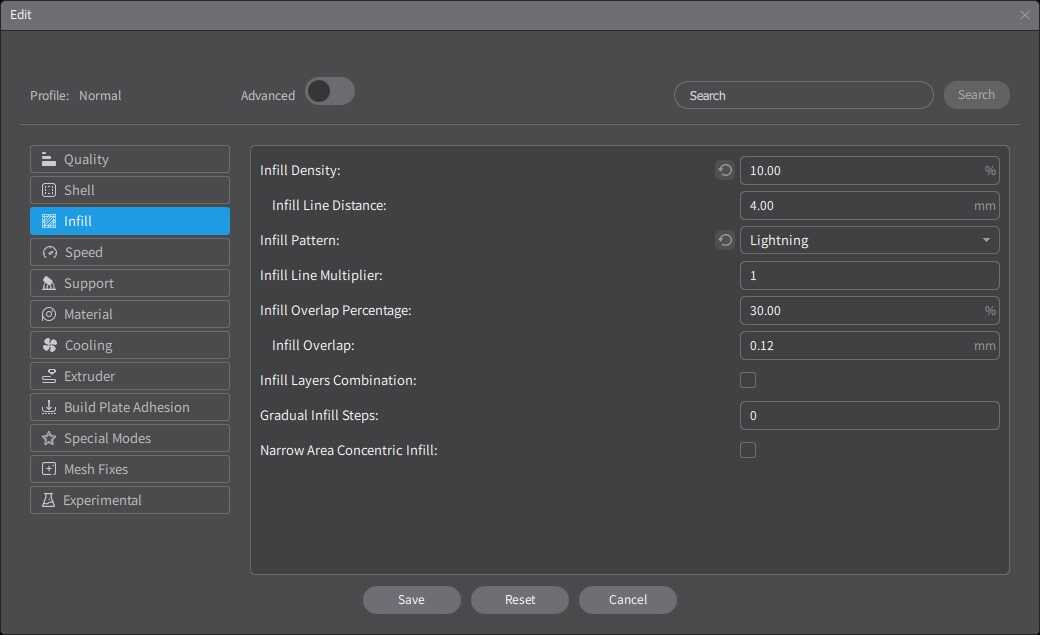
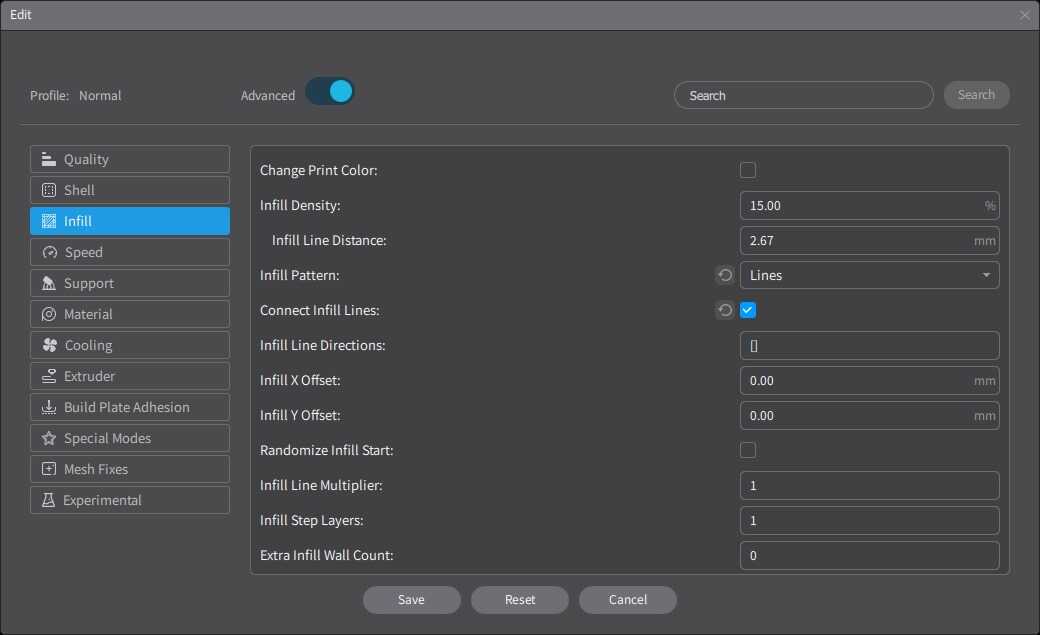
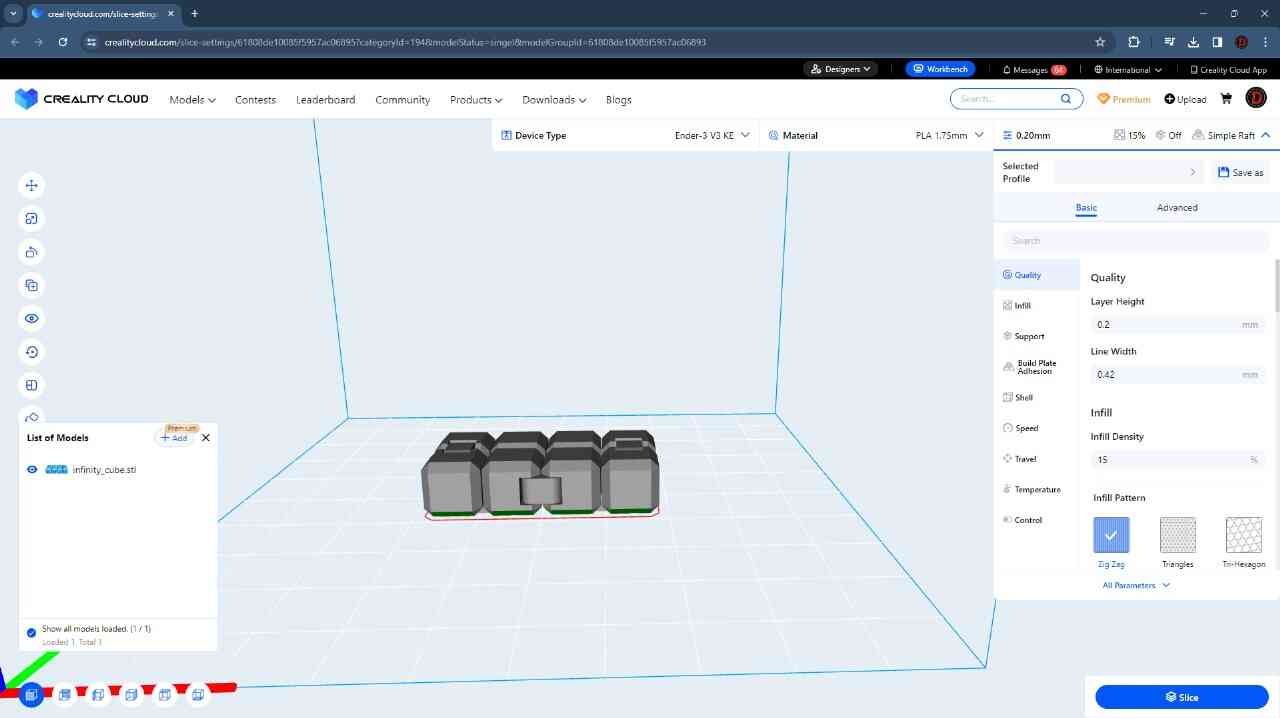
For the 3D printing practice, I will use two printing methods, FDM and MSLA, commonly known as filament and resin printing, respectively. In the case of filament printers, the university has various models and several printers, but in this case, I preferred to use my own printers for this practice. For resin printing, I used the university's equipment, as I do not have a resin printer. Below, I present the printer models I have, the corresponding software for them, and the 3D models I created for the practice, in addition to other models that I found interesting. DOWLOAD FILES
FILAMENT
PRINTERS
My personal printer
One model of the university
My personal printer
My personal printer
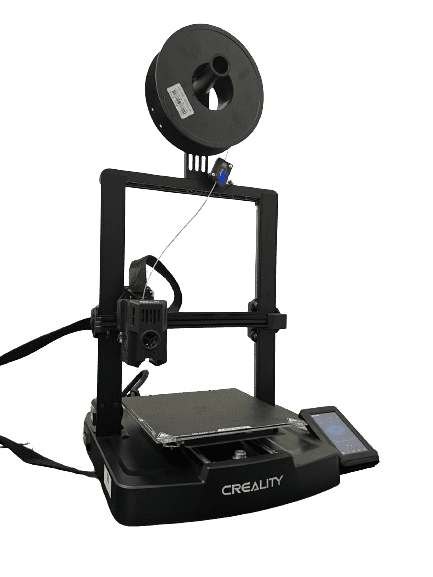
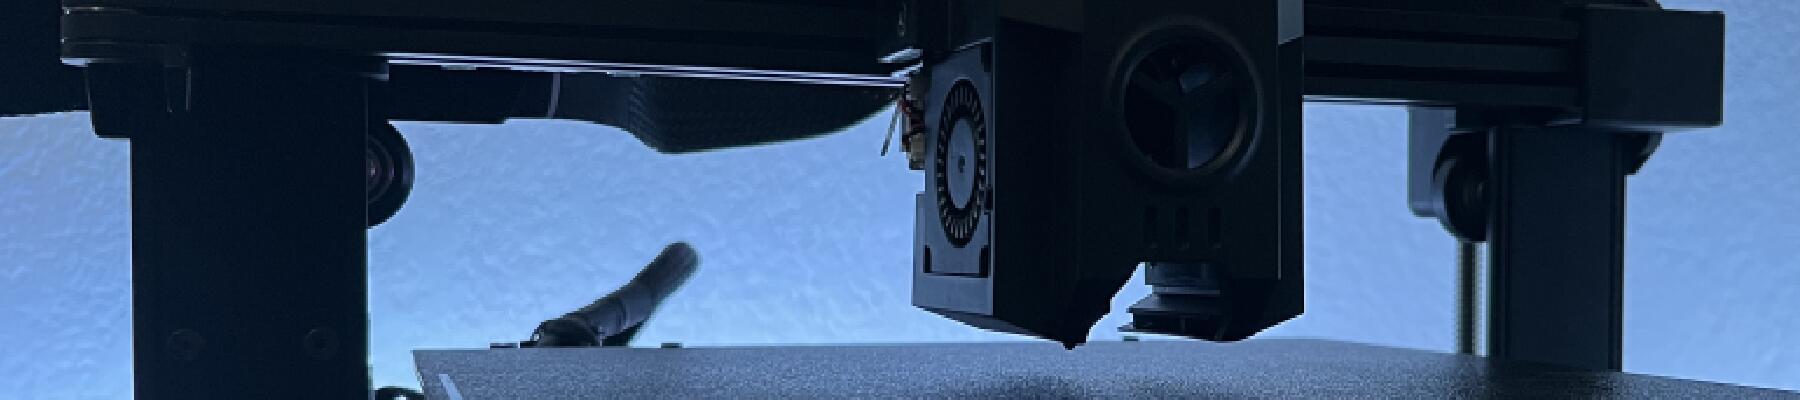
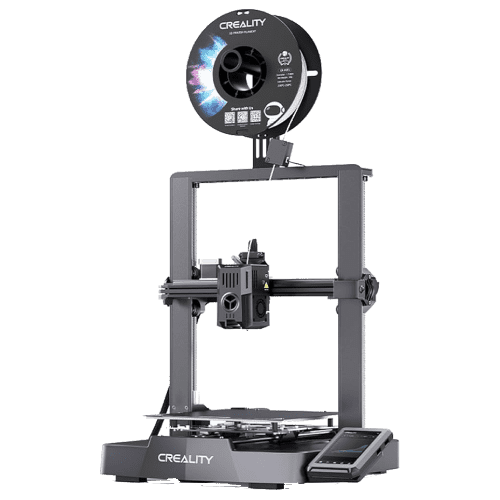
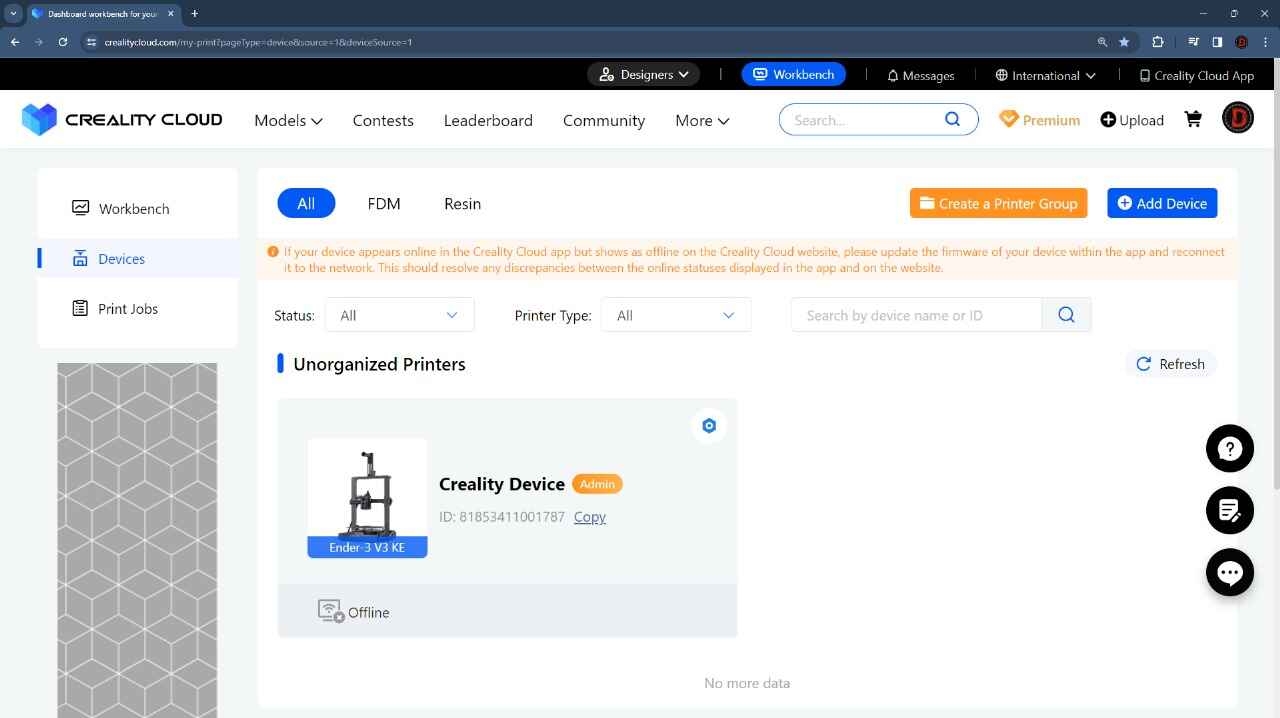
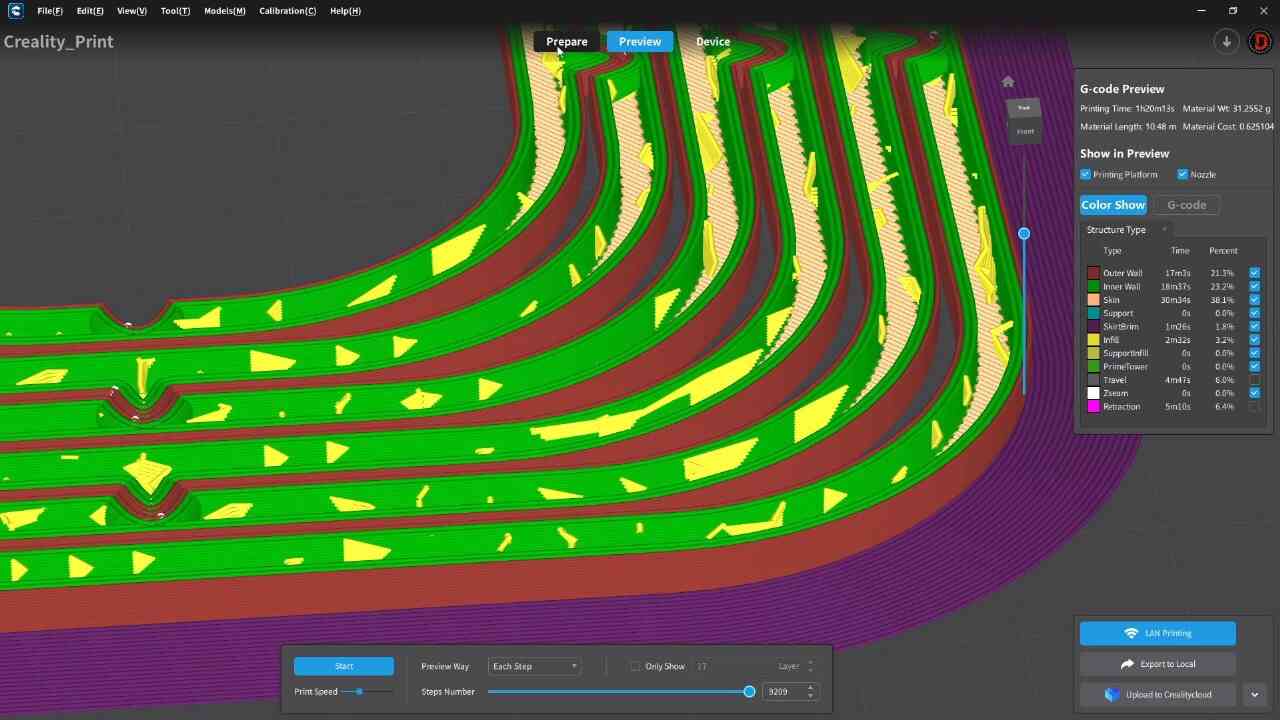
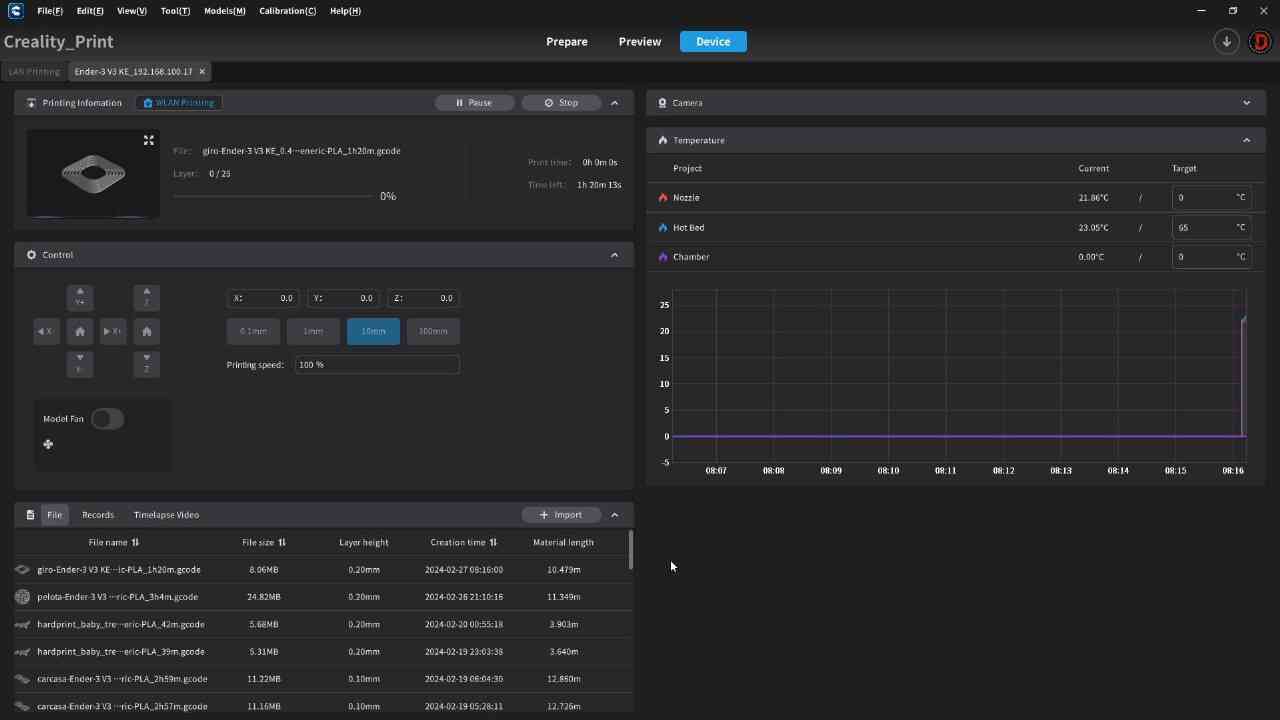
Ender 3 V3 KE
- Printing technology: FDM
- Print volume: 220 x 220 x 240 mm
- Typical print speed: 300 mm/s
- Max. print speed: 500 mm/s
- Print accuracy: ±0.1 mm
- Compatible filaments: PLA, PETG, ABS, TPU(95A), ASA
- Internet connection
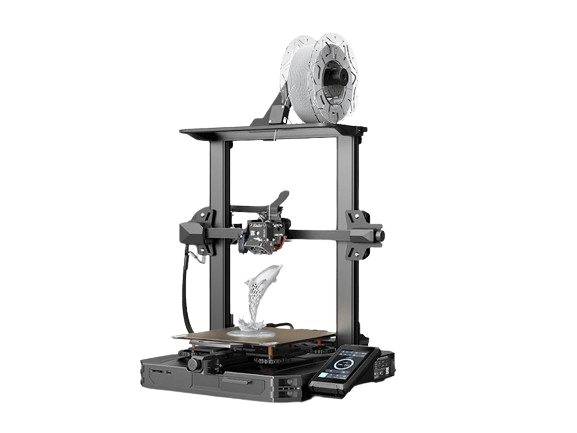
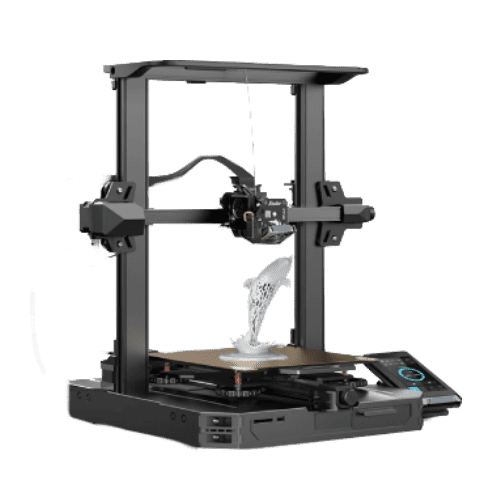
Ender 3 S1 PRO
- Printing technology: FDM
- Print volume: 220 x 220 x 270 mm
- Print speed: ≤ 150 mm/s
- Bed temperature: ≤ 110 °C
- Nozzle temperature: ≤ 260 °C
- Printing materials: PLA, ABS, PVA, wood, TPU, PETG, and PA
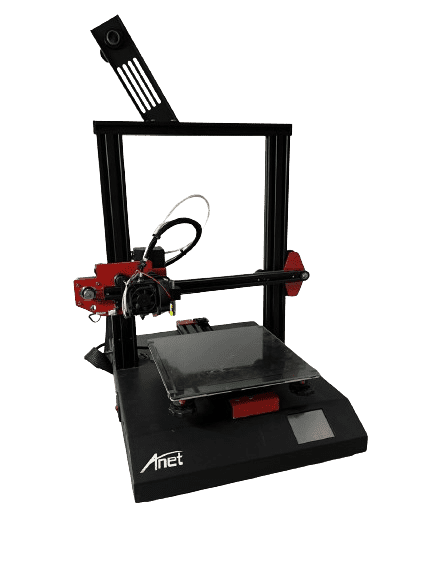
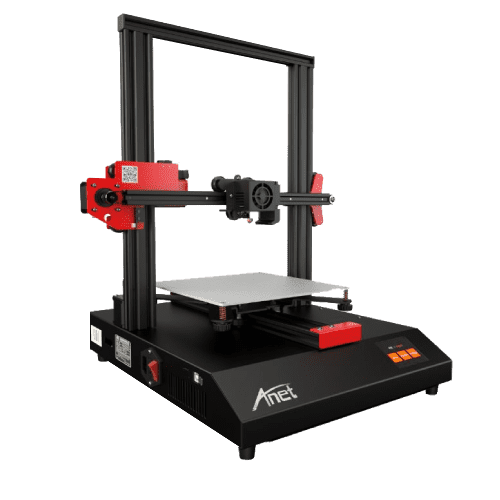
Anet ET4
- Printing technology: FDM
- Print volume:220 x 220 x 250 mm
- Print speed: ≤ 150 mm/s
- Bed temperature: ≤ 100 °C
- Nozzle temperature: ≤ 250 °C
- Printing materials: PLA, ABS, Wood PLA, Rubber-like (TPU), PETG
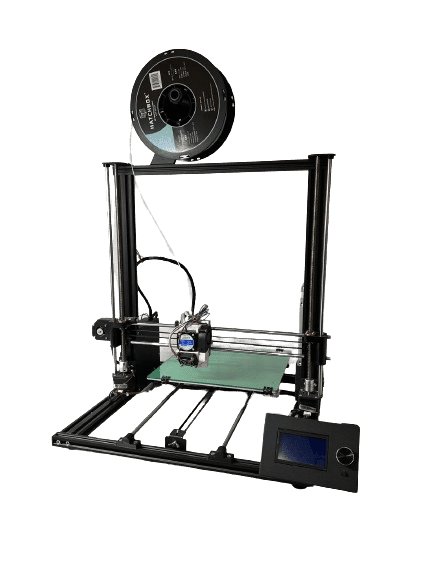
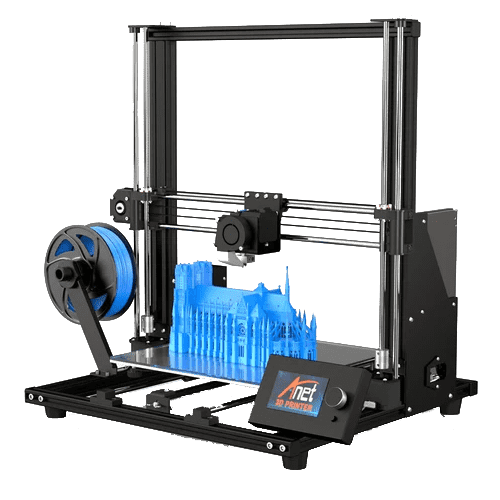
Anet A8 plus
- Printing technology: FDM
- Print volume: 300 x 300 x 350 mm
- Print speed: ≤ 120 mm/s
- Bed temperature: ≤ 110 °C
- Nozzle temperature: ≤ 250 °C
- Printing materials: PLA, ABS, PVA, wood, TPU, PETG, and PA
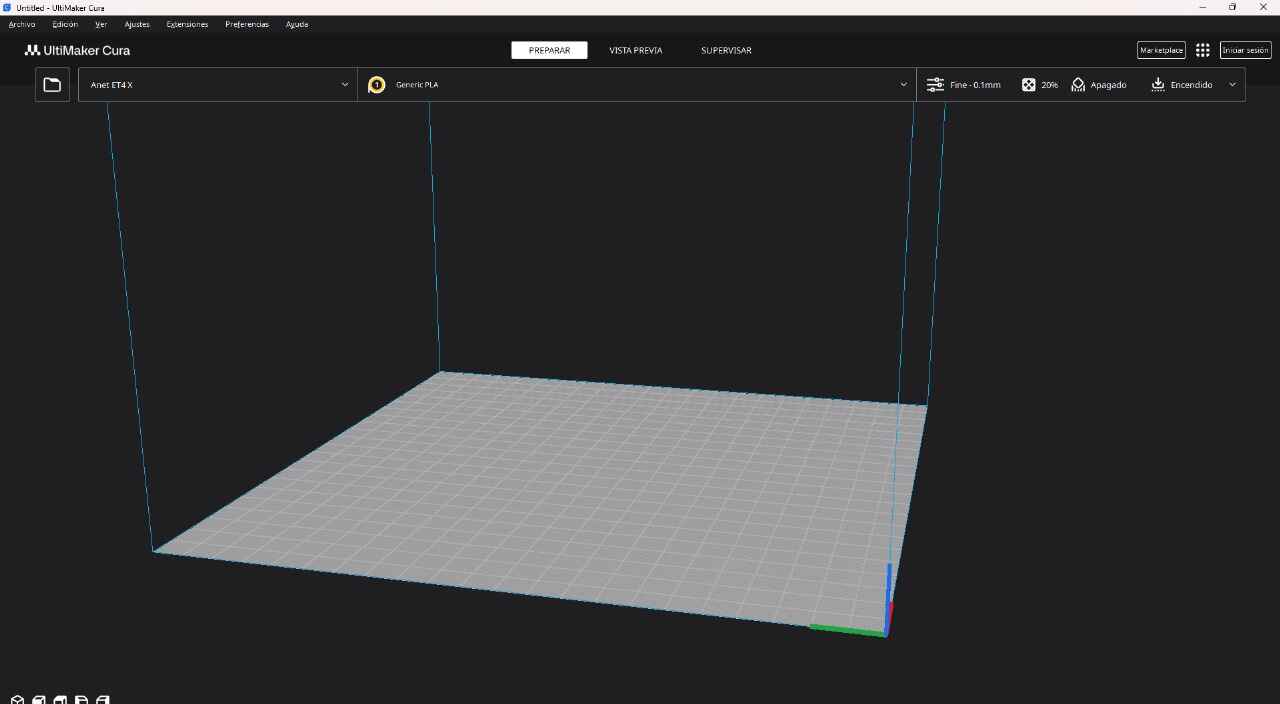
PROGRAMS


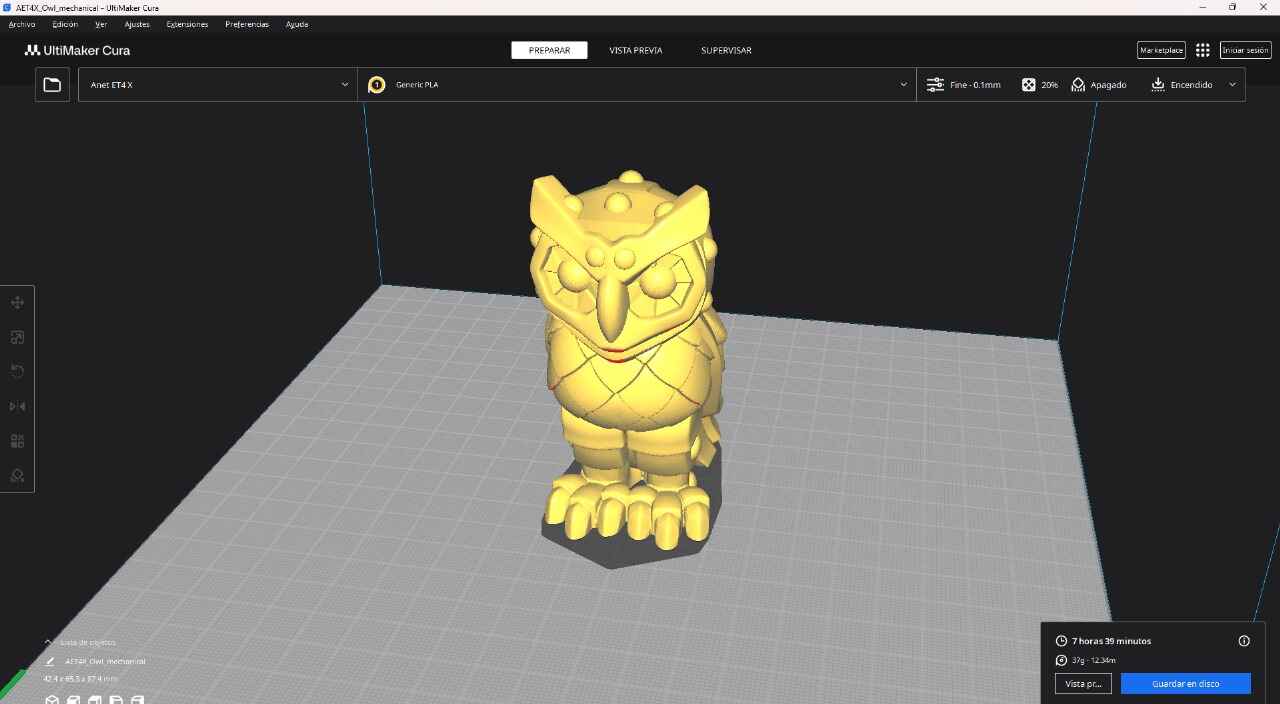
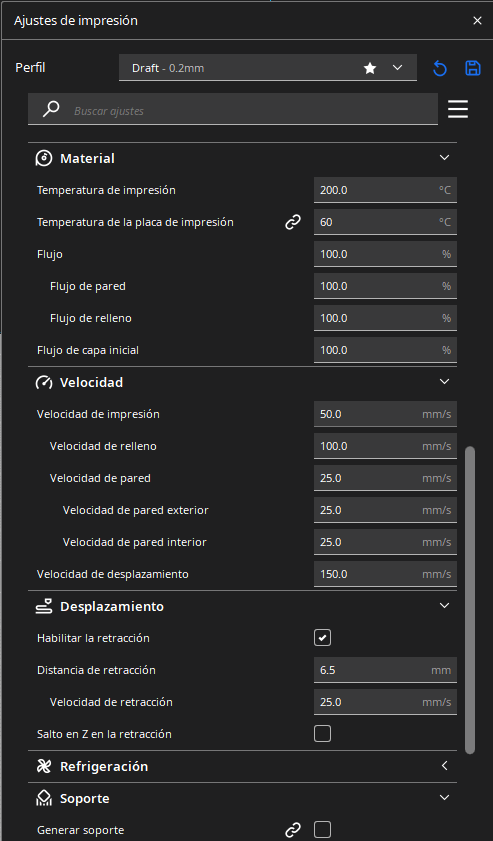


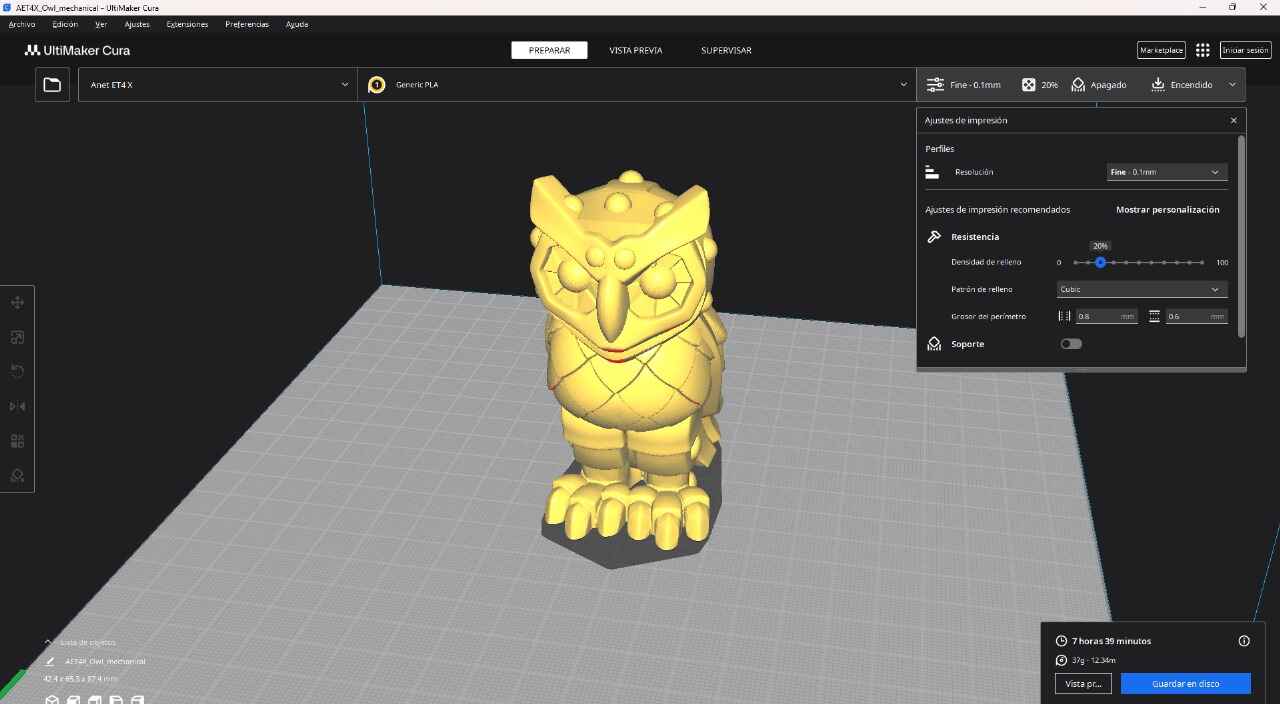
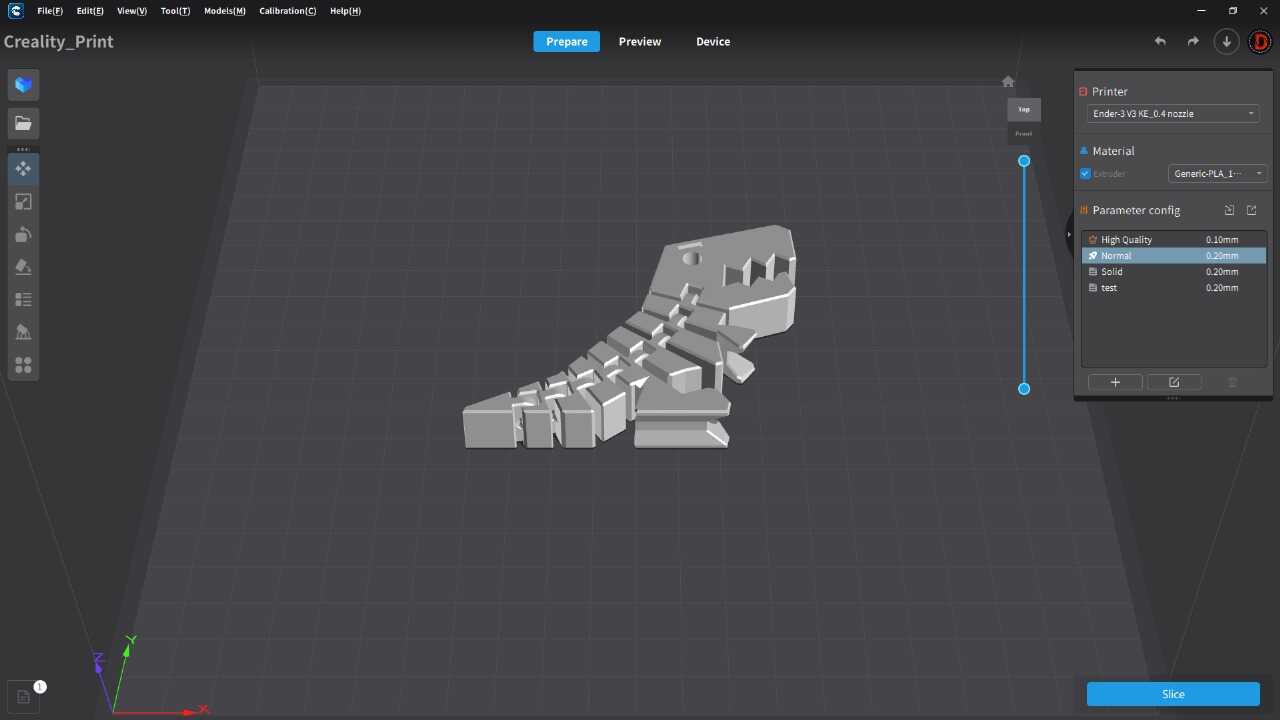


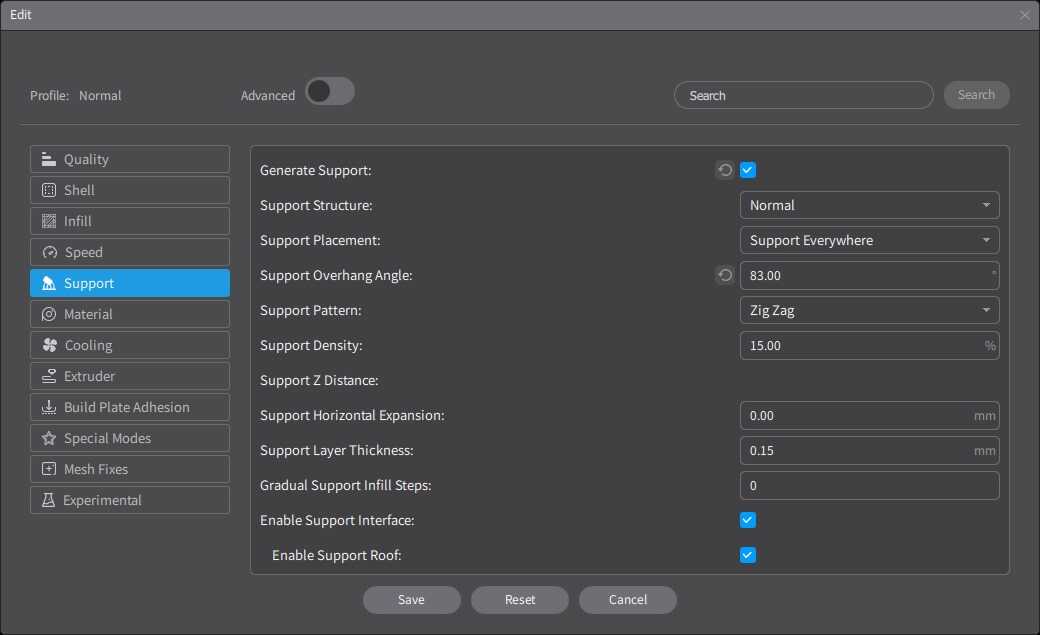

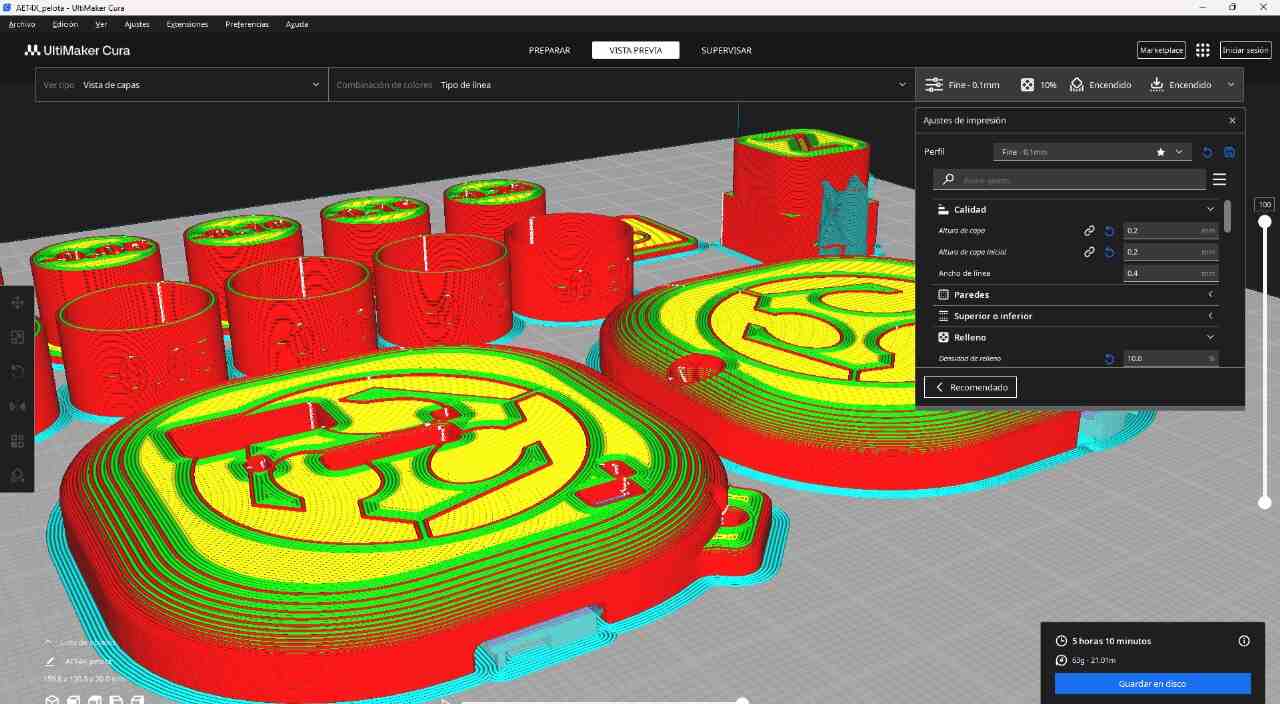
IMPRESSIONS
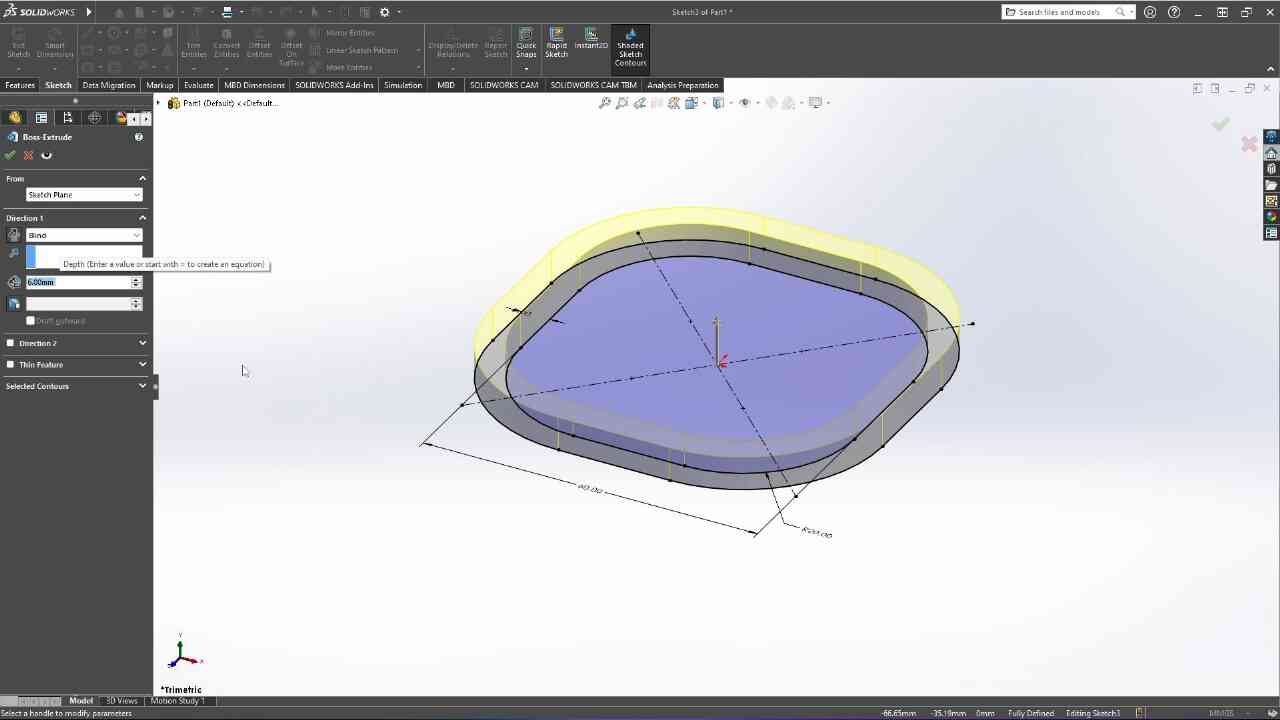
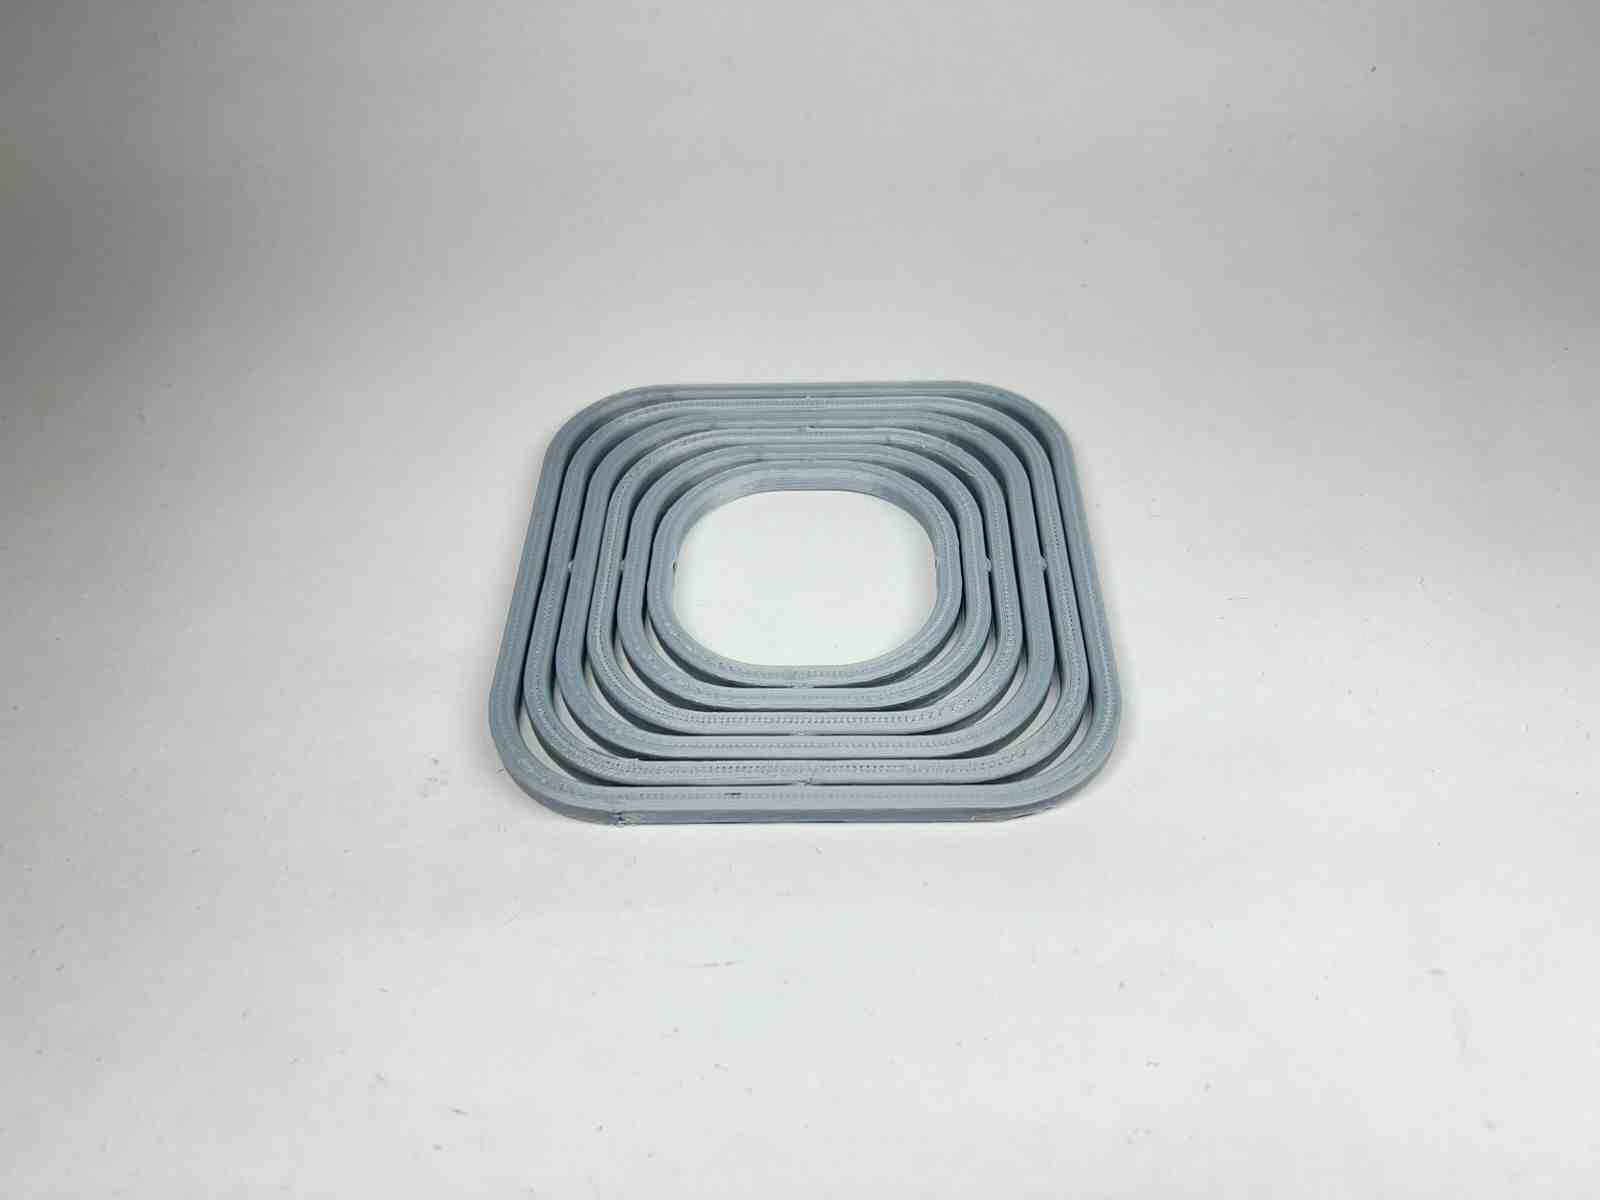
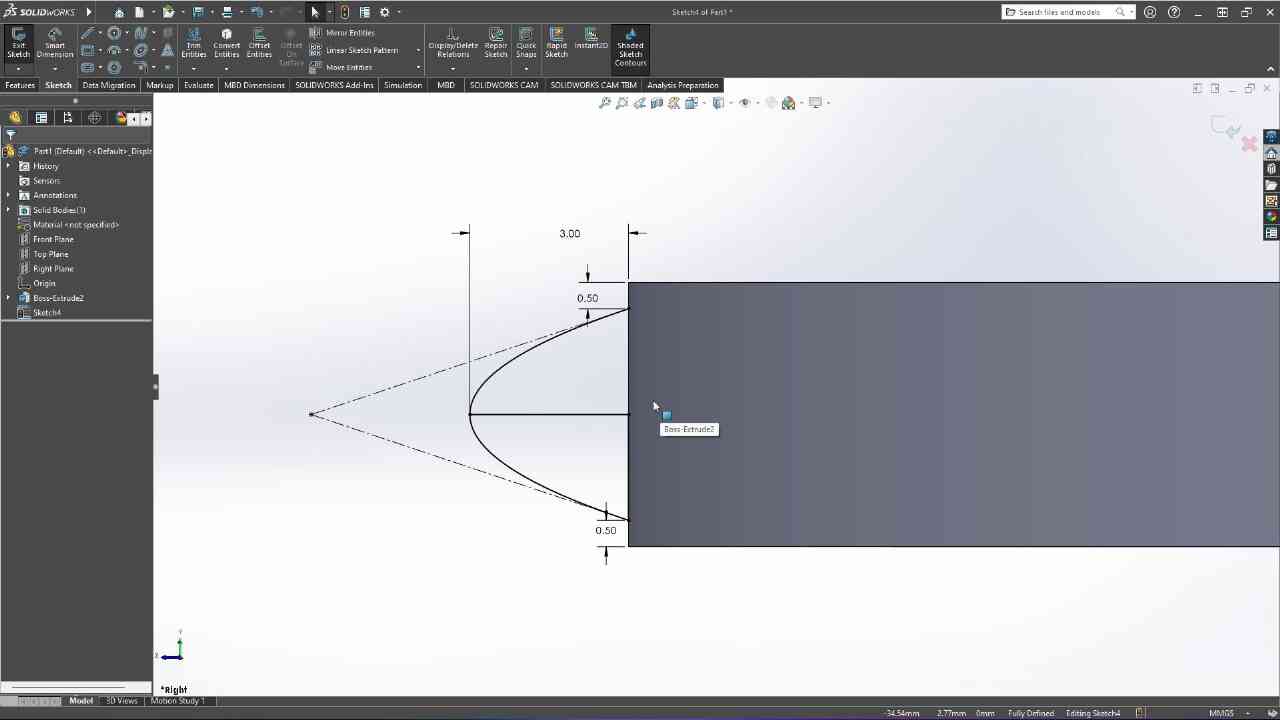
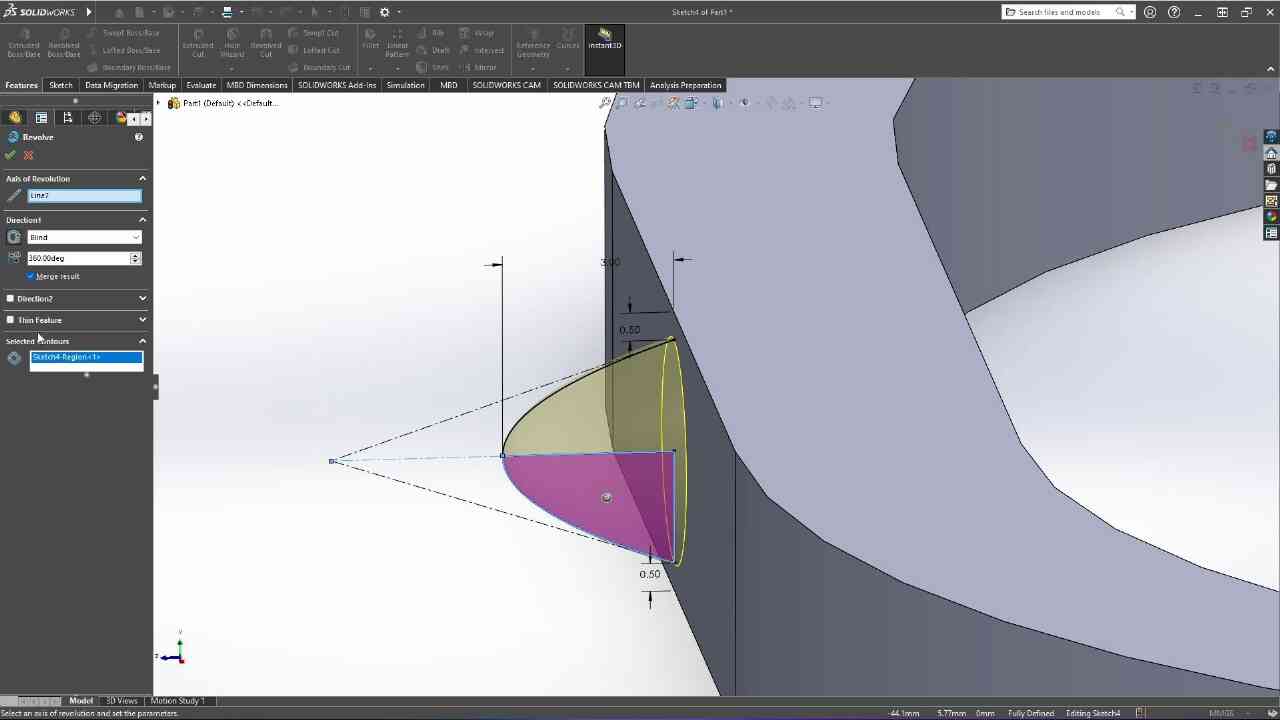
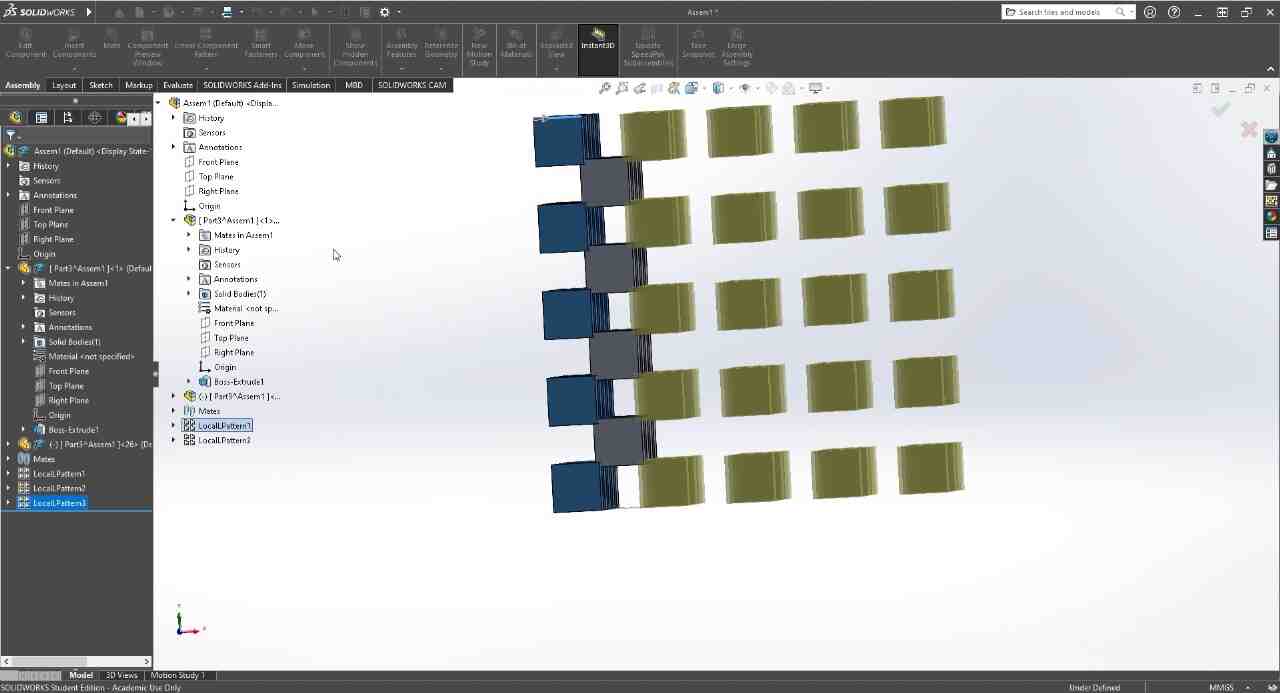
Designed by my
Designed by my
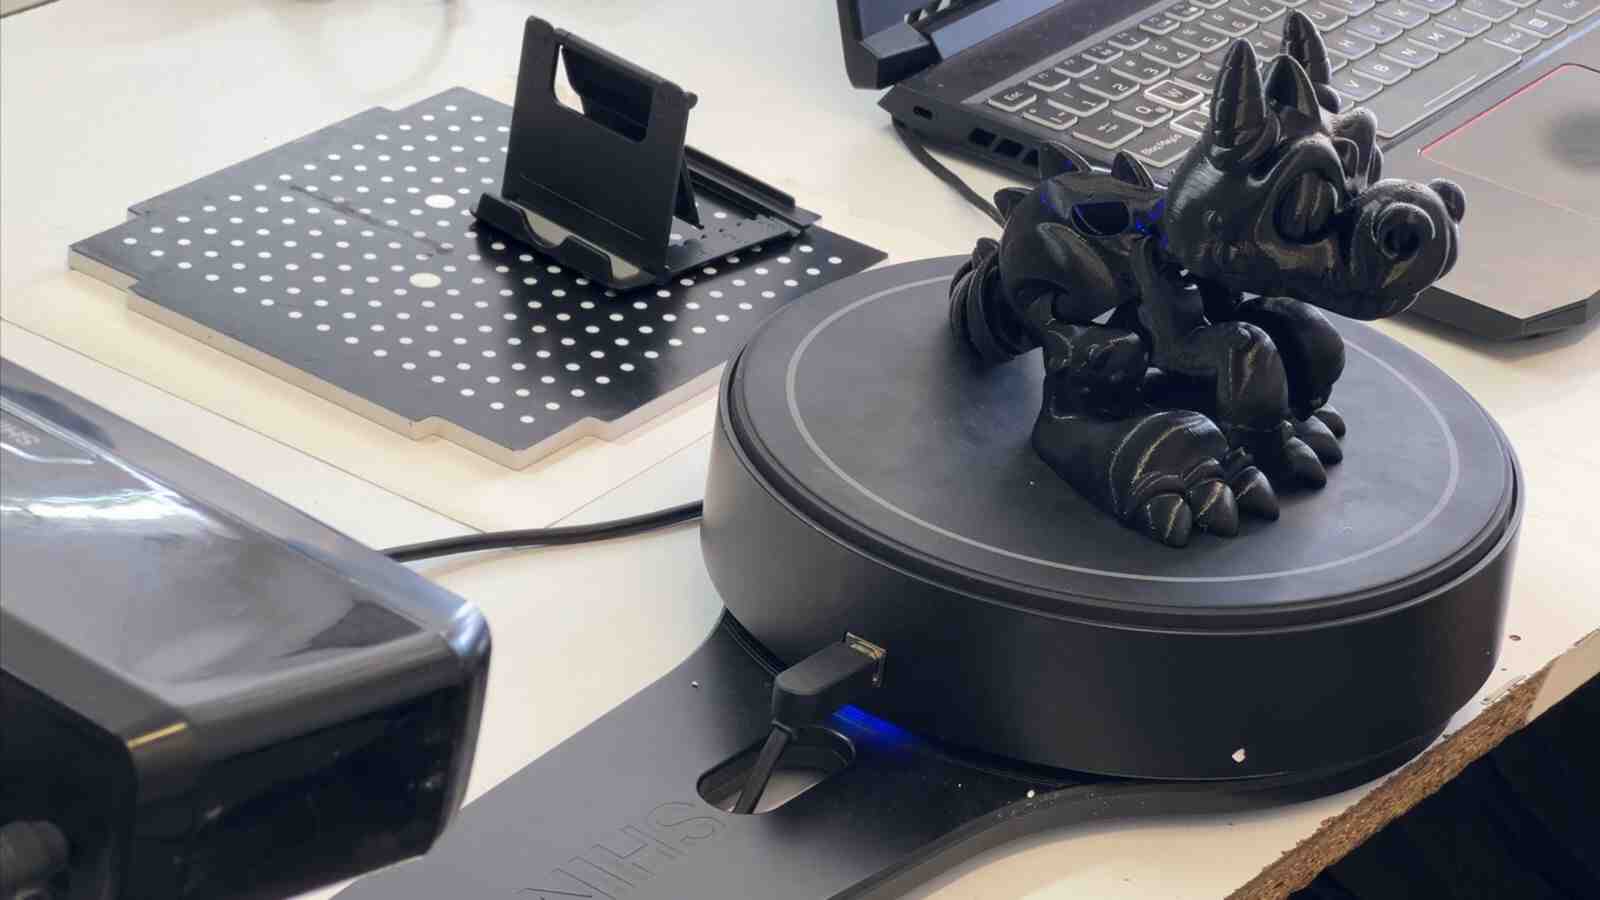
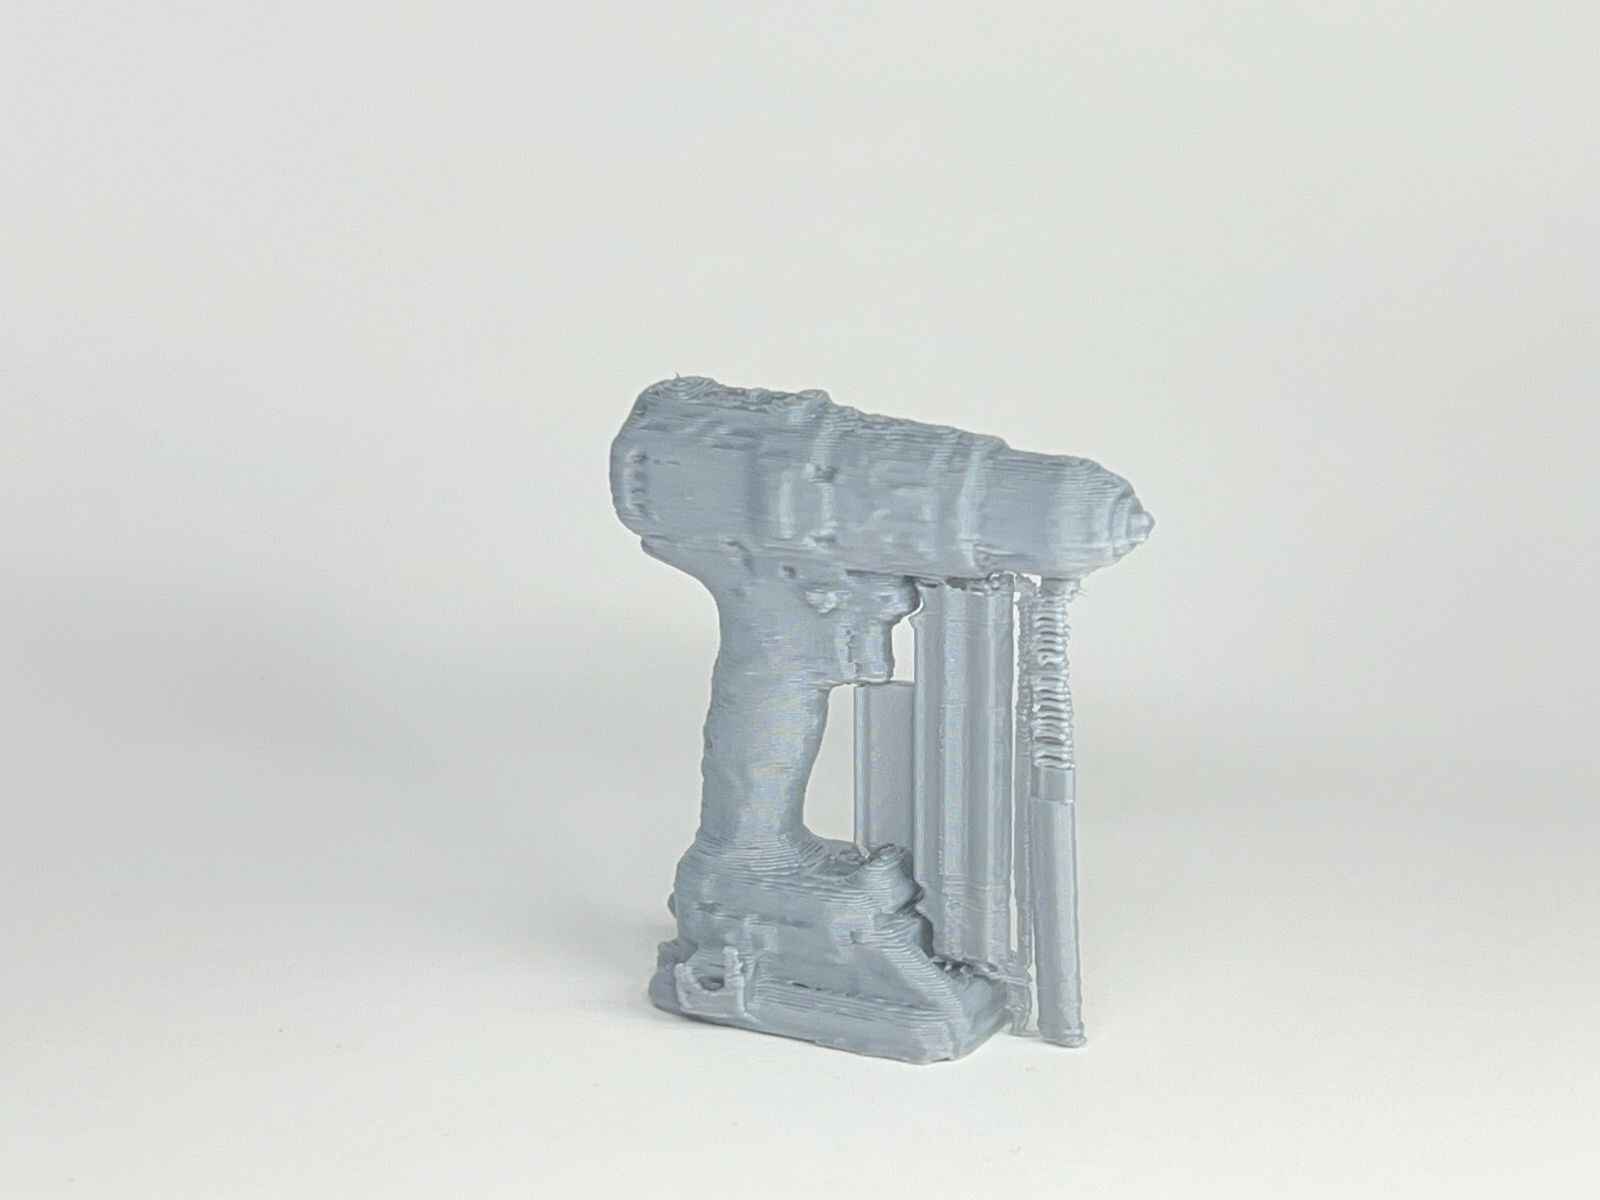
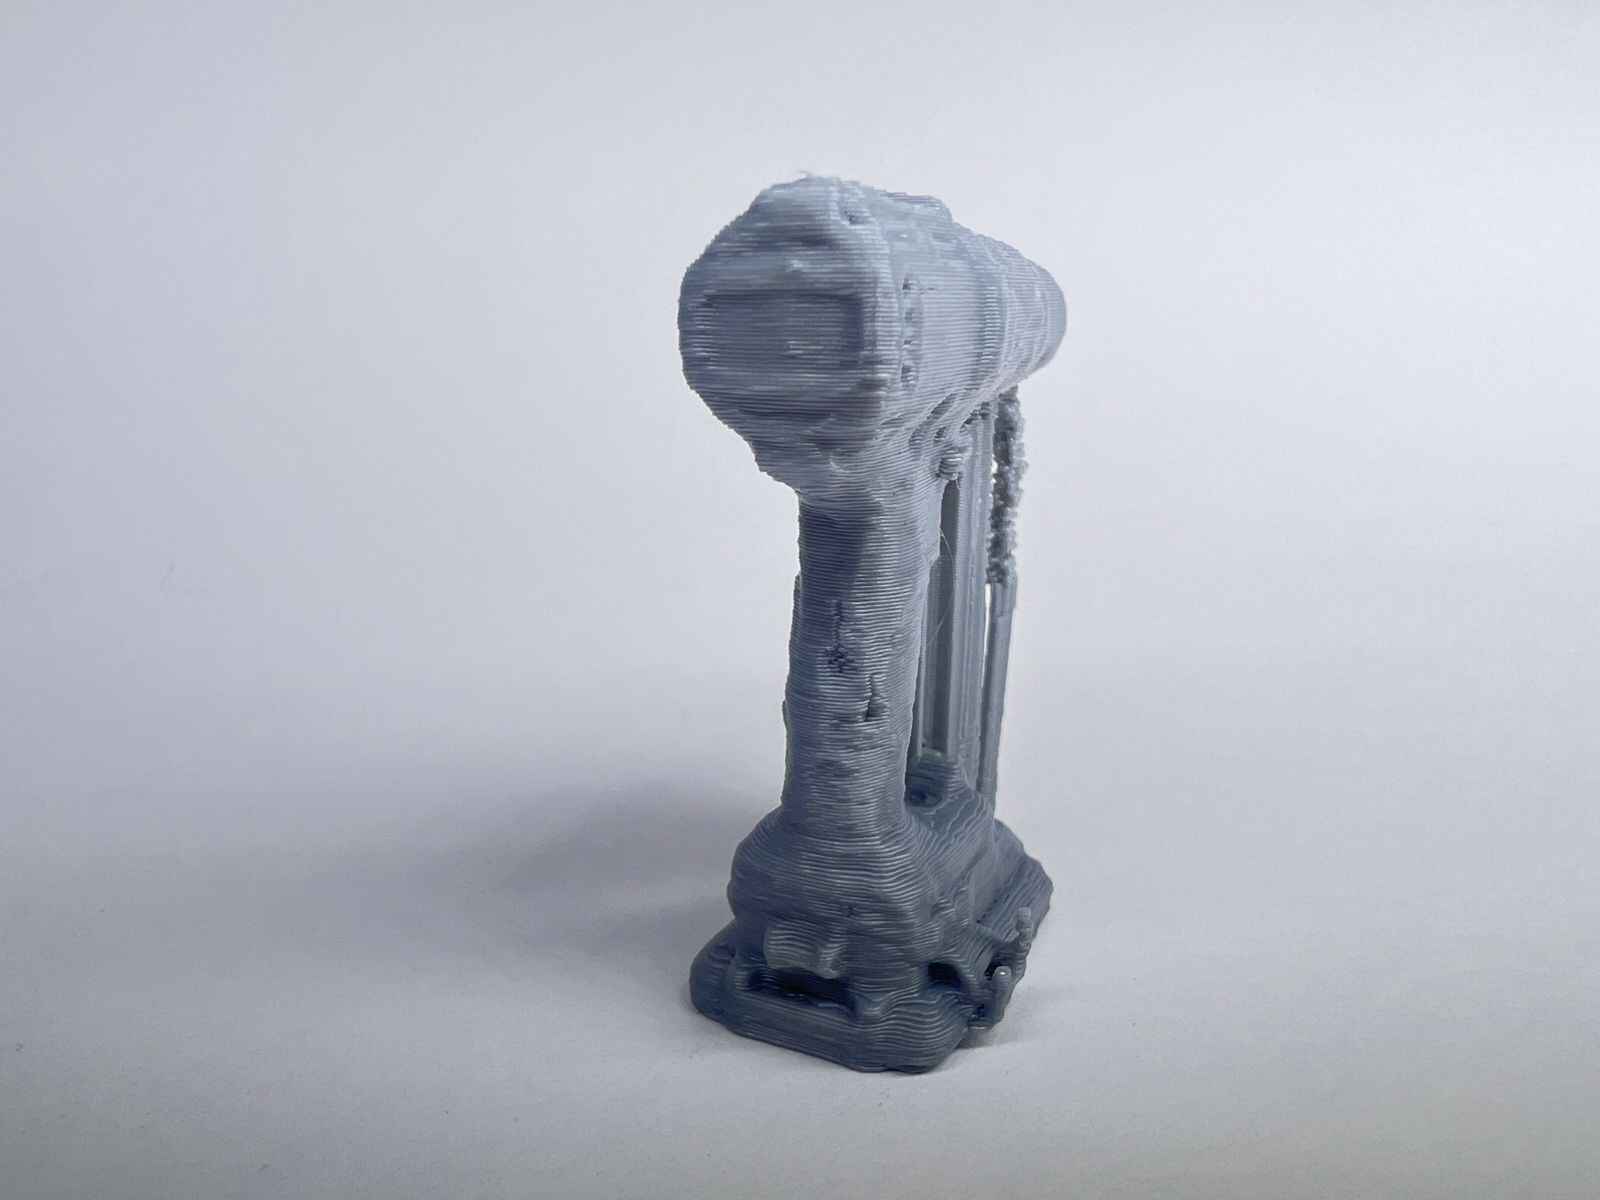
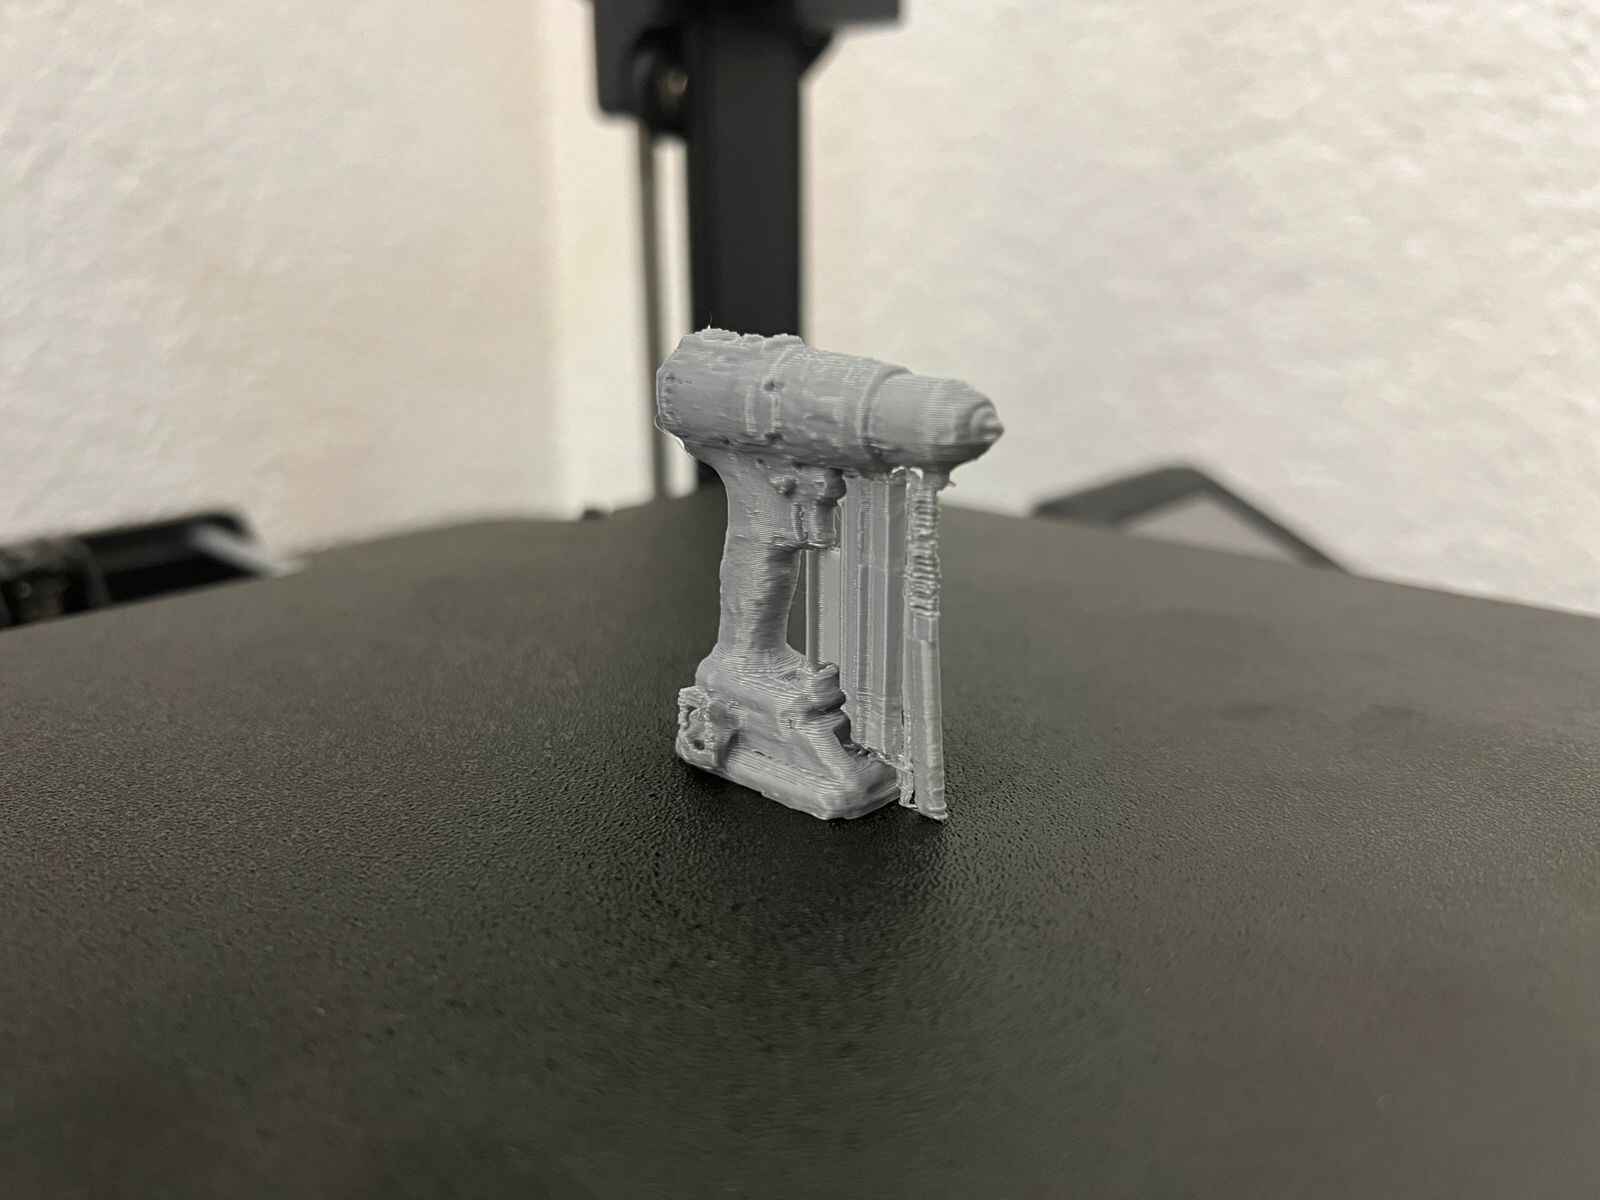
Scanning by my
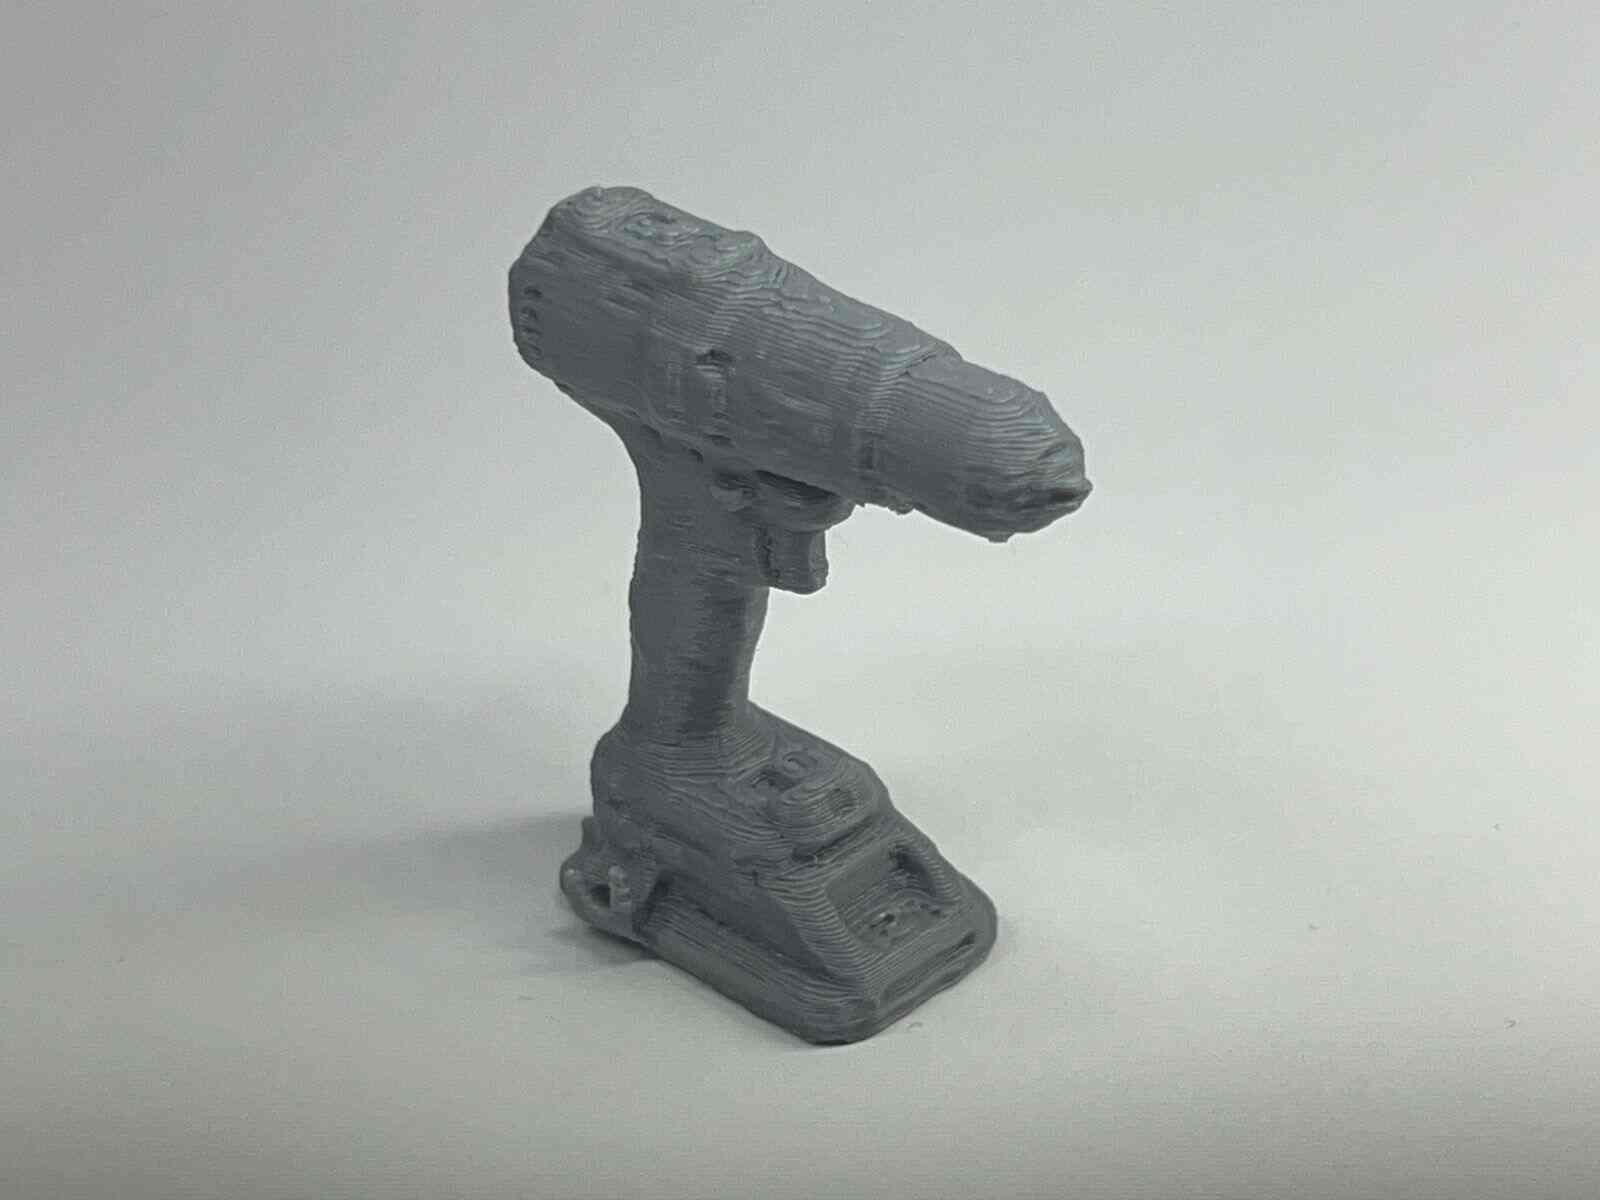


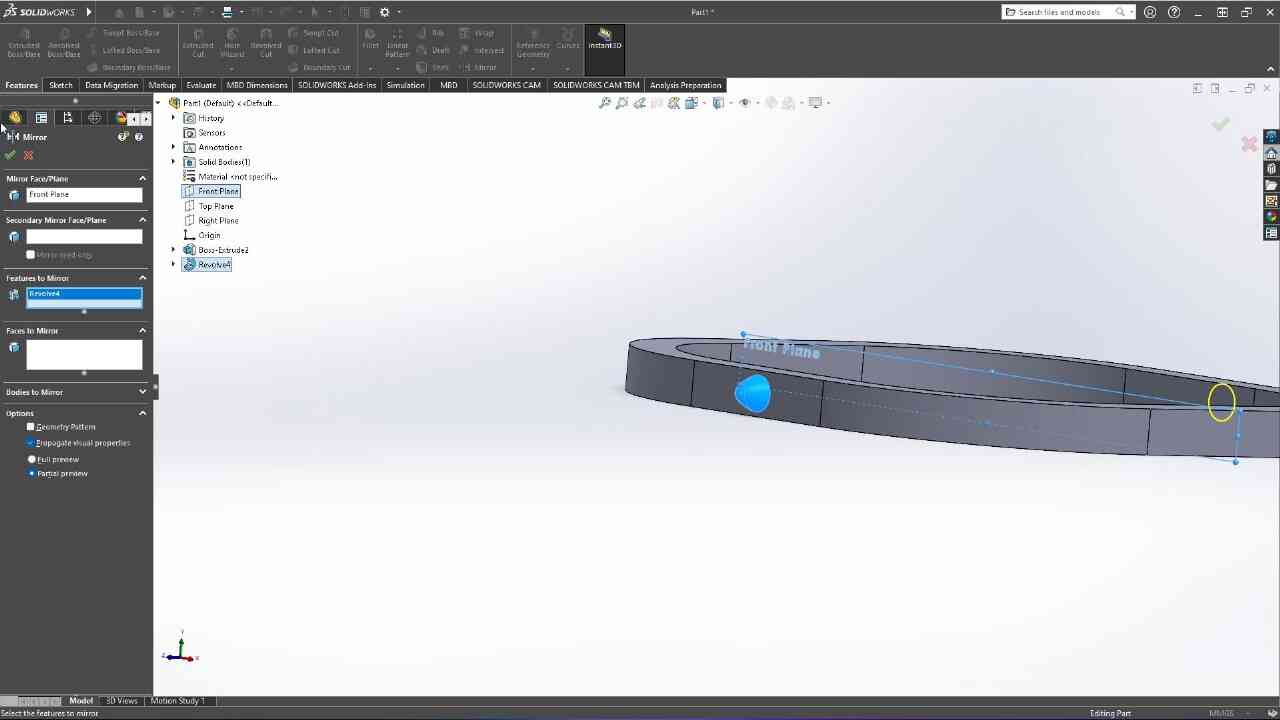


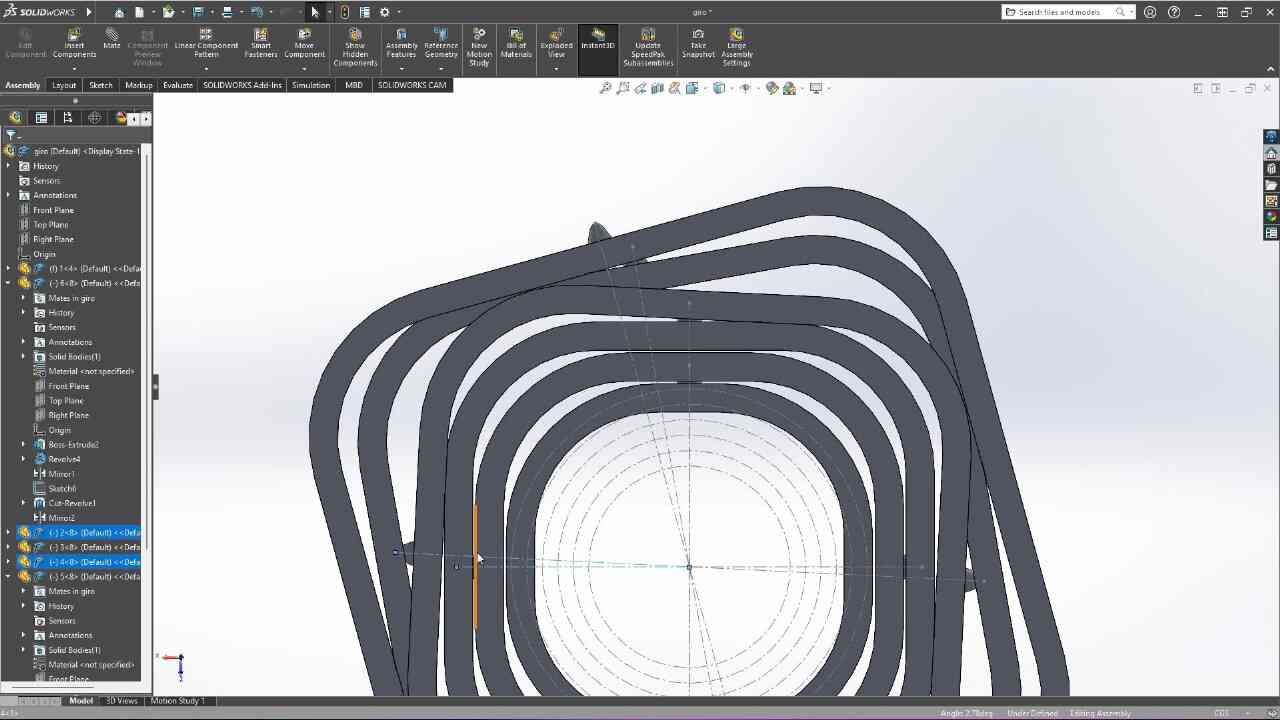


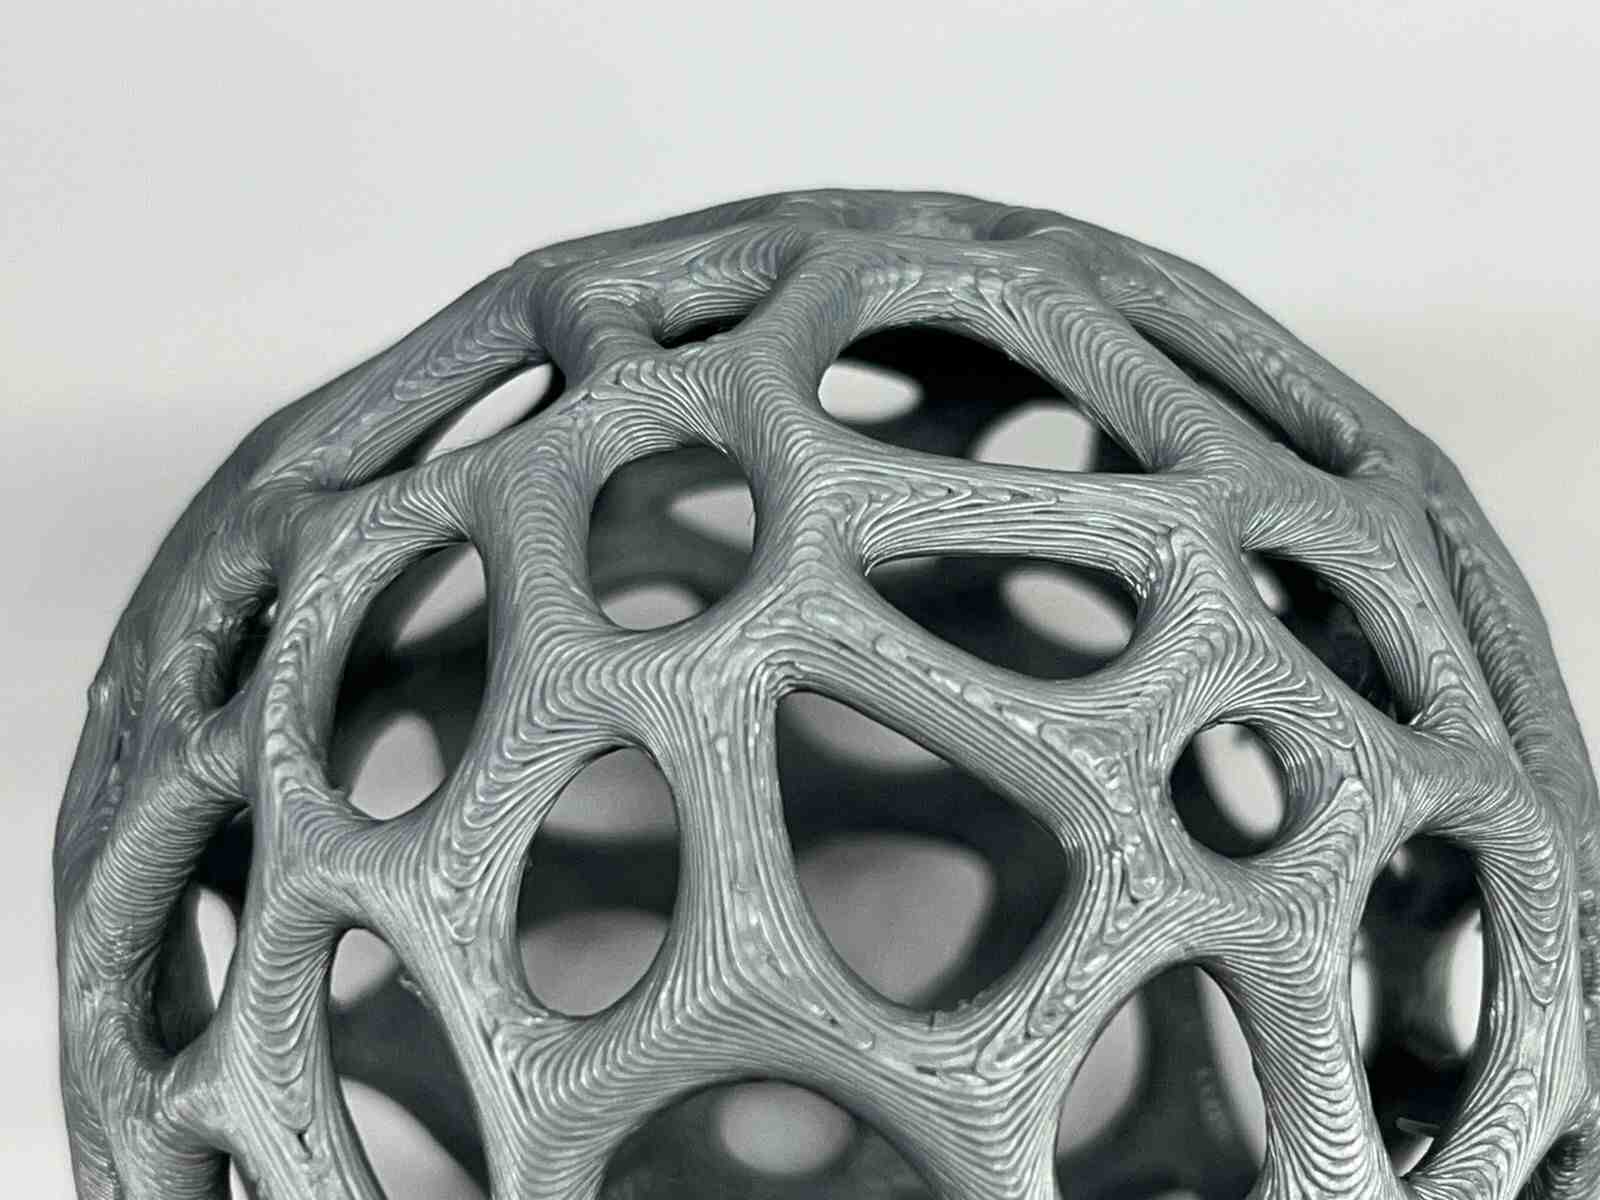
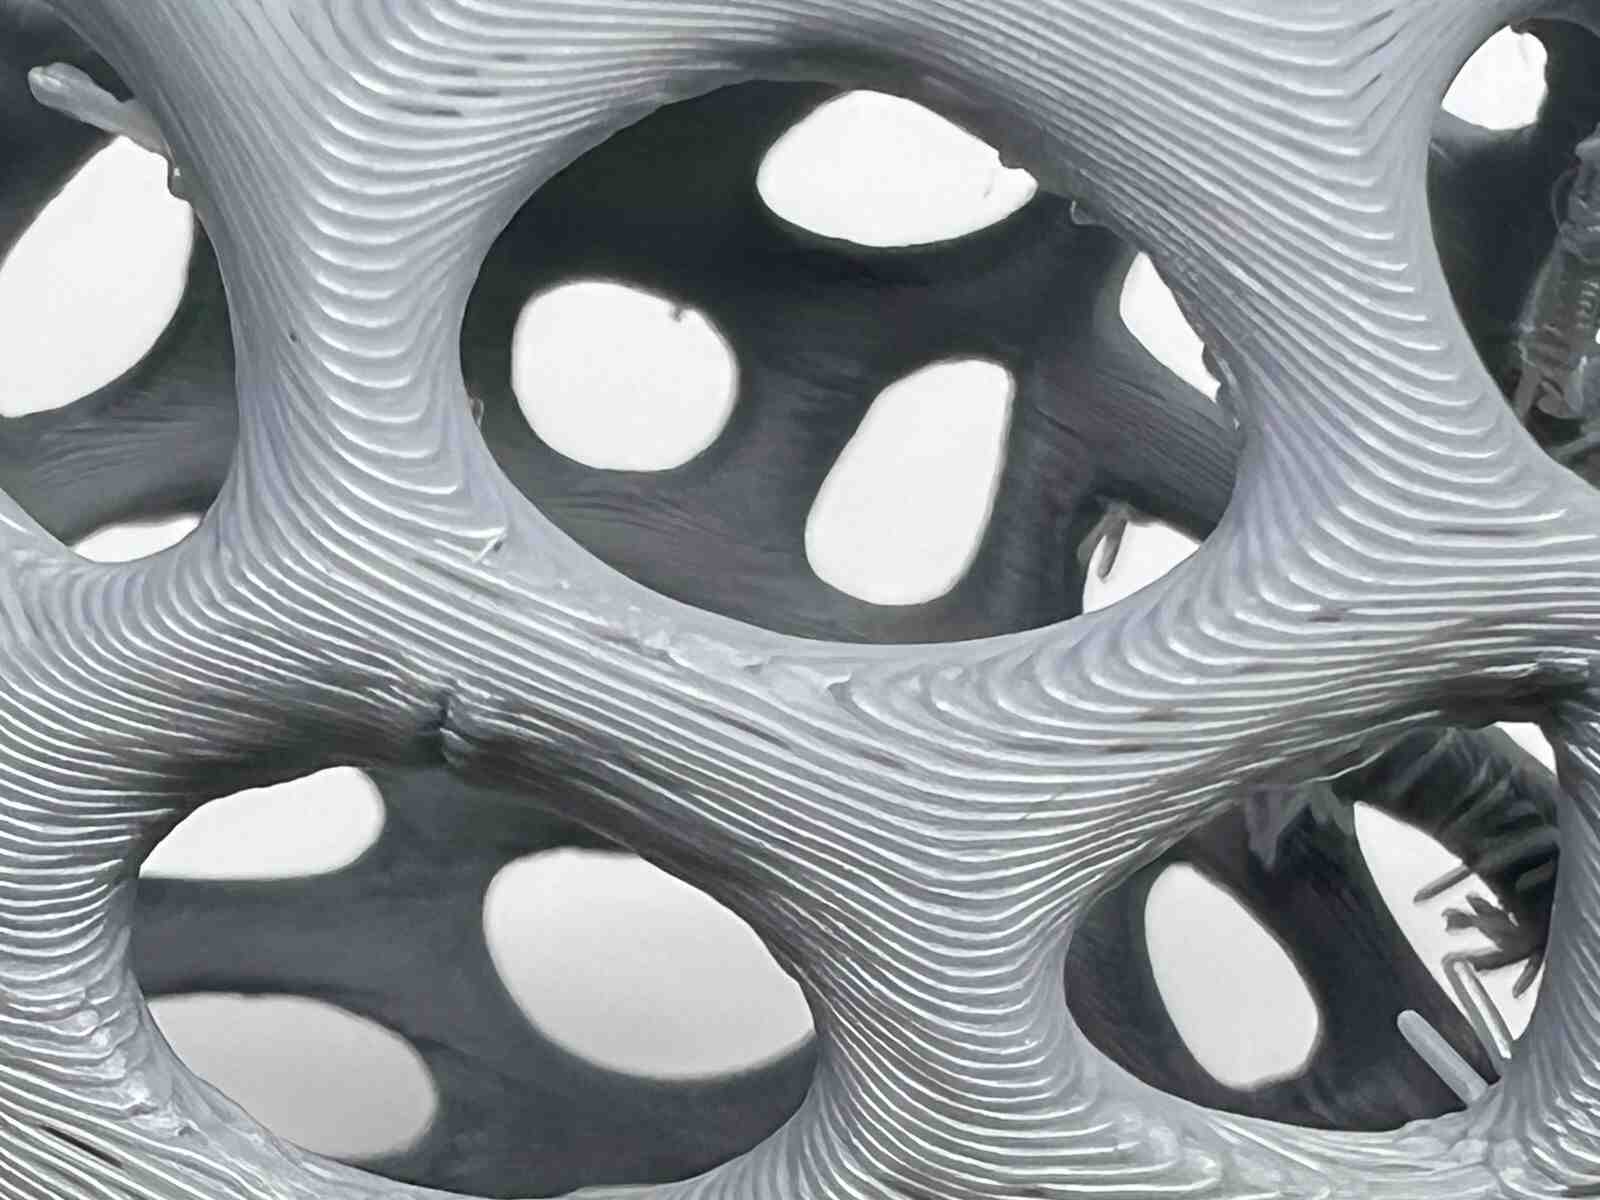

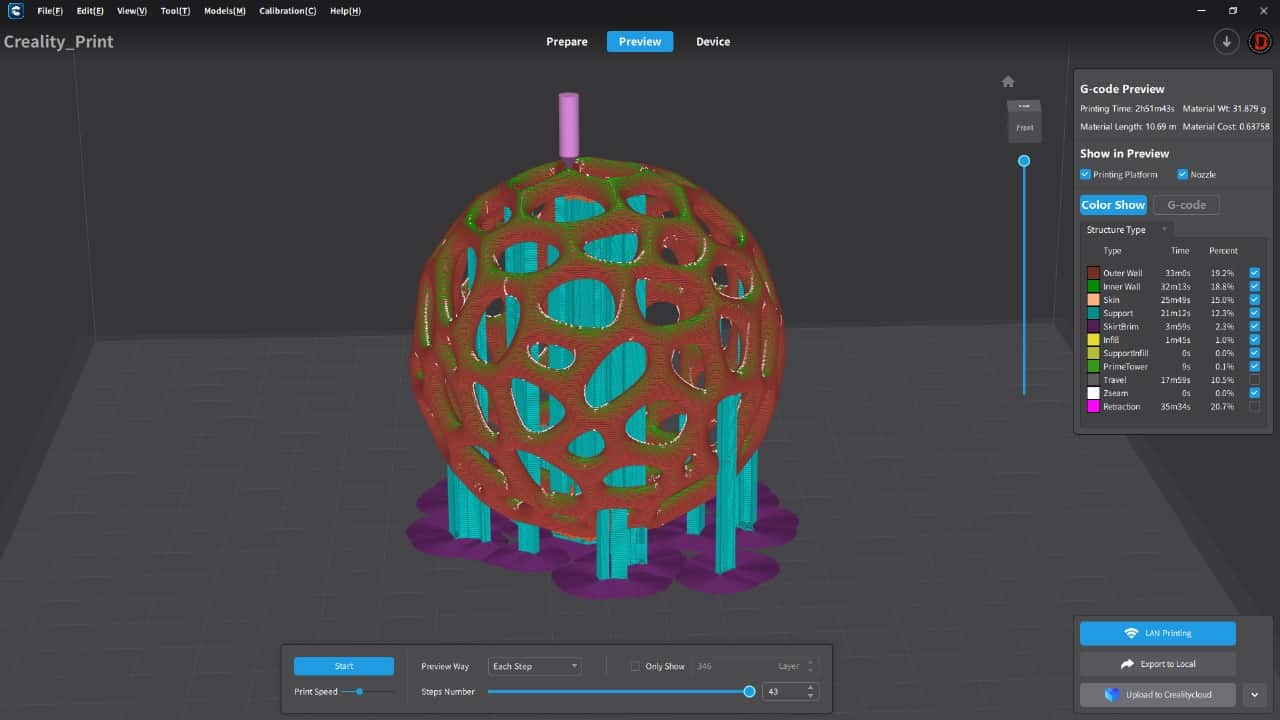
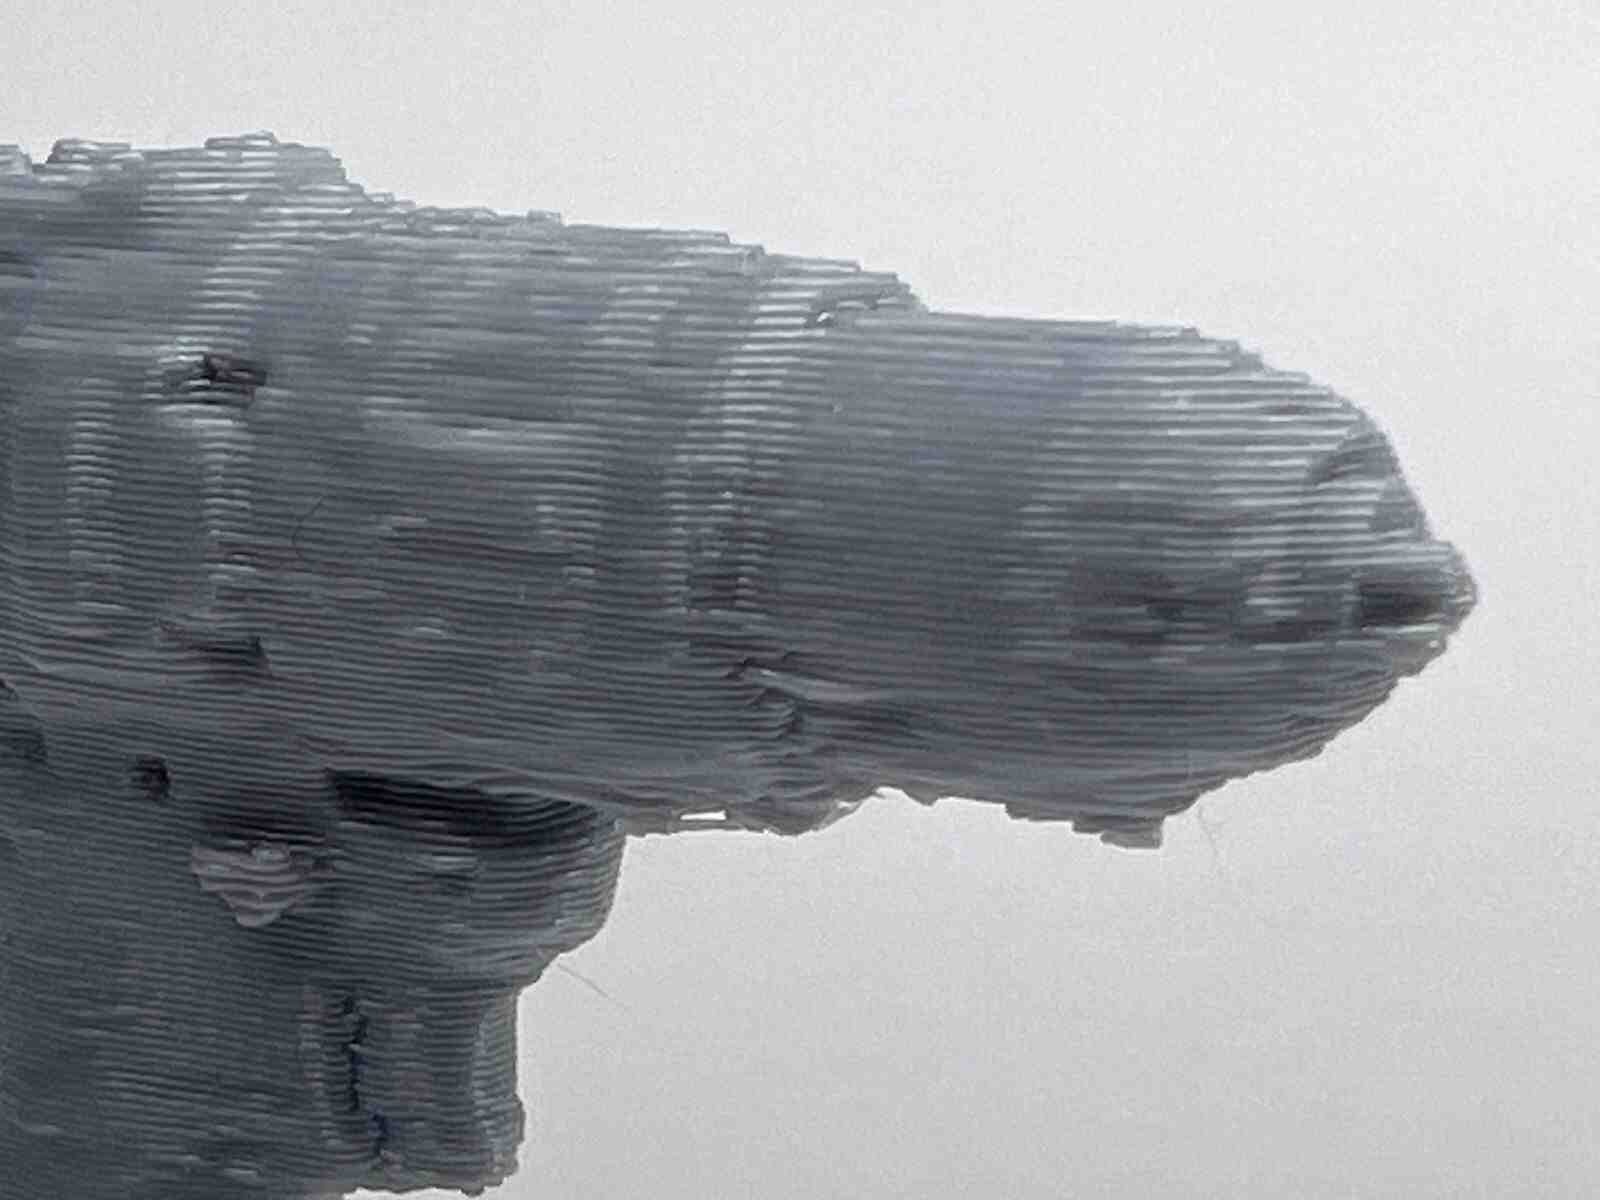
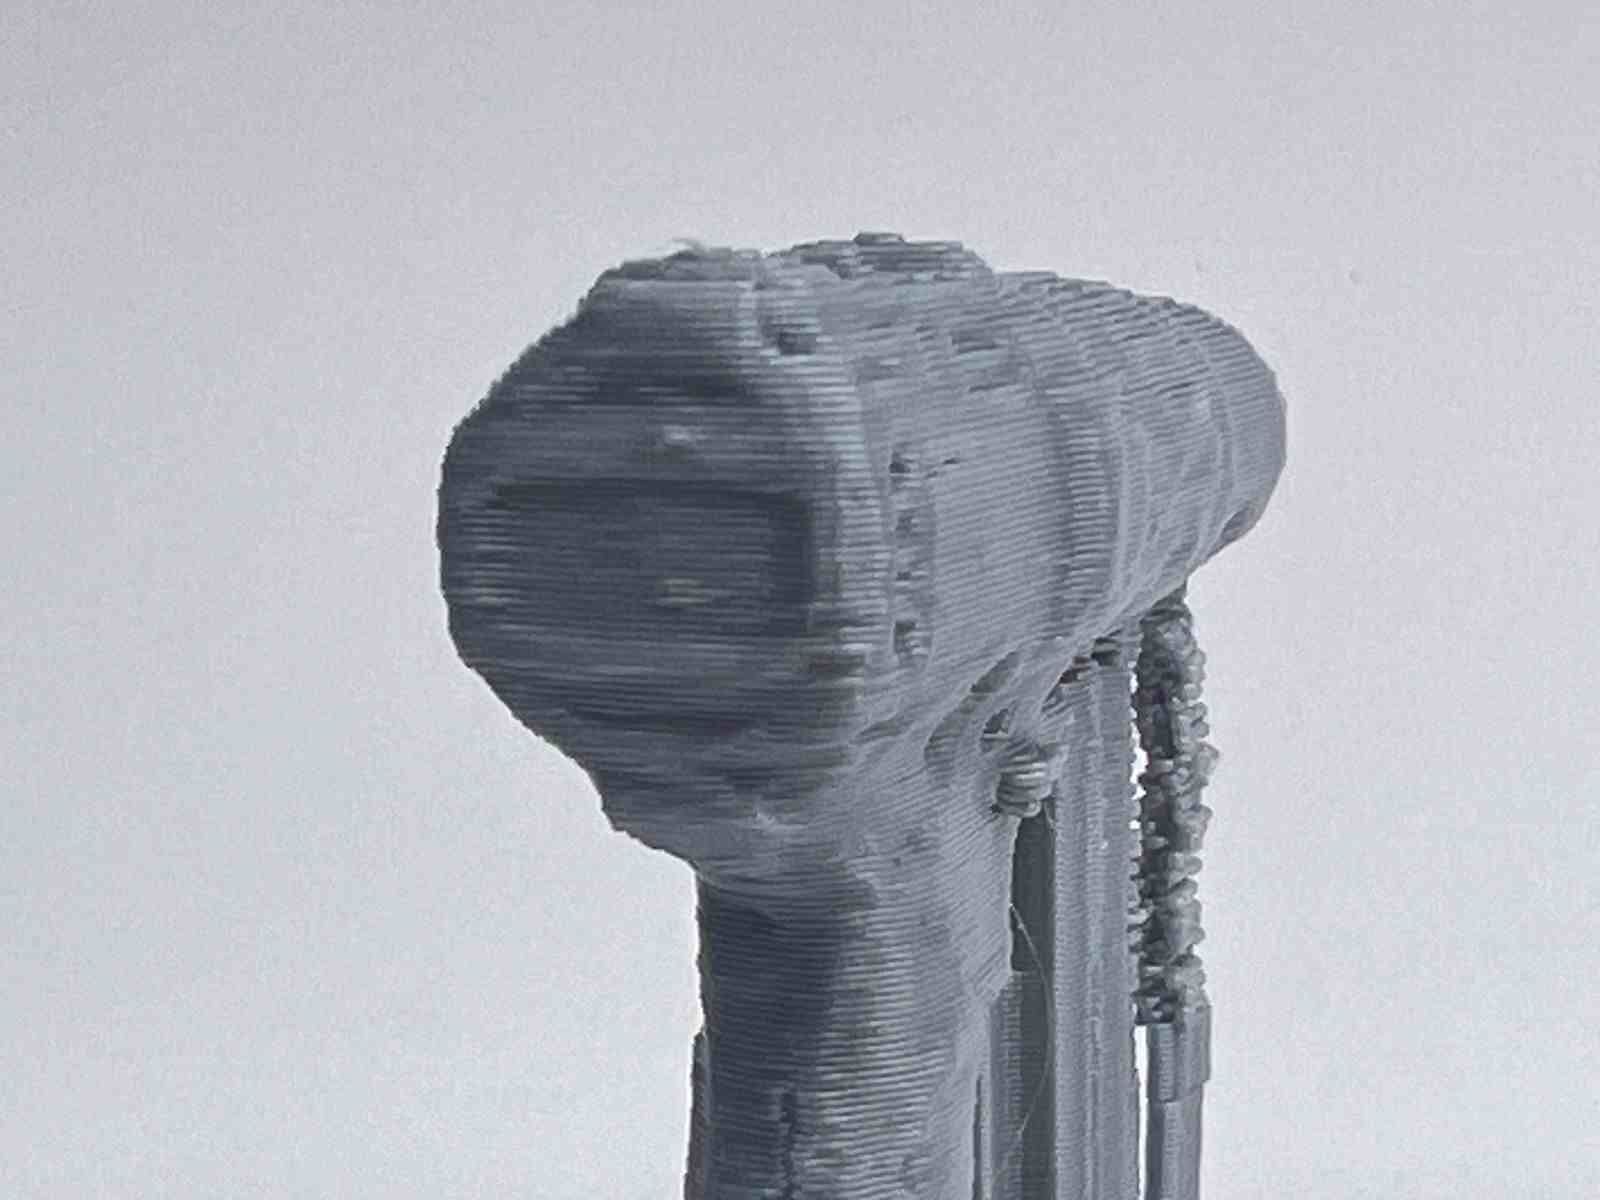
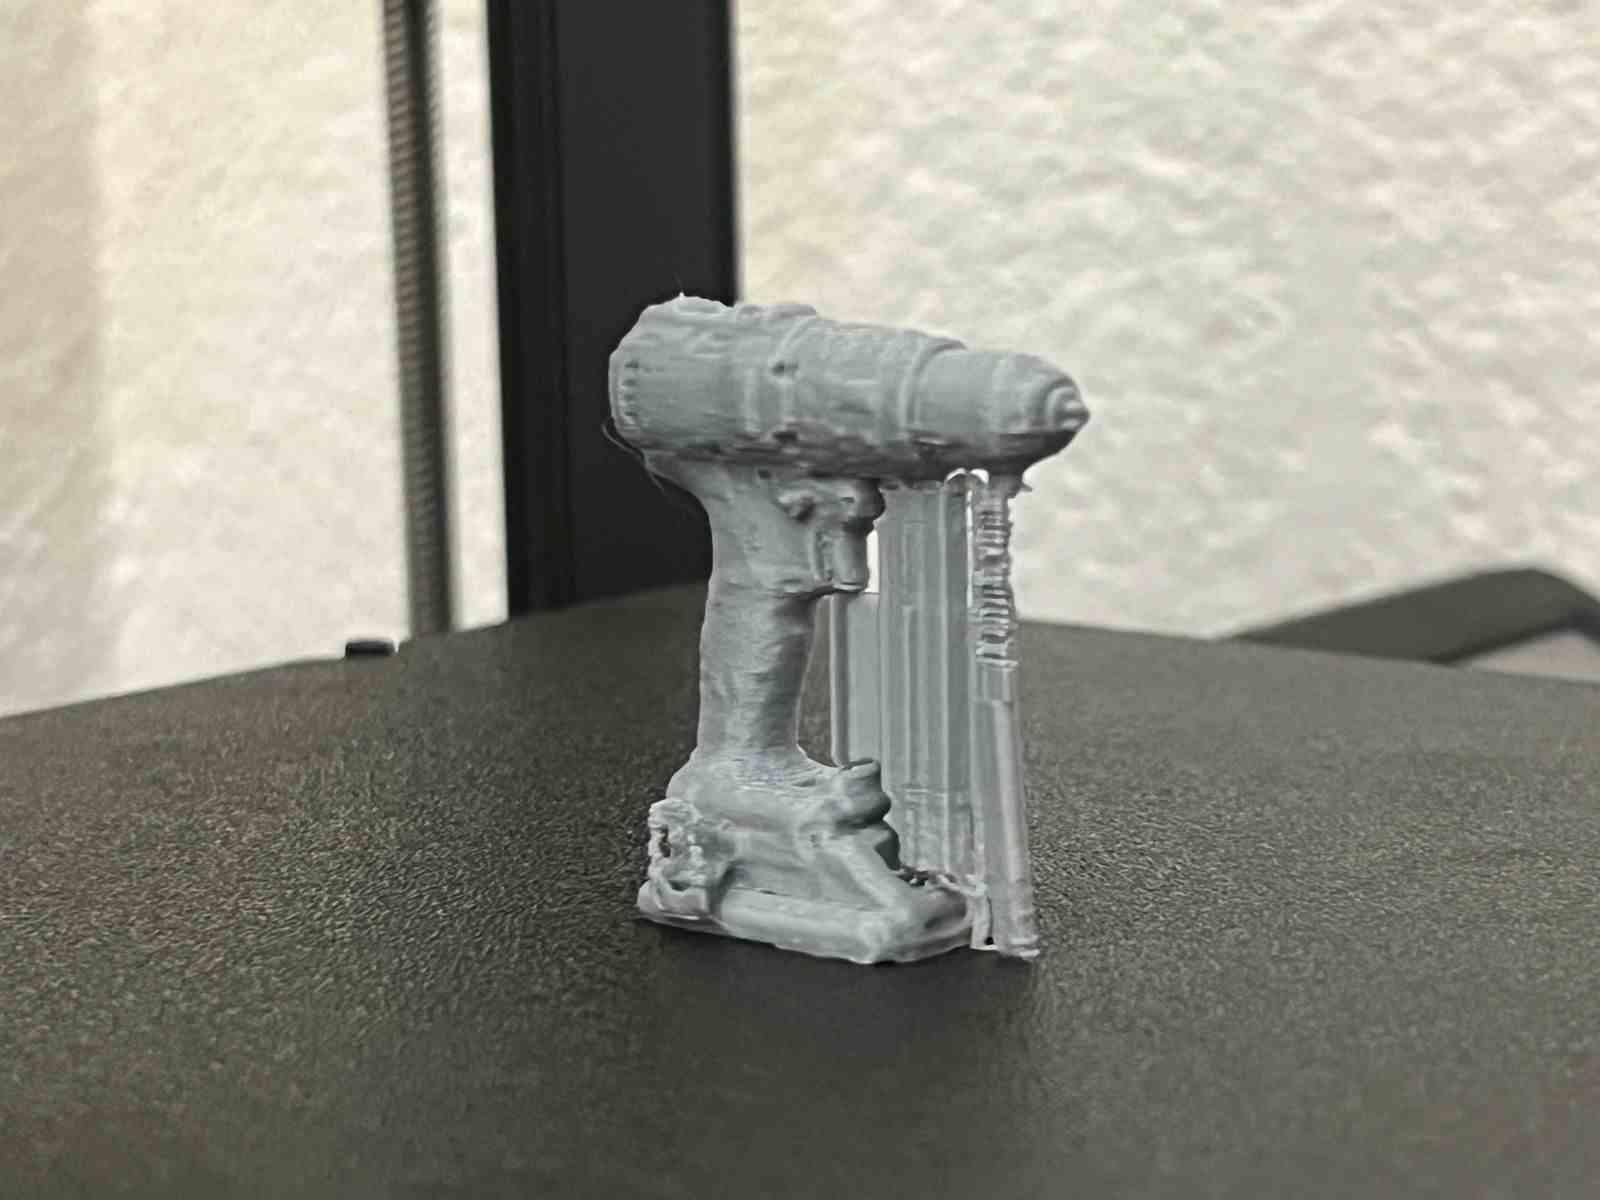
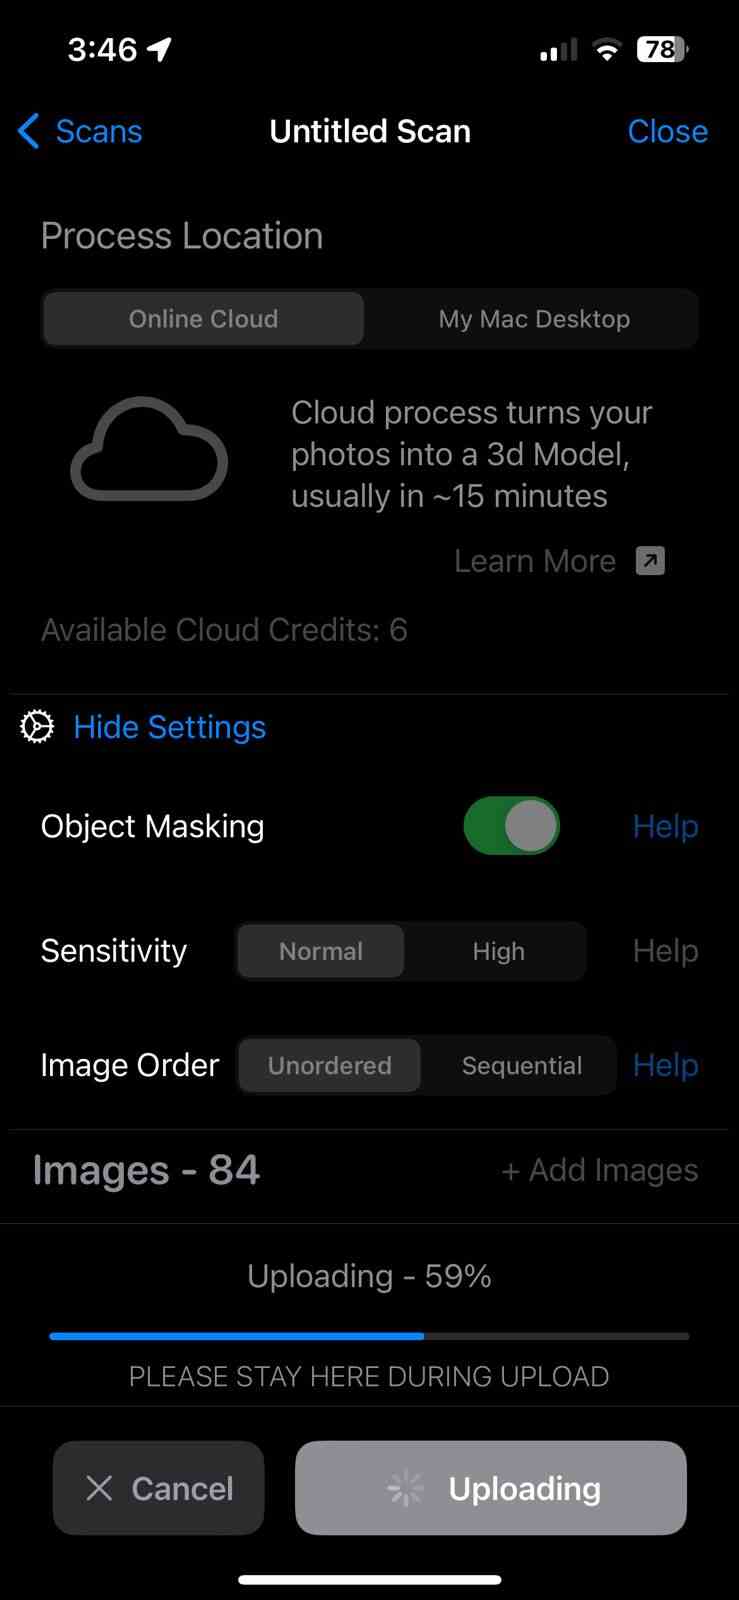
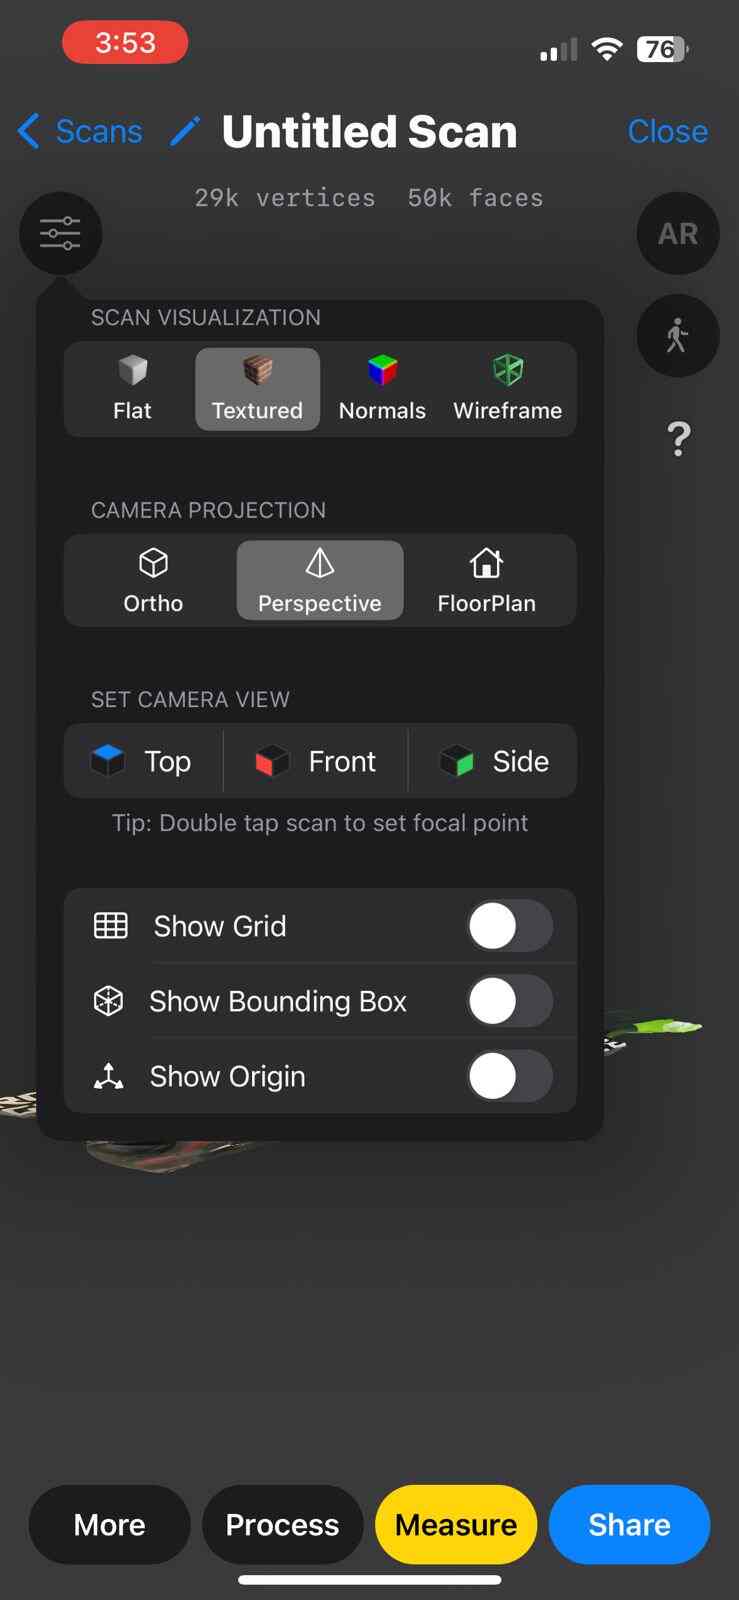
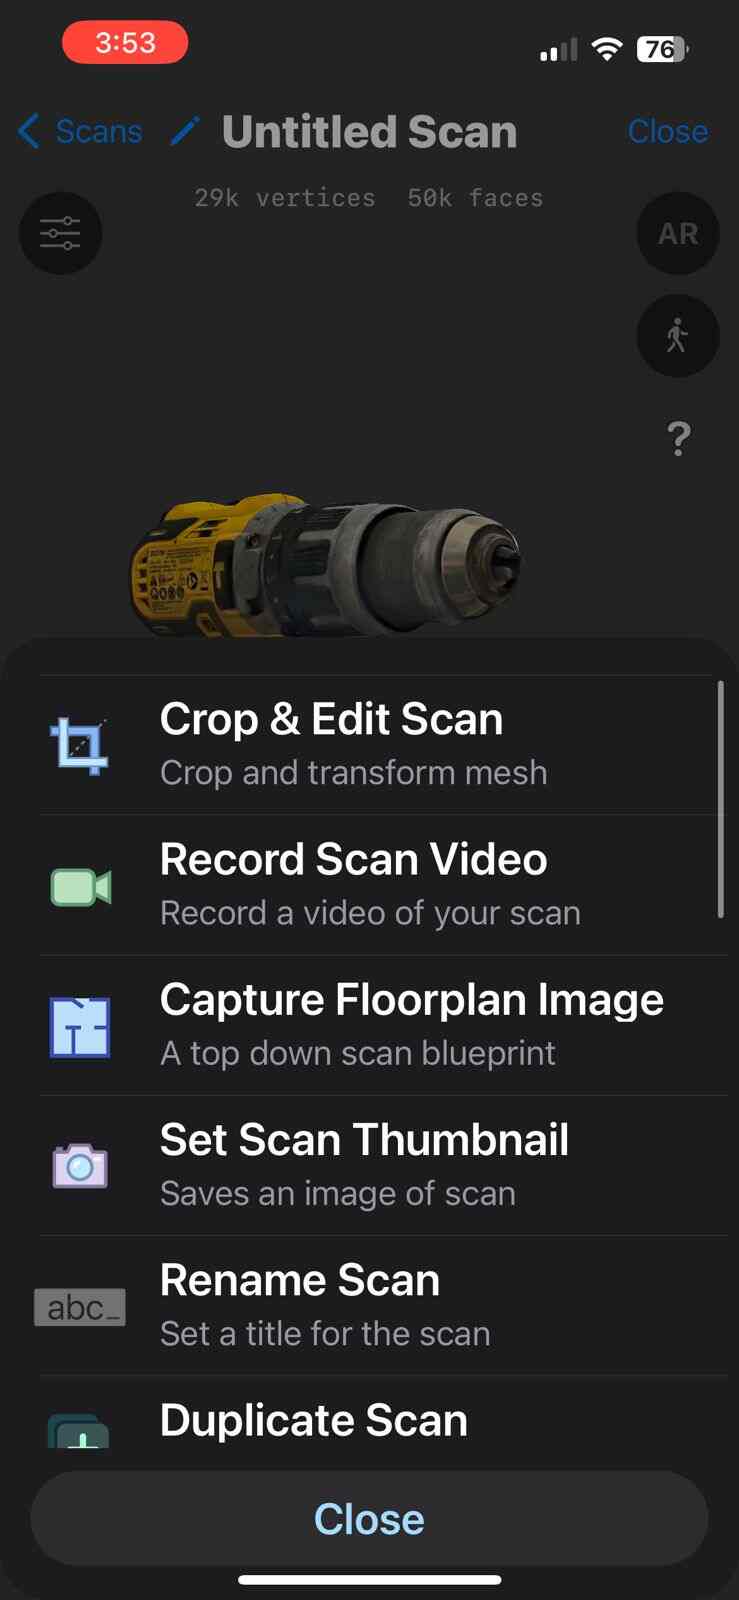
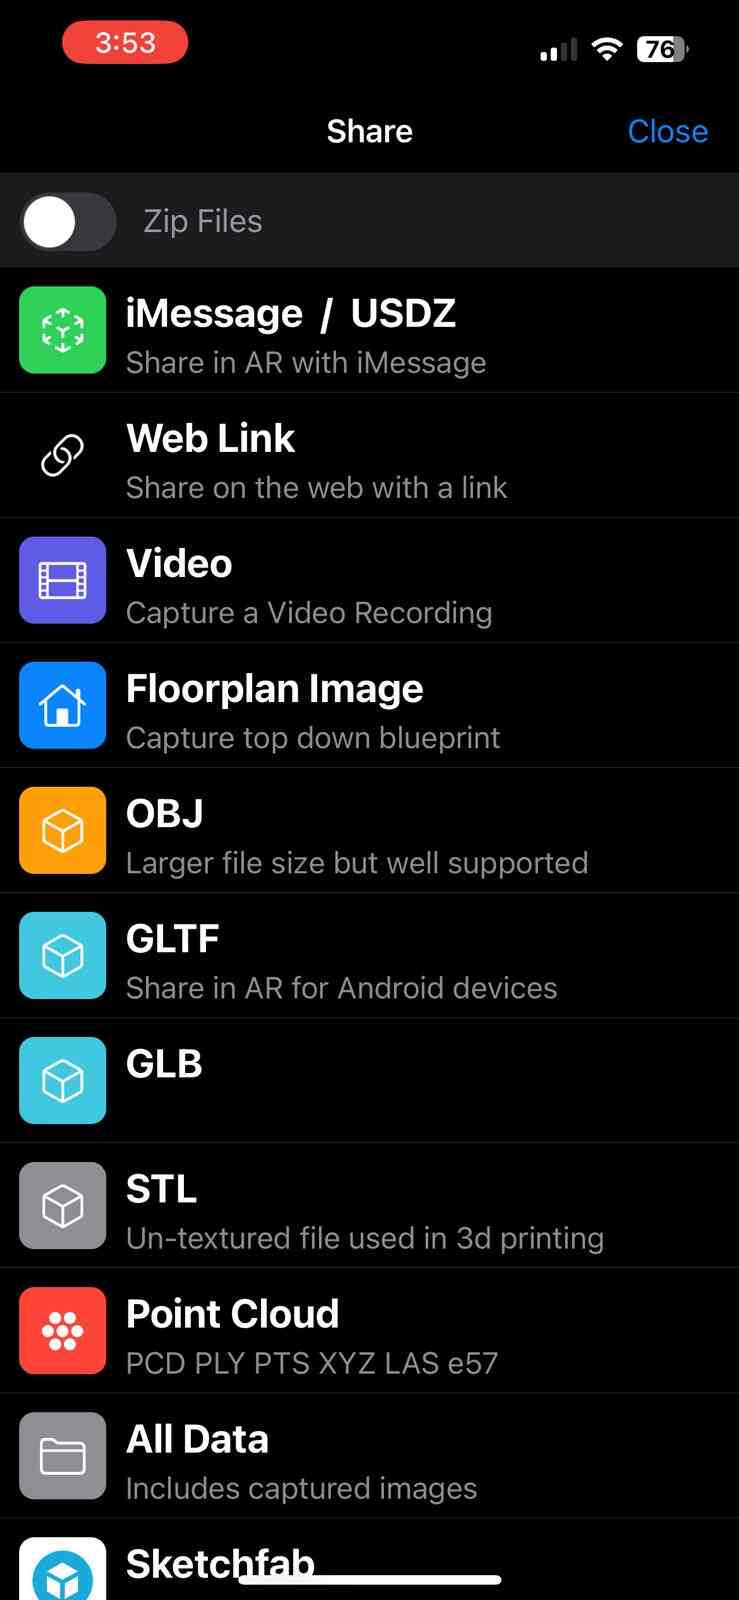
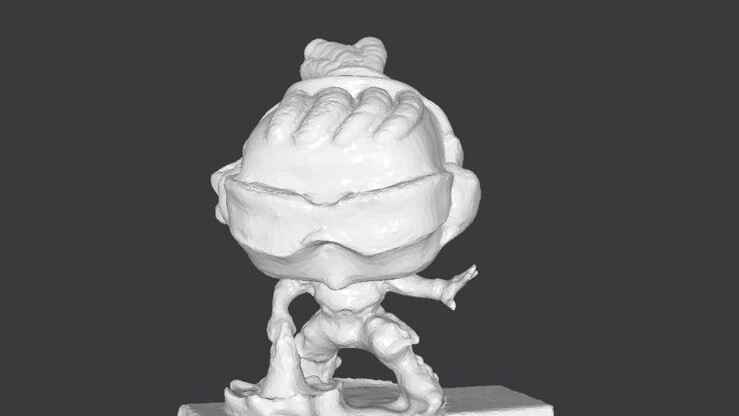
This model was scanned by me with the 3D scanner app and printed with the ender 3 v3 ke printer.
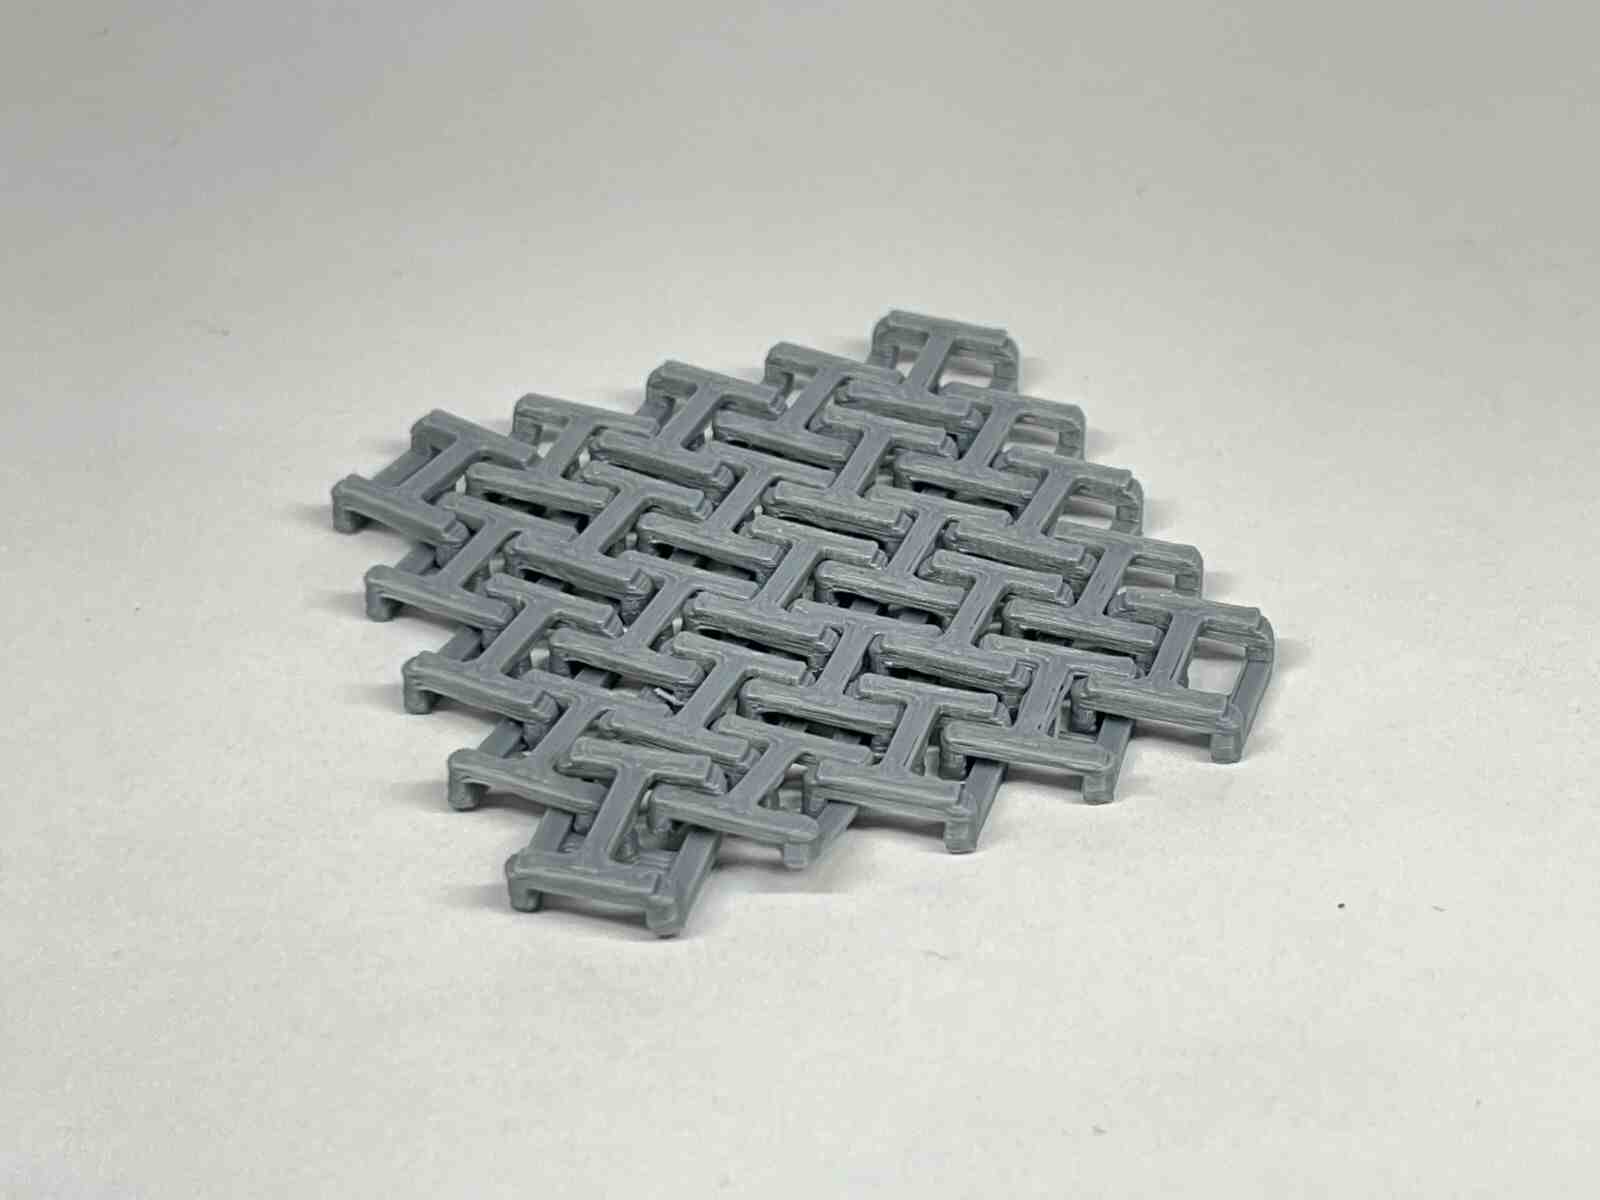
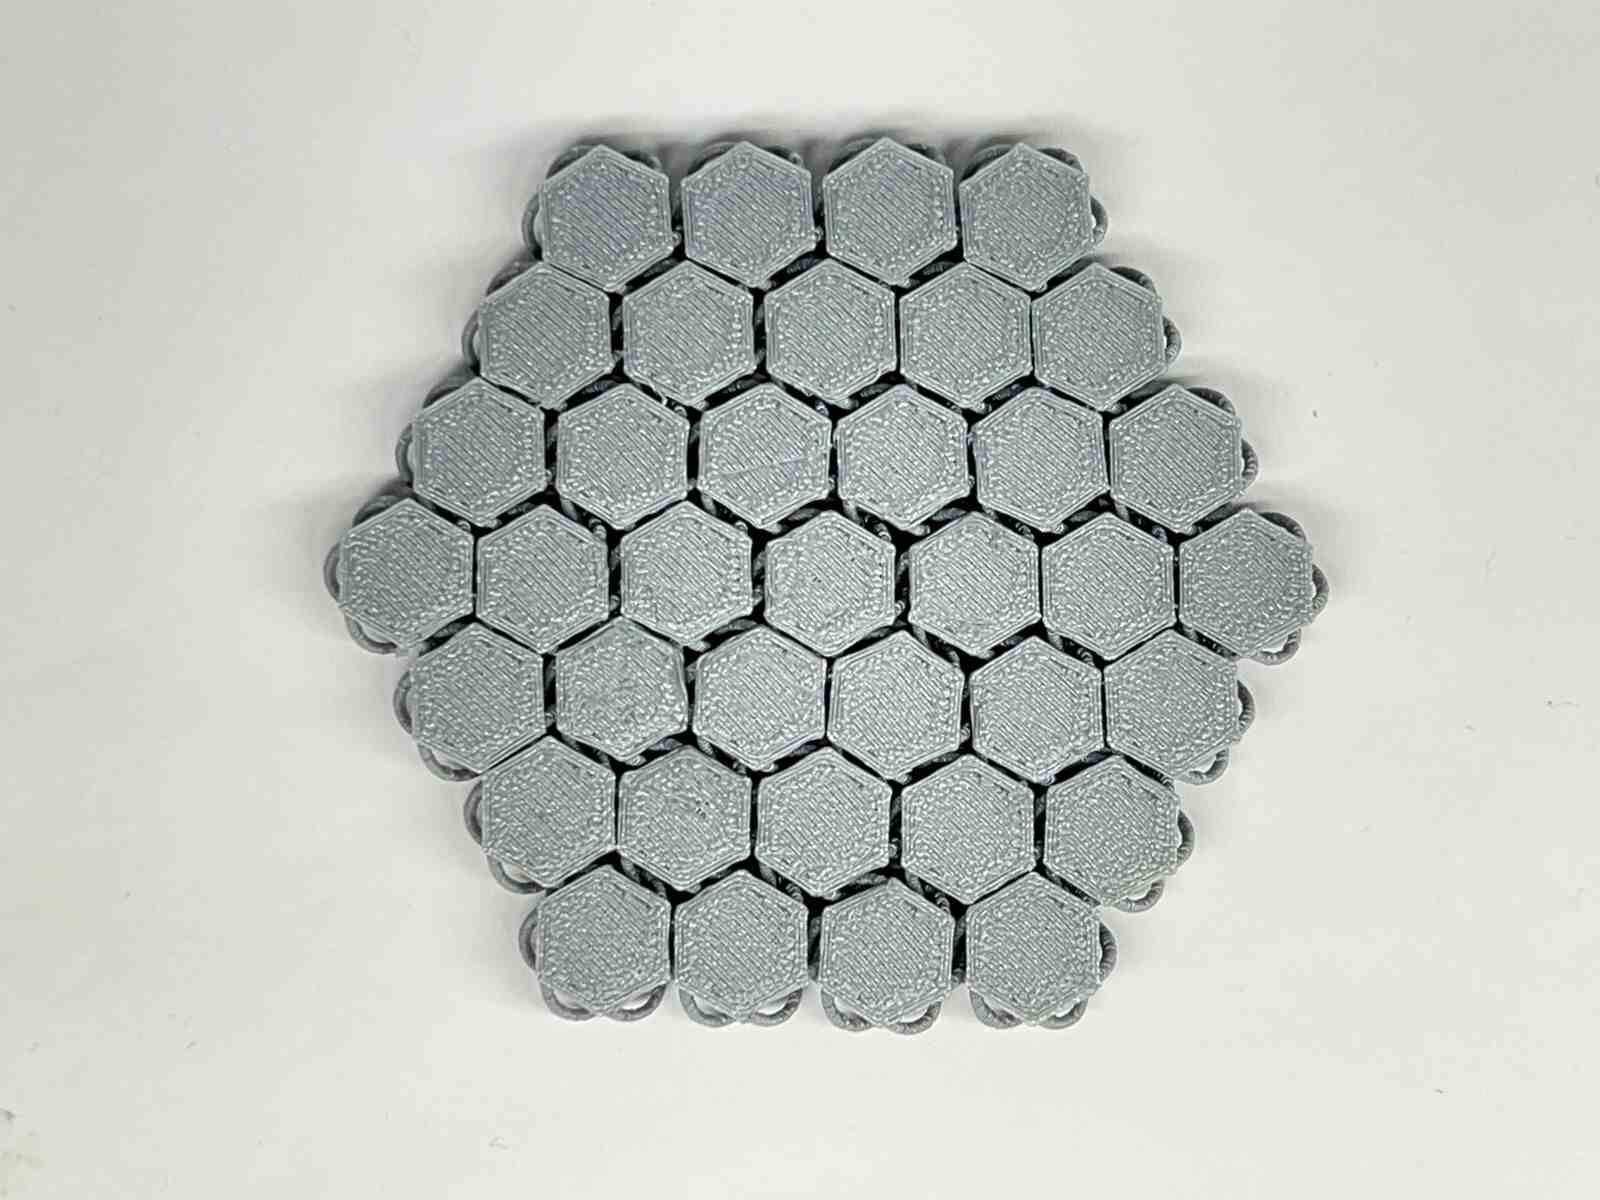
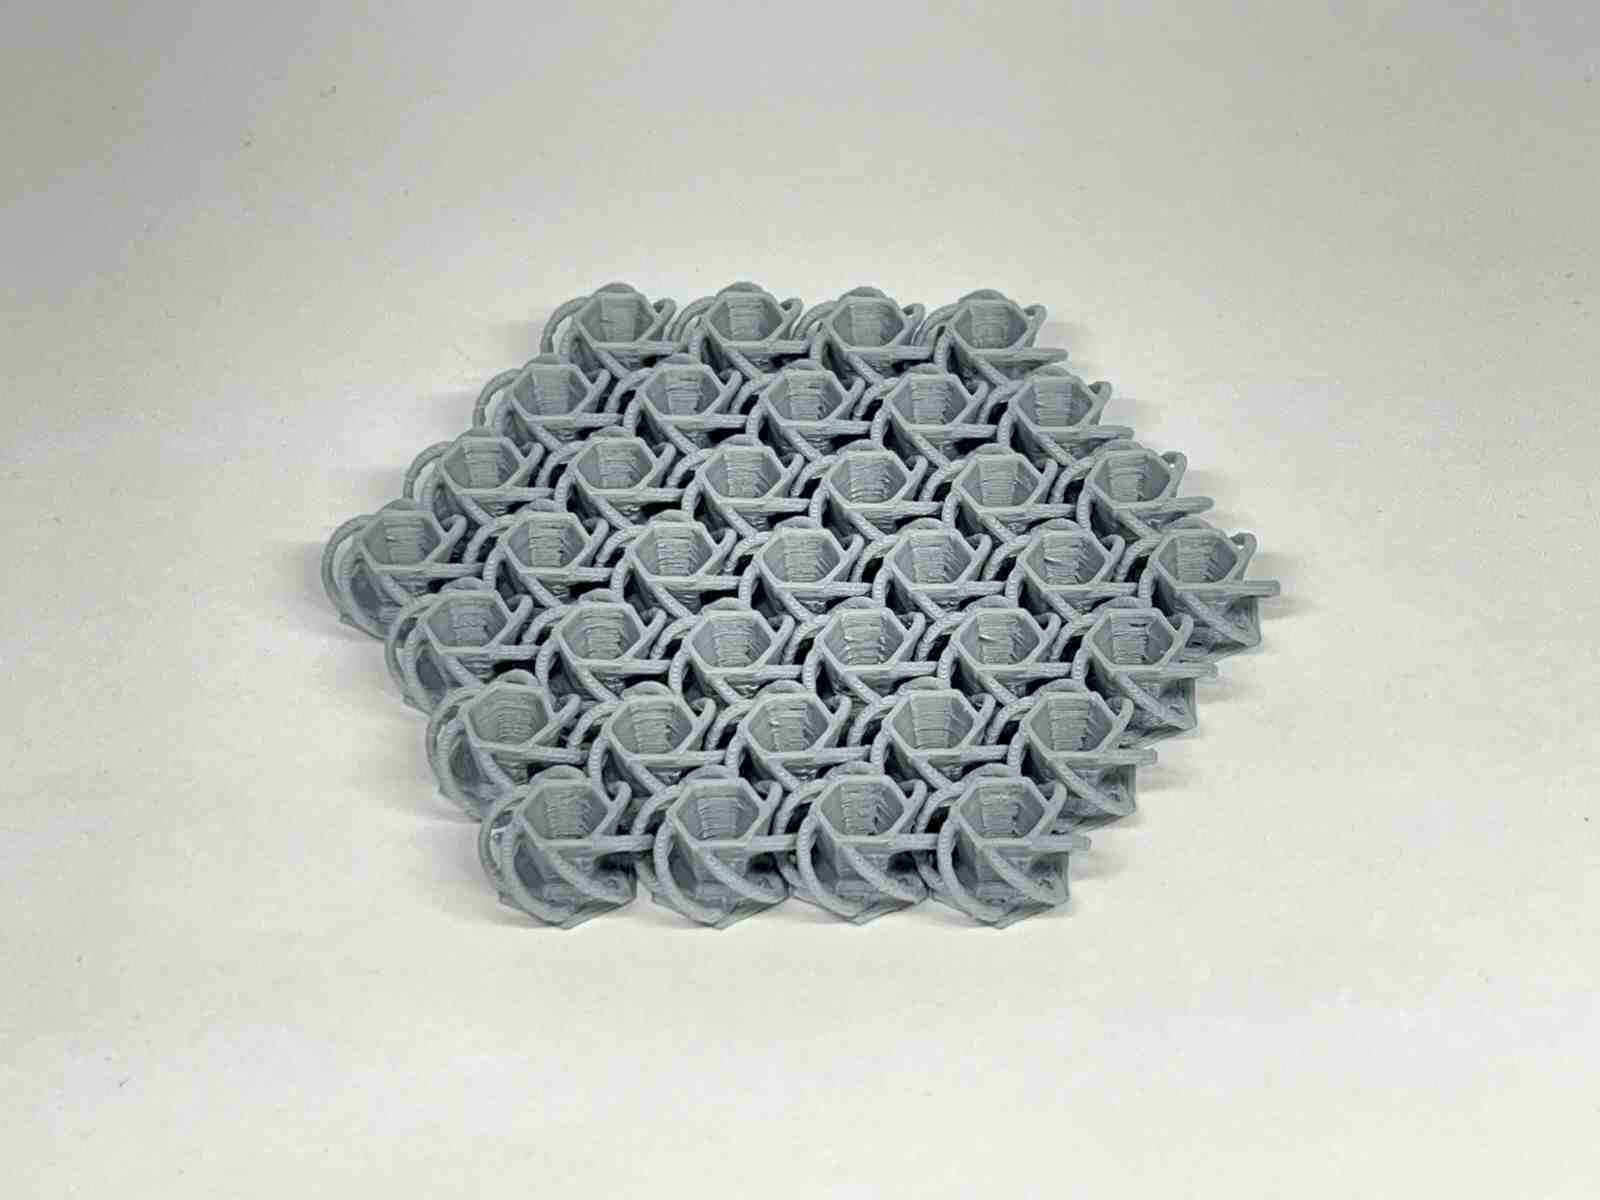
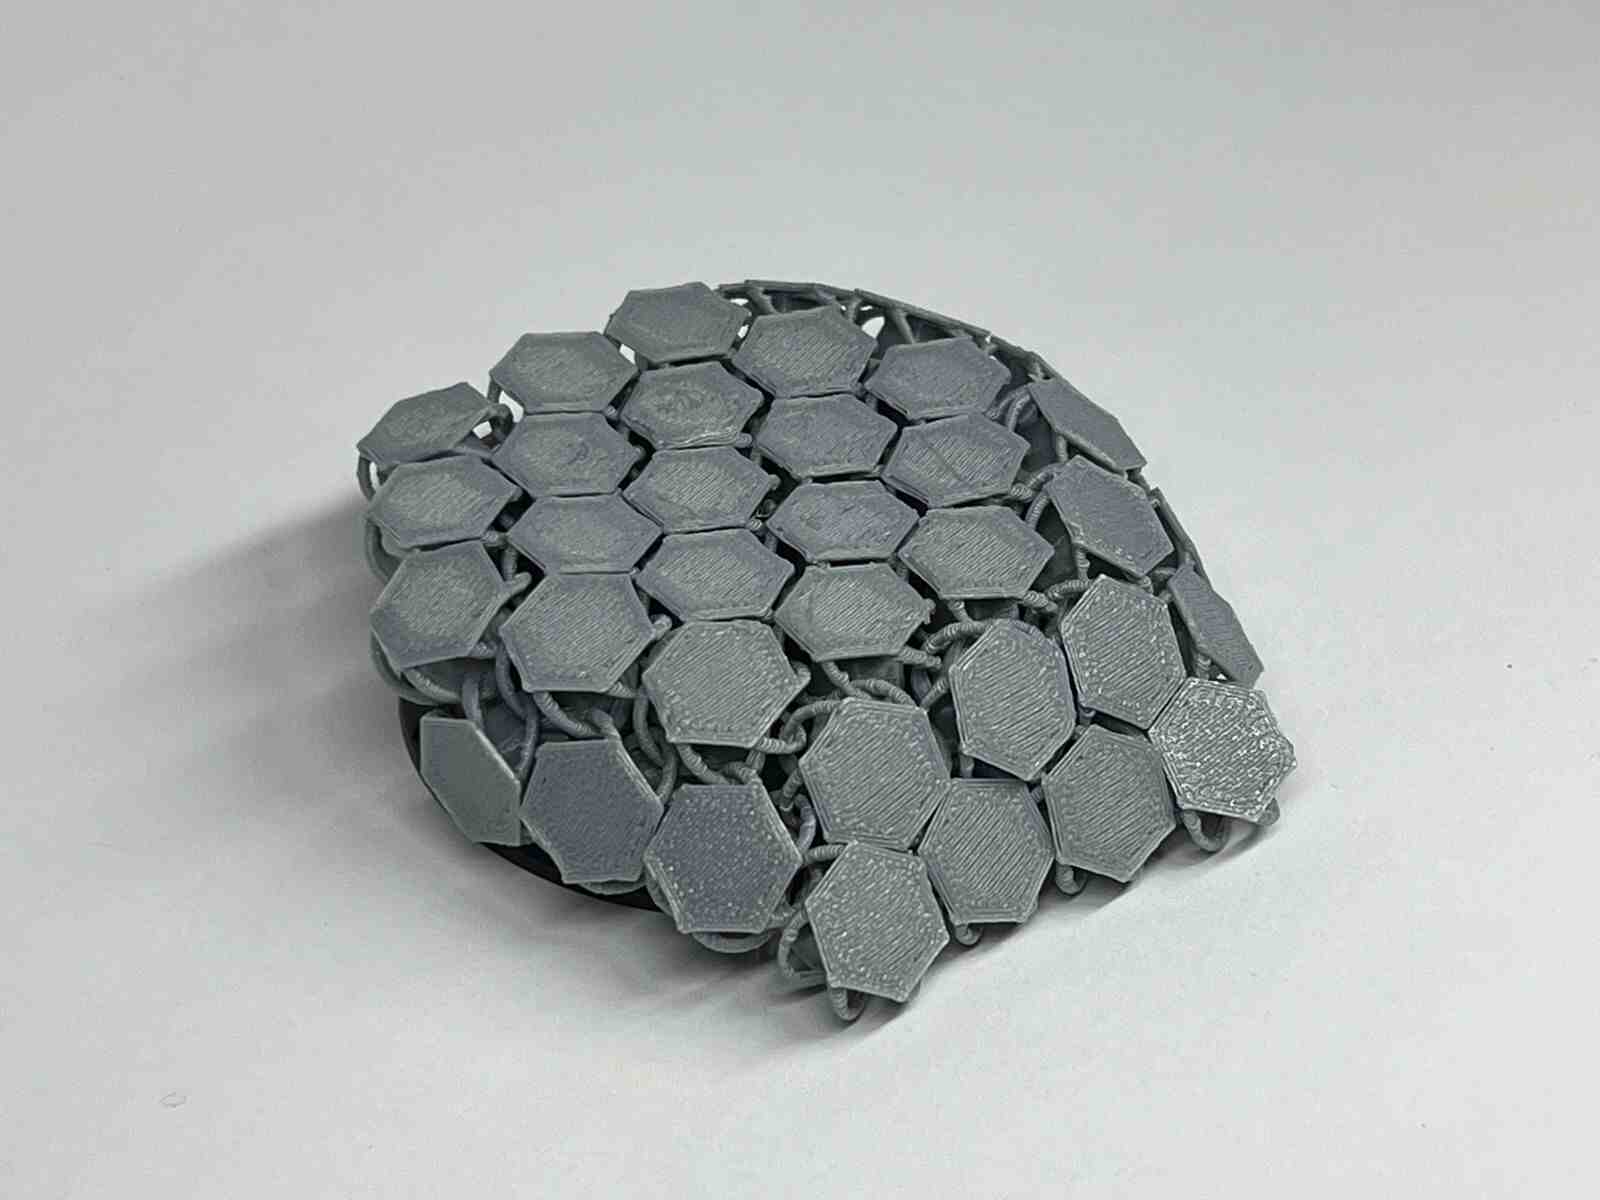


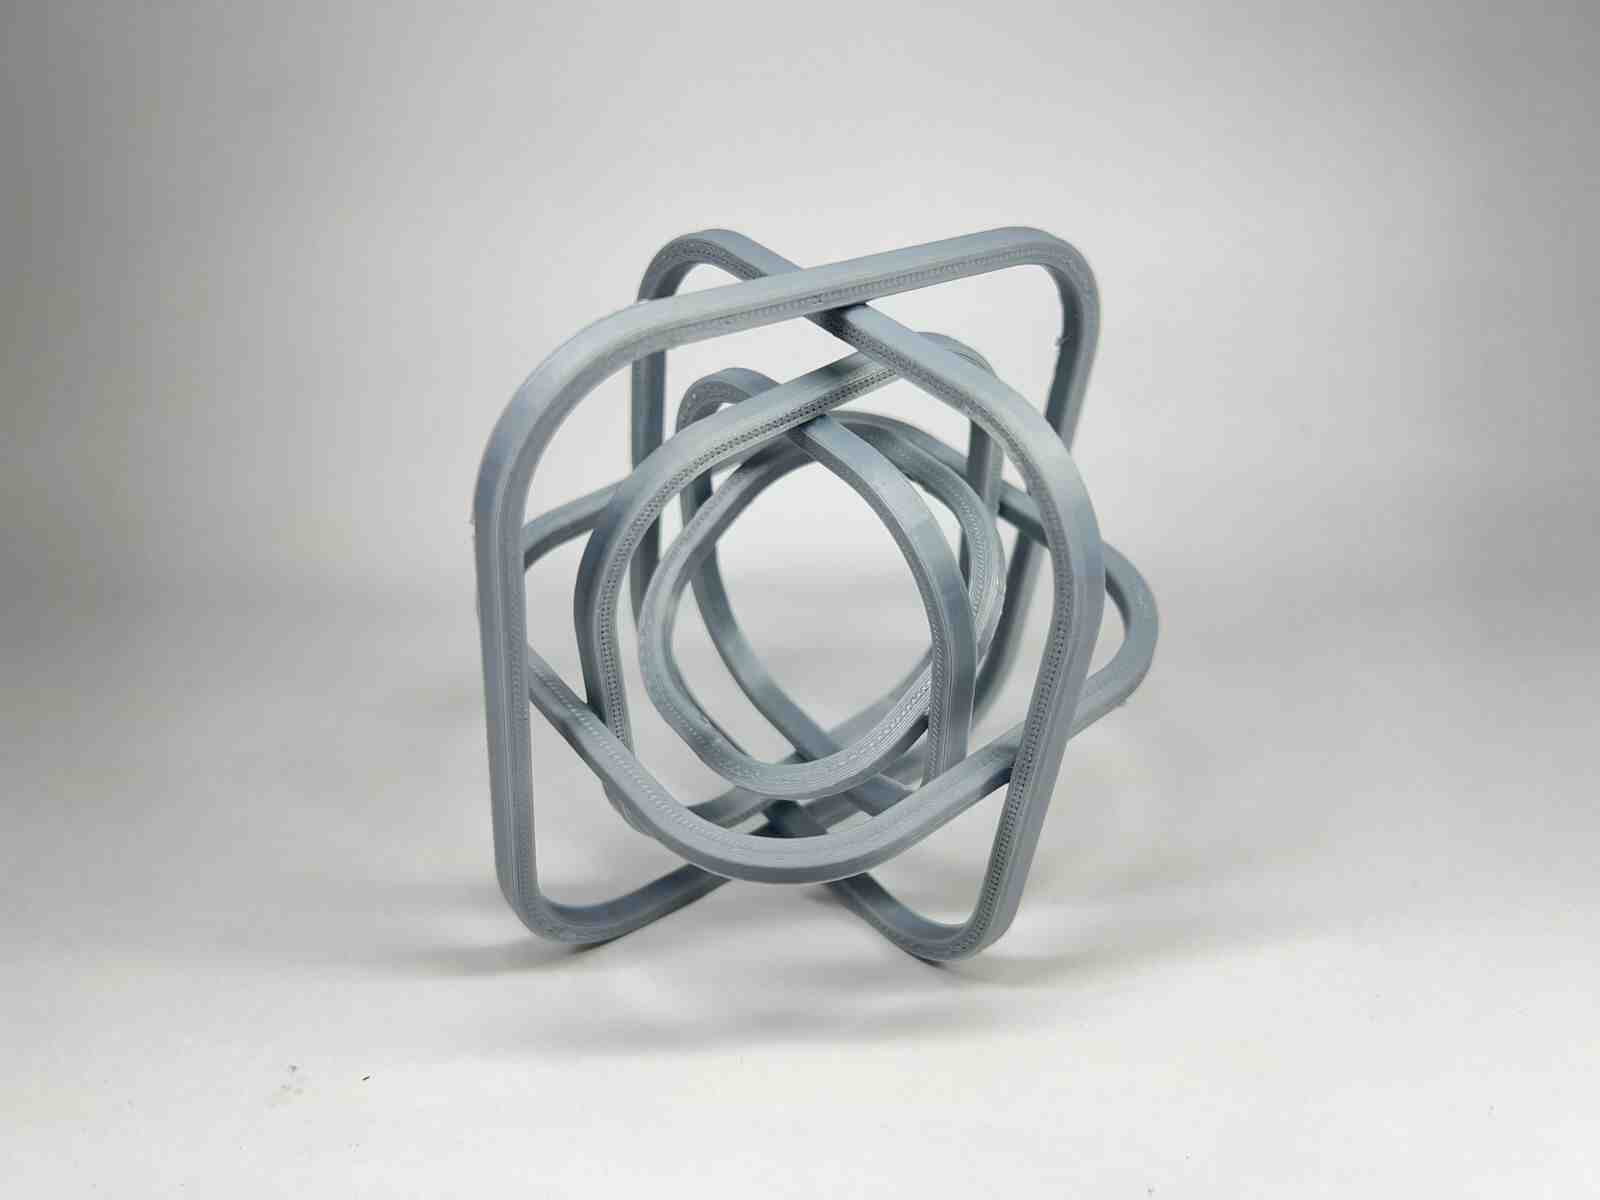
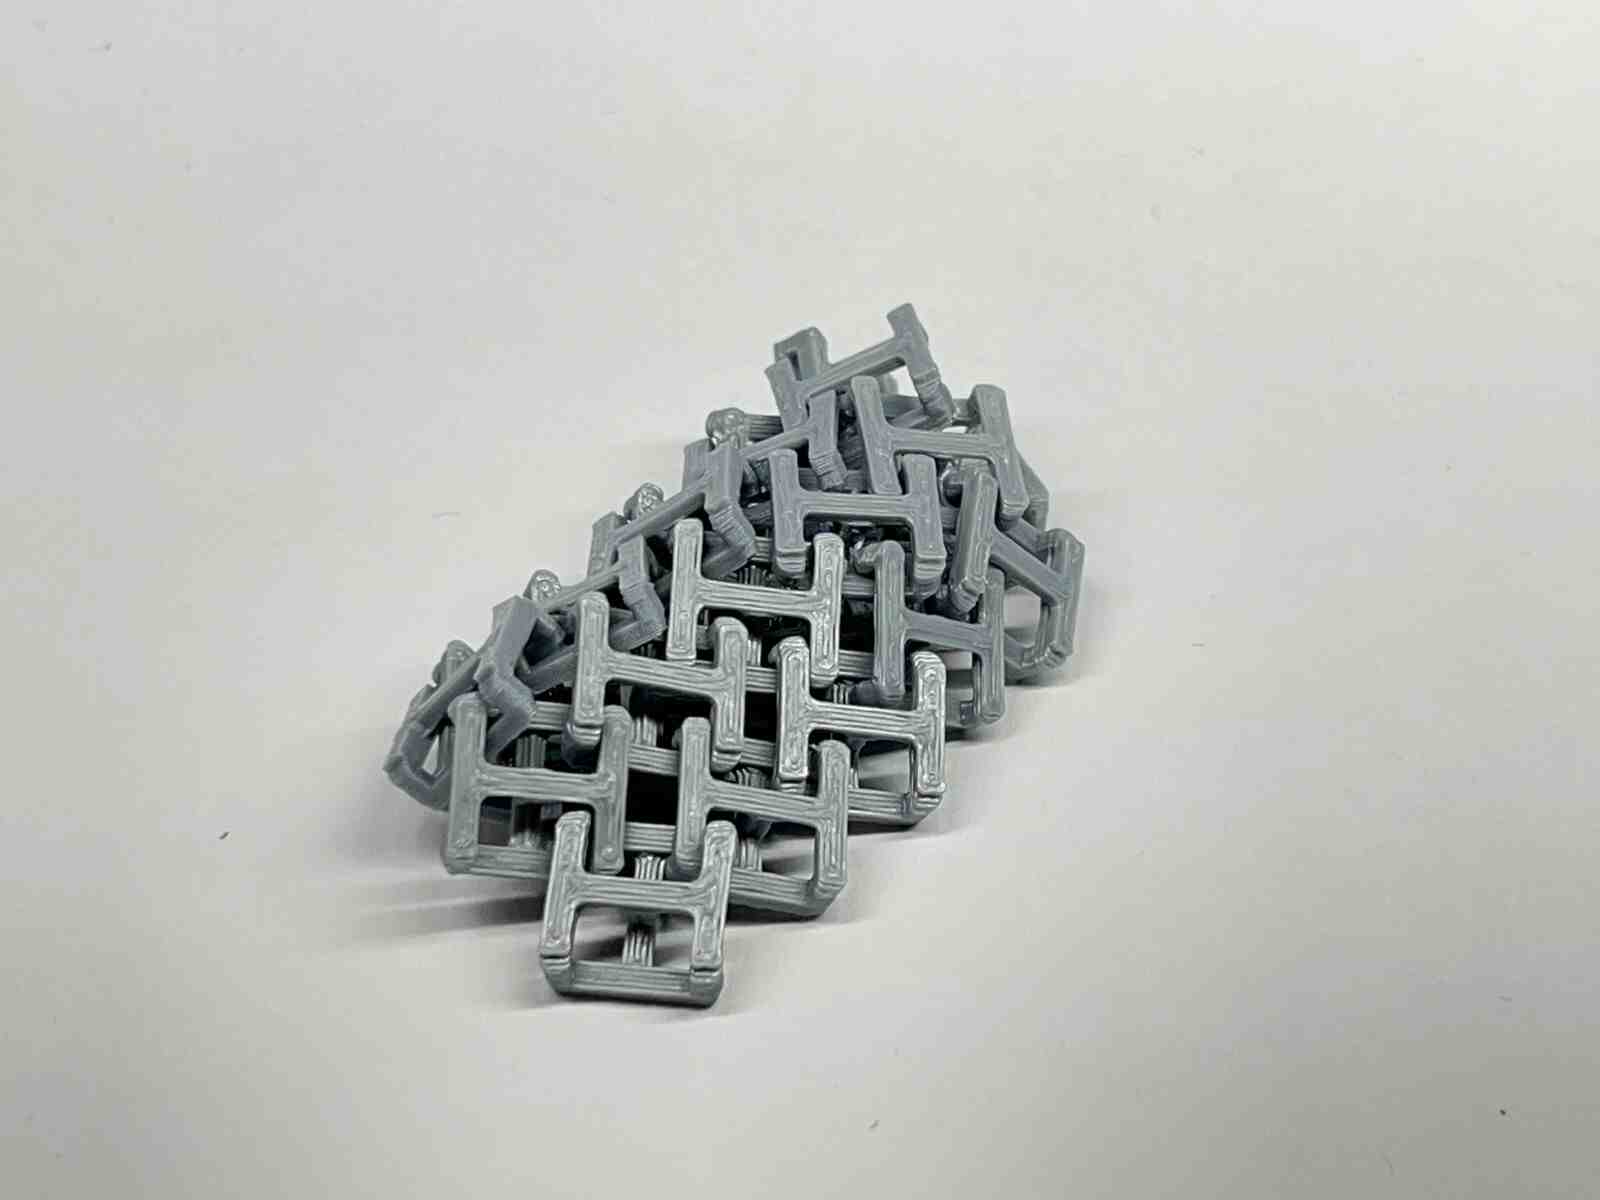
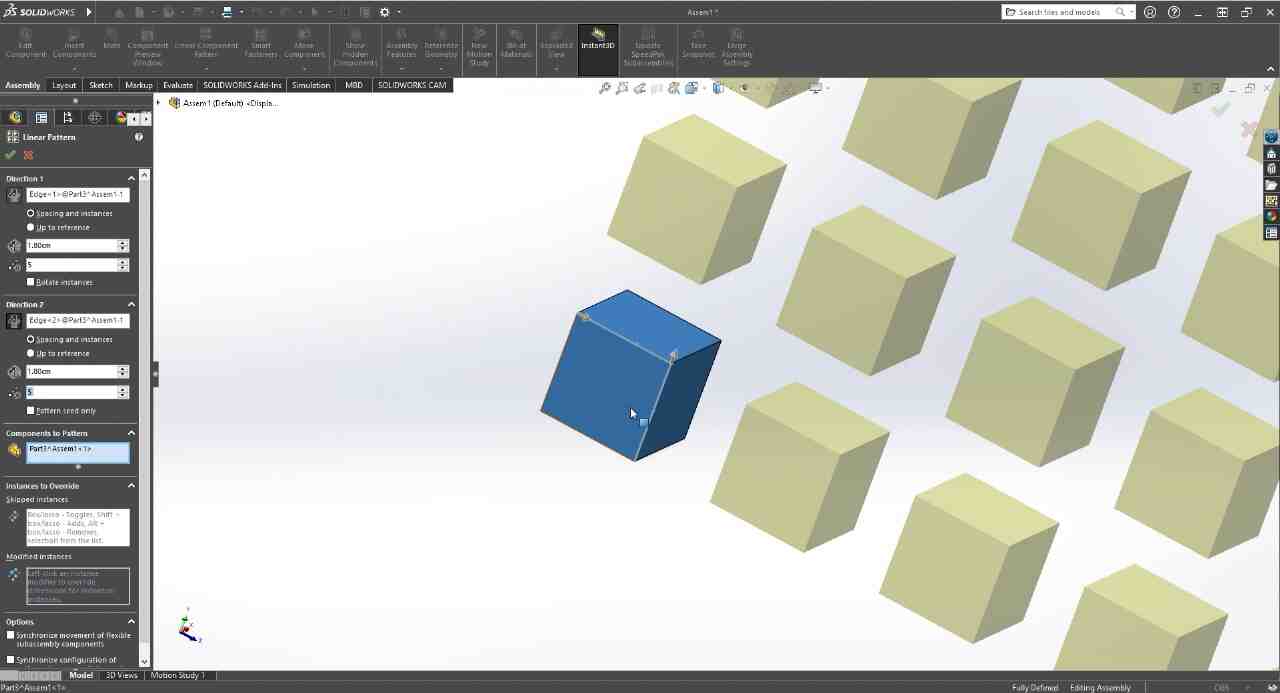
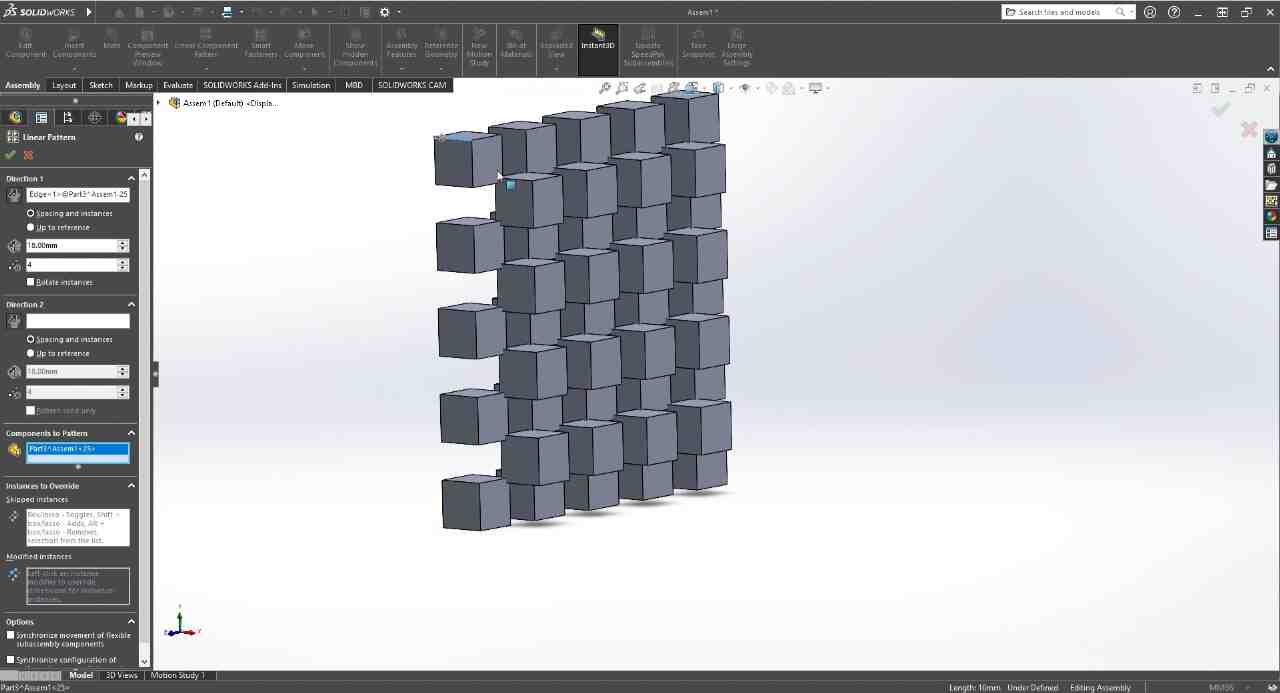
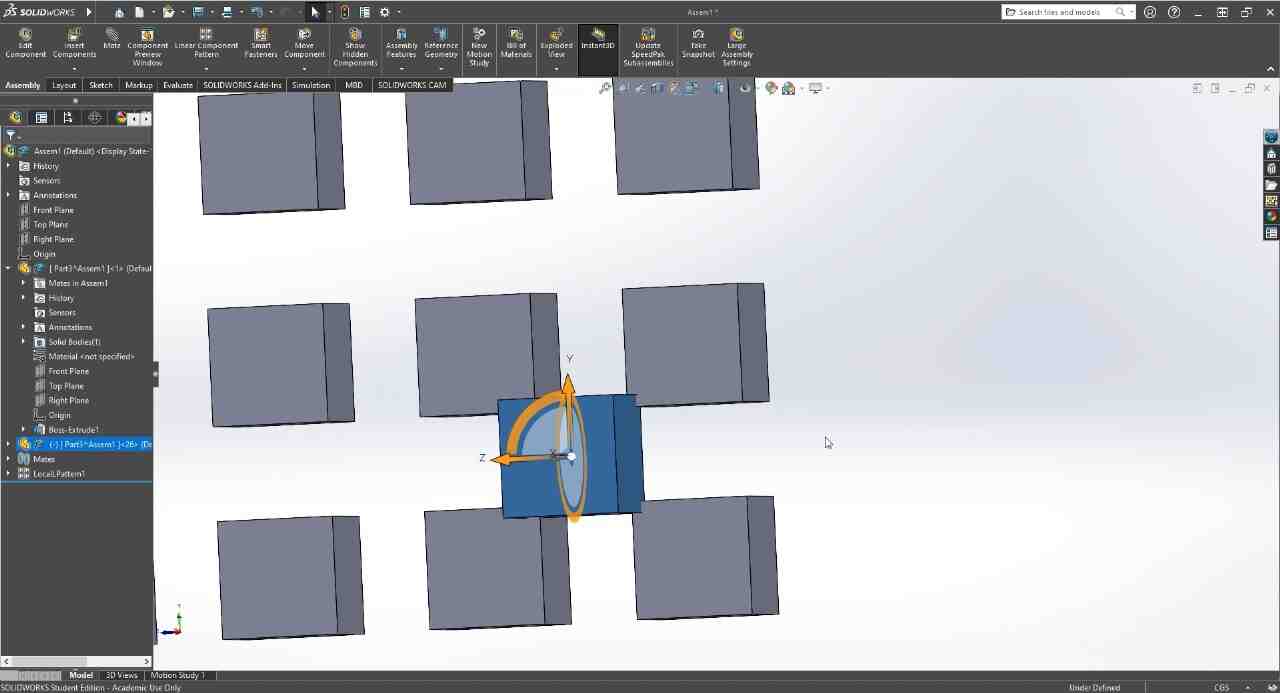
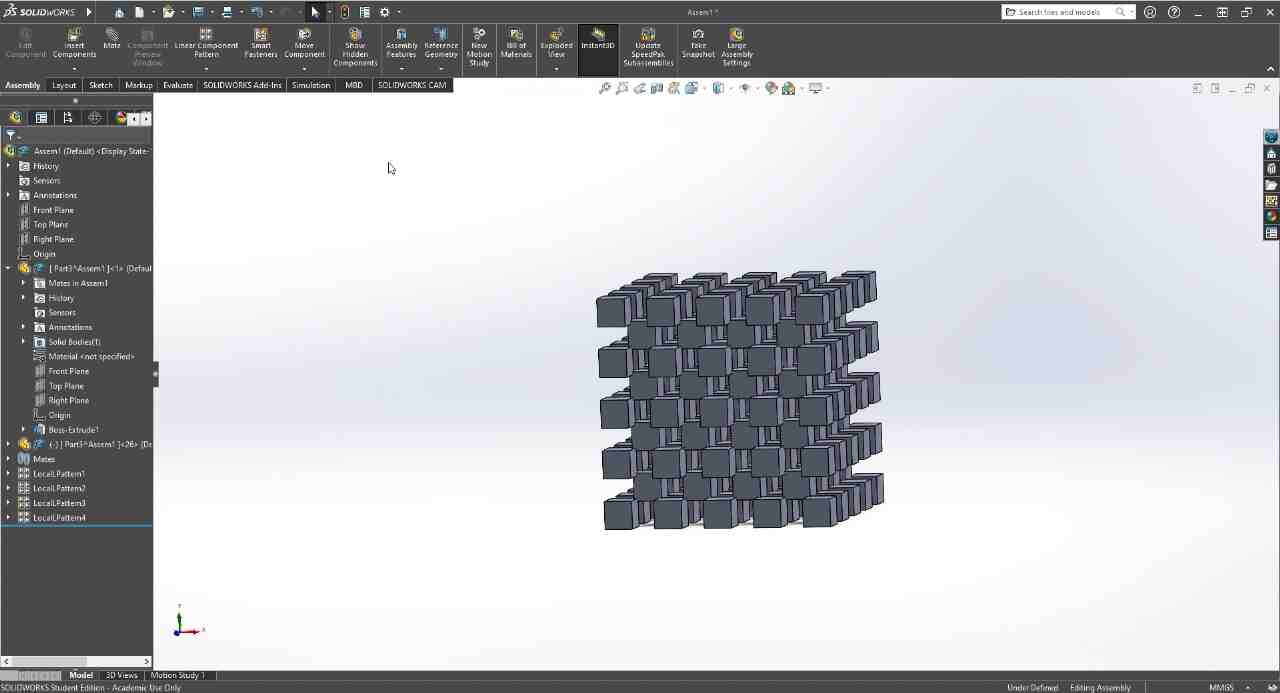
NASA Chainmail is an internet model that caught my attention, and I really like the concept of the model because of the future applications it may have.
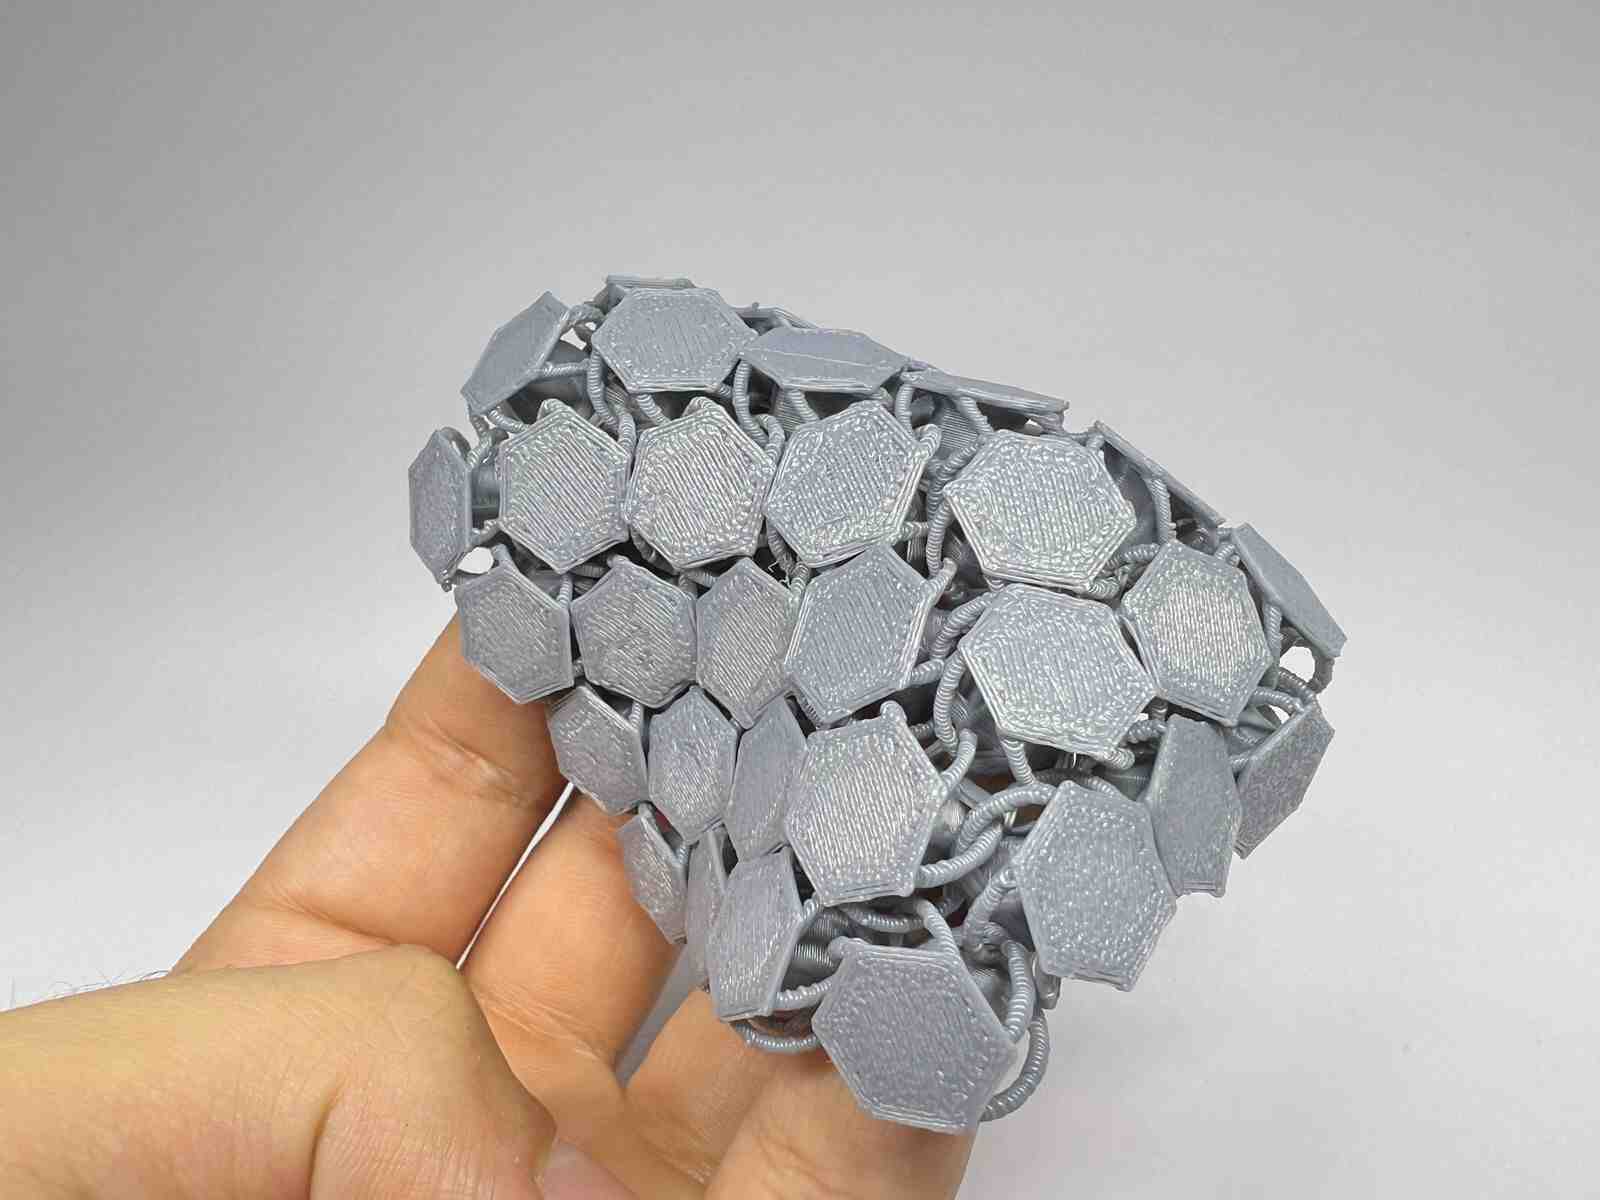
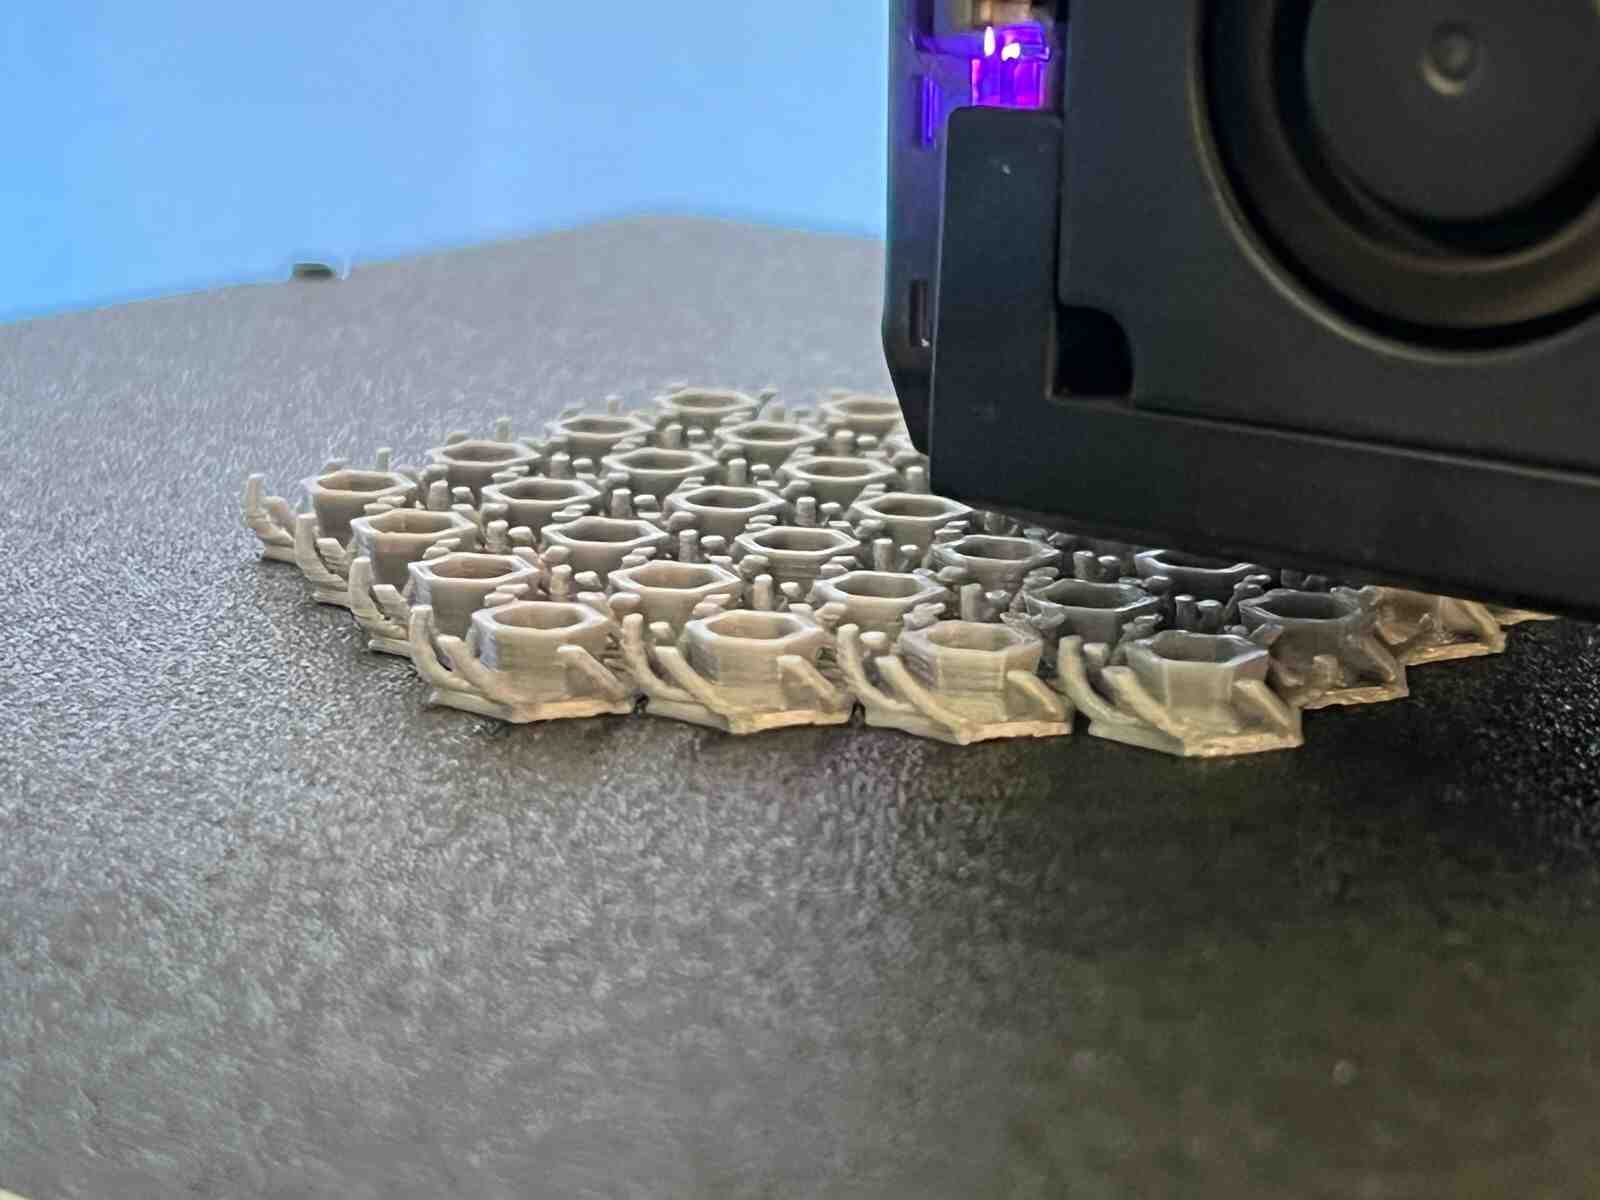
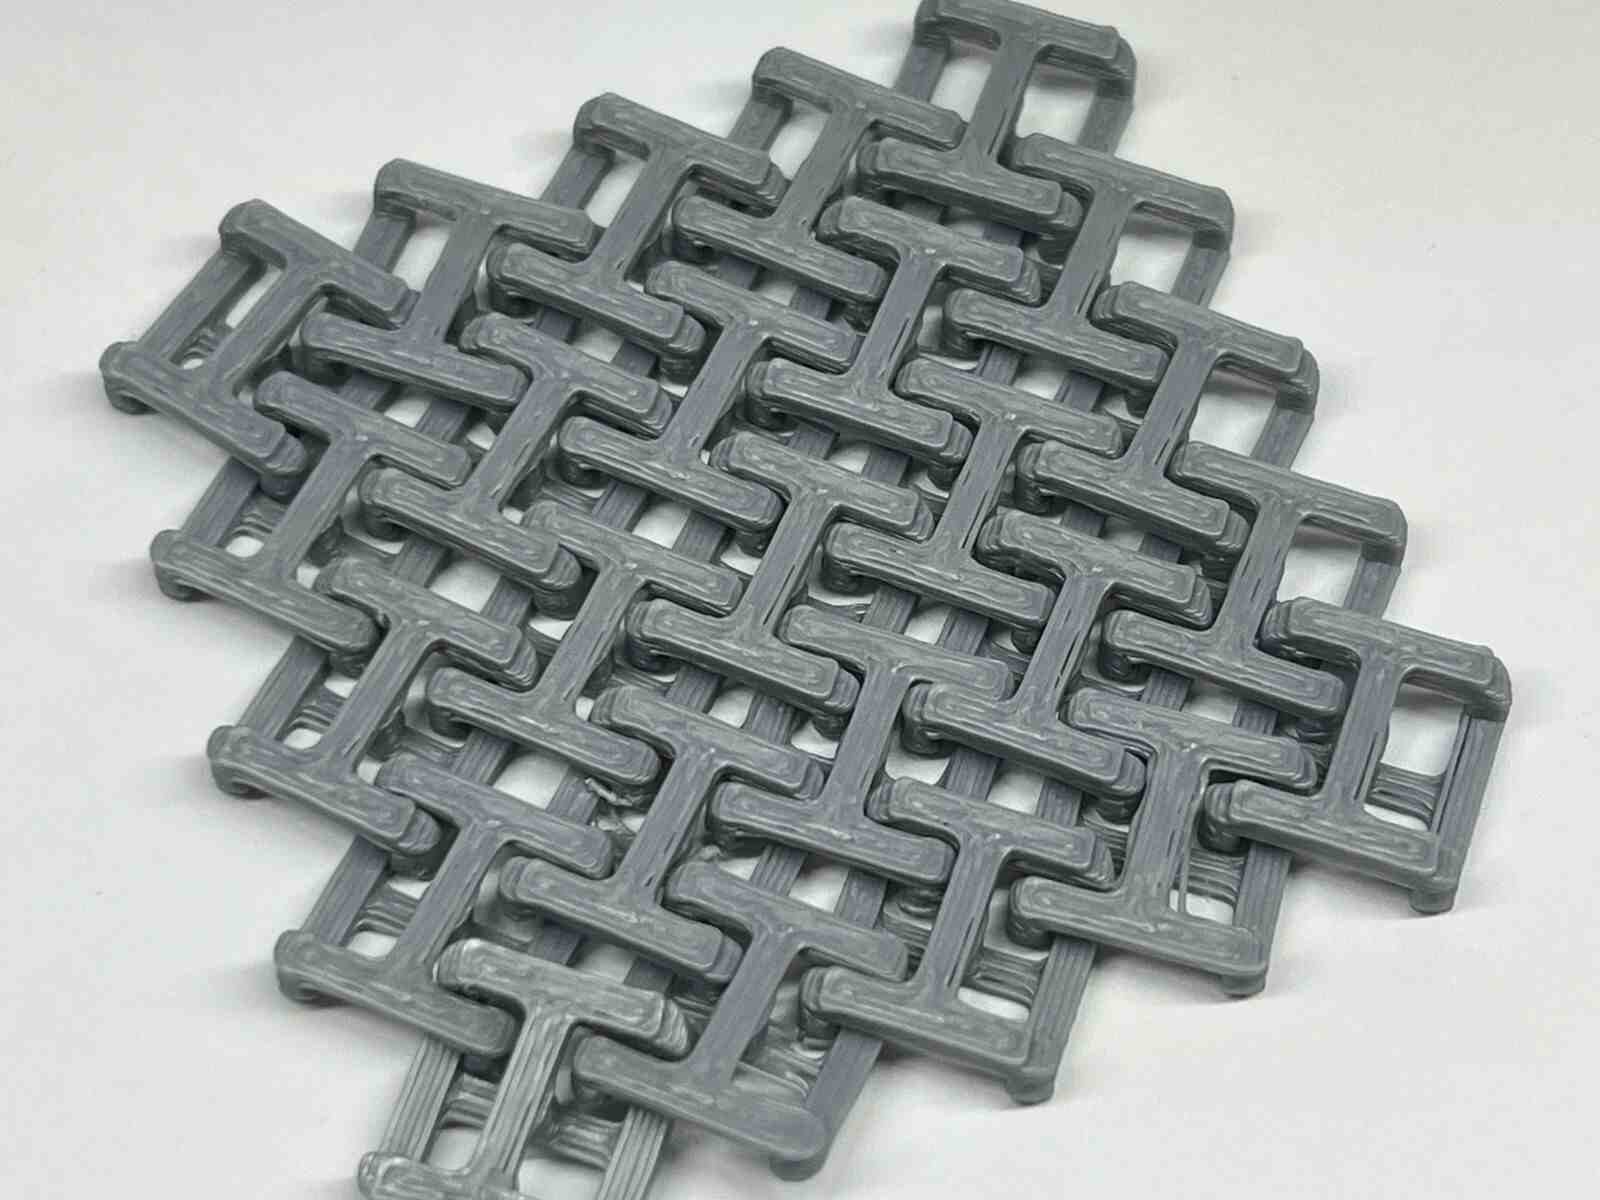
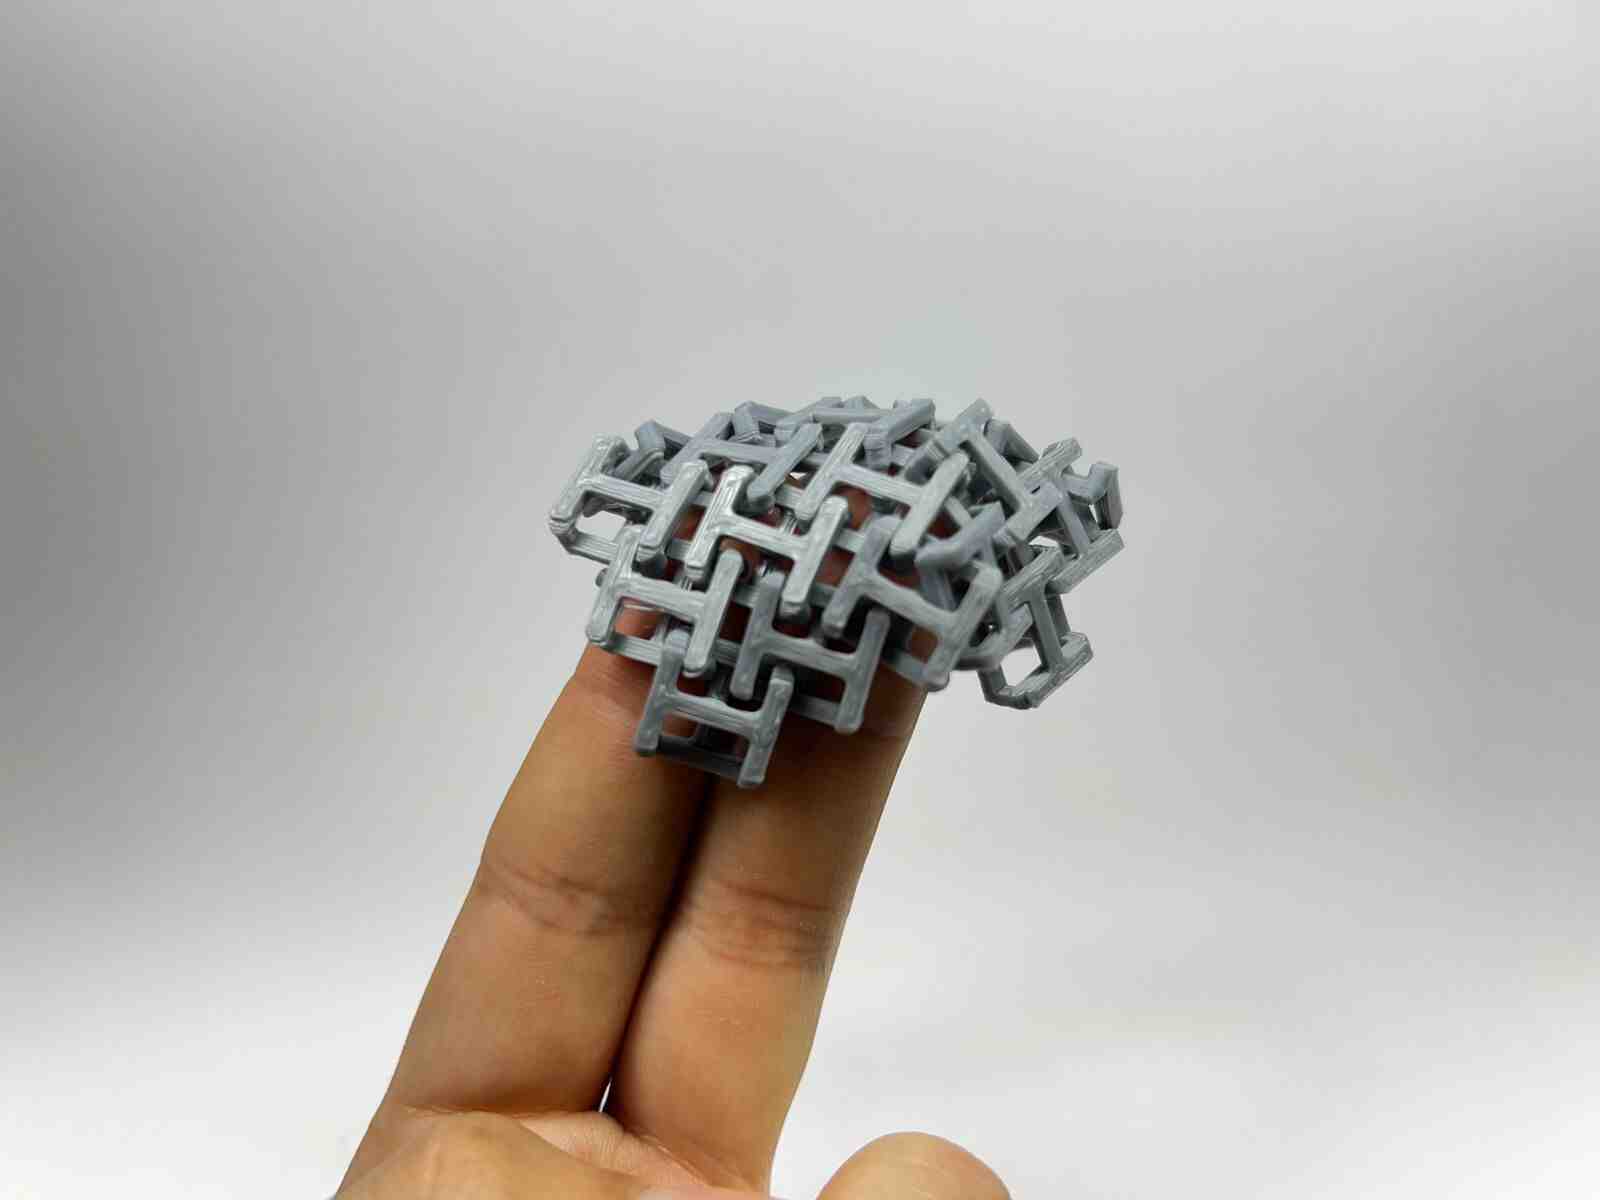
Chainmail, is an internet model that caught my attention, and I like how thanks to how 3D printers print, they are capable of generating this type of constructions that can be connected to each other, in a single piece.
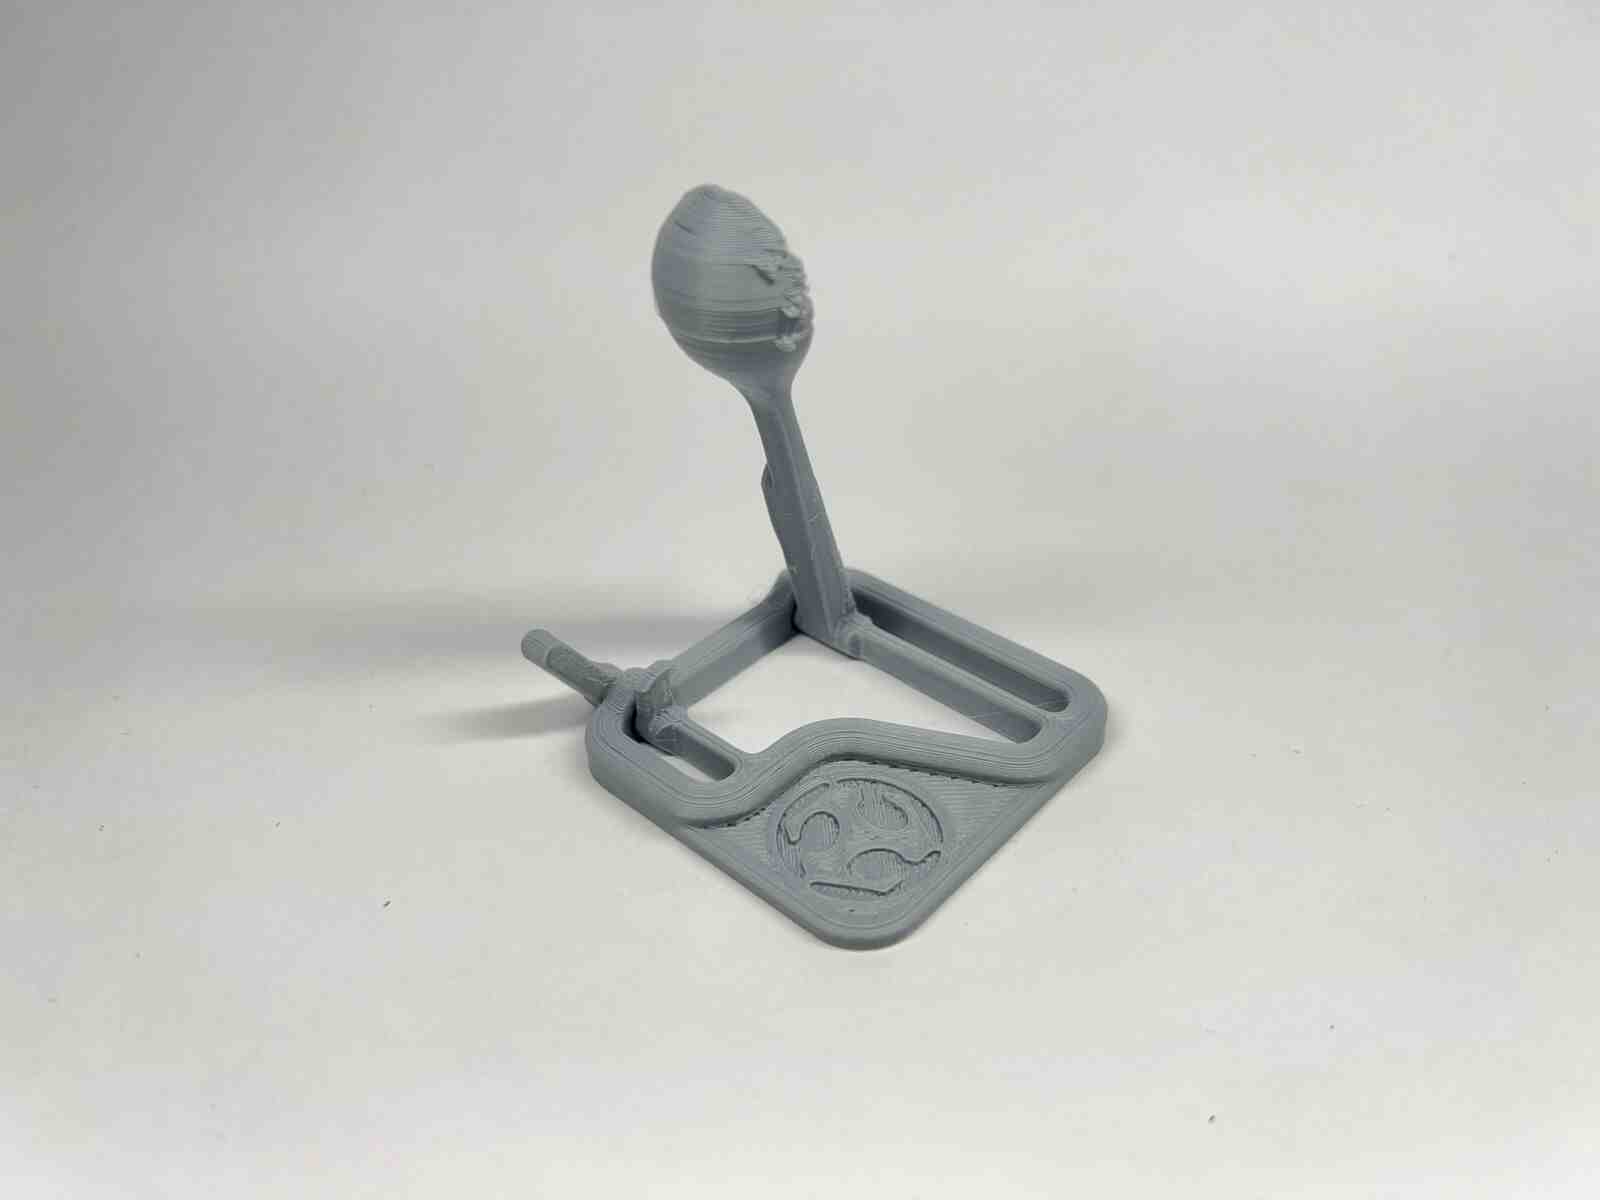
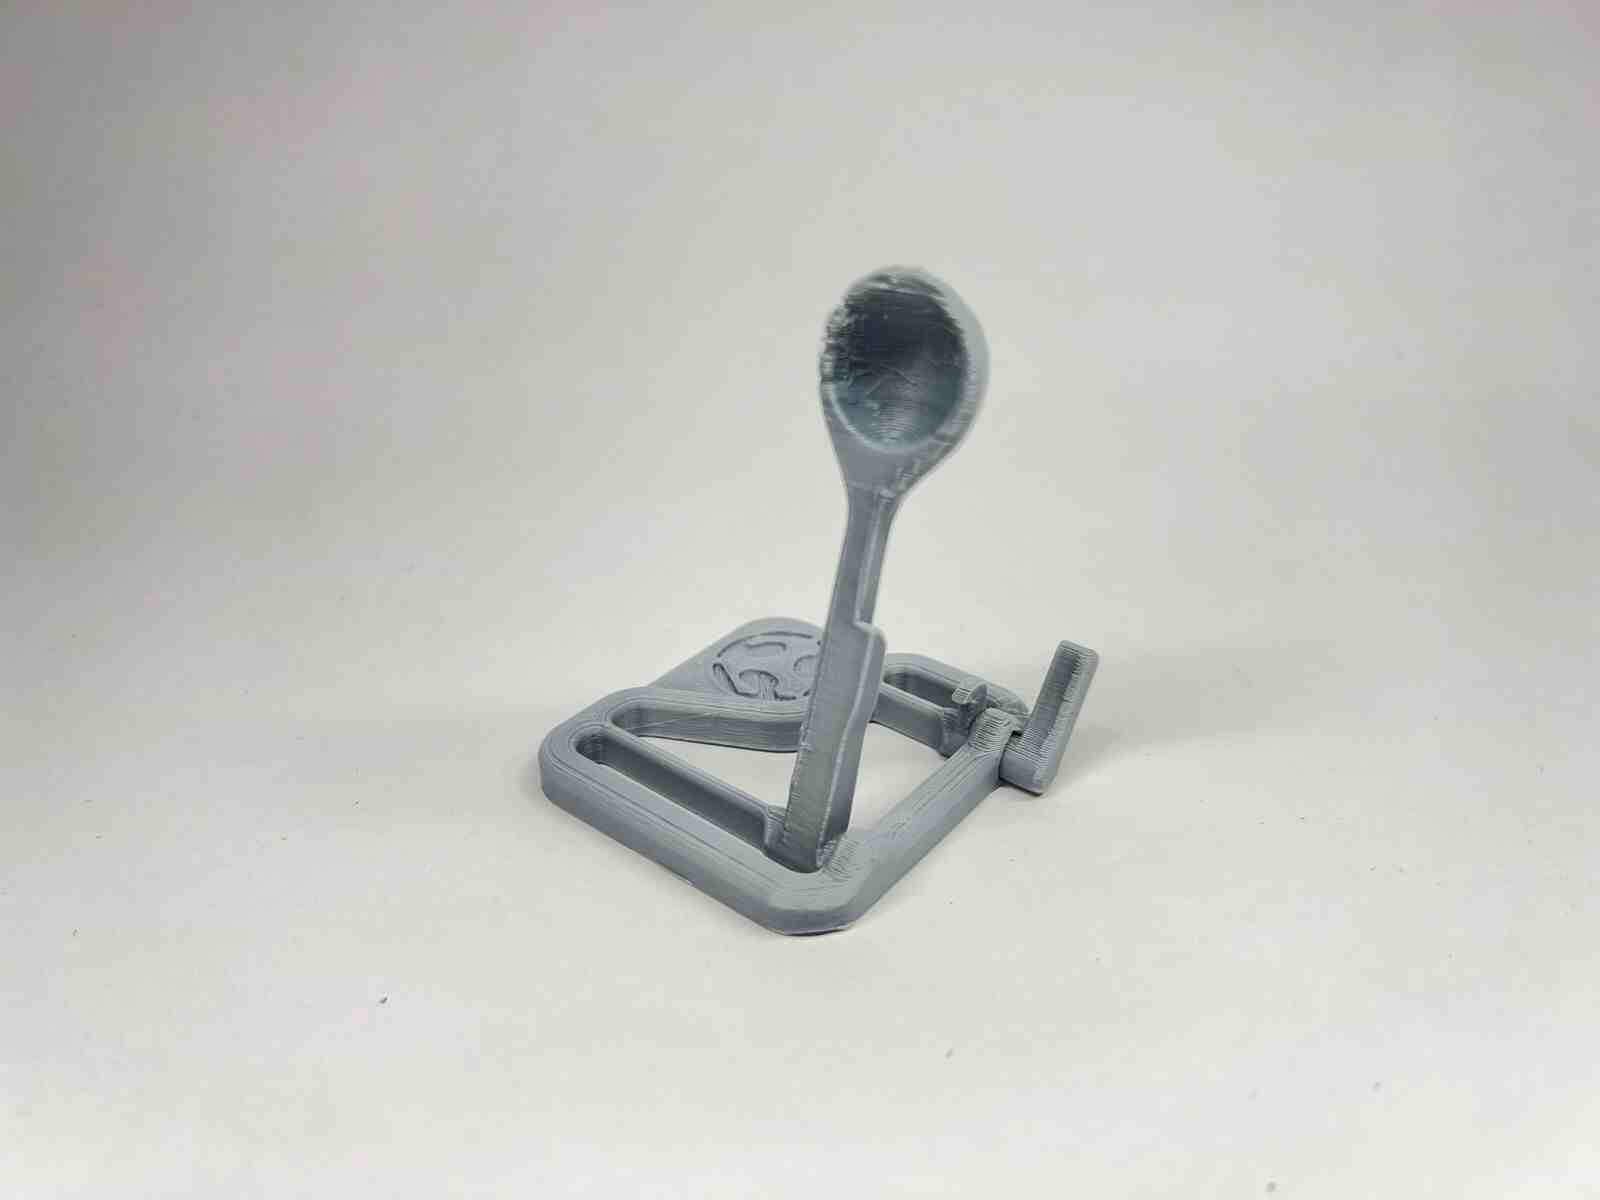
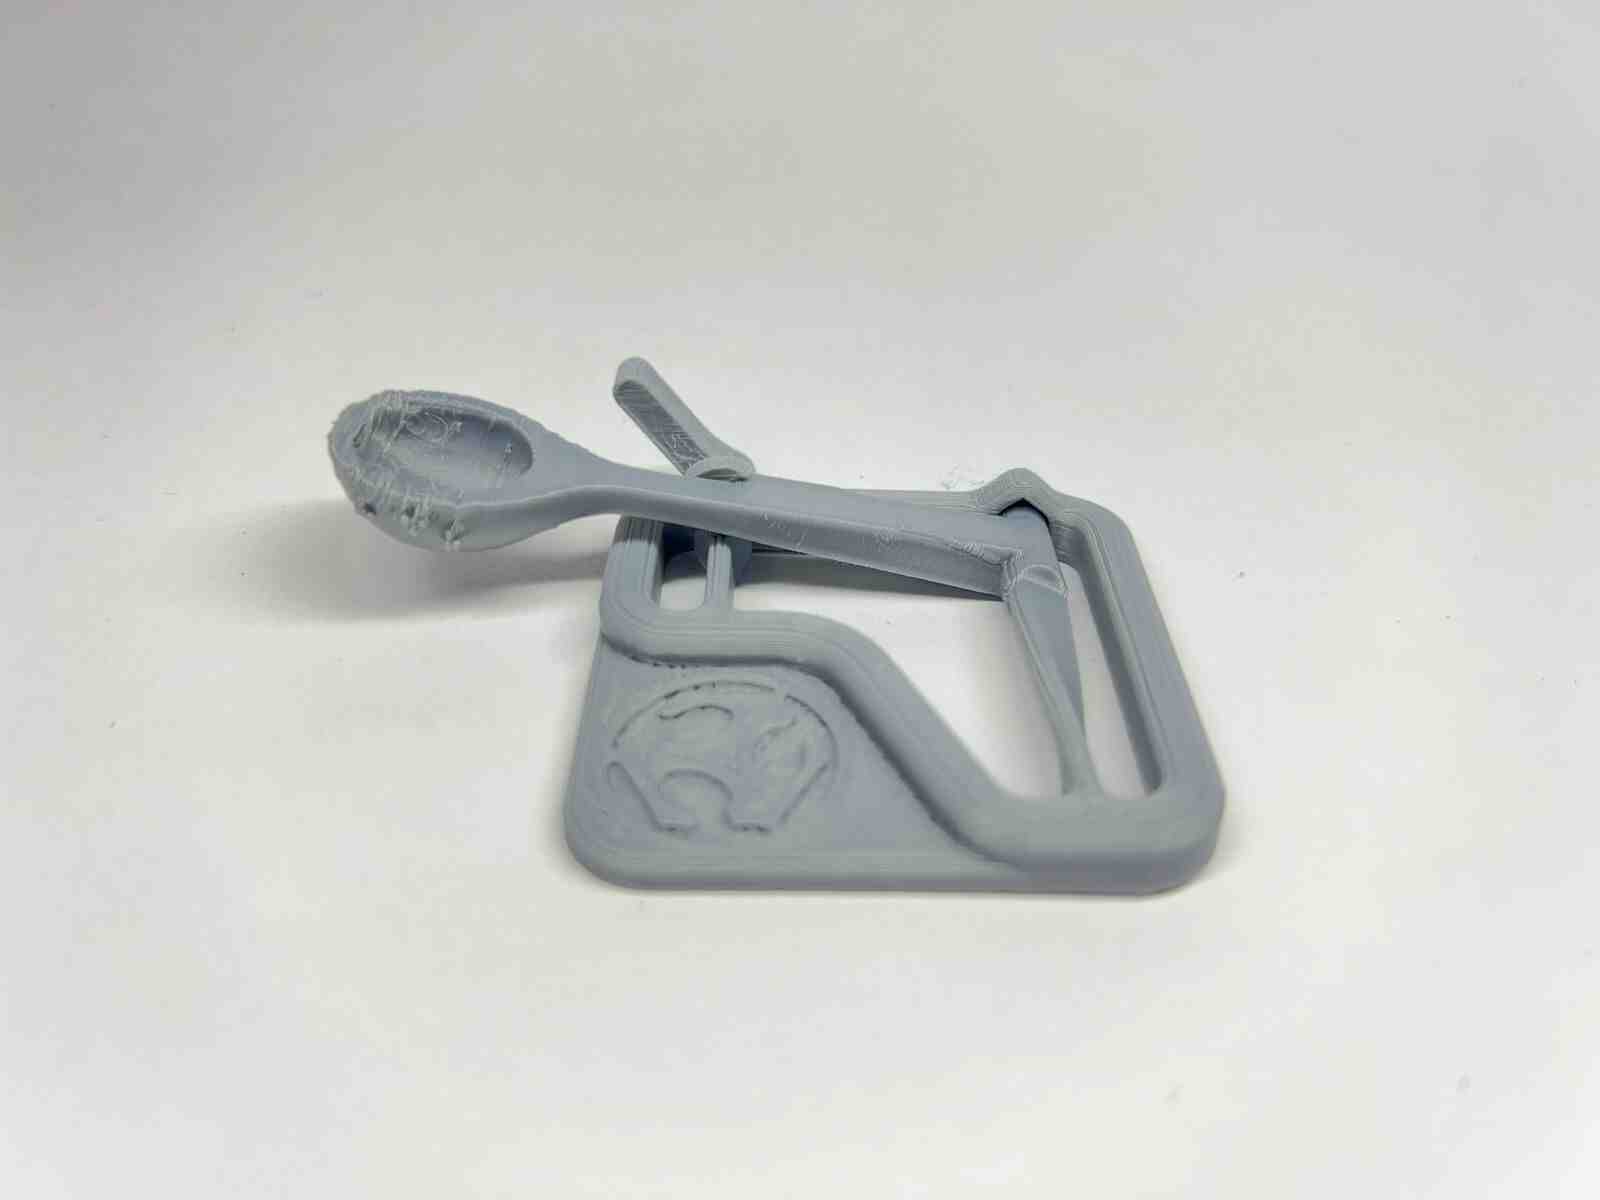
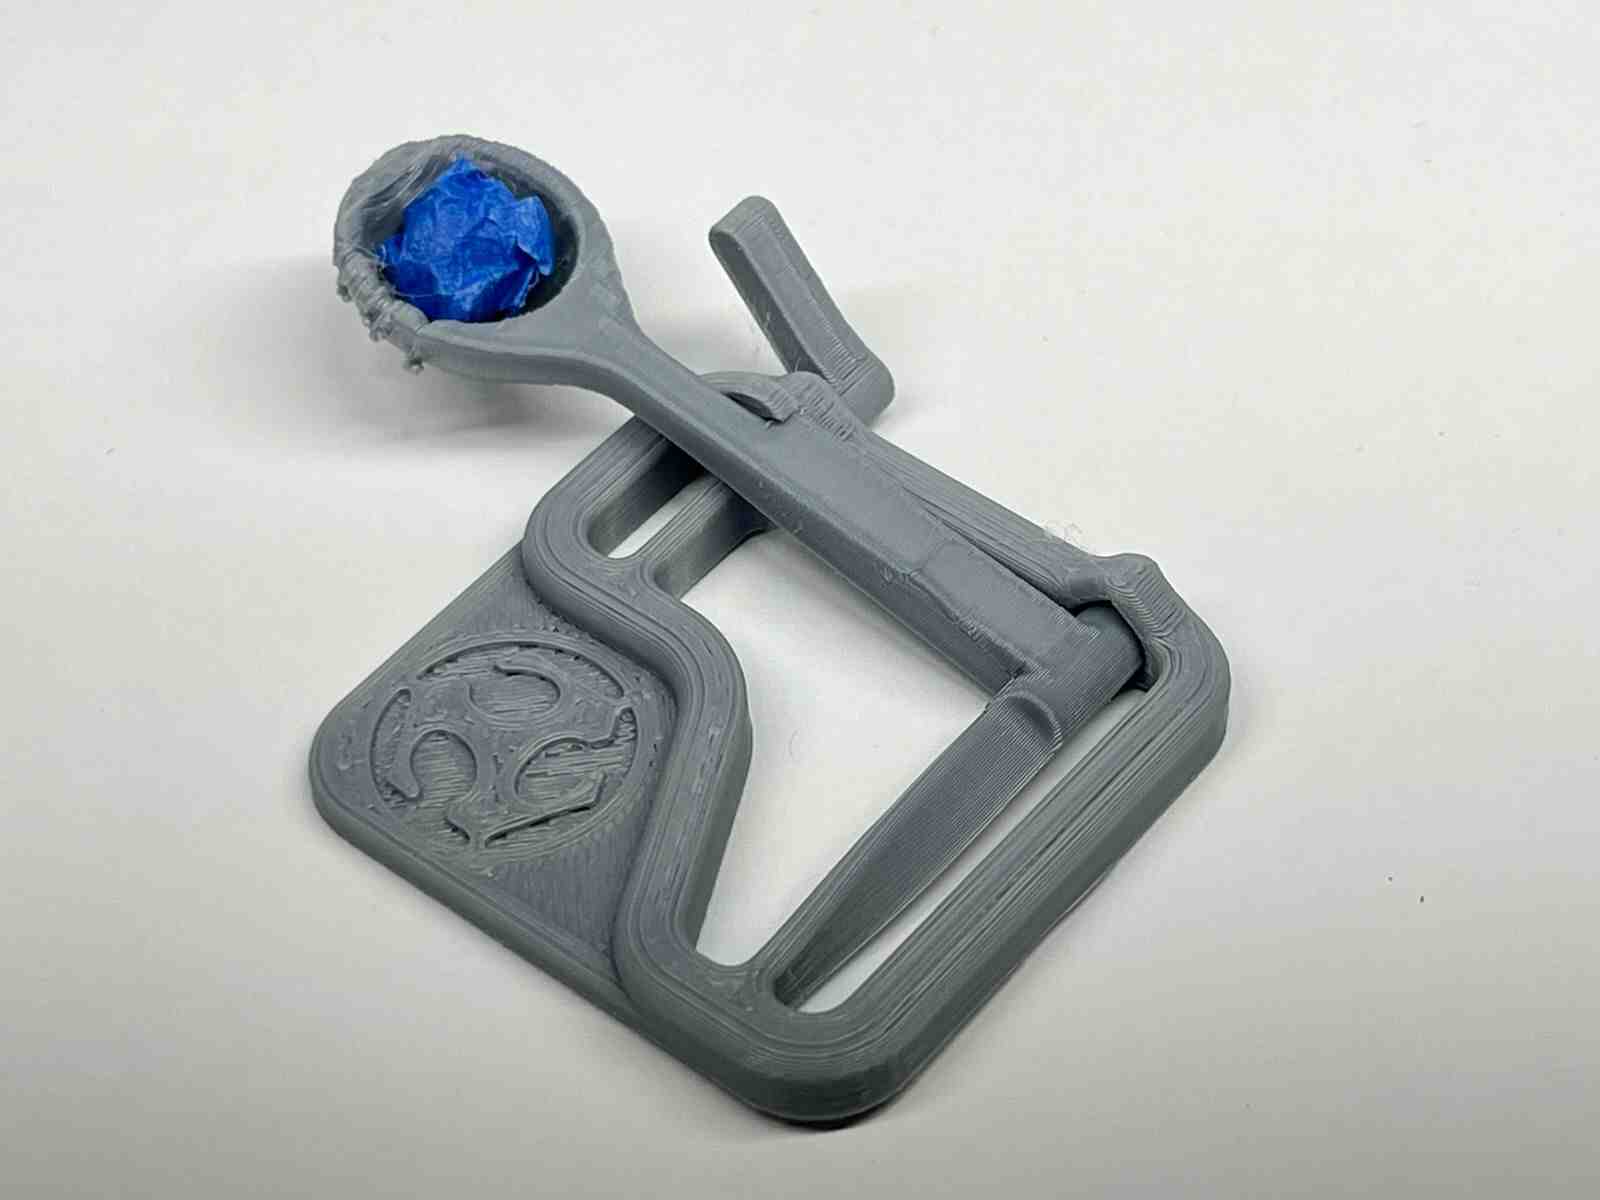
it is an internet model that attracted me because of how it takes advantage of the flexible property of the material to use it for the catapult mechanisms, and this model belongs to the FAB LAB
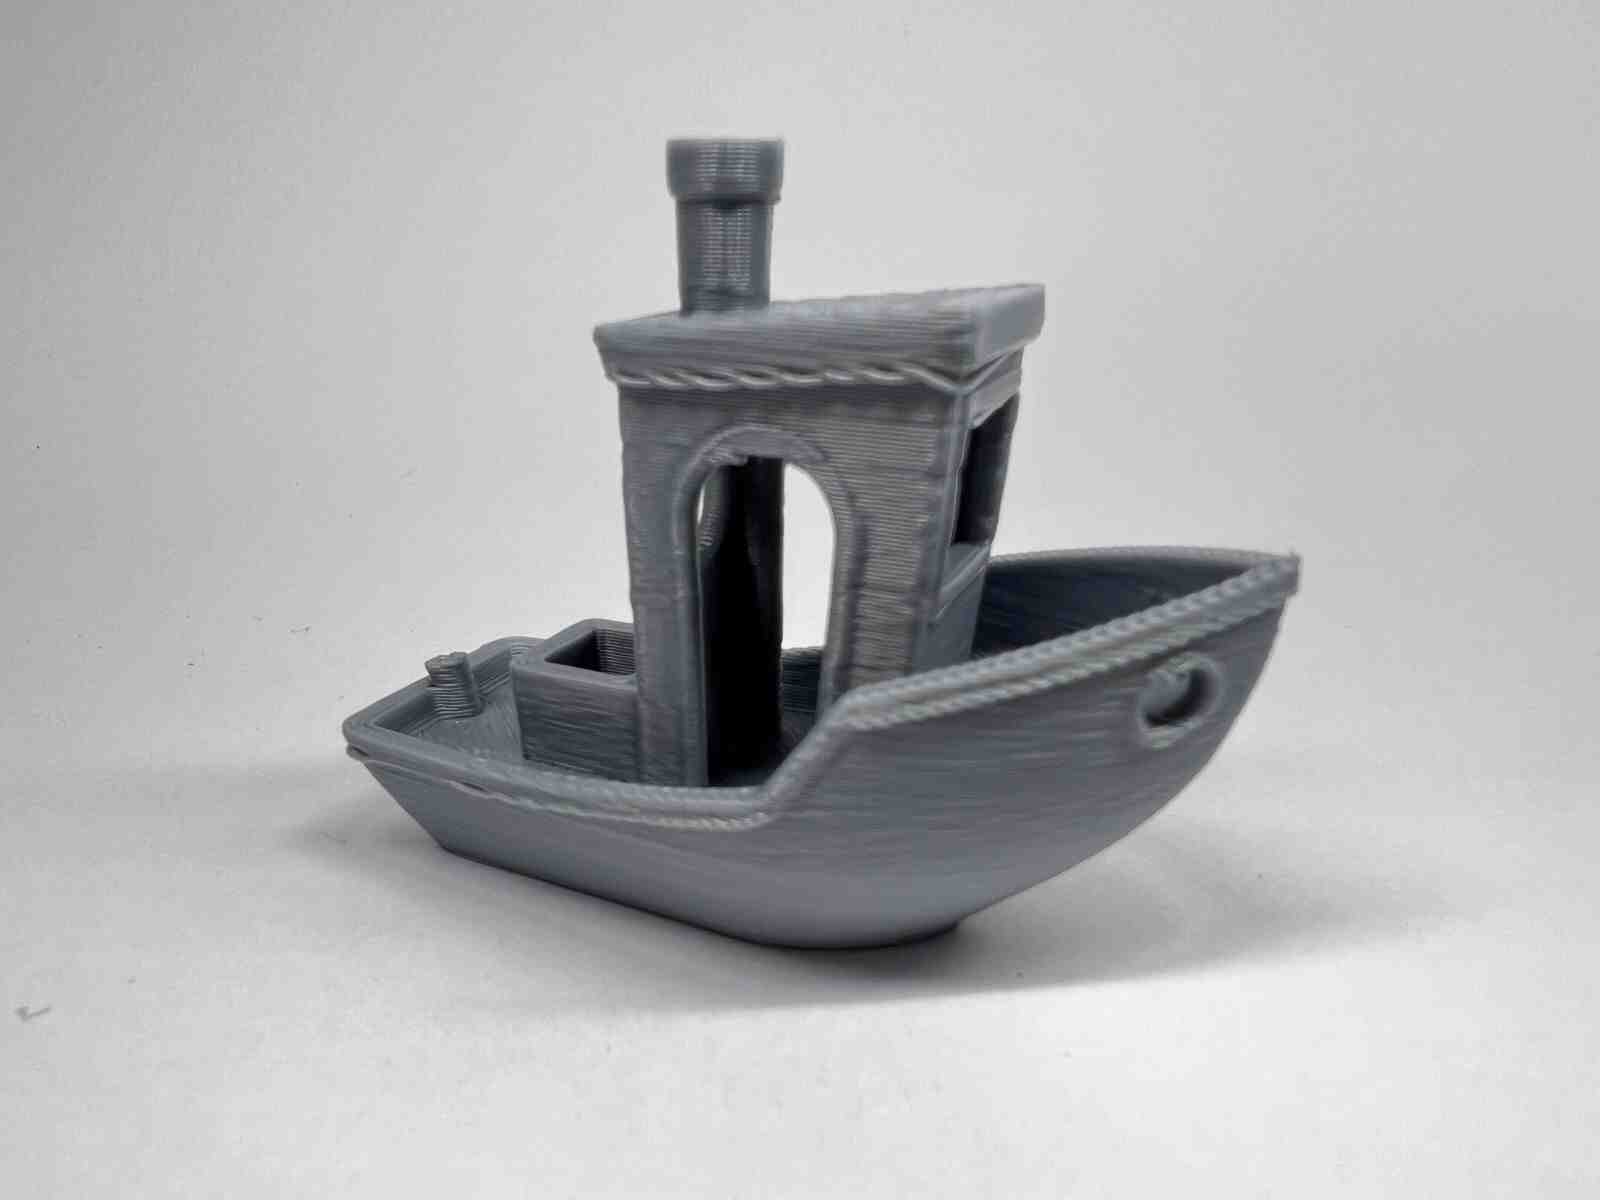
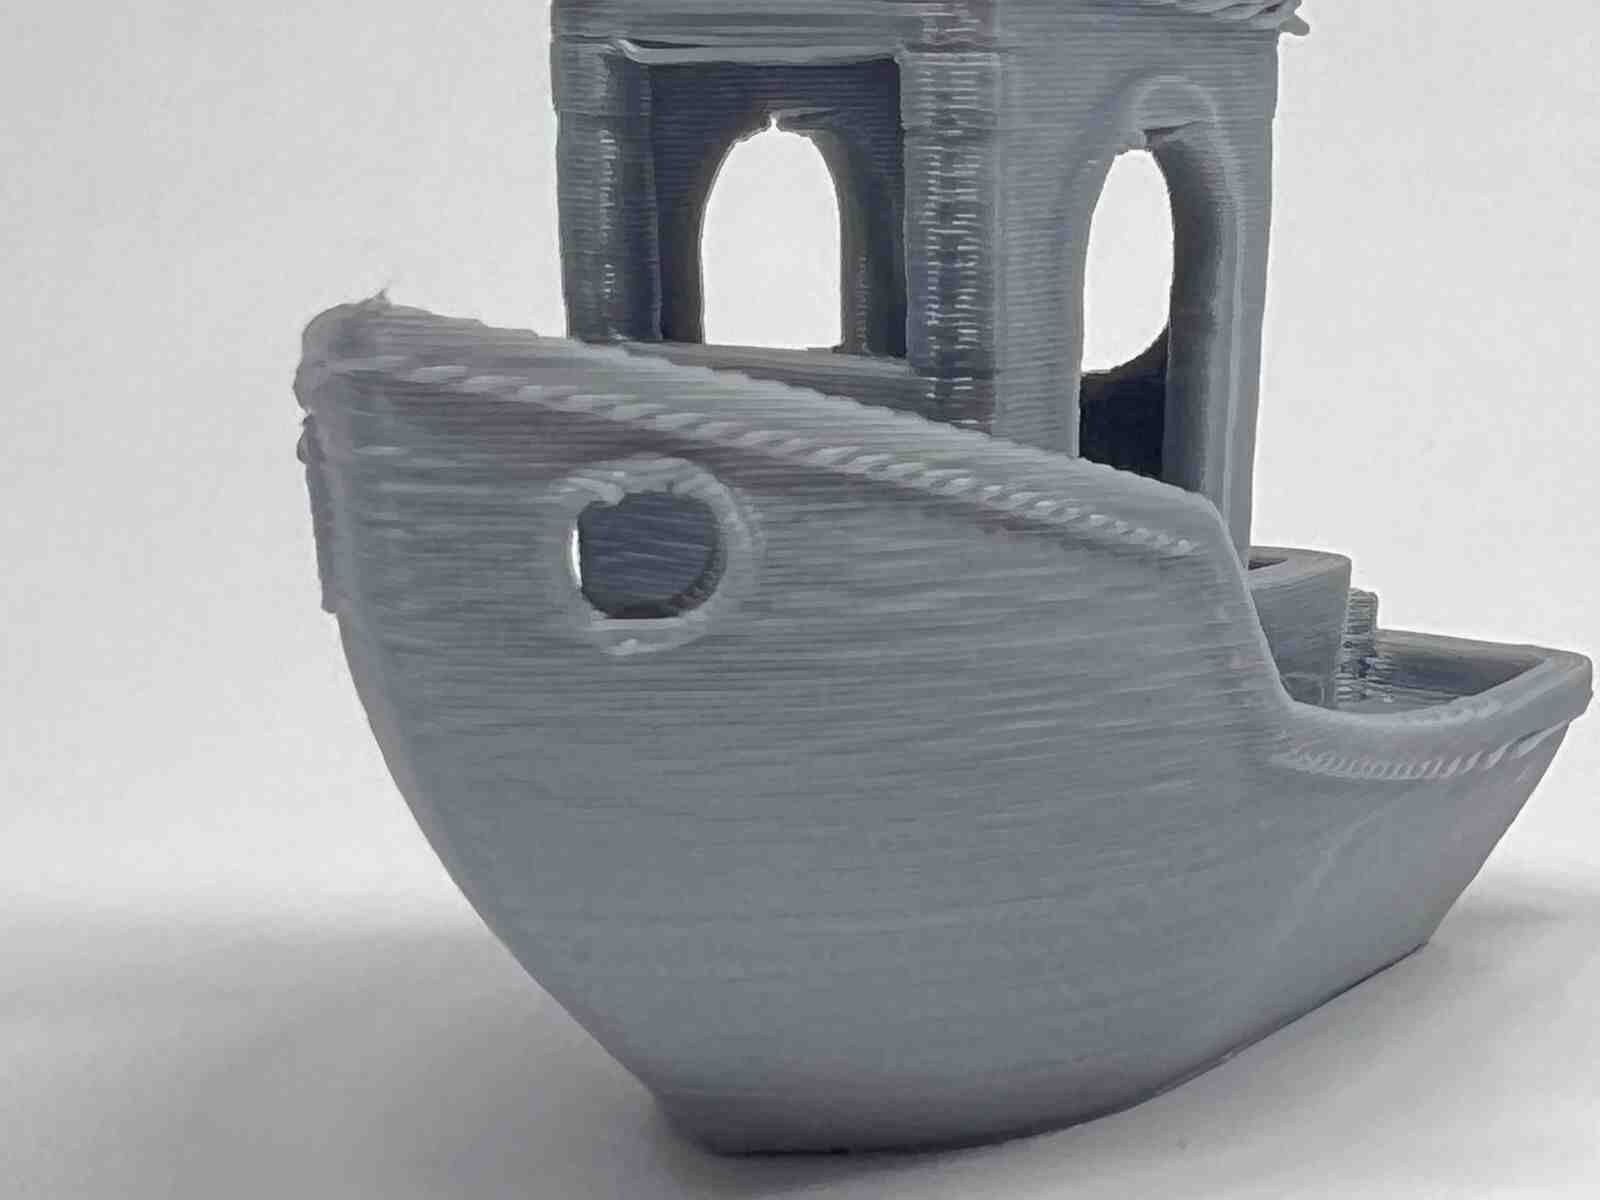
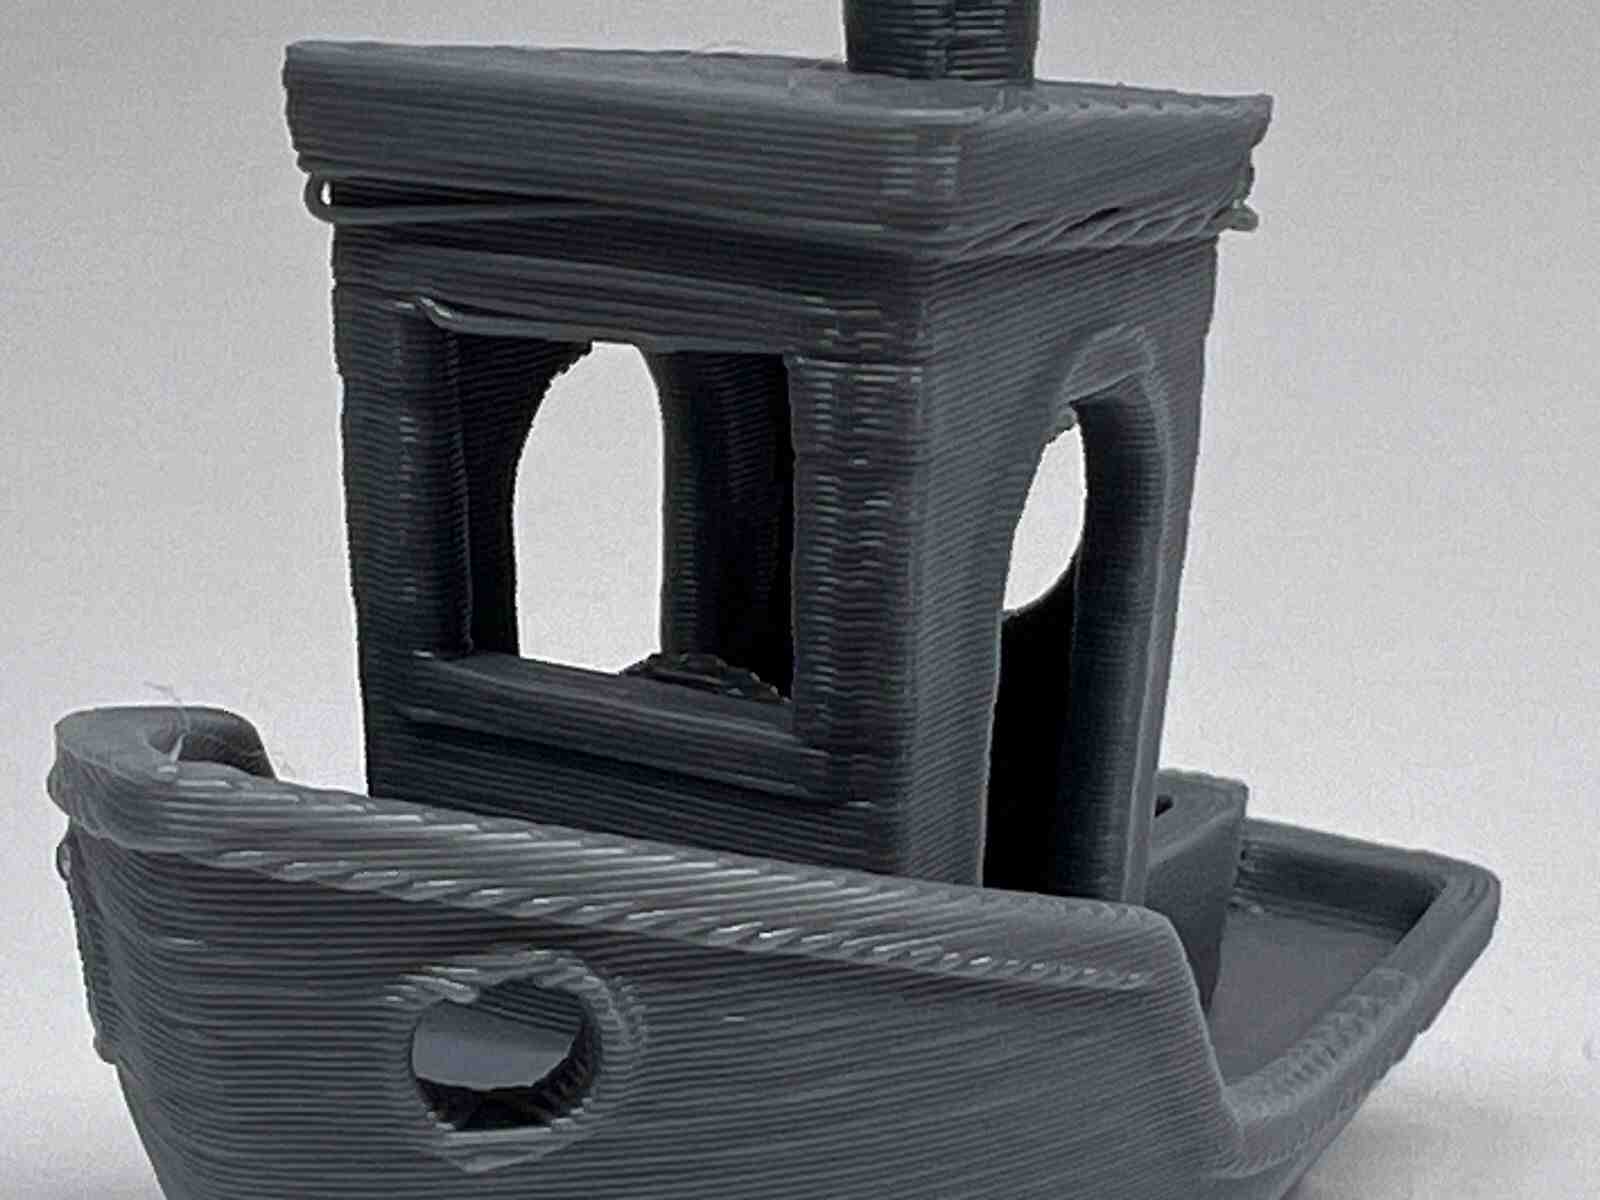
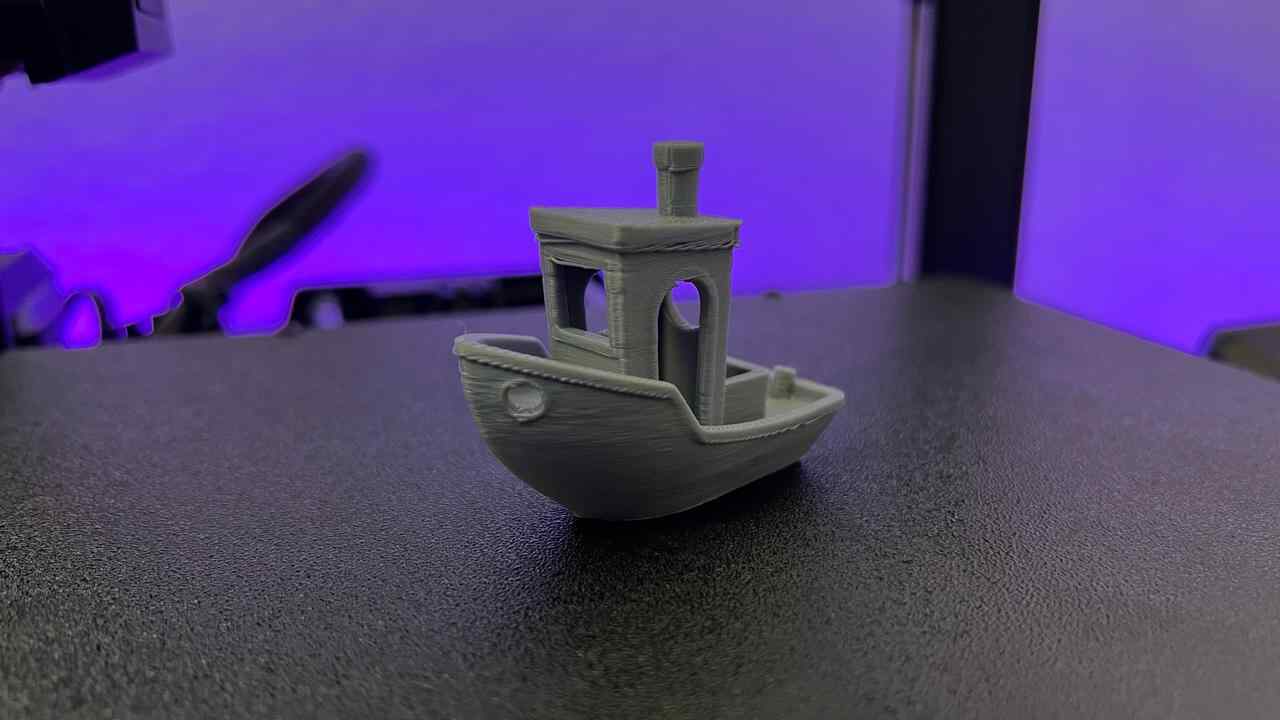
The benchy is one of the best-known stl models in the world of 3D printing and works a lot for testing the quality of the printer, it is one of my favorite models
RESIN
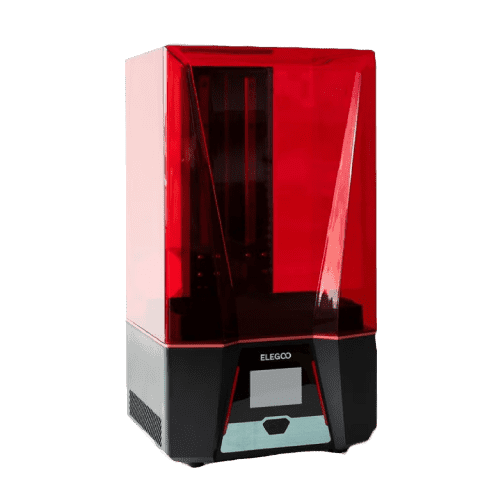
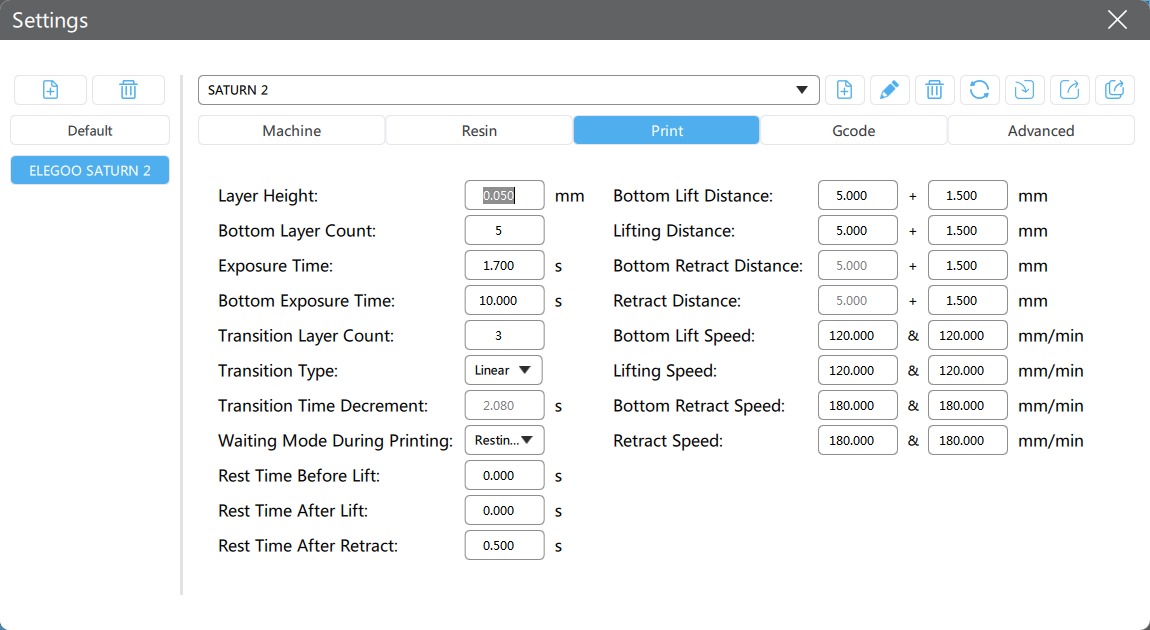
Elegoo Saturno 2
- Technology: MSLA
- Light source: 405 nm UV LED
- XY resolution: 7680*4320
- Z-axis accuracy: 0.00125 mm
- Layer thickness: 0.01-0.2 mm
- Print speed: 30-70 mm/h
- Build volume: 218.88 mm x 123.12 mm x 250 mm
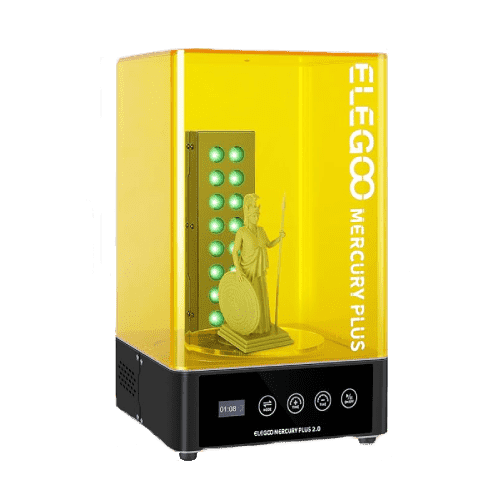
Mercury Plus V2.0
- Control method: Touch button
- Rated power: 48w
- Uv light: 405nm (8+8)
- Time settings: 0-30 mins
- Maximum curings size: 140*165mm
- Maximum wash volume: 124mm*90mm*110mm (with platform) 131mm*90mm*220 mm (without platform)
PROGRAM
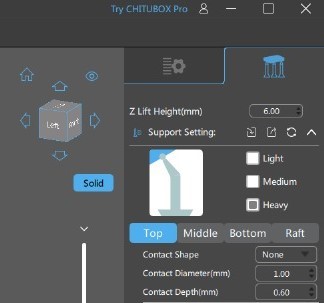
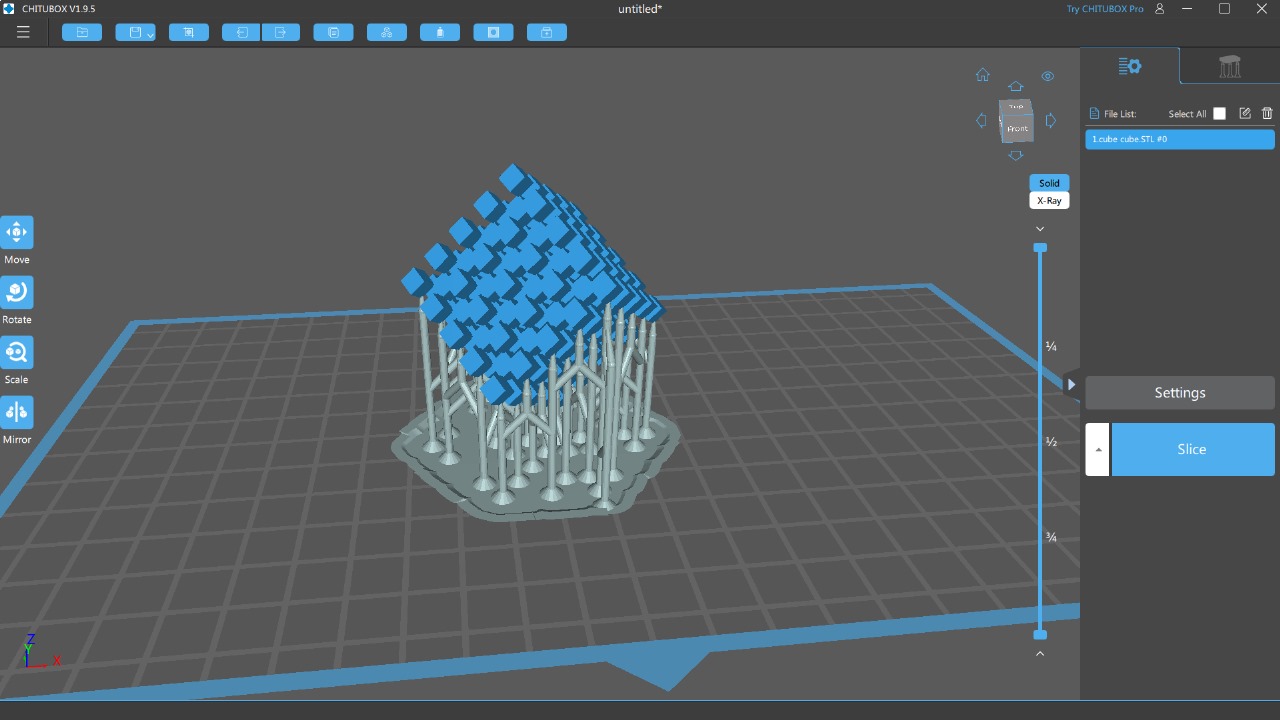
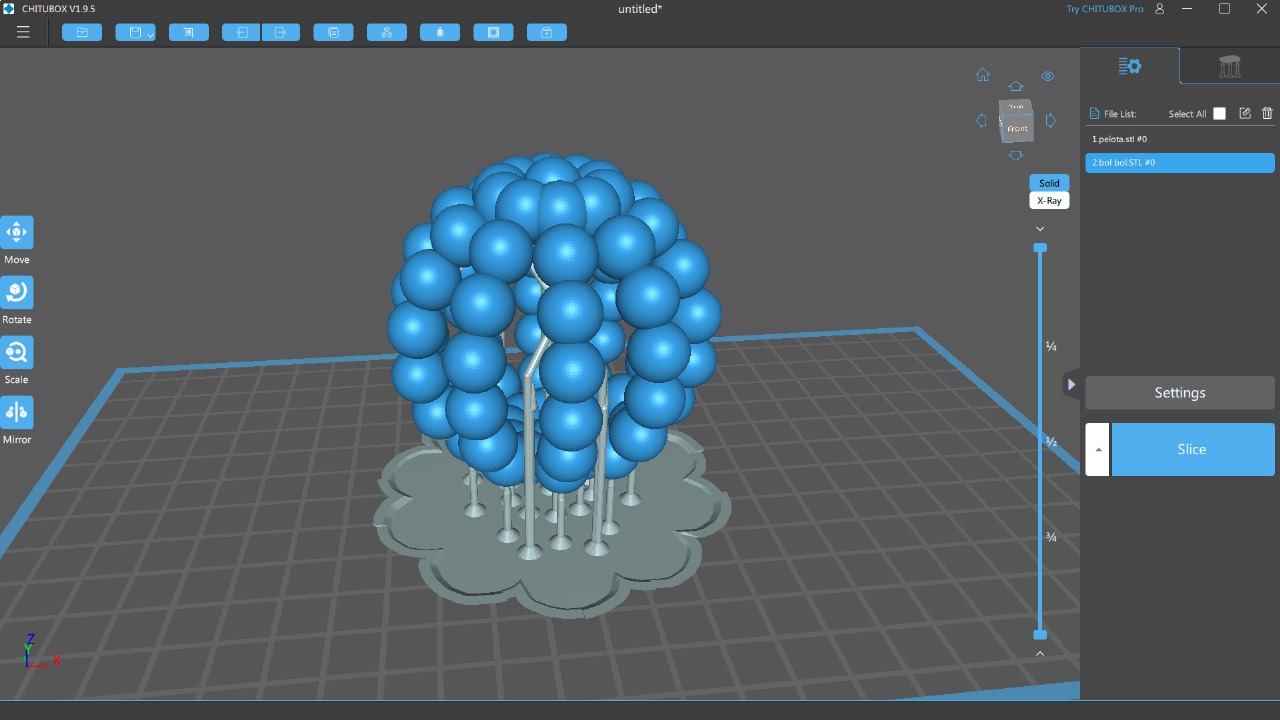
chitubox
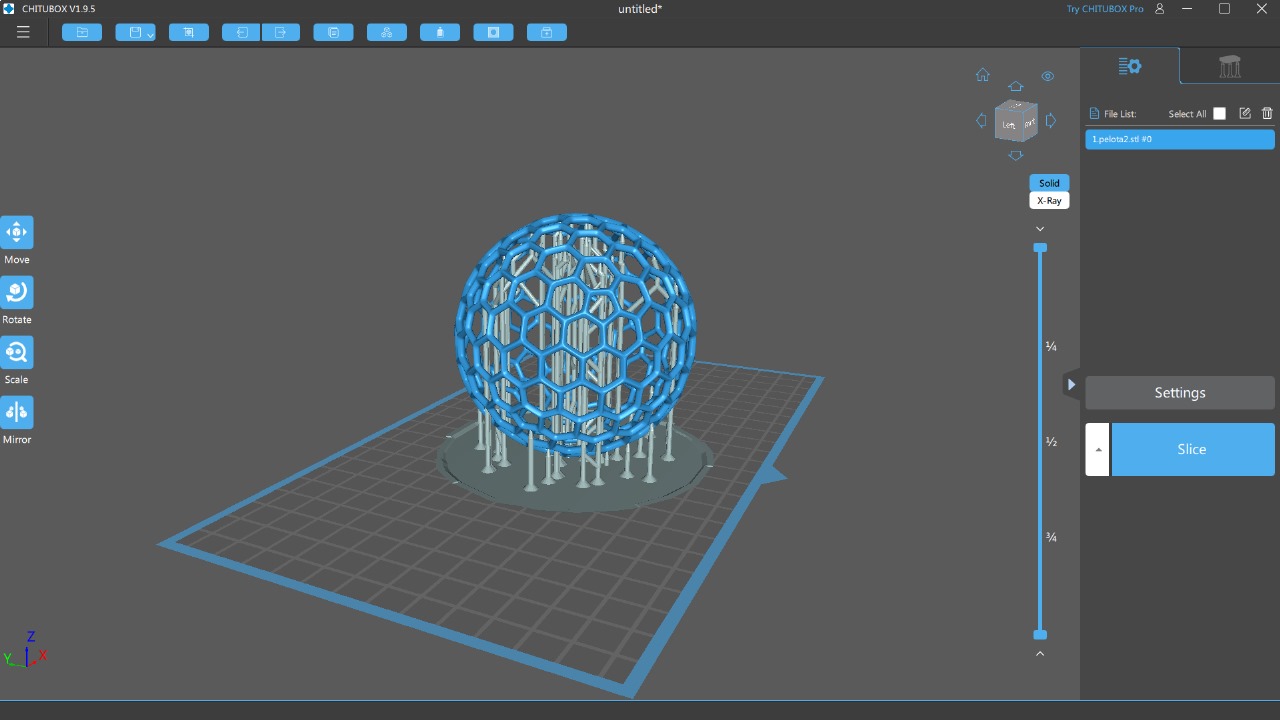


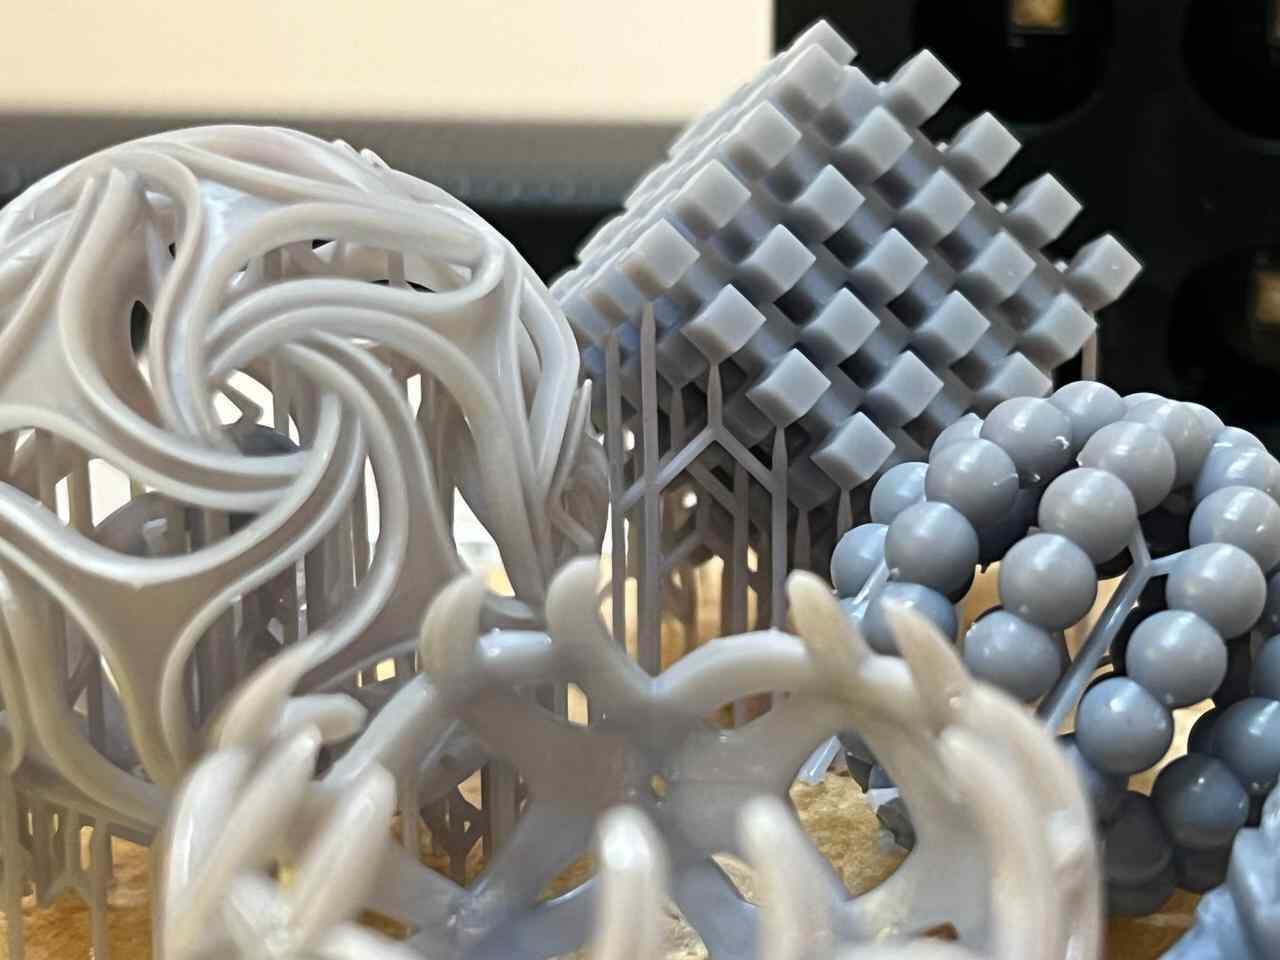
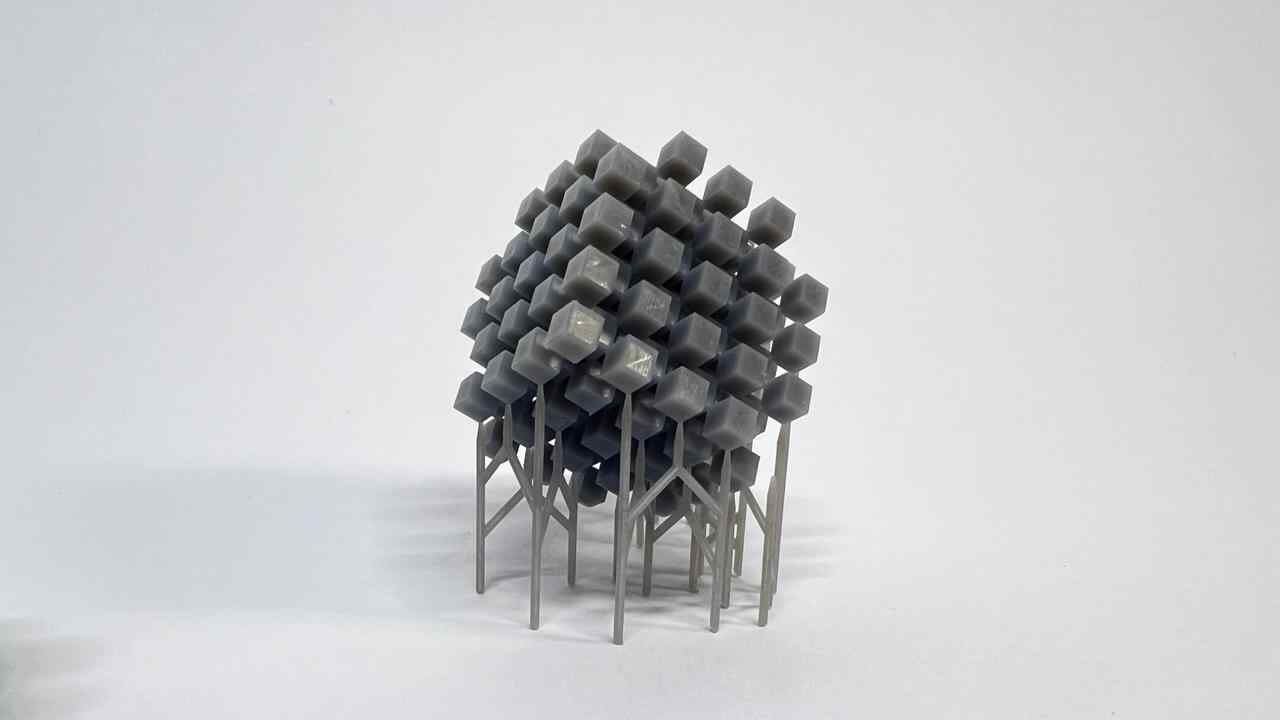
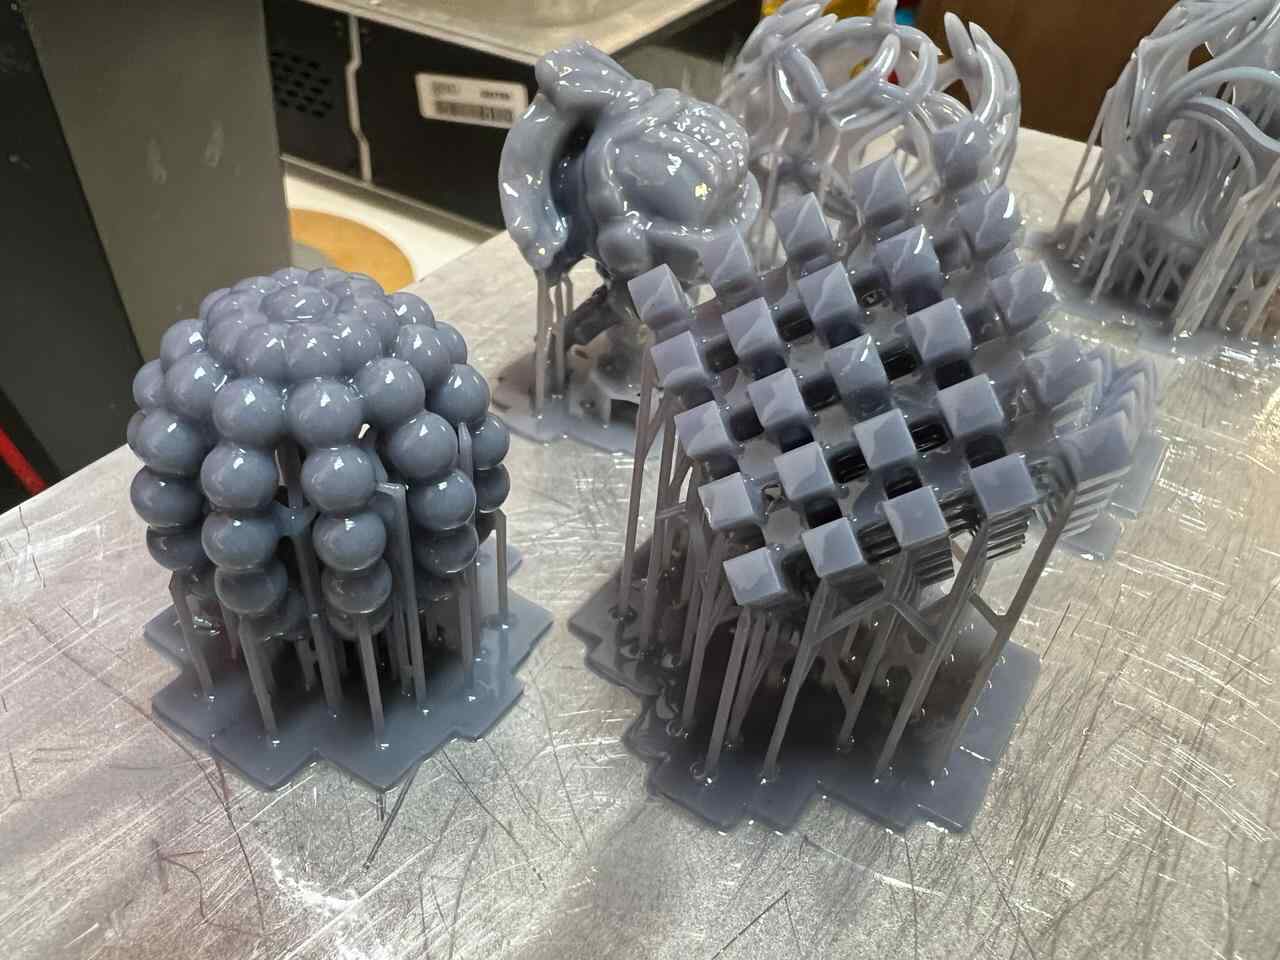
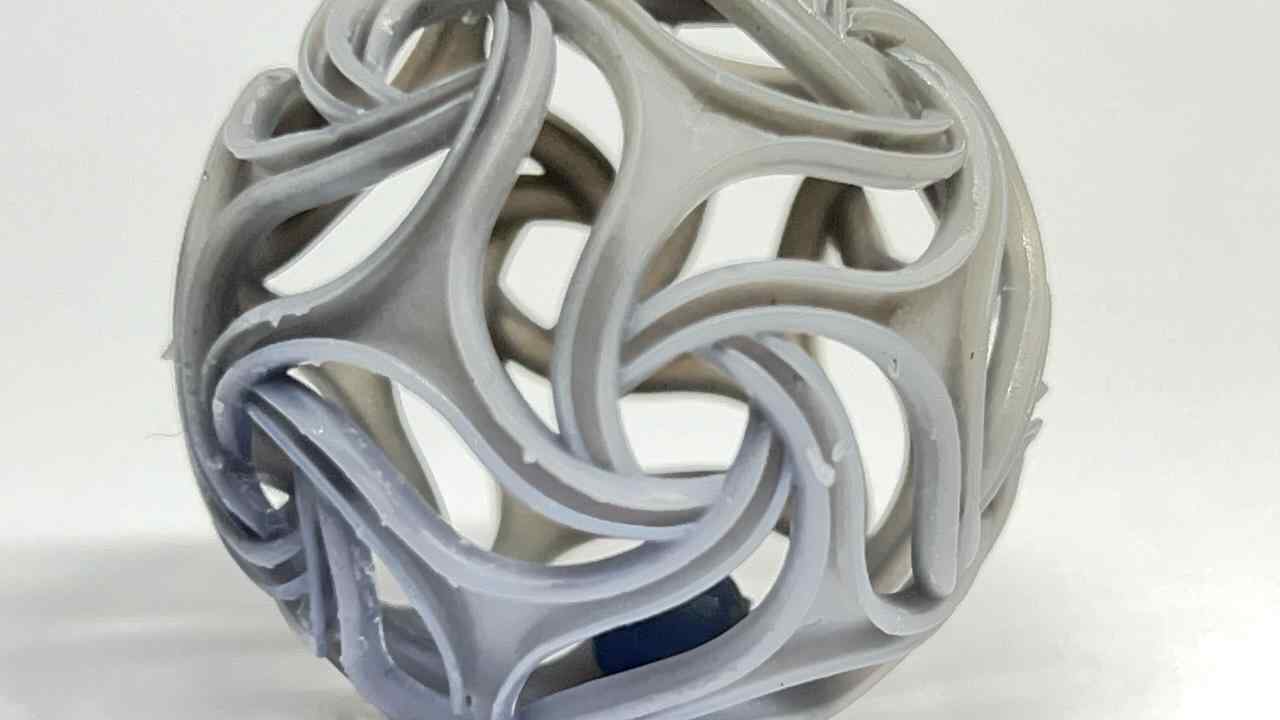
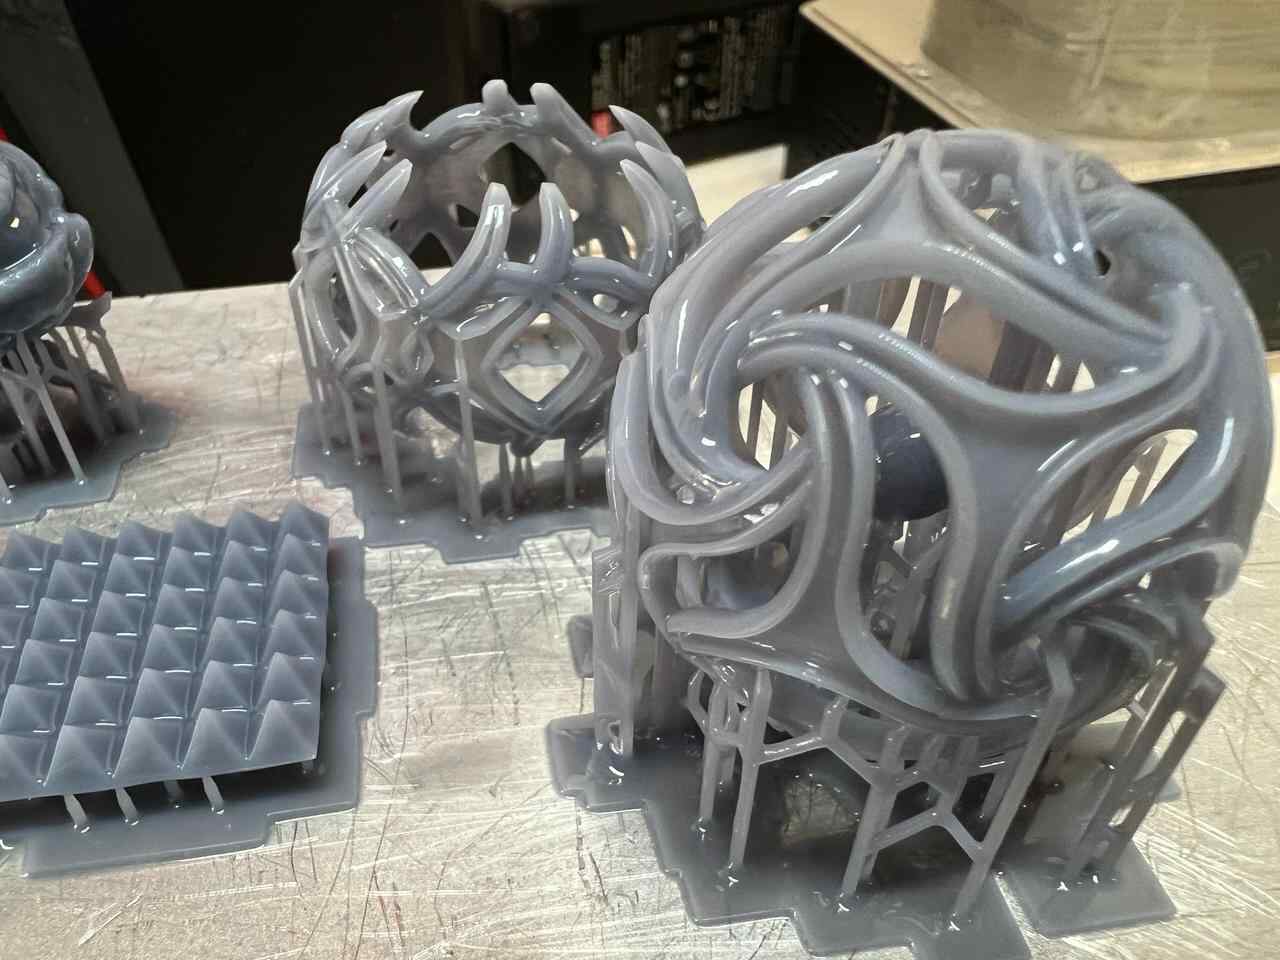
IMPRESSIONS
Designed by my
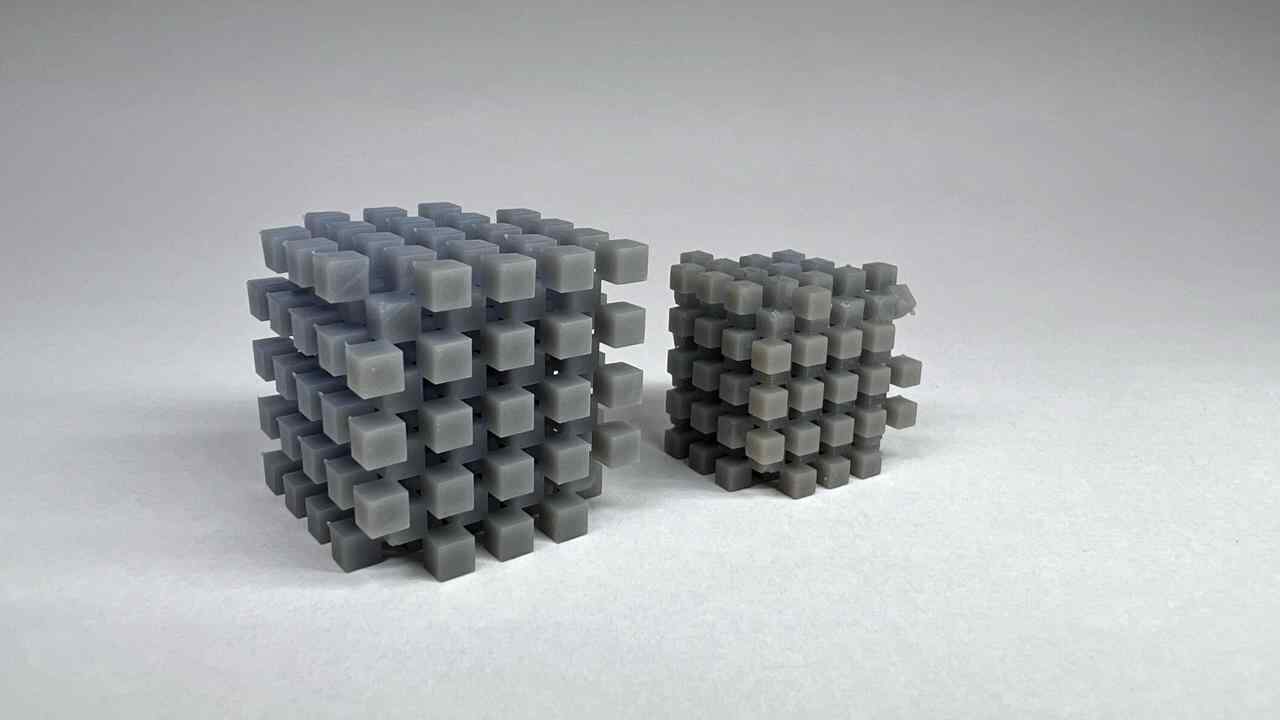
Designed by my
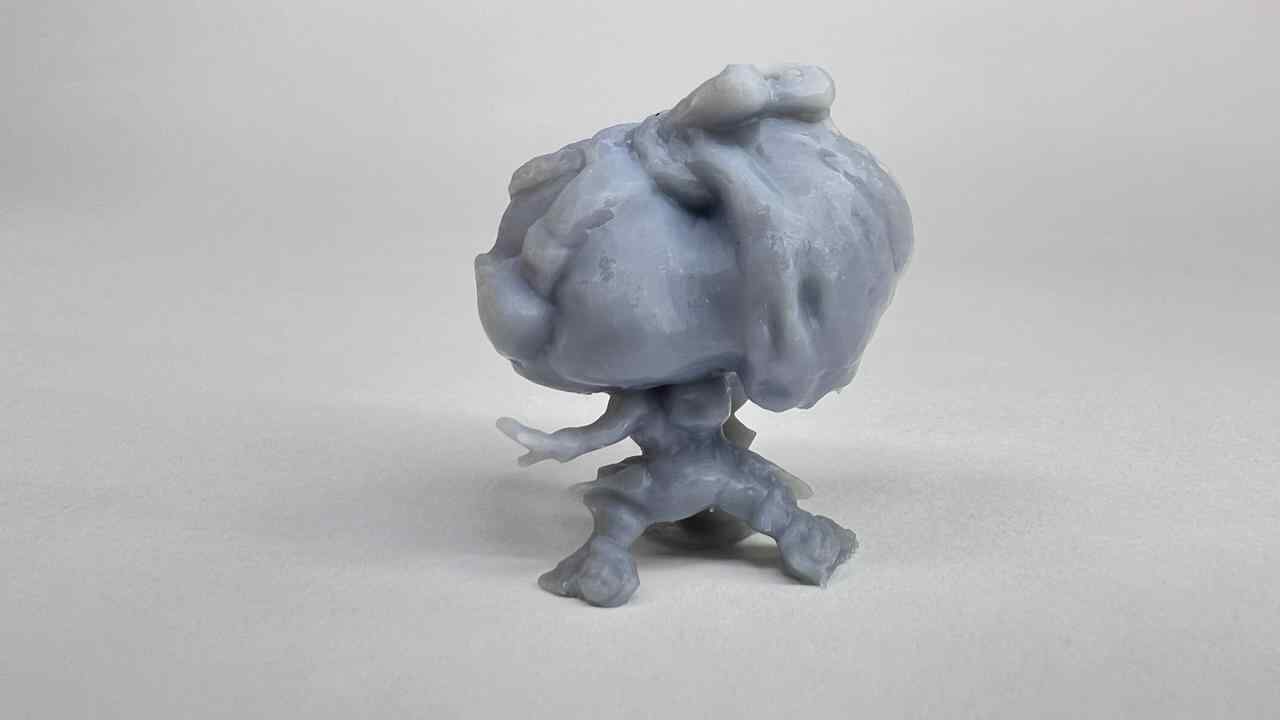
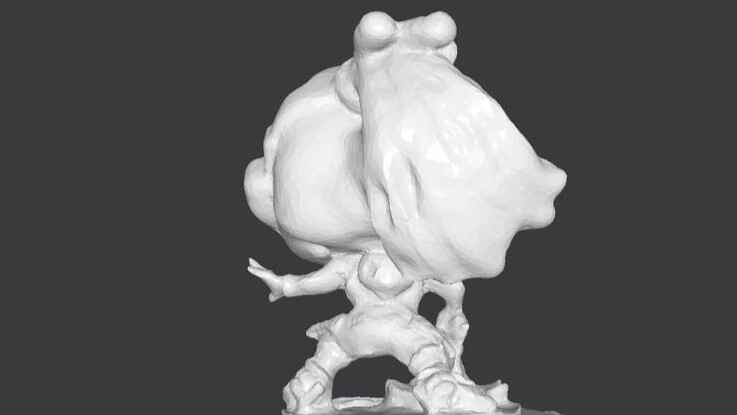
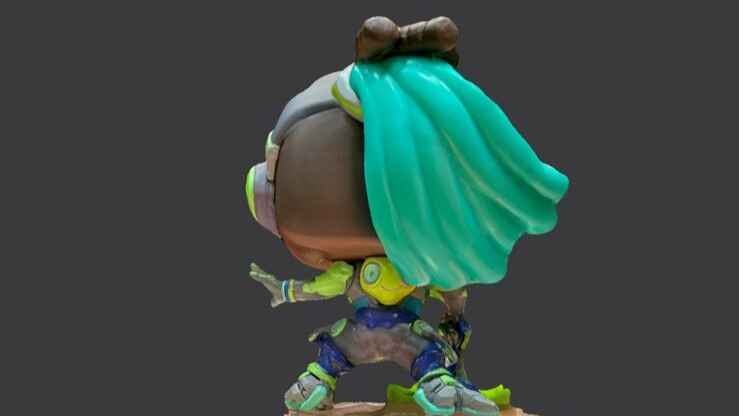
Scanned by my
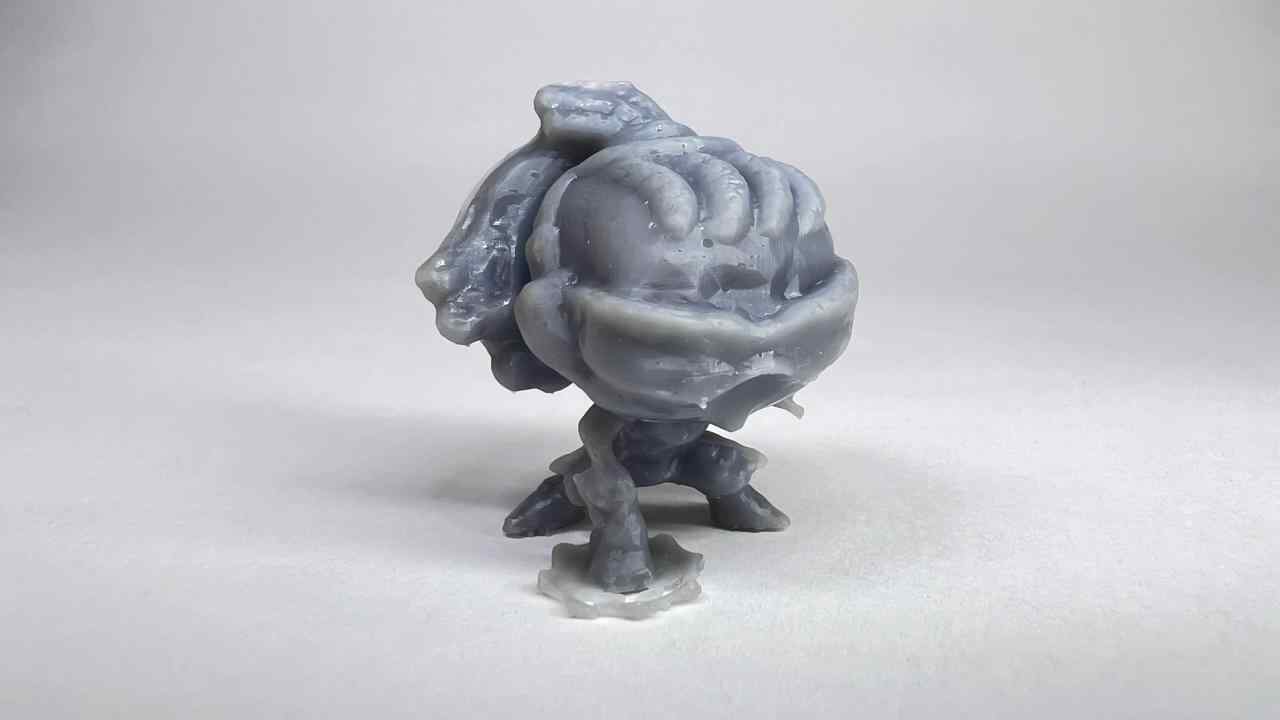


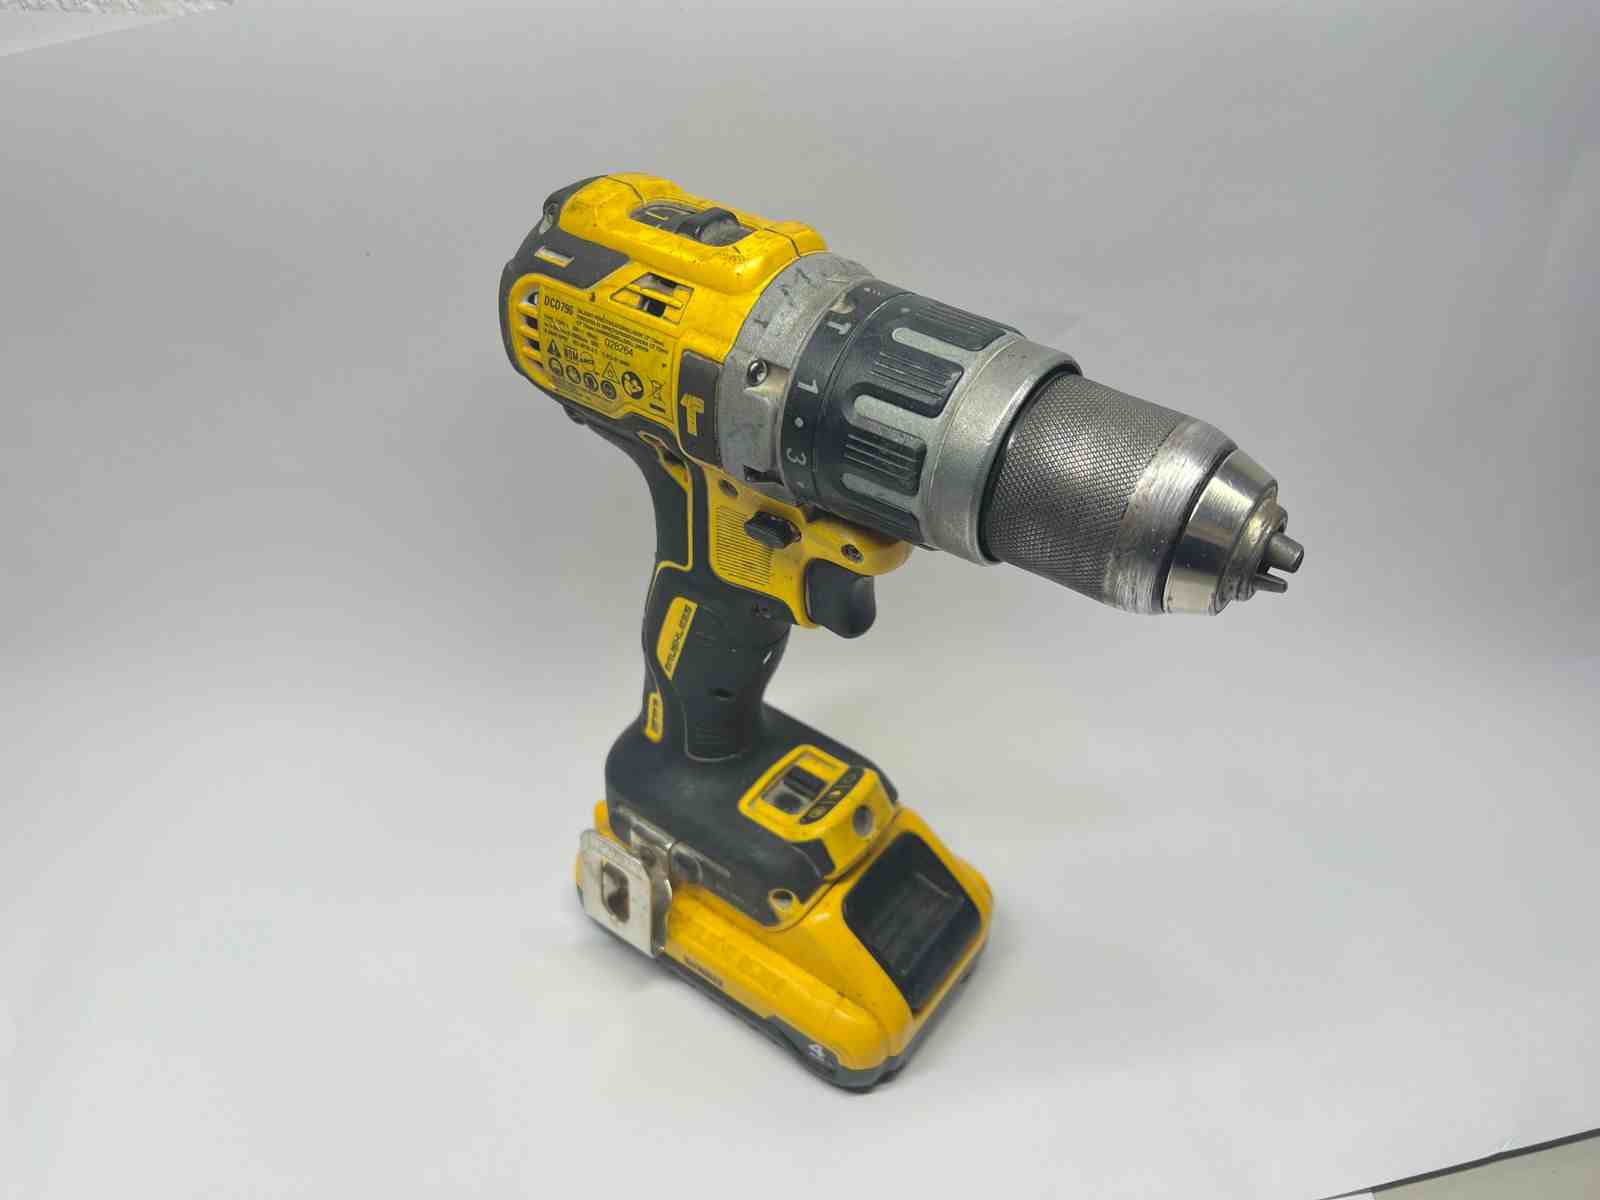
Gallery of images of the piece that was scanned using the 3D scanning application; I used a friend's Lucio Funko Pop.

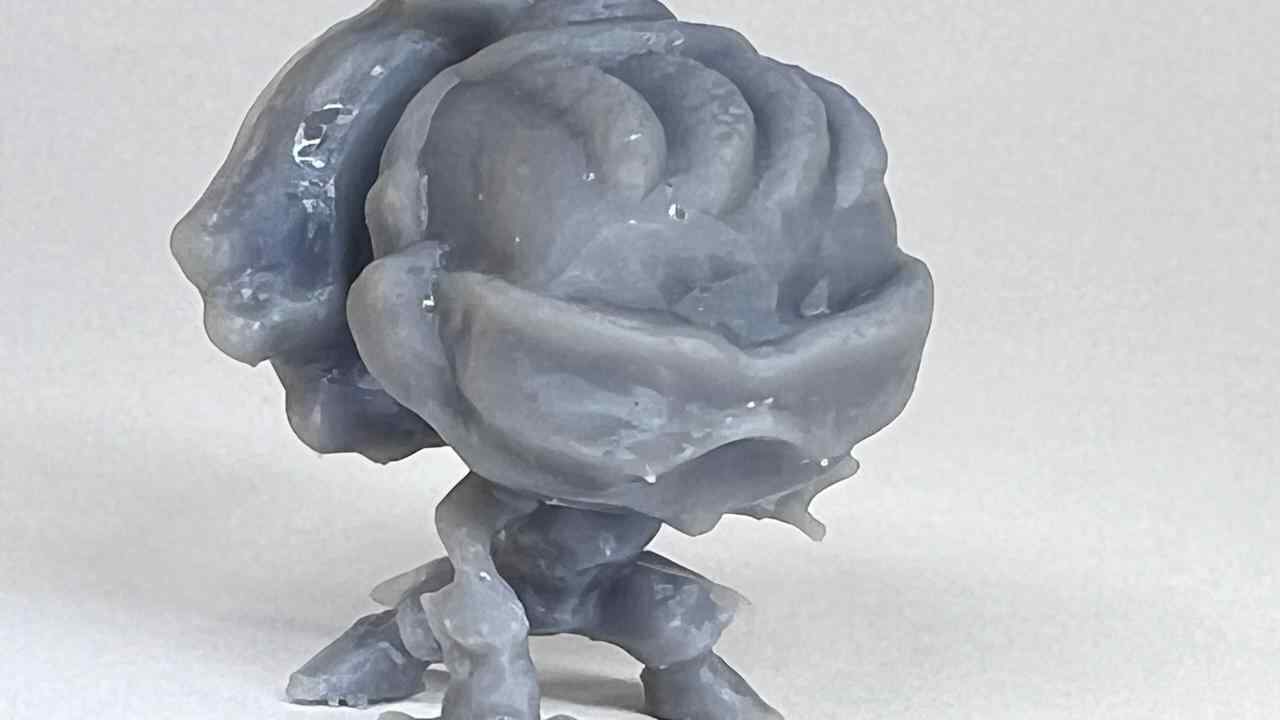
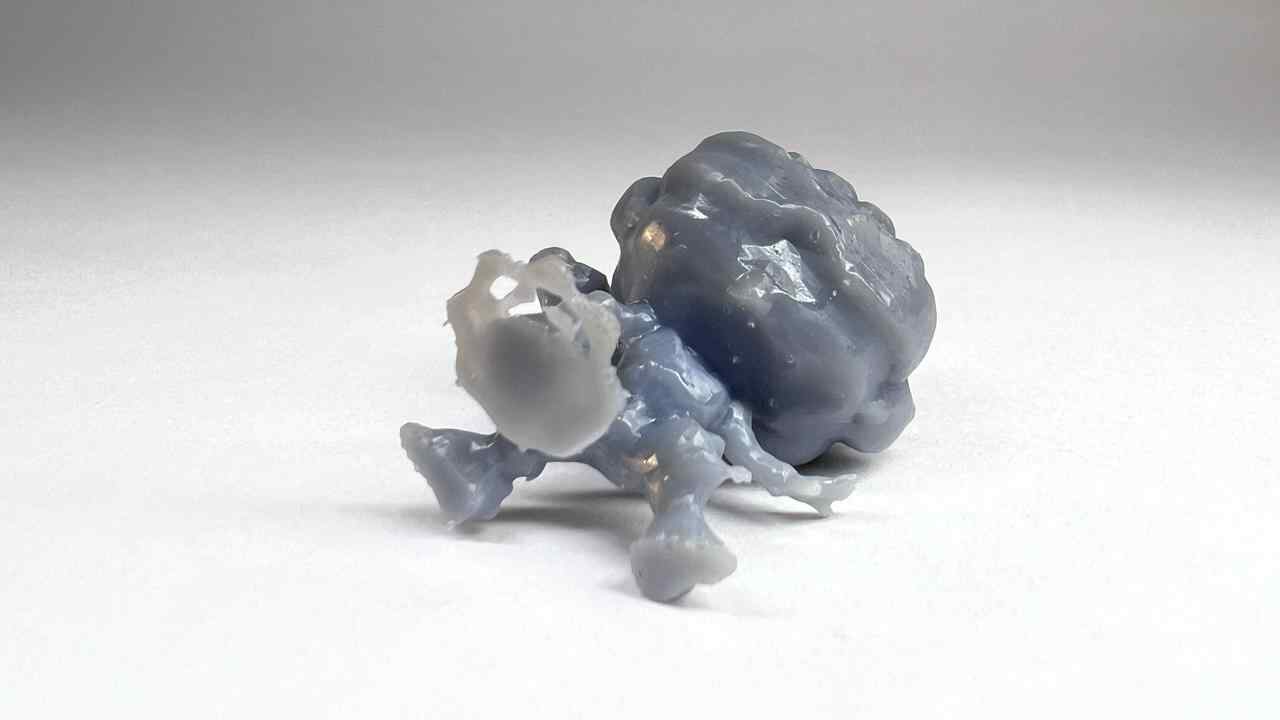


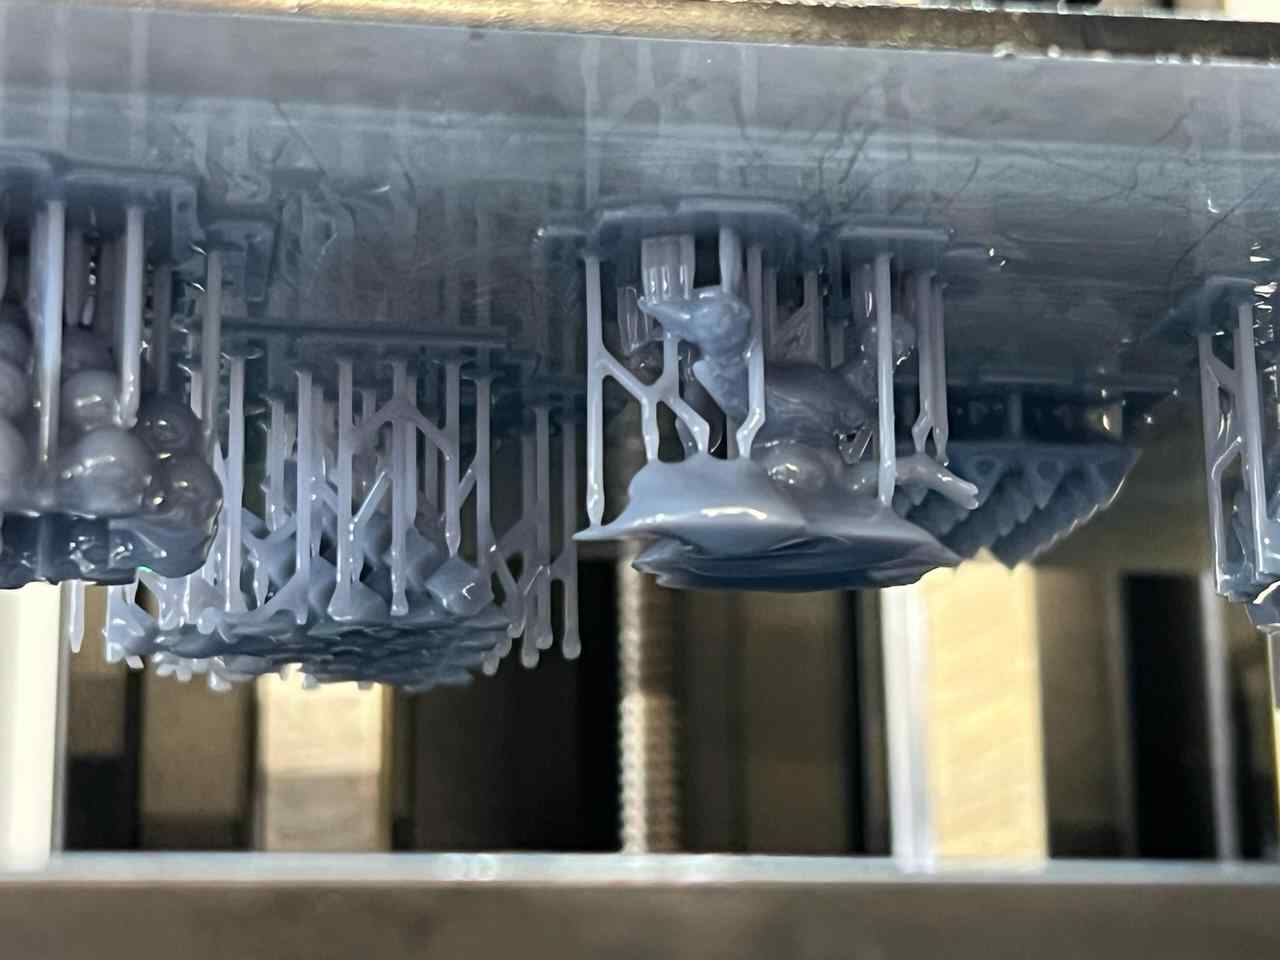
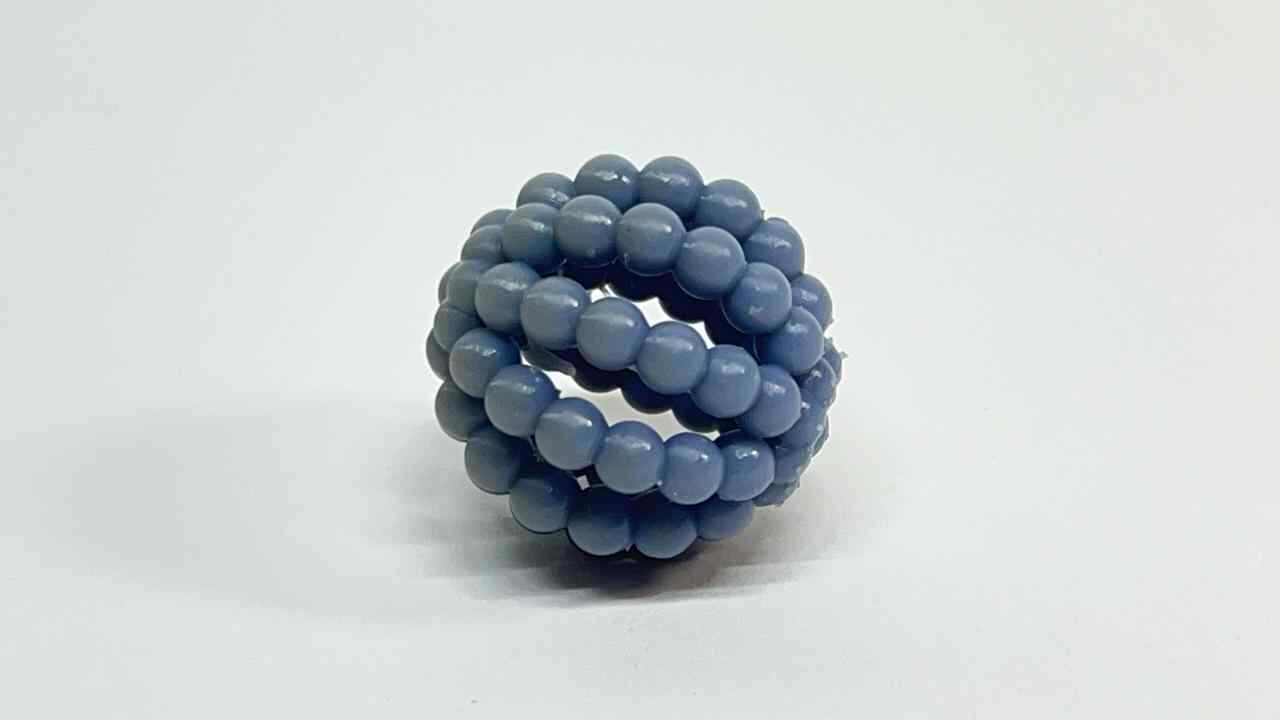
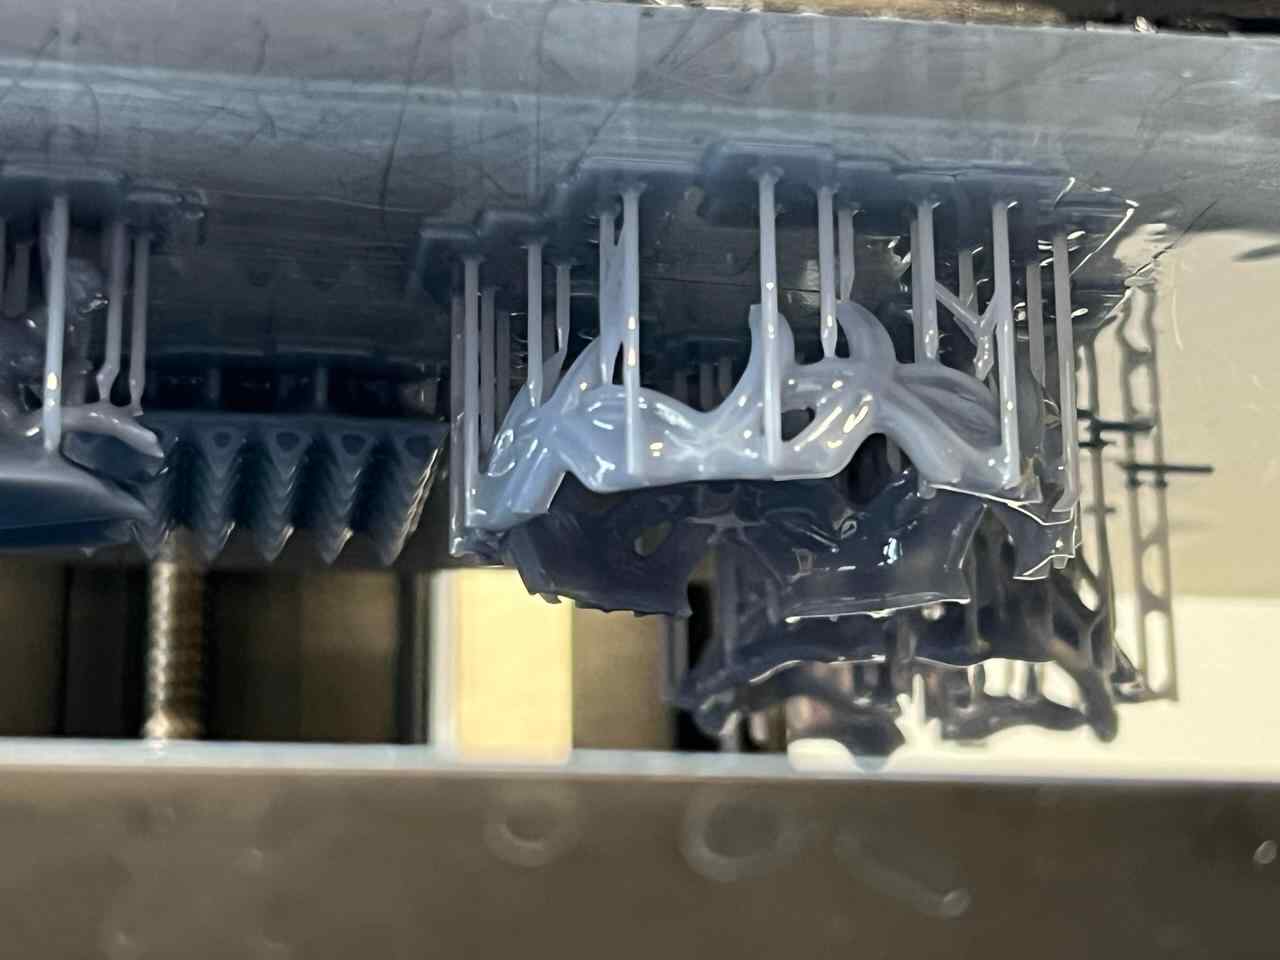
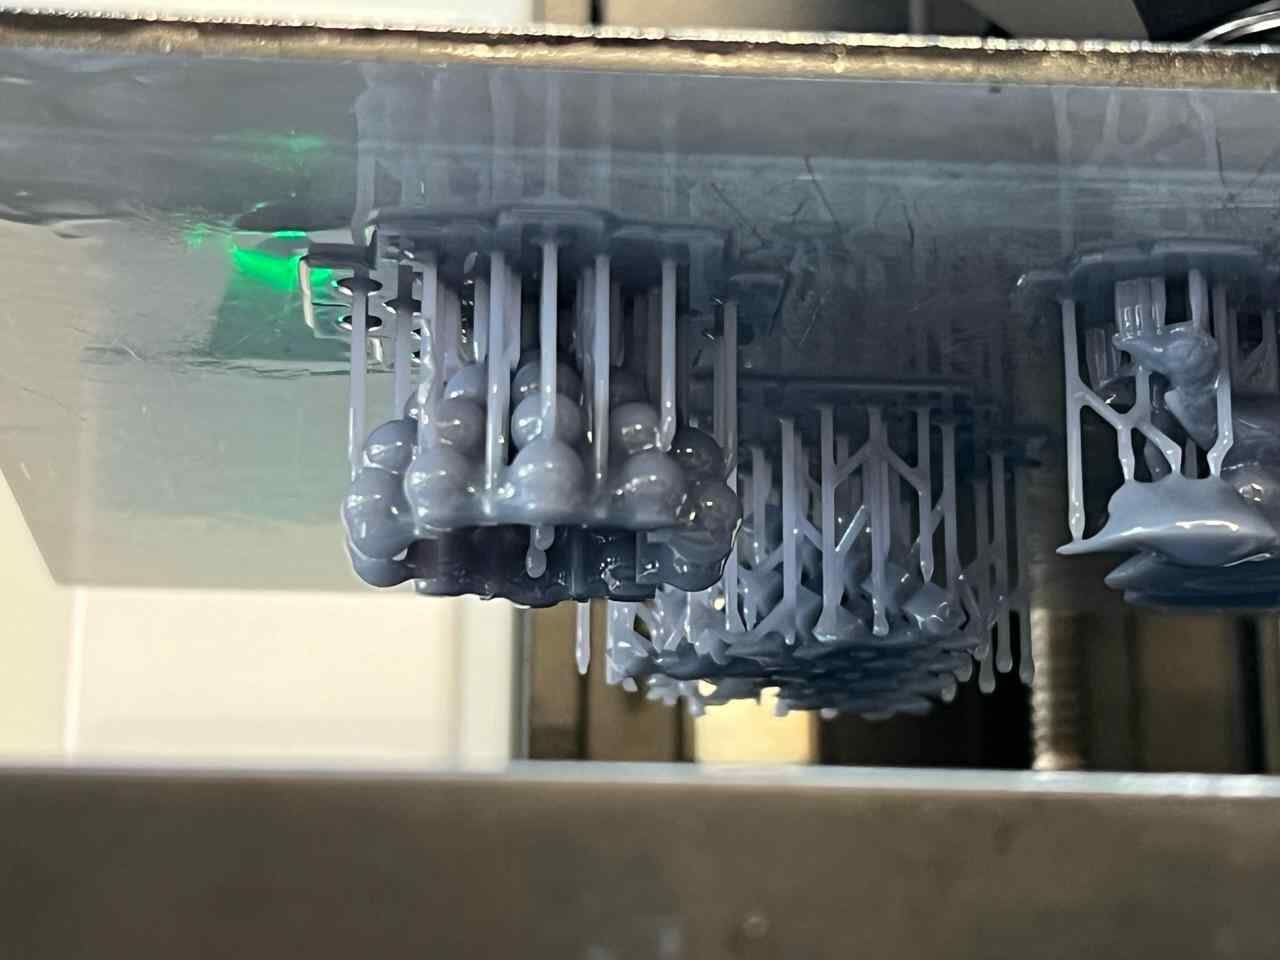
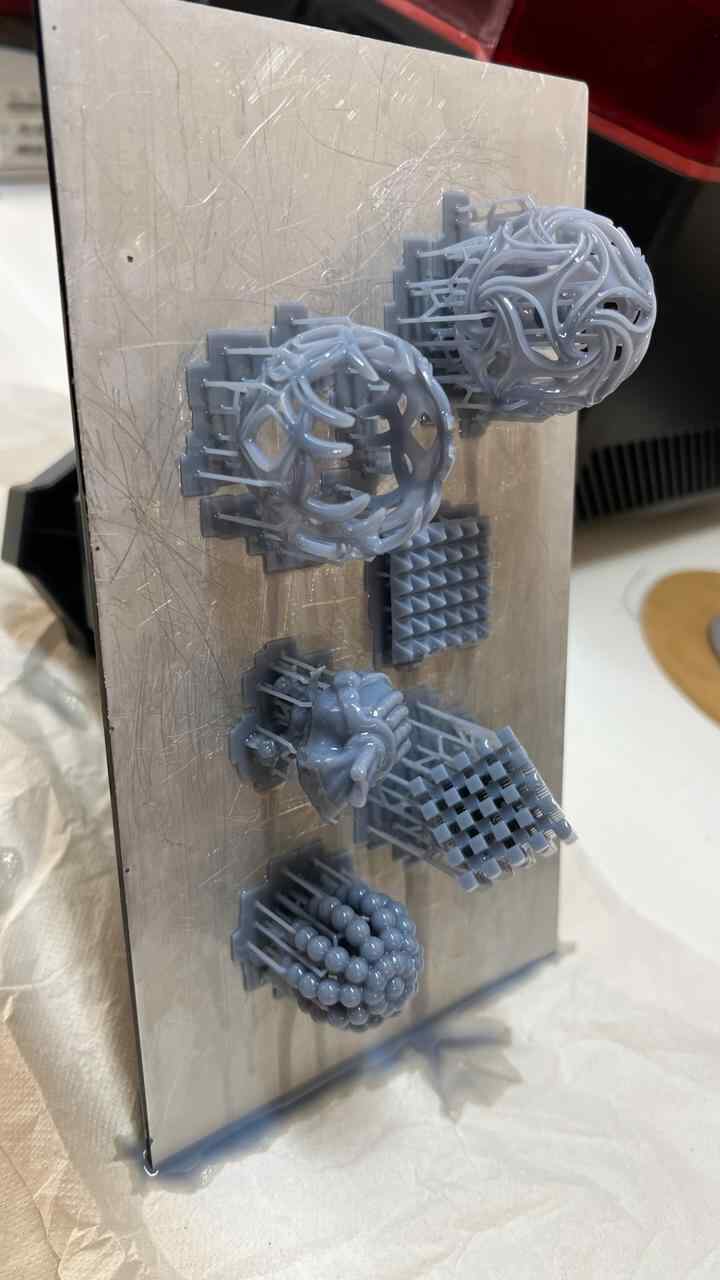
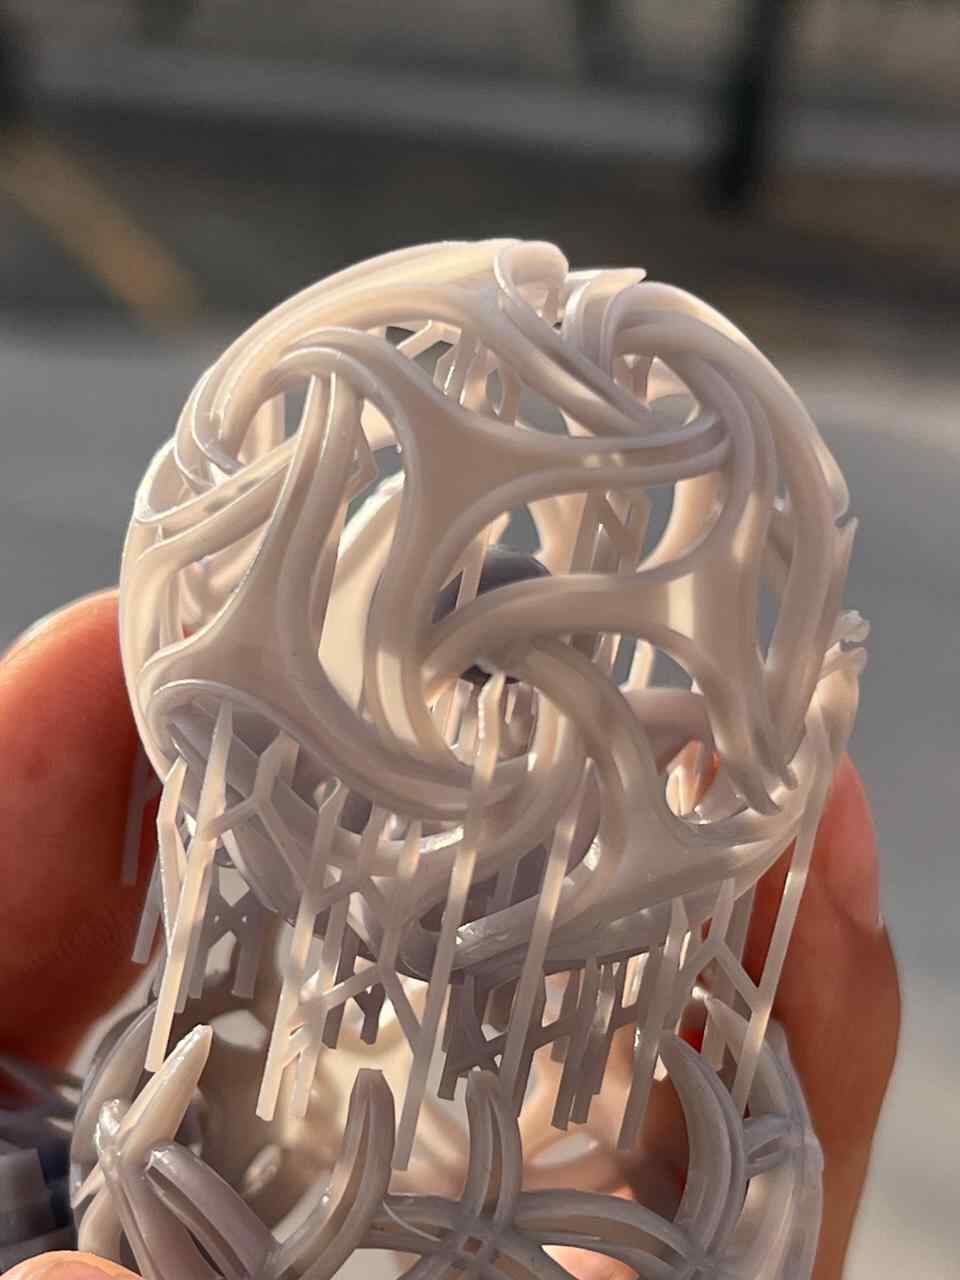
More images of resin prints, here are pieces of mine and pieces from a colleague. The last two images show failures I had while printing. I tried printing in a flexible resin but didn't have time to correct my errors.
3D Scanning
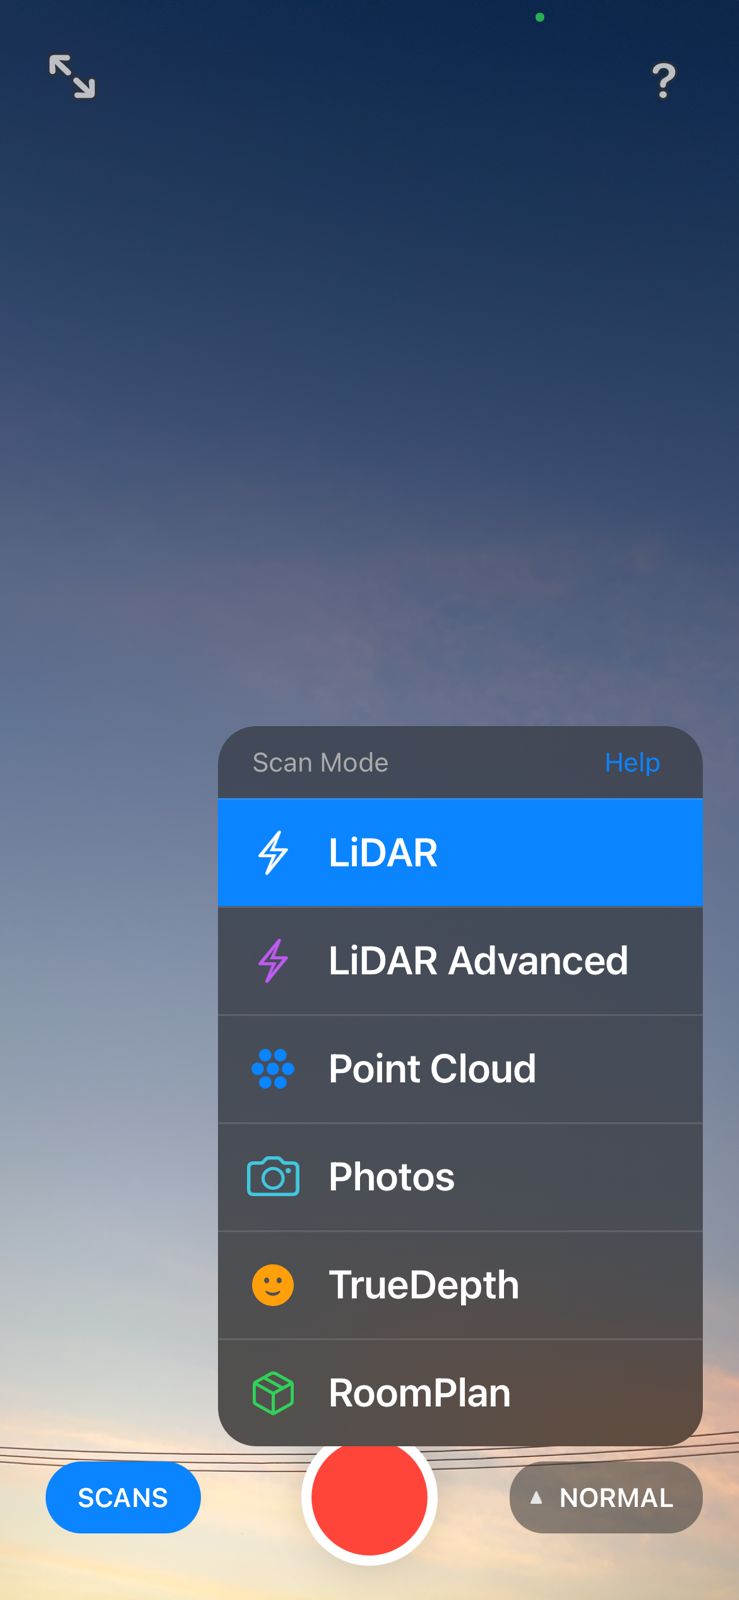
APPS
Scanning