

7. Computer Controlled Machinig
More efficient than a hand saw
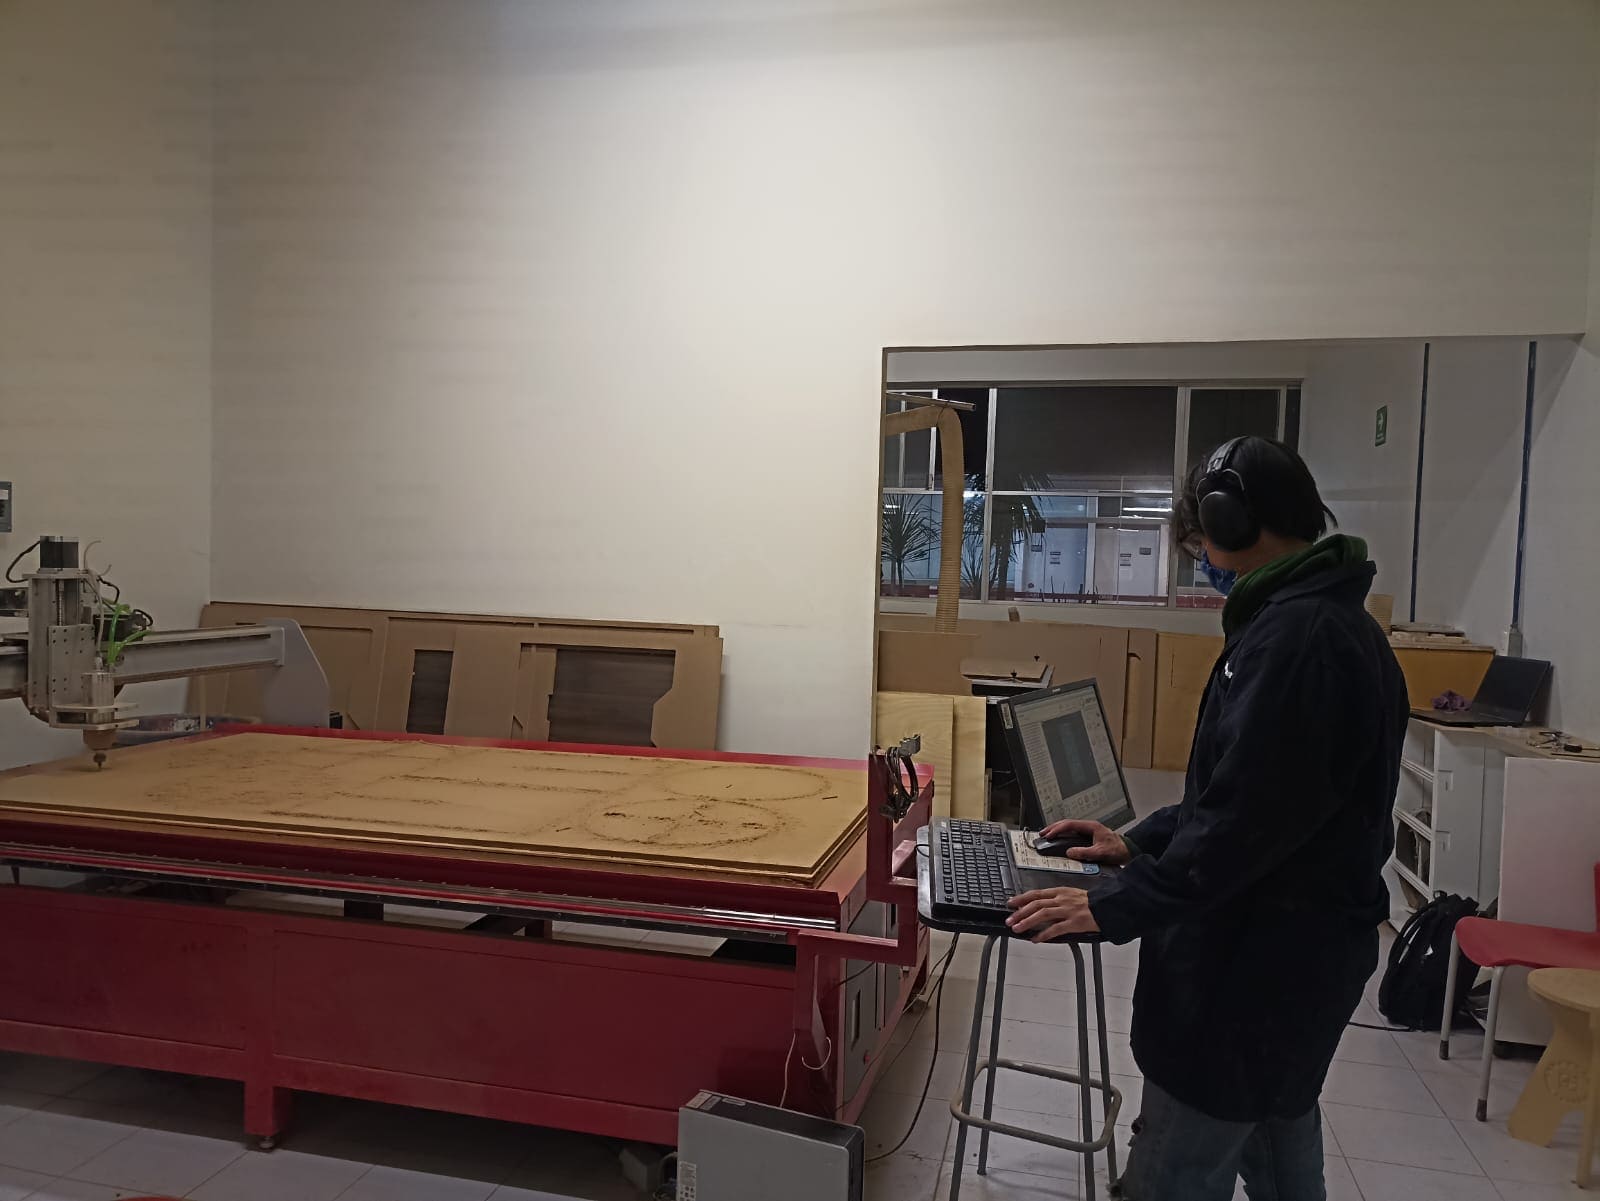
Let´s dive into this week´s project, where we will take charge of a powerful and quite intimidating machine; the CNC router. This machine allows us to cut thick MDF ( 15mm in this case) to our desire shape, usually in the look for making furniture and bigger projects than we have been working on, at least in size.
It´s very important that you take a look at the Fab Ibero´s webpage or really any guide on operating this machine, as it could easily result in a serious injury to the machine our yourself if not properly managed. It also gives information about the CNC routers available here in Fab Puebla Computer Controlled Machining
The PPE required to stand next to the router here is the following:
- Lab Coat
- Safety boots
- Protective Eyewear
- Noise reducing earmuffs
- Facemask
- No watches, bracelets, earrings, anything that could get stuck in the machine
Wine (cellar) that ages well
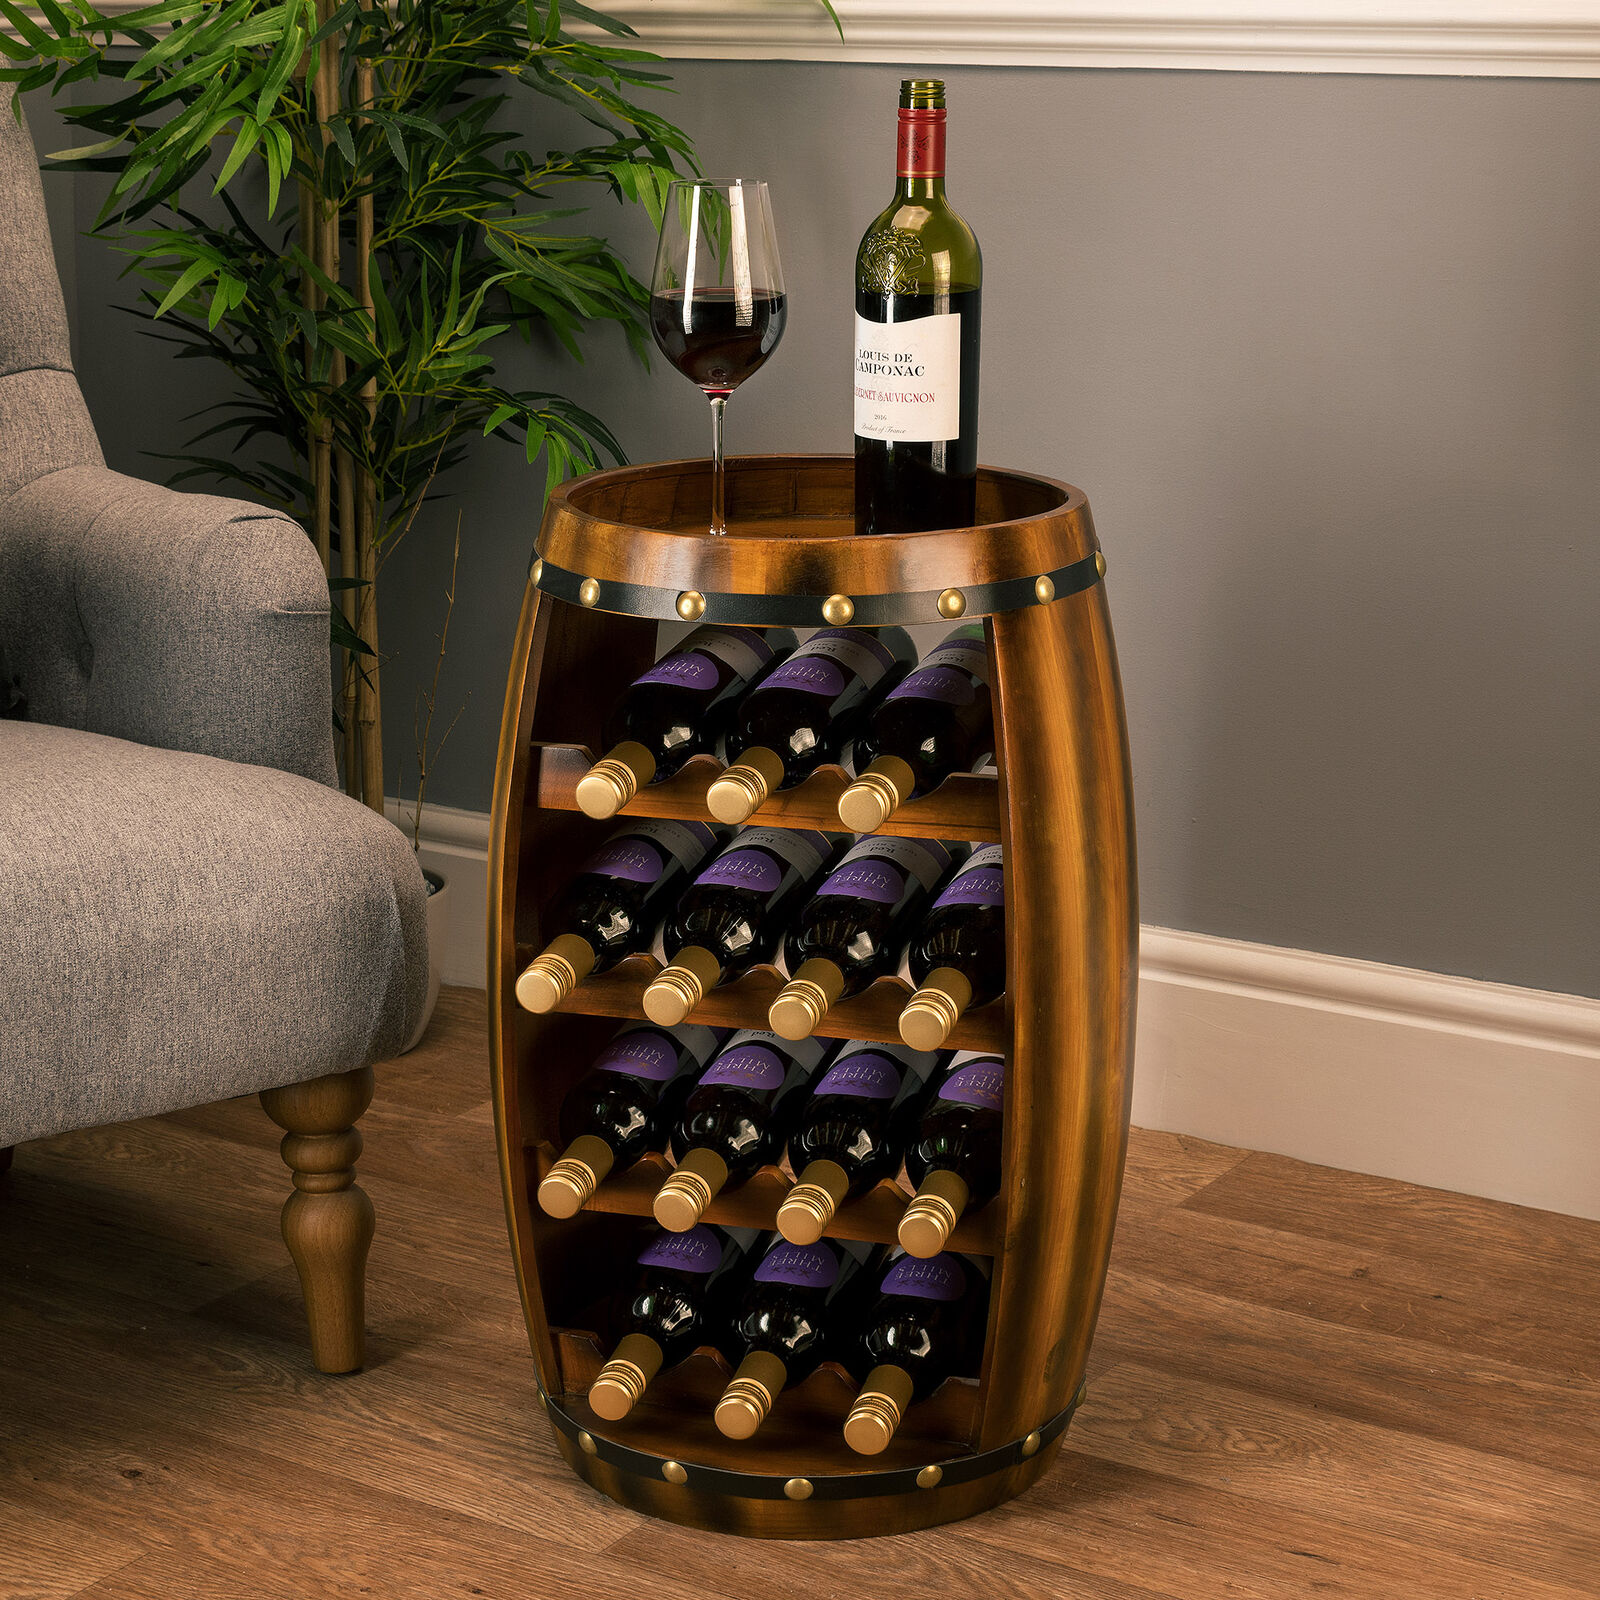
For the actual project, I´m doing a barrel wine cellar, that can store 16 bottles plus extra miscellaneous space. I got inspired by this example, but I wanted to make it my own:
SolidDXF
So I quickly sketched on Solidworks a basic idea of the shape I wanted to do:

So I did the whole sketch on Solidworks, it manily contains the base that snap fits a crossection of the walls, that at the same time, fits between each other, the holes for the wine bottles, and extra cuts for space
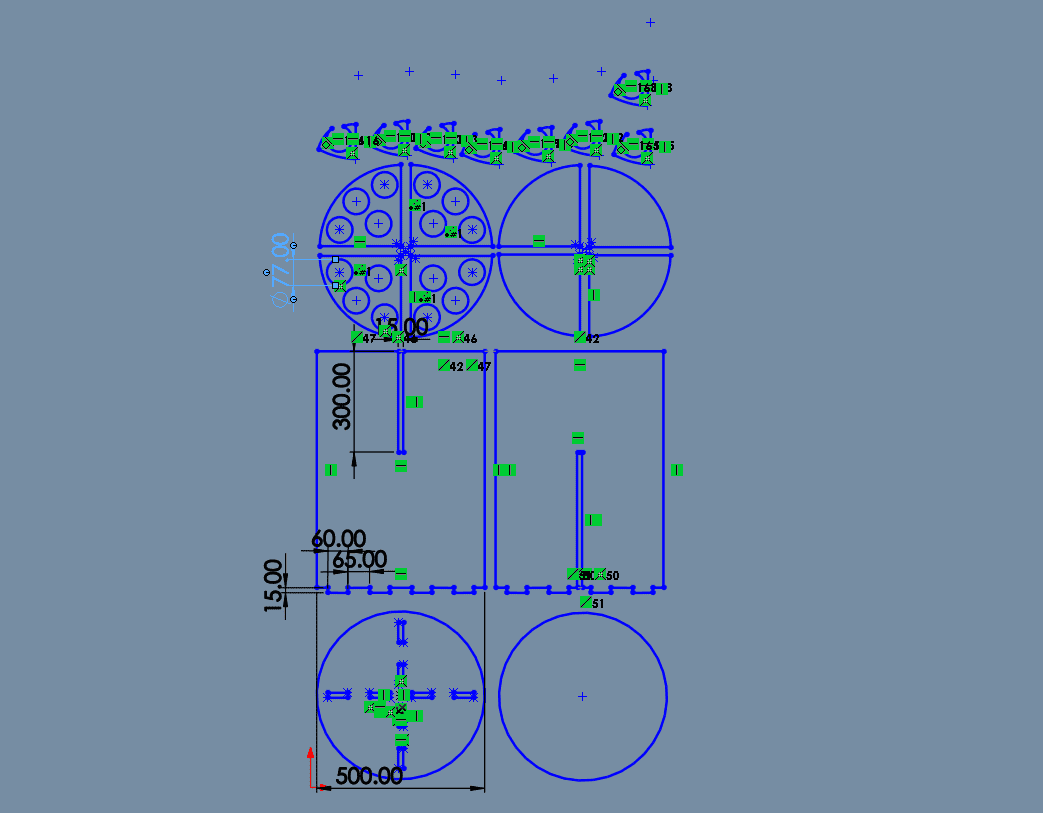
You can see that the tabs align with the hole to make the fit:
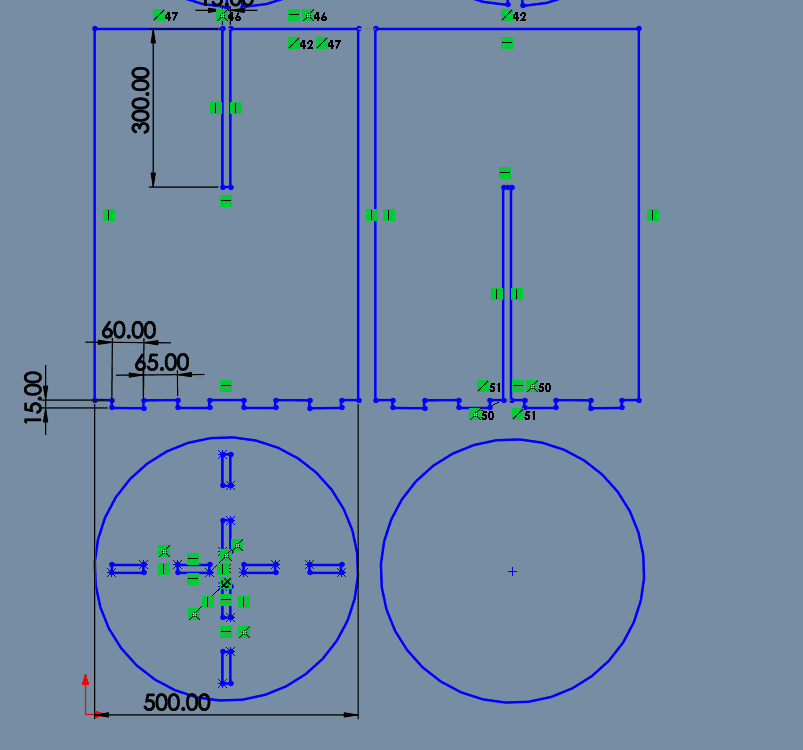
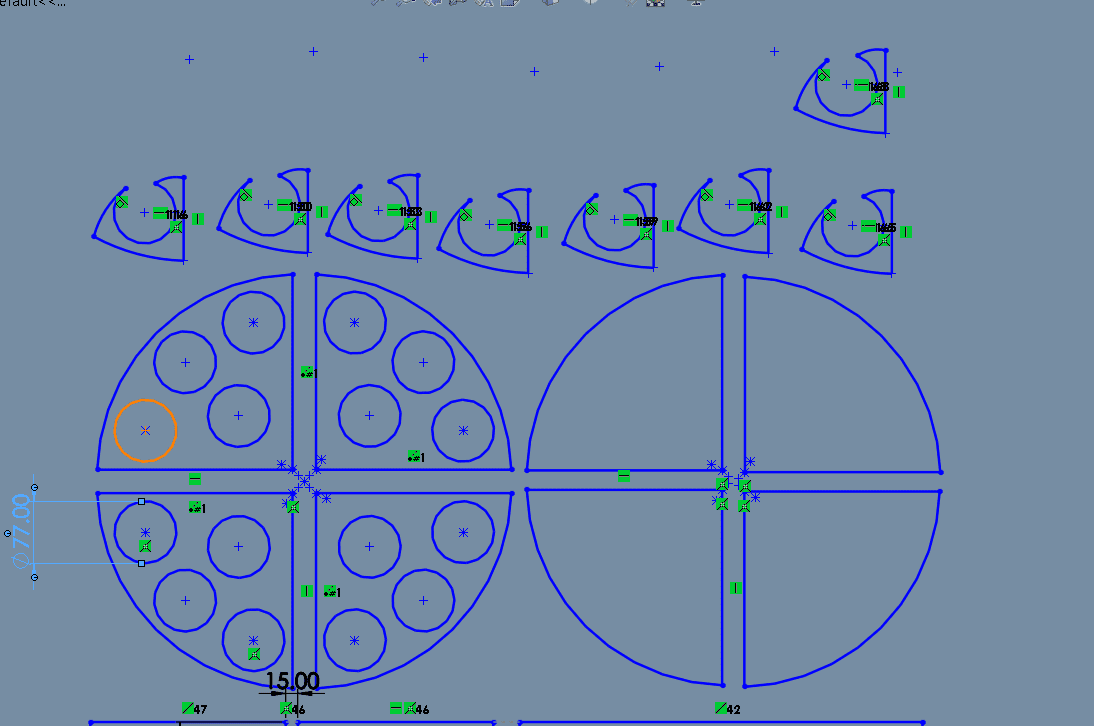
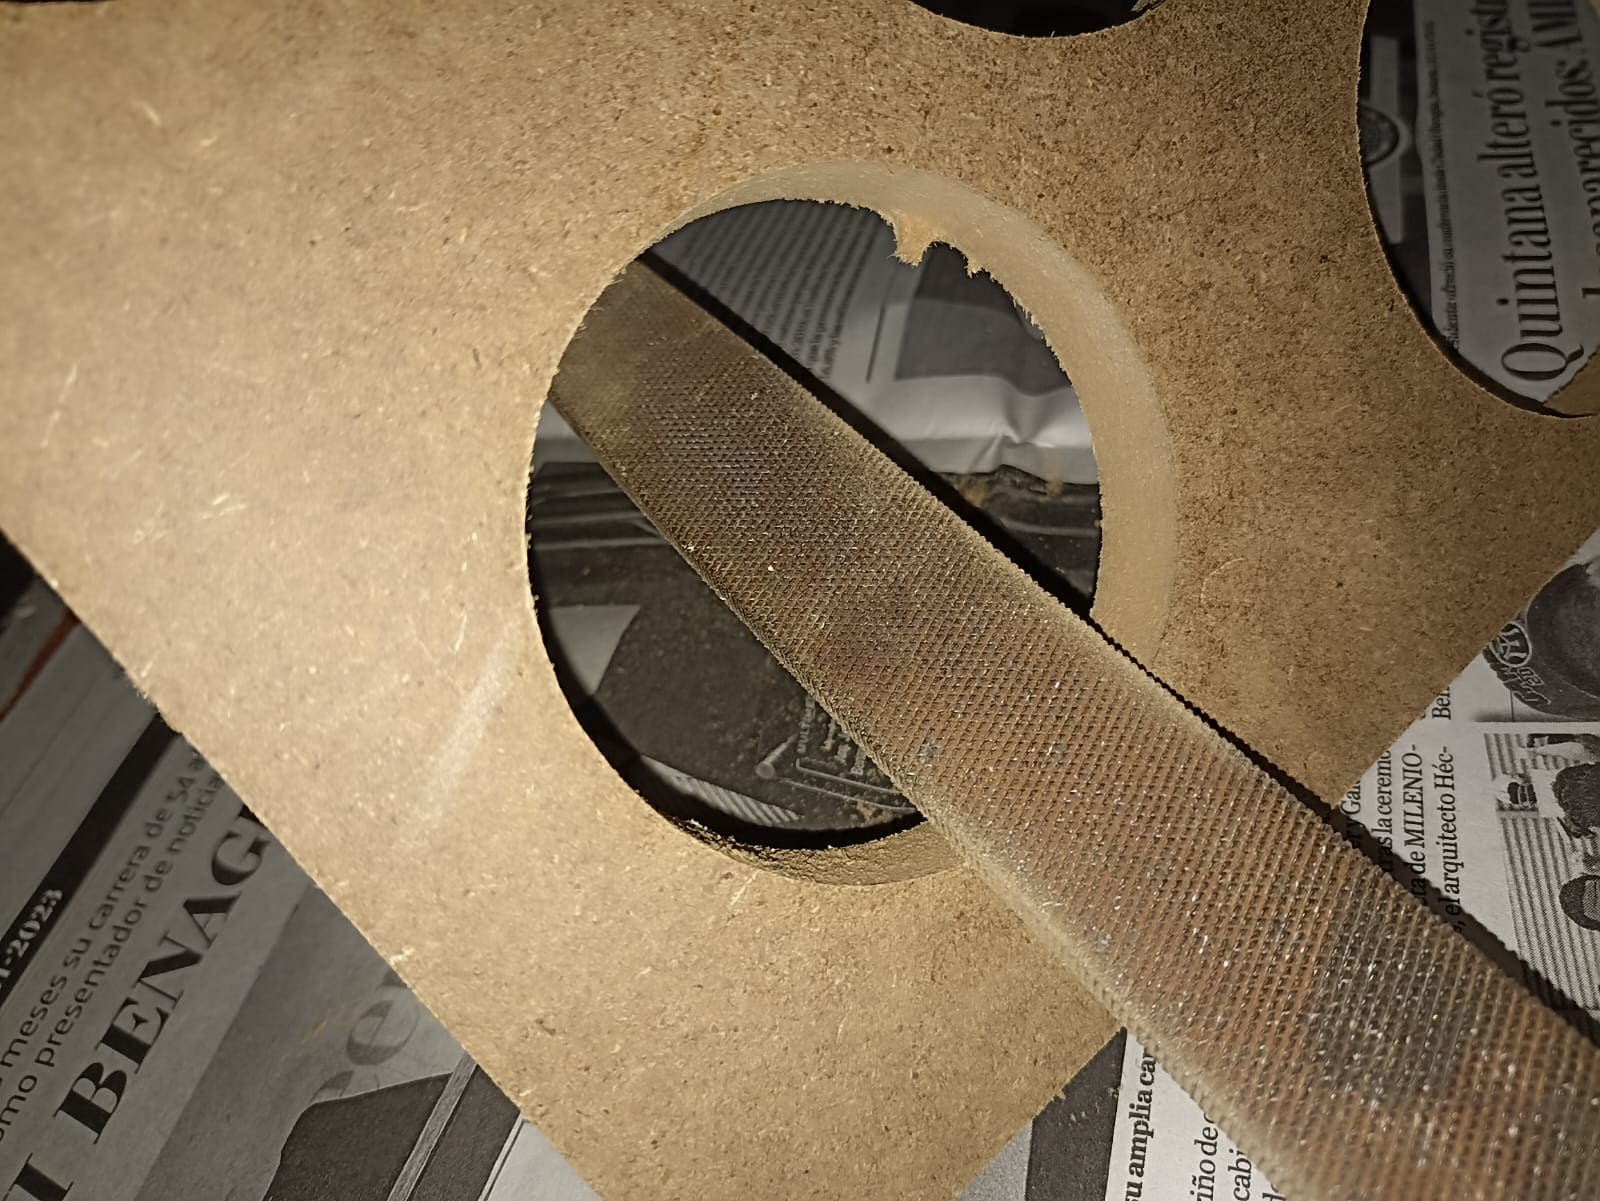
And also the holes for the wine bottles, I went with a standard 77mm in diameter for the bottles, and it turns out it was just right. Also the little pieces on the top will give height to the bottle holder:
VCarve like a pro
Once we have our DXF file, we go to the VCarve Pro app, here at Ibero the router´s computers have it downloaded so I edited my file there.
To start, we need to edit our bed paremeters; the height, lenght and thickness of our MDF sheet:
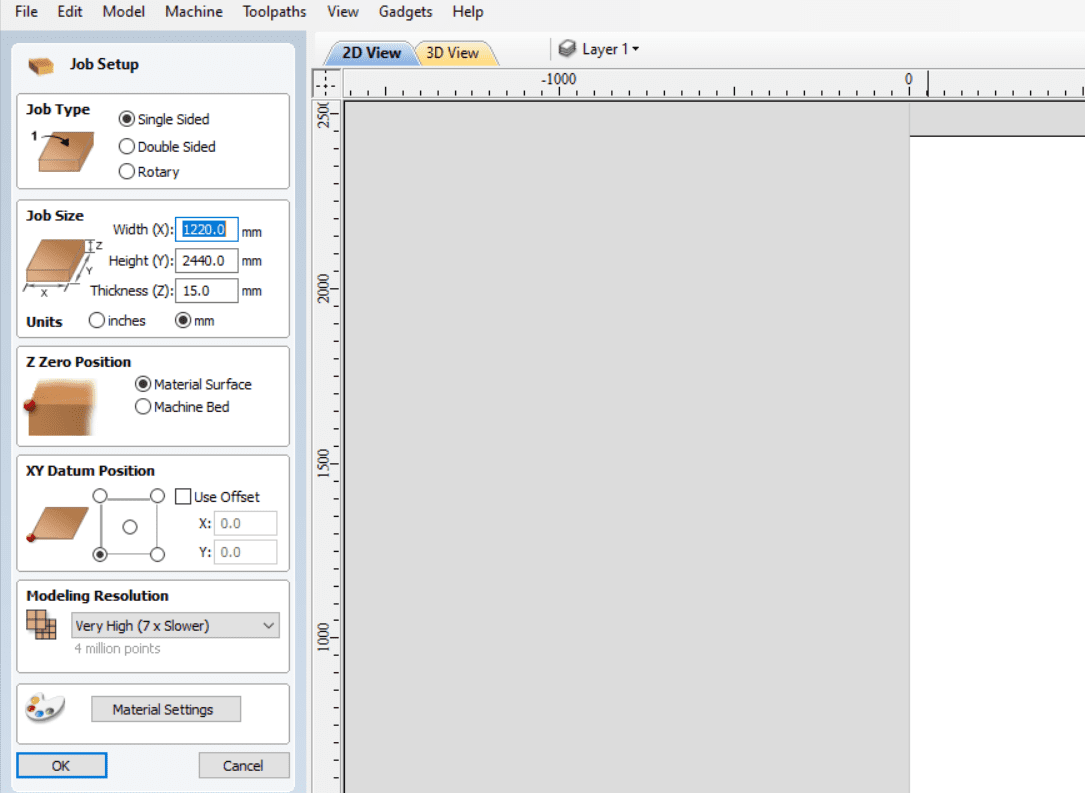
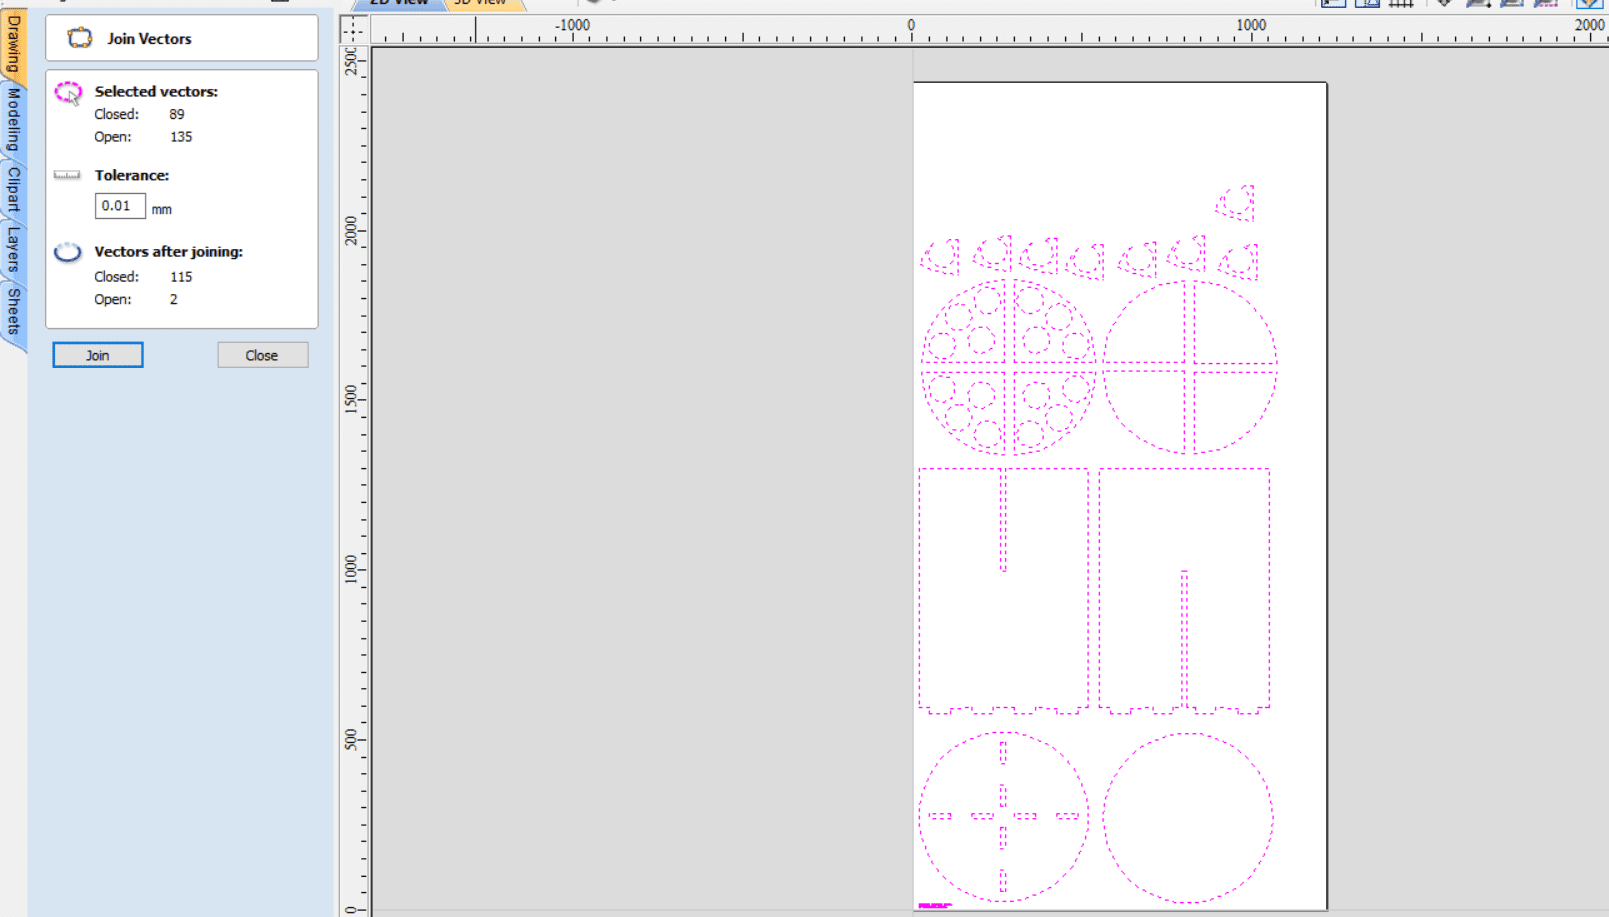
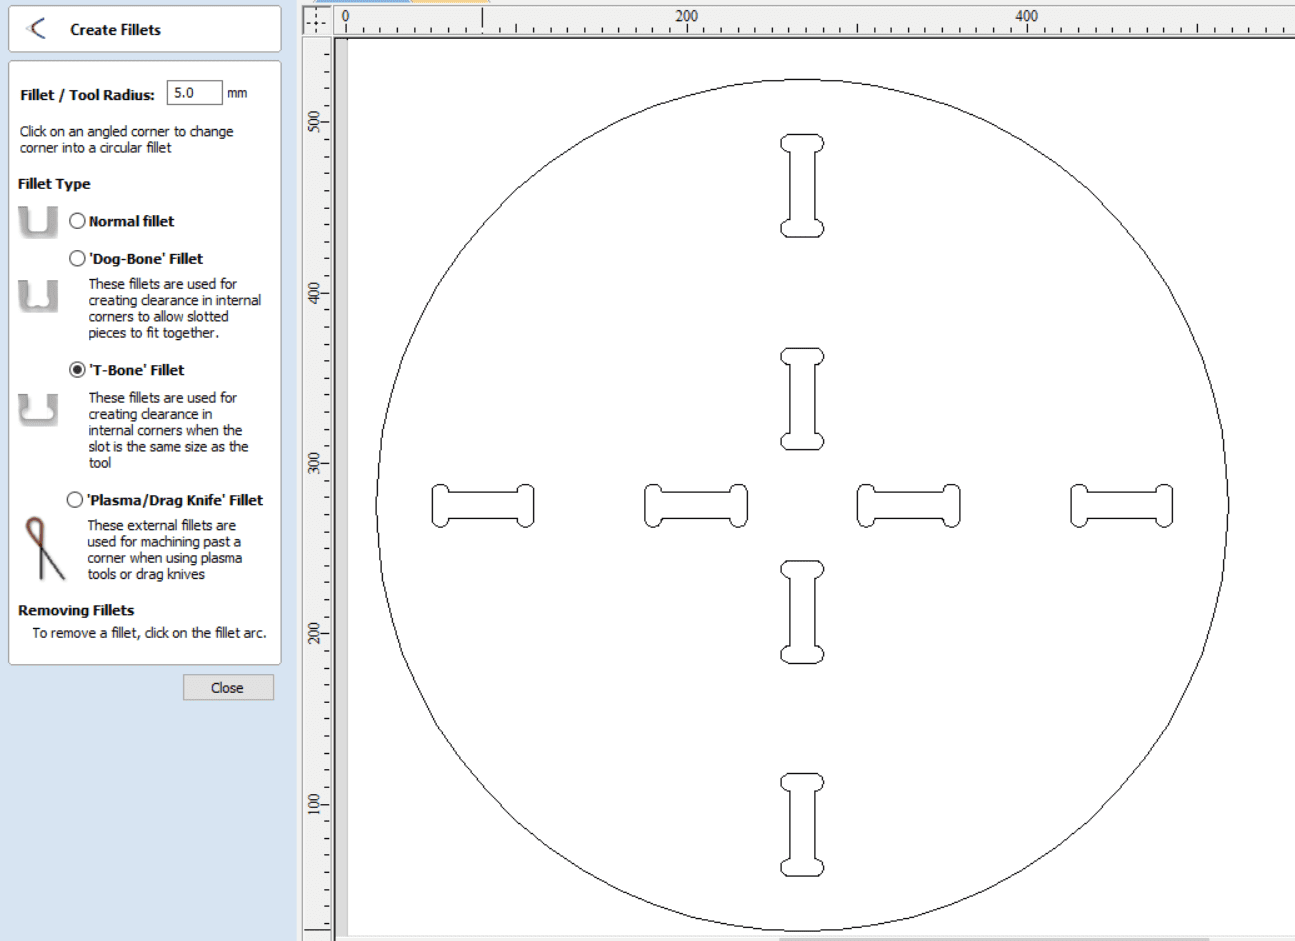
If you use Solidworks to sketch your router´s DXF file, there are a couple things you need to look out for that happened to me. Firstly, my file in Solidworks had centimeters as the unit, but VCarve apparently takes the distances as millimeters, so my drawing ended up being 1/1000 the original size. To fix this, I edited the sketch units to millimeters so it could give me the original size. Secondly, construction lines do appear visible in VCarve, so remove them after finishing sketching in Solidworks so it doesn´t become a hassle to erase them individually. Third, the lines in your drawing will be read as different vectors even though they are connected in the DXF, so you need to head to the Join opperation, select all your drawings and click on Join. And fourth, this probably applies to any software you draw with, but to achieve a better connection with snap fits, we need to add "TBone" edits on the corners where 2 pieces will fit togther. This is also explained in the Fab Puebla´s webpage:
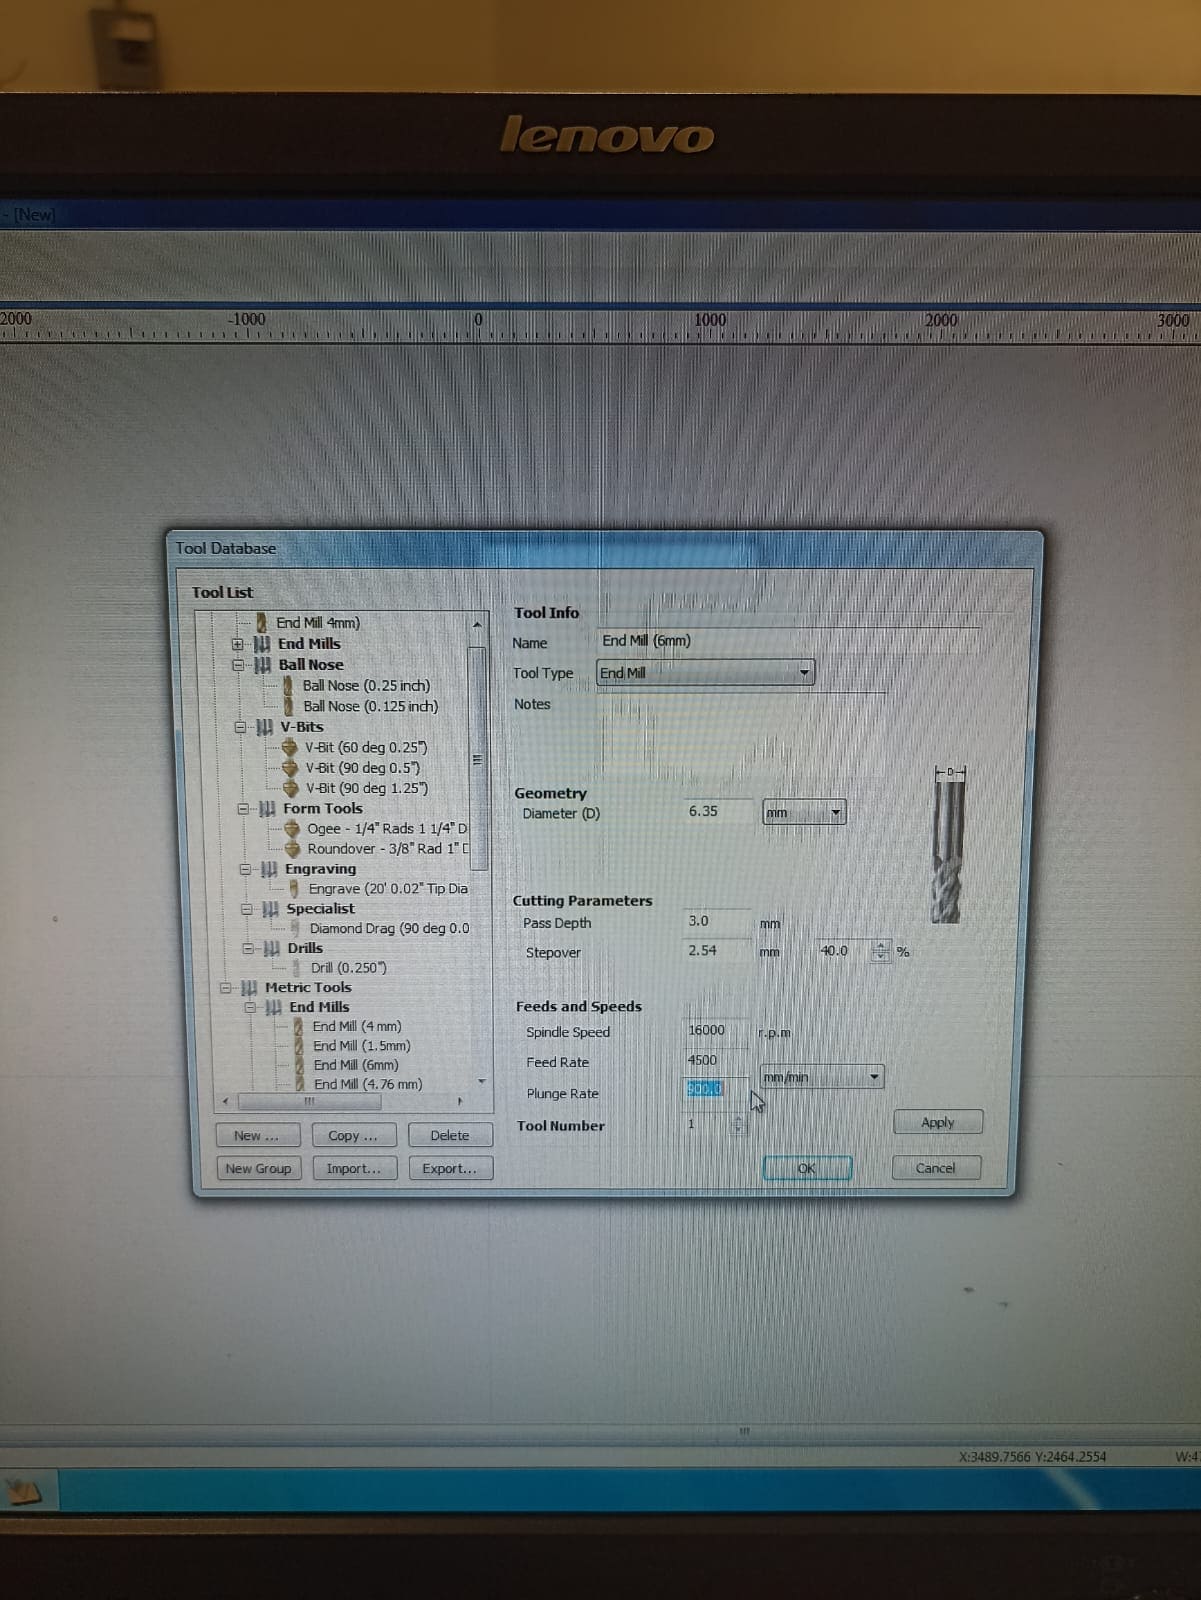
Once you´ve done that, we move to setting the parameters for our cut. Firstly, the drillbit data; we give it a size, spin velocity, plunge rate and other data:
We will also need to download the processor for this specific machine, that will take our data and code it so our cutting application: AR2400 can read the file:
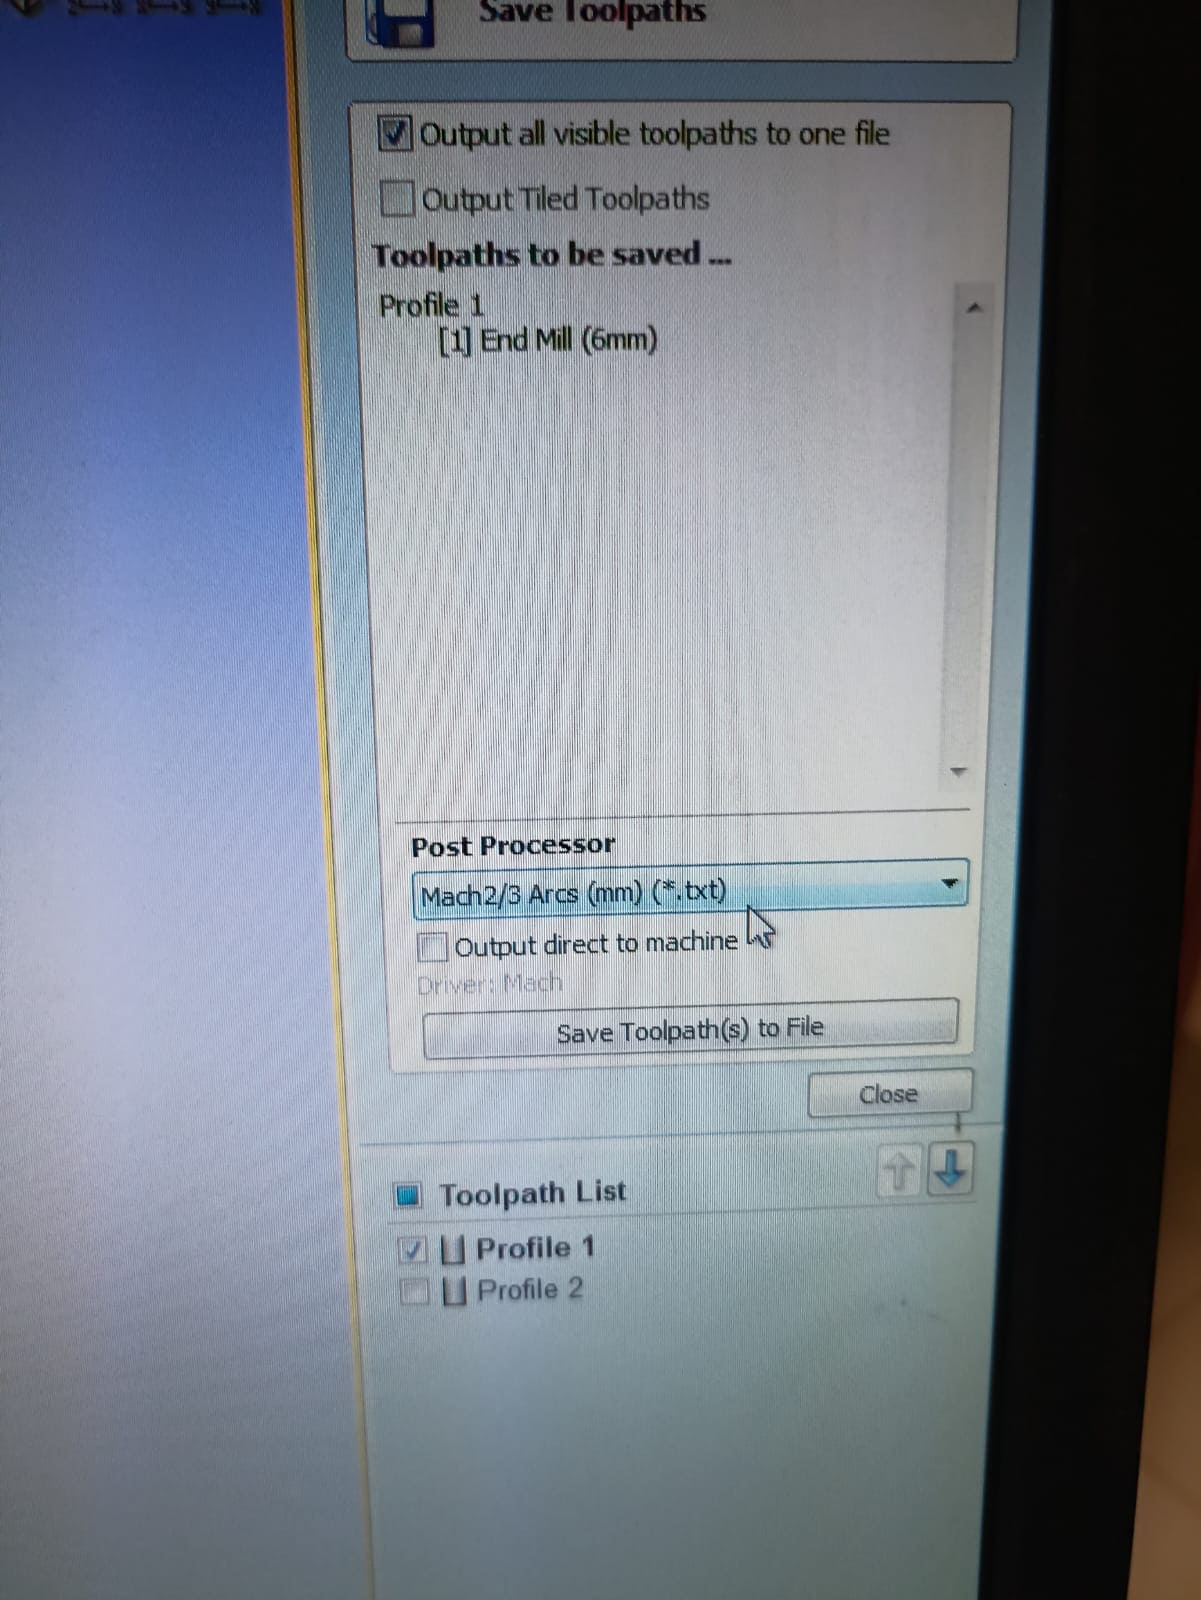
It is also very important that we give our drawing tabs; basically small uncut pieces that will prevent the pieces to move while being cut and prevent unwanted movements, therefore cuts in our pieces. This need to be added manually around every individual piece.
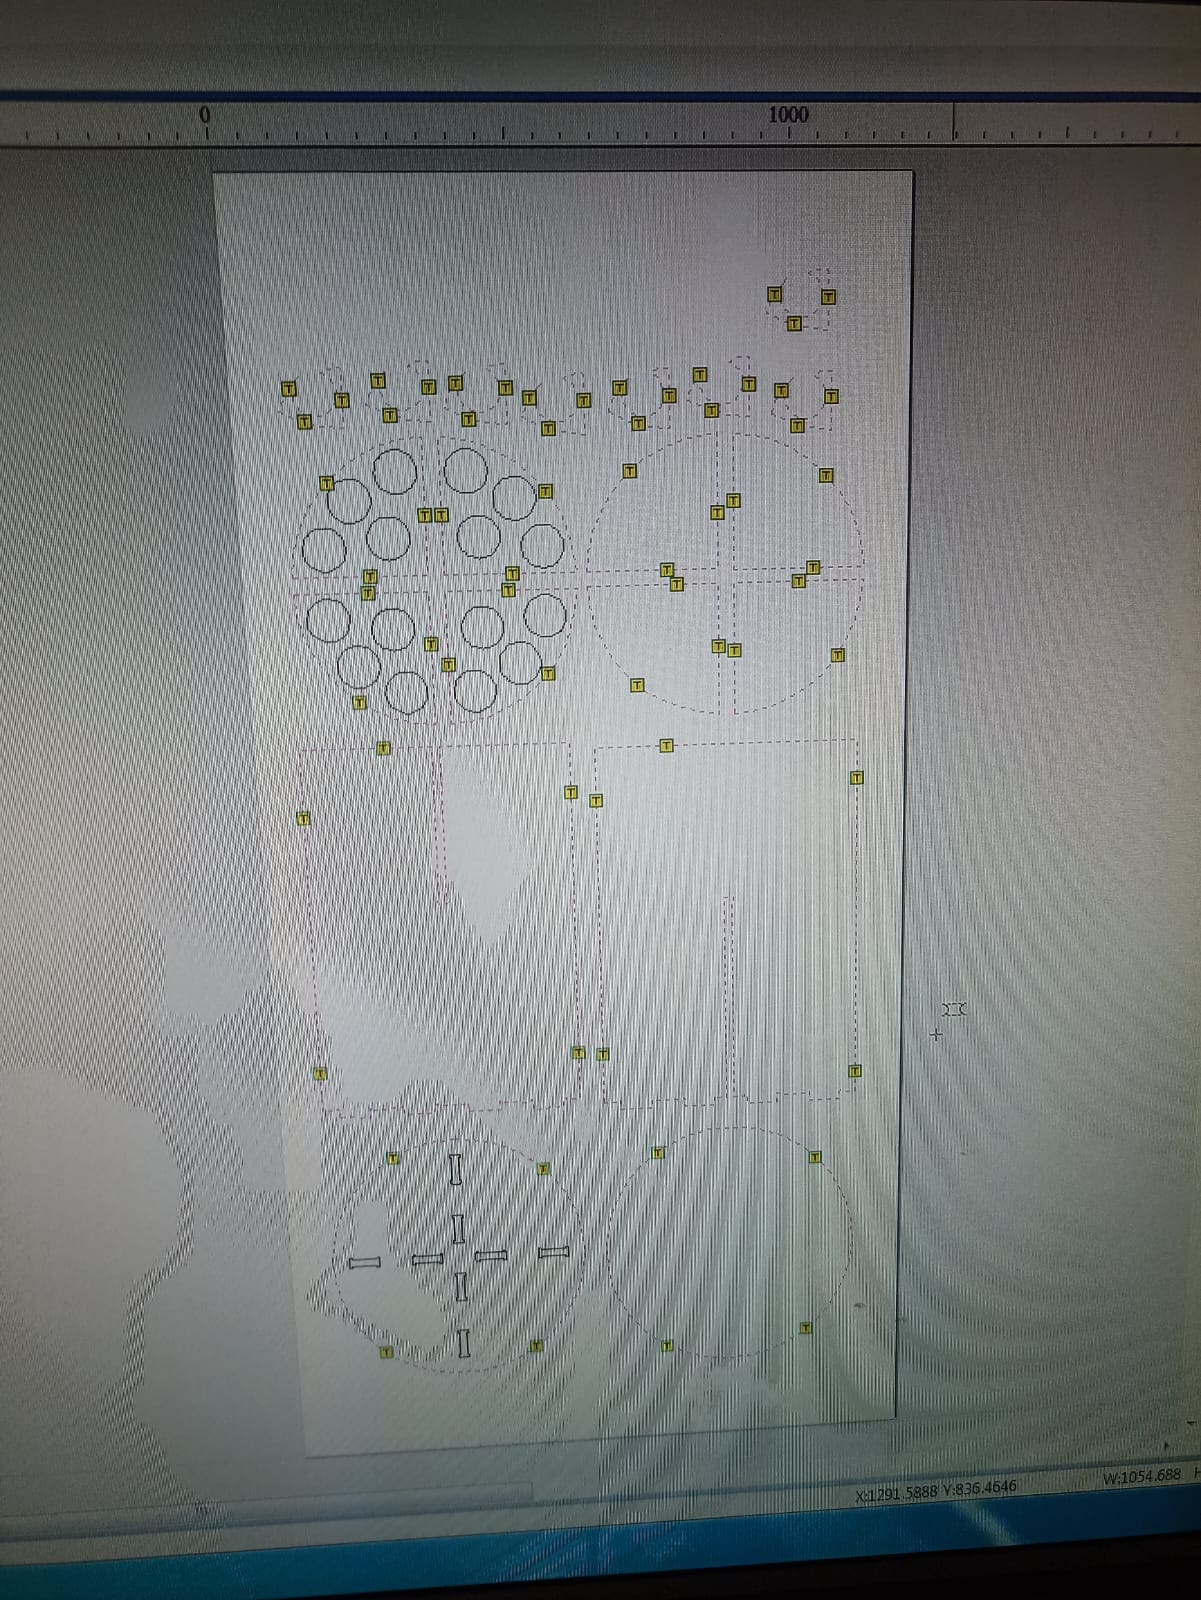
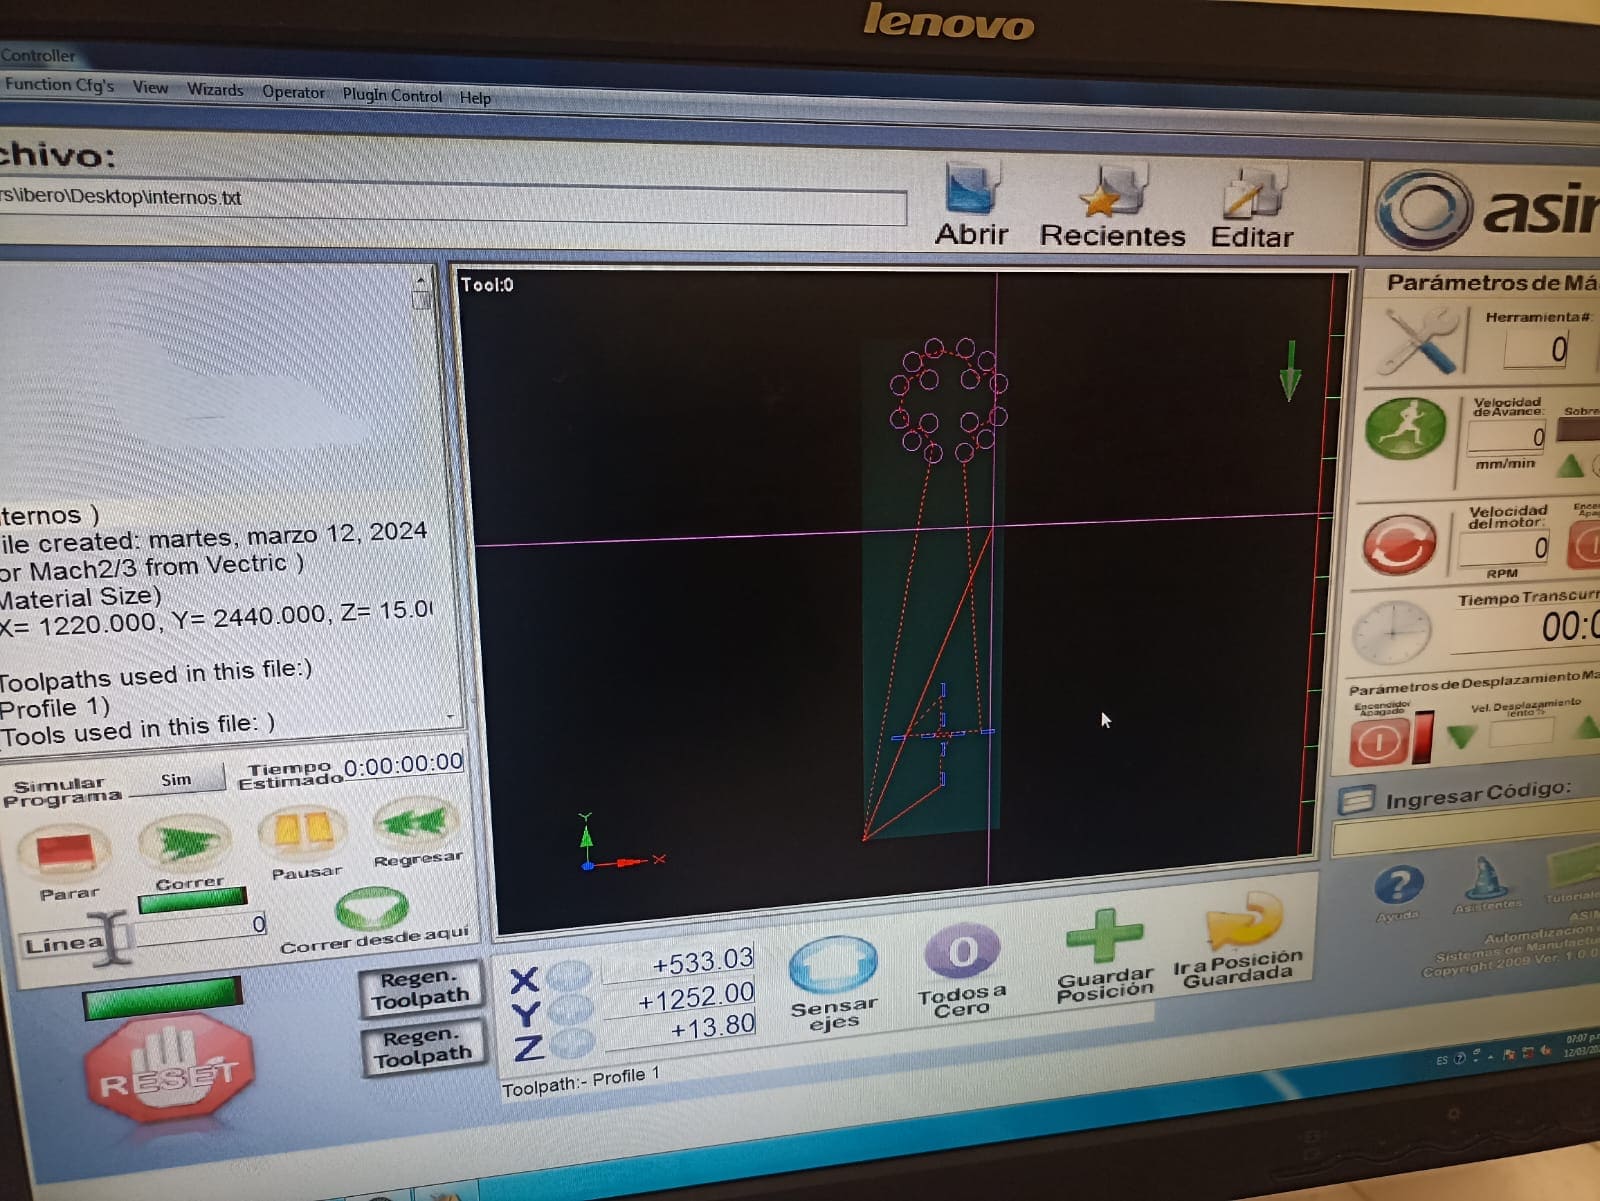
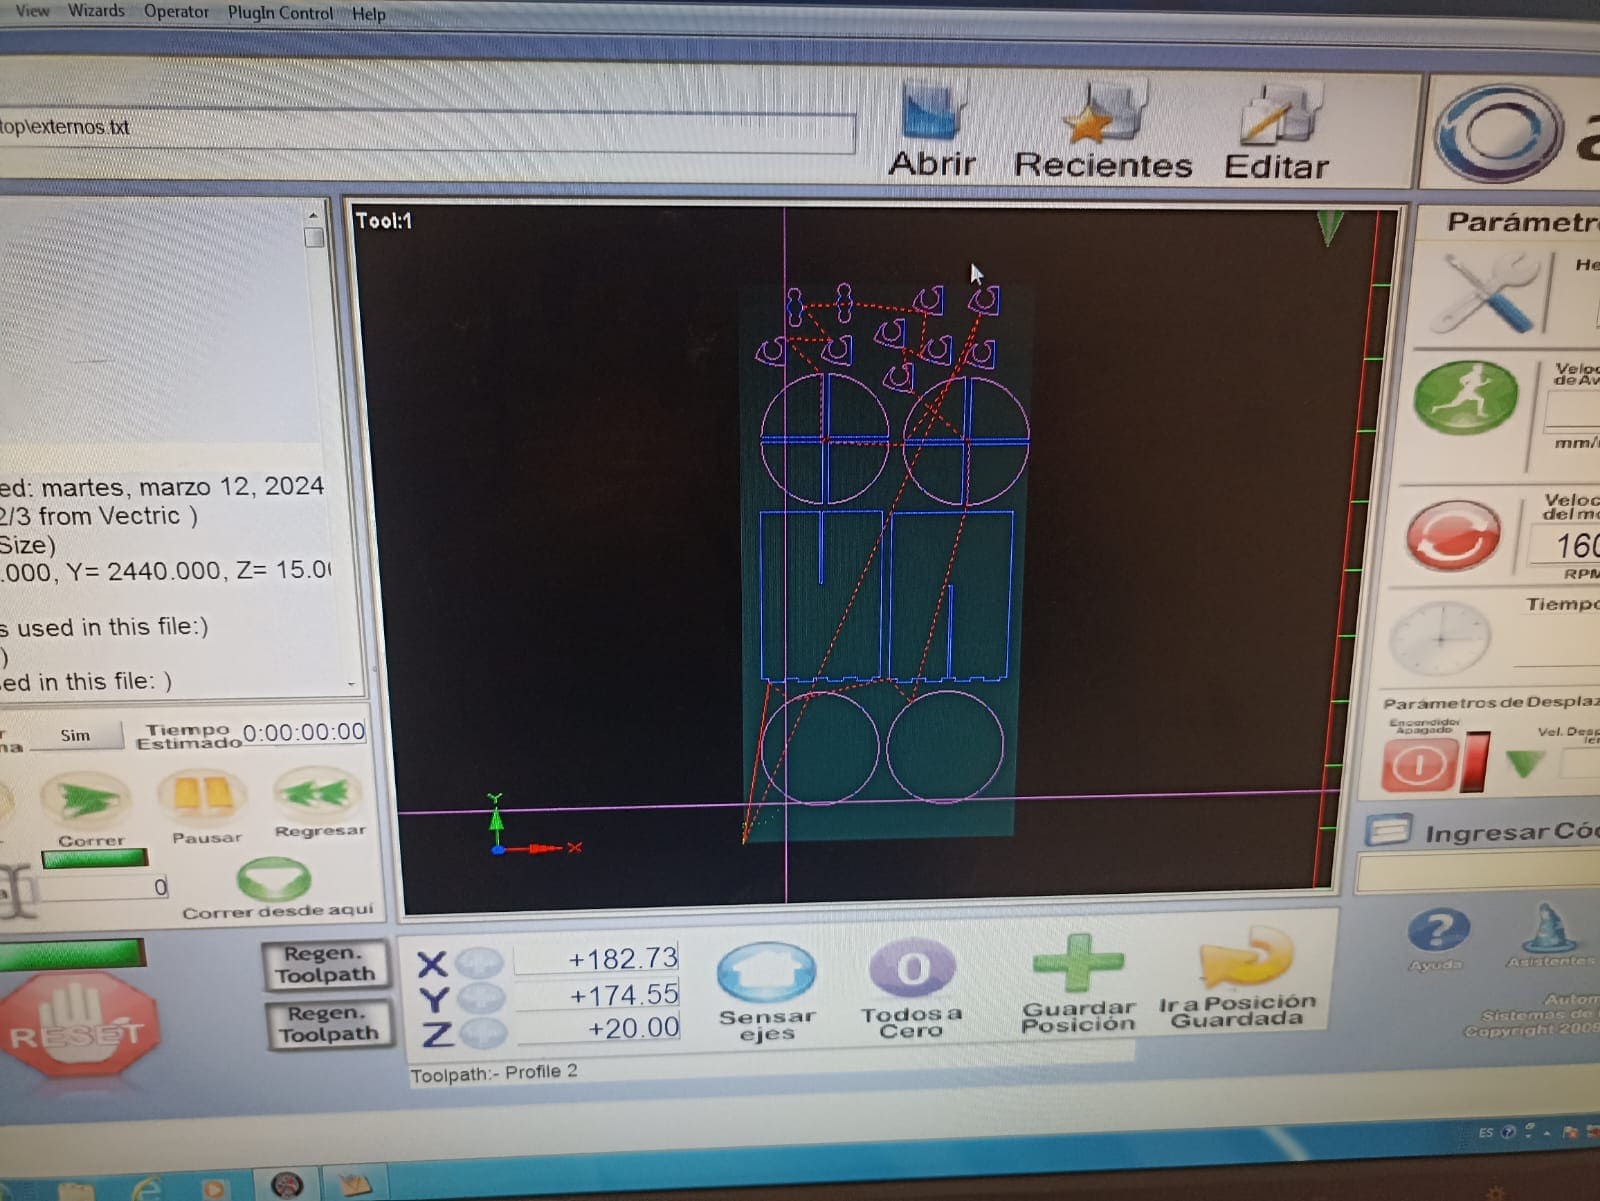
Once we give it the parameters, it should calculate the path the CNC will take, in my case, since I have inside and outside pieces, we divided my file in 2 parts: the inside and outside cuts:
Prepping the thick MDF
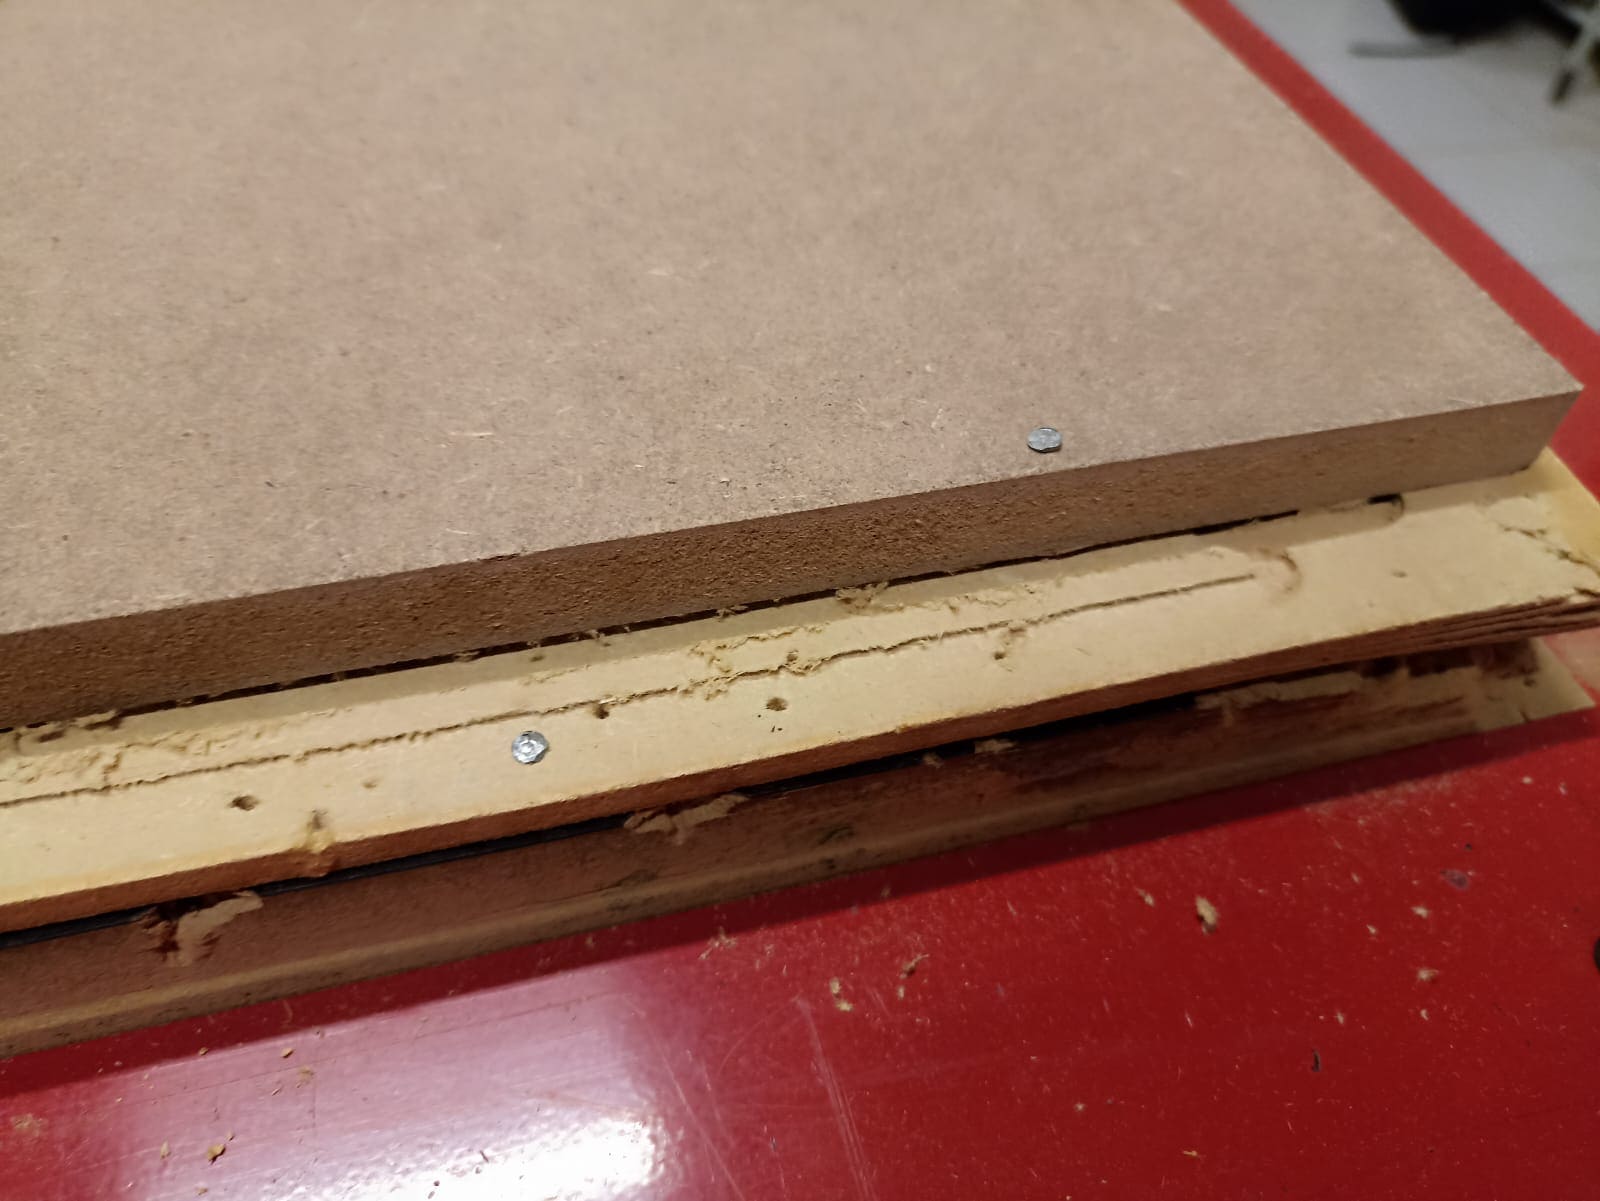
After that, we need to prepare the machine for cutting. Firstly, we add the MDF sheet on to the bed, and secure the corners with a nail to hold it still
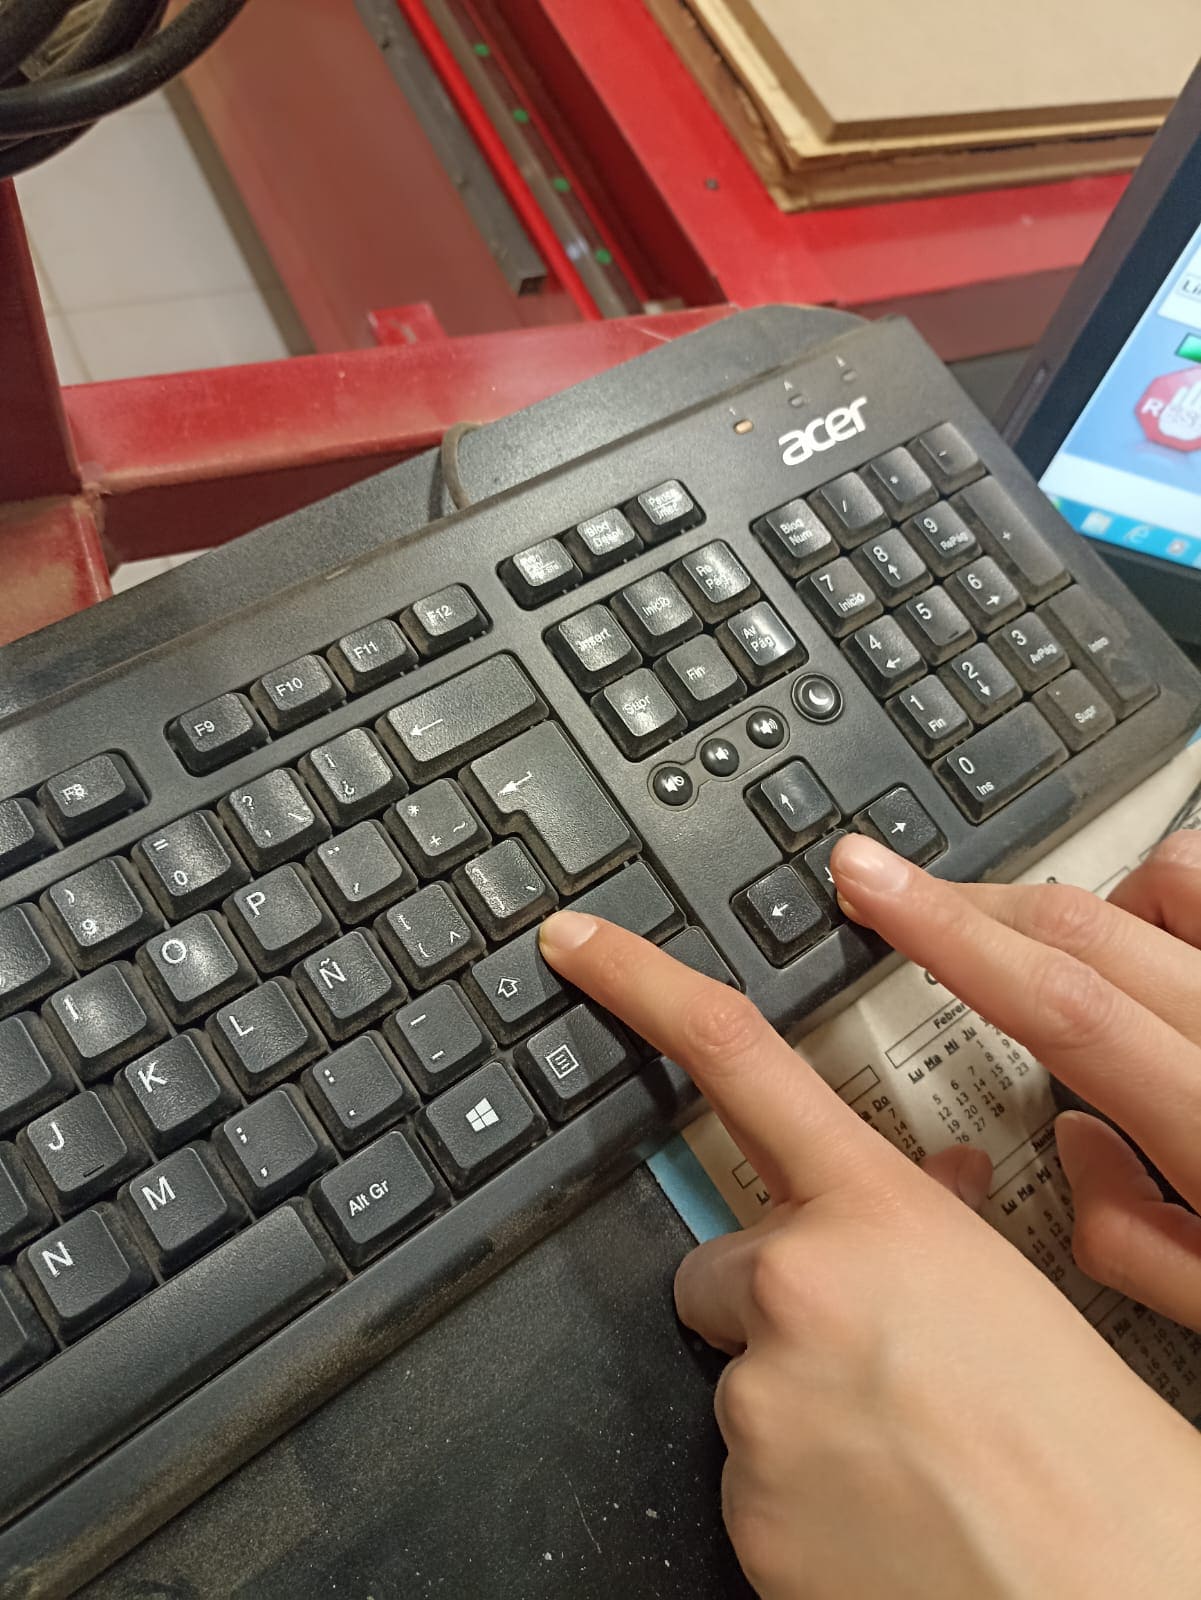
Then, we need to set the zero on our sheet. We move the router drillbit by using the up, down, left and right keys, and the shift button to give it speed
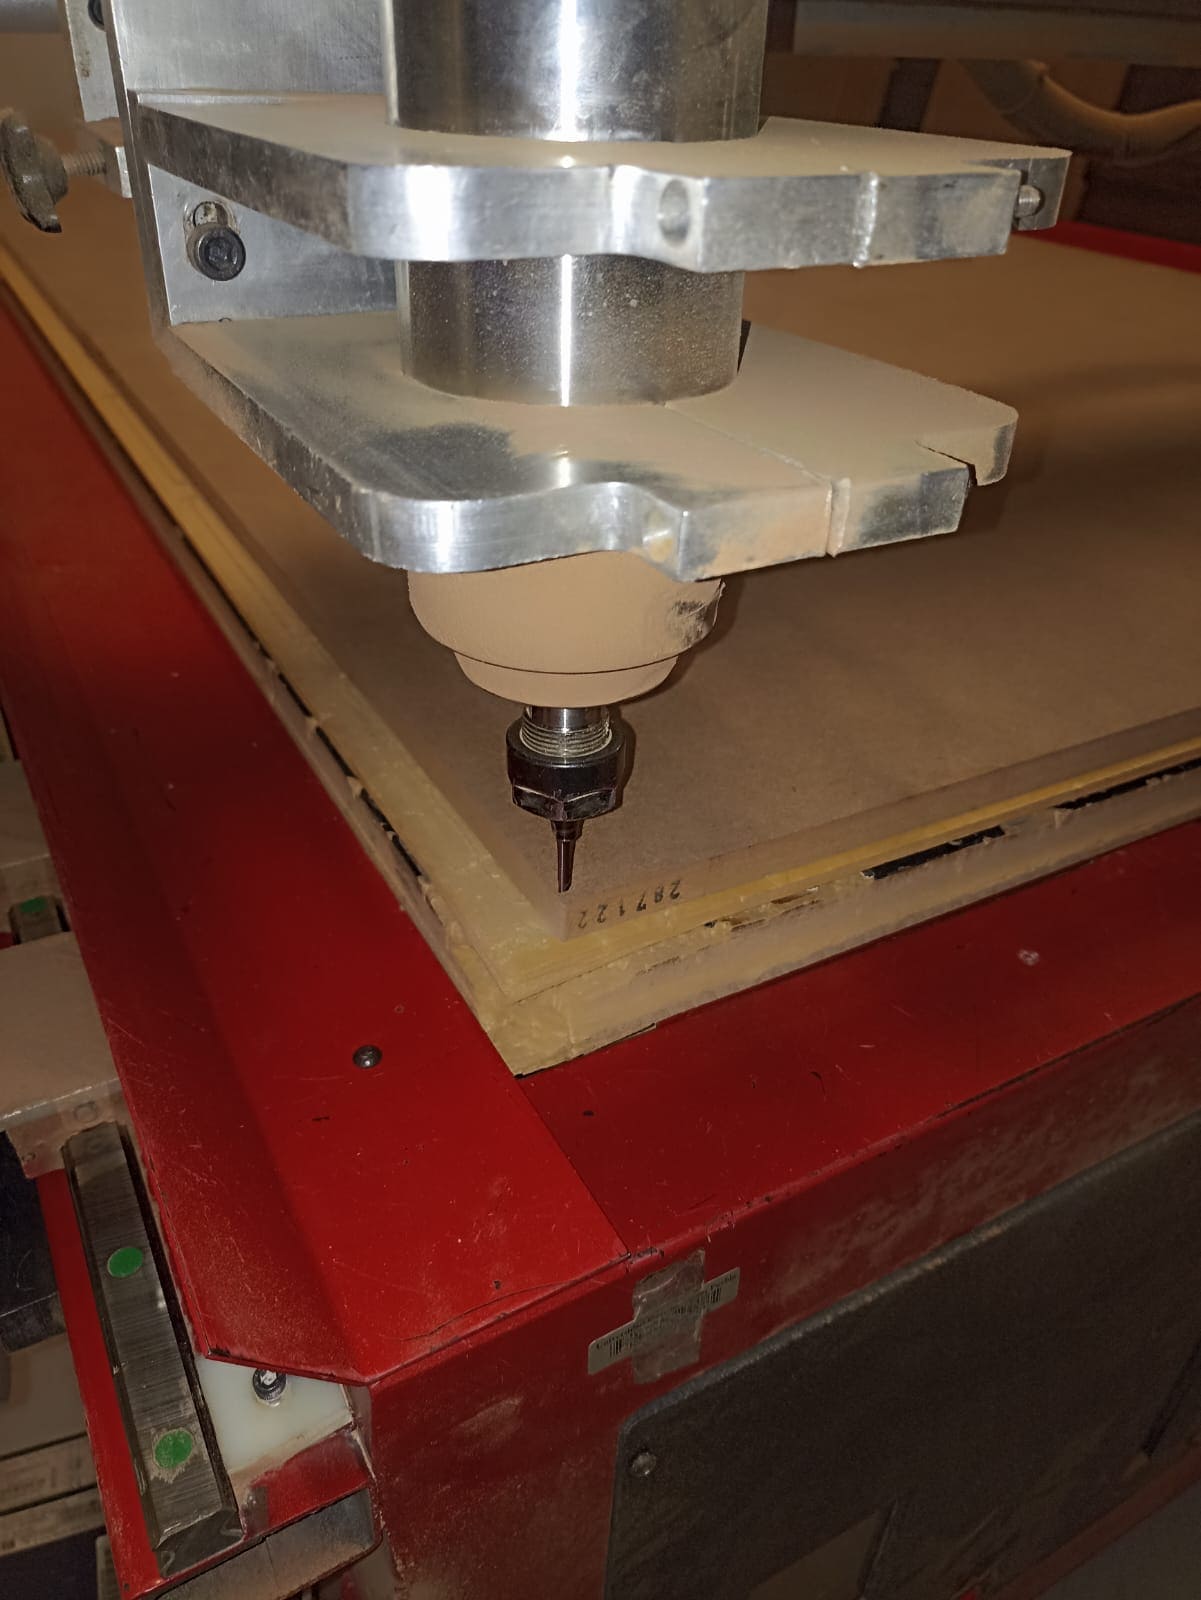
First, we zero the X and Y axis, by moving the head to the botom left corner, and selecting the zero buttons for each axis
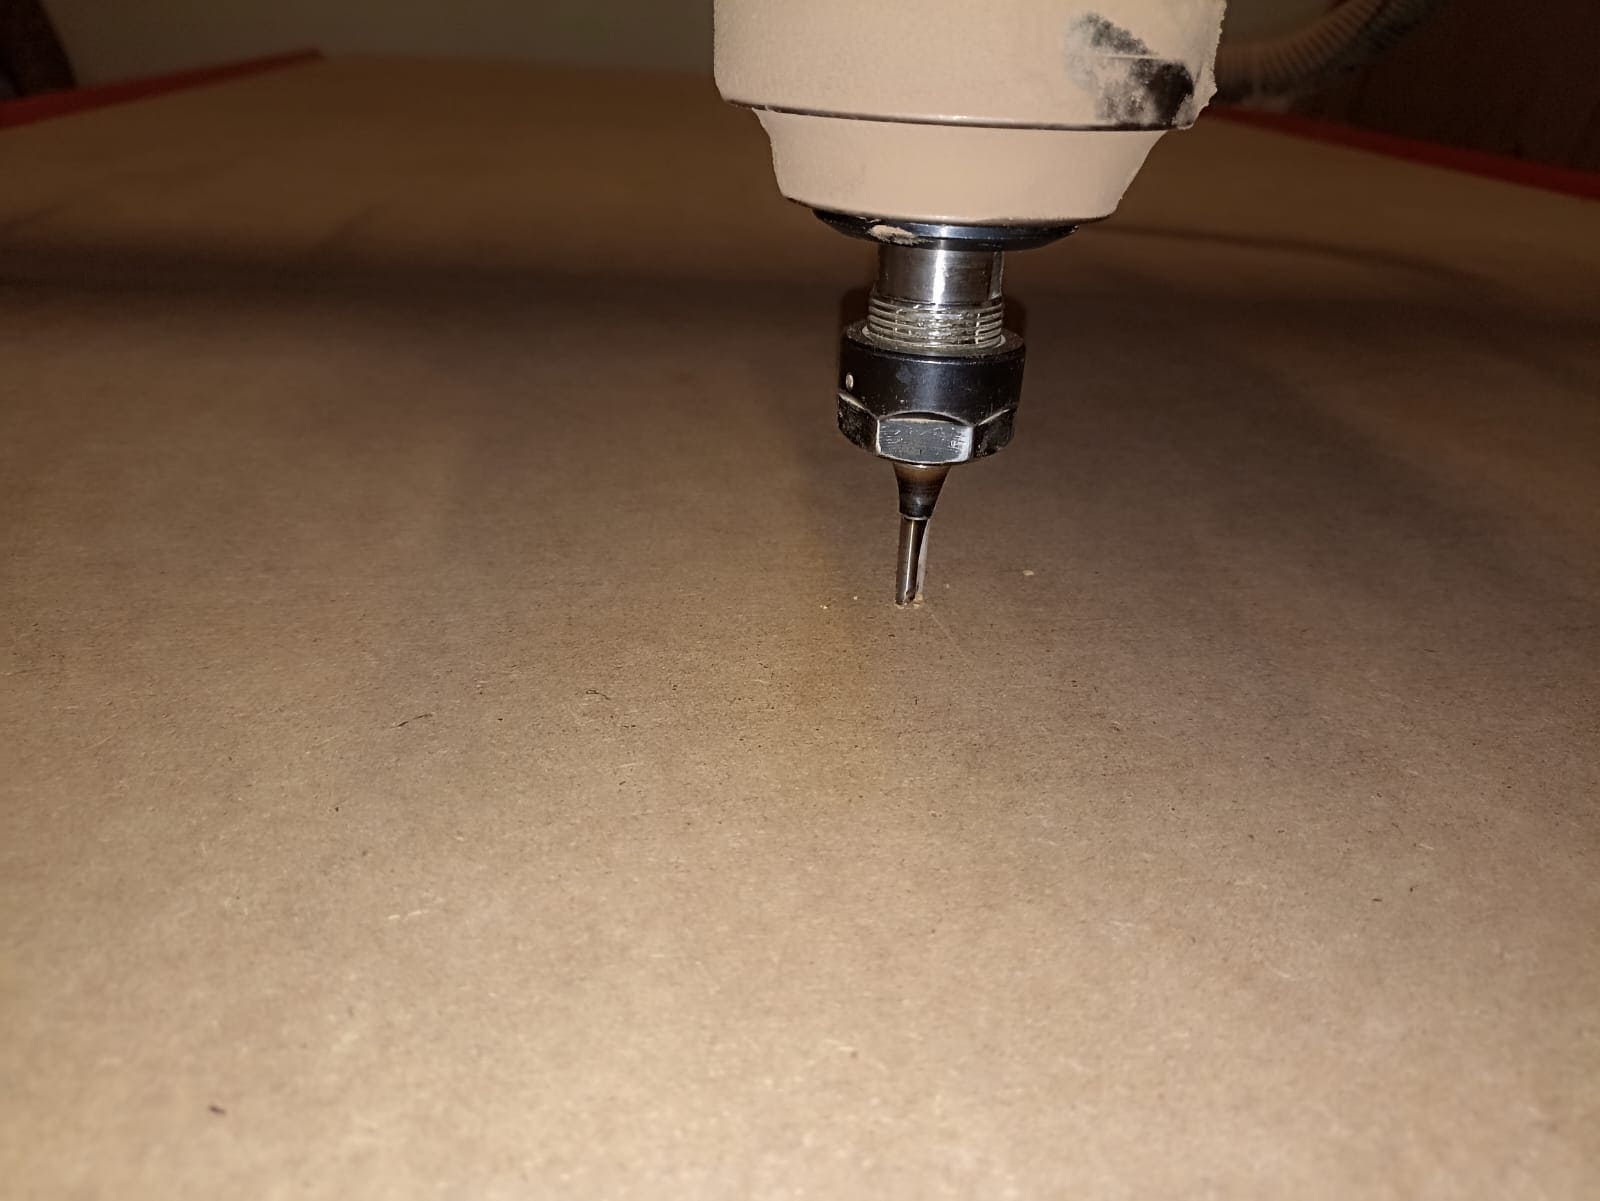
Then, we zero the Z axis:
The actual cut
Once we have everything in check, we can (finally) begin cutting:
Dont forget your PPE! (and to smile :) )

We began with the inside cuts, and once those where finished, we moved to the outter cuts. This is after both cuts:
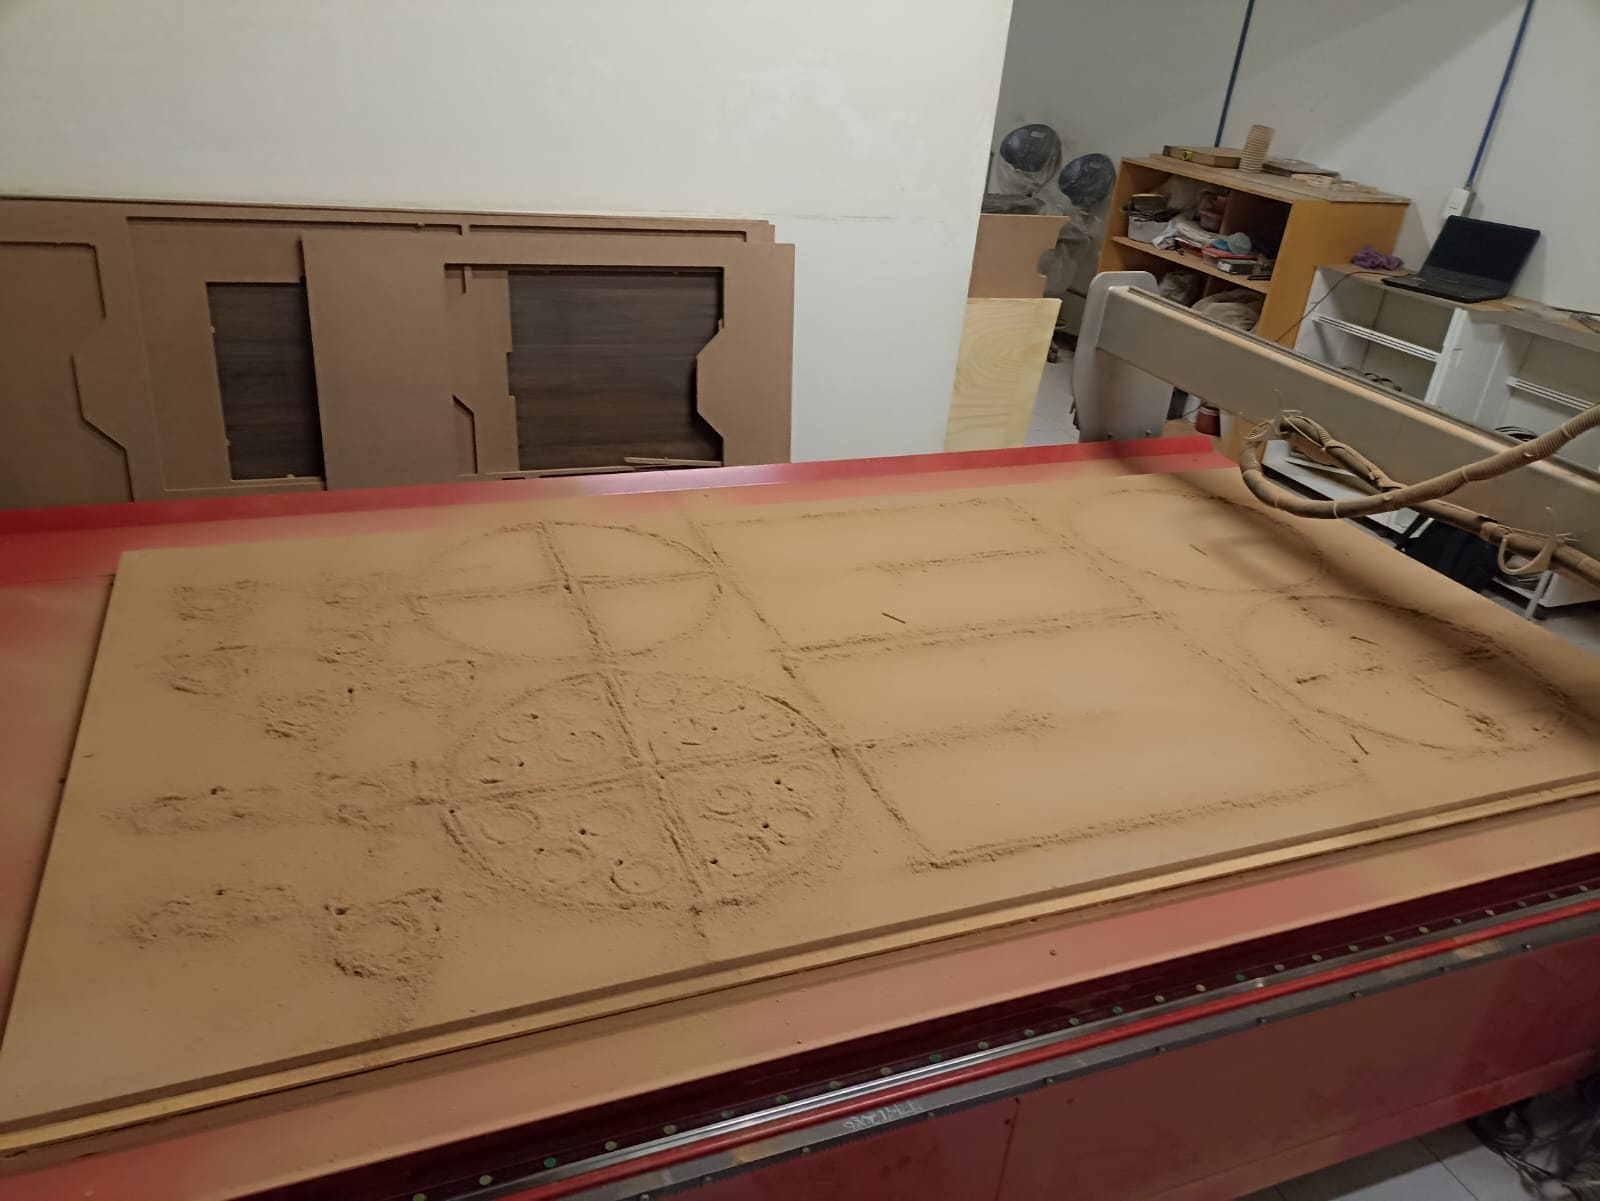
Before and after taking our pieces out of the sheet, we need to vaccum the sawdust created by the drill

Quick assembly
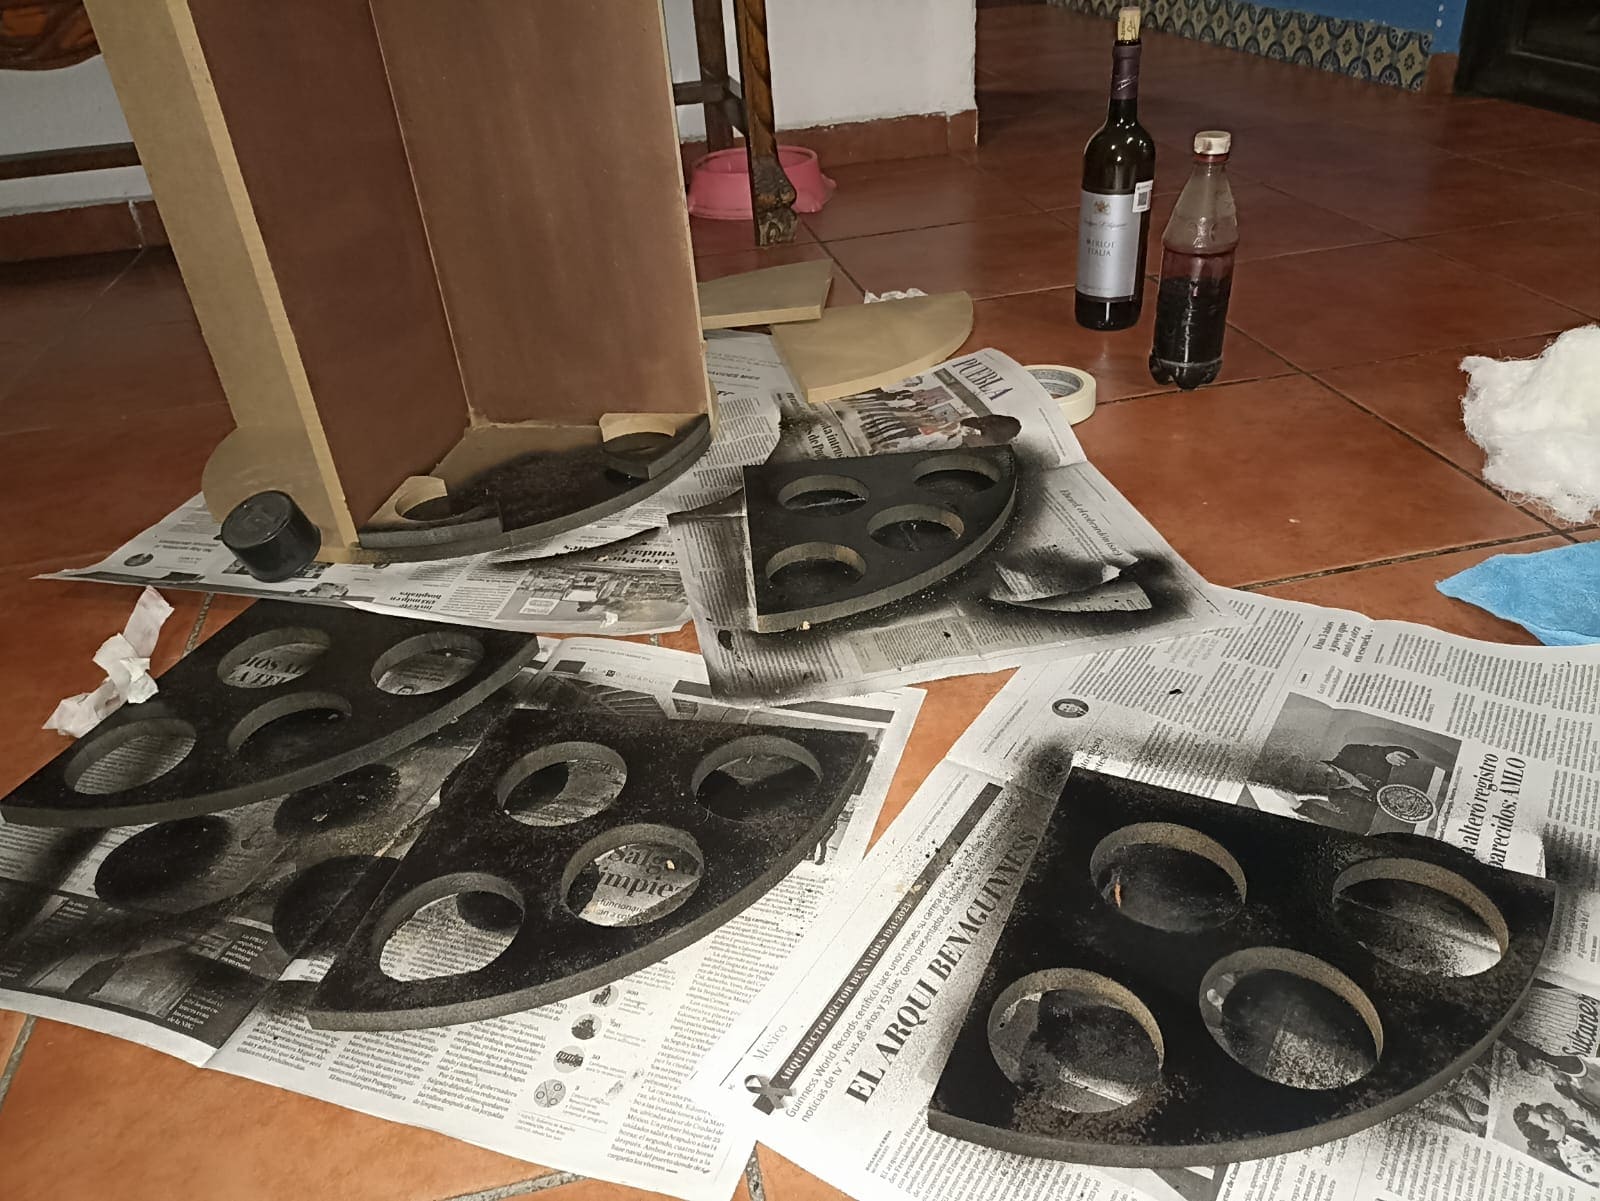
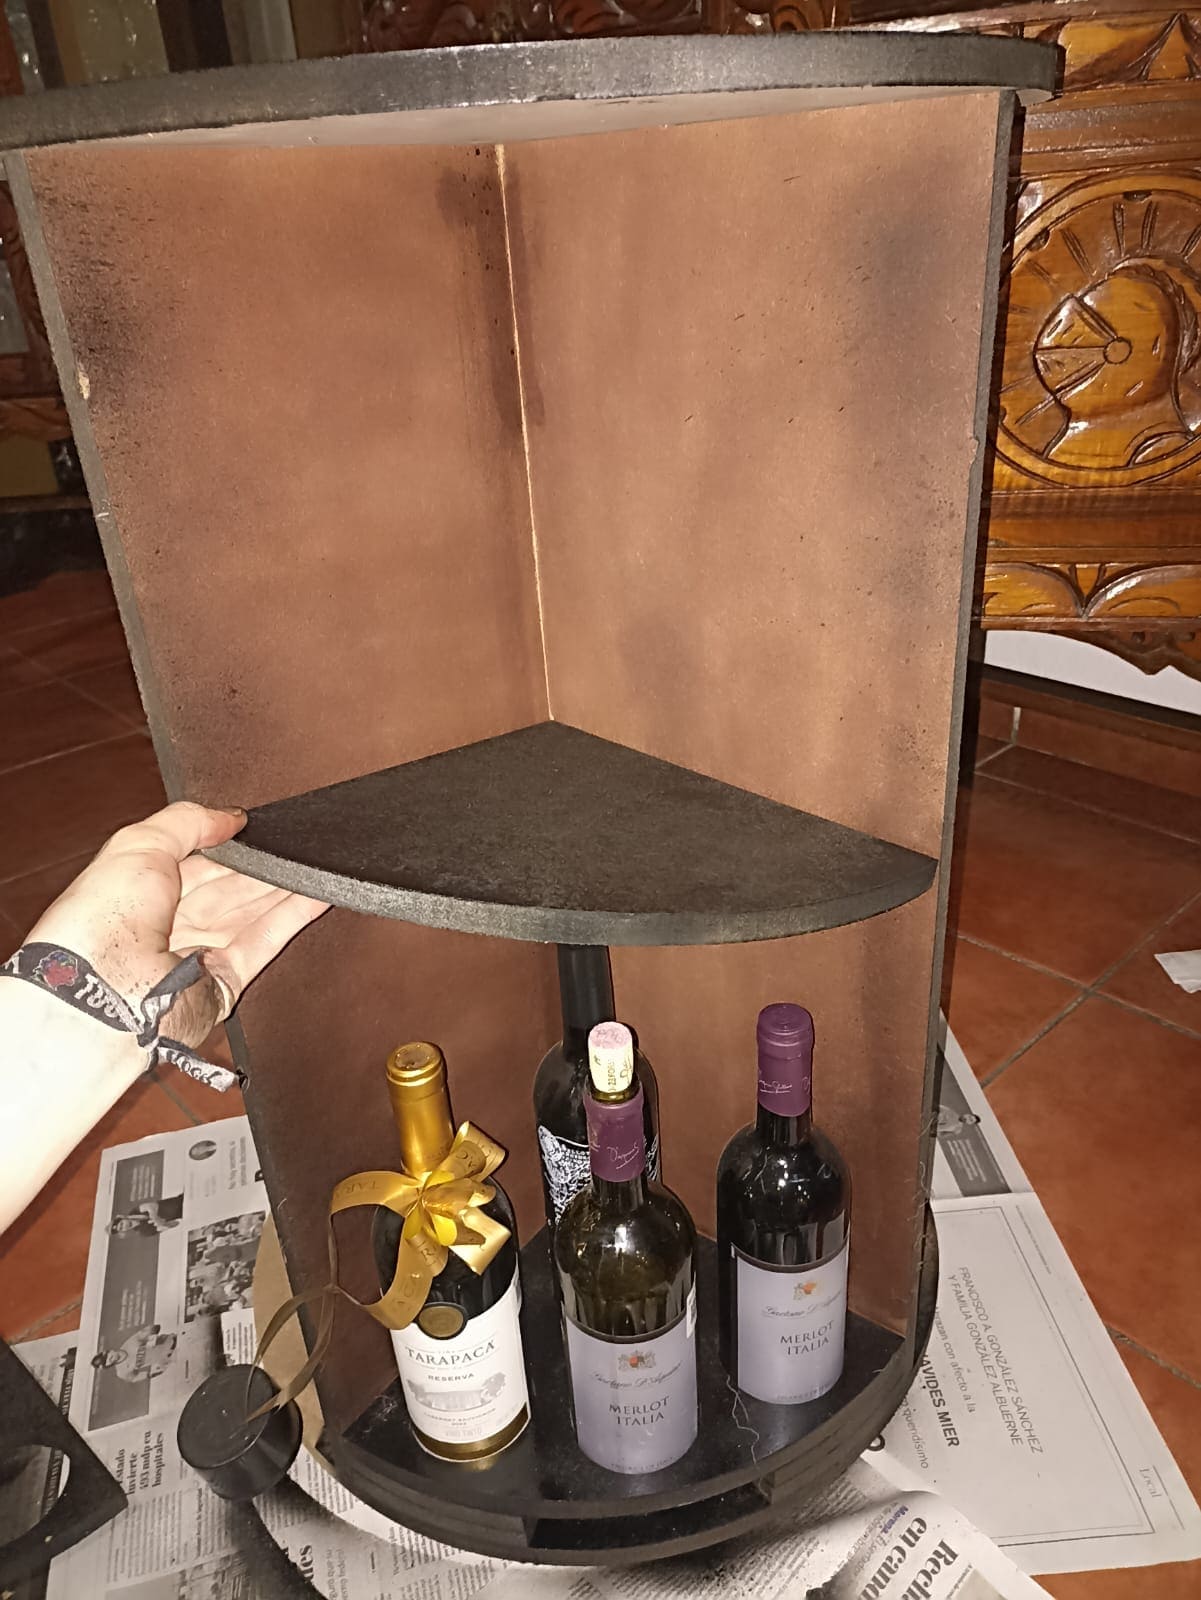
After I took them out and (roughly) assembled it, here is how it turned out:

Most parts will be glued with a special wood adhesive, but right now I don´t have any more left, so I can begin painting it to see how it looks!
Don´t forget to sand down the tabs left by the router
I plan to put some LEDs, better paint, and maybe make it spin, but for a first idea, I really liked the outcome
Conclusion
I personally think that MDF router cutting is a very underrated manufacturing process, since it gives very nice finishes and allows for big robust projects to be build with ease. Although a big drawback is that usually the pieces are very heavy and difficult to transport and it takes quite a lot of time, sometimes hours to complete a cut and it´s somewhat of a risky procedure. Regardless, it´s one of my favorite lessons so far.