7. Computer controlled machining
This week's assignment was to design, mill and assemble something big (meter scale)
Group assignment
The first thing we needed was to complete safety training, learning about the necessary equipment, security protocols and what to do in case of an emergency. All of this information can be found on Ibero Puebla's page: Fab lab Puebla.
- The necessary equipmentin order to work with the CNC router:
- Lab coat.
- Protection glasses
- Protective boots
- Sound proof earplugs.
Another important thing to take into account when using the CNC router are the design rules.
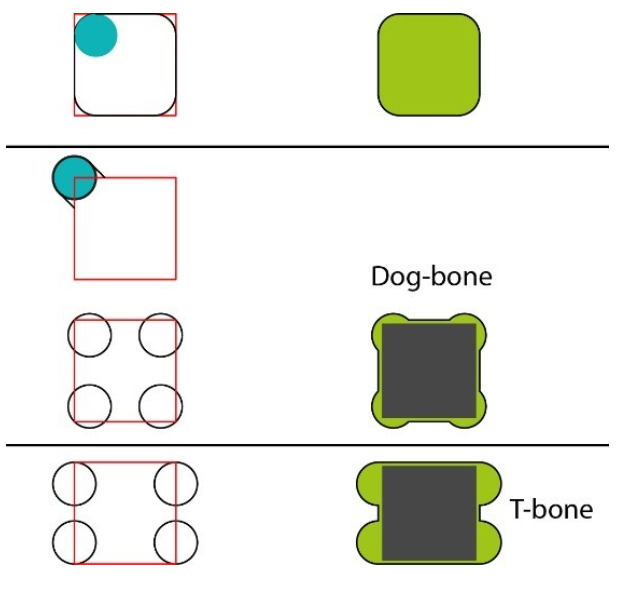
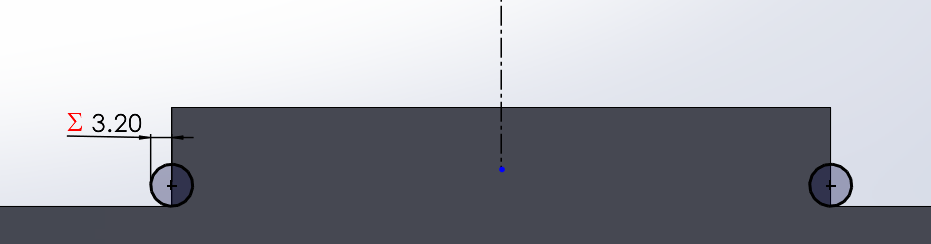
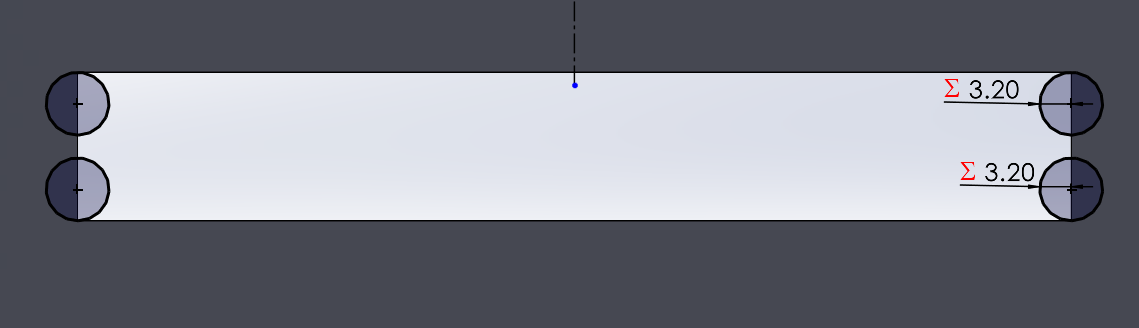
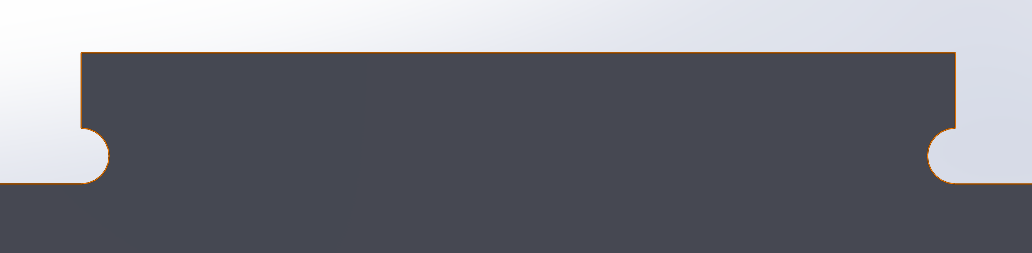
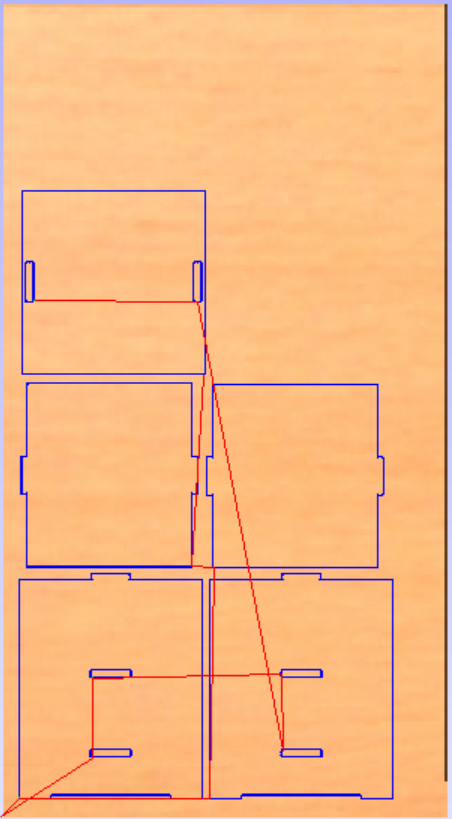
The router's tool "cuts" by drilling into the material, therefore it leaves a rounded hole. That's why we need to add "dogbones" or "T-bones", which are small modifications to the mortise and spike. This will allow the assembly to fit tightly.
Designing this week's project
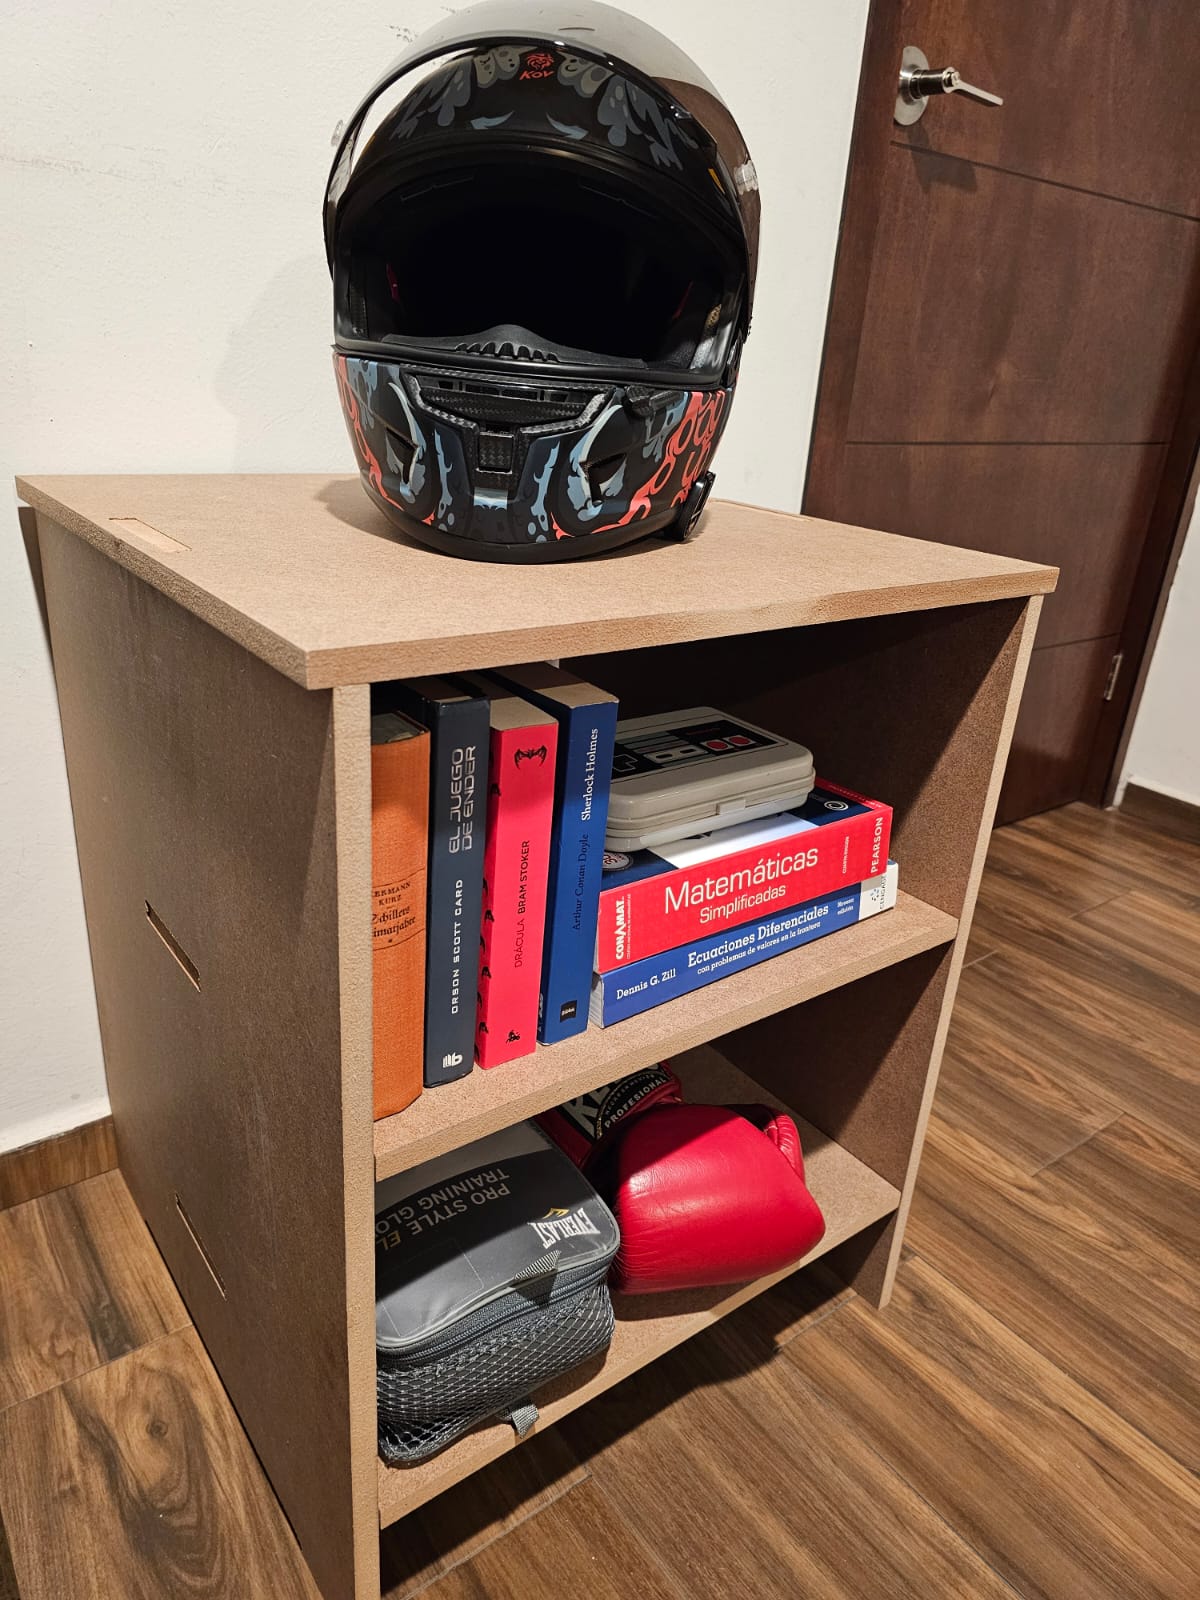
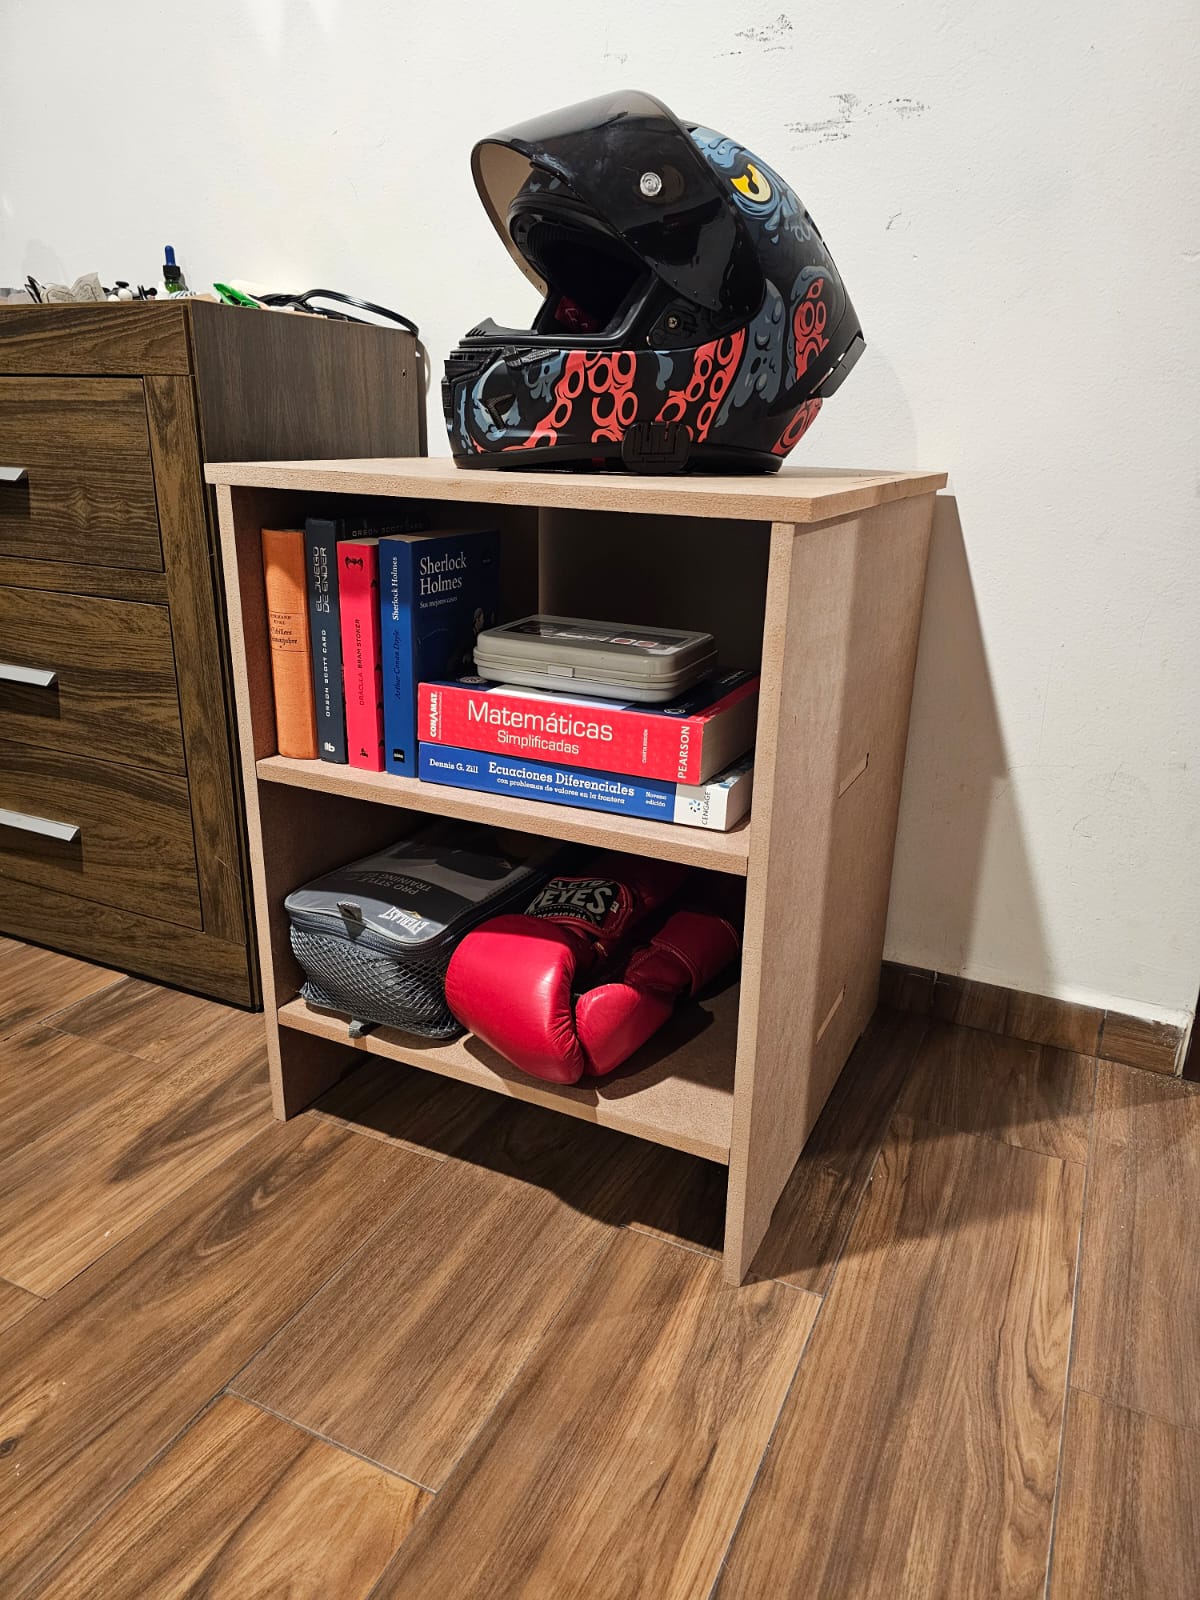
The first thing I did was to sketch an idea for a big design, I wanted to make something that would be useful for me. Finally, I decided to make a shelving.
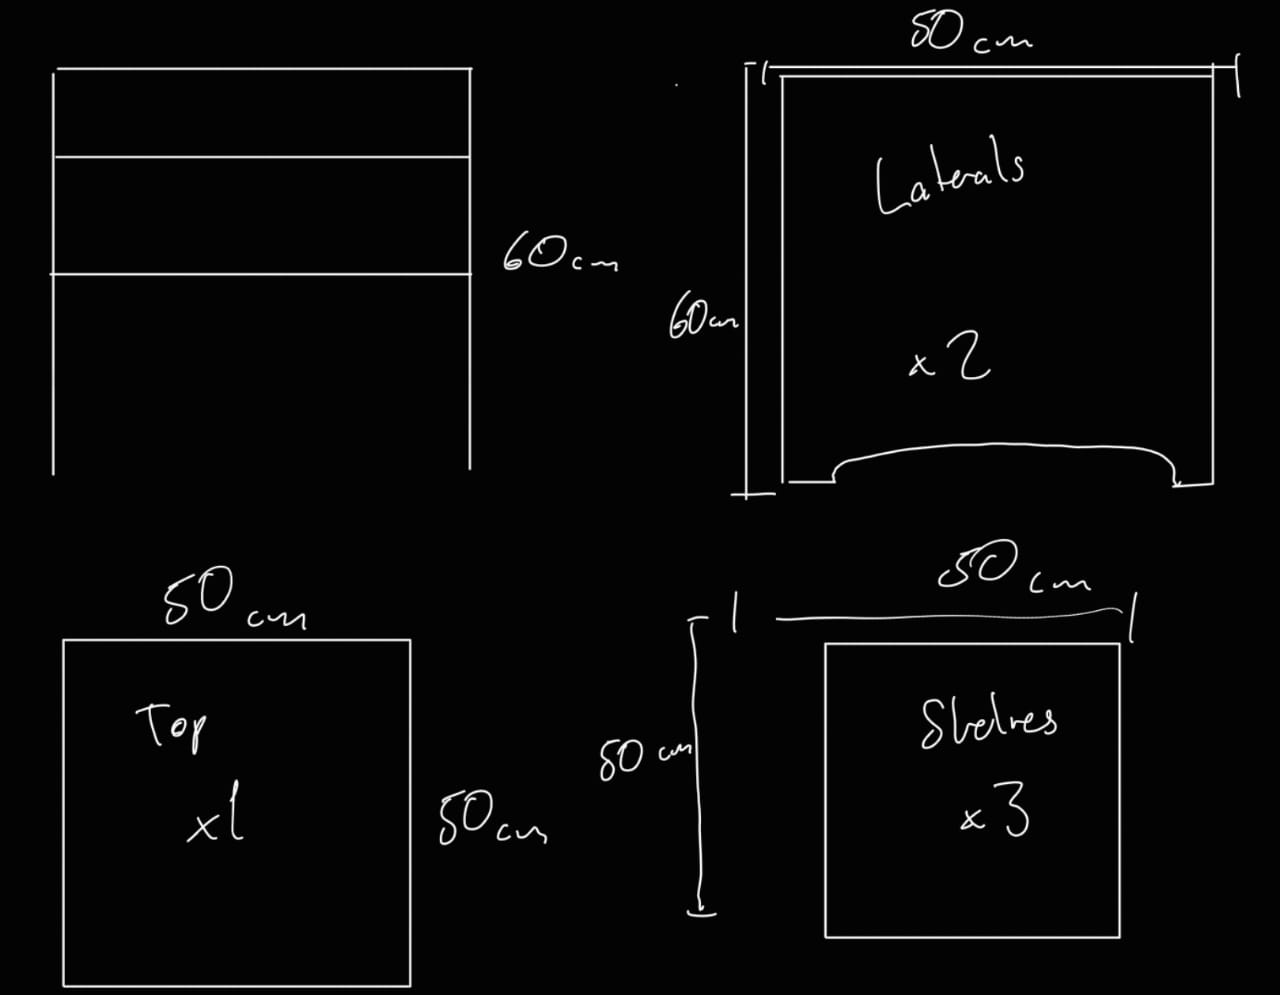
It may seem simple but having a sketch of an initial idea is helpful when designing my shelving. I used Solid Works to make my 3D design, the assembly is composed of two side parts, two shelves and a top part.
T-bones and Dog bones
For the dogbones and T-bones, I created circles with a circumference of the same diameter as the router's tool.I based the design of the dogbones and T-bones of this video Invisible Dogbone Fillets.

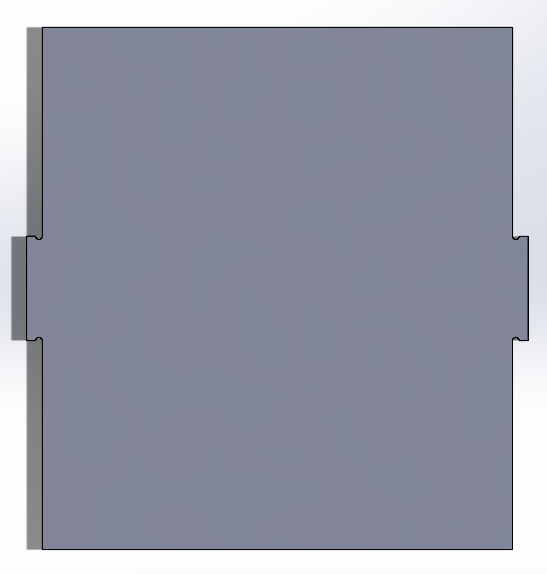
Side parts:
Download side part file.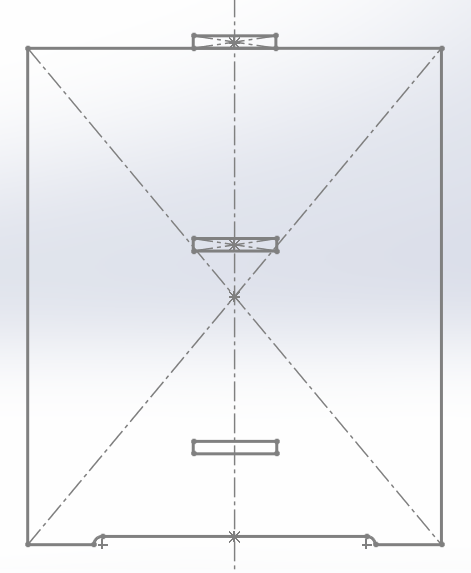

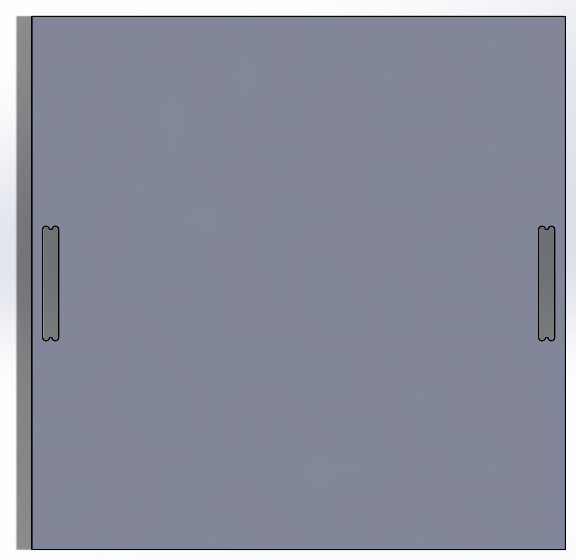
Shelves:
Download shelves file.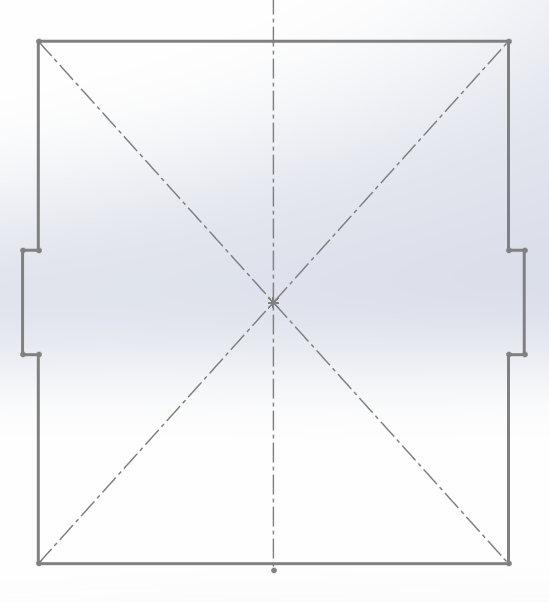
Top Part:
Download top part file.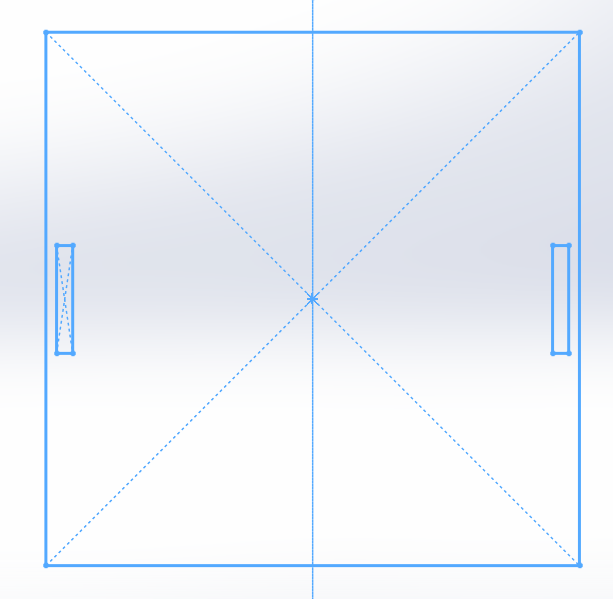
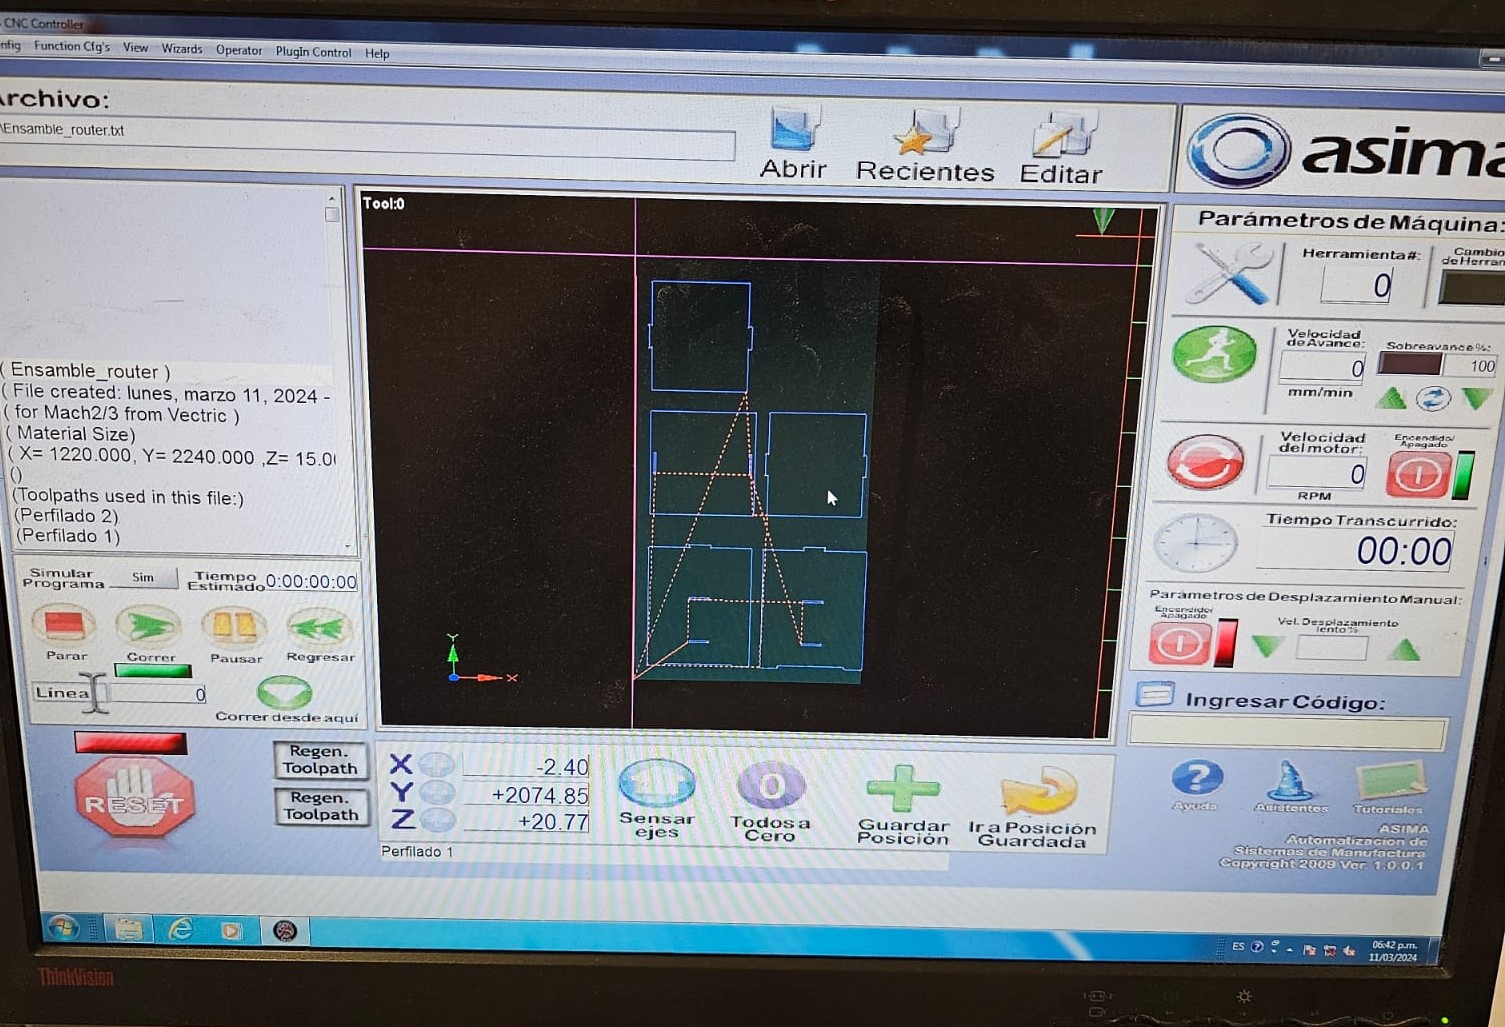
How to send my design to the CNC router?
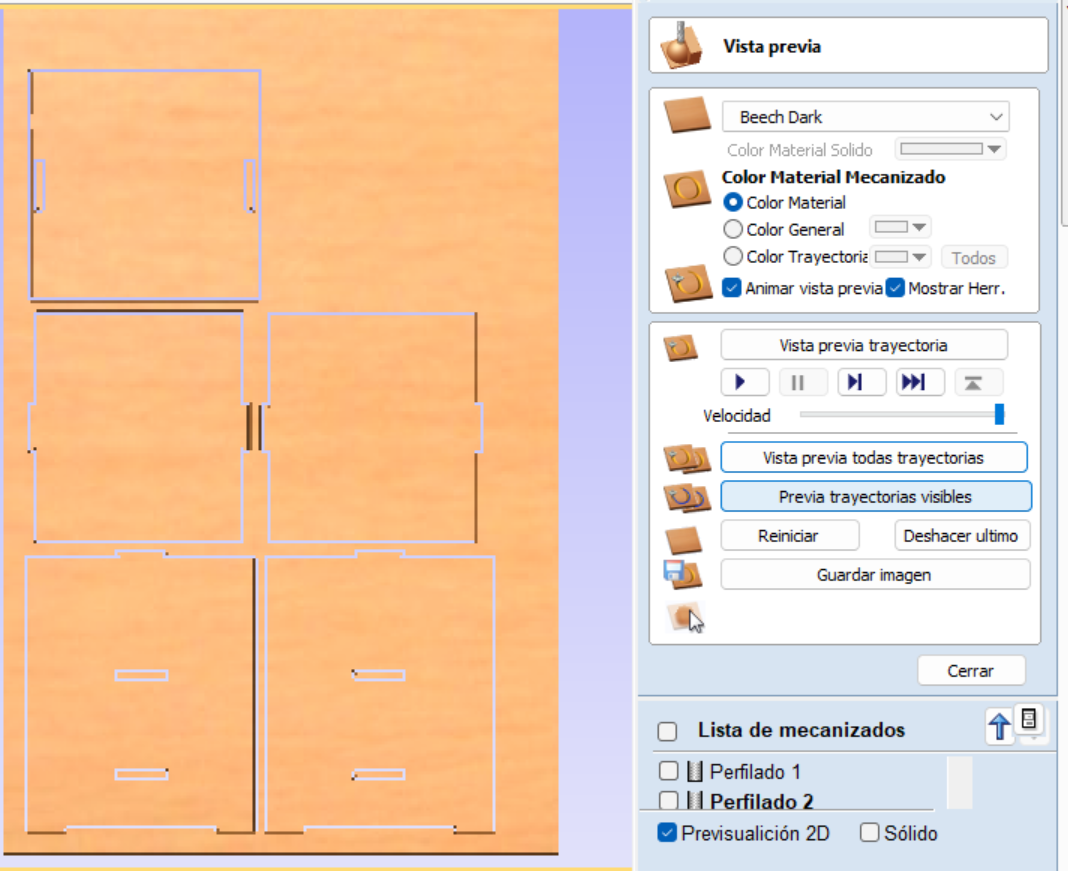
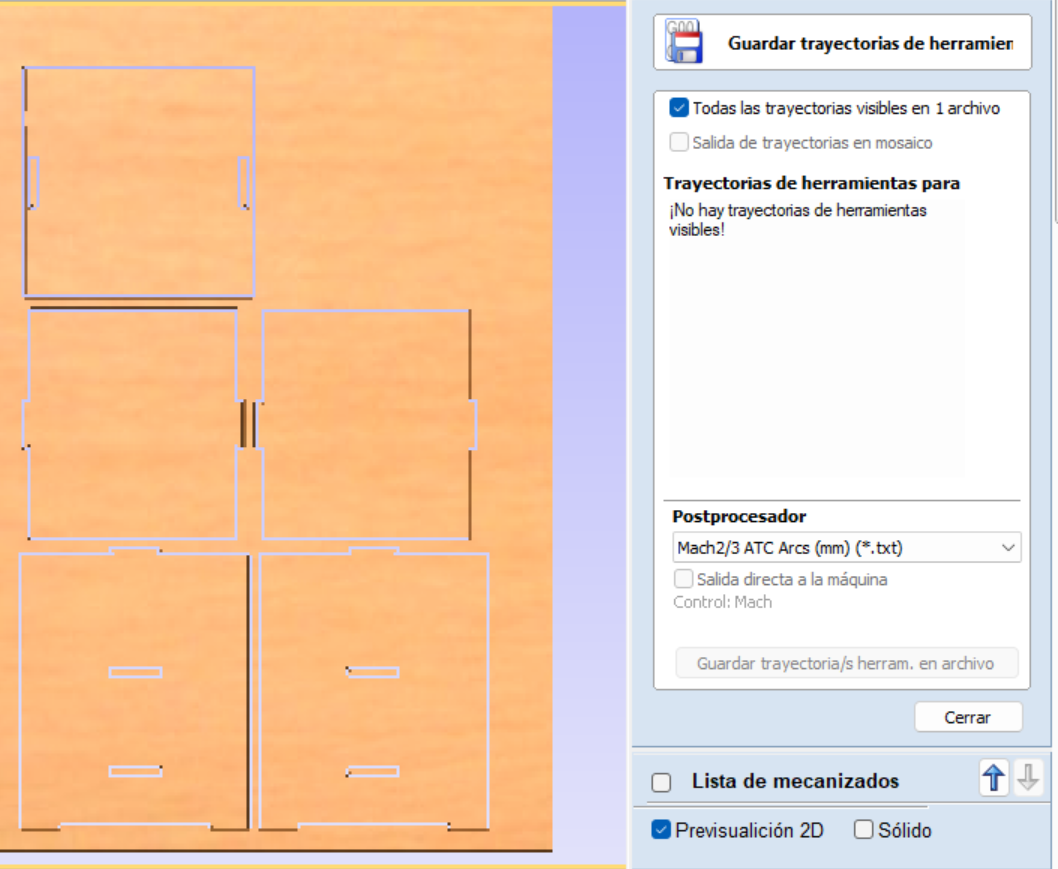
In order to cut something in the CNC router it has to be in the necessary format. The CNCs at Ibero Puebla use ".txt" and ".cn".I used a software called V-carve in order to arrange the peaces of my assembly and to convert them into the tip of the file I needed.
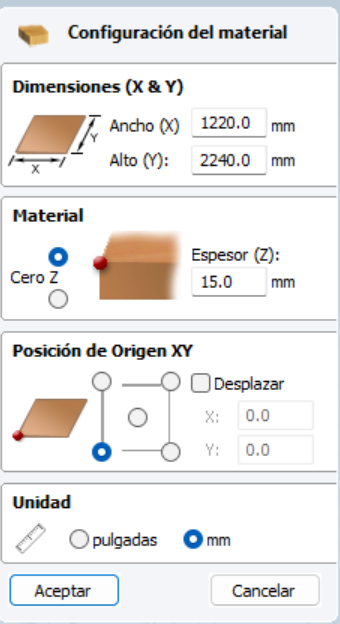
The first thing the program needs is the area and depth of the material that is to be cut. After that, I upload the vectors of my designs from Dxf files.
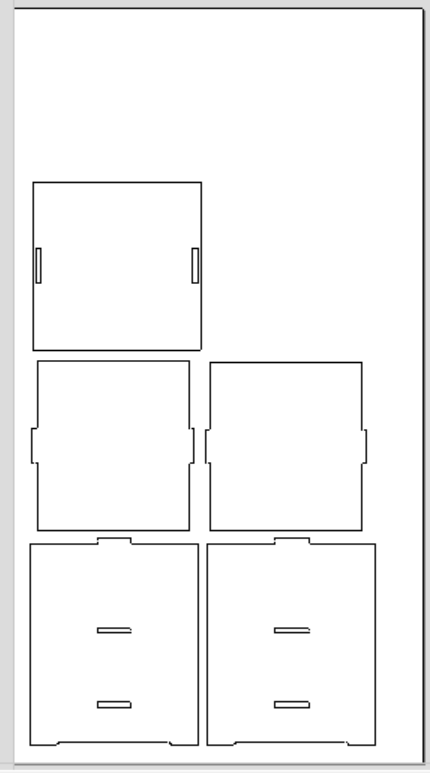
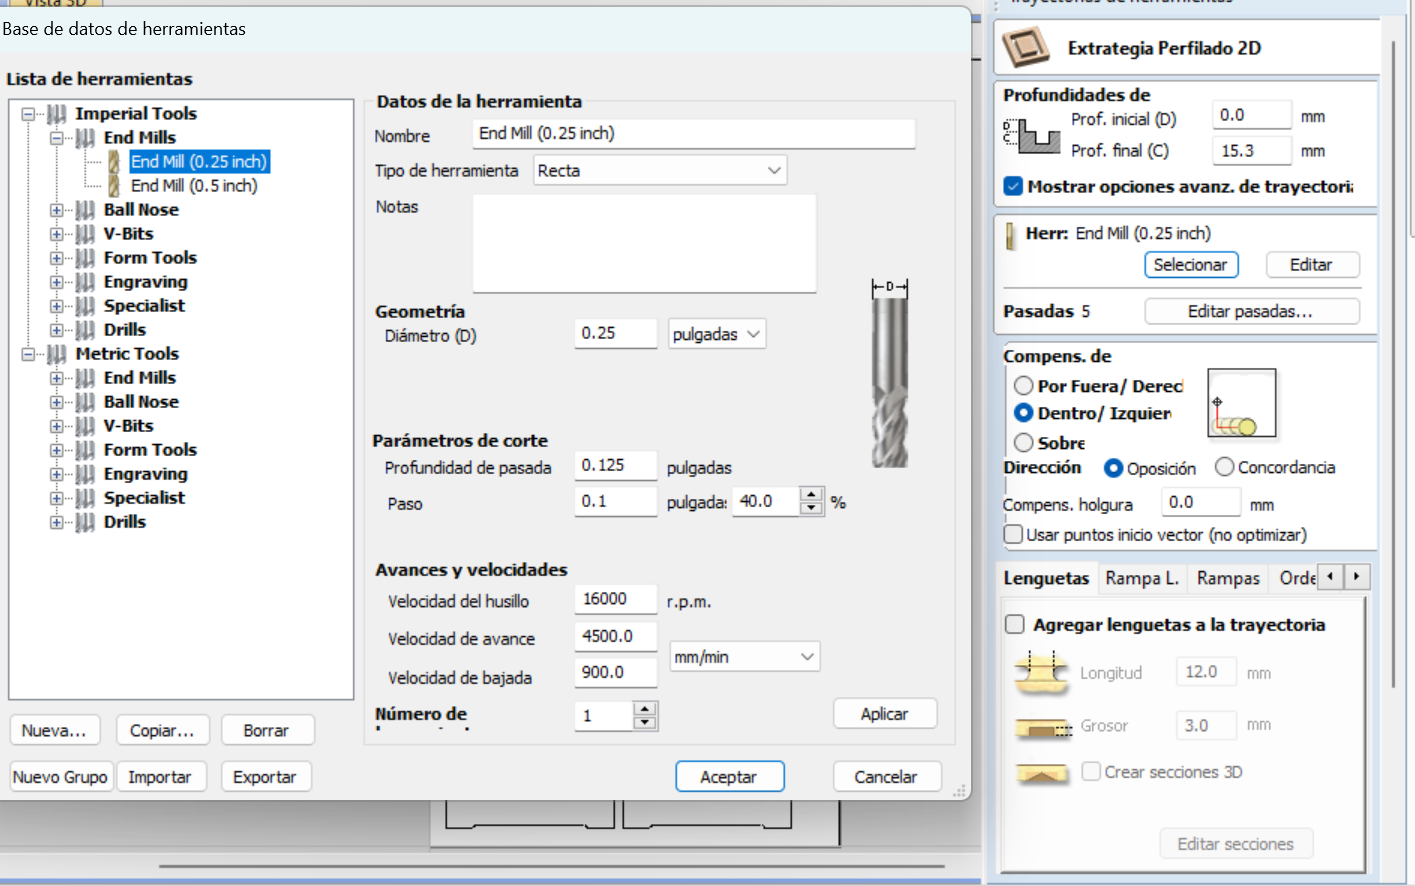
Using the tool's menu I selected the profile tool to calculate my inner and outter cuts, I had to establish my tool diameter. The outer cuts for the frame of my parts and the inner cuts for the holes. The depth of the cut, and the speed of the tool.
After that, I went to the 3D view where I simulated how the cuts would turn out. Once I confirmed the cuts would turned out fine the next step is to save my file.
To save the files in the necessary format I just selected the machine I was going to use.
Cutting on the router
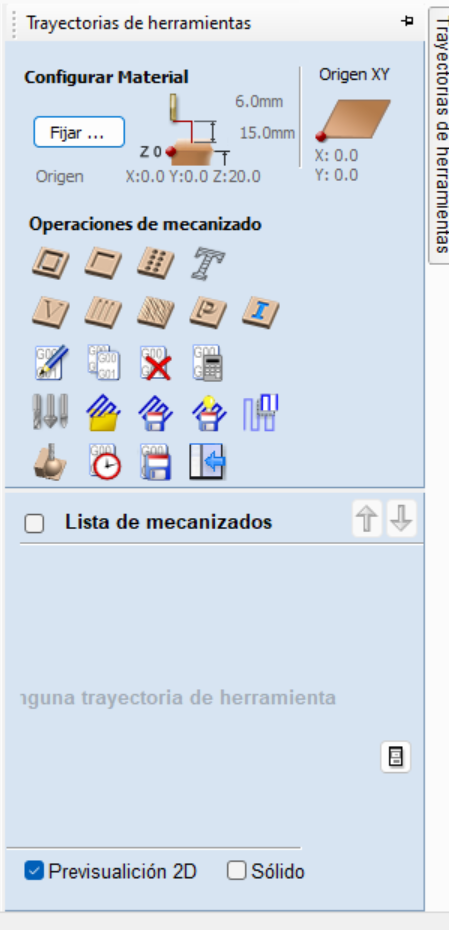
The first step was to establish an origin for the router. In the software ther's an option to establish x, y and z in 0.
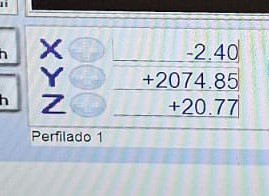
Then I just opened my file into the CNC software, after that a desplay of the cut will appear on the screen. Once that's done it can start cutting.
Results

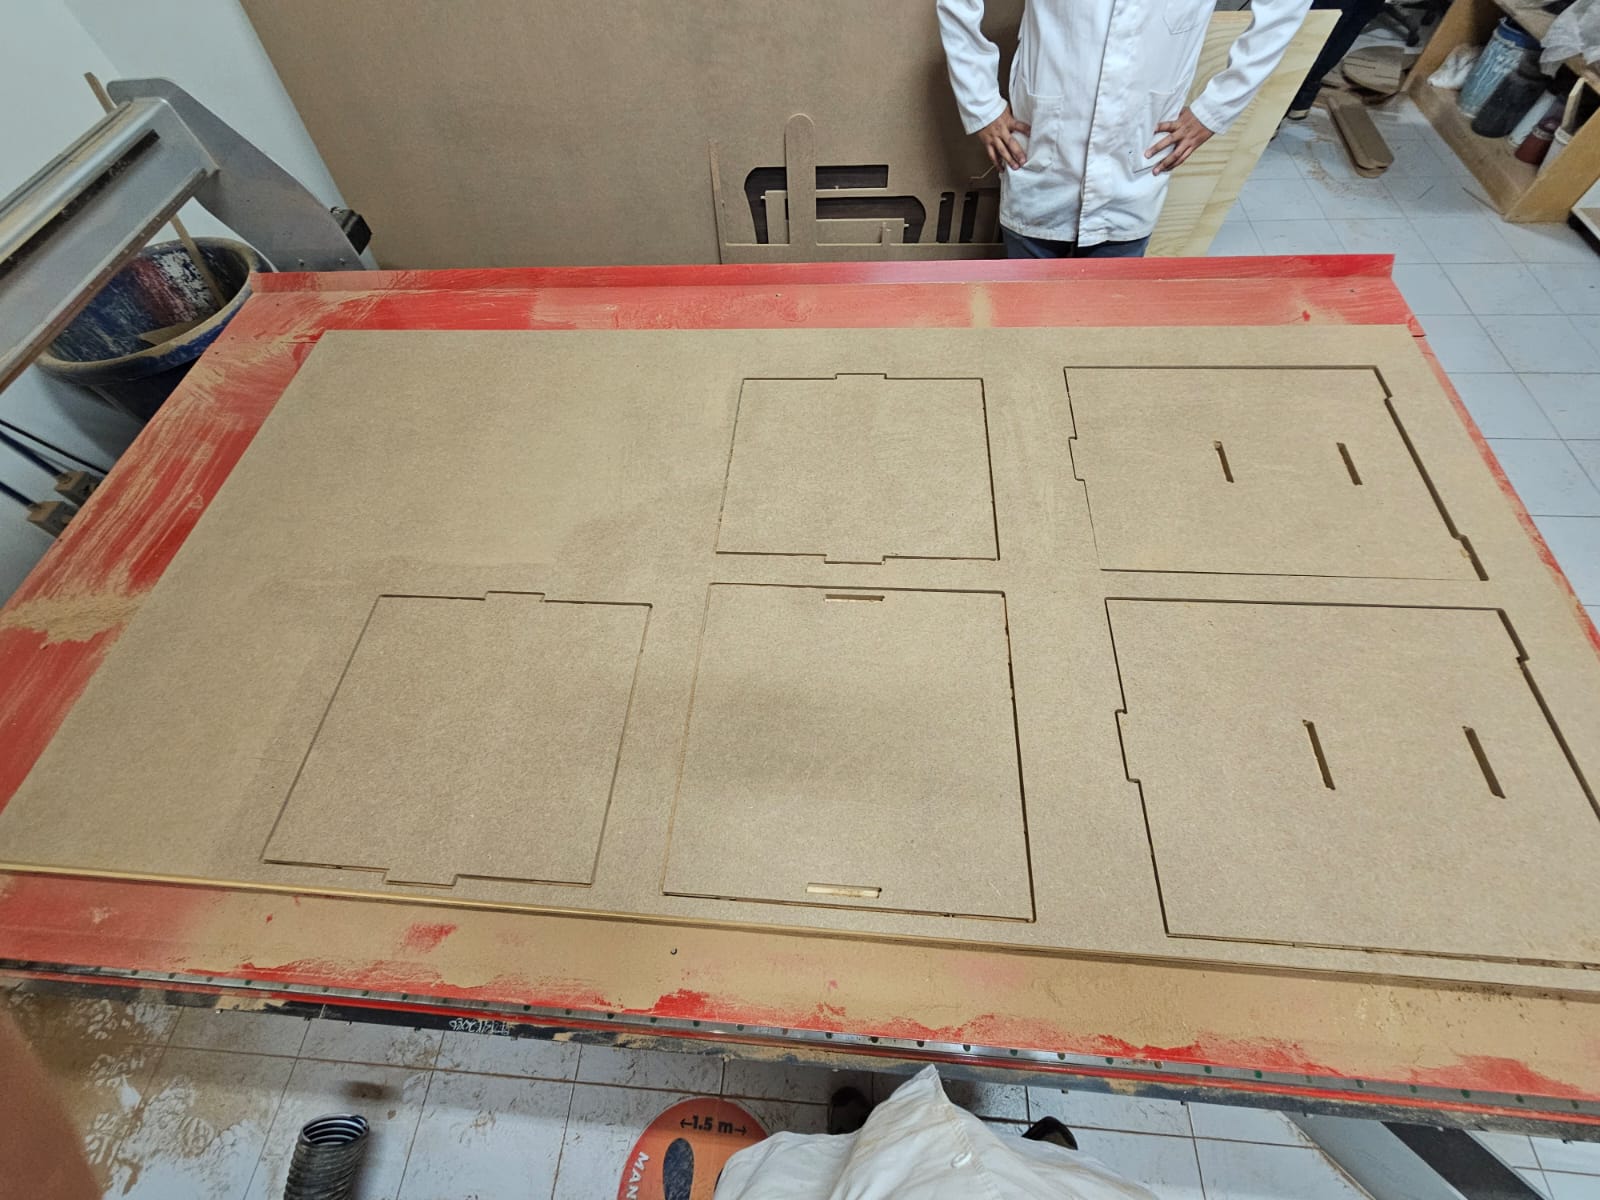
Hero Shot!