15. Wildcard week
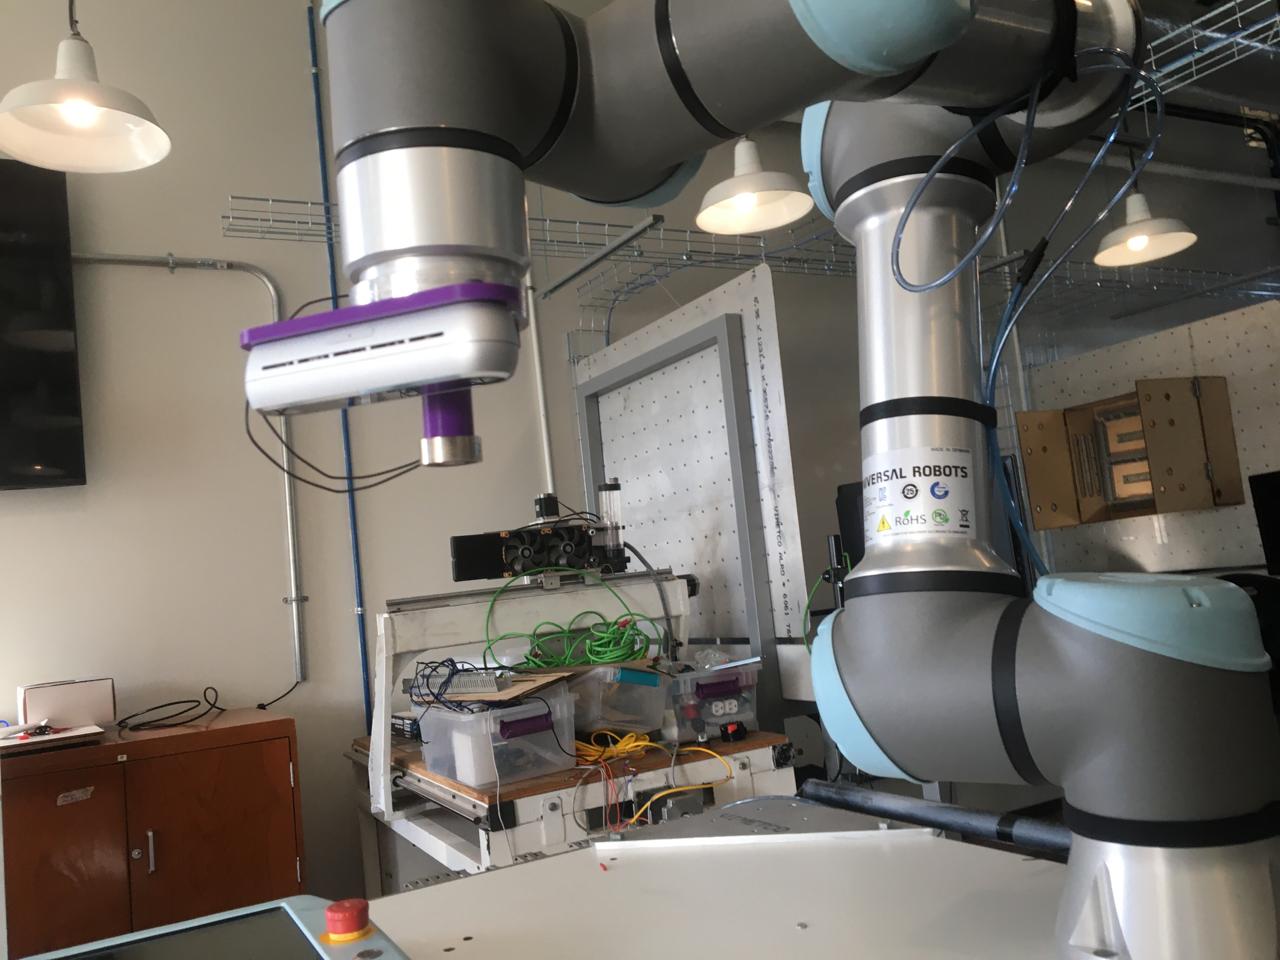
For this week, we must use a process not covered in other assignments, so for this assignment I used a robotic arm we have at our Fablab, the UR5e, and an AI model from google, mediapipe.
AI and Machine learning

For the artificial vision part I used Mediapipe, this is an AI model designed by google, it is used in many of their applications. Mediapipe is an open-source framework for machine learning it has a set of pre-built components for tasks like object detection, pose estimation, face recognition and hand tracking, the later one is the one we will be using.
For this assignment we will be working with Python because both AI and robot control can be done with this language, the first thing is to install libraries. This libraries can be installed using pip.
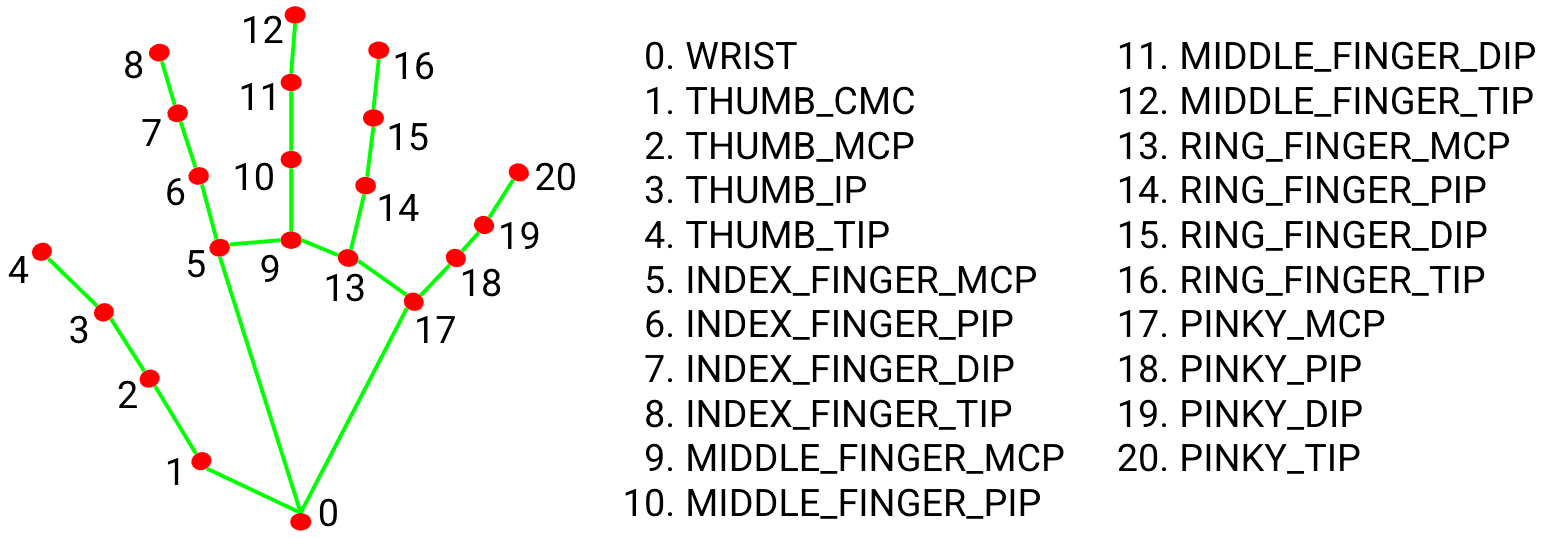
As stated previously Mediapipe has a lot of cool things, for this assignment I want to use the hand framework so the robotic arm goes to my hand. I will be using keypoint 9, that corresponds to the metacarpophalangeal joint of the middle finger.
Here is an example I made using my webcam, it gives us the coordinates of the point with the origin of the frame as refference.
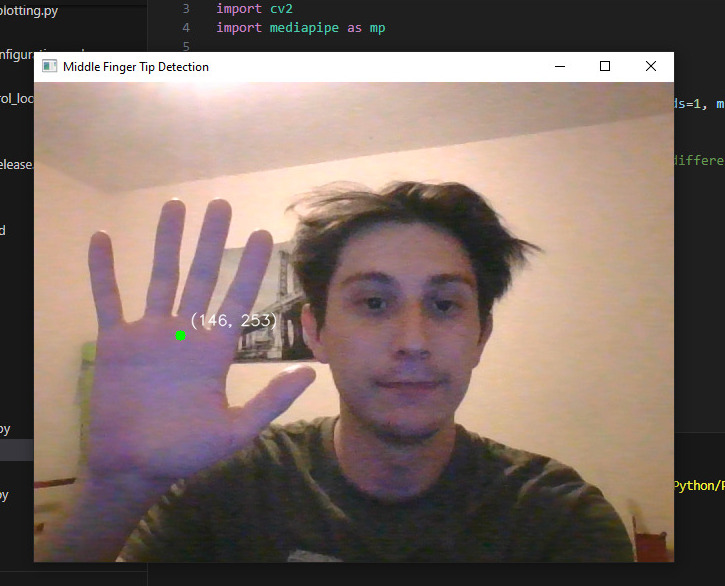
You can click here to download this code. And here is a video of how it works, as you can see this specific application detects and stays with the first hand it found, this can be changed but for the next part is imperative the detection only stays with one object.
Robot control
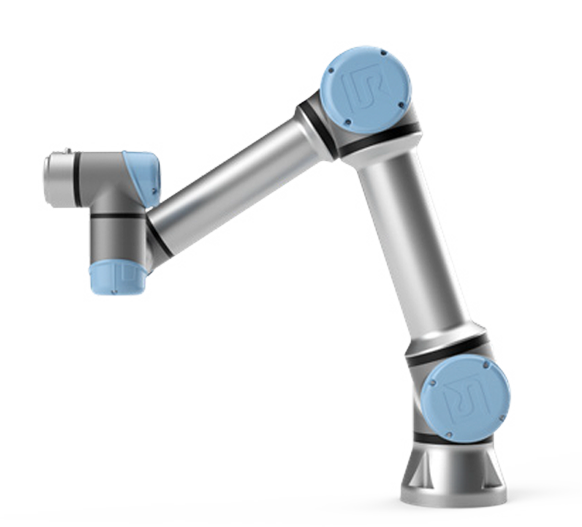
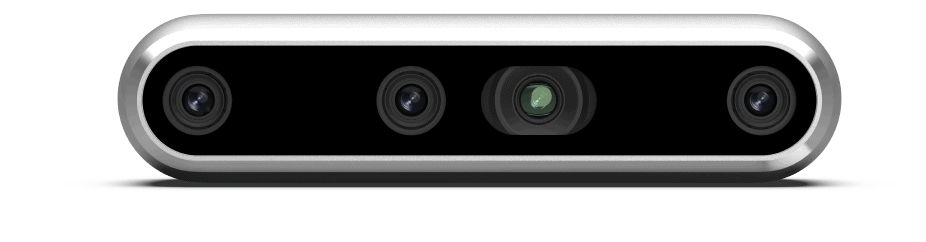
As you can see on my week 5 page I designed a gripper for a UR5e and a D455 RealSense camera, for this assignment I will be using it. This is a depth camera developped by Intel, the depth functionality will help us with the required math functions we need for the robot to function. Check my week 5 page for 3d printing files and the process for building this gripper.
In order to use the robot with Python we need some libraries but this ones are already pre-installed with Python,
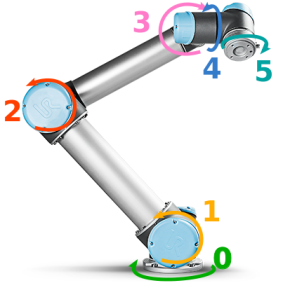
The UR uses its own language, URScripts, its not necessary to learn this language but we do need some structures so we can send instructions using Python as strings, this instructions are:
| movel | movej | |
|---|---|---|
| Description | This function sends the parameters as carthesian coordinates so the robot moves linearly to those points, this function uses the cinematic of the robot and the TCP as the point that moves. | This function moves the joints of the robot to dessired angles for each, the units are radians. |
| Example using Python | "movel(p=[x, y, z, xr, xy, xz], a=1.2, v=0.25, t=0, r=0)" | "movej(p=[-0.174, -0.286, 0.281, 0.204, 3.135, 0], a=1.2, v=0.25, t=0)" |
| Refference | 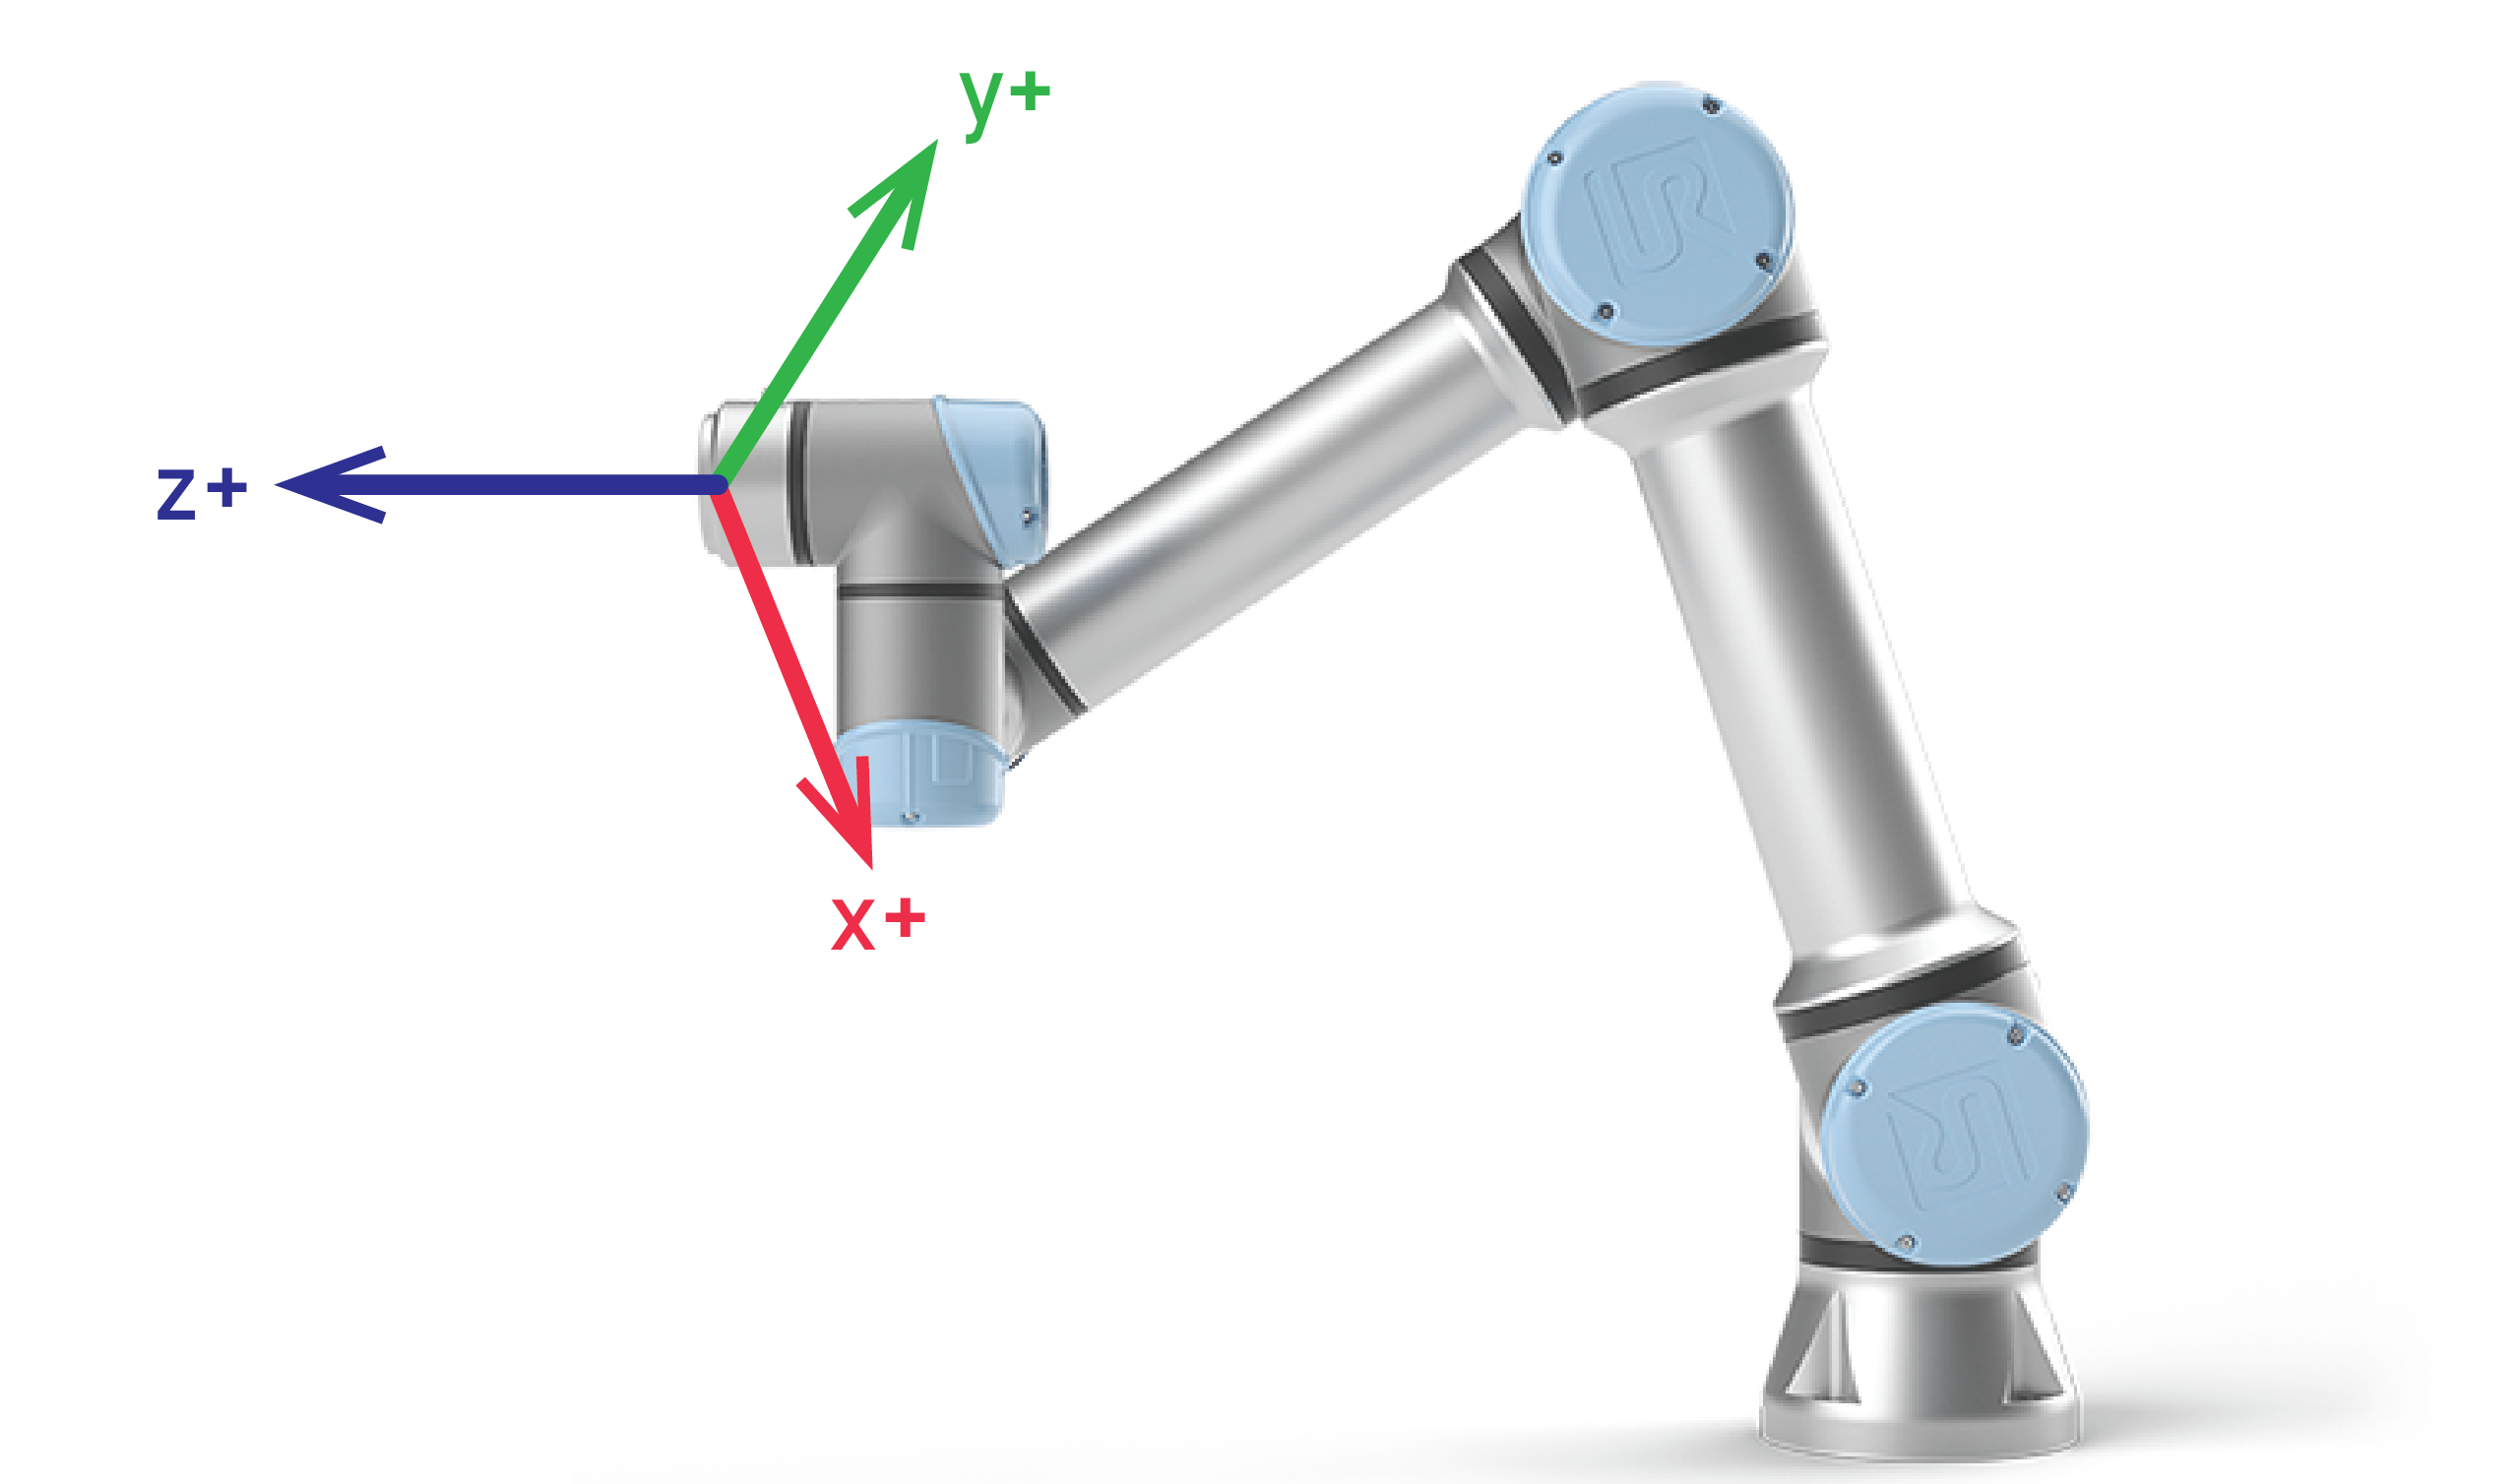 |
 |
For this specific application it's better to use the movel function, because we don't need to calculate the angle of each joint to move the TCP where it needs to be.
To recive data from the robot we built a function that connects to the robot, receives data about its state, extracts its position (x, y, z) and orientation (rx, ry, rz) from the received data, and returns this information along with the last joint angle of the robot(wrist3). It repeats this process three times to ensure accurate data retrieval. This is a small part that is used on the code. We need this last joint angle for the calculations on the coordinate transformation that needs to take place so the robot knows what the camera sees on it's on axis.
Integration
First, the size of the frame has to be determined, we can use the depth of the camera and the aperture of the stereoscopic sensors to calculate this, the advantage of doing this is that the system can adapt to changes in the Z axis and rotations on the Z axis.
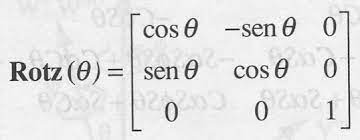
For the coordinate transformation we used an homogeneous transformation matrix on the Z axis (wrist3 angle) to obtain the (0,0) point of the frame with respect to the robot's base
This is an example of what the robot "sees" where the green box is the frame and the blue circle is the TCP.
After the algorithms were made we can now code, in this snippet you will find the functions used and how it works but not complete click here to download the full code. As you can see on the main loop, first the hand detection starts, then when we press 1 the robot goes to the hand, then we can return the robot to its home and start again, this is very useful for pick and place applications.
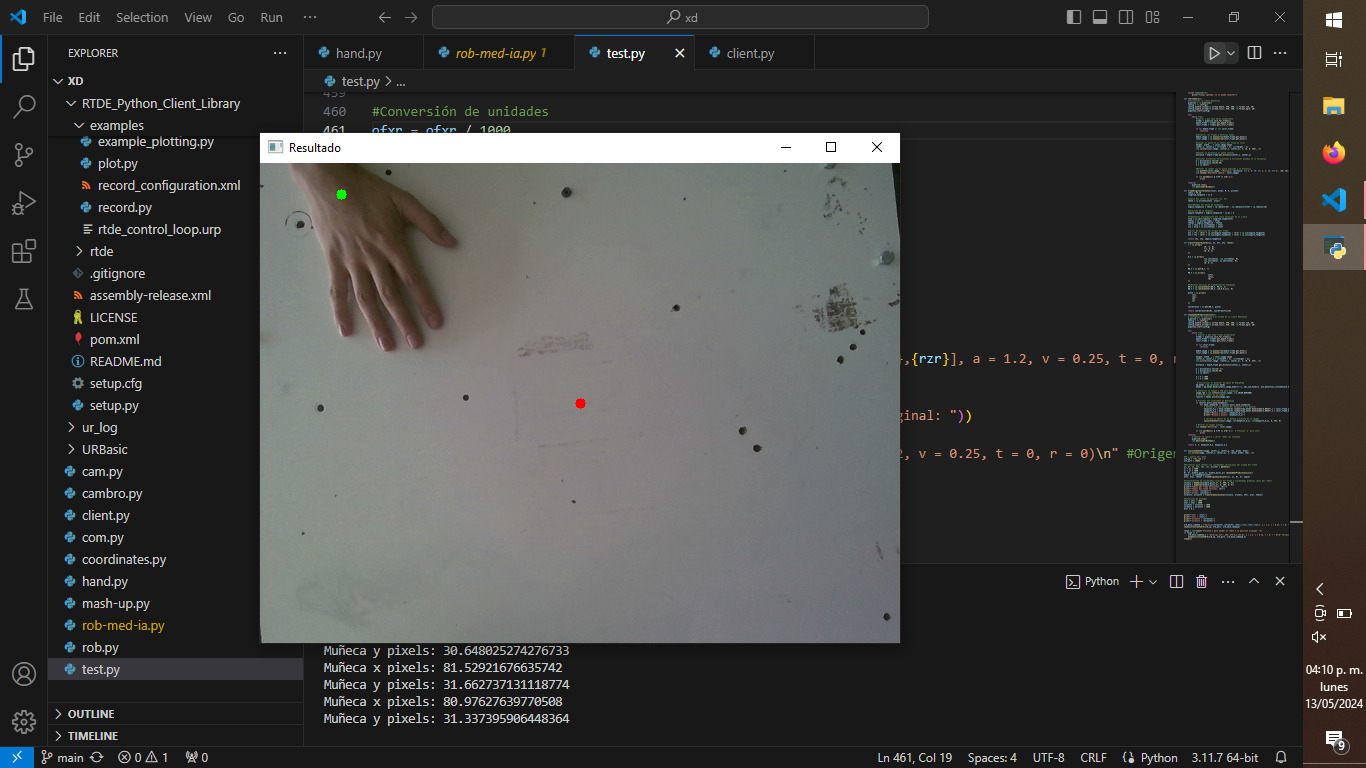
This is what the main window looks like. As you can see the frame shows the desired hand point (green) and the TCP point (red).
And here is the robot in action.