2. Computer Aided Design
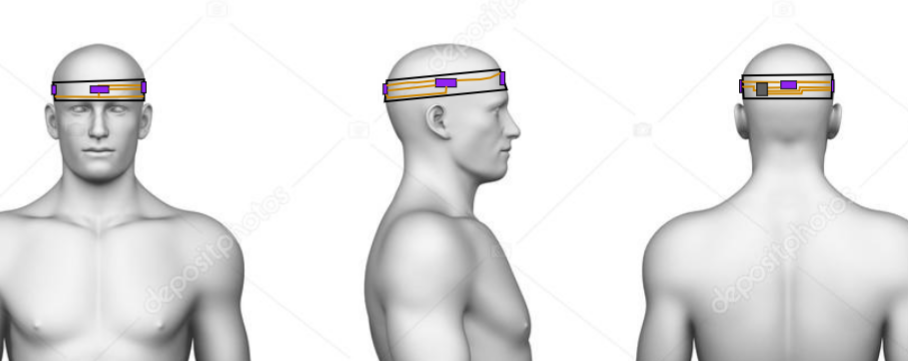
For the 2D design I used sketchpad which is a free-online software for drawing, I sketched a representation on a head band i'm fabricating for a class. This software is really easy to use and very intutive, it's great for some of us who are not as skilled in the drawing department.
First I imported an image of the anatomically correct position.
Then I used some tools like the point to point line, fill, etc. to make this sketch.
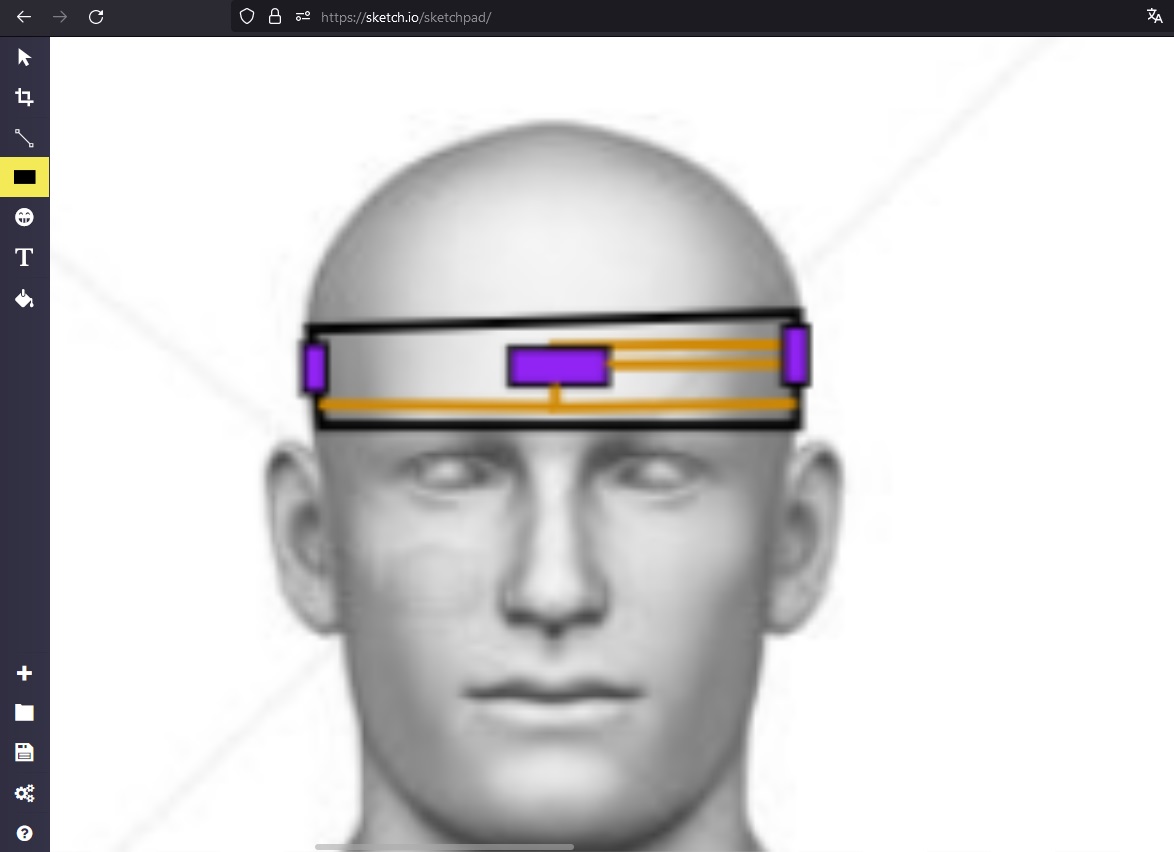
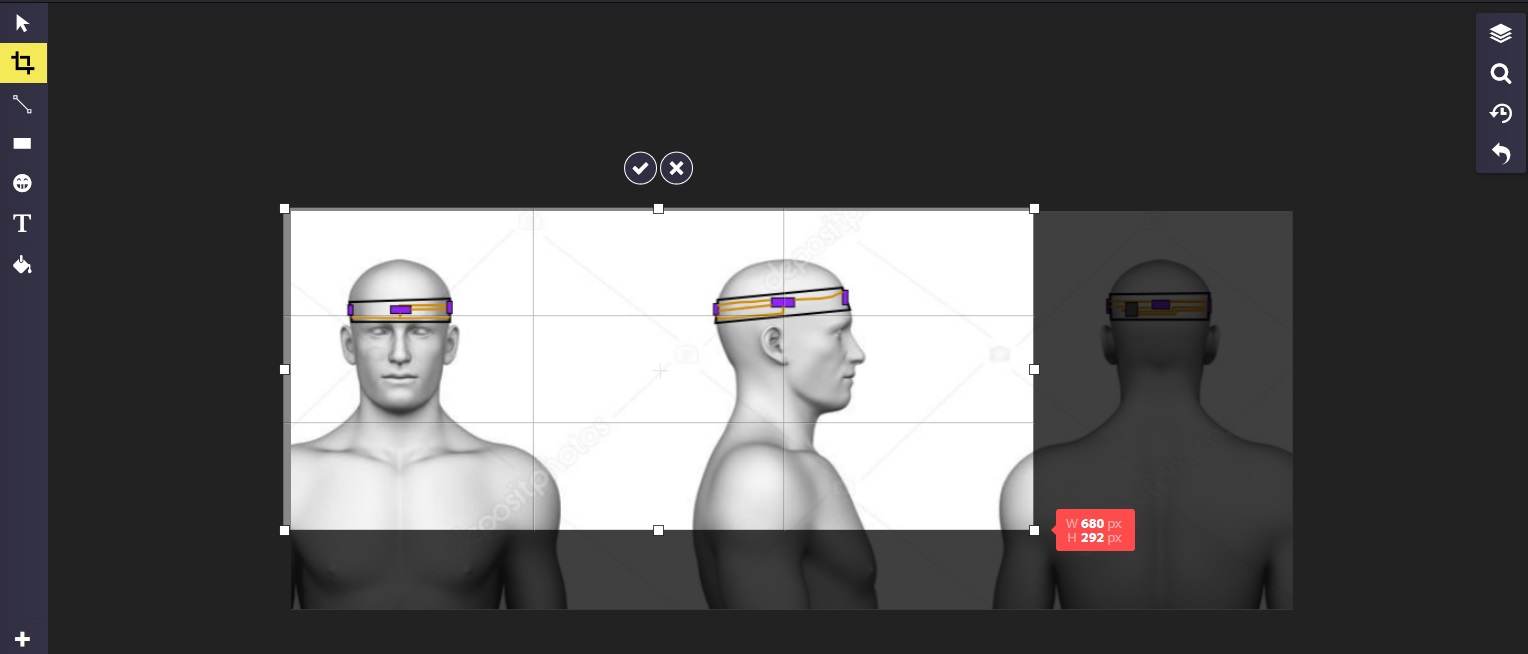

Finally I exported the file in .jpg to use it on a presentation.
Sketchpad has some very interesting tools, i found really cool that files can be exported as image formats like .jpg or .png but they can also be exported as .svg files which can be used for laser cutting and circuit production.

Since we can create designs with transparent backgrounds i will create a simple logo to cut down with the vinyl cutter. First, I started with a circle, then I putted two lines on an X shape to create 90° angles, to do this I drew one line and mirrored it inside the circle so it had the same size.


Then I exported the file as and .svg and as a .png because the vinyl cutters at our fablab handle those types of files,

Finally I cutted the design on vynil, I will be showing more in depth how to do this on the following week.
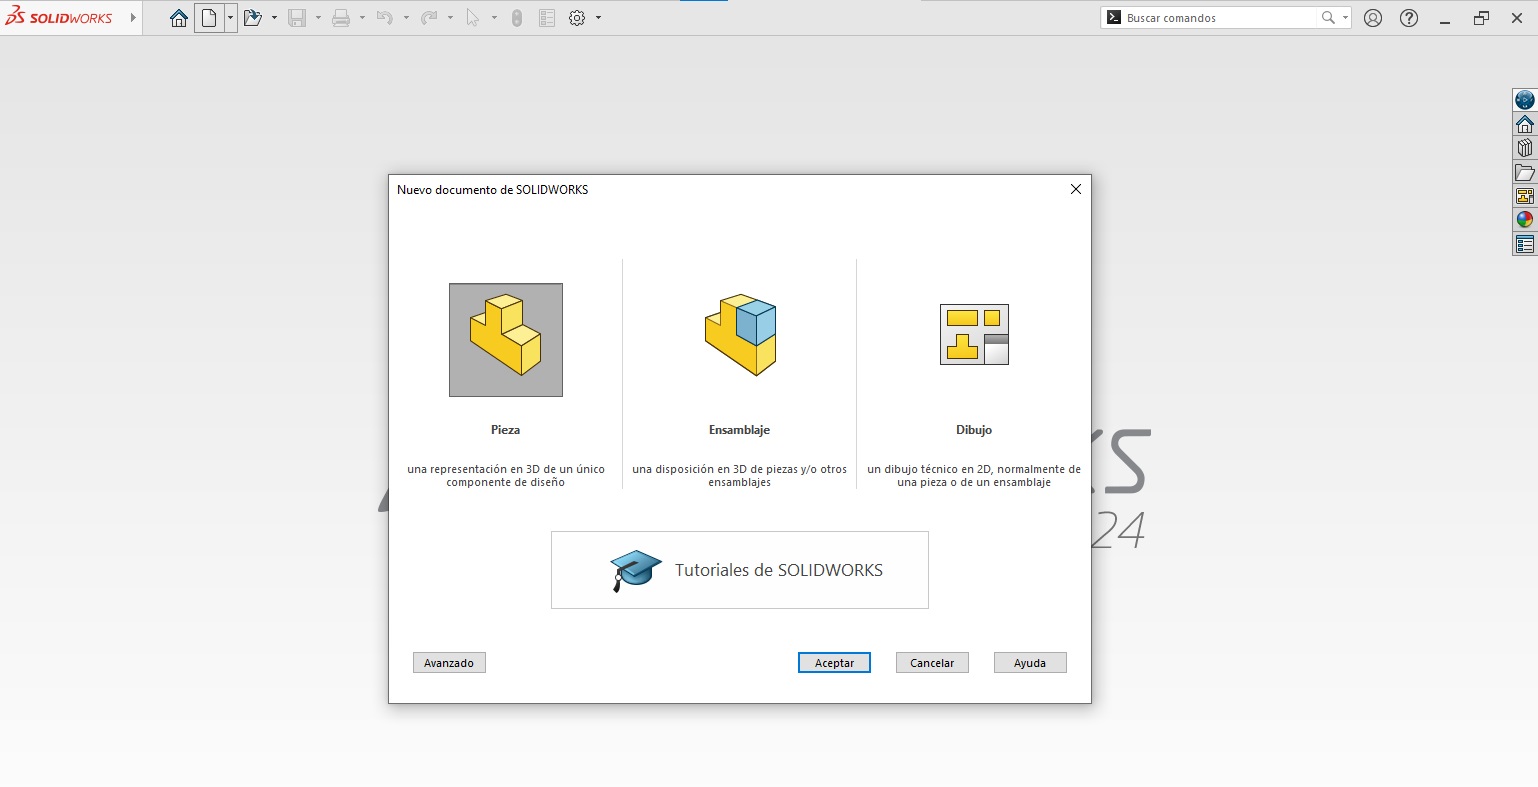
SolidWorks
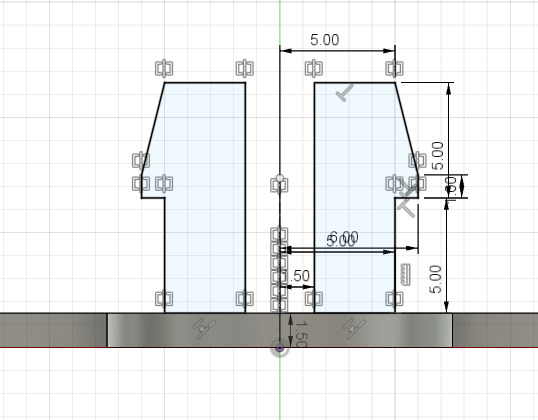
In the SolidWorks software we have 3 options: piece, assembly and sketch. To make a 3d piece we can use the first one, if we need to put many pieces together for a simulation or product we can use the second one, and the third can be used to make files for laser cutting like the one you see above.
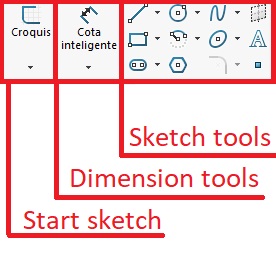
Then we can sketch with the tools equipped in SolidWorks draw lines or shapes like circles or rectangles.
I made this other 2D design it's an smaller representation of my final project


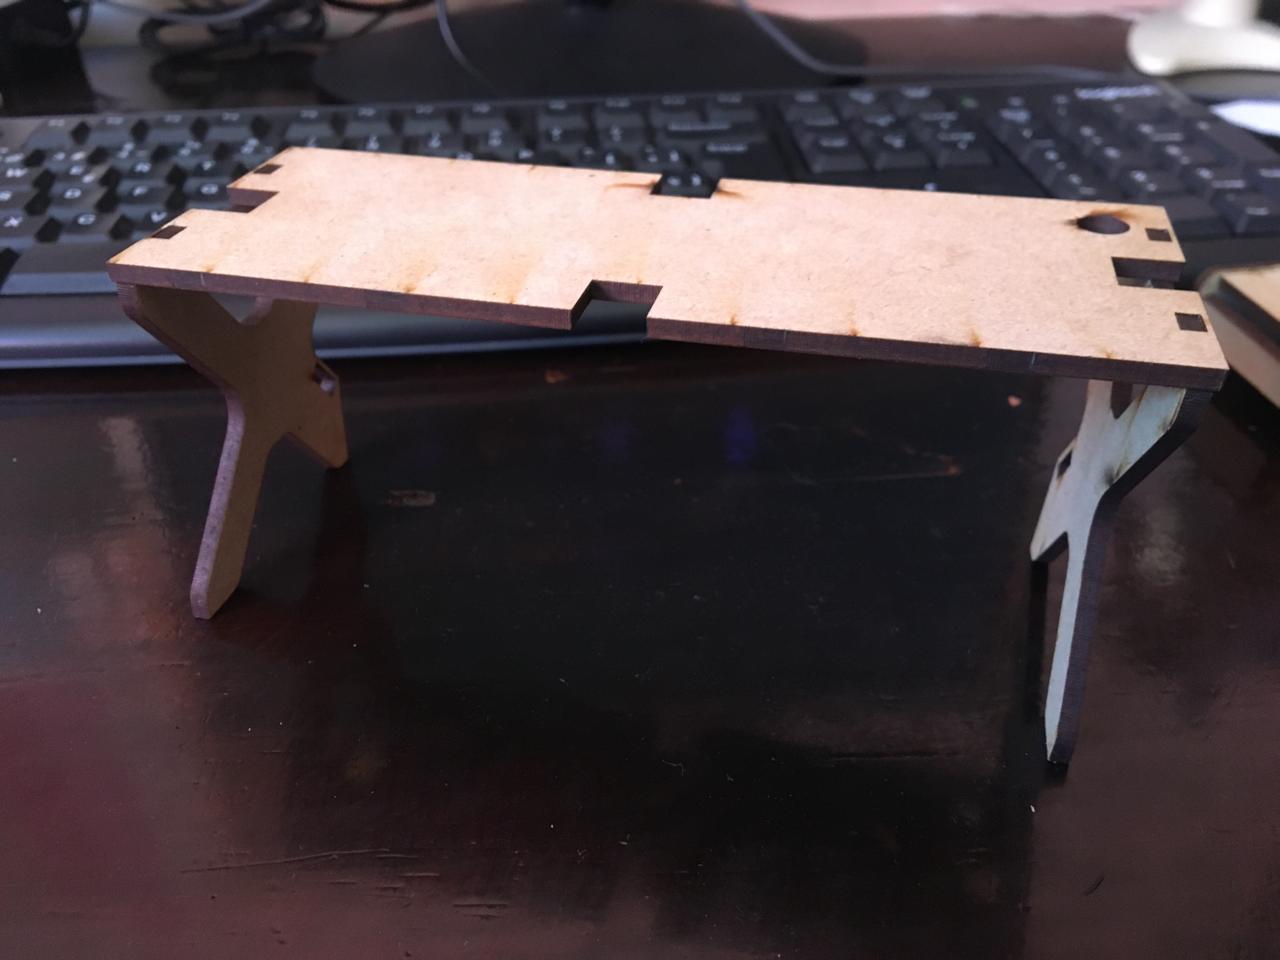
This is the design I will use for my desk, you can see a little more in depth on how I laser cut this on week 3.

Have you ever seen one of this? I have, but sometimes it's just a hole without a groomet, so i tought about a way to make this functional, sometimes tables have two of this for cable management, doe only one is used most of the time so i wanted to make something out of this. I did some research and groomet holes are between two and two and a half inches, so with that in mind I started designing. I wondered about having a trash can built into a desk so this is what I did.
I made this design using Fusion360, I think this is a great software for 3d design because it's really intuitive, has very interesting modeling tools, rendering, video recording, cloud storage, collaborative work, etc. When we first start this software this is the interface.

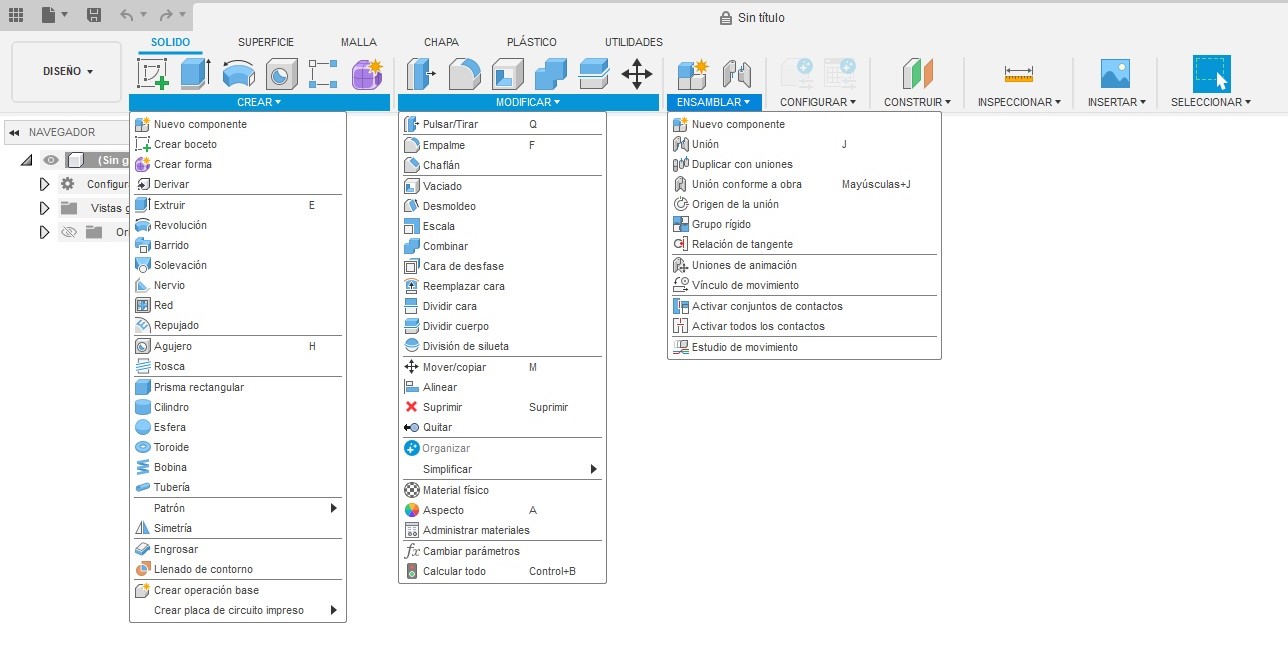
The tools that are most used for 3d dessign are this ones:
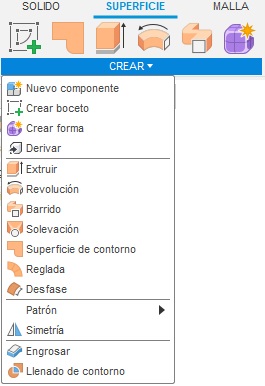
If we want to make a more organic design we can alternatively use surface tools.
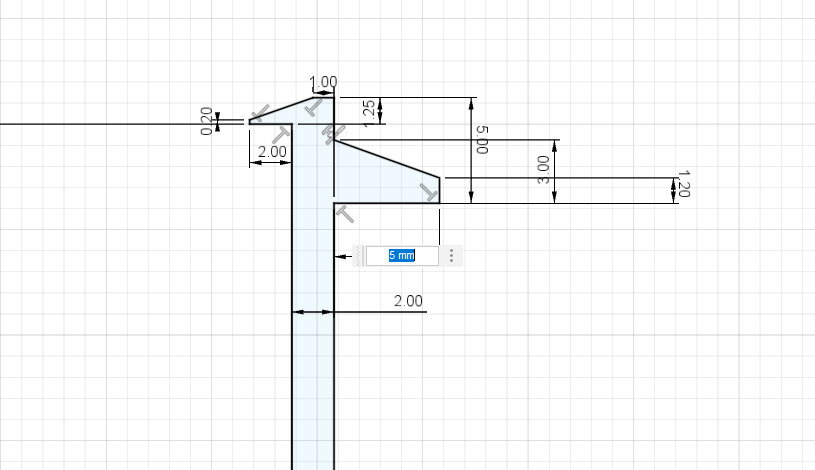
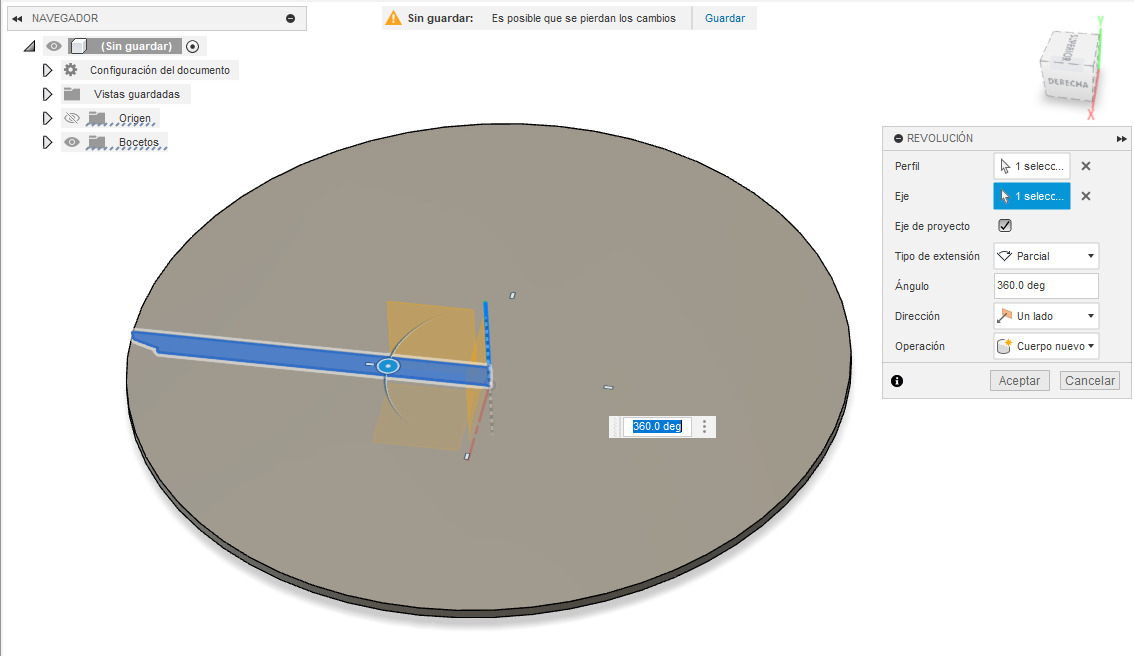
In this case first I designed the transversal shape for the trash can on a sketch, I had in mind the size of the hole (2.5 inches) and that a lid was going to be inside. Then, I used the revolute operation to make it 3d.

After that, I sketched the shape of the lid, using as refference the interior shape of the trash can. I also used the revolute operation to make it 3d.


Then I made the lid for the lid, I wanted it to rotate to make it like a simple slider, and i also added a little stop on the bottom so it doesn't rotate all the way.

For this one I used the extrude operation.
Final Assemby
Finally this is what it looks like assambled