WEEK 2 -Computer-Aided Design
Model (raster, vector, 2D, 3D, render, animate, simulate, …) a possible final project, compress your images and videos, and post it on your class page.
There are different types of software when it comes to computer design, there is 2d design, which as the name says, refers more to the creation or development of vectorized images, flat, more focused on images
There are hundreds of softwares of each of the software types (2d & 3d), but the 3 most popular ones for 2d design are the following:
|
- PHOTOSHOP
- ILLUSTRATOR
- AFFINITY DESIGNER
- INKSCAPE
- CORELDRAW
|
|
THE 5 MOST POPULAR FOR 3D DESIGN ARE THE FOLLOWING:
|
- AUTODESK MAYA
- SOLIDWORKS
- CATIA (MY FAVORITE ONE)
- BLENDER
- CINEMA 4D
|
|
3D SOFTWARE I USED
CATIA
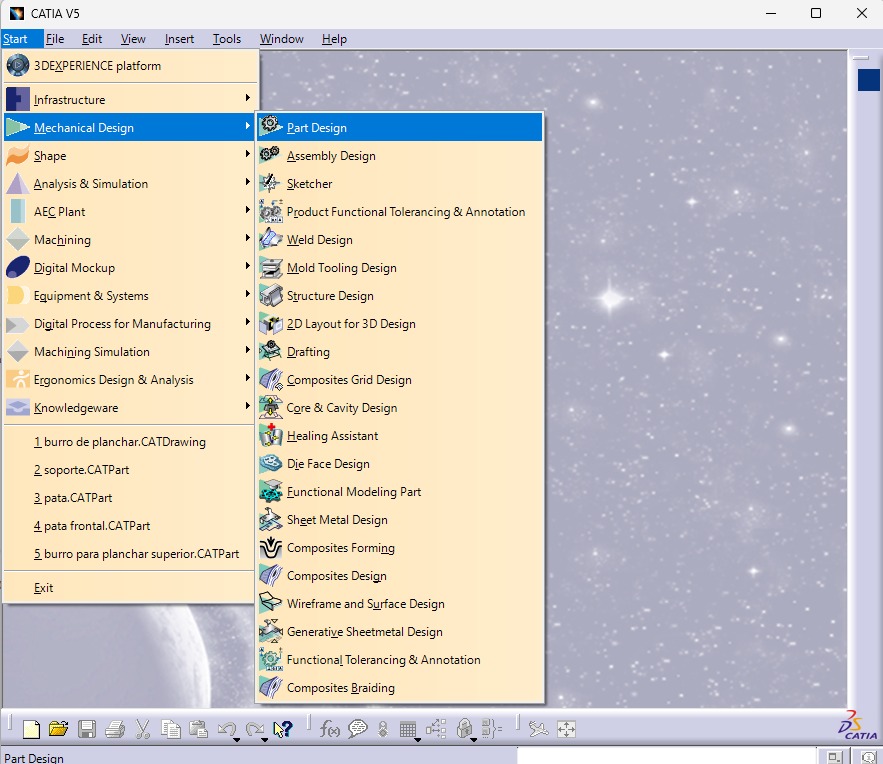
We start creating a new file by clicking on "START", then on "Mechanical design", to open one more menu where we have to select Part design.
We will have to name the part to be made, so that we can identify it in the operation tree.
Select a plane where I was going to work, there are 3 different planes, XY, YZ, ZX, an easy way to understand is the first one is like up-down, then front, and the other one is the same front but from another perspective.
In this case I chose the XY plane
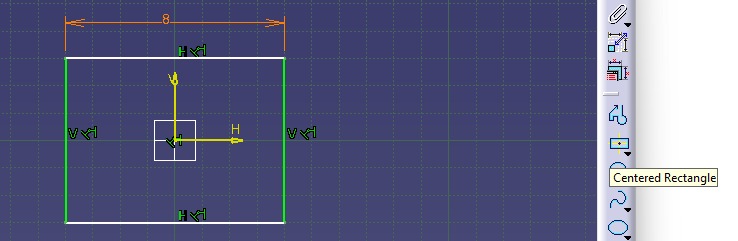
With the tool "CENTERED RECTANGLE", clicking on the center you make a symmetrical square, after having it, double click on the numbers in green, in this case the 8, to manipulate the measures at will, I put 10 on each side.
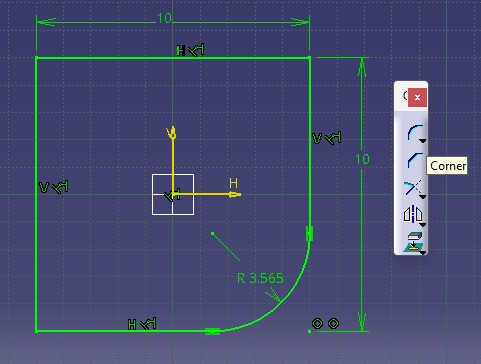
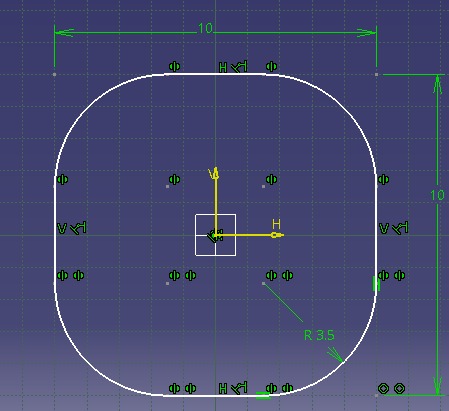
With the corner tool, I curved the corners of the square previously made, just click on the tool and choose the 2 sides of the figure you want, at the end you get the figure completely without corners, you can see it better in the following 2 photos
Then we have to leave the plane to apply operations "PAD" or in other software "extrude" to be able to take it to 3D, in which we get a window called pad definition, in which we can determine the volume, in this case I put 2 cm.
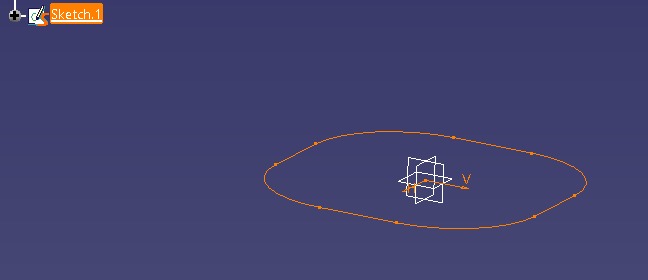
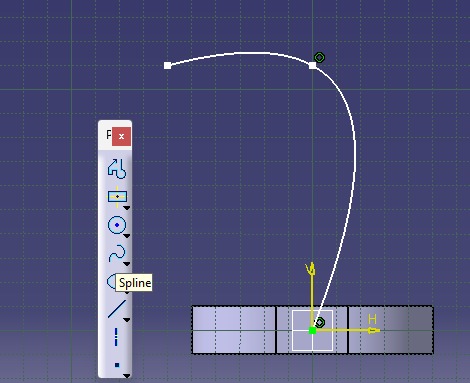
With the "SPLINE" tool, which is a tool where you can make lines with corvature, I made it to the left.
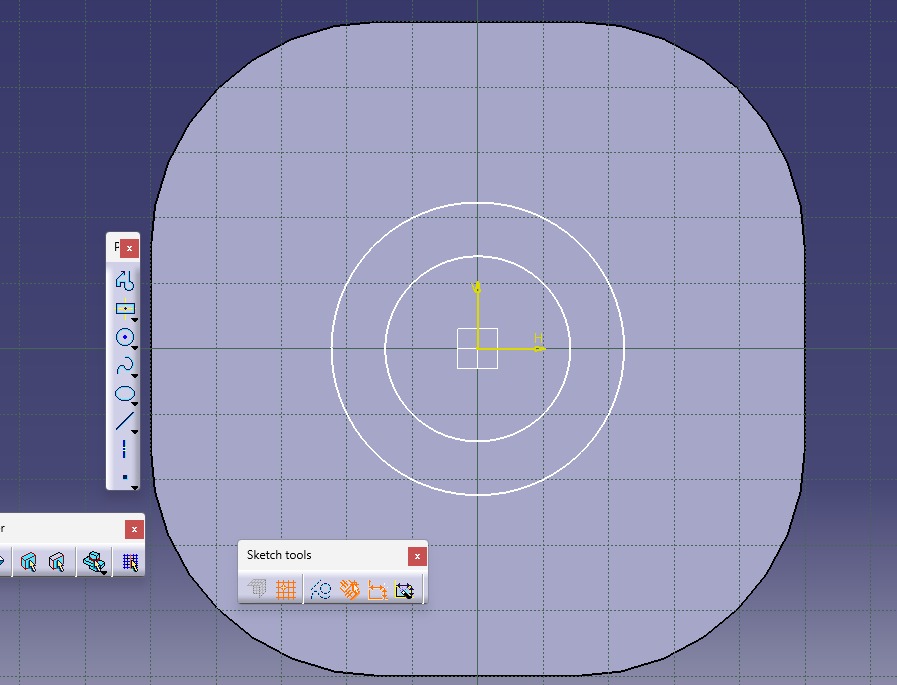
In order to create the circular profile, we must create the base of the profile, which will be circular, under the line we previously made, 2 circles, the big one is the cover of the tube, the small one is the hole for the water.
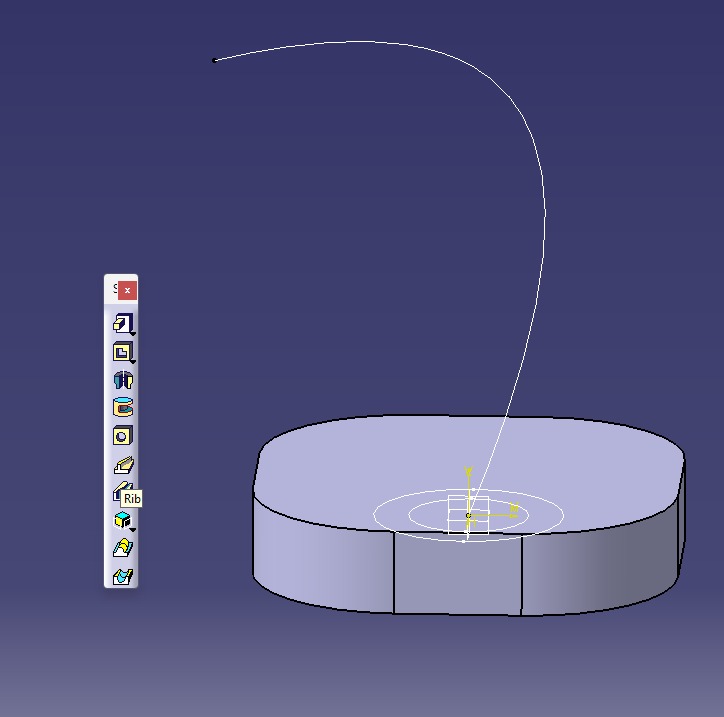
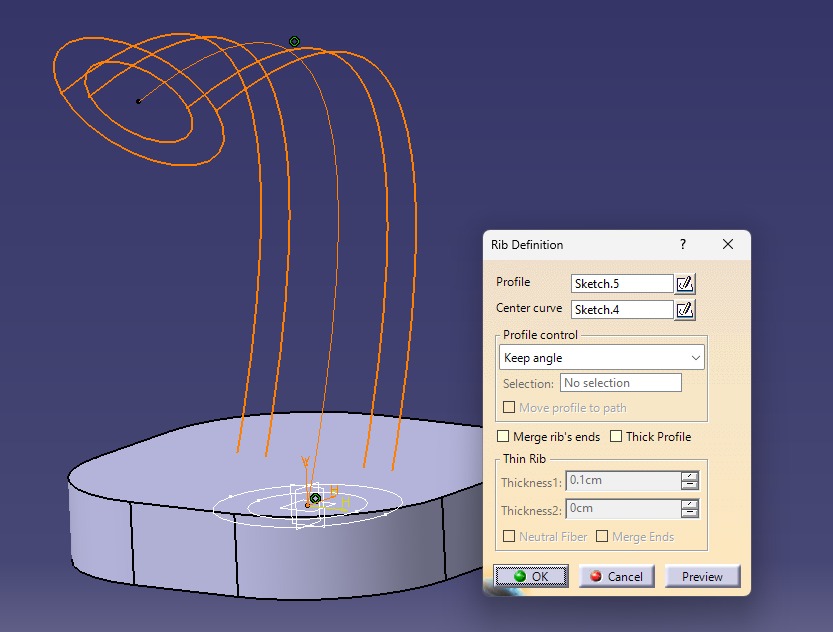
With the option "RIB" we have to select the profile, which in this case are the circles that we made previously and we have to select the curve in which we want the profile to move, in this case the one we showed previously.
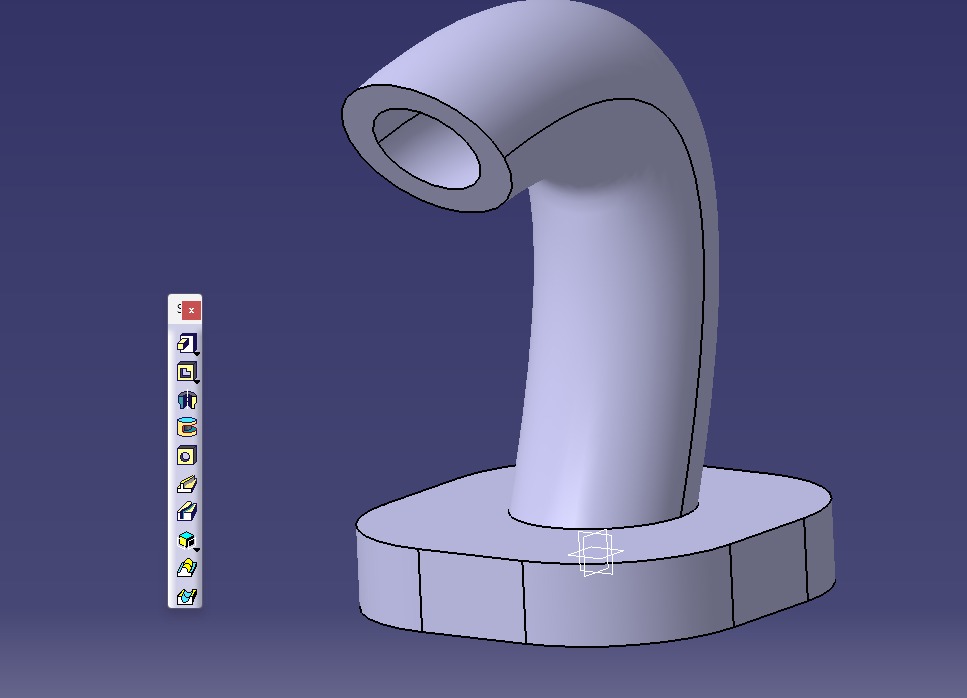
after having everything ready this is the result
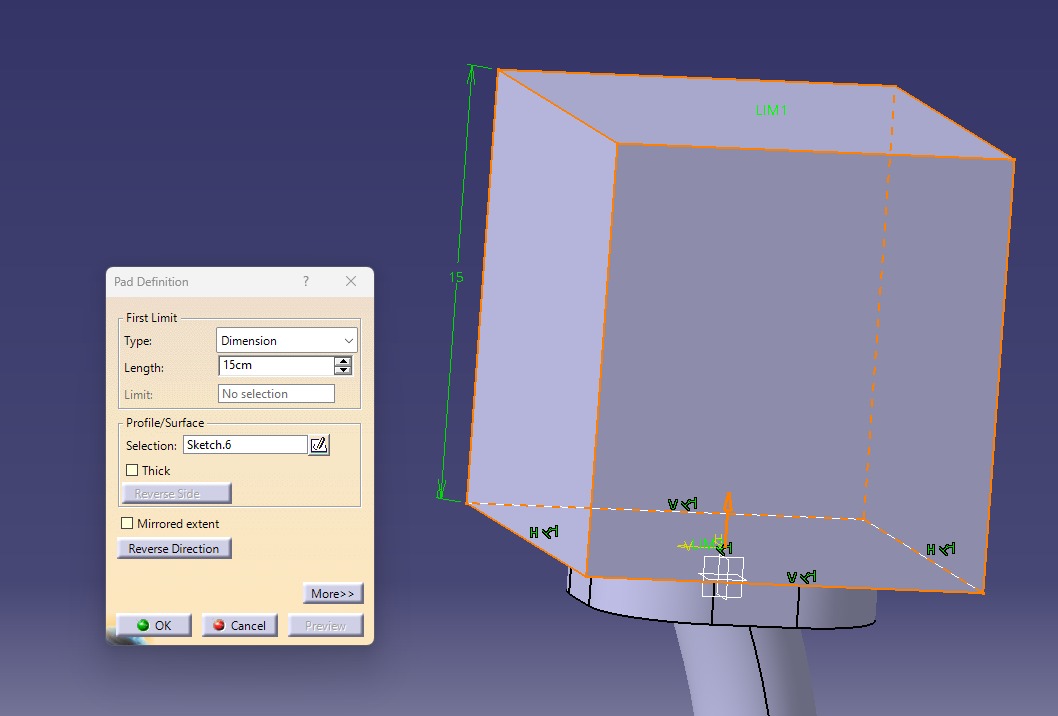
Then under our figure, I made a square that will be the tank of our sprue, I created a square figure and I put a "PAD" of 15 cm.
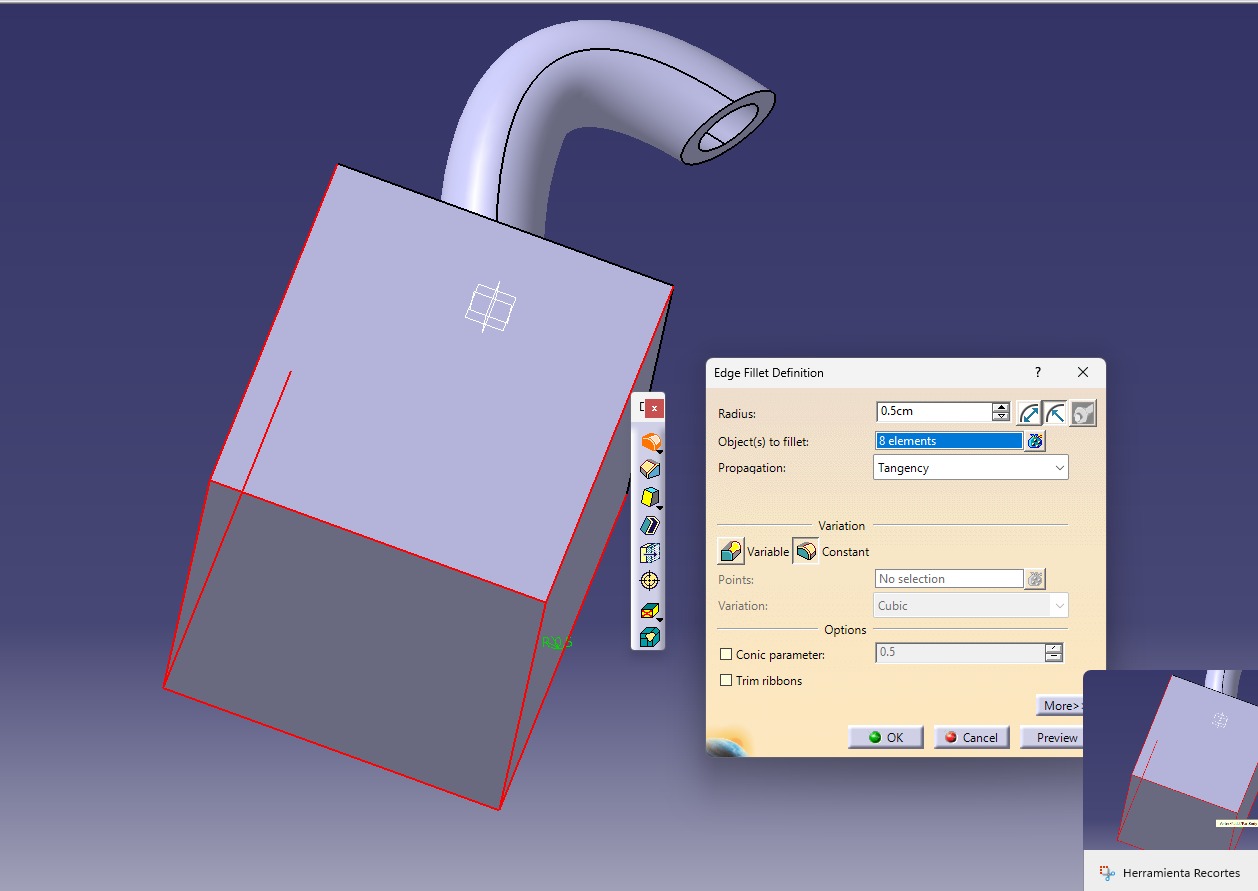
With the tool "EDGE FILLET DEFINITION", select all the lower edges, and these are automatically marked in red color, which I set to have a curvature of 5 cm.
FINAL result
2D SOFTWARE I USED
PHOTOSHOP
To start using Illustrator, just opening the program we get a menu in which we have to choose the canvas on which we have to work, in this case I chose the "A4", which is the size of a letter size sheet./P>
You will have to copy your photo on the map, in this case a photo of barcelona (visca el barca sempre)
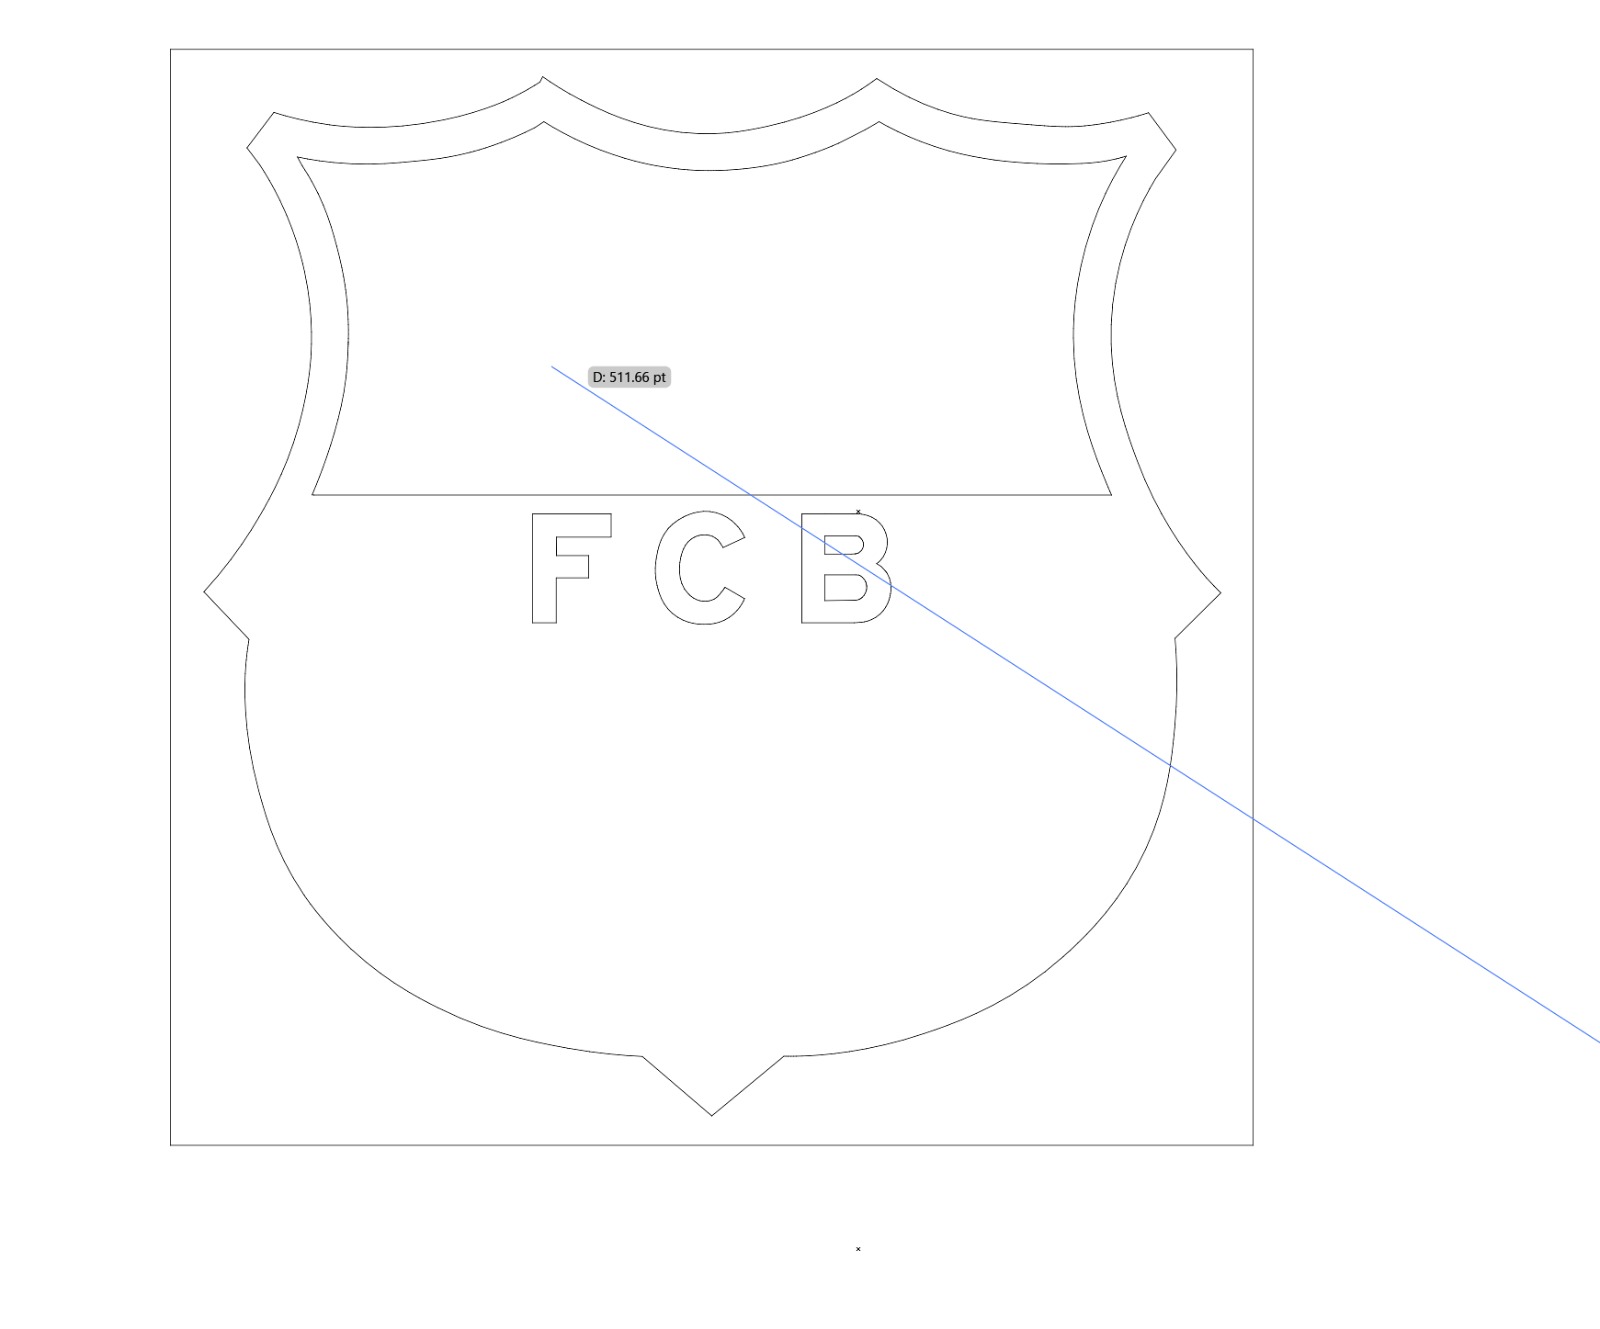
There are 2 tools to make strokes or vectors, called "PEN", the first one allows you to make and make lines or flat vectors, the one below allows you to make curves, curved vectors that can be coupled to any type of surface.
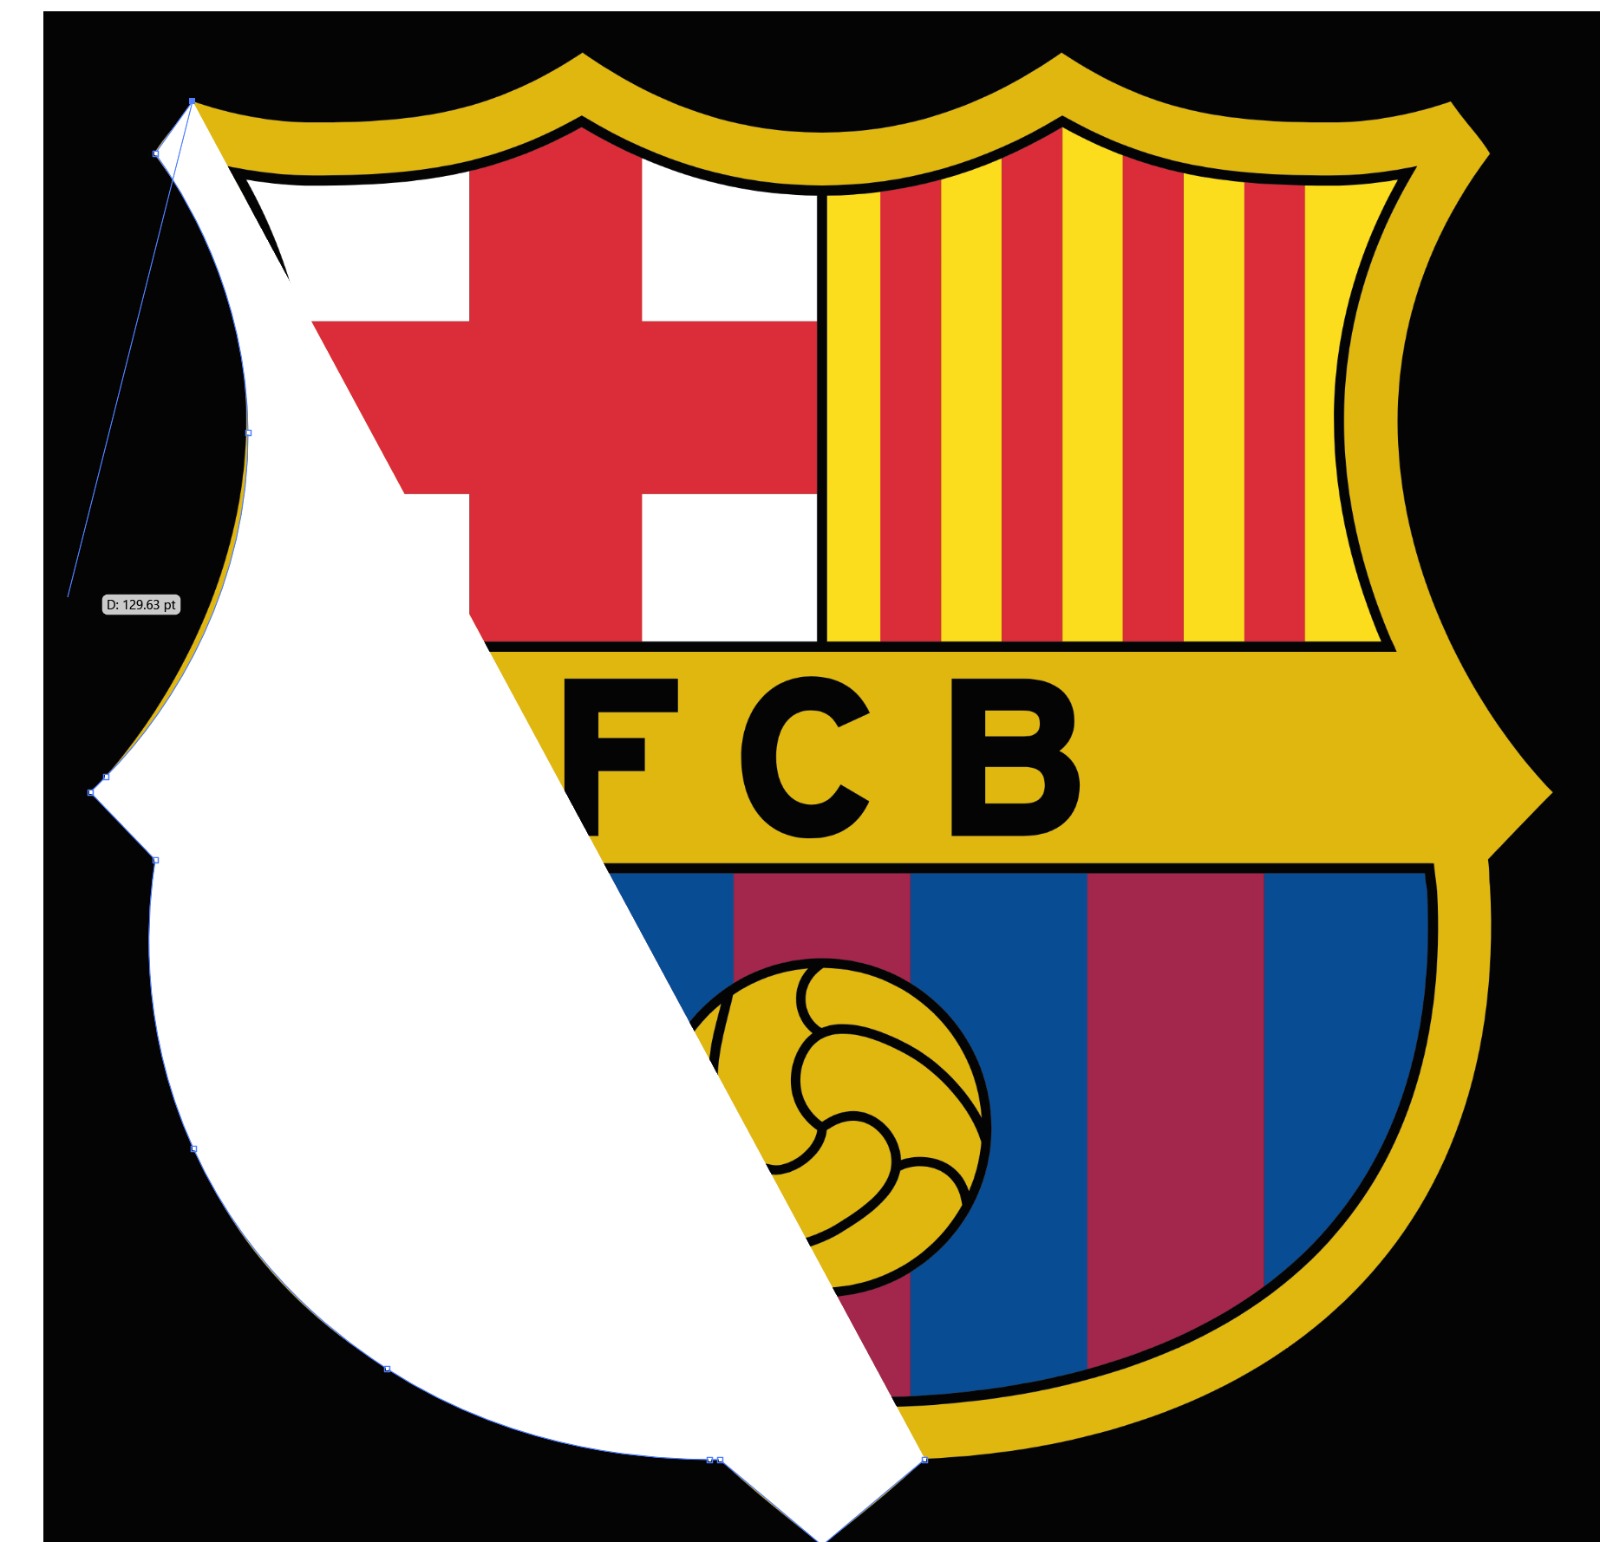
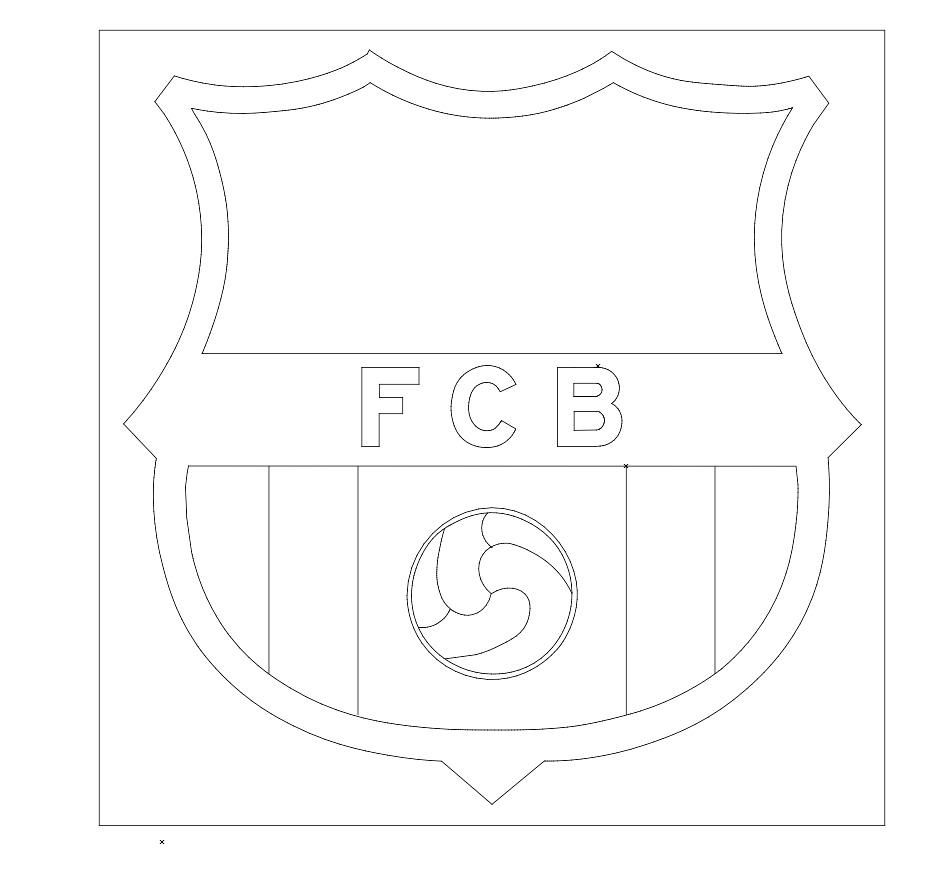
And with these 2 tools it will be possible to trace our image in question, as you can see in the barca logo.
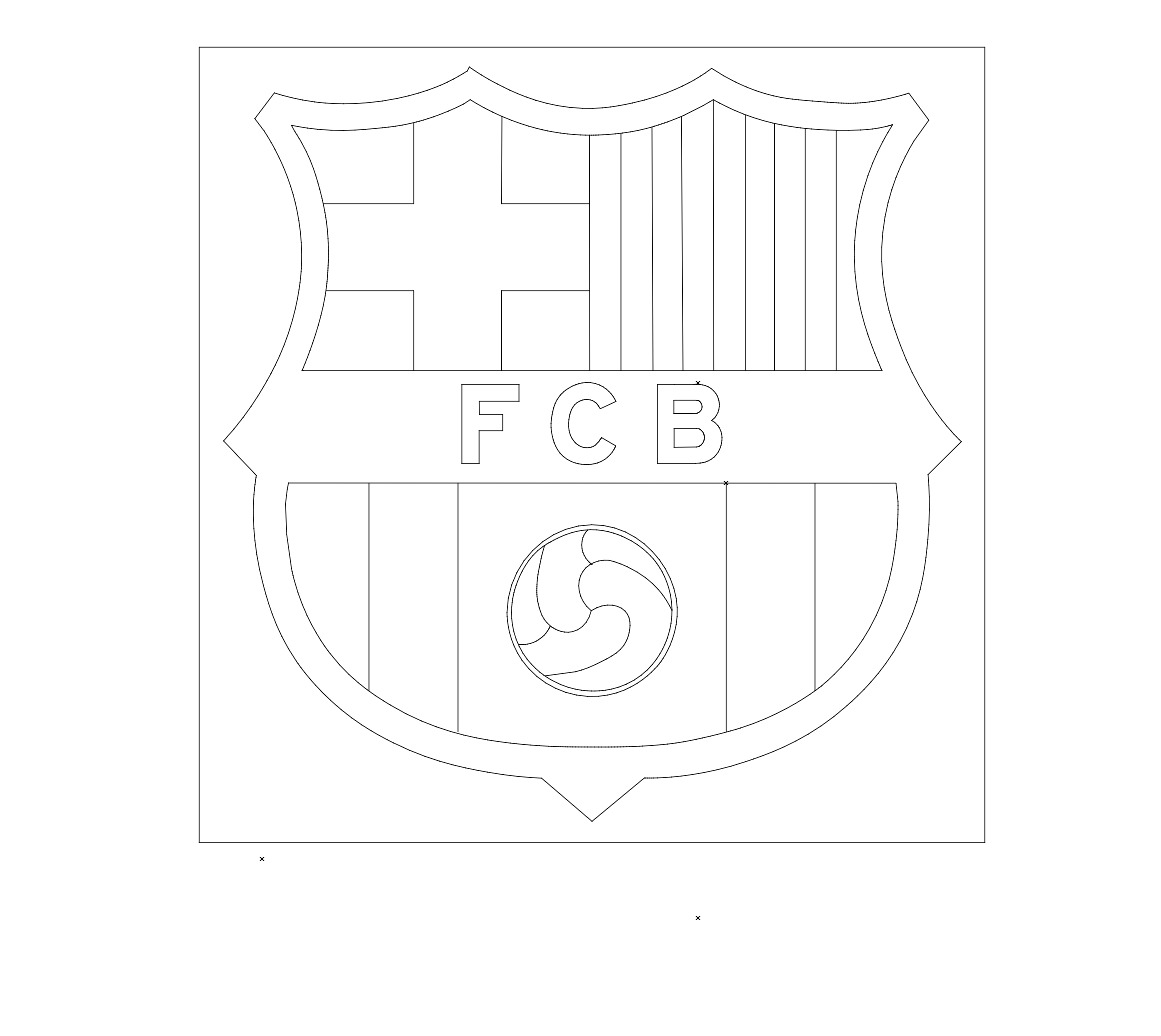
In the same way previously mentioned, I covered each one of the elements of the most beautiful coat of arms in the world, in the following images you can see how I covered each one of the details
And this is the final result of how I vectorized the futbol club barcelona logo
FILES
- © Untitled. All rights reserved.
- Design by : Gianfranco Carrasco Rubio