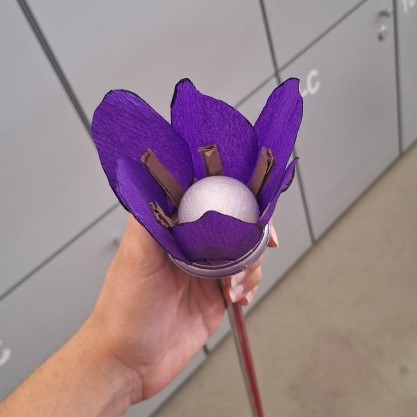
The Focus Bloom
It's Alive!!
Process of the making!
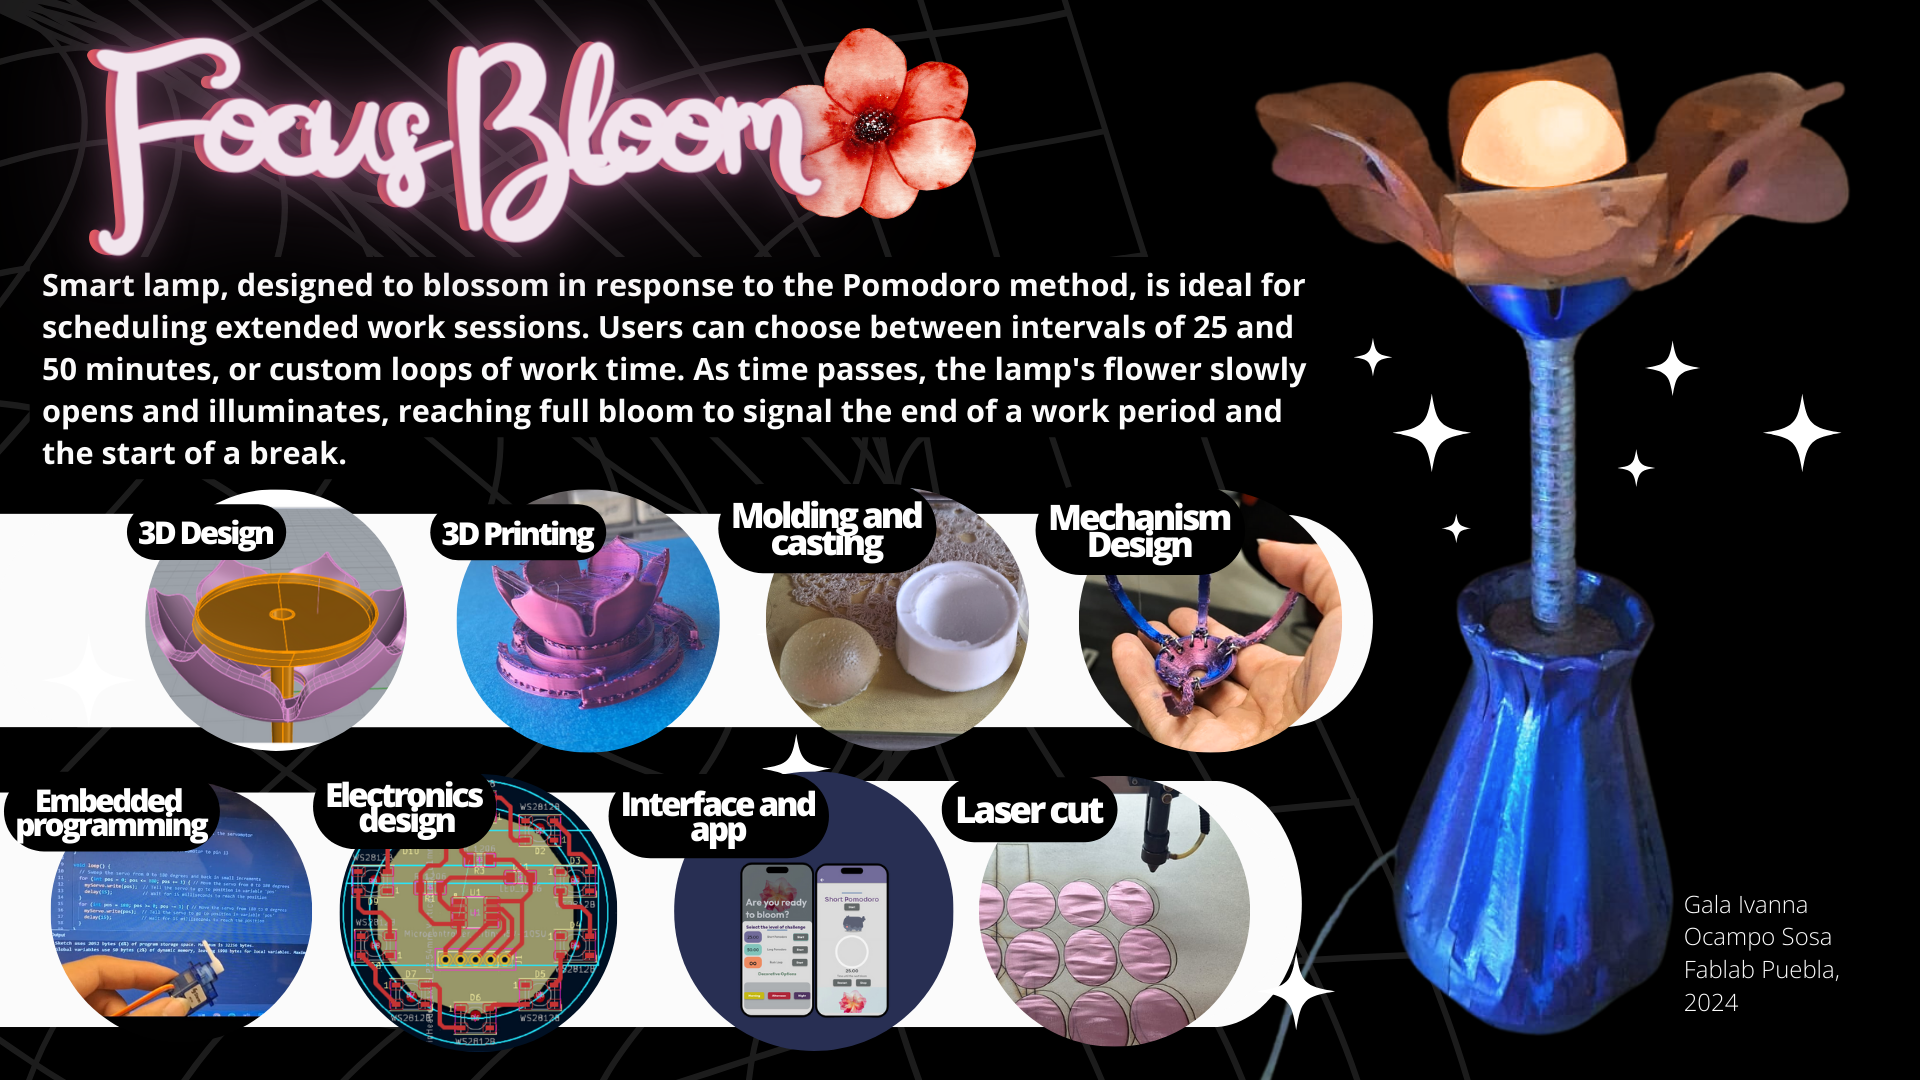
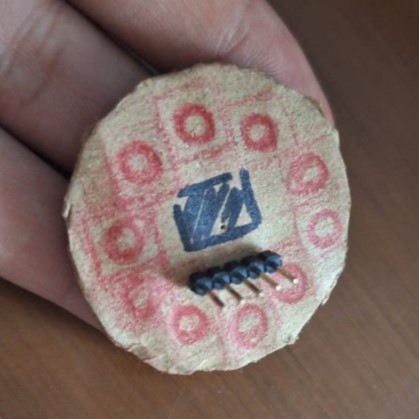
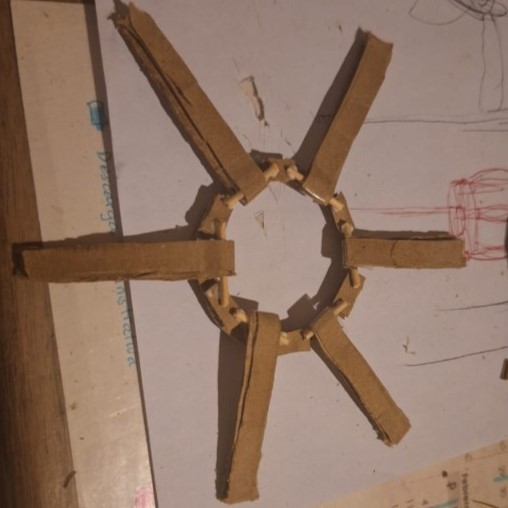
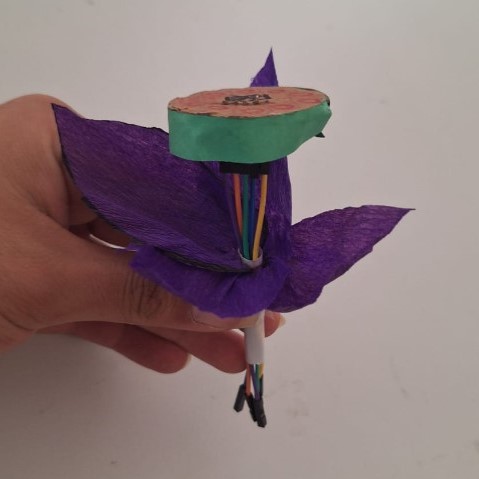
- Prototyping and testing Before starting to make the main pieces of everything, I spent a week designing what I considered the key pieces of the flower. I Started from making a prototype for the Bulb Board, where I drew some neopixels, a small microcontroller and glued some pins. Note:The position and design changed, this was just a visual representation for the size. Then I also made tests using toothpicks and crepe paper to build the mechanism and petals. I tried it with a plastic easter egg to imitate the sepal.
- Molding and casting
- Electronicss design and production
- 2D Design
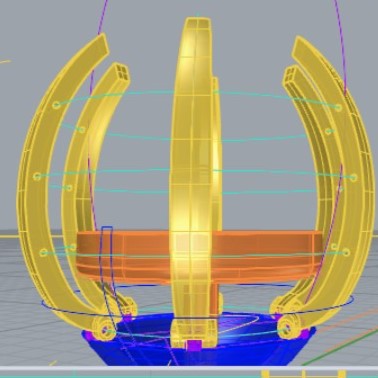
- 3D Design
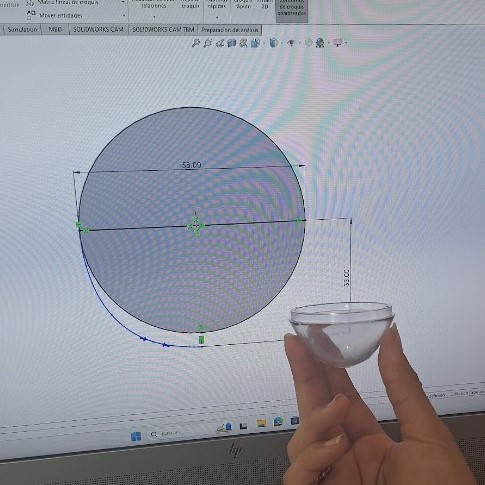
- First attempt to model in Solid parting from the Easter egg I used for the prototype.
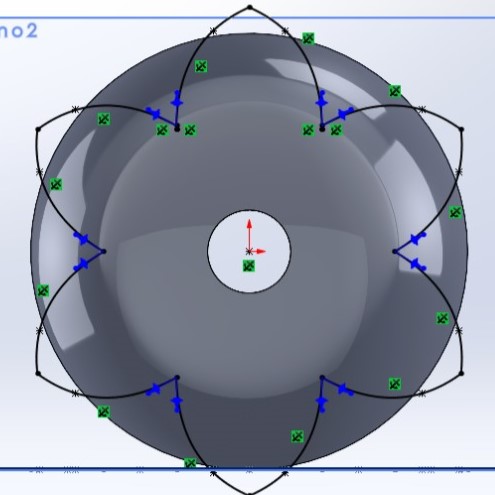
- Attempt to prokect the petals on the structure on solidworks (unsuccessful).
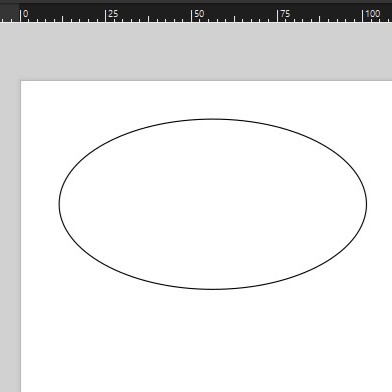
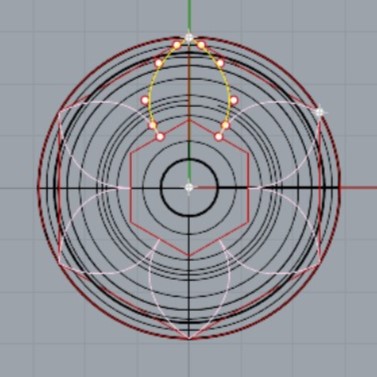
- Flat drawing of petals in Rhinoceros.
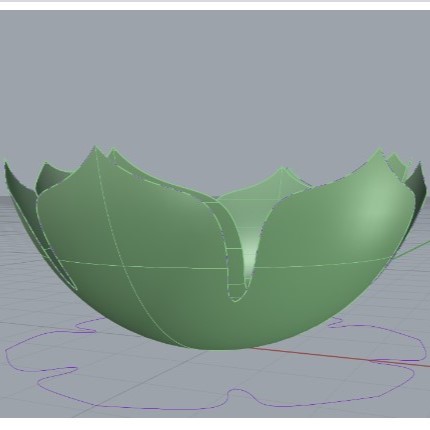
- Attempt to project and wrap petals over the structure of the sepal (successful).
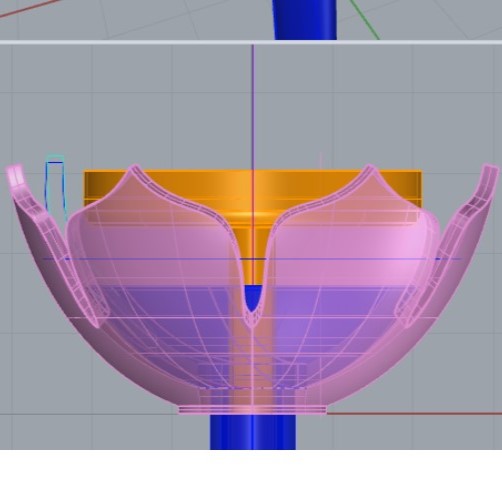
- Pipe structure for the stem and inner moving mechanism to rise up and down.
- Lateral view of the structure including the piece to hold the PCB
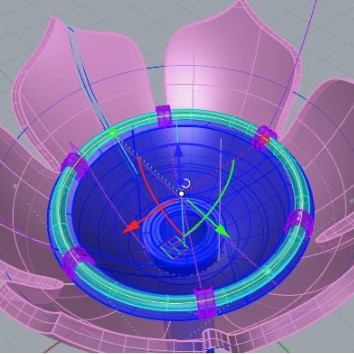
- Movable base with holes for the rotation mechanism.
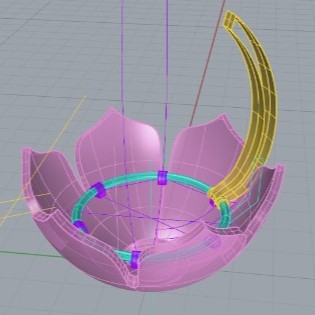
- Arms to attach the petals.
- Testing distance span of movement.
- Embedded Programming

This is the very first thing I did for my project. The idea came up as the first
task to
complete
since I had clear from the beiginning that I needed something to emulate a light
bulb
for my
project. As I chose to have a Neopixel board to be my light source, then
I first
wanted
to
state the measurements and dimension of a cap to distribute the light better.
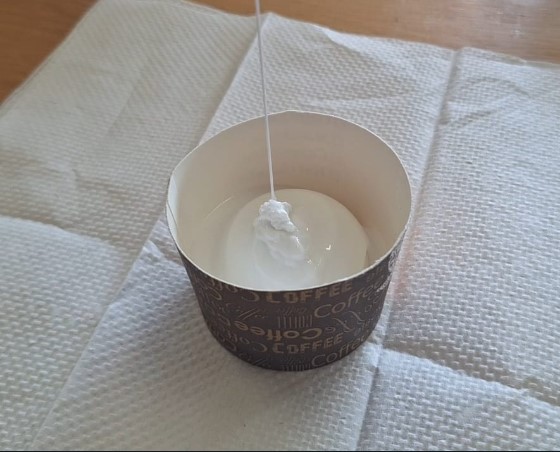
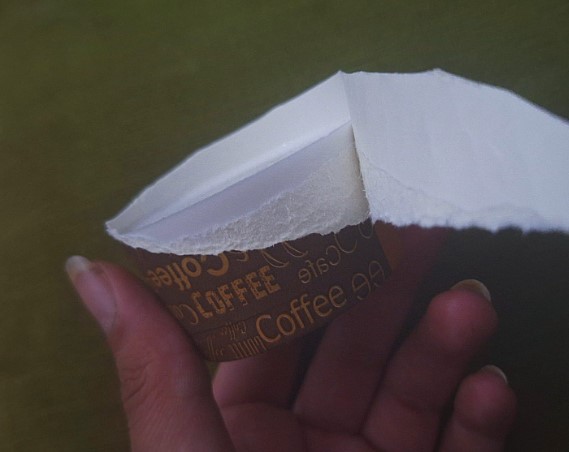
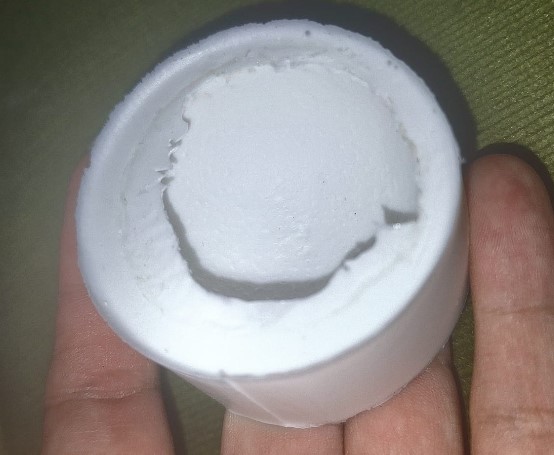
So that, I made some tests for molds using silicone: first a flat circle,
then
the half of a sphere. Finally, I decided to use a Styrofoam sphere to get more
texture.
I let
the silicone dry 24 hours around it before demolding.
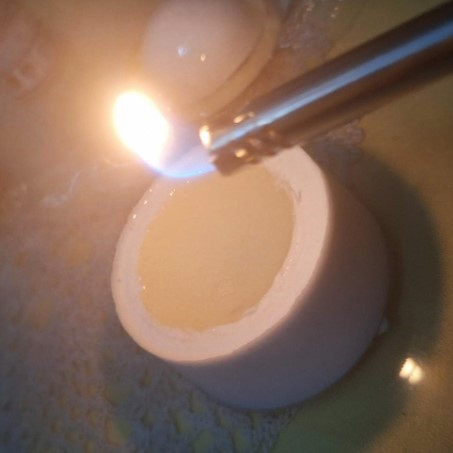
The next task ahead was to prepare the resin mixture and pour it in the mold, I used clear resin, since it has a nice light refraction index.I used a lighter to get rid of bubbles and it took about 36 hours to dry completely, so I gave it enough time and demolded carefully.

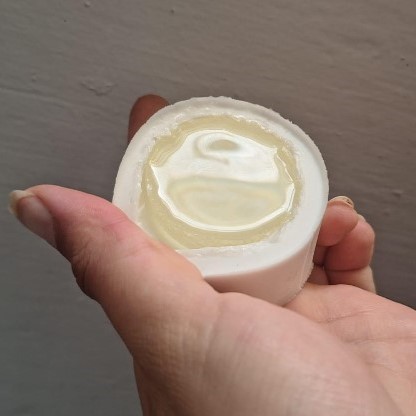
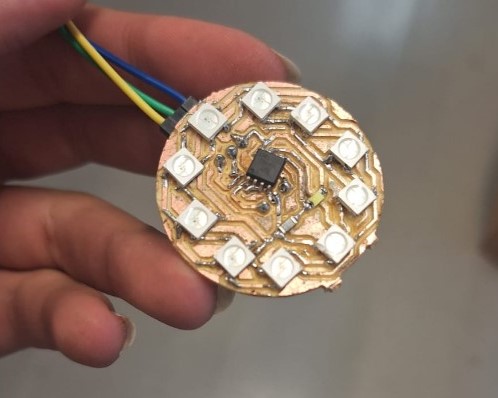
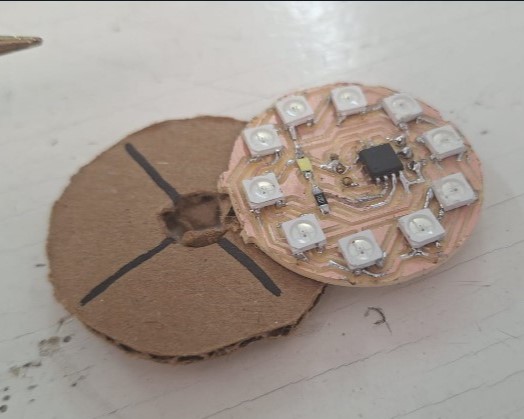
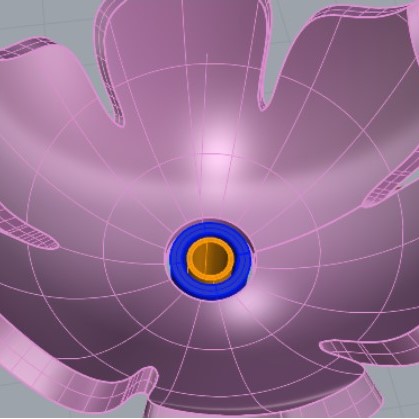
As I had the base measurements for the center of the flower and had the resin cap as a reference, I could design the Bulb board, which consisted in a board that holds 10 neopixels and a microcontroller.If you wish to see more of the process, it's fully documented on Week 9 here are some pictures and also a comparission to the prototype.

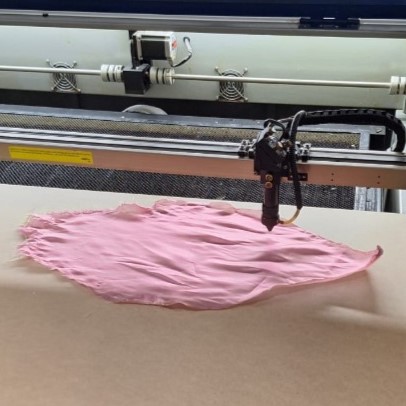
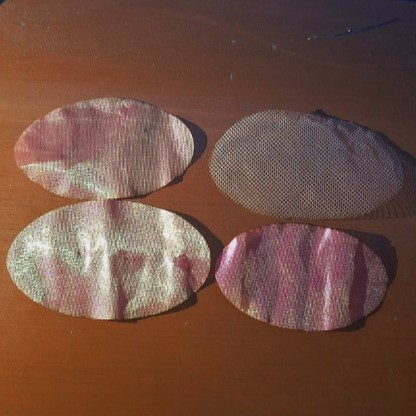
Another part I already started is the 2D design, mostly related to the petals sizes and shapes, here I defined the petals had to be longer and like an oval, so I could hide them to the mechanism later.Also I tested the volume I coild get from different fabrics, deciding to go with tule and organza definitely.
About the 3D design, I invested some time to get the render of the sepal and
mechanism as
soon as possible. This, to make sure it was functional before looking for pieces
for the
stem, because there are some aluminum profiles that may fit but the best choice
could
depend
on the mechanism behavior.
I used SolidWorks first, to try to get the best design, but as the shape
is more
organic, I ended up using Rhinoceros, since it is more flexible to
organic
shapes
and allows free modeling before defining the measurements, something not so
viable using
Solid.
Here are some more descriptions of the pictures and design process:
I have already tested some simple codes on the modules I needed for the project, first on the servomotor and then on the neopixel board. But as the main board is not ready yet, I ran some example codes from arduino to get them working. At some point I realized my Bulb board overheated and desoldered some pins I had to fix.
The components
| Name | Source | Price (MX pesos) |
|---|---|---|
| Resin | Lumen . | $107 |
| Fabric | Parisina (Tule) Shein(Organza) | $78 |
| Servo | Steren . | $59 |
| Jumpers | Steren . | $69 |
| Copper board | Steren . | $29 |
| Resistors | FabLab Puebla | N/A |
| Neopixels | Mercado Libre . | $25 (each $2.5) |
| Attiny 45 | Mercado Libre . | $30 |
| ESP32s3 | Amazon . | $481 |
| Male Pins | Steren . | $5 |
| Total: $863.00 (Around 47 USD) |