15. Interface and Application Programming
An interface refers to the point of interaction between a user and a system. It's
crucial because it determines how users perceive and navigate the software of an app, directly
influencing usability and user experience. During this week we had the chance to approach how they
work and what
they do to make something work, as they may send signals the same way a hardware input could
do.
As we had many options to create them, in our group assignment we tested some popular ones and
others that are more technical. It will depend on the complexity and purpose of the app, the
requirements you will need for it, so this was just the beiginning.
If you wish to check what we made and our advances in interface design, you may check our group
assignment
Here .
For this week, I used QT to create my app Interface, it's very practical and compared to others, it's much more intuitive and quick if what you car for is functionality. The idea I had was related to my final project, trying to control the neopixels on my board to react and change color as a decorative function.
Designing an Interface
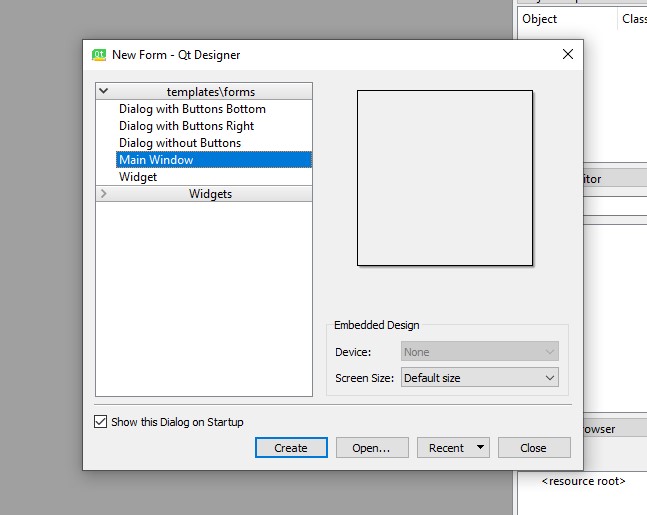
- The very first step was to create a new file in QT. This has different options, and you can
also choose to start from a simple template.
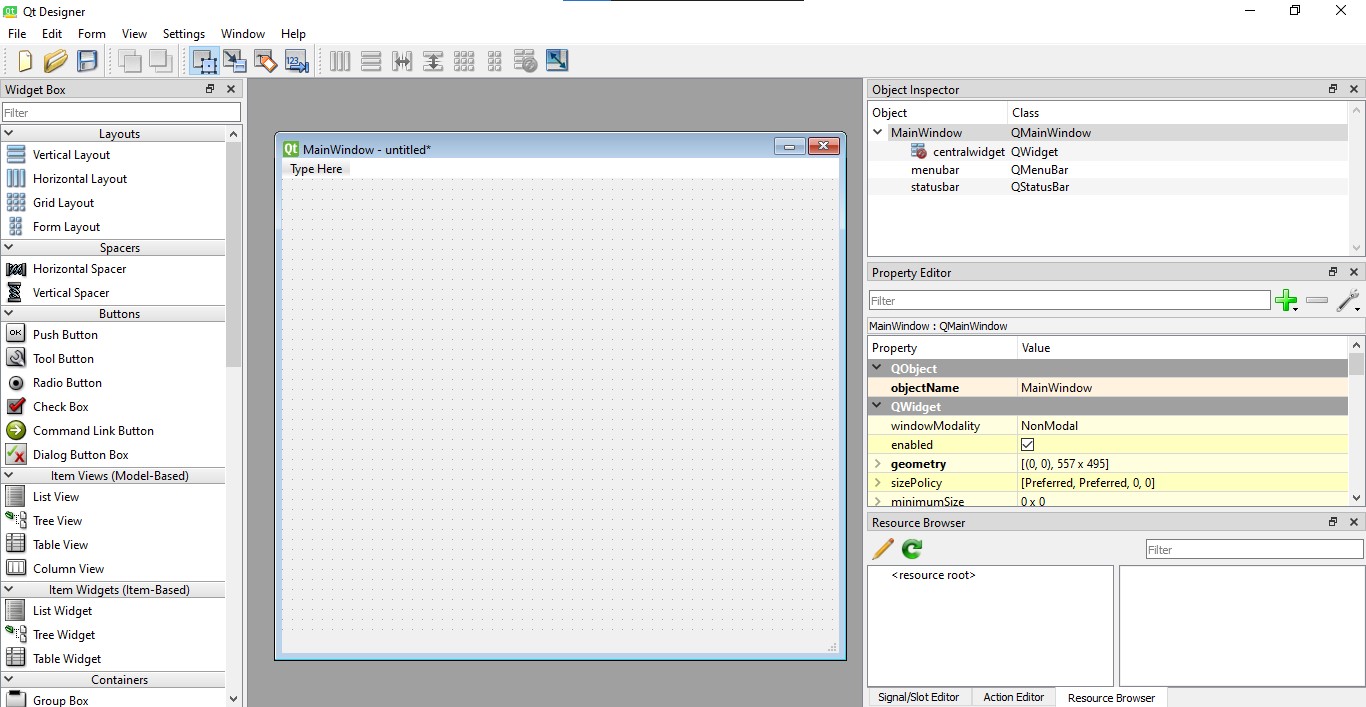
- The main screen looks like this, and has different elements to the sides: on the
left,there are options and elements you can drag to your window and on the
right, there
are options to modify these elements.
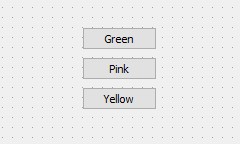
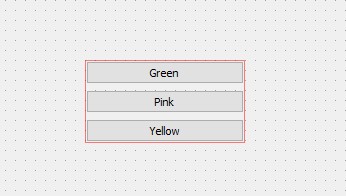
- Then, I added three buttons to the middle of my screen, and as I wanted to group them, I
dragged them inside a Vertical layout.
-
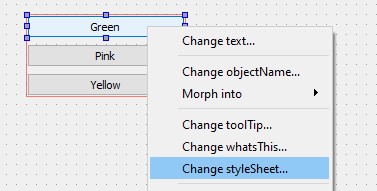
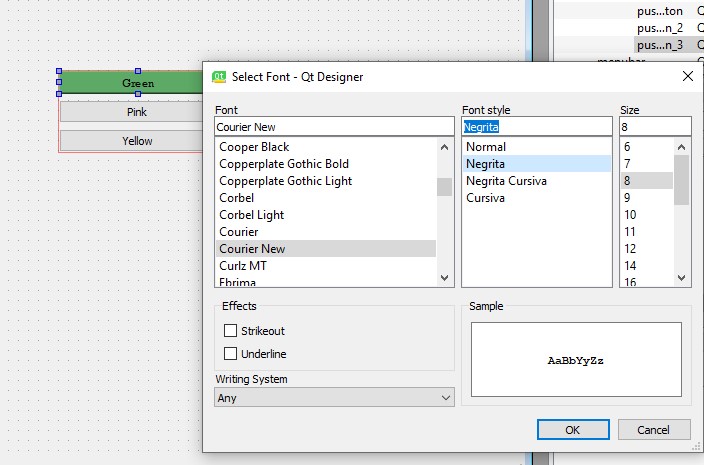
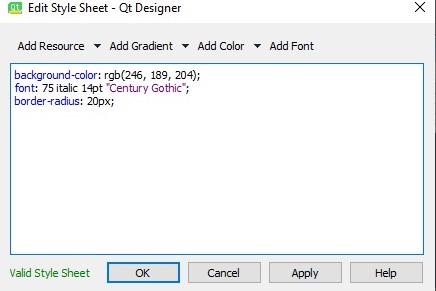
Then I started playing with my buttons appearance. To change it, just click on the right
button of your mouse and delect "Change Style Sheet". There you will be able to
select from background colors, fonts or import your own pictures. Note: Select first
where do you want to apply the change from the drop down menus. Before saving a change,
there must appear something in the left corner that says it's valid. In some cases
the mistakes might be that you don't have a tag or lack commas while adding more than one
feature.

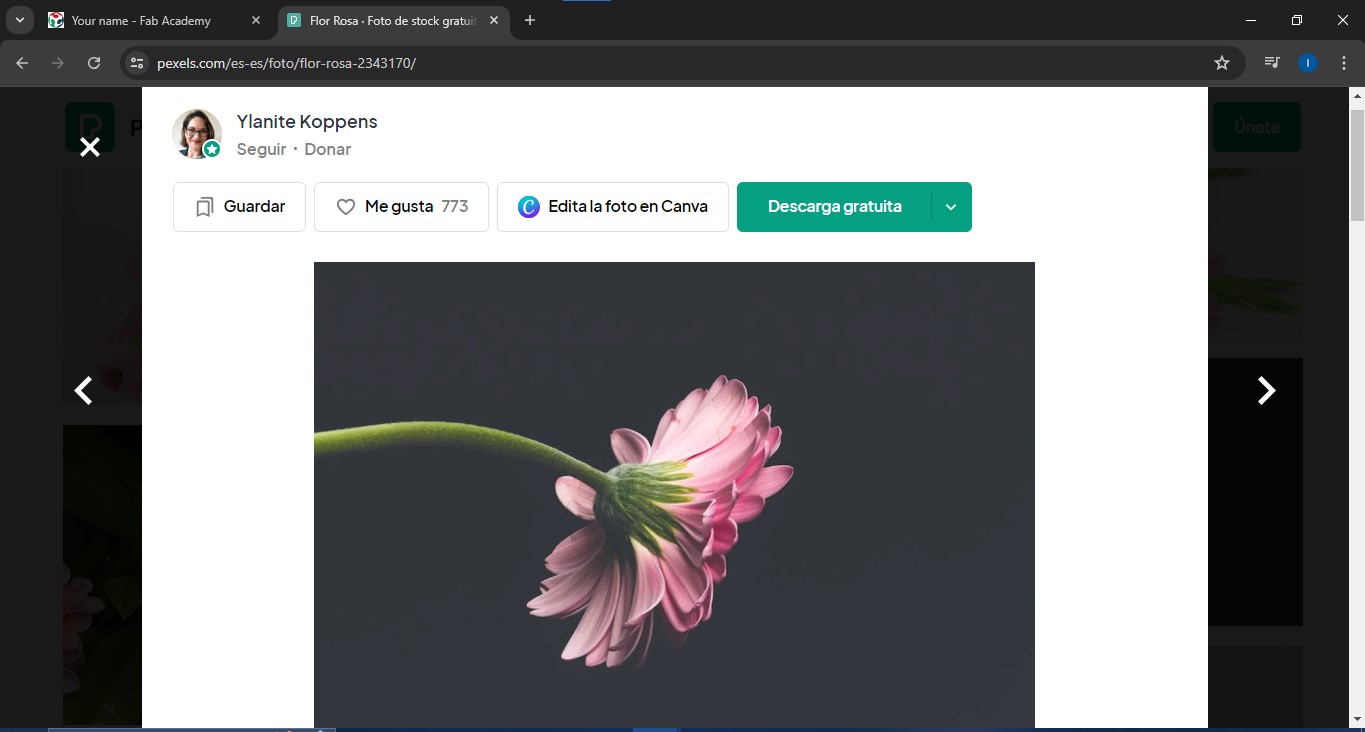
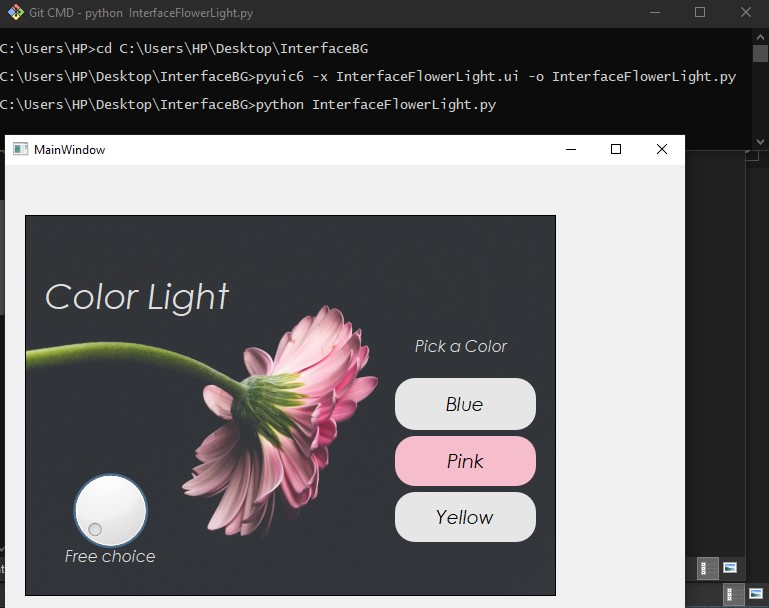
- As I felt It was a little plain without a background, I decided to look for a stock picture to put there. I took it from Pexels, all credits to Ylanite Koppens for this cute picture.
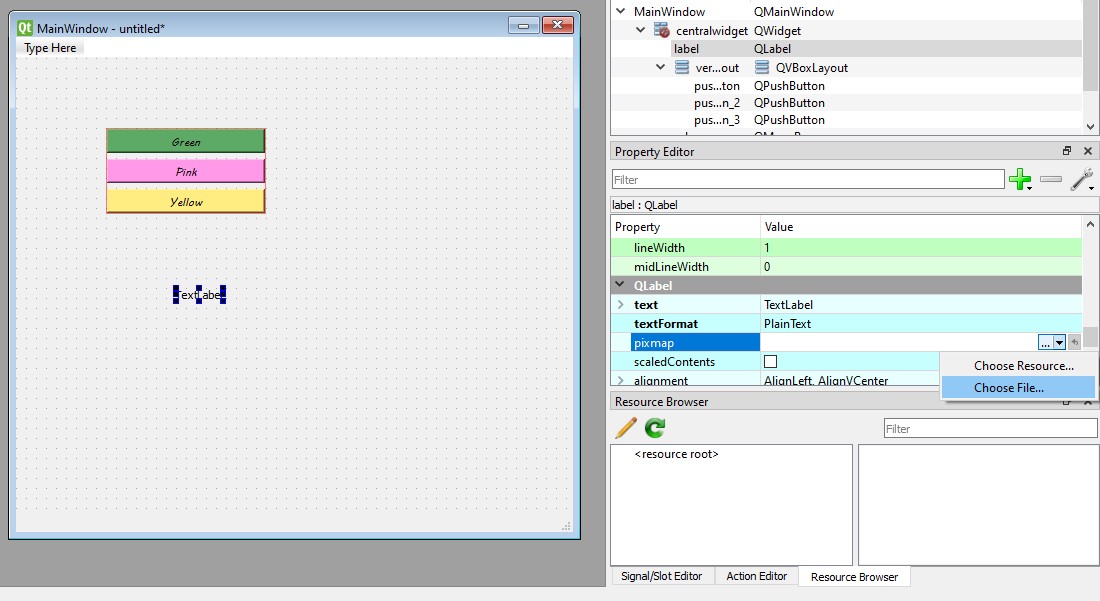
- Then, to upload it, I added a new Label and on the Property menu, I looked for the one called pixmap. Then clicked on the option to add files and adjusted the image with the option scaled contents.

- The background picture gave a whole new view, so I adjusted my buttons colors and previewed the app using the ctrl + r command.
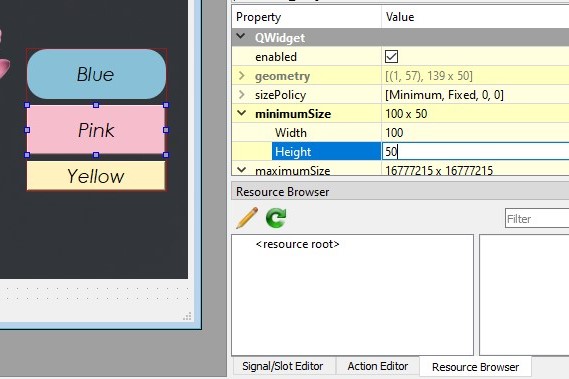
- Now, to round the corners of the buttons, I had to modify the minimum Height and Width, then I modified it using the border-radius tag on the style editor, followed by the number of px of my choice.
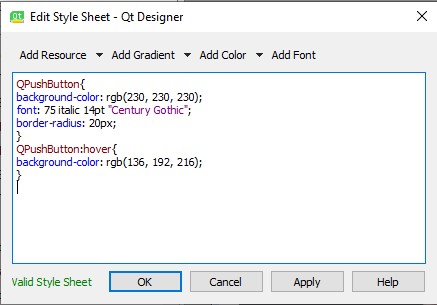
- Now, I just kept adjusting aesthetical features of the interface, keeping these three main buttons so that it could keep an integrated an neat appearance. In between I tried another tag to use in the style editor, that could take advantage of the element's properties as buttons, so if the mouse went over it it could change color.
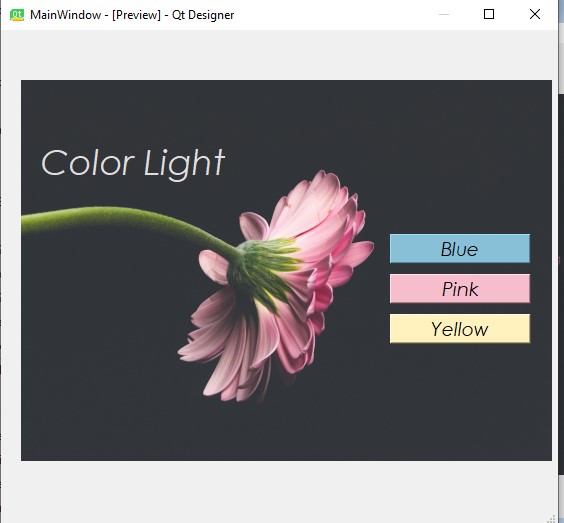
- This Is how It ended on the preview I had. I chose to add a Potentiometer too, hoping to be able to program it as a color wheel, so that I could control the colors of the neopixels on the board I made for week 9 more freely.
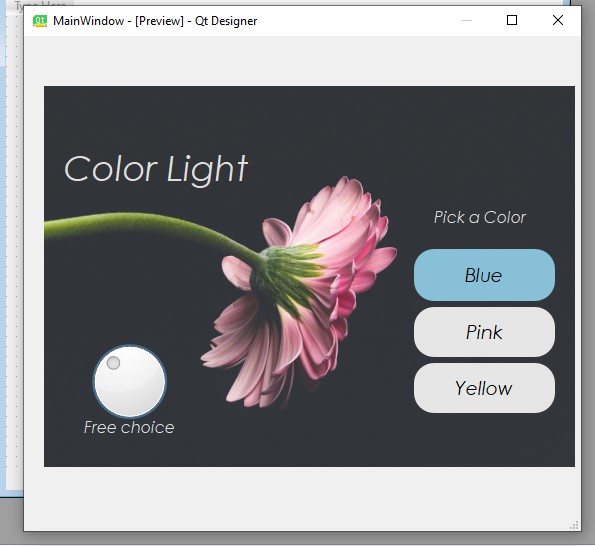
- Then, It was time to give the buttons a name, so I could recognize them when I got to program and link it to the board. I wanted to keep it simple and logical.

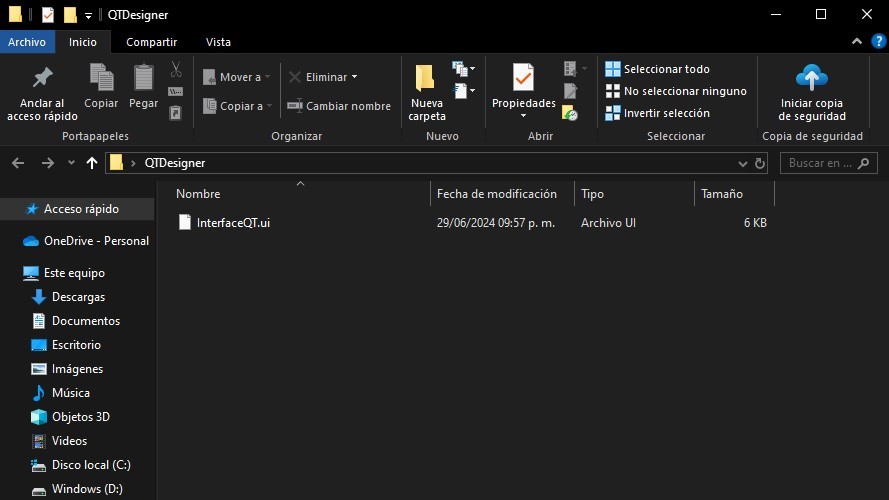
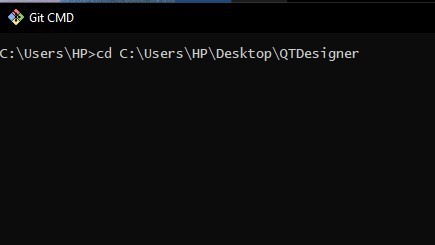
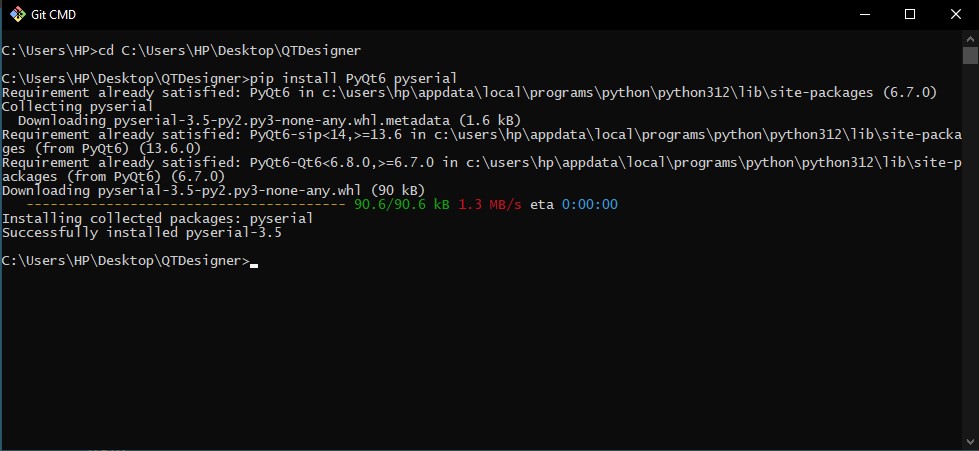
- Now, as it was time to export it;, I saved the interface on a new folder, that I called "QT Designer". Then, I opened it from git CMD using the command cd + the adress of the folder.
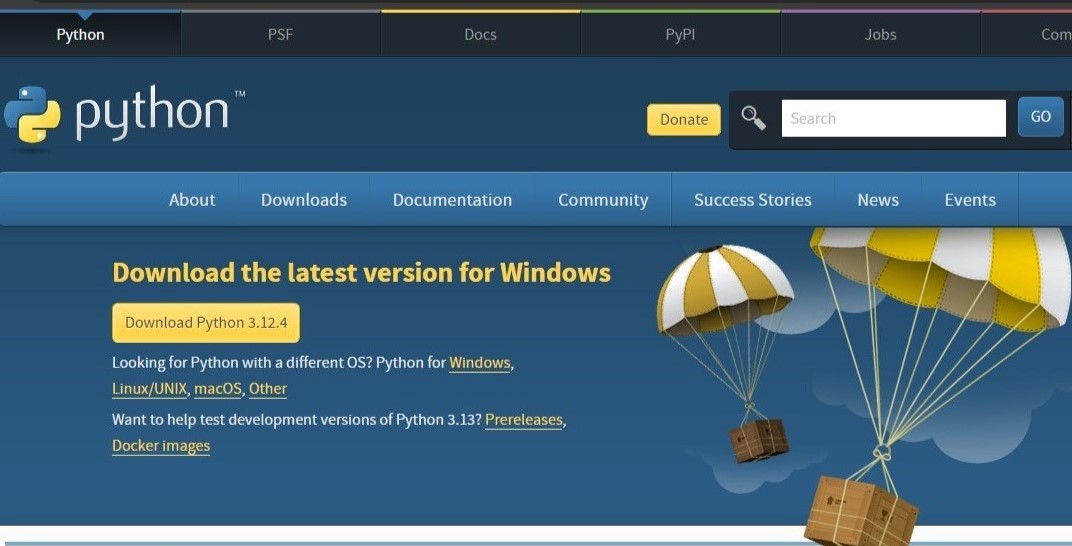
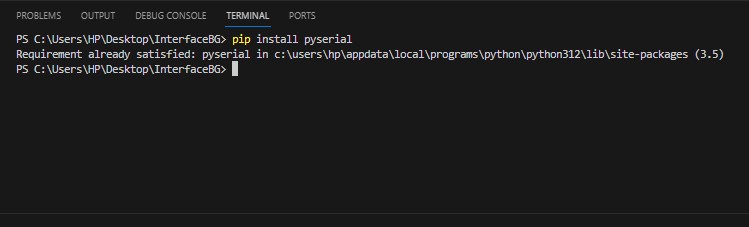
- There I installed Python, If you don't have it you can download it for free from this URL . Once I had it, it was time to install it directly on the folder I had the app with the command pip install PyQt6 pyserial. It doesn't take long, but it may vary on your computer.
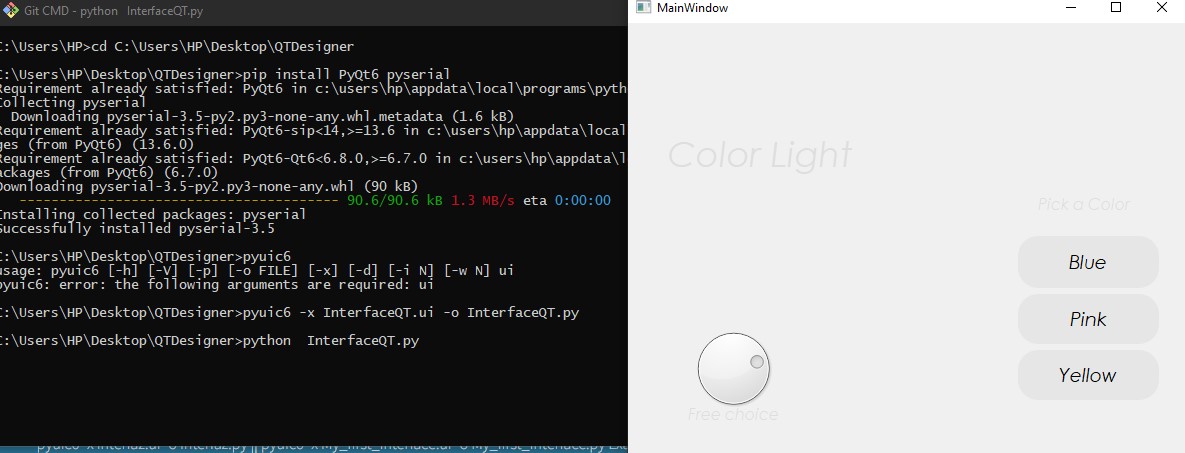
- Now, I turned the .ui file of my interface into a .py file by writing pyuic6 -x InterfaceQT.ui -o InterfaceQT.py. The formula is to keep pyuic6 + -x "the name of your project .ui" -o "the name of your project .py". Also, if you make any changes on the original Qt design, you have to do this to update them to python.

- As I could open the preview directly from Python in the terminal, I wrote python InterfaceQT.py. As it opened, the butons were functional, but the background picture didn't show. That's how I learned something useful: add your images to the same folder of the project and save them in PNG. Otherwise you won't find anything as I did here.
- I made the changes in QT, and after saving I thought I needed to make a new folder and repeat the process from step 13 and further. I was wrong, actually I onlyneeded to repeat the step where I turn my .ui file into a .py. The code Python + file name is a shortcut to open it, I could do it directly from the file explorer, but this is a tip so you have both ways.Even so, I decided to stay working sit the renamed file from now on.
- Now,even as this opened the visual interface, the app and its functions was not ready yet, so to start coding It. To start, I opened Visual Studio and pasted a base code provided by one of our assessors that you can find here . There's also a tutorial to start the app here from creating a new file .py
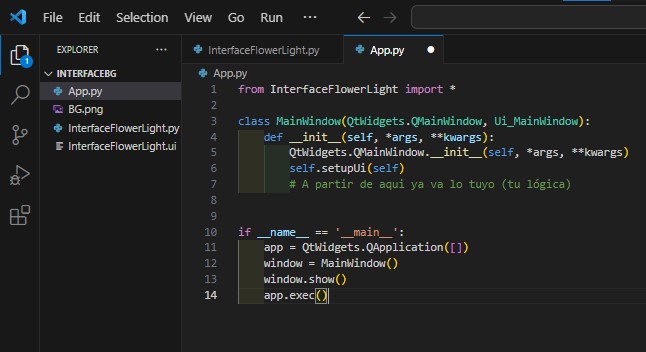
- The code is mostly a starting template, it also encourages you to follow your own logic to make the code coherent so that's what I did, and had some help from ChatGPT too. I started thinking my code with functions that I would use for arduino (c++) and the AI helped me to understand it's equivalent in Python.
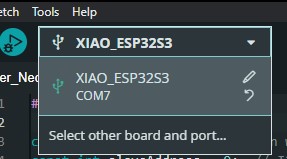
- One of the first aspects where I couldn't just use the first code suggested by the AI, was the one to define the Input adress of the COM I would connect my board to, so I took advantage of Arduino IDE to veryfy that and state it as a Serial Port.
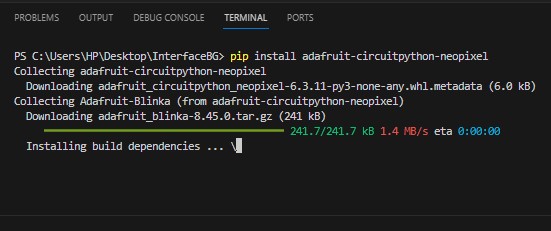
- Then, as I used part of the code from CHatGPT, I noticed that as in Arduino, there are some Libraries you require to operate. Some only require you to use the code pip install + name of the library on the terminal. But some others may also need you to download the content from specific urls. The ones I added were for the Neopixels and Serial communication
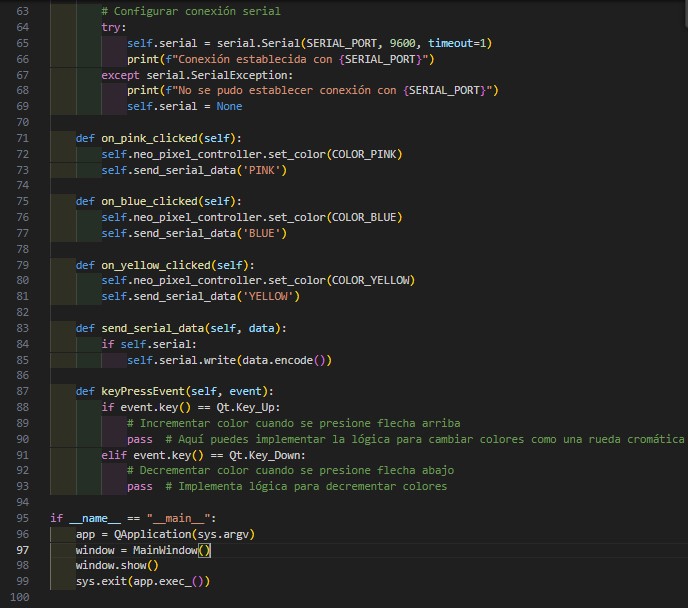
- These are the main functions from the code, some lines come from the original source ChatGPT gave me, some had my intervention. Also, As I tried to code the Potentiometer it felt a lot more complex than how it could have been with Arduino, I personally prefer it since it's more simple.That's why in the end I didn't use it but it is still visually on the interface, in case I solve it later.
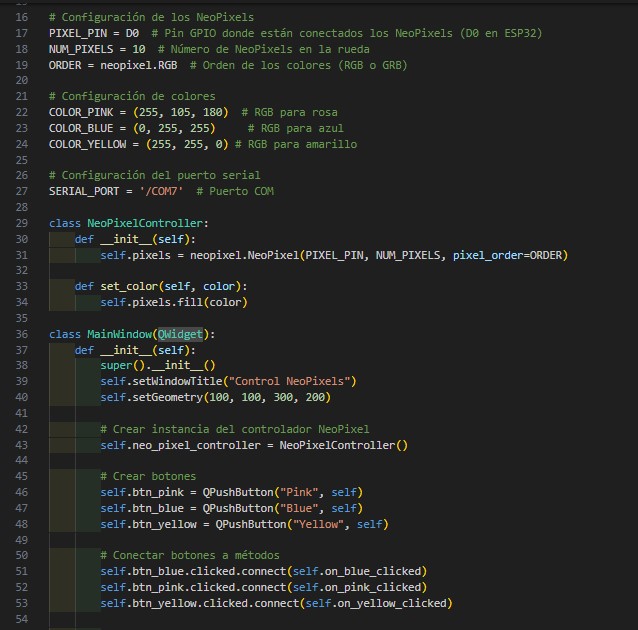
- As the code was ready, I had to make some adjustments here and there, as I saved it and tried to run it through Git CMD. Sometimes It would pop up warnings as motules not found or libraries unsoported. That's how I found out that if in Arduino you have the Verify option, Python won't let you upload anything if it doesn't read it right. So, even if you can click direcly the App from the file browser, I recommend to use cmd to see if there any errors or missing data. If you try to open it from the file brower It just won't open but you will not know why.
- Once I solved the coding errors, I could open the app and connected my board on the specified COM.
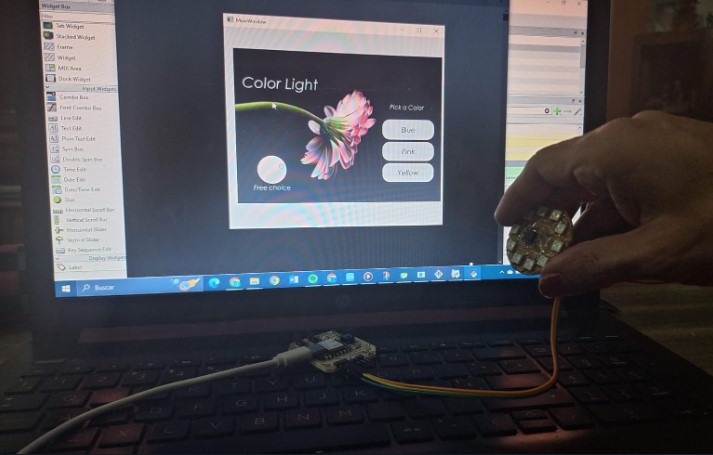
- This is the final result!
---- Files ----
- As I felt It was a little plain without a background, I decided to look for a stock picture to put there. I took it from Pexels, all credits to Ylanite Koppens for this cute picture.