INTEGRATION
This part is called integration because it is where I will explain how everything was finally connected to create my final project.
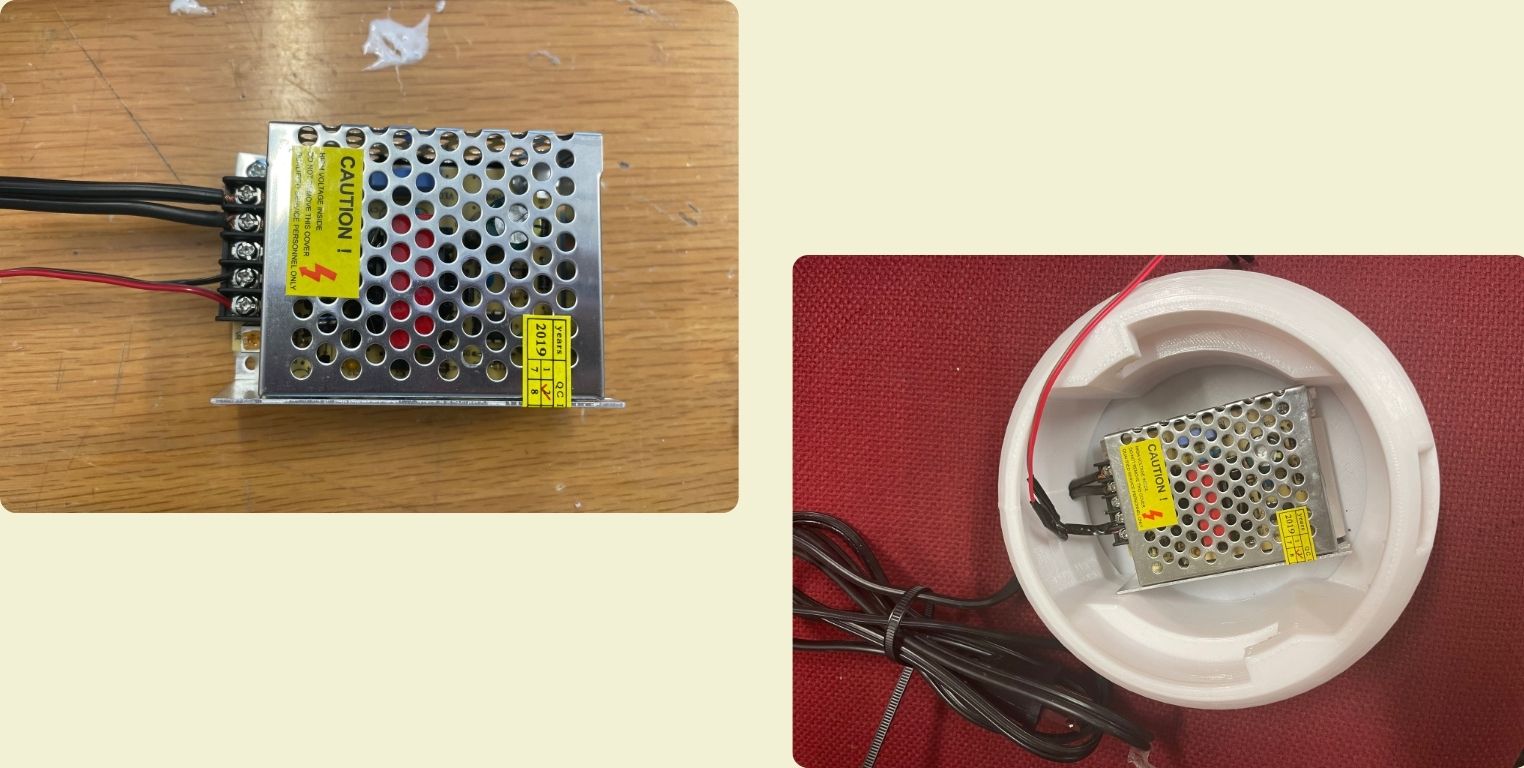
The first part was done by integrating the power adapter to the 3D printing base I made. What it does is to convert the 240V that comes out of the wall socket to only 5V directly to the main microcontroller, if it was not done this way, the microcontroller could die by subjecting it to so much energy, although I also discovered at the end that I could have used only a type C cell phone charger.
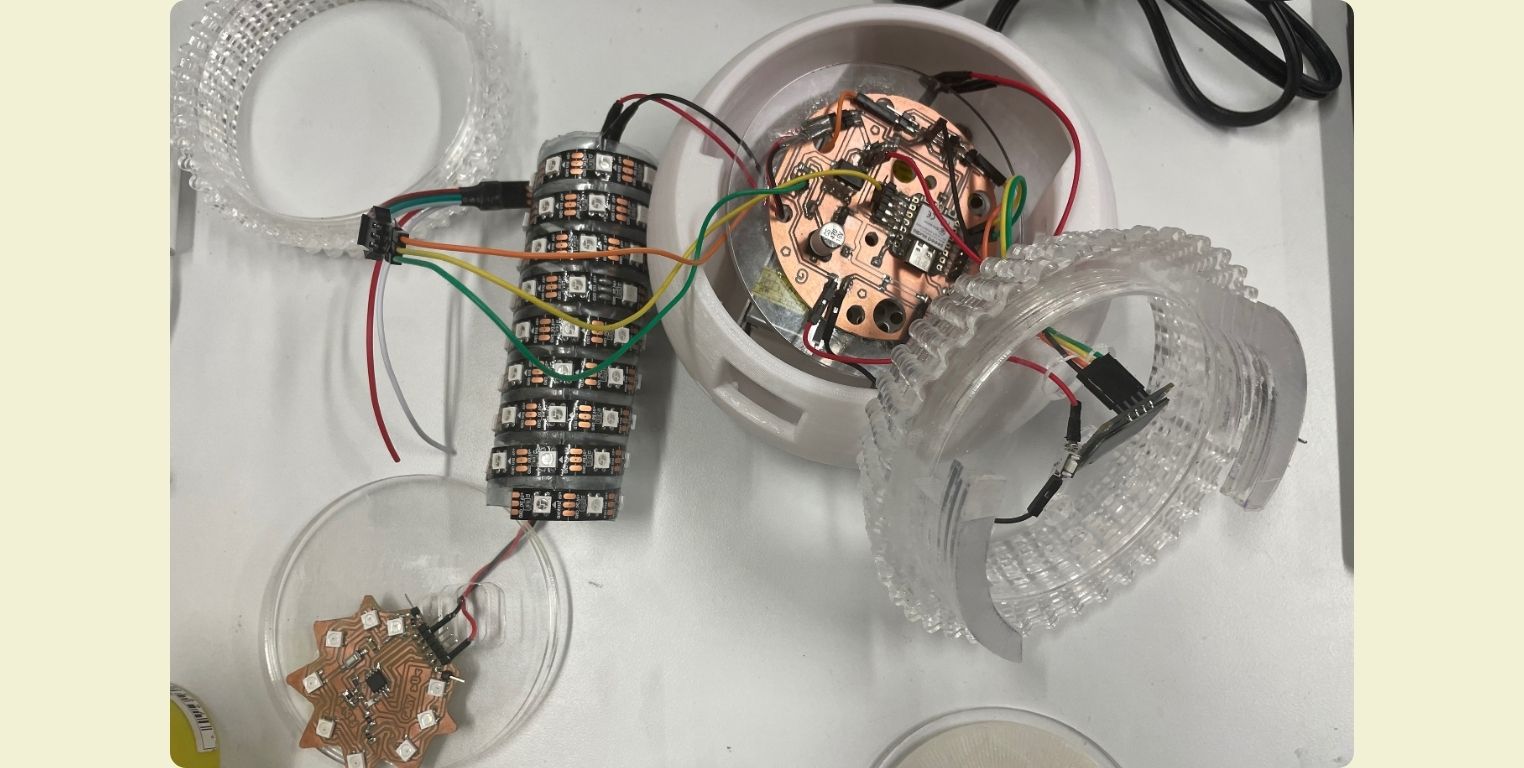
I then glued the neopixel strip I had to the cylindrical PET base.
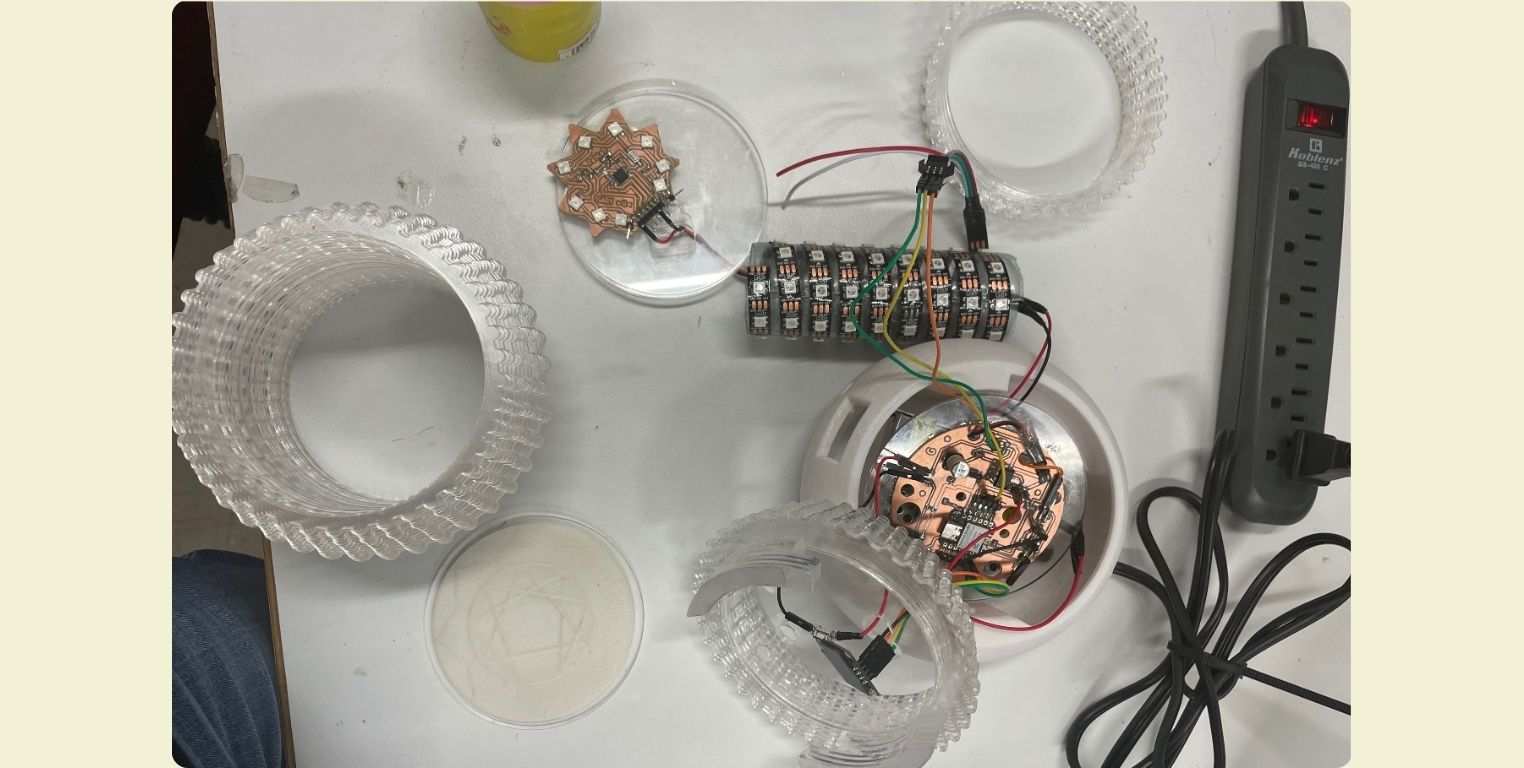
Then what I did was to glue the PCB to a circular acrylic circle with the same holes that my PCB had. This is how it looked like when I organized all the wires that I connected with the help of the diagram of my PCB and the microcontroller.
This is how everything was connected, a button connected to a signal and ground, the OLED screen connected to SDA and SCL plus ground and voltage, the neopixel strip that also has to be connected to a signal plus ground and voltage, finally, the top board, which as it was already programmed I only had to connect to ground and voltage.
After everything was connected I started testing with code to see how the questions would look on the OLED screen, and how the neopixel strip would turn on.
These are videos of the final tests to verify that everything worked before assembly.
For the top part I took the Lithophany I made in the wilcard week, as it was slightly smaller I glued it to an acrylic base of those that were left when I cut in acrylic.
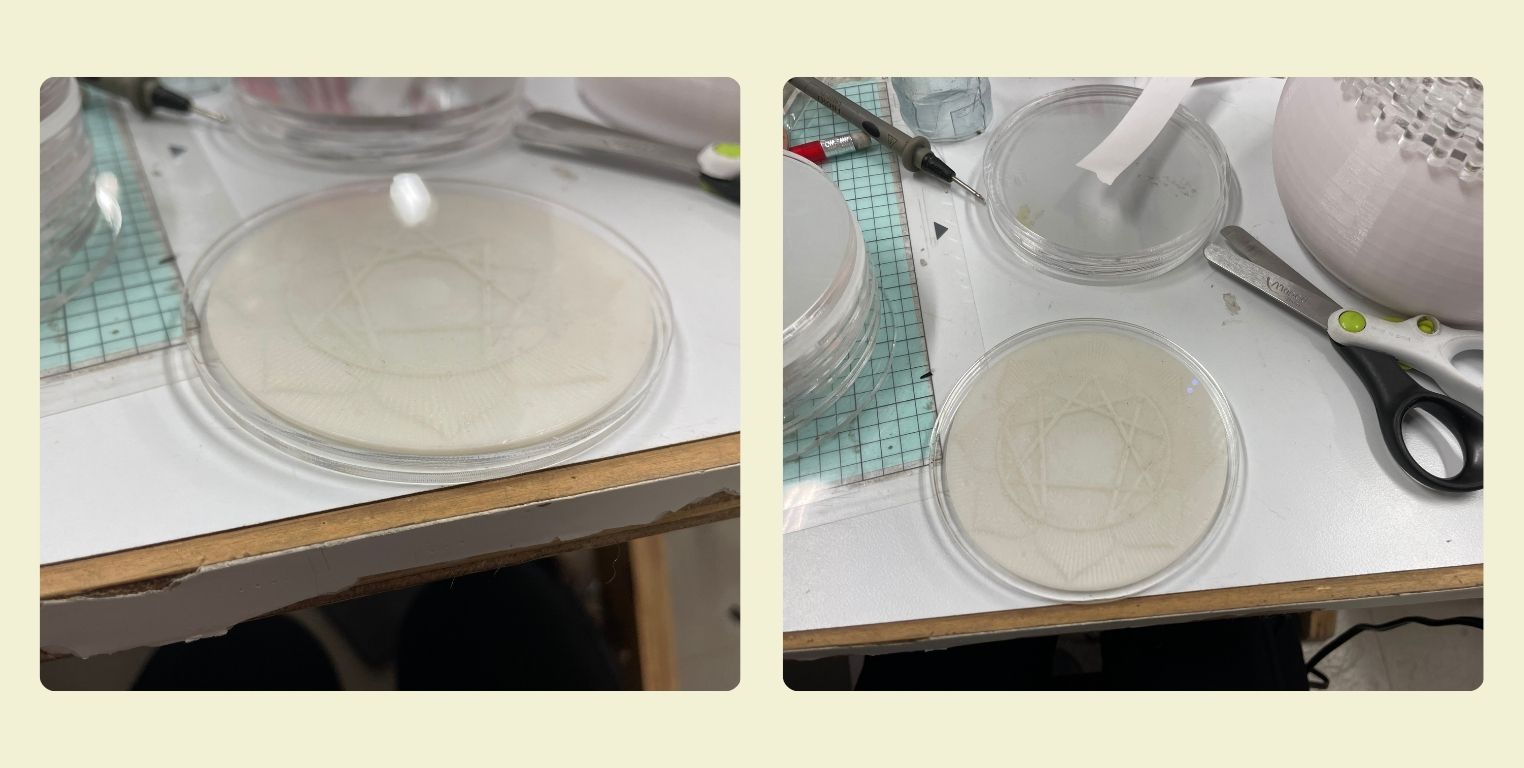
Here I show you the first test I did to see how it looked if I put the Lithophany on top of the second PCB.
To get the PCB to stay in place and the wires to which it would be connected to stay inside the cylindrical base, I cut a small rectangle in a few cricles to get the wires to stay in the center.
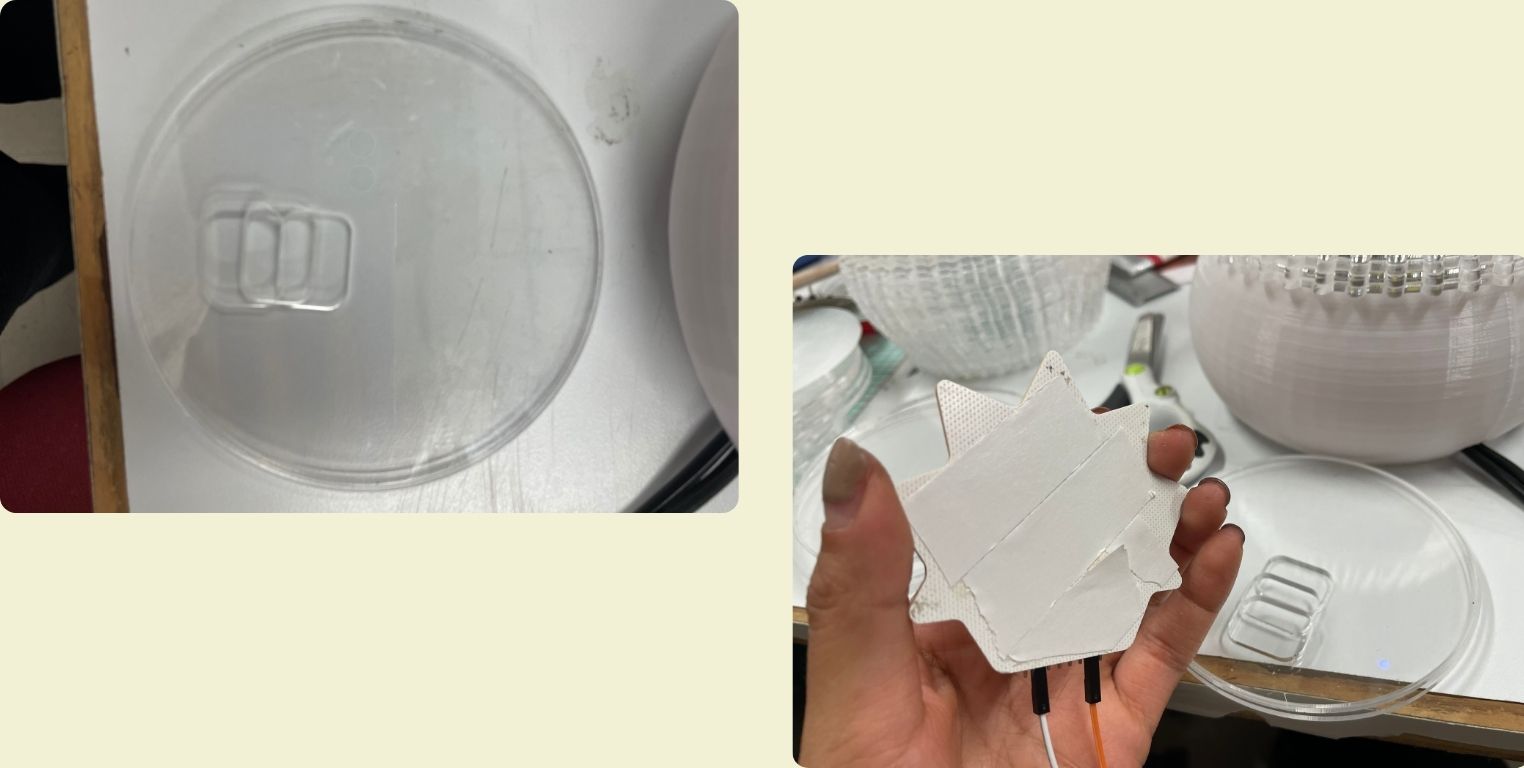
Here is a picture of the pieces before assembly.
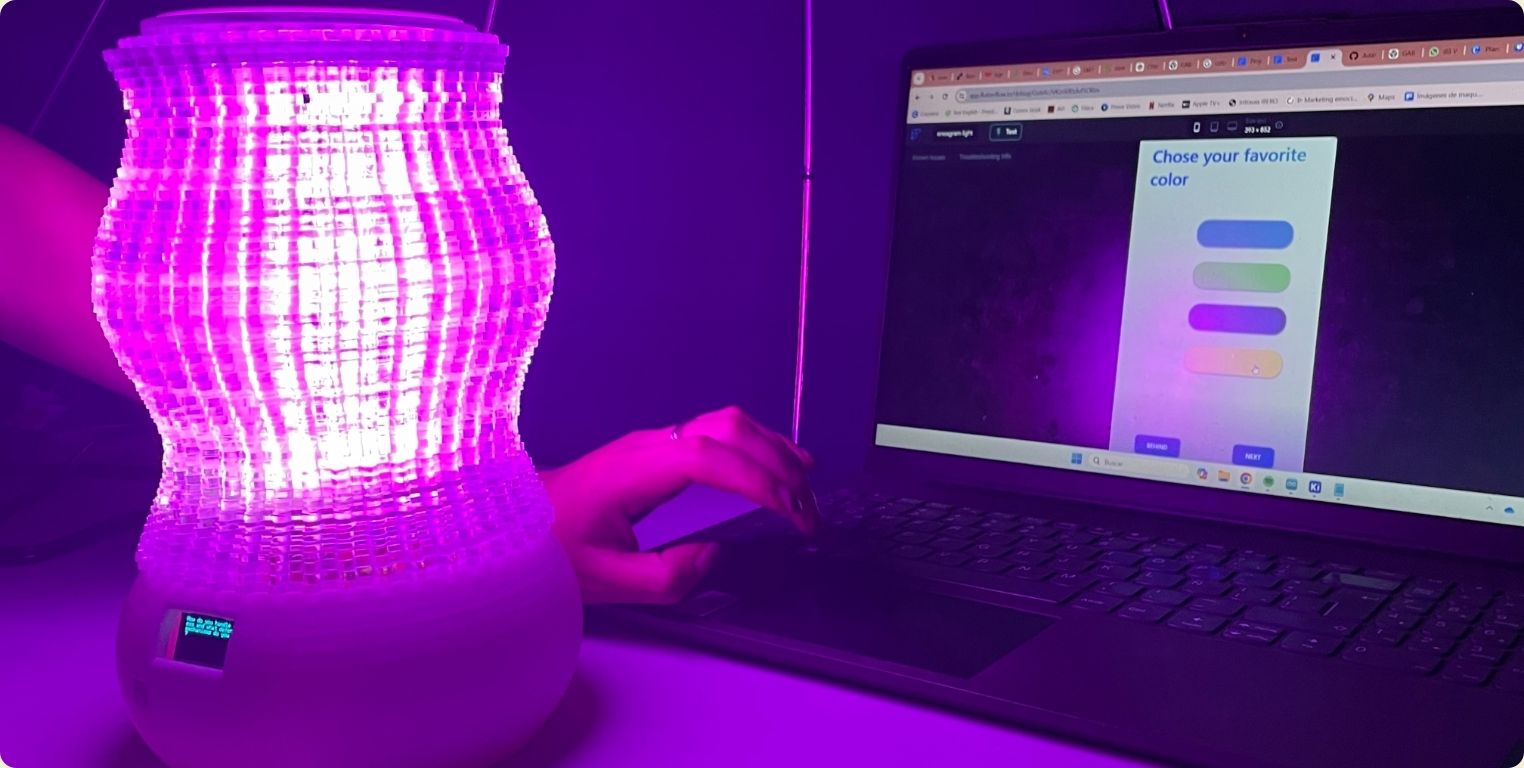
Here a little video of me assembling the pieces (it was more complicated than I thought, but appreciate the combinations that are made when changing the colors in the application. Talking a little bit about the subject, you can visit the interfaces and applications week where you can see in detail the development of the application with which you can control the neopixel strip, later you will find it integrated. The final code can be found in the files section.
Before finishing, I put a little cover to the button to make it look more aesthetic, this was basically a small rectangle that I cut with what was left over from the 3D printing support of the base.
A little video of how it works.
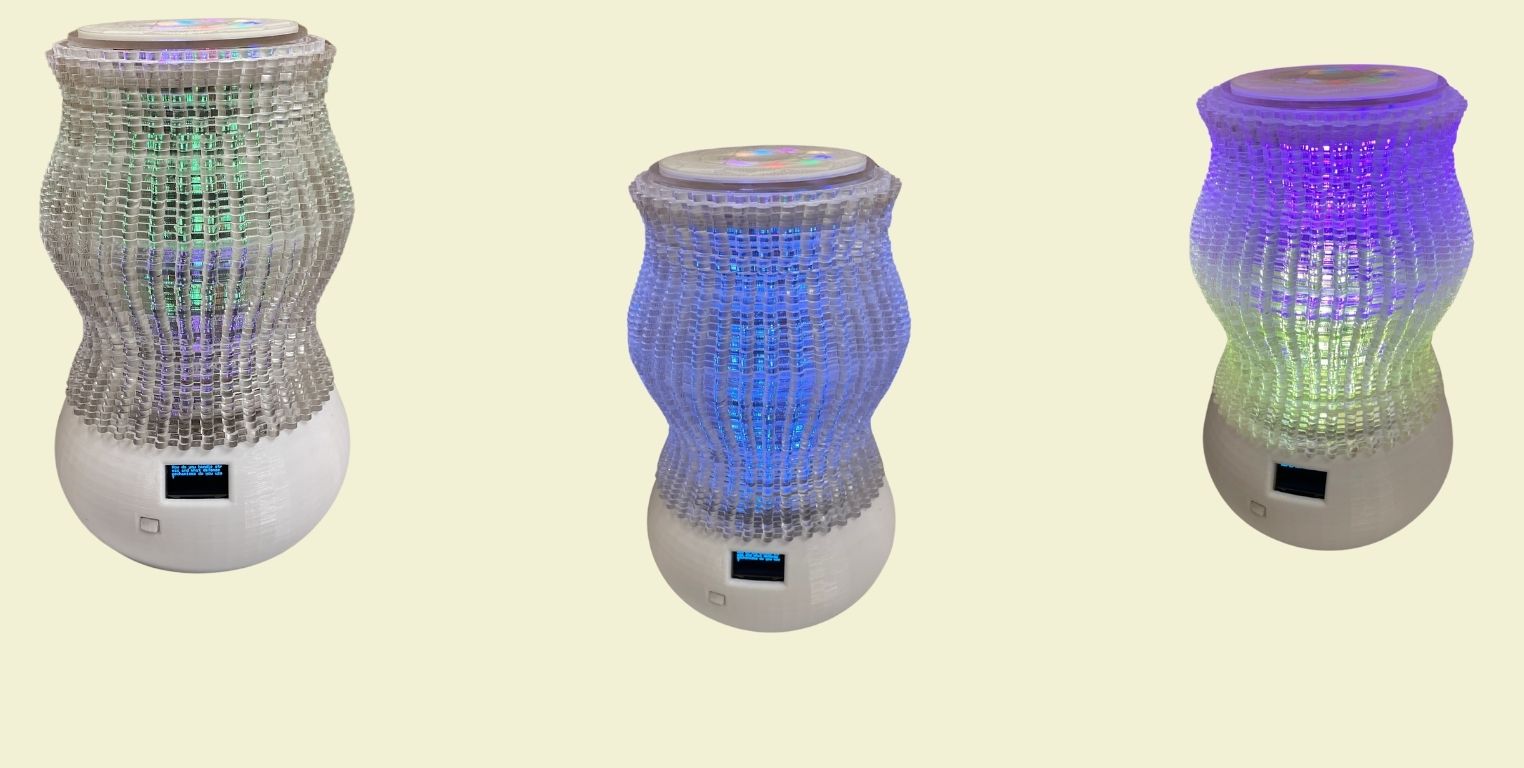
It looks very nice how the top part lights up.
Some hero shoots:
Final Proyect
Files
- Final Code___C++