
1. Project management
This week I worked on defining my final project idea and started to getting used to the documentation process. Also, I started building this page you're seeing!
But to do that, I had to learn a few things first:
1. Version Control using GIT
GIT is a powerful tool to manage, backup and control proyect versions, and the main way to upload your progress to your Fab Academy repository, to use it you first have to install it using the link provided at the end of the page.
The fist step is to create a local repository using the command prompt, in my case I'll be using Windows CMD.
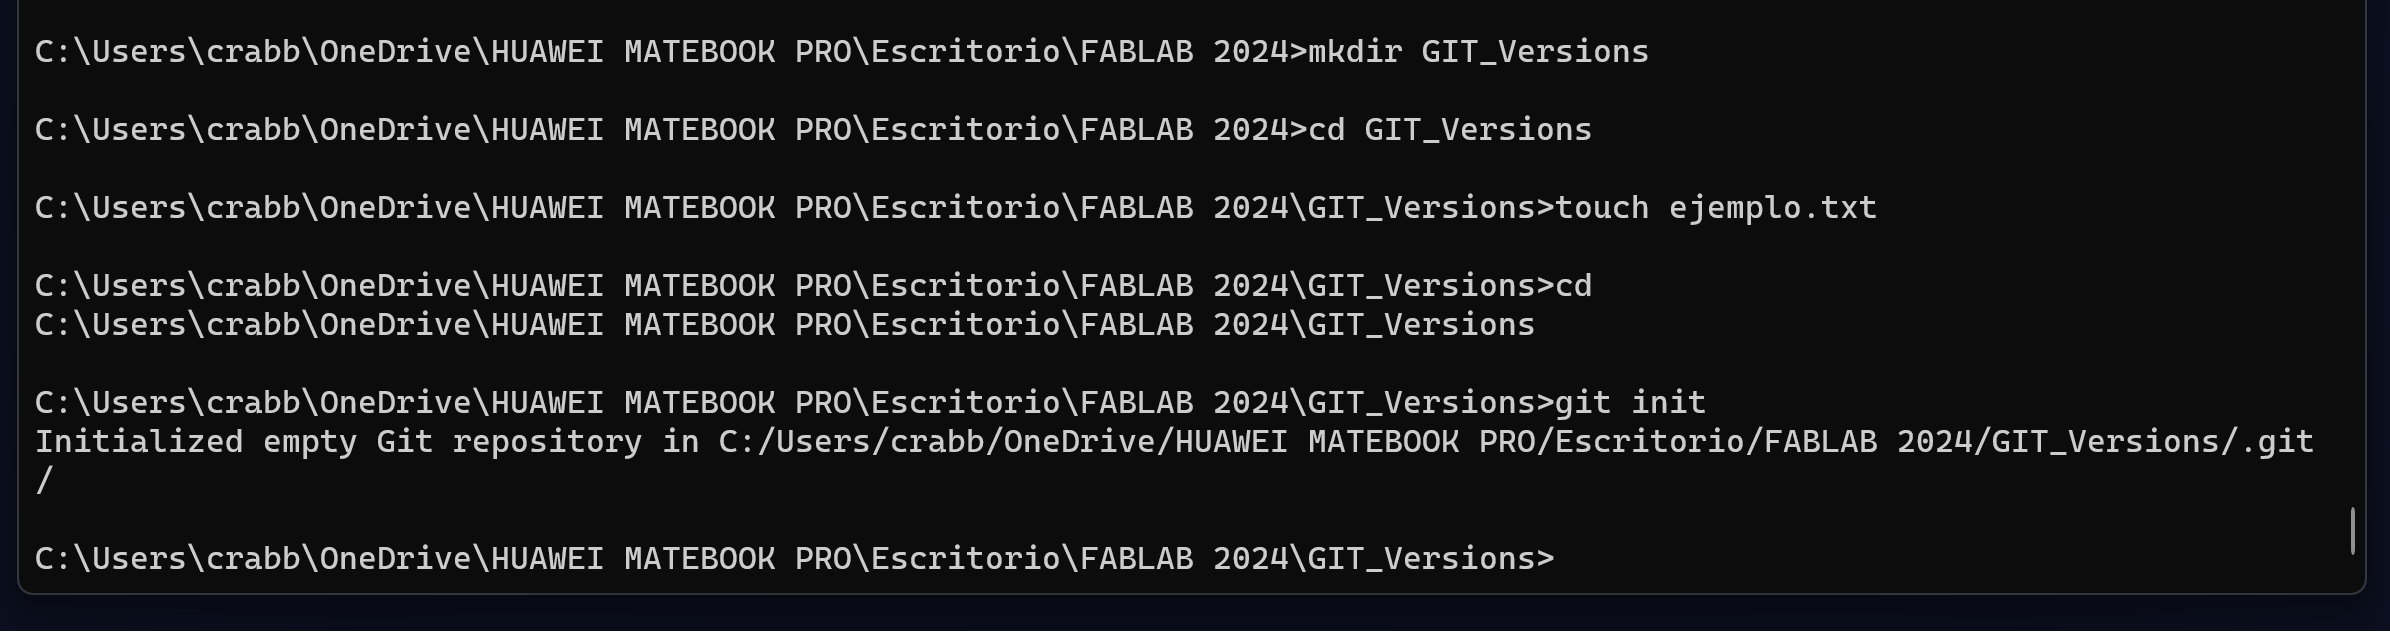
Using "cd" and the directory's local route we move to the folder in which we want to create a new repository, I then use "mkdir" to create a new folder with any name I want. Inside the folder I created an example .txt file using the "touch" command, in order to have something to commit. Once the folder is created, I move inside it using the "cd" command.
Once everything is done, all is left is to use the "git init" command to create your first repository inside the selected folder.
Inside the .txt file I only wrote a string containing the text "Hello World". Using the command "git add ." (the space between the dot is important) I was able to add every file inside the folder, or in this case, just the .txt file; then using "git commit" you can save those changes into the local repository, if you add "-m" followed by a quoted message you can add a name or description to that specific commit. Also, using "git status" you can display information about the ongoing commit.
Everything was going great so far, until I stomped upon this error message:
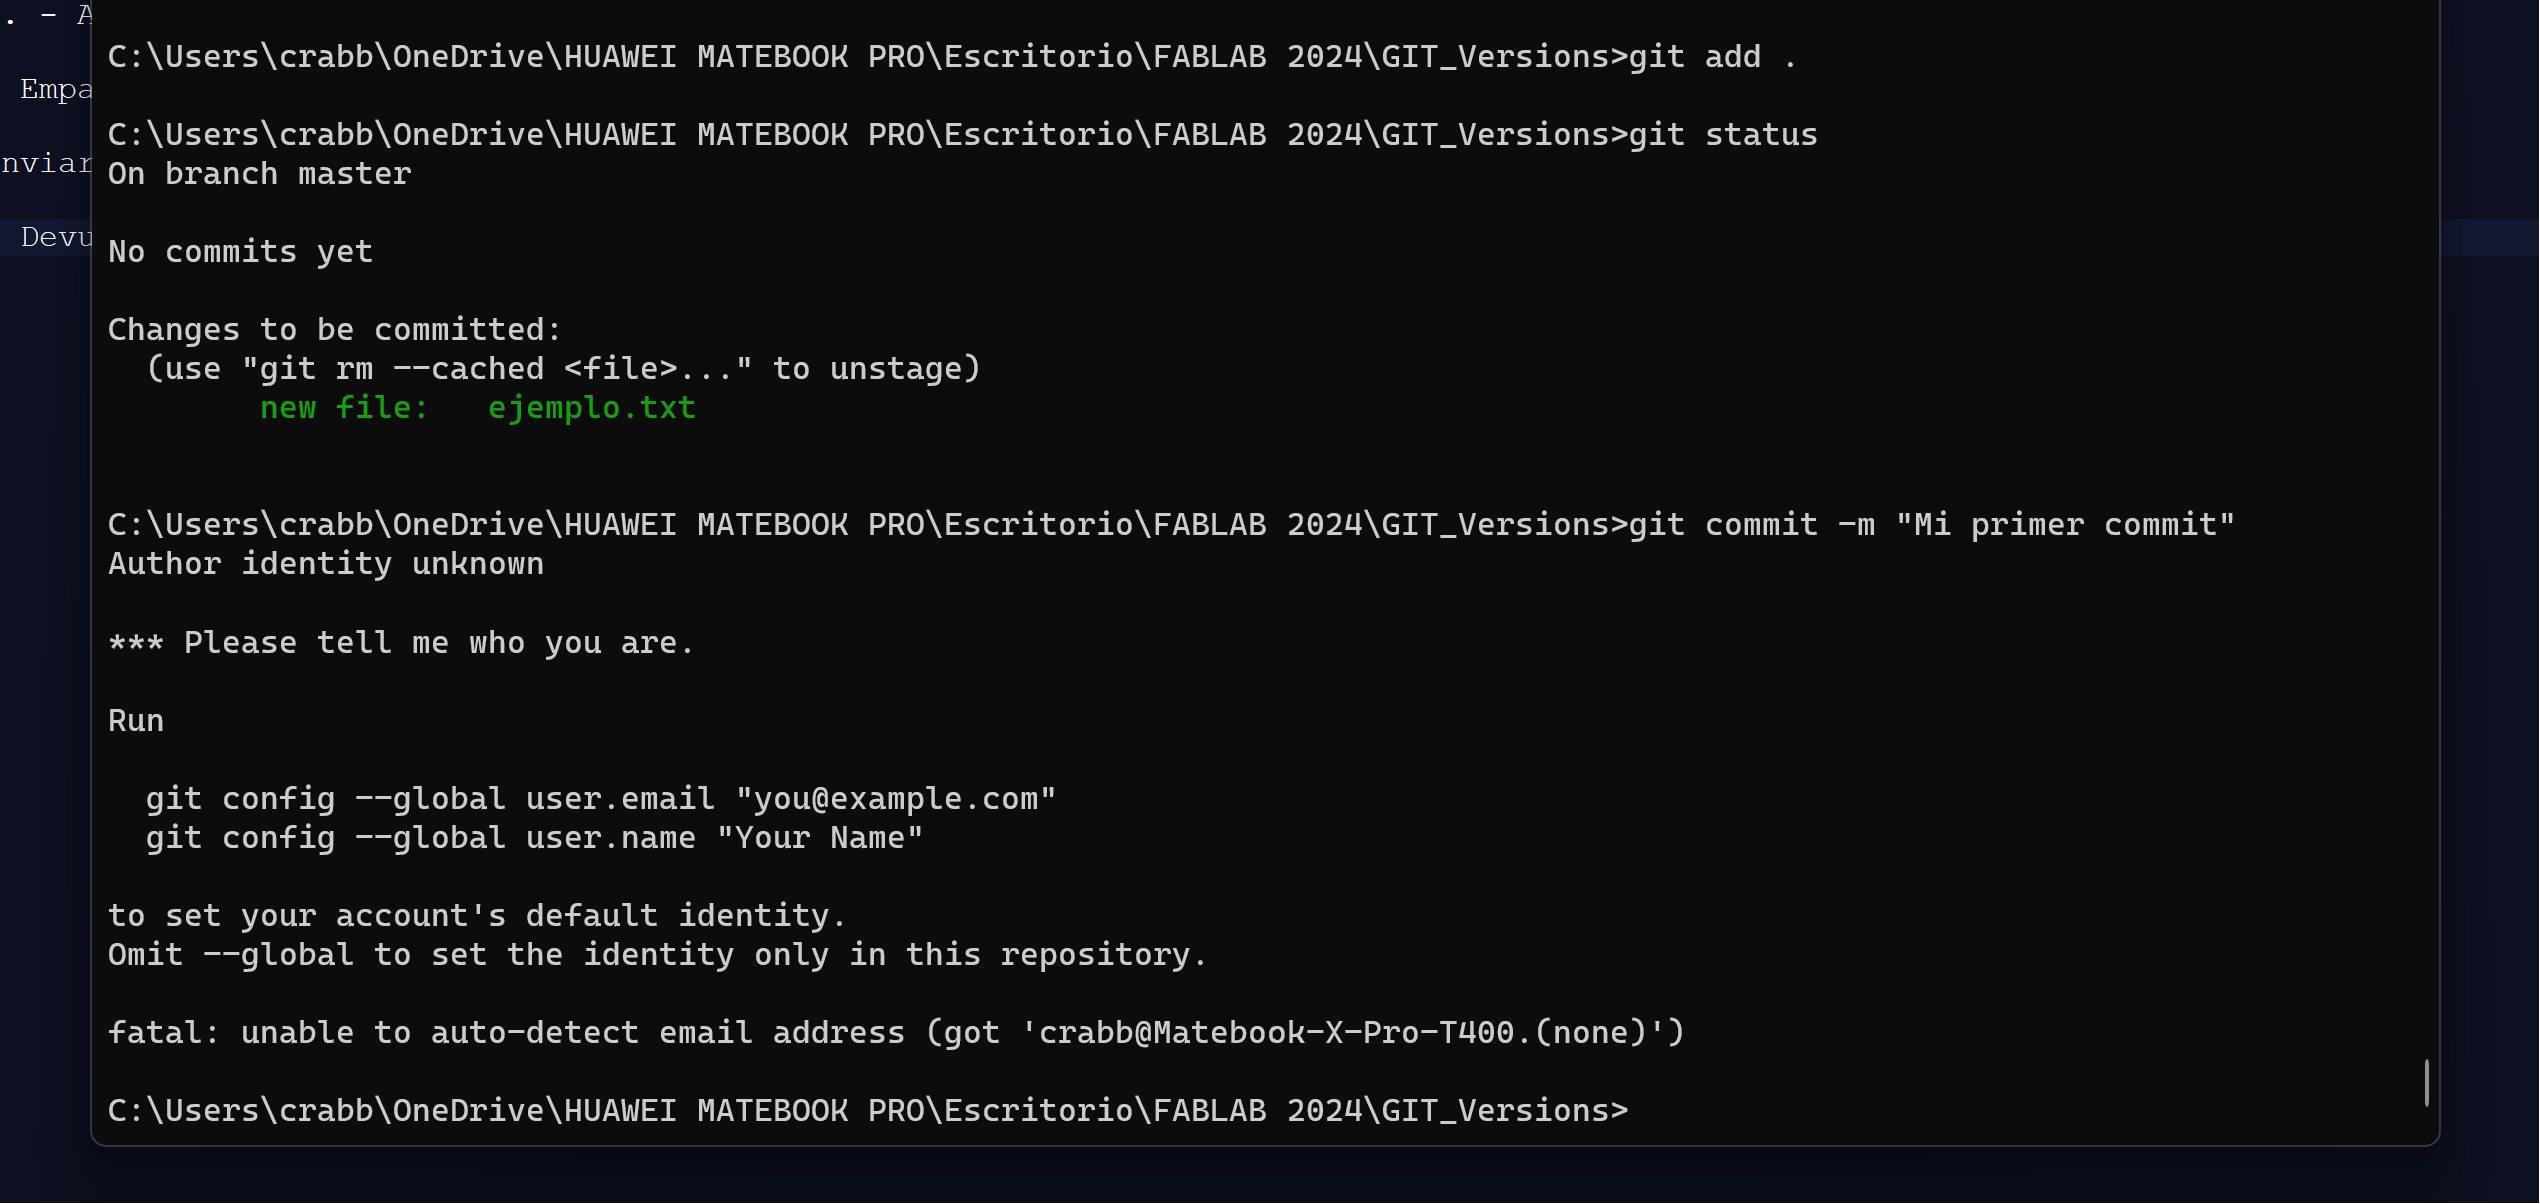
"Please tell me who you are", the command prompt says, and I stand frustrated until I read the help below.
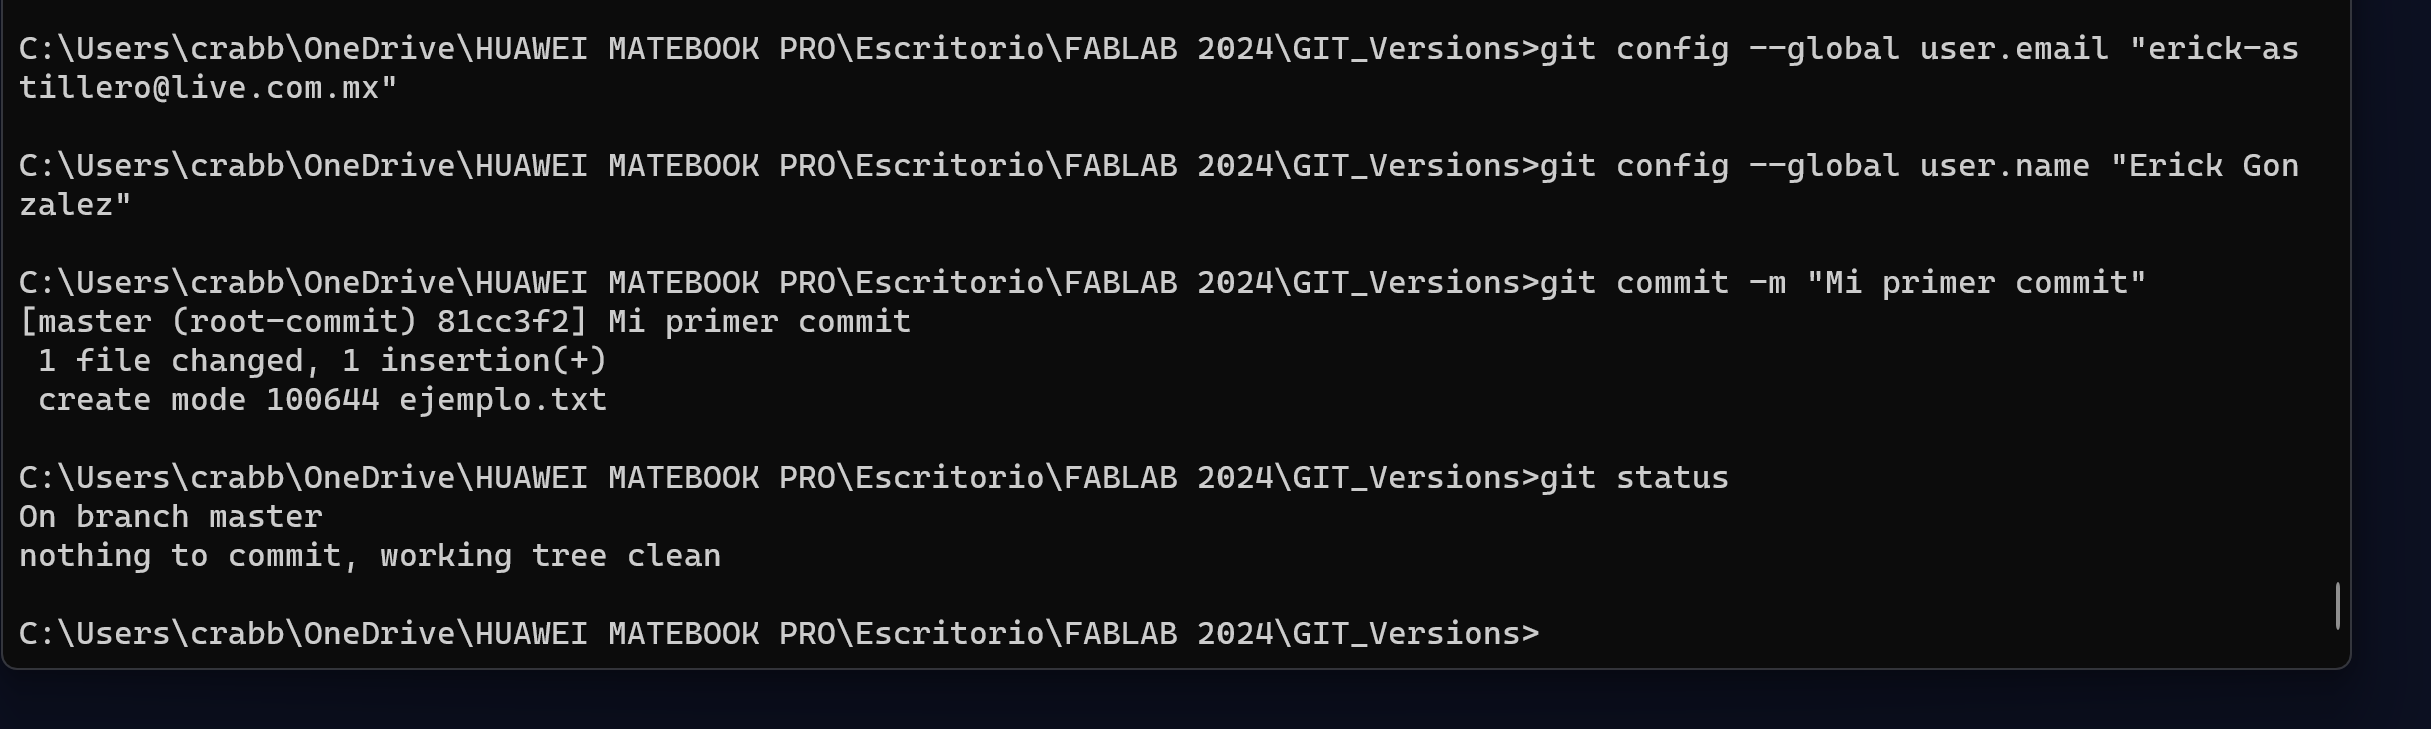
So I executed the provided commands inserting my name and email address, and next tried creating a second commit, which this time was successful. (yay)
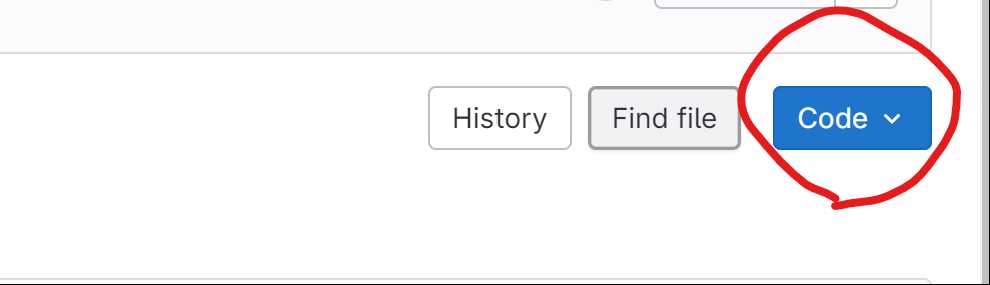
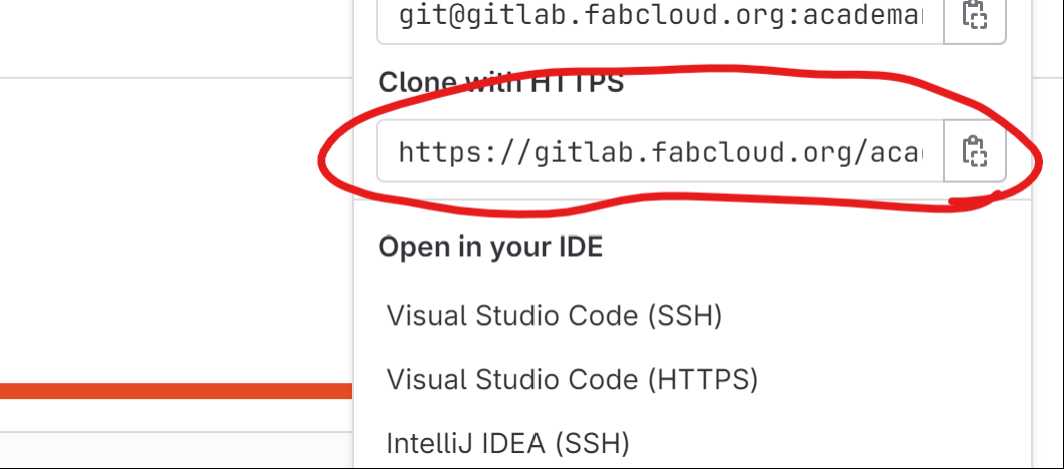
Now that we're a bit more familiar with GIT, we can try and clone the official FabAcademy repository, to which you have to upload your progress. We can do this by entering our repository with our browser, clicking in the blue "code" button and then copying the "Clone with HTML" URL.
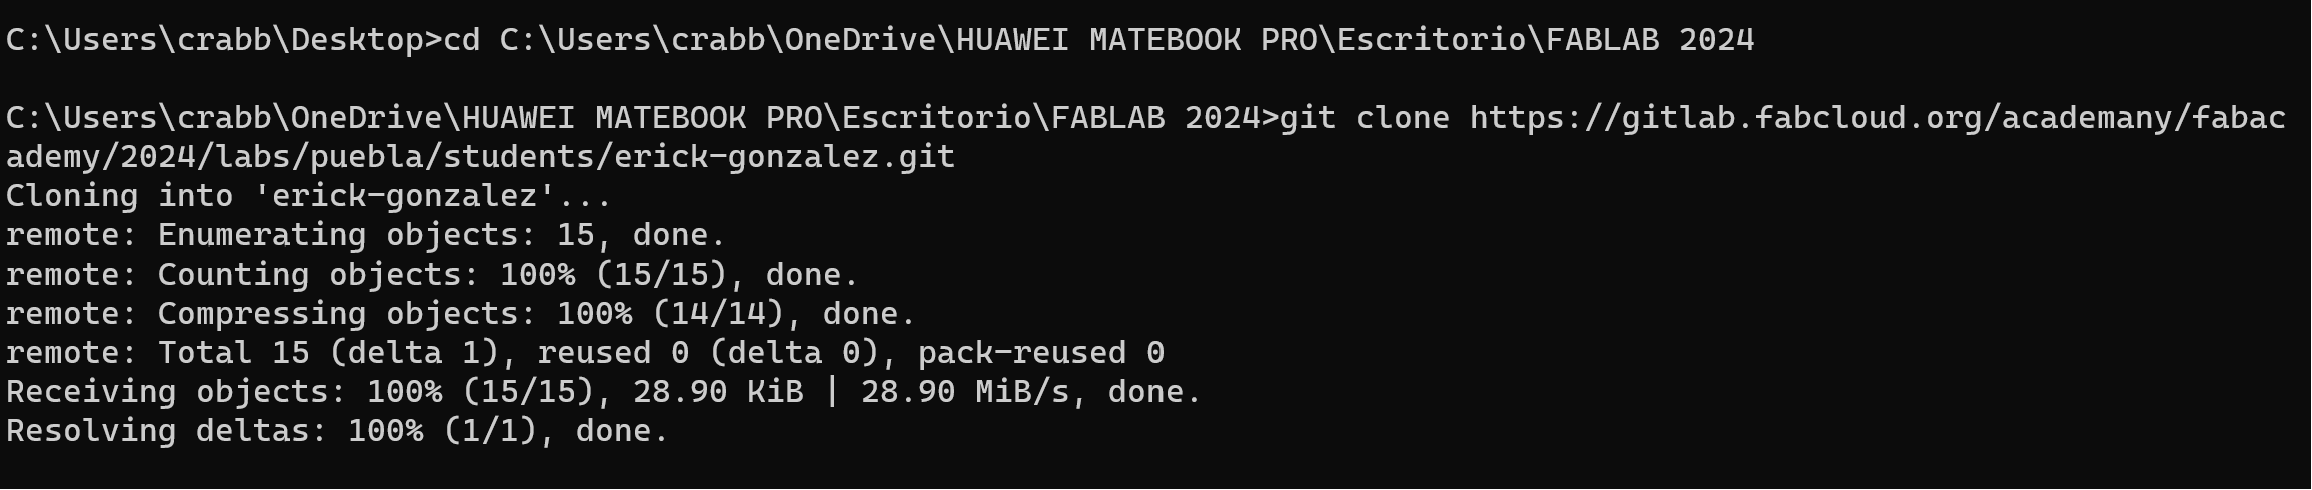
We then return to our Command Prompt, enter to a desired home folder using "cd" and execute the "git clone" command, followed by the link we copied.
Having done that we can now start building the webpage and including all its associated files inside the repository's folder. Using the command "git status" we can see what's there to add inside the folder:
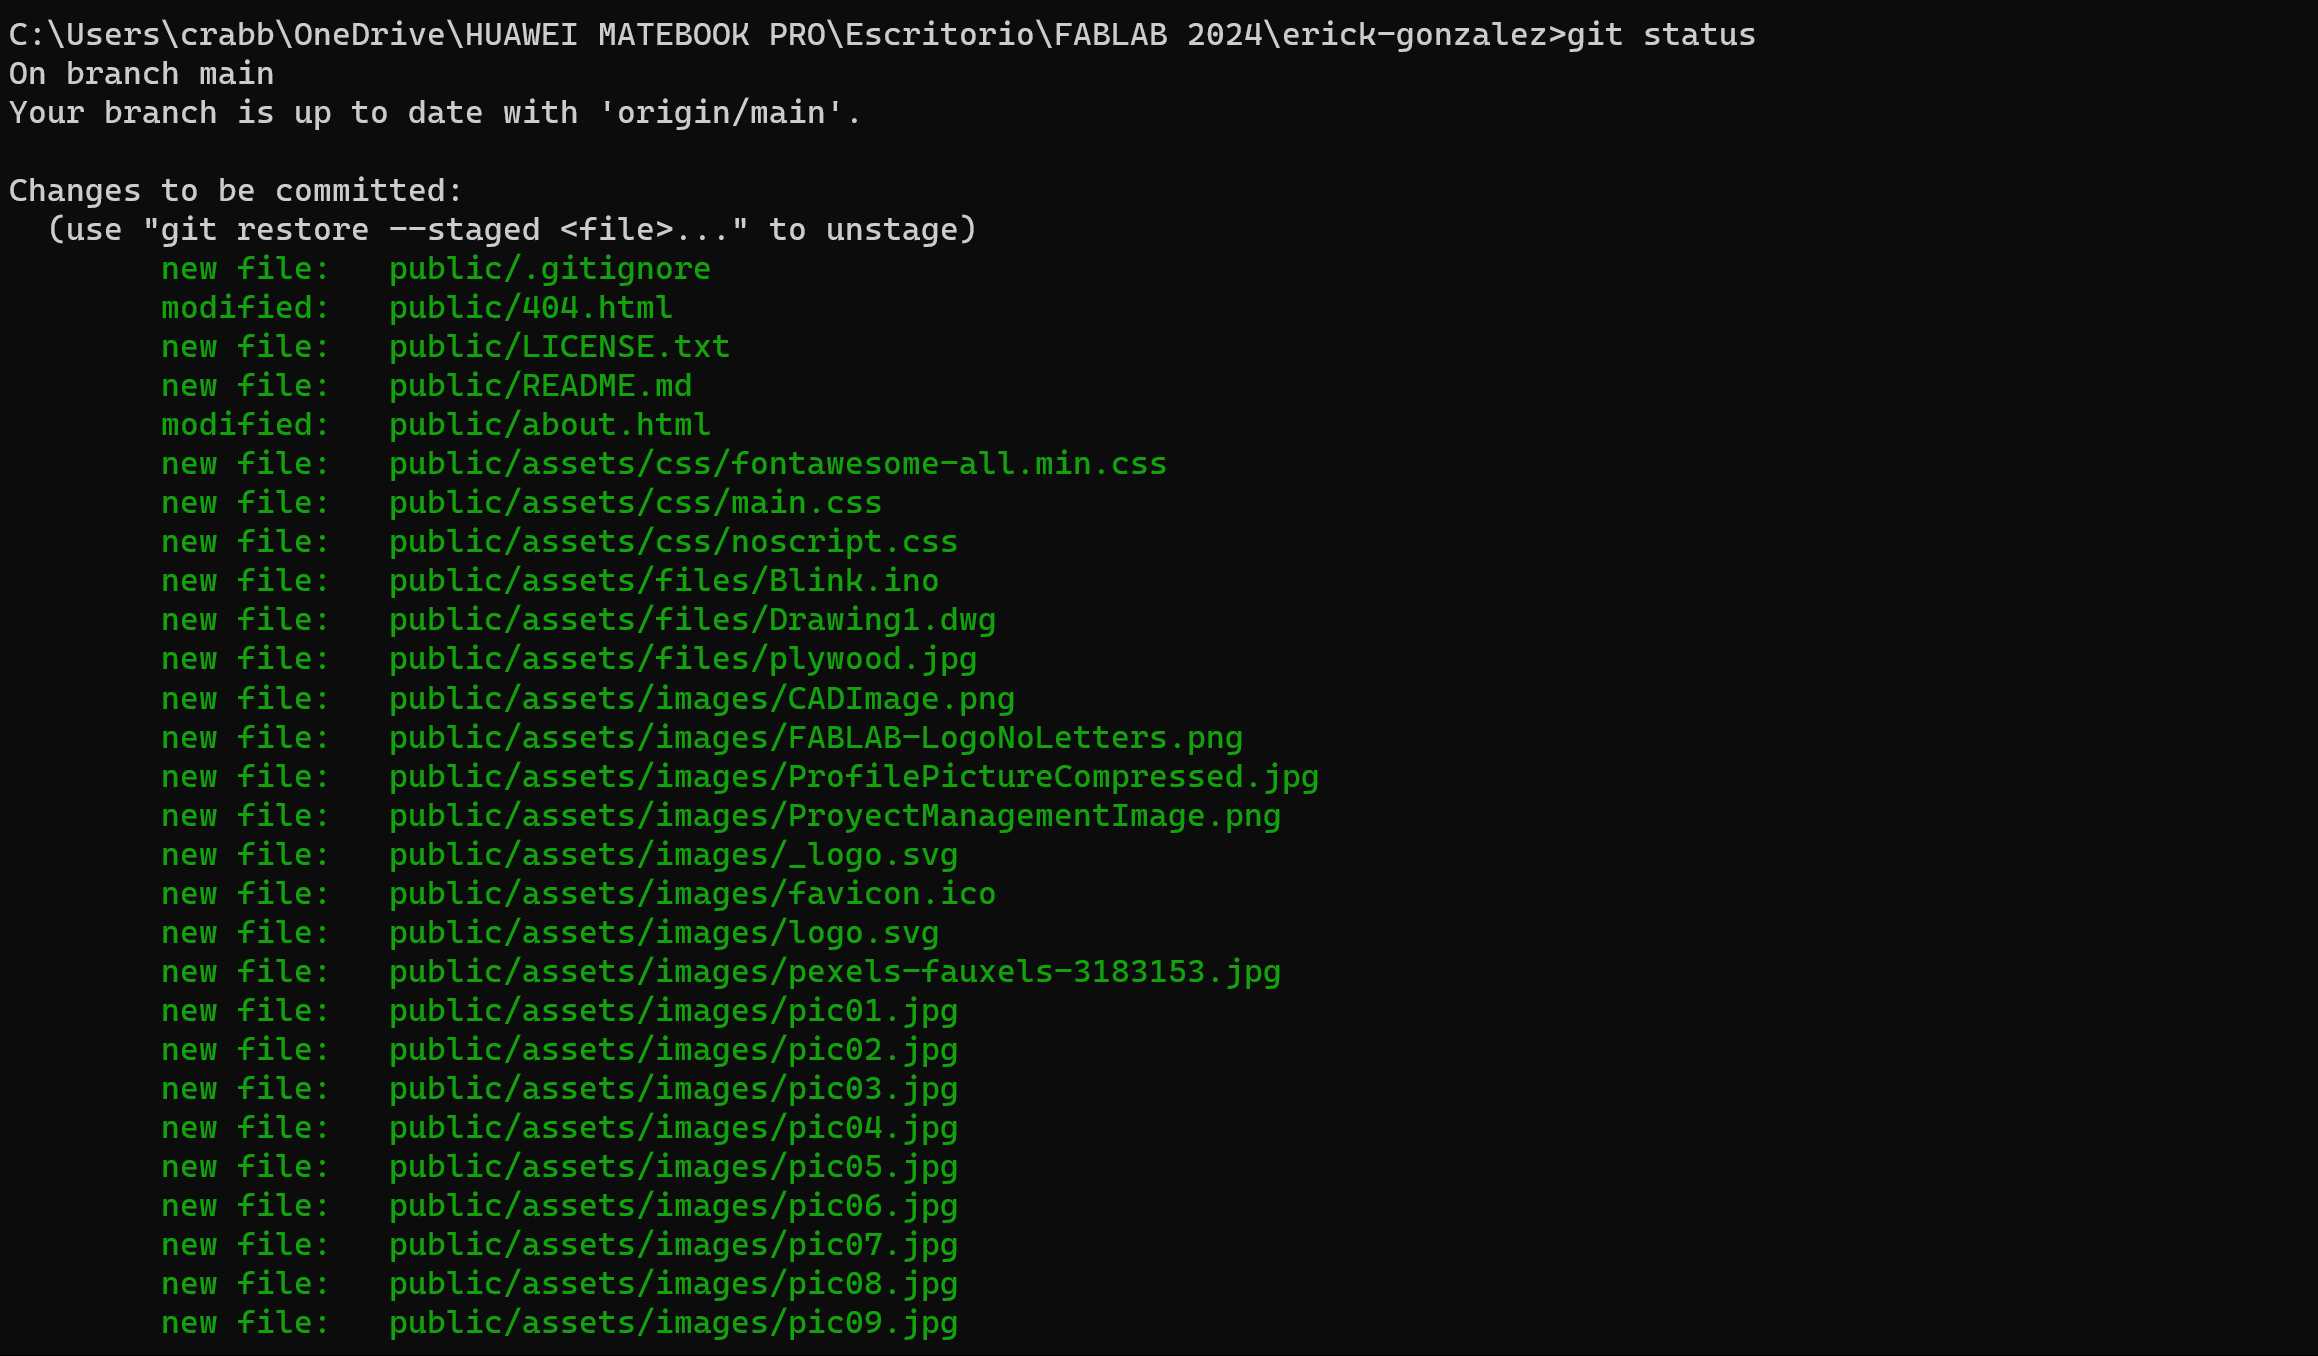
Now we can see that there's a lot going on! To add everything to a new commit we use again "git add ." and then we create the commit using "git commit" followed by "-m" and our quoted description or title. In my case I've named it "First Push Test".
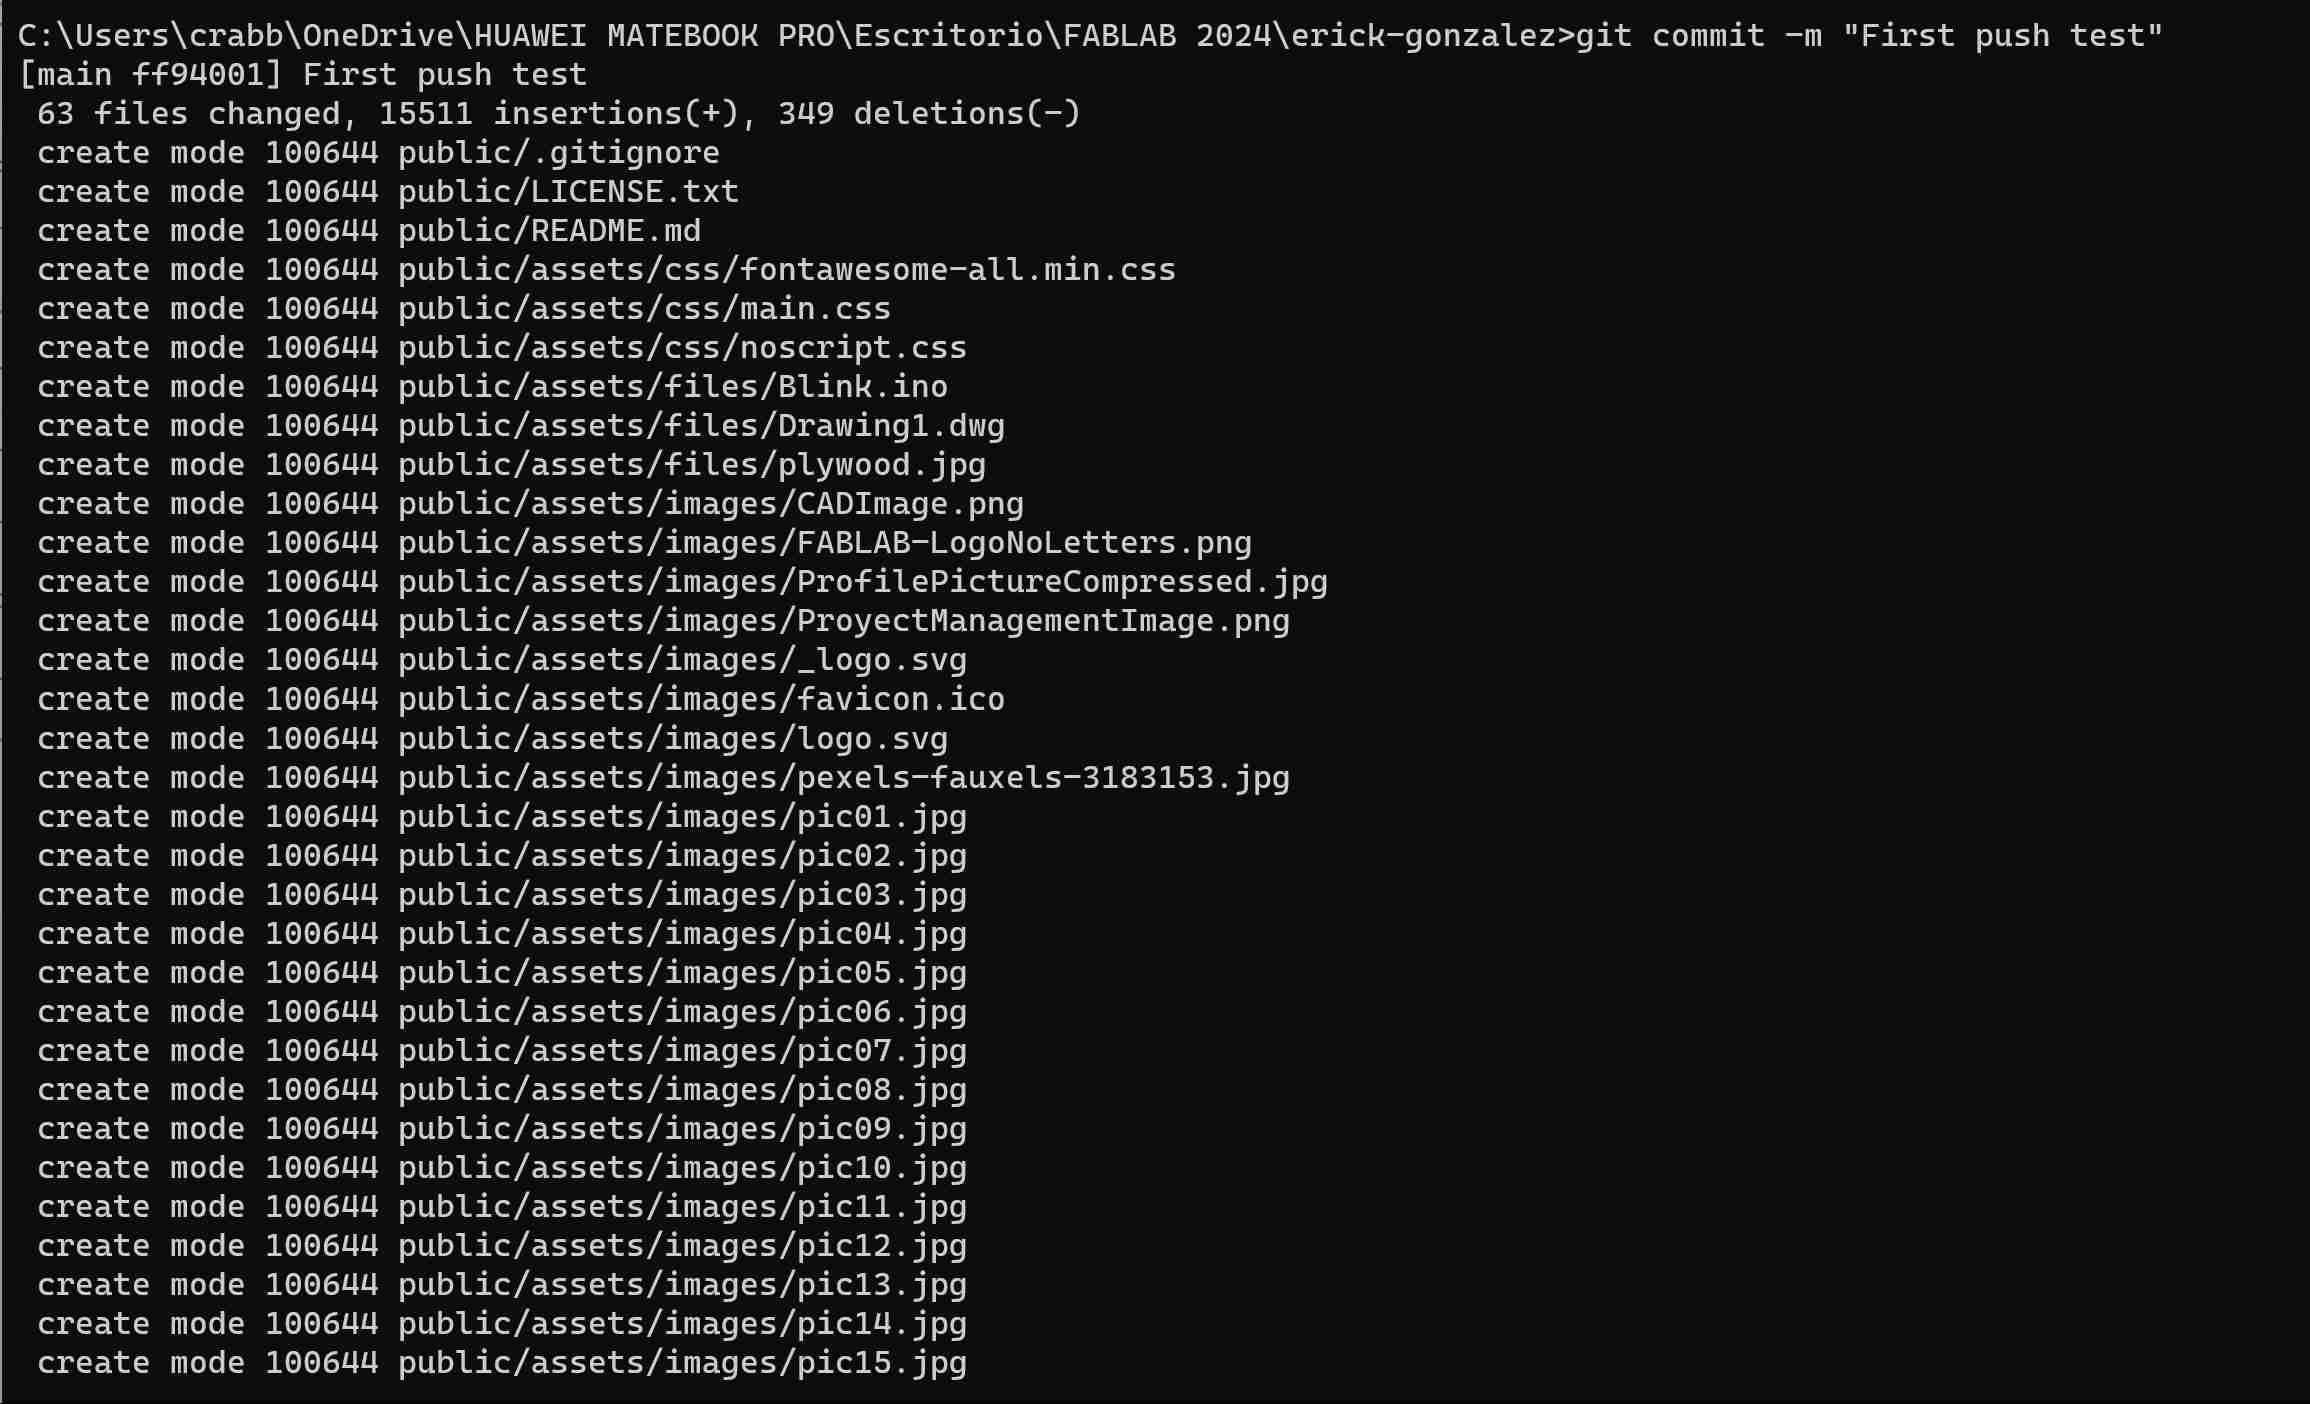
Now that our commit has been created, we can upload it to the online repository using "git push", this command will use the credentials we created before.

And thats it! Just remember to follow the add -> commit -> push procedure everytime you want to update any changes made to the files contained inside the local repository folder.
2. Getting Used to HTML
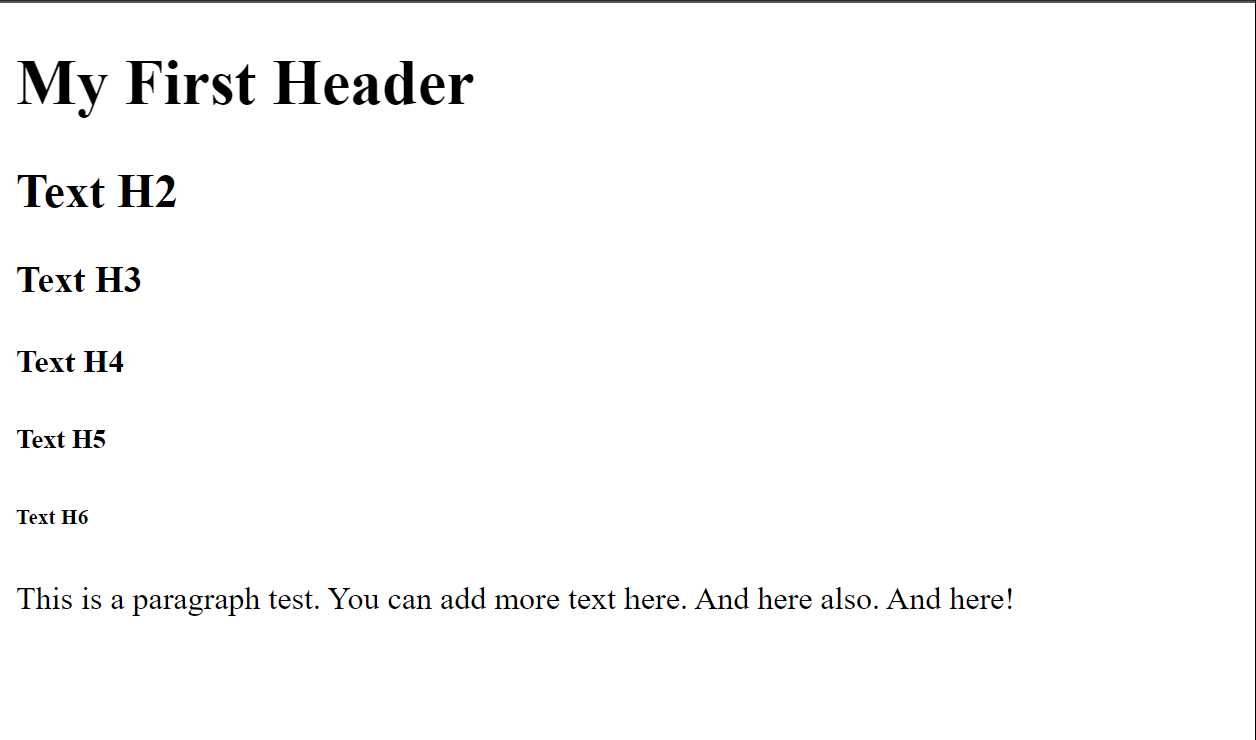
Learing to use and interpret HTML code is essential to the documentation process, as it is the bare minimum requirement to build a webpage. I started with the following example:
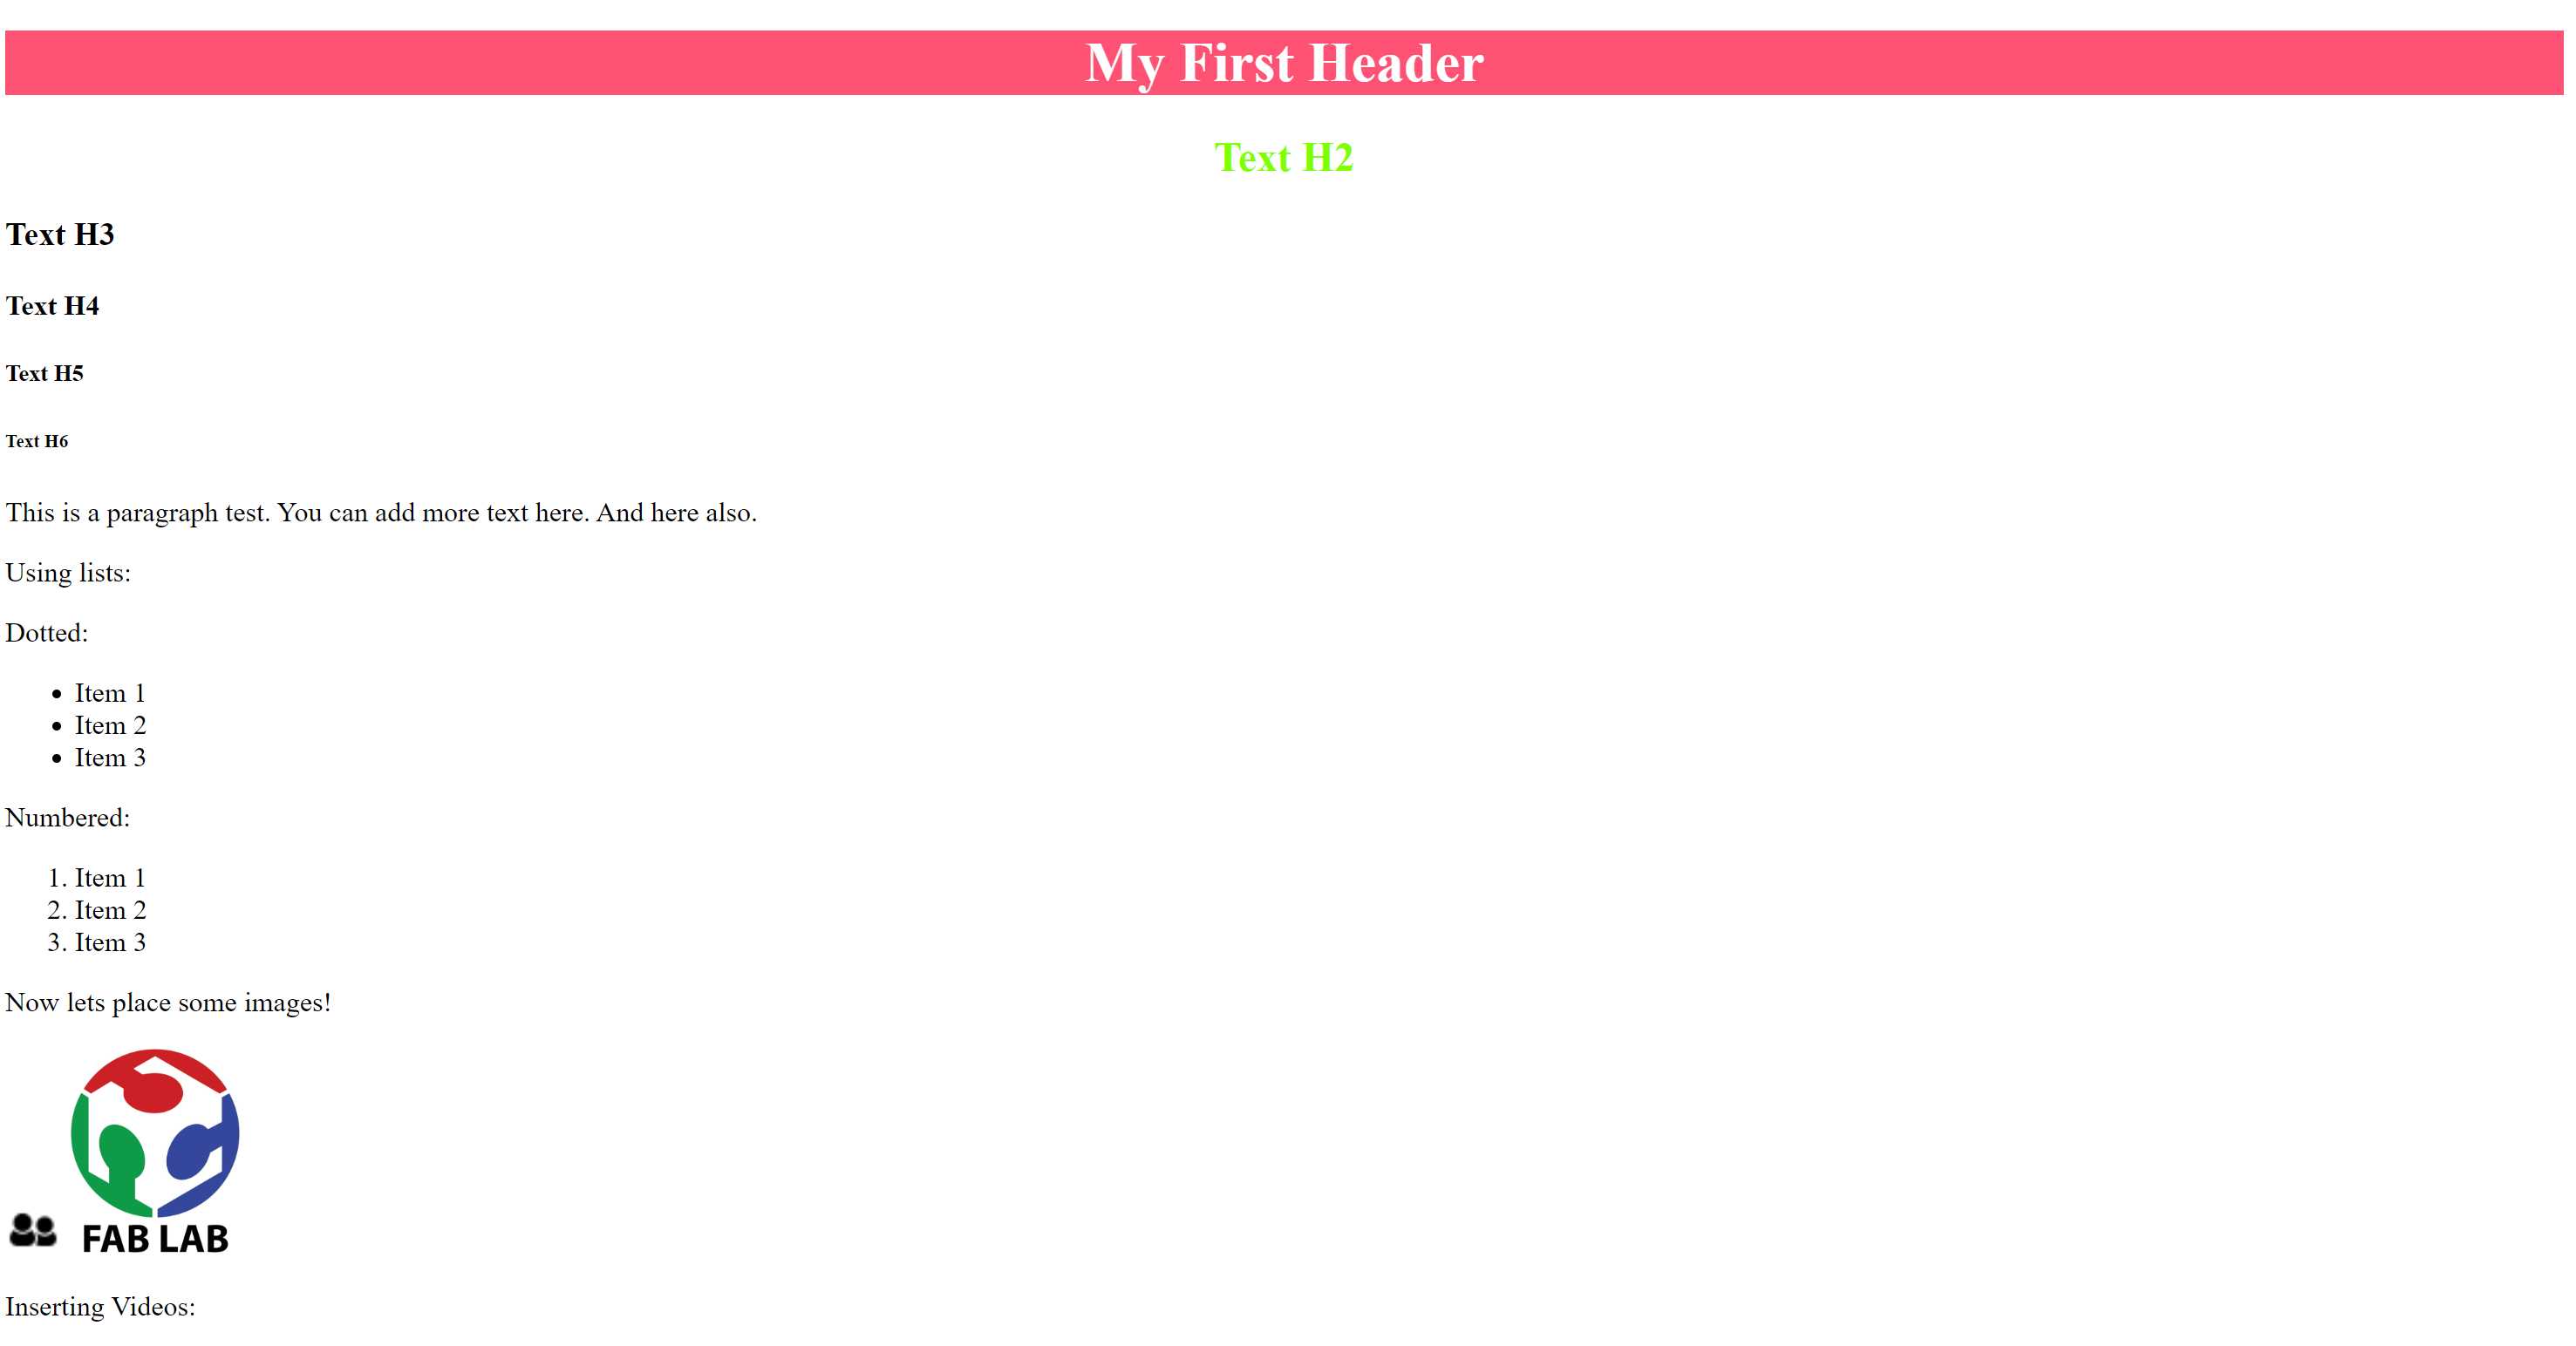
This code creates a very simple page that allows to demonstrate the use of paragraphs and header sizes.
Next I tried to format text as dotted and numbered lists using "ul" and "ol". Also I ventured into adding some images, which caused some problems.
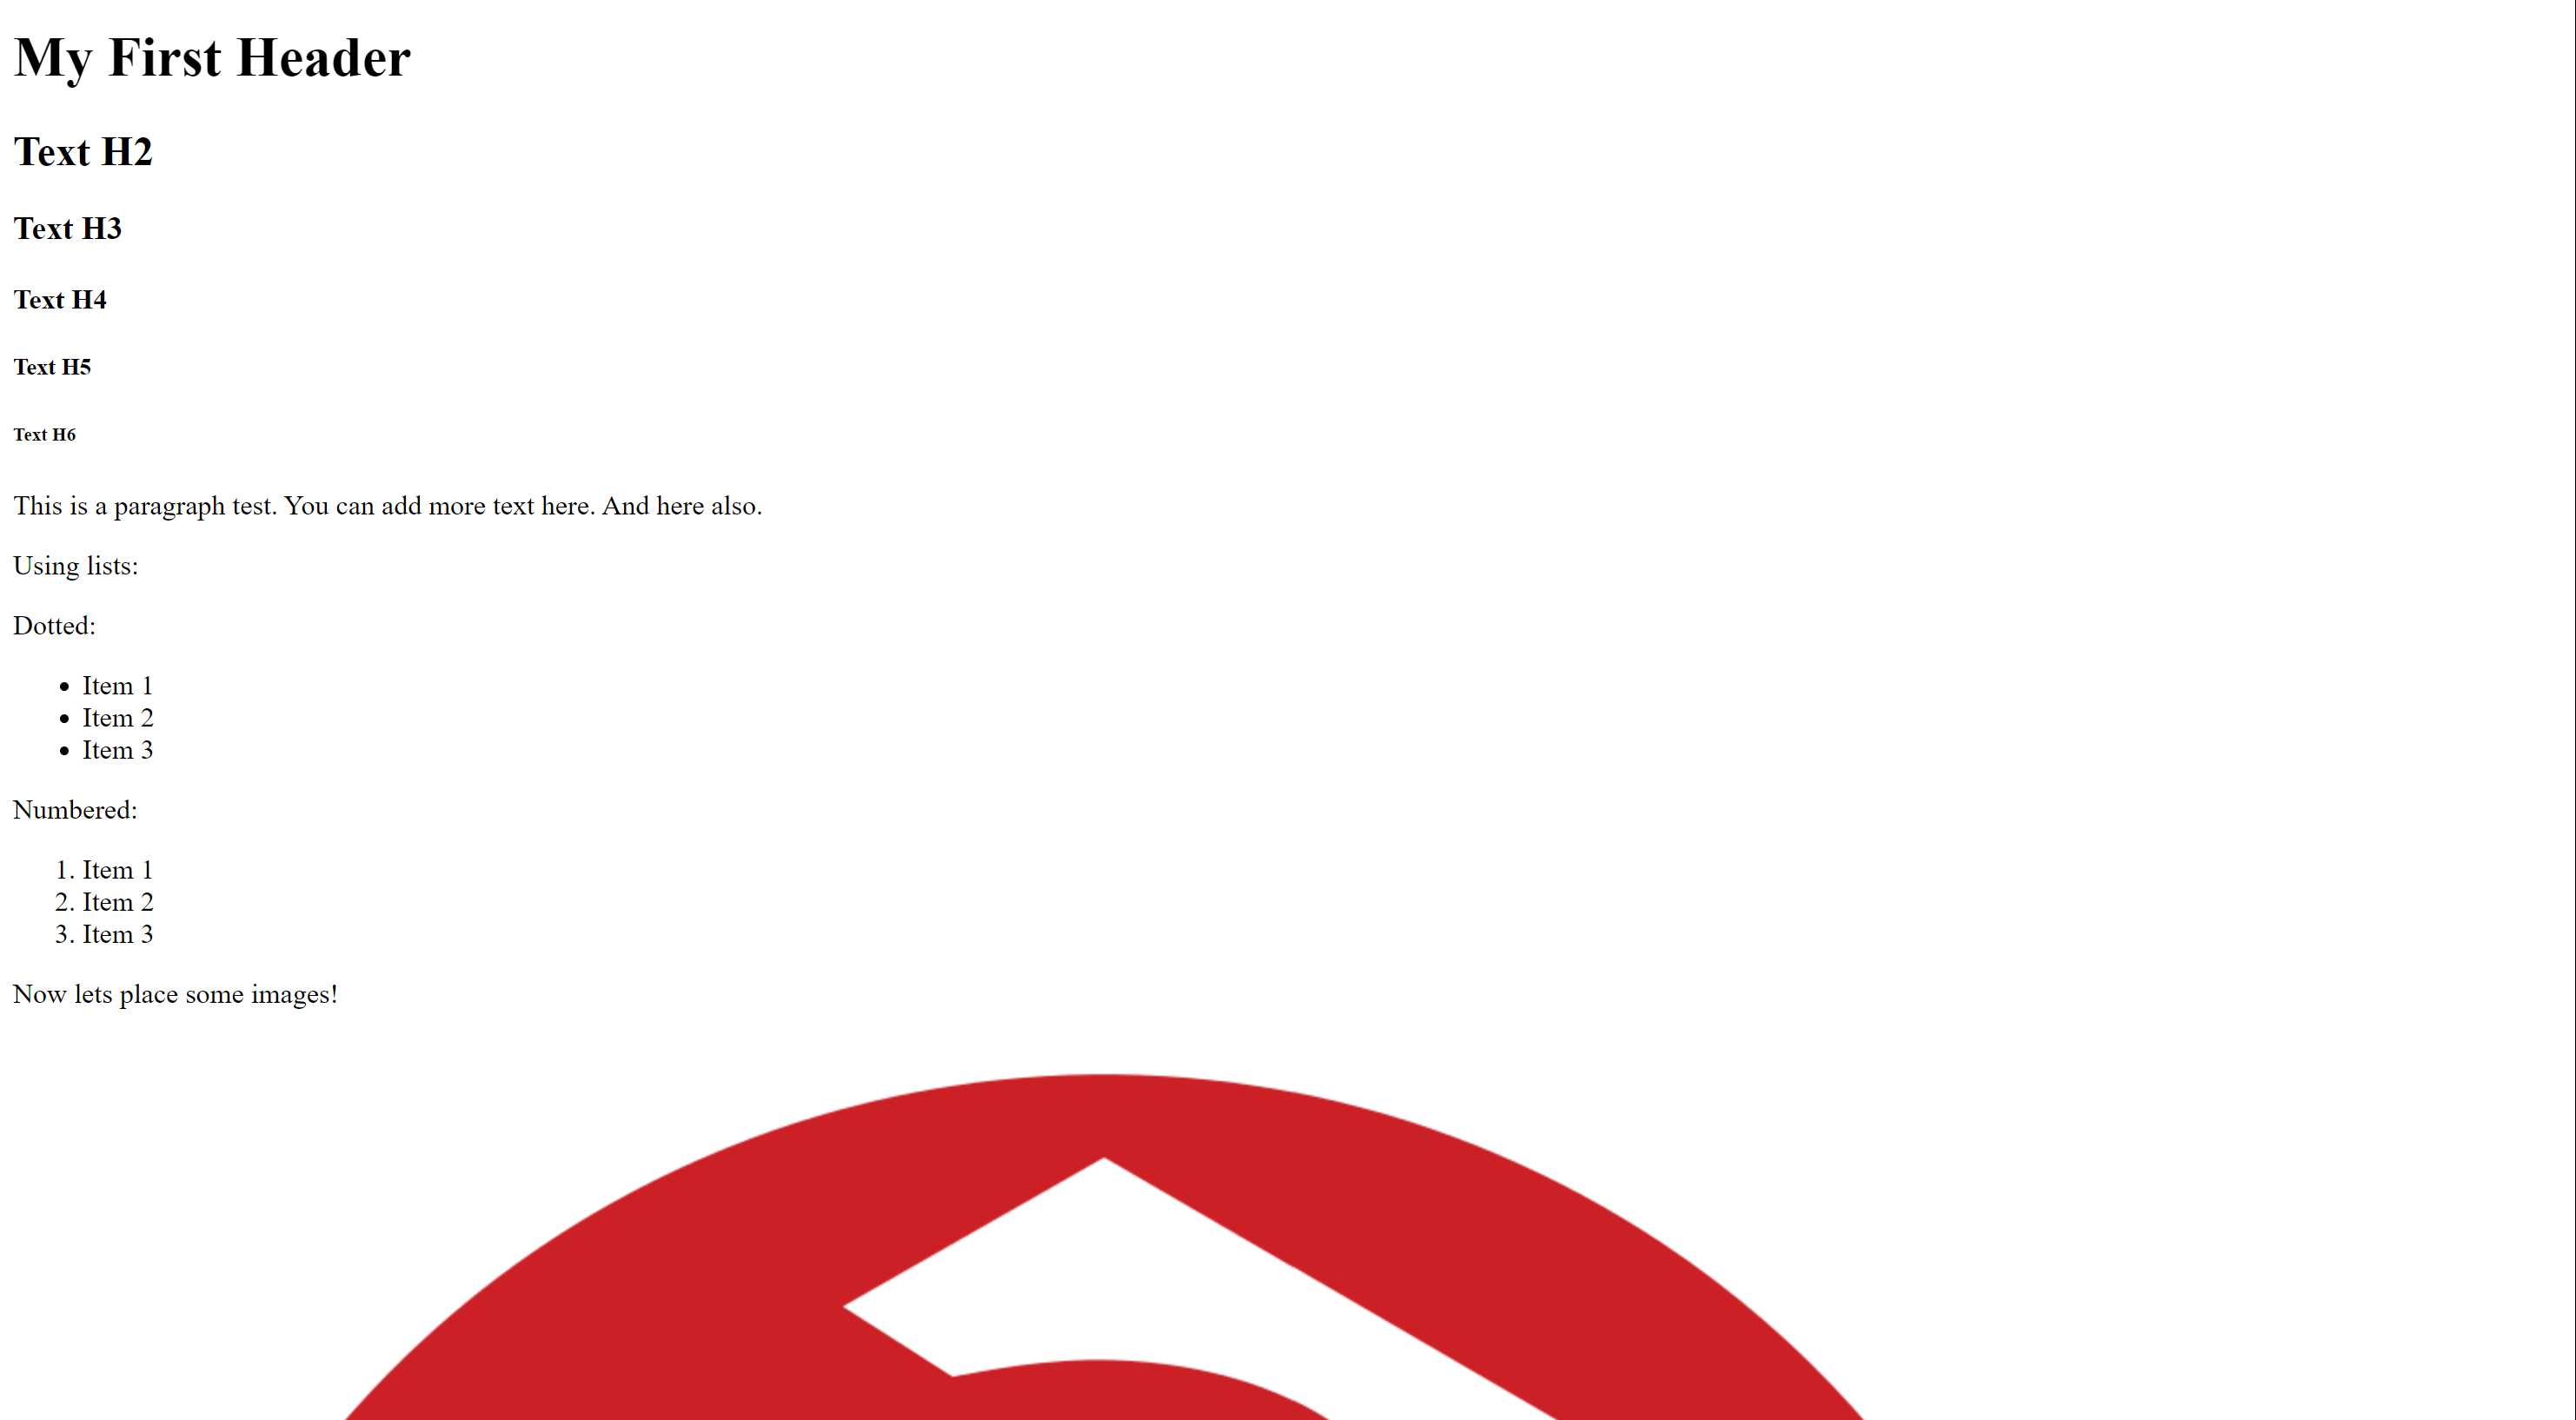
Yeah, that FABLAB logo is huge, and the other image, well, nowhere to be seen, so let's fix that by adding a "width" attribute to each image used:
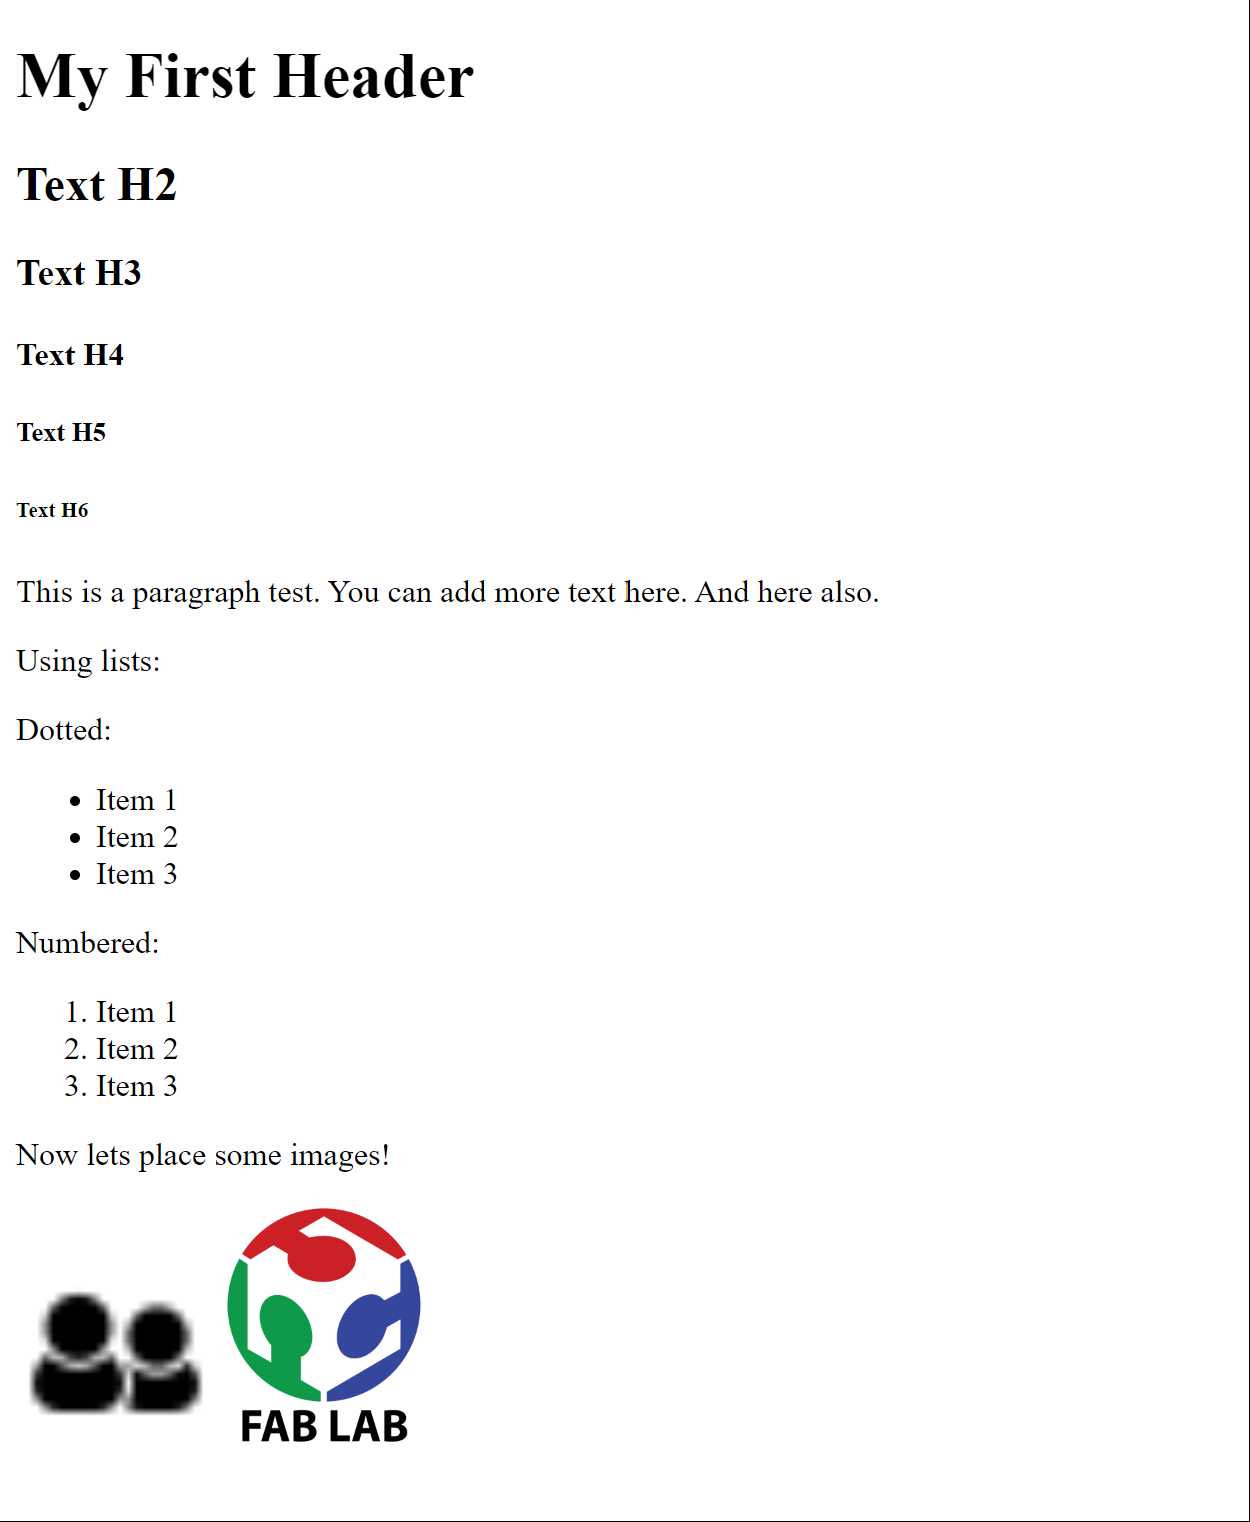
Now, that's more like it! Now, let's get crazy and add a button, a video and some links to other sites using the code below! Remember to change the "src" or "href" quoted text to place the route to the resource you want to use or link to respectively.
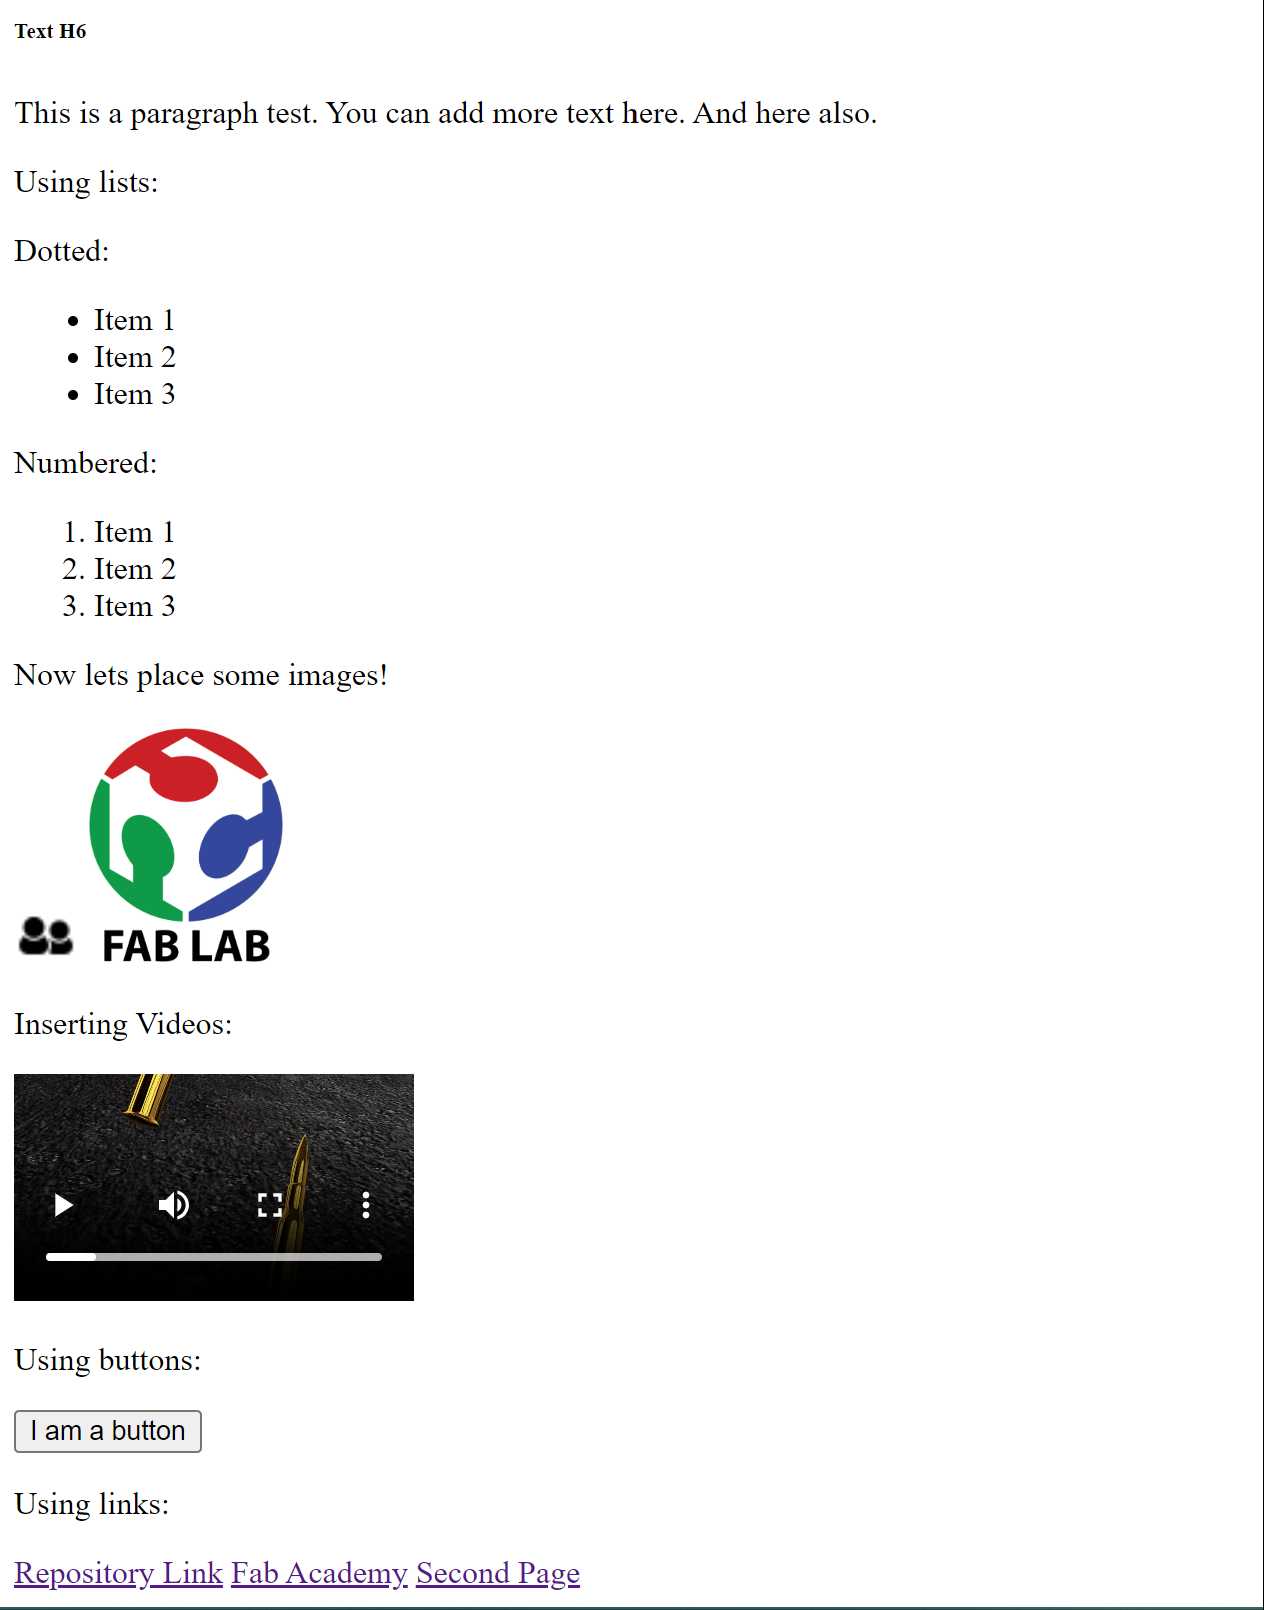
As you can see, I added a link to a "Second Page" which doesn't yet exist, so lets make it!
This is a very simple page that serves the only purpose to test the concept of linking pages:
Now let's understand a bit about using CSS, which gives "beauty" to our websites.
In this code example we're changing the header's color and adding to the first header a background color, we do this by assigning the "type" of header to aestethic properties in CSS.
And that results in this (yes it looks kinda ugly, but you get the idea):
So now that we know the basics about HTML and CSS, we can start modifying a more complex webpage template, just like I did with the website you are looking at right now.
3. Building from a template
3.1 - Understanding the template's structure.
In order to use this template, we need to first understand how it is built! In the following image, we can see the files and folders that compose it:
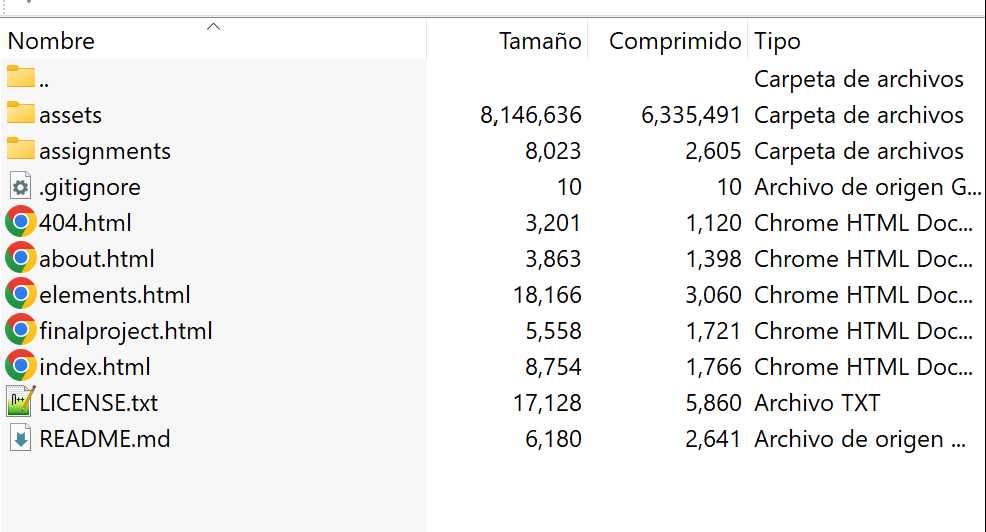
Index.html, is out home page, the one place where users first land and that links every other page on this site. The Final proyect page I think is self descriptive, as well as the about page, which I mean, is where you can write something about you. The "elements" page, contains some useful snippets of code that you can copy and paste in other parts of your site, so if you want to add buttons, grid images, or else contained there just copy and paste the corresponding coder wherever you want. And last we have the "404" page, not much there, just exists if you want to add a place for users to land if they insert a non valid URL.
Inside the "Assignments" folder, you will find another example page to start building your reports for each week's progress, just like the page you are looking at, obviously with many modifications.
On the other hand, within the "assets" folder, all the images, videos, and other resources, are found. I suggest you use that folder for organizing all the resources you incorporate in your page.
3.2 - Modifying titles and adding text
This part is quite simple, it is more about using your newly acquired powers of HTML code interpretation and finding the headers you want to change, with any text you want. This is how I personalized my webpage. For example, this page's header is managed by the following lines of code:
What if you want to add text like this? Well, simply repeat the example and place it wherever you want!
3.3 - Changing colors!
This part can be a little trickier, as in my opinion, CSS code can be a bit more confusing. However, if you look for the color etiquettes and modify them accordingly, it shouldn't be that difficult. Colors always come represented as RGB values in hexadecimal format (such as #FFFFFF which is the code for pure white), so you can match the colors you find along the code with the colors you see on the page, so when you modify them, you can look out what changed on the page.
I certainly recommend you use some kind of color pallete manager to generate cohesive colors for your page according to your preferences, in my case I used ColorHunt for this purpose. Also, color cohesion makes it easier to change colors all at once, because you can use the search bar (in case you are using Visual Studio Code), to find all the colors you want to change. In the next code box, I provide an example of how you'll find the CSS code deployed in this page. The CSS "main" file is located in the route public/assets/css/main.css.
The first two colors are meant for the headers and titles, and the last color has a special function: To change my name's text from its main color (in this case dark blue) to another (I chose a lighter shade of blue) when you hover your mouse above it.
3.4 - Adding images.
To add images we could use the simple approach mentioned in the HTML introduction, but in my case I implemented a more flexible approach that uses a section of the "elements" file and allows me to easily resize and create image grids if I choose to do so. That section is posted in the following code box:
Using the "div" block markers within the identation, you can create some kind of "image blocks" that will adapt to the space available and are resizable changing the "col-x" parameter, where a value of 12 is the maximum size, and 1, the minimum. The following images are placed using the exact code shown above:
3.5 - Display code dinamically using Snappify!
Using it is very easy, go to the Snappify homepage and create a new account. Then, go to the upper right corner and select the "editor" link.
Once you've done that you should see an interface just like this one:

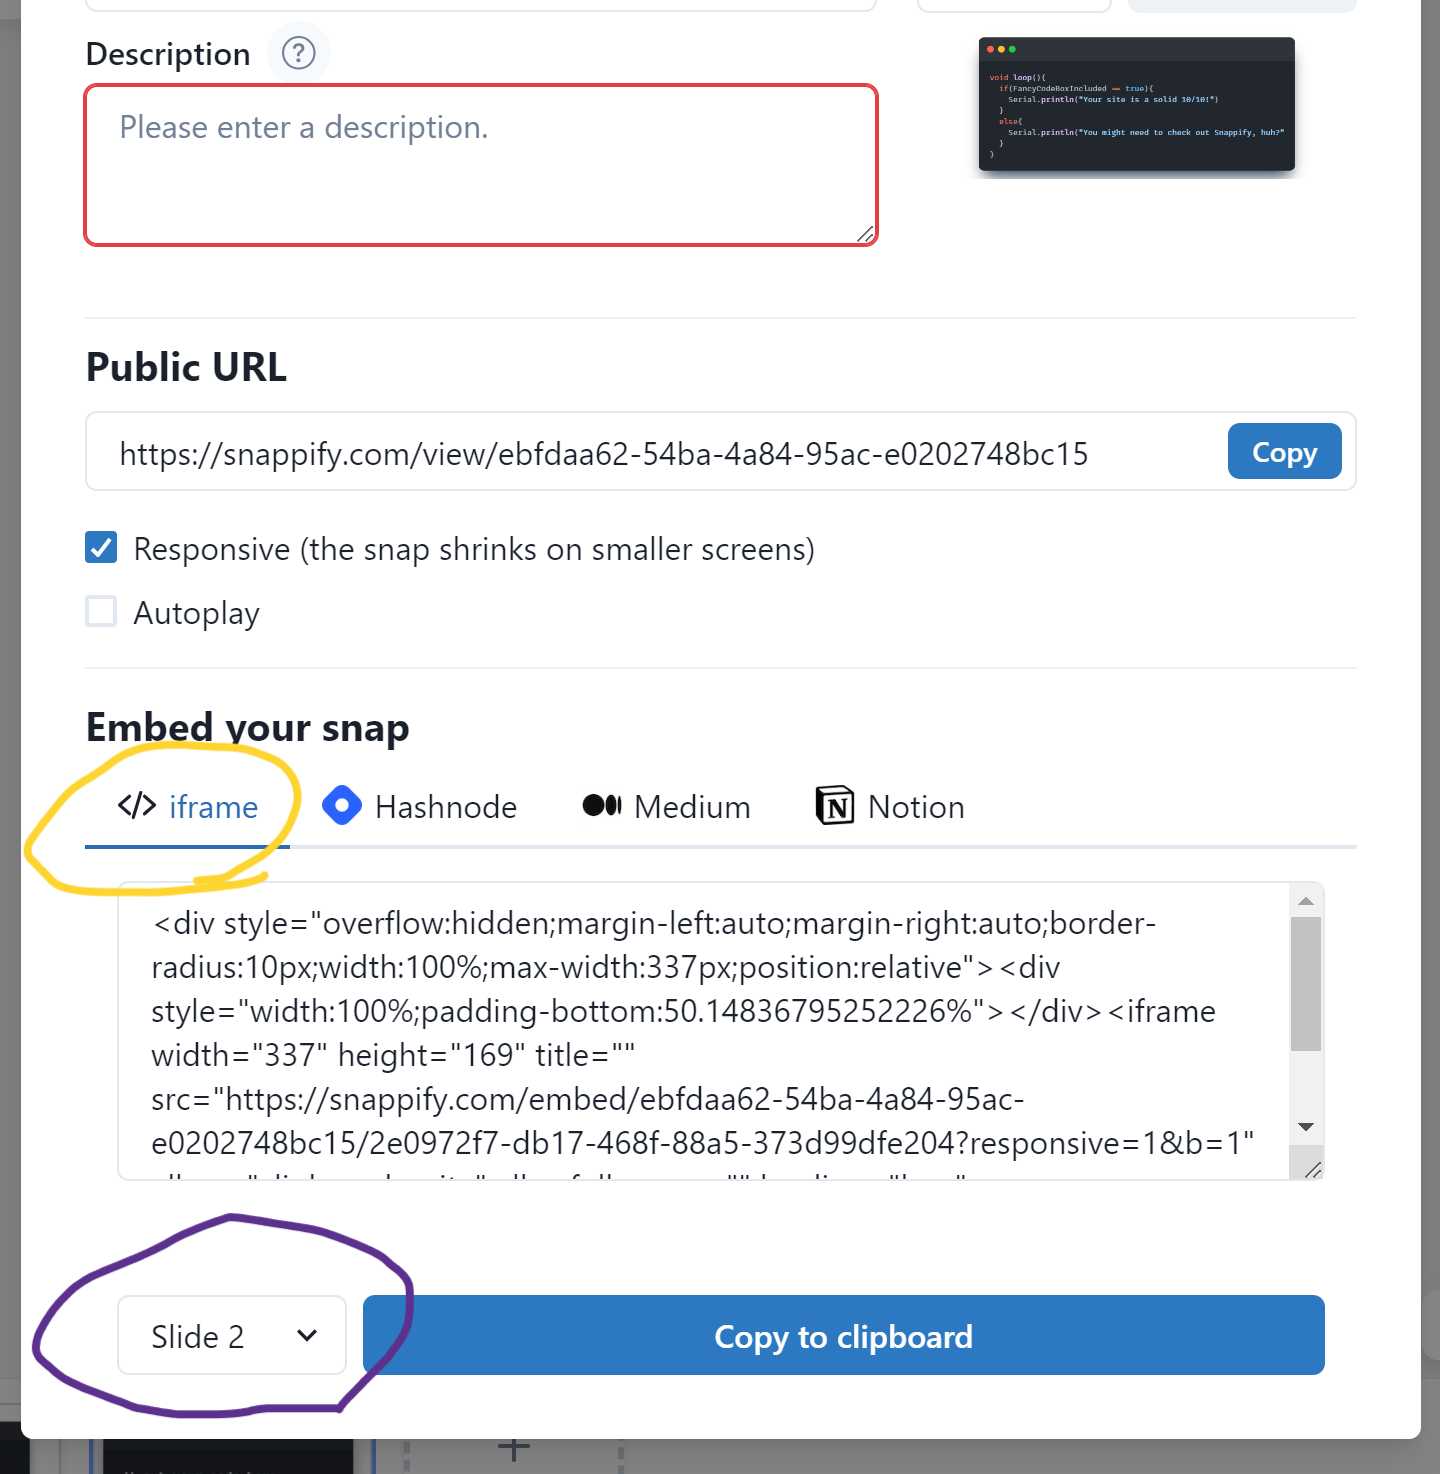
Select only the current slide in the selector (circled purple) and then make sure you've selected "iFrame" as the export format. Then just hit the big blue button labeled "Copy to Clipboard" and paste that line of code wherever you want the code block to be. Remember that the block is dynamic, and if you modify the code on Snappify, you will se the changes update as you refresh the page.
3.6 - Adding new pages.
Adding new pages for reporting on the progress you are making week by week is very easy, just enter the "Assignments" folder and create a new ".html" file. You can do this by simply copying the first "week1" page file, so you can easily maintain the format and colors you have been using all along.
Next, we just have to make sure the page is accesible via the homepage, to do that we have to scroll down until we find the lines that define the behaviour of the weekly arranged grid panel, and link the next buttons to the new pages we create:
And that's it! By using the methodology presented here you should be able to adapt the same template I used, to your own needs.