15.1 Wildcard Week
The main task of this week was to do something different that wasn't covered in the previous weeks. On this week I decided to do the motors case, for which I'll need to learn how to weld.
About Welding
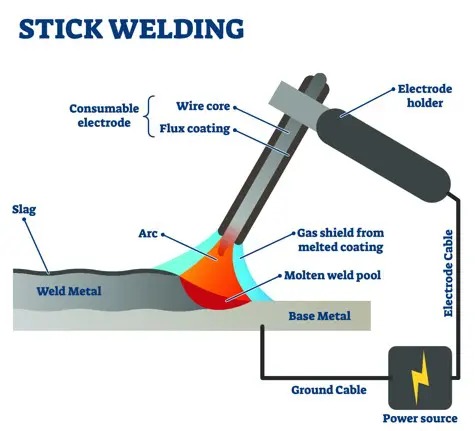
From FabAcademy there is a little introduction to welding. My father is the one who contacted a friend to teach me how to weld, and the type of welding he taught me was Arc (Sputter Box). Arc welding has its name because the electricity causes an arc from the flux-encrusted stick to join the metal. Although it is important to know that welding is an easy to learn process in theory, it requires a lot of practice to have it done properly. First of all, here are the parts of arc welding:
Retrieved from: https://fractory.com/shielded-metal-arc-welding/
- Power source: it provides the necessary current for the electrode to work. It has 2 cables: one connected to the base metal (ground) and another one connected to the electrode holder.
- Electrodes: the electrodes are the consumable material to join both metals. These are the ones the current passes through to melt it and join.
- Electrode holder: the holder provides a way to control the electrode and guide it to the desired location between the metals.
- Weld metal: the metal to join and the one that is added.
- Base metal: the metal connected to the ground and the one to which the weld metal is going to be joined.
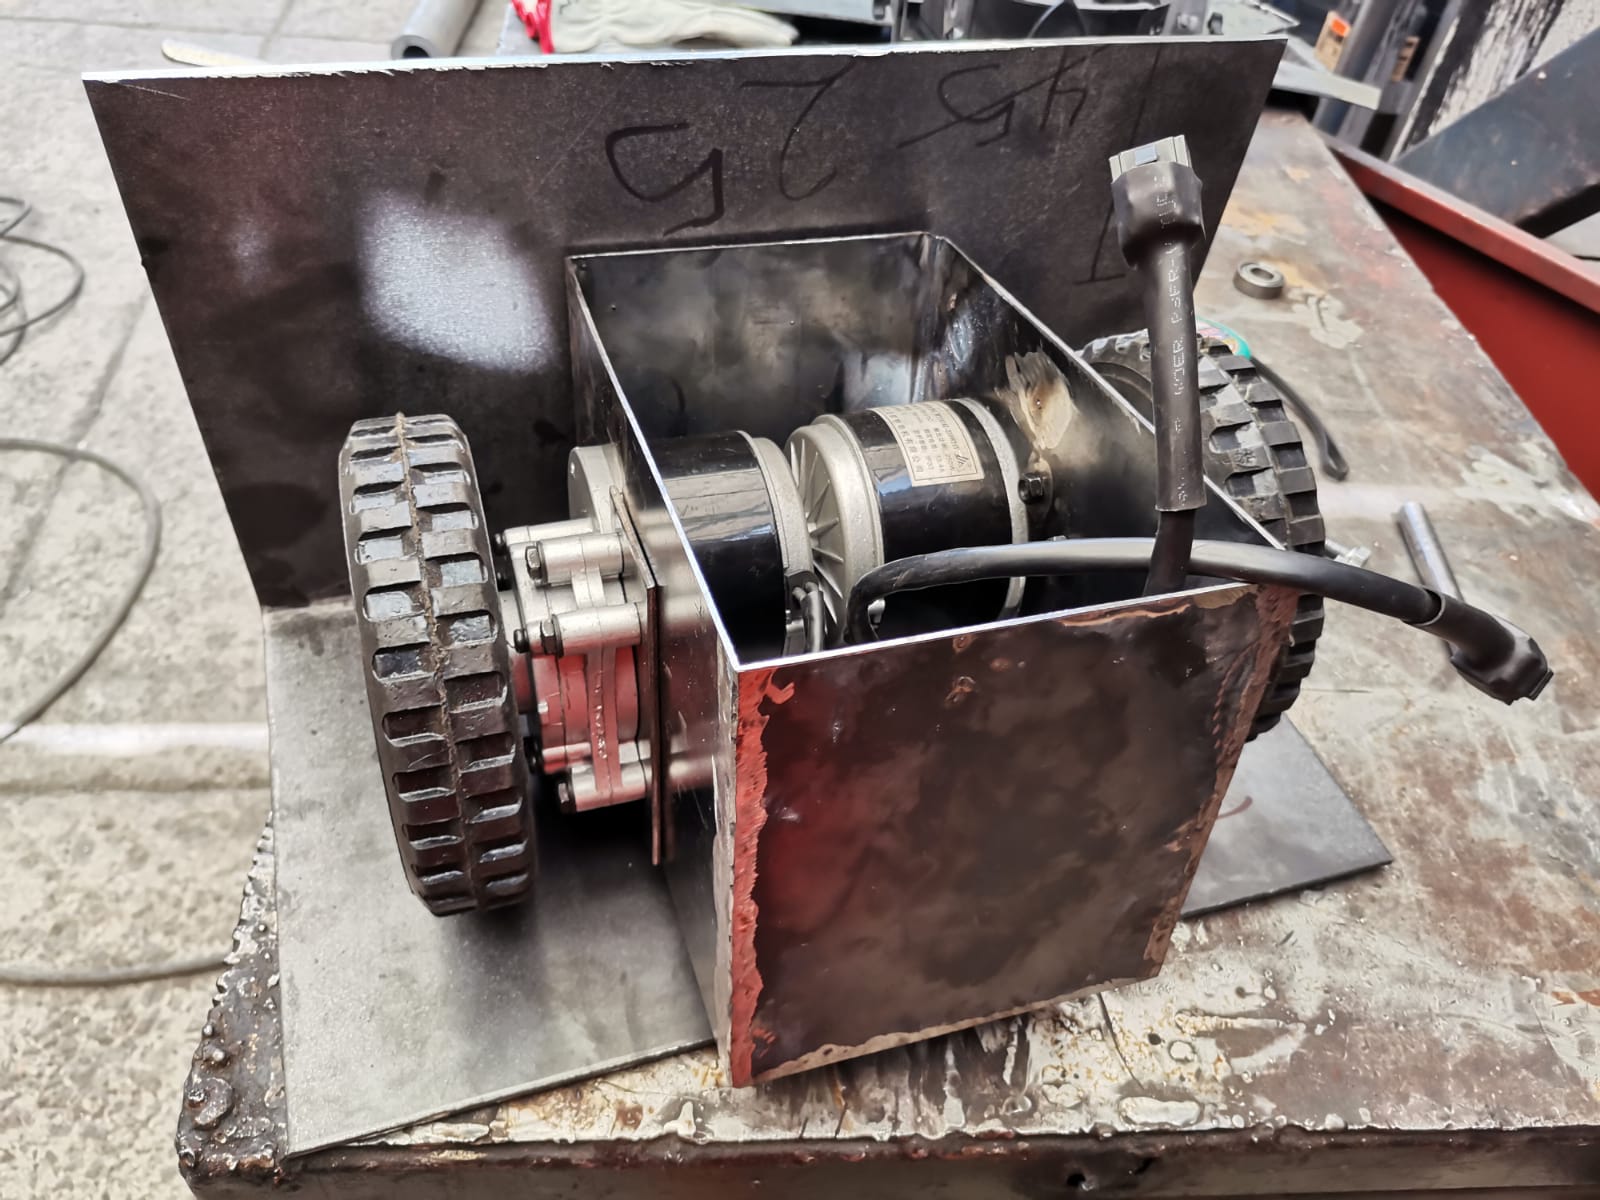
Design of the Case
First of all, I made a design in SolidWorks including all the parts I considered for it to work and to be adjustable to different heights. The design included the space considered to be below the wheelchair (28 cm), the diameter of the middle tube to which everything would be holding and the space between the wheels (34.5 cm). The individual parts are the following:

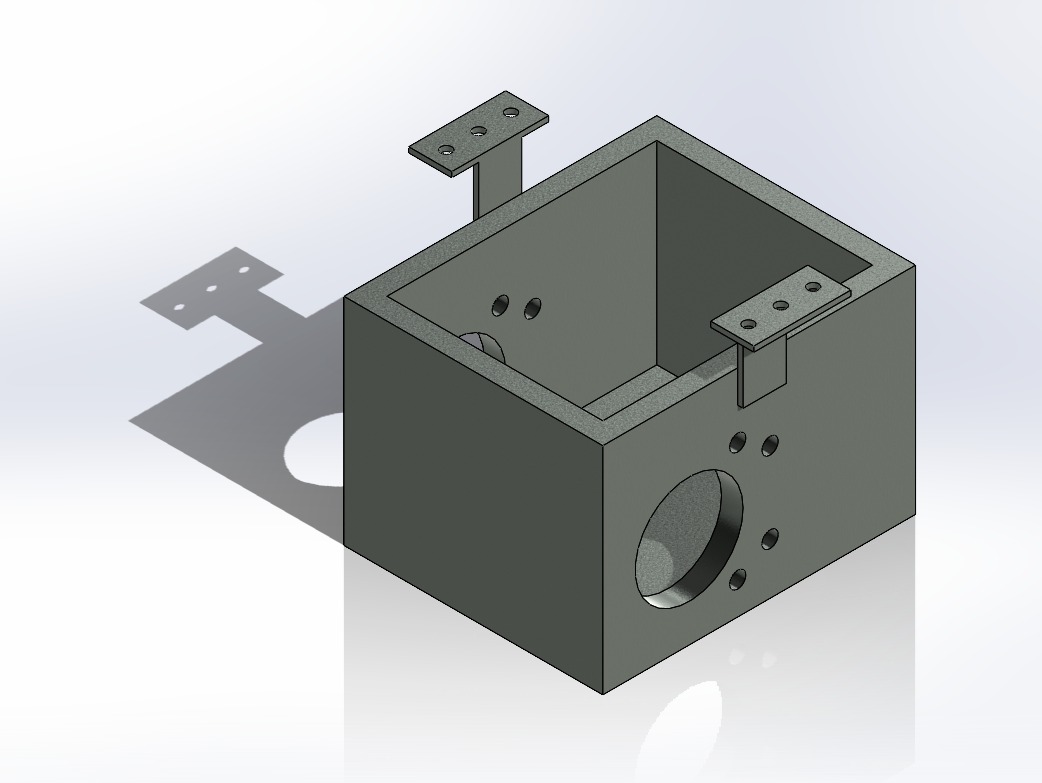
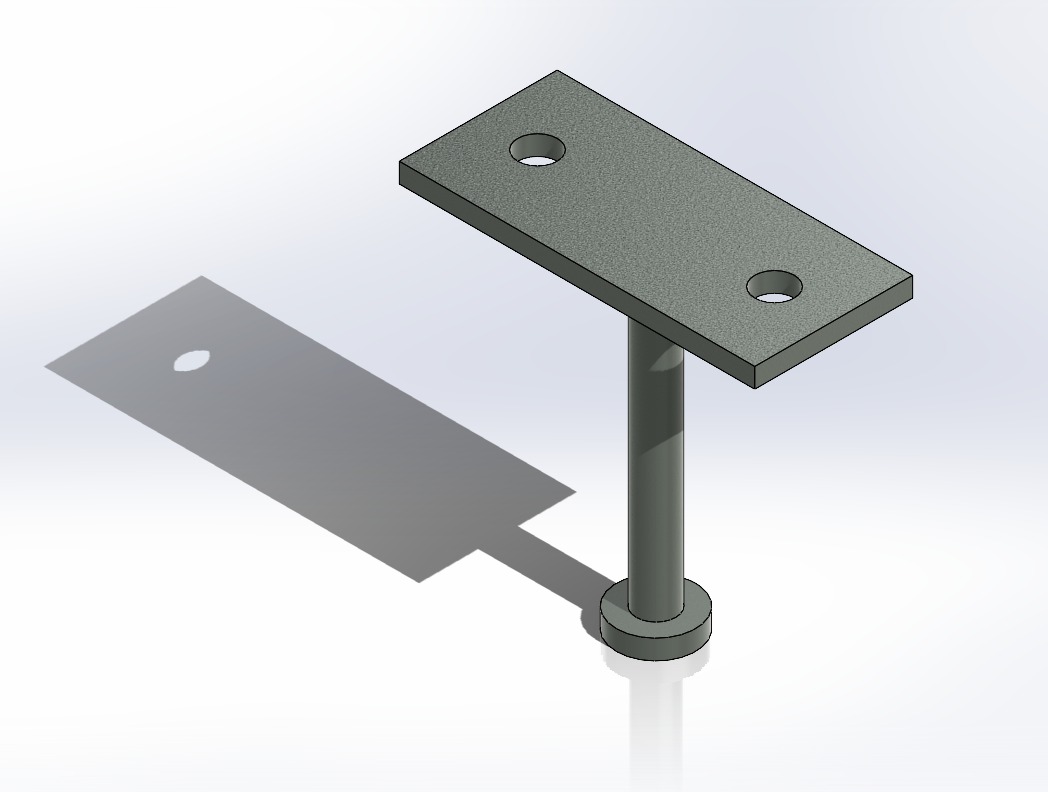
Then I assembled everything to know that it fit well:
Cutting Process
The cutting process was not that much of a science, as I only used the disc saw to cut the necessary parts. Using this method I cut the parts needed for the case and that were then welded. The disc saw consists of 3 main parts important to know how it works:
- Disc (blue arrow): part that will cut the material.
- Trigger switch (green circle): safety part to avoid the disc to cut accidentally.
- On/Off switch (yellow circle): it turns the disc on only while pressed at the same time as the trigger switch.

The steps to work with the disc saw are the following:
- Use the safety equipment (cutting mask, coat, safety boots) and tie your hair up if necessary.
- Connect the saw to the power.
- Secure the material in the workig table.
- Press the trigger switch and the On/Off switch at the same moment and keep pressing them while lowering the disc.
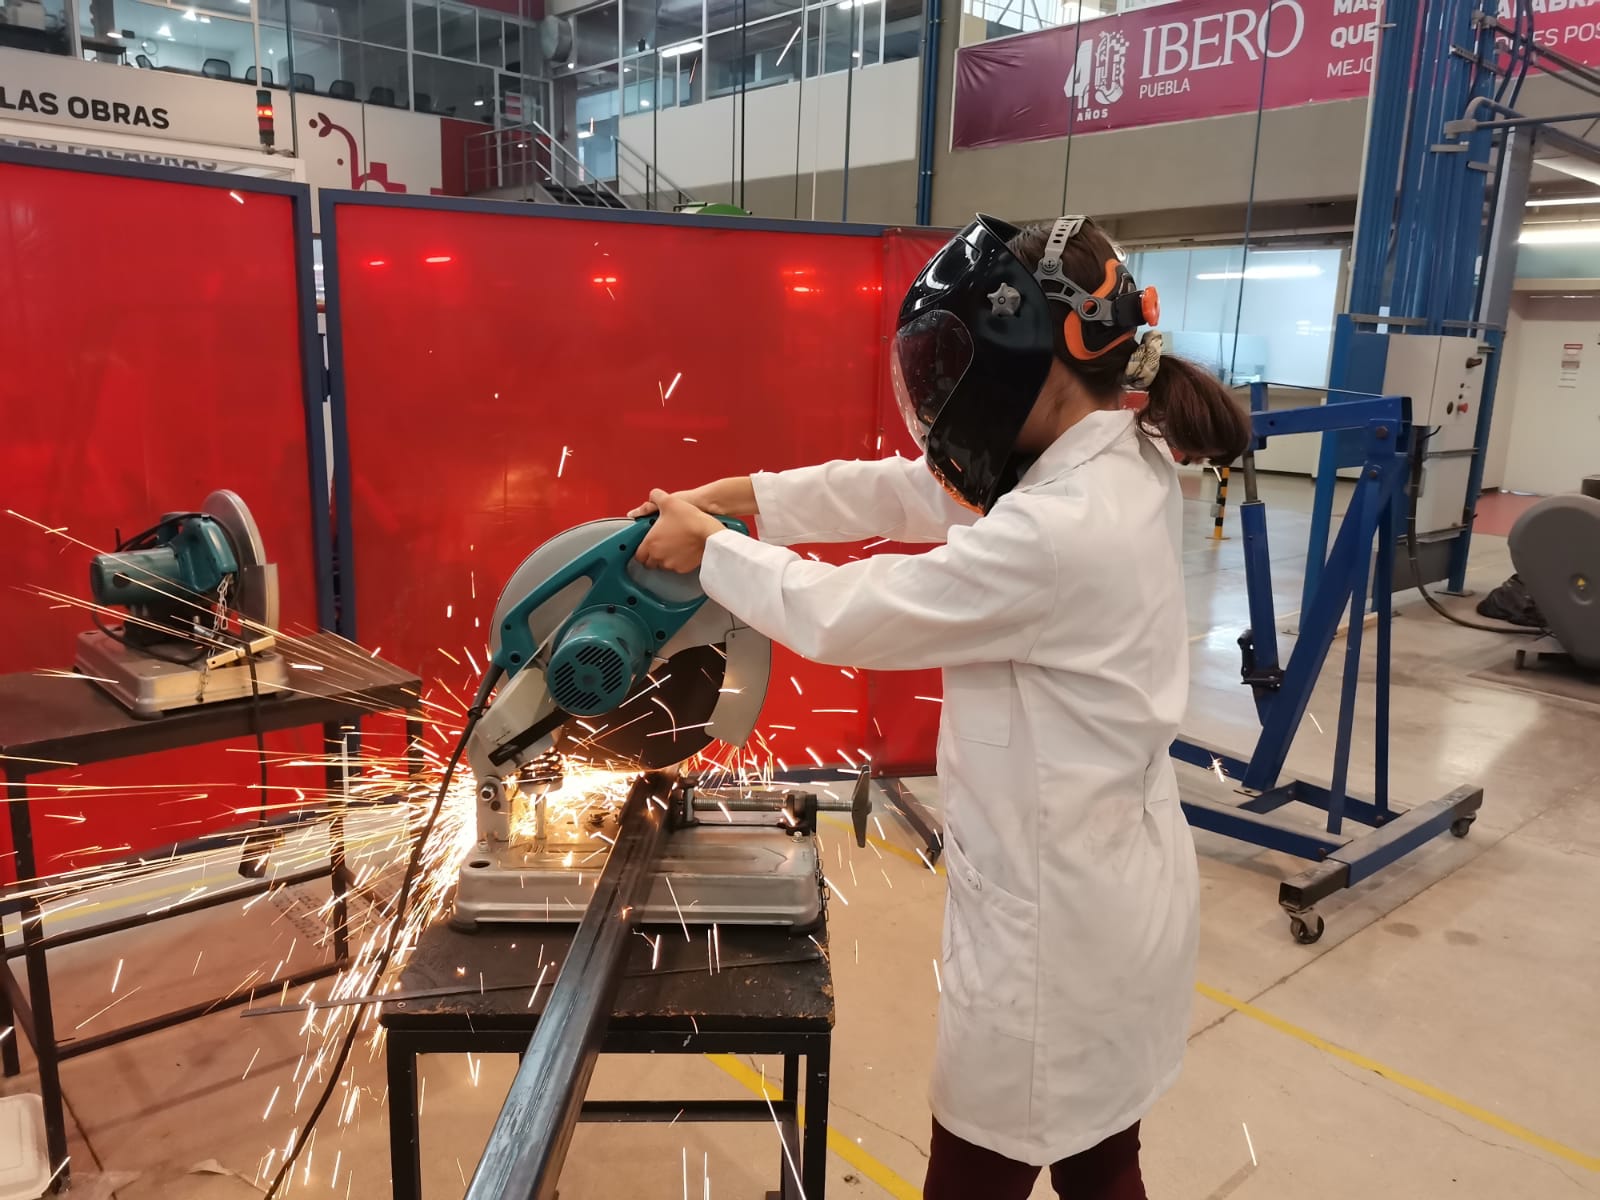
Example of me practicing cutting with the disc saw.
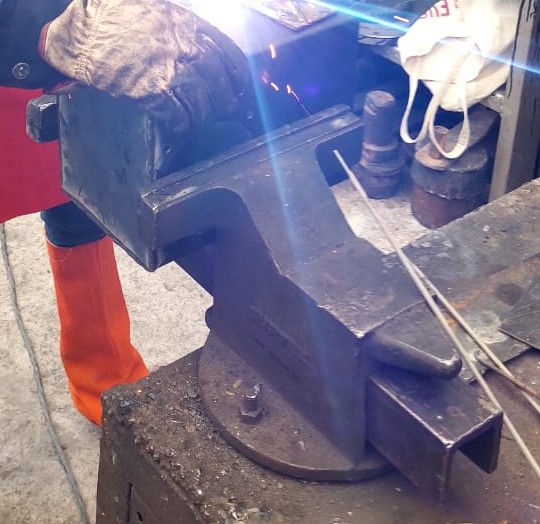
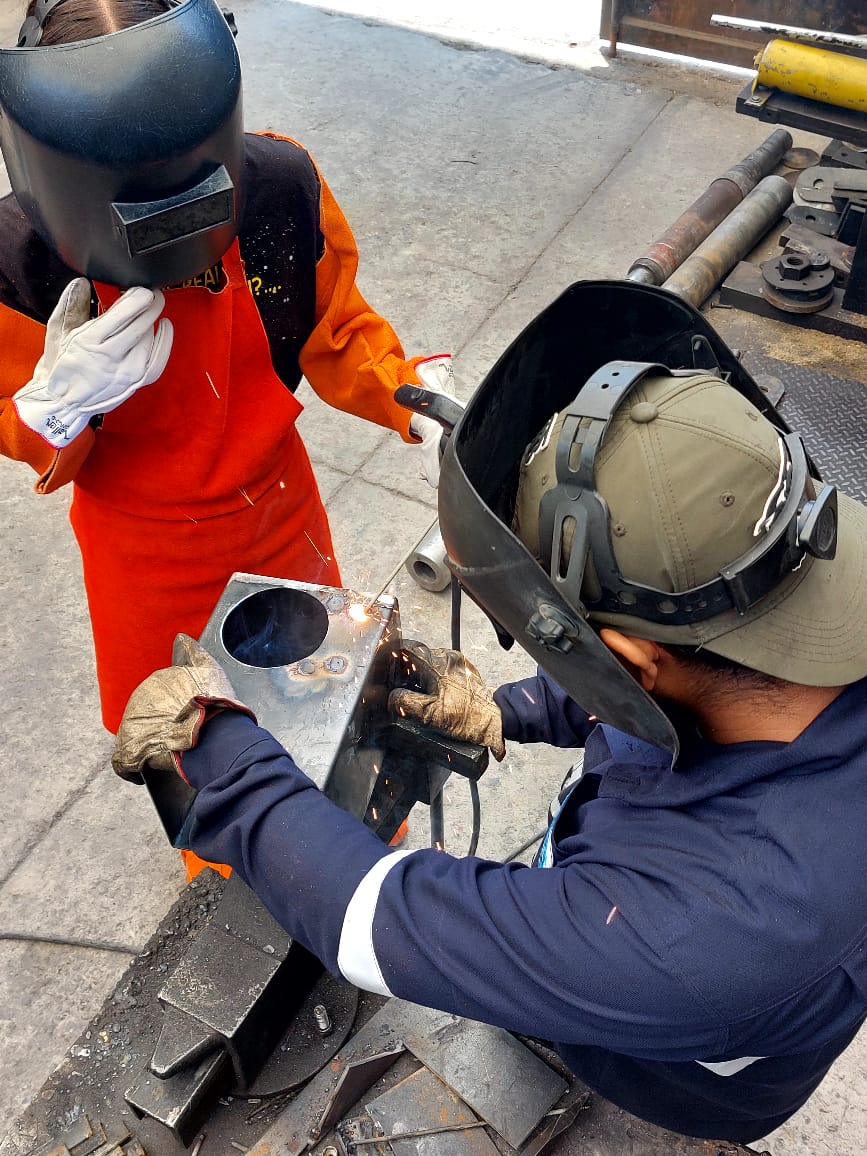
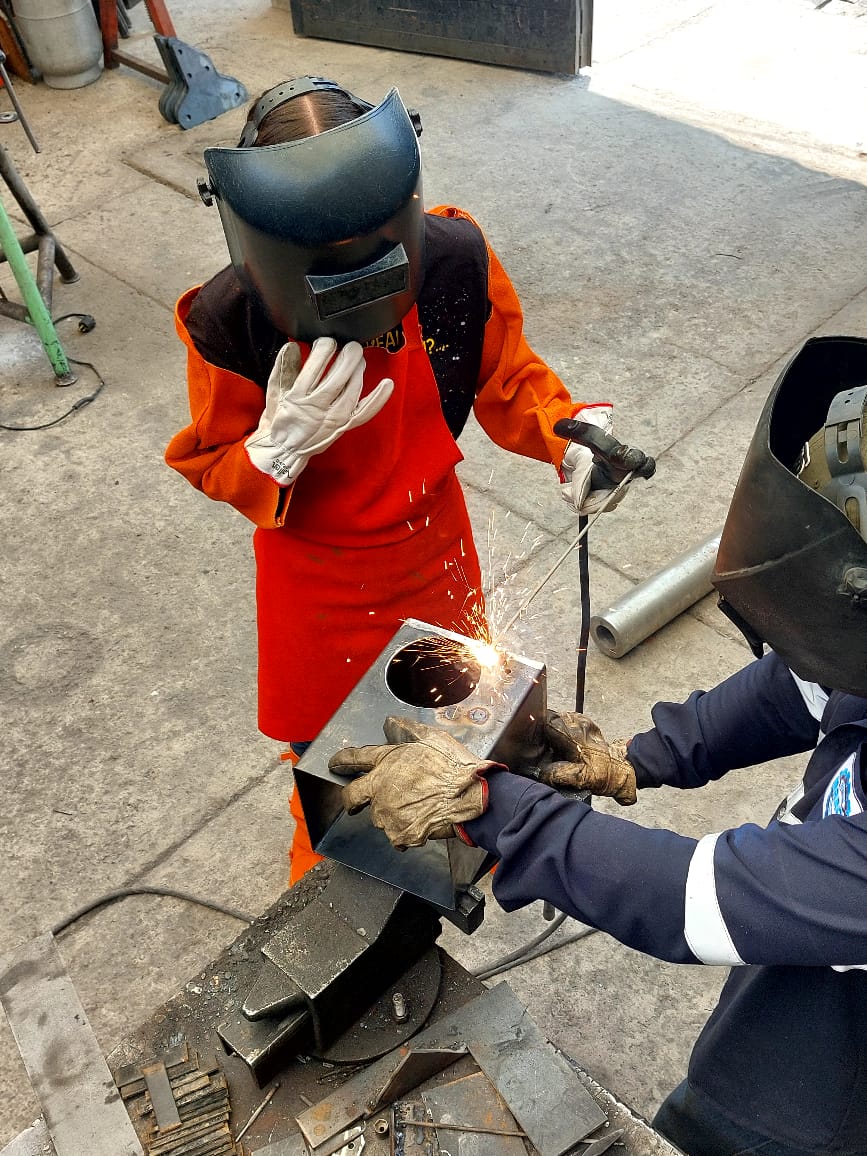
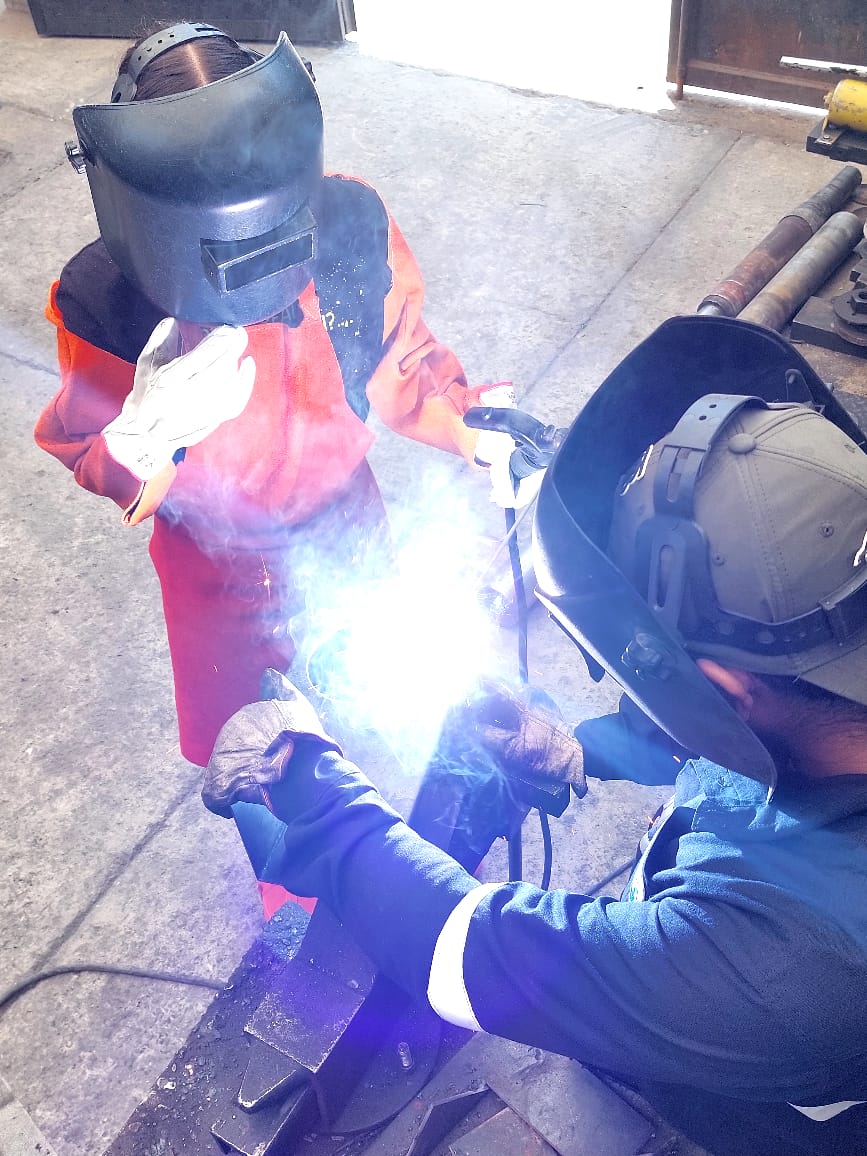
Welding the Motors' Case
In order to weld the case, the steps to follow are:
- Use the safety equipment (welder's mask, welding clothing, bait gloves)
- Secure the metal parts to be welded
- Turn on the machine
- Place the electrode in the electrode holder using the gloves
- Bring the electrode closer to the parts that are going to be joined, but not letting them tough yet
- Put on the welder's mask
- Rub a little the electrode with a part of the base metal to create a little light
- Bring the electrode closer until you see a metal drop (it looks like a little glowing light through the welder's mask)
- Move slowly the electrode (the drop will move with it) along the metals joint

The next video more or less summarizes the process:
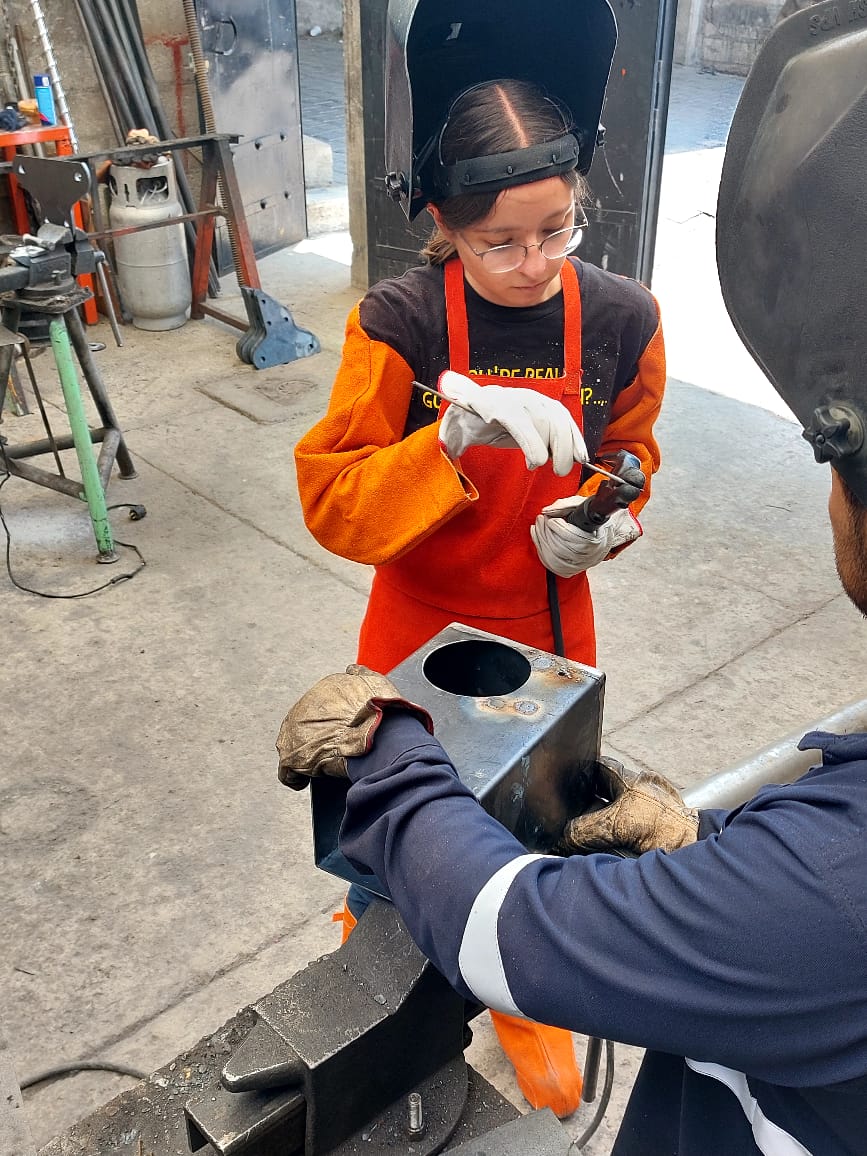
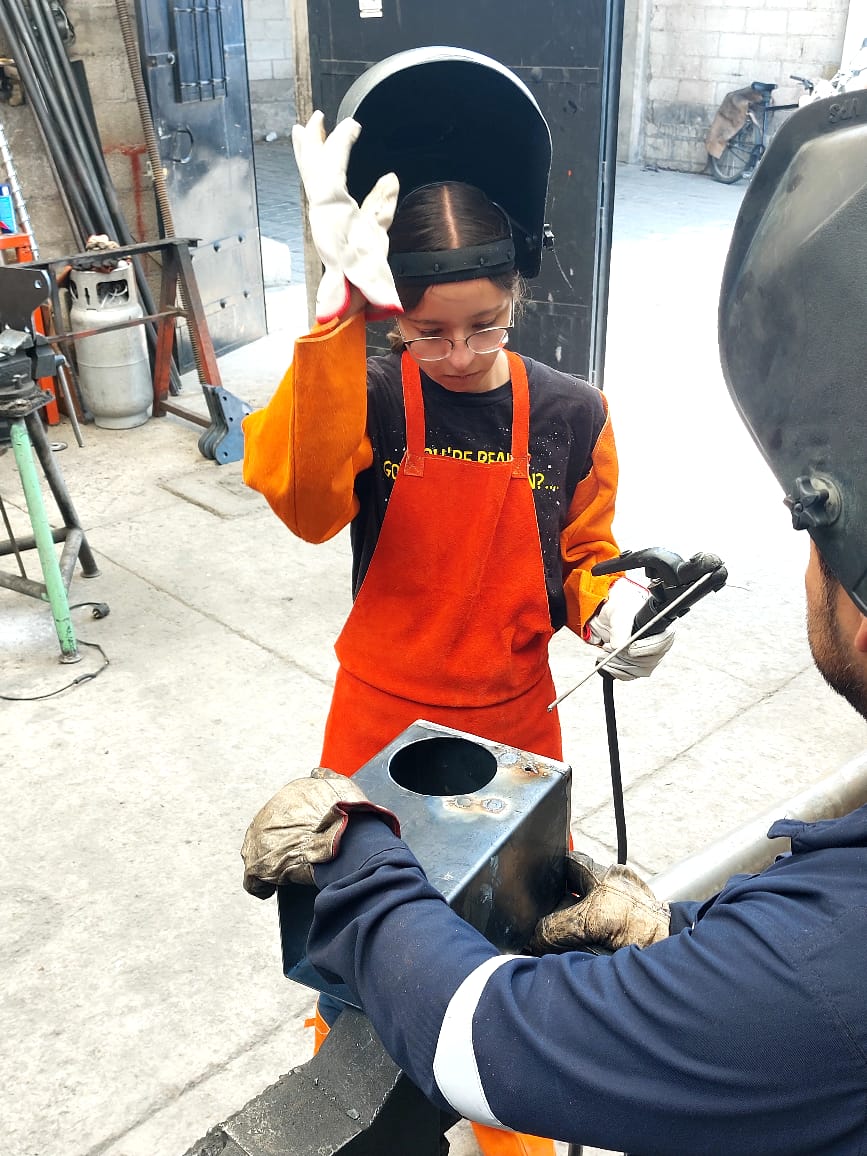
Finally, from the learnings of the documentation and my welding teacher, here are some tips and lessons to have an easier welding process:
- As I didn't have any welding experience, it was difficult to adapt myself to not seeing anything with the mask. For this reason I brought the electrode as close as possible to the to-be-welded part without provoking any spark (these sparks hurt the eyes).
- Try different speeds and observe the results to find the correct speed. One can move the hand fast and observe that nothing has been done once the mask is removed, or one can move real slow and discover that there is a large solder paste.
- If the material is thin (aprox. 5 mm) moving too slow will cause to melt the base metal and create a hole instead of closing it.
- Have the security that when the electrode sticks to the metal, you can only pull it.
- Sand the welded surfaces for a better finish of the piece, otherwise the weld has a gross finish.
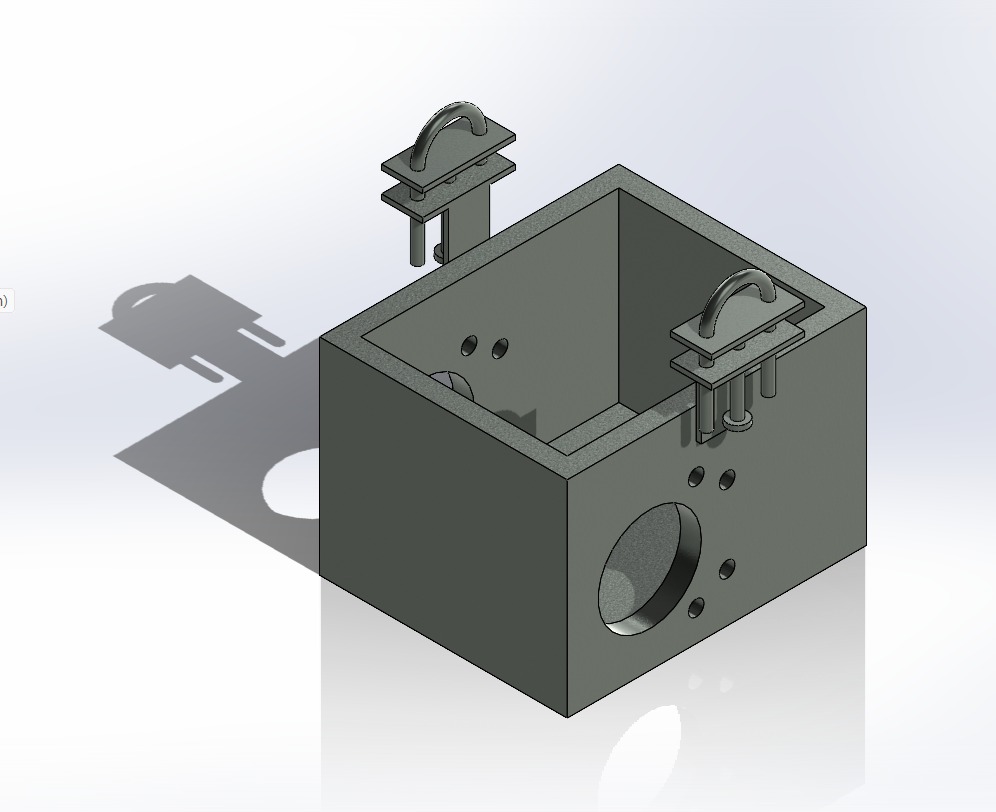
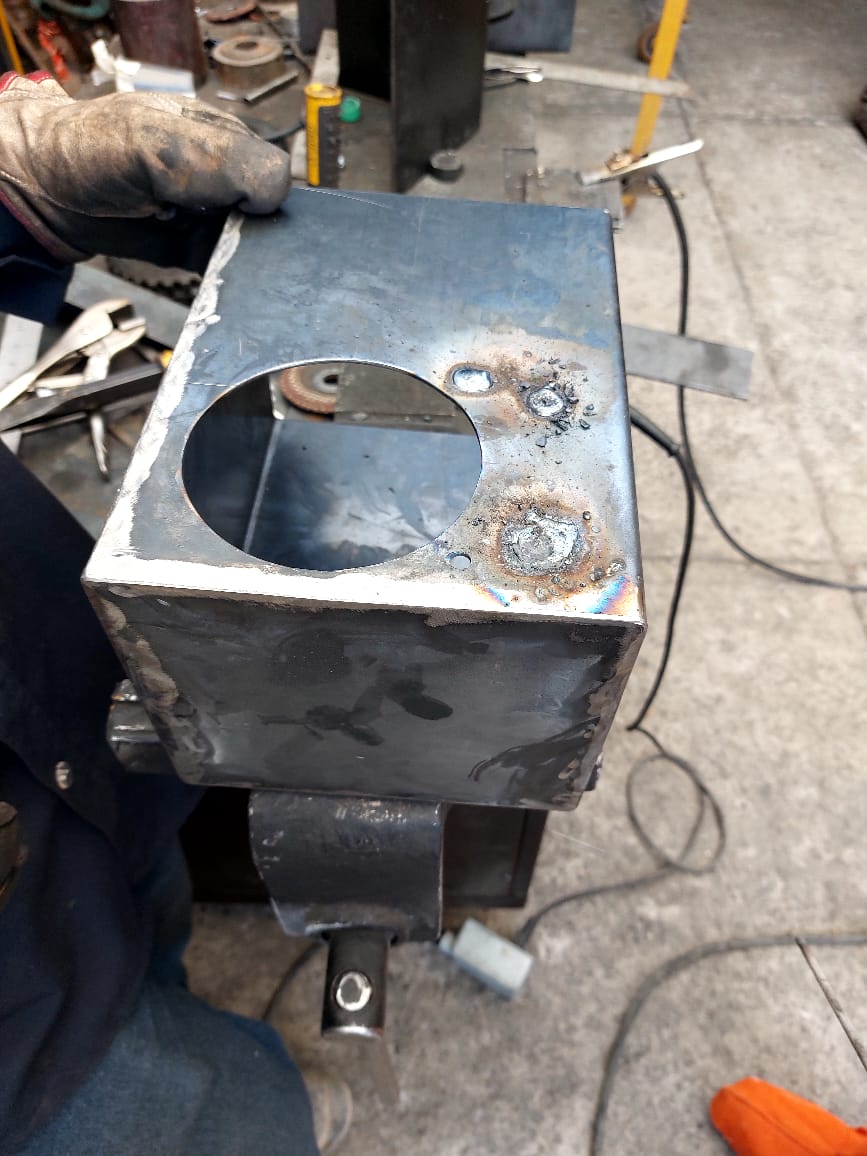
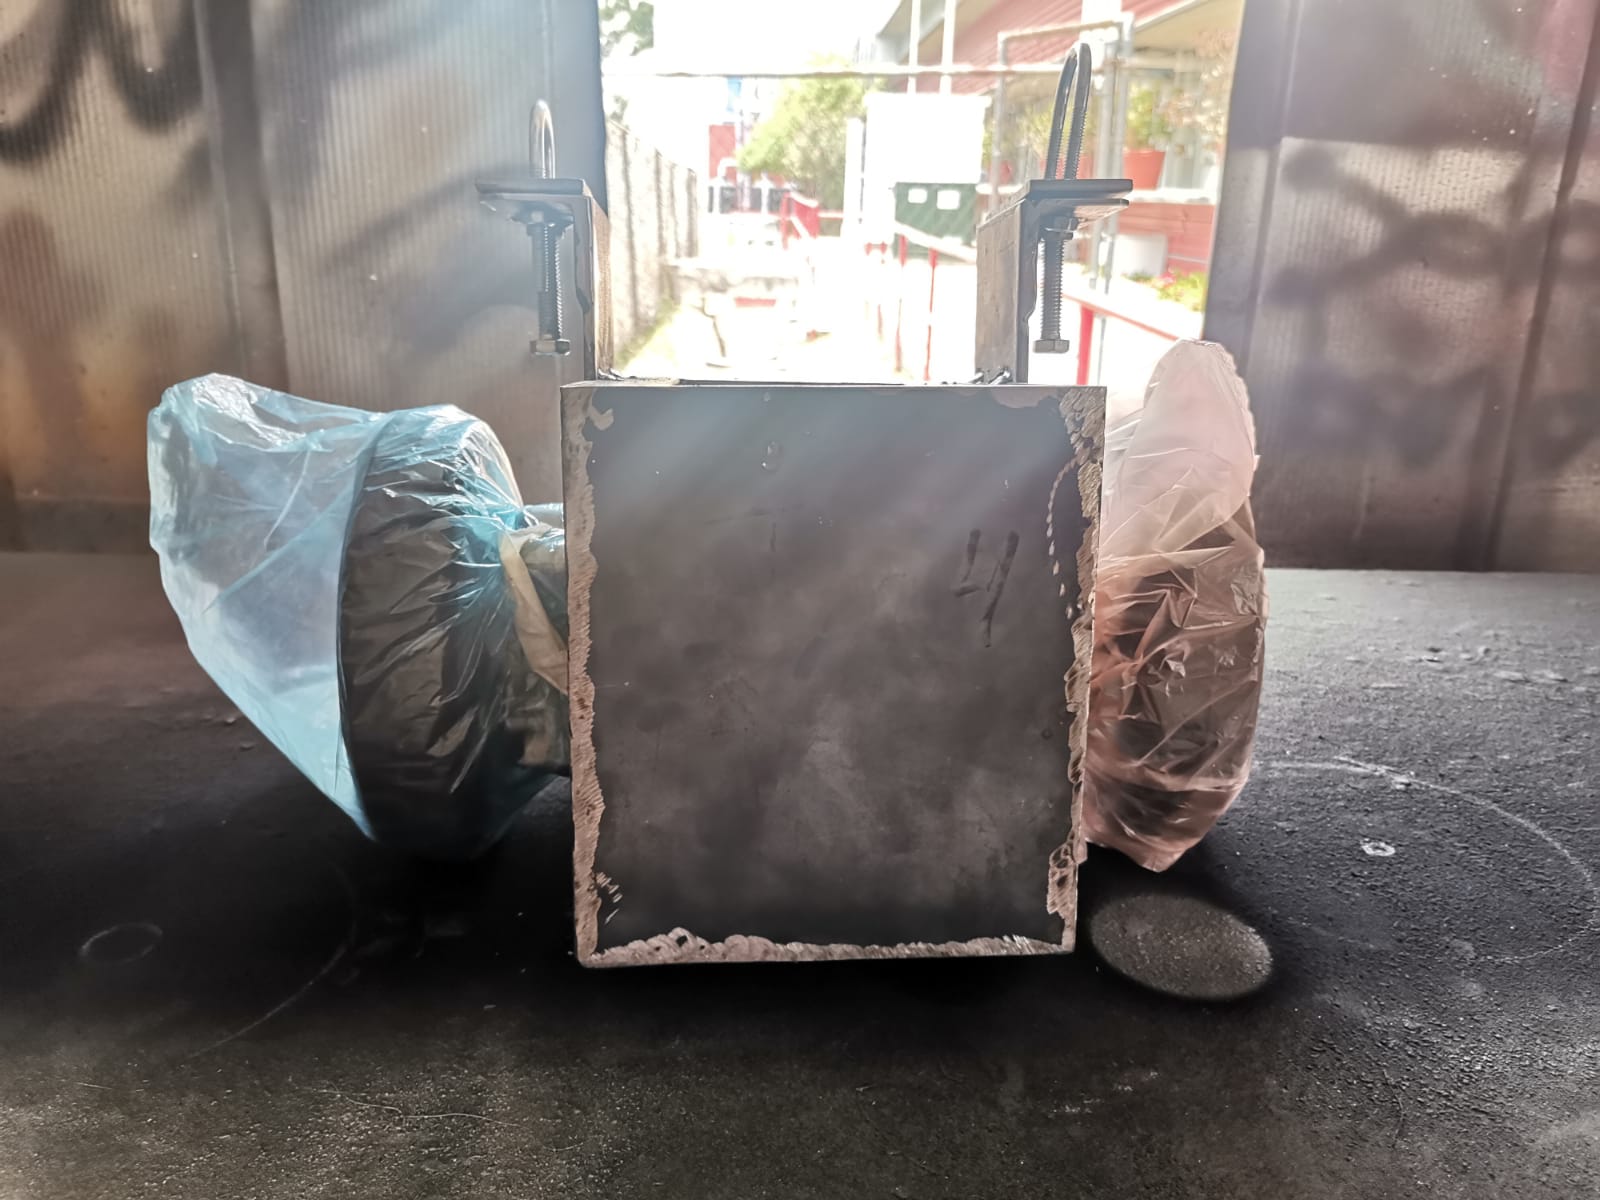
With this information, the first thing to do was the body of the case (kind of a box), make sure that everything fits, and then the adjusting system to adapt to different wheelchair heigts:
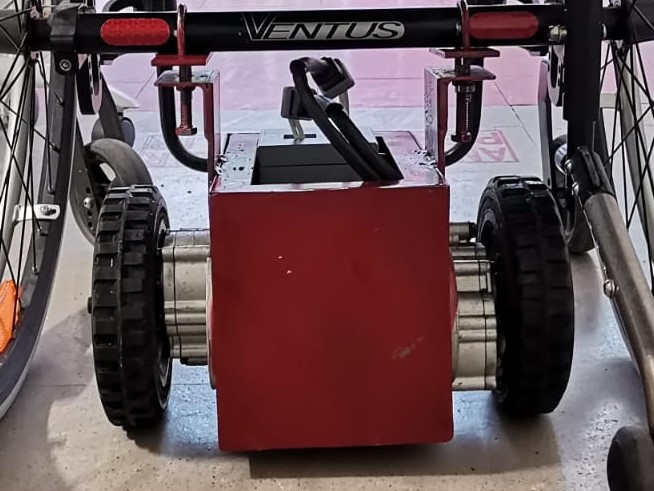
The final step was just to paint it using metal spray paint:
Files
- Design in SolidWorks of the motors case (.SLDPRT)
- Design in SolidWorks of the lock for the motors (.SLDPRT)
- Design in SolidWorks of the U part (.SLDPRT)
- Assembly of the case (.SLDASM)
15.2 Embroidery
Here I have something else for this week: embroidery. There is an embroidery machine in FabLab Puebla, which is very useful if you don't have quite the ability to embroider by hand. For this it is only necessary a drawing that can be opened in Inkscape, making sure to download the Ink/Stitch extension to make all the process to obtain the code for the machine.
Preparing Everything
First of all, it is important to have the corresponding materials for the task:
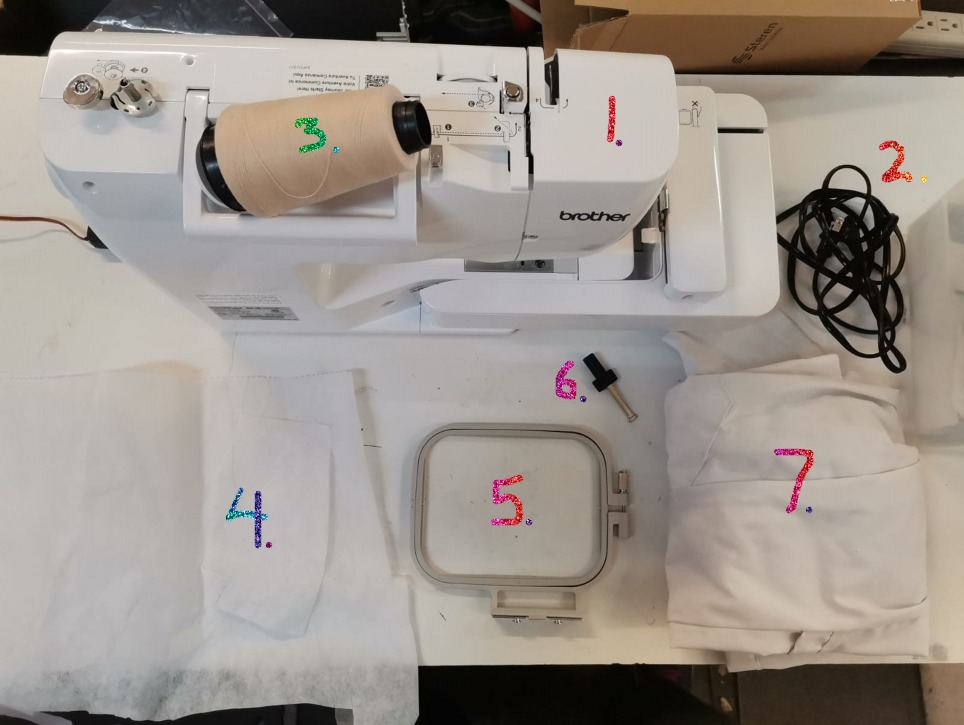
- The machine.
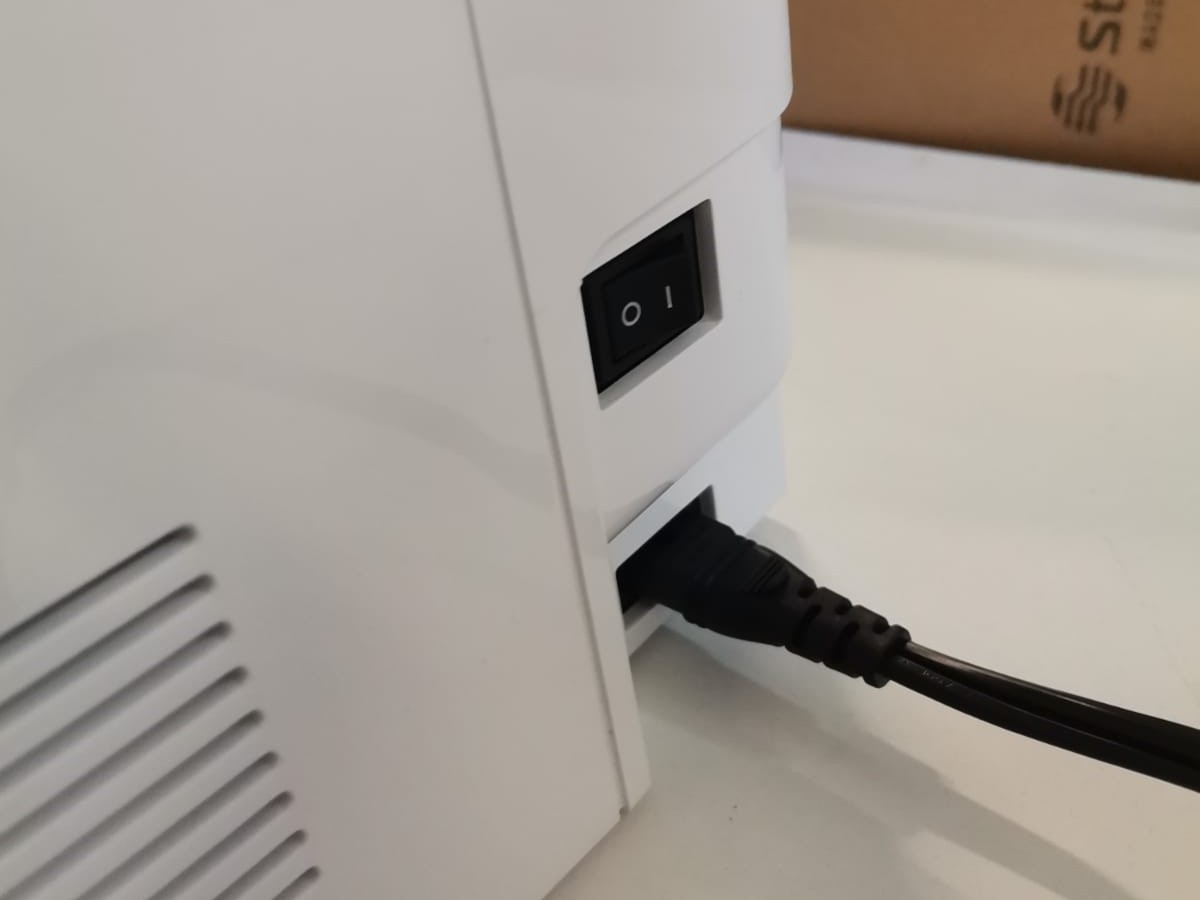
- Power supply cord.
- Thread (I used a different one than the one shown in the picture, as the shown thread reel is very big for the machine).
- Pellon fabric.
- Sewing frame.
- Adjusting tool.
- Fabric that will be embroided.
After making sure that everything is complete, then goes the material that will be embroided. It is important to put the material facing up; in other words, the face that will display the embroidery should face upwards. In essence, the order of the materials in the sewing frame should be in this way: outer part of the frame (1) -> pellon fabric (2) -> embroided fabric (3) -> inner frame (4).
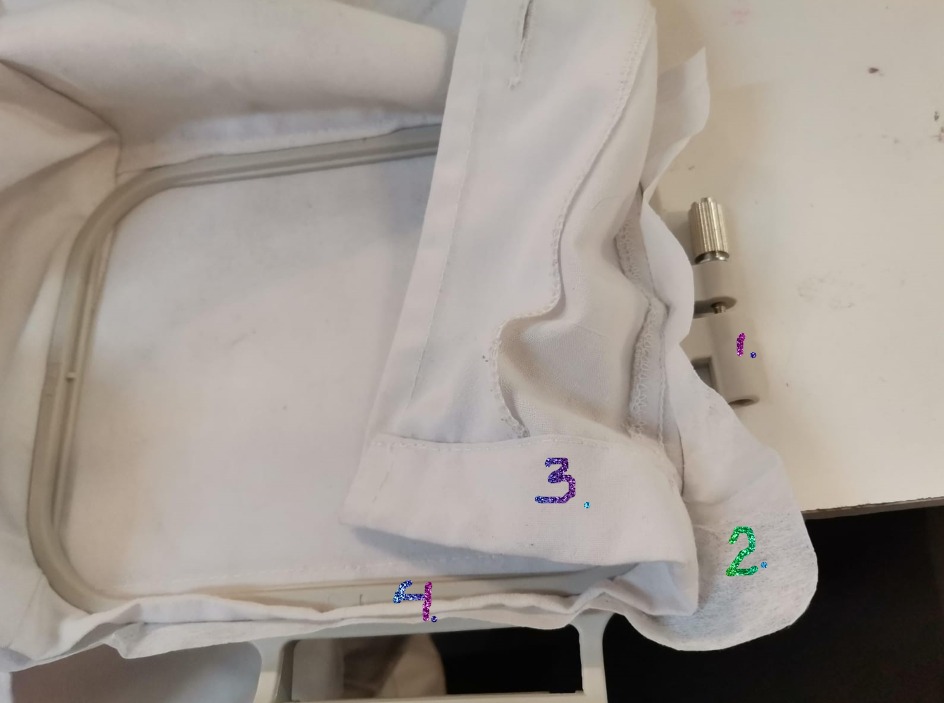
Order of the materials.
The fabric should be tight.
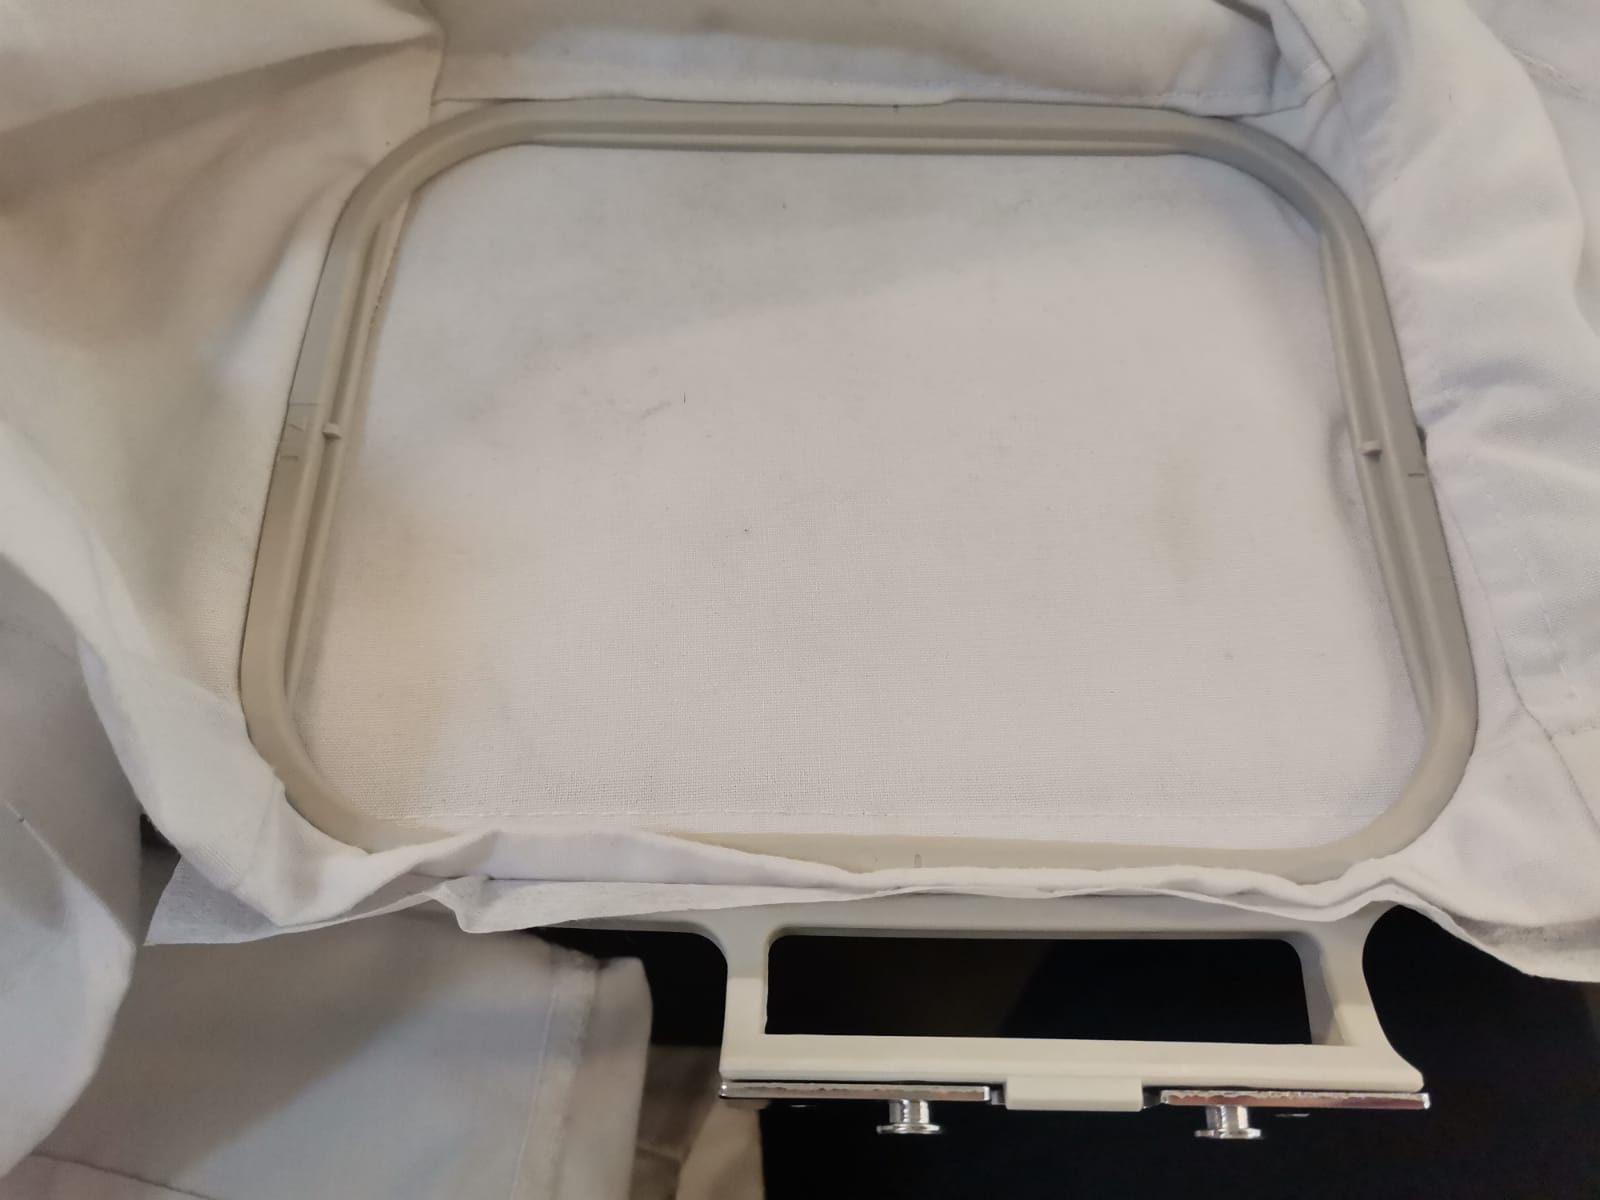
The last part for this phase is to place the frame in the embroidery unit:
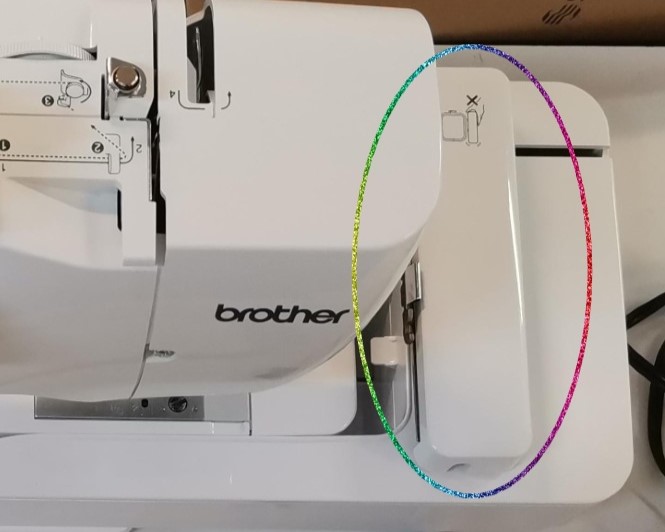
Embroidery unit.
Frame in the embroidery unit.
Embroidering
Then, I followed the next steps to create the program for the embroidery:
- Open Inkscape.
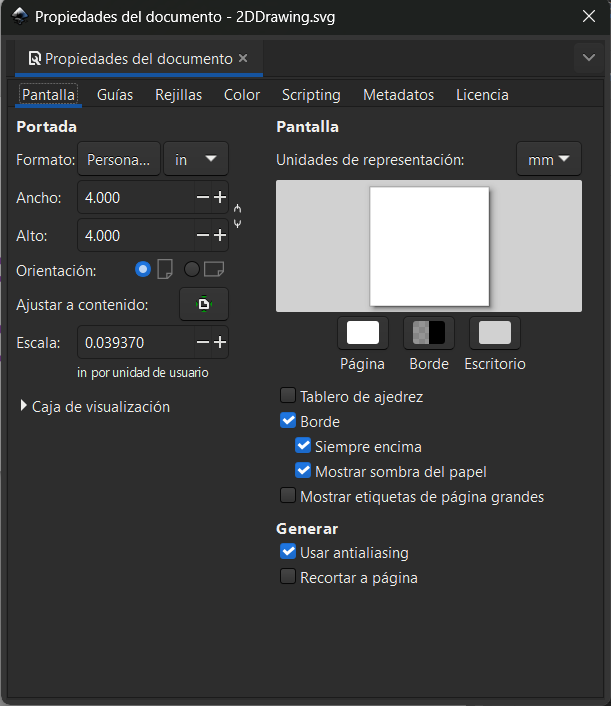
- Establish the size of the document in Document properties.
- Import the drawing in the workspace.
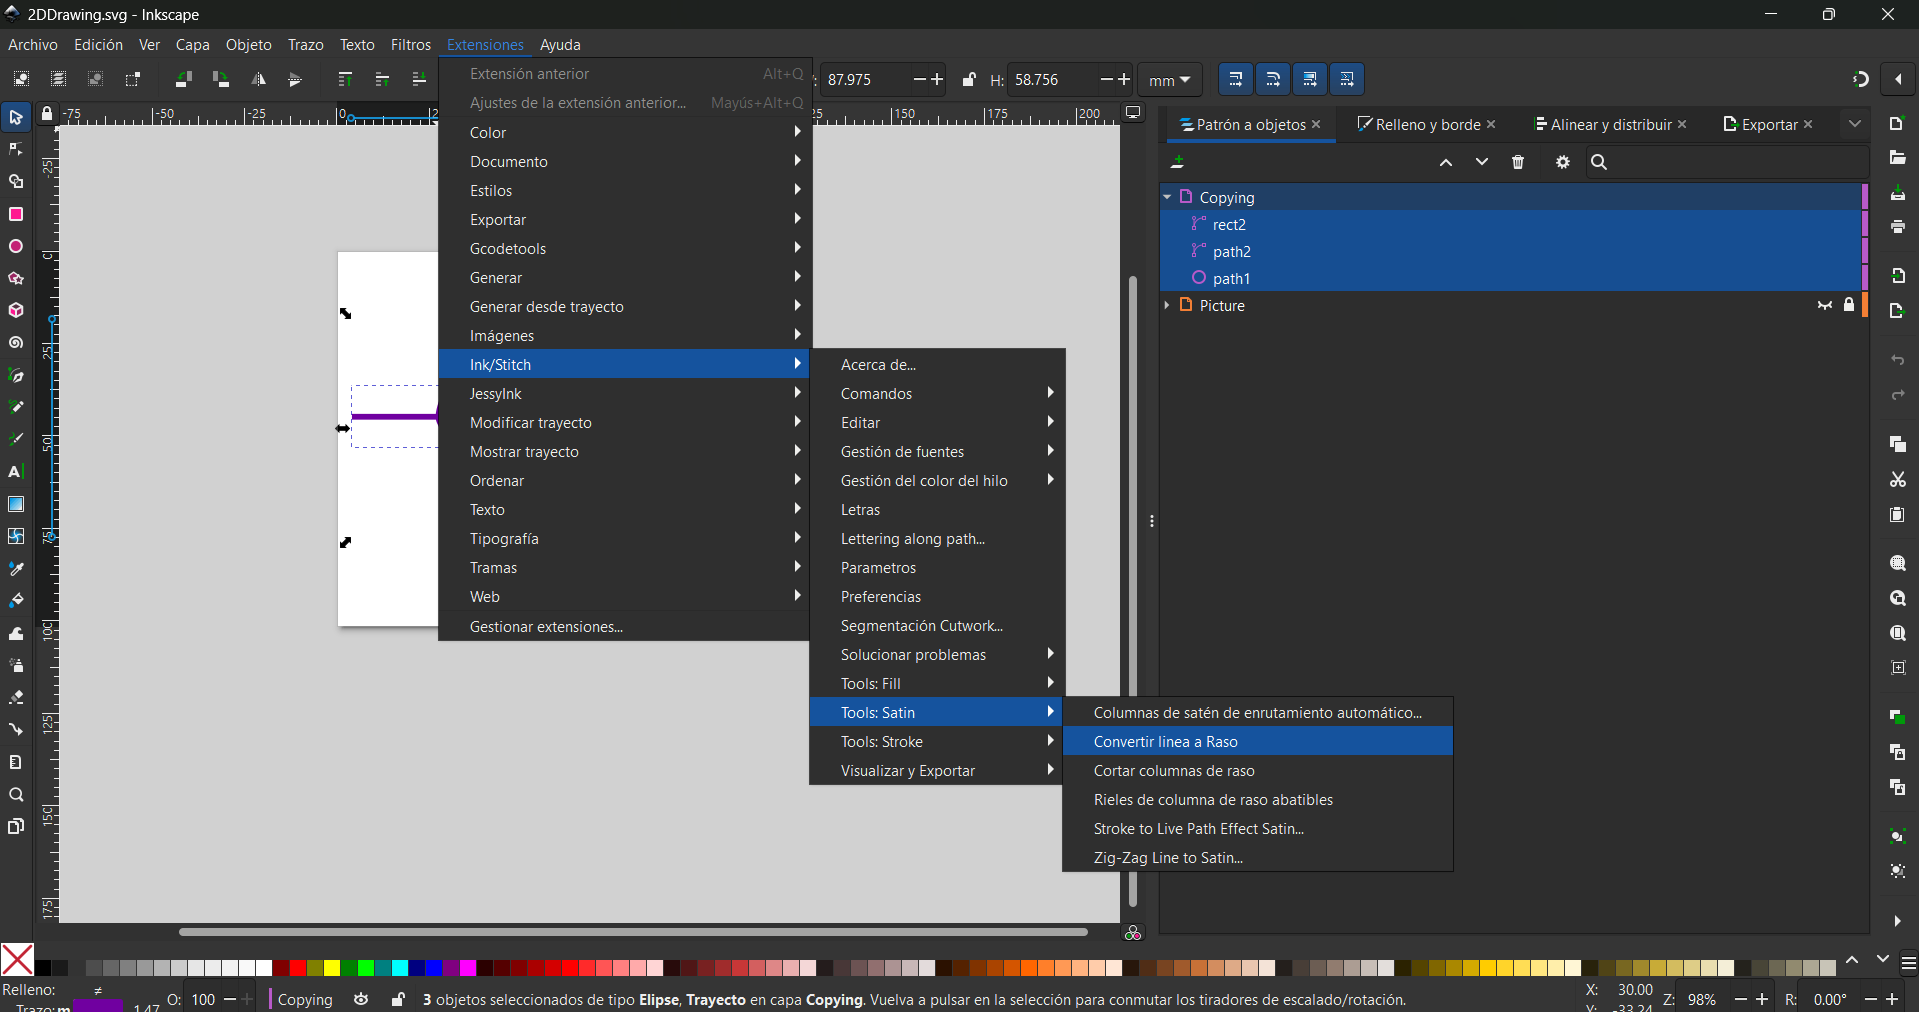
- Select the traces and go to Extensions -> Ink/Stitch -> Tools: Satin -> Transform line to satin.
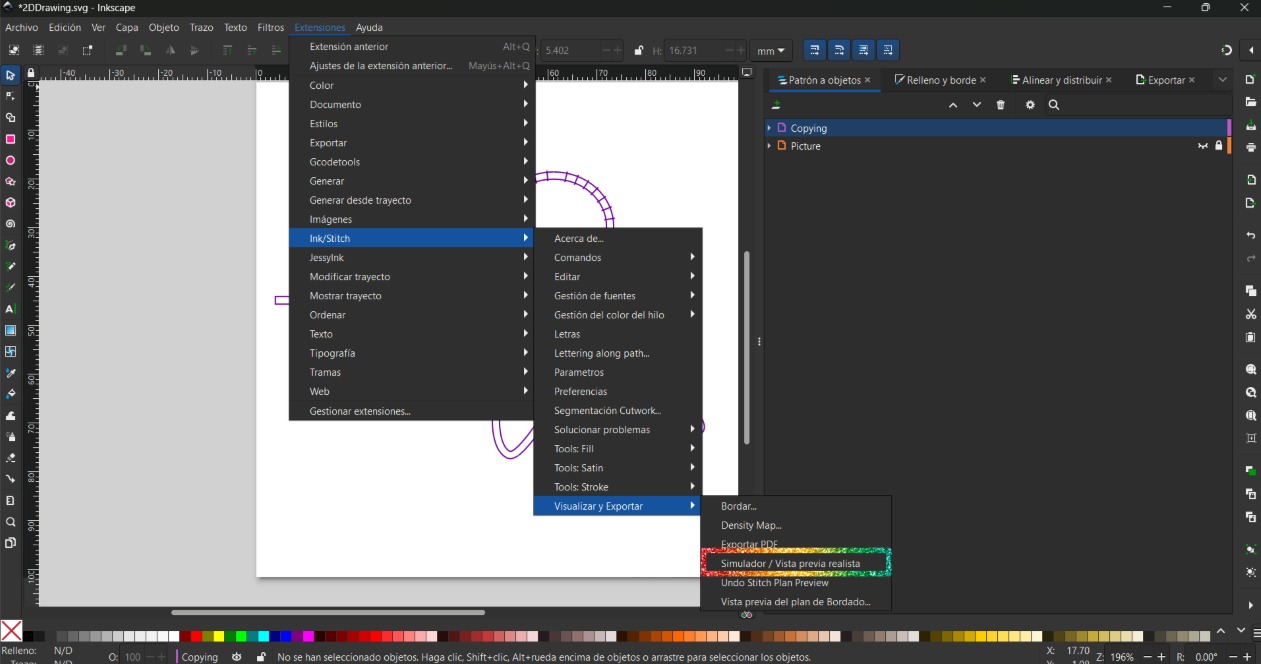
- Go to Extensions -> Ink/Stitch -> Visualize and Export -> Preview of the Embroidery plan...
- Go to Extensions -> Ink/Stitch -> Visualize and Export -> Simulator/Realistic preview
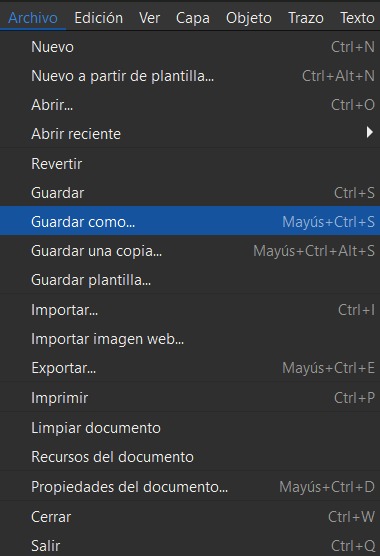
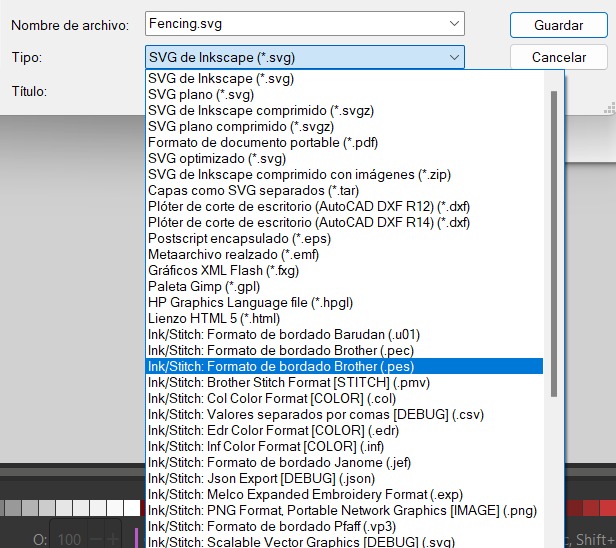
- Save the file as a .pes
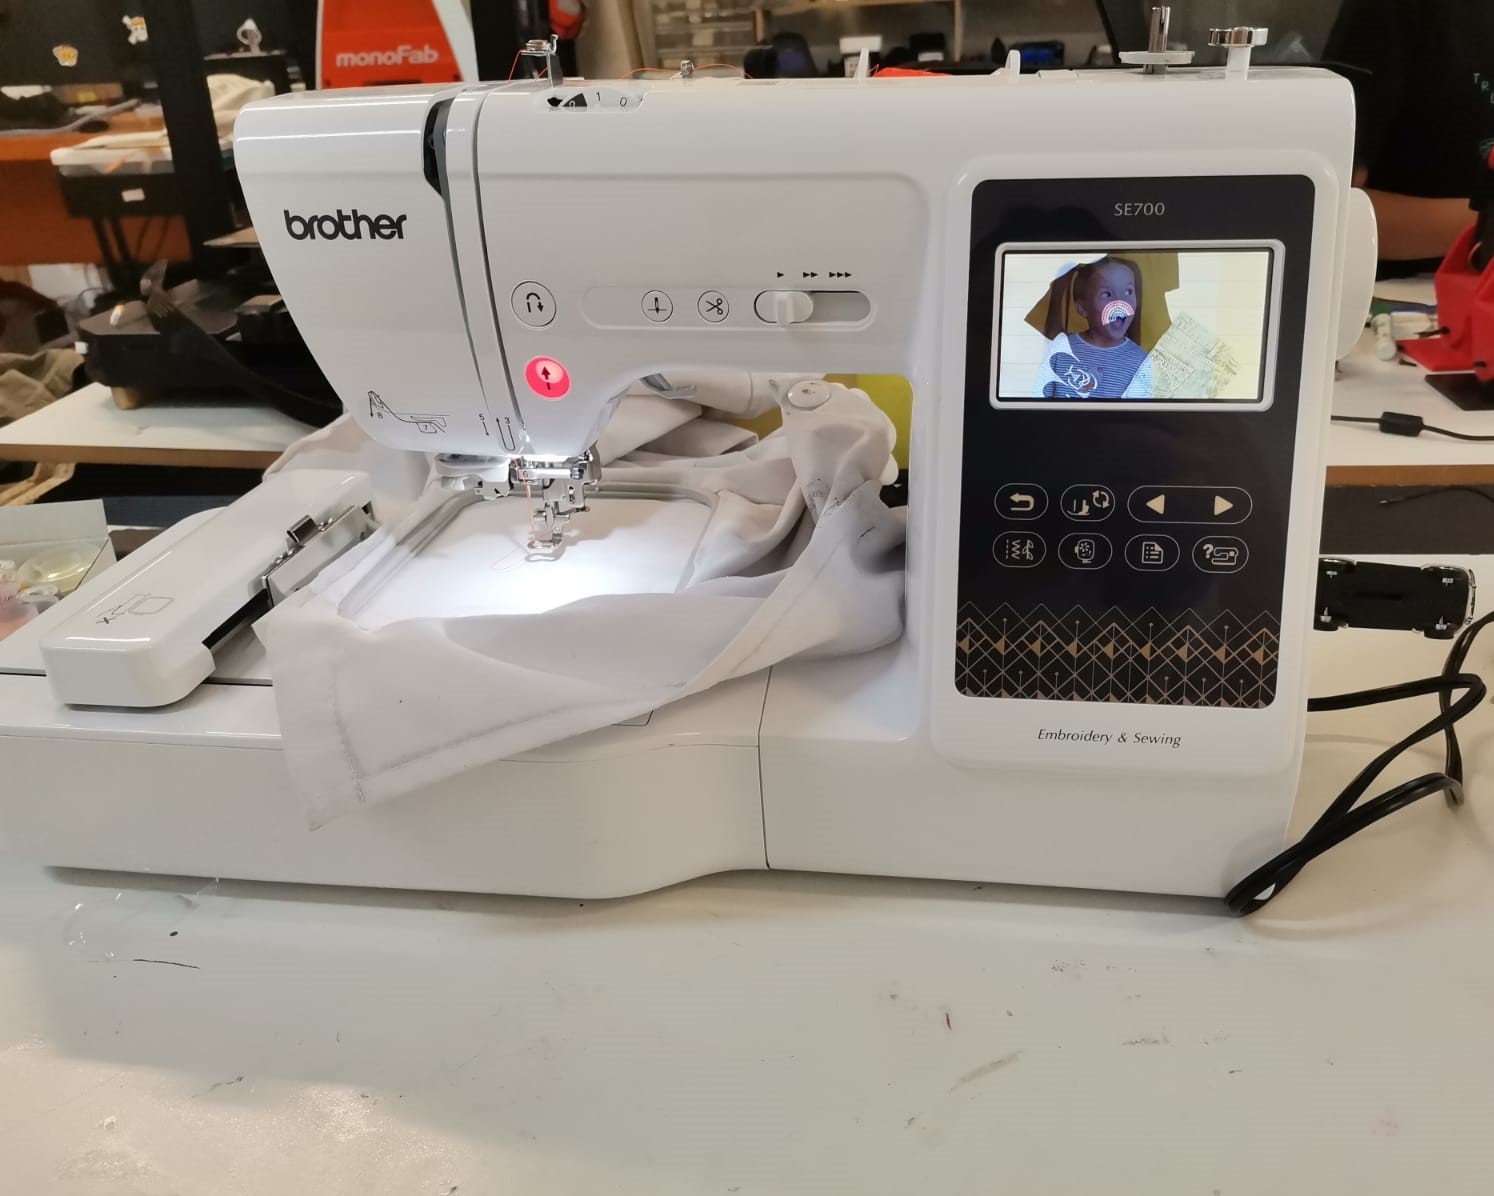
- Save it in a USB and put the USB in the corresponding port in the machine.
- Plug the machine to the power and turn it on.
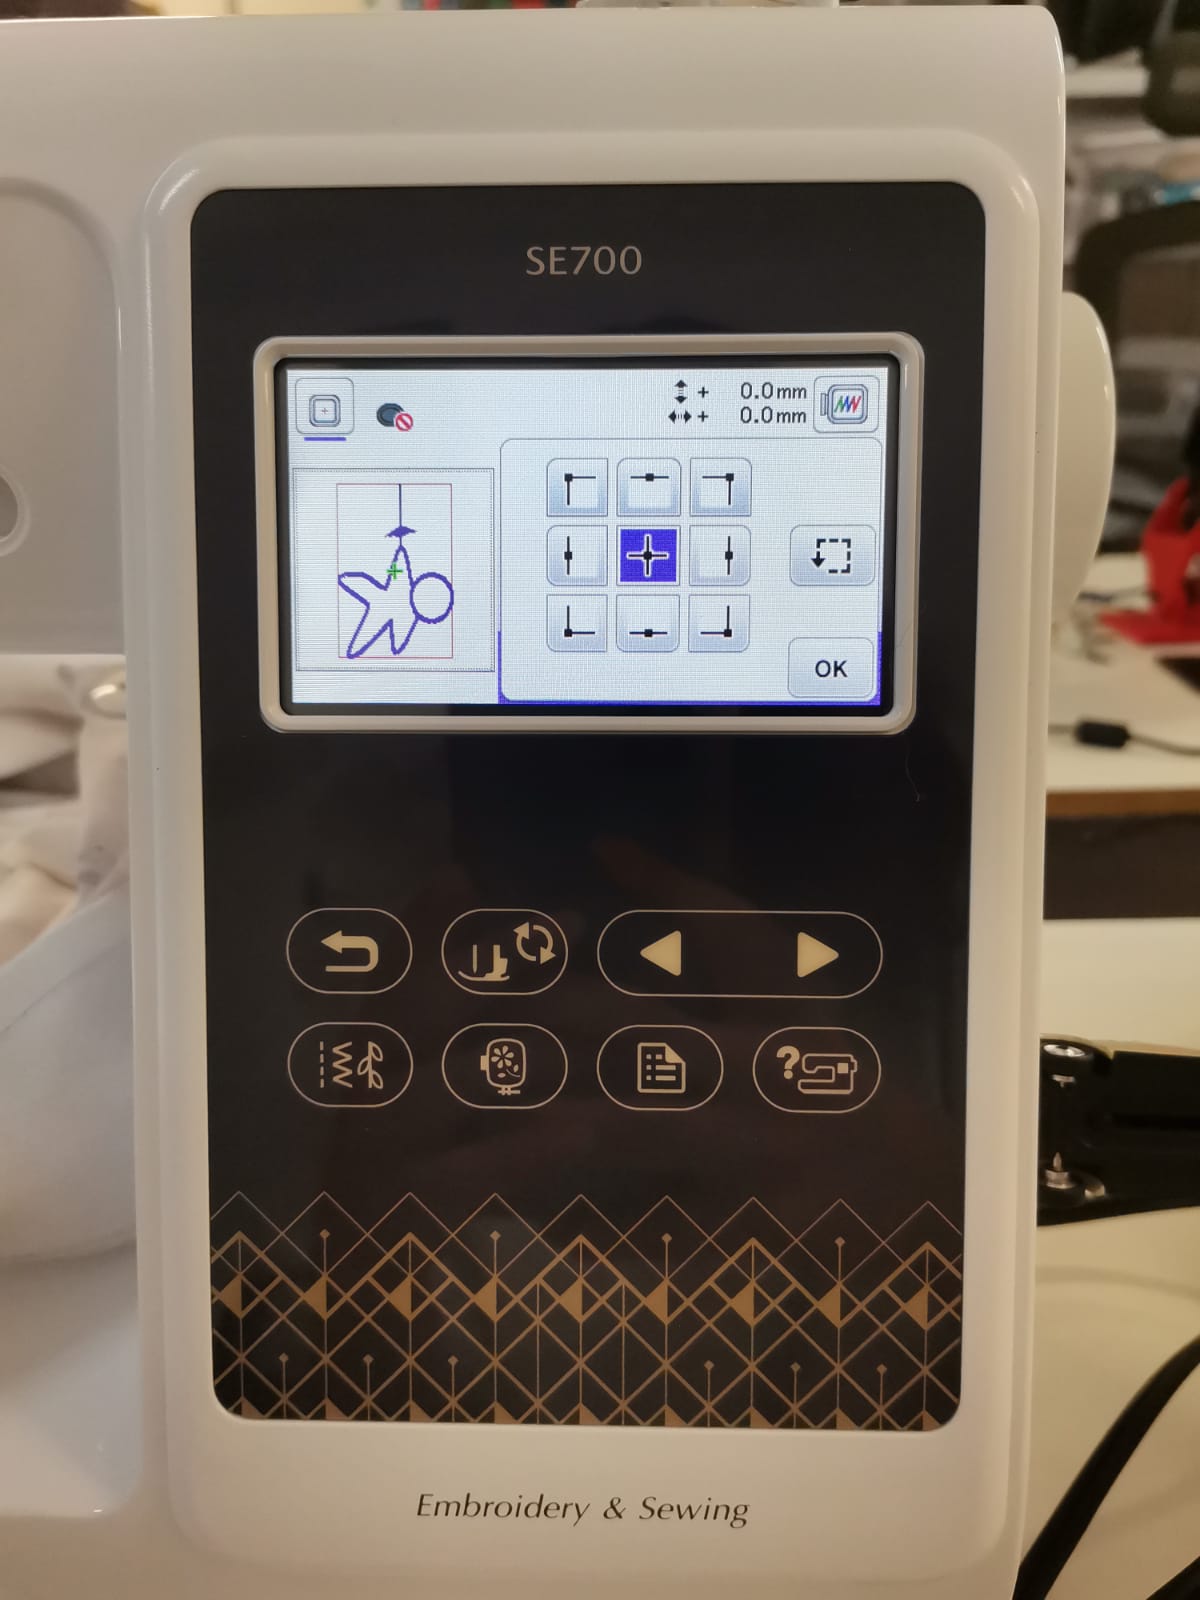
- Touch the LCD screen to see the options and follow the order: select the desired option for the embroidery -> select the way in which the file will be uploaded -> select the file.
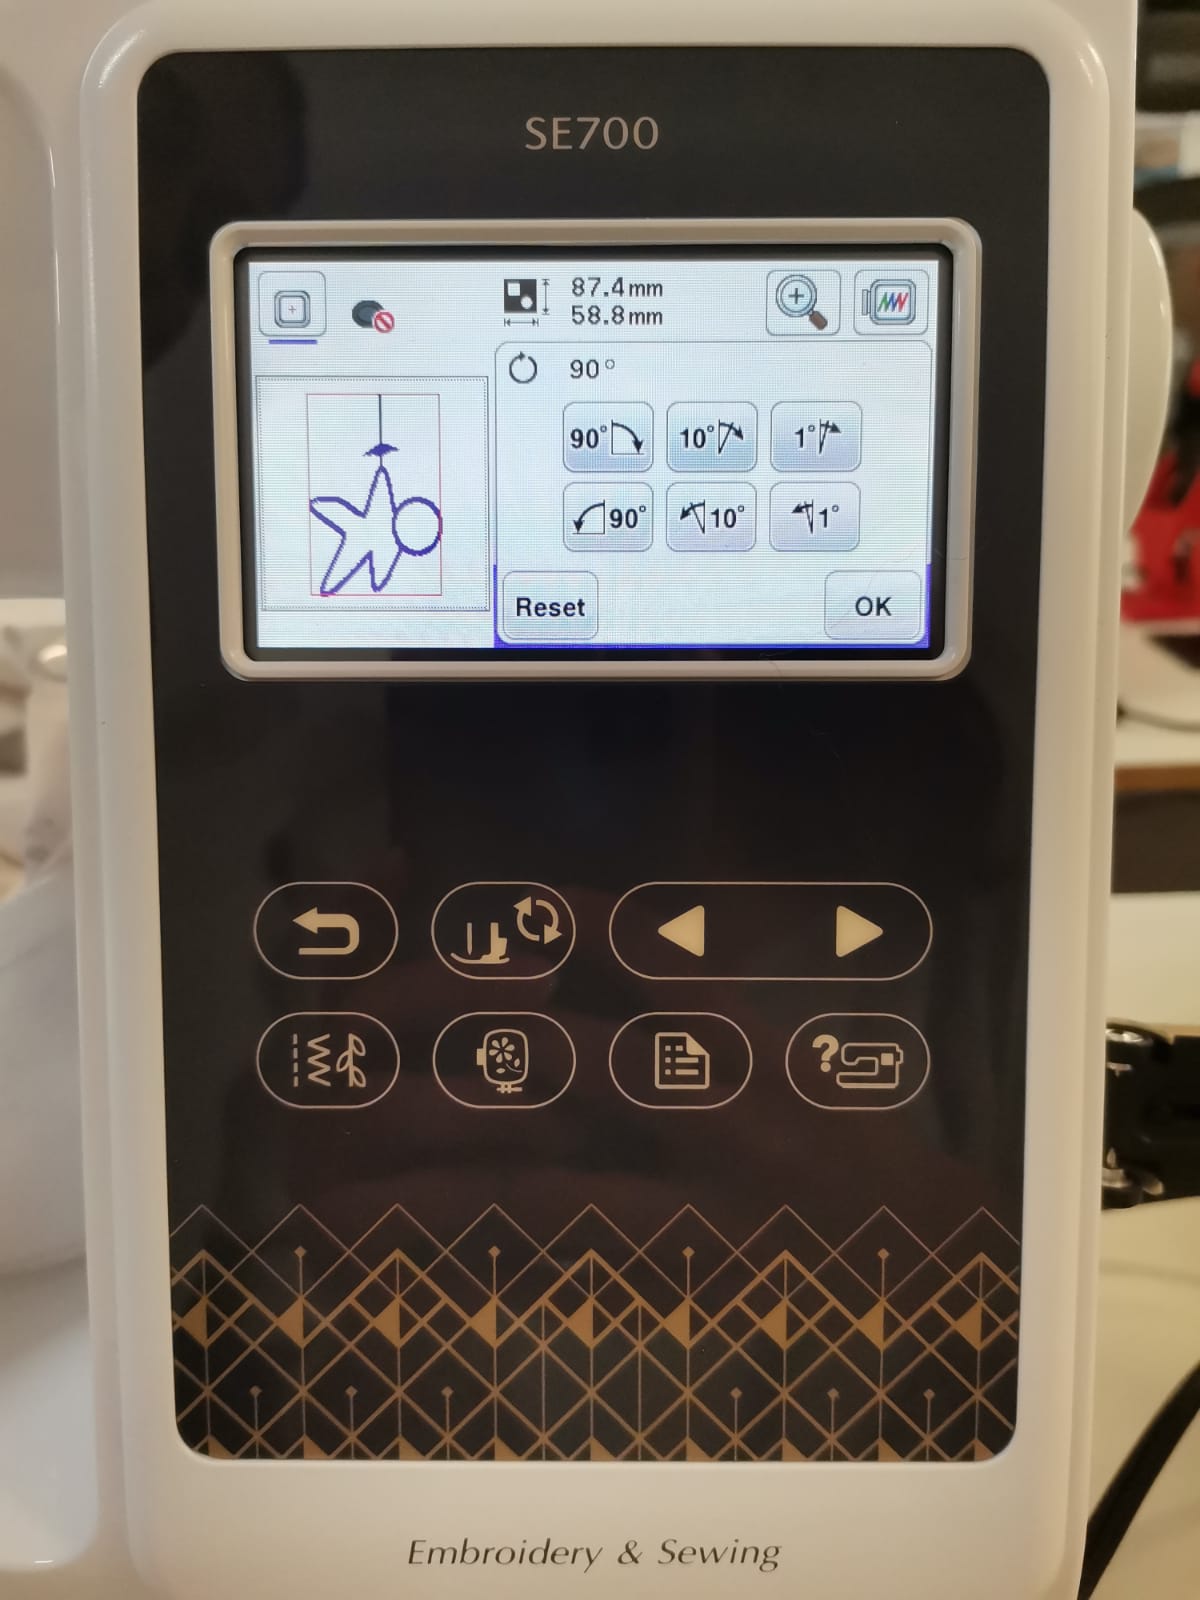
- The following options will appear in order to place the embroidery as desired in the fabric:
- I used the Rotate option due to the way I placed the fabric in the sewing frame.
- As in the laser machine, I used the option to know whether the embroidery fits or not in the space.
- Pushed the upward arrow:
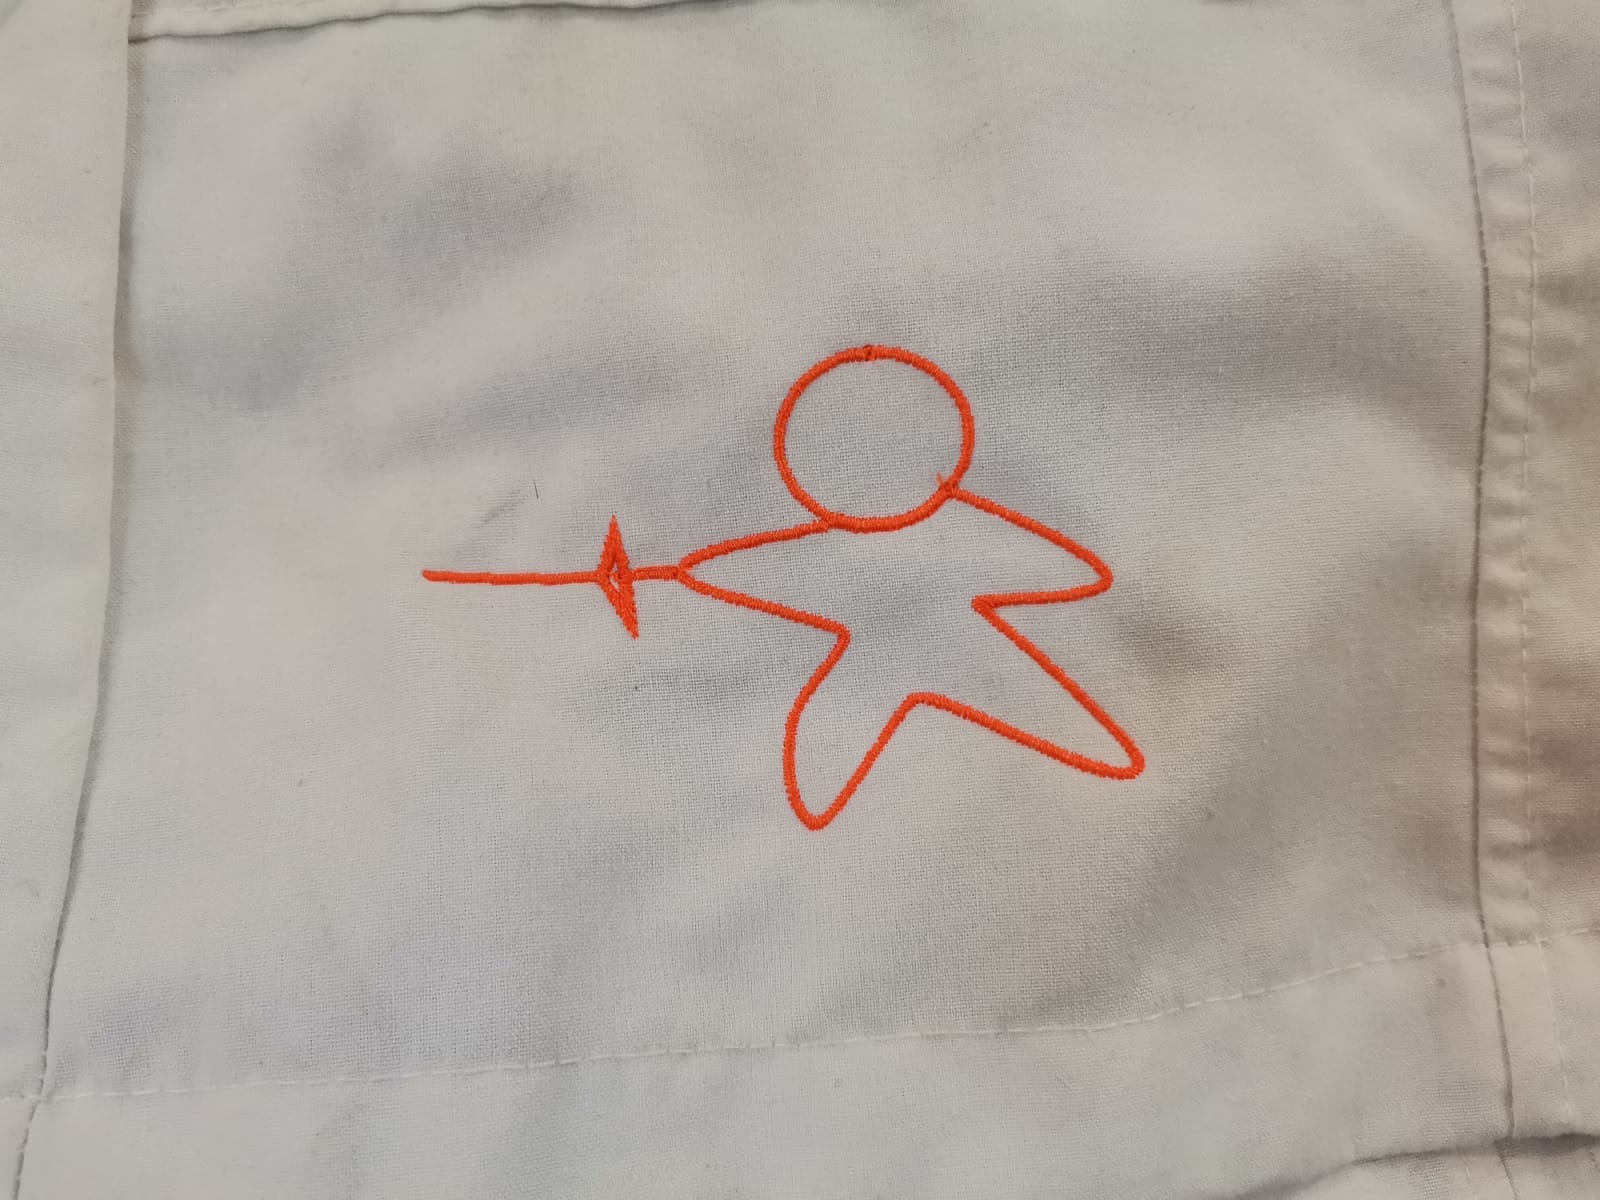
- And the final result:
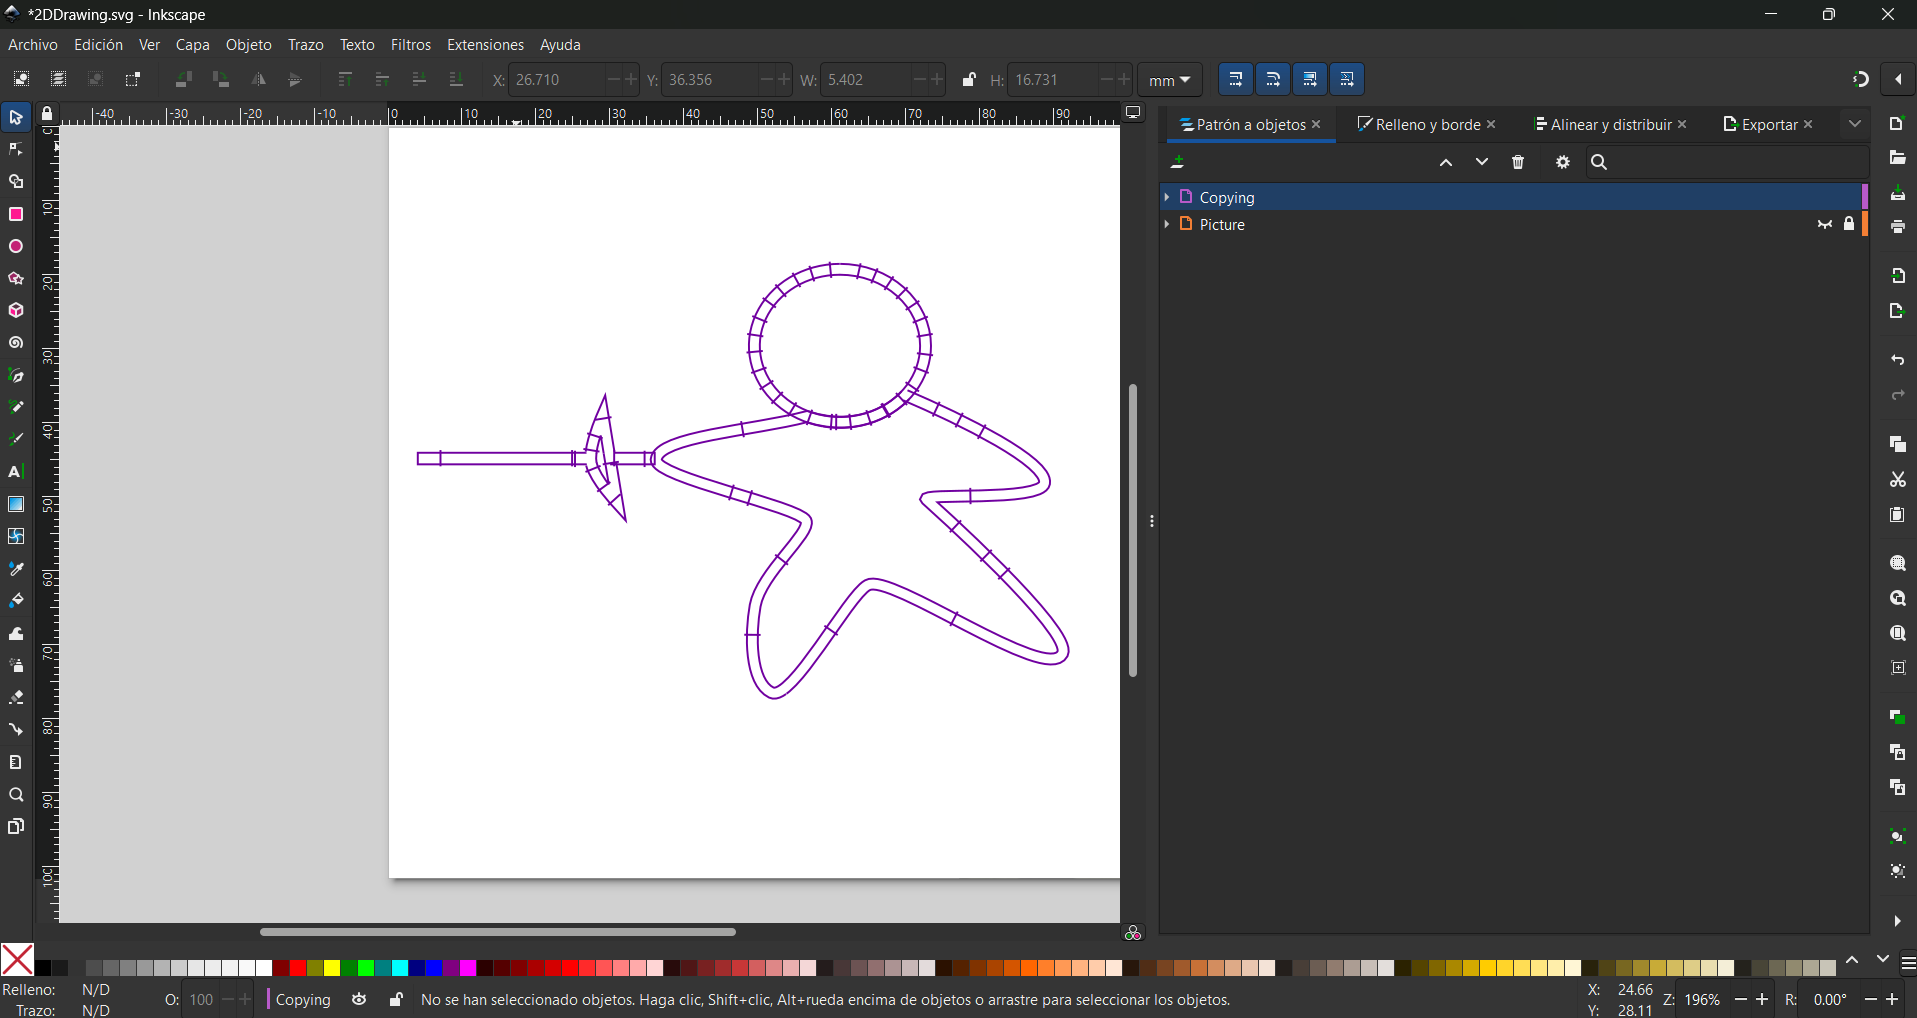
To look like this:
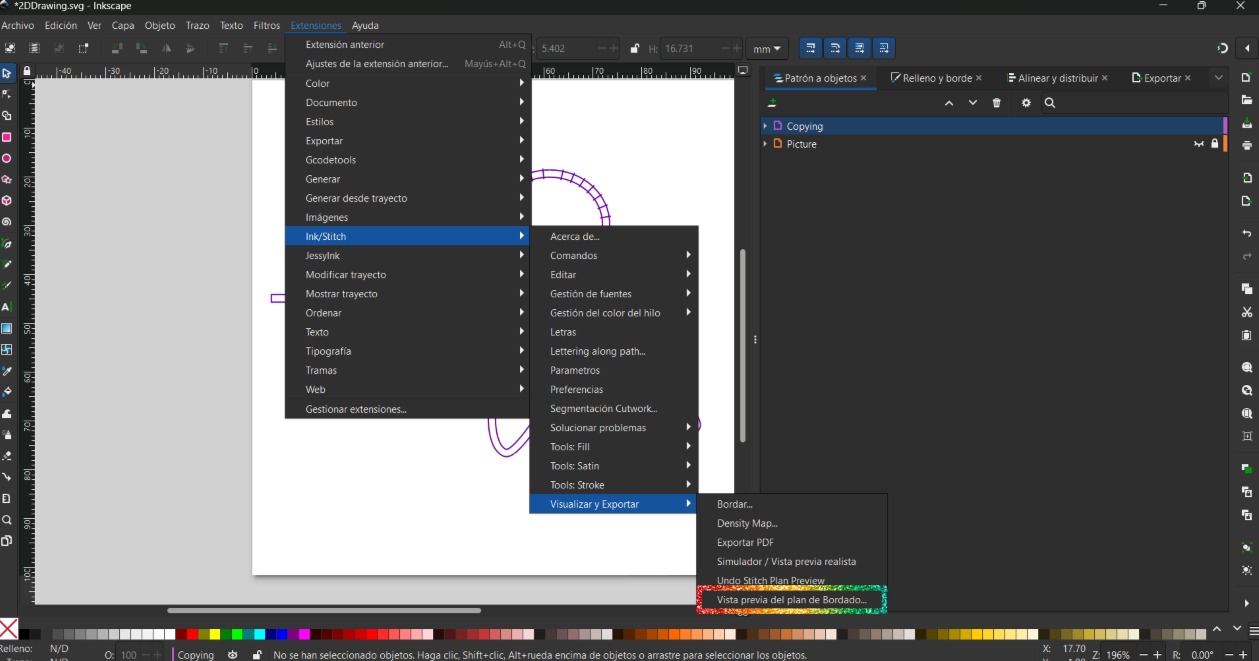
The simulation will show the needle path, and is the oportunity to know if something goes wrong.
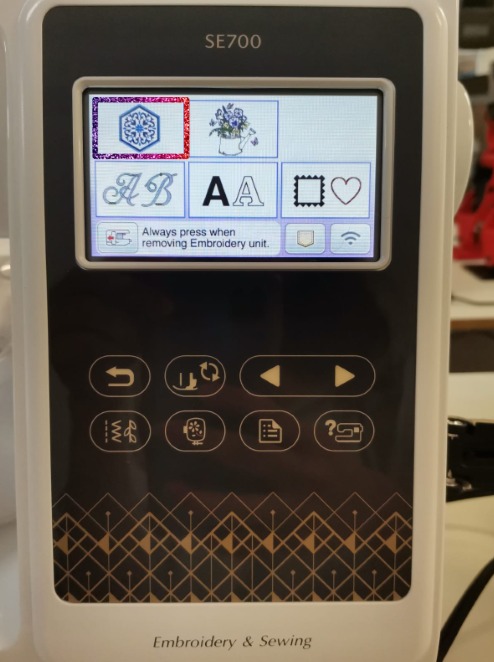
Embroidery option
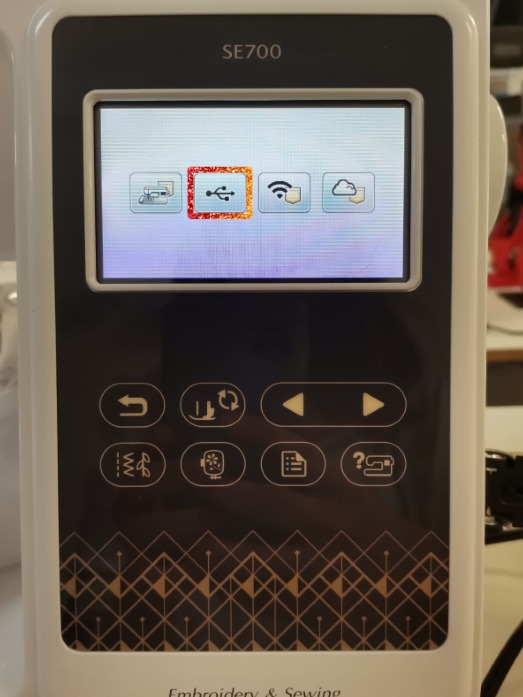
USB uploading file
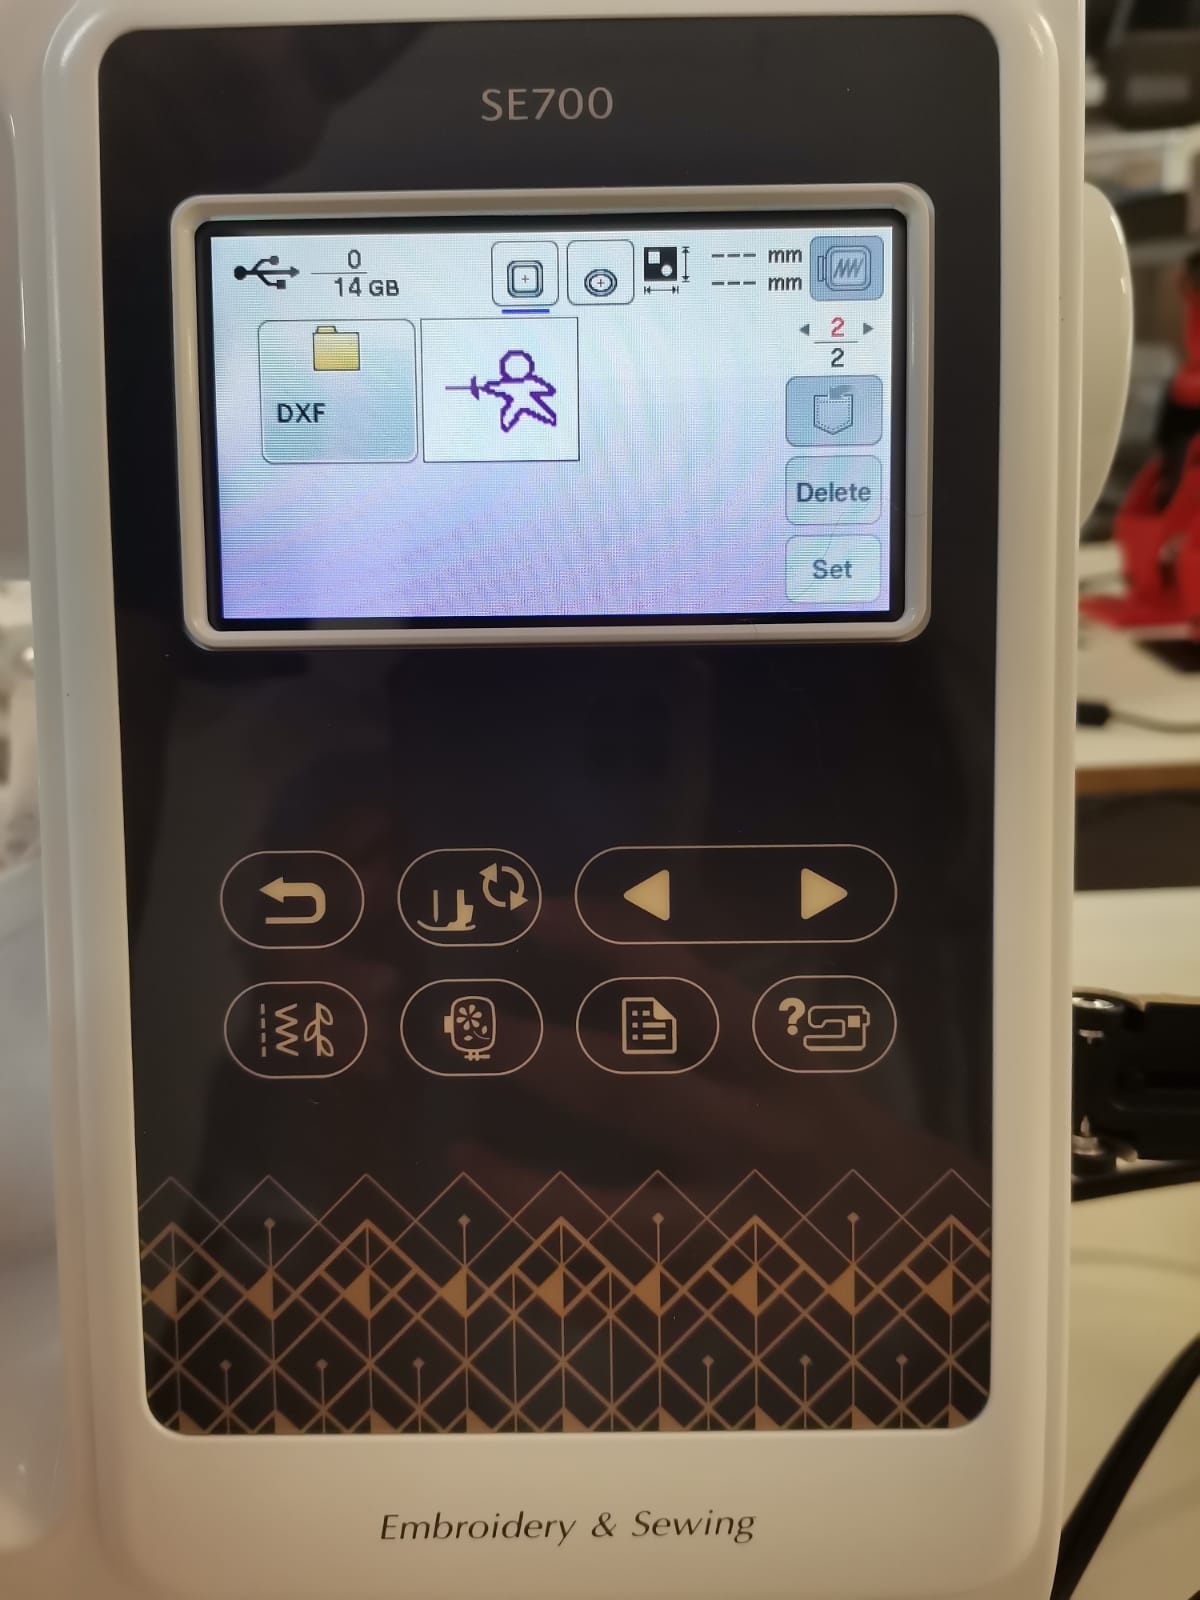
Select file
