1. Project Management
On the first week I started to getting used to the documentation during the activities, as well as defining the final project I would like to work with.
Acquiring Basic Web Designing Knowledge
- First of all, we had a quick lesson about web designing during the student bootcamp. We learned from the creation of the html file till the linkage with GitLab. For this, I made an account in GitLab with any e-mail and created a repository. Then I cloned the repository copying the link of the repository provided by GitLab.
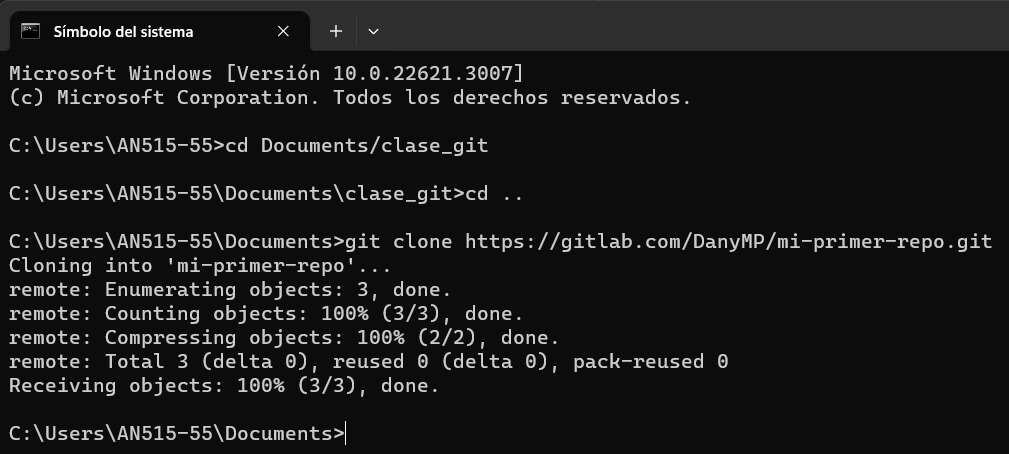
- In order to clone the repository, I had to open the cmd. However, it is important to be located in the desired folder. The cd [folder] command applies to move forward in folders, while cd .. is for moving backwards. Knowing that, I moved across the folders until founding the desired one for the repository. Then I used the git clone [cloning link from the repository] command to clone the repository in the current folder.
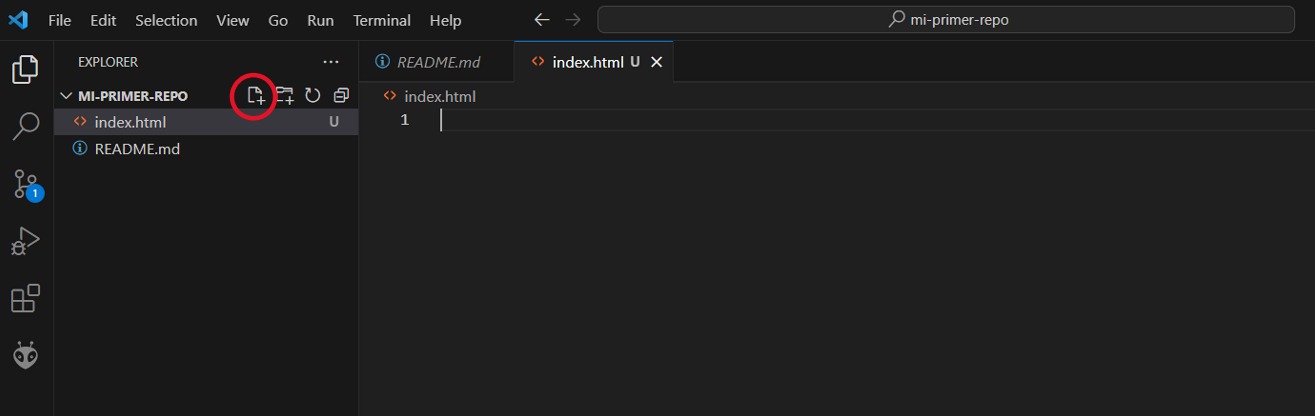
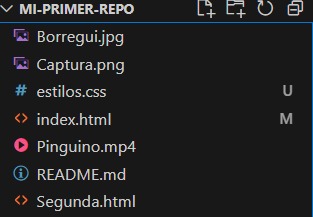
- Then I opened the folder of the repository in Visual Studio Code and created a new file clicking the showed symbol. The file name was "index.html"; is important not to forget to write the file's extension.
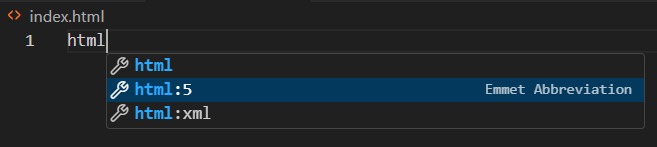
- To begin writing an html document, I had to select the correct template given by Visual Studio Code. This template is found writing "html" in the first line and selecting the desired one, which in my case was the "html :5". After that, the template appears automatically.
- The head label is used for the head of the web page, while the body label is for all the content. There it is also possible to write titles with the h1, h2, and so on labels. However, the title label is for the title written in the web tab. The p label is for writing all the text (paragraphs), so each label makes a paragraph.
- For making bulleted lists I used the ul label and the ol label for numbered lists, while writing each item in the li label.
- In the case of images, I had to use the next label: img src="" alt="", provided that "scr" is the place of the image inside the folder of the repository and "alt" is the alternate text when it is not possible to load the image. The instructor also suggested that we could use free images from the pexels and unsplash websites. In addition, we should use small sized pictures for them to not use a lot of space in the web page.
- To place links there are two labels, which both may be able to open external links or the ones referred for the web page:
- a href="": opens in the same tab.
- a href="" target="_blank" rel="noopener noreferrer": opens in a new tab.
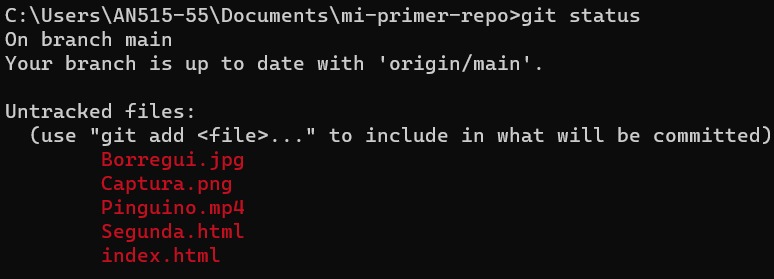
- In order to begin the uploading of the repository in GitLab, is important to verify the status with the git status command in the cmd.
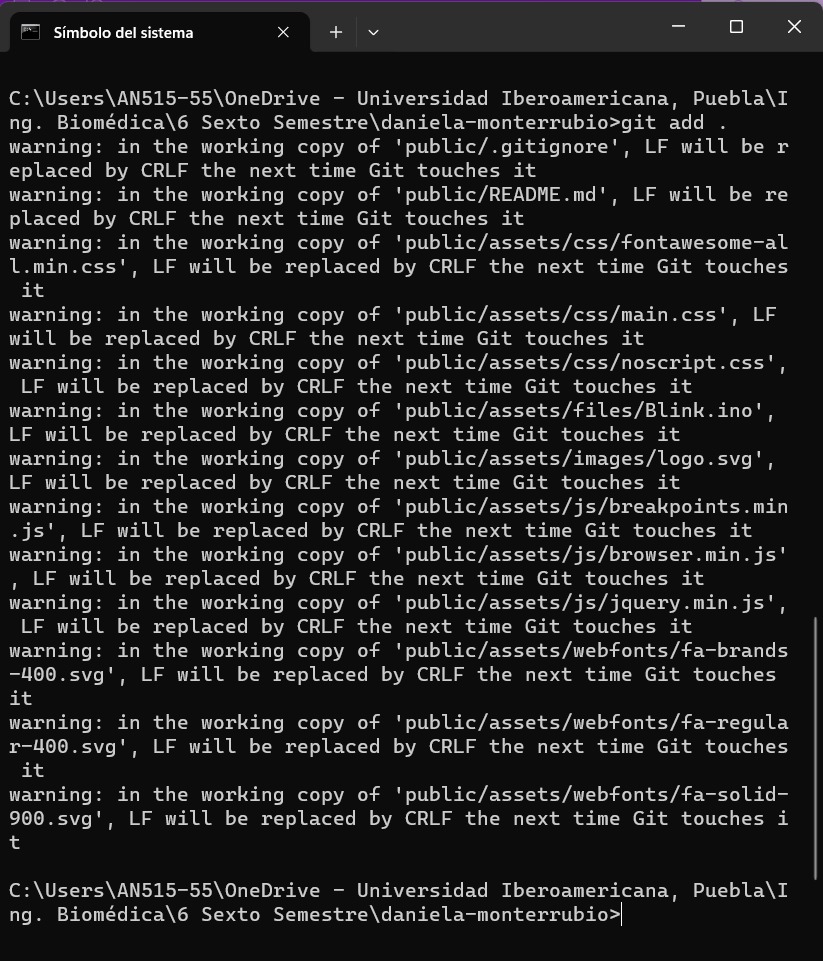
- To add the new changes, I used the git add . command.
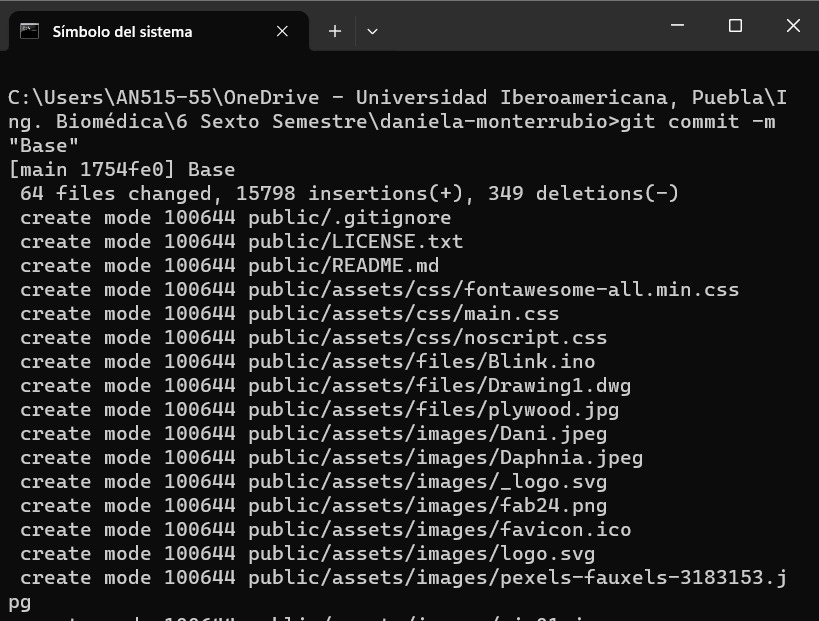
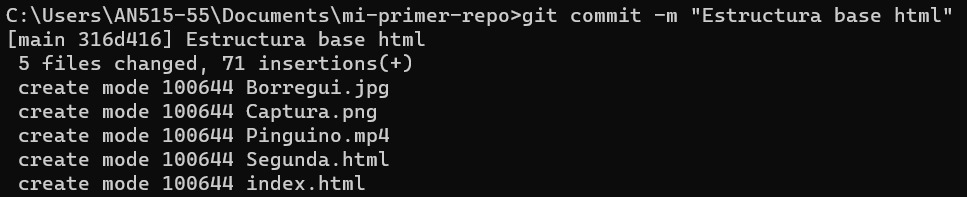
- Then I used the git commit -m "" command to join all the changes.
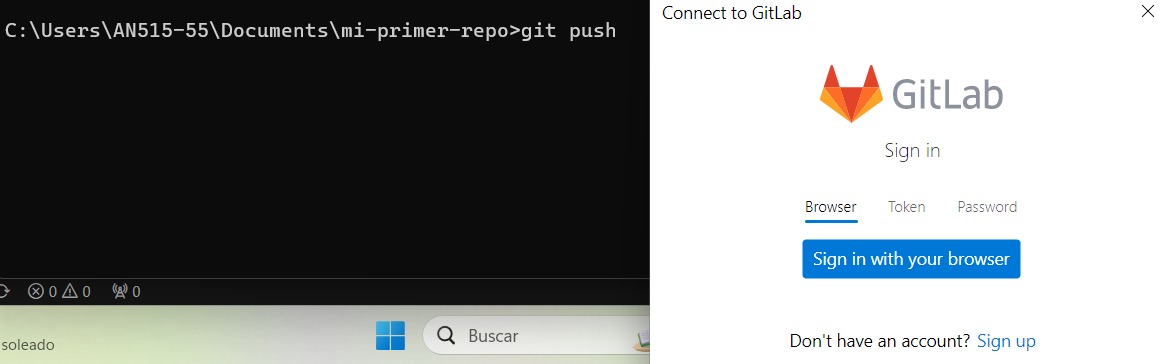
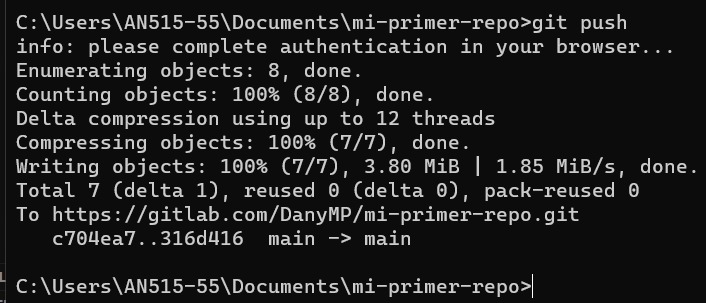
- When the git push command is used for the first time, it will open a window to log in into the GitLab account. So I had to enter normally (first picture), then it completed the process automatically (second picture).
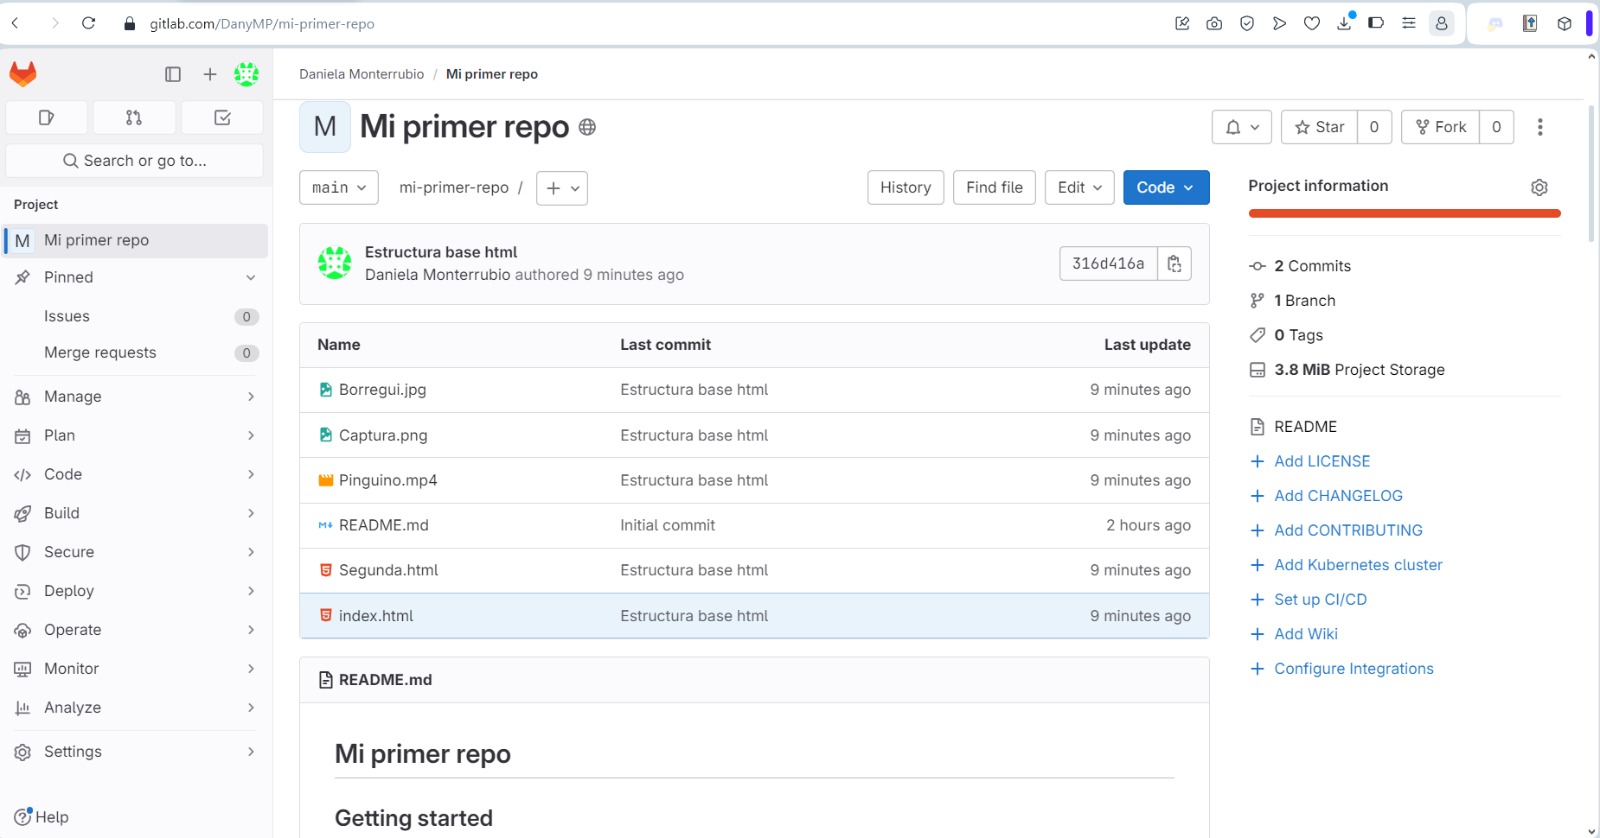
- To verify that the process was successfully completed I entered to the repository page and observed the changes. In other words, I checked that the files were uploades with the name I assigned to the commit.
- Then we learned about the styles in css, so I created a new file called "estilo.css".
- In the header of the main file, I had to link the css file. This should be done for each page.
- To personalize the items or labels there are different options such as: color, text-align and background-color.
On the other hand, for videos I used the next label: video src="" controls, where "src" is the place of the video inside the folder of the repository. The instructor also suggested us to take videos in landscape format at 30 fps. I also used the button label to create buttons.

My Own Website Creation
For the creation of the website, the instructor gave us this template for us to modify. In the template I only modified colors, some structures, the title and the "About me" section.
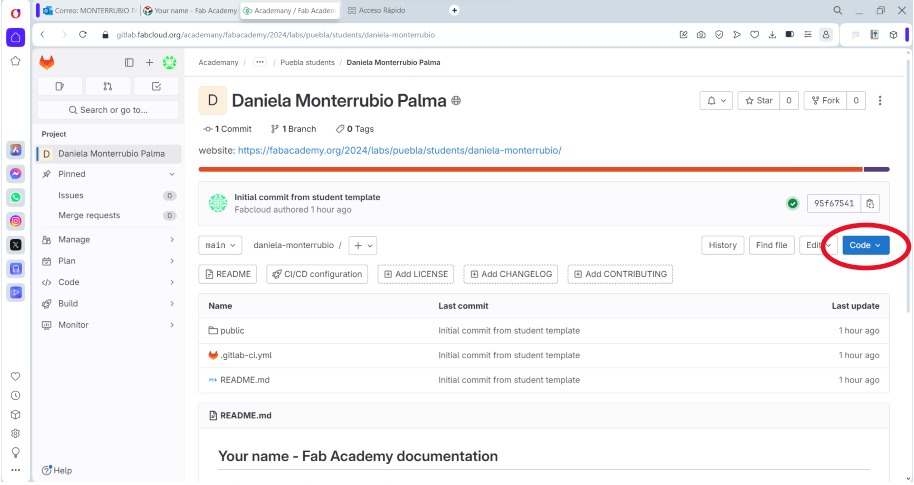
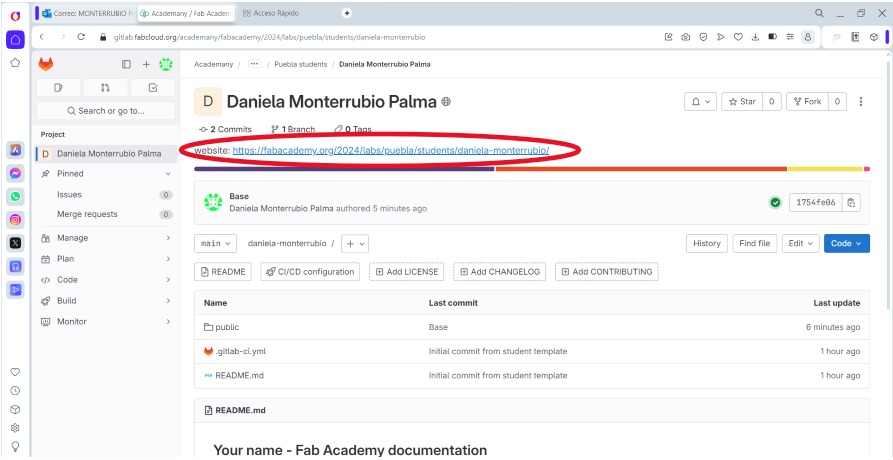
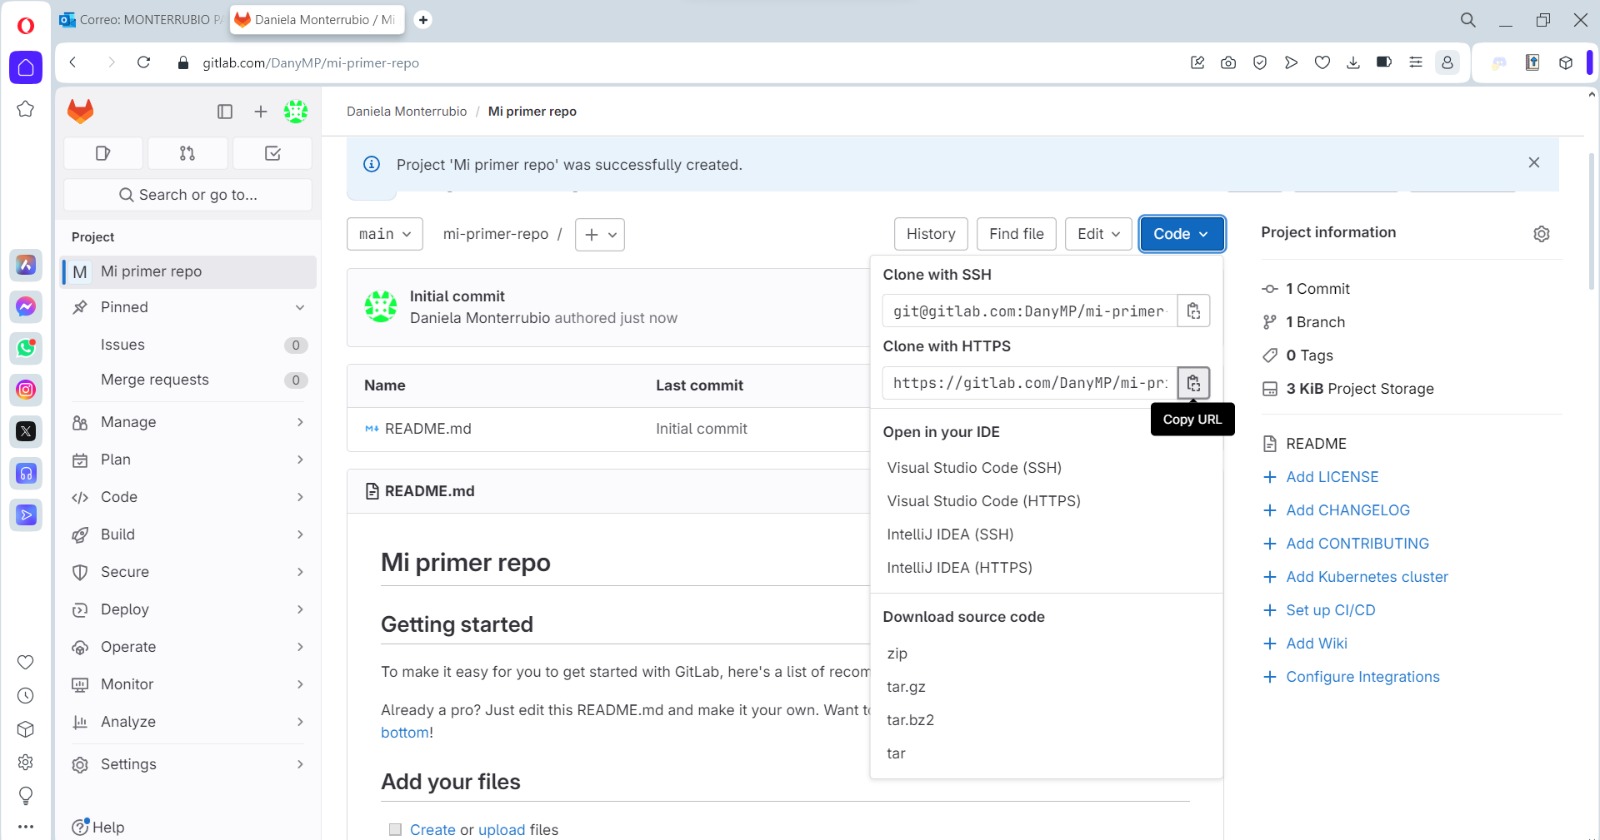
- Firstly, with the credentials given by Fab Academy, I logged into Fablab.io and then into the GitLab account. There I found the website created along with the account and clicked on the "Code" button (the blue one).
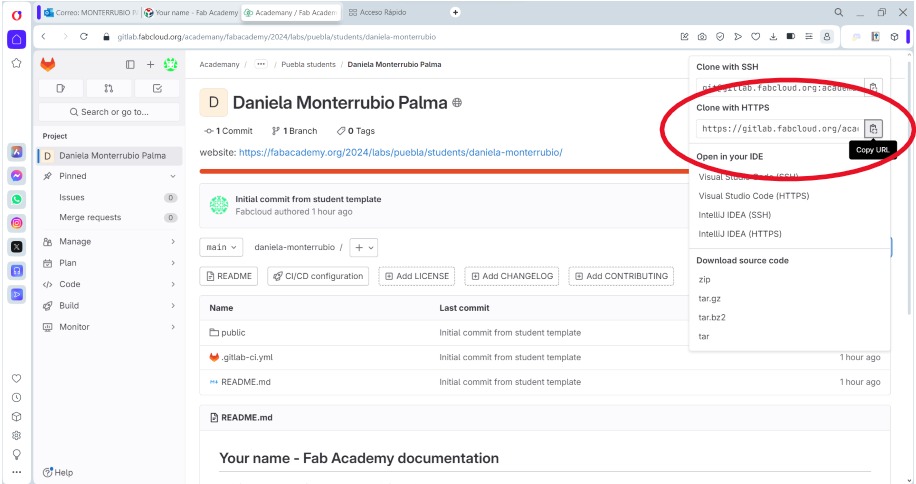
- Then I copied the URL to clone the repository with HTTPS.
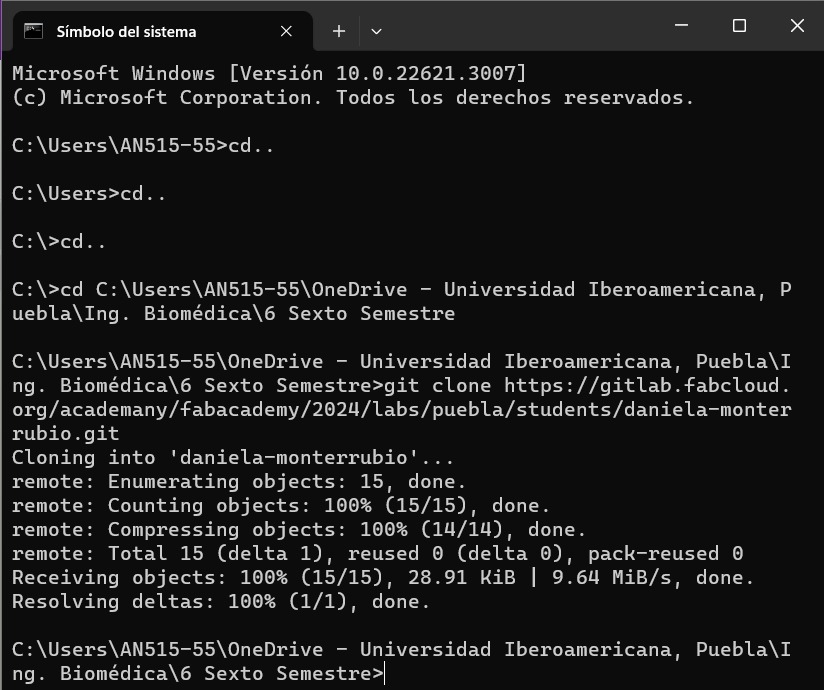
- I also opened the cmd to search the folder I wanted the repository to be. There I cloned the repository with the git clone [repository HTML link] command.
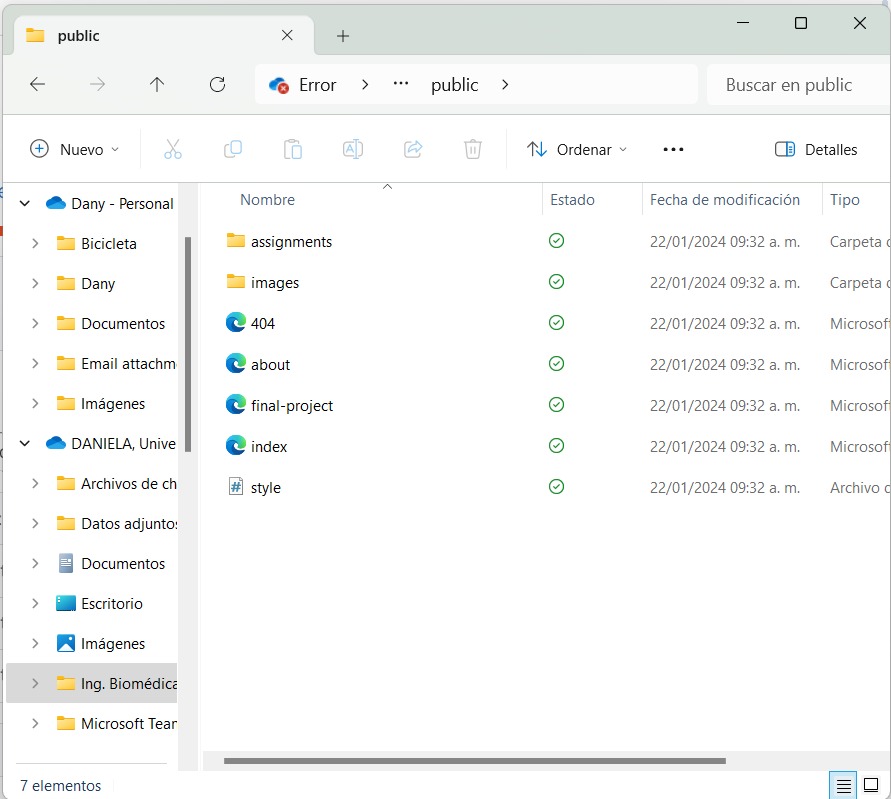
- The files are already inside the folder of the cloned repository. However, I deleted them, since I had alreay modified the template. Then I moved the files of the modified template to the folder of the repository.
- To save the changes in GitLab I used the cmd again. I entered to the repository folder using the cd [folder name or folder direction] command. In my case I only had to use the name of the folder, which is "daniela-monterrubio".
- With the git status command I verified that the changes were identified.
- Then I used the git add . command.
- The git commit -m "" command put together all the changes; which I named "Base".
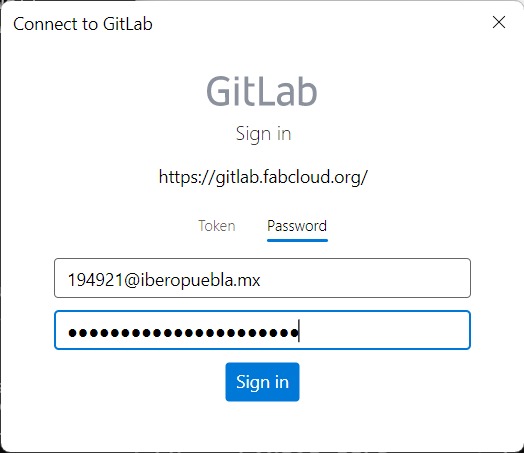
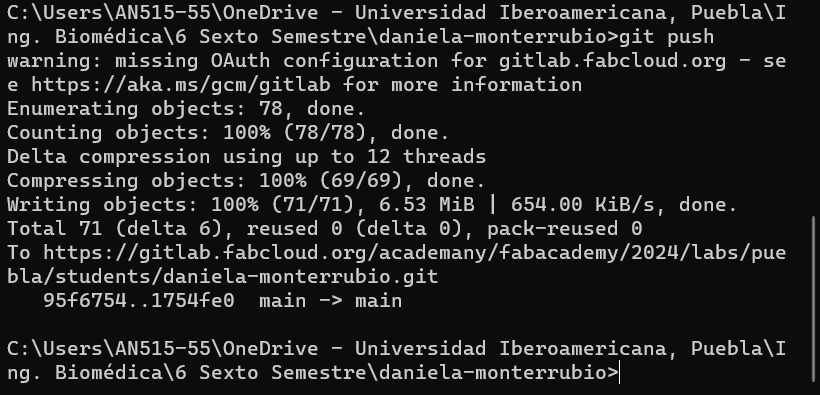
- Finally, I used the git push command to save the changes in GitLab (img 1). This command opened a popup window asking for my credentials, and I used the "Password" way of logging in (img 2). After that it uploaded the changes (img 3).
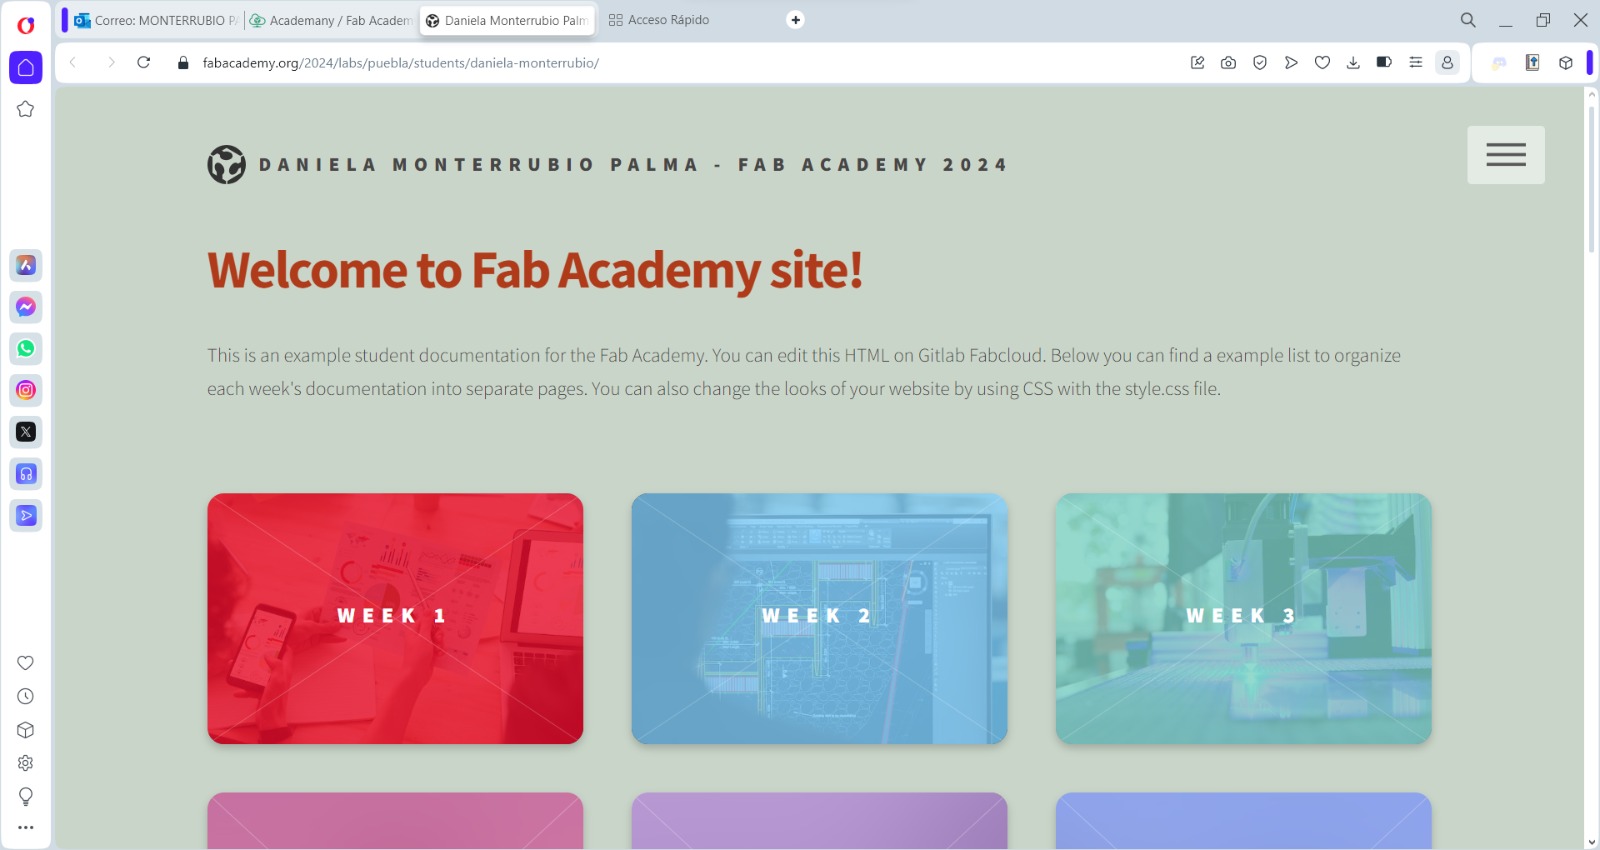
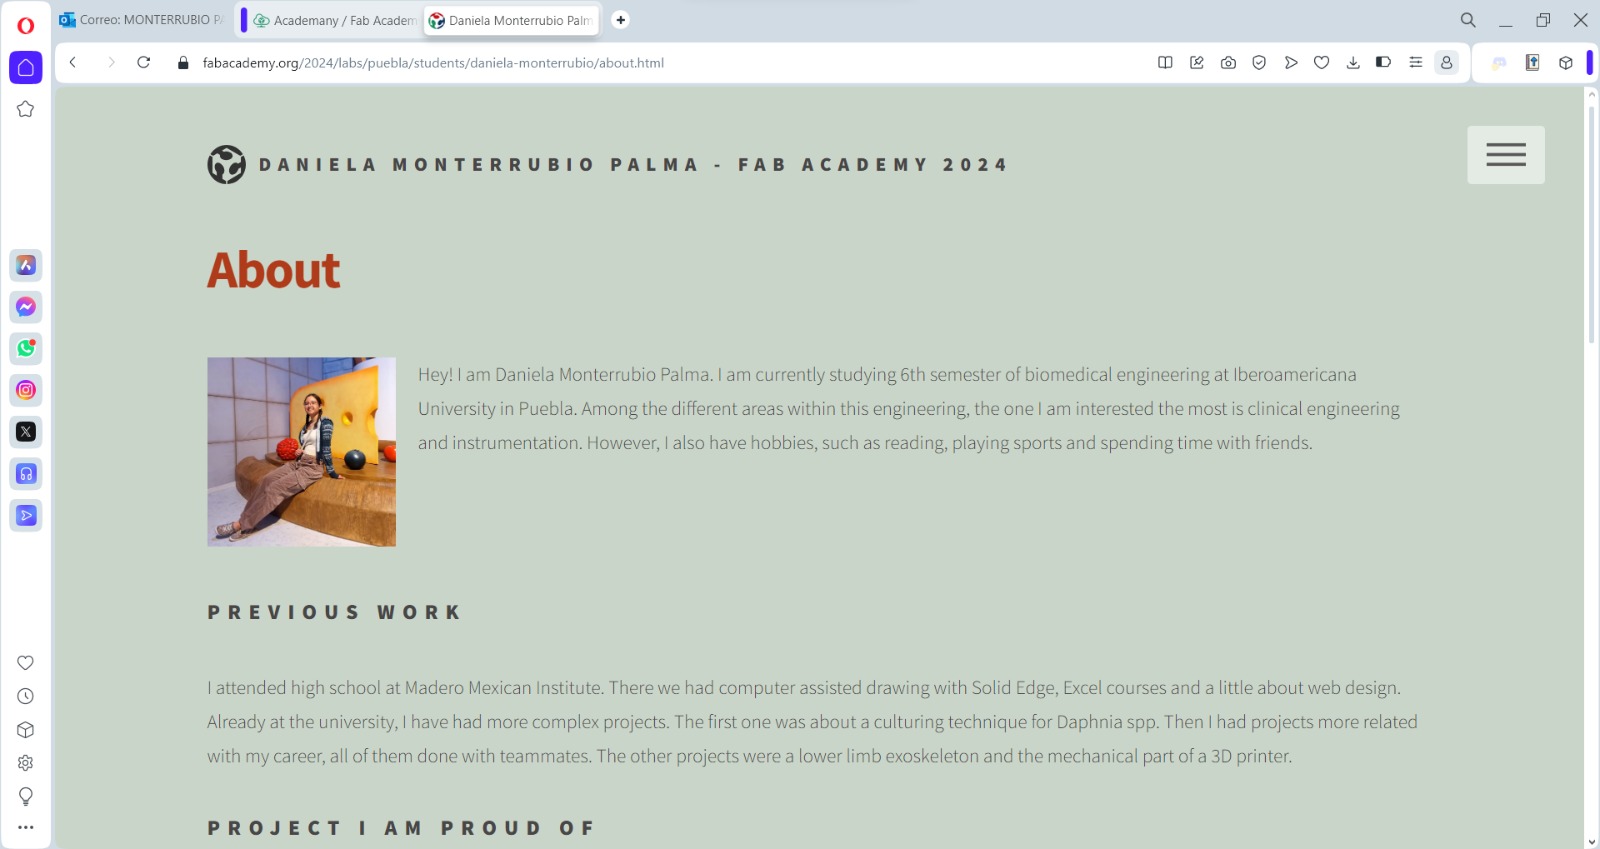
- To verify that the changes were successfully uploaded, I clicked the website link in GitLab (img 1) to open it (img 2). I also opened the "About me" section to verify those changes as well (img 3).