collar
Collar:
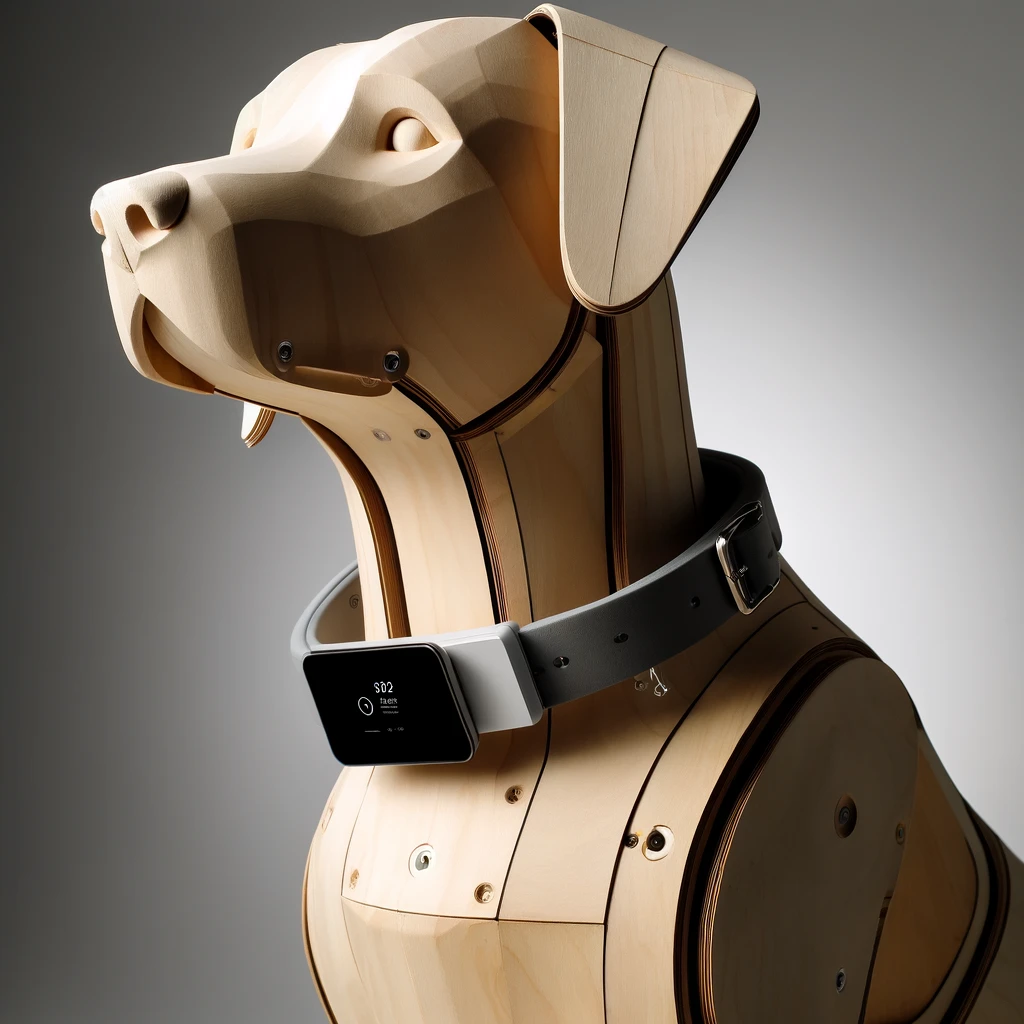
Inspiration and Sketch:

Introduction
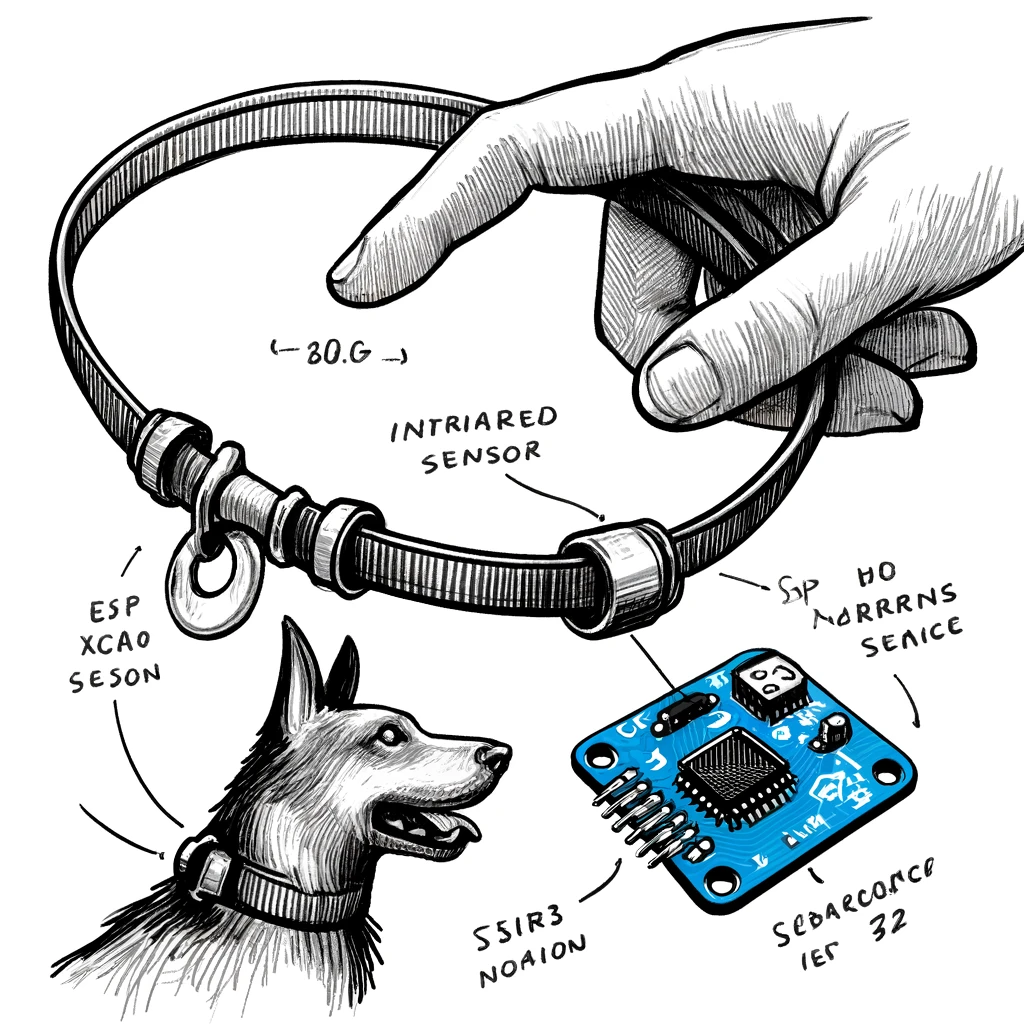
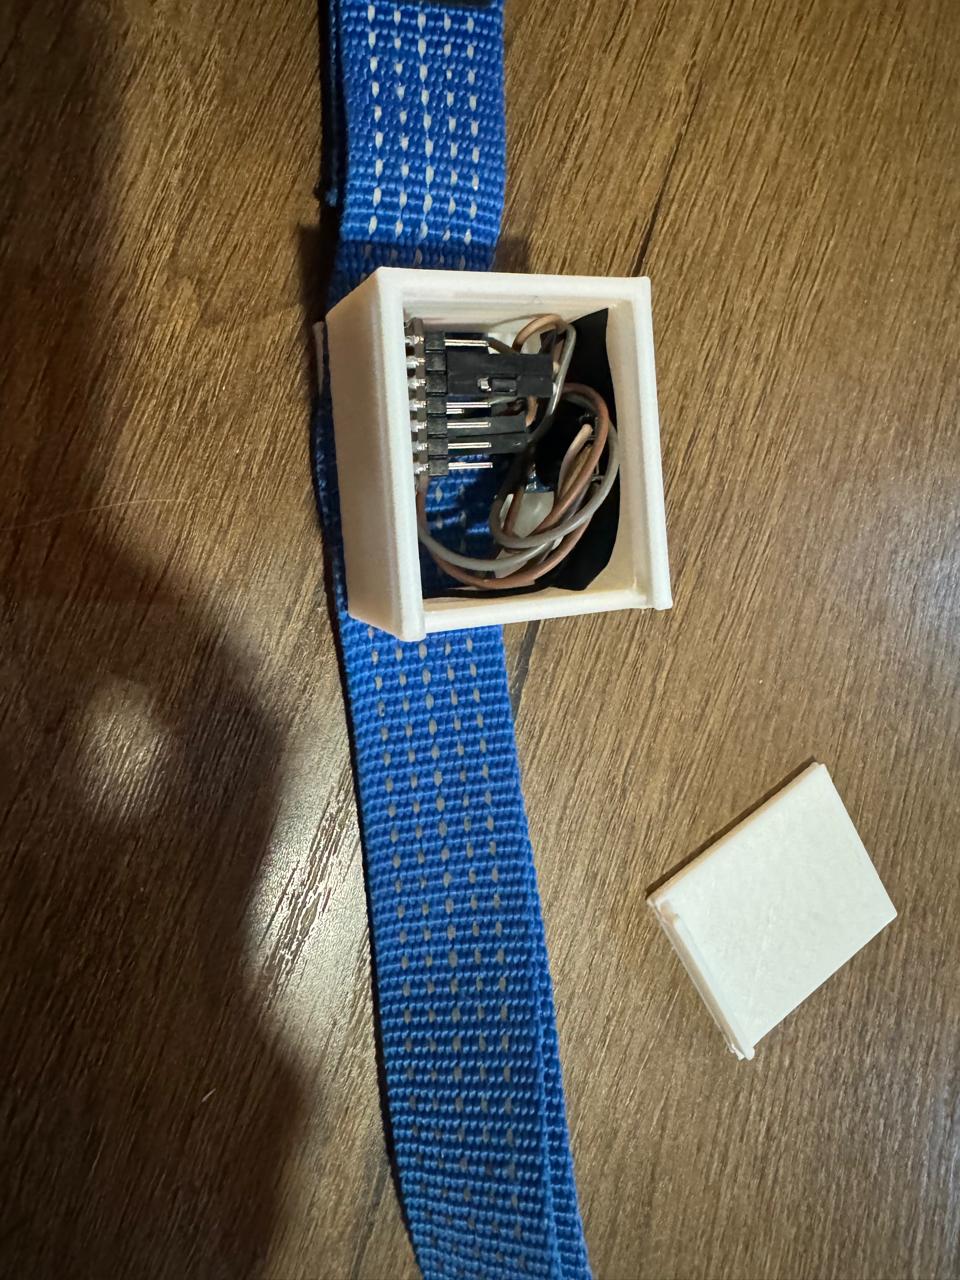
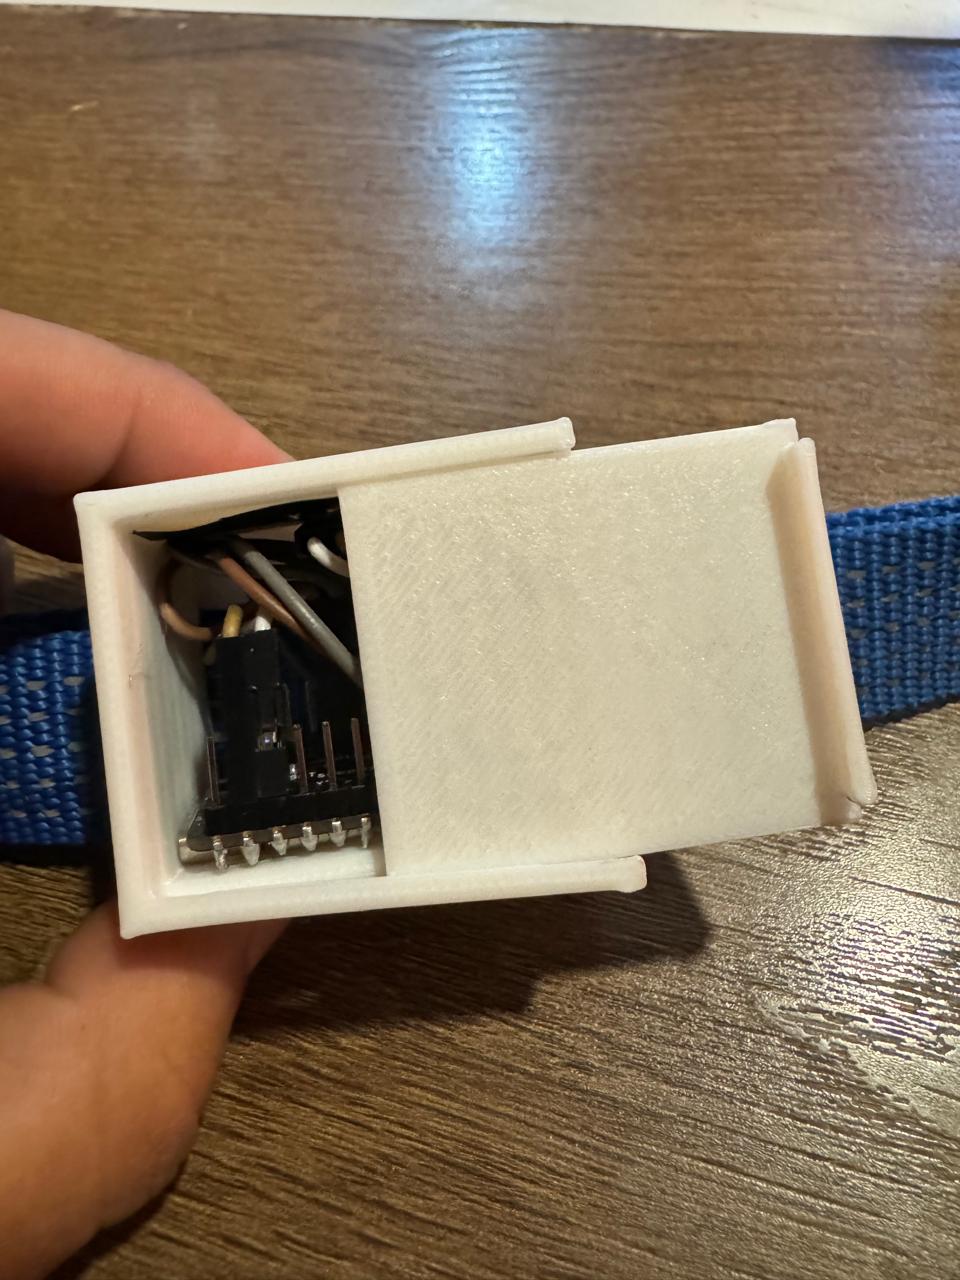
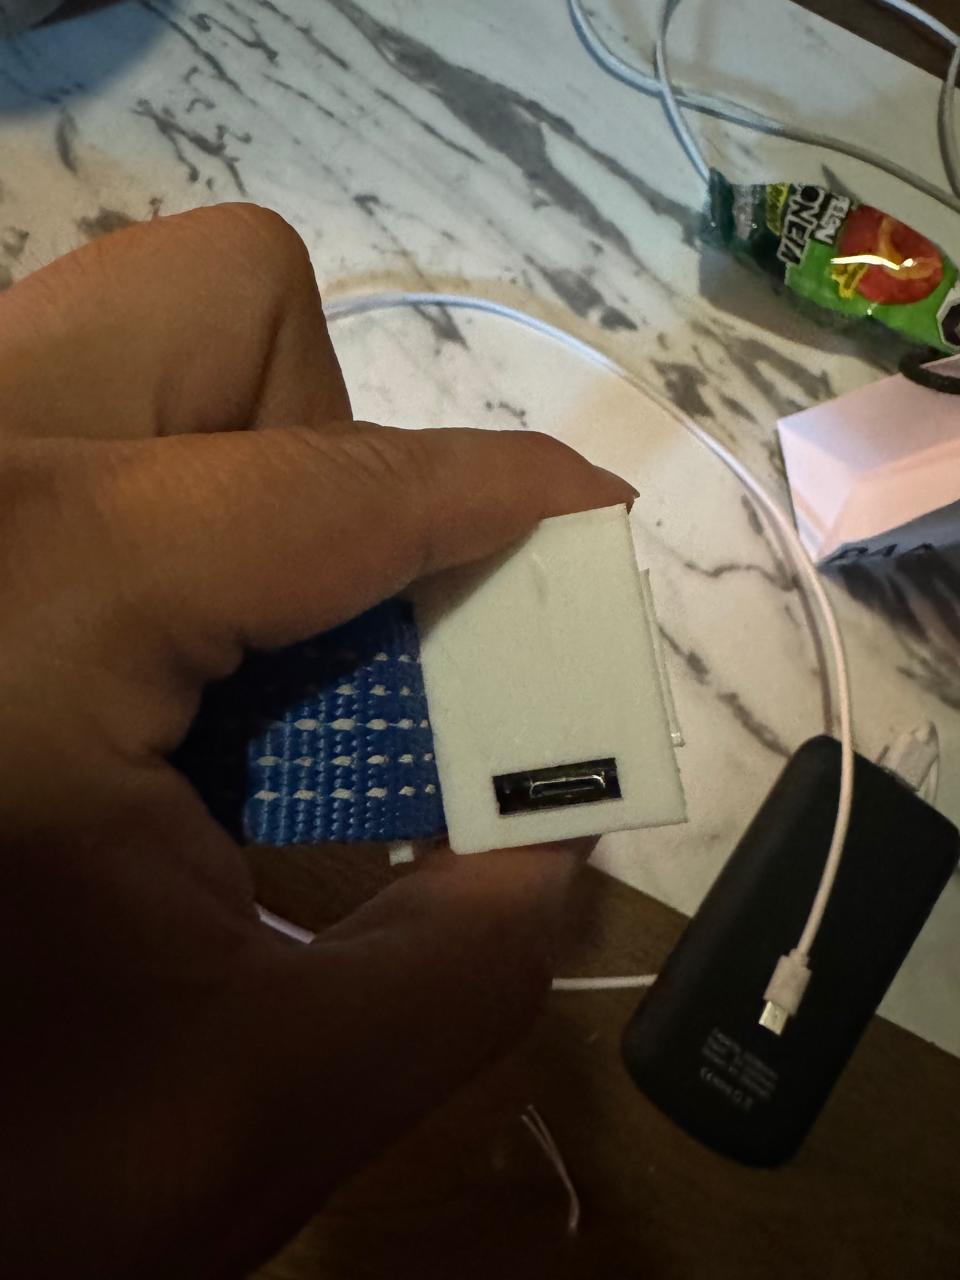
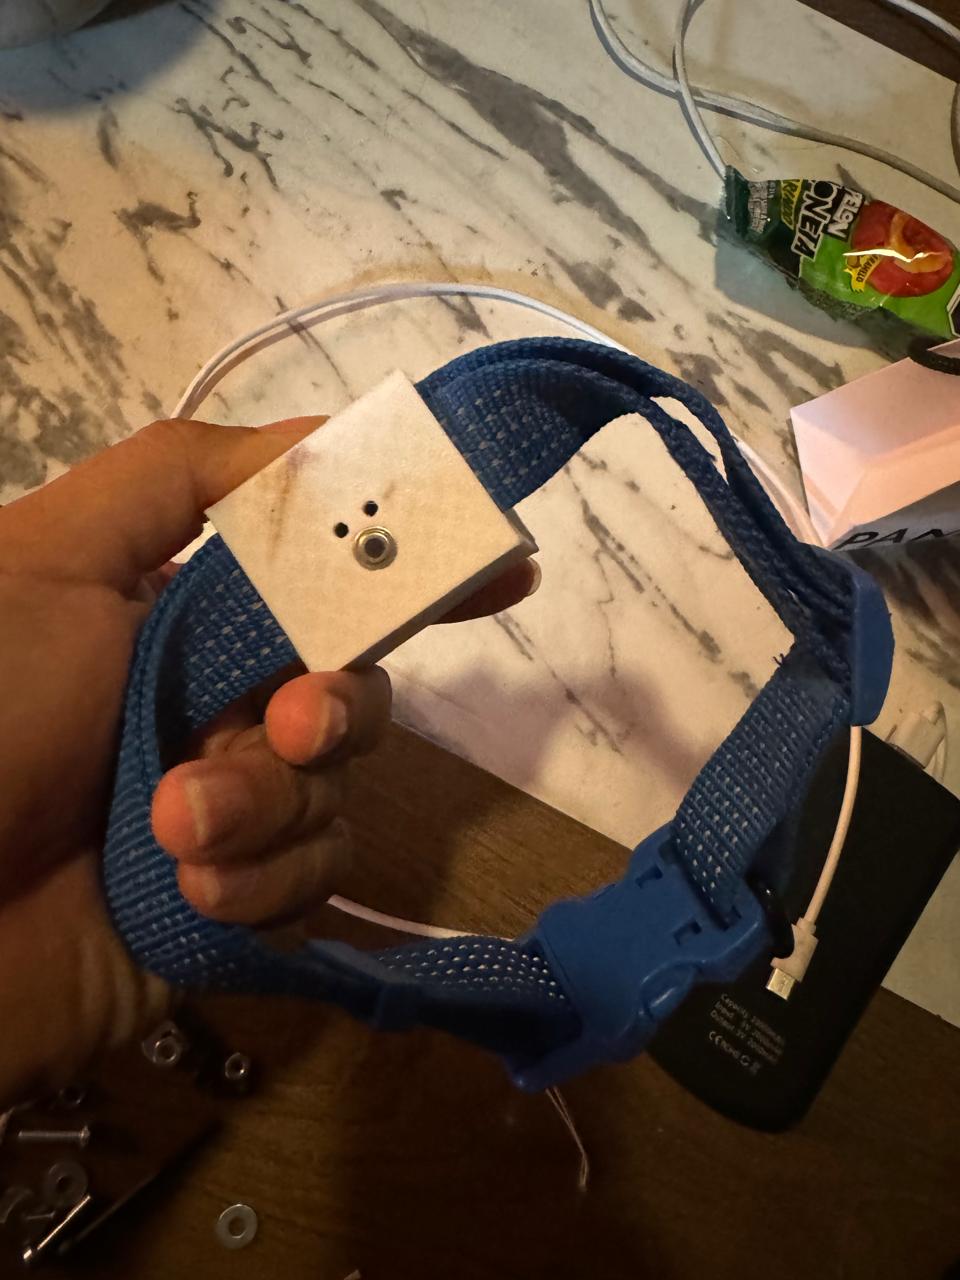
The Smart Paw intelligent collar represents a significant advancement in pet care and monitoring, combining cutting-edge technology with practical design and functionality. Designed in SolidWorks and manufactured using 3D printing, this innovative device focuses on efficiently and accurately monitoring dogs' temperature, ensuring the well-being and health of our pets.
The technological core of this collar is the MLX90614 infrared sensor, renowned for its high precision and reliability in contactless temperature measurement. This sensor is integrated with a Xiao ESP32, a compact and powerful microcontroller responsible for receiving temperature data and transmitting it to a web page via PHP.
The connectivity of the Xiao ESP32 allows seamless and real-time communication between the collar and the web interface, providing pet owners with continuous and remote access to crucial information about their dog's health. This way, they can quickly detect any anomalies in temperature that may indicate a health issue, enabling timely and appropriate intervention.
The SolidWorks design ensures that the collar is not only functional but also comfortable for the dog, and 3D printing allows for customized production adaptable to different pet sizes. This integrated approach combines design, technology, and functionality, highlighting Smart Paw's commitment to innovation and pet care.
In summary, the Smart Paw intelligent collar is a comprehensive solution that facilitates continuous monitoring of dogs' health, providing peace of mind to owners and improving the quality of life for our pets.
3D print
Download 3D model
Development:
In this section I had the first approach to see how it works and learn how to program the mlx90614 sensor. If you want to see more about this, click here
First tests
In this video we can see my first prototype which only sought the adjustment of the sensor and good contact with the dog, making it functional.
It works wonderfully, however I found a problem since, as we can see, the sensor does not measure the dog's temperature but rather the fur's temperature, thus losing valuable datasince a dog's temperature ranges from 36 degrees to 39
Solution
for very hairy dogs, I took on the task of testing the collar on my dog for 1 week and I realized that the temperature of his fur remained in a range of 29 to 30 degrees, which turned out to be very valuable since for dogs very hairy, we can modify the code by adding 7 degrees to the commanded temperature, which would alert us when this range was outside.
			// Ensure it's float
			float temp = mlx.readObjectTempC();

			if (isnan(temp)) {
				Serial.println("Error reading temperatures");
			} else {
				temp += 7; // Add 7 degrees to the detected temperature
				Serial.print("Object Temperature= ");
				Serial.print(temp);
				Serial.println(" °C");
			}
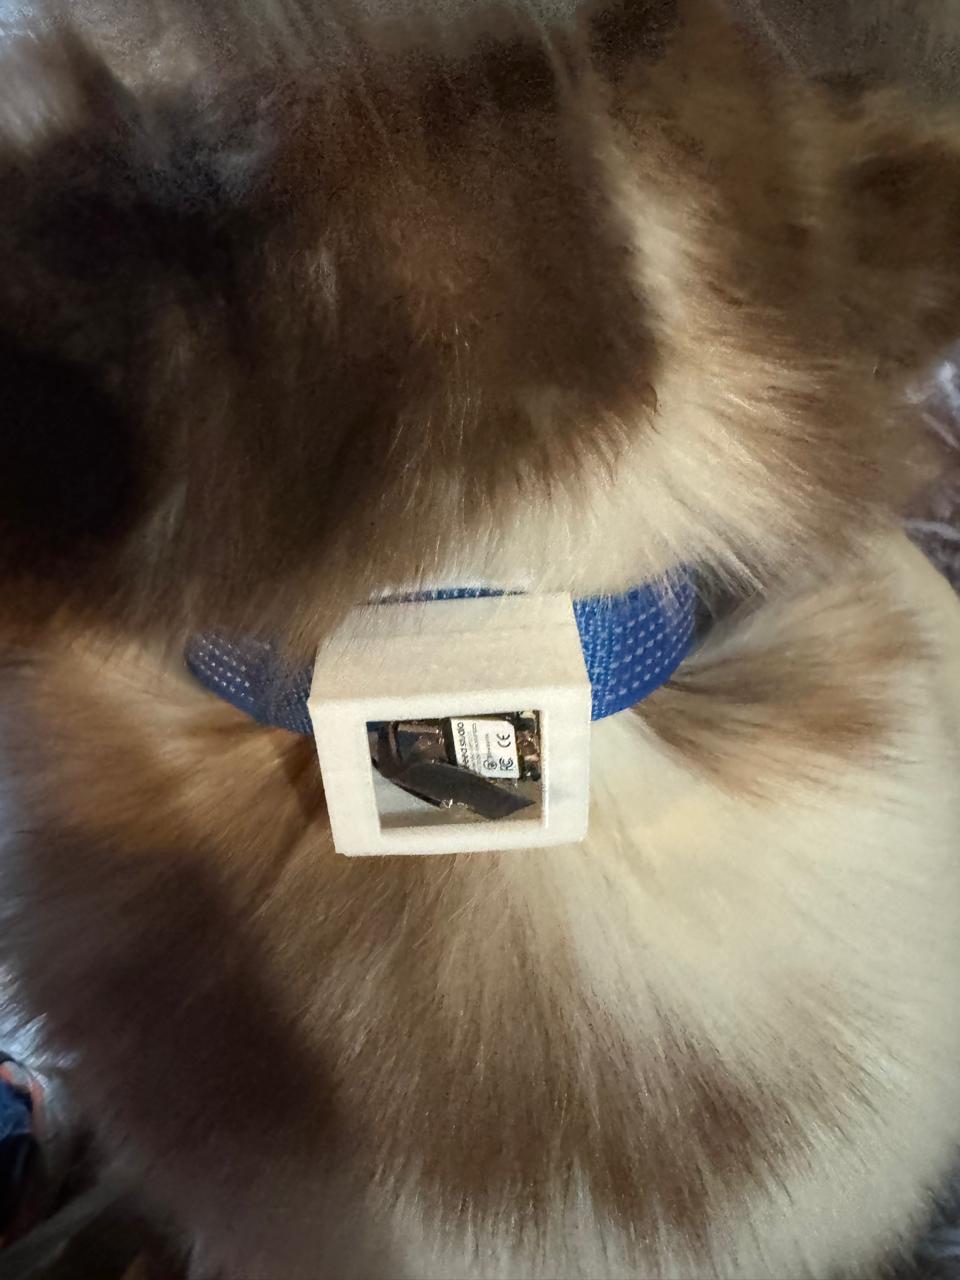
short haired and smaller dog
Here we can see that hair is not a problem since this dog does allow the sensor to reach its skin, making a more accurate measurement. We can also see that the design is functional despite the fact that it is a smaller dog, which the collar does not cause discomfort
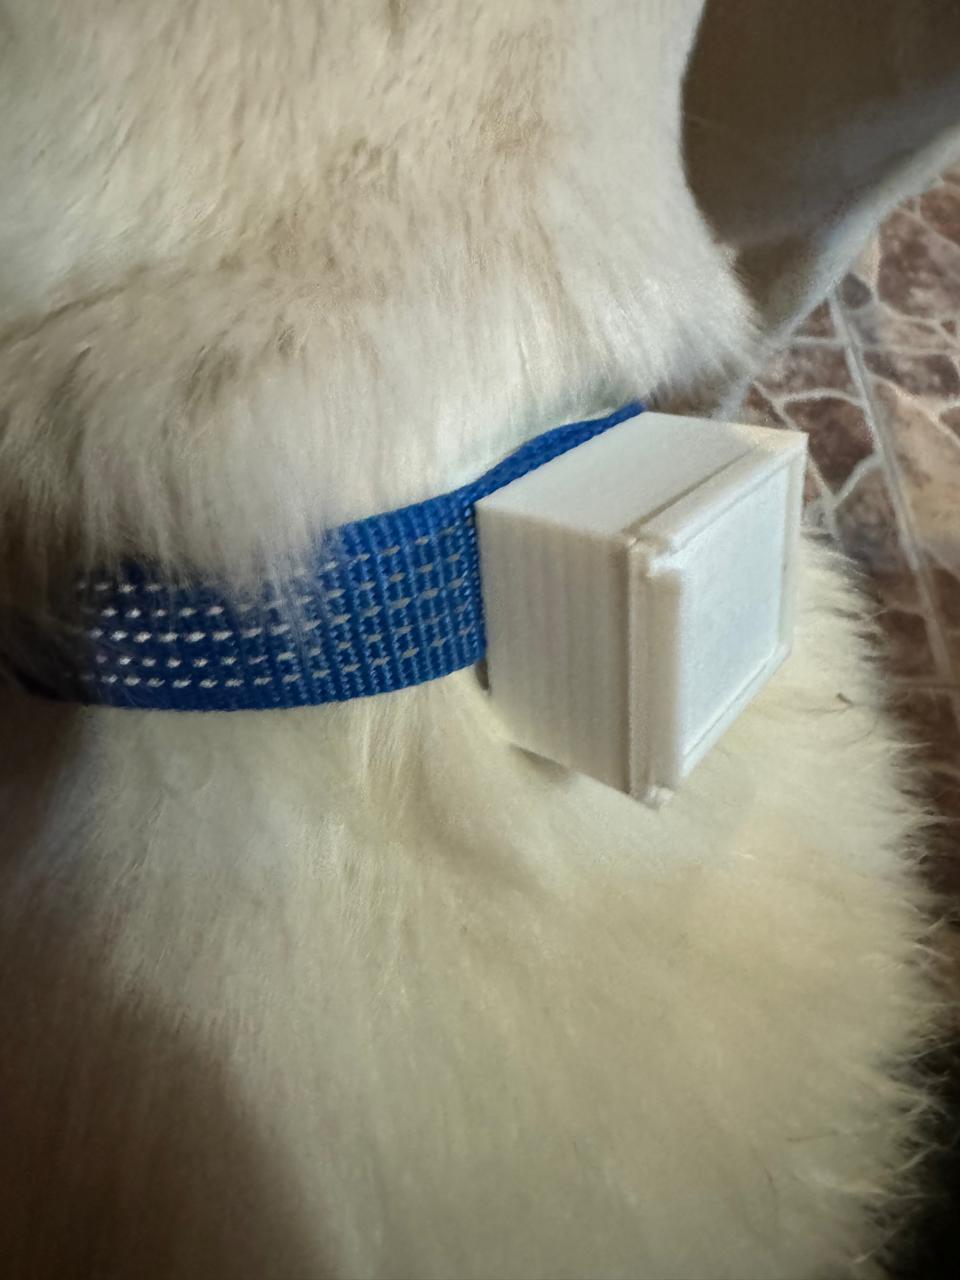
baby dog
In this case we observe the same, less hair, greater precision. We also see that it is a baby dog and in the same way it does not cause conflict, which we conclude that the design adapts to any collar and any size dog.
Improvements:
we can visualize the improvements that were made throughout the project


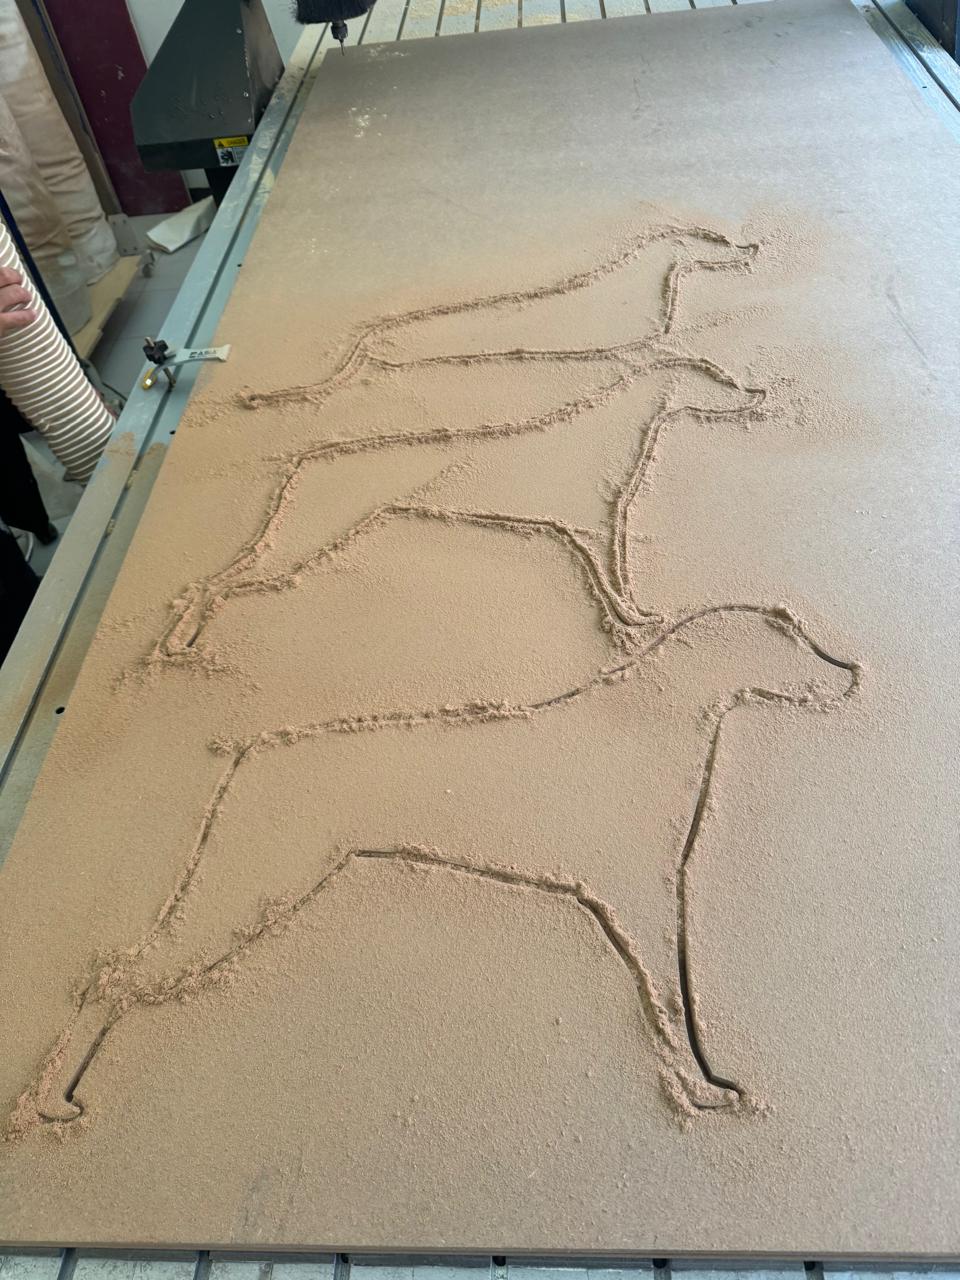
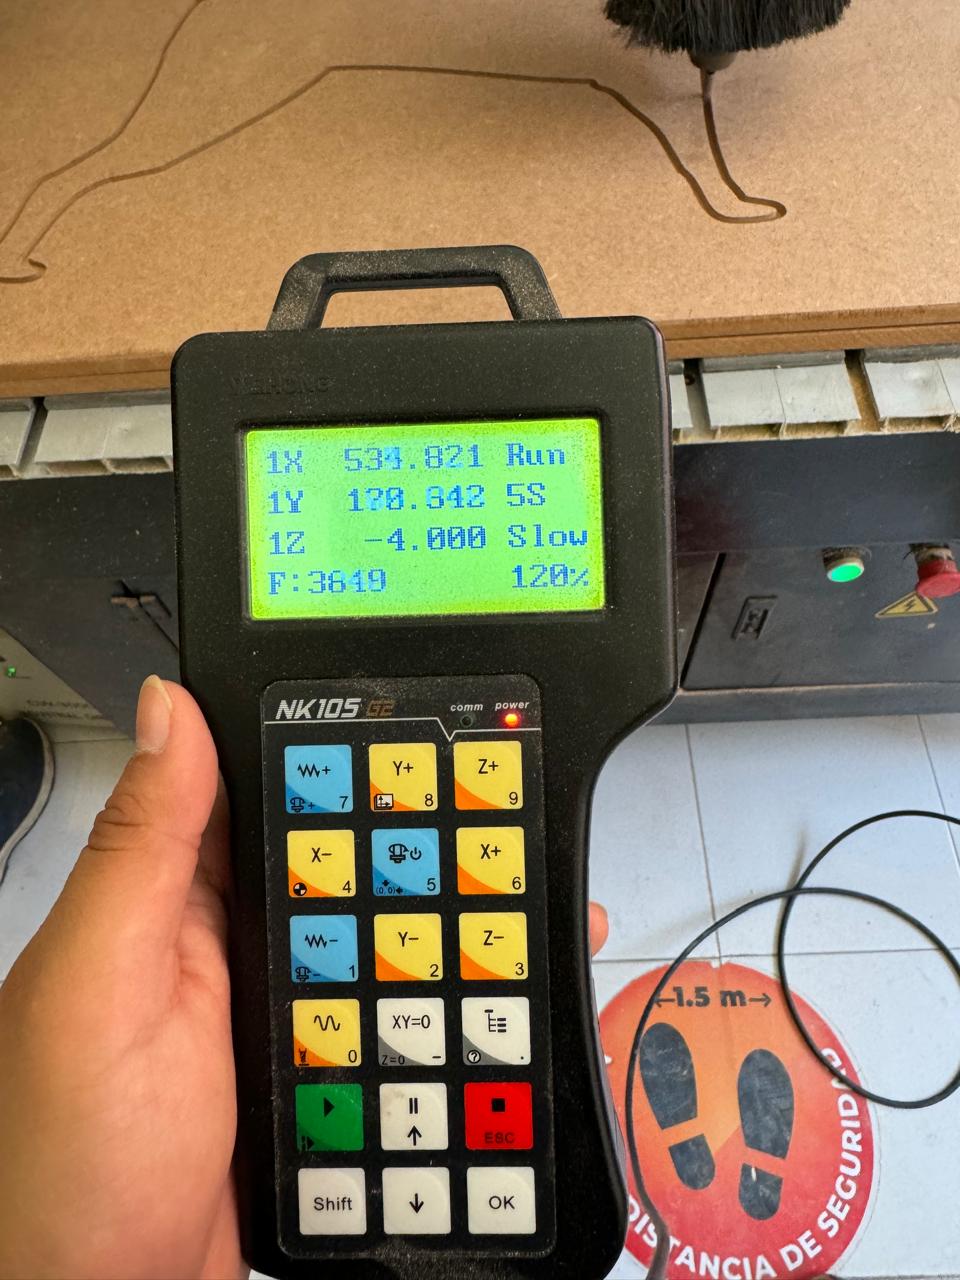
Mannequin Dog
.jpeg)
Components
| Quantity | Description | Cost (USD) | Photo |
|---|---|---|---|
| 1 | Xiao-ESP32 | $11.11 | 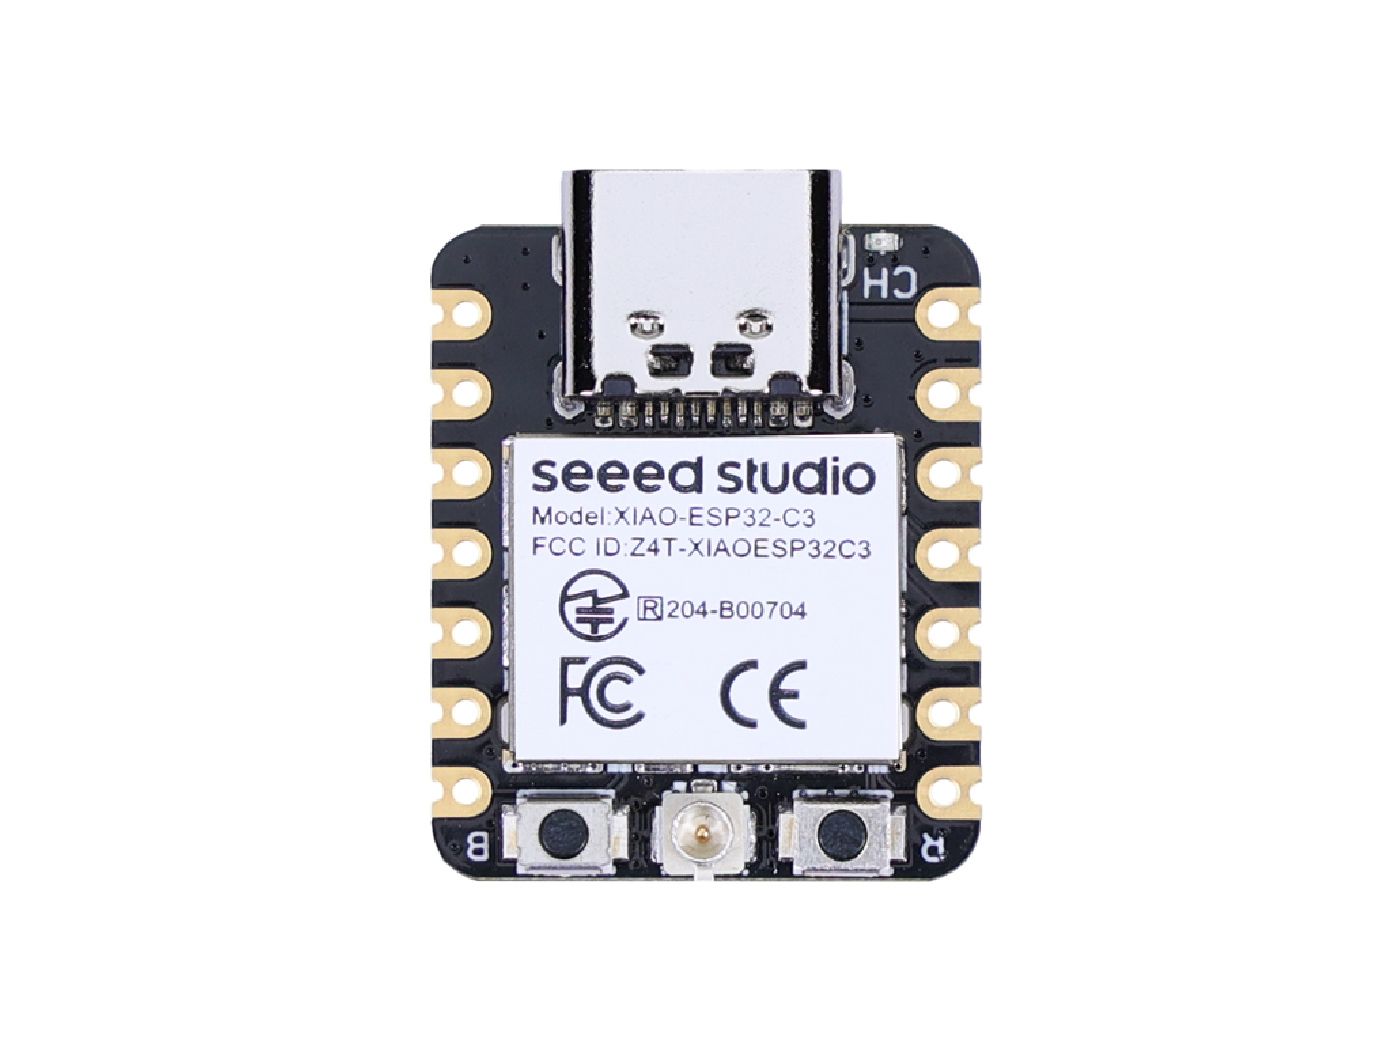 |
| 5 | jumpers | $11.11 | 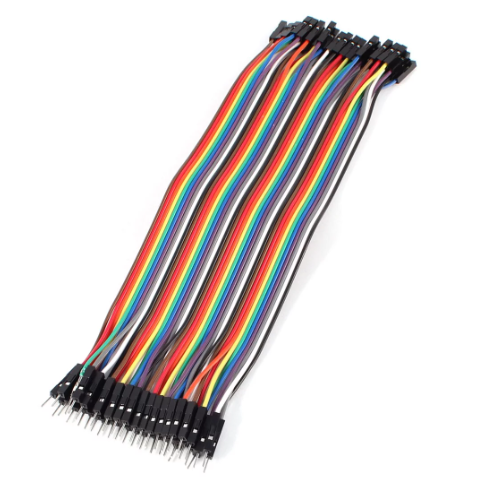 |
| 1 | MLX90614 sensor | $2.50 | 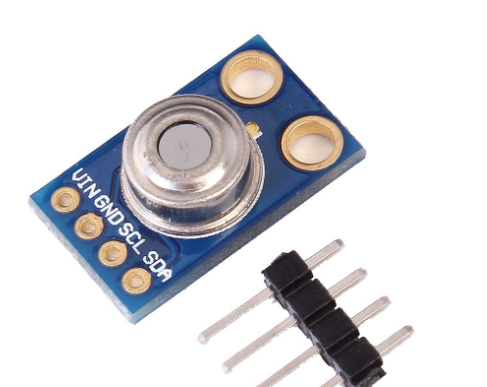 |
Processes
| Description | Cost (USD) | Photo | |
|---|---|---|---|
| 3D Printing (Approx. 200g) | $3 | 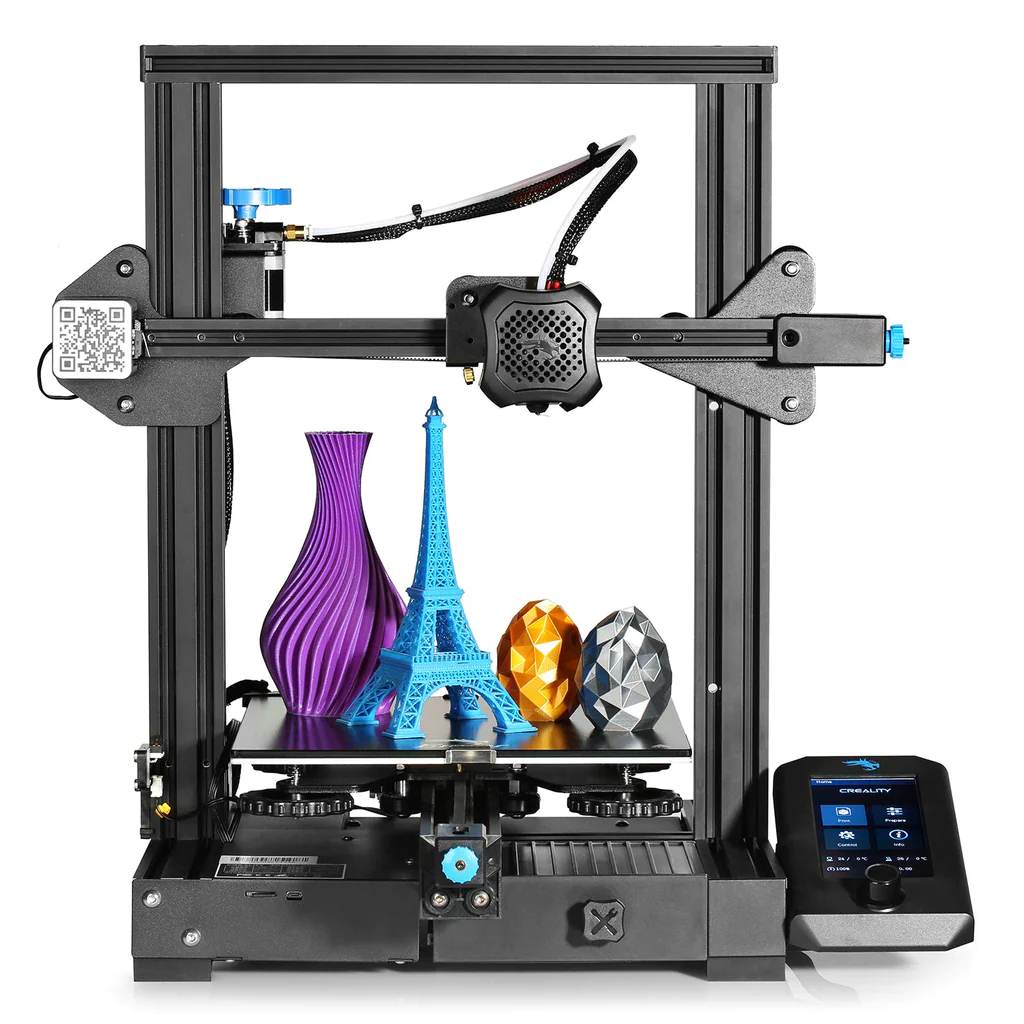 |
|
| MDF 15mm | $17.00 |  |
|
Programming
Programming of Sensors and Actuators:
Arduino Infrared Sensor
This Arduino code uses an ESP32 to connect to a WiFi network, read the temperature from an MLX90614 infrared sensor, and send the data to a web server using HTTP POST requests.
		// Included Libraries
		#include <HTTPClient.h>              // Allows making HTTP requests
		#include <WiFi.h>                    // Allows connection to WiFi networks
		#include <Wire.h>                    // Allows I2C communication
		#include <Adafruit_MLX90614.h>       // Library for the MLX90614 infrared sensor

		// WiFi Network Configuration
		const char* ssid = "frank";          // WiFi network SSID
		const char* password = "franlopez";  // WiFi network password

		// Sensor Object Creation
		Adafruit_MLX90614 mlx = Adafruit_MLX90614();  // Create an object for the MLX90614 sensor

		void setup() {
		delay(10);
		Serial.begin(115200);  // Start serial communication at 115200 baud

		WiFi.begin(ssid, password);  // Connect to WiFi network

		Serial.print("Connecting...");
		while (WiFi.status() != WL_CONNECTED) {
		delay(500);
		Serial.print(".");
										}

		Serial.print("Successfully connected, my IP is: ");
		Serial.println(WiFi.localIP());  // Print the local IP address once connected

		if (!mlx.begin()) {
		Serial.println("Error starting the MLX90614 sensor");
		while (1);  // If there is an error starting the sensor, the program stops
										}
									}

		void loop() {
		int temp = mlx.readObjectTempC();  // Read object temperature

		if (isnan(temp)) Serial.println("Error reading temperatures");  // Check if the temperature reading is valid
										}
		else {
		Serial.print("Object Temperature= ");
		Serial.print(temp);
		Serial.println(" °C");
										}

		// Send sensor value to the server
		if(WiFi.status() == WL_CONNECTED) {
		HTTPClient http;
		String url = "https://agraphic-routines.000webhostapp.com/sensorinfrarrojo/";
		String data_to_send = "temp=" + String(temp);

		Serial.print("Sending request to: ");
		Serial.println(url

				);

		http.begin(url);
		http.addHeader("Content-Type", "application/x-www-form-urlencoded");

		int response_code = http.POST(data_to_send);

		if(response_code == HTTP_CODE_OK) {
		Serial.println("Data sent successfully");
											}
		else {
		Serial.print("Error sending POST, code: ");
		Serial.println(response_code);
											}

		http.end();  // Terminate connection
										}
		else {
		Serial.println("WiFi connection error");
										}
		delay(1000);
Detailed Explanation
Included Libraries: The code includes several essential libraries.
#include <WiFi.h> allows connection to WiFi networks,
#include <WiFiClient.h> allows communication with the server,
#include <HTTPClient.h> allows making HTTP requests,
#include <Wire.h> includes basic functions for I2C communication, and
#include <Adafruit_MLX90614.h> allows interaction with the MLX90614 infrared sensor.
WiFi Network Configuration: The WiFi network credentials to which the ESP32 will connect are defined.
Sensor Object Creation: An object for the MLX90614 sensor is created, allowing interaction with it.
Setup Function: Initializes serial communication, connects the ESP32 to the WiFi network, prints the local IP address once connected, and checks if the MLX90614 sensor is correctly connected.
Loop Function: Reads the object temperature from the MLX90614 sensor, checks if the reading is valid, and sends the temperature data to a web server via an HTTP POST request. If there is an error in the WiFi connection or sensor reading, it prints an error message on the serial monitor.
PHP
PHP Infrared
This PHP code manages the reception of temperature data sent by the ESP32 and saves it in a text file. It also updates a web page with the latest temperature received.
                <?php
                // Checks if the "datoscollar.txt" file does not exist and creates it with an initial value of "0"
                if(!file_exists("datoscollar.txt")){
                    file_put_contents("datoscollar.txt", "0\r\n");
                }

                // If a POST value with the key 'temp' has been received, save the value in the file
                if(isset($_POST['temp'])){
                    $VAR1 = $_POST['temp'];            // Gets the temperature value sent by the ESP32
                    $TEXT = $VAR1 . "\r\n";            // Formats the value with a line break
                    file_put_contents("datoscollar.txt", $TEXT);  // Saves the value in the file
                }

                // Reads the content of the "datoscollar.txt" file
                $FILE = file_get_contents("datoscollar.txt");
                // Finds the position of the first line break in the file
                $pos = strpos($FILE, "\r\n");
                // Extracts the first line of the file (last saved temperature)
                $VAR1 = substr($FILE, 0, $pos);
                ?>
                <!DOCTYPE html>
                <html>
                <head>
                    <meta http-equiv="refresh" content="1">
                </head>
                <body>
                    <p style="font-size:20px; font-family:'Segoe UI', Tahoma, Geneva, Verdana, sans-serif; color: #707070; line-height: 0;">
                        <?php echo $VAR1 ?>
                    </p>
                </body>
                </html>
download code 1
download code 2
Detailed Explanation
Checking the existence of the `datoscollar.txt` file: The script checks if the `datoscollar.txt` file exists. If it does not exist, it creates it and writes "0\r\n" to it. This ensures that the file is always present and has an initial value.
Receiving POST data and saving to the file: The script checks if a POST value with the key 'temp' has been received. If it has been received, it gets the value and saves it in the $VAR1 variable. Then, it formats the value with a line break ("\r\n") and saves it in the datoscollar.txt file.
Reading the file and extracting the last temperature: The script reads the entire content of the datoscollar.txt file into the $FILE variable. It finds the position of the first line break ("\r\n") in the file and extracts the first line of the file, which is the last saved temperature, and saves it in the $VAR1 variable.
Updating the web page with the last temperature: The HTML page automatically updates every second thanks to the <meta http-equiv="refresh" content="1"> meta tag. It displays the last temperature saved in the datoscollar.txt file.
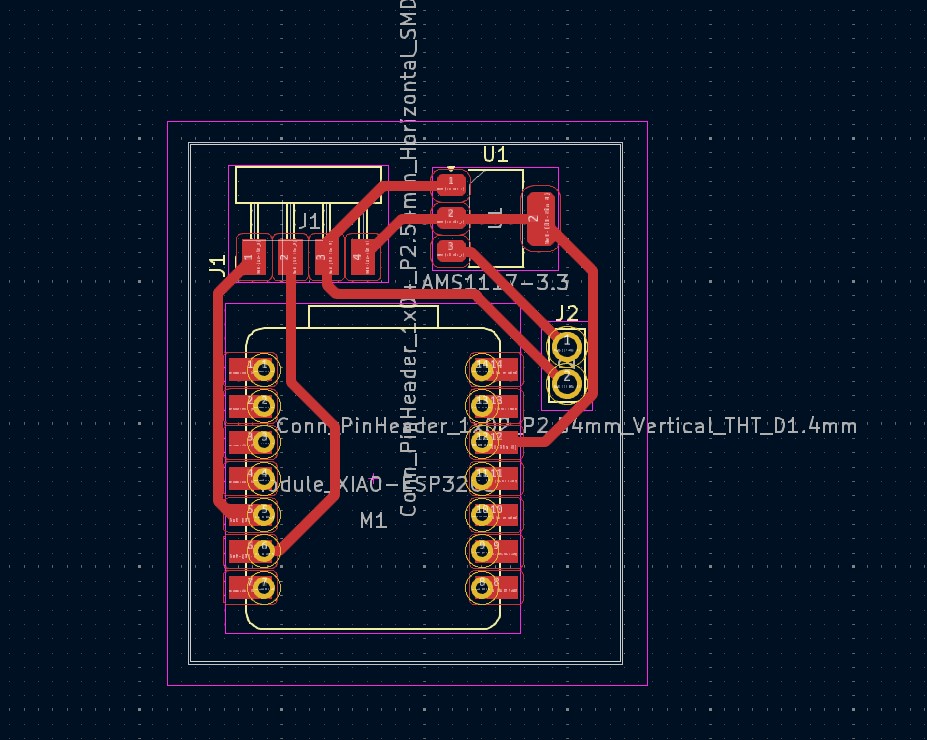
future improvements
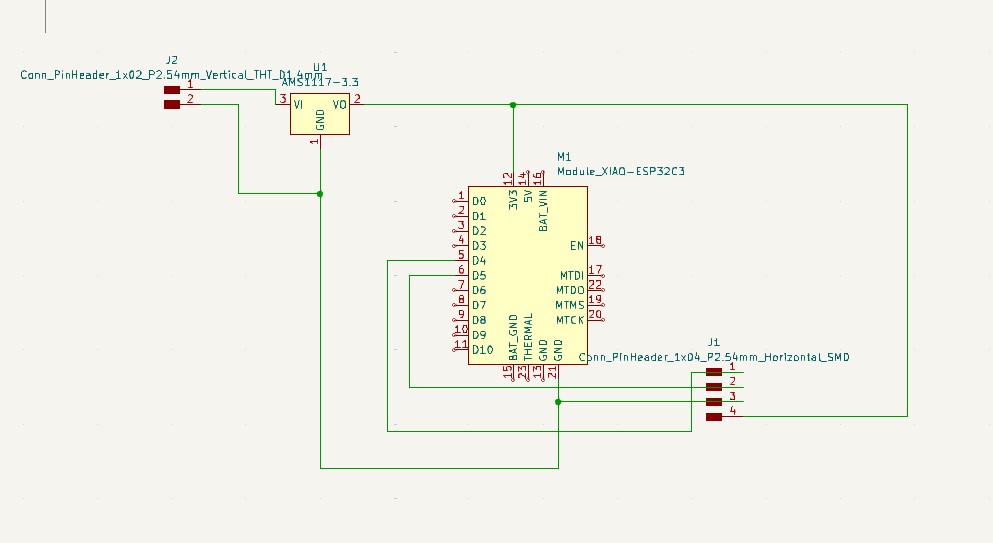
for the following improvements and once the battery is ready. I plan to develop this pcb in which the xiao and the battery can be connected directly, thus saving space in the 3D model and ensuring connections
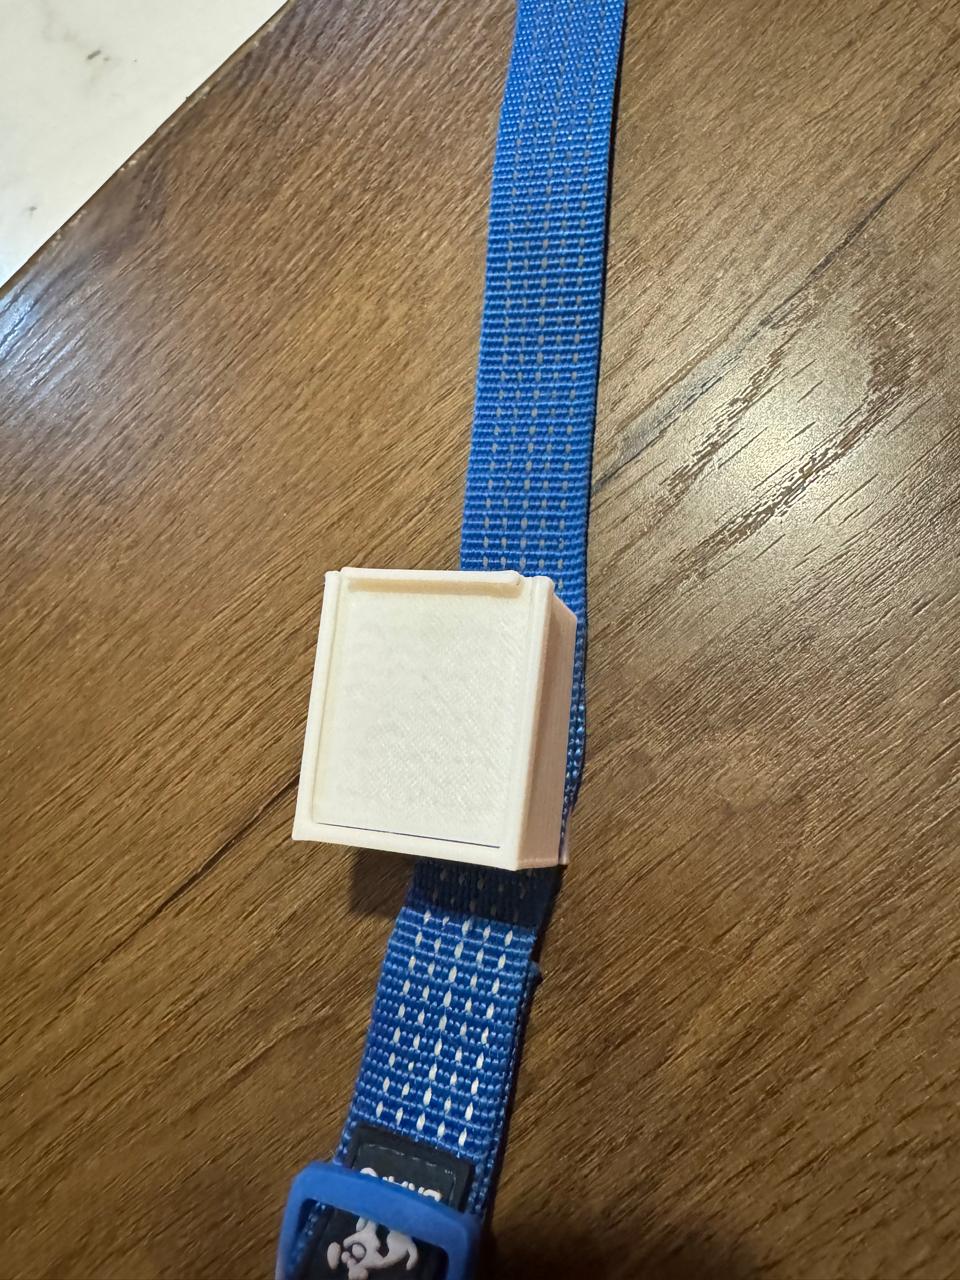
Final collar prototype.