For this week of printing, I used the following machines:
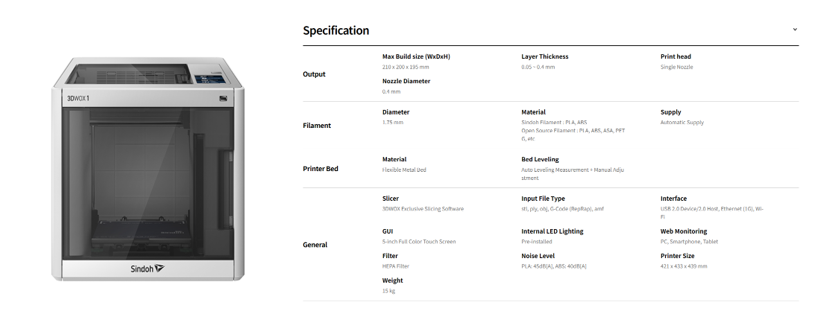
3DWOX1
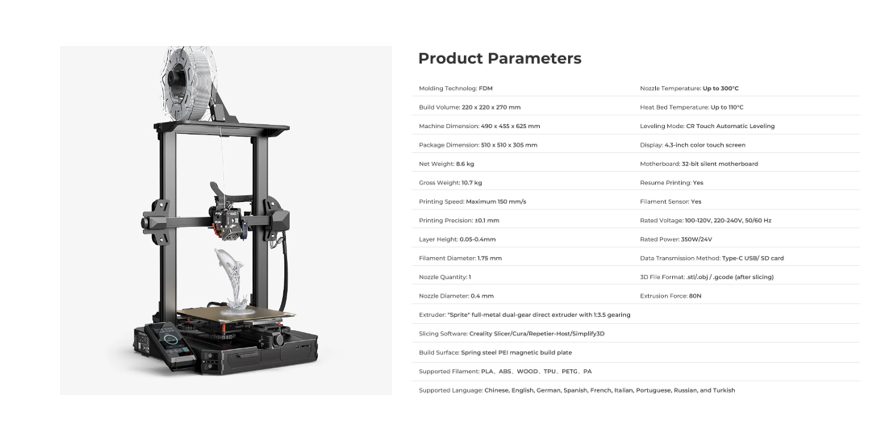
Ender3 s1pro
For my design, I based it on the following 3D print made by Wilson for the NBA
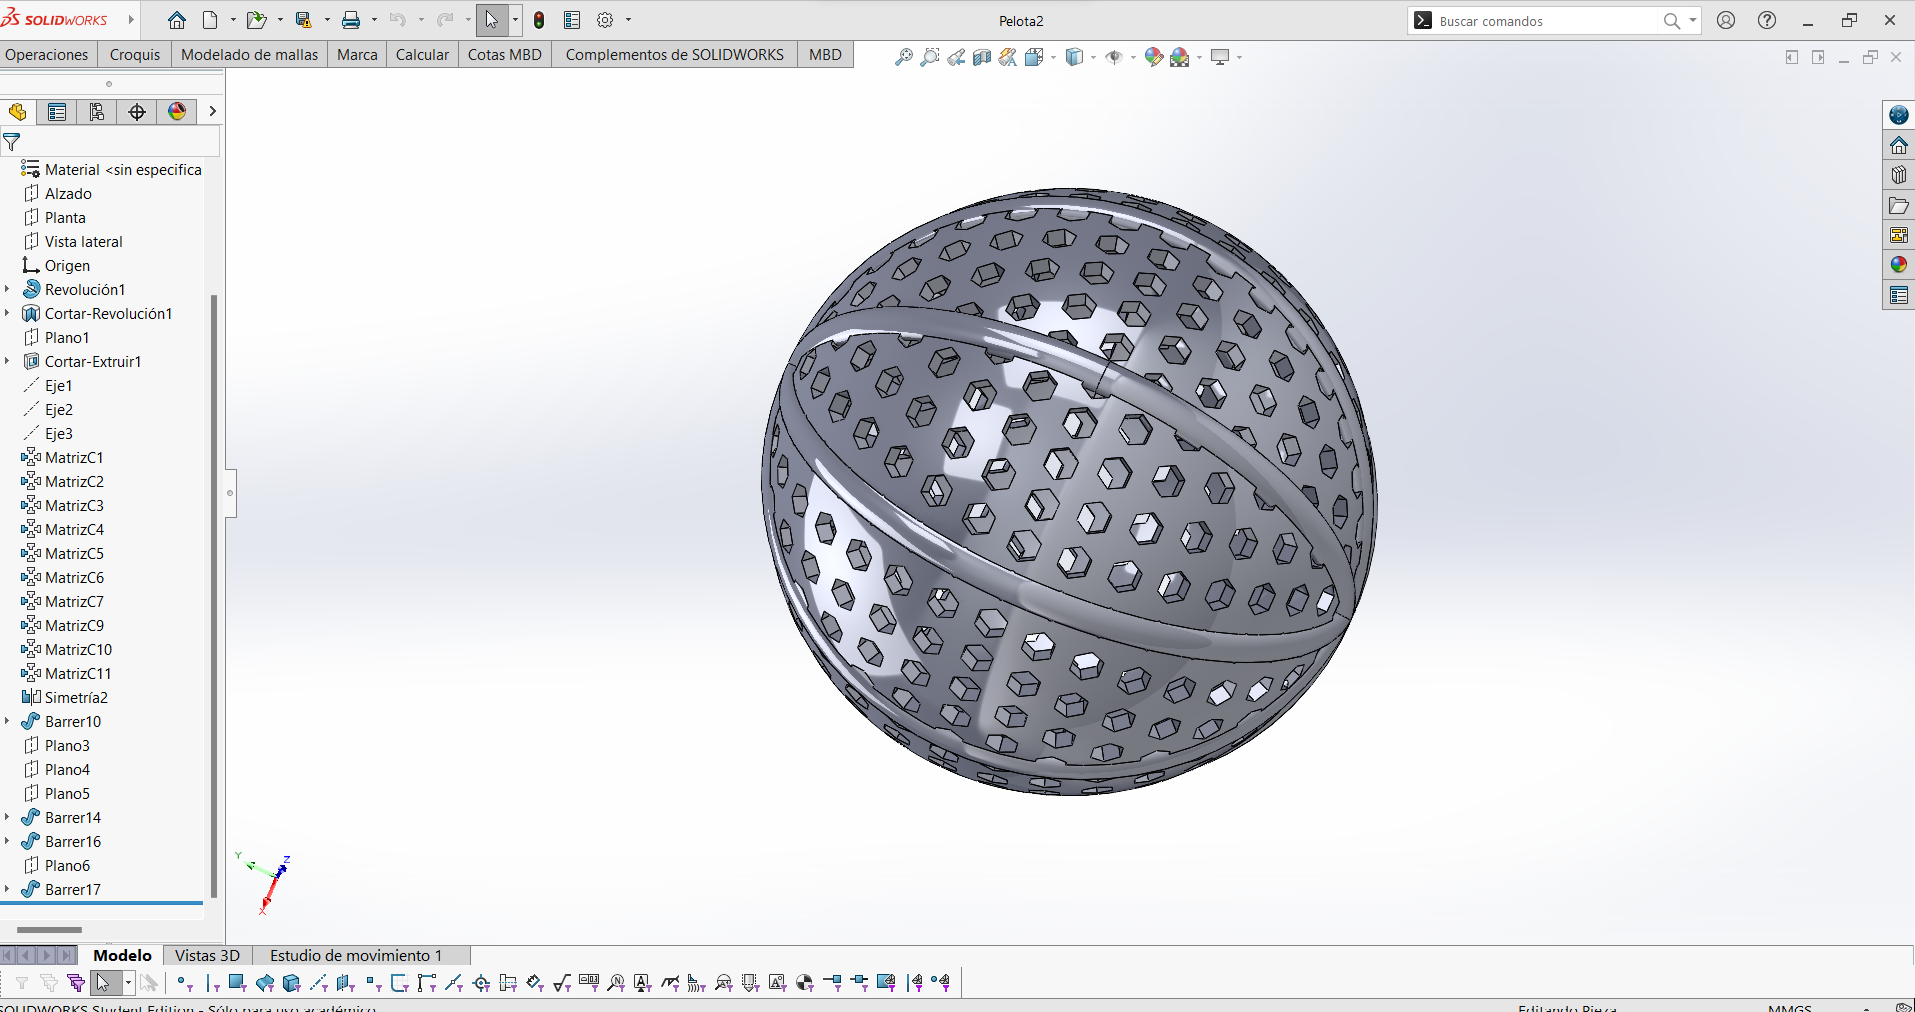
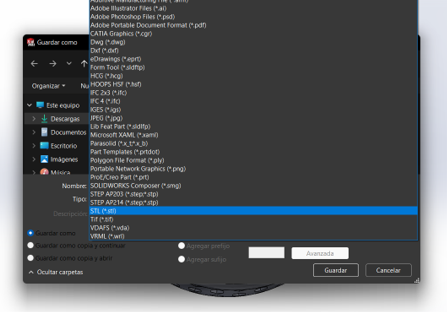
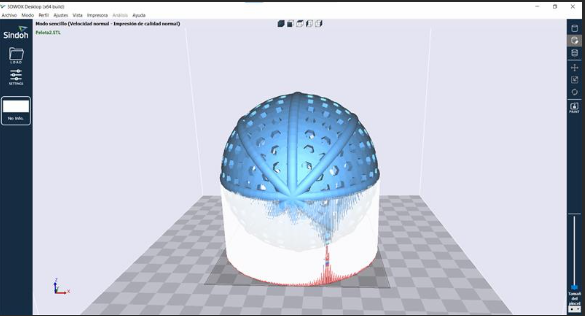
I started by designing my piece in SolidWorks, which ended up looking like this, and then saved it with the .STL extension.
Creating a Patterned Spherical Object in SolidWorks
Step 1: Create the Base Sphere
1. I opened SolidWorks and created a new part file.
2. I selected the Front Plane and started a new sketch.
3. I drew a circle centered at the origin with a diameter of 100mm.
4. I used the Revolve tool to turn this circle into a sphere. For this, I selected the centerline of the circle as the axis of revolution.
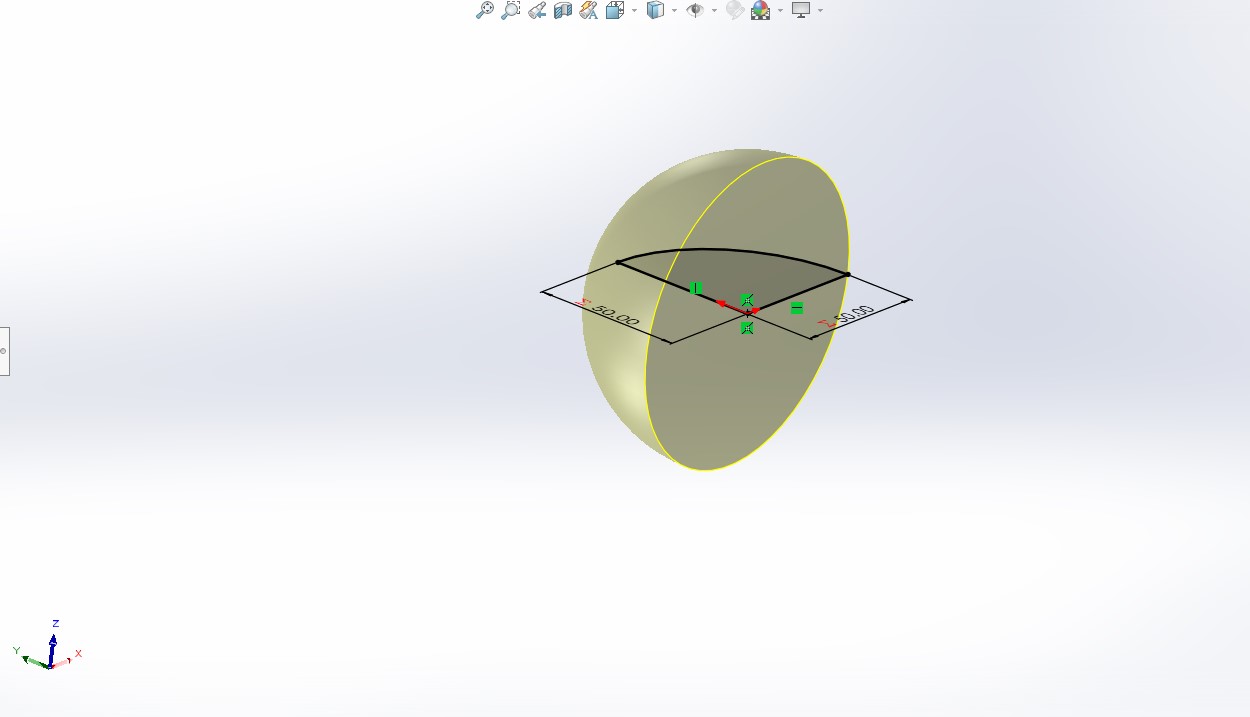
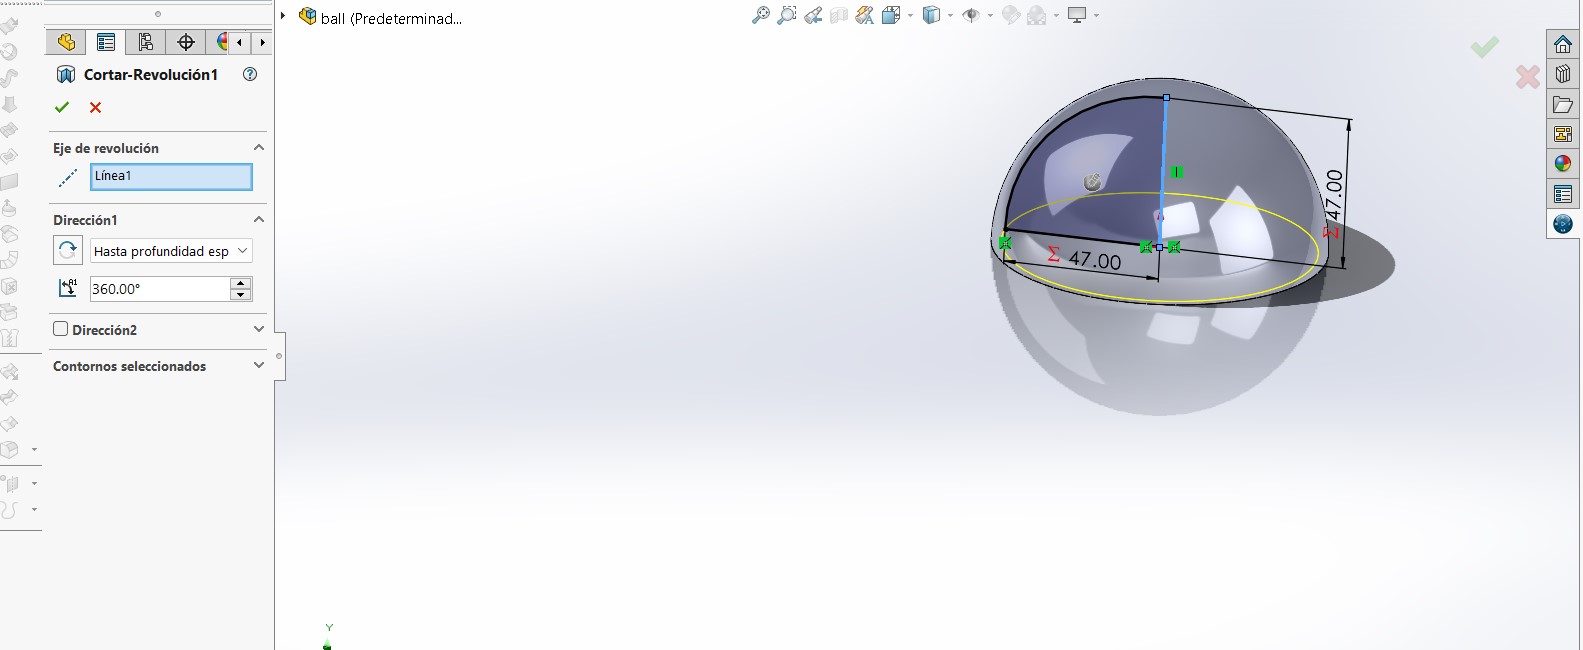
Step 2: Cut the Sphere
1. I selected the Top Plane and started a new sketch.
2. I drew an arc that crossed the sphere. I ensured it was centered and the dimensions were correct.
3. I used the Revolve Cut tool to remove part of the sphere. I selected the centerline of the arc as the axis of revolution.
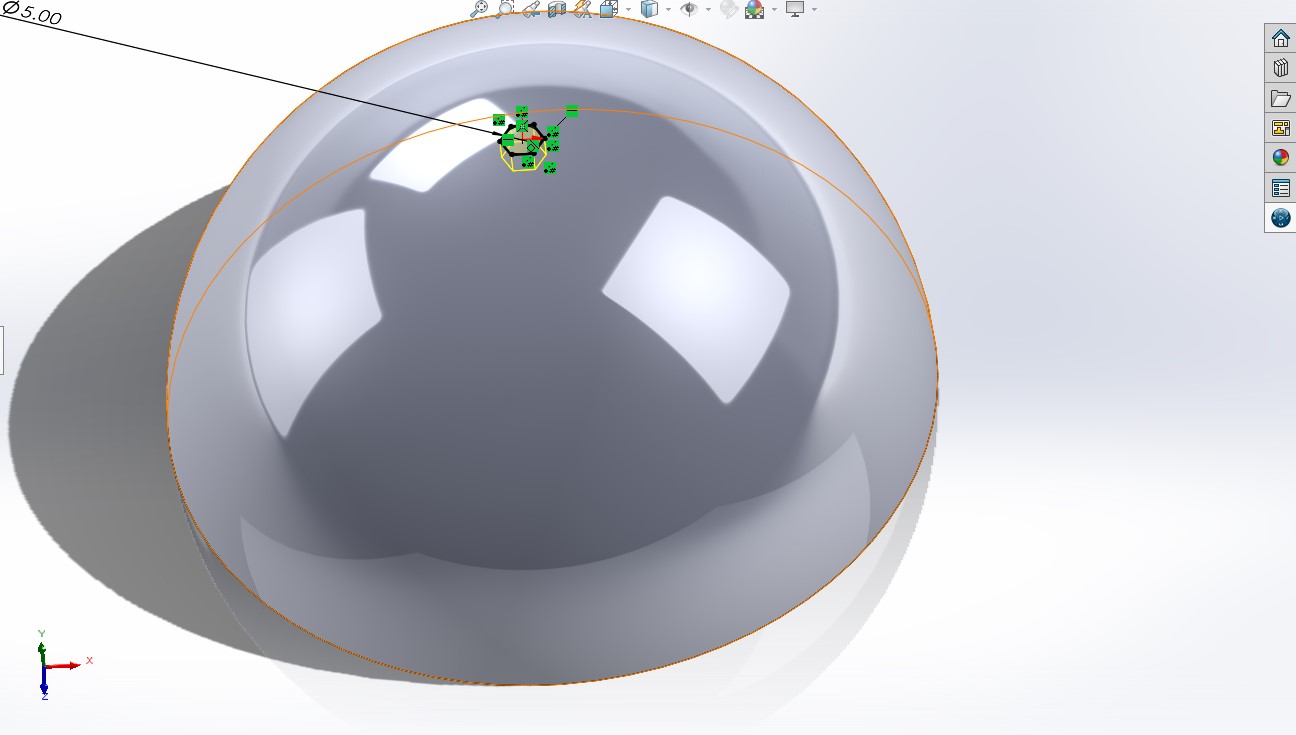
Step 3: Create the Hexagonal Pattern
1. I selected a face of the sphere to start a new sketch.
2. I drew a pattern of hexagons on that face using the Sketch tool. I adjusted the size and spacing of the hexagons.
3. I used the Extrude Cut tool to create the holes in the sphere.
4. I repeated the operation to create the hexagonal pattern several times across half of the sphere. I selected all the holes and used the Mirror tool to reflect the holes on the other half of the sphere.
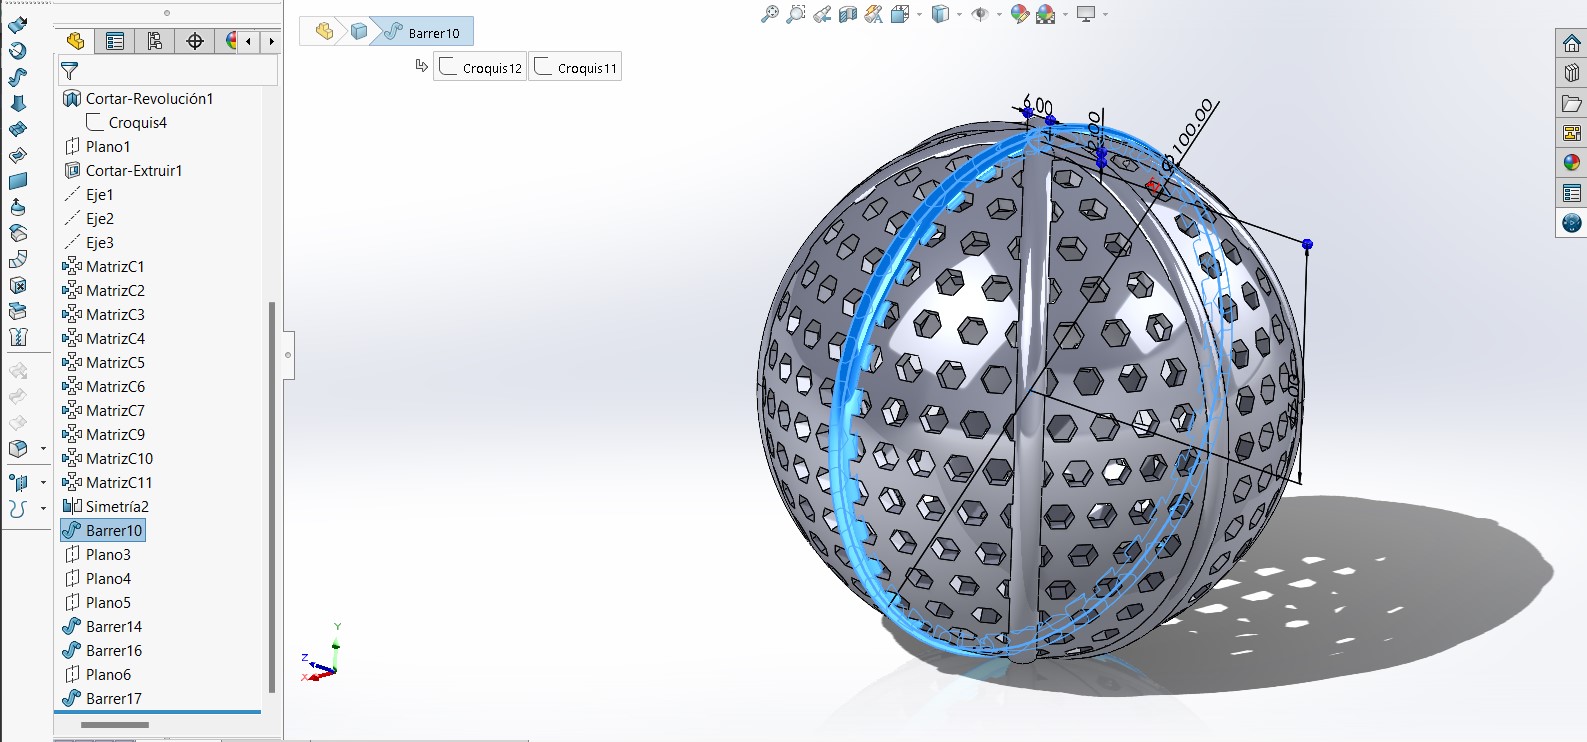
Step 4: Create the Sweep
1. I selected a new plane and created a sketch of a guide line that followed the shape I wanted to sweep.
2. I drew the section I wanted to sweep along the guide.
3. I used the Sweep tool to create the sweep along the guide. I repeated this operation several times across the figure.
After following all these steps, I obtained the patterned spherical figure you see in the images and video.
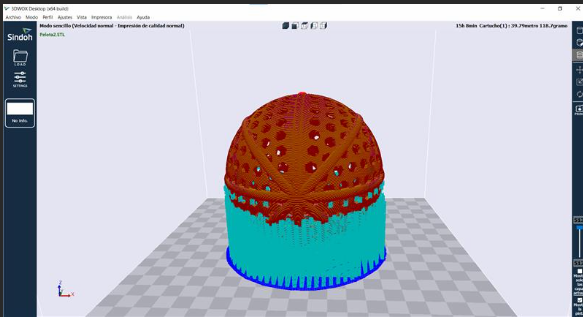
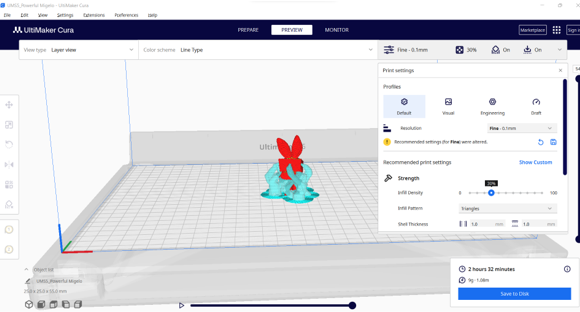
Then, we exported them to the printers' software. In the case of the 3Dwox1, it is exported to 3DWOX desktop, and in the case of the Ender, it is exported to Ultimaker Cura
Printing with 3Dwox
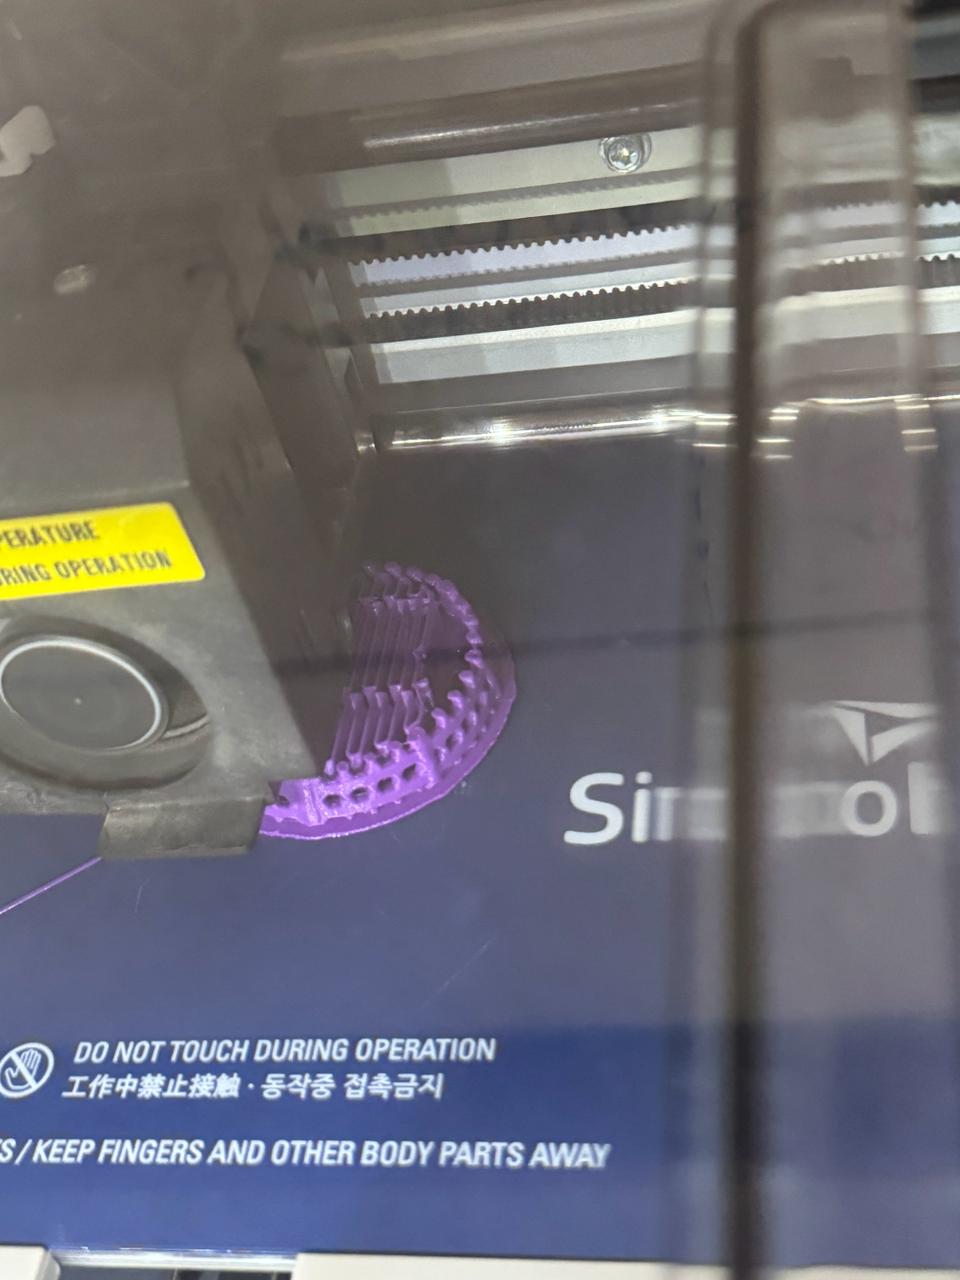
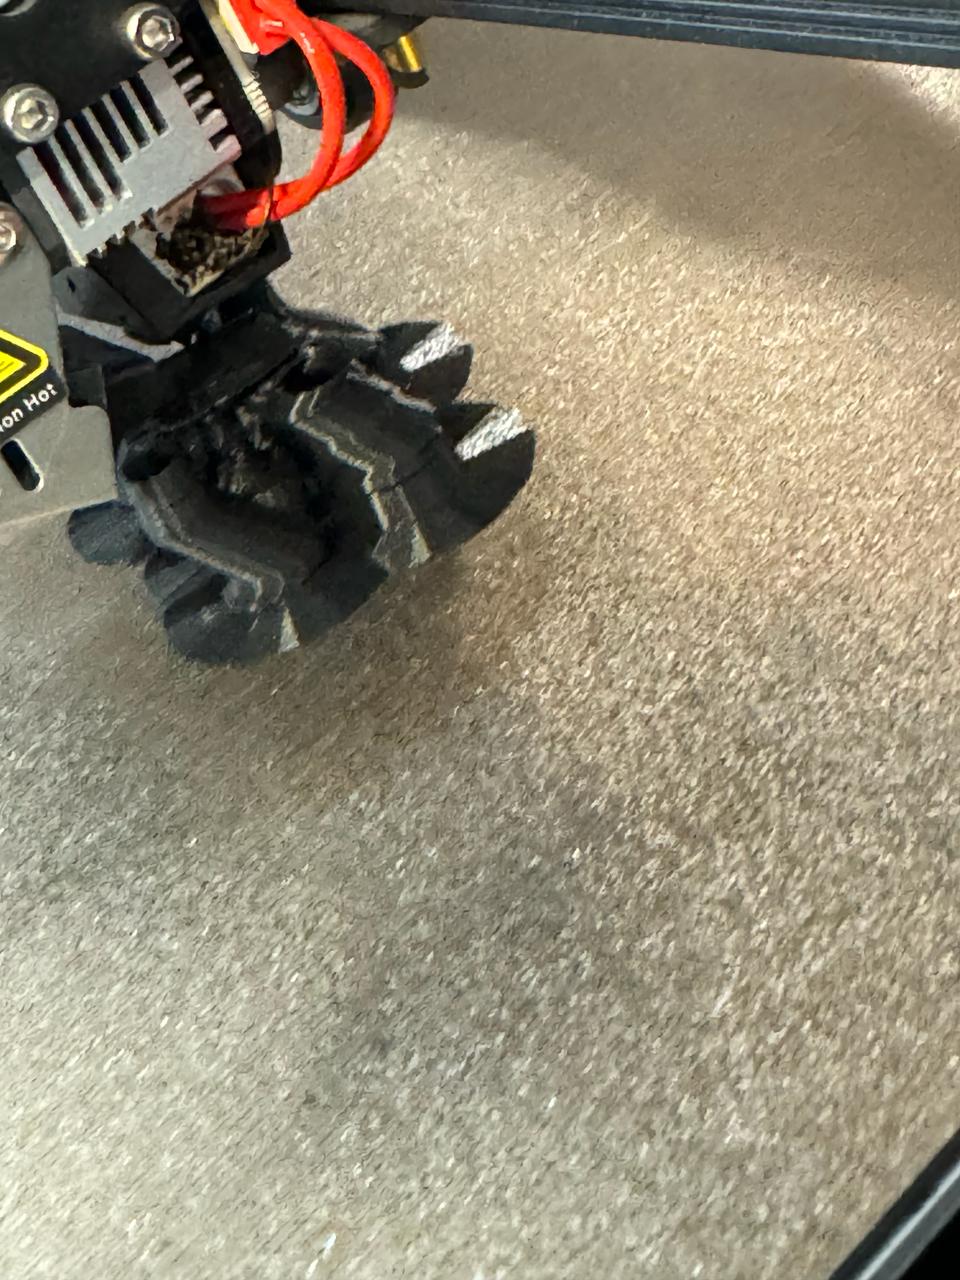
Once exported, we add supports to the piece because due to the weight and angle, it's likely that the print will be ruined.
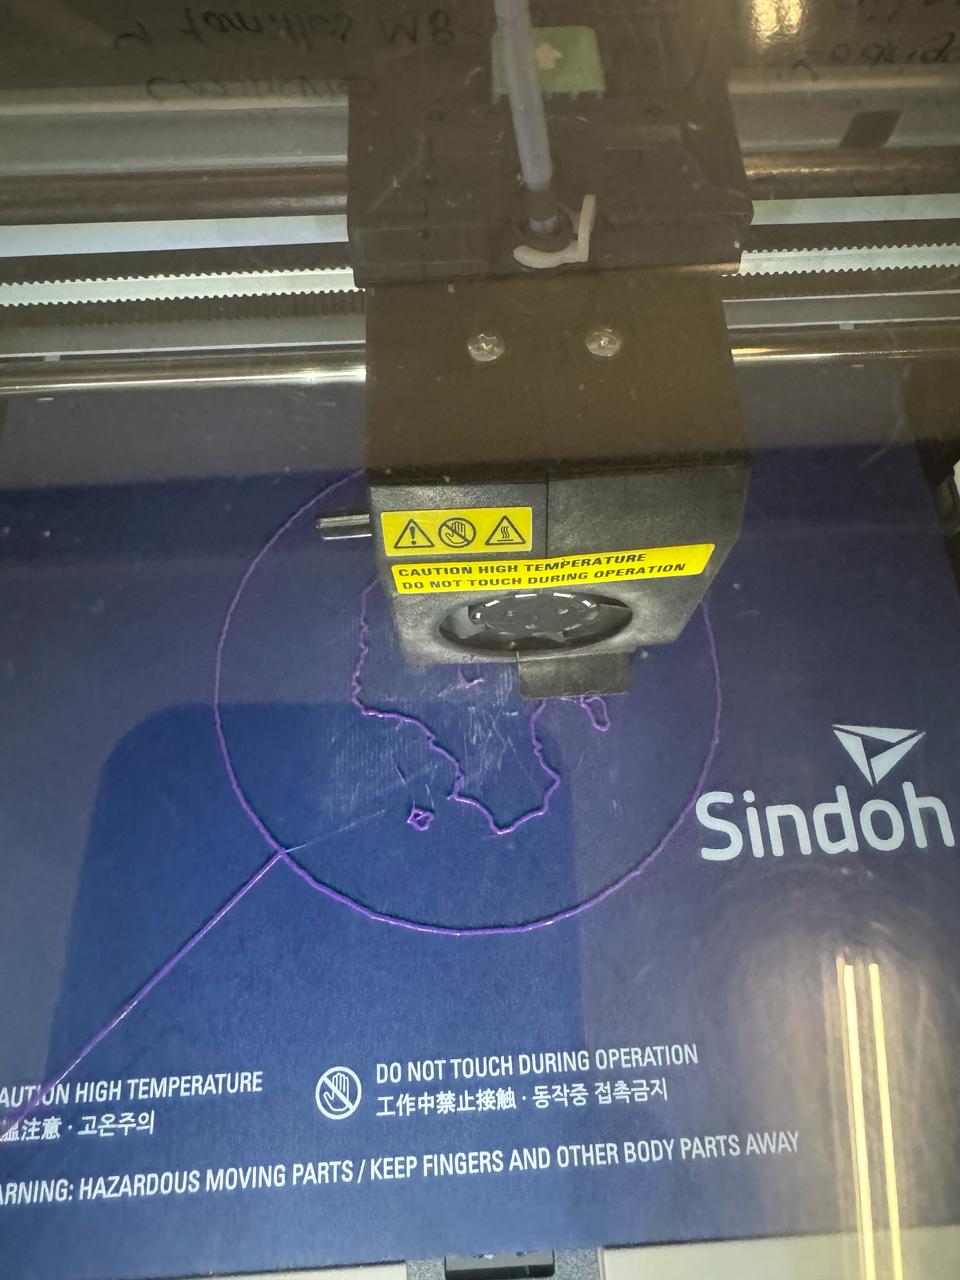
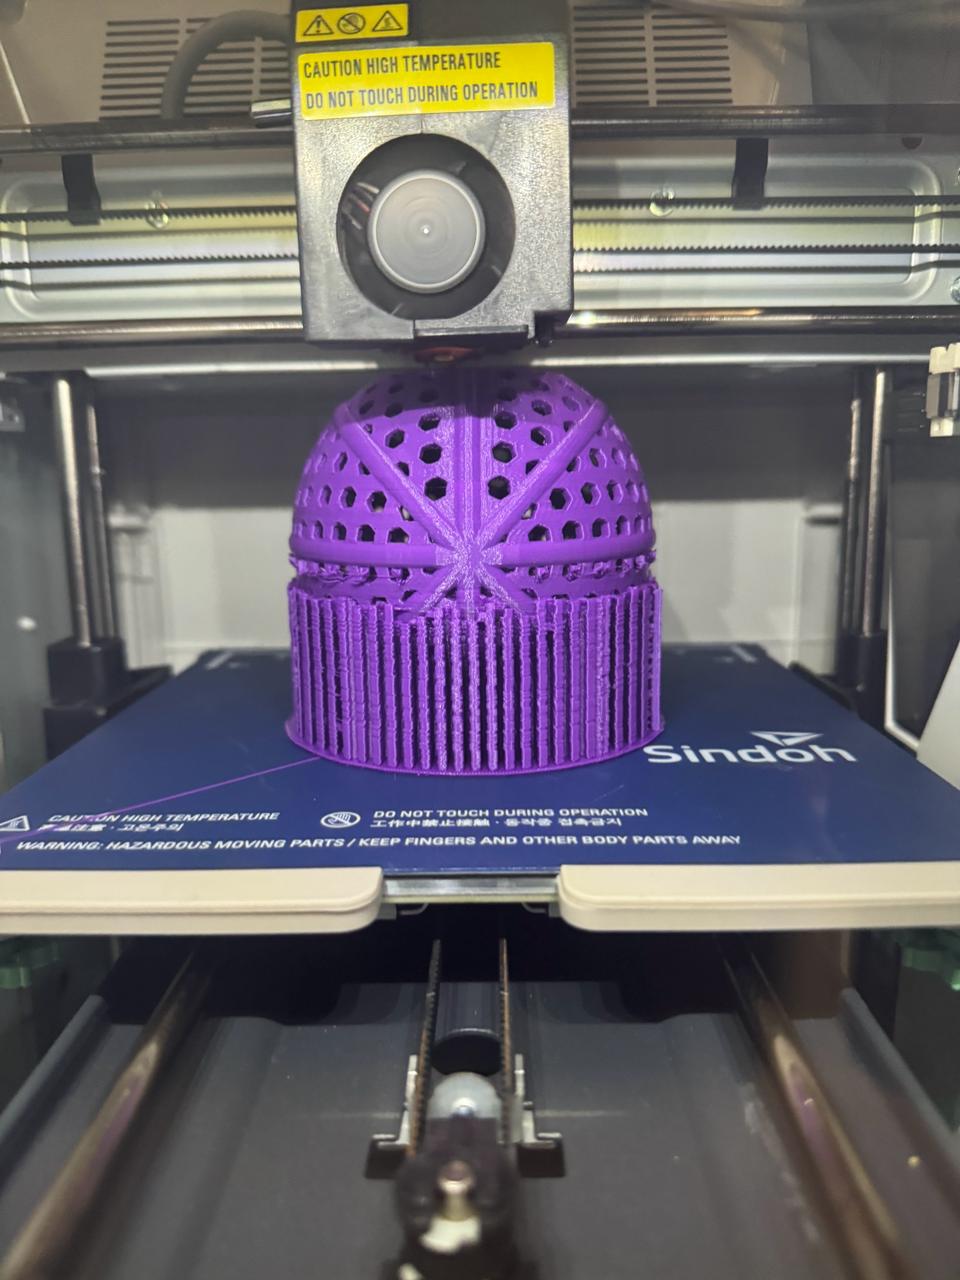
Procedure
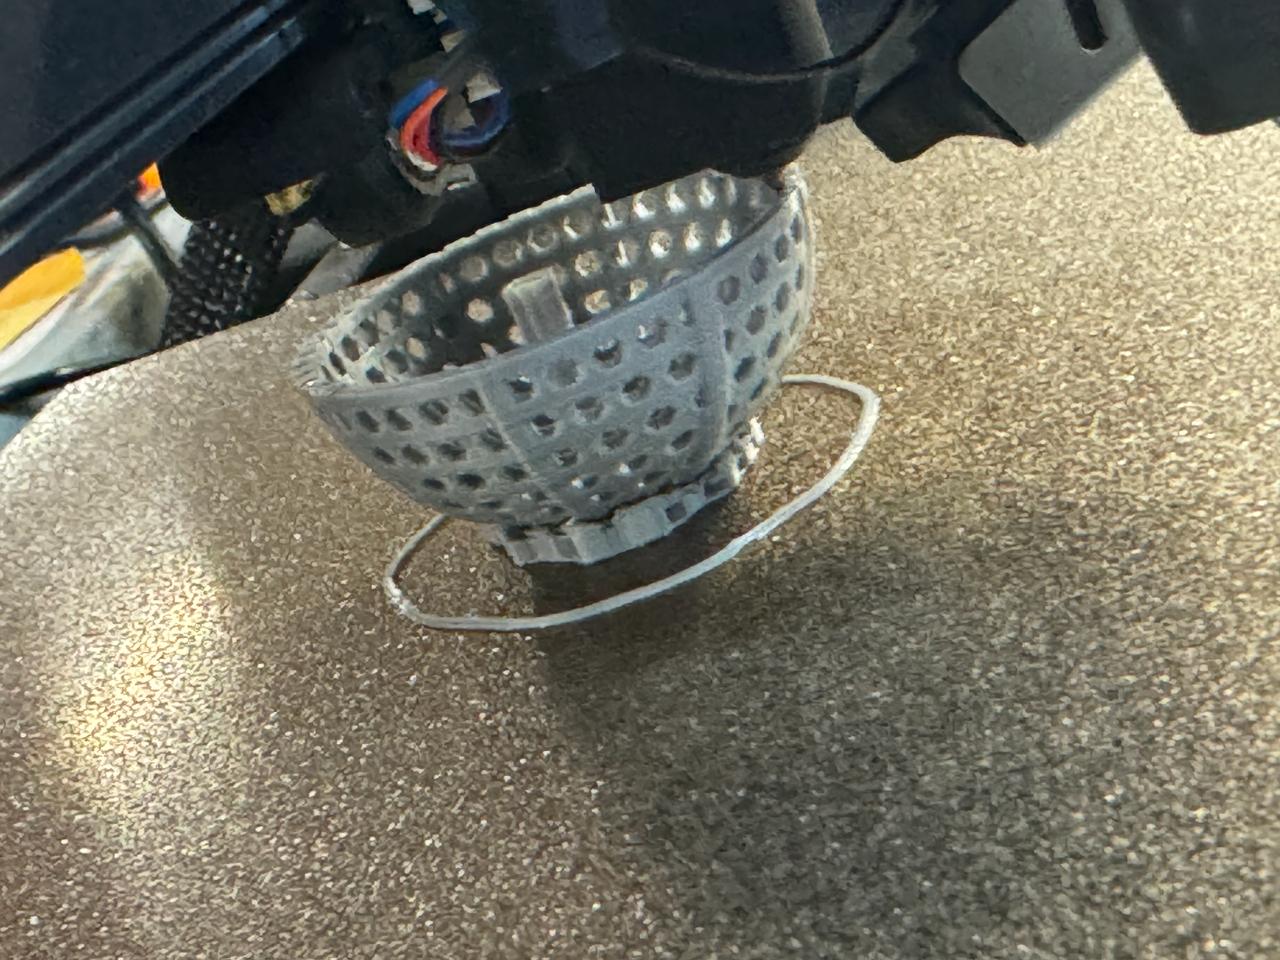
This print came out almost perfect except for the supports that didn't hold up entirely well and caused the origin of the piece to shift a bit, leaving those imperfections on the part. In this case, the ball originally measured 10 cm in diameter, so I reduced it to 5 cm for future prints to make the printing process faster, thus saving time and material. Additionally, I noticed that the size relative to the time was quadratic
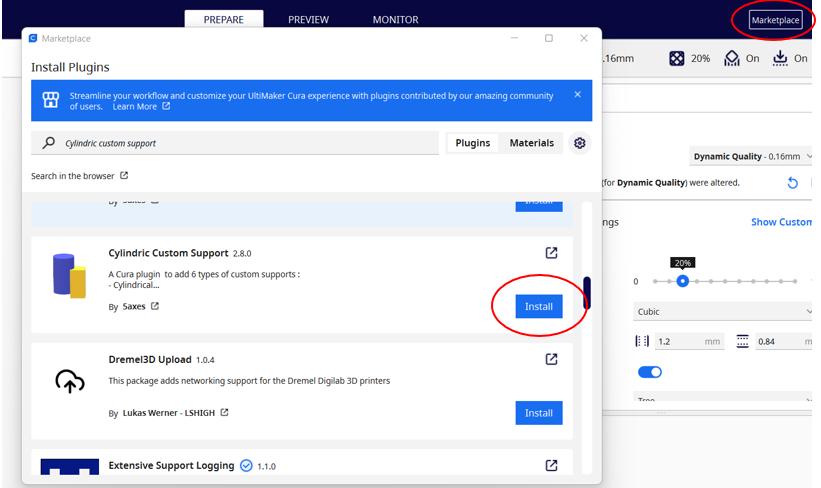
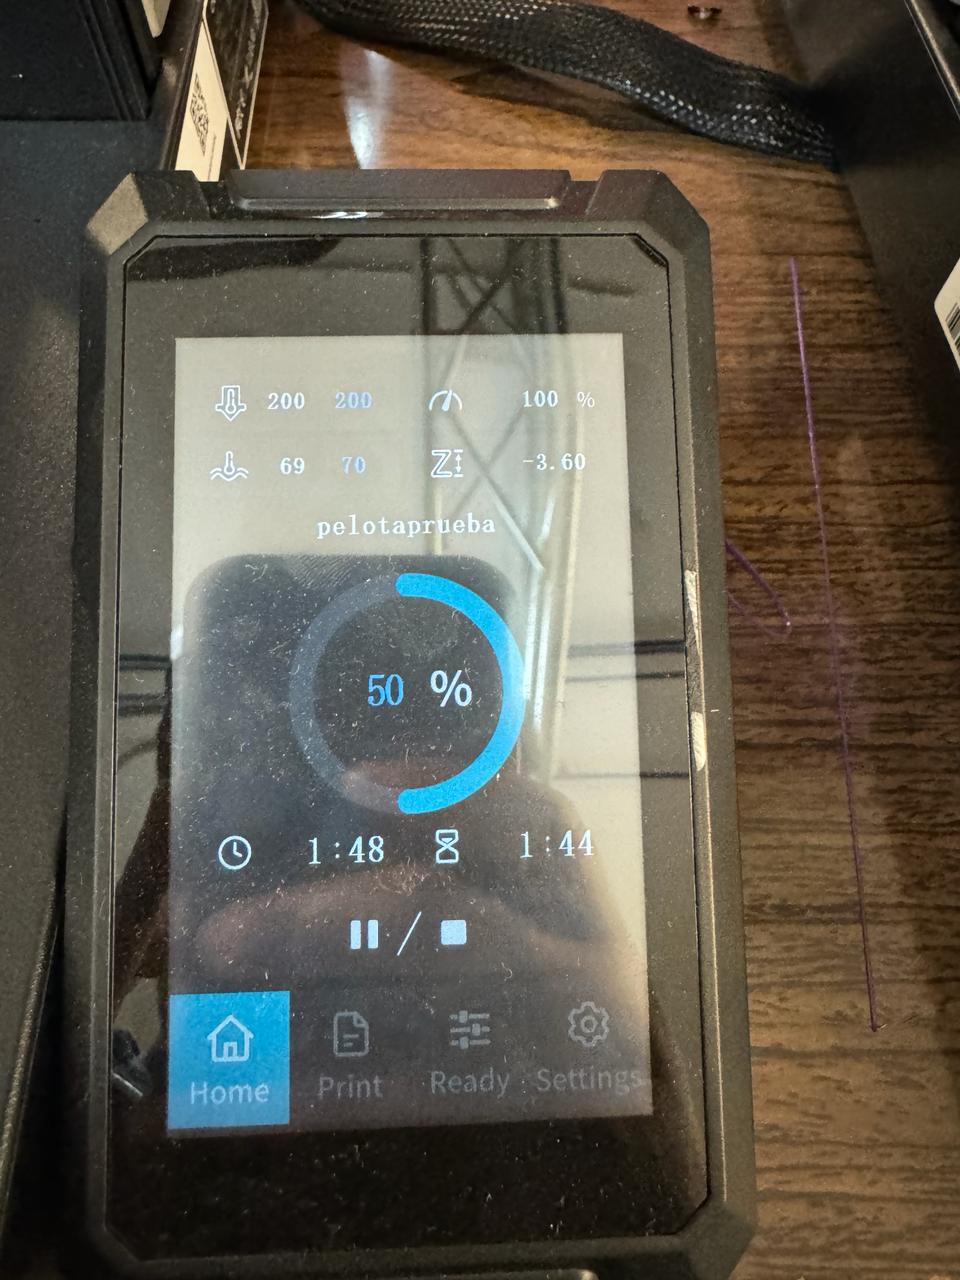
I tried again, but this time with a 5 cm diameter in two ways. First, I thought of splitting the piece into two to have a more solid base and then glue it together with glue. However, I didn't quite like the result, so I tried it with the Ender and Cura. I downloaded an plugin for some special supports because the default ones didn't suit me as they went inside the sphere. The tree supports were a good idea, but they still intruded.
>
NOTE:WHENEVER AN STL FILE IS IMPORTED INTO CURA OR 3DWOX, IT MUST BE SLICED TO GENERATE THE G-CODE FOR PRINTING.
For this week of Scanning, I used the following machines:
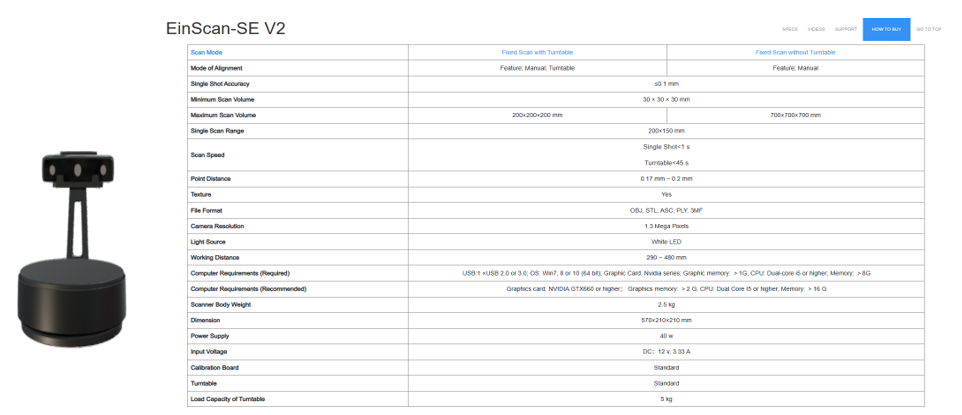
Shining 3d einscan SE
Iphone 15 pro
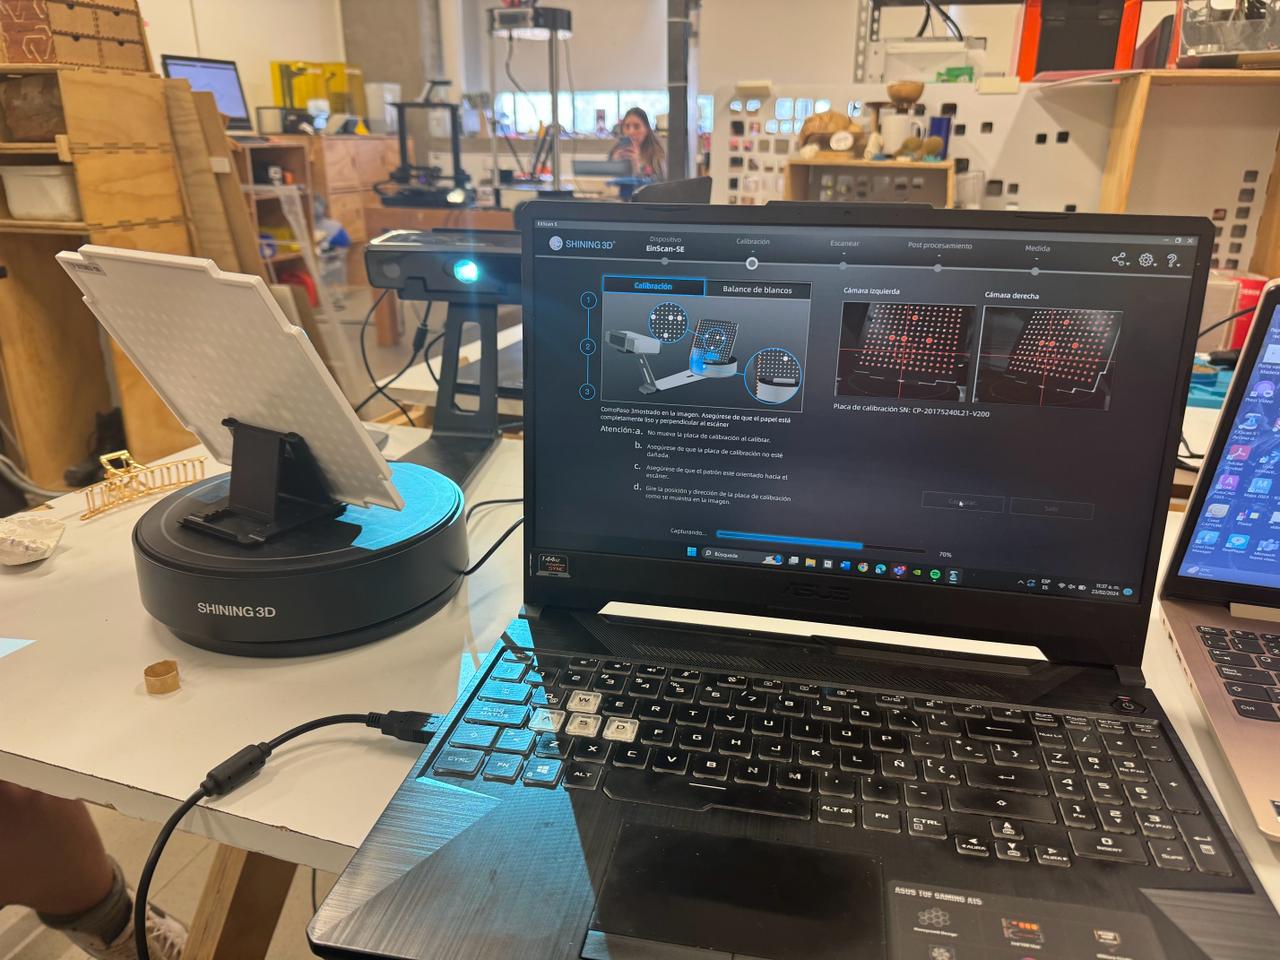
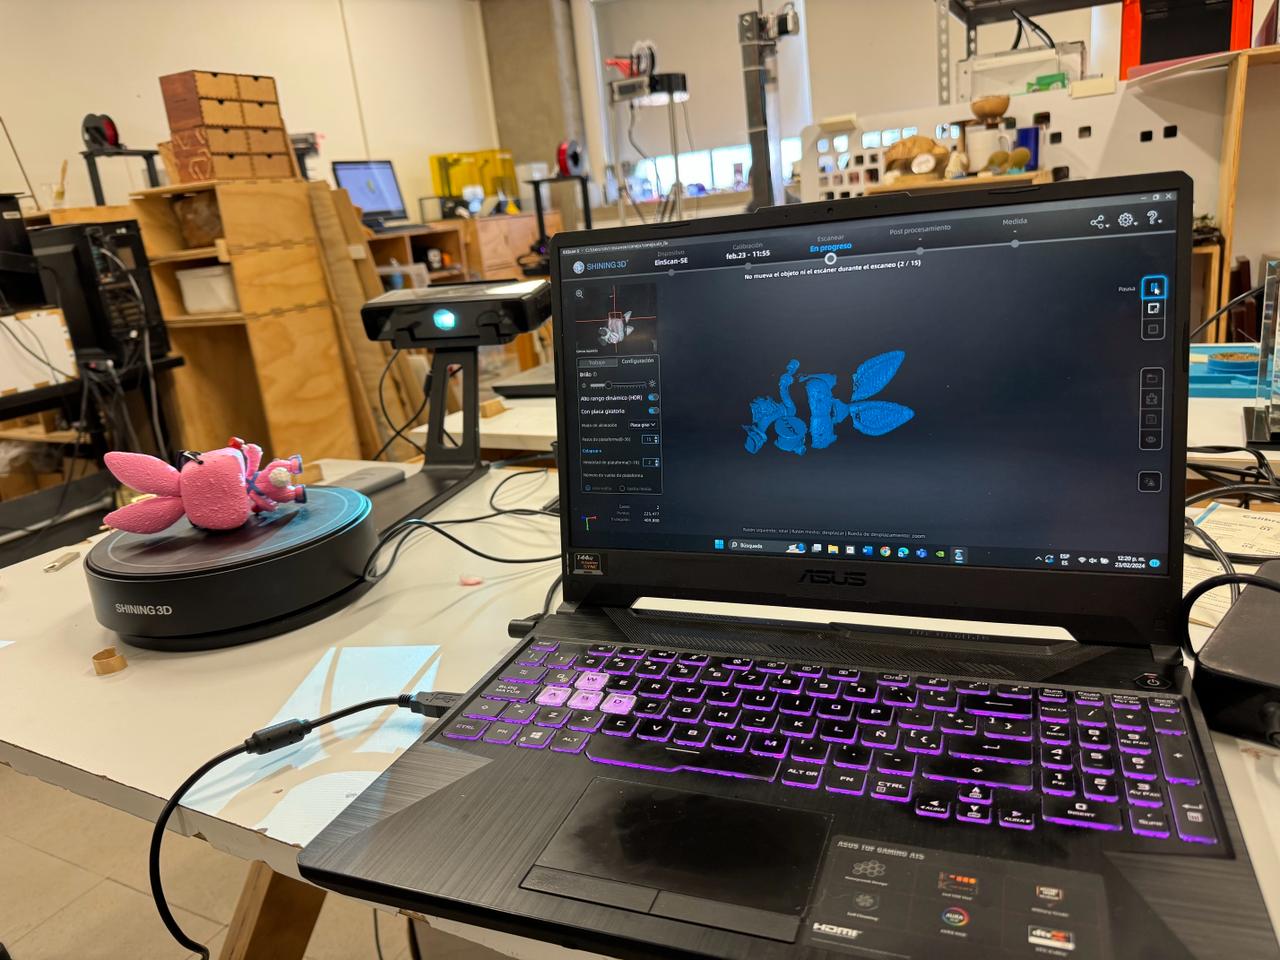
To scan with the Shining 3D Einscan SE, I used an application called
EXscan v3. Here are the steps to use it
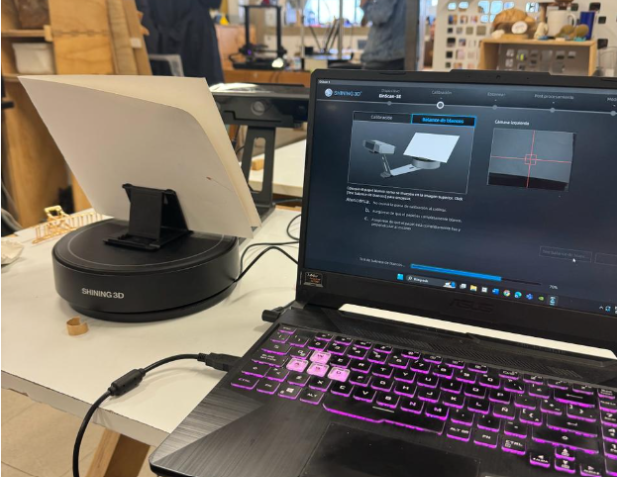
First, we calibrate the machine.
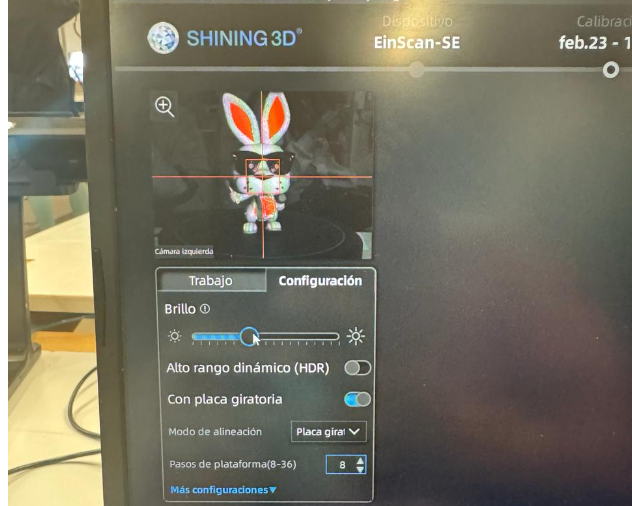
Once calibrated, we adjust parameters and scan the piece in different directions.
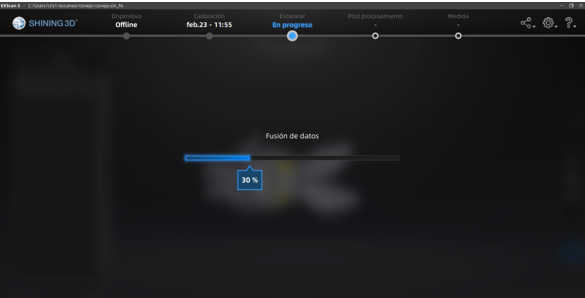
We use 2 scanners for more information, and then we merge them to create a single model with both sets of information.
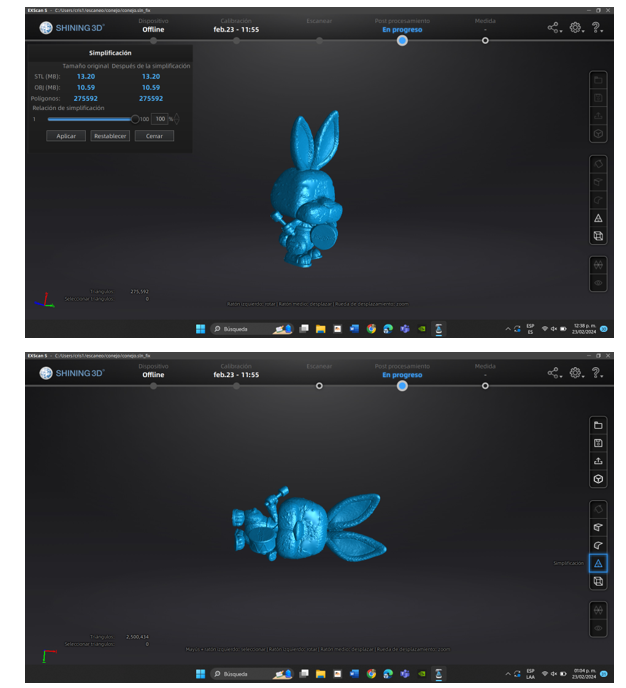
We simplify the size.
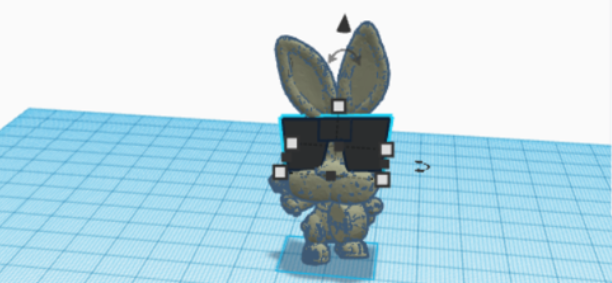
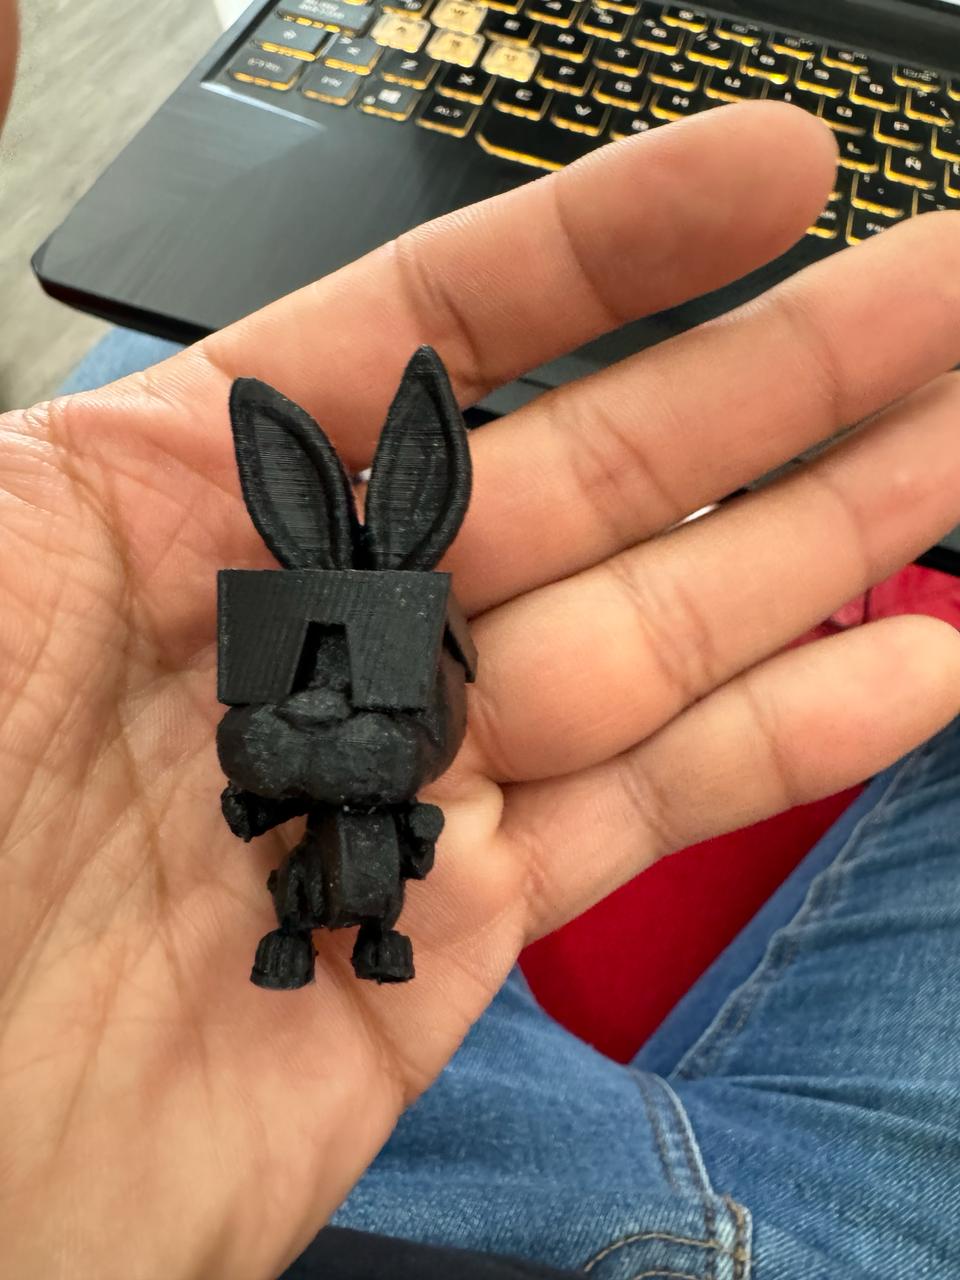
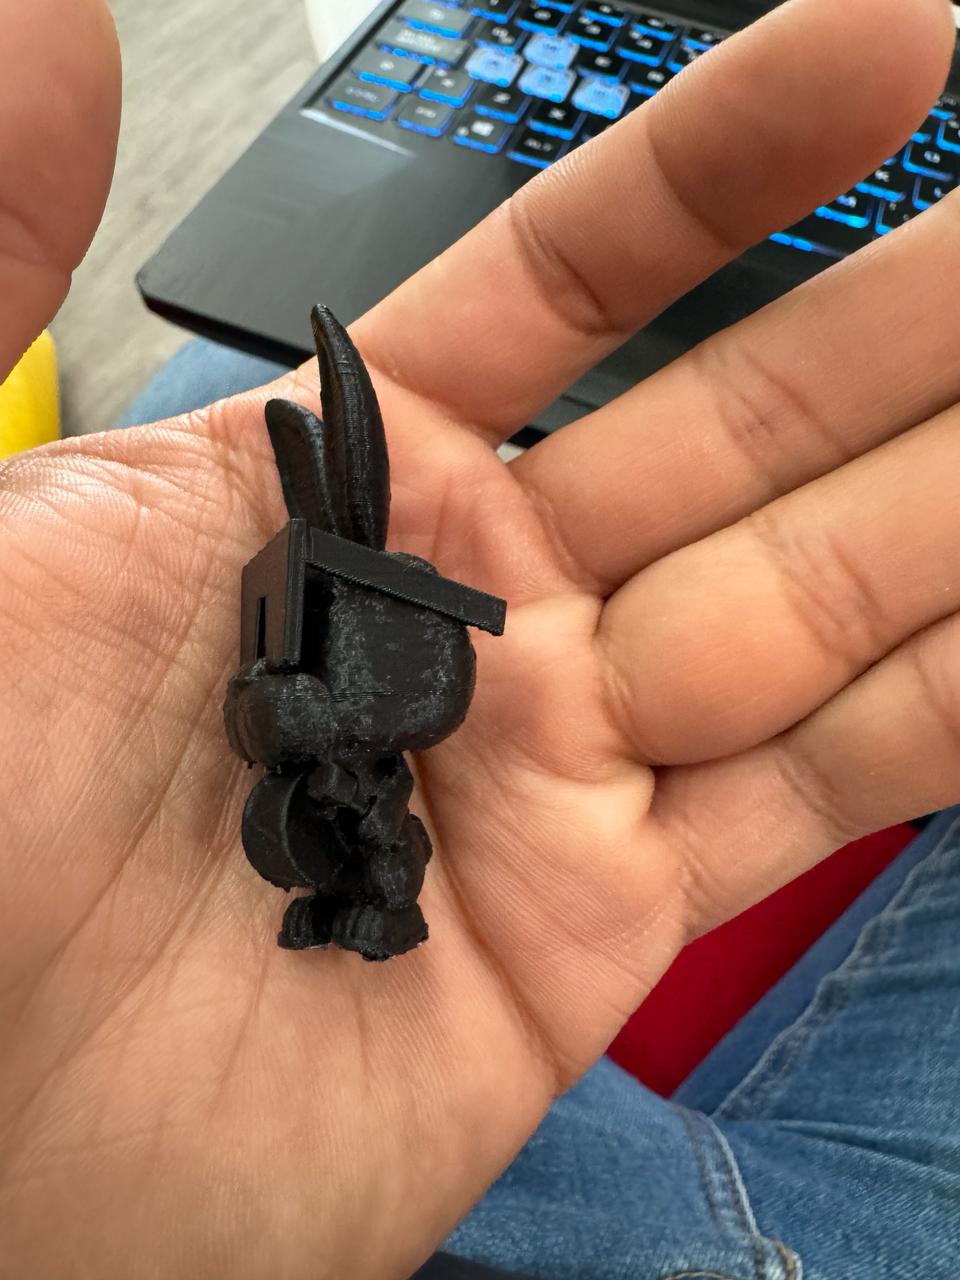
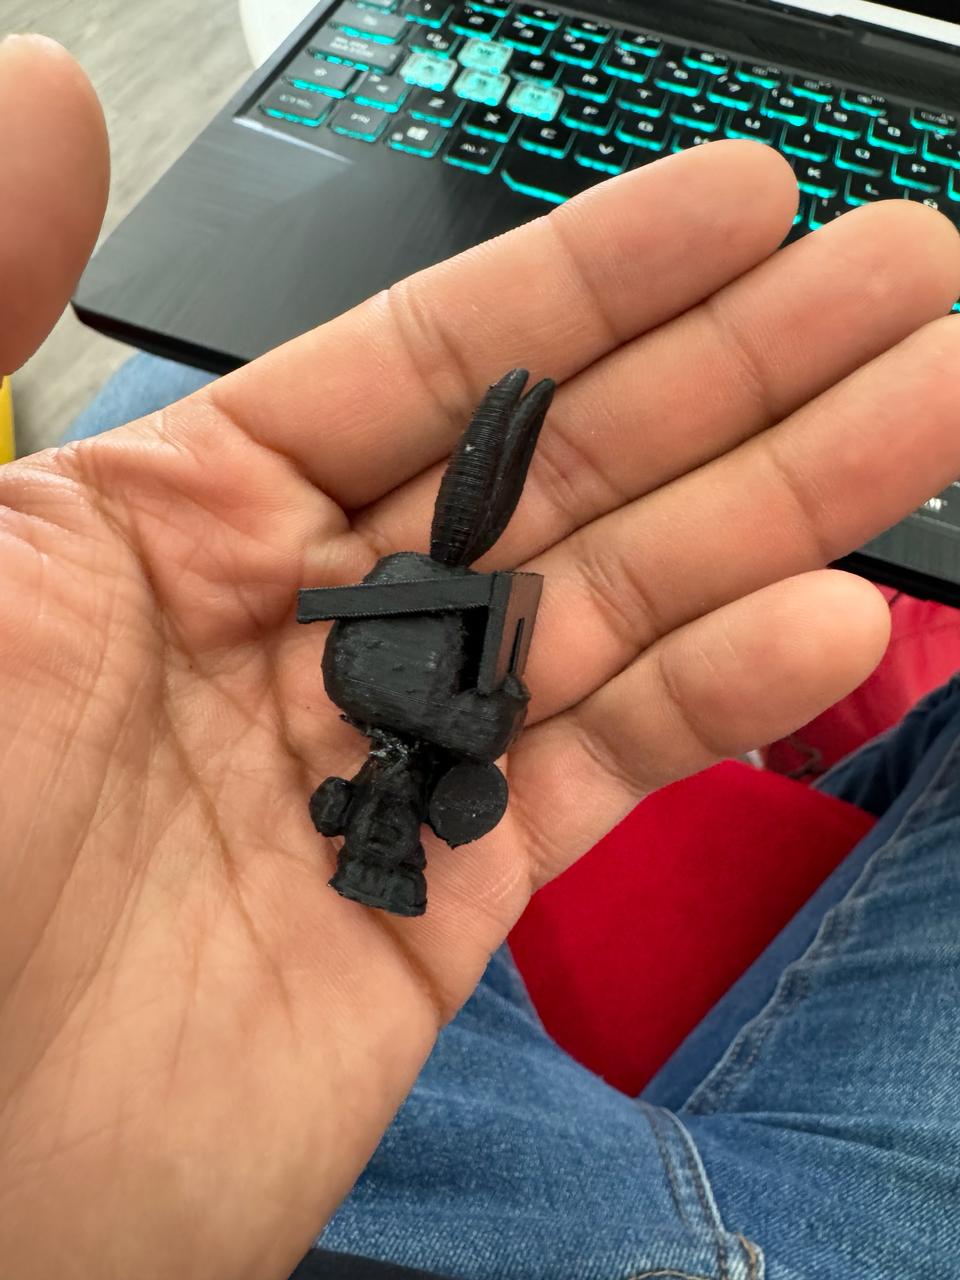
We can notice that the scanner didn't capture the glasses part well, and this is due to the brightness and light reflection. There are two options: one is to apply talcum powder to that area to see if it improves, or I chose to redesign that part in Tinkercad.
I exported to Tinkercad and selected some glasses that were already designed by Tinkercad. I just adapted them to fit the rabbit.
Finally, we opened the modified STL in Cura, added supports, and sent it to print
Download the Polycam app from your device's app store (available on iOS and Android).
Install it on your mobile device.
Registration or Login:
Open the PolyCam app after installation.
Sign up for an account if it's your first time using the app, or log in if you already have an account.
Scanning Process:
Frame the object you want to scan with your device's camera.
Ensure good lighting and keep the object steady for better results.
Tap the capture button to start scanning.
Scan Processing:
Once the capture is complete, PolyCam will process the scan to generate a 3D model of the object.
This process may take a few minutes depending on the complexity of the scan and your device's power.
Viewing and Editing:
Once the scan is complete, you can view and explore the 3D model in the app.
PolyCam also offers basic editing tools to refine the scan if necessary, such as cropping unwanted parts or smoothing irregular surfaces.
Exporting the Model:
Finally, you can export the 3D model in the desired format for use in other design or 3D printing programs.
PolyCam offers direct export options to platforms like Sketchfab, as well as common file formats like OBJ or STL.
Associated Costs:
App Download:
Downloading PolyCam from the app store is free.
Premium Subscription:
PolyCam offers a premium subscription that unlocks additional features, such as unlimited scans, higher scan resolution, and access to advanced editing tools.
The cost of the premium subscription varies depending on the plan duration (monthly or yearly), as well as the specific features offered in each subscription tier.
Storage or Export Costs:
Depending on where you choose to store or export your 3D models (e.g., cloud storage or your device), there may be associated costs for additional storage or the use of third-party services.
Additional Hardware:
If you want to improve the quality of your scans, you may want to invest in additional accessories or hardware, such as stable mounts for your mobile device or studio lights for better lighting.