Computer Aided design
Throughout this week, I've had the opportunity to delve into the world of 3D design with Fusion 360, complementing and refining skills I already possessed in SolidWorks and Catia V5. Additionally, I've explored 2D design using Inkscape and Figma, thus expanding my toolkit and skills in the design domain.
In this section, I will design the compartment that will contain the electronic components of the collar. Later, I will design the cover where the QR code will be engraved.
3D programs
fusion 360
Fusion 360 is a 3D design tool from Autodesk, ideal for engineers and designers. Compatible with Windows, macOS, laptops, tablets, and mobile devices, it allows working on projects from anywhere.
Steps
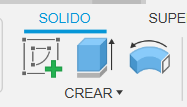
Basic controls
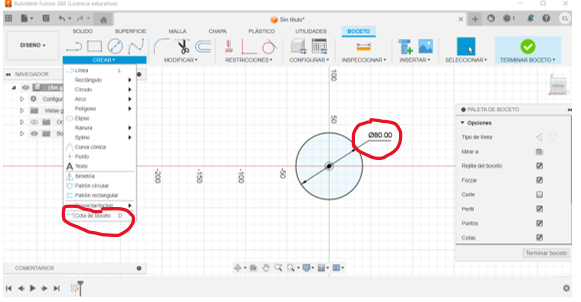
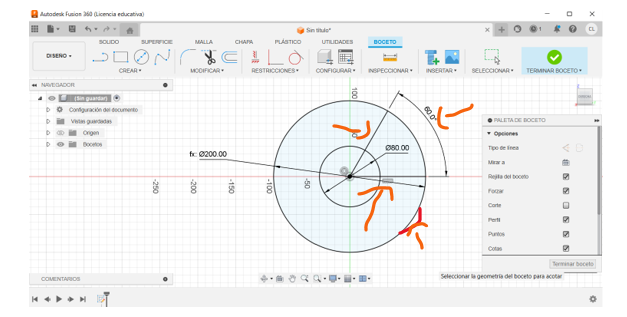
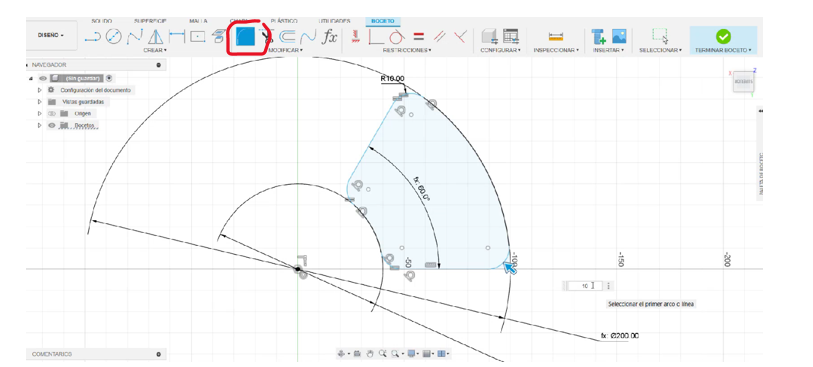
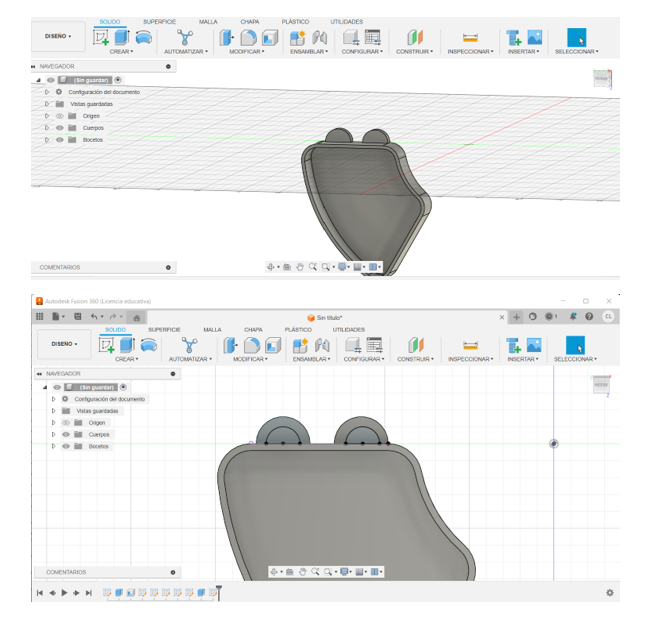
In the following steps, two circles will be drawn, and measurements will be dimensioned
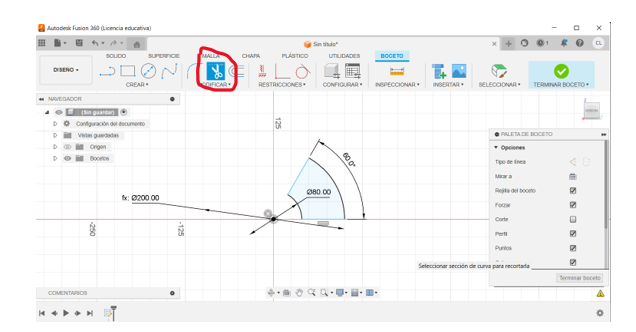
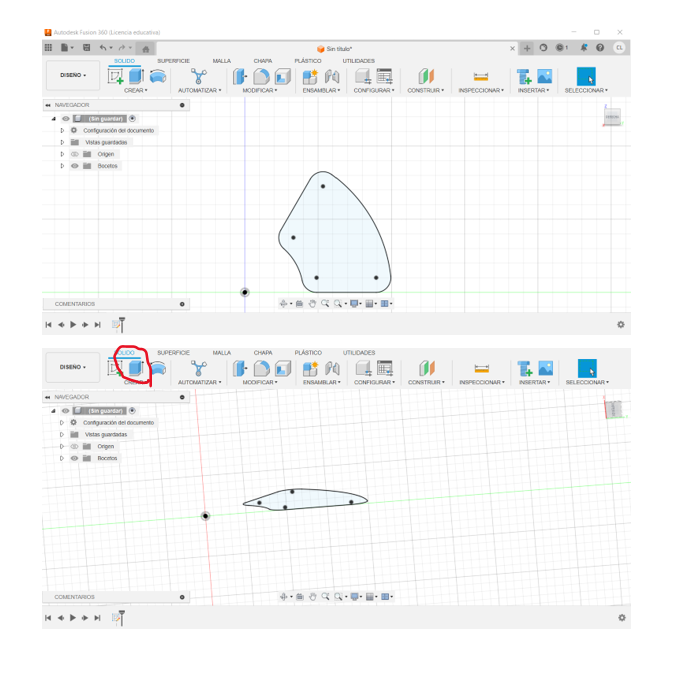
In the following steps, we will clean up unnecessary lines using the scissors tool and also round corners using the fillet tool
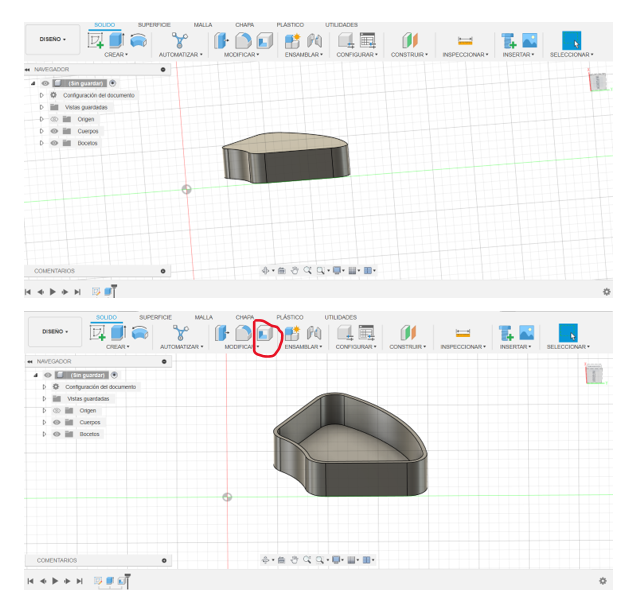
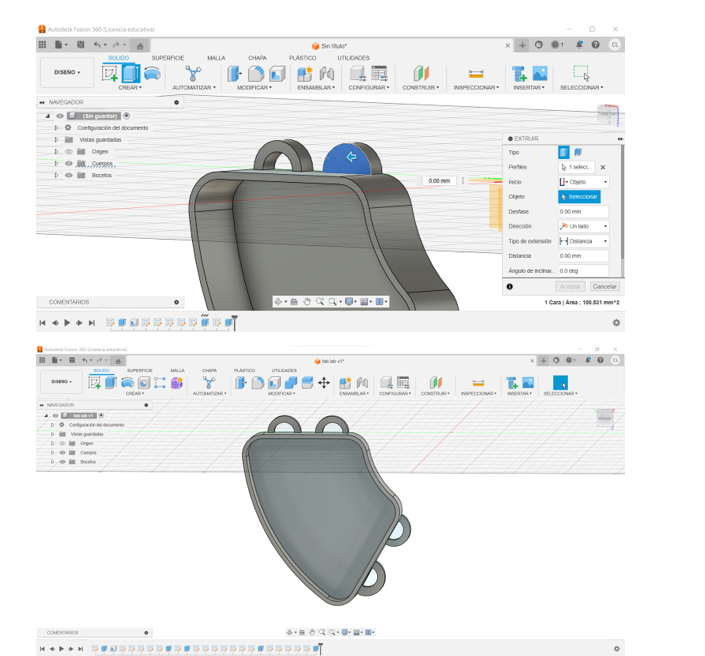
In the next step, we extrude the shape and remove the interior to achieve the following look.
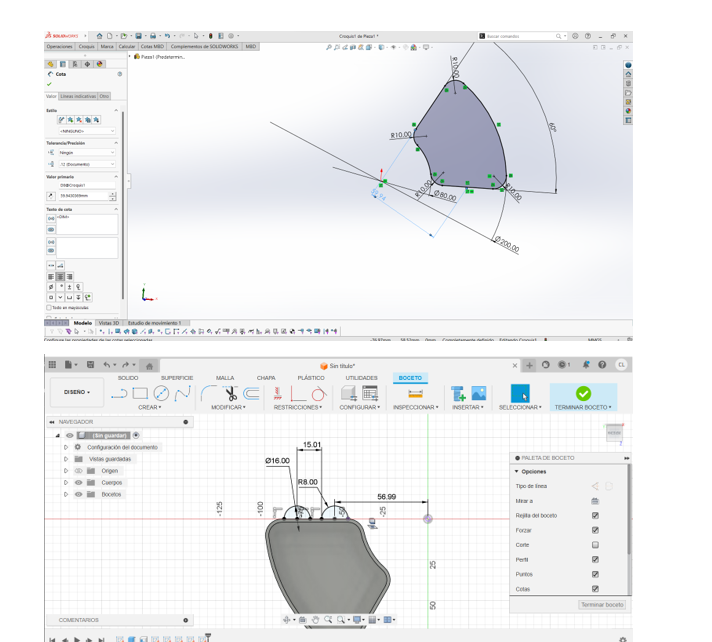
In the next step, we create another sketch to draw 2 circles and finally extrude them.
We cut and repeat the process on the other side until we finally have the final piece.
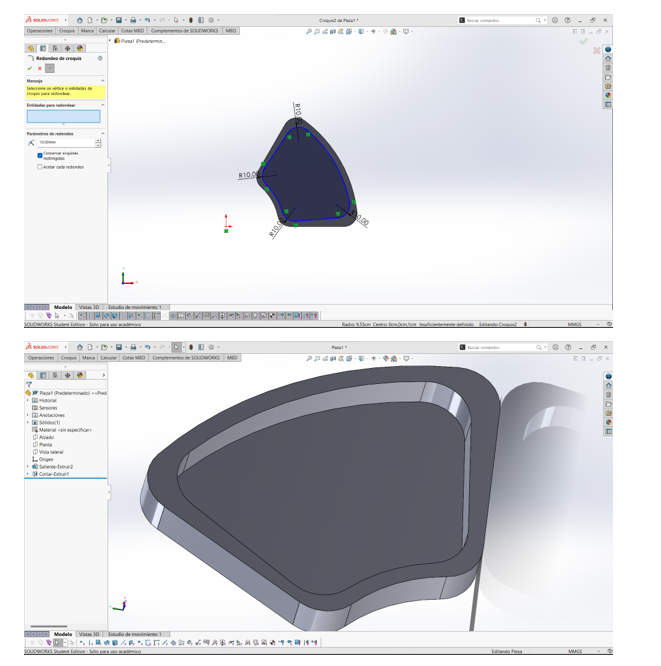
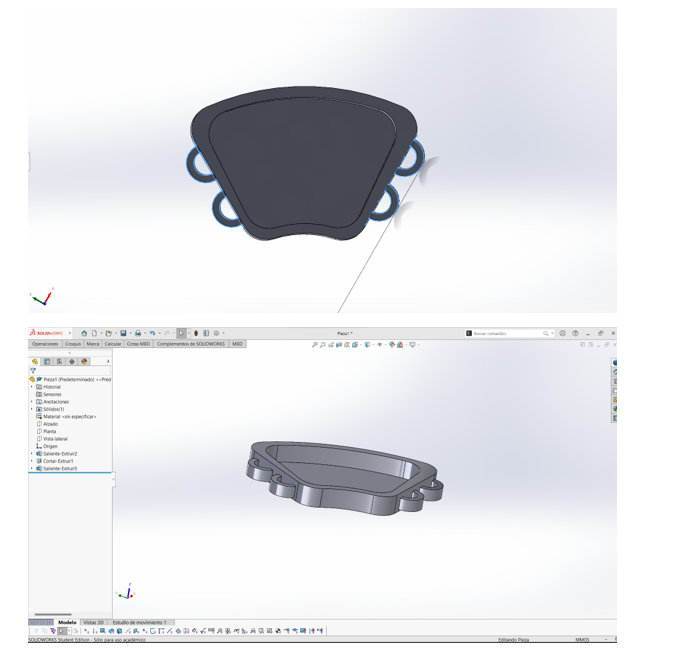
SolidWorks
SolidWorks is a computer-aided design (CAD) software developed by Dassault Systèmes. It is primarily used by engineers and designers to create 3D and 2D models of parts and assemblies. SolidWorks is compatible with Windows and offers a wide range of tools for mechanical design, product simulation, technical documentation, and project collaboration.
In SolidWorks, I decided to replicate the figure from Fusion just to practice in a different program.
Model in 3D
Step 1: Open Fusion 360
- Open Fusion 360: The first thing we do is open Fusion 360.
- Open my Project
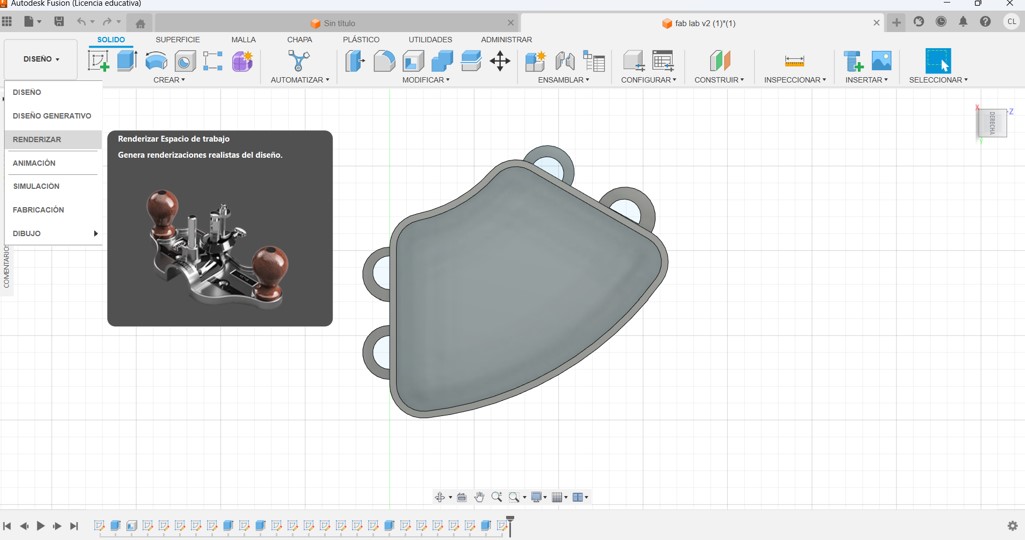
Step 2: Go to the Render Tab
Select the Render View: We go to the Render tab in the top bar. This is how it looks:
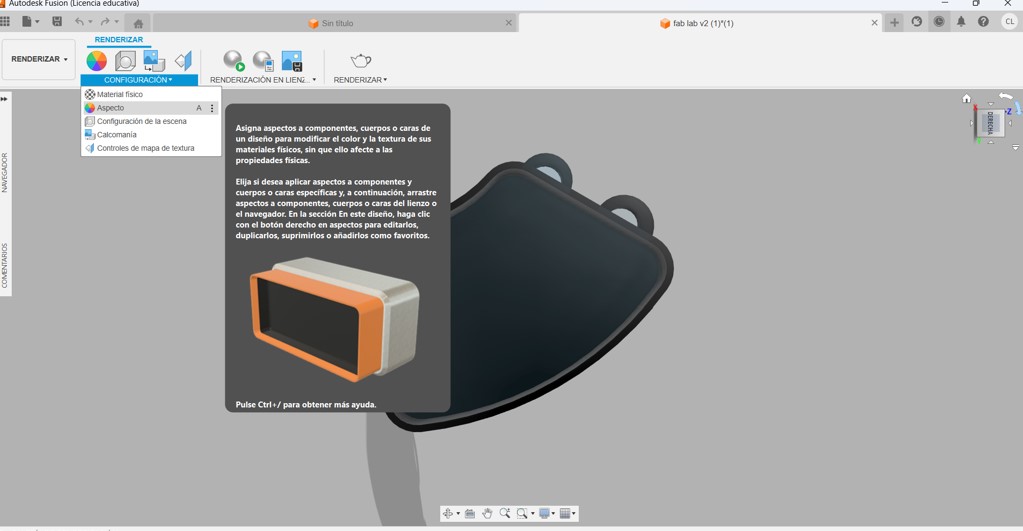
Step 3: Configure Materials
-
Assign Materials: Now, we click on
SETTINGSand selectPhysical Material. - We drag the materials from the library and apply them to the parts of our piece that we want to modify. This is how I did it:
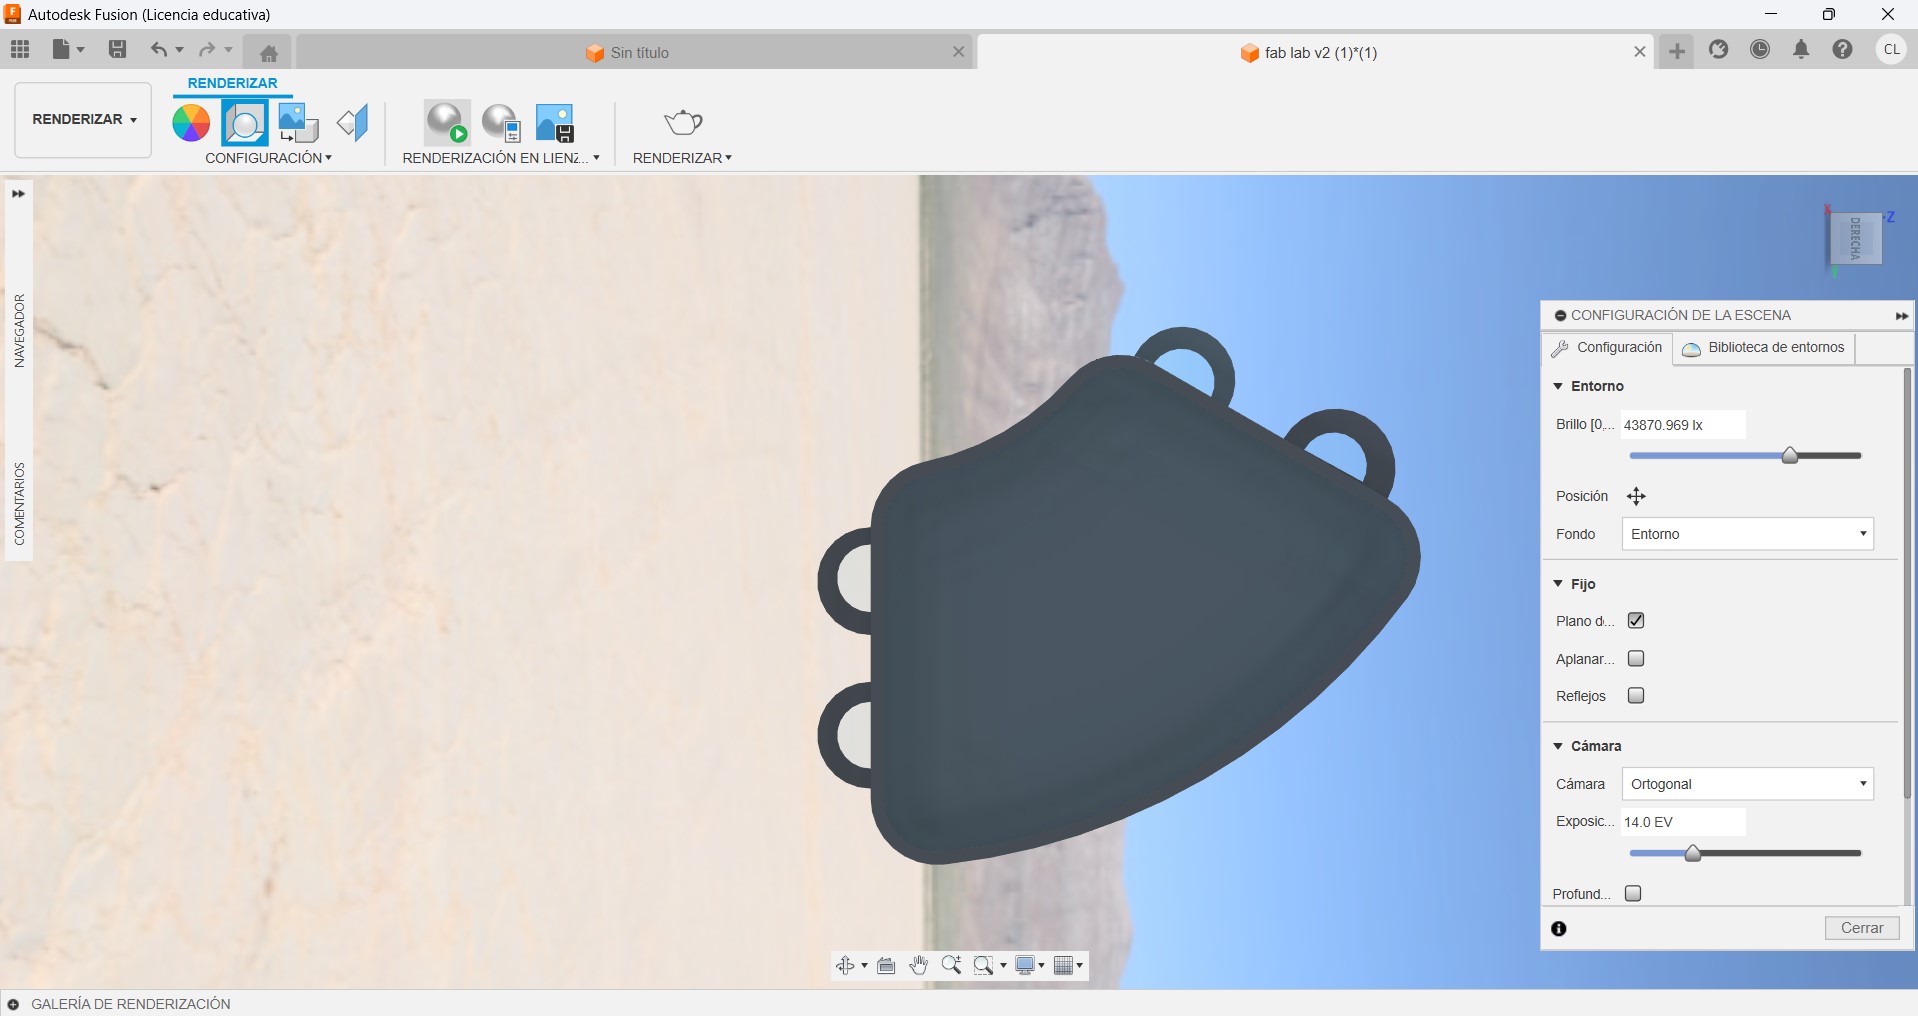
Step 4: Adjust the Scene
-
Configure the Scene: We go to
Scene Settingsin the settings menu. - We adjust the lighting and environment to improve the appearance of our piece. Here you can see how I did it:
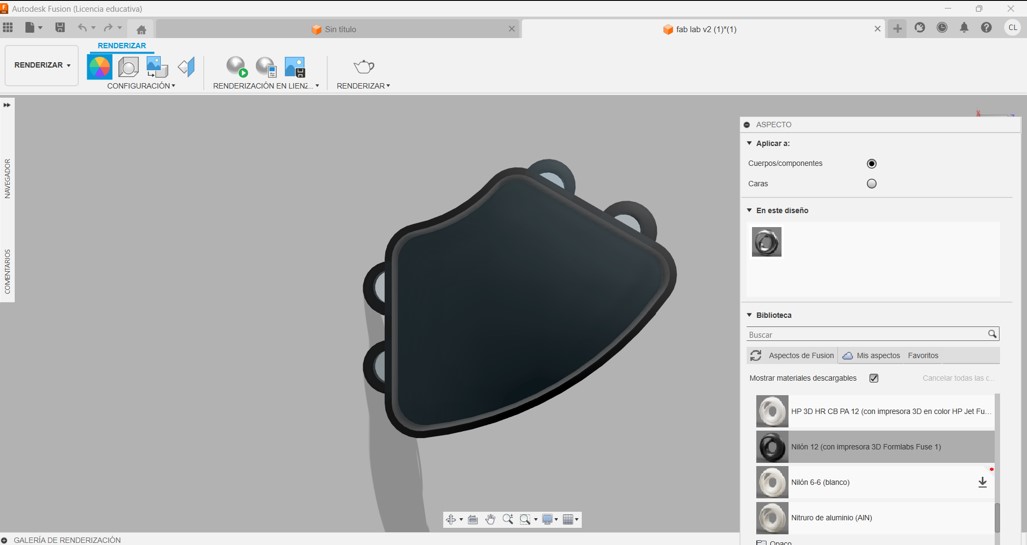
Step 5: Apply Materials and Textures
- Apply Aspects: In the right panel, we select the materials and textures we want to use.
- We drag and drop these materials onto the faces or components of our design. This is how it looks:

Step 6: Start Rendering
-
Start Rendering: Once the scene is configured and the materials are applied, we click on
RENDER. -
We can choose
Cloud Renderif we prefer to use the cloud to process the render. This is the result:

Step 7: Save and Export the Render
- Save your Render: After the rendering is complete, we save the result to our computer by selecting the save option in the render menu.
And that's it! By following these steps, you can get high-quality renderings for your projects in Fusion 360.
|2D programs
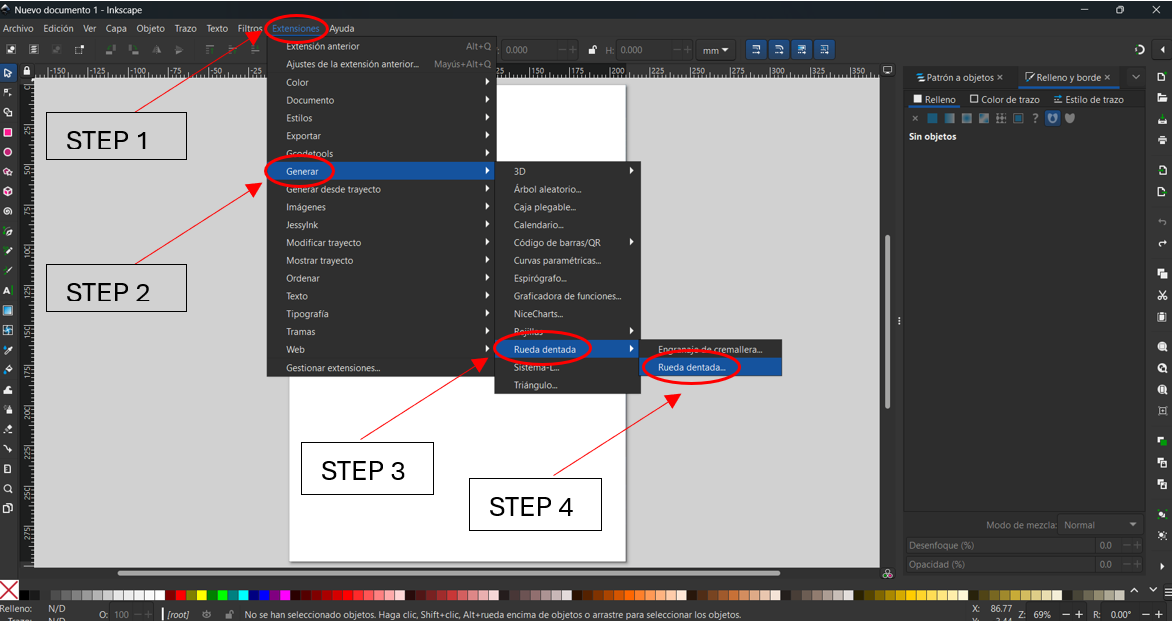
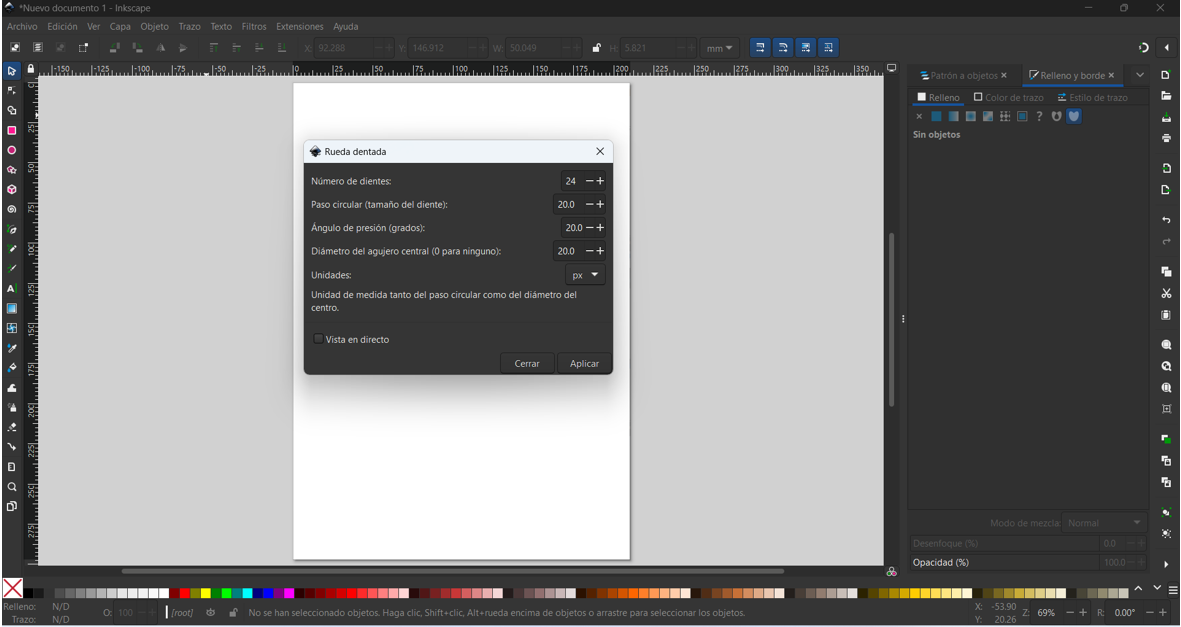
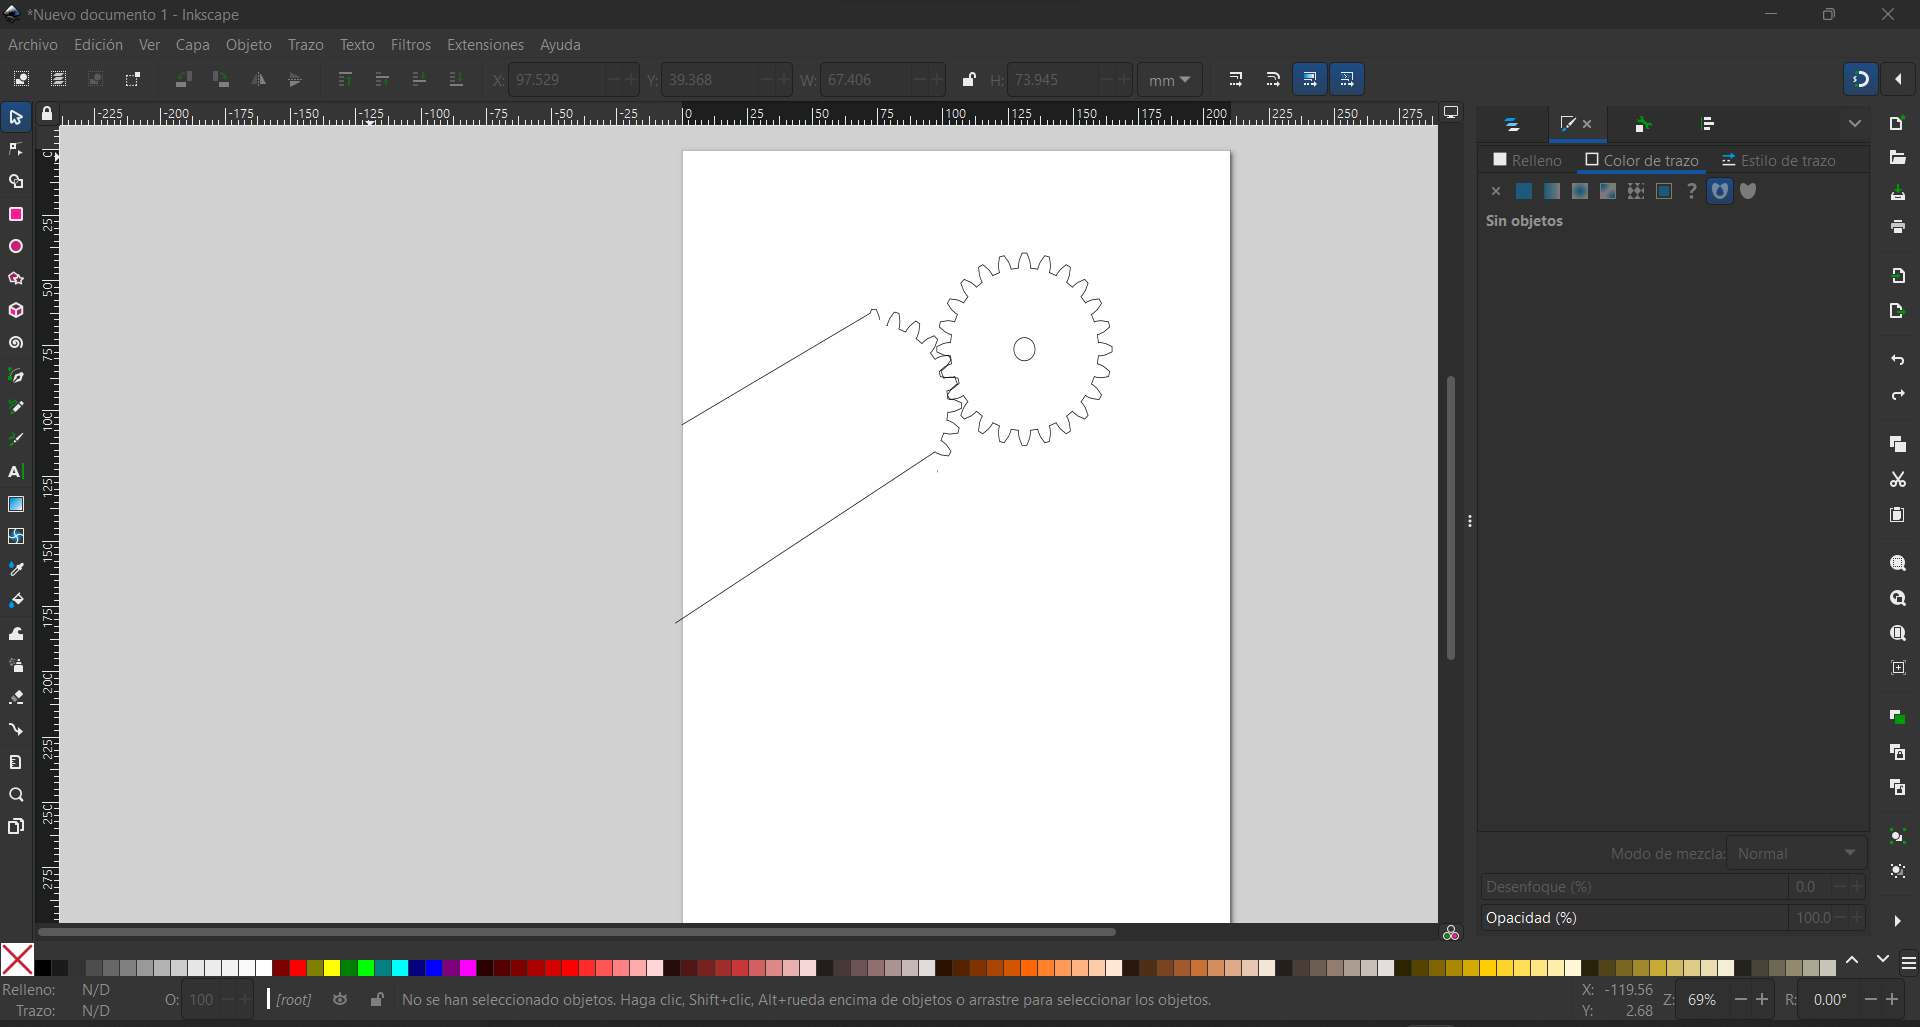
inkscape
Inkscape is an open-source vector graphic design software. It is a versatile tool used to create vector graphics, illustrations, logos, diagrams, and more. Compatible with Windows, macOS, and Linux, Inkscape offers a wide range of design and editing tools, making it a popular choice for graphic designers, artists, and design enthusiasts.
In this 2D section, I repeated the same piece. In the first image, I show the final result, while in the second image, I demonstrate with different colors which tool I used for each aspect. I also made a gear with extensions.
figma
Figma is a cloud-based collaborative design platform designed to enable teams to work together on design projects efficiently. Compatible with any device that has access to a web browser, such as desktop computers, laptops, tablets, and mobile devices, Figma offers a seamless and hassle-free design experience. With features for user interface (UI) design, prototyping, and real-time collaboration, Figma is a popular tool among digital product designers and software development teams.
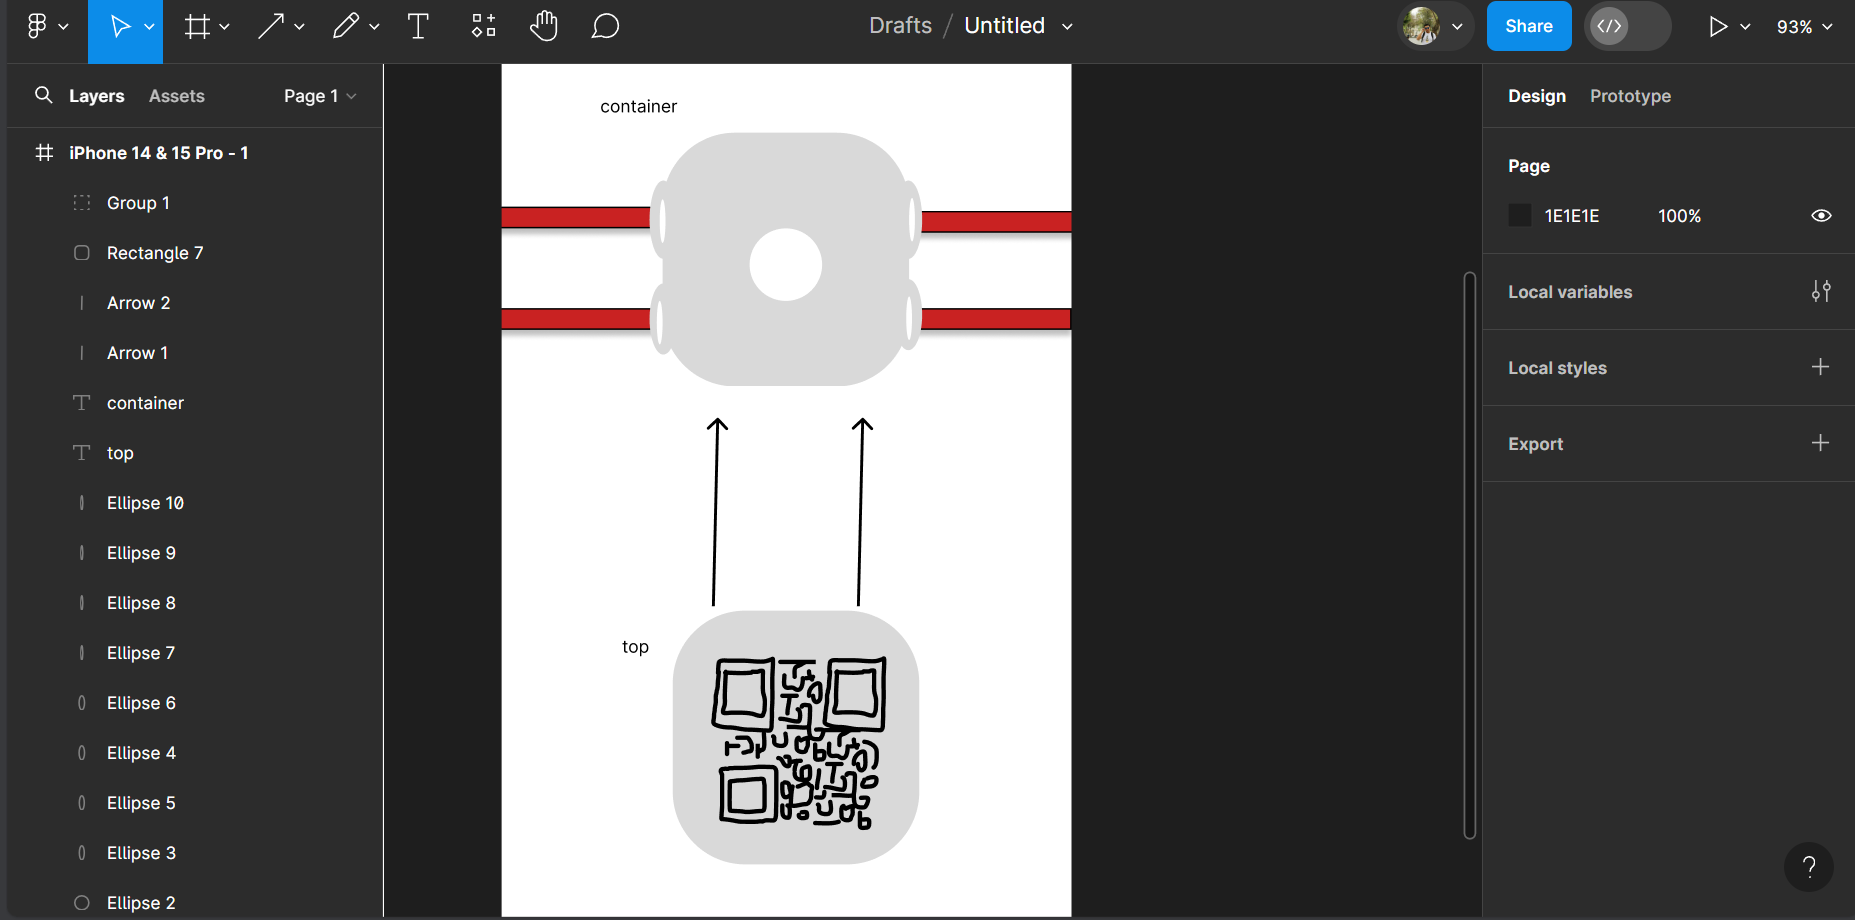
I have created a sketch in Figma using just a pencil of the 3D figure.