3. Computer-Controlled Cutting
For this work week a design, laser cut and document a parametric construction kit, taking into account the cutting of the laser cutter, which can be assembled in multiple ways. And cut something with the vinyl cutter.
Research
The laser cutter is a versatile and precise tool used in a wide range of industrial, artisanal, and manufacturing applications. When combined with materials such as MDF (medium-density fiberboard), the laser cutter offers exceptional results due to its ability to cut through this material with precision and speed. Other materials that can be cut with the laser include paper, cardboard, fabric, cotton and mixed fibers, natural and synthetic leather, cork, and even food, although they would no longer be edible.
MDF is a composite material manufactured by bonding wood fibers with synthetic resins, resulting in a dense and uniform board that is ideal for a variety of uses. The laser cutter is particularly effective for working with MDF due to its ability to produce clean and detailed cuts, as well as to engrave complex designs with extraordinary precision.
The vinyl cutter is a fundamental tool in the printing and graphic design industry, as well as in the realm of hobbies and crafts. This machine, also known as a cutting plotter, is specifically designed to cut vinyl material accurately and efficiently, making it a popular choice for a variety of applications.
Vinyl is a versatile material widely used in the manufacturing of signage, lettering for signs, indoor and outdoor decorations, custom apparel, and much more. The vinyl cutter enables users to create detailed and complex designs with ease, thanks to its ability to cut precise shapes in a wide range of vinyl types and thicknesses.
Laser
The first steps taken this week were to review the group assignment in the following link: Group assignment Puebla.
In that link, we can find the specifications of the laser machine we have at the university, as well as the steps to follow to use it. We also find the different tests that were carried out to determine the kerf, speed, and power with which the laser must advance.
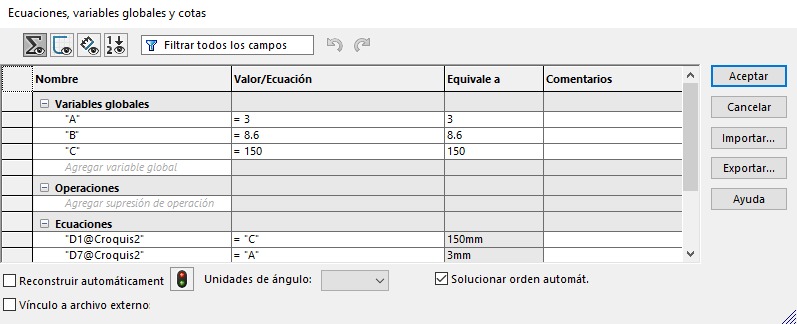
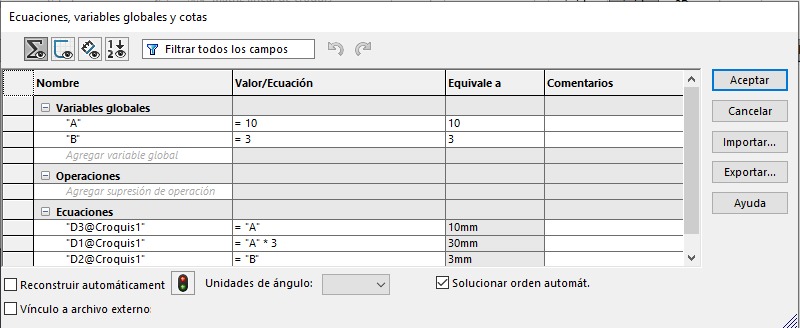
For the part of parameterizing the components of my design, I used SolidWorks. To prametrize the figure you can follow this video or the steps:
- Go to the Tools tab.
- Select Equations.
- Type variable name and measure to be equivalent.
- Click on OK.
- Place the Smart Dimension on the desired line but with an equal sign = and the variable name.
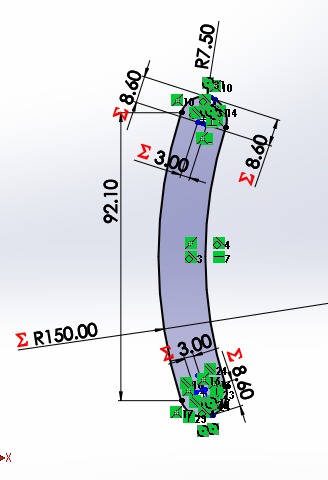
My final parameterized parts ended up as follows:

Cutting time
The machine with which I cut my drawings was the CFL-CMA1200.

Some of the points to consider are that the tabs I placed were made normal size (10mm), and where they were inserted, I made them 0.3mm smaller so that they could fit with a bit of pressure due to the kerf. Additionally, Max. Power(%) 75, Min. Power(%) 65, Work Speed(mm/s) 20.
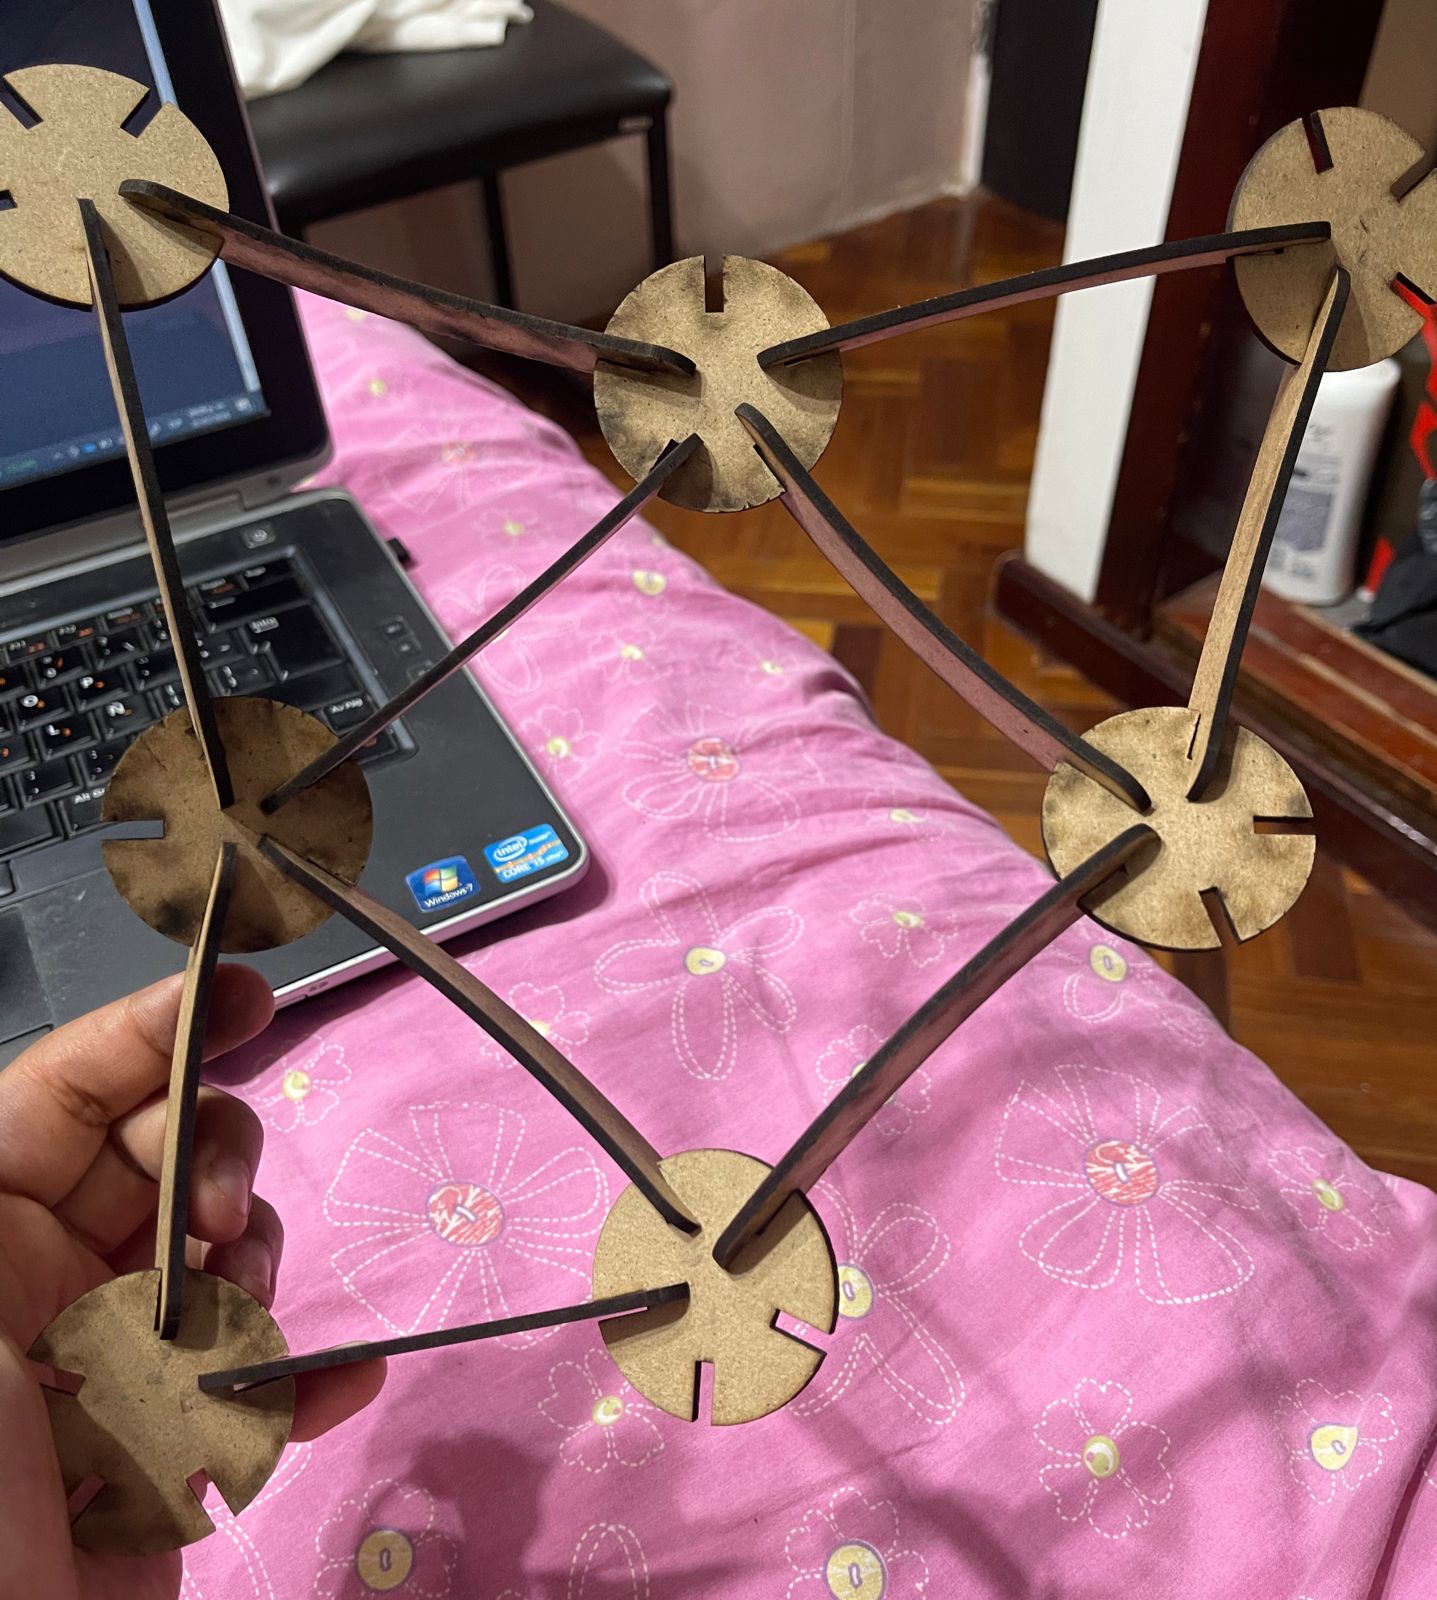
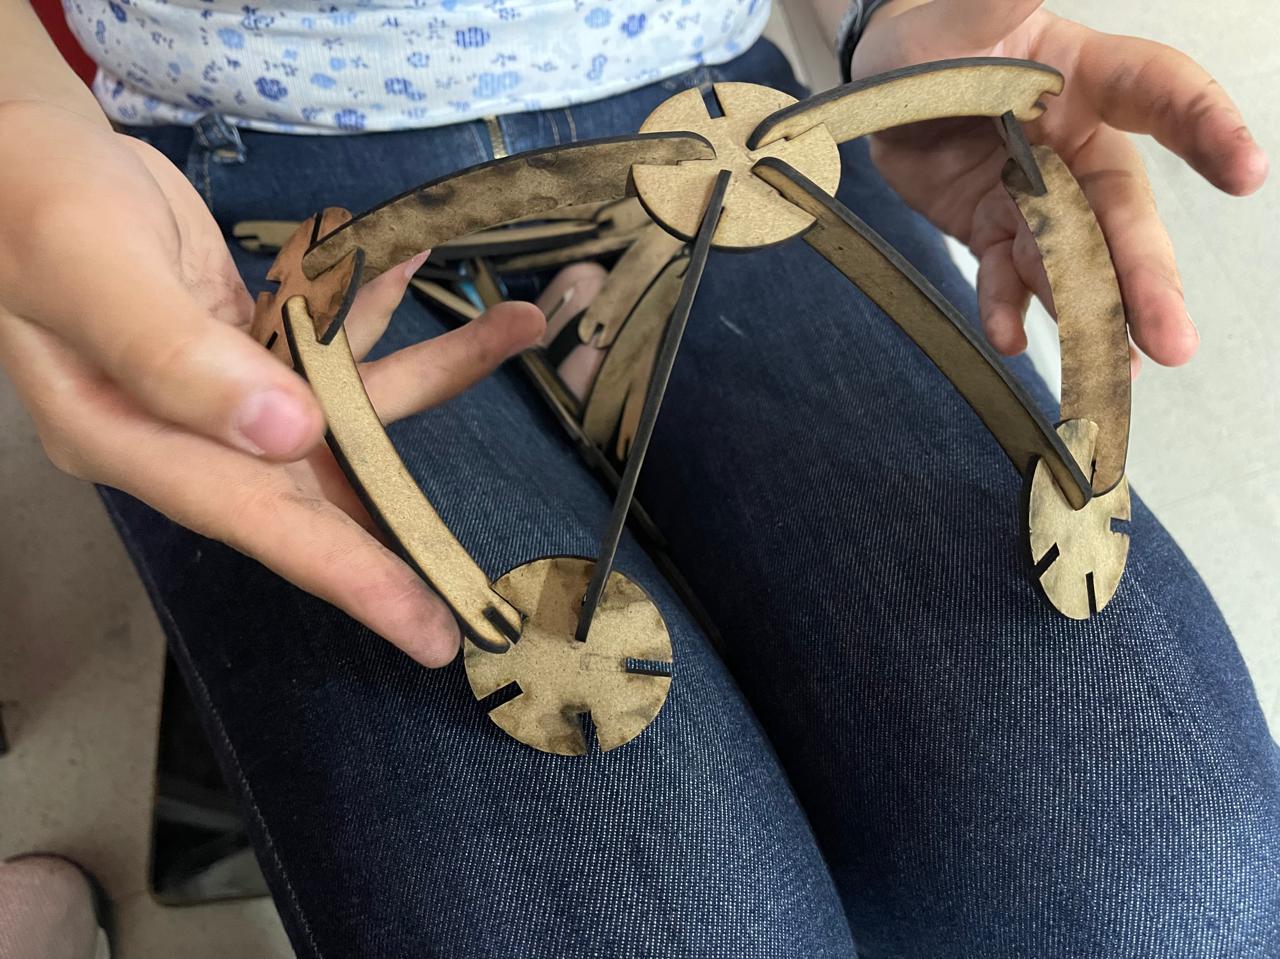
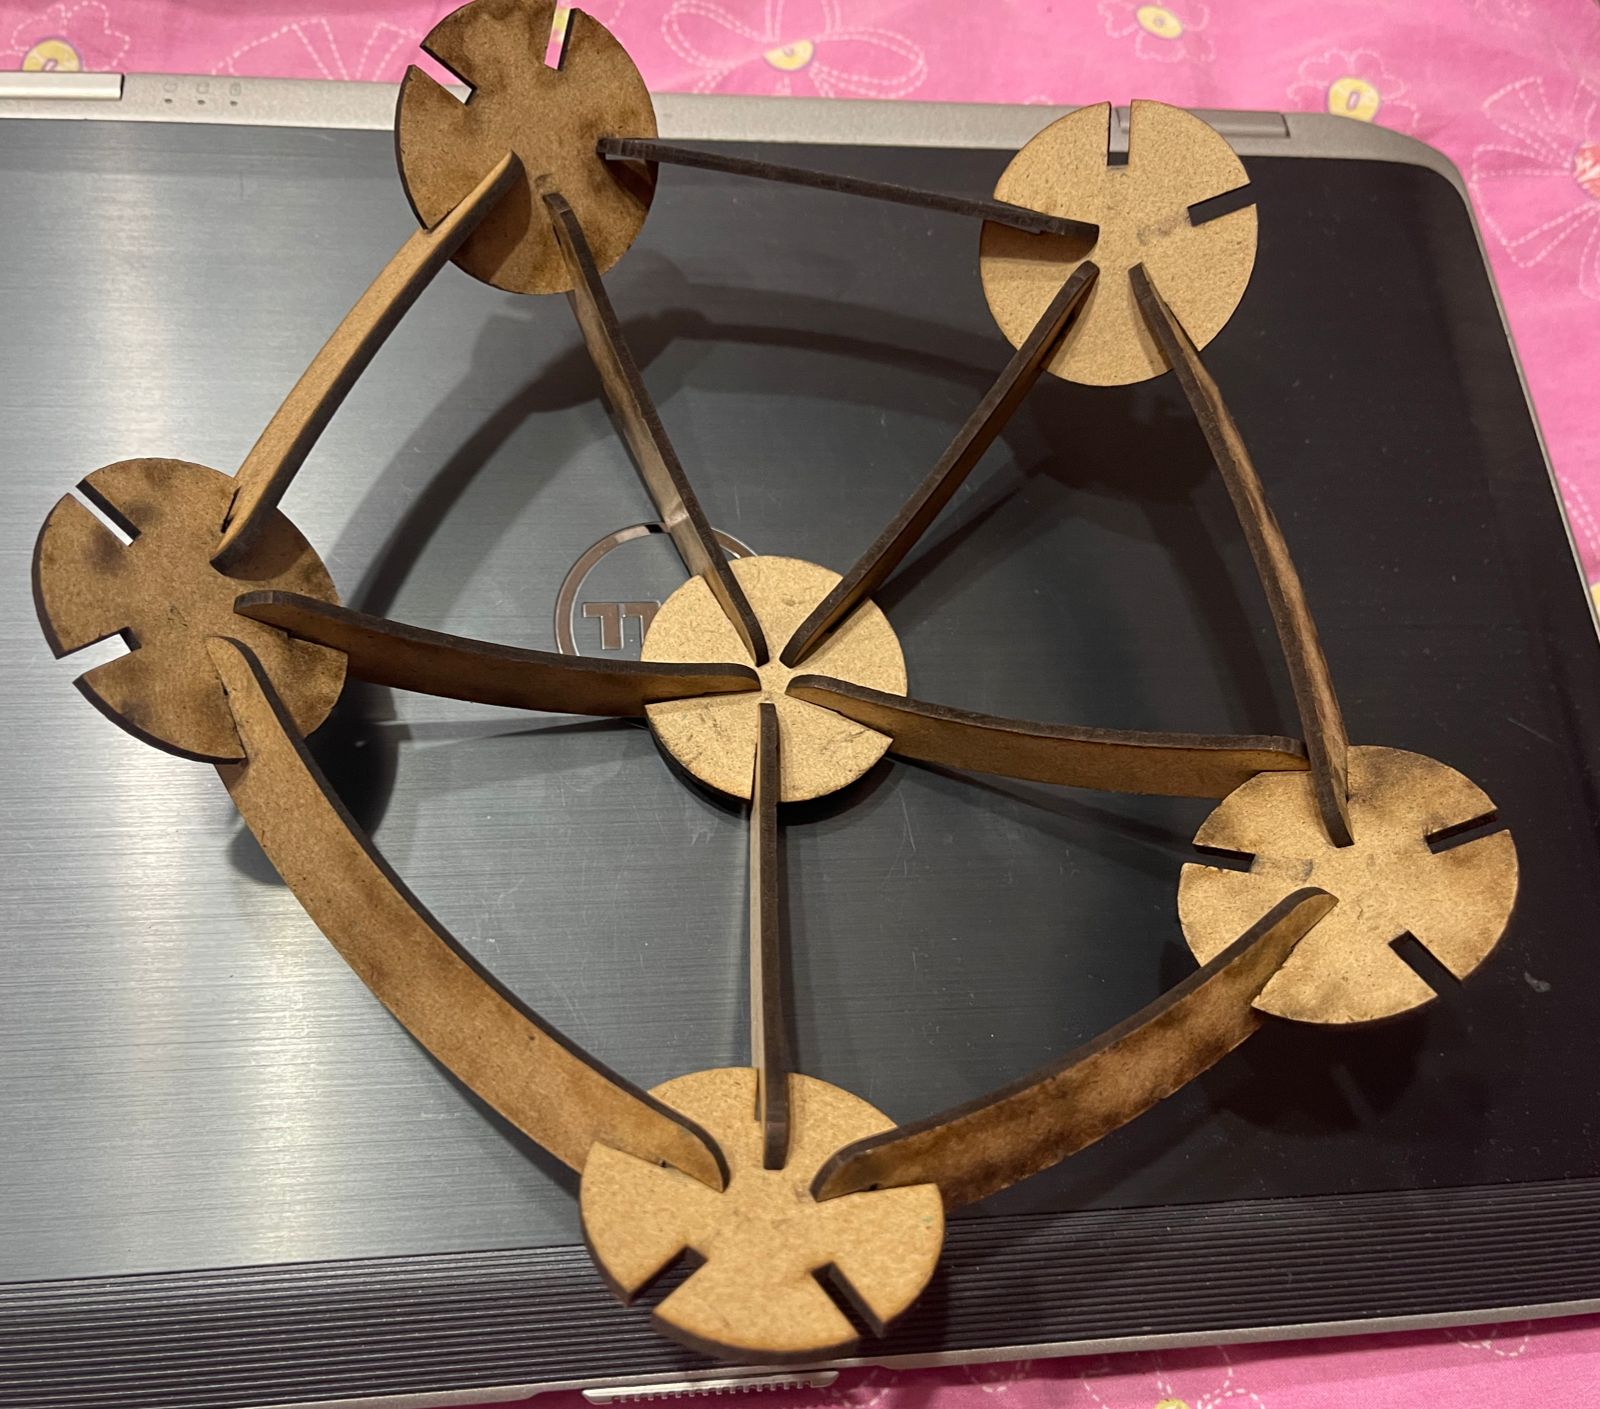
Assembly
Some of the pieces that can be assembled with the construction kit are the following:
Vinyl cutter
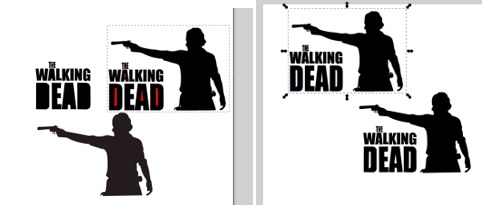
For the creation of my PNG, I used the silhouette of Rick Grimes from the series The Walking Dead as a template. First, I drew lines trying to outline everything and then deformed them, all of this in Inkscape.

Then I went to the Silhouette Studio application, selected the PNG file, and clicked on SEND.

To peel off the vinyl, I used a pair of tweezers and decided to remove the excess so I could better appreciate the silhouette.
Then, with the same tweezers, I helped myself to stick it onto my computer and another one on my jeep.


Conclusion
As we can see in the group assignment, it is important to consider the parameters we set when laser cutting because they determine whether the laser will cut or engrave, as well as the amount of material the laser will remove. Additionally, it is crucial to take into account all the necessary safety precautions when using the machines and to remain vigilant in case anything unexpected occurs.
Files
- Pieza1W3.SLDPRT
- Pieza2W3.SLDPRT
- The Walking Dead.svg
- The Walking Dead.png
LASER
VINYL CUTTER