12. moulding and casting
I have recently been working on different projects that require molds. I will show you the different approaches and steps I've taken to create molds for each of these final products. Additionally, here you can find our group page.
Resin ring
Modelling in Fusion 360
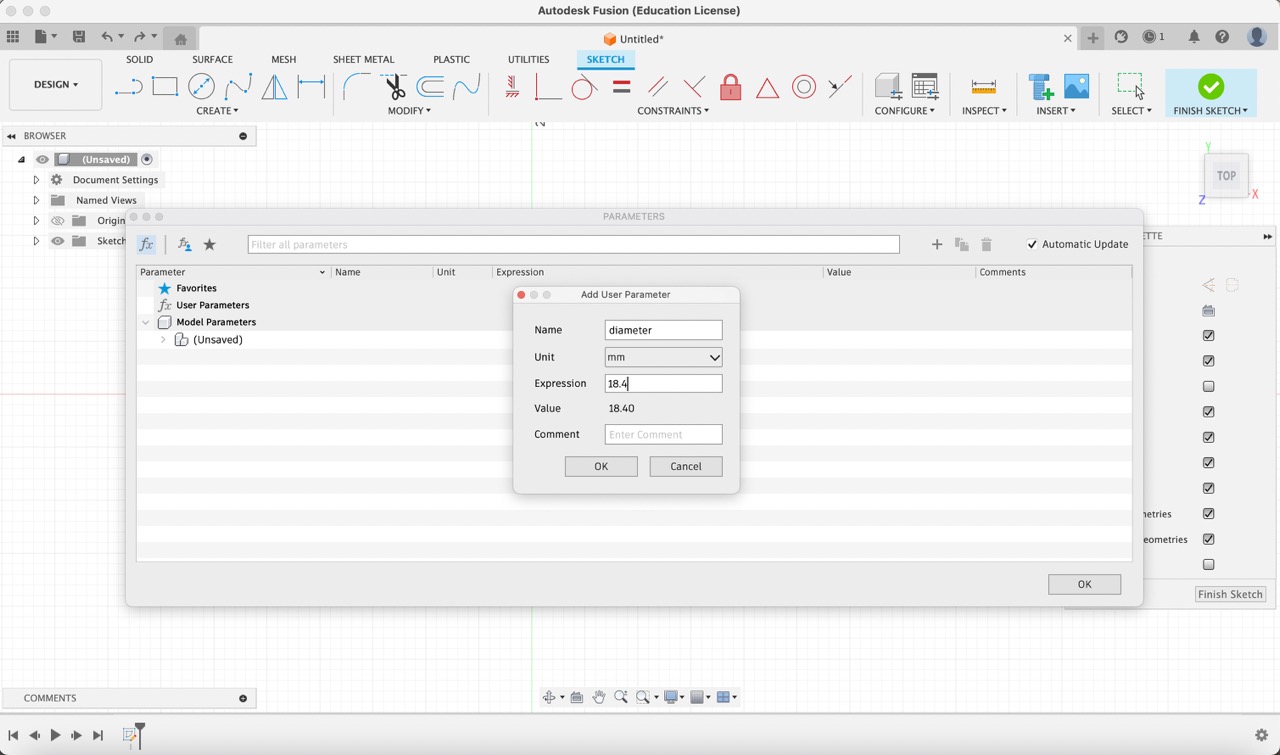
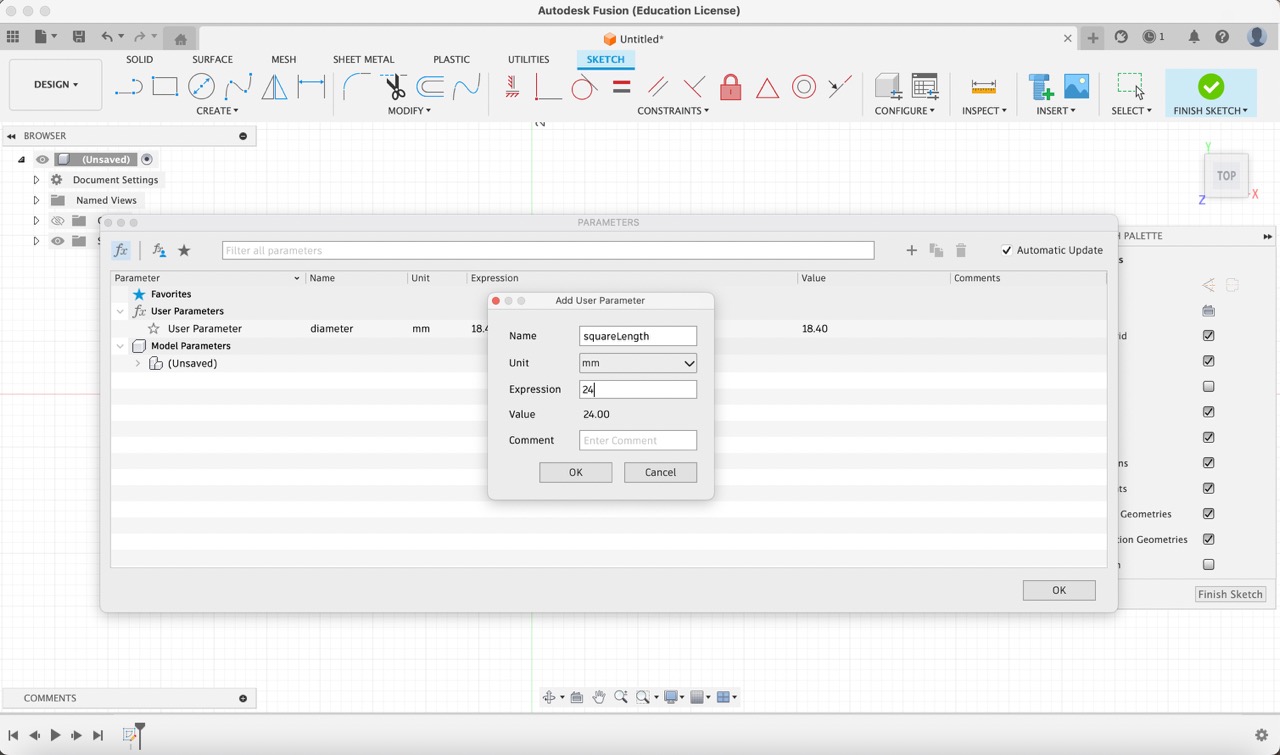
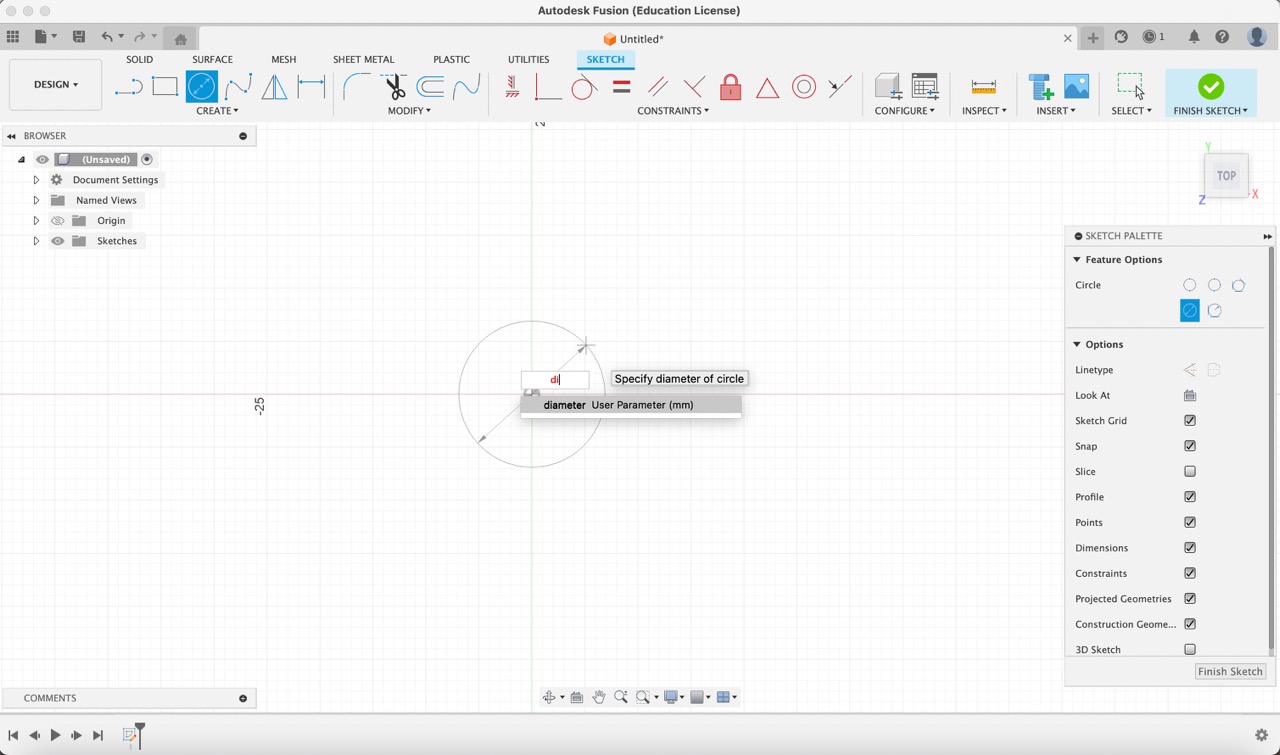
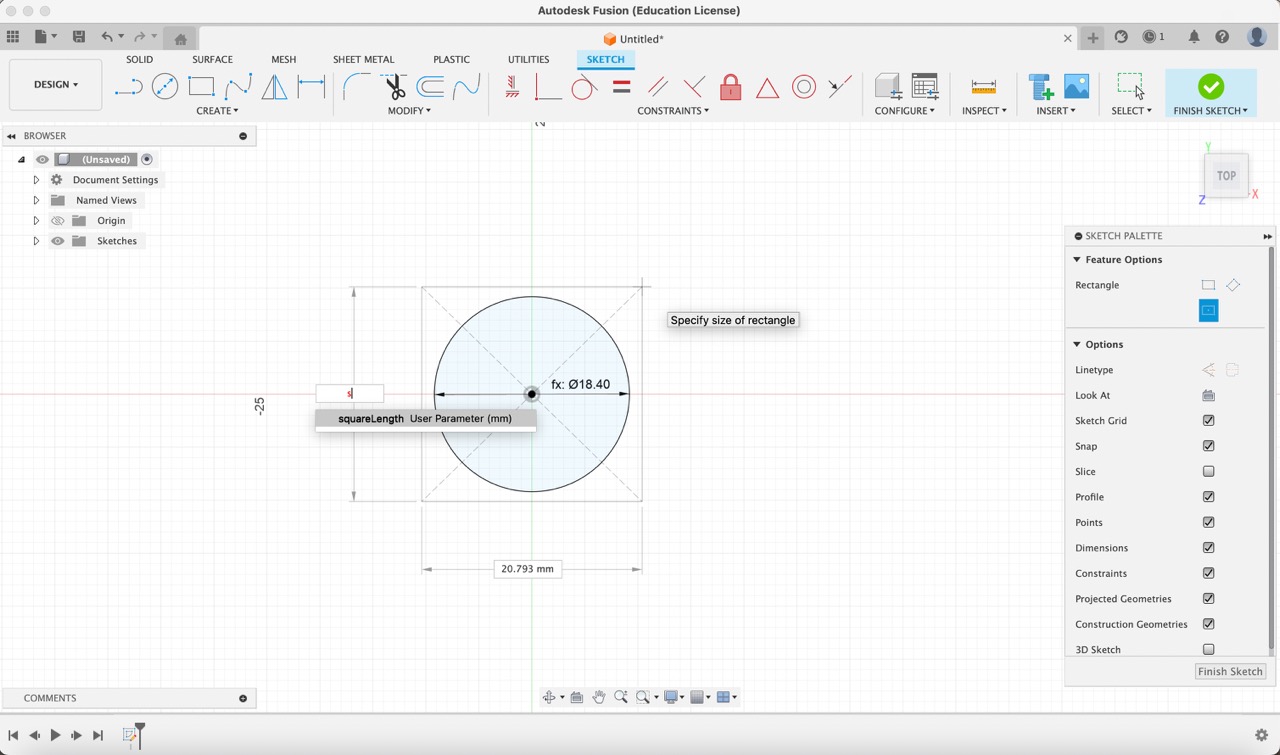
1:
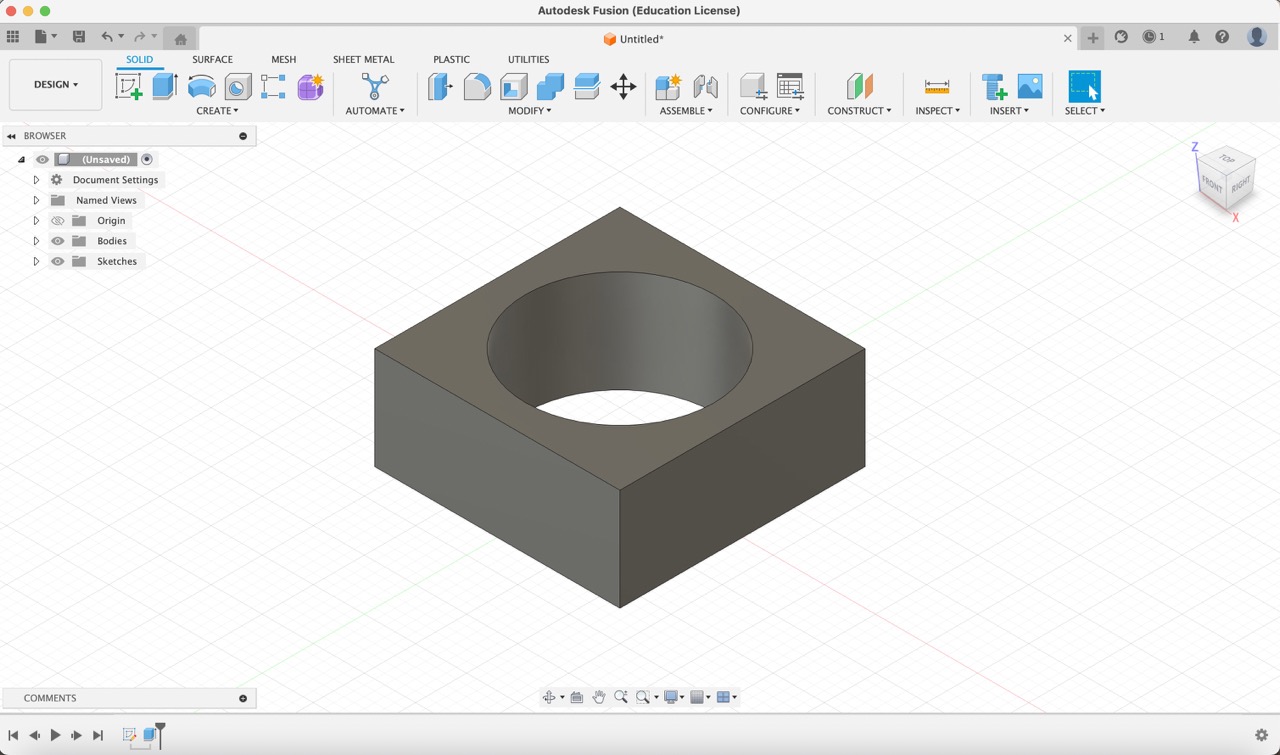
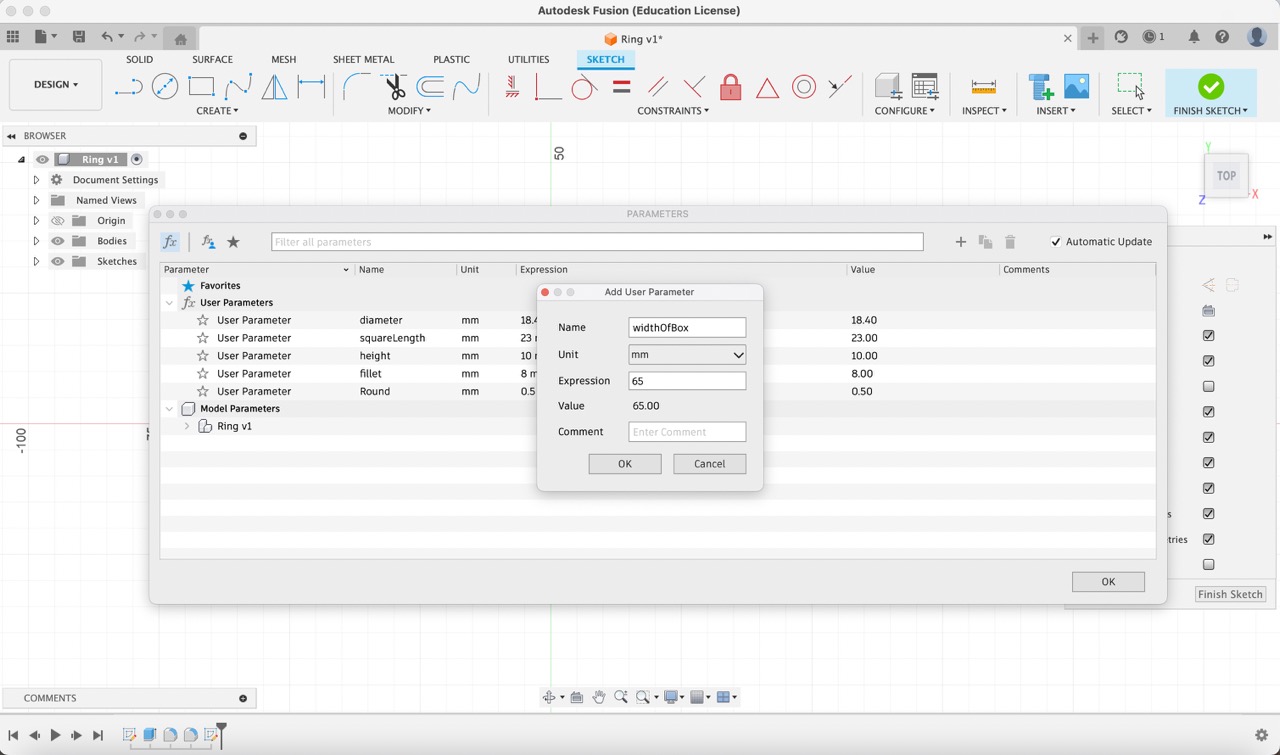
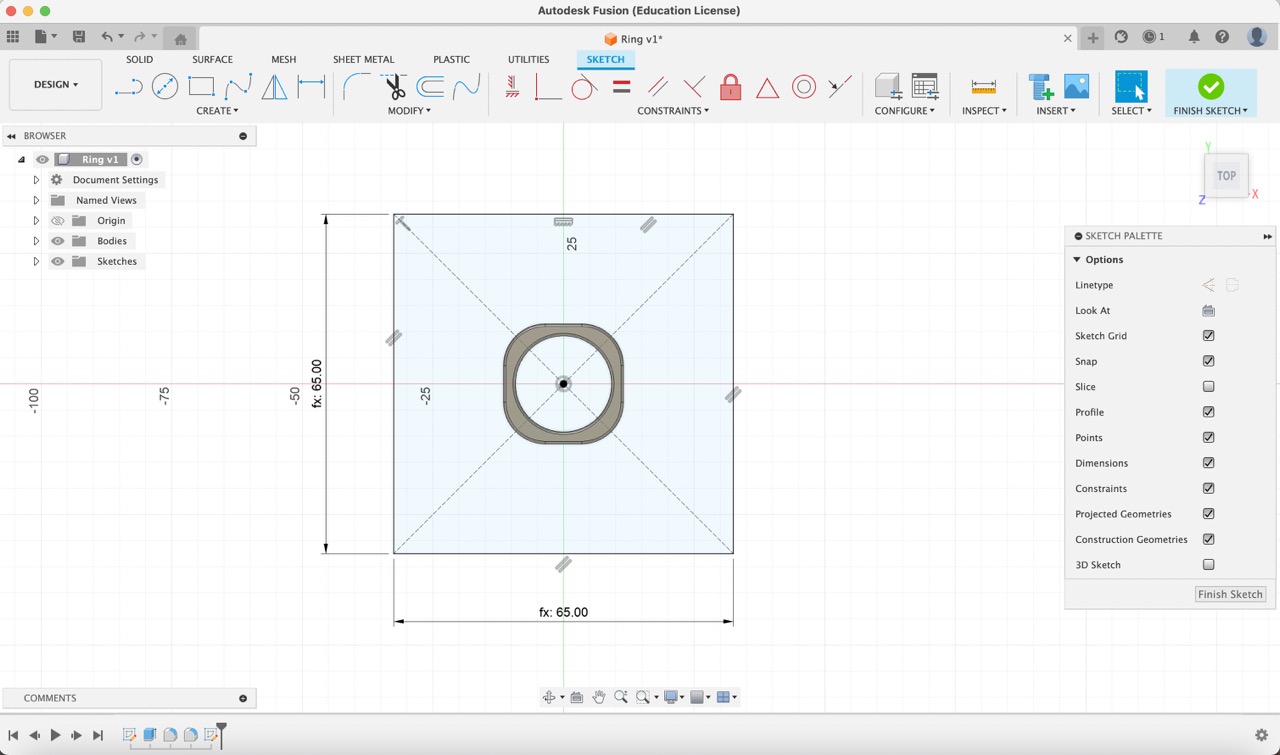
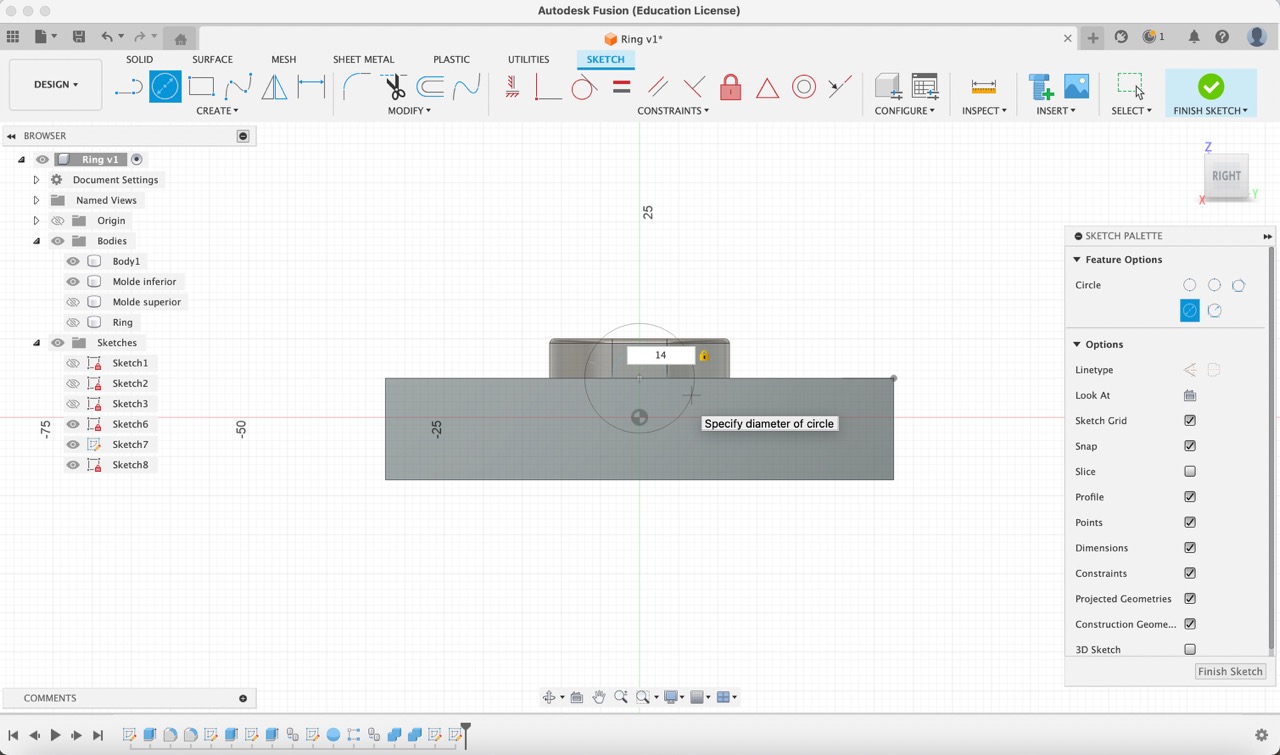
First, I began by setting parameters for the diameter and the square length of the ring, then traced the circle and square shapes.
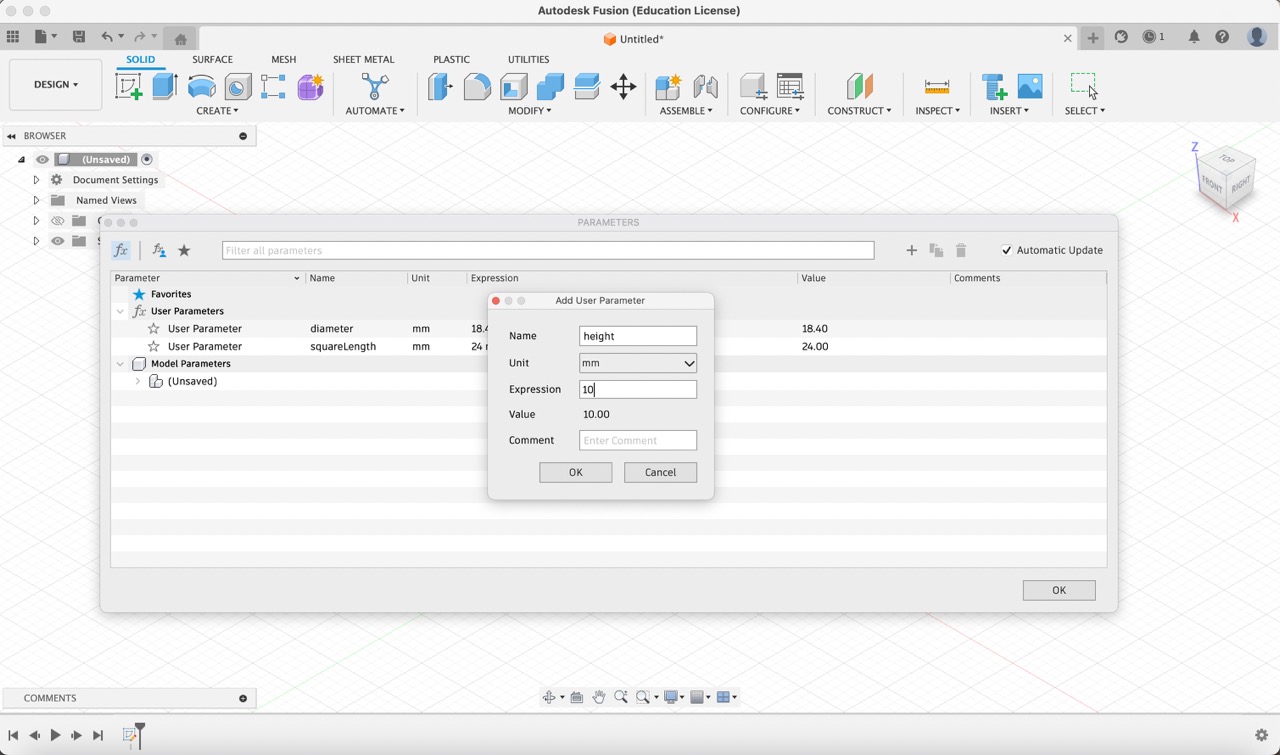
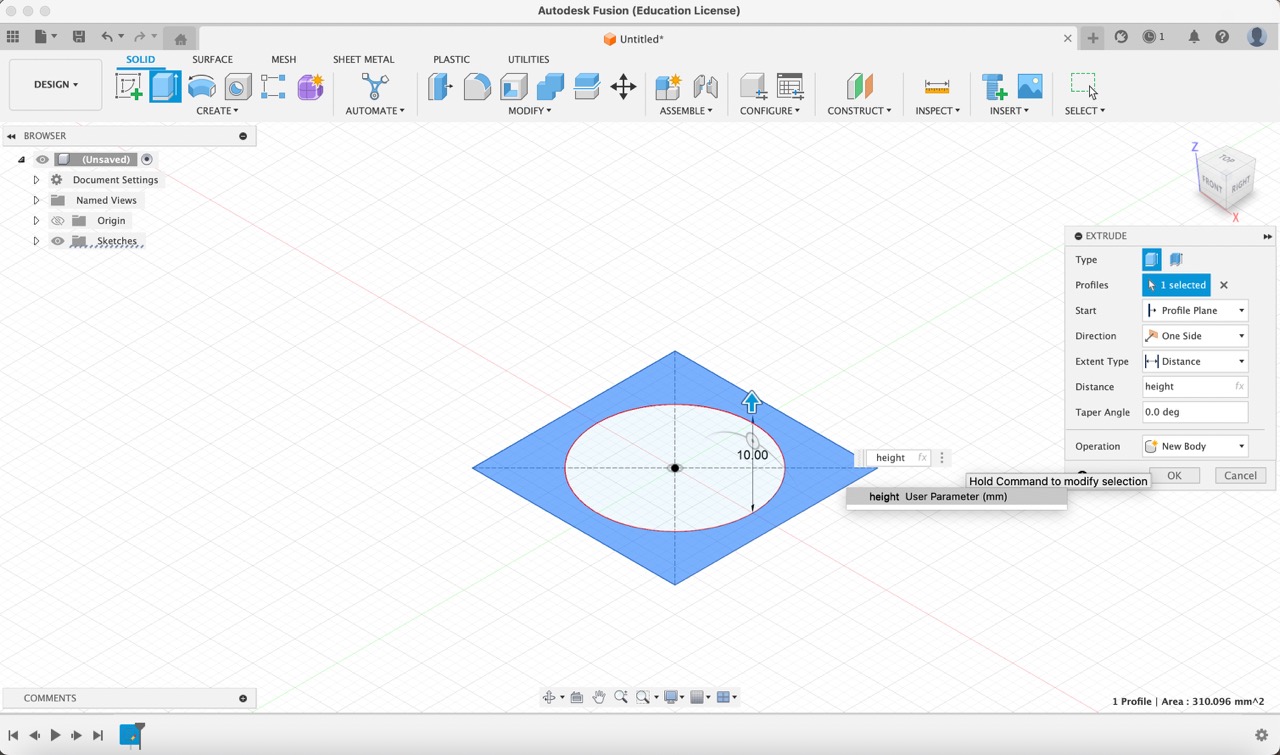
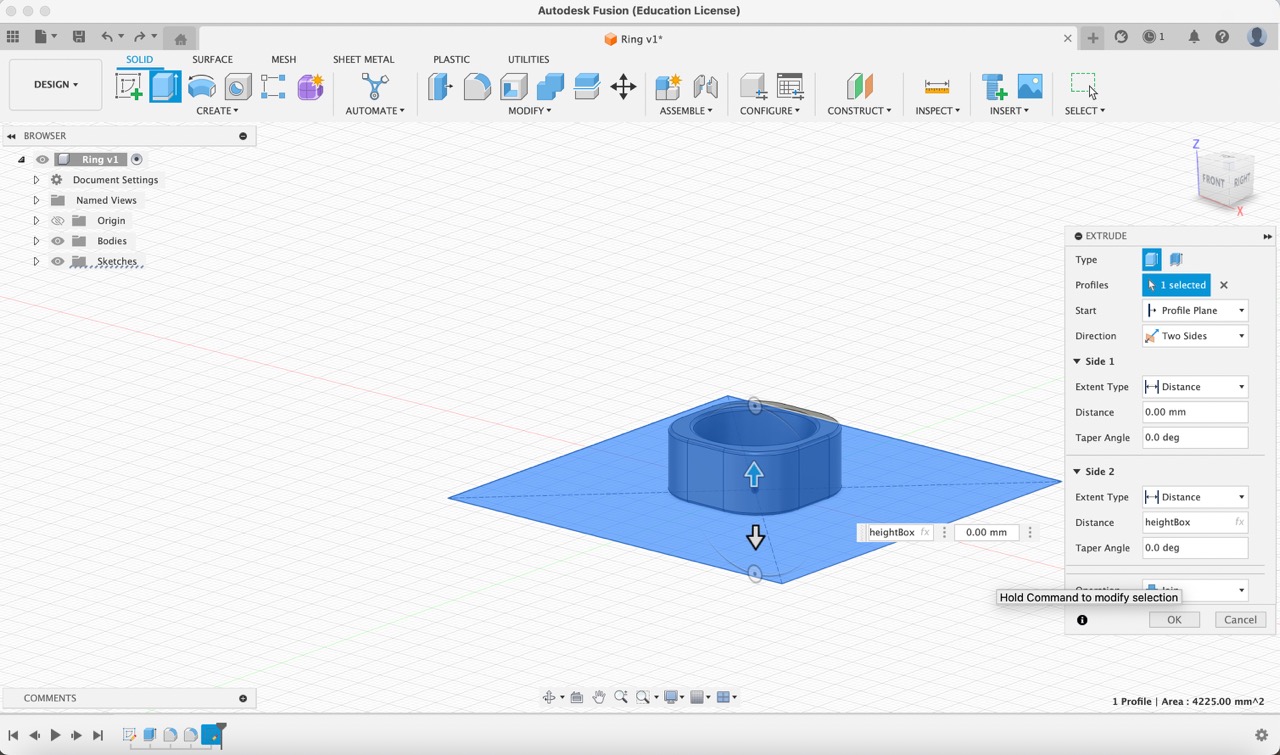
2:
Next, I established the height parameter and extruded the traced geometry to create the ring's body.
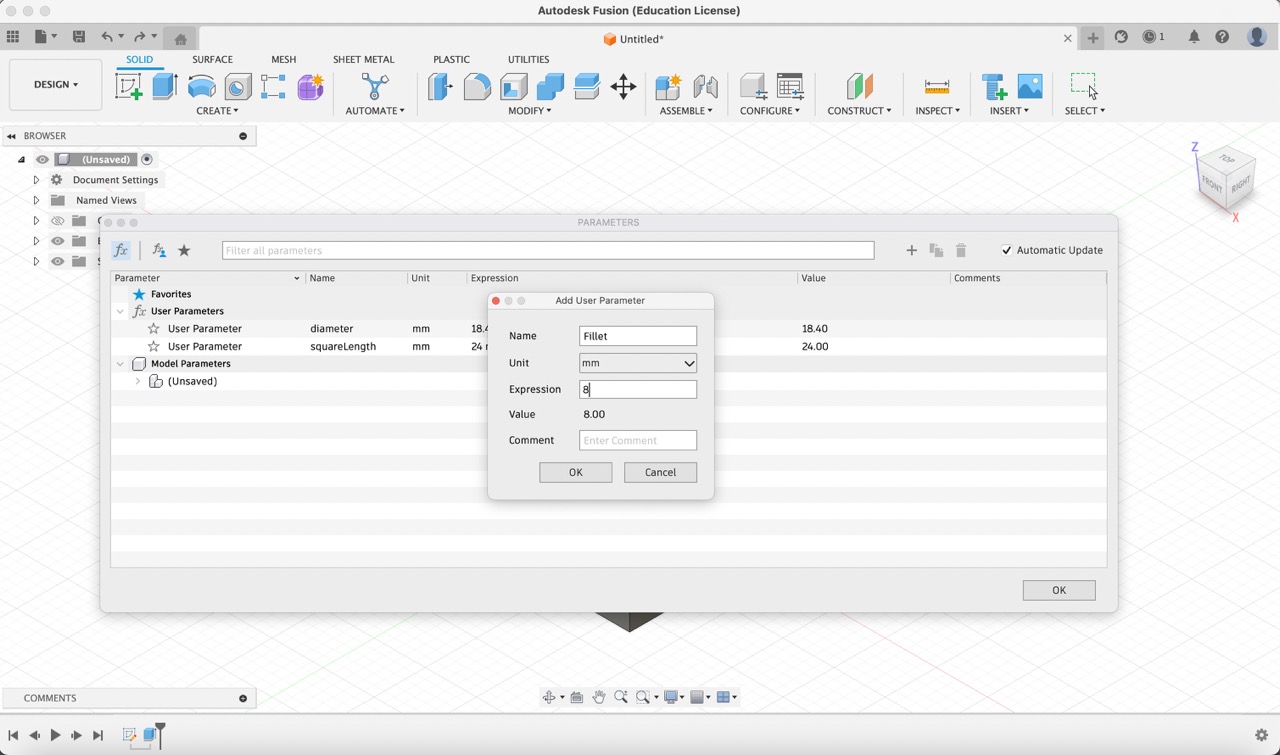
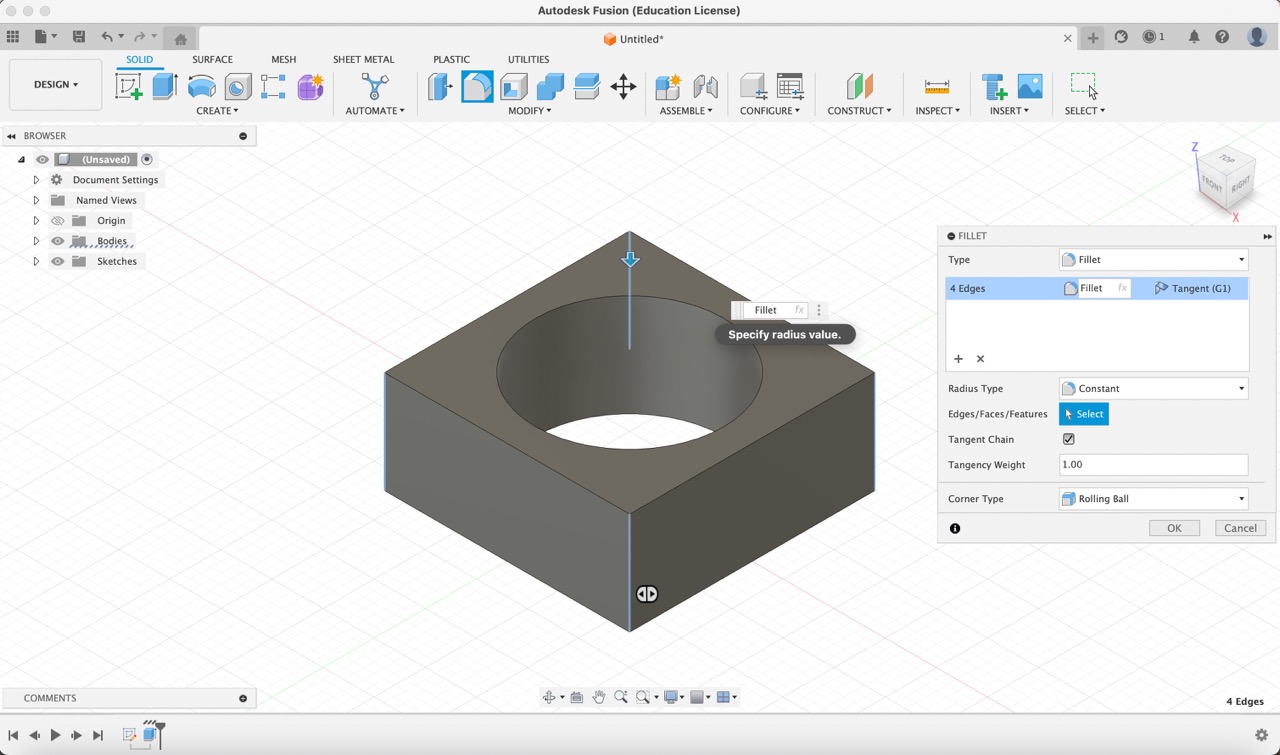
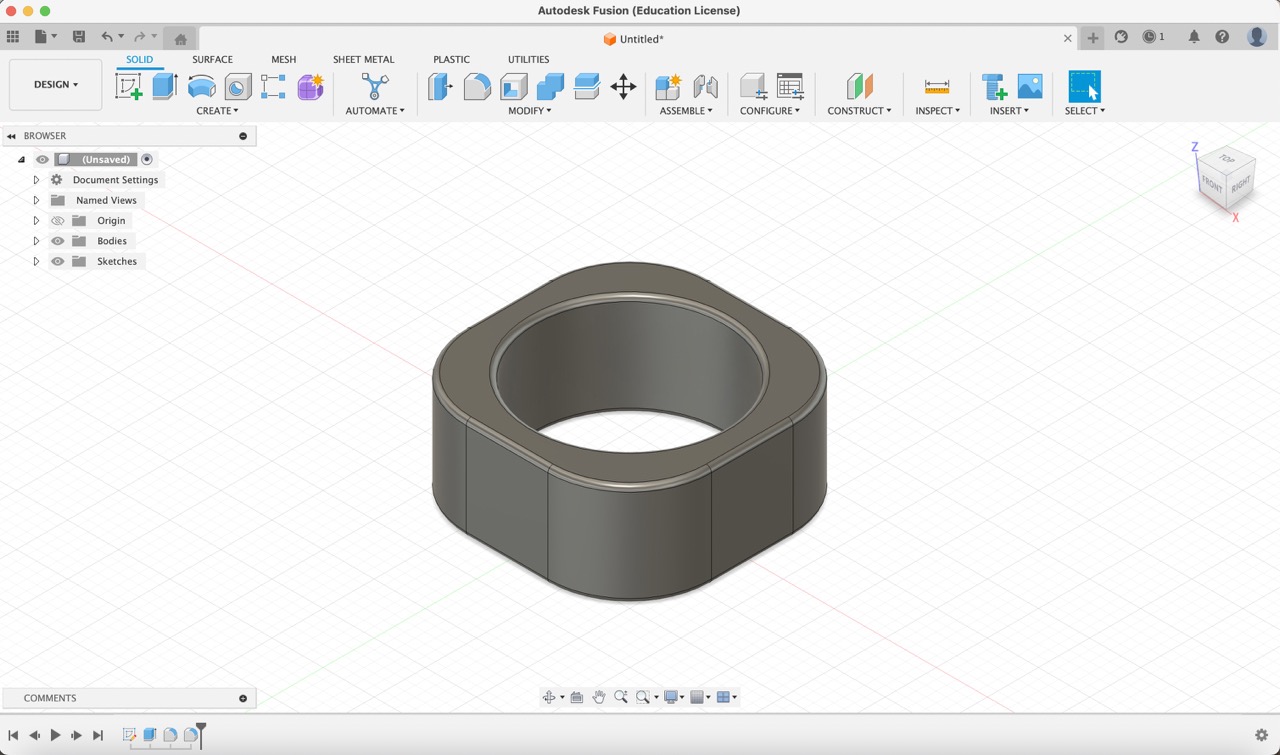
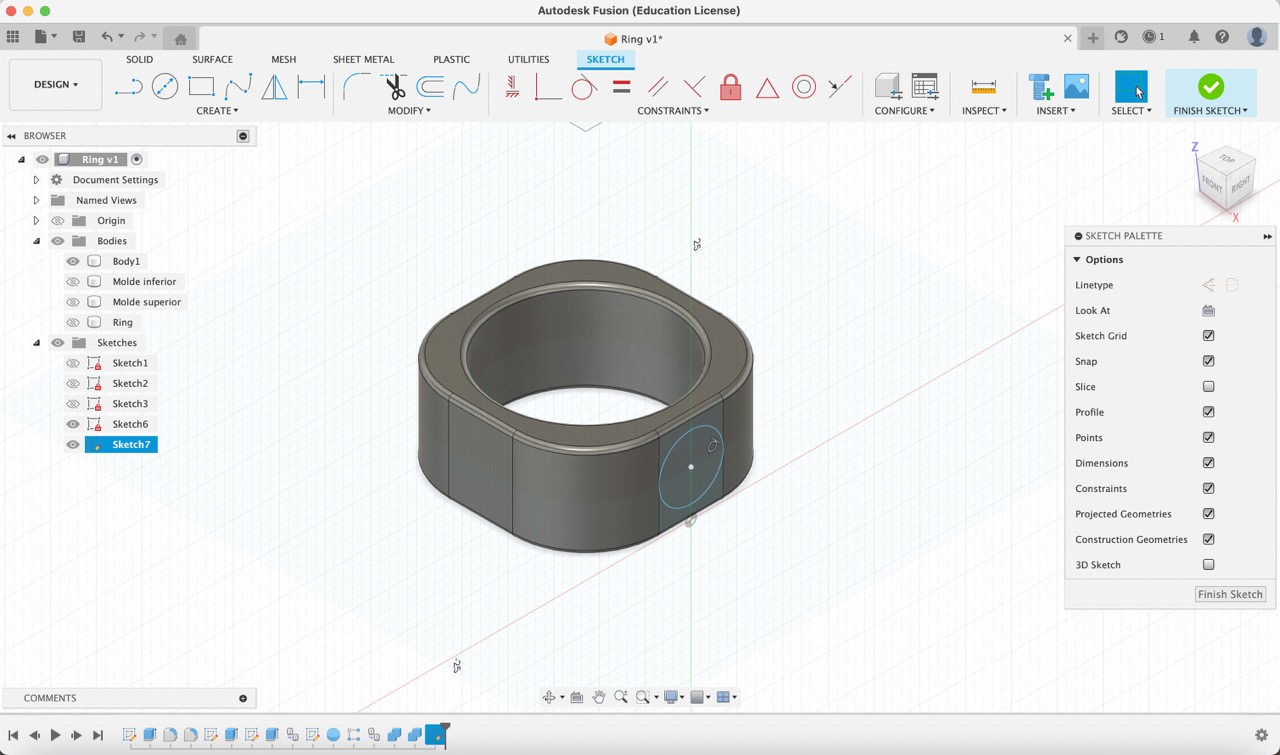
3:
I defined the fillet parameter and filleted the outer edges of the ring.

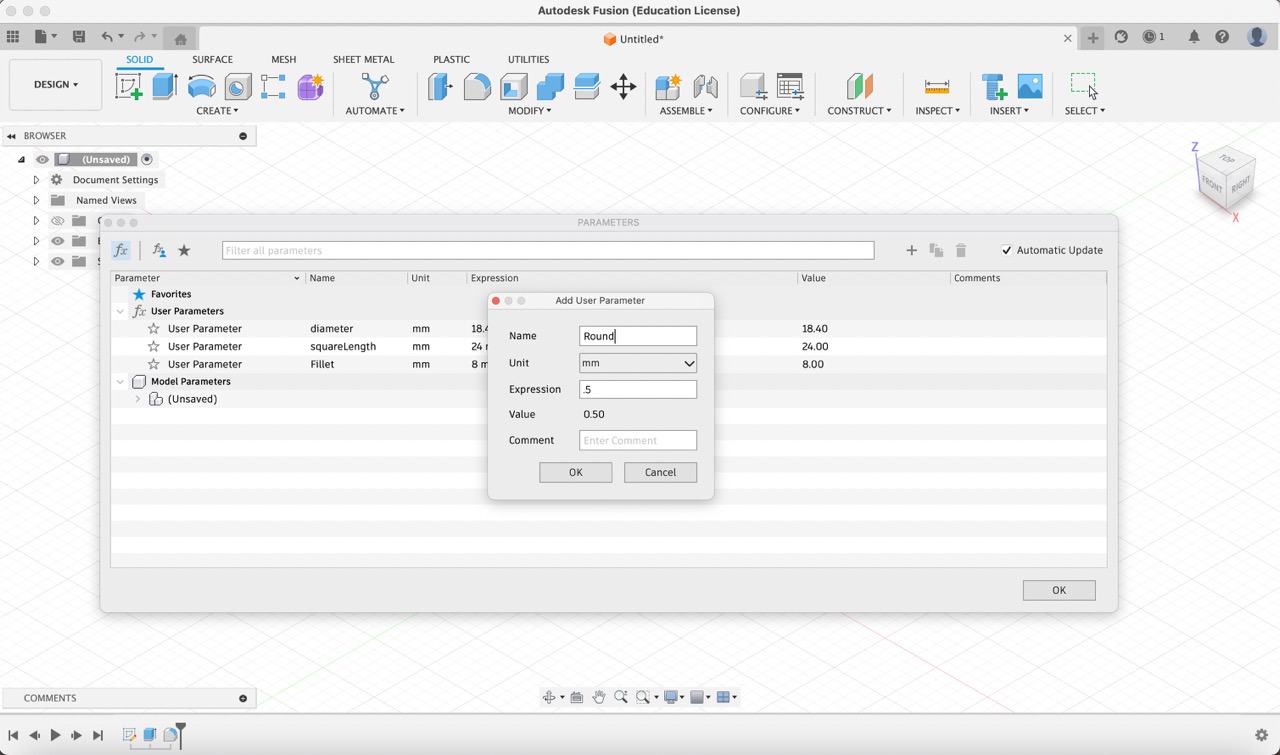
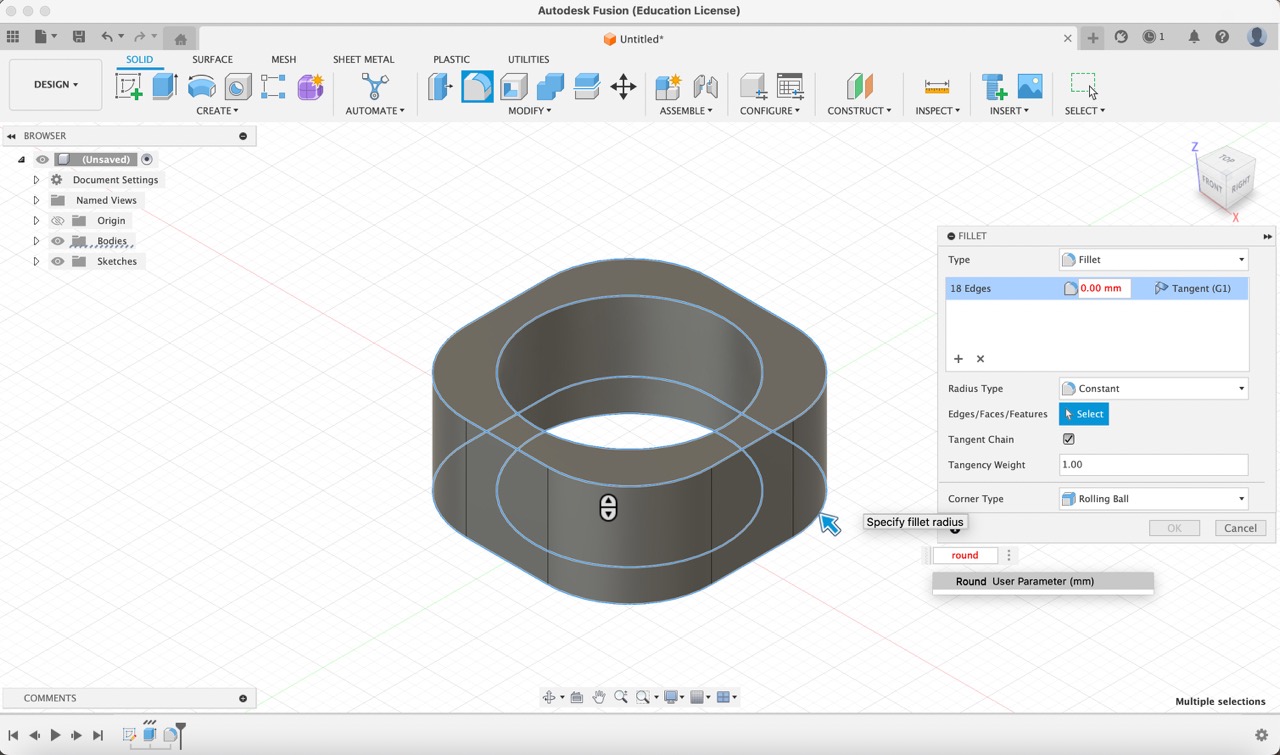
4:
Then, I created a round parameter and filleted the remaining edges, focusing on the outer and inner top and bottom.
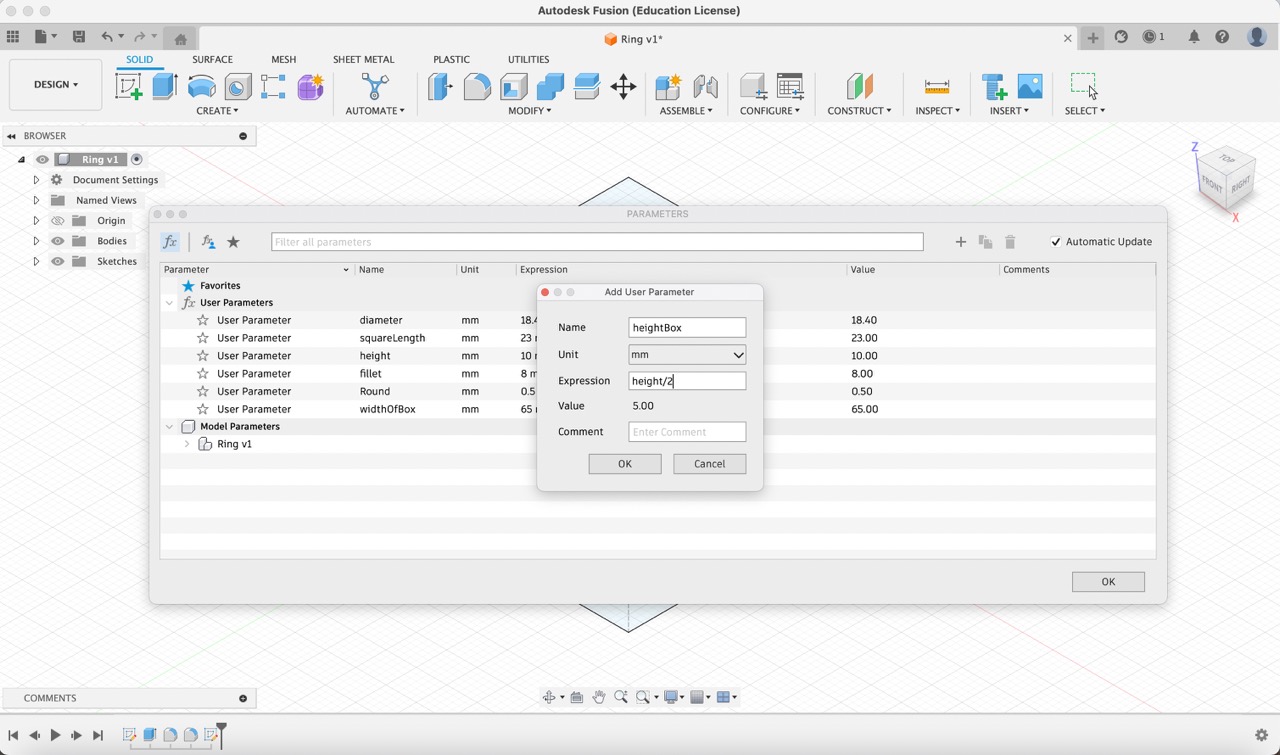
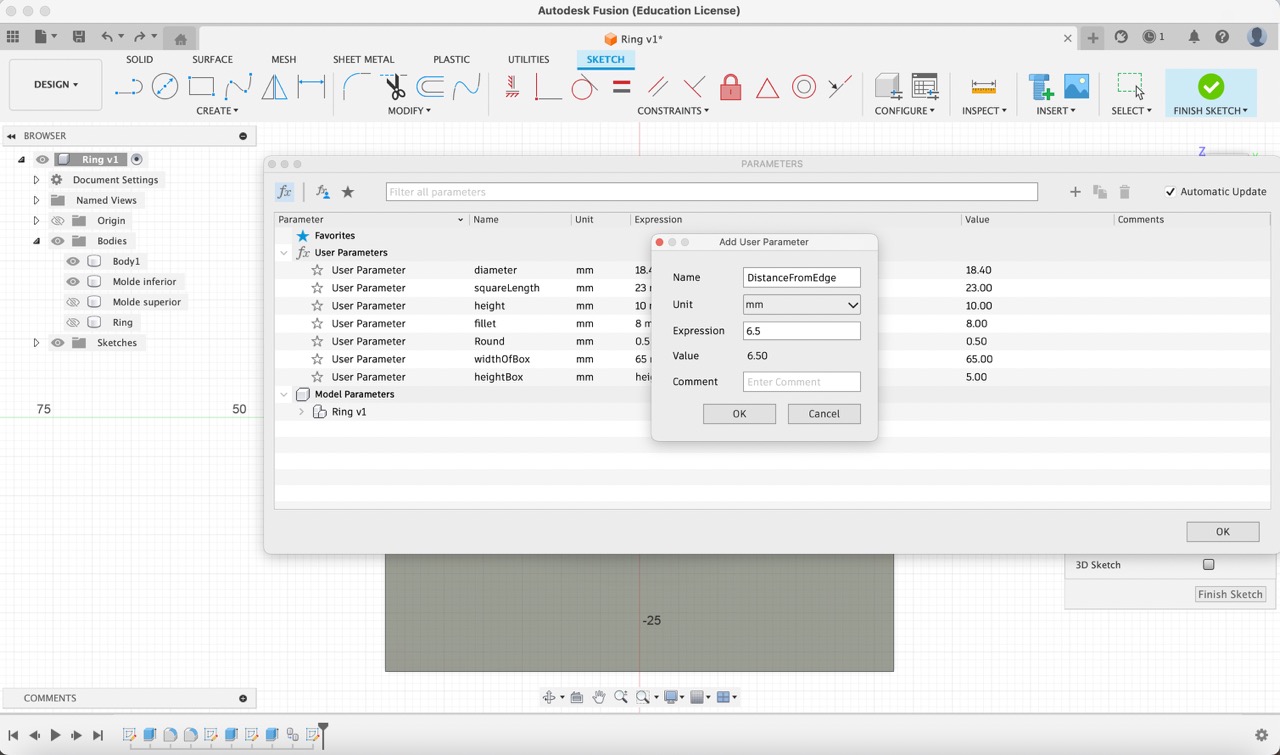
5:
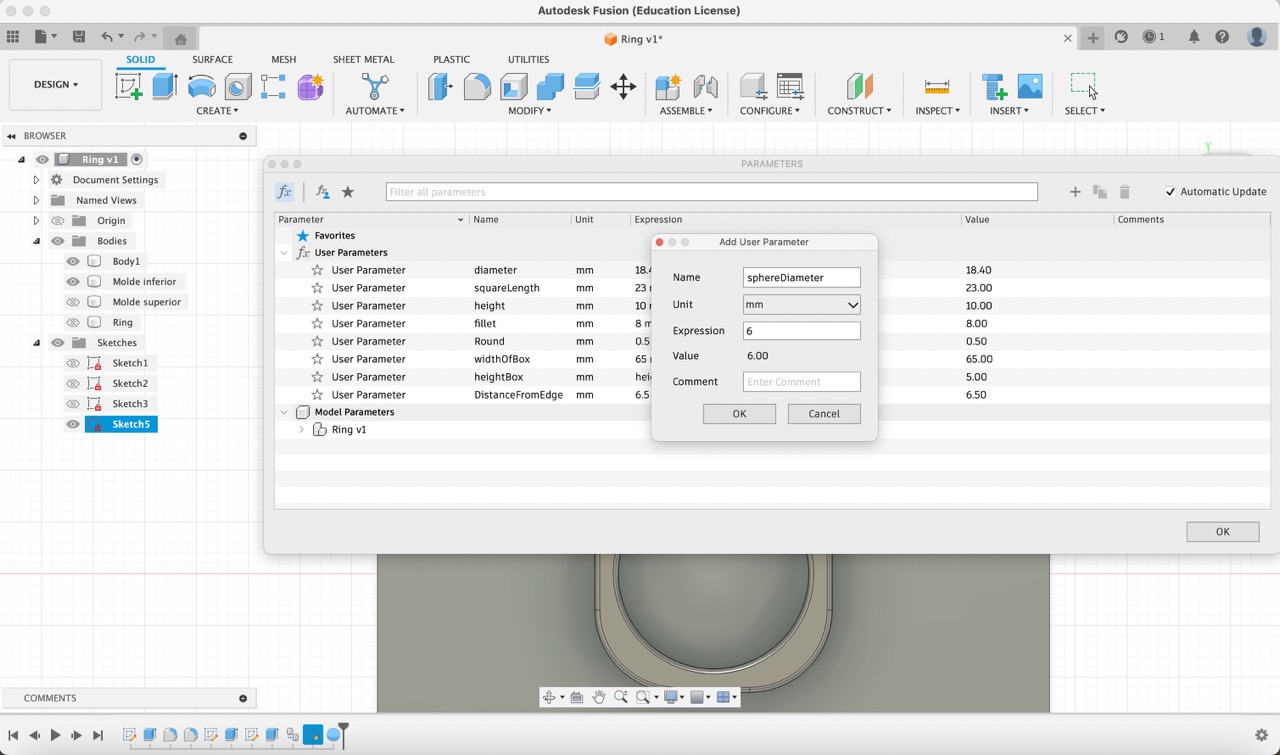
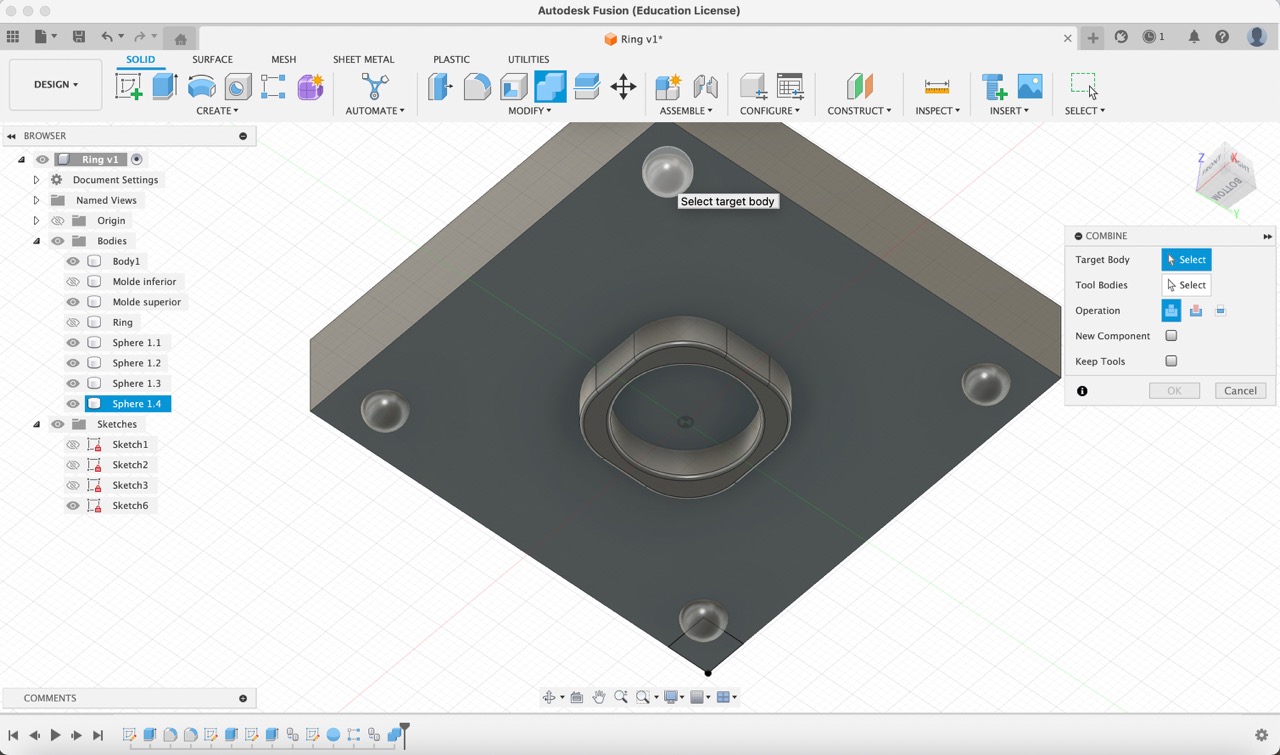
Moving on to the box where the ring would be contained, I set the width and height parameters, ensuring the box would accommodate half of the ring on each side.

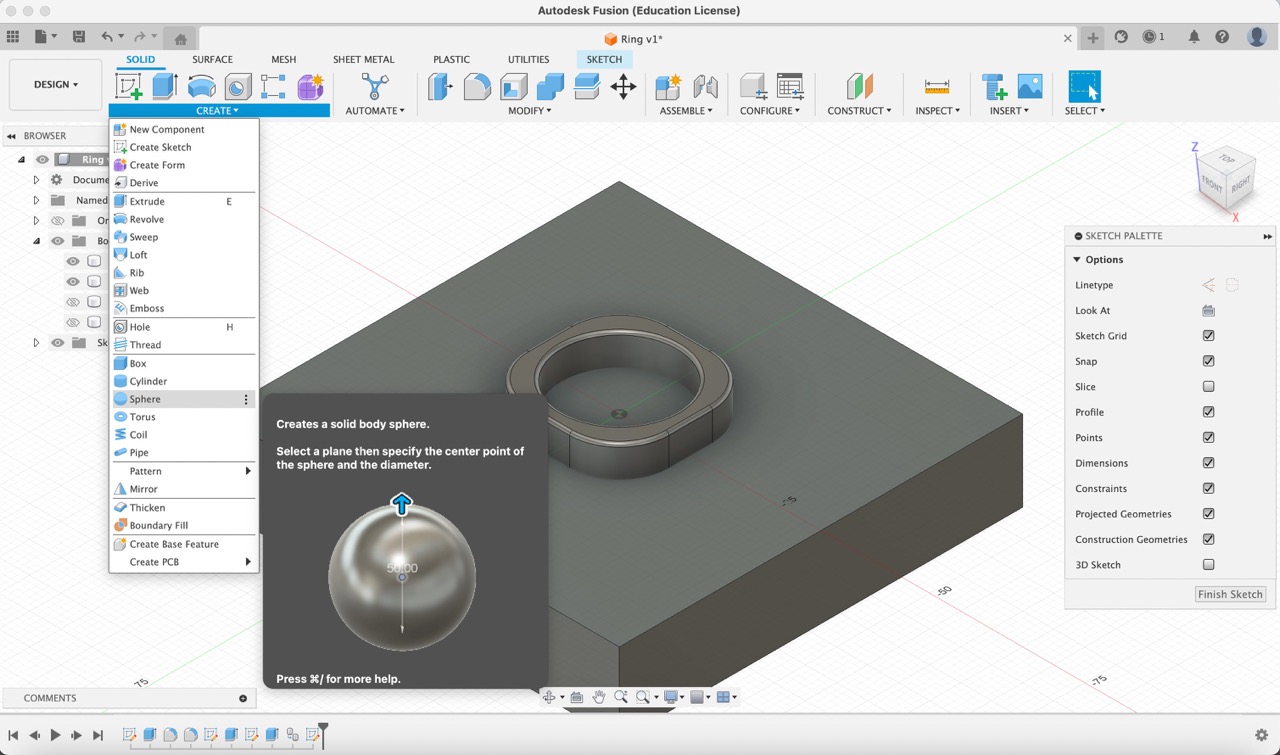
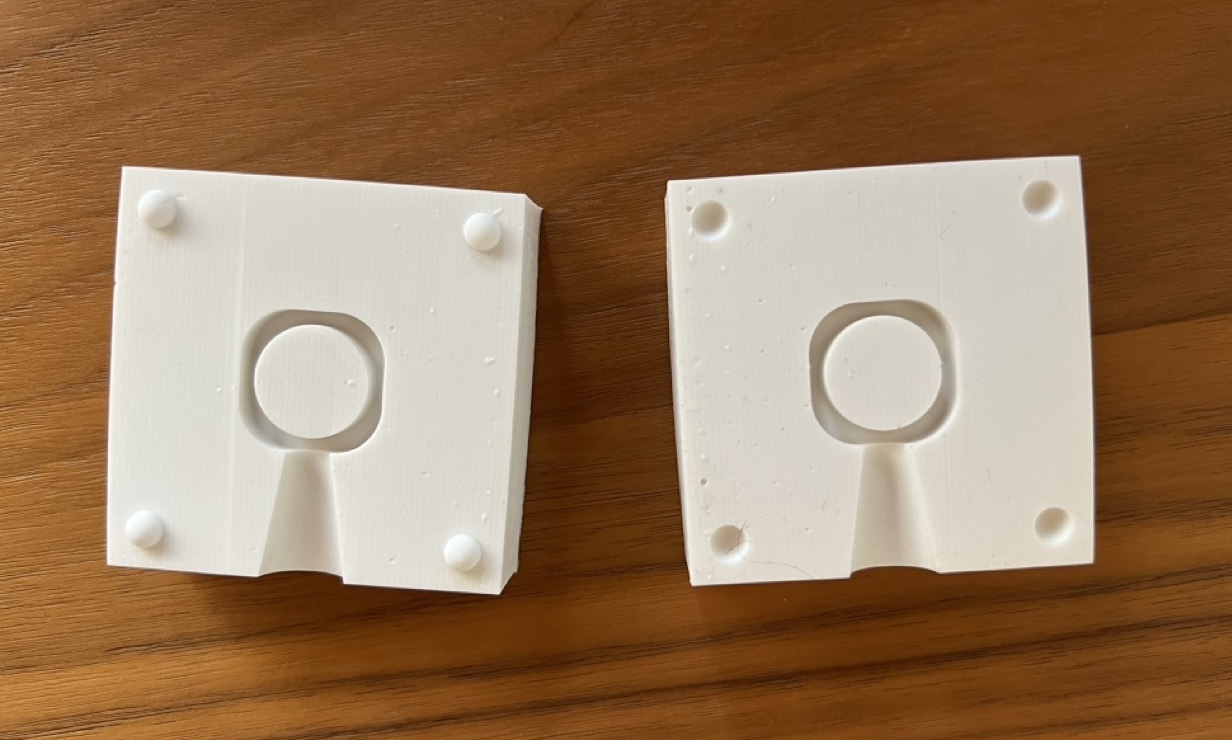
6:
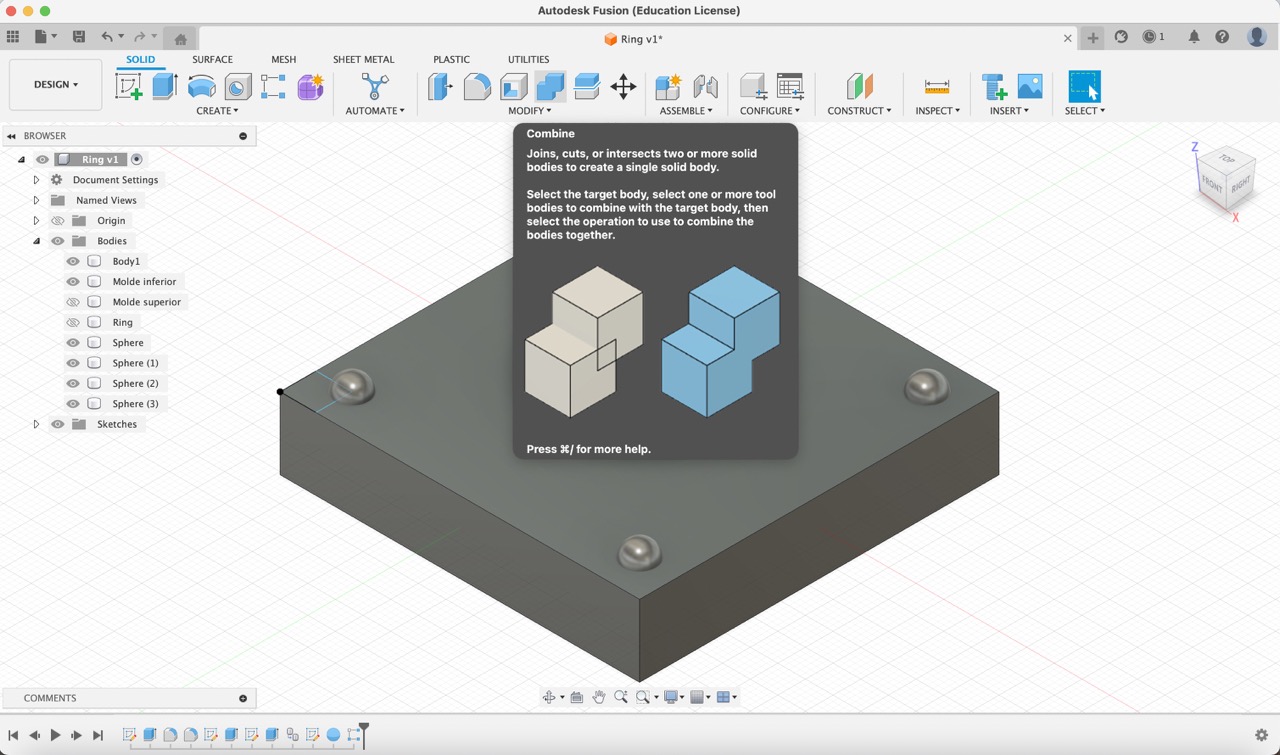
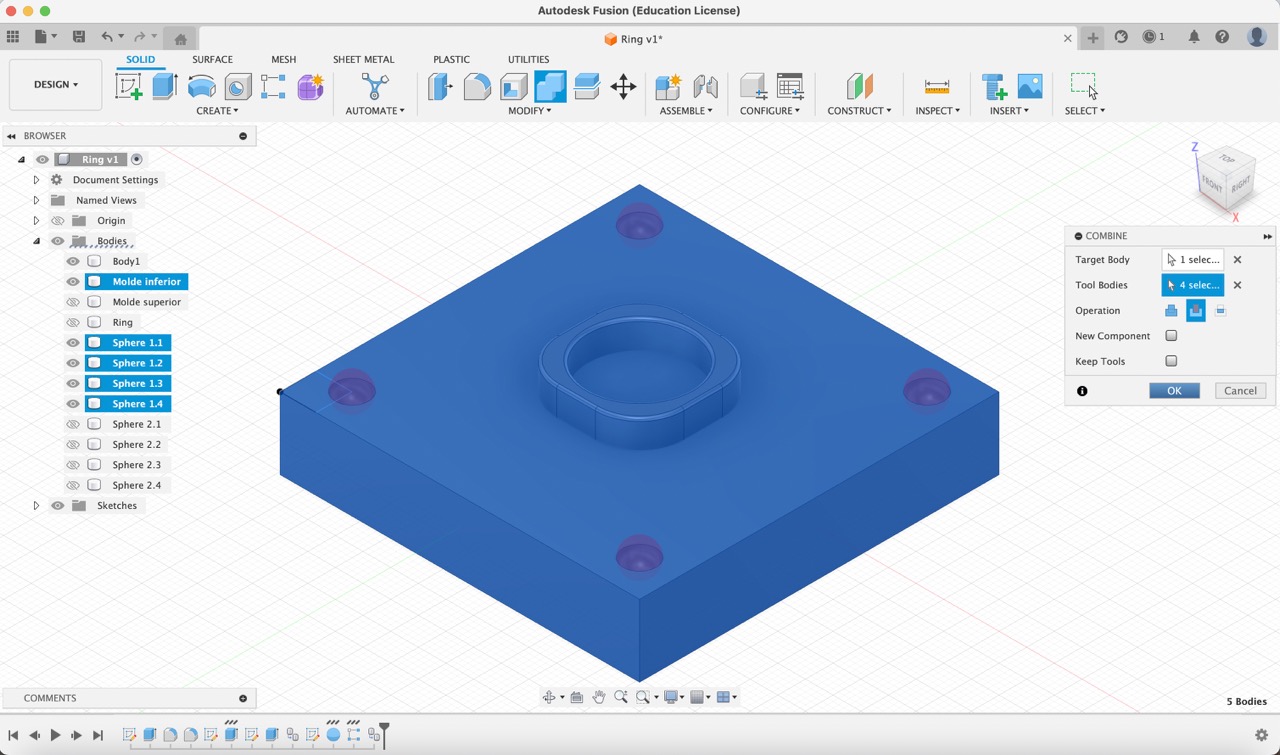
To aid in mold alignment, I modeled half spheres.
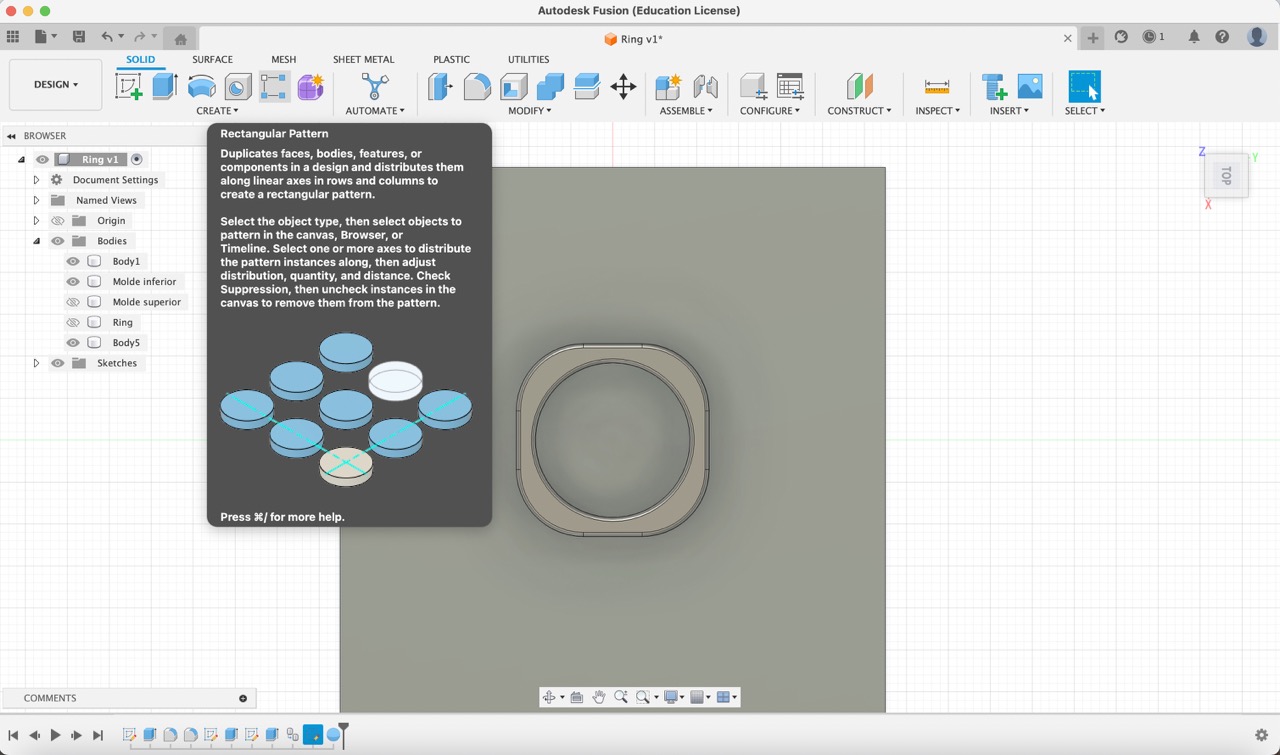
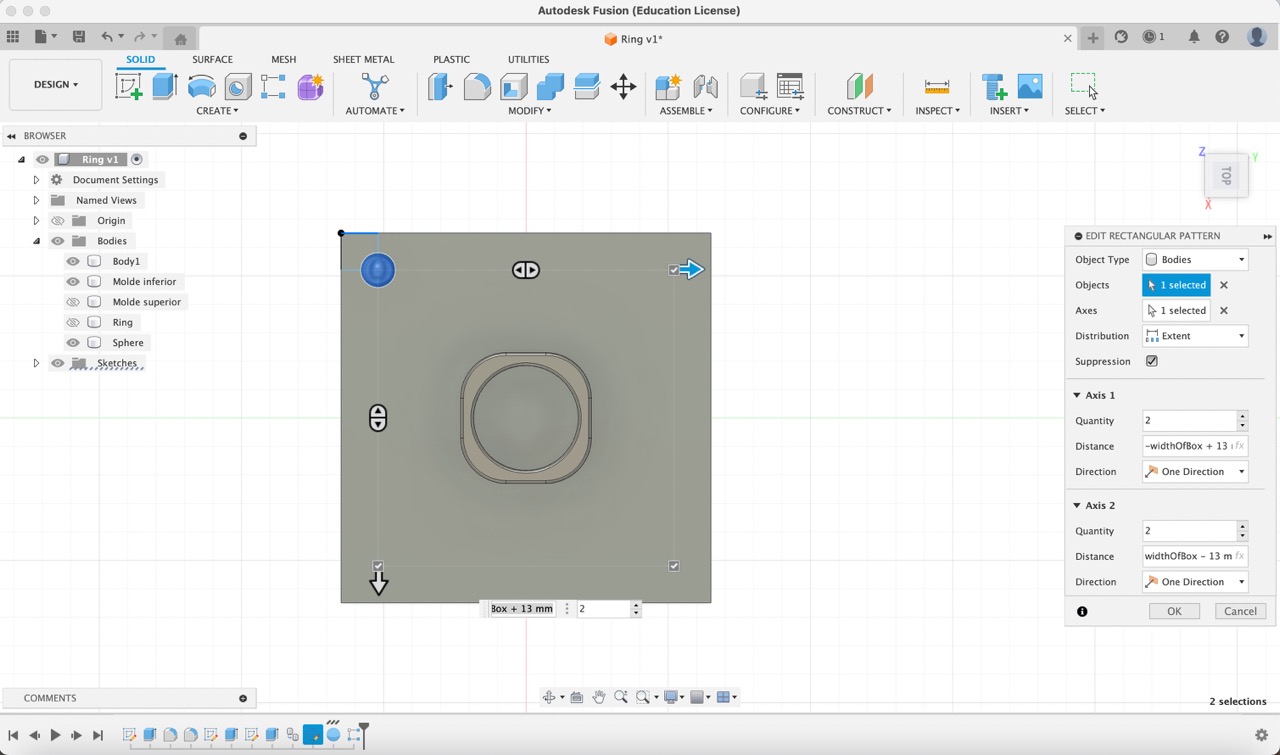
7:
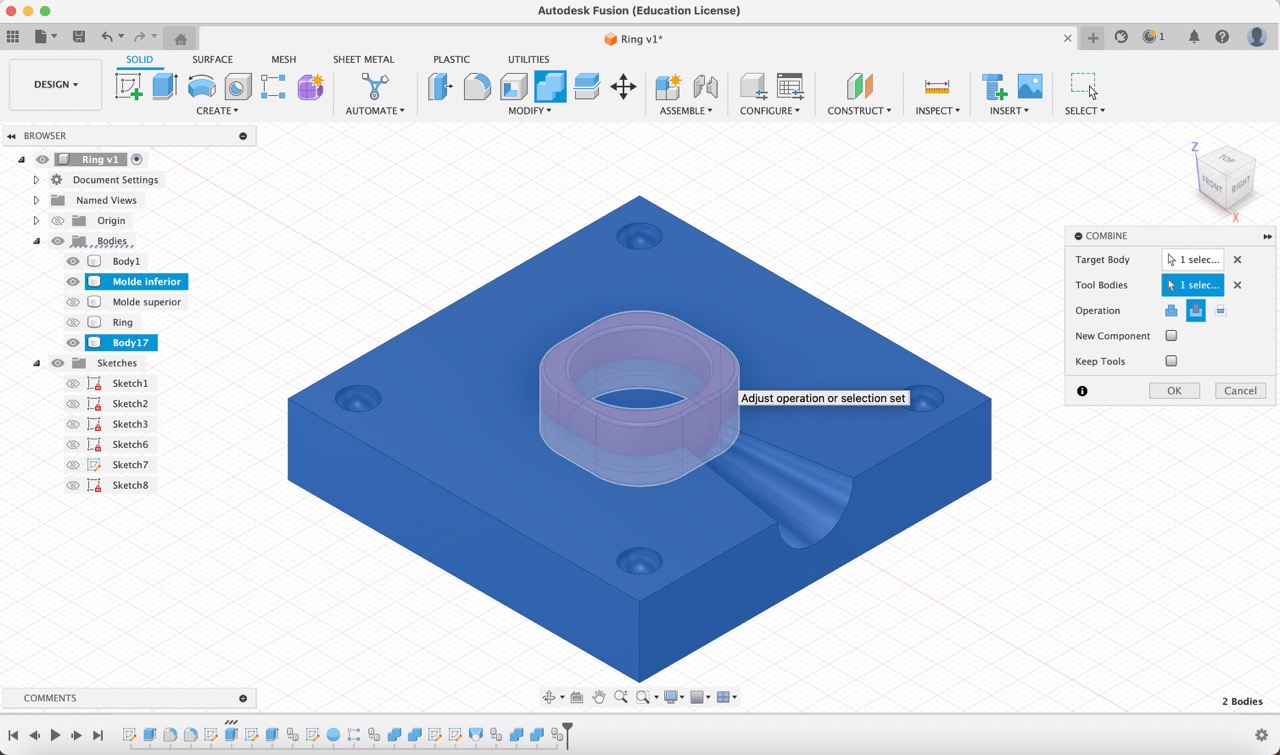
Then, I combined these spheres with the rectangular body on one side, and subtracted the spheres from the other side.
8:
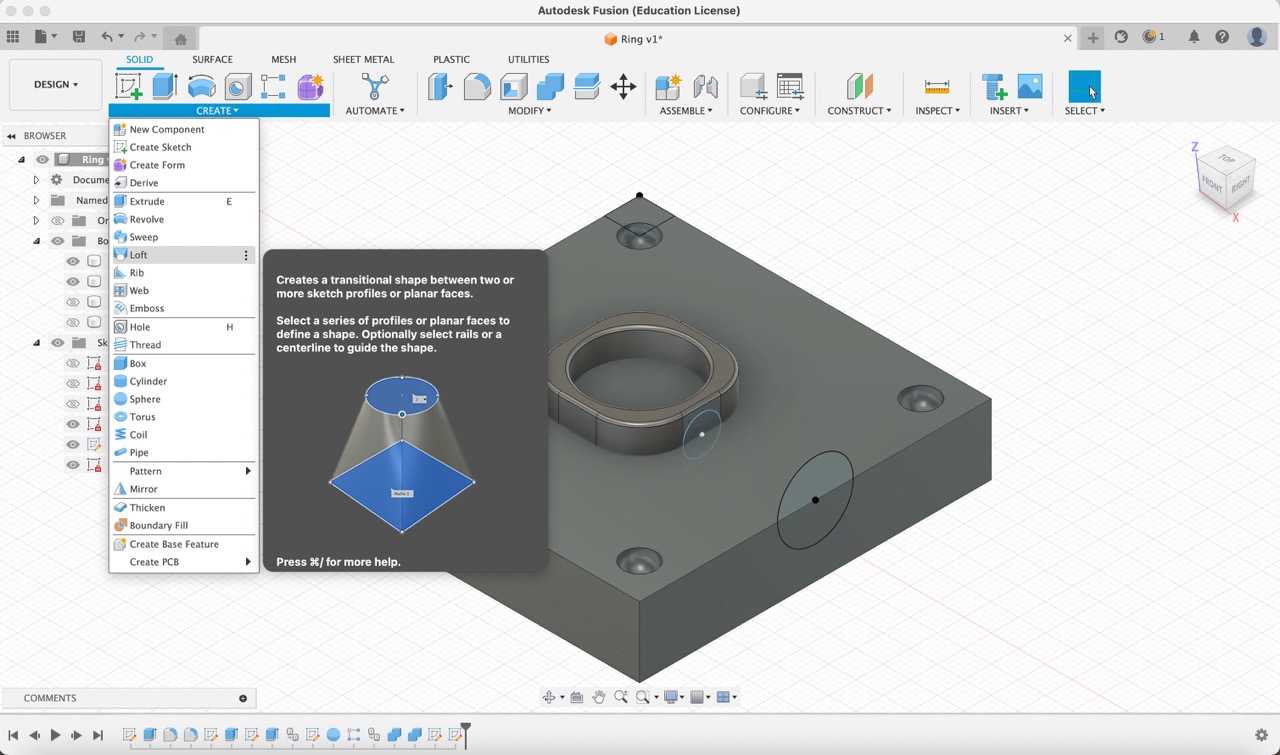
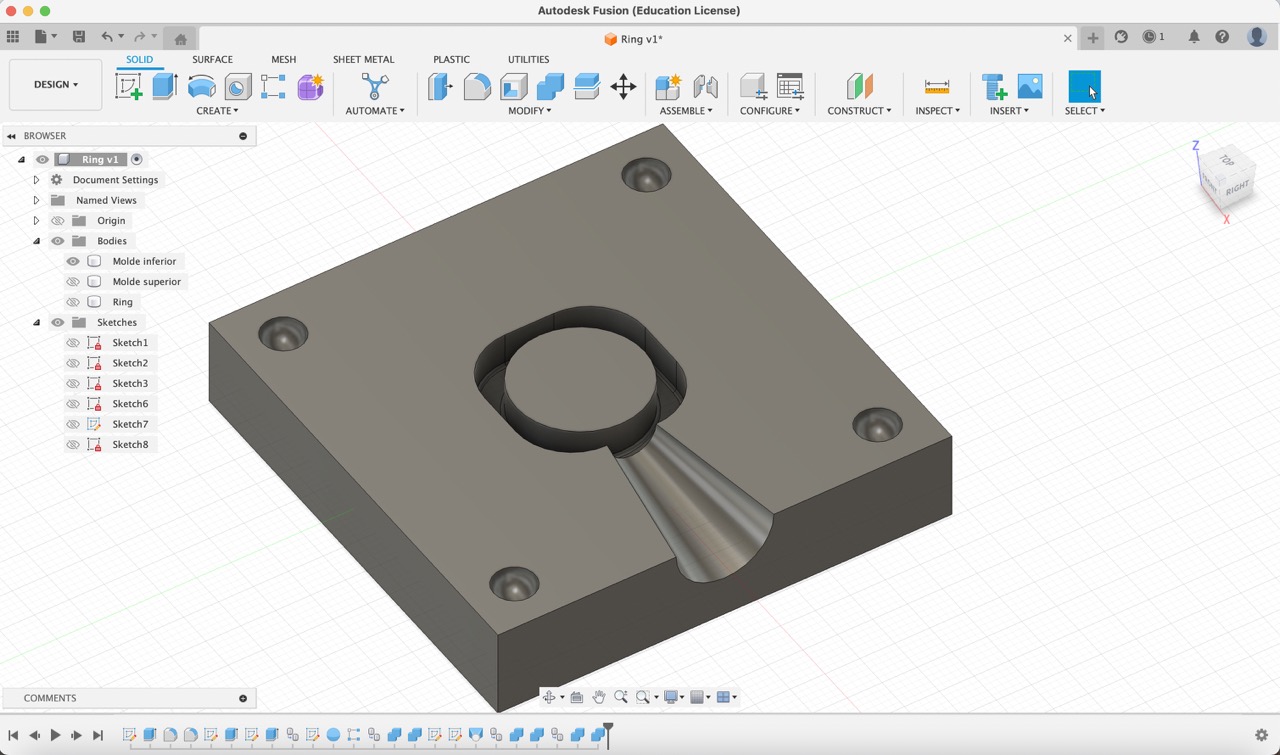
Then, I modeled a truncated cone where the resin will be poured into the mold.

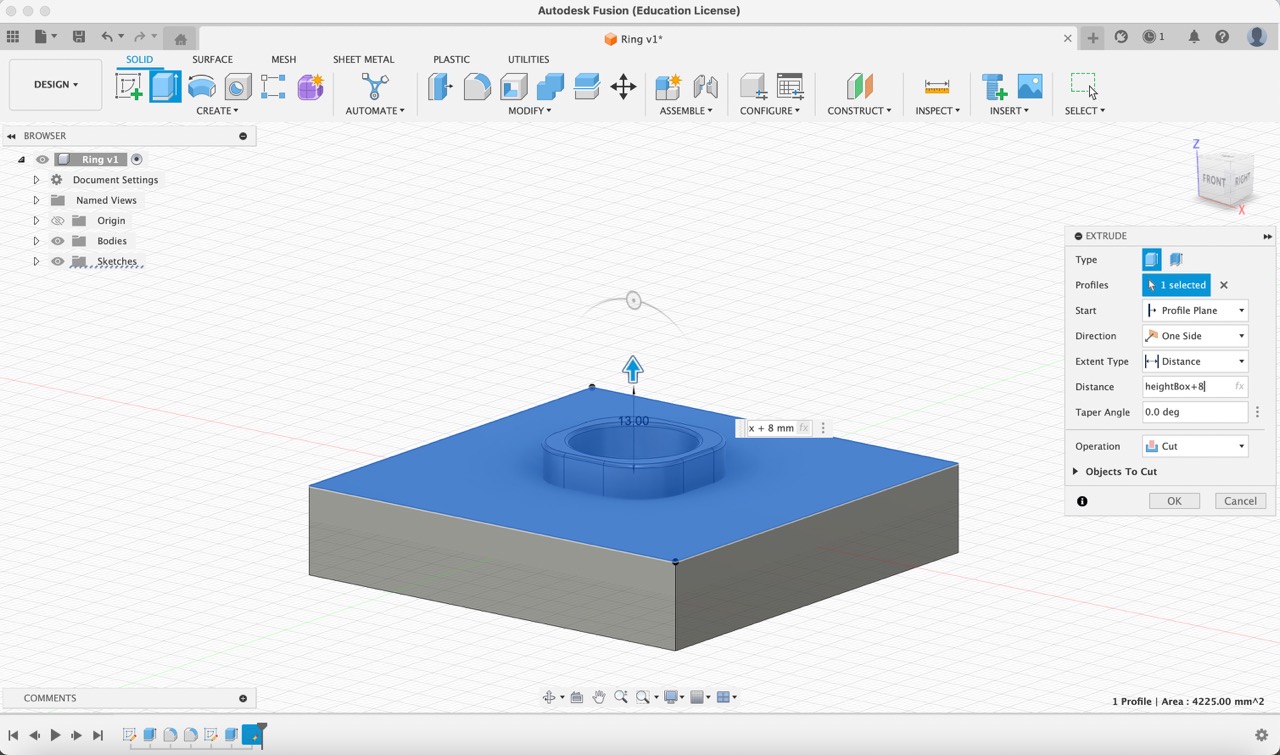
9:
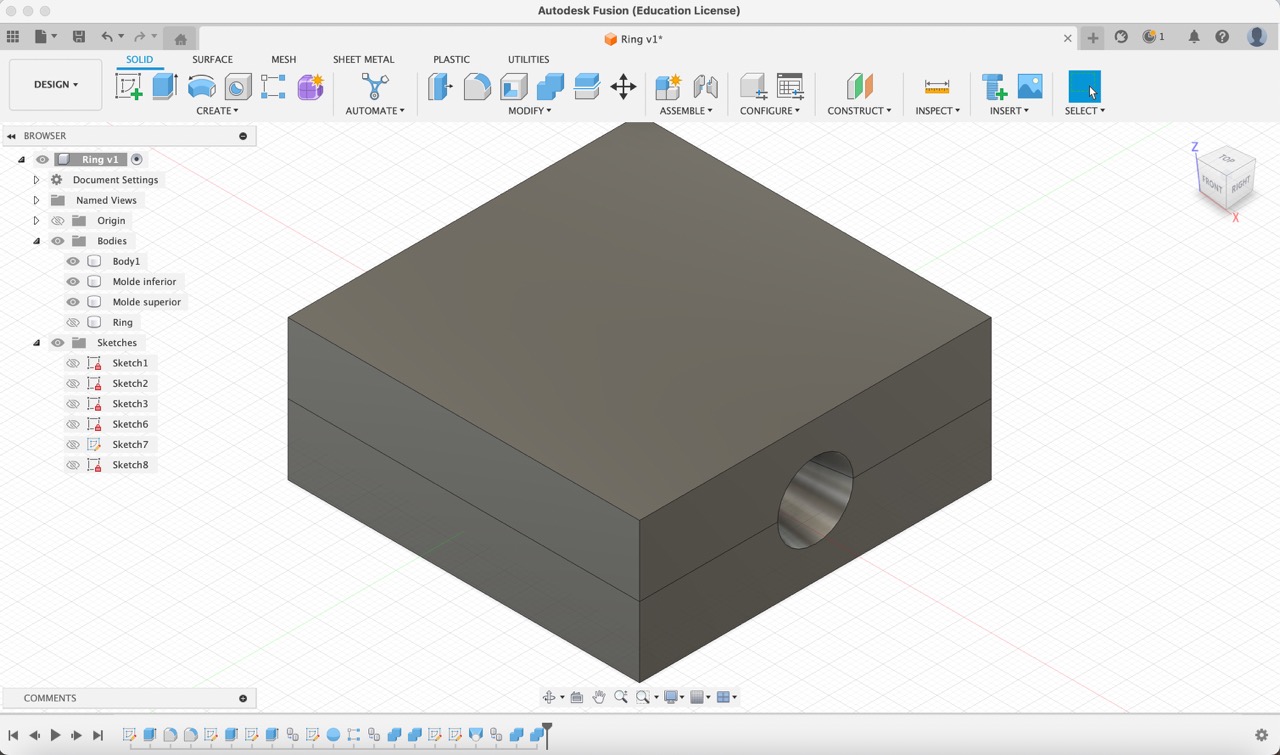
Finally, I offset the outer rectangle by 3 mm and extruded this geometry by 30 mm, creating the box for casting the mold. With this step, the design of the box was complete and ready to 3D print.
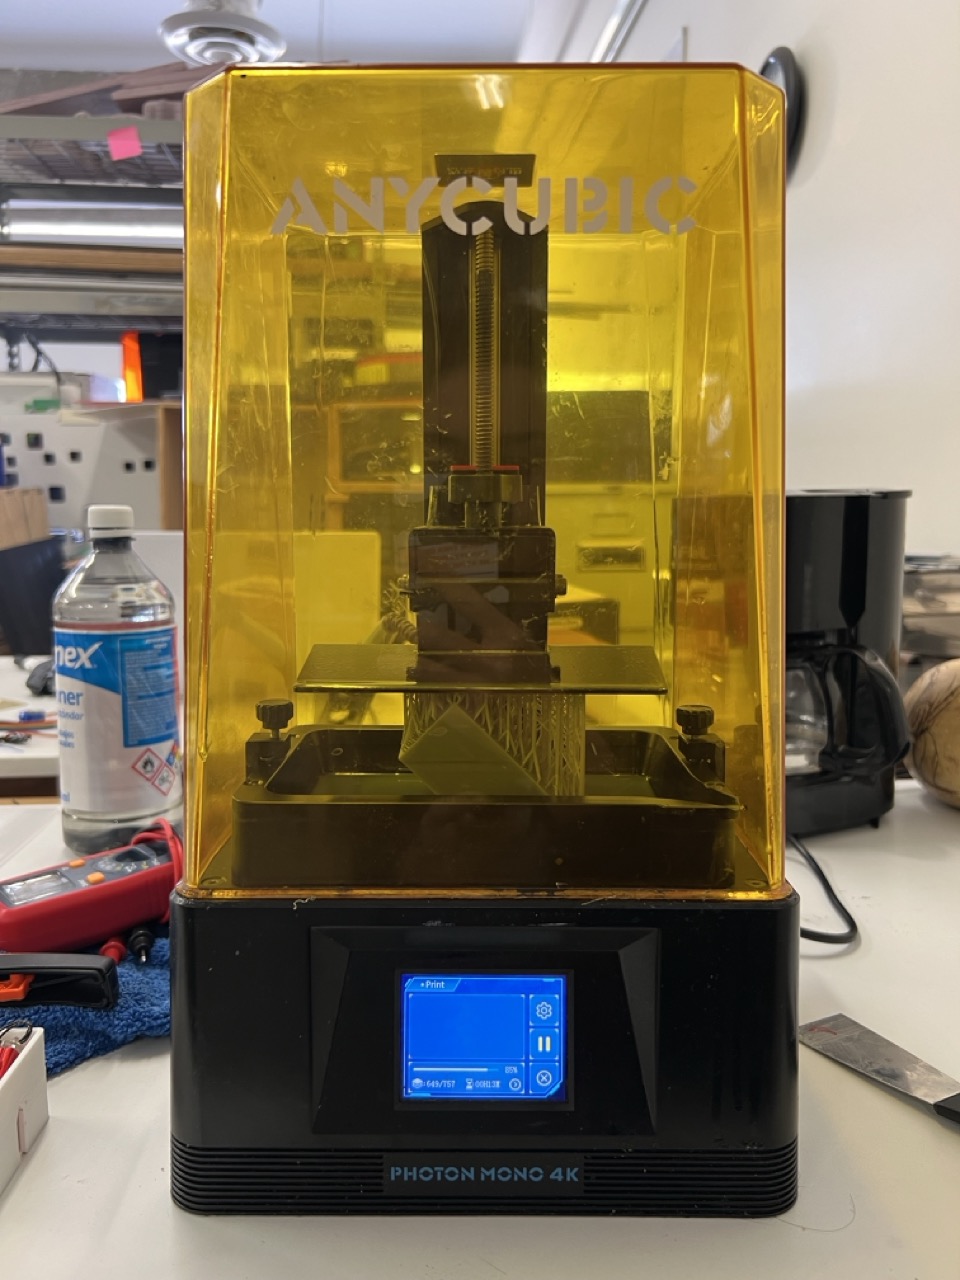
3D resin printing the mold
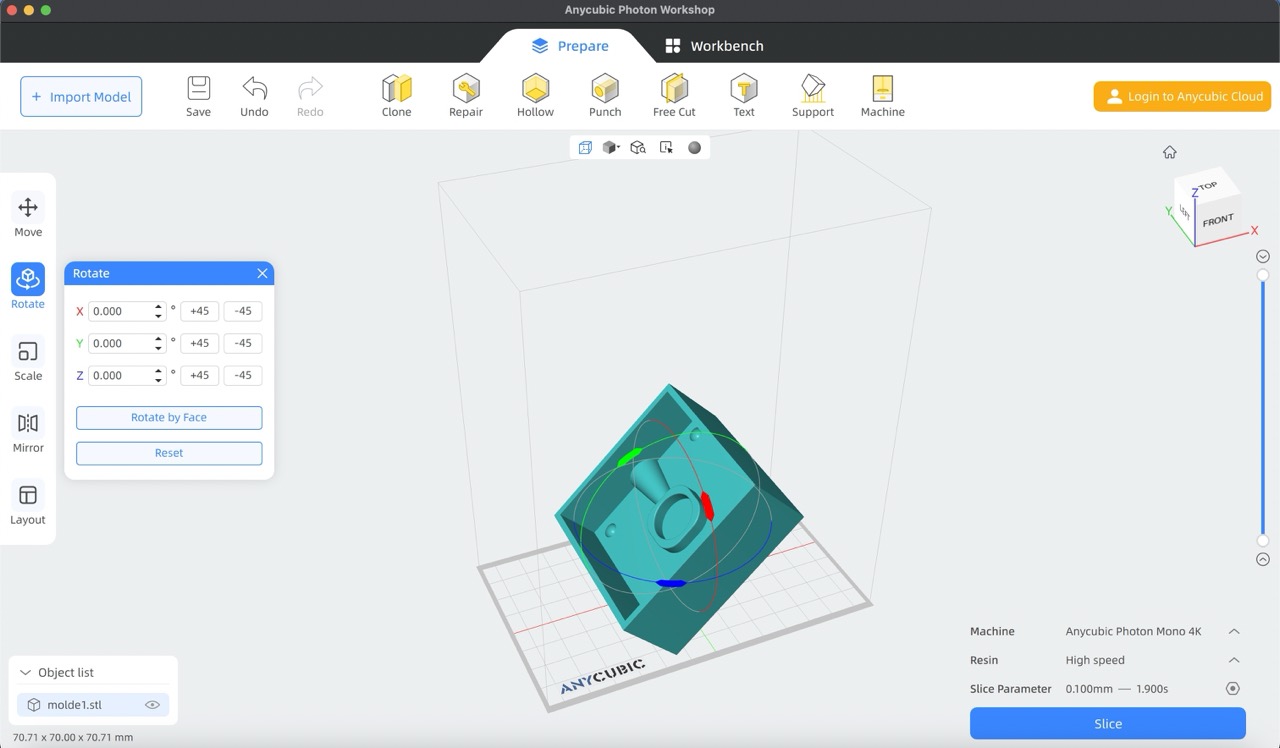
To start, I opened the .stl file in the ‘AnycubicPhotonWorkshop’ program and rotated the model 45˚.
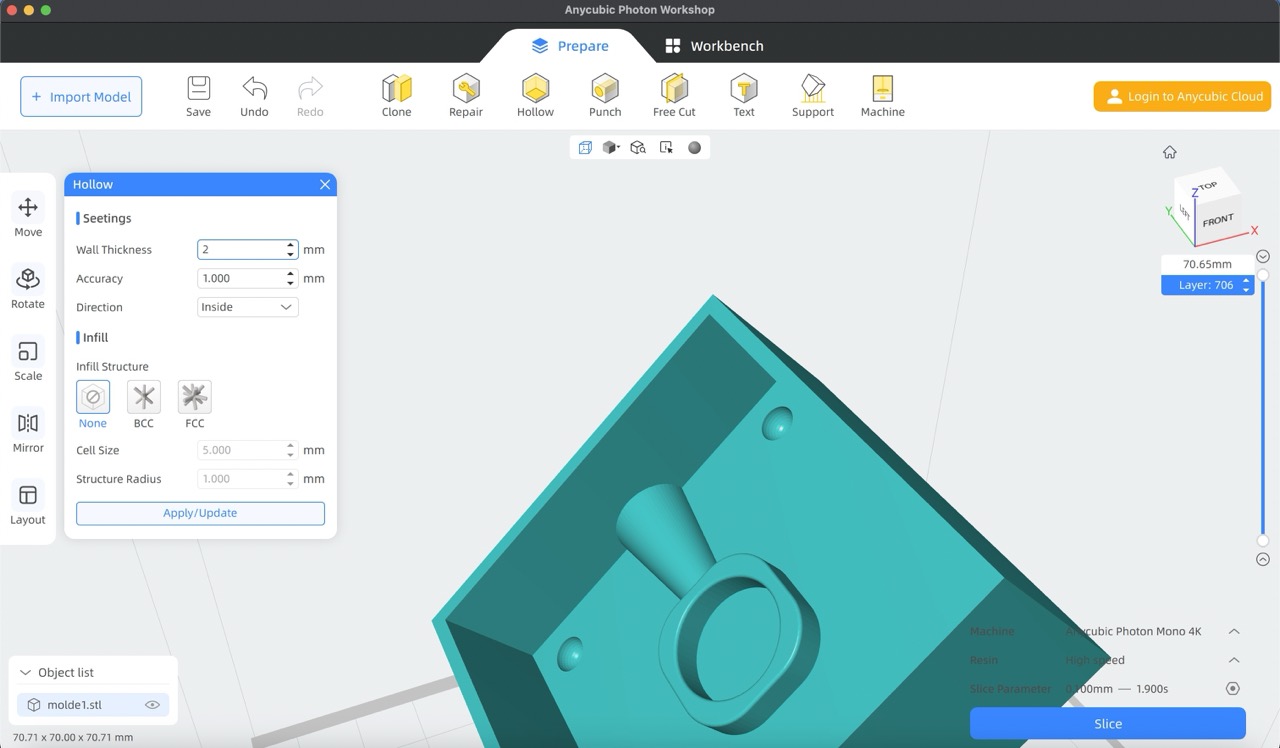
Then, I hollowed out the object by setting the wall thickness to 2 mm and added some light supports.
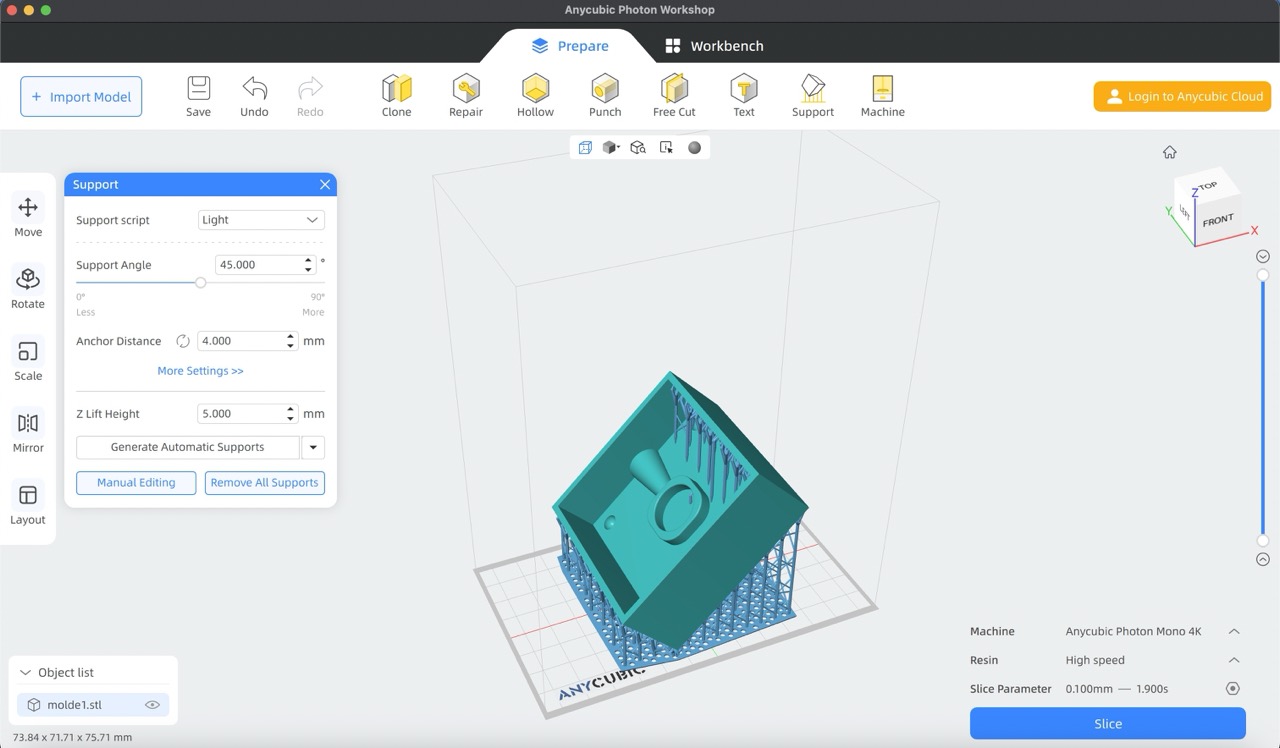
After finalizing these settings, I sliced the model to create the necessary slice file for printing.

I uploaded the file to the 3D printer and waited 1 hour and 30 minutes until the print was finished. Since I was using the small resin 3D printer, the process took a bit longer compared to using the larger 3D resin printer. Once completed, I cleaned the print for 5 minutes and cured it for 10 minutes to solidify the resin.
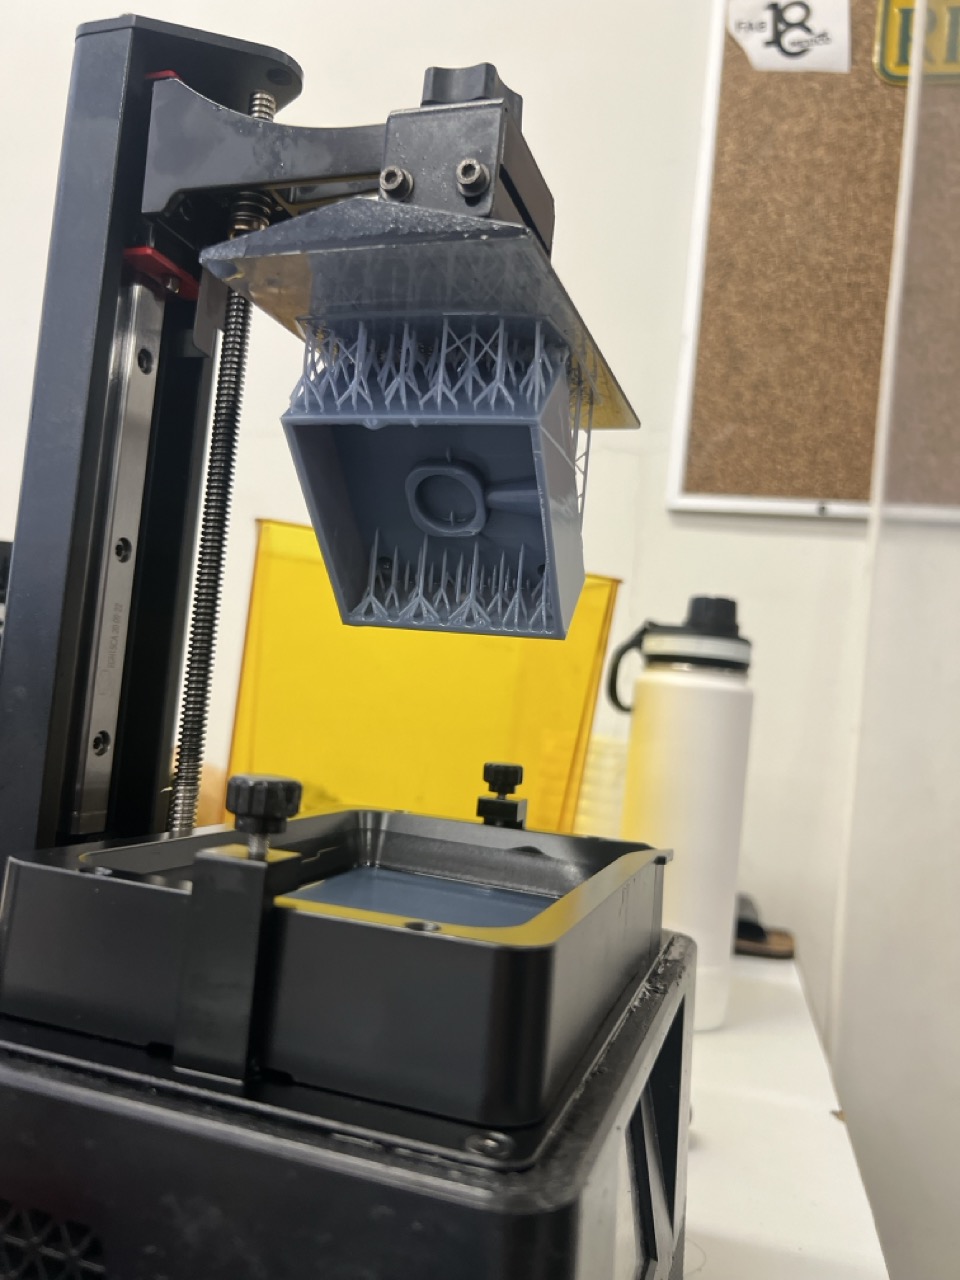
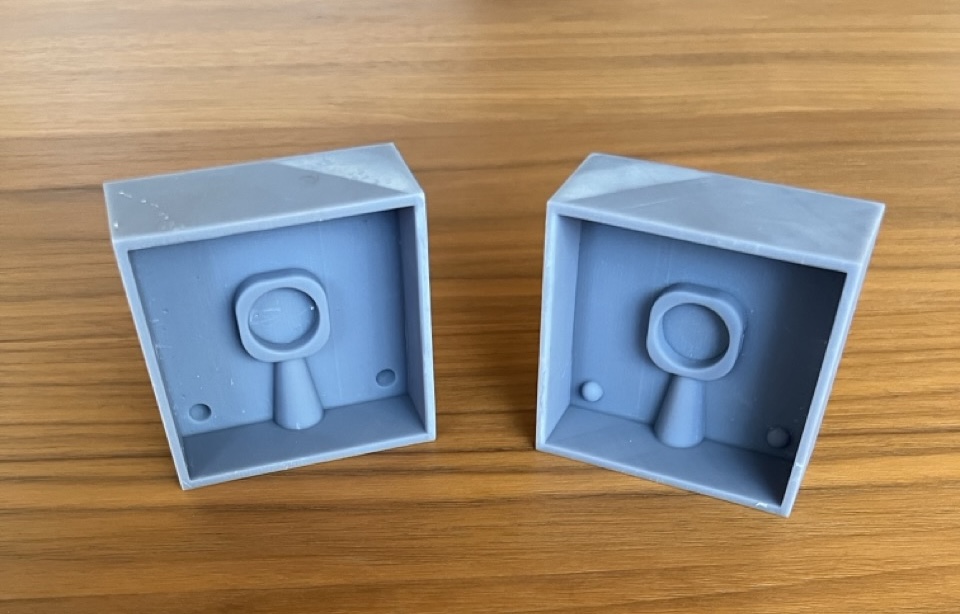
This was the final result.
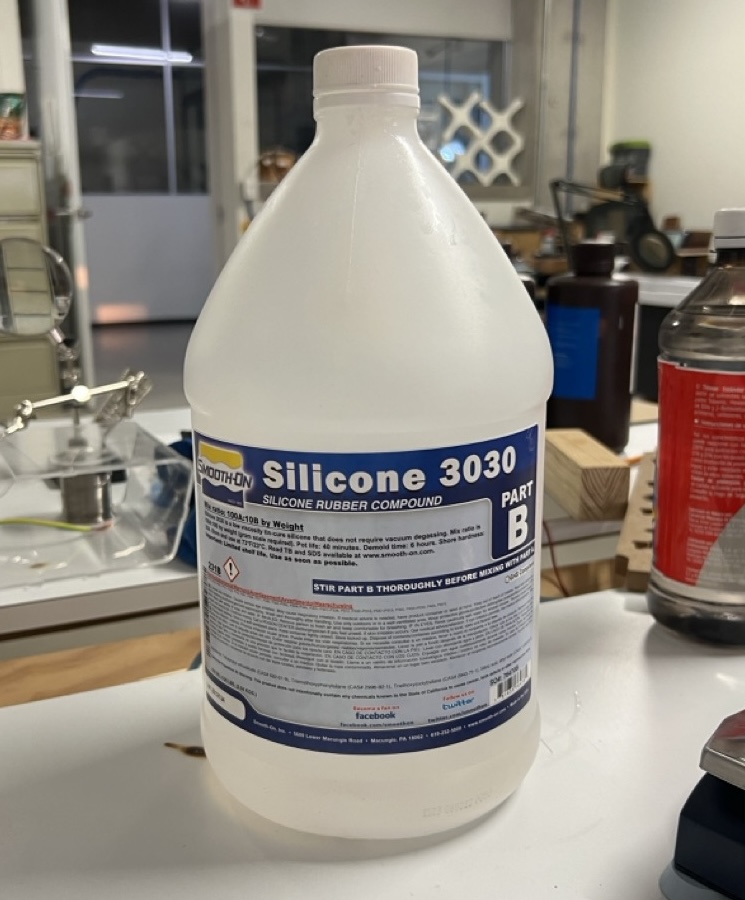
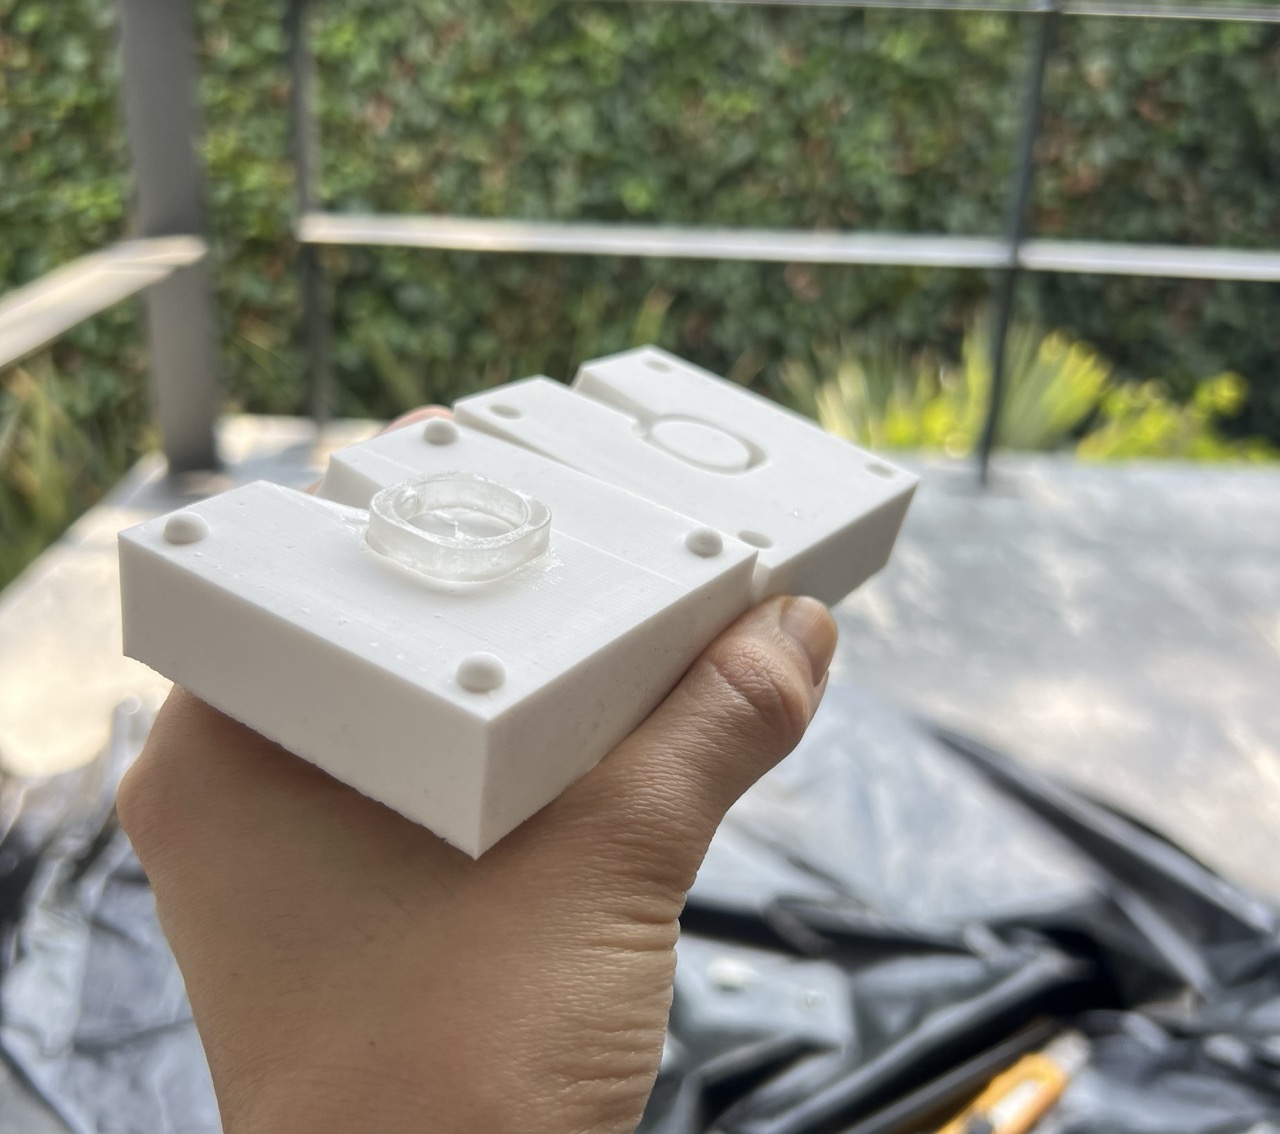
Making the silicone mold
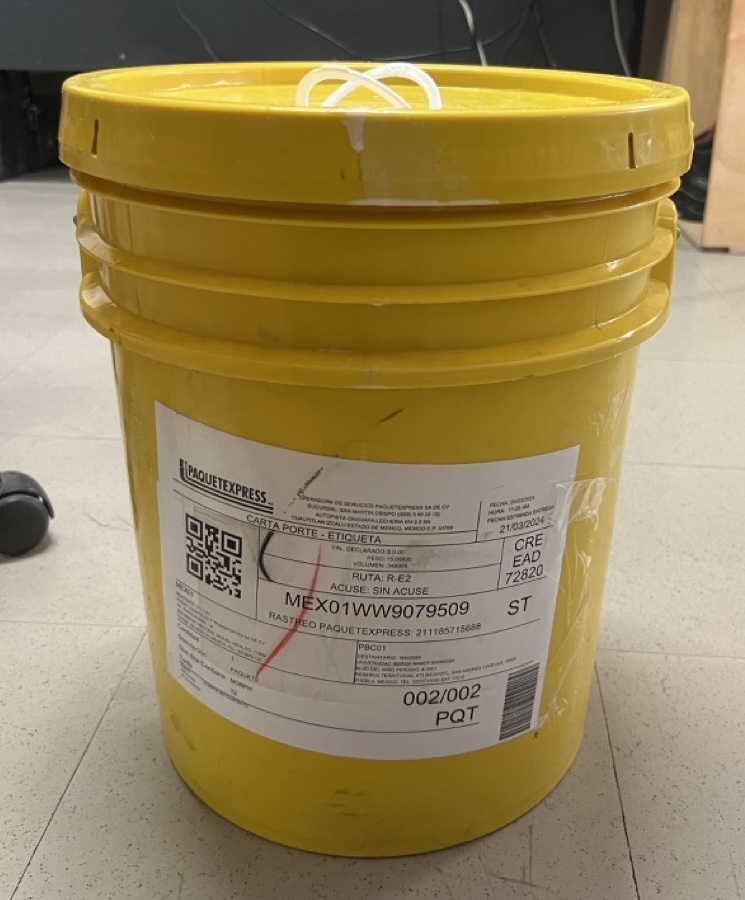
For the silicone mold, I used ‘Silicone 3030’, which consists of two components: the silicone and the catalyst. The catalyst should be 10% of the silicone by weight. Once the two components are measured, they need to be thoroughly mixed.
After mixing, I poured the silicone mixture into the mold and waited 24 hours for it to completely dry.
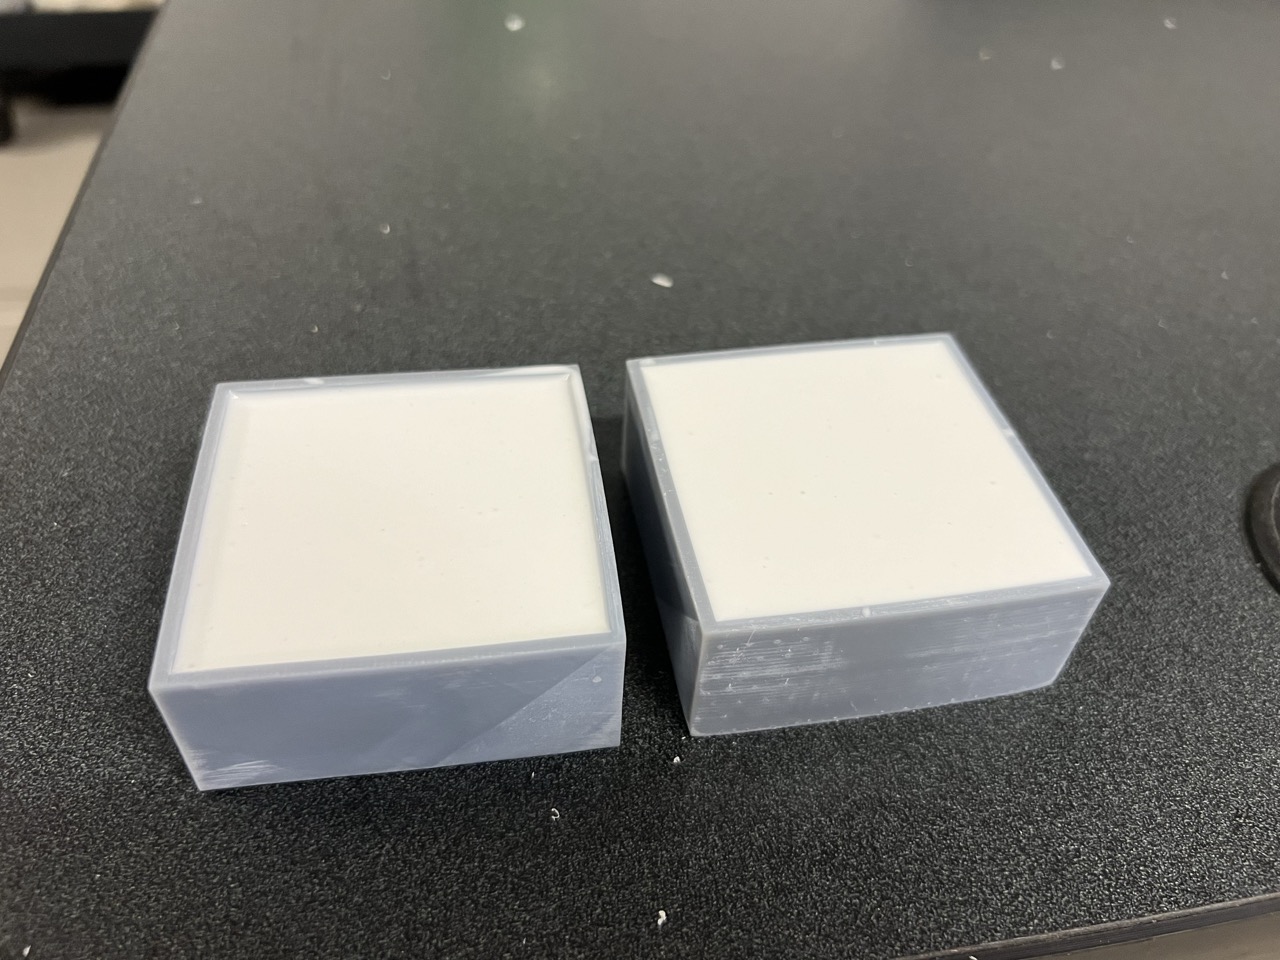
This was the final result.
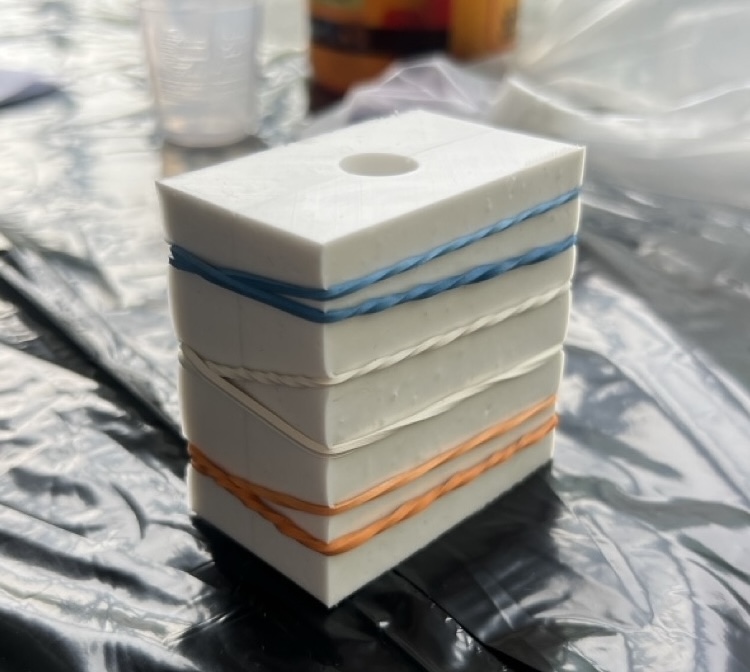
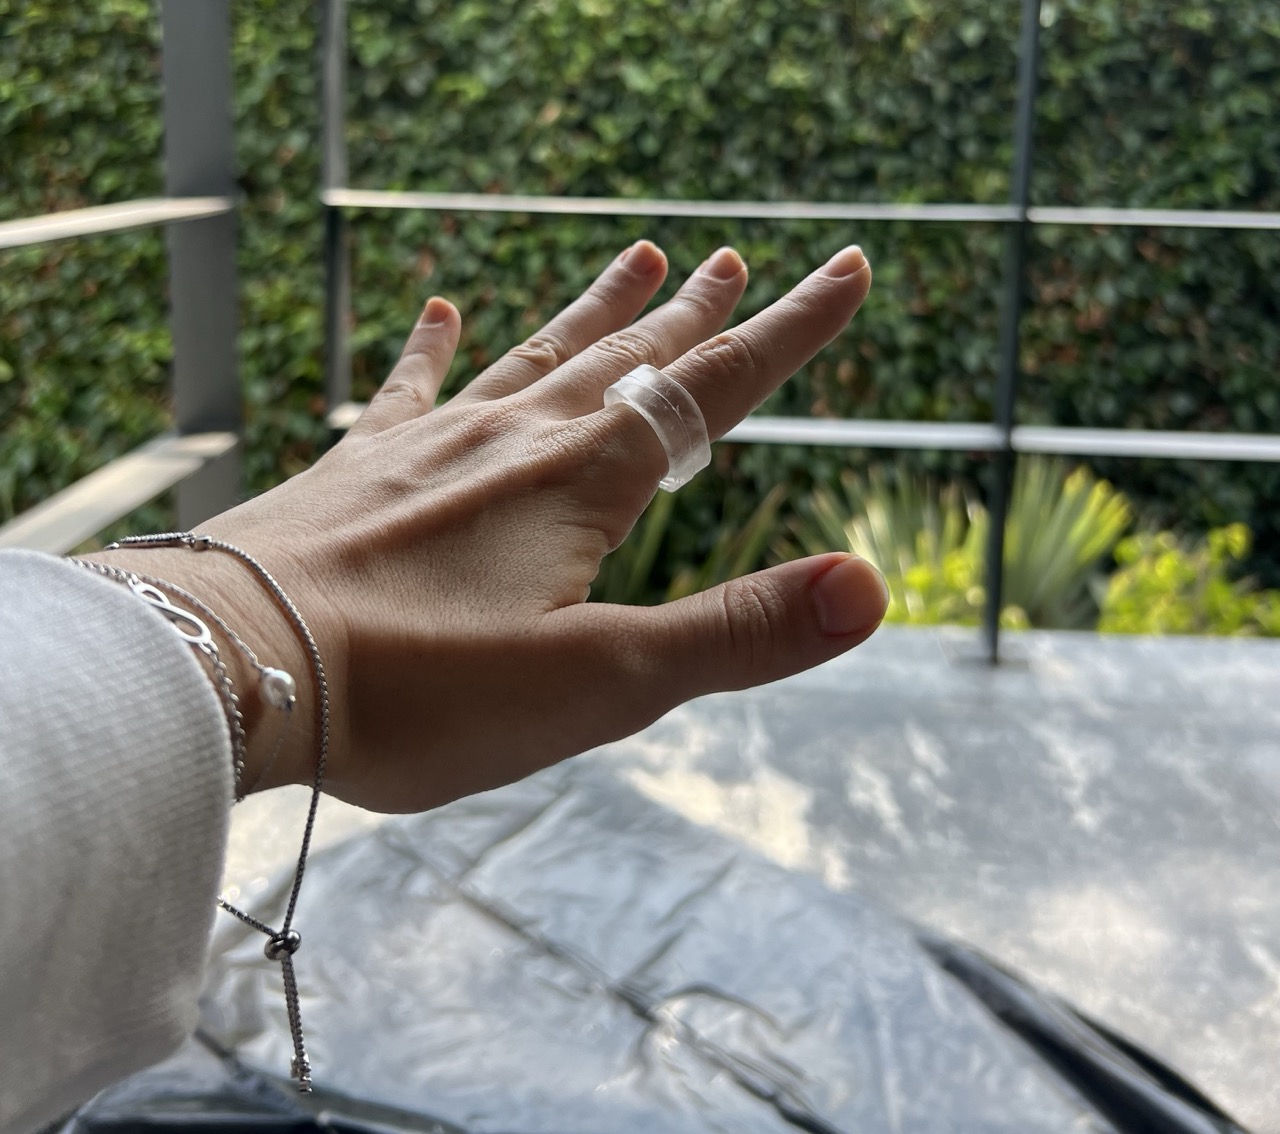
Production of the ring
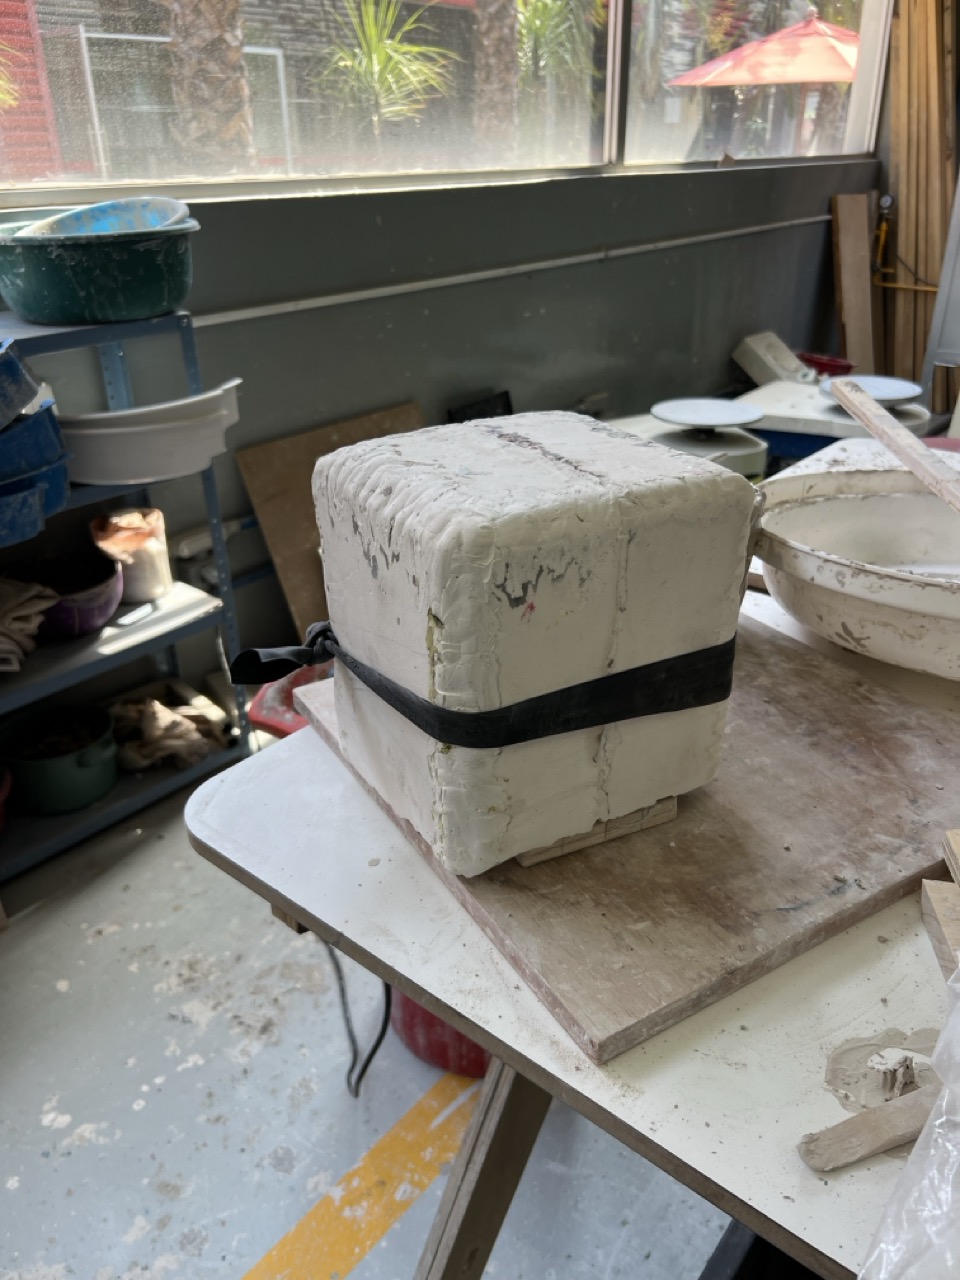
To start, I secured the mold closed with rubber bands.
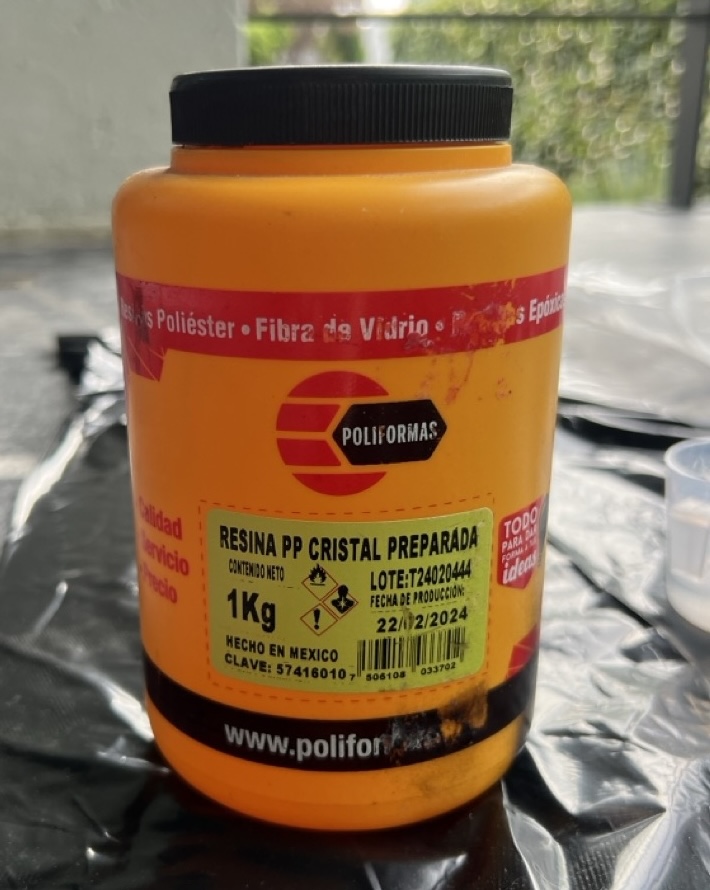
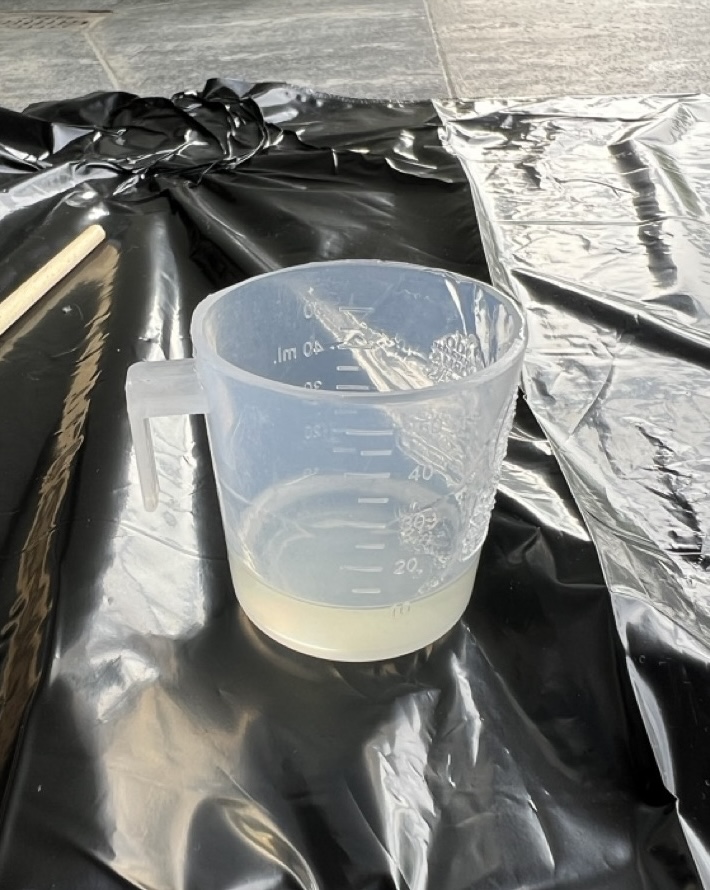
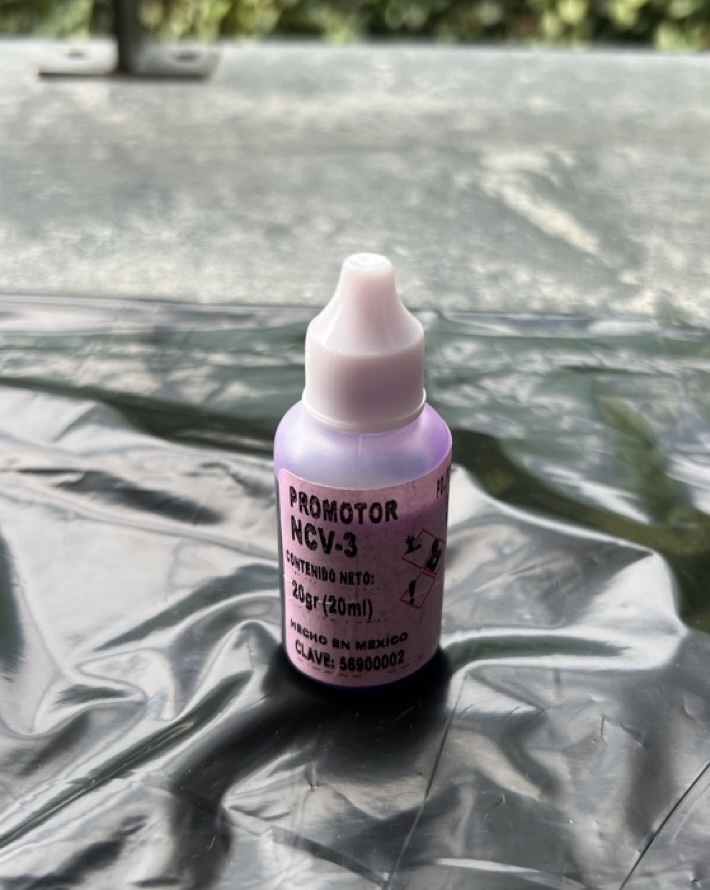
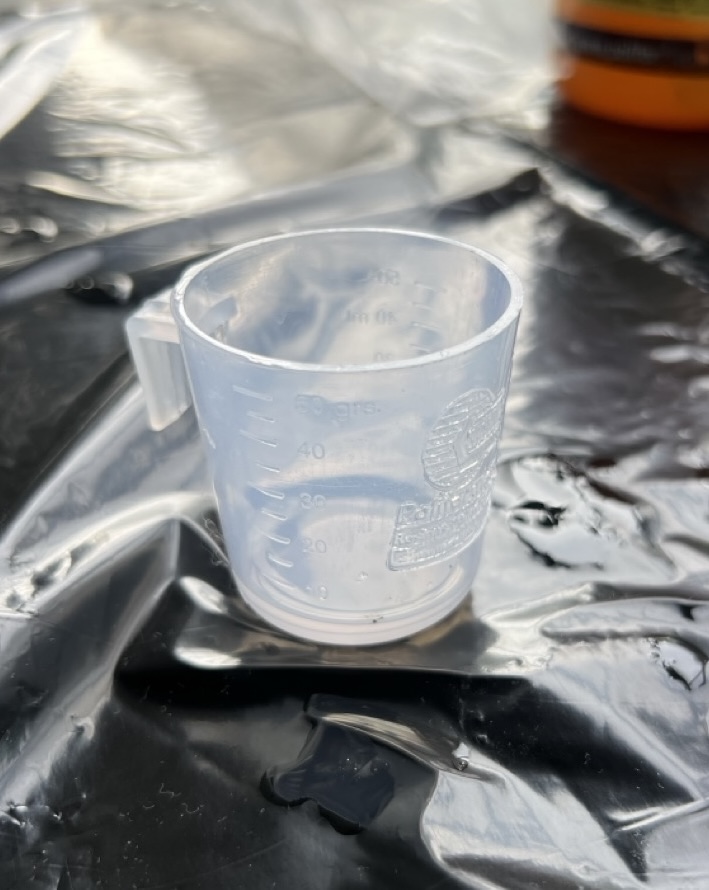
Then, I poured 10 grams of PP crystal resin into a cup and added one drop of promoter to the resin.
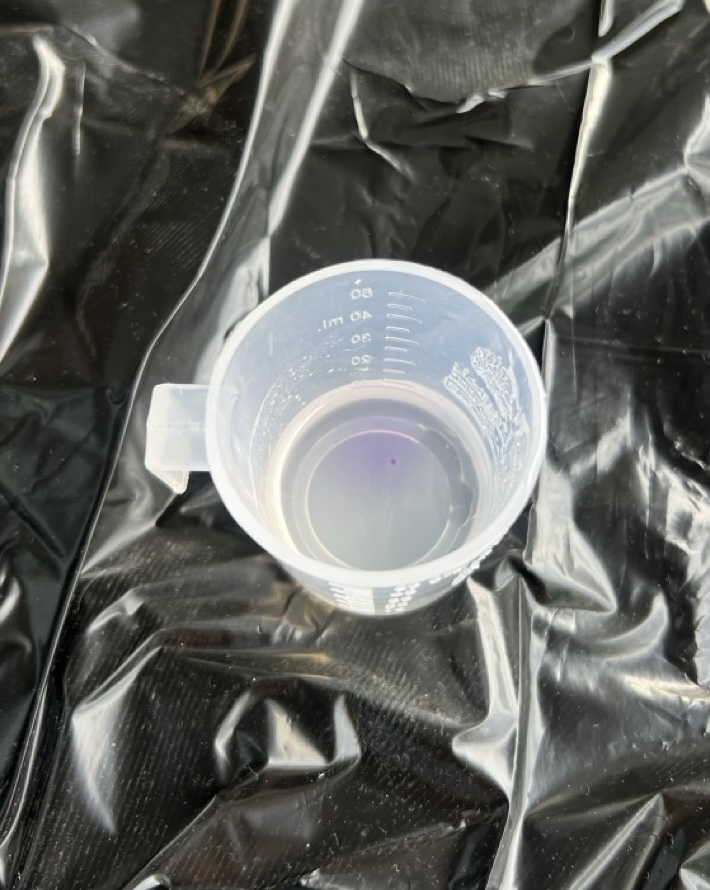
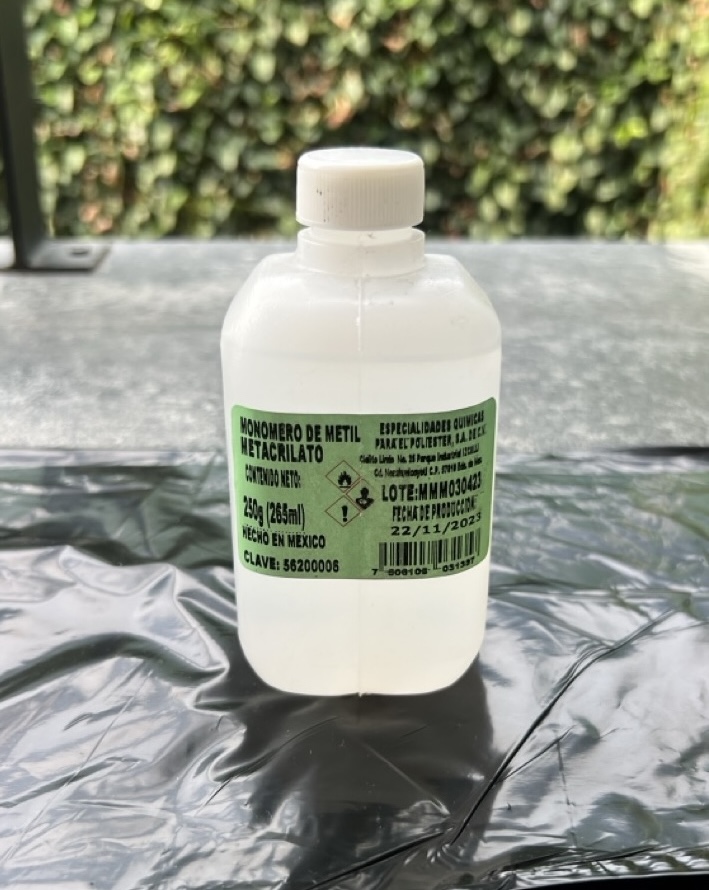
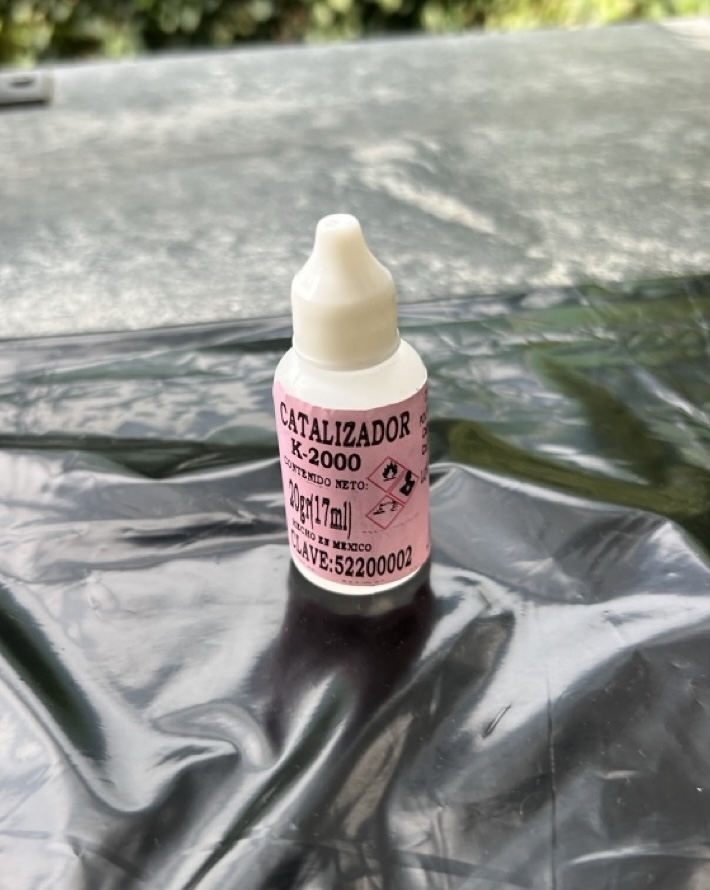
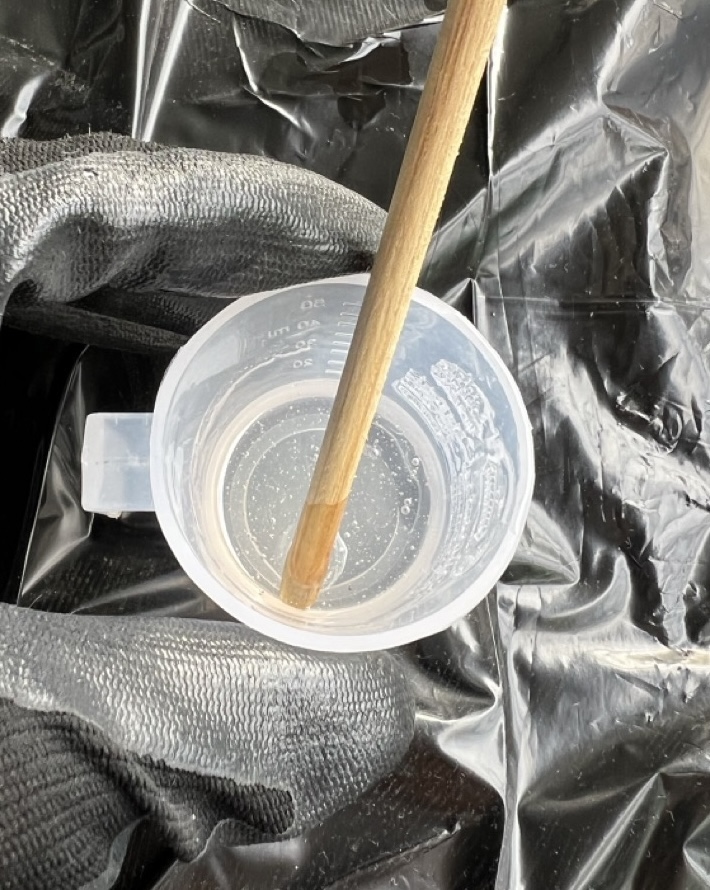
Next, I measured 1 gram (10%) of methyl methacrylate monomer into another cup, which I then added to the resin mixture and stirred thoroughly. Finally, I added 3 drops of catalyst and mixed until the solution was completely homogeneous.
I then poured this mixture into the mold and waited 24 hours before demolding.
Ceramic Lamp
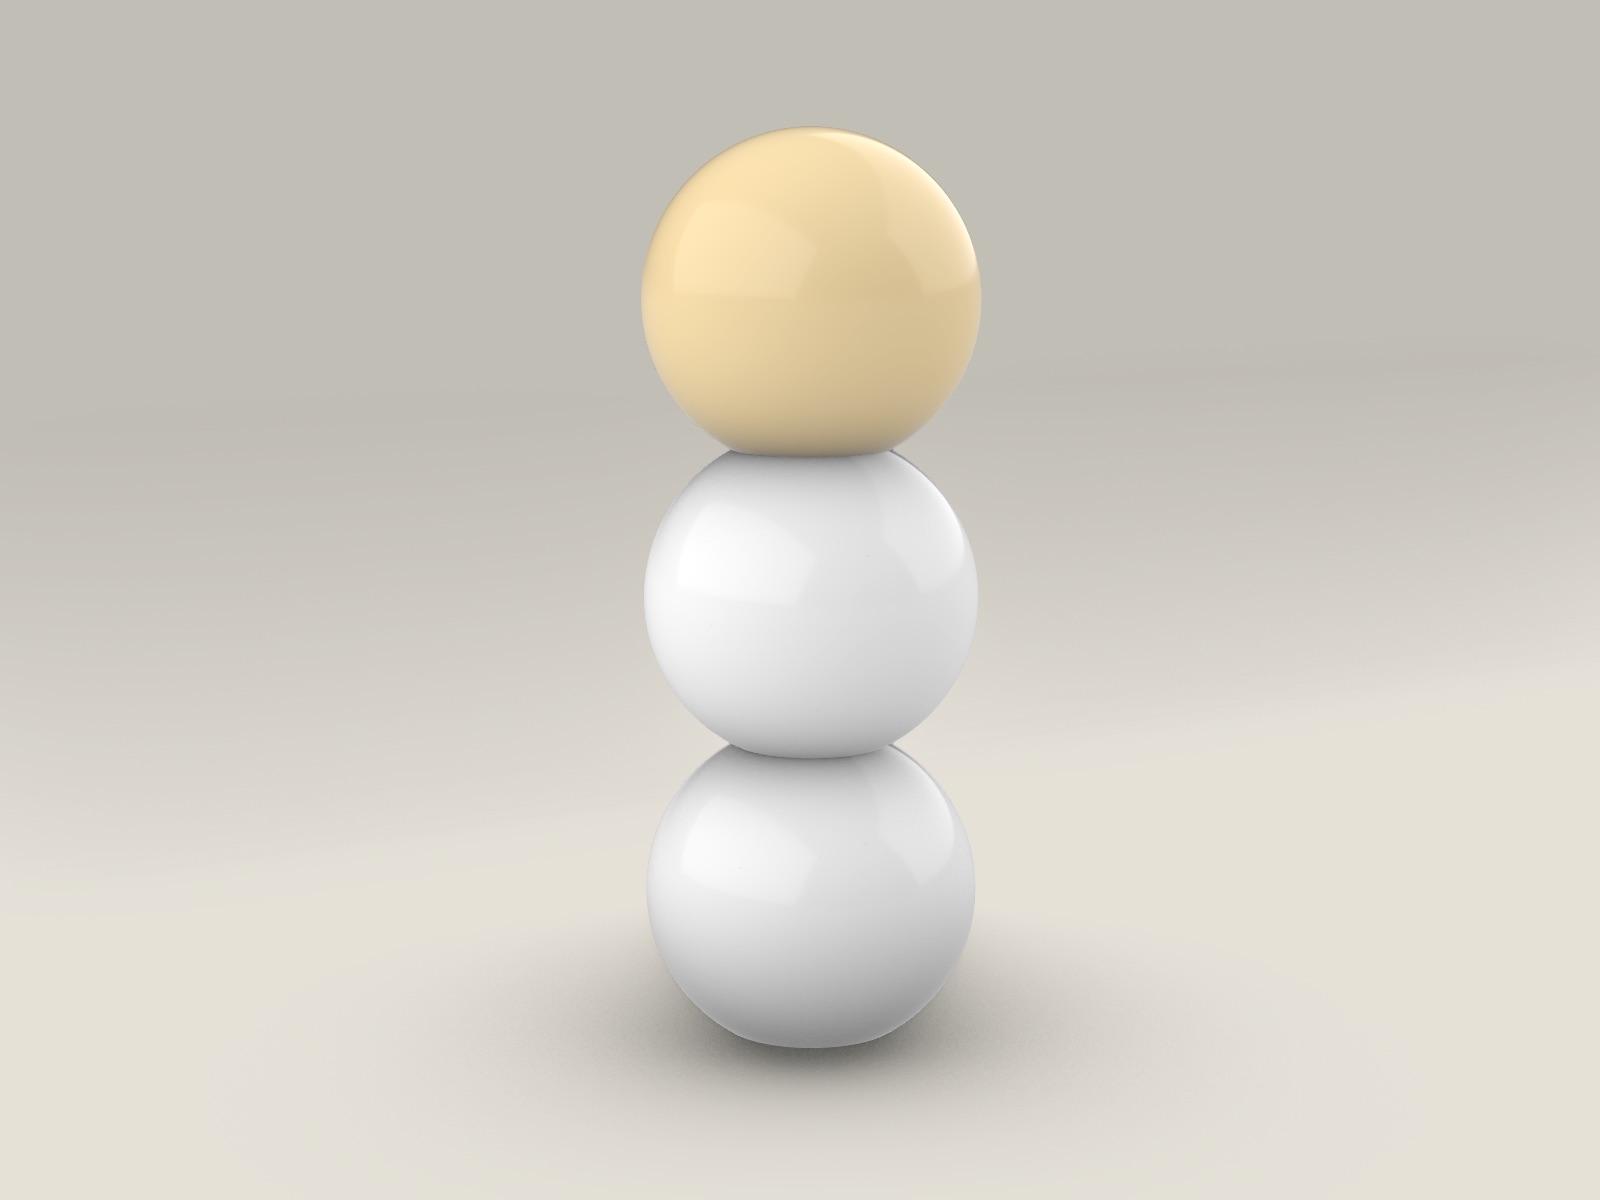
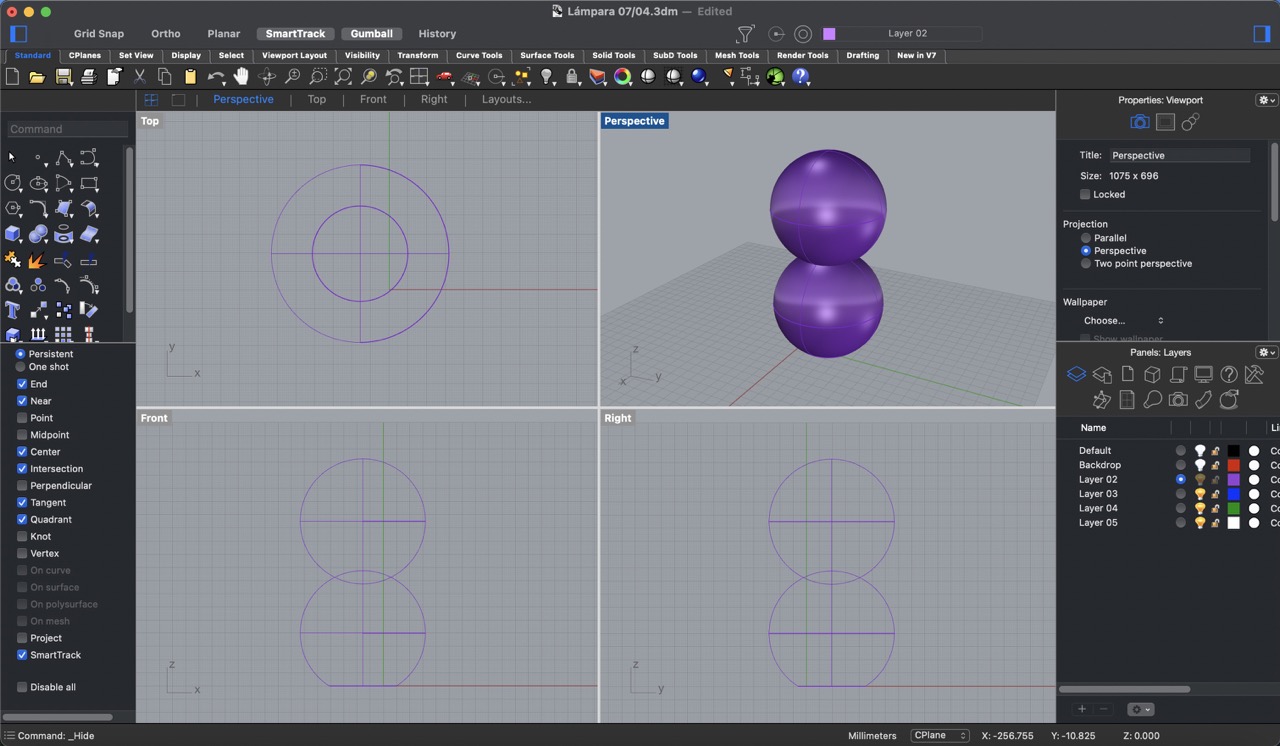
Modelling in Rhino
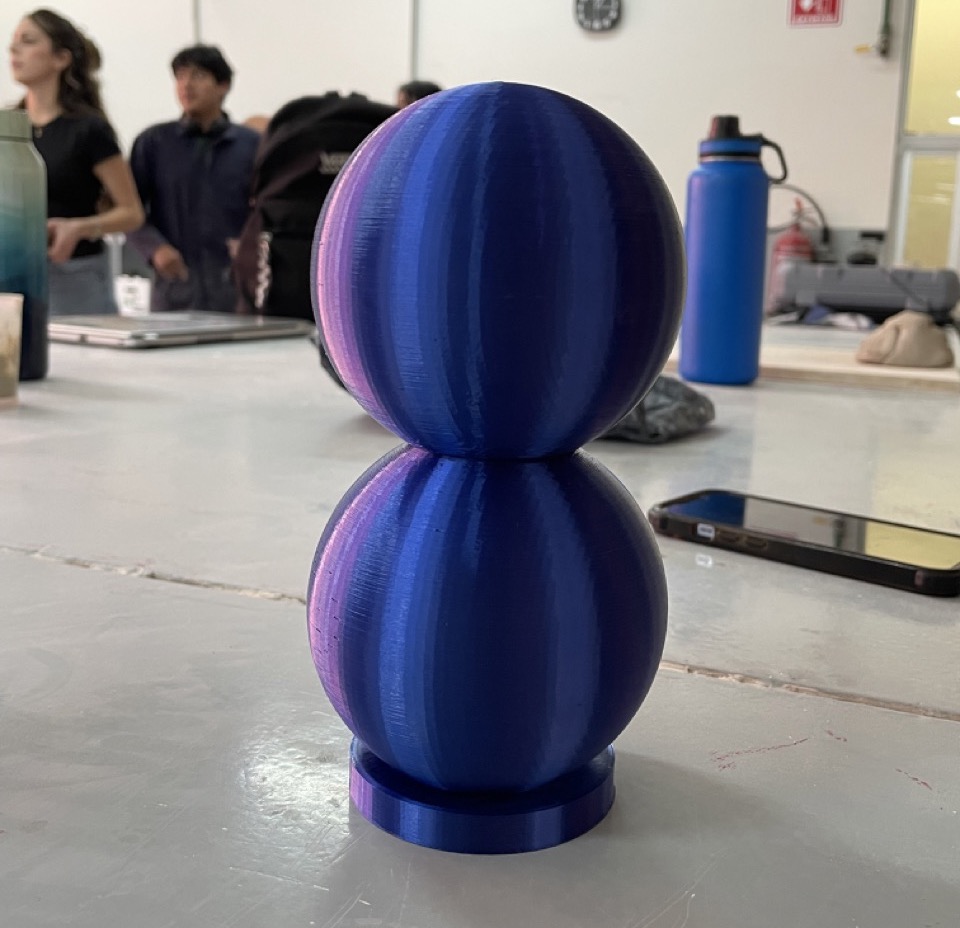
This model was quite straightforward. I created two spheres and flattened the bottom one to ensure that the lamp would be able to stand securely without toppling over.
3D printing
Afterwards, I exported the file in an STL format and proceeded to 3D print it. Once the printing was completed, I sanded the entire surface to ensure that the 3D printing lines wouldn't transfer onto the plaster mold.

Making the mold
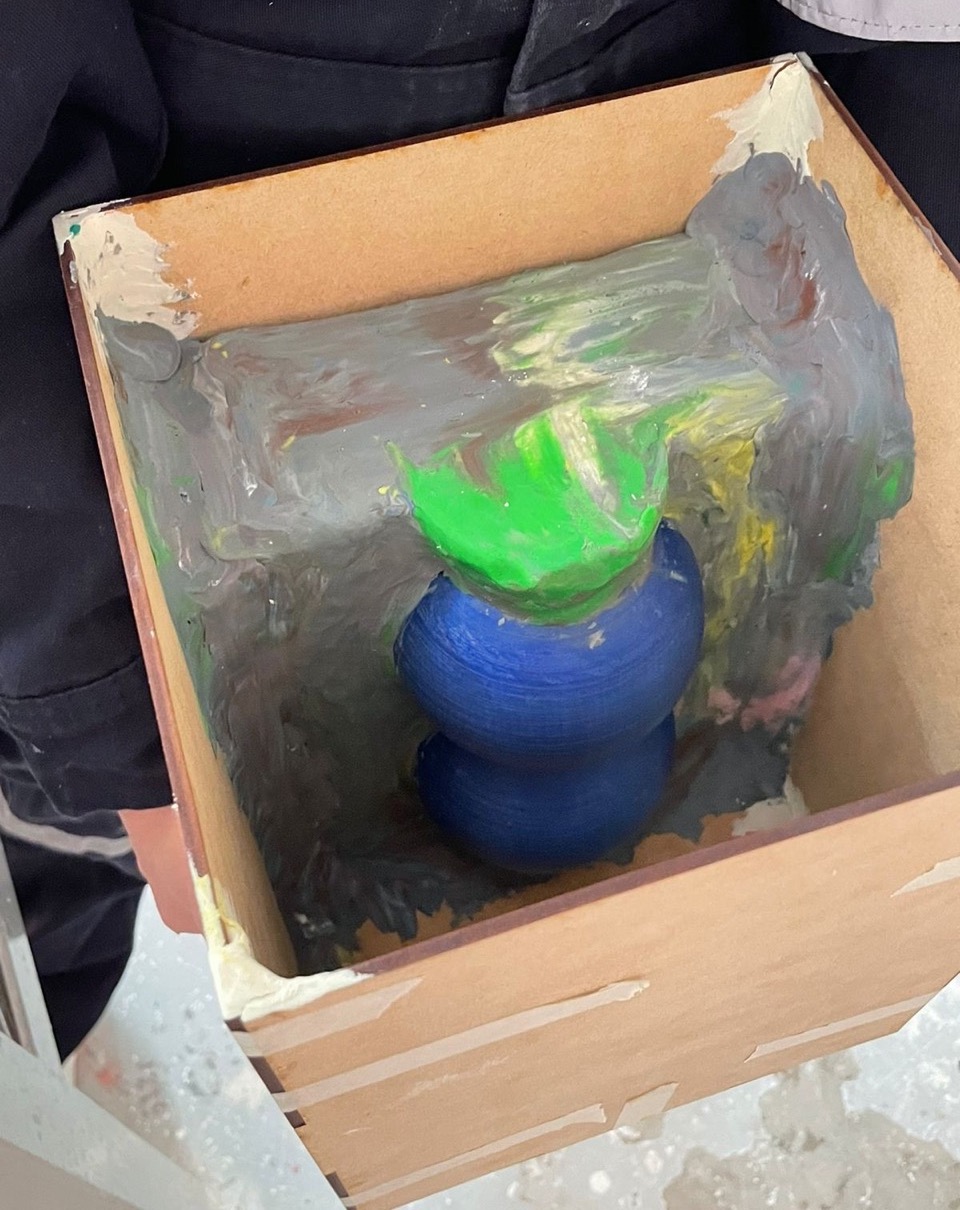
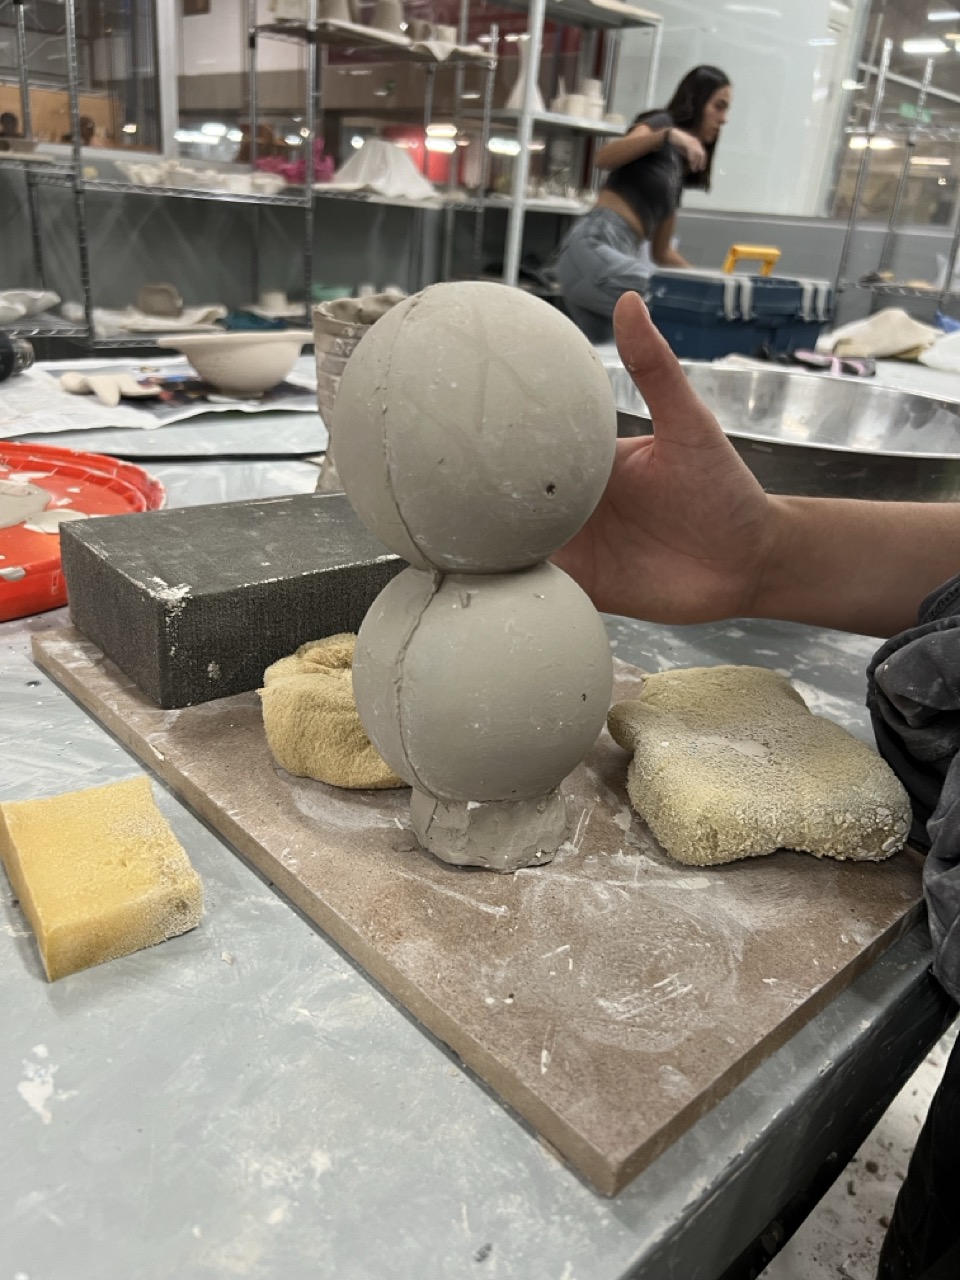
To begin, I created a box and covered the edges with clay to prevent the plaster from spilling out of the mold when making it.
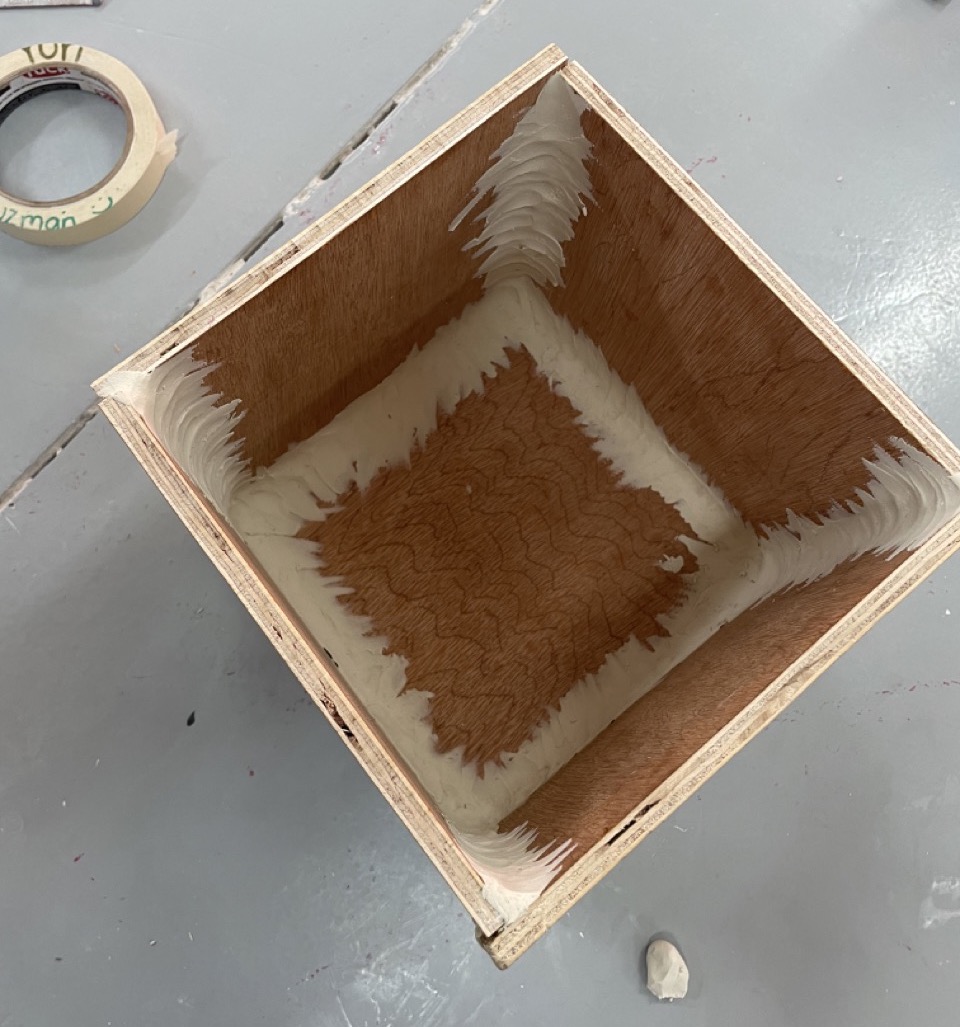
Next, I started covering half of the 3D printed piece with clay, leaving a 5 cm margin on each side of the model.
Once everything was completed, I added a truncated cone on the top where the casting material will be poured.
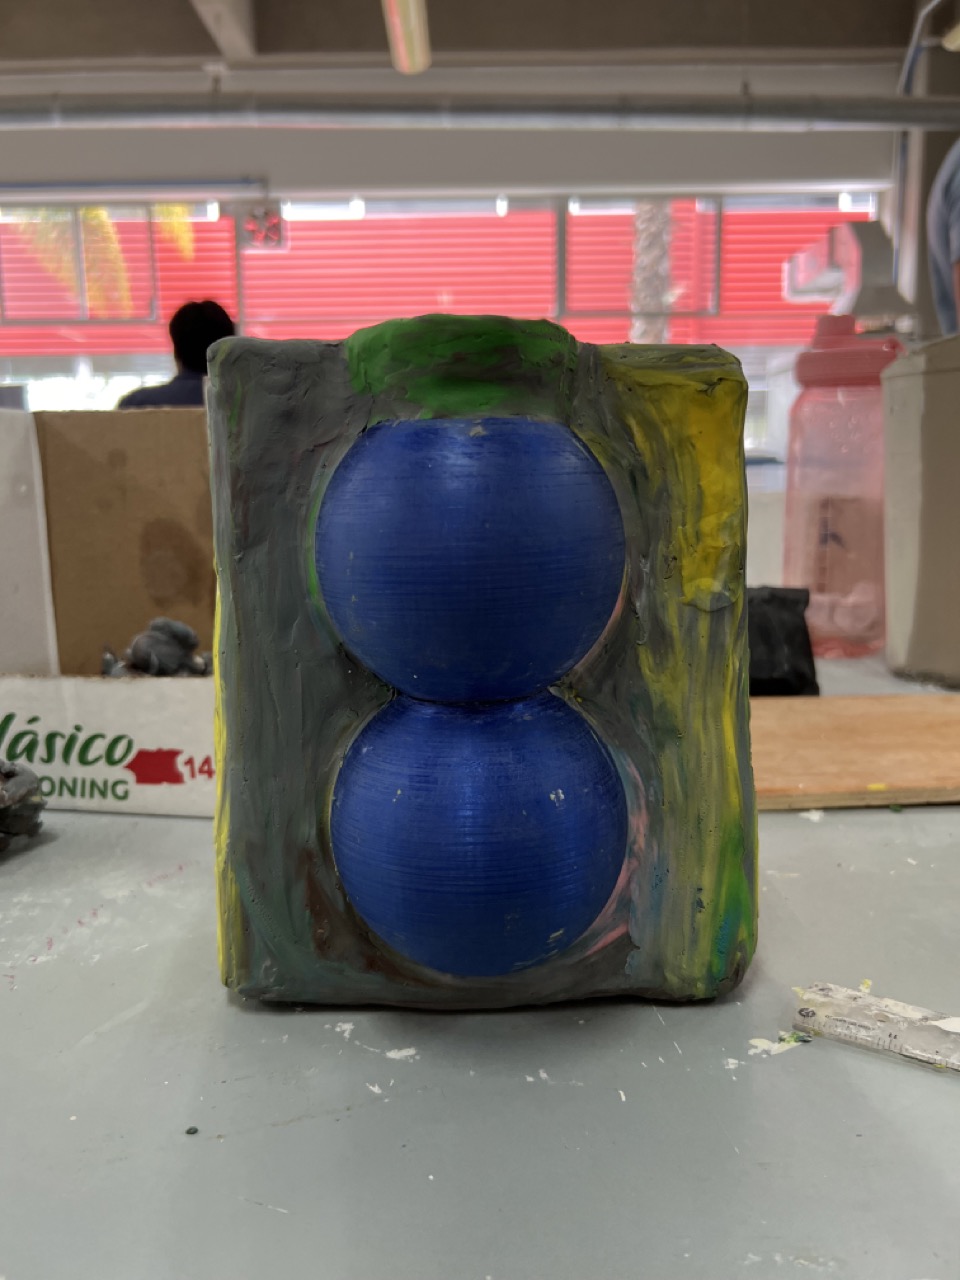
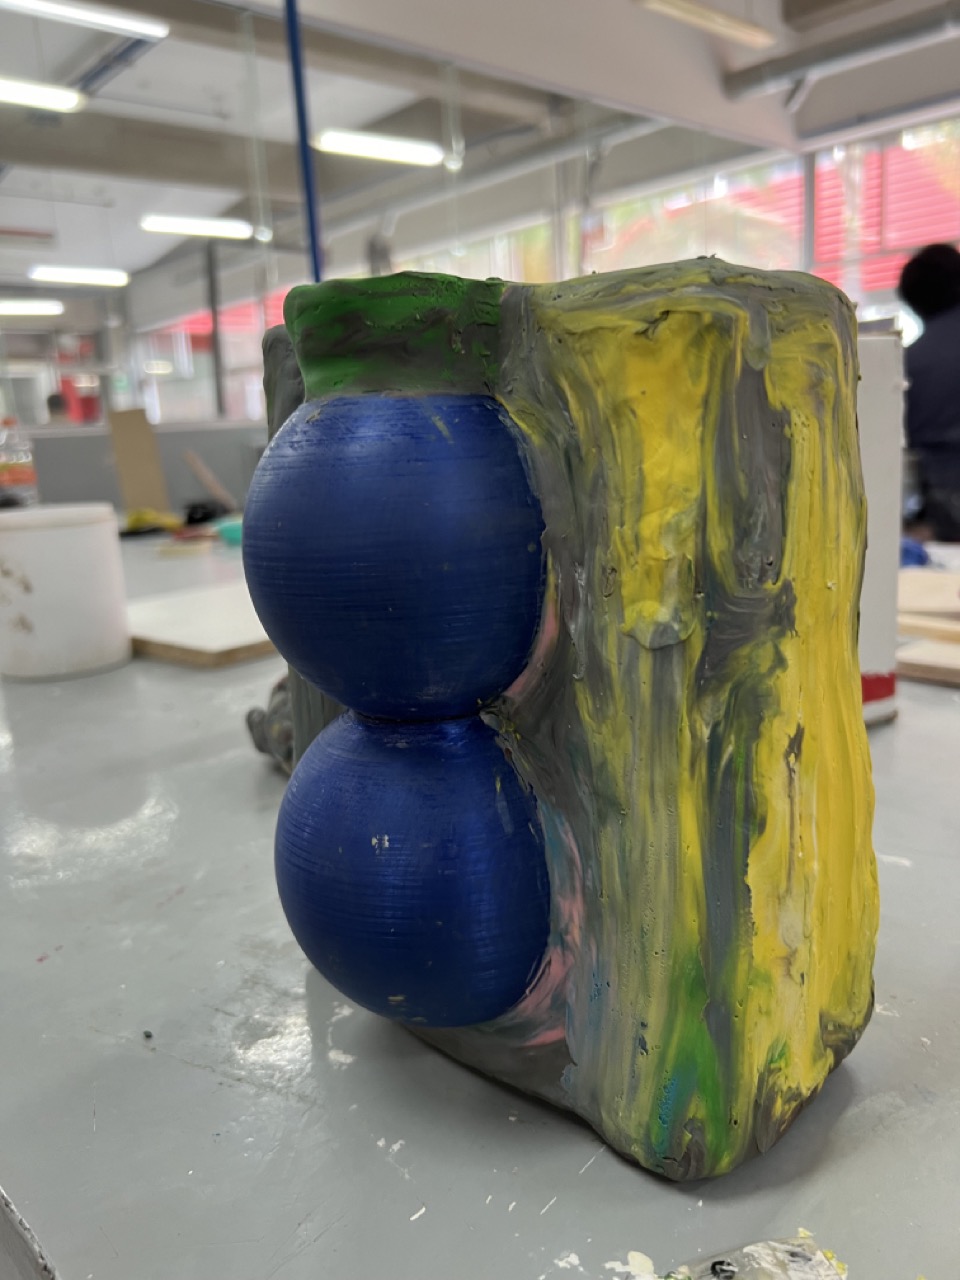
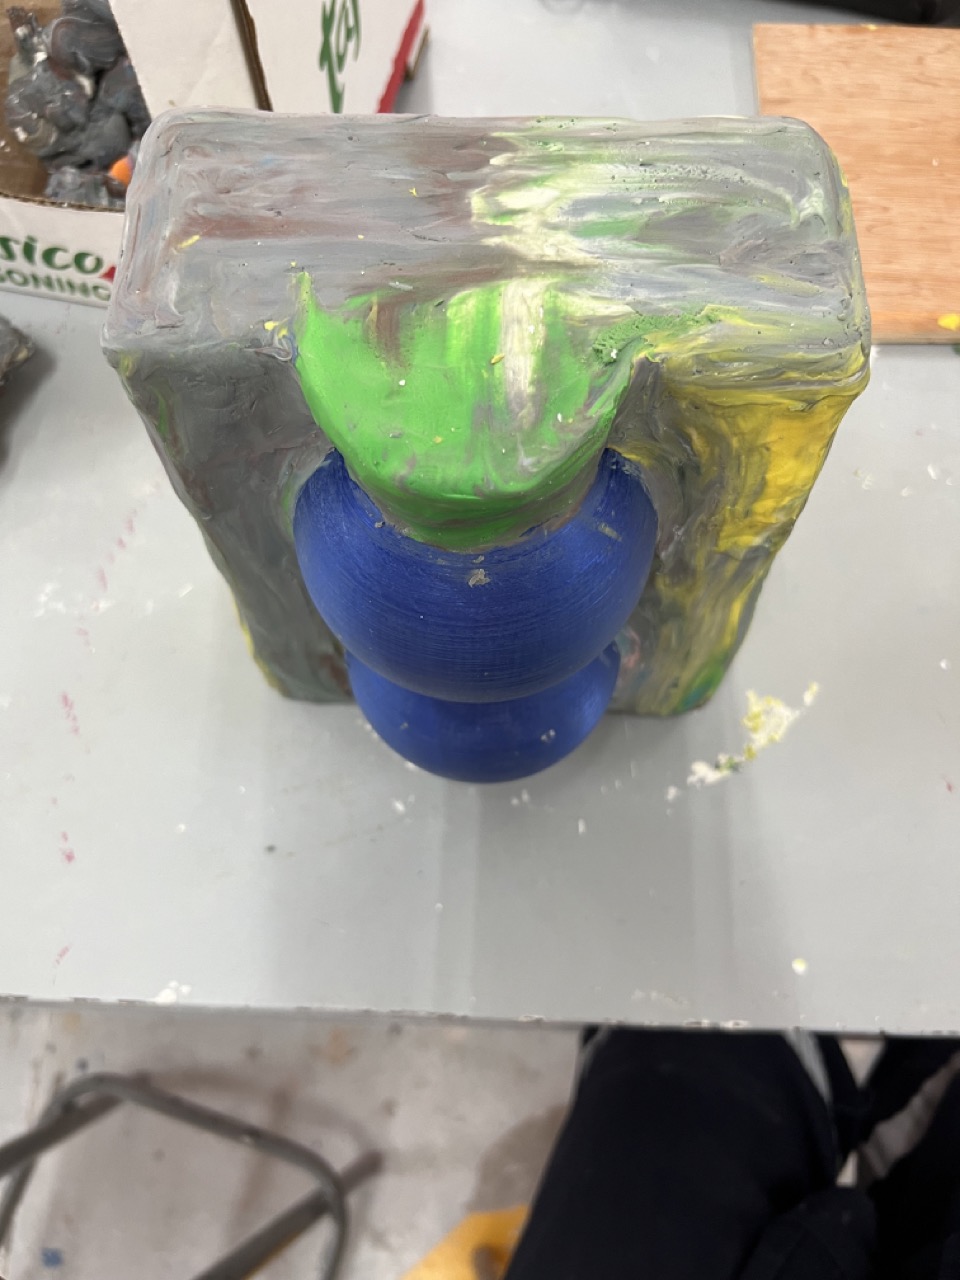
Lastly, I inserted the prepared piece into the box, ready to pour the plaster.
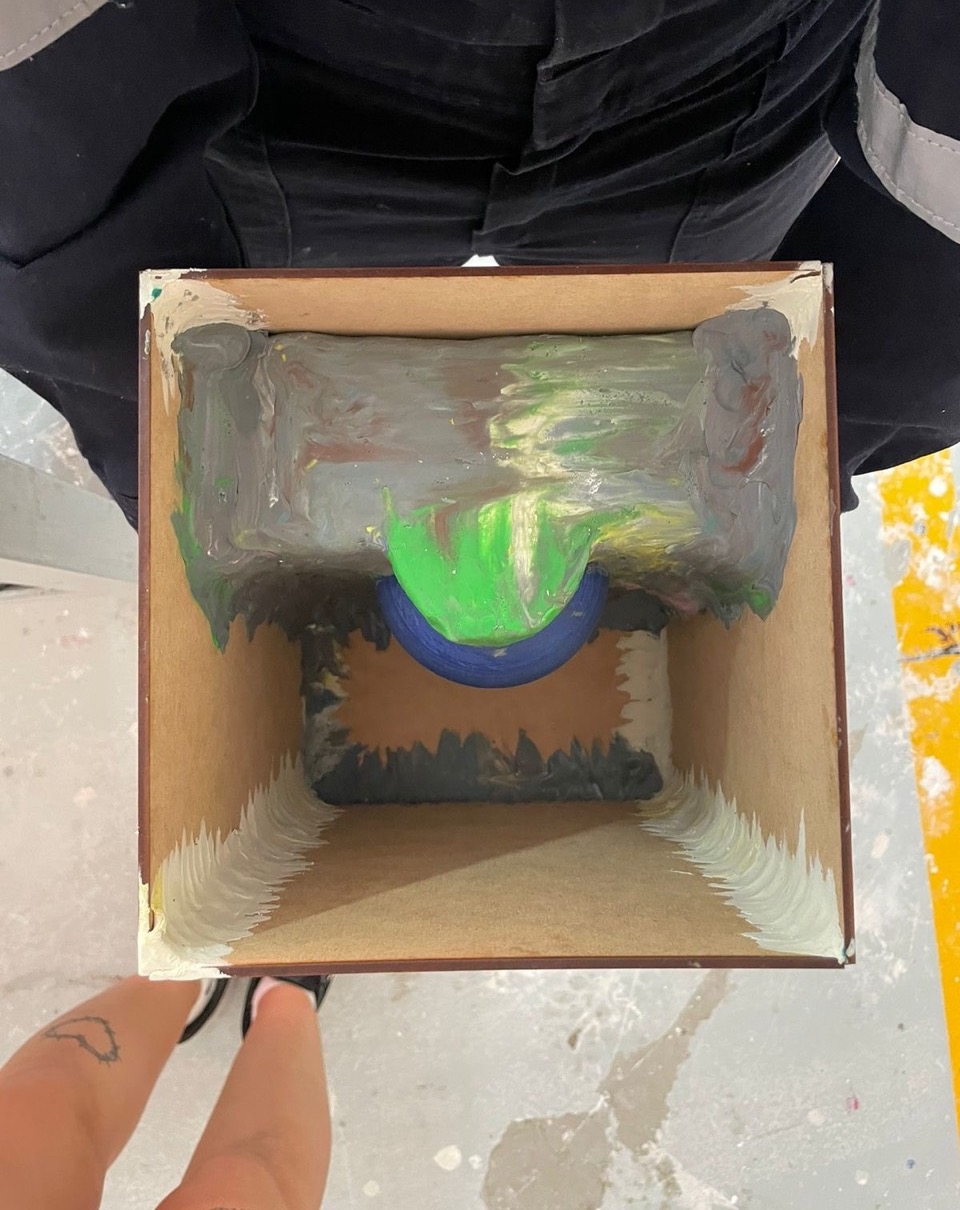
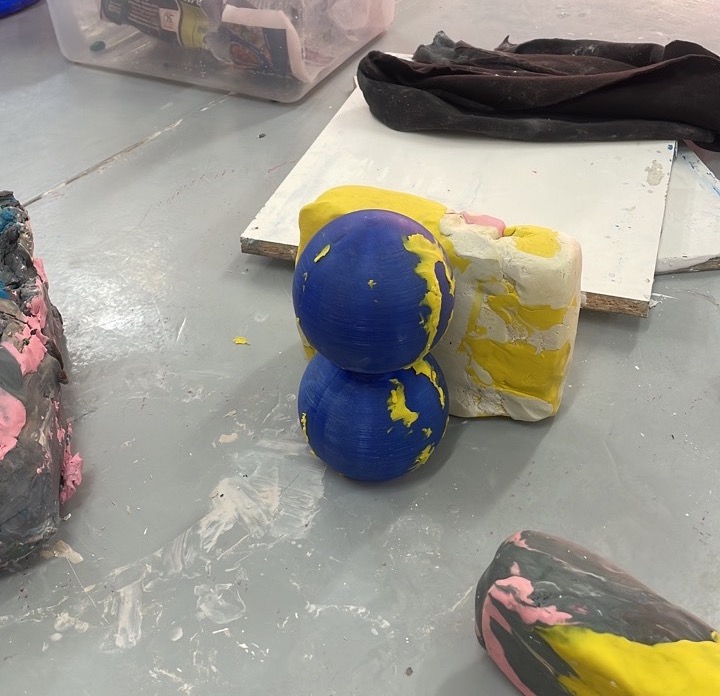
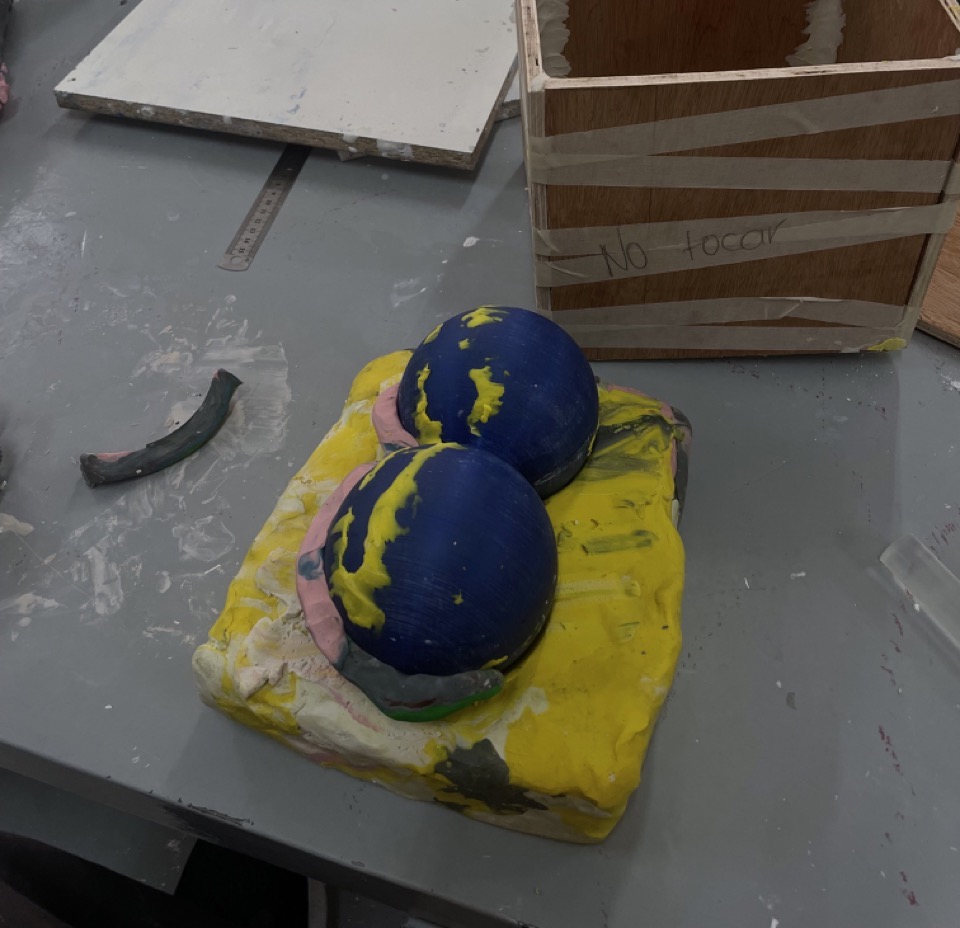
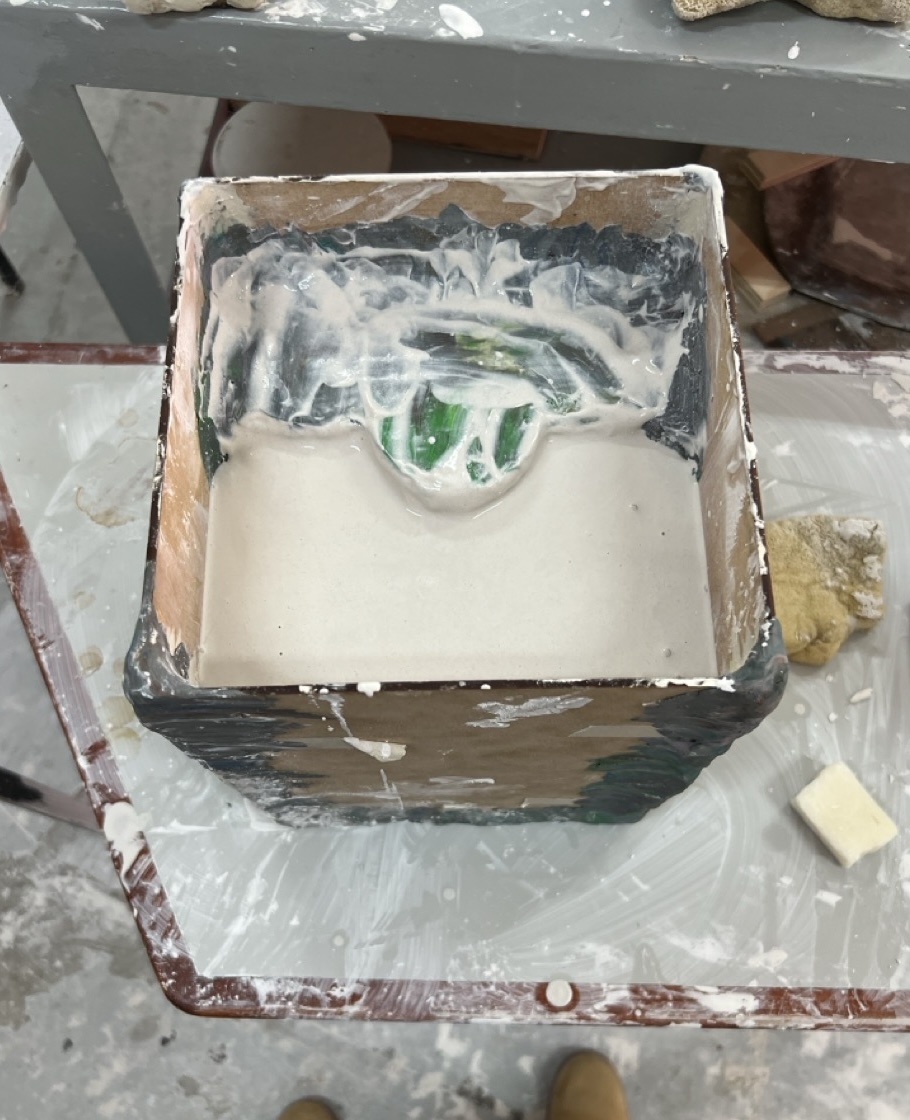
I made sure that the clay was well adjusted with no holes. I added soap to the 3D model and the clay to prevent the plaster from sticking. After pouring the plaster, I waited about an hour for it to dry before removing the clay.
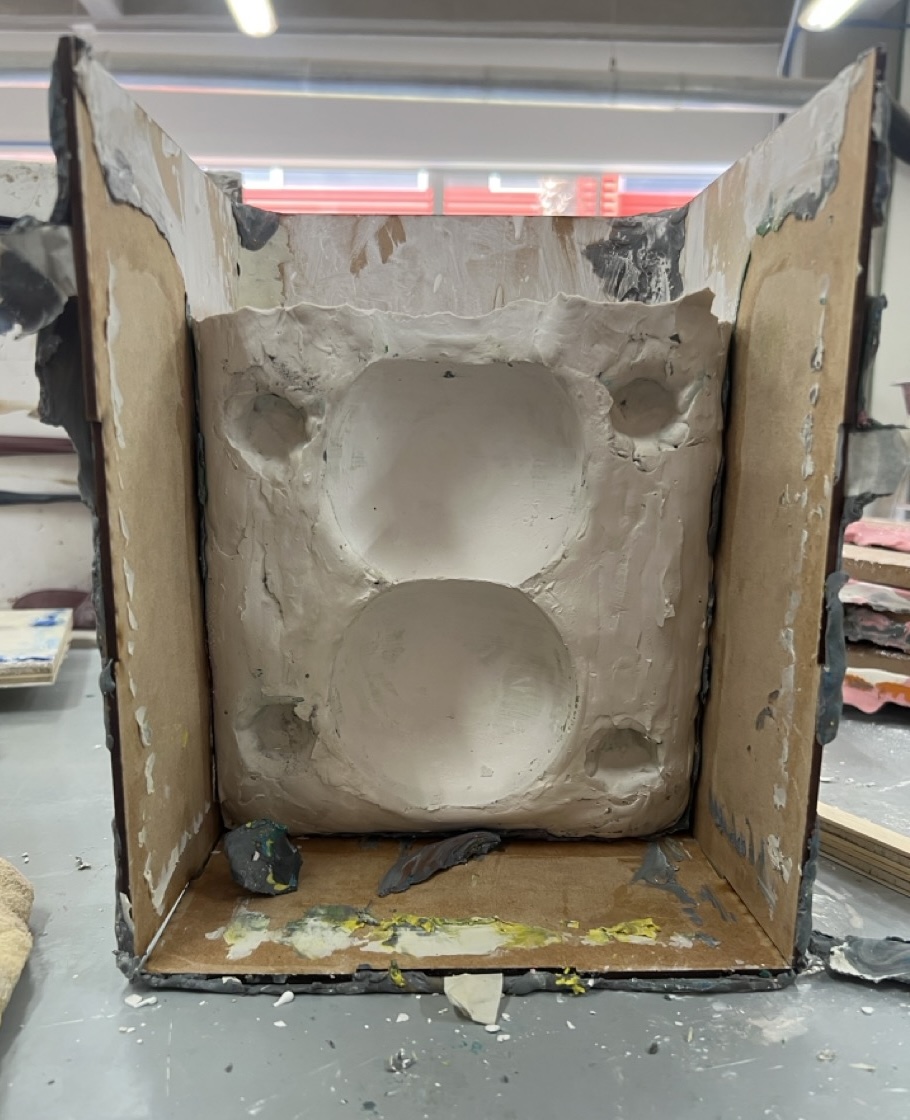
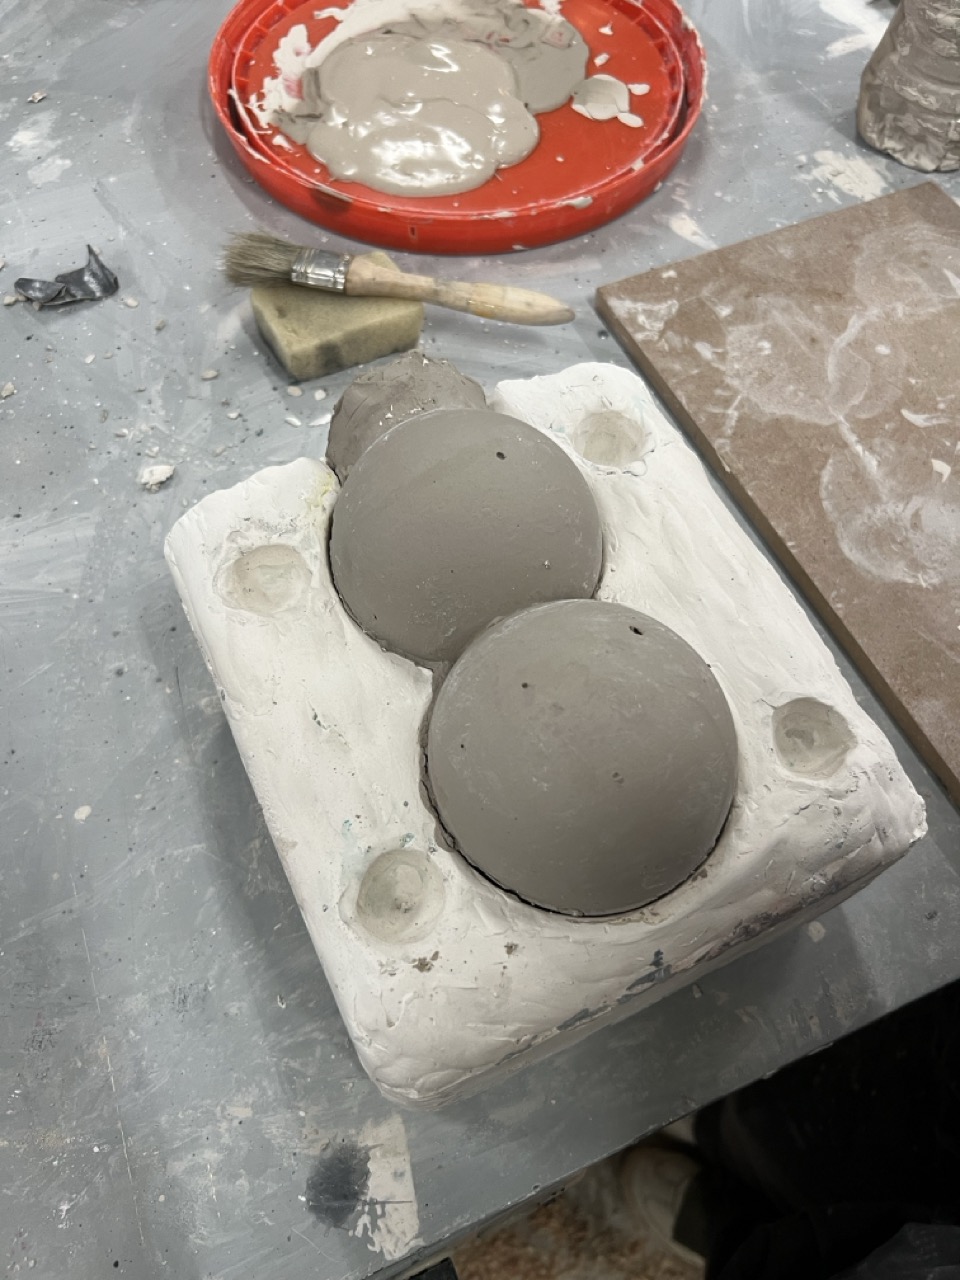
Then, I applied soap again to prevent the molds from sticking together and poured plaster on the remaining side.
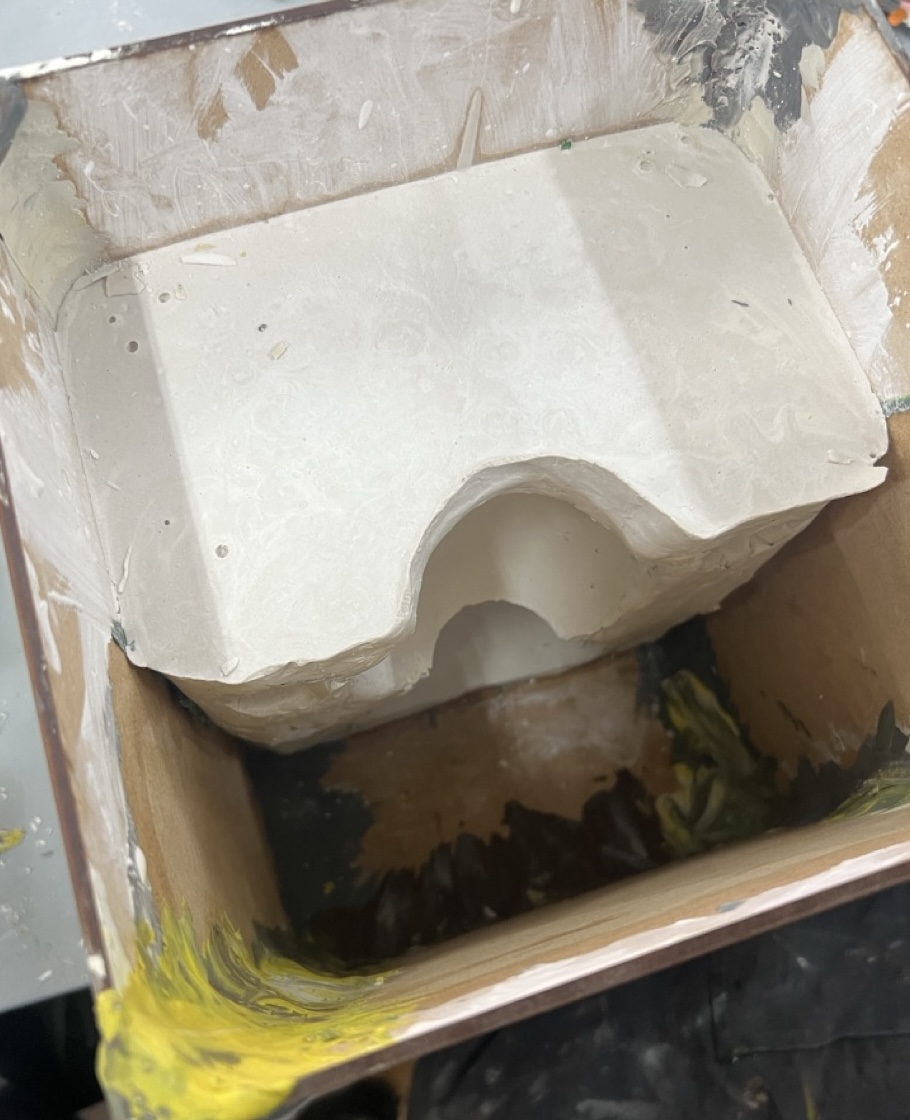
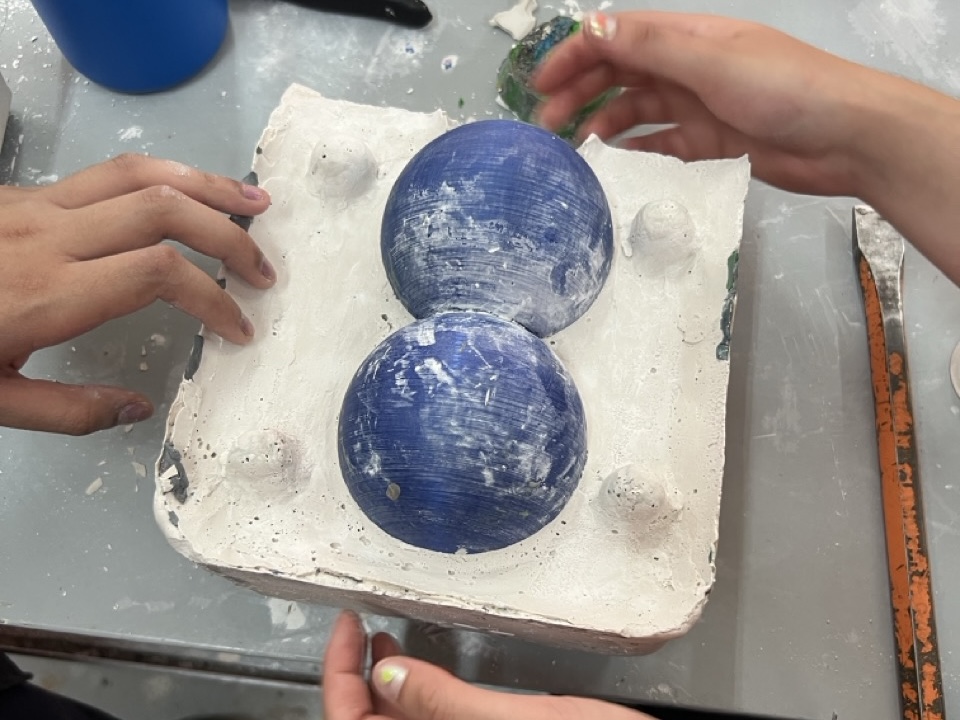
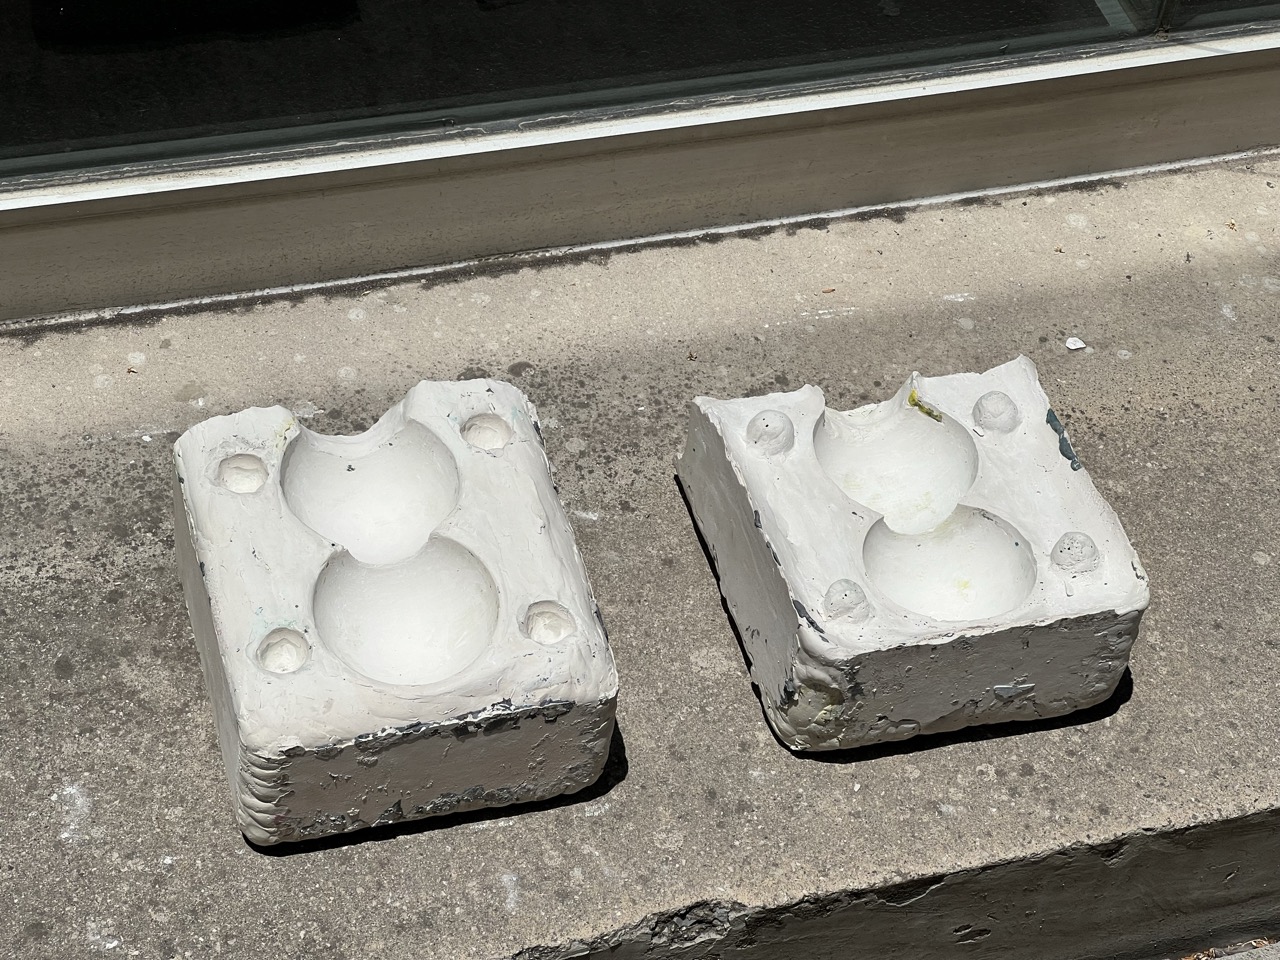
I let the mold dry for a couple of hours before separating the pieces. Once this was done, I placed the mold under the sun to speed up the drying process.
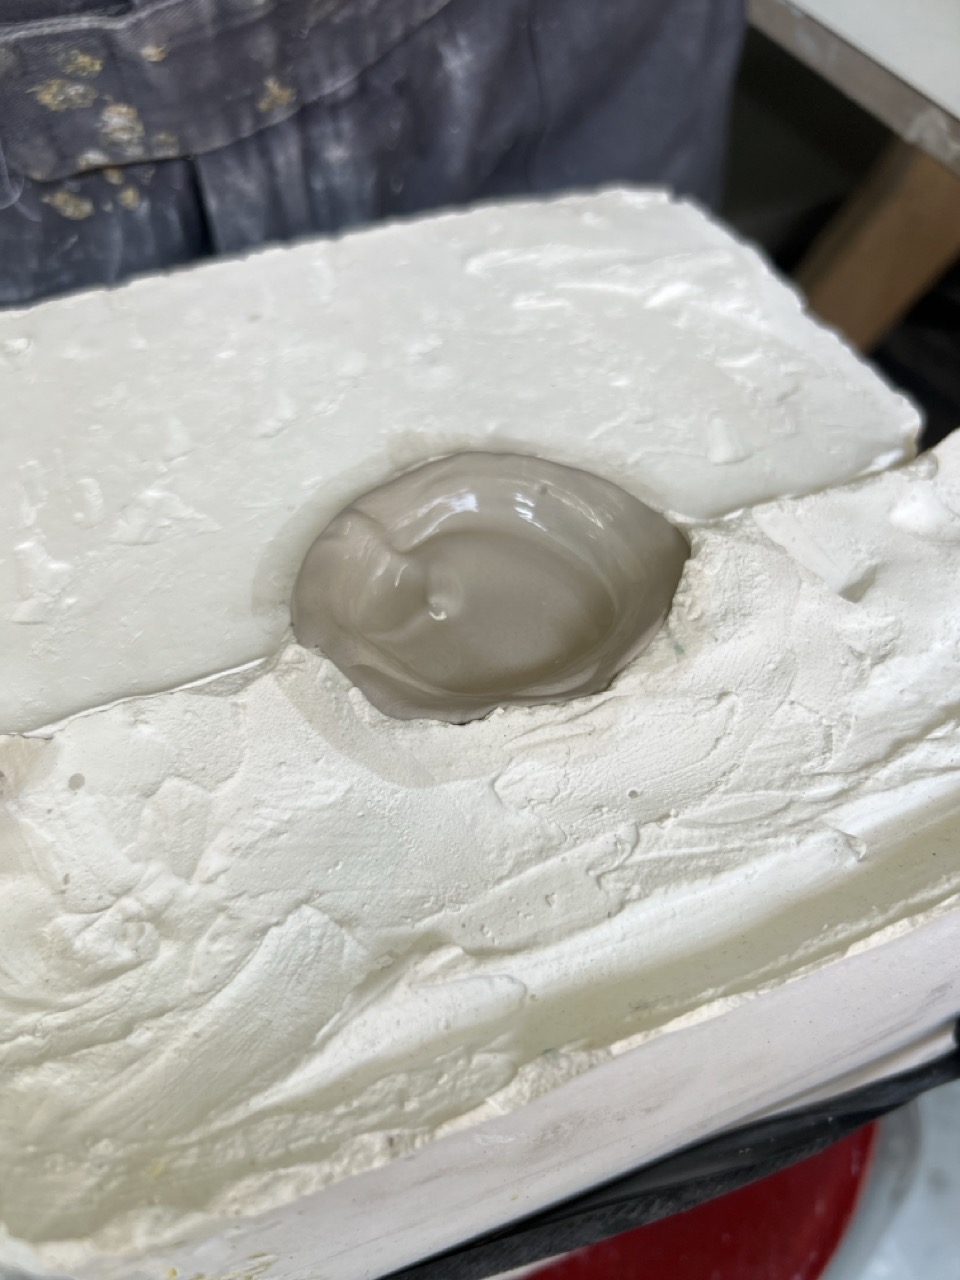
Production
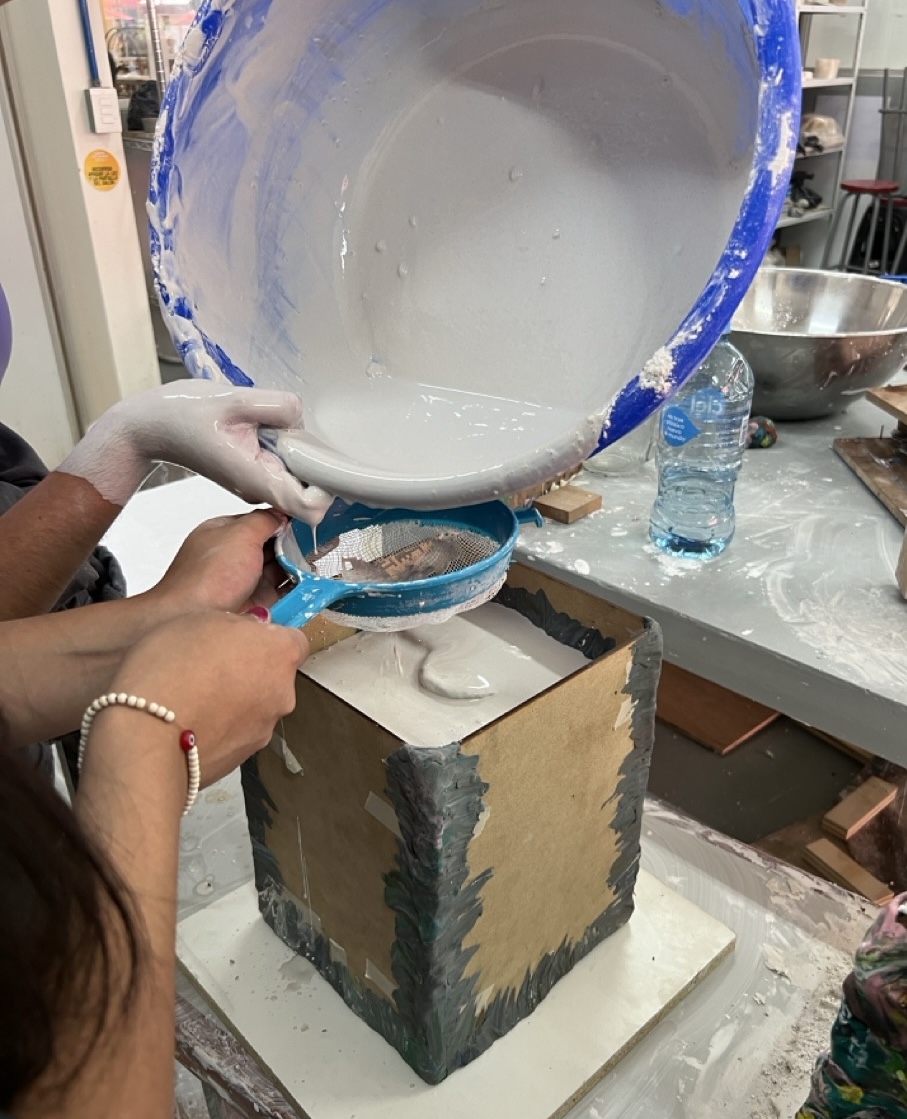
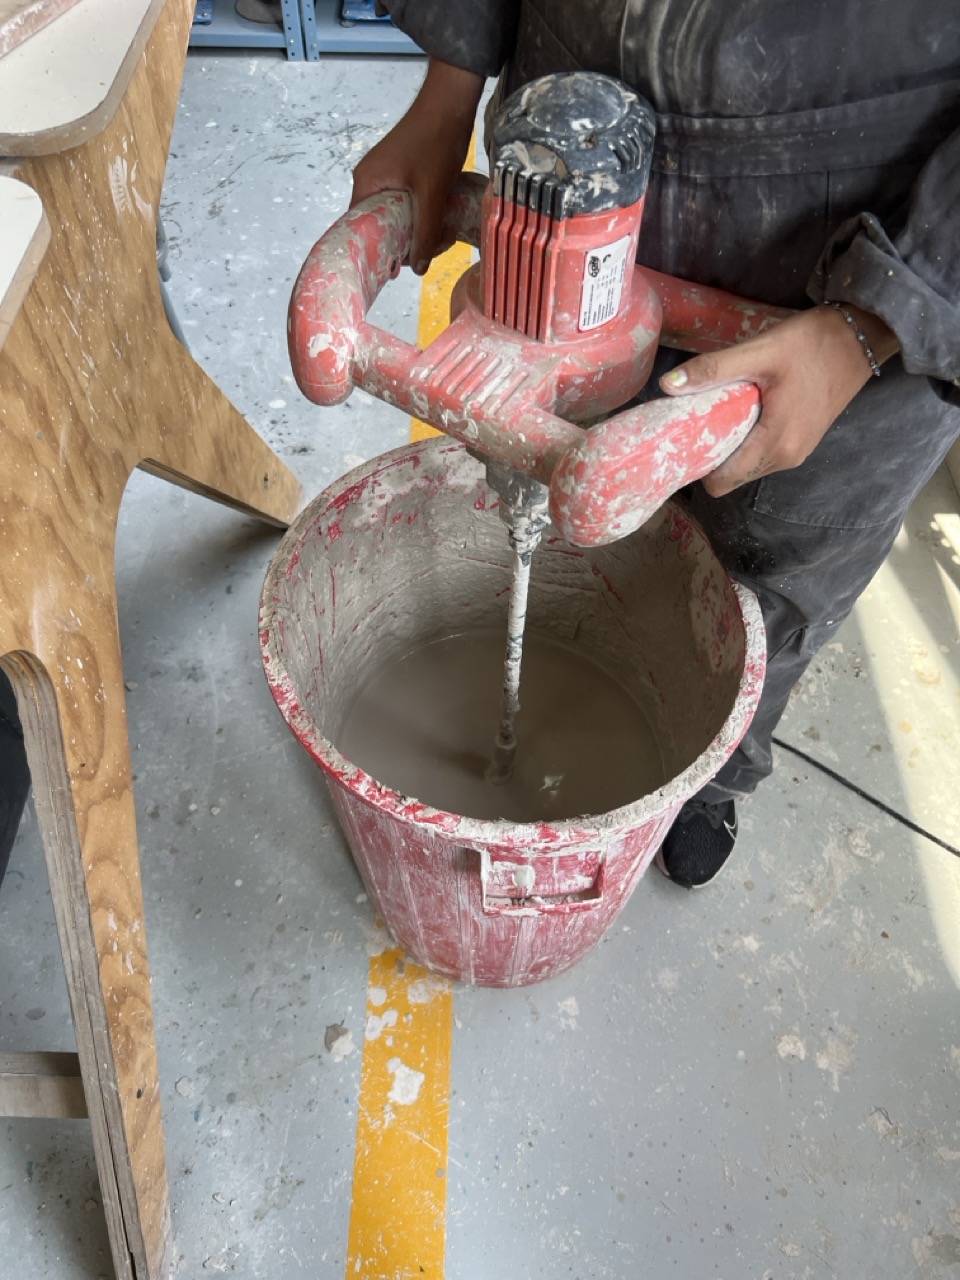
First, we stirred the slip, a mixture of clay and water. Using a colander, we poured it into our mold. The plaster absorbed the moisture, lowering the slip levels inside the mold, so we had to keep filling it until we achieved the desired thickness.

Next, we emptied out the mold, leaving only the walls. We left the mold upside down for 30 minutes, then turned it over to dry before demolding. I let it dry for approximately 6-8 hours.
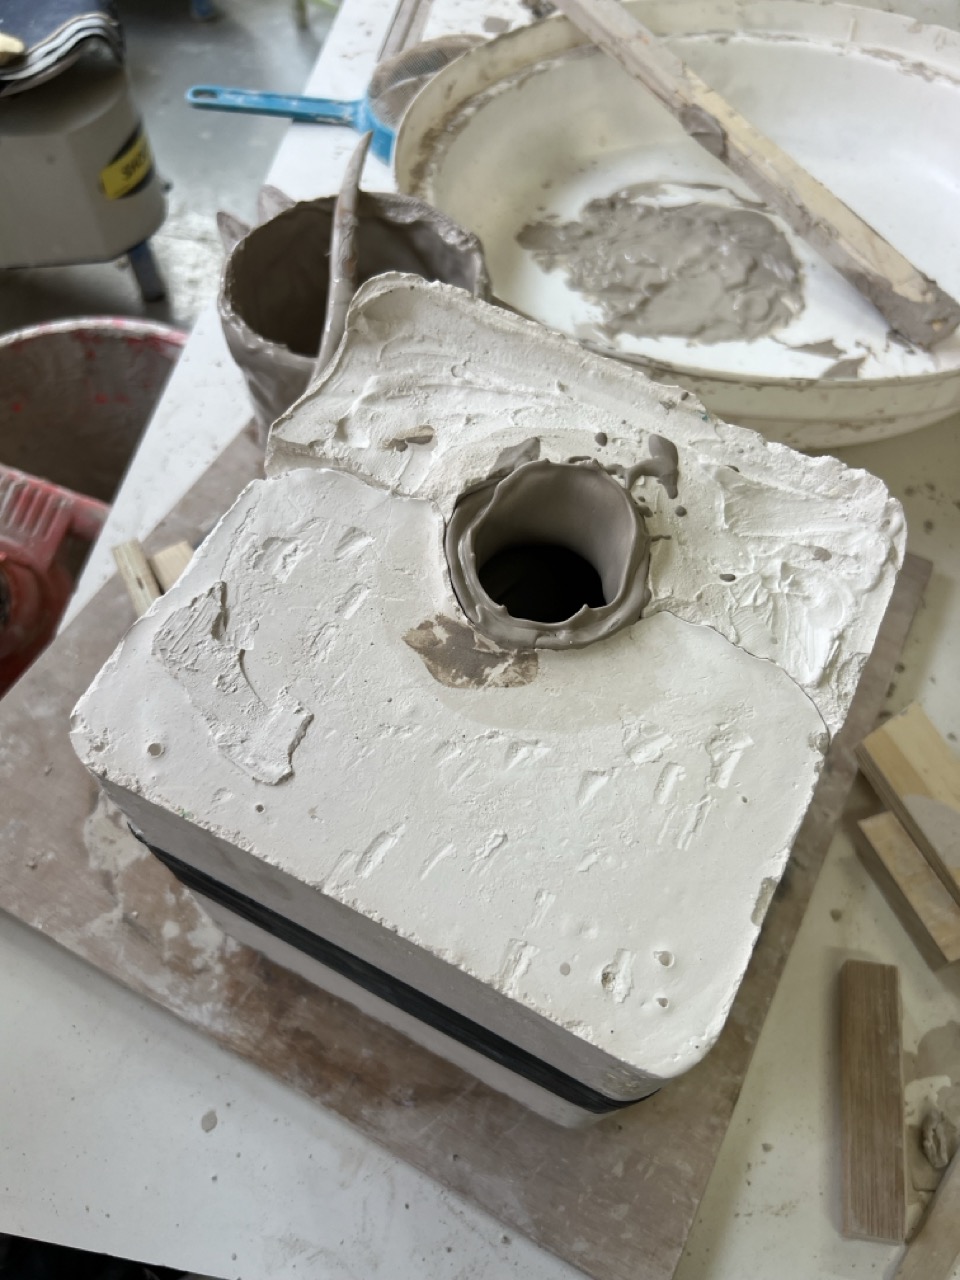
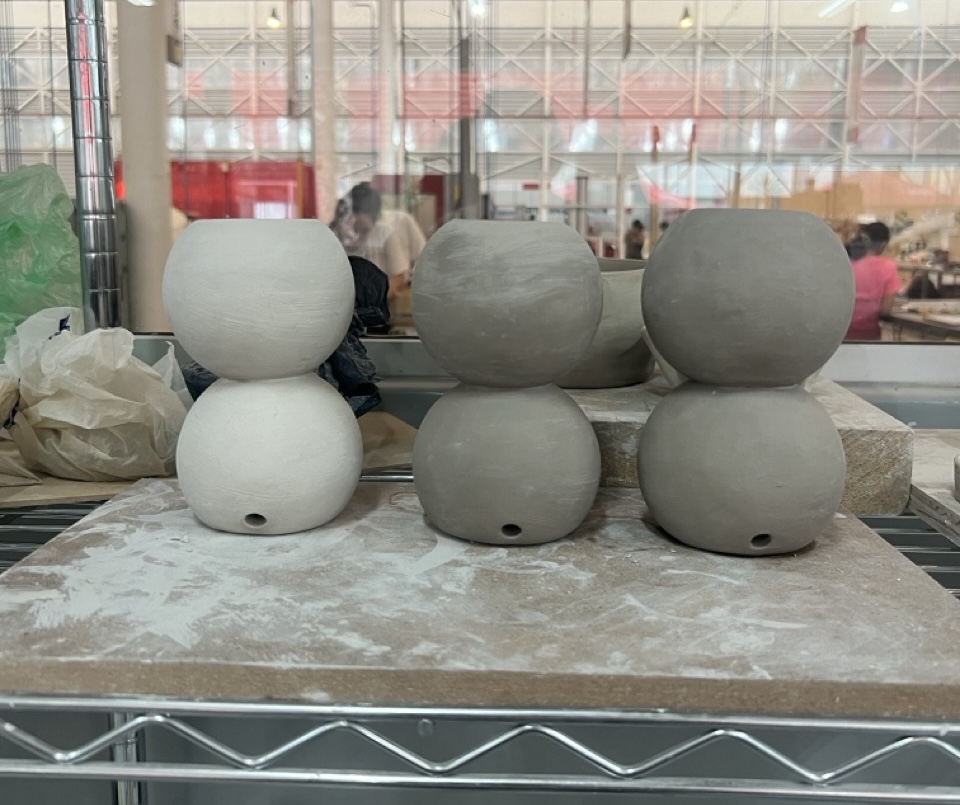
It was then time to demold the piece. The finish was good, but I smoothed out the seam where the two molds joined with a sponge. After that, I made the necessary holes.
Finally, I left it to dry, here you can see the drying process, as it dries it shrinks.
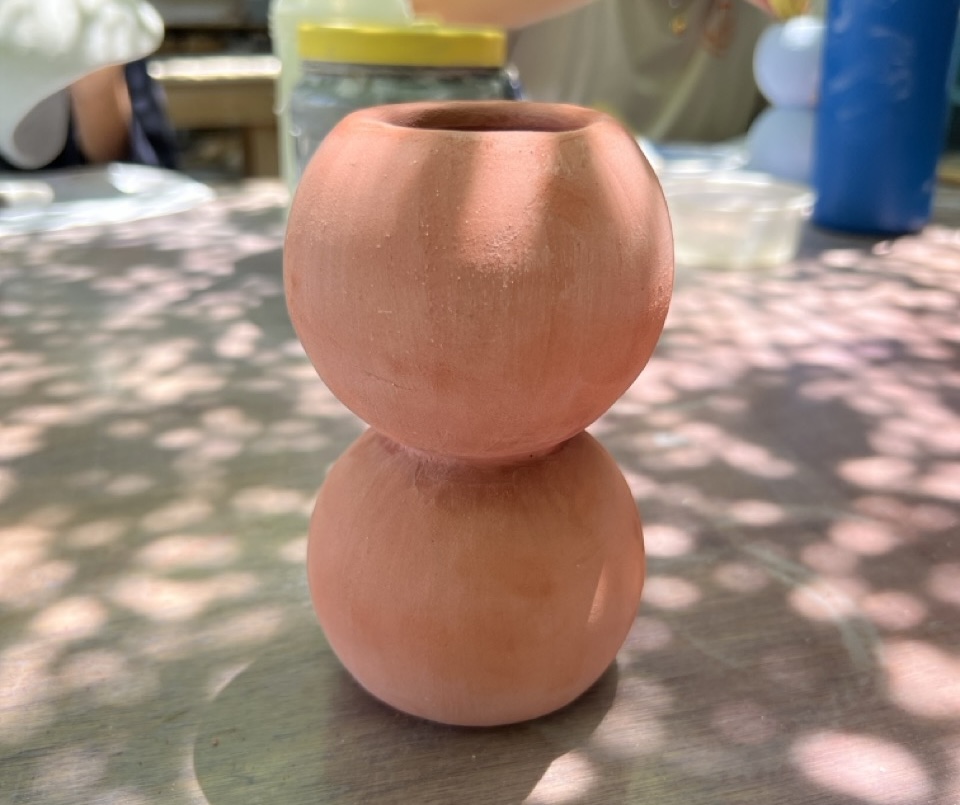
The piece underwent the first firing, was glazed, and fired once again.
This was the final result.
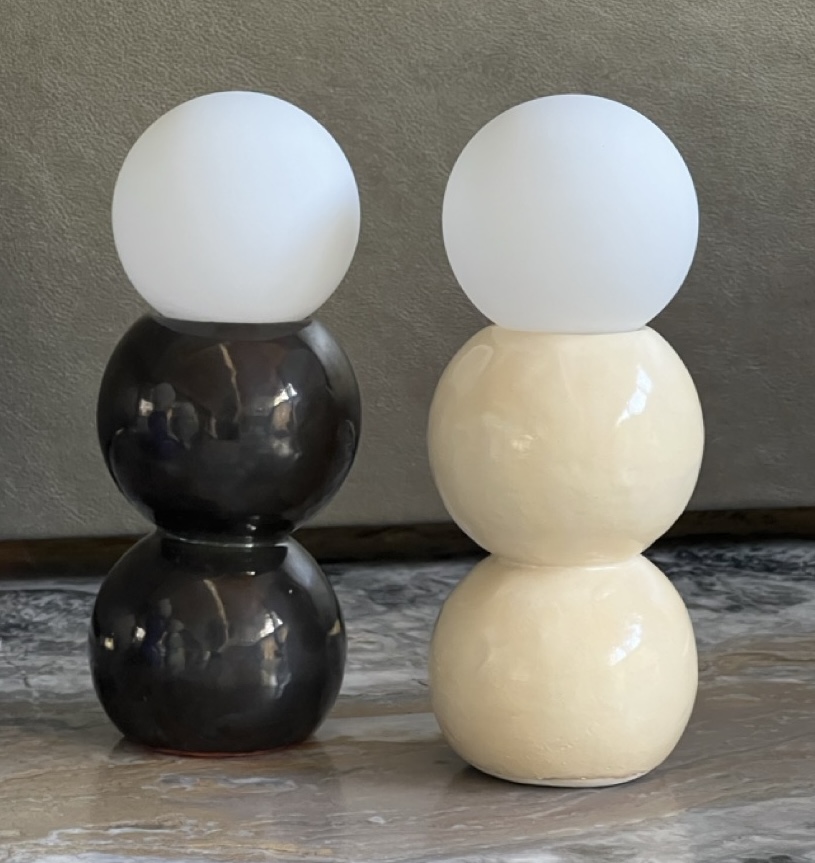
Designed in collaboration with Daniela Herrera.
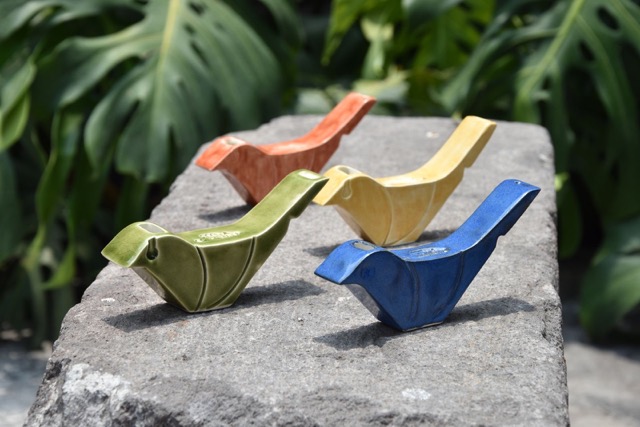
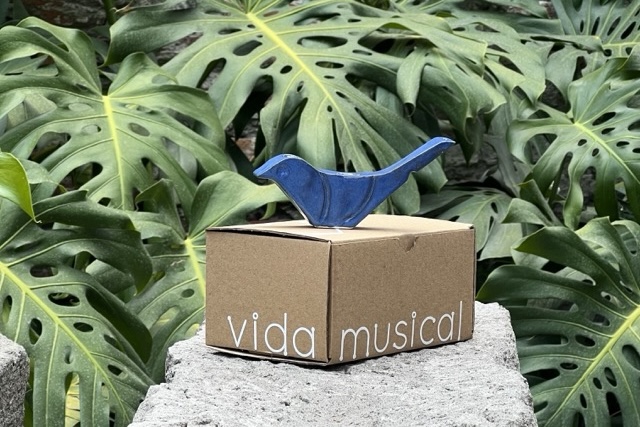
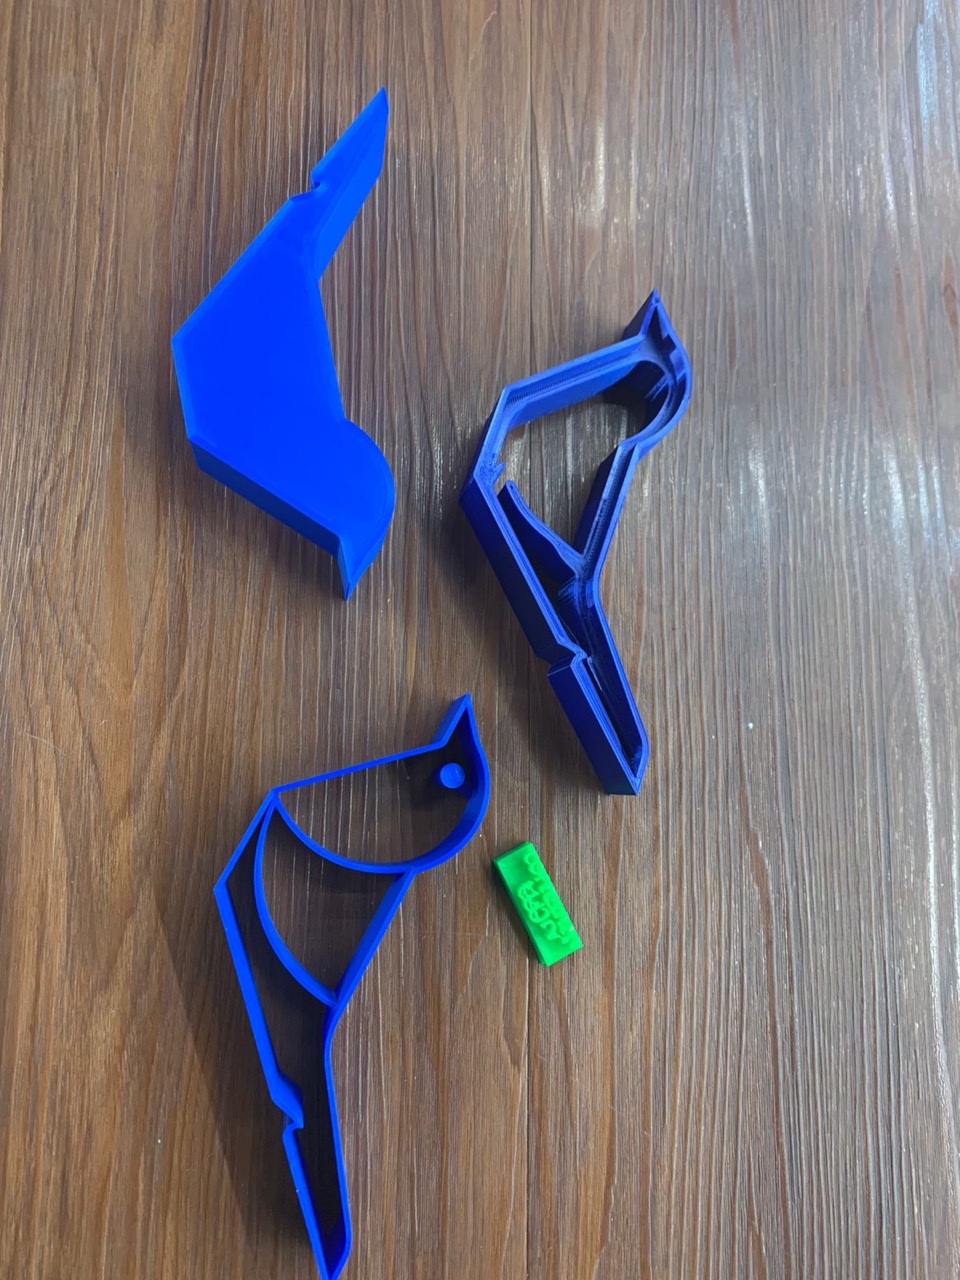
Water Bird Whistle
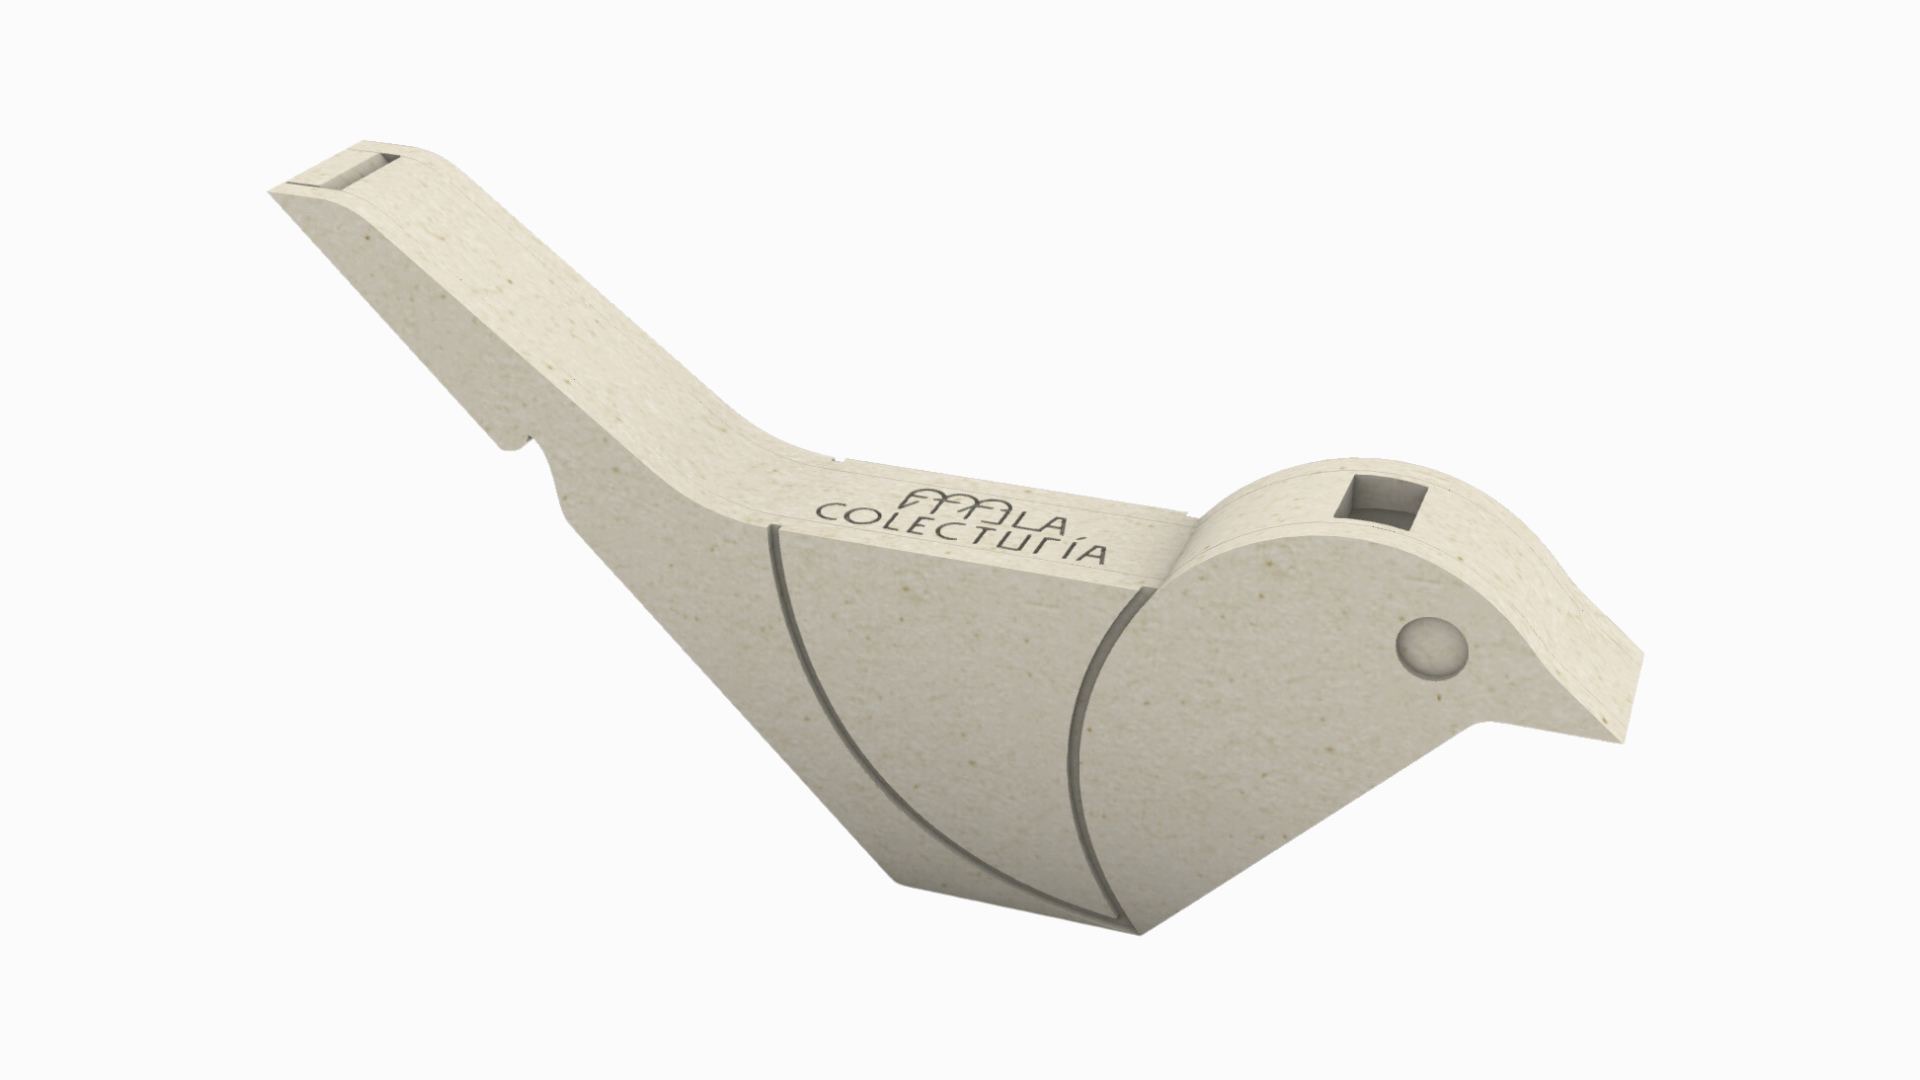
I'm currently working on the development of three musical toys that mimic the sound mechanisms of different animals. For the bird toy, we opted for ceramics due to its intricate internal structure. However, creating this structure with traditional ceramic molds would be challenging. To overcome this, we decided to utilize 3D printing to create cookie-cutter-like molds. This approach ensured uniformity in production. Here are the steps we followed:
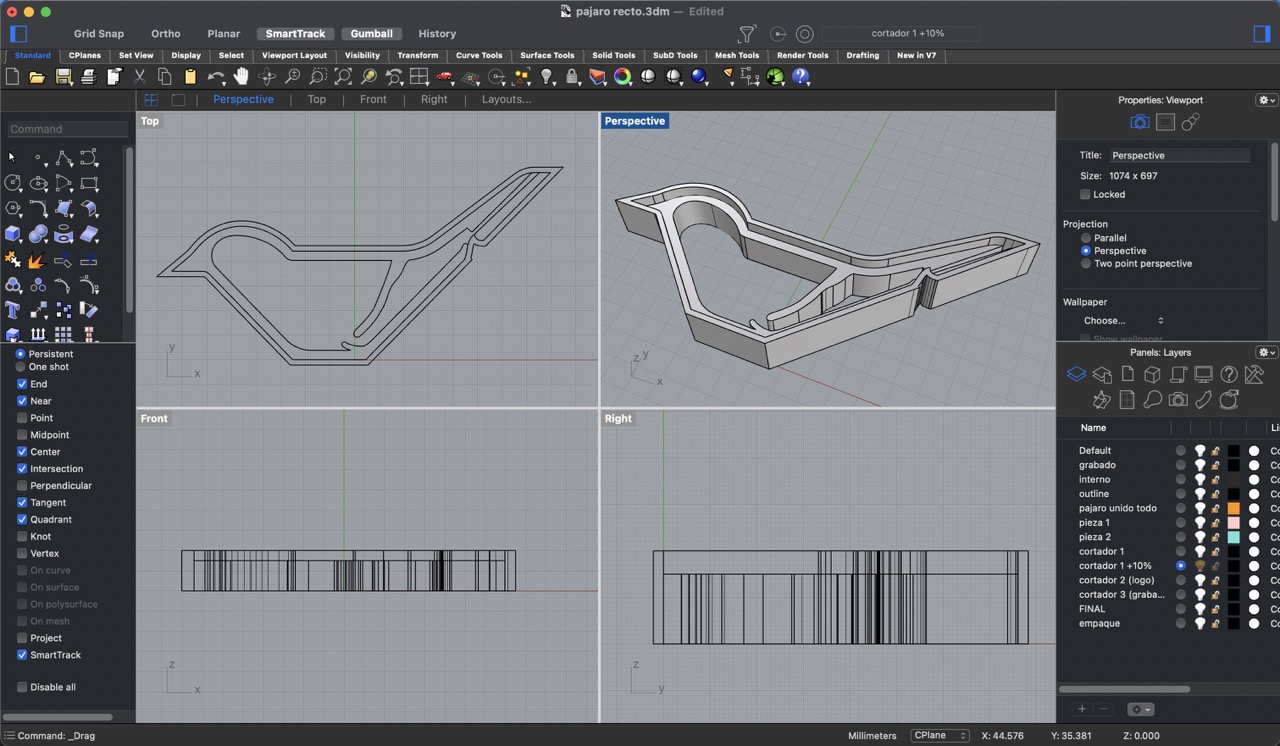
Modelling in Rhino
To begin, the 3 molds needed were modelled in Rhino. The first mold was designed to cut the outline of the bird and mark the internal structure as a guide.
The second mold was intended for engraving the eye and the wing.
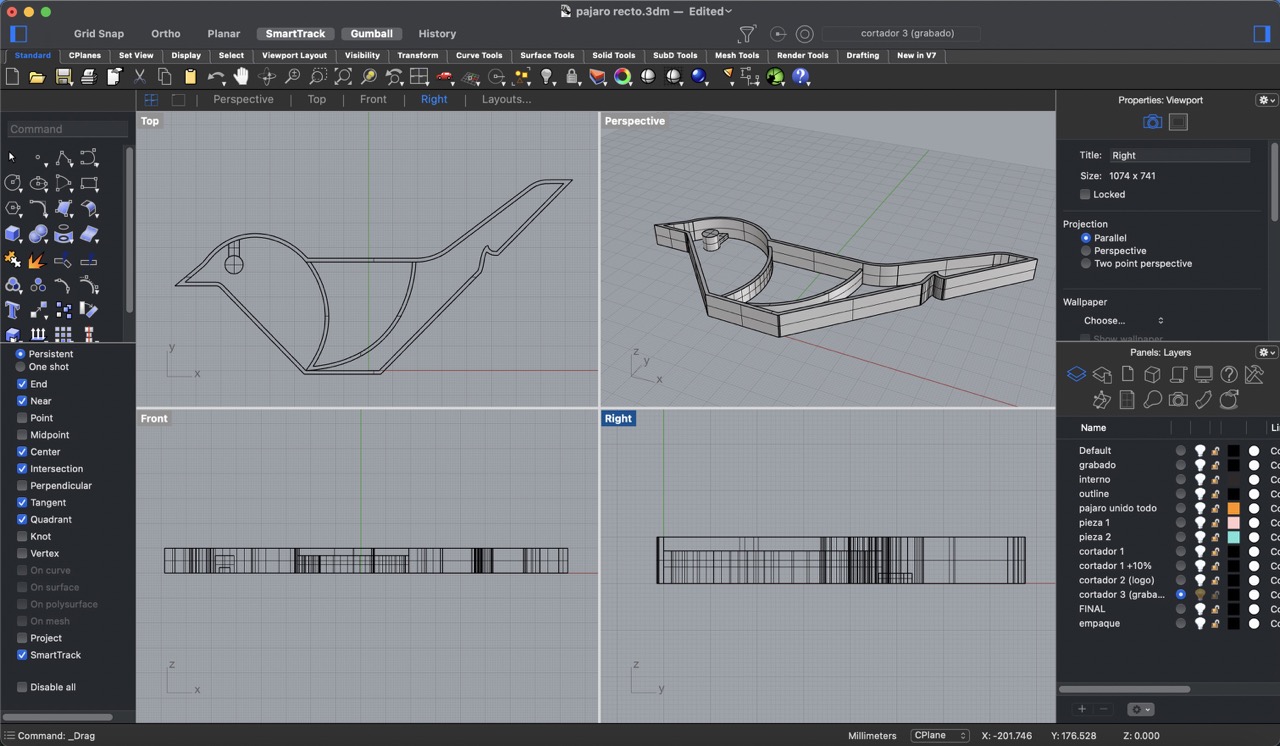
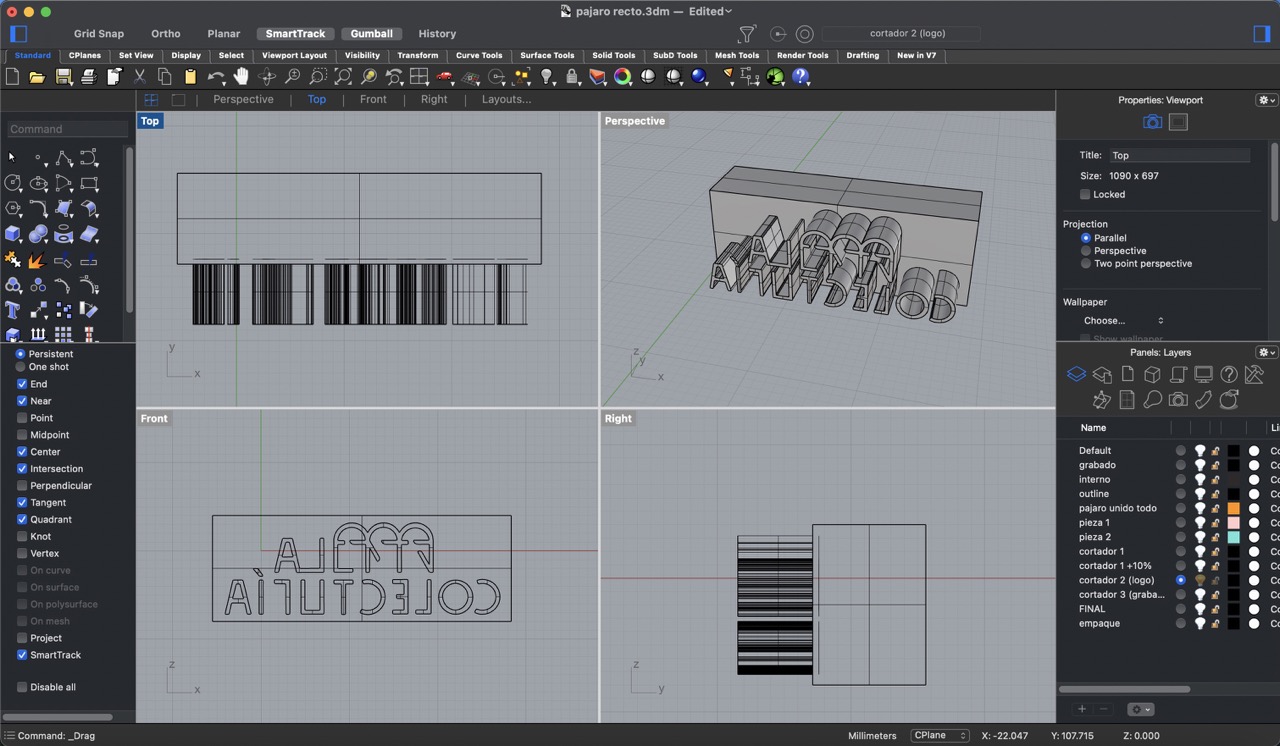
Lastly, the third mold was created for engraving the logo.
3D printing
Afterward, these files were exported in an STL format and then 3D printed.
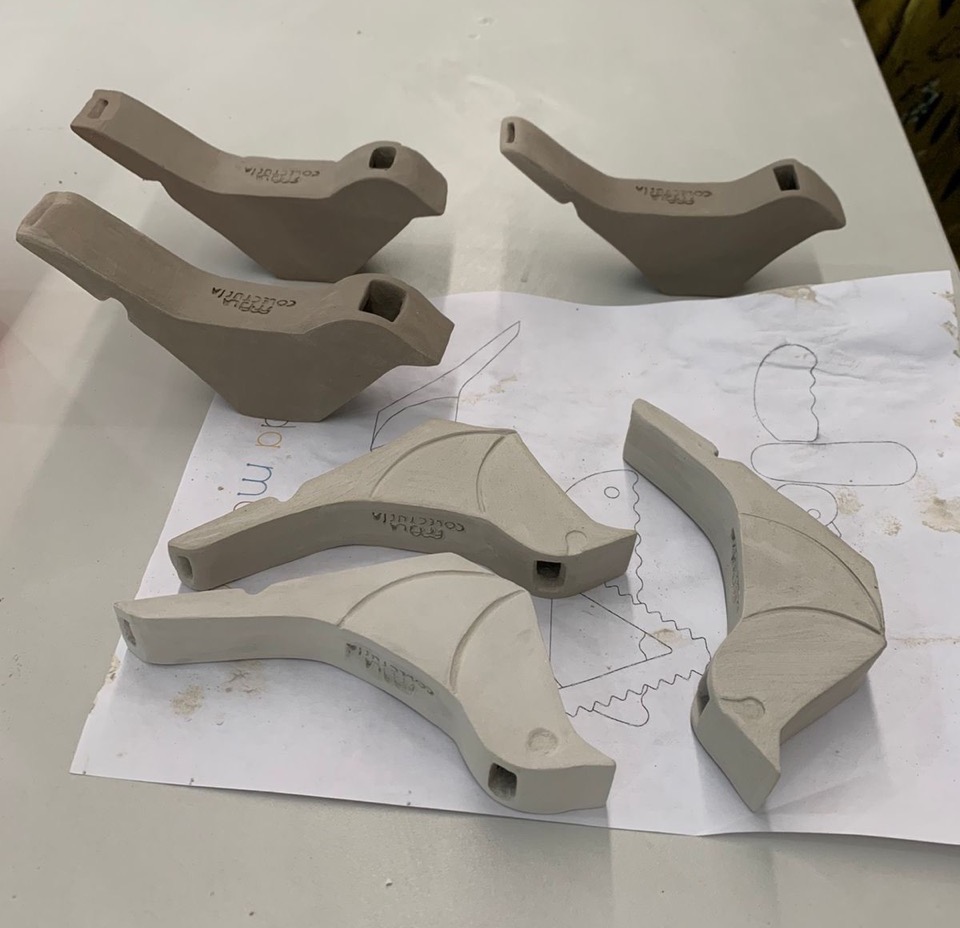
Manufacturing
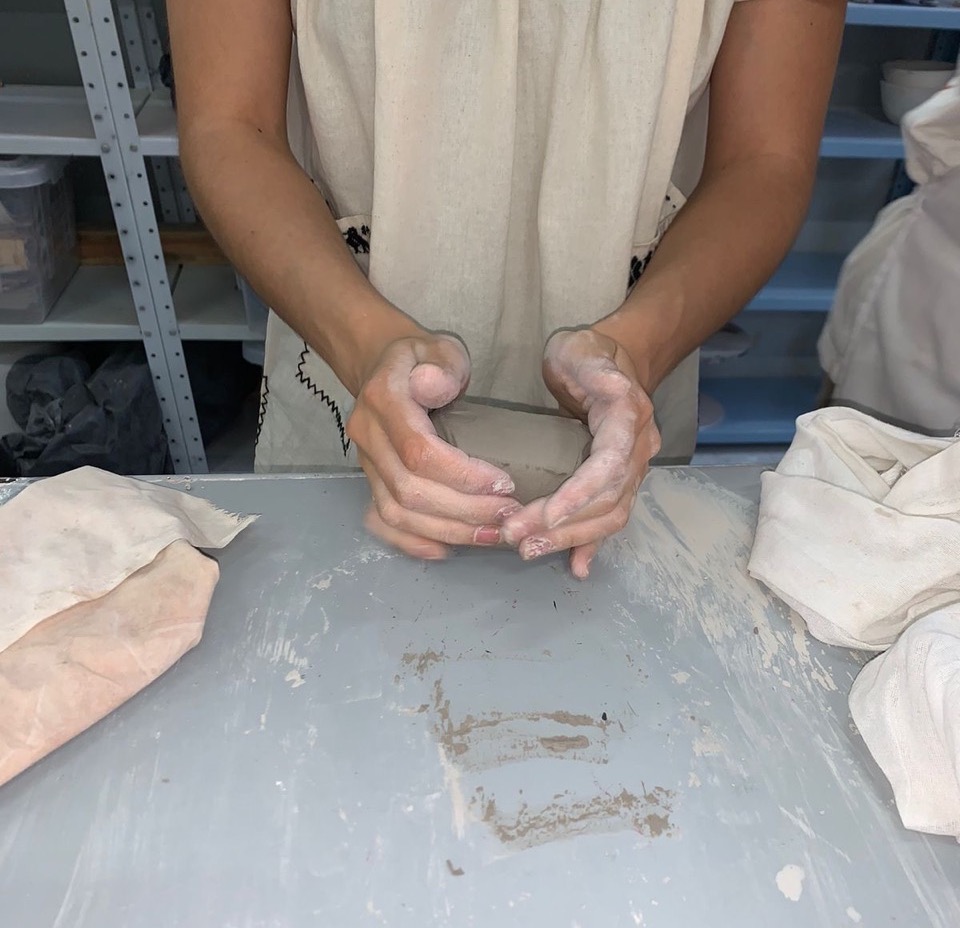
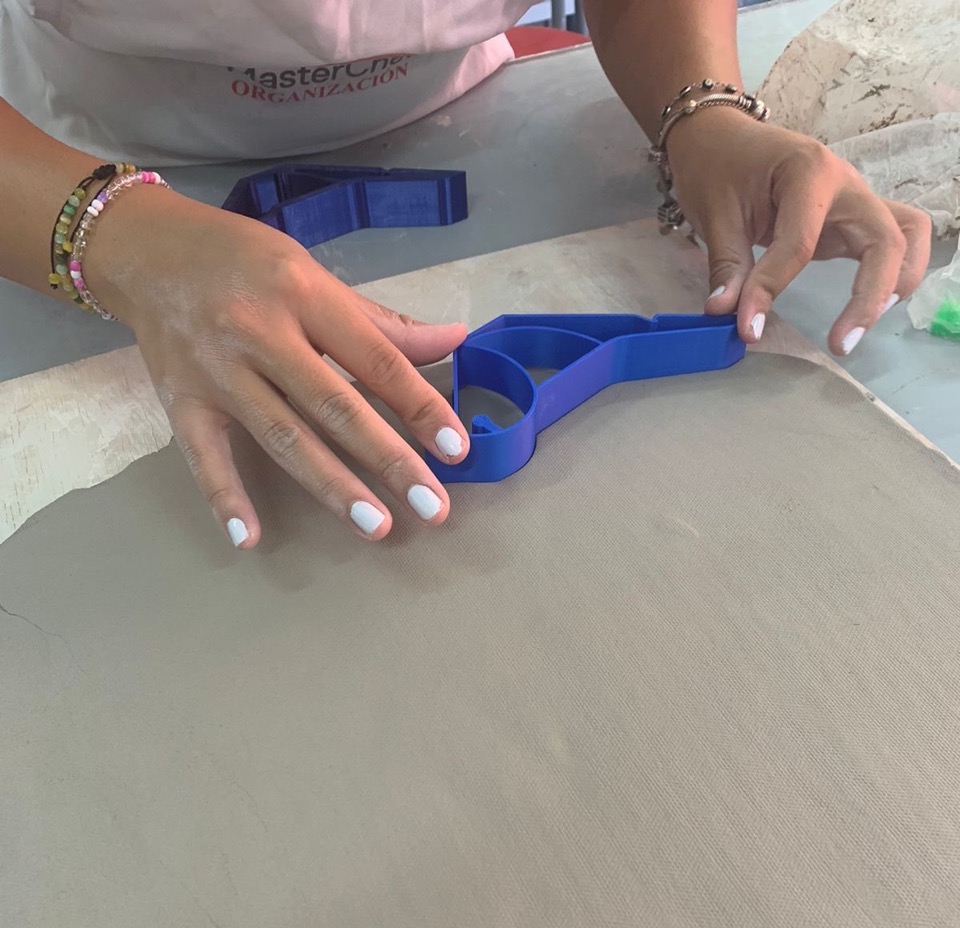
Firstly, the ceramic paste was prepared and rolled out. Using the cutter, the outline was then carefully cut.
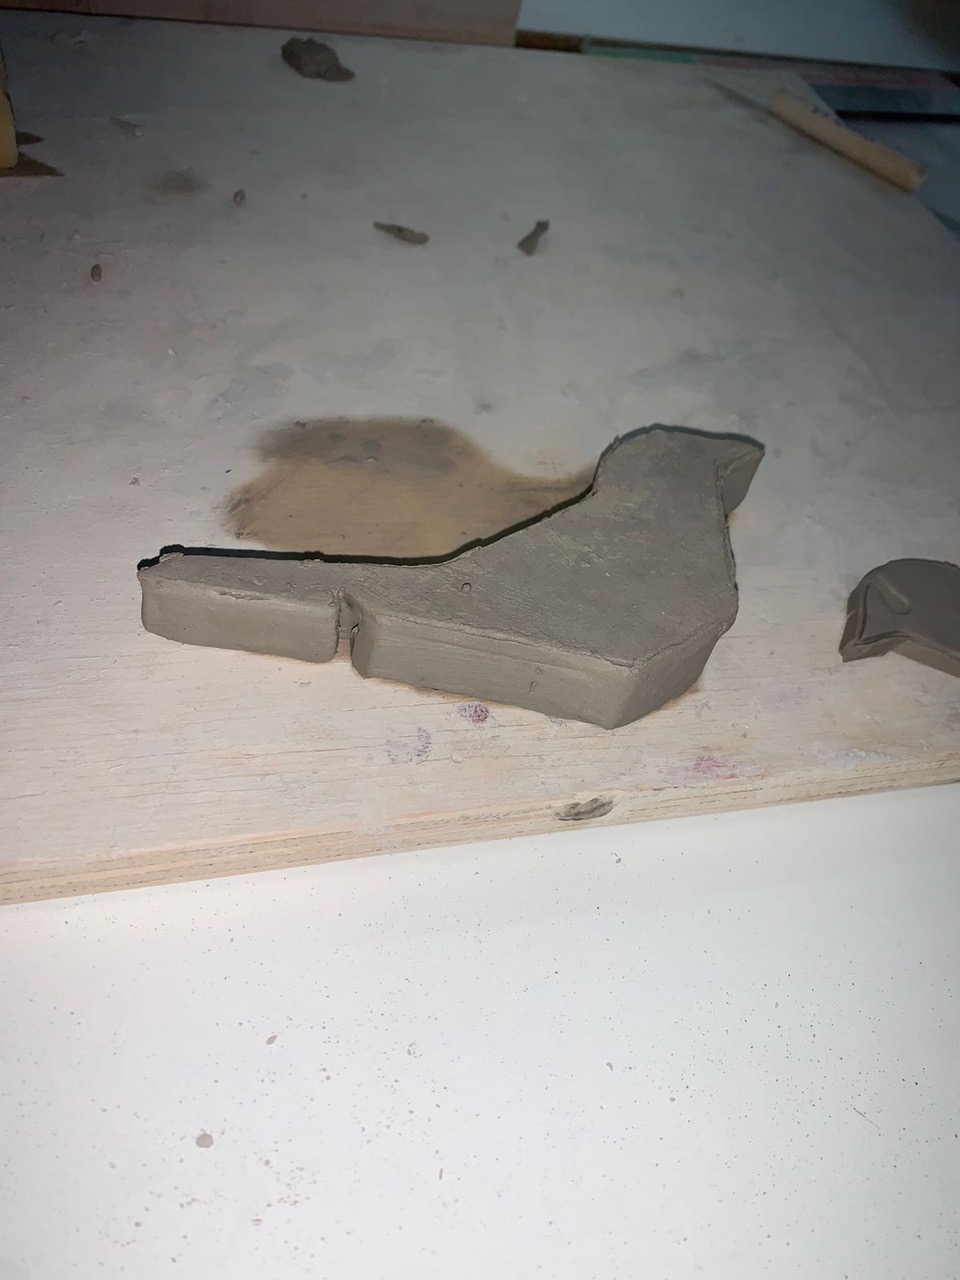
Next, the internal structure was engraved, allowing for the construction of the walls and inside structure.

Finally, another outline was cut and pasted on top to complete the piece.
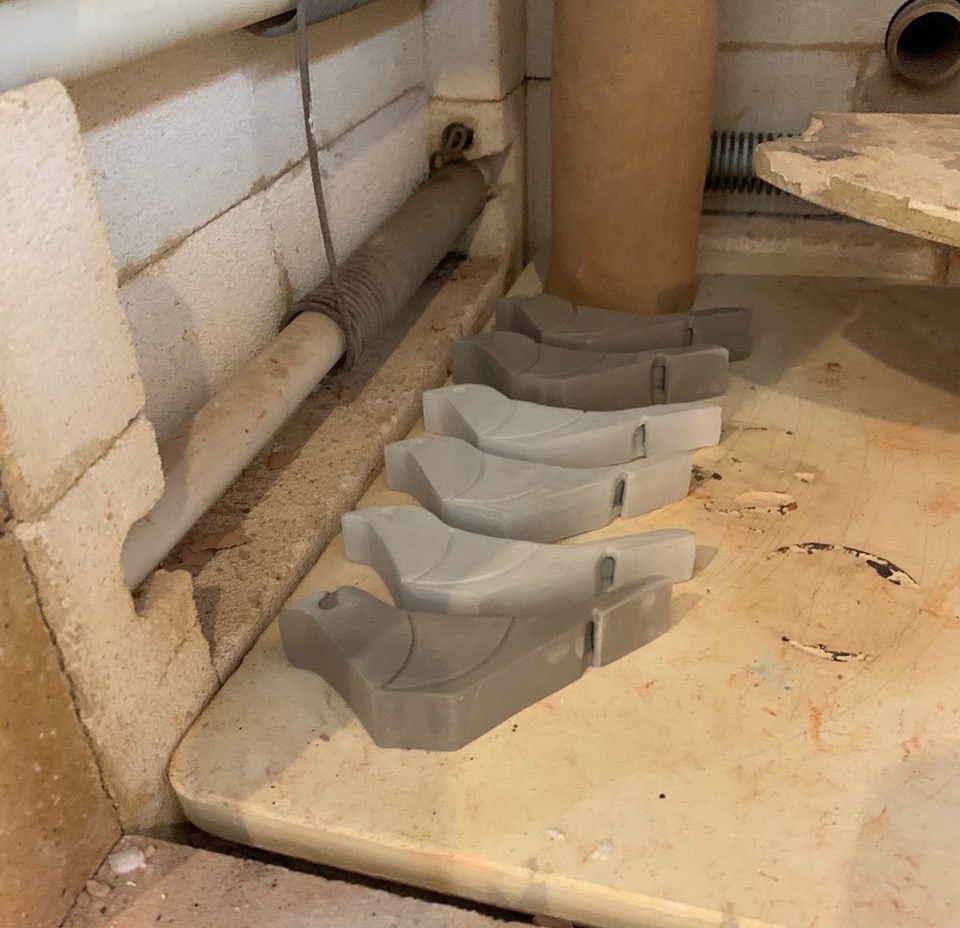
Afterwards, the pieces were left to dry, and once dry, they were subjected to the first firing.
After the first firing, the pieces were glazed and fired once more.
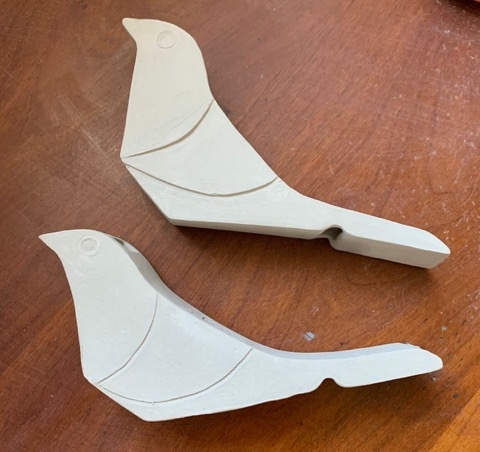
These were the final results.