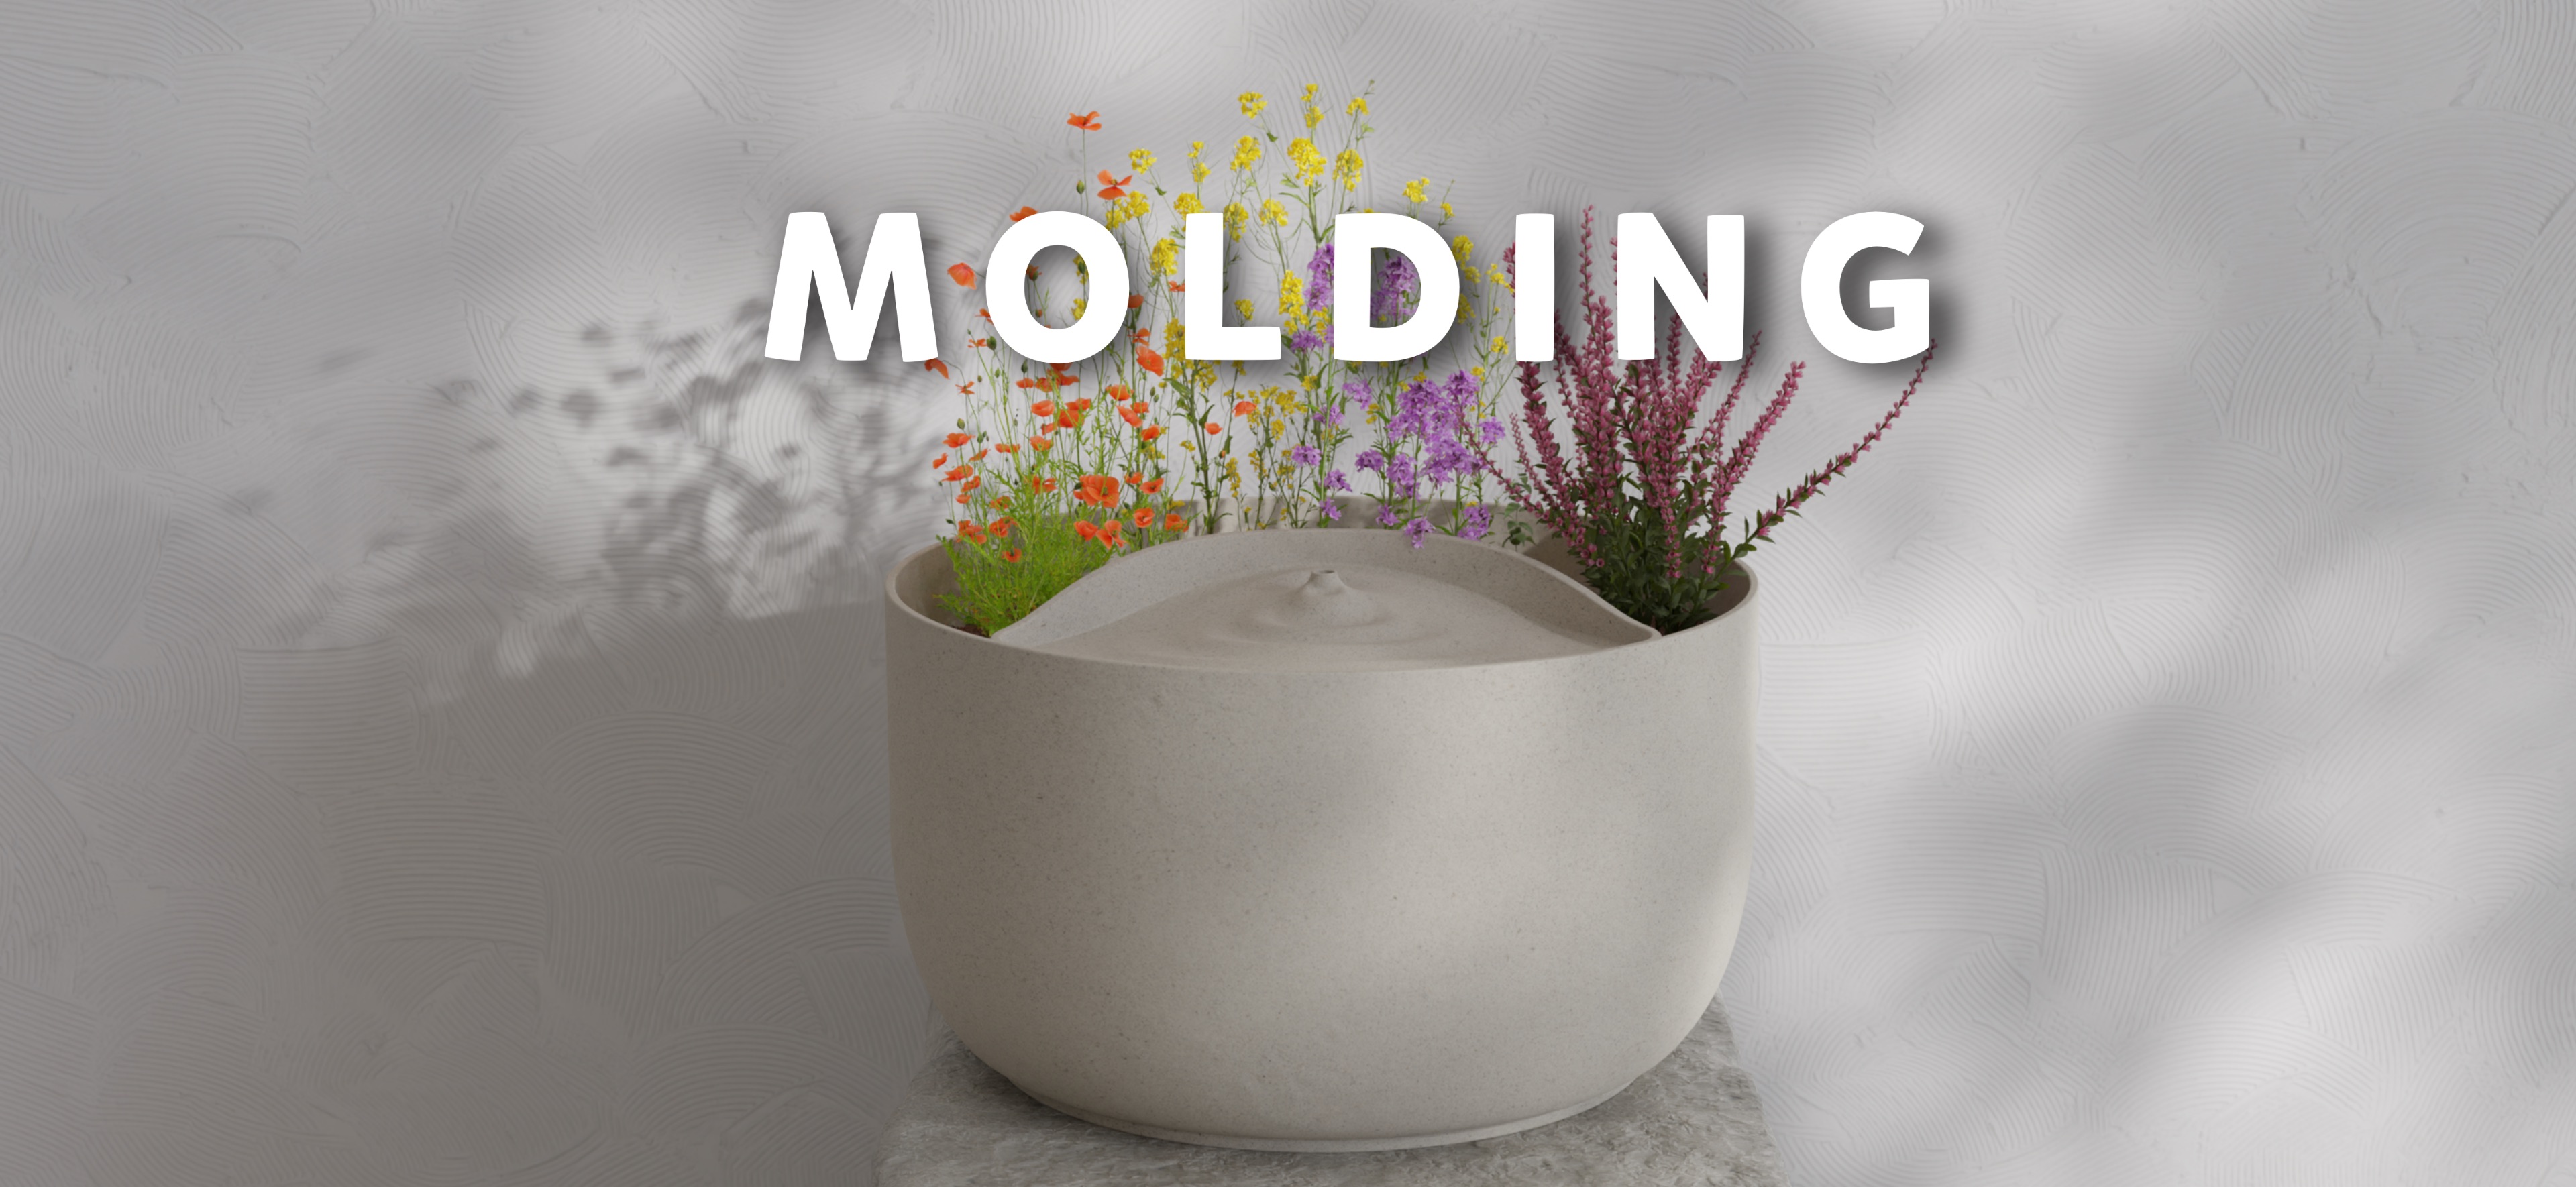
Molding and casting
For this week's assignment, our teachers explained how to create molds from silicone using the CNC cutting machine. You can learn more about the group's assignment in this link
Molding
Molding is the process of creating a hollow form or cavity, typically from a flexible material like silicone or a rigid material like metal, into which a liquid or pliable material is poured or pressed. The mold is designed to capture the detailed shape and texture of the original model or prototype. Once the material inside the mold hardens or sets, the mold is removed, revealing a precise replica of the original object.
Casting
Casting is the process of pouring a liquid material, such as resin, plaster, or molten metal, into a mold. The liquid material fills the mold cavity, taking its shape. Once the material solidifies, the mold is opened, and the cast object is removed. Casting is widely used in manufacturing and art to produce complex shapes and detailed parts that would be difficult to achieve through other methods.
Printing vs. milling molds
MILLING
- Milling involves removing material from a solid block using a computer-controlled machine (CNC mill) to create the desired mold shape.
- Typically uses metals, plastics, or wood.
- Advantages:
- Precision: High precision and accuracy in the mold dimensions.
- Surface Finish: Produces smooth surfaces and intricate details.
- Durability: Milled molds are often more durable and can be used for high-volume production.
- Ideal for creating molds for metal casting, injection molding, and applications requiring high durability and precision.
CASTING
- 3D printing builds up layers of material (such as plastic or resin) to create the mold.
- Typically uses plastics, resins, or composite materials.
- Advantages:
- Complex Geometries: Capable of producing highly complex and intricate shapes that would be difficult or impossible to achieve with traditional milling.
- Speed: Faster prototyping and mold production for small batches.
- Cost-Effective: Lower initial cost for small production runs and prototyping.
Ceramic mold
Materials
For this assigment I used Ultramold cast and .. ceramic. Both wich have some security paramaters as well as technical limitations. For more information on each I´ll leave the following links:
- ULTRAMOLD Material Safety Data Sheet
- ULTRAMOLS Technical Data Sheet
- Ceramic it was a mix from a local ceramist and ther is no technical sheet
SAFETY MEASURES it is recommended to wear a face mask, gloves and safety lenses while using these materials!
Safety Measures for Inhaling or Swallowing Liquid Ceramic
Inhalation:
- Move to Fresh Air: Immediately move the affected person to an area with fresh air.
- Seek Medical Attention: If breathing difficulties persist, seek medical attention promptly.
- Avoid Further Exposure: Ensure proper ventilation in the work area to prevent further inhalation.
- Use Protective Equipment: Wear a mask or respirator when handling liquid ceramic to prevent inhalation.
Swallowing:
- Do Not Induce Vomiting: Do not induce vomiting unless instructed by medical personnel.
- Rinse Mouth: Rinse the mouth thoroughly with water.
- Seek Medical Attention: Contact poison control or seek medical attention immediately.
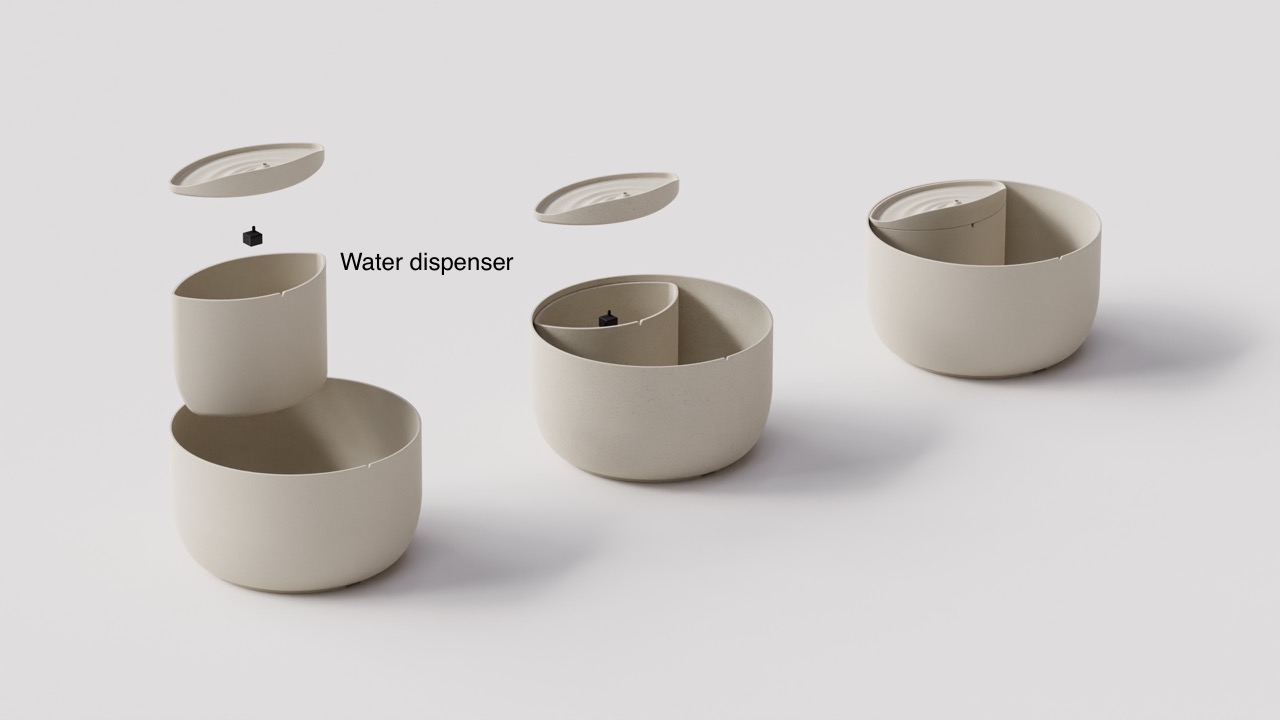
Plant pot water dispenser
For this week's assignment, I leveraged one component from my final university project, which is a pollinator plant pot consisting of three distinct parts. I chose to focus on the water dispenser component. In the following sections, I will detail all the steps I took in the development process. I'll leave the following photo to illustrate which part of the pot I'm going to be working on.
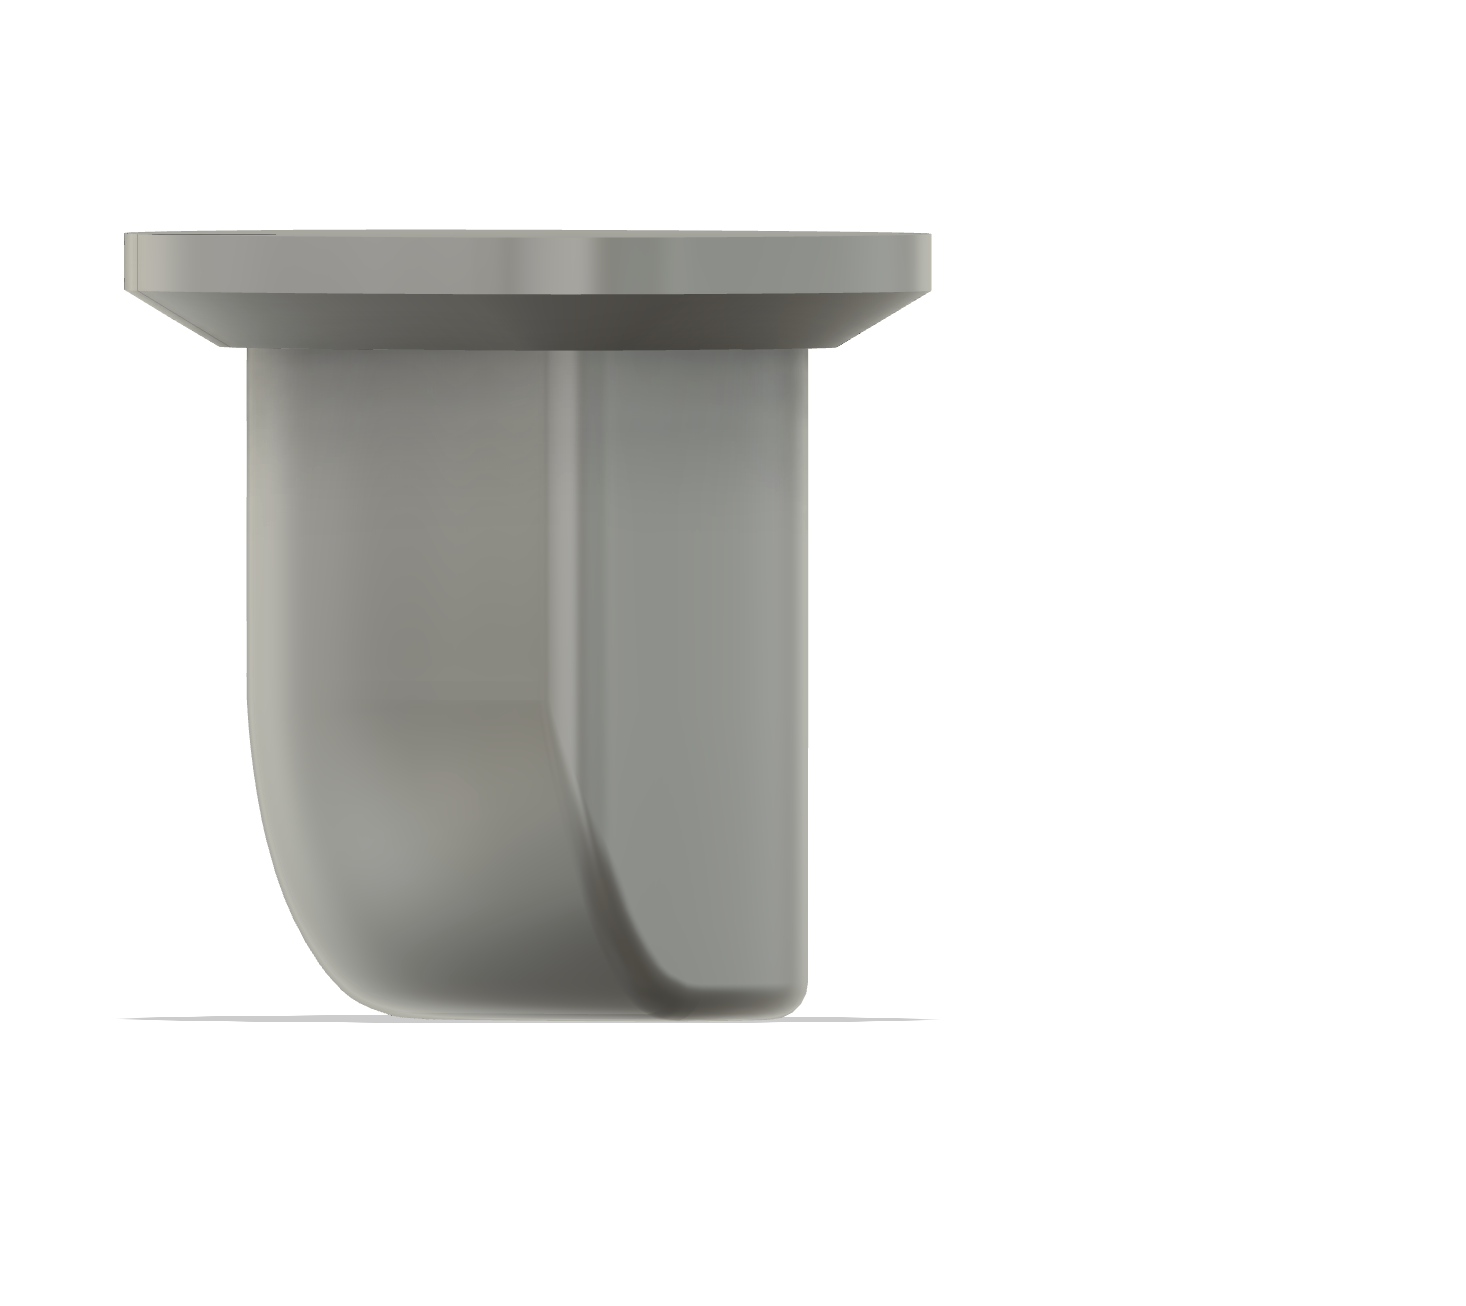
Designing the water reserve
For this project, it was essential to go through a brainstorming phase to ensure the shape and design of the pot would easily release from the mold once it had shrunk a bit. Every part of the plant pot was specifically designed with this in mind.
First of all, modeling the piece
I chose Fusion 360 for its parametric design capabilities, allowing for easy adjustments if needed.

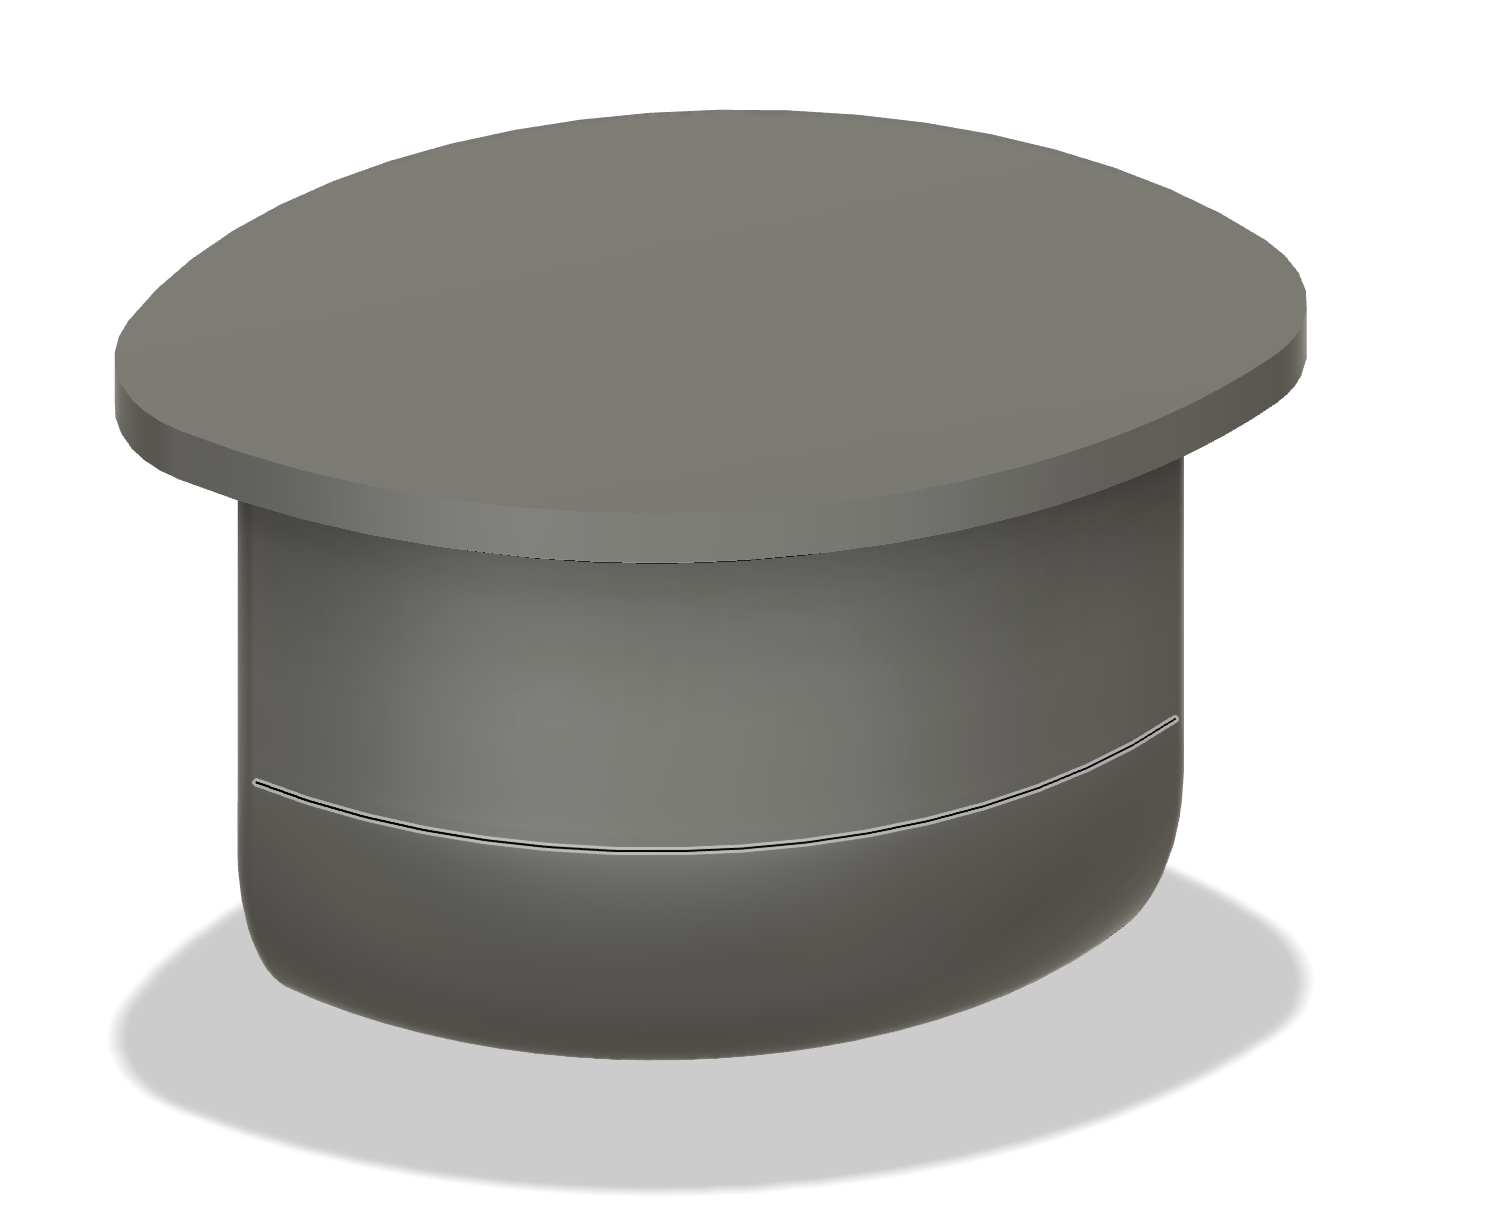
Printing it
I used an Ender 3 V2 printer and Ultimaker Cura to adjust the printer settings. The main goal was to ensure the piece was strong enough to withstand the pressure of the cast. To achieve this, I primarily focused on adjusting the wall thickness and the type of infill. I used Dynamic quality for the resolution of the print.
| Name | Value |
|---|---|
| Layer Height | .2 mm |
| Wall thickness | .4 mm |
| Top/bottom thickness |
|
| Infill: 20% |
|
| Adhesion | Type: brim |
Making the mold
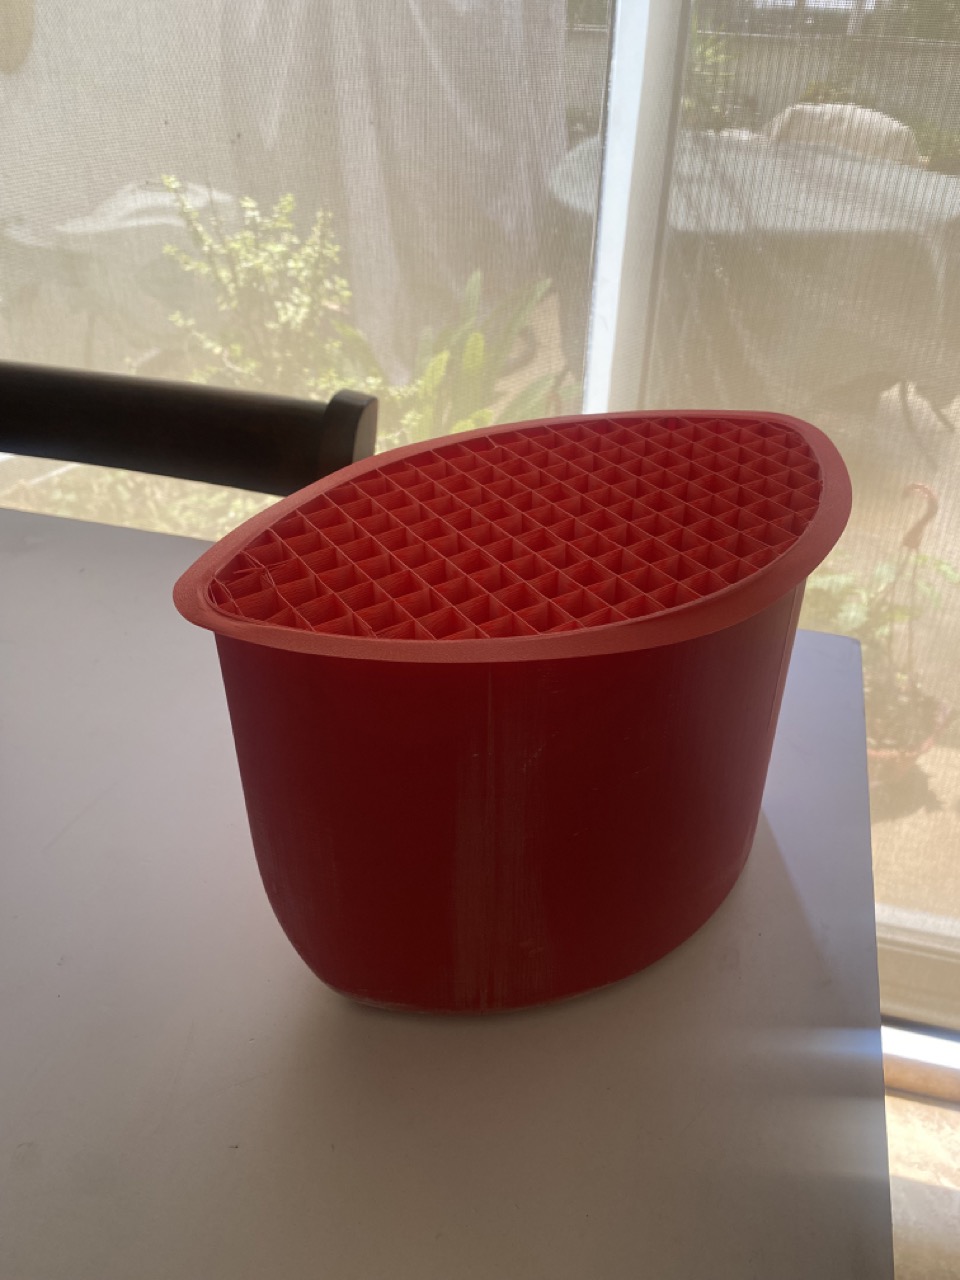
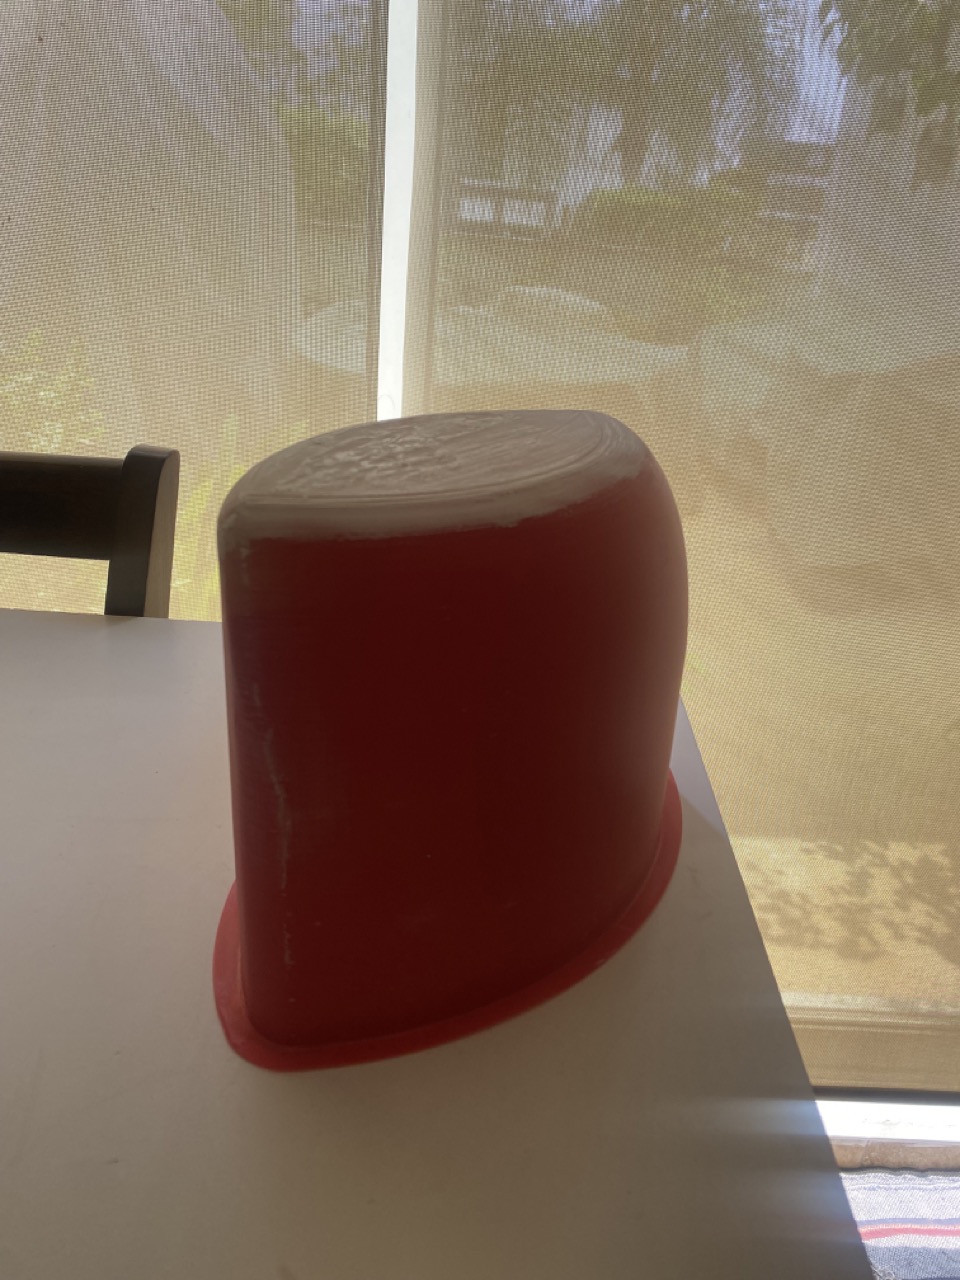
The method I chose involves making a cast mold in which liquid ceramic will later be poured. The process begins by creating a positive model of the desired shape (in this case, a 3D print). This positive model is then used to create a negative mold with cast material. Once the negative mold is ready, liquid ceramic can be poured into it to recreate the positive shape with the desired material.
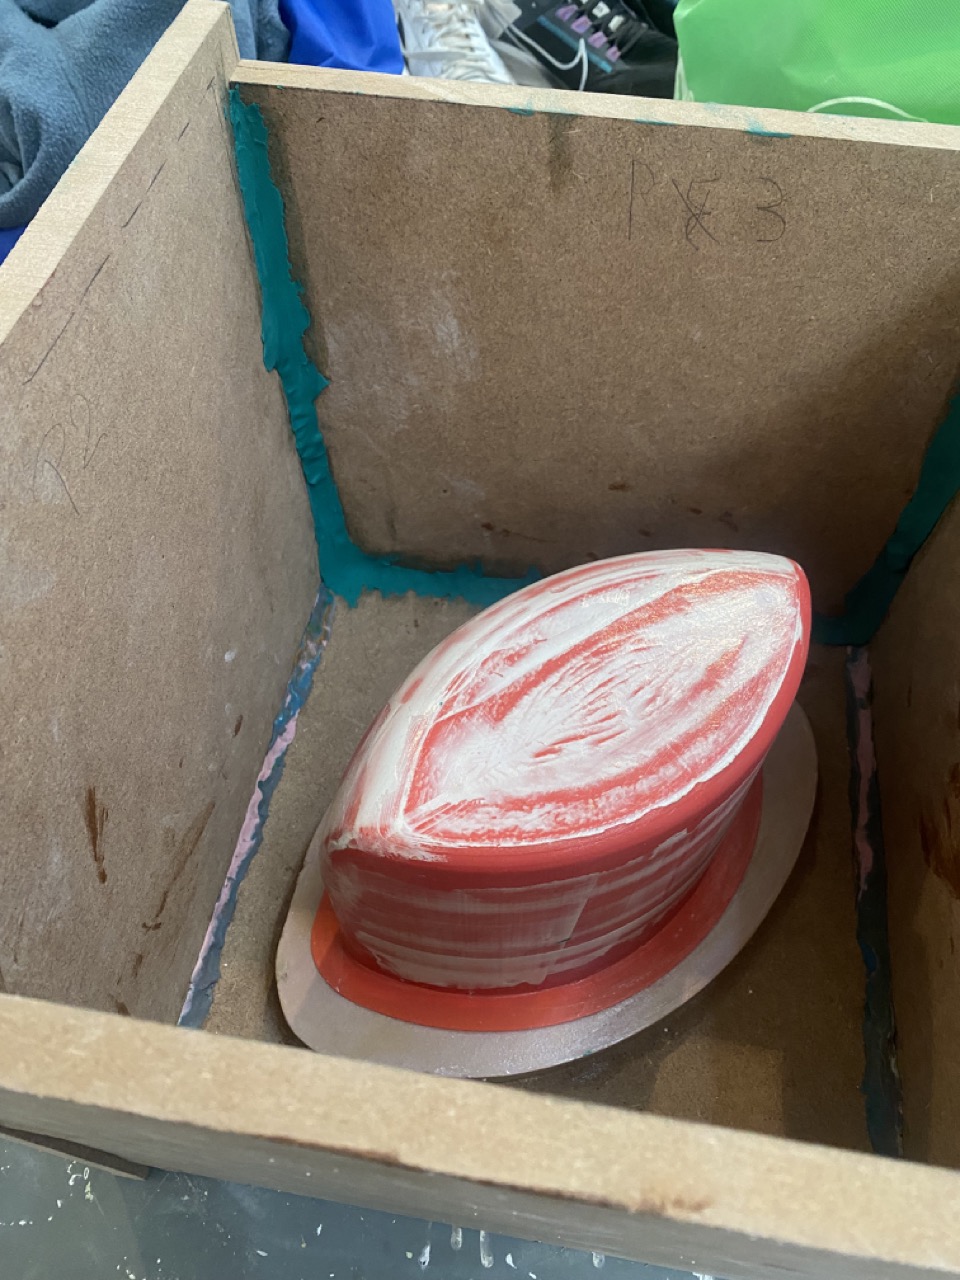
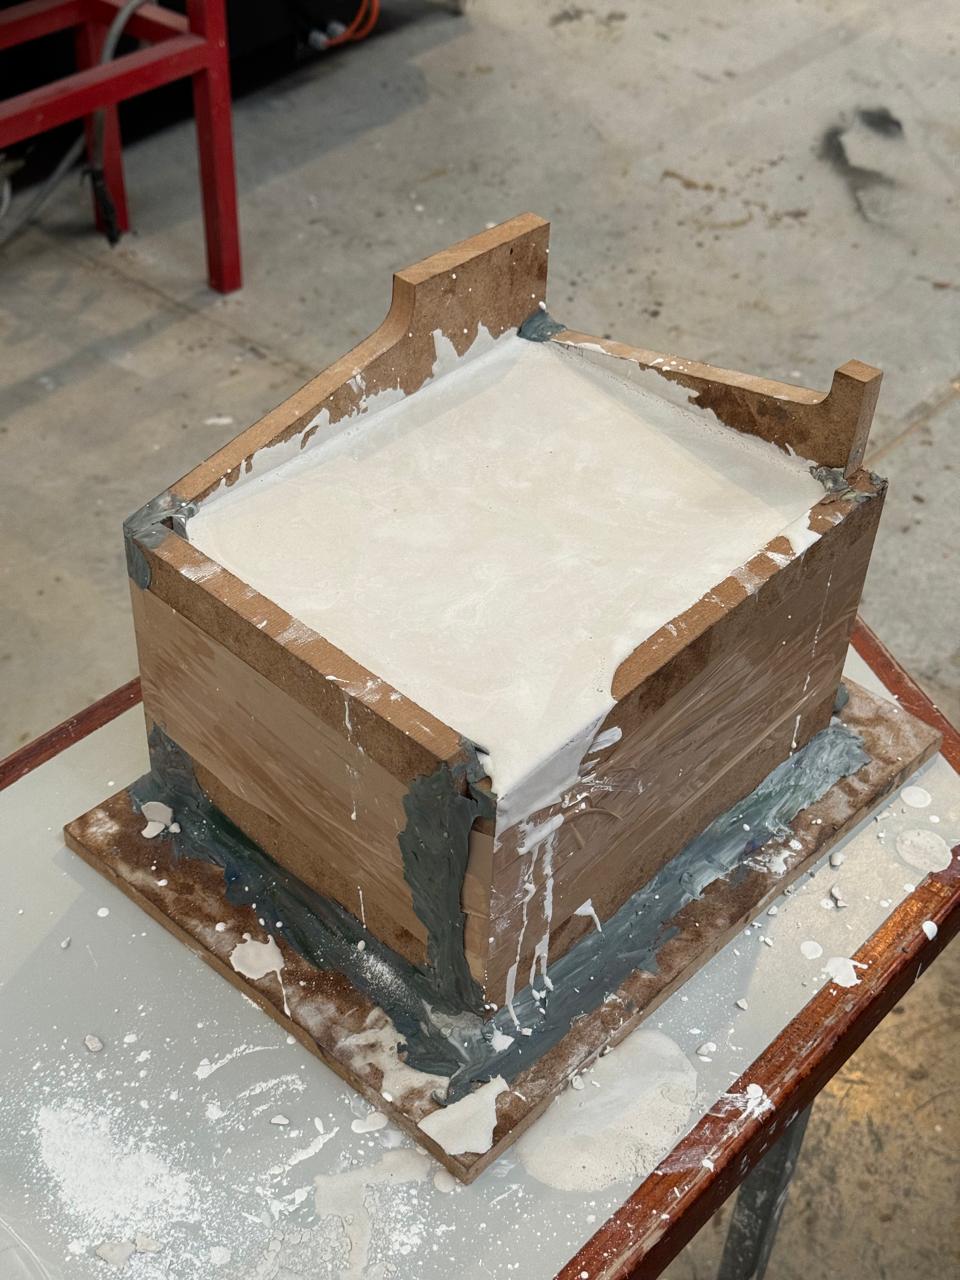
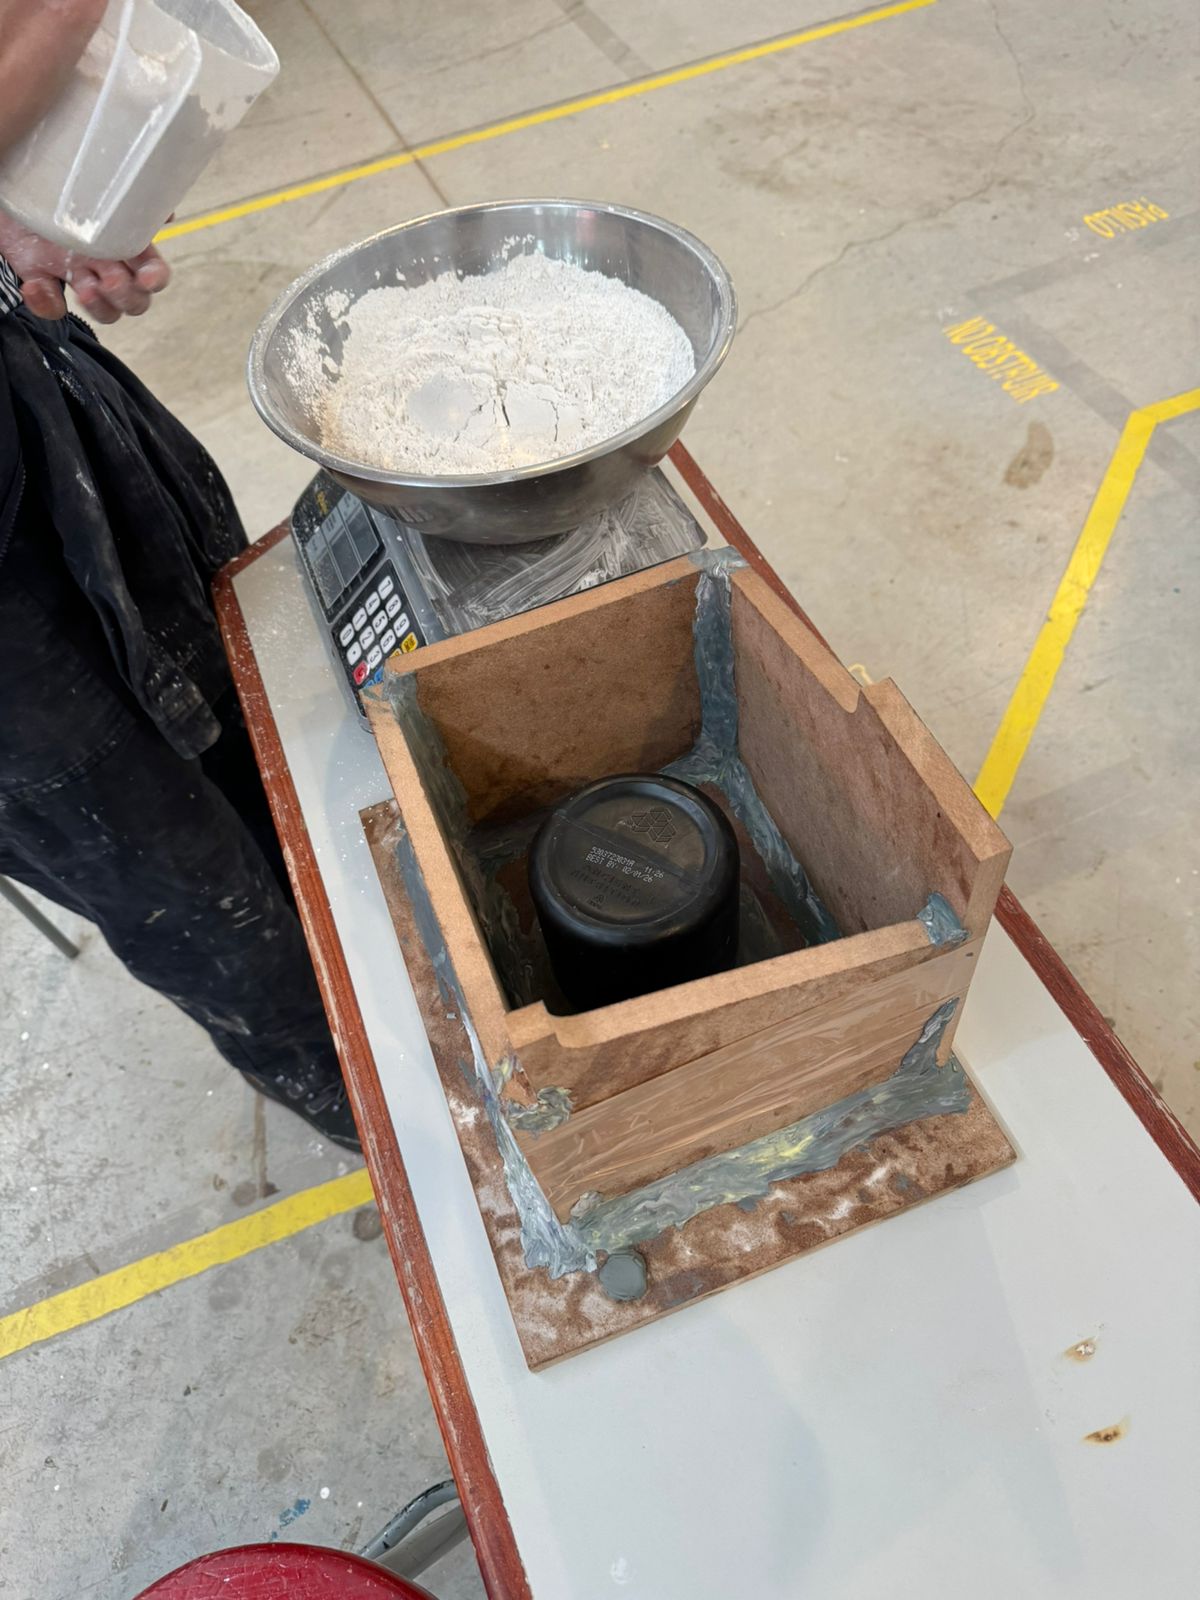
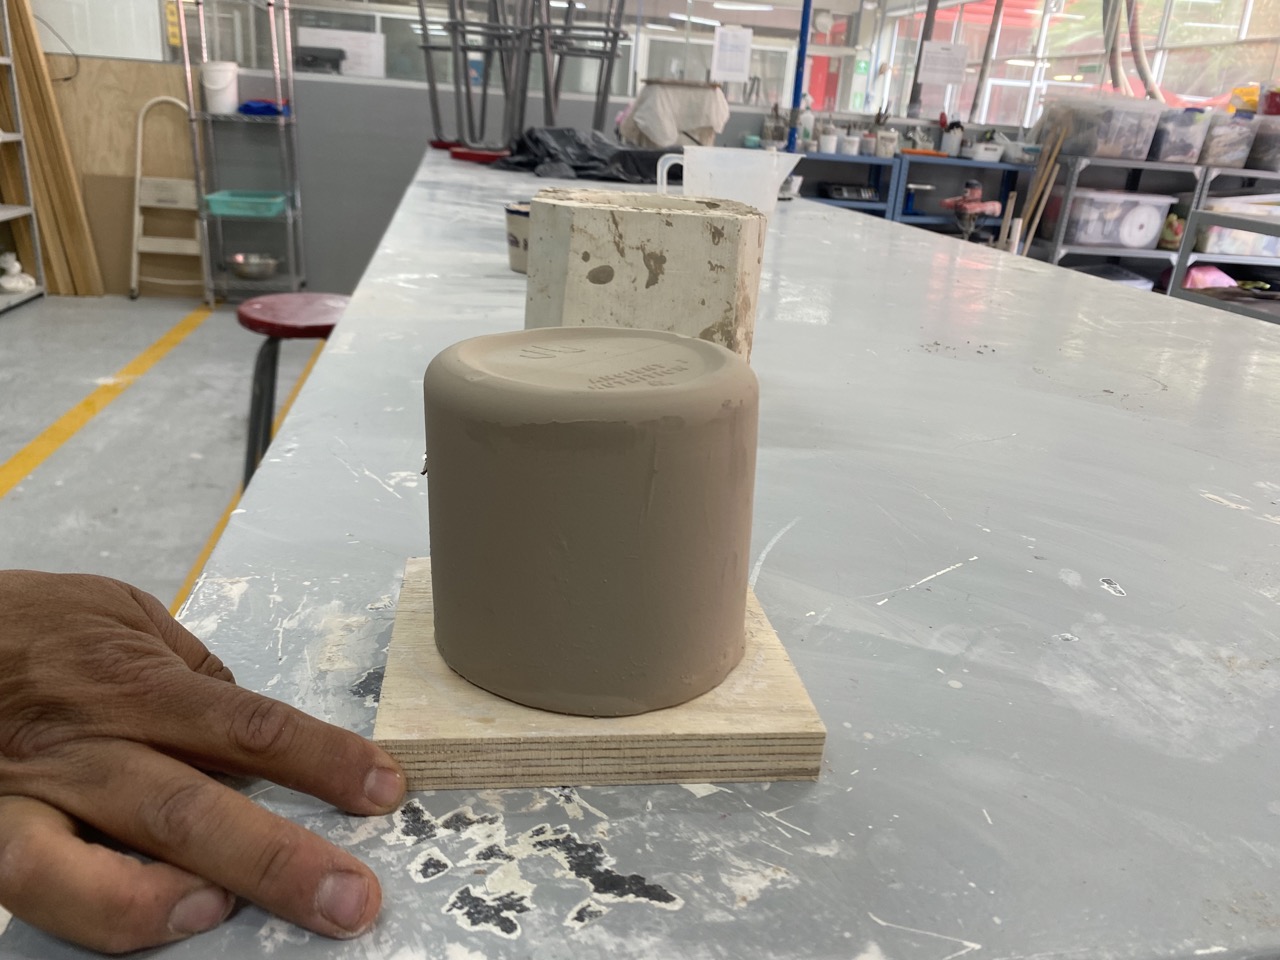
- To create the cast mold, I cut 15 mm MDF to form a cube, and then I secured the printed model inside it. I used clay to reinforce and seal the cube.
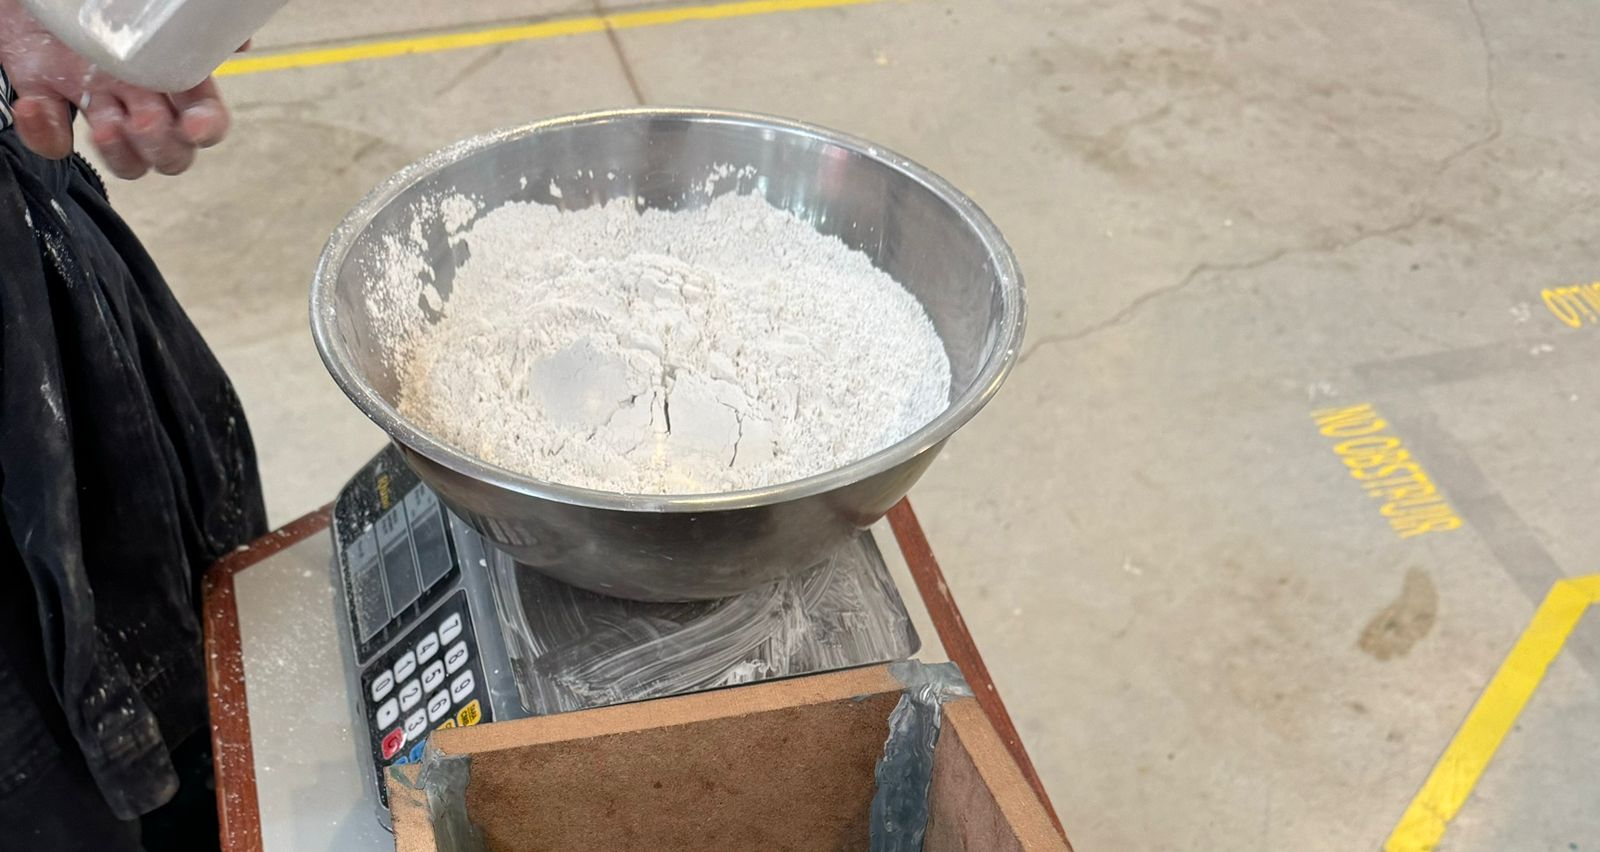
- Meassured the materials:
- Water and cast: 1.3 L of water for every 1.3 kg of cast
- Cast: I used a mixed made by local ceramists called Ultramold cast
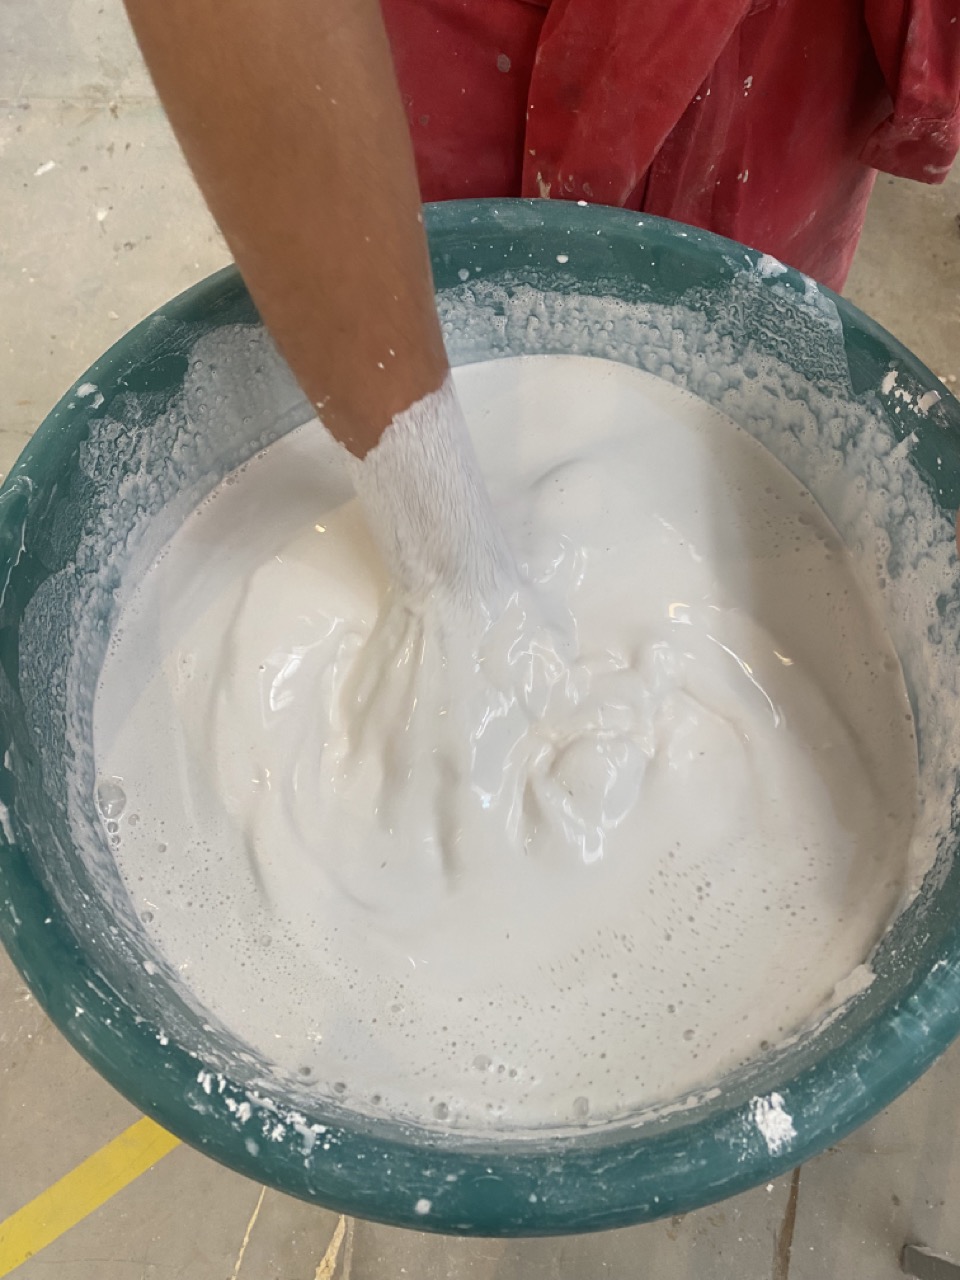
- Mixed the cast with the water by hand to make sure all clumps were dissolved.
- Poured the mix into the wooden box and let it rest until it was almost completely dry and then I let it dry in the sun until it was completely dry.
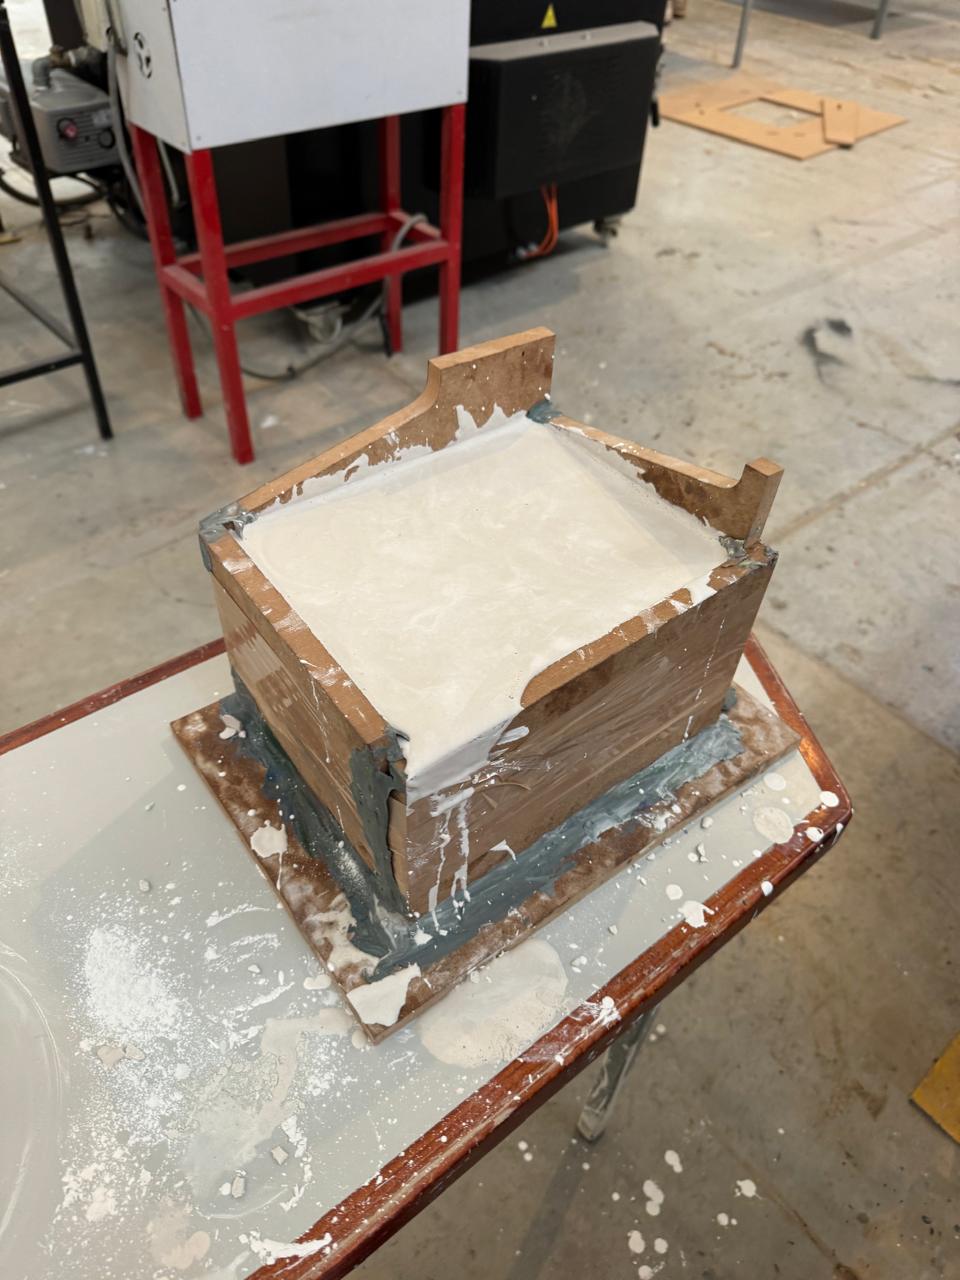
- Once the cast mold was ready I mixed the liquid ceramic and poured it into the cast mold. I let it rest for an hour (the more time you let it rest the widther the piece is going to be).
- Once the hour had passed I poured the remaining liquid ceramic into a bowl and let the piece rest for another hour. Then I took out the ceramic piece to let it dry in the sun.
- Finally, the ceramic piece was fired in the kiln.
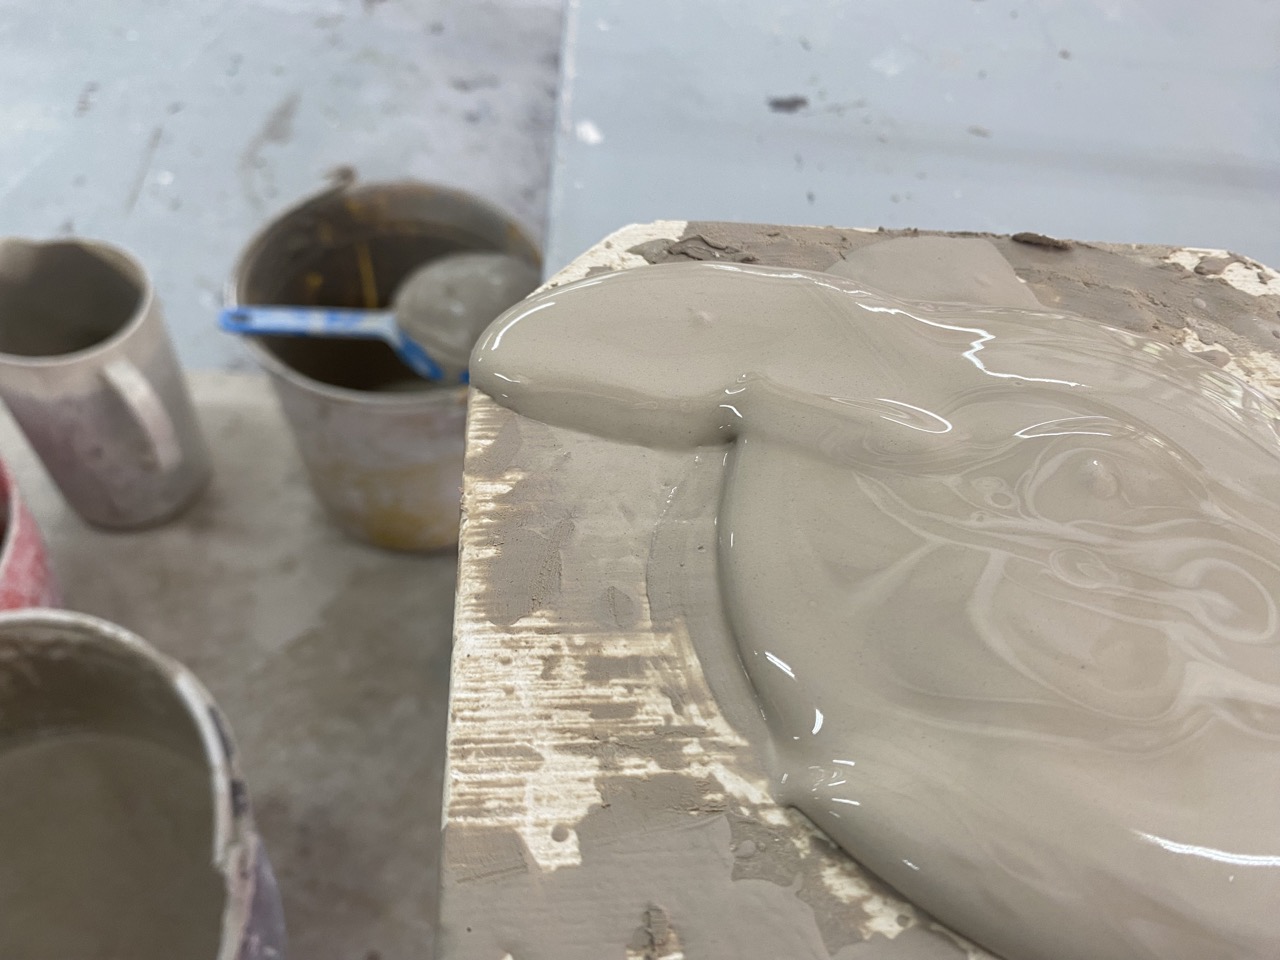
- I started by thoroughly mixing the ceramic and then pouring it into the mold using a strainer to avoid lumps.
- Then I let it rest for 20 minutes to achieve the desired thickness. The longer the mix stays in the mold, the thicker the piece will be.
- Once the 20 minutes were over, I checked the thickness of the piece by removing the excess material from the top of the mold to visualize the width.
- Then I poured the rest of the liquid ceramic back it's bucket
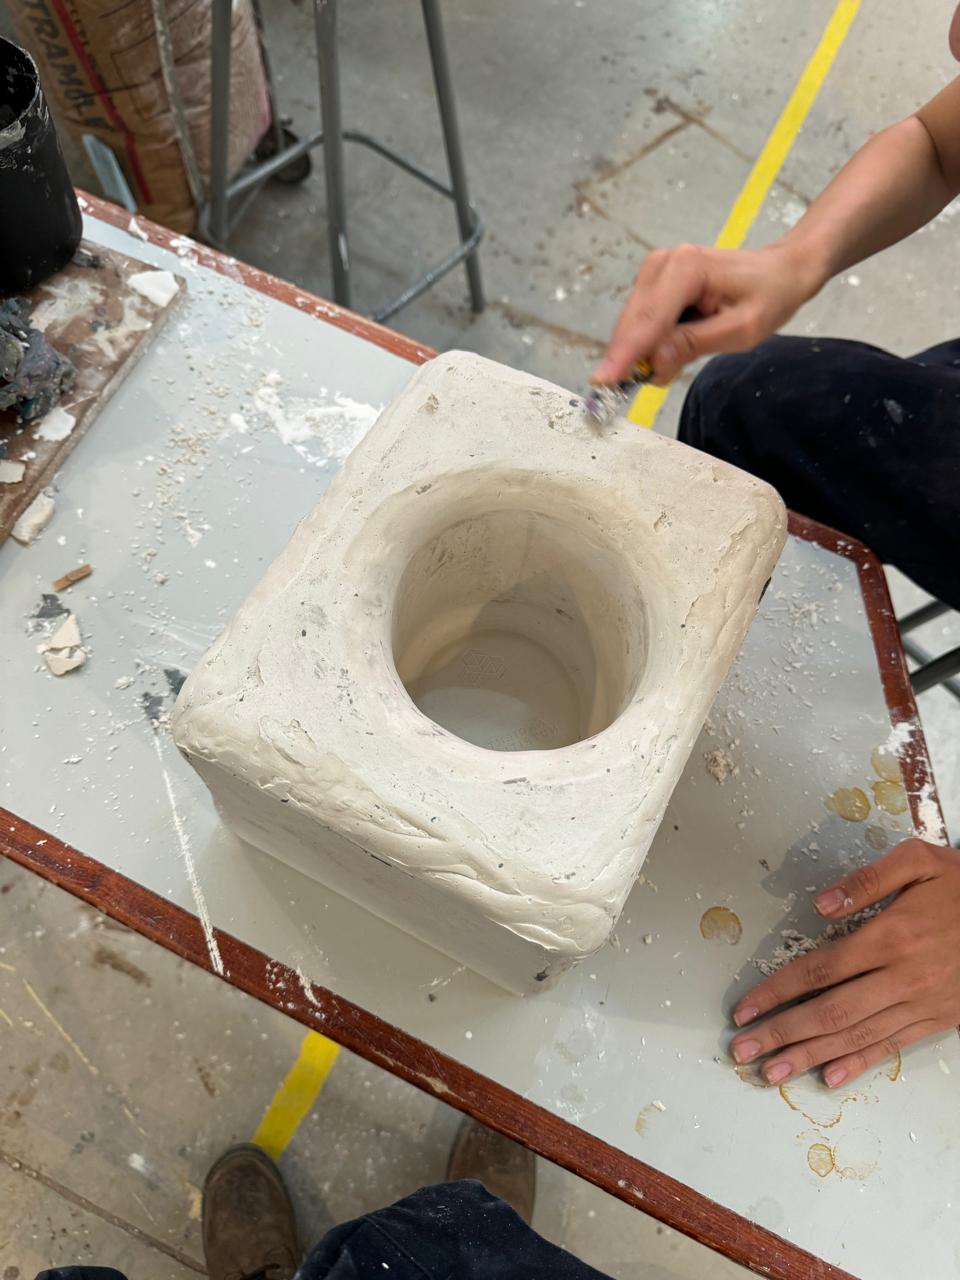
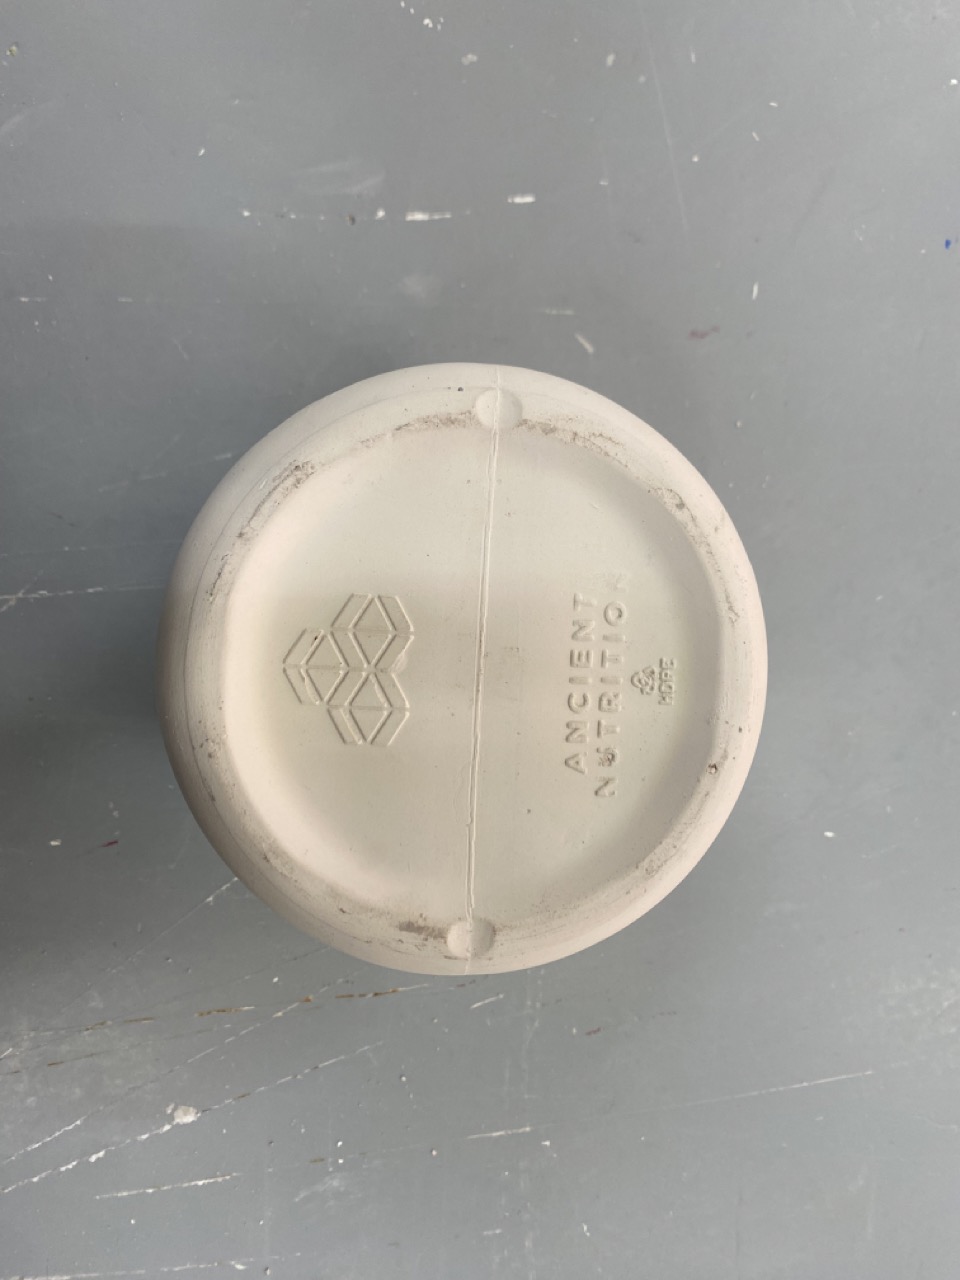
- To remove the ceramic piece from the mold, I placed a piece of wood on top of it, then carefully turned the mold over and pulled it off.
- Once the piece was ready, it was fired in the kiln to achieve a ceramic finish.
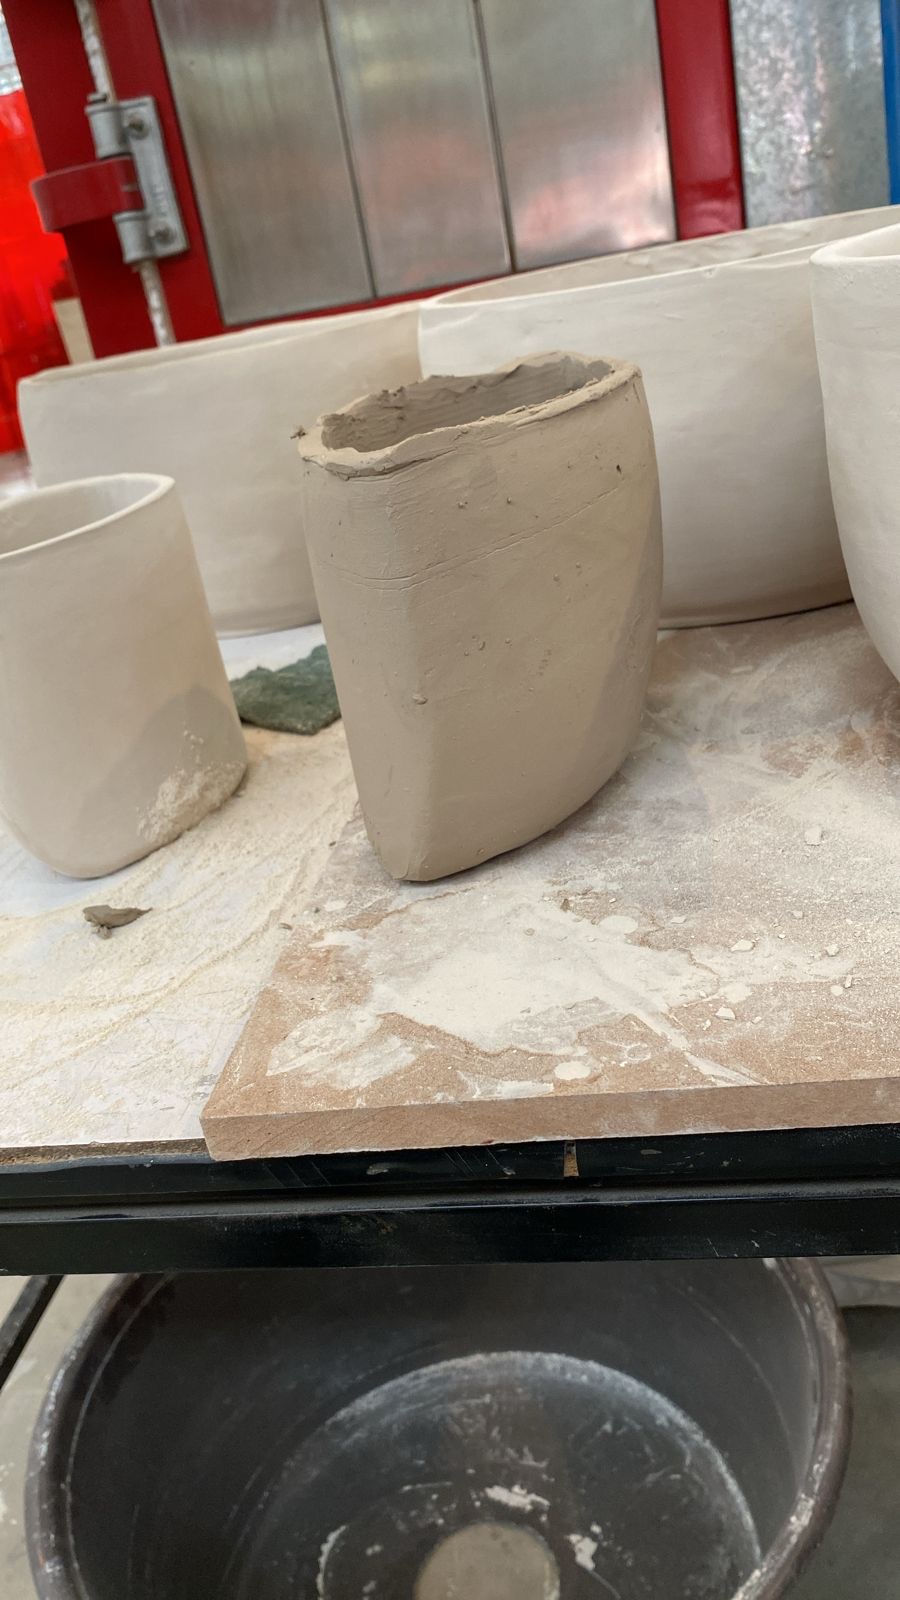
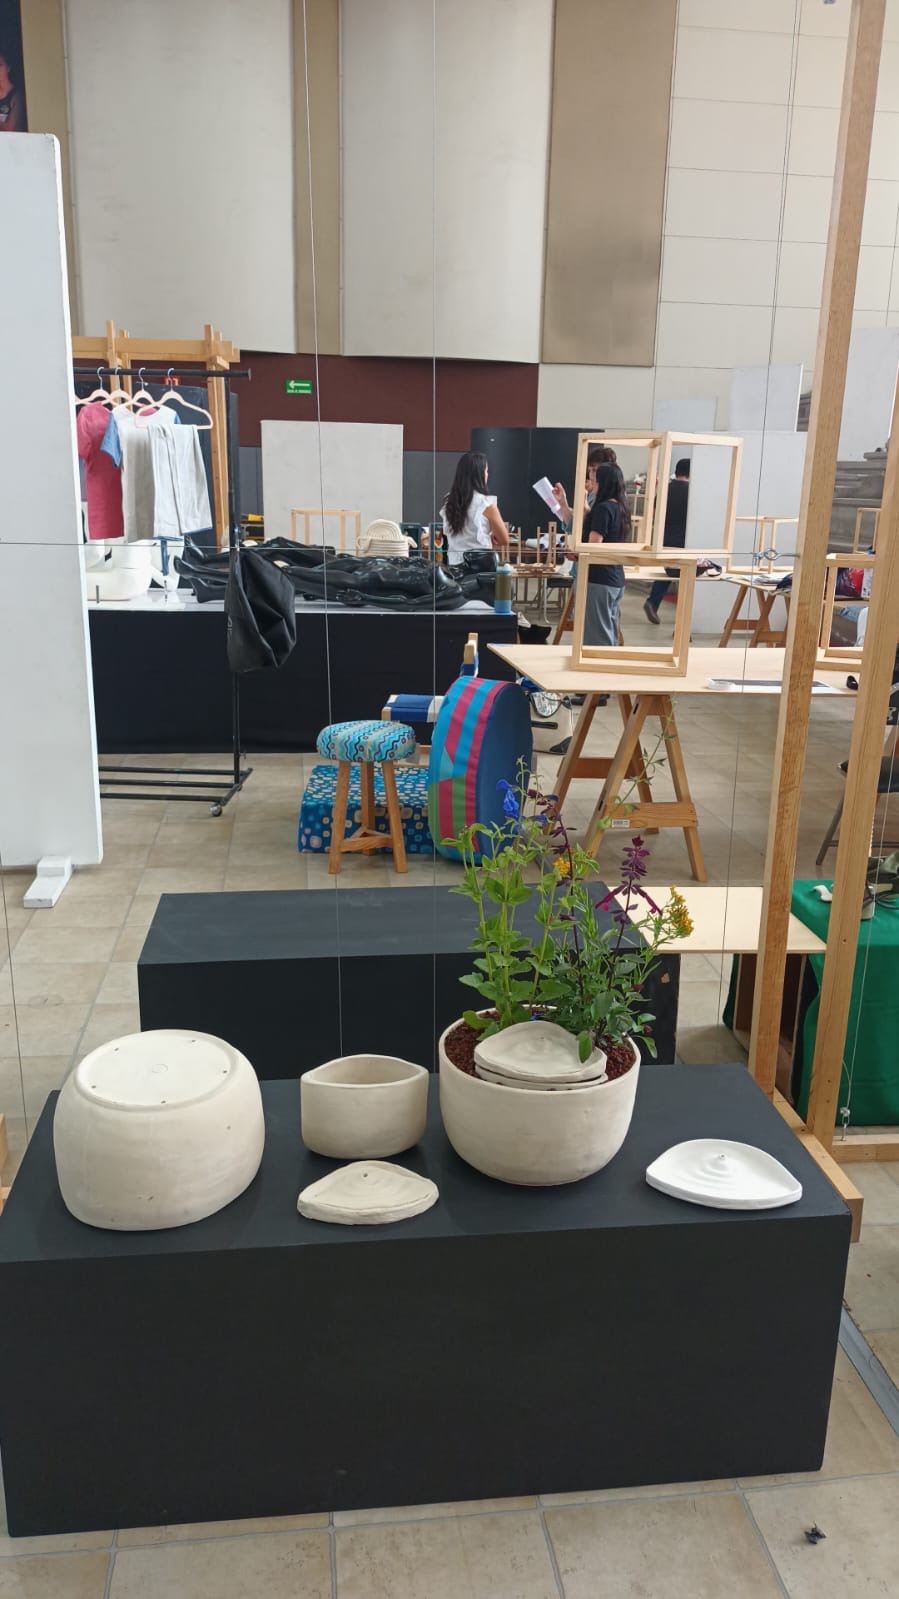
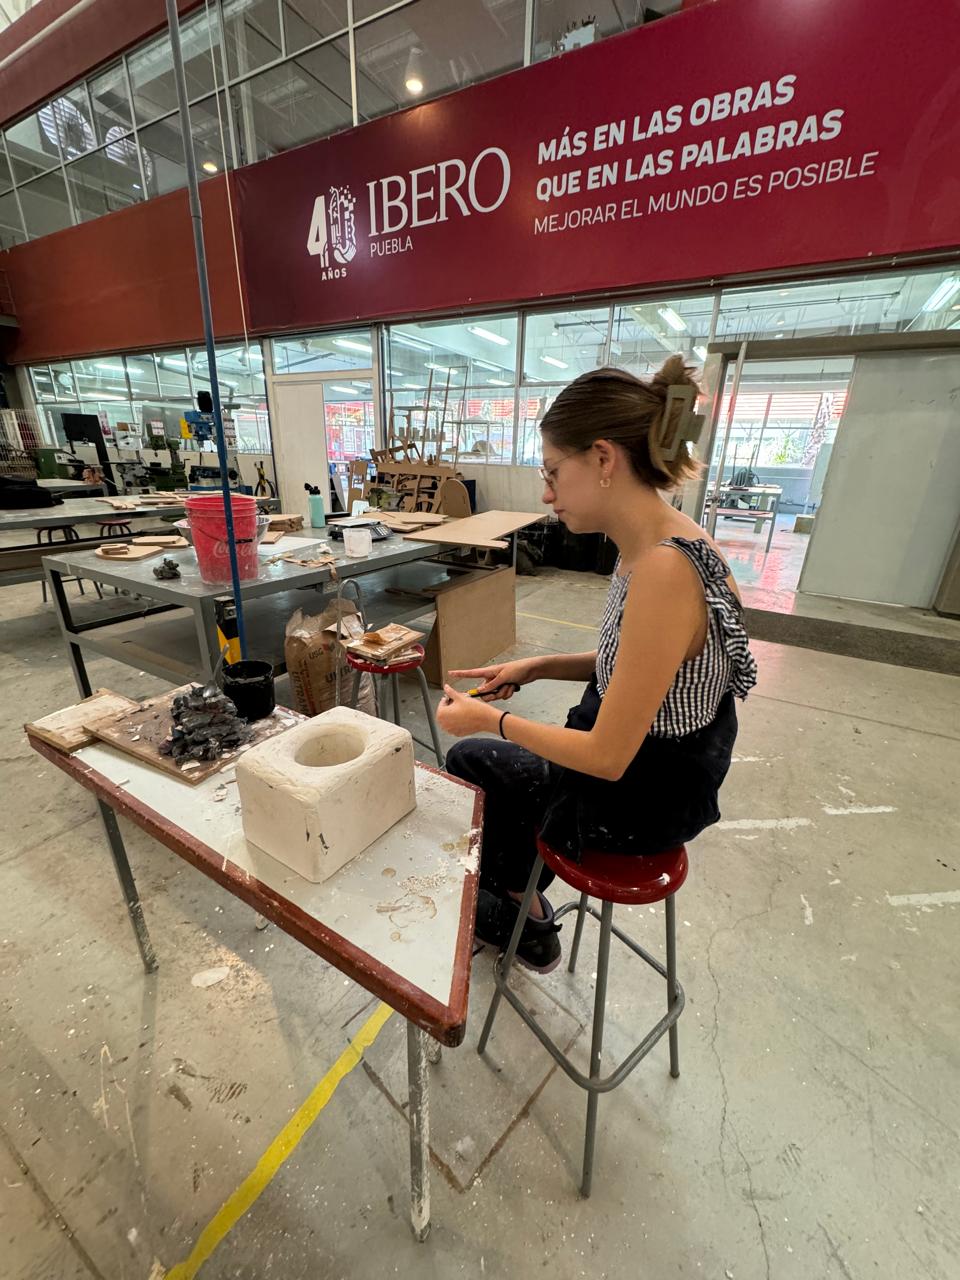
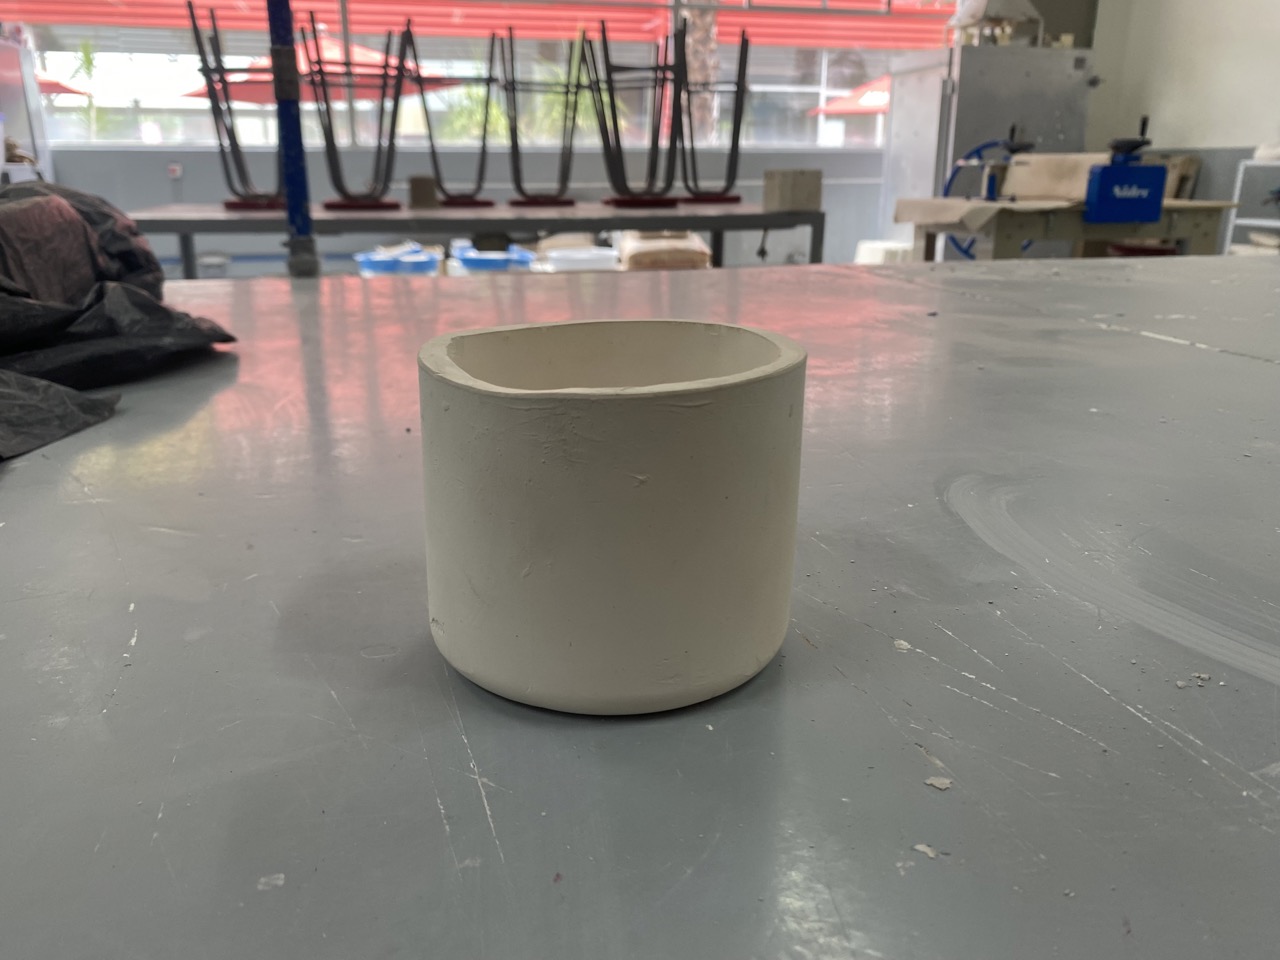
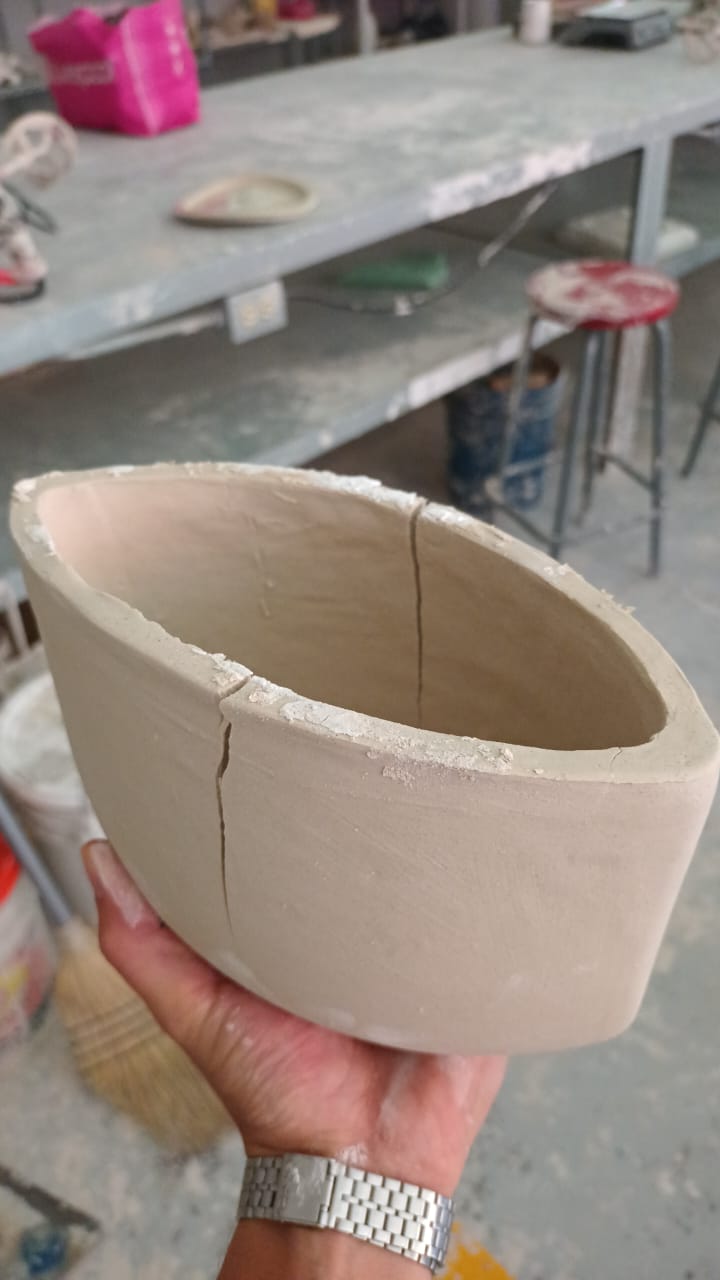
Result

Demolding process
To explain the demolding process of a ceramic piece I'll leave another example of a mold that I did as a practice exercice to get to know how to work with ceramic.
For the cast mold First, I started by cutting 5 pieces of MDF and nailing them together to form a box. Then, I proceeded to cover the desired shape for the mold, which in this case was a plastic container, with clay, as well as lining the insides of the box with clay. Next, I measured the cast and mixed it with water at a ratio of 3 parts water to 1 part cast, using the volume of the shape to determine the amount of water. I then poured the mixture into the box and waited until it was completely dry. Finally, I removed the mold from the box and let it dry in the sun.
Pouring liquid ceramic and demolding process
Challenges faced
The biggest challenge was managing the time since I did everything at the university, and the kiln schedules were not under my control, so I had to wait for my turn to use it. Pouring the remaining ceramic was also challenging because the mold was quite heavy and hard to manipulate. Additionally, determining the right resting time for the ceramic was difficult since I had no prior experience with liquid ceramic, so it was a bit of a guess, which fortunately turned out okay. I also encountered setbacks when one of the ceramic pieces broke before being fired, so I had to start over, which added a few more days to allow the piece to dry completely.
Brief reflection on the assigment
I really enjoyed working with ceramic and discovered that there is an entire world within ceramics. It was challenging because the material is very delicate and must be perfectly measured and managed; otherwise, the piece won't turn out right. I also learned that ceramics is a difficult material to work with because many factors are beyond your control and can fail at any moment. Despite these challenges, I truly enjoyed the molding experience and would like to further experiment with ceramic molds and the material itself.