Embedded Programming
I've never coded before, so this was a good exercise to get to know Arduino and the basics of programming. In our group assignment , we learned about different chip architectures and explored some basic coding examples in Arduino and Python.
Why Arduino
First of all, Arduino Integrated Development Environment (IDE), is an open-source platform used for writing and uploading code to Arduino-compatible boards. The Arduino IDE provides a user-friendly interface for coding in a simplified version of C/C++, allowing users to write, debug, and upload programs.
Advantages of Arduino IDE
- he Arduino IDE is designed specifically for programming microcontrollers and interacting with hardware components. It provides a straightforward environment to write, upload, and test code on Arduino boards.
- Arduino comes with a vast library of pre-written code.
- Arduino code runs directly on the microcontroller, allowing for real-time performance and precise timing control.
- Arduino has a large and active community with extensive documentation, tutorials, forums, and example projects.
Differences between Python and Arduino IDE
Arduino and Python serve distinct purposes and are used in different contexts. Arduino is a microcontroller platform designed specifically for creating interactive electronic projects. It includes a range of microcontroller boards and an Integrated Development Environment (IDE) that uses a simplified version of C/C++ for programming. On the other hand, Python is a general-purpose programming language known for its readability and versatility. It is widely used in web development, data analysis, artificial intelligence, automation, and more. Unlike Arduino, Python is an interpreted language that runs on various operating systems, making it more flexible for software development. While Python can also interact with hardware through platforms like Raspberry Pi or microcontrollers running MicroPython, it generally requires additional libraries and modules to do so. Thus, while Arduino excels in hardware control and real-time performance, Python offers broader capabilities for complex software development and data processing tasks.
Why I choose Arduino IDE?Arduino is better for beginners because it provides an accessible and hands-on introduction to programming and electronics. The Arduino Integrated Development Environment (IDE) uses a simplified version of C/C++, which is easy to learn and includes many built-in functions for common tasks like reading sensors and controlling motors.
1
Knowing your board
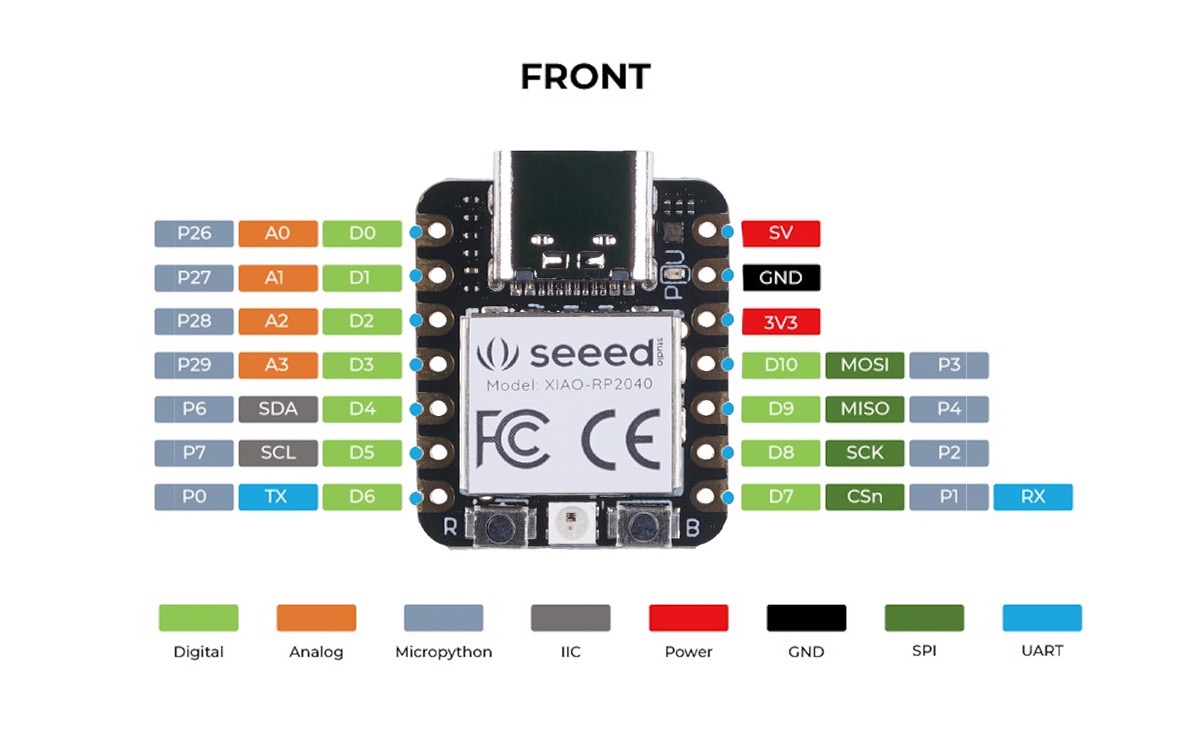
Before diving into coding, it's essential to get to know your board, its connections, and the microchip datasheet you'll be using. Understanding your board’s layout, pin configuration, and available peripherals will help you make the most of its capabilities. Reviewing the microchip datasheet is crucial as it provides detailed information on the microcontroller’s features, electrical characteristics, and programming guidelines. I'll be using the Xiao rp2040 due to its compact size, powerful performance, and affordability. It features a dual-core ARM Cortex-M0+ processor, is compatible with both the Arduino IDE and MicroPython, and has extensive community support. Its straightforward pin layout and comprehensive documentation make it easy to get started with a wide range of projects.


Tutorials for coding
Since I'm a total beginner when it comes to coding, I searched for tutorials to learn the basics. I found a great series of videos that provide detailed explanations on how coding works, which has been incredibly helpful in understanding the fundamentals. Link to the videos
I´ll describe the basic concepts that these tutorials taugh me:
- 1.1 InterfaceYou can´t have any spaces in the name of the files.
- 1.2 Syntaxis to computer lenguage as grammar is to written english.
- Void loop () = void tells the program that the following function is not going to return any information back to the program. Type of void loop functions: - digitalWrite: (led ( the pin it needs to write to) , HIGH (what type of voltage) - delay: delays the amount of time in mms
- Variable is like a bucket where you can put things inside and take the out but the bucket does not change. The variable should be customize for the type of data type you are going to be using. Only information of the specified data type can be used in a variable.
- specify the data type
- Specify the name of the variable you are creating ;
Comment (//) = the comments tells the compiler to ignore that code. They tell you information about the code that you wrote.(; ) = it lets the program now when you are done with a segment of code. (lets the compiler know that you are done with that statement of code) Every line of code that is not a Function needs a ; Function: encapsulates a useful piece of code into a key word so you can apply that function way faster.
Set up () { }: sets up the programm, writes base parameters for the program. IT IS DONE ONCE at the begining. - set the mode of the pin - Output: high or low voltage can be applied to it, high (5 volts) low (0 volts) - Input: it can read voltage (changes in high or low)
Void setup () = void tells the program that the following function is not going to return any information back to the program.This is the part where you establish the functions that you are going to be using throughout the coding in the Loop section. e.x pinMode (led,OUTPUT)
Declaration : is the process of making a variable. You have to do 2 things to create a variable
Important signs
- == equal
- ! = not equal
- < less than
- > = greater than or equal than
Coding in Arduino IDE
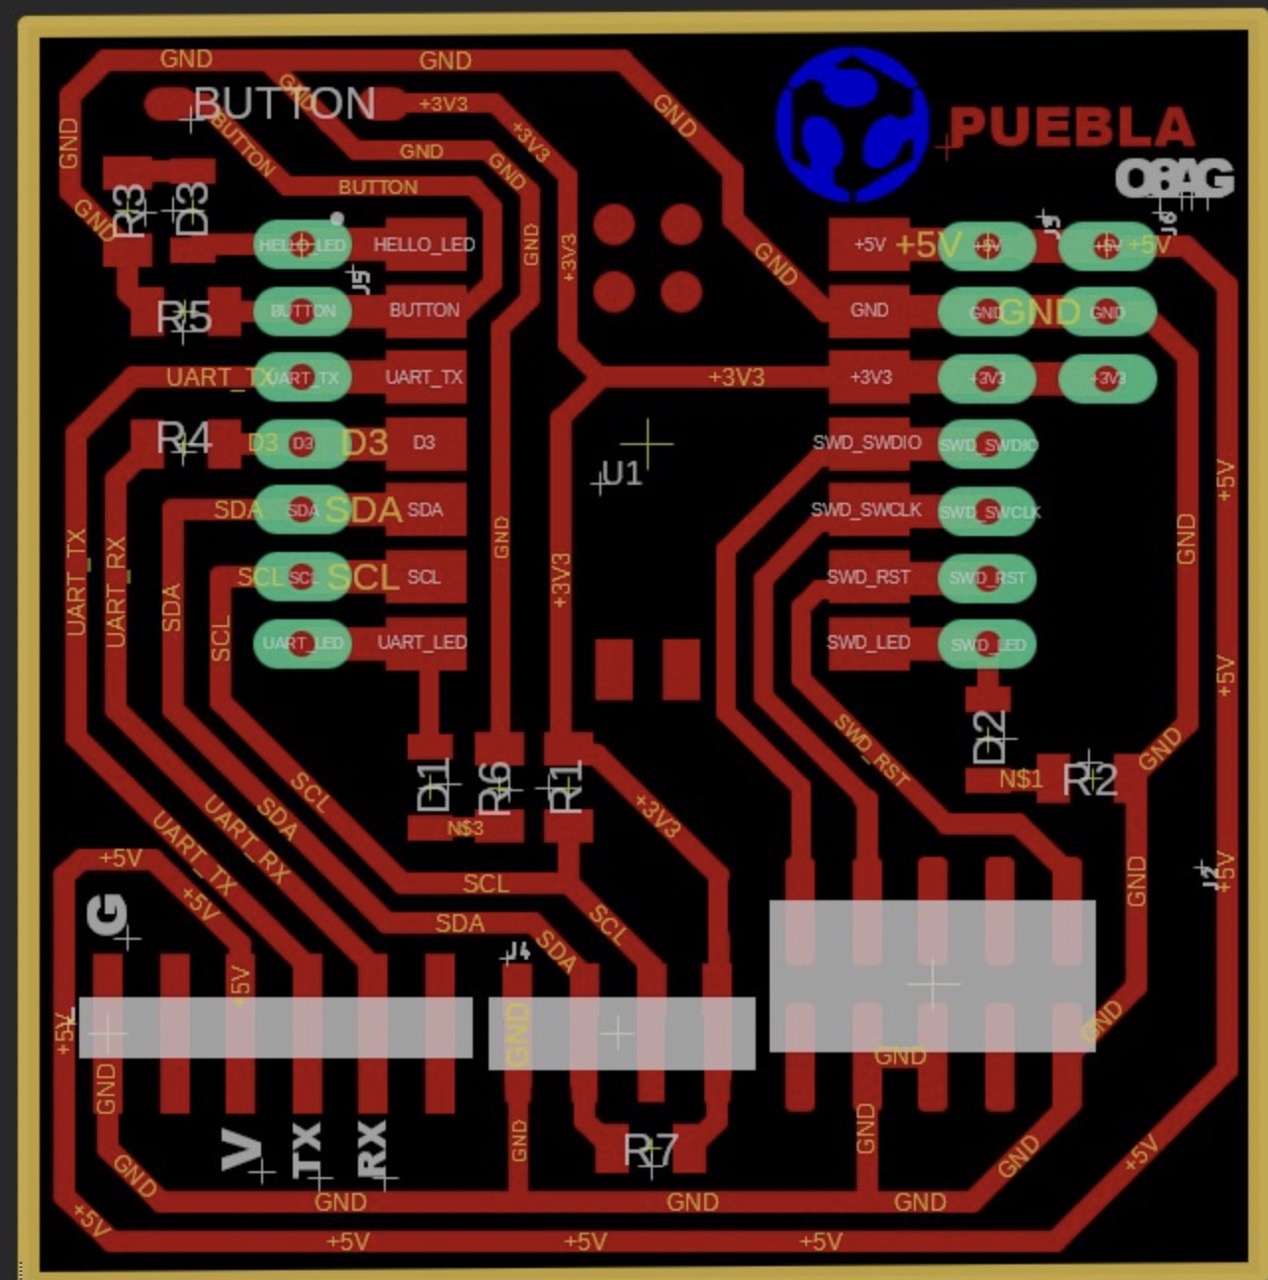
1 I started by programming the leds in the PCB so that they would stop blinking when the button was pushed.
2 I decided to do a second exercise by connecting a neopixel ring to the PCB and programming it to blink with different colors.
Results
Communication with the PC
In order to experiment and communicate the PCB and the Input and Output to the microcontroller I adjusted the previous codes so that they would print a message in the Serial Monitor when the button is or is not pressed.
CODE 1 LEDS this code works lightning up the Xiao's led and when the button is pressed the led is turned off.

CODE 2 Neopixels this code works lightning up the neopixel ring as a rainbow and when the button is pressed the neopixels turn white.
What I learned from this assigment
I found the tutorials I mentioned earlier very useful for getting to know the basics of programming. Although I'm still new to it, I think I've gotten the hang of it. In this assignment, I realized the importance of having the datasheet for the microcontroller and identifying which pin does what. A mistake I made a lot during this practice was writing the wrong pin number. A great feature of the Arduino IDE is its ability to detect errors in the code, which saved me a few times by telling me exactly what was wrong and giving me the opportunity to fix it. It took me longer than it should have, but I am happy with the result. I am aware that creating good code takes multiple tries and a lot of experience, so I’m looking forward to improving my skills with Arduino.
