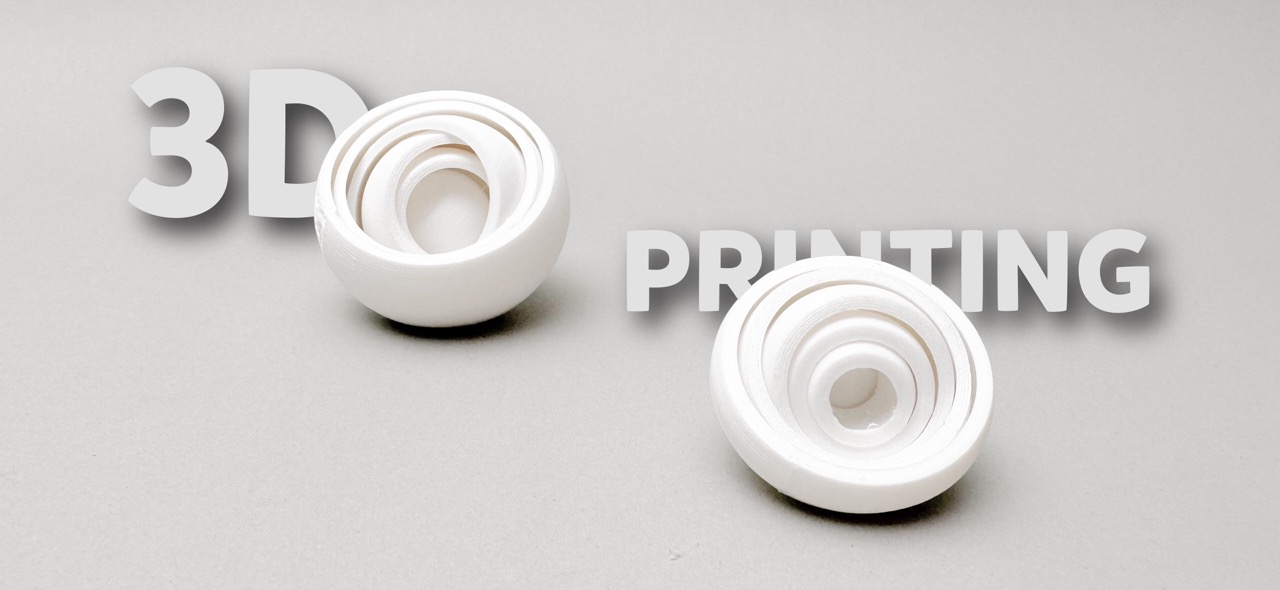
Circular Fidget!
Before starting this assigment we had a class where our teachers explained to us a little bit about 3D printing and it's limitations. The told us about simple tests you can do in order to get to know your printer. They also gave us tips to achieve a good print. I'll leave the link to the group's assigment
For the 3d printing assigment I designed a circular fidget that can spin in every direction. For this, first I followed a youtube tutorial to understand how the mechanism works and then I did it again with a design of my own to make it more sphere-like. The modeling process was done in Fusion 360, the slicing was done in Ultimaker Cura and the printing was done on an Ender V3 KE printer.
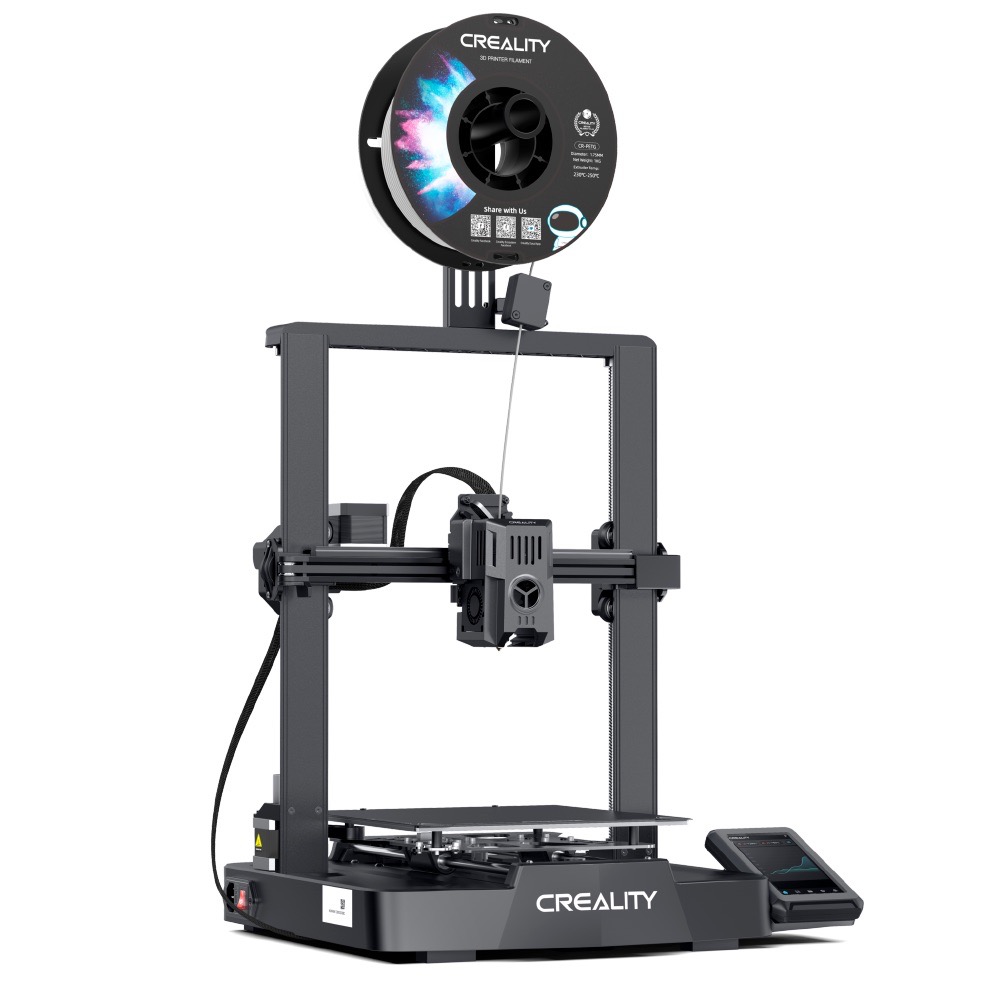
I recently invested in a 3D printer, and while we've run a few initial tests, I haven't truly had the chance to explore its capabilities. This week's assignment offers the perfect excuse to dive deep into the world of 3D printing, and I'm excited to share my journey with you.
Ender V3 KE
First of all, what is additive manufacturing?
Additive manufacturing, commonly known as 3D printing, is the process of creating three-dimensional objects by adding material layer by layer. Unlike subtractive manufacturing methods, which involve removing material from a solid block to form an object, additive manufacturing builds objects directly from a digital model. 3D printing allows the production of complex shapes that are difficult or impossible to achieve any other way. 3D printing has a lot of advantages over other forms of digital fabrication. I made a chart in order to list them and compare them to it's limitations.
| Advantages | Limitations |
|---|---|
| Allows for quick production of prototypes and models, enabling faster design iterations. | Not all materials are suitable for 3D printing. |
| Easy to customize designs and produce complex shapes | Often requiring post-processing since layer lines can be visible, affecting aesthetic quality. |
| Economical for low-volume production and custom items. | Limited by the build volume of the 3D printer, which can restrict the size of the printed object. |
| Additive process minimizes material waste compared to subtractive manufacturing methods. | Printing large or high-detail objects can be time-consuming. |
| Technology accessible to individuals and small businesses. | Printed parts may not have a lot of strength and durability. |
What can you accomplish with 3D printing?
- Intricate Designs: Create highly detailed and complex geometries that would be impossible or very difficult to produce with traditional subtractive methods like CNC milling.
- Internal Structures: Manufacture objects with complex internal structures, such as lattice structures, which are used to reduce weight while maintaining strength.
- Personalized Products: Produce custom, one-of-a-kind items tailored to individual specifications, such as custom prosthetics, dental implants, and personalized consumer products.
- Functional Prototypes: Produce functional prototypes with moving parts and multiple materials in a single print.
- Organic Shapes: Create organic shapes and smooth contours that are difficult to achieve with traditional manufacturing.
- Topology Optimization: Implement topology optimization to produce parts that are optimized for strength, weight, and material usage.
- Multi-Part Assemblies: Print multiple moving parts as a single assembly, reducing the need for assembly and ensuring perfect fit and alignment.
Getting to know your printer
Firs of all there are some standar tests you should make to get to know your printer.
1
CALIBRATION CUBE
This test helps you see how well calibrated your 3d printer is. It consists in a 20 mm x 20 mm x 20 mm cube. The idea is to print it and then measure it, if the size does not vary from the original cube size then your printer is fine but if the measurements are way off, you´ll have to recalibrate the whole printer. Luckily, mine was perfectly calibrated. This is really important because if you dont test it and the want to print a very specific piece the measurements wont be correct. So it is useful to test it before you print and waste material. Link to the calibration cube
2
BENCHY
The benchy is used as a standarized 3d print test to get to know how fast the machine can print, the dimensional Accuracy of the printer and it´s capacity to do overhangs. I have the Ender V3 KE which prints a benchy in 16 minutes. Link to the Benchy
3
Bridging and Overlay
It is useful to do a bridging and overlay test to know how long you can make bridges in your design. This means, how long will the filament stay firm without supports. The overhang test determines how far the printer can build out from an existing layer without the print deforming. This test is really important because depending in the results you´ll have to modify your design. Link to Bridging and Overlay
Results
I had to print two times the benchy because the first try it didn´t print correctly. It seamed like the material didn´t heated correctly. So in order to fix this I checked the printing nozzle temperature and changed it to 210 which was a perfect decision.

A brief introduction to Ultimaker Cura
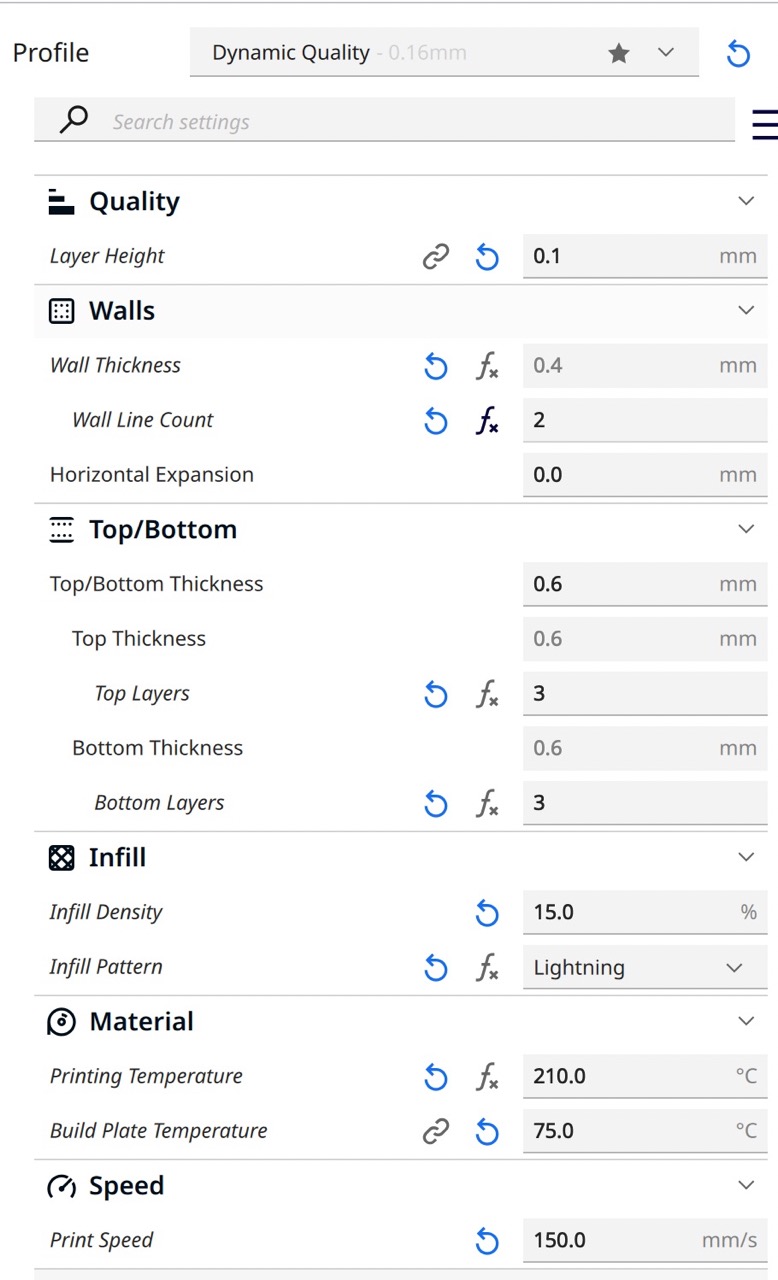
Once you've modeled your design, the next step is to bring it into Ultimaker Cura. This software is your gateway to tweaking the printing settings to perfection. The number of options can feel a bit daunting at first —I’ll be the first to admit I’m still getting to grips with some of the finer details myself. However, I'm confident that a bit of hands-on practice will clear things up. To help you (and me!) along, I’ve put together a straightforward beginner's guide. It’s designed to explain what each setting does and point when you might want to use them, focusing on the ones I've personally experimented with.
| Name | Description |
|---|---|
| Profile | The profile lets you change the quality of your print, the higher it is, the longer it takes to print. The different options of quality are followed by a number, that value corresponds to the layer height . When the layer height is smaller the resolution is higher because it gives a smother finished. |
| Layer Height | This is the height of each individual layer of plastic that the printer lays down. A smaller layer height will result in a print with finer detail, but it will take longer to print (this is possible due to the amount of material the printer lays on each layer).
|
| Top/Bottom thickness | The thickness of the wall on the top layer as well as in the bottom layer. Thicker walls means more structure. You can usually leave this as a low number but depends in the rigidity the structure needs.
|
| Infill |
|
| Material | The printing temperature depends on the material used, so be very careful to look online for the right temperature. The Build Plate Temperature also depends on the material and it may take a few tries before getting it right. For PLA I recommend 210 degrees and for the plate´s temperature 75 degrees. |
| Cooling | Inside the cooling menu there´s an option named "Minimun layer time" this is a crucial feature.
|
| Support | Refers to settings related to generating support structures for your 3D print. Support structures are additional, usually temporary, material added during the printing process to support overhangs and sections of the model that cannot be printed in mid-air
|
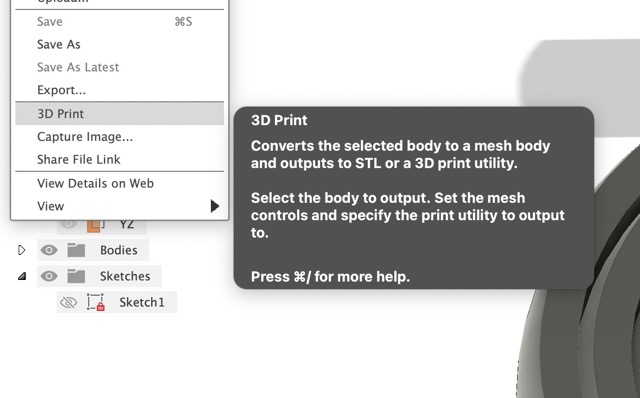
3D Printing
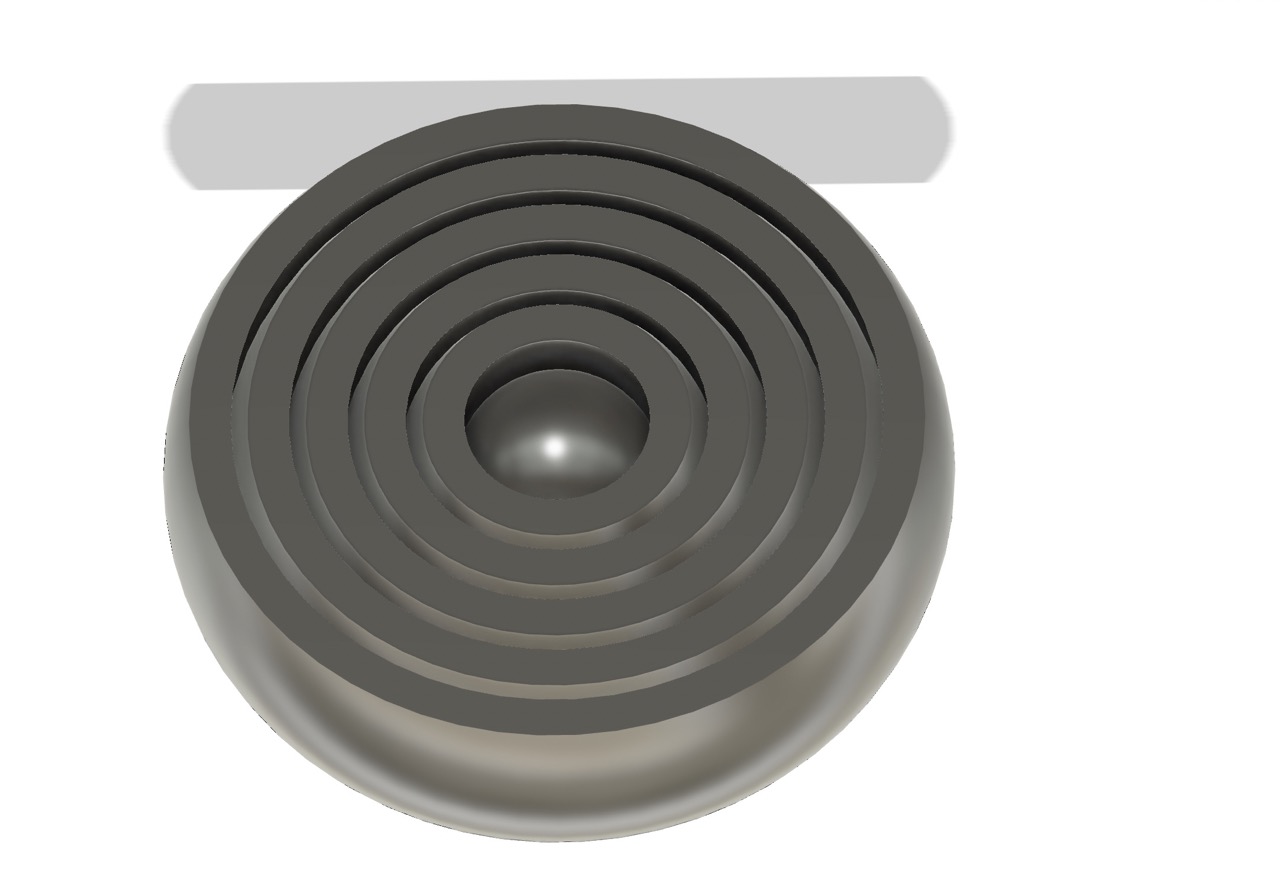
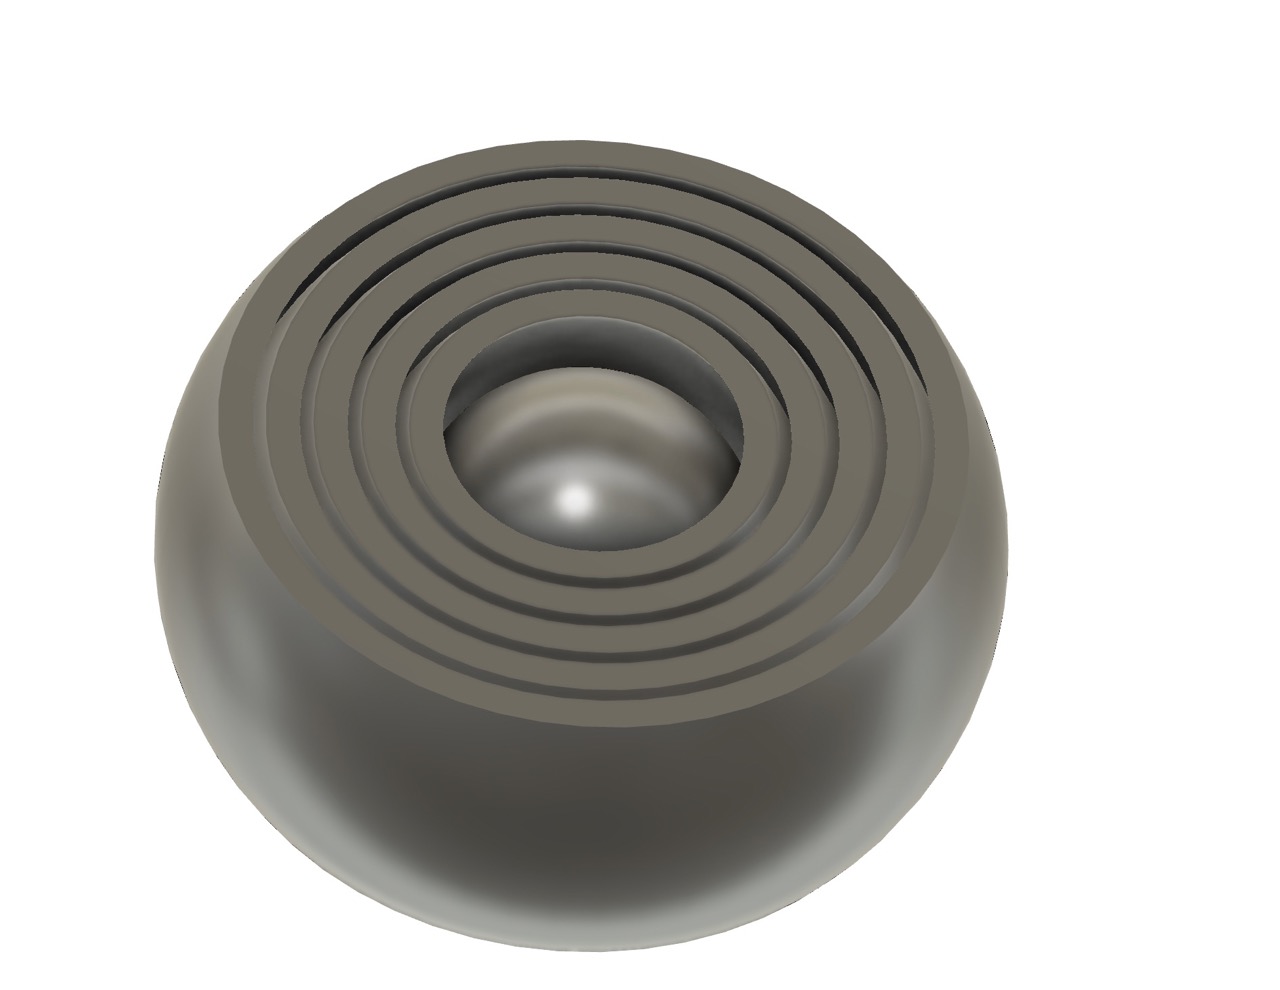
Circular fidget!
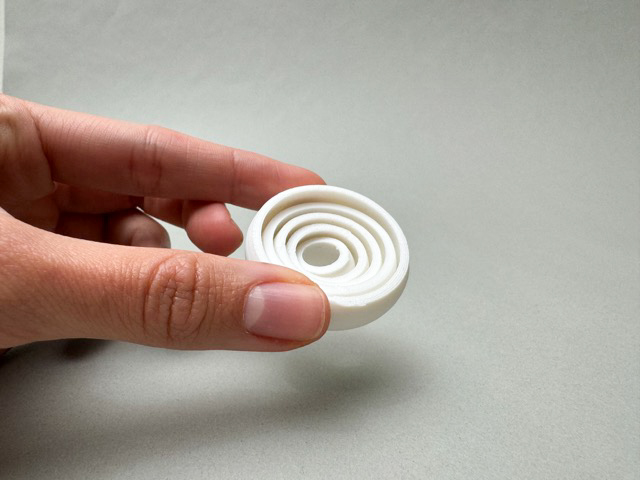
Modeling process
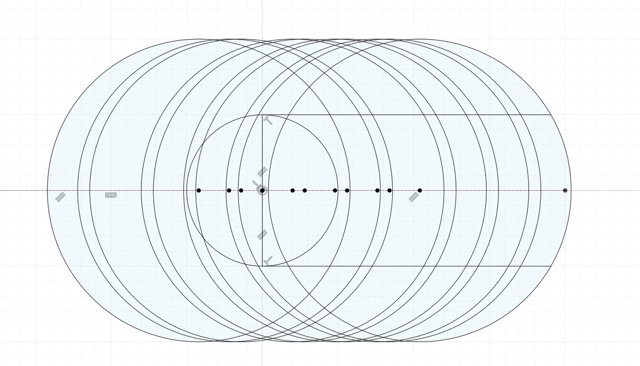
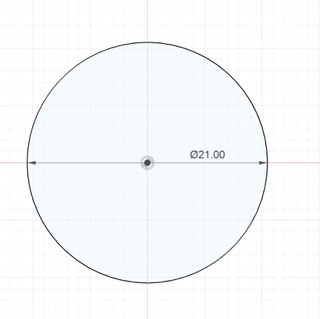
Started by sketching a 20 mm circle and then draw a straight line through its center, extending to both sides. Next, draw another 20 mm circle with its center on this line, setting the distance between the centers at 4.20 mm. Continue by adding eight more circles, spacing them 2.0 mm apart, followed by a spacing of 0.8 mm for each subsequent circle, maintaining this pattern until you've drawn the last circle. Then, from the original circle's center, draw two lines outward to the right: one from the top central point and another from the bottom central point. Select the larger faces created by these lines and perform a revolve operation around the central axis.
Link to the Fusion 360 file Fusion 360 model Link to the youtube tutorial Youtube tutorial
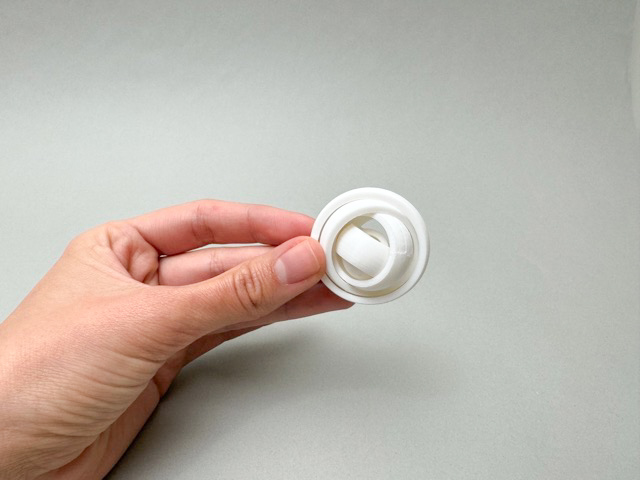
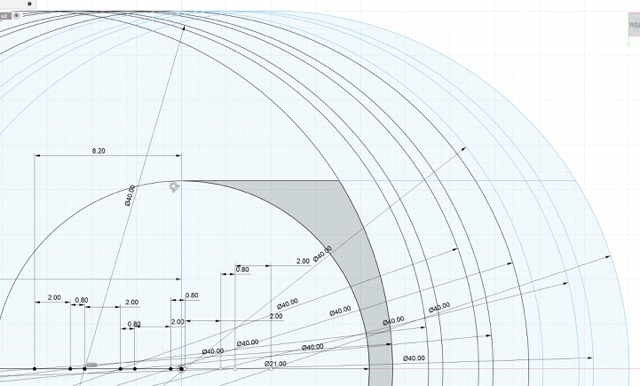
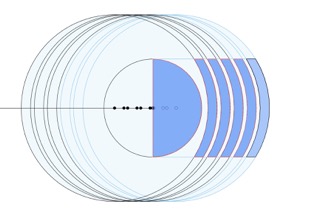
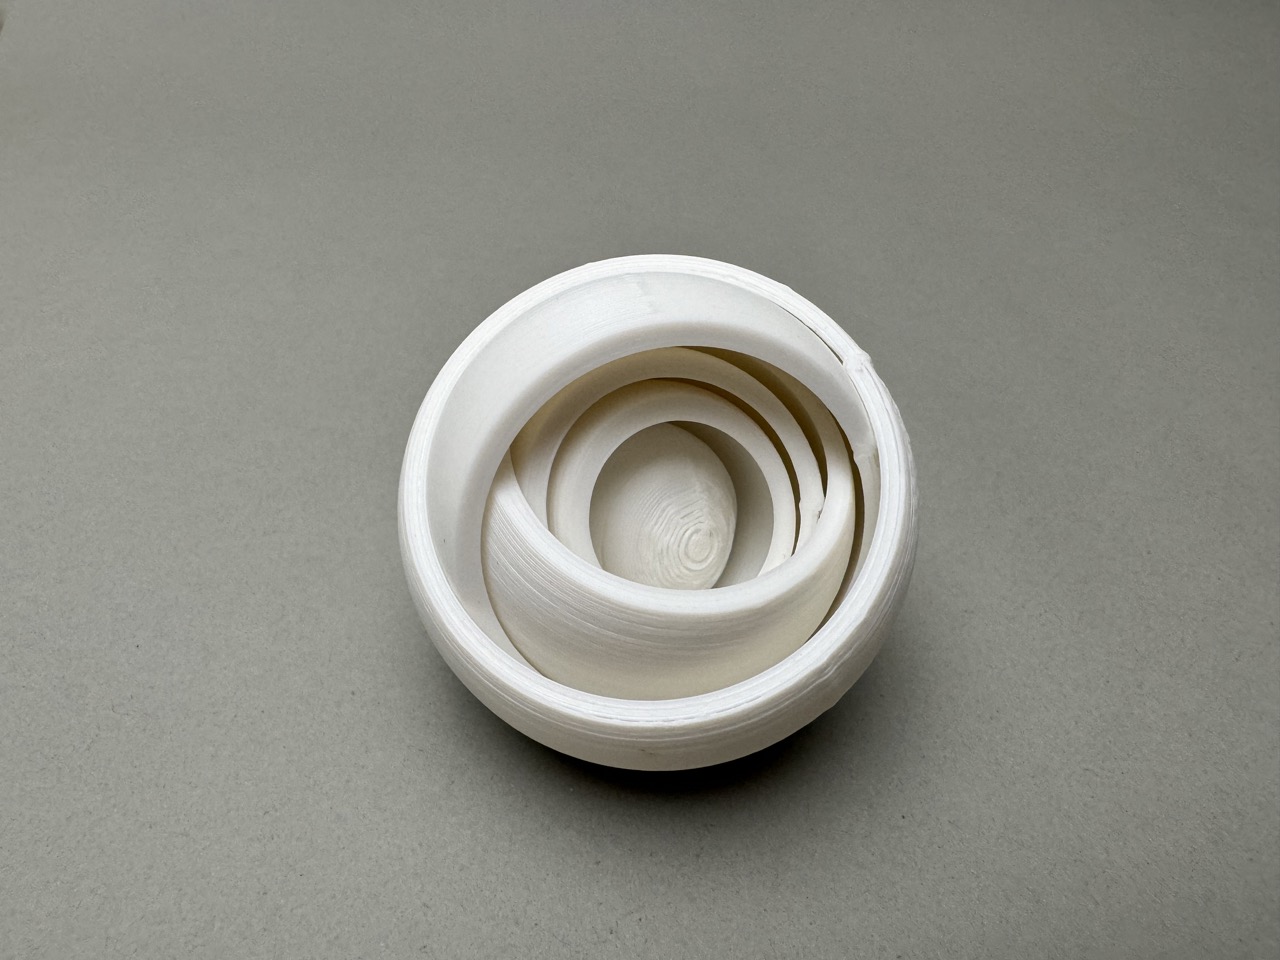
Modeling process of a more sphere like fidget
Aiming for a more spherical fidget design, I opted for a uniform dimension of 40 mm across. Initially, I halved the diameter for the central sphere compared to the other circles. However, to prevent the sphere from becoming loose due to its smaller curvature, I added an extra millimeter for security. Next, I sketched a 40 mm diameter circle aligned with the center of the first, setting them apart by 8.7 mm. This spacing was meticulously calculated by determining the width of each circle and the necessary gap to allow them to spin freely. Mirroring the successful spacing from a previous fidget, I kept the width at 2 mm. The 8.7 mm separation was derived by adding a .8 mm desired gap to the 10.5 mm radius of a 21 mm circle, totaling 11.3 mm, and then subtracting the 20 mm radius, resulting in 8.7 mm. Subsequently, I outlined nine more circles with a .8 mm gap and a 2 mm width. To complete the design, I drew two lines extending rightward from the first circle and executed a revolve operation on these segments. Fusion Model
Printing process
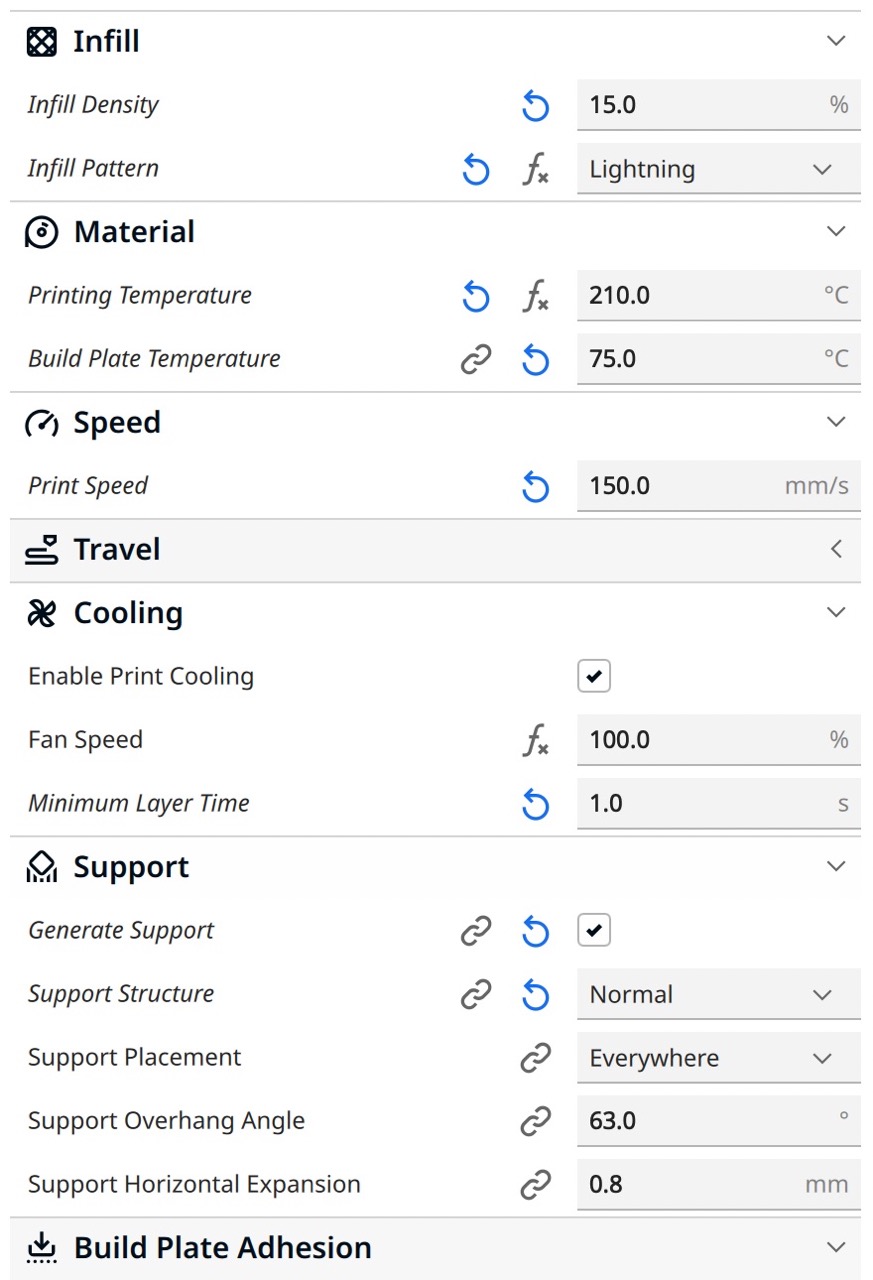
For the printing process of this second fidget I used the following values in Ultimaker Cura
| Feature | Value |
|---|---|
| Profile | Standar Quality |
| Layer Height | .2
|
| Top/Bottom thickness | .8 mm and 3 top and bottom layers |
| Infill |
|
| Material | Printing temperature 210 degrees and for the plate´s temperature 75 degrees |
| Cooling | Minimum Layer Time: 1 s |
| Support | Normal and Brim adhesion |
Using the printer
- First you need to turn on the printer
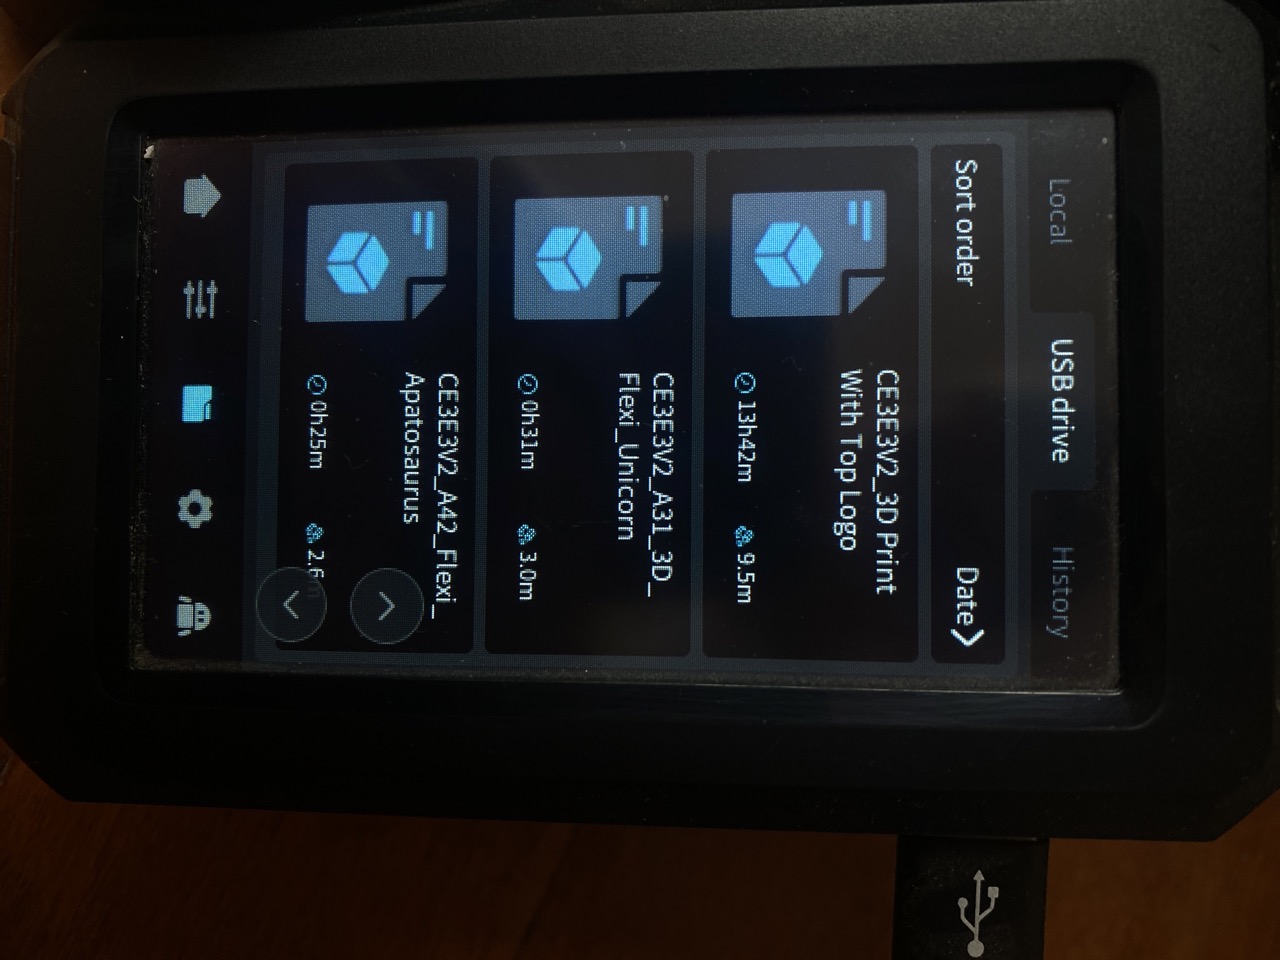
- Then make sure your file from Ultimaker Cura is safely saved in a USB and it is connected to the printer
- Go to the folders icon and click on USB
- Look for the file and click on it
- There is the option to calibrate the printer before printing. I recommend doing it specially for complex models but if you have the time it is better to callibrate before printing.
- Select print
- Always wait by the printer for the first layers to make sure it is printing correctly
Result
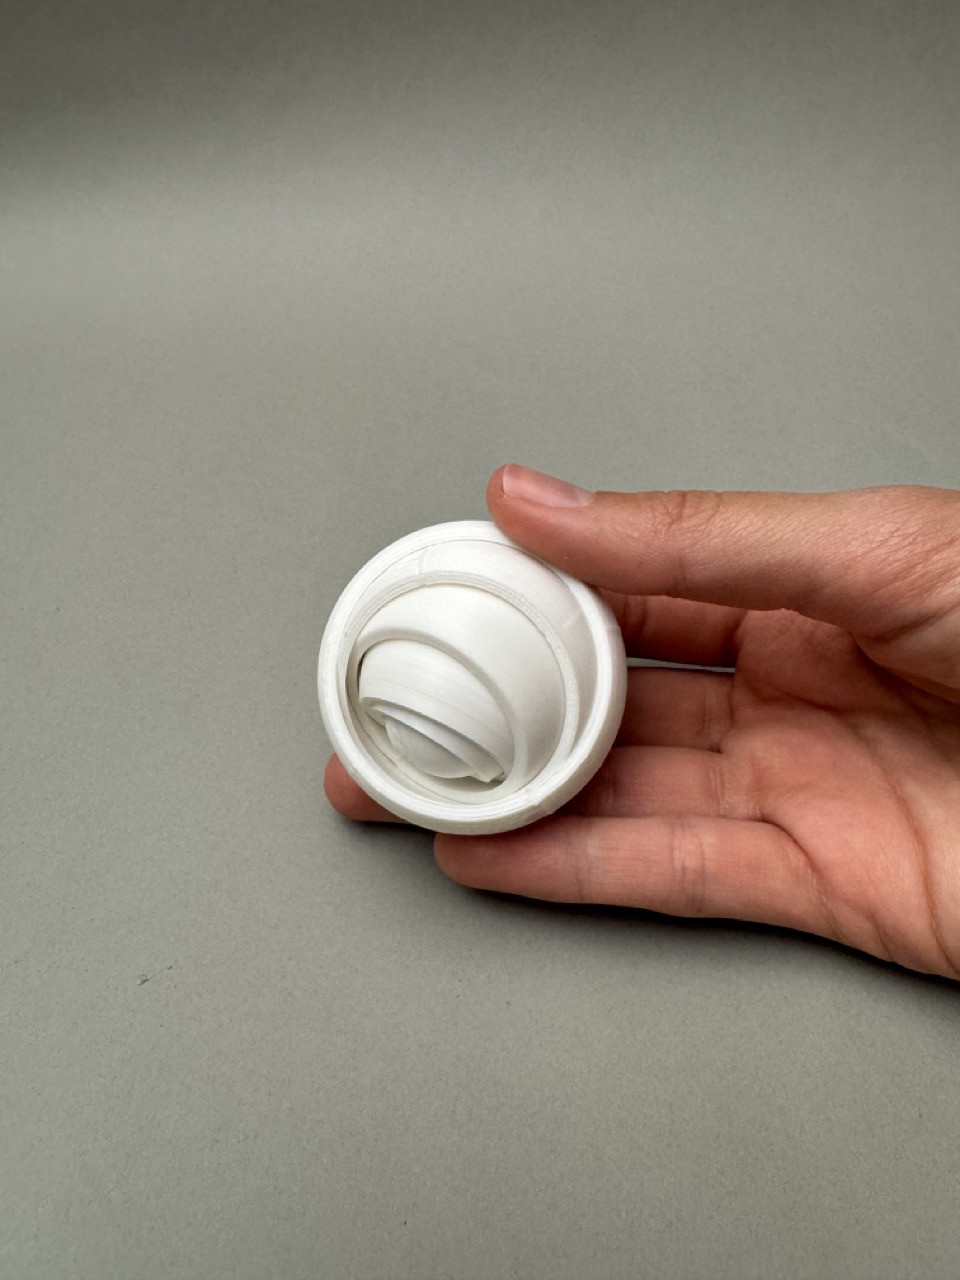
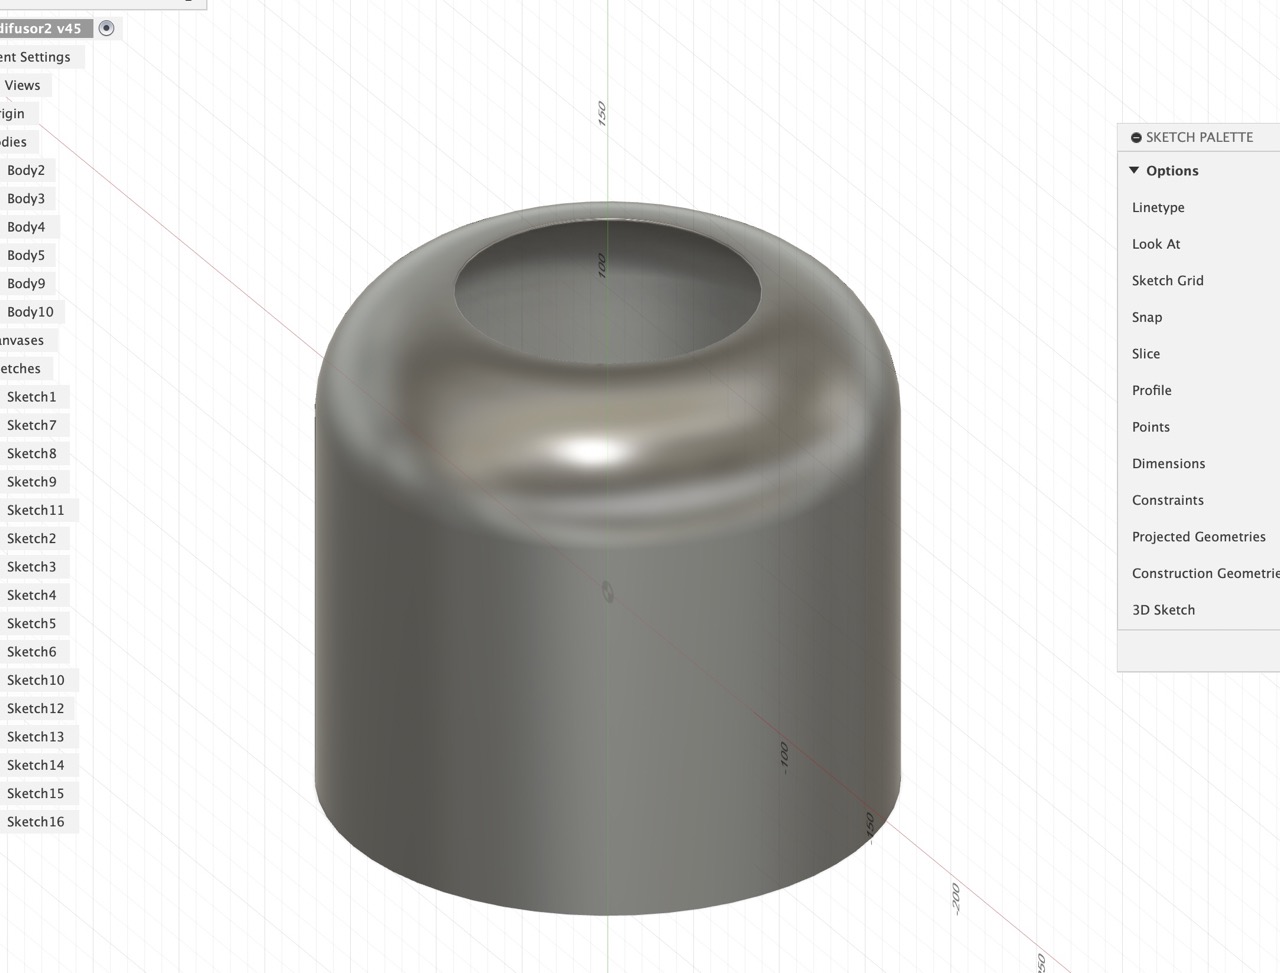
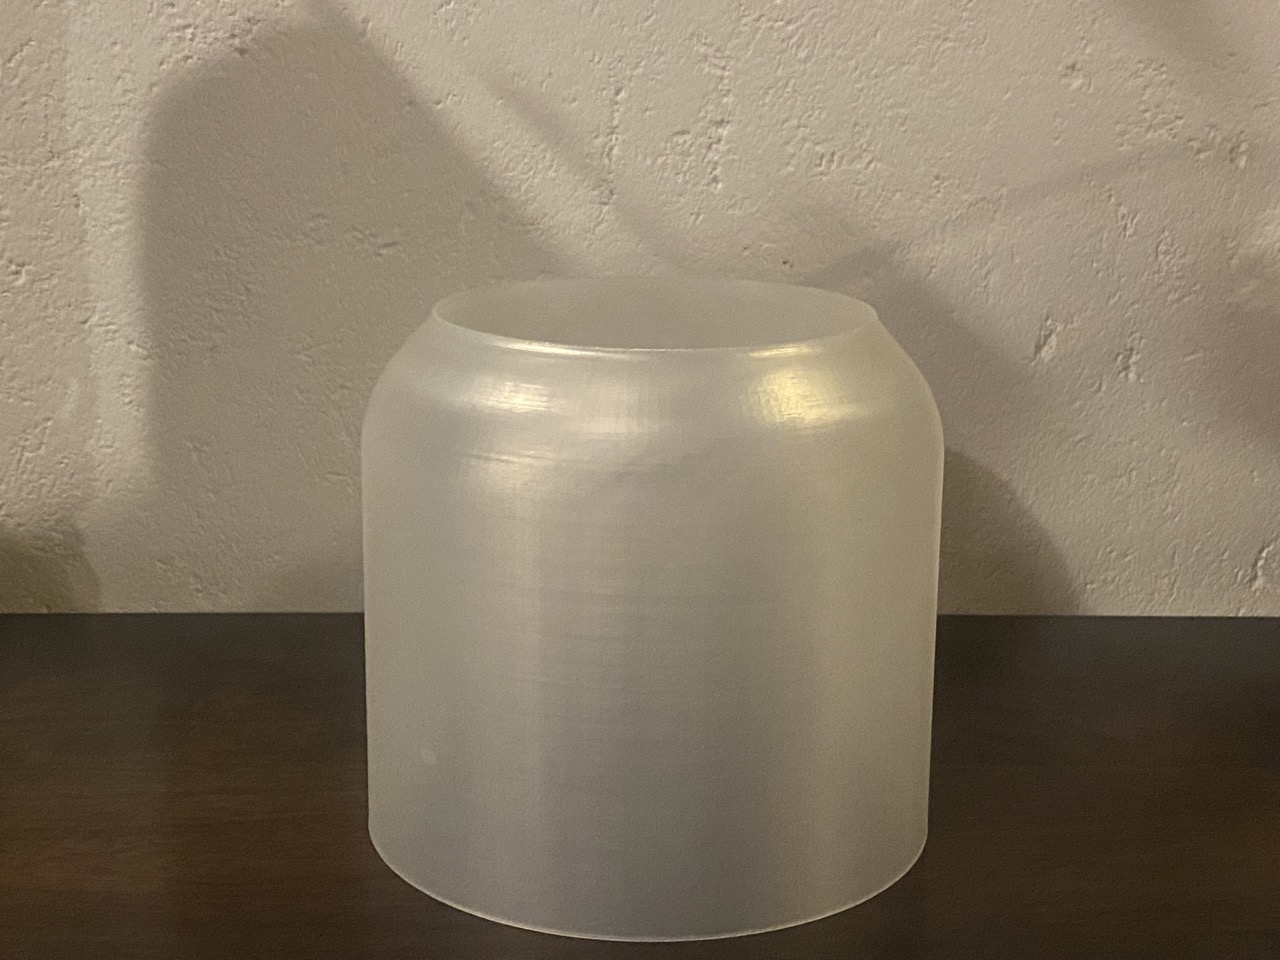
Vase Mode!
For my final project, I plan to create a translucent lid piece using vase mode to ensure the stitches are invisible, resulting in a cleaner finish. To achieve this, I watched several tutorials on YouTube, and I highly recommend this particular tutorial. After modeling the piece in Fusion 360, I imported it into Cura and selected the following features. Fusion's Model
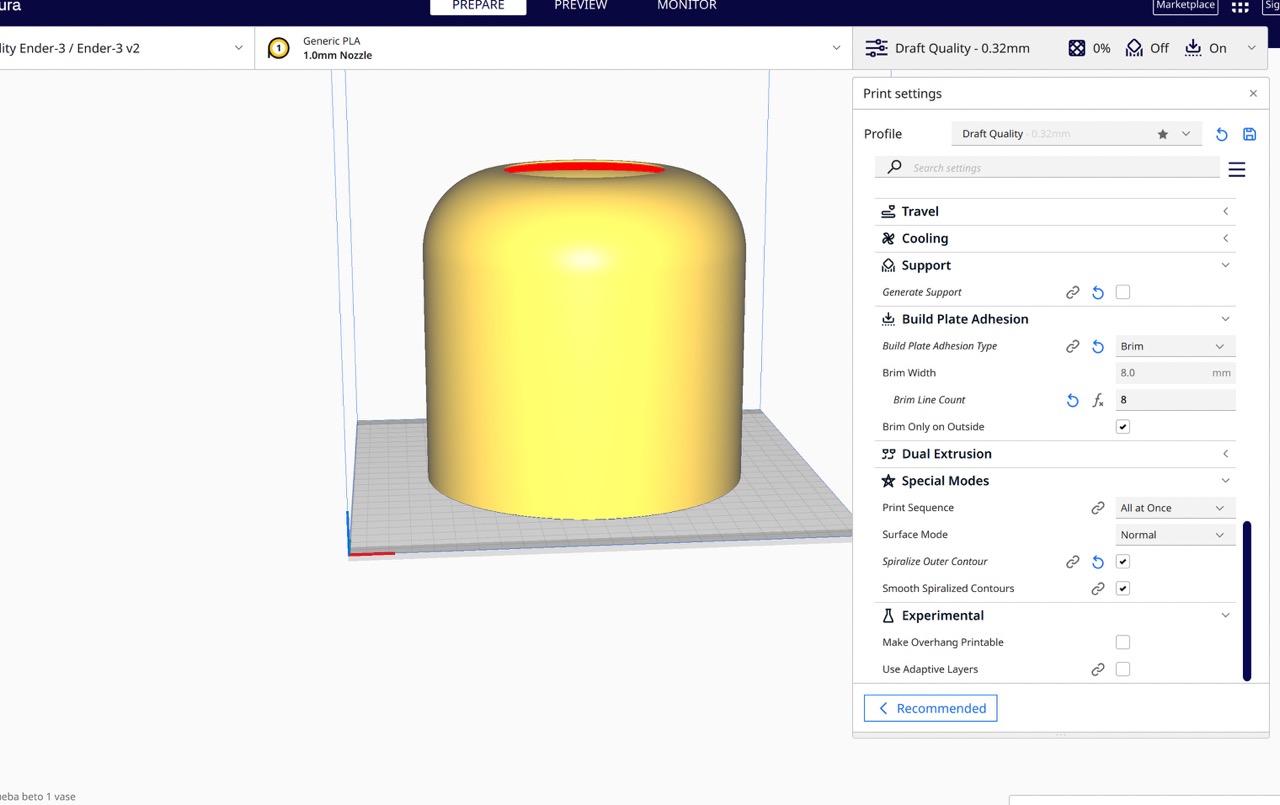
- Nozzle: 1mm
- Wall thickness: 1mm
- Infill:0%
- Speed:50 mm/s
- Build plate adhesion:Brim
- Special mode:spiralize outer contour and smooth spiralized contours
Printing process and result

Scanning
How to 3d scan an object?
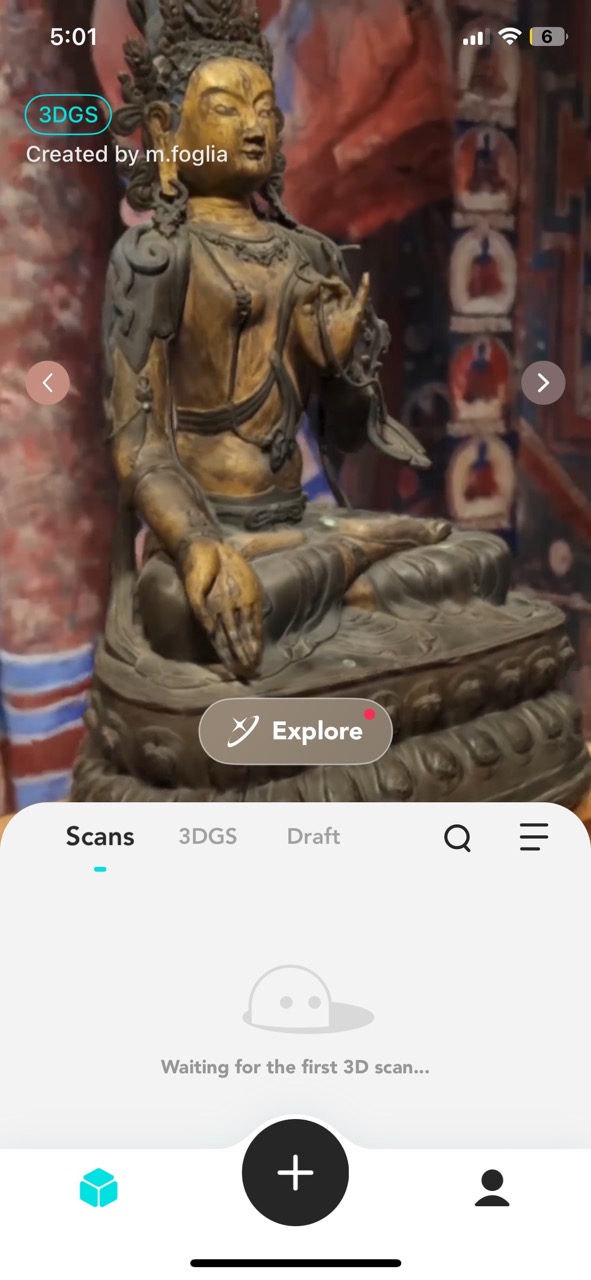
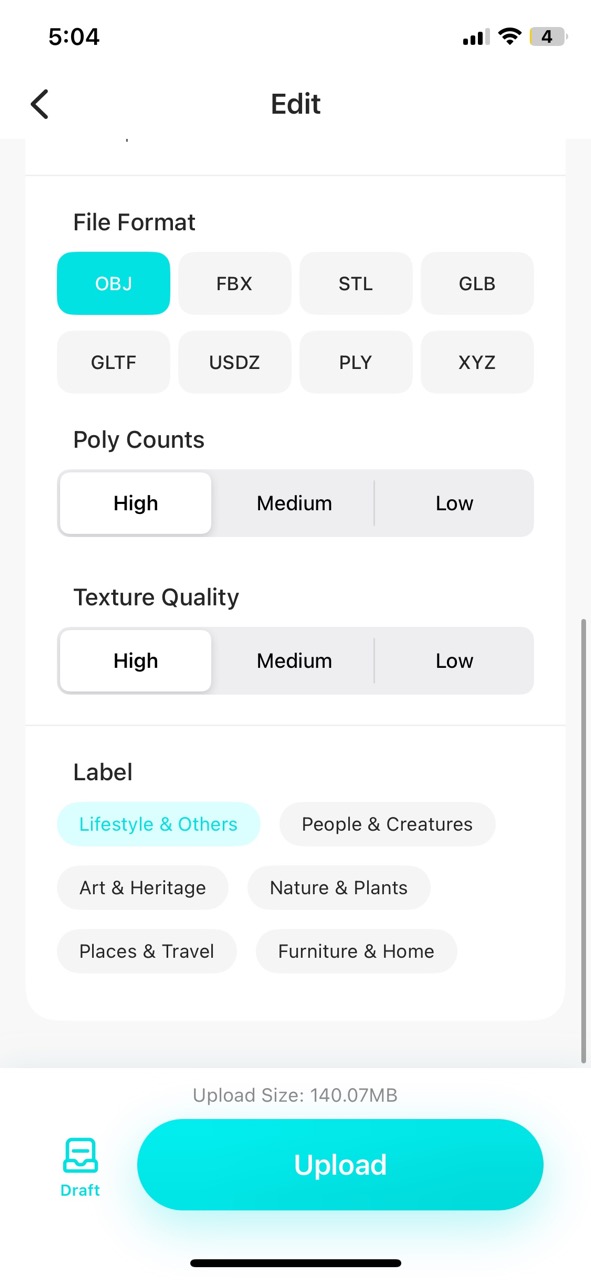
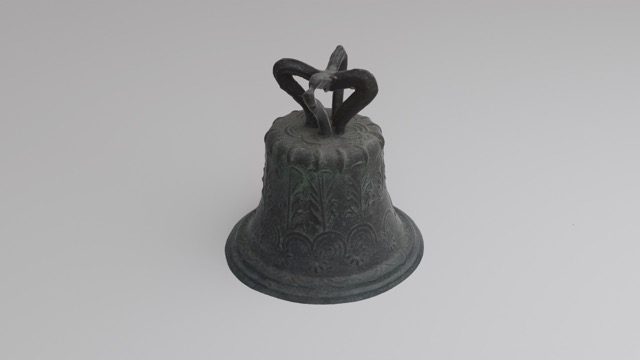
I opted for Kiri Engine to 3D scan an object, selecting an engraved old bell as my object to experiment the software's detail capture capabilities. Kiri Engine proved to be user-friendly, allowing for up to 70 photographs of the object to be taken. It then takes the images and generates a 3D .obj file. After scanning, I imported the OBJ file into Blender for rendering, so that I could evaluate the resolution of the OBJ. The level of detail was impressive, prompting me to take it a step further by 3D printing the bell.
Using Kiri Engine
- Downloaded the iOS app
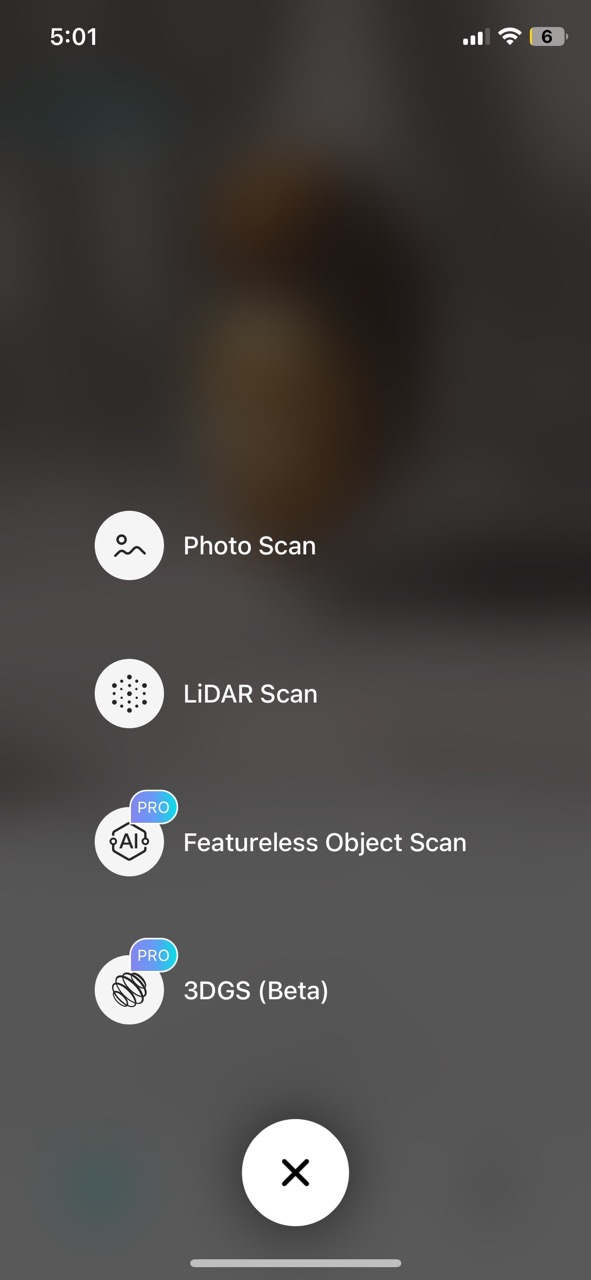
- Selected the + sign
- Selected the photo scan option
- Took pictures of the object from all angles
- Selected the type of file I wanted that in this case was .OBJ

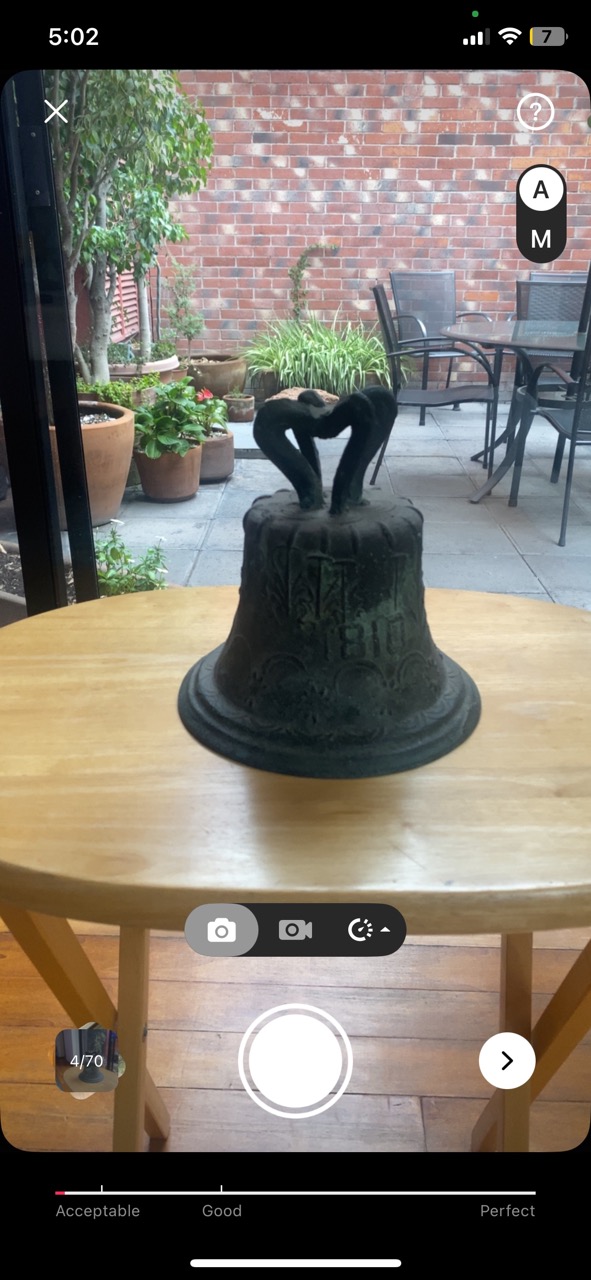
Tips for a good scan
- Make sure there is good lightning
- Place the object you want to scan in an elevated surface that is easy to go around
- Make sure you take small steps around the object and take a photo in each one
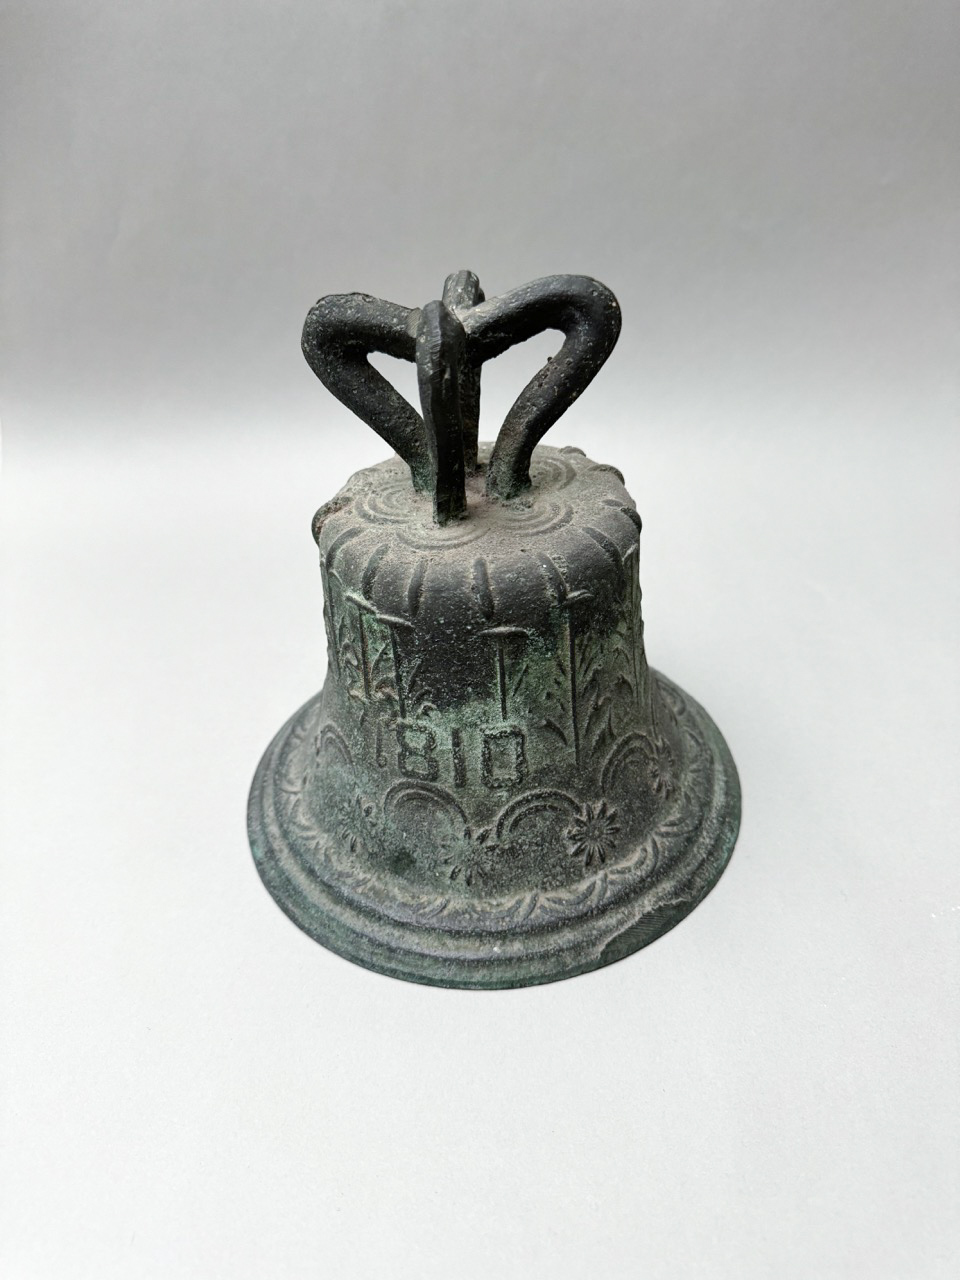
3D printing the scanned bell
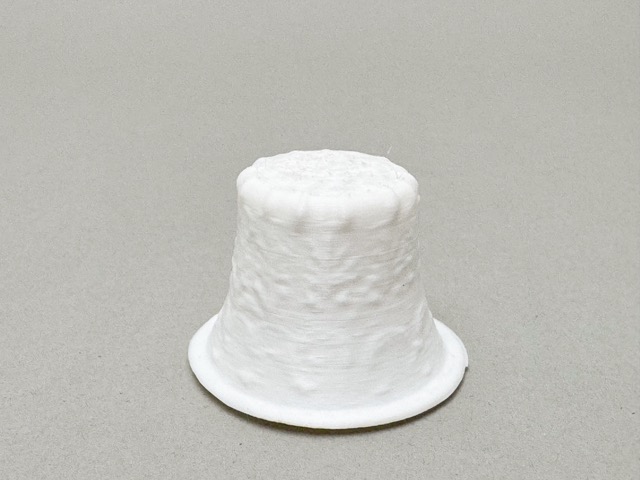
Improvements that can be made
- The top part of the bell didn't print and I also had trouble with that in Ultimaker Cura. I don't really know if it was because of the scannig or due to the scale in which I printed the bell but either way I would love to try and print it again, just a bit bigger!
WHAT I LEARNED FROM THIS ASSIGMENT
I was really excited about this week's assignments because I recently bought a 3D printer and hadn't had the time to thoroughly test it. This week provided the perfect opportunity for that. I'm amazed by the possibilities with a 3D printer, and it’s surprisingly easy to use. The key is to design with the fabrication method in mind, so it's crucial to consider the limitations of 3D printing during the design process. I found it fun to realize that 3D printing is largely about trial and error and a lot of experimentation. I particularly enjoyed learning about vase mode and trying it out—the results were excellent. Although I’m far from being an expert in 3D printing, I look forward to testing more creative ideas and becoming more proficient with Ultimaker Cura!