Wildcard week
This week's assignment focused on exploring a digital process that hadn't been covered in previous assignments. I chose to work with artificial intelligence, specifically image recognition. In my project, I utilized Teachable Machine, an AI developed by Google that relies on machine learning algorithms.
Machine learning
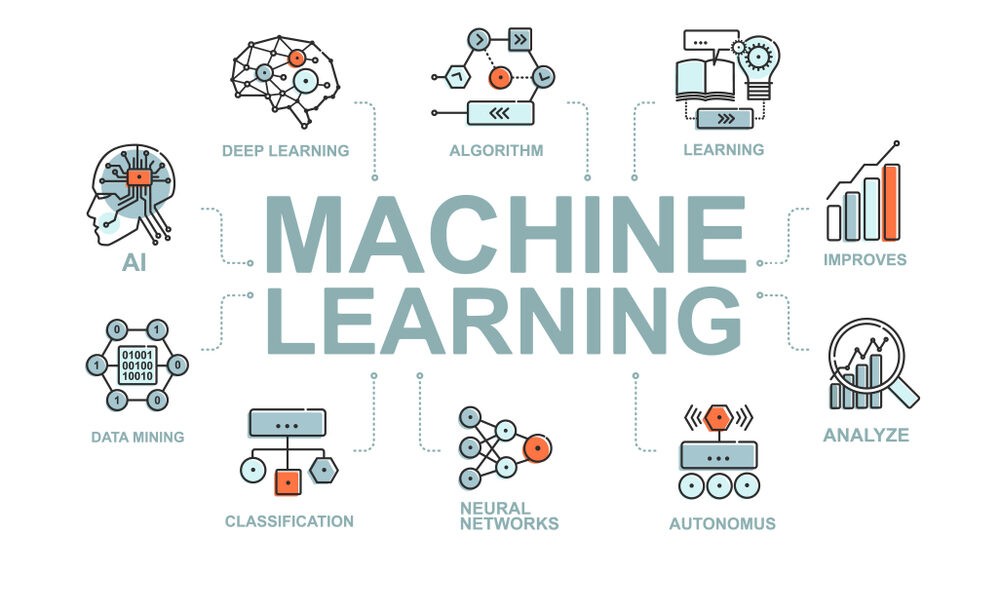
As the MIT quotes machine learning is a subfield of artificial
intelligence. It refers to a machine's ability to imitate intelligent human behavior.
Machine learning starts with data numbers, photos, or text, like bank transactions, pictures of people
or even bakery items, repair records, time series data from sensors, or sales reports. The data is
gathered and prepared to be used as training data, or the information the machine learning model will
be trained on. The more data, the better the program.
There are three subcategories of machine learning:
Supervised
This type of machine learning models are trained with labeled data sets. For example, an algorithm would be trained with pictures of dogs and other things, all labeled by humans, and the machine would learn ways to identify pictures of dogs on its own.Unsupervised
This type of machine learning models looks for patterns in unlabeled data.Unsupervised machine learning can find patterns or trends that people aren't explicitly looking for. For example, an unsupervised machine learning program could look through online sales data and identify different types of clients making purchases.Reinforcement
This type of machine learning models trains machines through trial and error to take the best action by establishing a reward system. Reinforcement learning can train models to play games or train autonomous vehicles to drive by telling the machine when it made the right decisions.
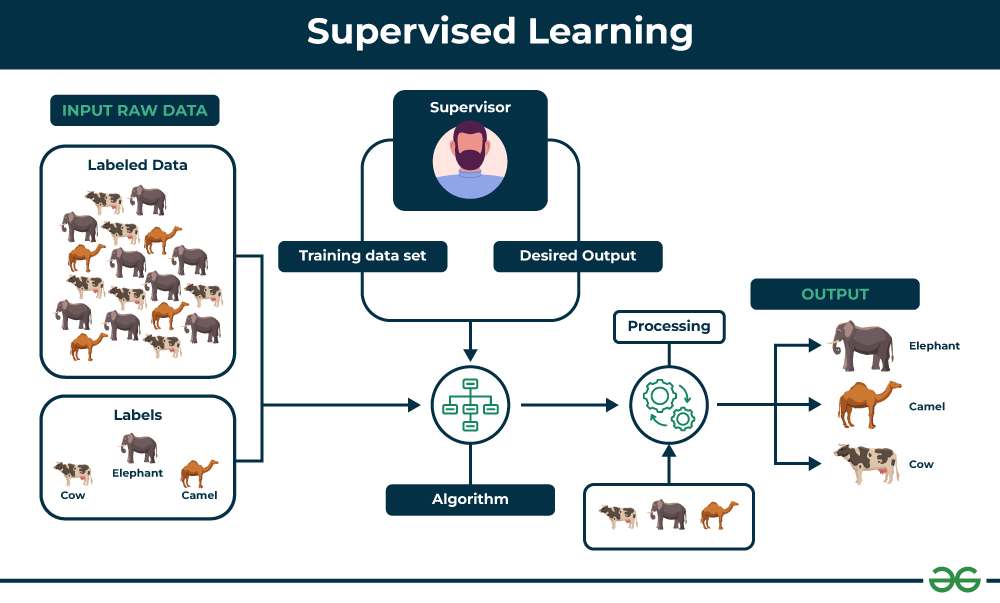

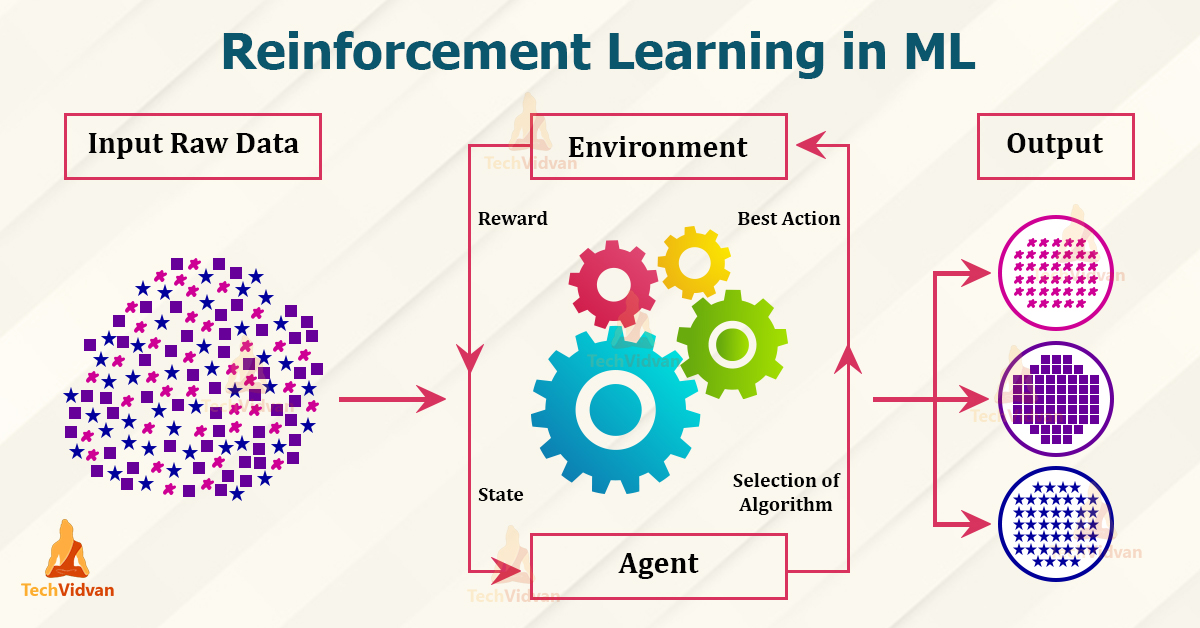
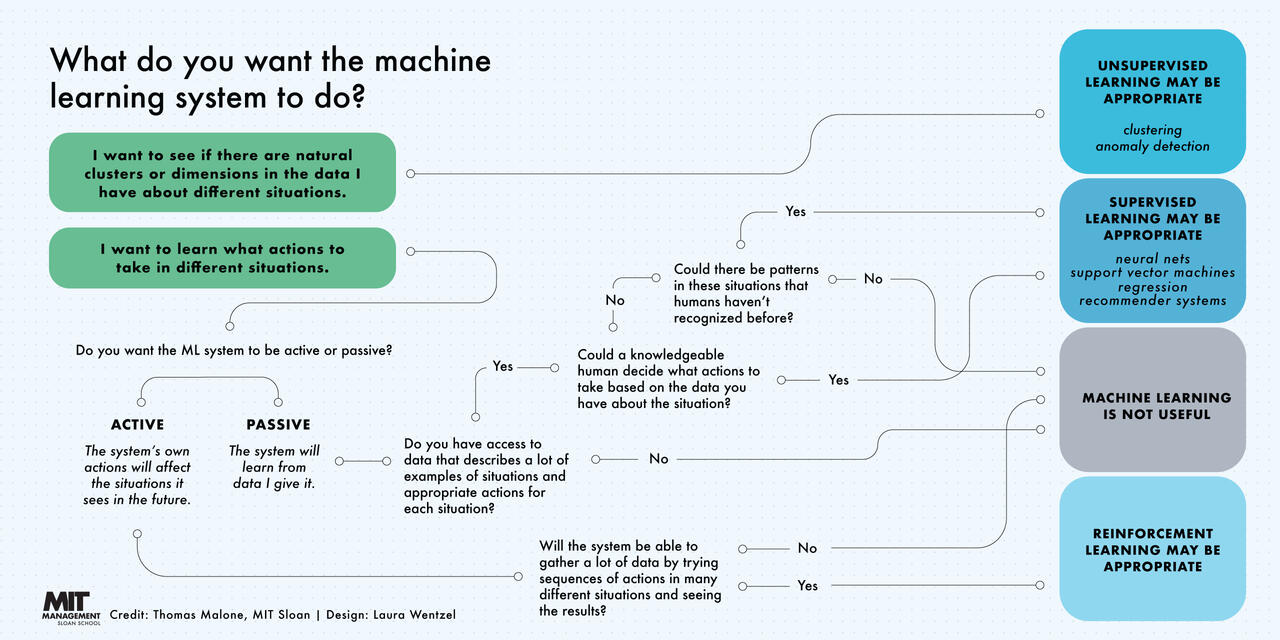
In the same "Machine learning, explained" article from MIT, there is a great infographic that helps you determine the best type of machine learning for your specific needs. You can find it below this text.
Teachable machine
As I explained the different types of machine learning models, let's talk about Teachable
Machine. This is a type of supervised learning model because it learns to recognize patterns
from labeled data, such as images, audio, or body points, to identify specific gestures or
actions.
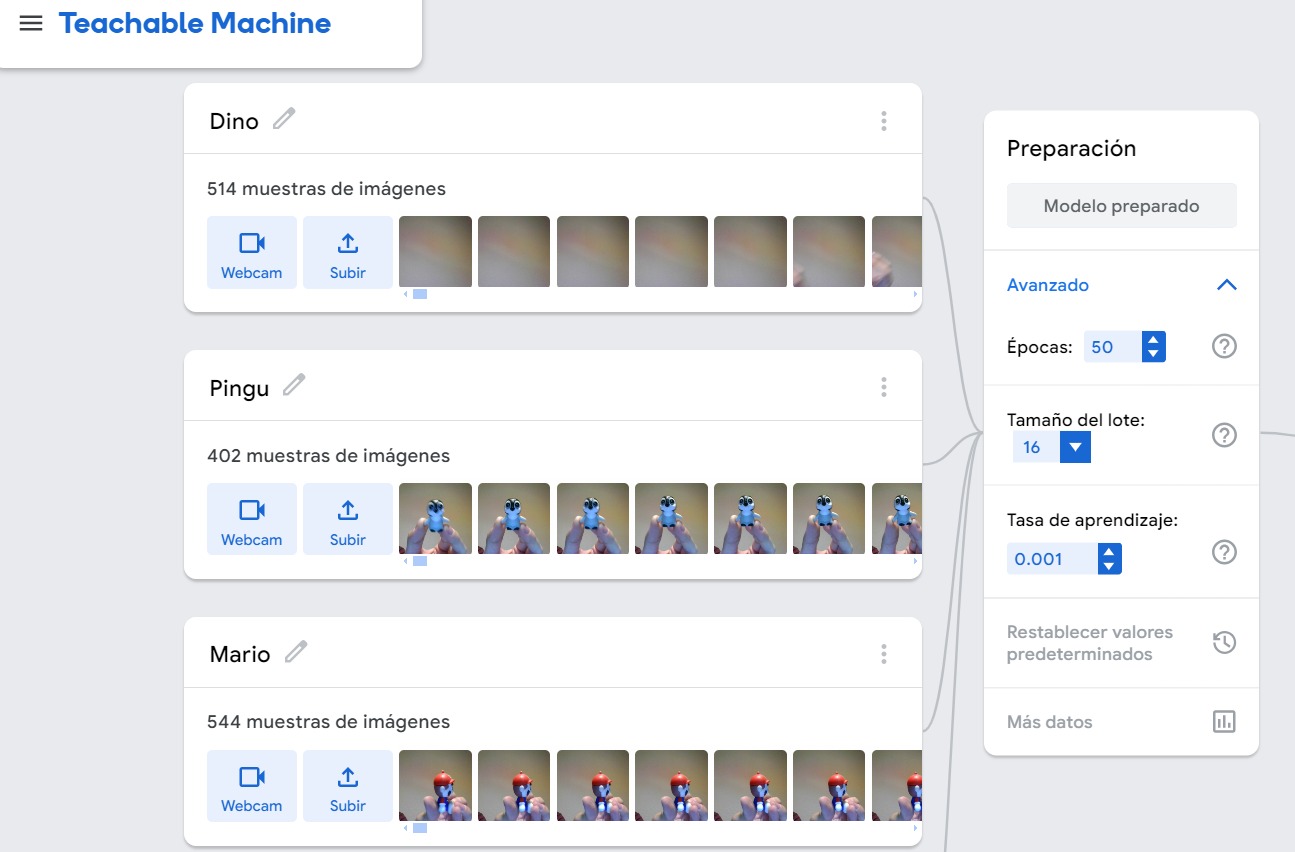
With that being said, I created a model using four objects: a dinosaur, a penguin, Mario,
and myself. Additionally, I included a "nothing" label to help the model recognize anything
that doesn't match the other three objects I took pictures of.
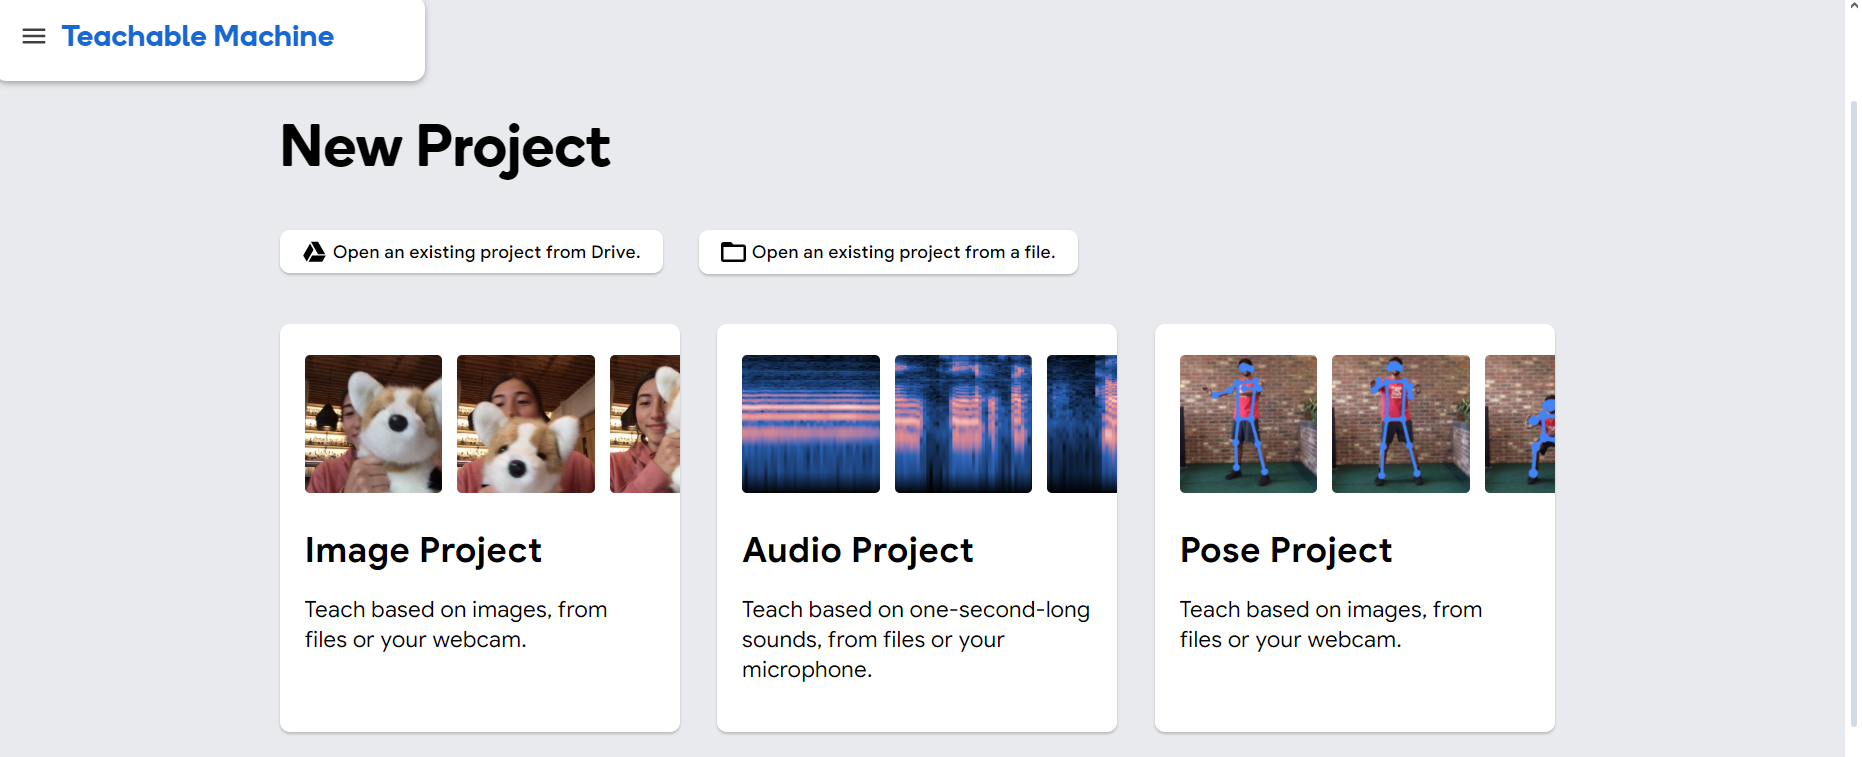
As you open Teachable Machine
you will find 3 base options, wich in my case I choose "Image project".
Then when you click it will pop 2 options "Standard image model" and "Embedded image model" wich in my case I use the Standard image model, because if you are not using a microcontroller you should select the first one.

After selecting the standard image model, you will see two classes that you can rename to anything
you want. For each class, you have two options: Webcam and Upload. If you don't have pre-existing
pictures, you can use the Webcam option. This will show a record button that captures multiple
images over 6 seconds, so you'll need to move the object quickly. Once the pictures are taken,
they will instantly appear on the right side, next to the Webcam and Upload options.
Now that you have set up your options, it's time to process the data by training the model. Click
on the "Train Model" button in the middle section. It's important not to change windows or move
anything during this process, as the model is processing all the data.
Now it time to test it and have fun.
Try it yourself!
Sandblasting
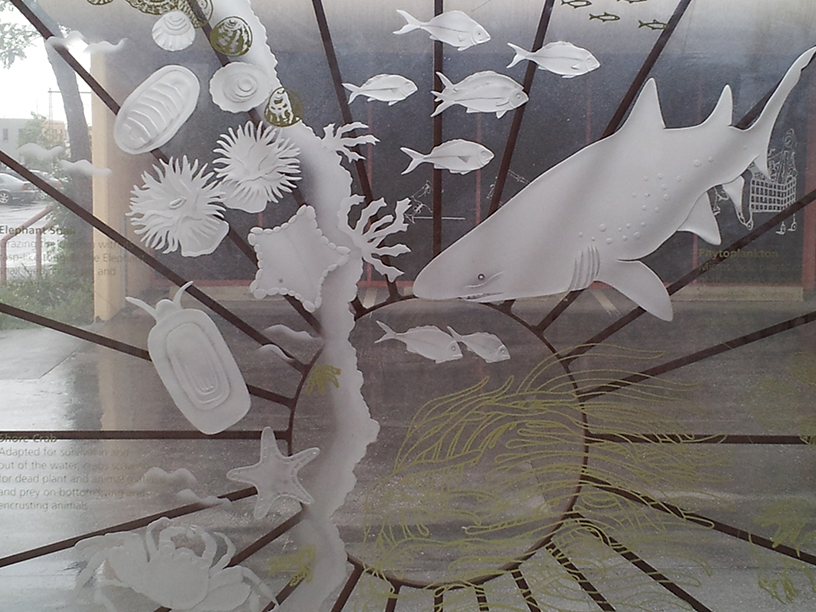
Sandblasting on glass is a process used to create designs or frosted finishes by forcibly propelling a stream of abrasive material, such as sand, against the glass surface. This technique etches the glass, allowing for both intricate patterns and uniform frosting.
How it works?
- Preparation: The glass piece is cleaned and masked with a stencil or tape where the design should remain clear.
- Abrasive Blasting: A high-pressure machine directs a stream of abrasive material onto the exposed areas of the glass. This can be done manually or with automated equipment.
- Etching: The abrasive particles chip away at the glass surface, creating a frosted or textured appearance in the areas not protected by the stencil.
- Finishing: After the sandblasting process, the stencil is removed, and the glass is cleaned to reveal the etched design.
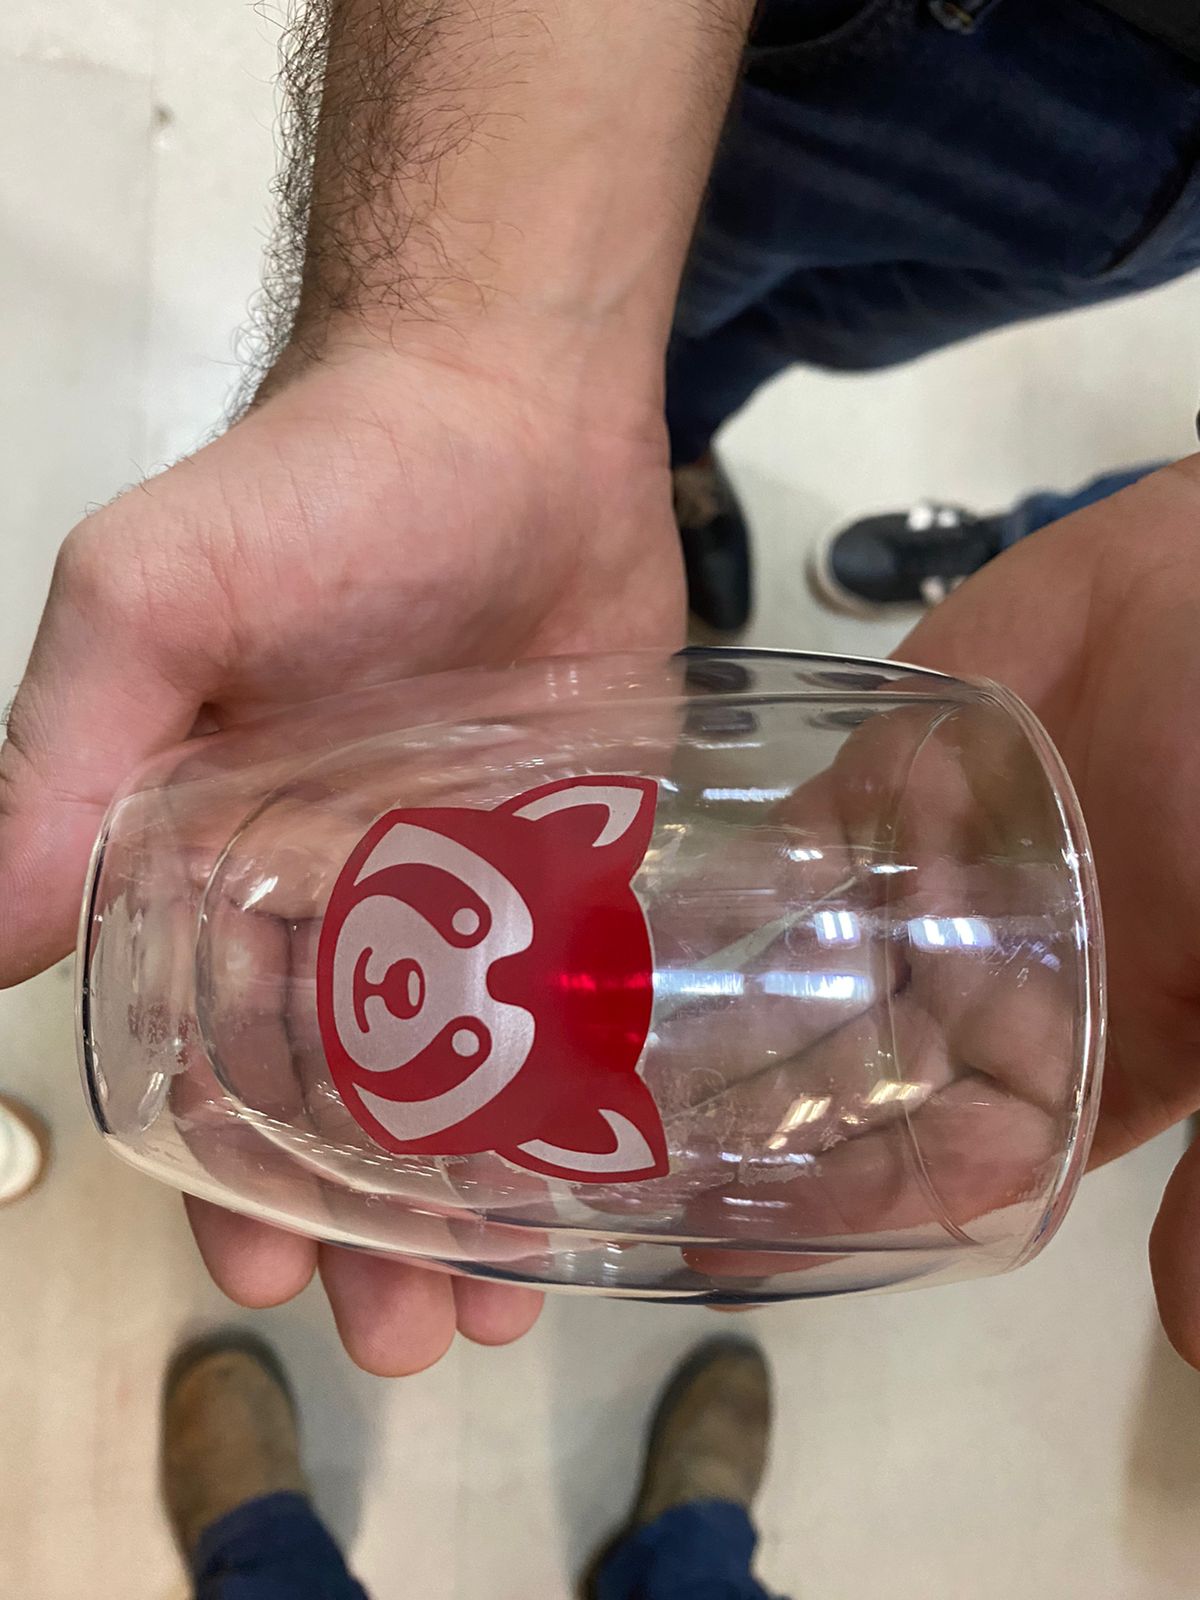
With that in mind, I created my own sandblasting design featuring a red panda
to be etched onto the glass. Sandblasting is actually easier than it looks
and sounds.
The first step is to cut the vinyl to your desired design. Make sure the size
matches your glass.
Note: If you want to know how to cut vinyl you can check it in my page
by clicking here.
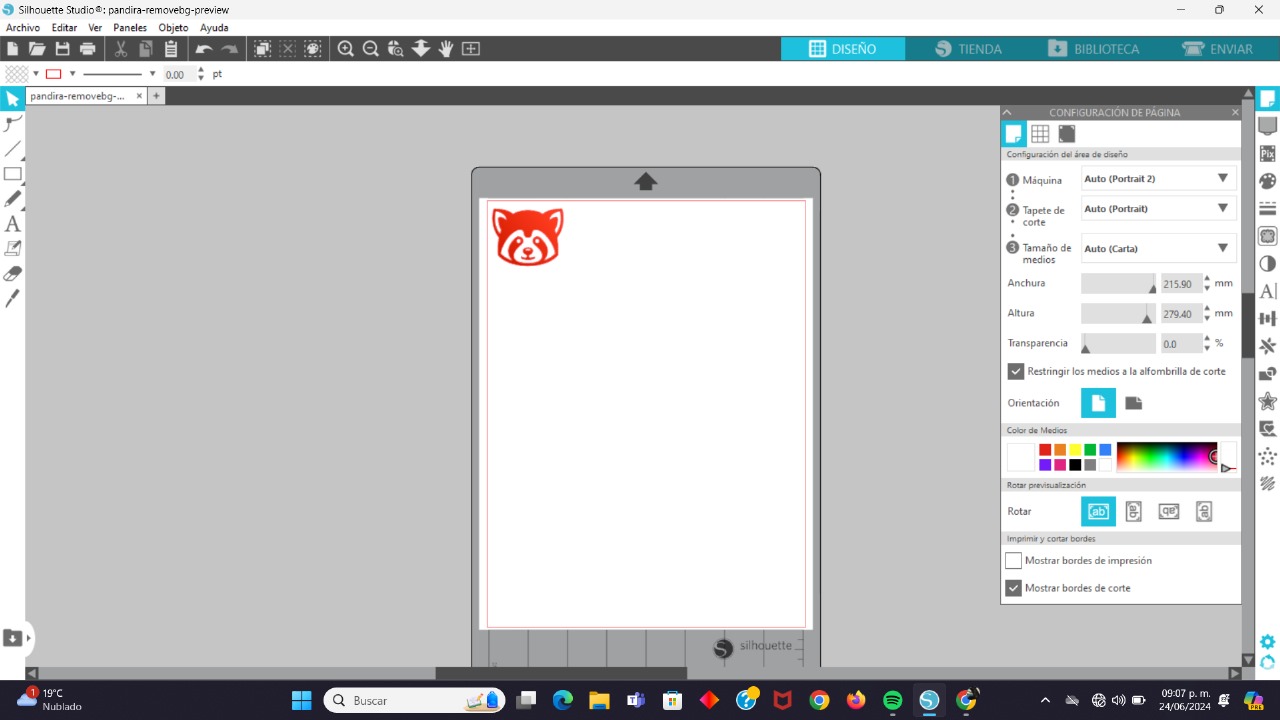

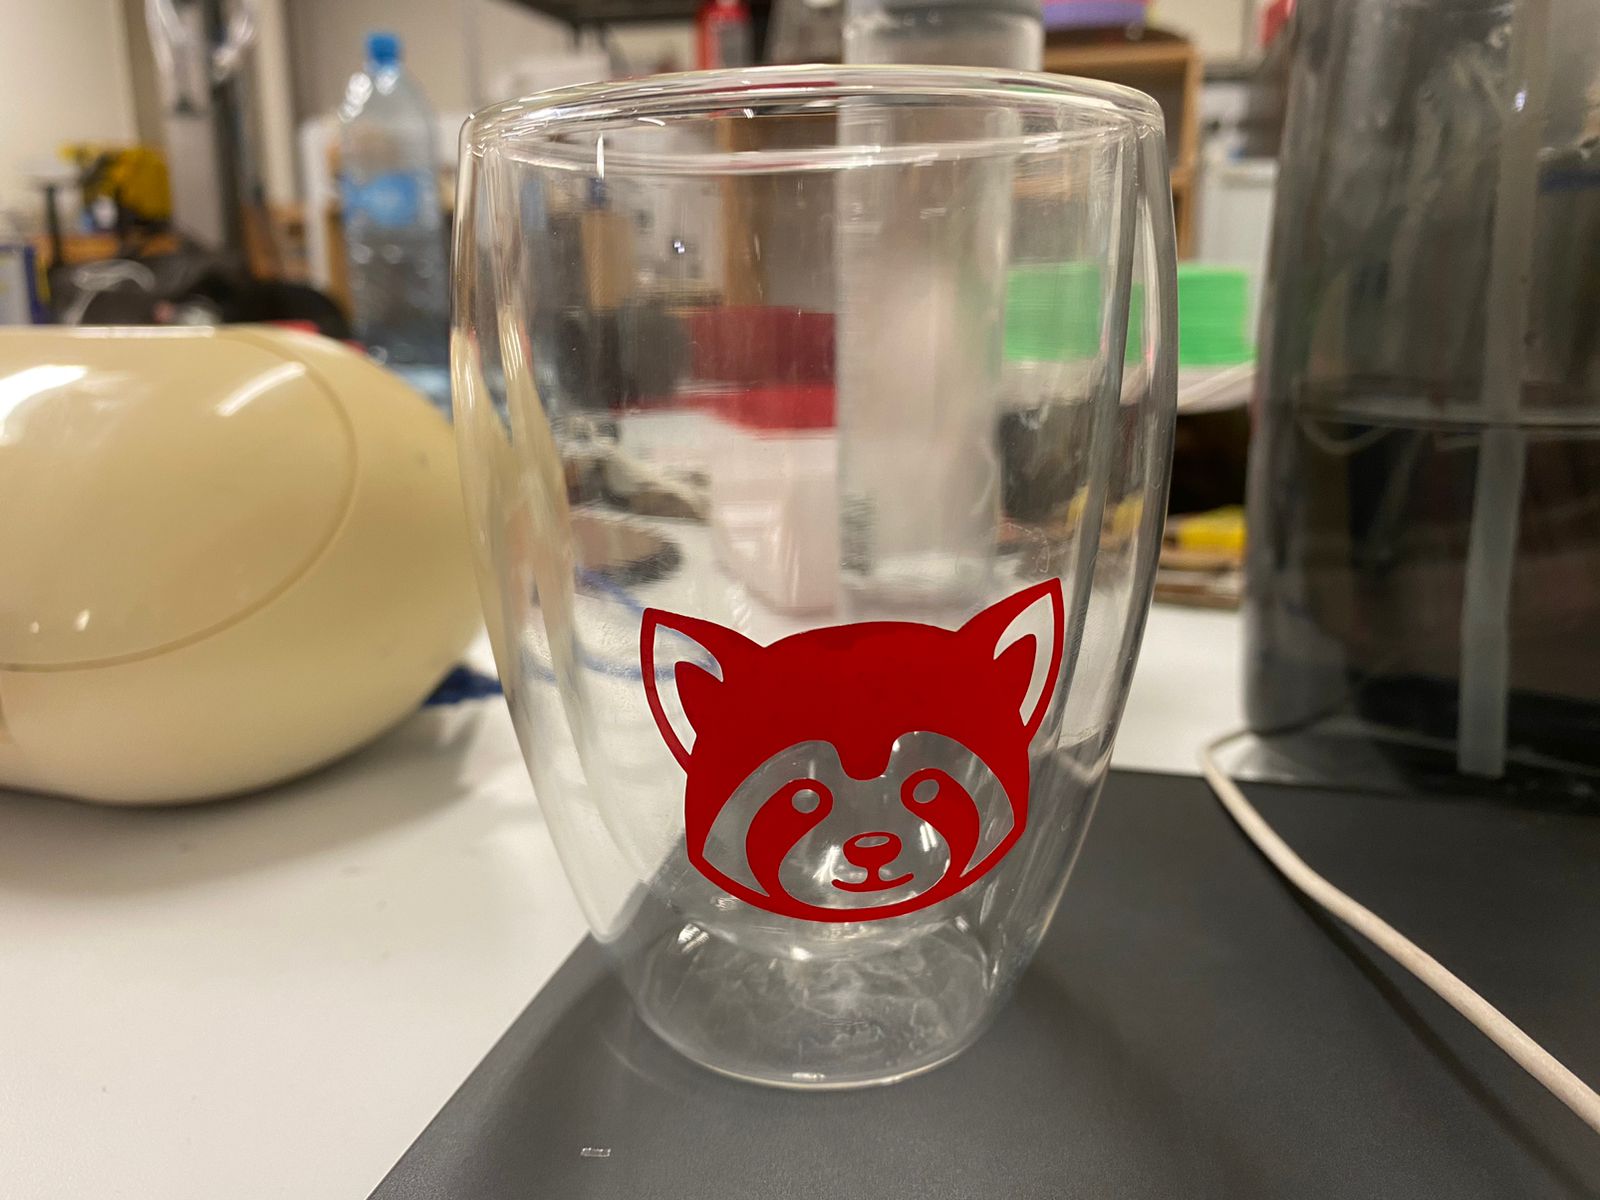
The second step is to attach the vinyl to the glass in your desired arrangement. Cover the remaining areas with tape or extra vinyl to avoid wasting material.

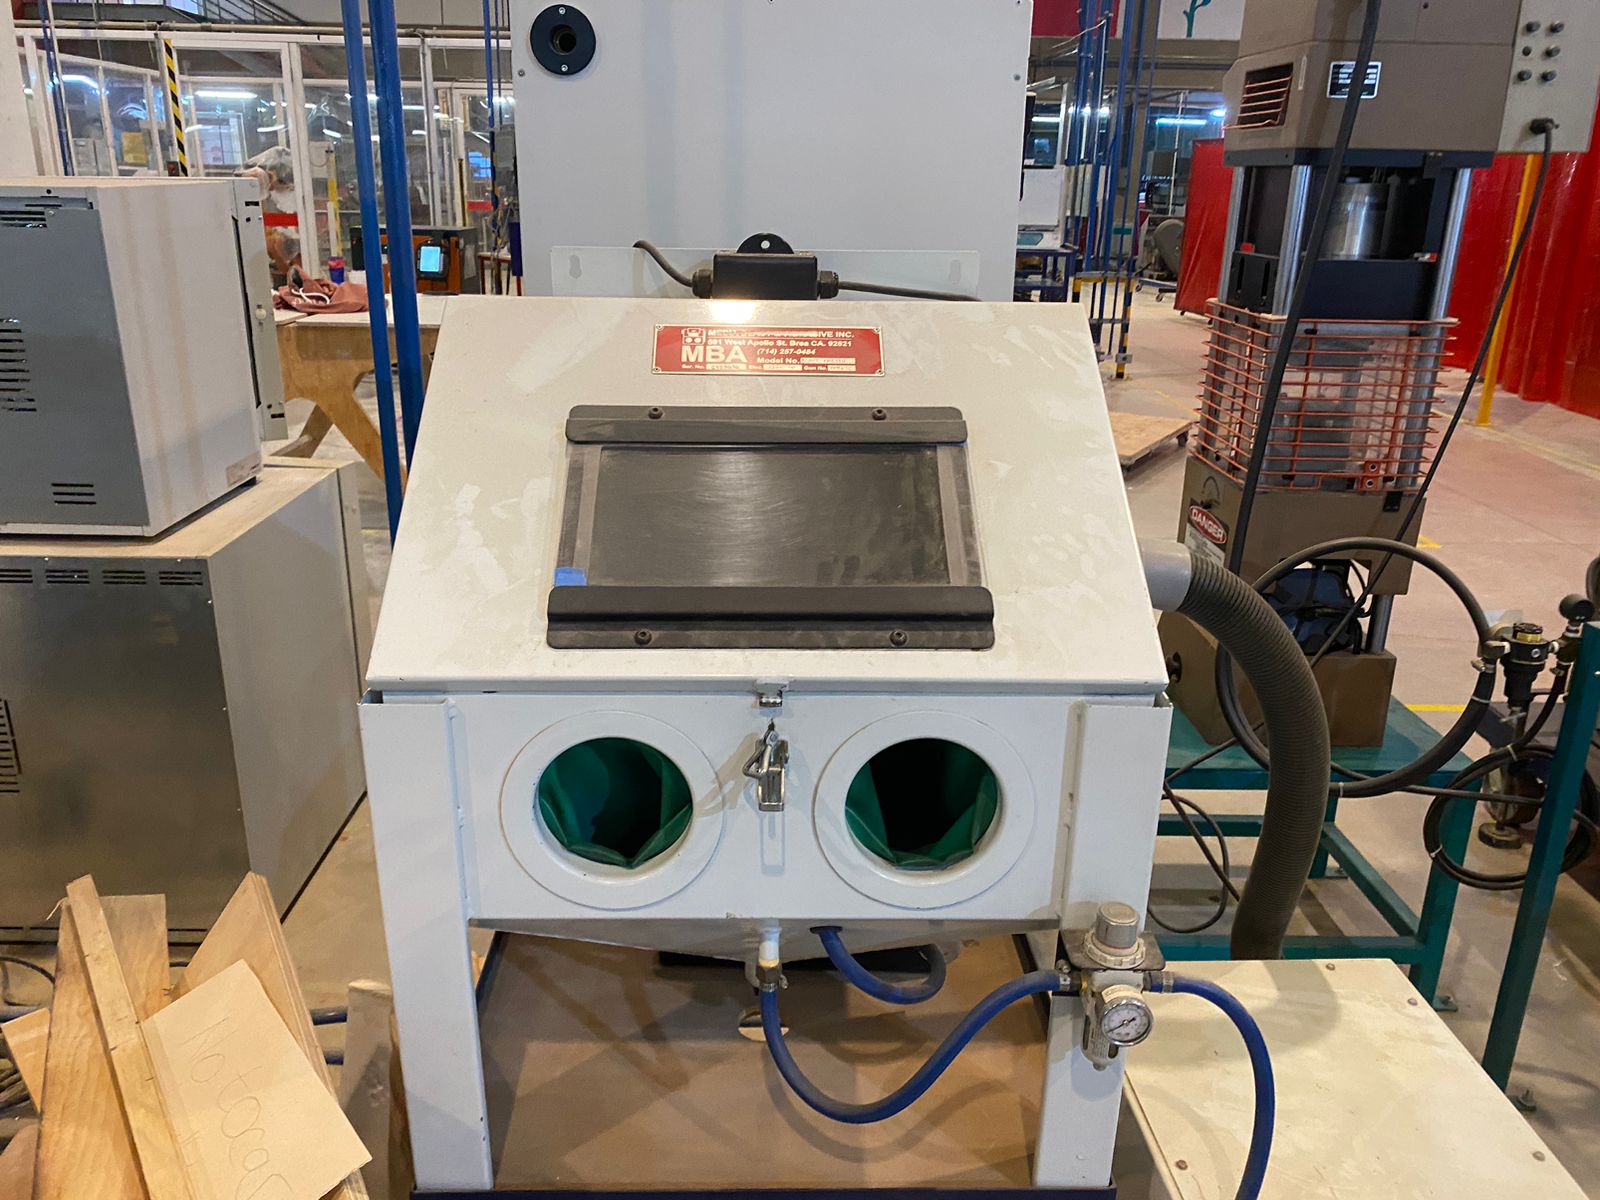
Then, use the sandblasting machine. At Ibero Puebla, the machine looks like this.
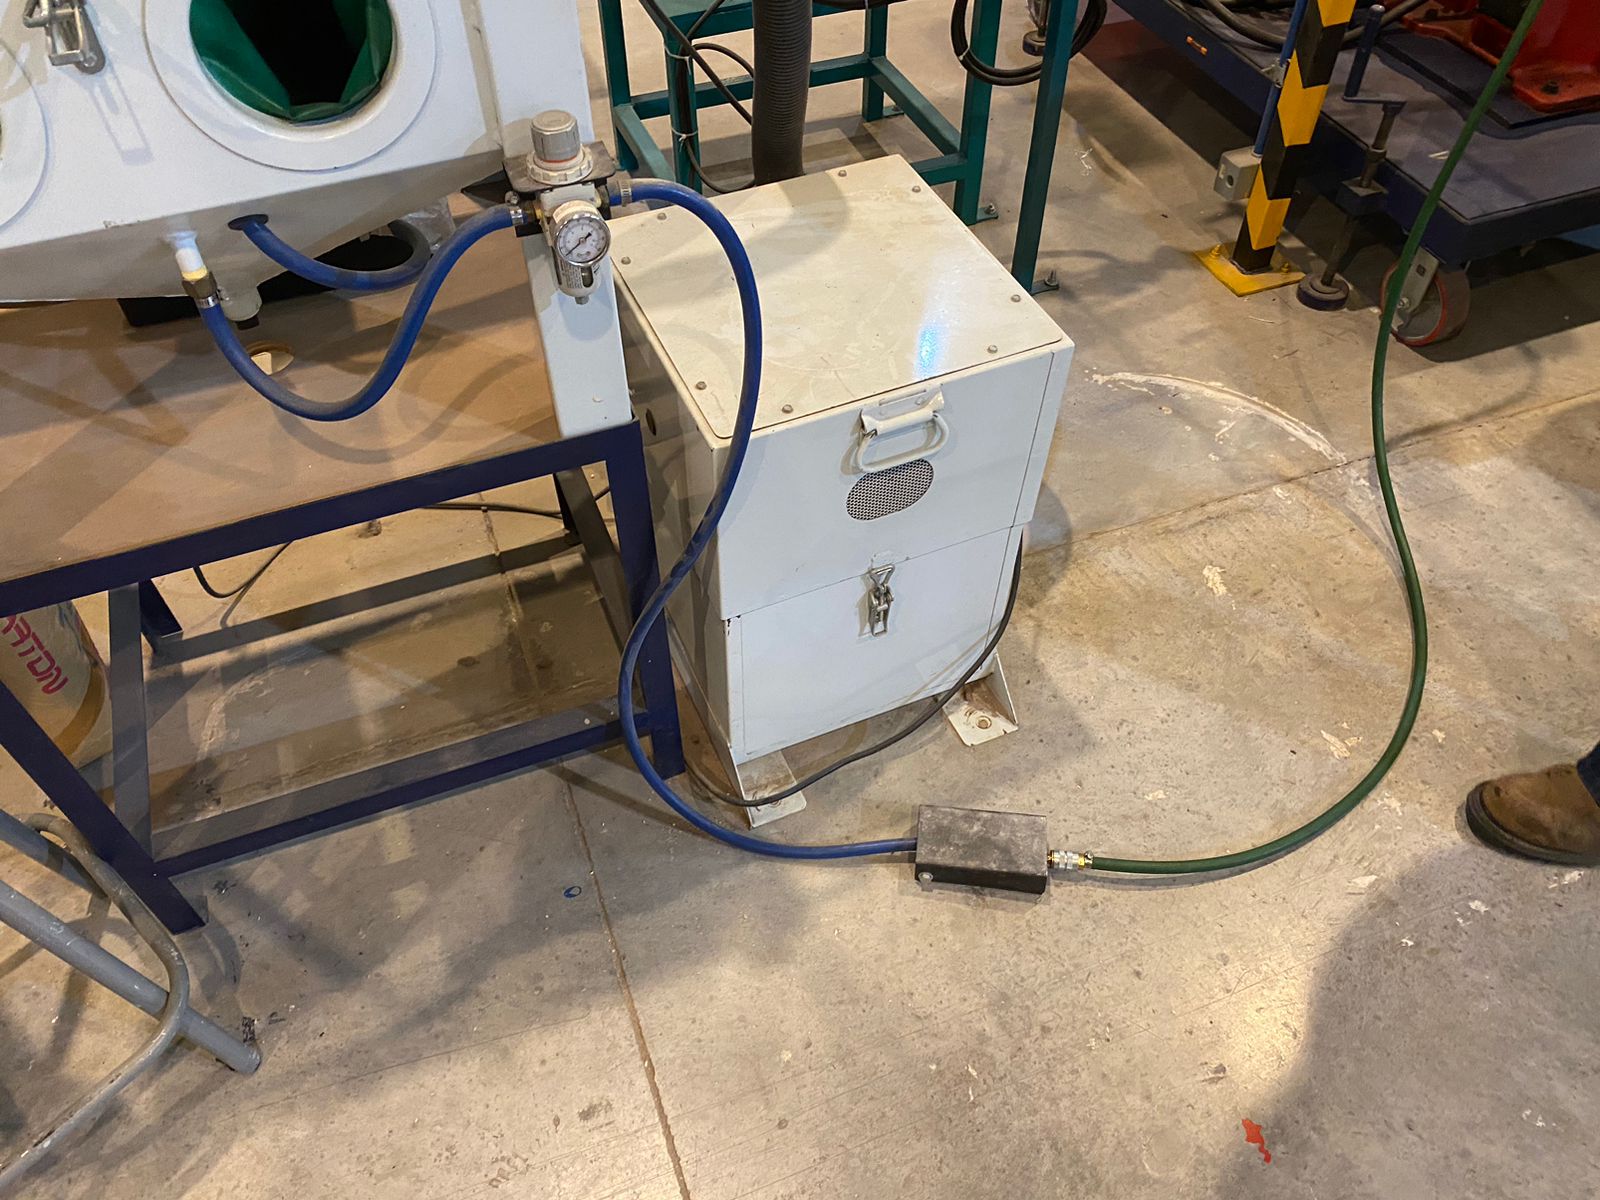
Then, proceed with sandblasting by pushing the pedal. Be careful, as applying too much pressure can break the glass, whether it is thin or thick. Patience and caution are key. Remember, any part not secured with tape or vinyl will be sandblasted as well. After sandblasting, it should look something like this.
