Molding and casting
This week's assignment involved crafting a mold and subsequently casting a piece from it. It was my first time attempting mold-making, and I initially underestimated the complexity of the process. For this task, I opted to create my mold using resin, casting a chess pawn as the final piece.

Design
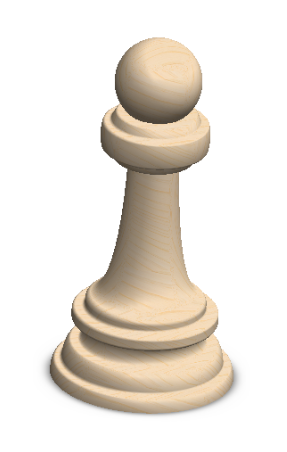
In the previous text, I mentioned crafting a chess pawn. To create this piece, I had two options. Firstly, I attempted to design my own chess pawn based on an image. However, the result didn't quite meet my expectations. Therefore, I opted for the second option, which involved using a CAD part that someone had previously created and uploaded to the internet. You can also download the design by clicking here.
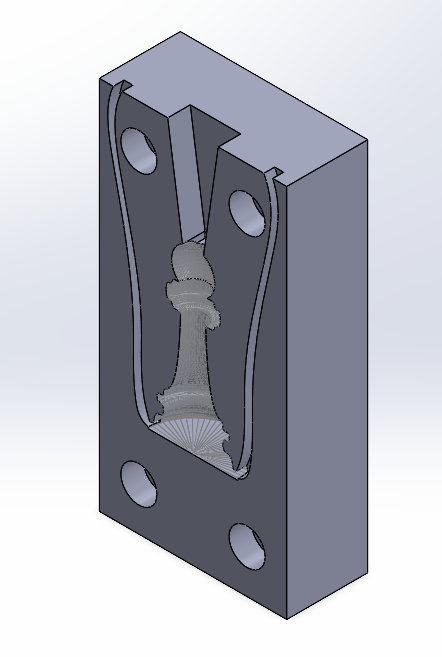
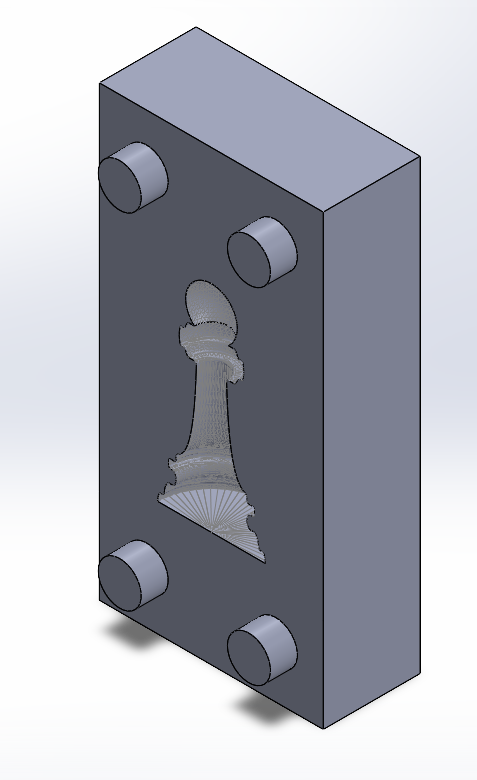
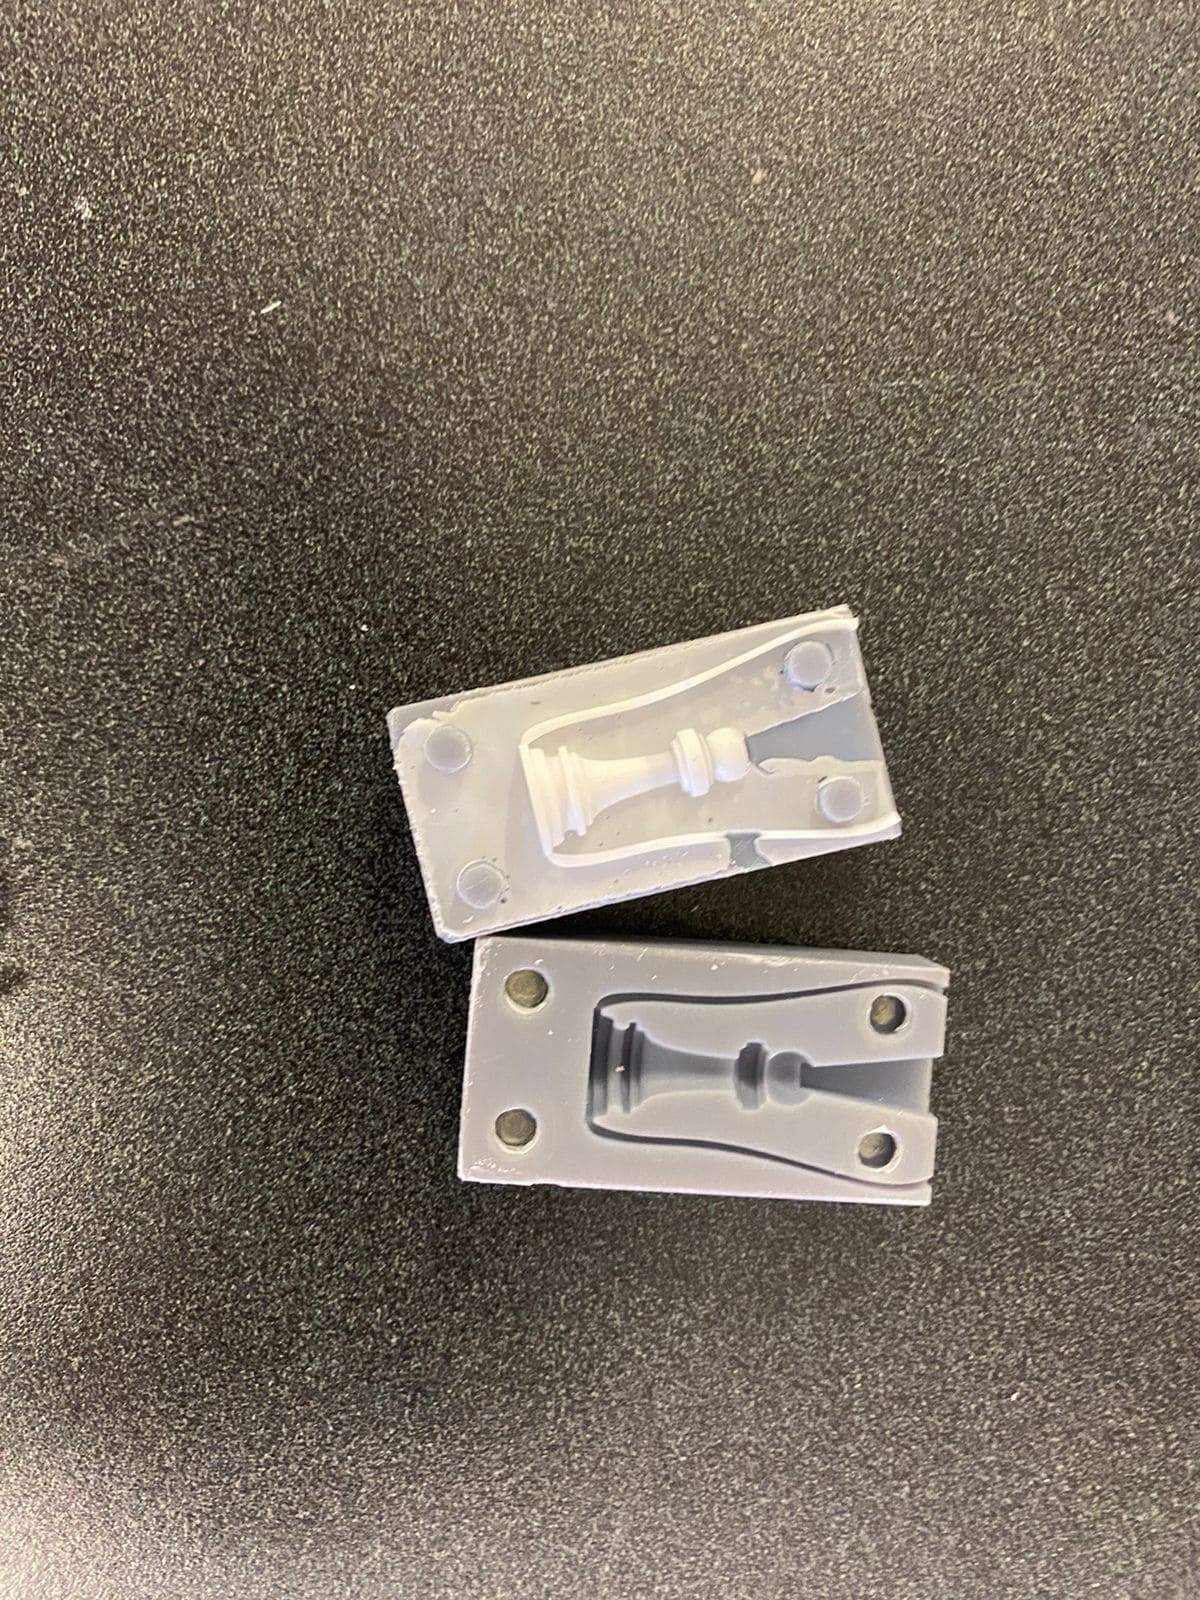
I created a negative block using the 3D pawn as the positive, resulting in a two-piece mold. I also added two channels for air to flow through. This design worked for the bottom part but not as well for the top. If you're making your own mold, I recommend adding more channels to ensure better air flow.
Molding
With the design finalized, it's time to produce the mold. There are various materials you can
use for this purpose.
For instance, you could opt for a block of wax and machine it using a CNC router or a mini mill,
as some of my colleagues in the Fablab did. However, I chose to 3D print my mold in resin.
The reason behind this decision was that the wax blocks were running low, leaving me with
limited options. Both machining a mold from a small block of wax and 3D printing were viable,
but Nail advised that for 3D printing, a high-resolution print was necessary to ensure the piece
had no errors and featured a smooth surface, resulting in a perfect final product.
With the new resin printer, the "Elegoo Saturn 2," at hand, I needed to install a suitable slicer
software for printing. After some research, I found that the recommended slicer for this printer
was "Chitubox," as suggested by the company. However, upon delving into forums and watching
YouTube videos discussing resin 3D printing, I discovered that many users encountered issues with
Chitubox and preferred using the Lychee slicer instead.
Lychee Slicer

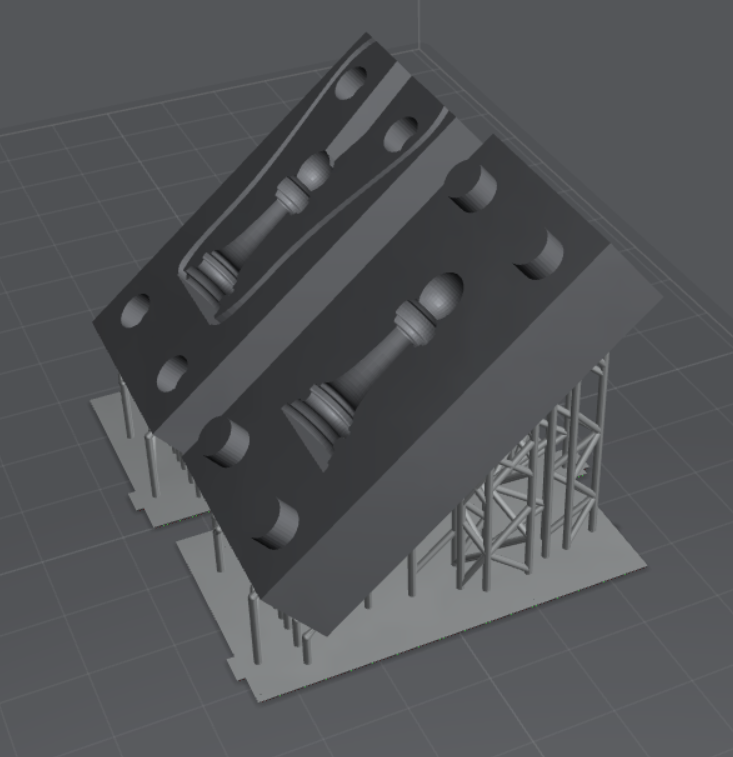
Lychee slicer is a very fascinating slicer because it has two slicers in one, the resin and filament printing, it has some advanced support management features like parenting and bracing, island detector, advance supports, supports fans and support painting, this slices is very easy to use, the way I used is by opening the software I open the stl file and then it show you all the options and the preview like the other slicer Anycubic.
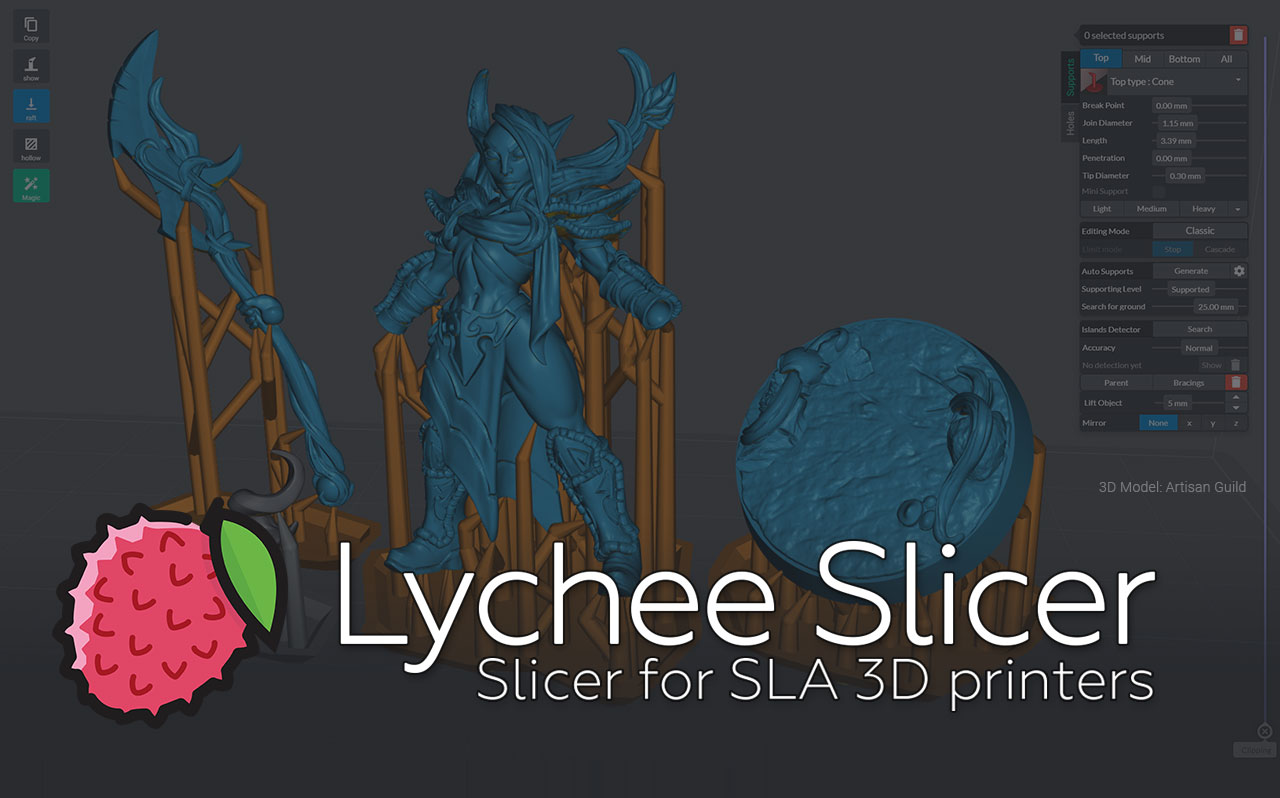
I scaled the figure down by 50% because it was too big, and I wanted a smaller version.
Then, I went to the "Prepare" menu at the top. This slicer is different because it gives
you more flexibility in customizing how your piece looks. If you don't want to adjust it
manually, you can use the automatic settings, which is what I did since I'm not very
familiar with how it works. I chose the "Light supports" option.
For the raft, there are several options available. I chose the "pixelated" option because
it adapts to your figure in a non-invasive way, making it easier to remove and using less
resin.
Printing
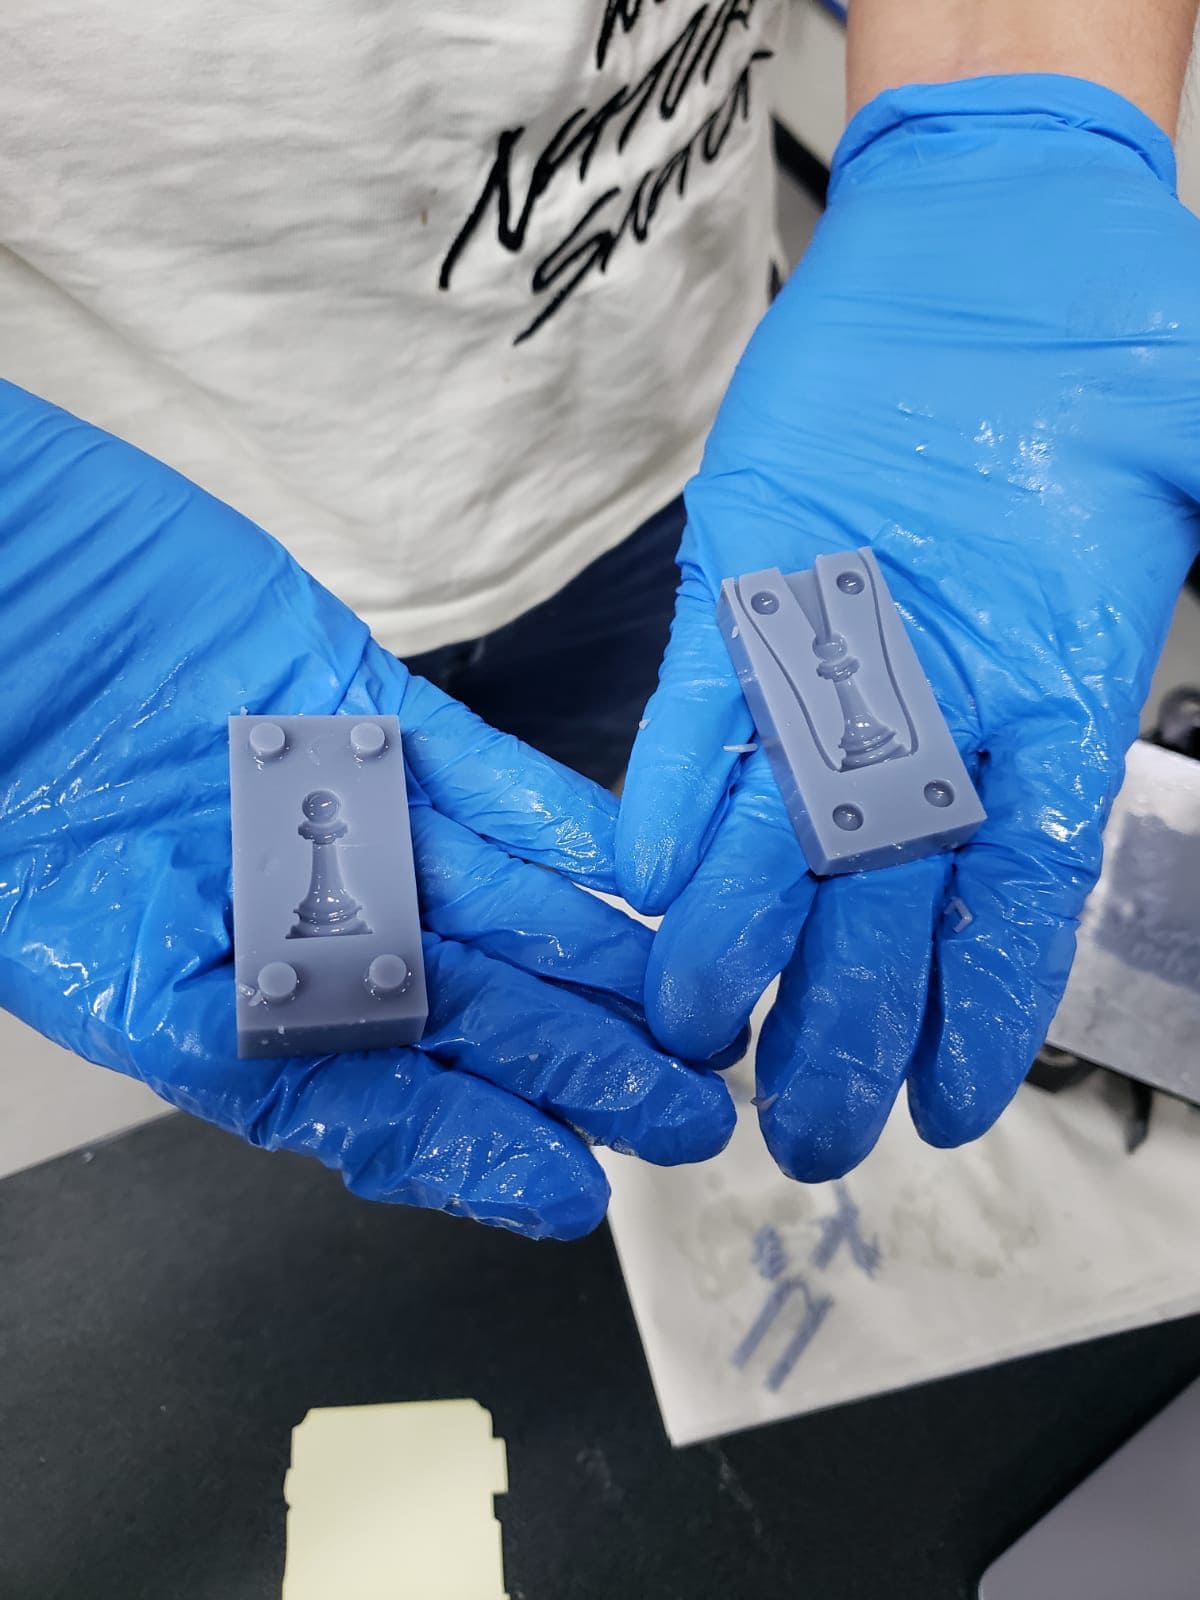
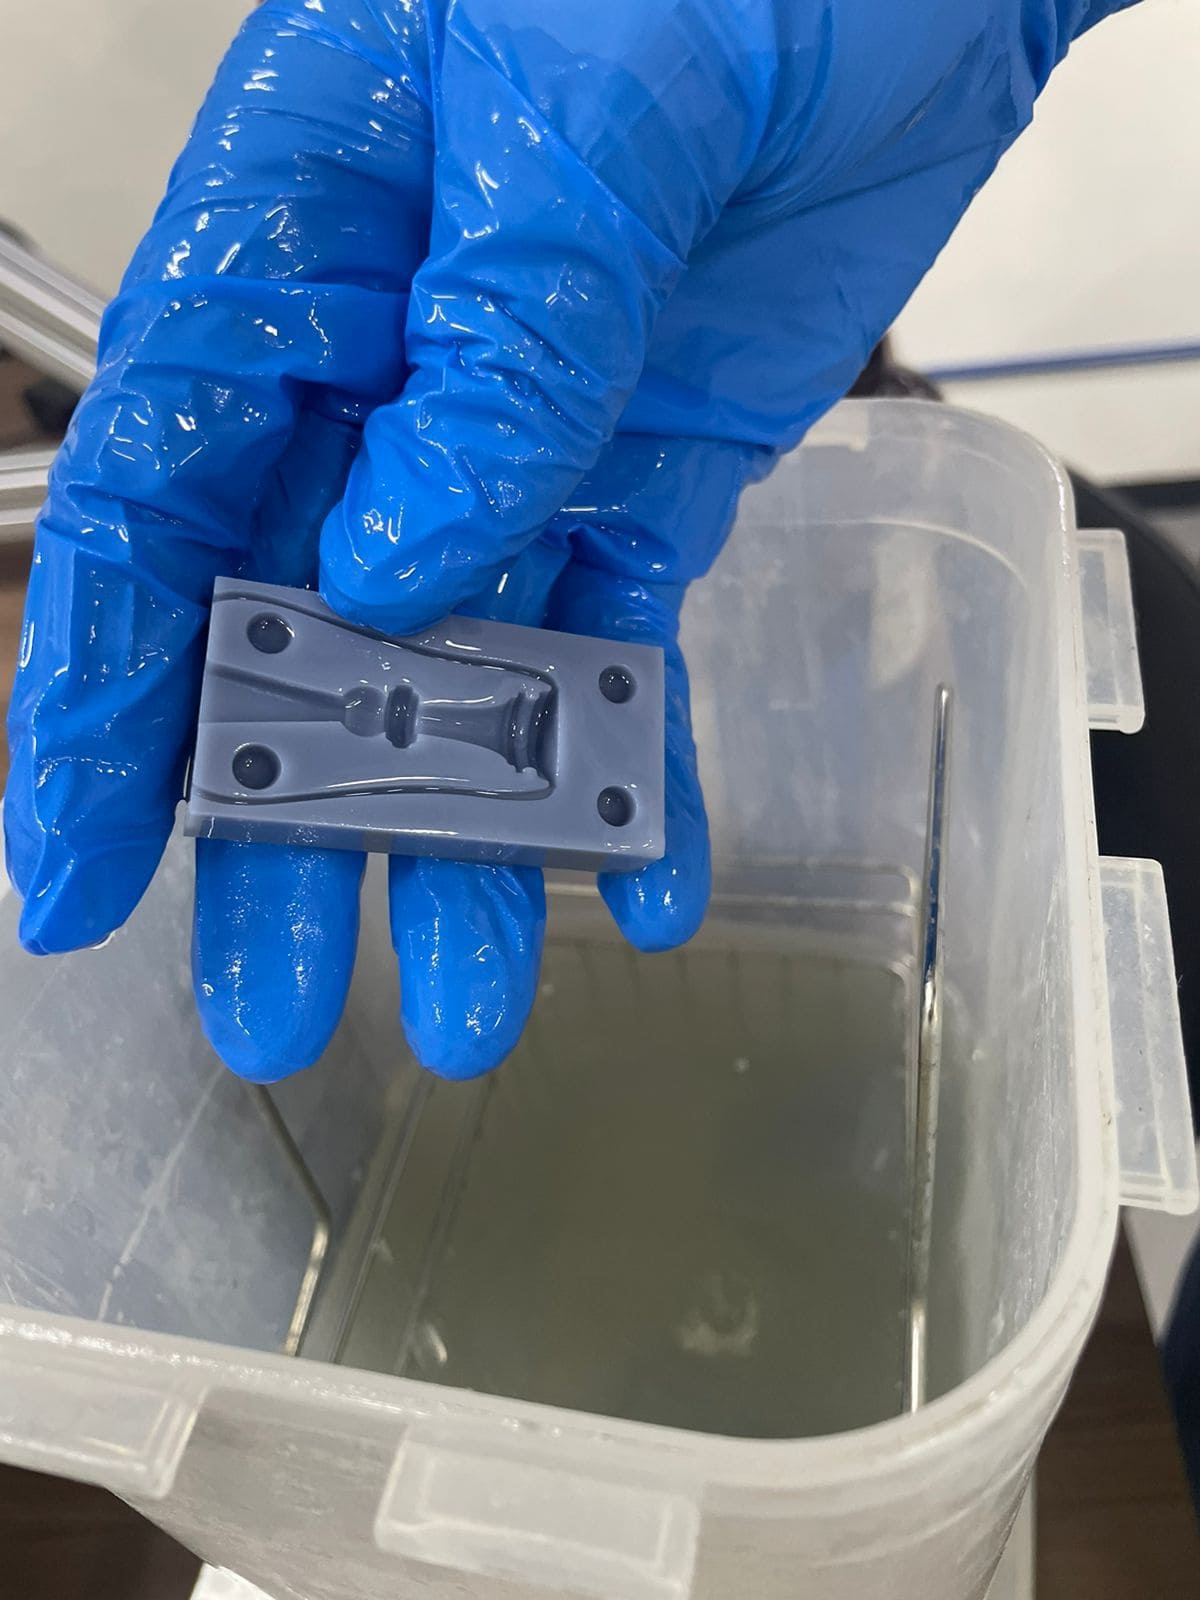
Now that the design is complete, it's time to export the file for printing. Click on the "Export" option at the top, then select "Export slices to file." This will show you the estimated resin volume and printing time. Once you have exported the file to a USB drive, upload it to the 3D printer and hit "Print." If you want to learn more about the 3D printing process with resin, you can check out my 3D printing week by clicking here.

Casting
For the casting part, I used Silicone 3030. I chose this material because I like how the
pieces turn out and it is pretty easy to use. An important tip is that if you want a solid
piece, you need to use a soft mold, and vice versa. Making molds this way is crucial
because it allows for easy removal and reuse.
Now, for the actual casting process using the mold, I used Silicone 3030. If you plan to
use it, be sure to wear protective gear. For any safety concerns, you can read the entire
data sheet by
click here.
Silicone 3030 is typically a two-part material, meaning it comes in two components. The
ratio used was 100 parts A (yellow container) to 10 parts B (transparent container).
This ratio is crucial to achieve the desired properties of the silicone and ensure it
cures completely.
To start the process, first determine the volume the mold can hold. The easiest way to
do this is by filling the mold with water and measuring the amount of water it holds.
Since my mold is small, I used 17.6 g of the part A, which turned out to be more than
enough for my mold. The rest of it I give it to one of my friends.
Since I used 17.6 g of part A, I needed to use 1.76 g of part B. After weighing both
parts, mix them together quickly for a couple of minutes to ensure they are properly
combined. Once mixed, it's time to pour the silicone. If your mold is large and has
a wide opening, you should have no problems. Just make sure to eliminate any
bubbles.
In my case, the mold is very small, and the entrance is quite narrow. I recommend
using a syringe for better precision and to help remove any bubbles. The first time
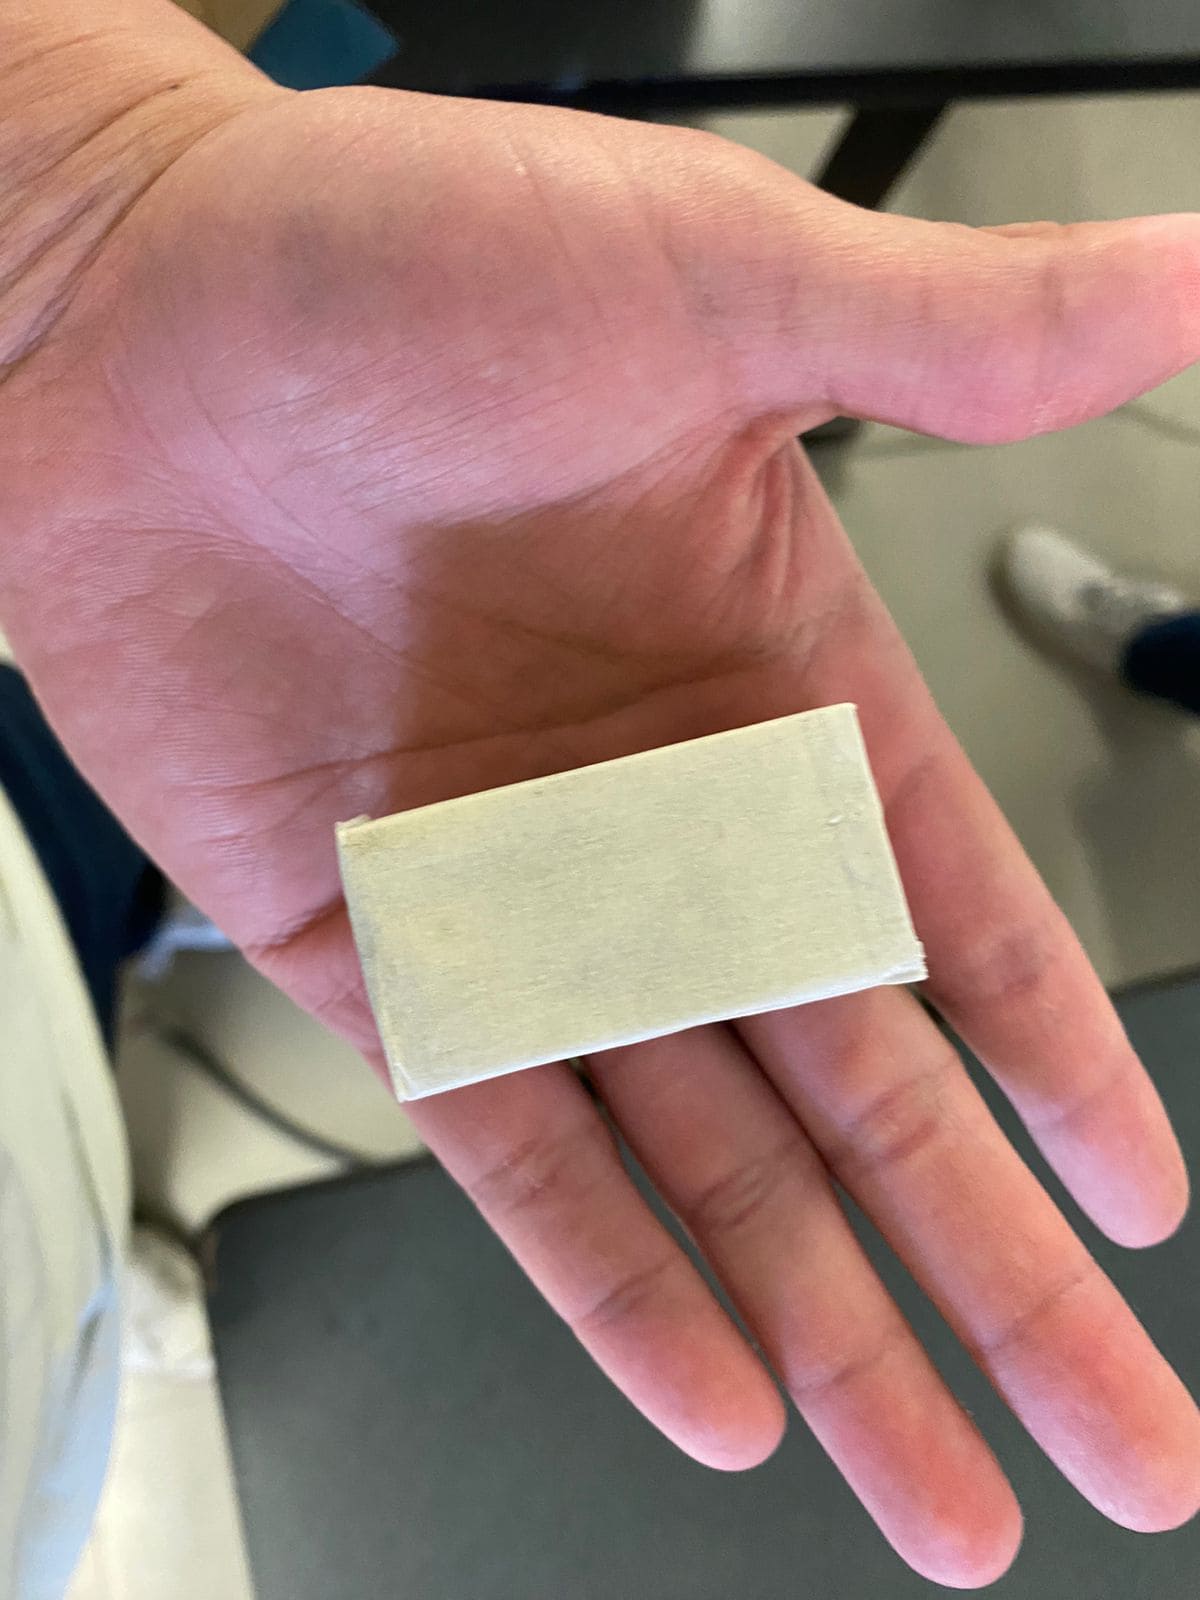
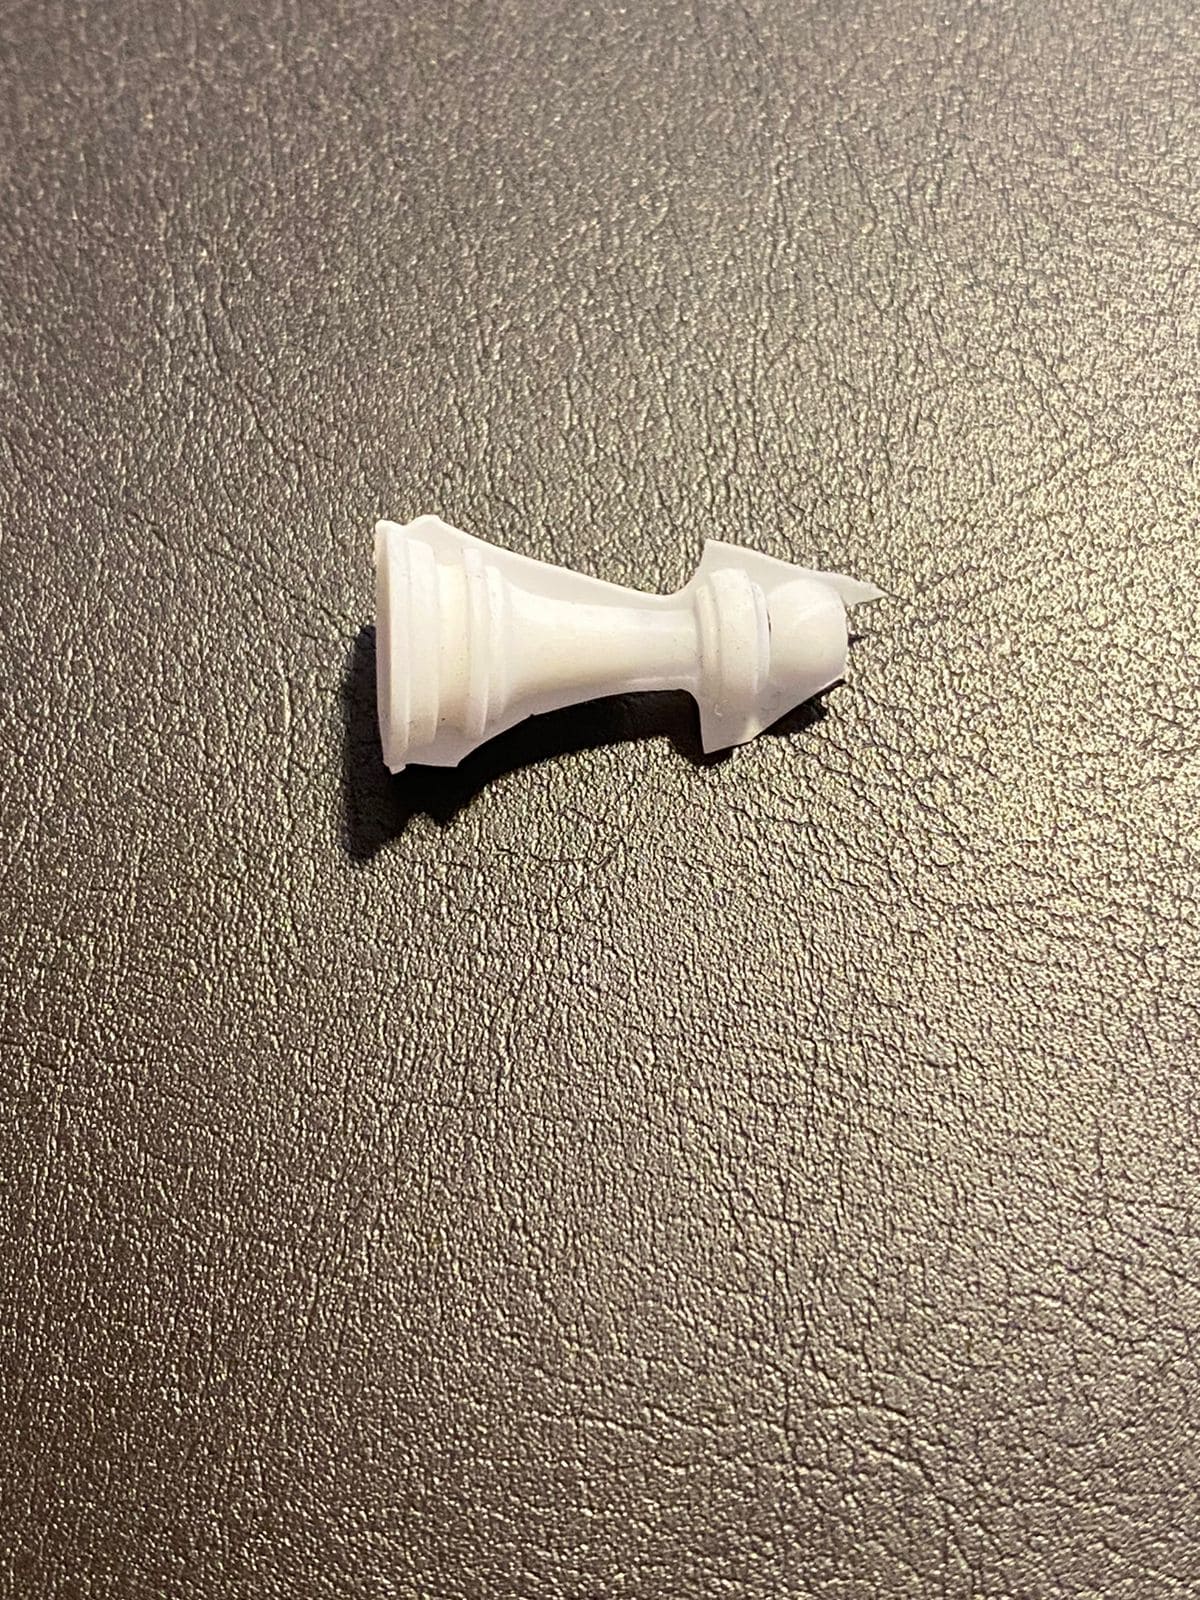
I poured the silicone, I didn't use a syringe, and it resulted in a hollow top,
despite having made two channels specifically to remove air bubbles.
Final result
Although the top part of the pawn came out hollow, the overall result was great, and I really like how it turned out. If I were to do it again, I would definitely use a syringe and consider making the mold a bit larger with an additional channel for air bubbles at the top.
Group Assignment
For this week's group assignment, our main goal was to review the safety data sheets for each of the molding and casting materials. This will allow us to compare whether printing or milling is better and to determine which casting material is the best. To view this assignment, visit the Fablab Puebla website and look for the Week 13 molding and casting assignment. Alternatively, you can click this link.
