Principles and Practices, Project Management
1. My first sketches on my final porject
Although one may assume that the final project is still 18 weeks away, there is a need to start on the planning and documentation on this. For my final project I propose a 3D foot scanner for 3D printing insoles. This device will consist of three main parts as it can be seen on the following sketch.
Sketch
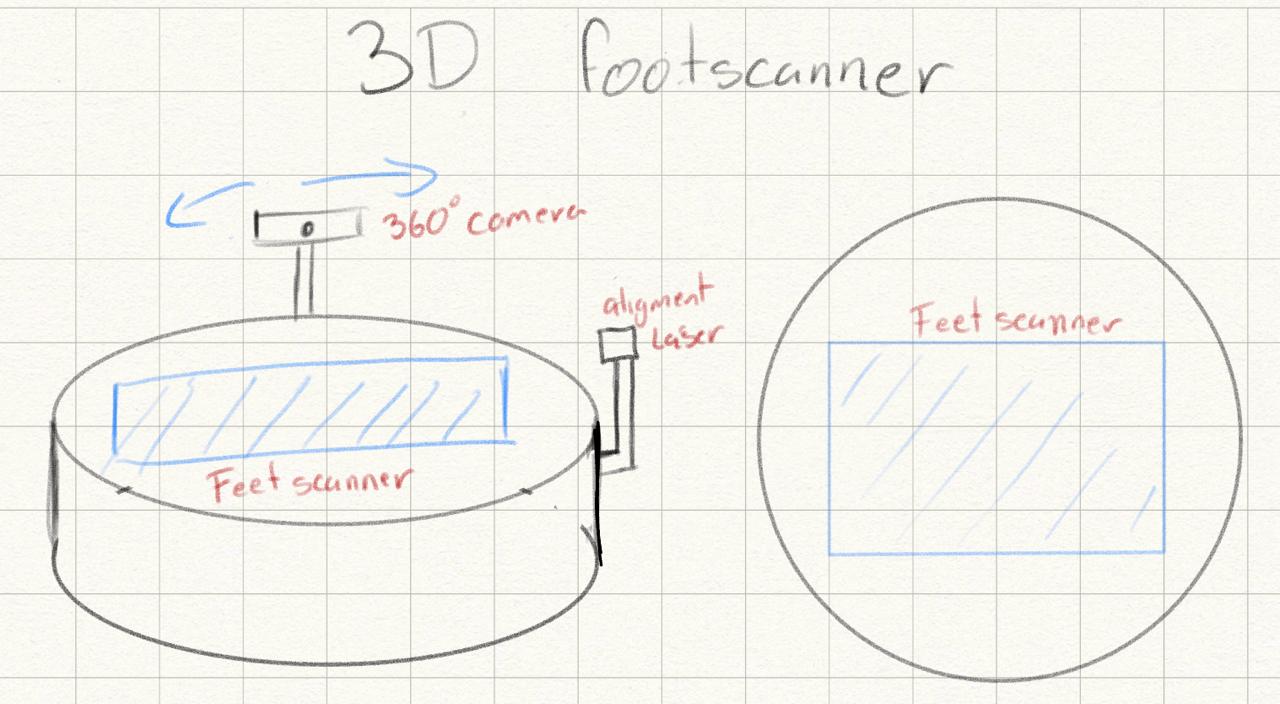
The main components will be:
2. Website creation
Sections
For my website I used a template provided by professor and FAB Academy 2019 alumni Rafael Perez Aguirre. This template has 4 main html pages:
1. Index
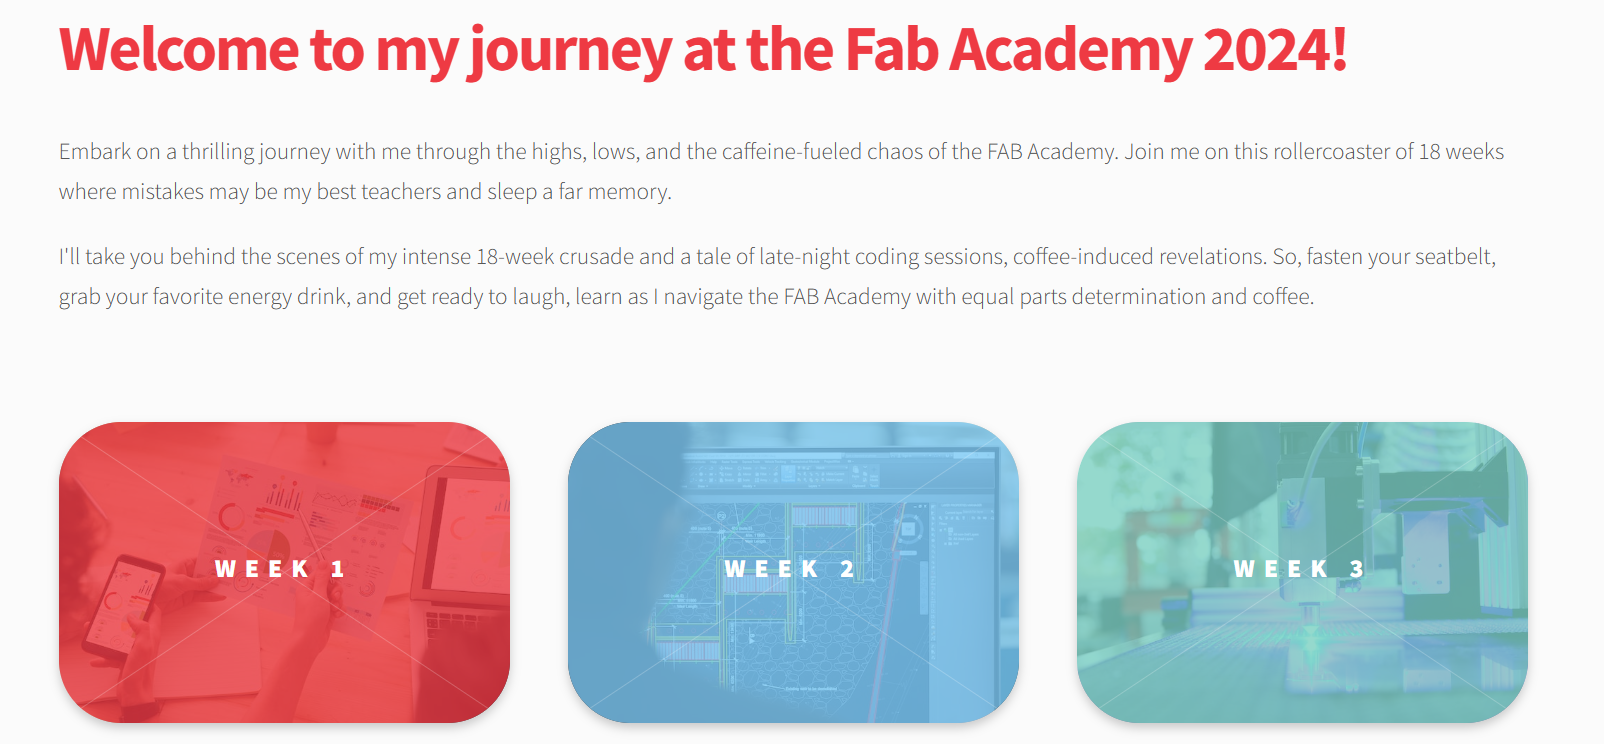
For the index page, the main code contains a header with a “Welcome to my journey” space to give readers a general idea of what the page will be about, followed by 18 buttons that will eventually redirect the user to each weeks assignments and documentation page.
Each week page will contain the following information:
2. About me section
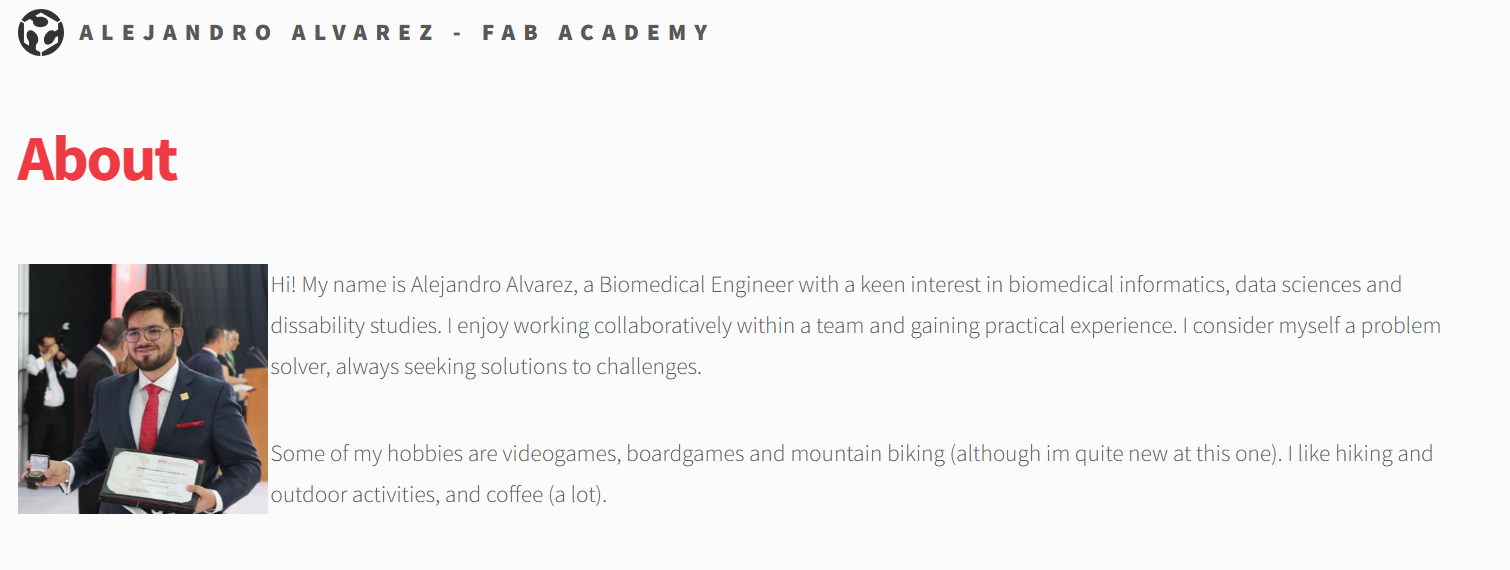
In this section there is a brief landing page about myself, including a picture, some of my interests and a few projects I’ve worked on. This page is not intended to be modified in the future, however there may be some updates in my professional trajectory, projects and few more images so you can get to know me more
3. Final project
This section may be the one that will be the most updated. This specific page will have all the step by step and documentation of the project. It is expected to have videos, images, sketches, documents, code snippets, CAD Files and more. For the length of the FAB Academy there will be regular updates to show the advancements of the project
Code and programing this website
For the development of this page HTML 5 was used with CSS. Fortunately there a a lot of resources on the web to learn and personalize the website sush as snapify that let you embed a code:
To properly develop this website, the code was edited on Visual Studio Code and was stored locally before publishing through GitLab. For example, the following code corresponds to this section:
3. Git lab
For using Git, there area few commands that are usefull, this list will be used to create a git, commit and push
            git init #Initialize
            git clone #clone a repository
            git add . #Add files
            git commit #Compact files
            git push #Upload repositor
            git status #Status of the repository

At this point there is no git file at directory, to create a git repository we need to initialize with "git init". This command will create the hidden folder ".git" where the repository will be hosted. This folder is essential to have a git repository hosted later on git lab
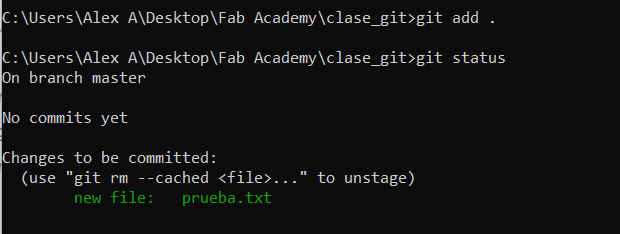
We proceed to open the file “prueba.txt” with Visual Studio Code and modify it’s content with a “Hello world” and save it. We add the file to git by using "git add ." and check the status with git status
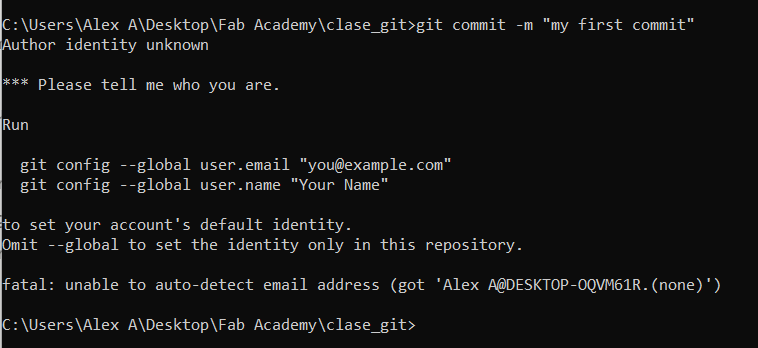
After this, we need to commit for the first time our file to the repository by using "git comit -m "My first Commit"". As this is the first commit, there is a need to state the user and a warning will be displayed.
For this, we run the following to lines before we try to re-commit
          git config --global user.email "email@example.com"
          git config --global user.name "NAME"
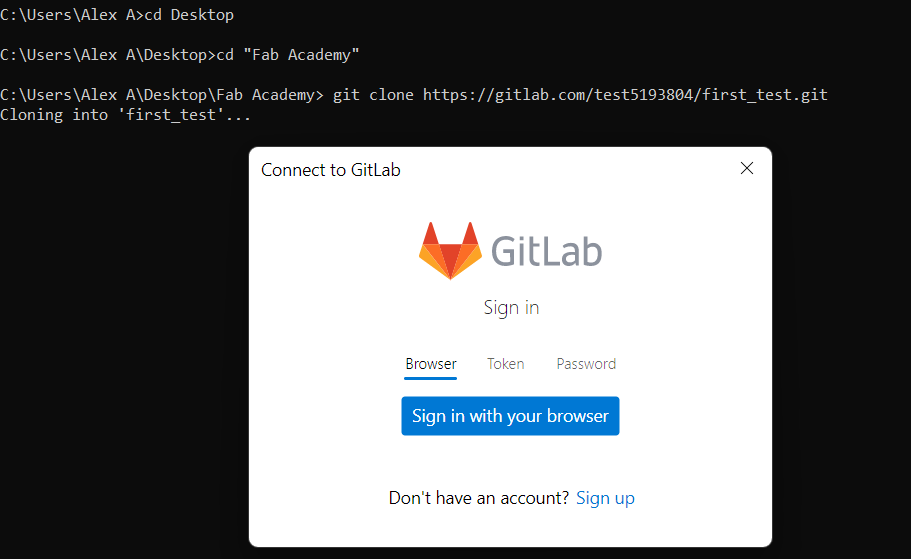
If done properly a git lab interface will be opened and we log-in with our fablabs.io credentials. This will allow us to host the website and in a few minutes we would be able to use our assigned link to access our website.
