Week12. Molding and Casting
Assignments
- Group assignment:
- review the safety data sheets for each of your molding and casting materials, then make and compare test casts with each of them
- compare printing vs milling molds
- Individual assignment:
- design a mold around the process you'll be using, produce it with a smooth surface finish, and use it to cast parts.
- extra credit: use more then two mold parts
Hero Shot
Group Assignment
1.Food-Grade Liquid Silicone
Food-grade liquid silicone is a high-purity, non-toxic, and odorless silicone material commonly used in making products that come into contact with food, such as baking molds, pacifiers, and silicone utensils. This type of silicone typically comes in two parts, A and B, which need to be mixed in a specific ratio to cure and set properly.Basic Characteristics of A and B Components
Component A (Base): The main ingredient is liquid silicone, which determines the final product's basic physical properties and flexibility. Component B (Catalyst): The main ingredient is a curing agent or catalyst that promotes the curing of the silicone.Mixing and Usage Instructions
- Ratio: The mixing ratio of components A and B is usually provided by the manufacturer, with common ratios being 1:1, 10:1, etc. Follow the product instructions carefully for the correct ratio.
- Mixing: Mix components A and B thoroughly in the specified ratio. Avoid introducing air bubbles during mixing; a vacuum degassing machine can be used to improve the product quality.
- Molding: Pour the well-mixed liquid silicone into molds, ensuring it fills the mold completely and evenly.
- Curing: Allow time for the silicone to cure. Curing time and temperature depend on the silicone's properties and can range from room temperature curing to heat-accelerated curing.
Accurate Measurement:
Ensure precise measurement of components A and B to maintain product quality. Thorough Mixing: Mix the components thoroughly to ensure uniform curing. Clean Environment: Work in a clean, dust-free environment to prevent contaminants from getting into the silicone.Safety Rules
- Wear Protective Gear:
- Gloves: Use chemical-resistant gloves to prevent direct contact with liquid silicone.
- Glasses: Wear protective glasses to prevent accidental splashes into the eyes.
- Protective Clothing: Wear protective clothing or an apron to prevent contamination of clothes and skin.
- Work in a Ventilated Area:
- Ventilation System: Ensure the working area is well-ventilated, preferably with an exhaust system to avoid inhaling fumes or vapors released during curing.
- Avoid Enclosed Spaces: Avoid working in enclosed spaces; ensure proper airflow.
- Avoid Contamination:
- Tools and Surfaces: Ensure all tools and surfaces are clean and uncontaminated before use. Use dedicated food-grade tools and containers.
- Work Environment: Keep the working environment tidy to prevent impurities from entering the silicone.
- Store Properly:
- Storage Conditions: Store food-grade liquid silicone in a cool, dry place, away from direct sunlight and heat.
- Prevent Misuse: Store liquid silicone in clearly labeled containers and keep it out of reach of children and pets.
- Handle Carefully:
- Mixing and Pouring: When mixing and pouring silicone, do so slowly and carefully to avoid spills and splashes.
- Cleaning Spills: Immediately clean any spills with appropriate materials (such as absorbent cloths or paper towels) and dispose of properly.
- Follow Cure Times:
- Cure Instructions: Strictly follow the manufacturer’s provided cure times and conditions, ensuring the silicone is fully cured before contact with food.
- Environmental Conditions: Pay attention to the impact of ambient temperature and humidity during the curing process to ensure optimal conditions.
- Dispose of Properly:
- Waste Disposal: Dispose of waste liquid silicone and contaminated materials according to local regulations. Avoid pouring it directly into drains or the environment.
- Reuse: If possible, consider reusing or recycling used silicone materials.
2.Plaster Powder
Plaster powder is a commonly used material in construction and crafts, primarily composed of calcium sulfate (CaSO₄). It can be found in forms like gypsum (CaSO₄·2H₂O) or anhydrite (CaSO₄).Characteristics of Plaster Powder
- Quick Drying: Plaster powder sets quickly after mixing with water, making it suitable for fast-setting applications.
- Plasticity: It has excellent plasticity, allowing it to be molded into various shapes.
- Stability: Once dried, plaster products have good stability and strength.
- Eco-Friendly: Plaster powder is a non-toxic, harmless natural material that meets environmental standards.
Usage Instructions
- Proportion: Mix plaster powder with water in a specific ratio, commonly 1:1 to 1:1.5 (volume ratio), adjusted according to the desired consistency.
- Mixing: Slowly add plaster powder to water and stir until a uniform slurry is formed. Avoid adding too much plaster at once to prevent clumping.
- Molding: Pour the mixed plaster slurry into molds, gently vibrating the molds to remove air bubbles and ensure even distribution.
- Curing: Allow the plaster to set. The curing time is usually between 30 minutes to 1 hour, depending on the ambient temperature and humidity.
- Demolding: Once the plaster has cured, carefully remove it from the mold and proceed with any further processing or decoration.
Precautions
- Stirring Time: Avoid over-stirring to prevent premature setting of the plaster slurry.
- Work Speed: Work quickly after mixing, as the plaster will set rapidly.
- Humidity Control: Cure and store plaster products in a dry environment to maintain their strength and stability.
Safety Rules
- Wear Personal Protective Equipment (PPE):
- Gloves: Use chemical-resistant gloves to prevent direct contact with gypsum powder.
- Goggles: Wear protective goggles to prevent gypsum powder dust from entering the eyes.
- Dust Mask: Wear an appropriate dust mask to avoid inhaling gypsum powder dust.
- Protective Clothing: Wear protective clothing or an apron to prevent contamination of clothes and skin.
- Work Environment:
- Ventilation: Use gypsum powder in a well-ventilated area, preferably with local exhaust ventilation, to reduce the concentration of airborne dust.
- Dry Environment: Operate in a dry environment to prevent gypsum powder from clumping or sticking.
- Safe Handling:
- Handle Gently: Handle and pour gypsum powder carefully to avoid dust dispersion.
- Clean Tools: Ensure all tools and containers are clean and uncontaminated before and after use.
- Avoid Food Contact: Ensure gypsum powder does not come into contact with food, beverages, or food-contact surfaces.
- Storage:
- Storage Conditions: Store gypsum powder in a cool, dry place, away from direct sunlight and moisture.
- Sealed Containers: Use sealed containers to store gypsum powder to prevent moisture absorption and contamination.
- Clear Labeling: Ensure storage containers are clearly labeled and include usage instructions.
- Emergency Handling:
- Eye Contact: If gypsum powder gets into the eyes, rinse immediately with plenty of water for at least 15 minutes and seek medical help.
- Skin Contact: If gypsum powder contacts the skin, wash thoroughly with soap and water.
- Inhalation: If large amounts of gypsum powder dust are inhaled, move to fresh air immediately. If breathing difficulties occur, seek medical help.
- Ingestion: If gypsum powder is ingested, rinse mouth and drink plenty of water. Do not induce vomiting and seek medical help immediately.
- Cleanup and Disposal:
- Spill Cleanup: If gypsum powder is spilled, clean up using a damp cloth or vacuum to avoid dust dispersion.
- Waste Disposal: Dispose of gypsum powder waste according to local regulations. Avoid throwing it away or pouring it down the drain.
3.Compare
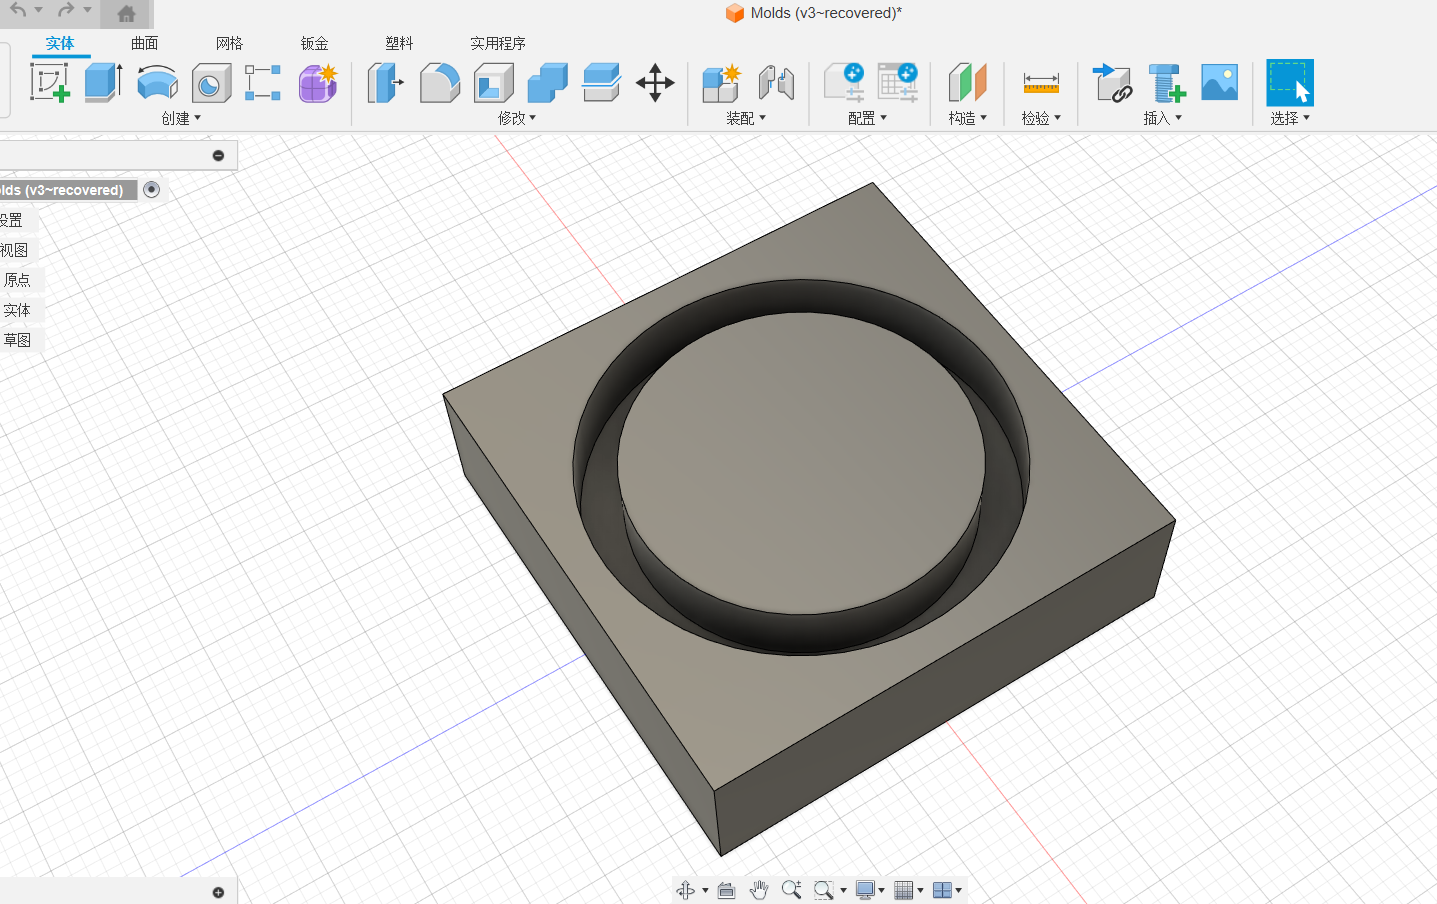
To understand the difference between 3D printing and milling molds, and to learn how to use CNC to mill small size objects, I designed a ring mold model using Fusion360 software
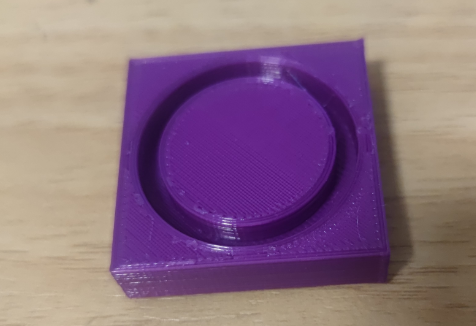
Then the printer and cnc engraving machine will be processed and manufactured separately
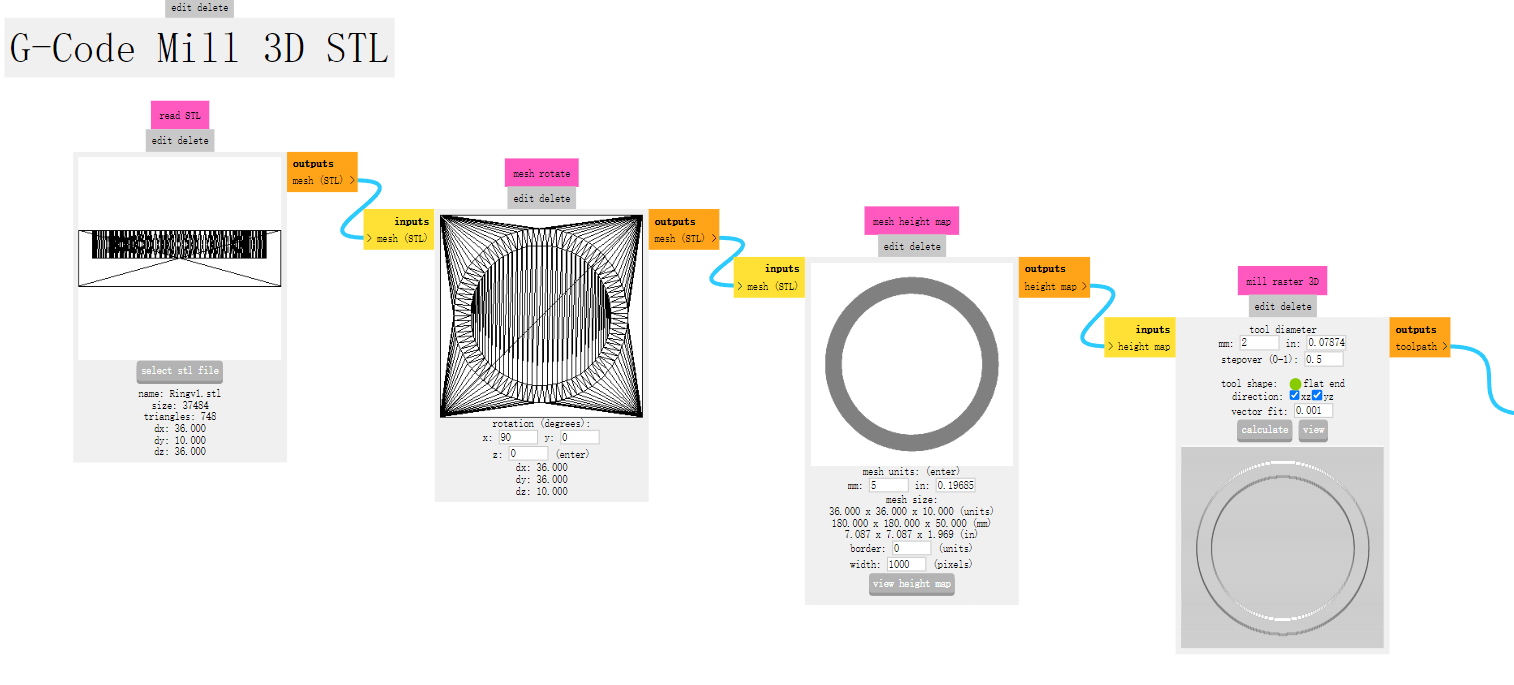
Before milling the mold, I used mods tool to generate the G-code file of the 3D model, and set the parameters according to the actual tool head used by the machine; after completion, the path file was imported into the cnc operating software for further processing.
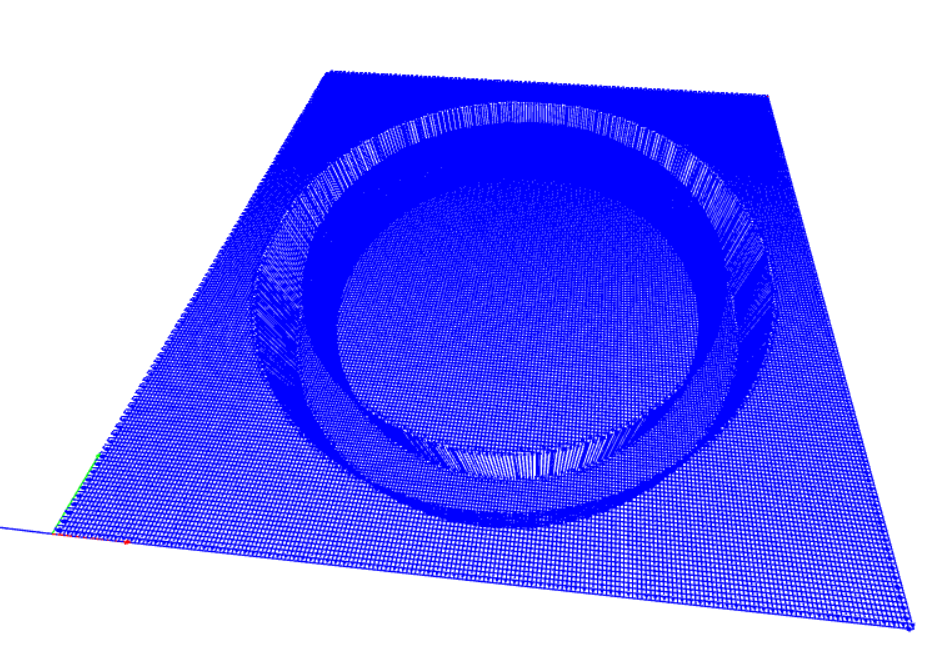
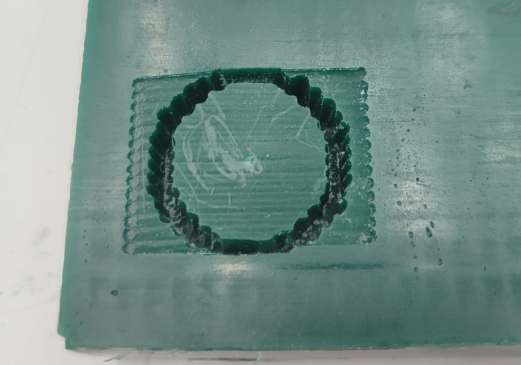
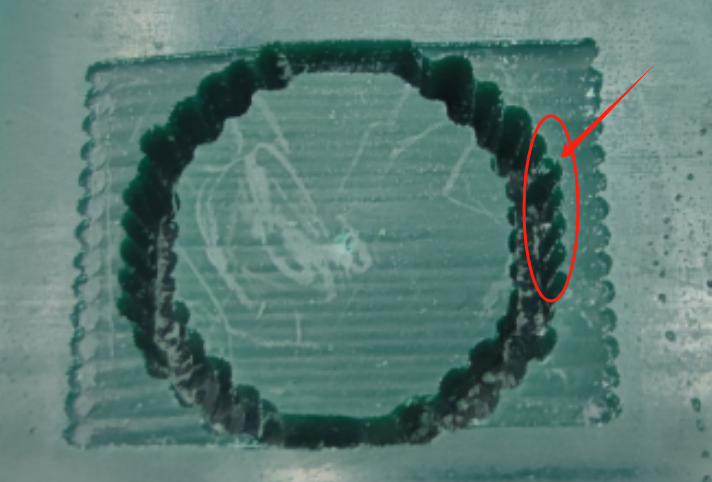
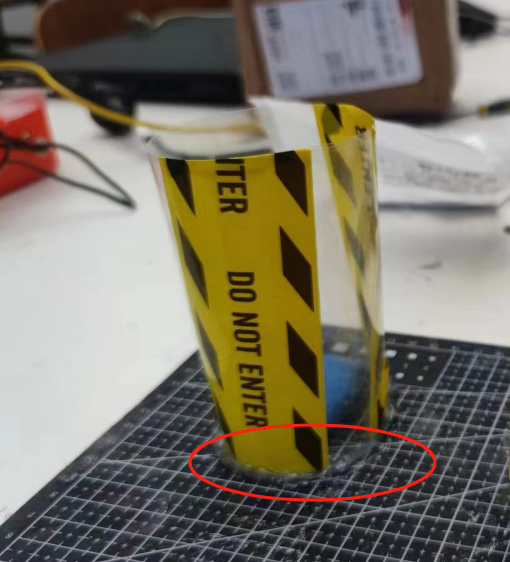
After milling the mold, there is a problem as shown in the following figure. The periphery of the mold is not smooth, and there are traces of the tool head. To improve this problem, you need to change the cutter head, and secondly, after asking customer service, it is found that the accuracy of the machine is poor. When the machine is working, it will produce strong vibrations, which are not well solved. Compared with 3D printing molds, the latter is better in terms of detail. After the team tried it, I decided to use silicone and plaster to make the mold.
Individual Assignments
"l like coffee!", "Yes, me too~"
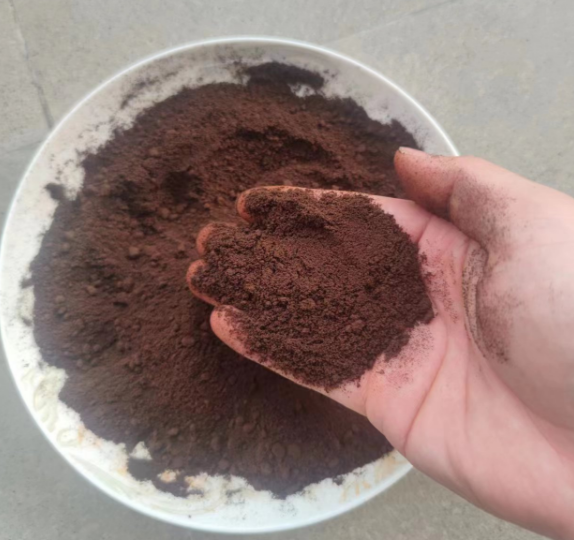
Coffee grounds are solid waste generated during coffee making, usually the residue left over from coffee beans after brewing, including coffee grounds, coffee grounds and coffee grounds in filters. The amount depends on factors such as how the coffee is made, the type and amount of coffee beans. The amount of coffee grounds can vary greatly between individual consumers and coffee shops. In coffee shops, coffee grounds are usually collected centrally and then processed into waste disposal systems or for other uses. In the home environment, coffee grounds may be discarded directly or used for purposes such as composting.
In some areas, people are beginning to pay attention to the reuse of coffee grounds. For example, some farms and gardens use coffee grounds as fertilizer because they contain beneficial ingredients needed by plants, such as nitrogen, phosphorus and potassium. There are also companies that have developed ways to use coffee grounds to make biofuels or other products. Despite some attempts at reuse, coffee grounds remain a potential environmental concern. Areas where coffee is produced and consumed on a large scale may need to find more efficient ways to dispose of these wastes to reduce their impact on the environment.
At the end of last year, I participated in a student project to popularize the knowledge of coffee grounds recycling to the public using AR technology, thus learning about the production, treatment and harm of coffee grounds. So, combined with this week's knowledge, I had the idea to make coffee grounds soap.
Silicone Mold
Design and Grinding
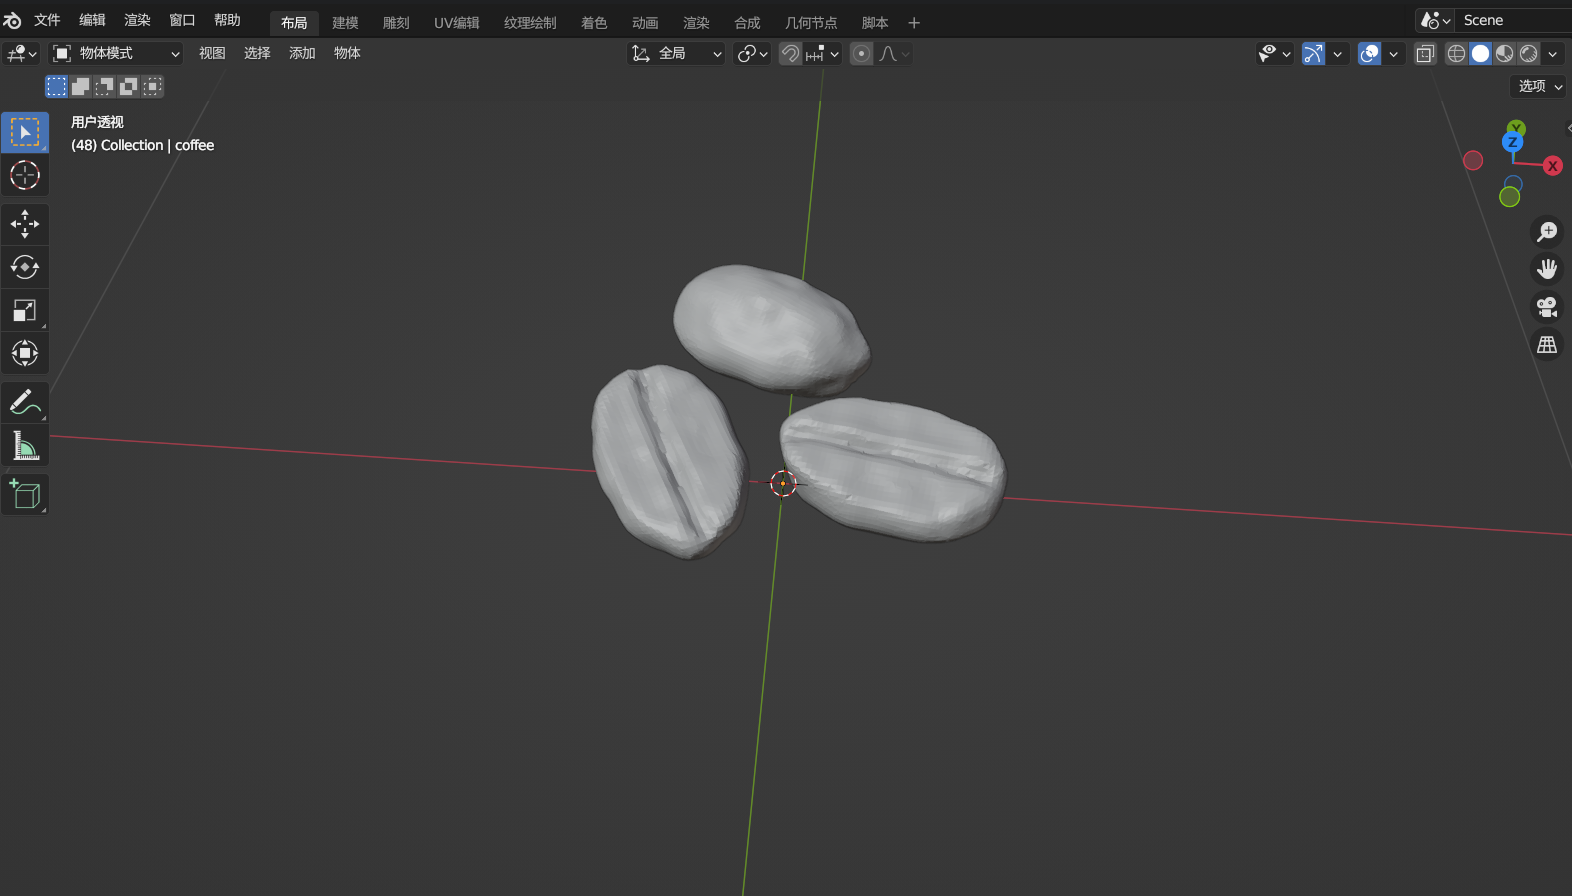
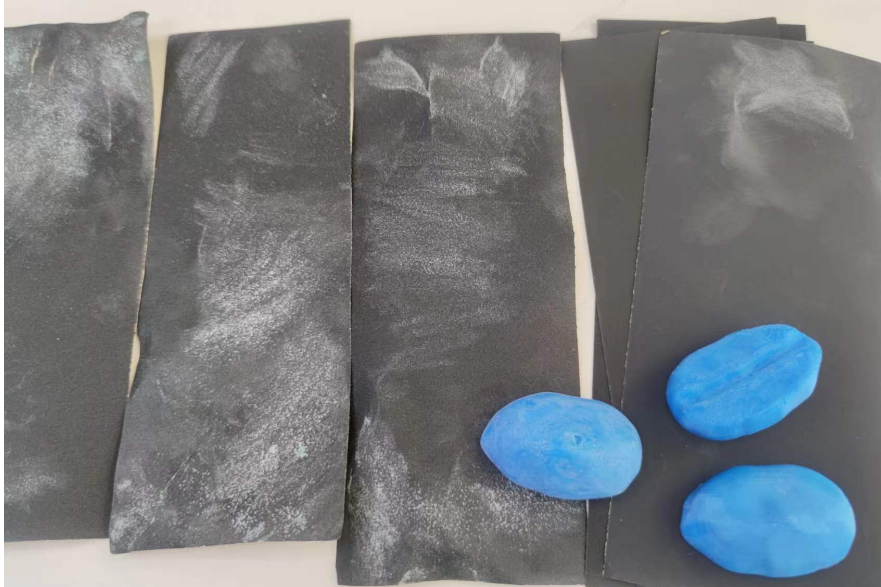
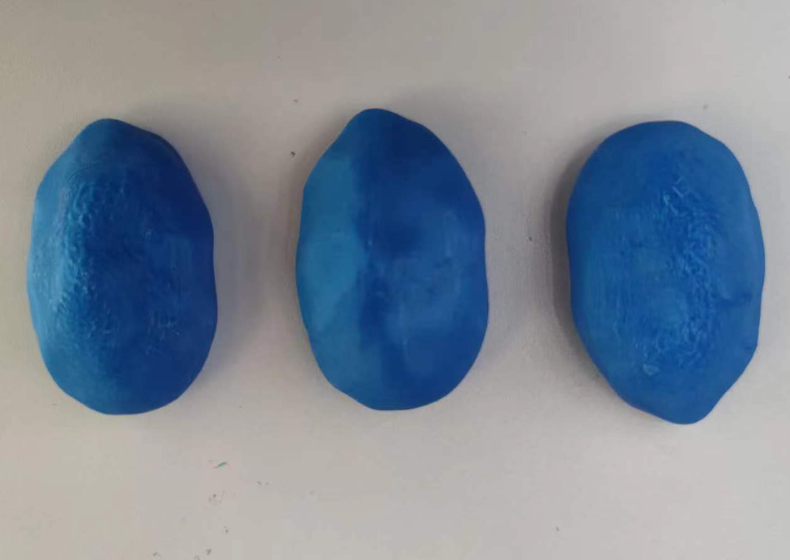
My goal is to use coffee grounds to make soap, and try to use Blender to design coffee beans in modeling. Then, the model was printed using an experimental 3D printer. However, the surface of the model is rough, so I try to use different grit sandpaper (800, 1000, 1500, 2000) to polish the model to make the surface of the model as smooth as possible.
Molding
I didn't have any knowledge of this class, so I was going to try to make molds using both silicone and plaster. Under the guarantee of time schedule and actual environmental conditions, try to understand the methods and processes of silica gel and gypsum making molds. I prepared food grade silicone, PET coil for operation.Note: You need to use glue gun to fix the bottom firmly to prevent liquid silicone from penetrating out.

The model is fixed on a flat surface using glue gun and fixed around the model using PET material to shape the mold.
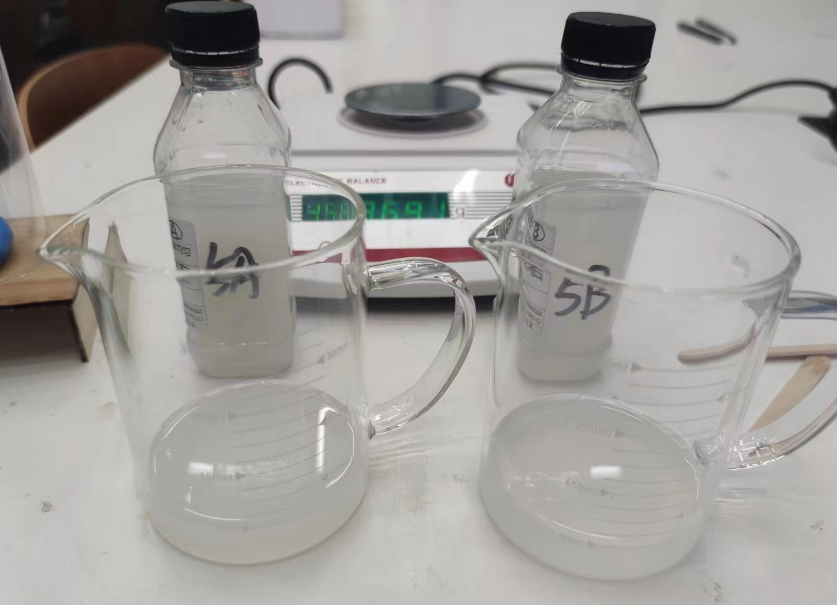
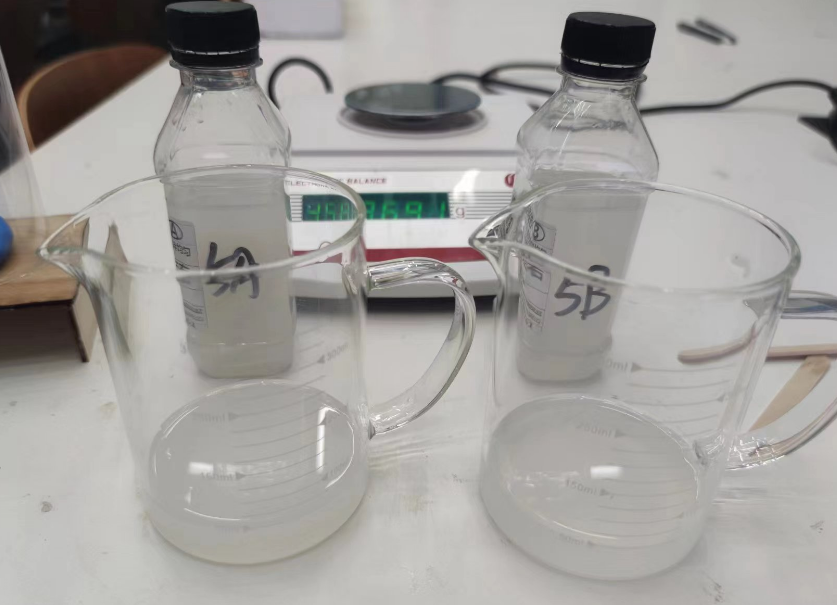
Purchased silica gel specially used to make molds, which has the characteristics of non-toxic, self-defoaming and rapid prototyping. The method of use is to mix them 1:1, and then stir them clockwise evenly (failed experience: stirring evenly will enable better molding)
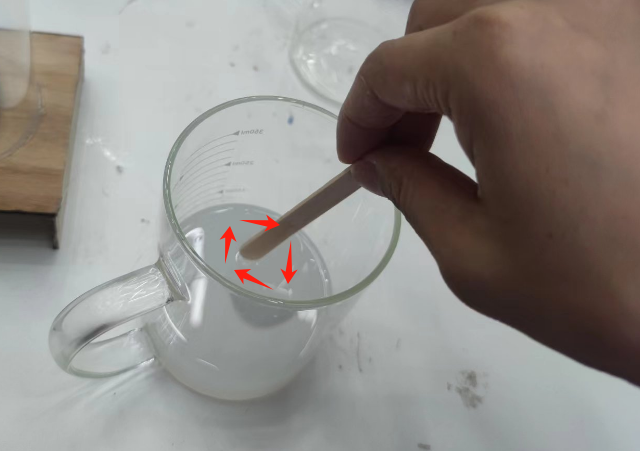
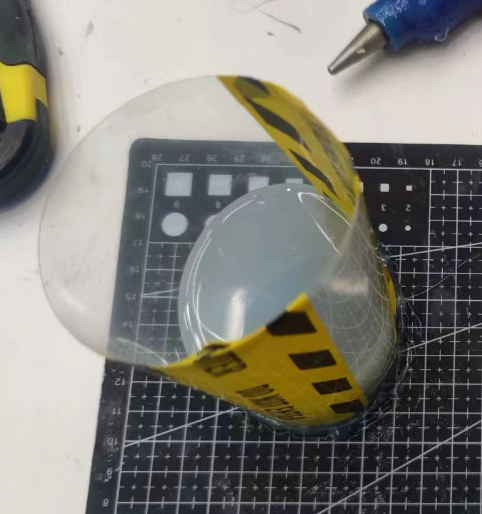
Slowly introduce the mixed silicone liquid into the container. It can be observed from the picture that some bubbles in the silicone liquid will dissolve themselves, but in fact, some bubbles have not been dissolved. I looked it up, and if I need to completely eliminate bubbles, the best way is to use a vacuum debubbler, which I don't have.
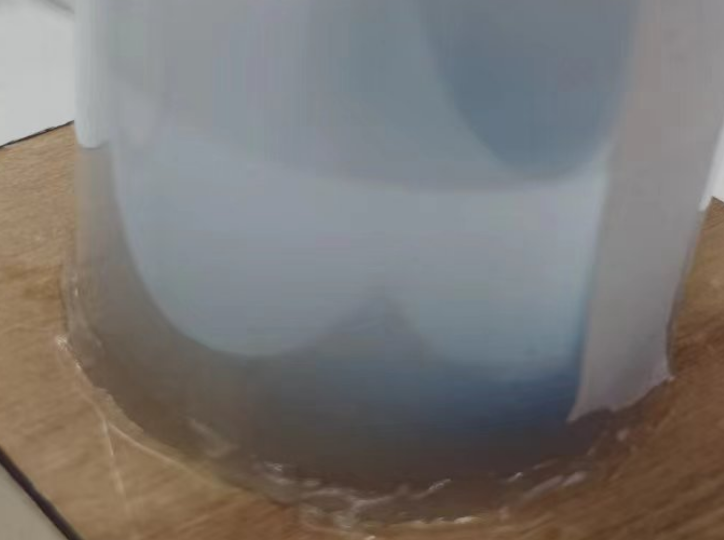
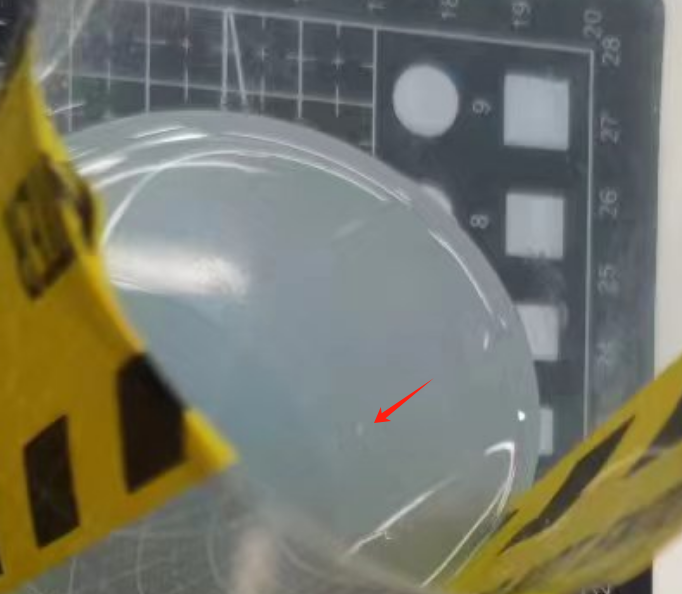
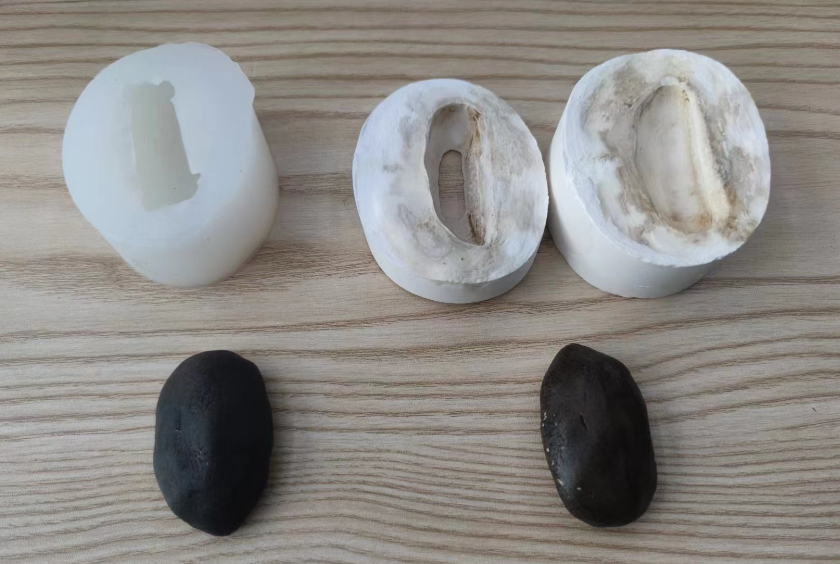
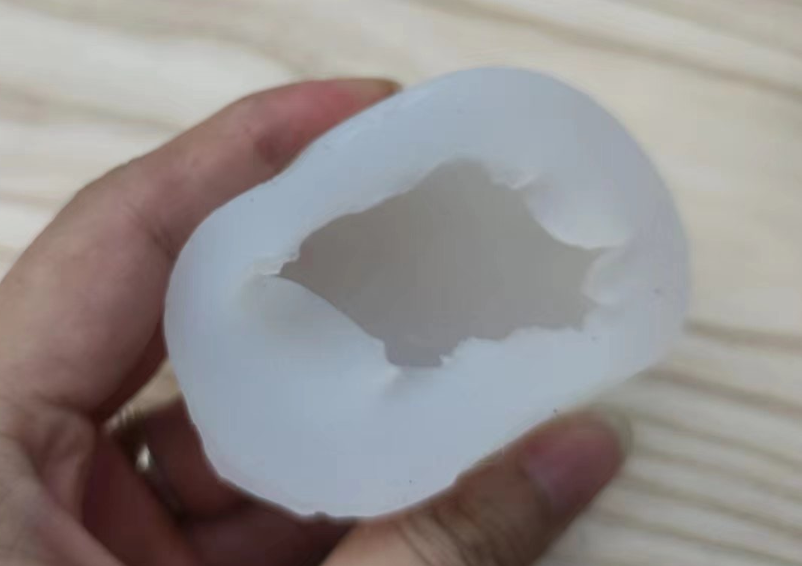
Eventually, I made silicone molds.
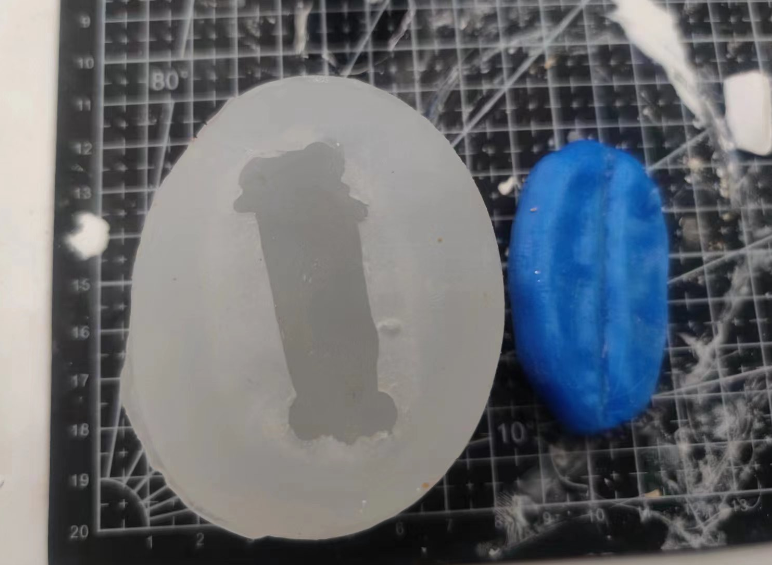
Plaster Mold
I made another attempt, using gypsum powder to make molds. Since I have no practical experience, I refer to the video tutorial for production, and the link will be posted at the end. I've got plaster and clay for ceramics.
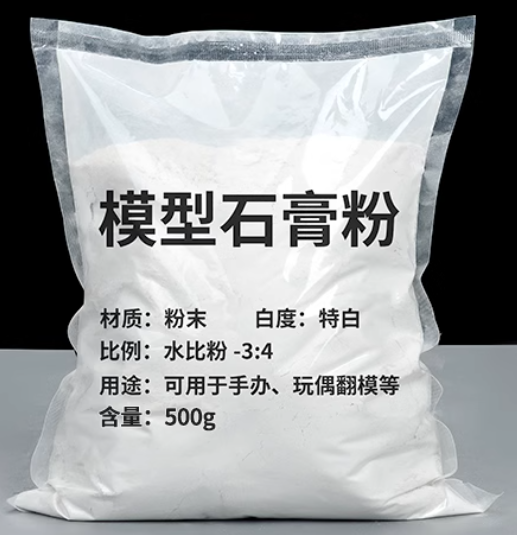
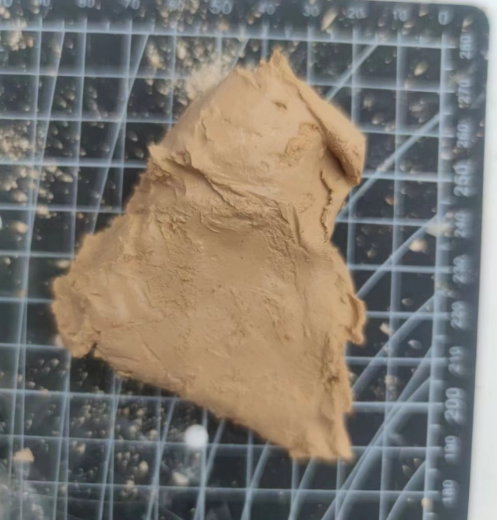
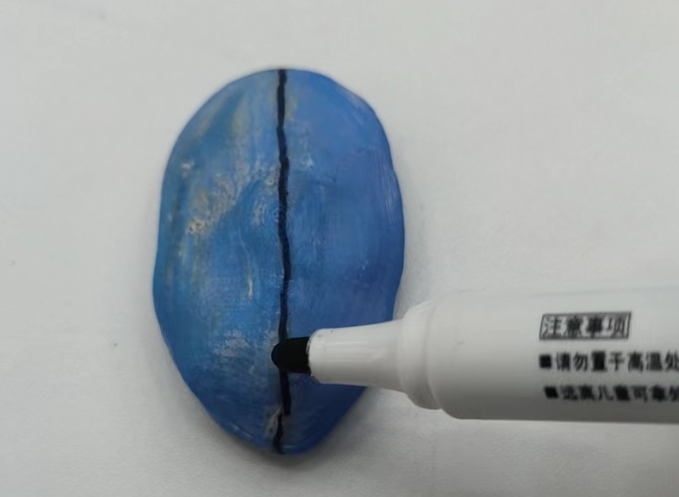
First of all, you need to use a water-based pen to draw a mold line on the model. It is a dividing line that divides the model into two parts and serves as a reference to assist in making the two parts of the mold. However, it should be noted that the flip line is not a random line, but needs to be drawn according to the characteristics of the model. Since the turnover line is the parting line of the mold, it should be prevented from failing to take out the model during the turnover process.
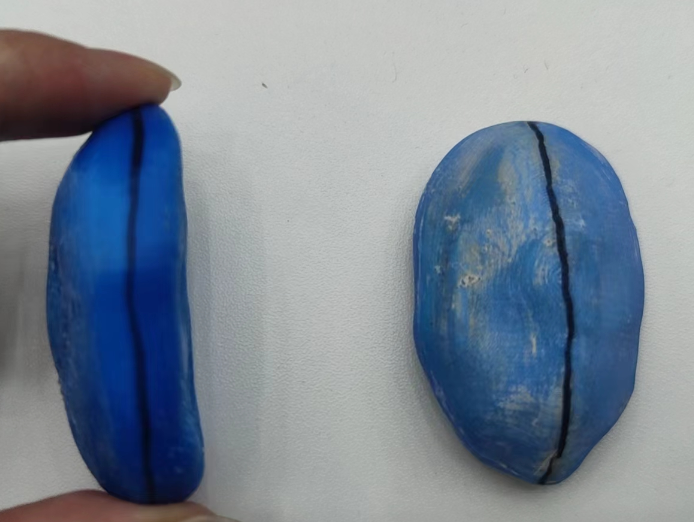
Then, make half the mold. Use clay to wrap the base, based on the turnover line. Care should be taken to keep the contact surfaces flat. After the clay wrap is bent, wrap it around with PET plastic sheets and secure it into a container with glue guns for easy pouring of gypsum slurry.
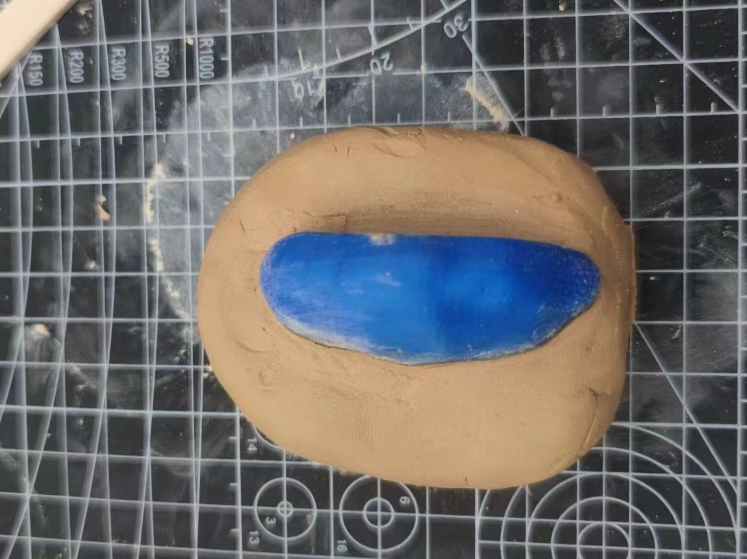
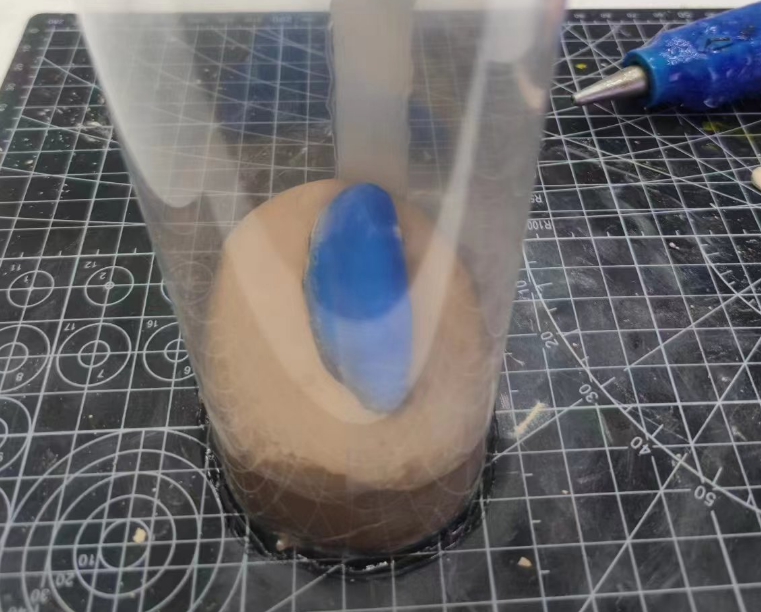
I use a quick-setting gypsum powder mixed with water in a ratio of 3:1. Mix water and gypsum powder thoroughly and stir well to ensure rapid setting.
Note: When mixing gypsum powder with water, an exothermic oxidation reaction occurs, causing heat release. Therefore, be mindful of temperature changes during the preparation of the mixture. Additionally, ensure the environment is well-ventilated, and wear a mask during operation to prevent inhalation of gypsum dust into the lungs.
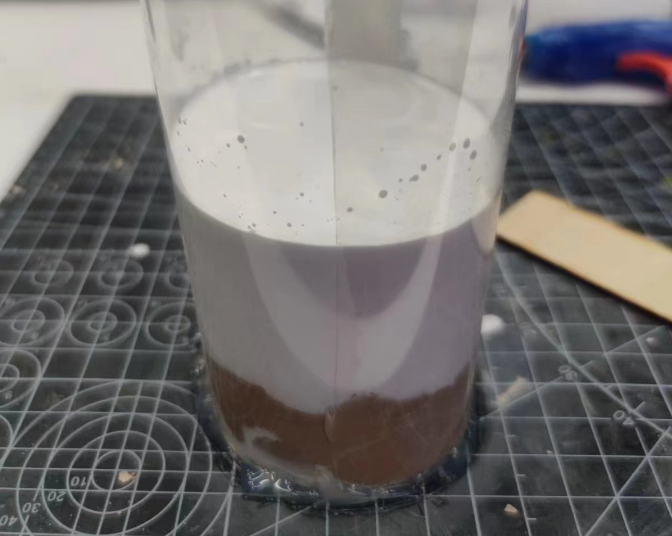
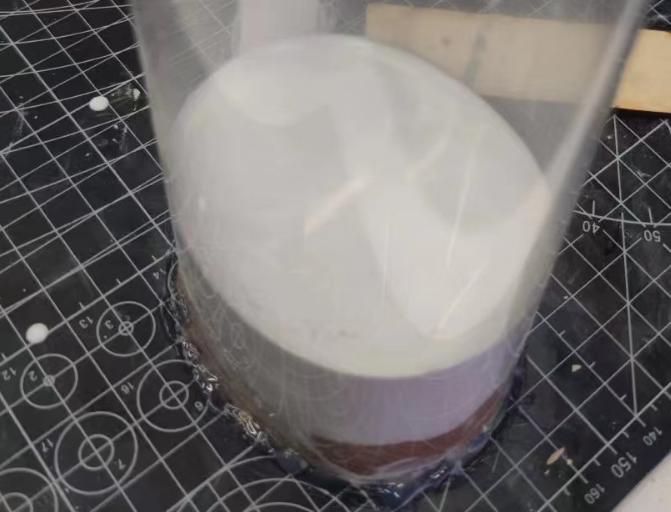
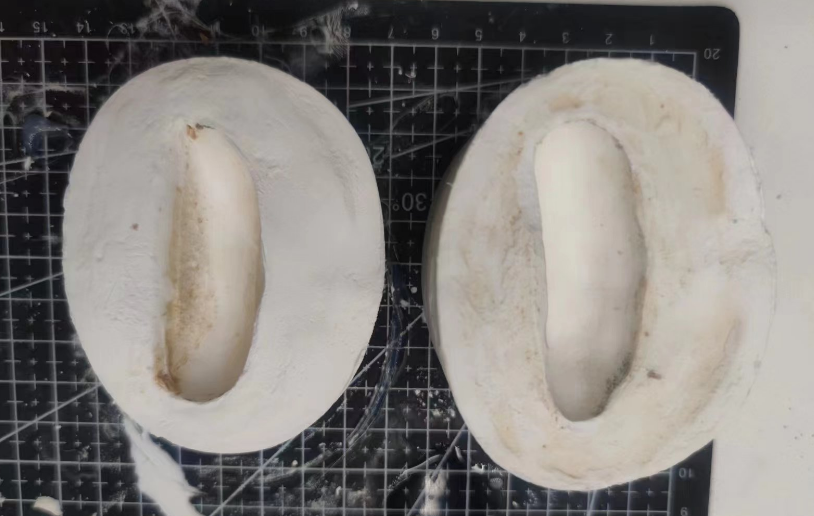
After about 6 hours, the plaster is completely dry and set. After removing the PET material, clay, and mold, you get a plaster mold, but this mold is only half the mold. We need to polish this mold and prepare it to try to make the other half.
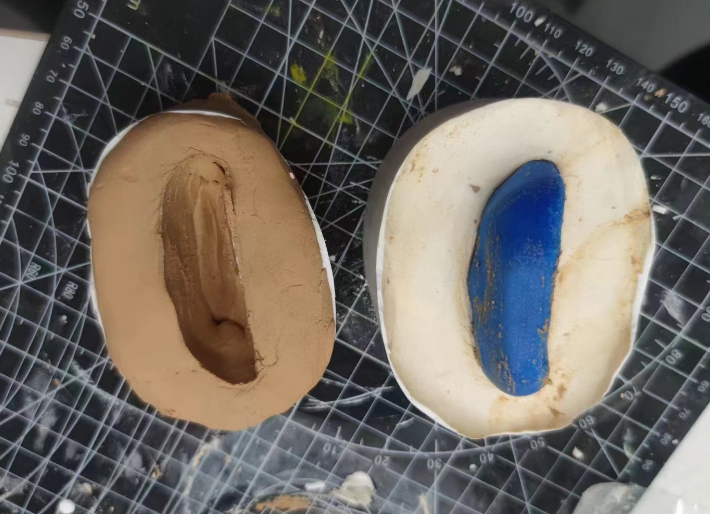
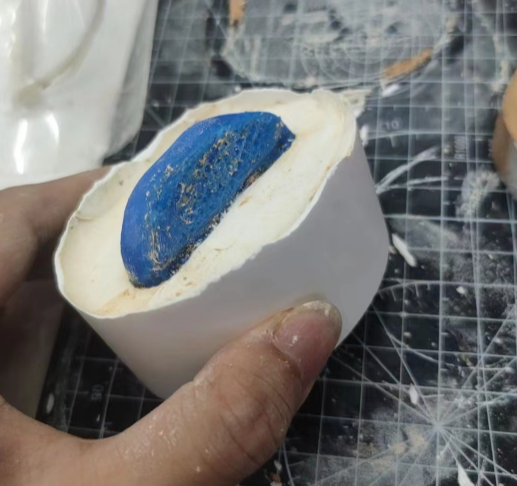
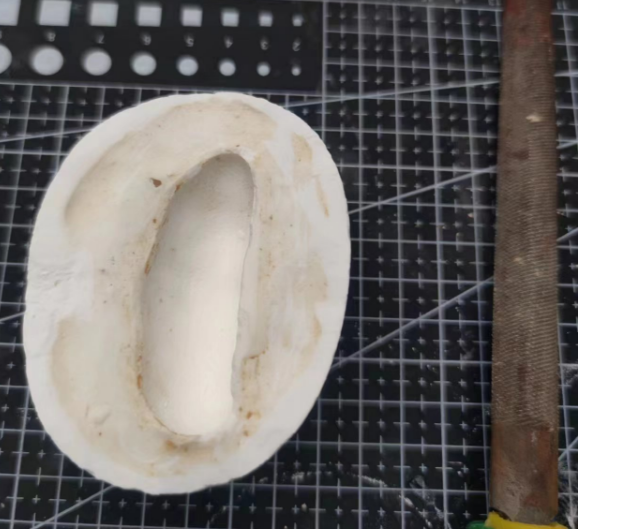
After finishing, you need to make the other half. First, you need to put the model back into the plaster mold, and then apply the prepared detergent to the contact surface of the plaster mold. The purpose of this is to prevent the two parts of the mold from sticking together and causing it to be unable to separate. introducing the mixed gypsum slurry into a container and waiting for setting and drying.
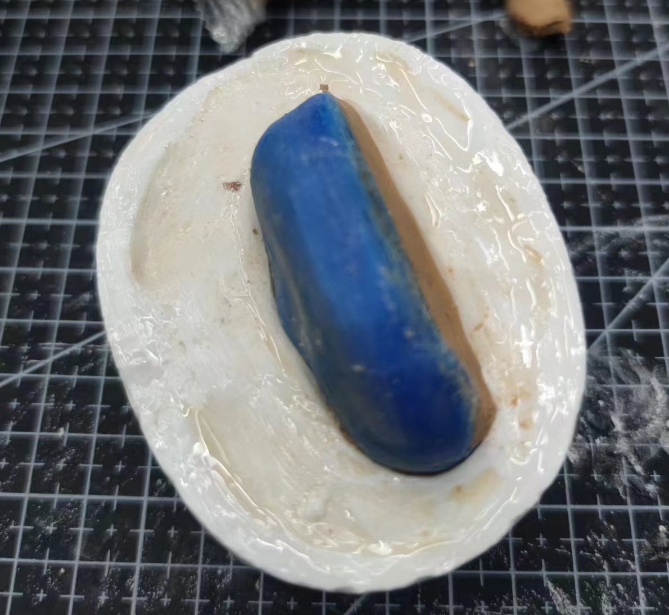
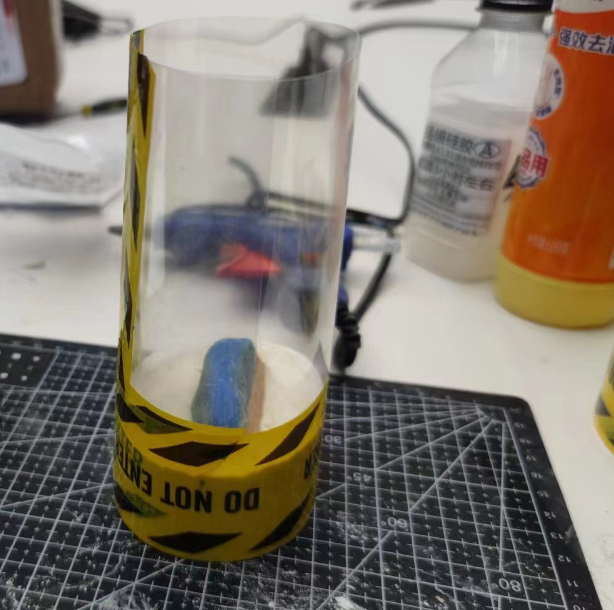
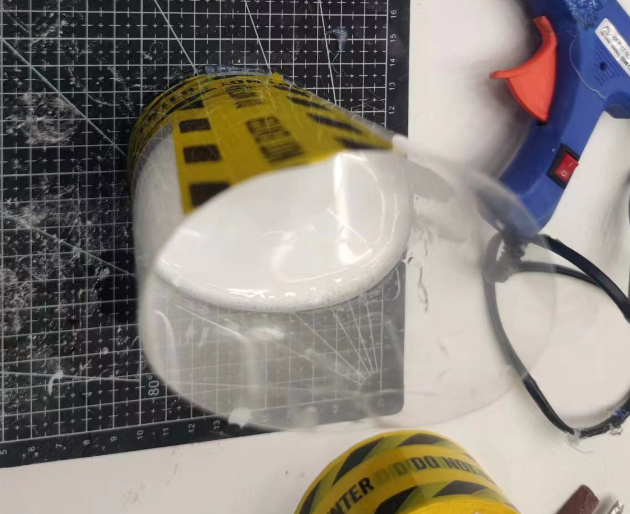
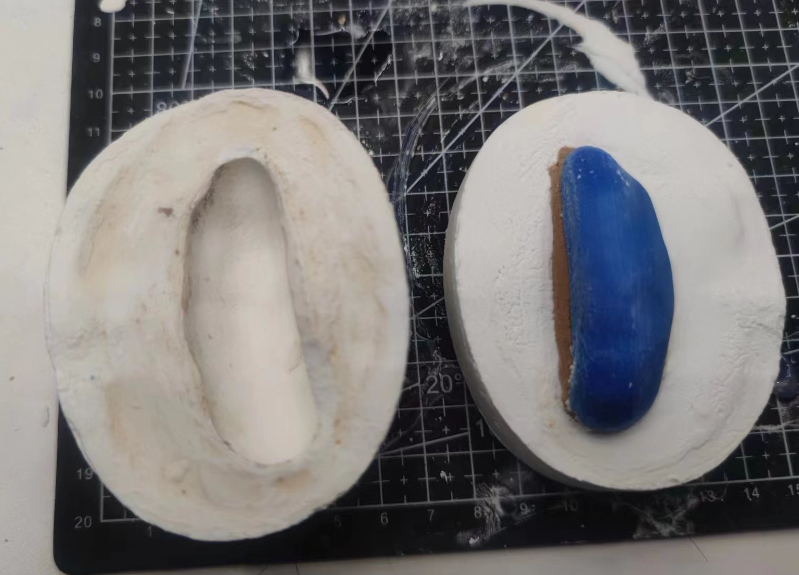
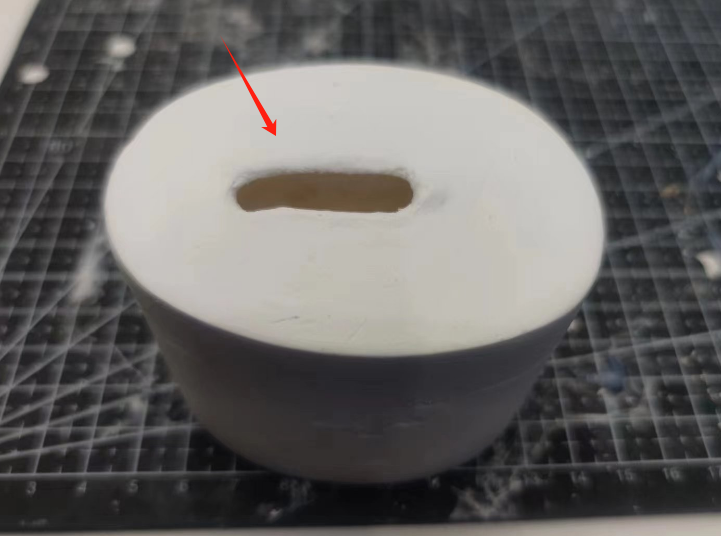
After about 6 hours, the gypsum is dried and set, and the two parts need to be separated. Due to the lack of a hole to cast the model, I used a tool to cut a hole in the top of the mold
Casting
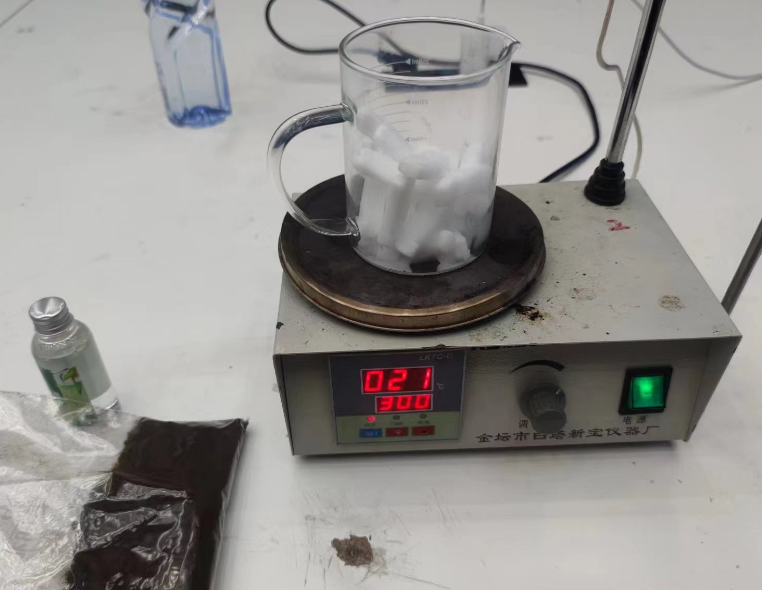
WOW!Finally,we can start casting the model. I prepared dried coffee grounds, soap base, coconut oil, frother as the main ingredients, using a magnetic stirrer as the heating device. First of all, take a certain amount of soap soap base heat melt, wait to melt after adding the right amount of coffee grounds and stir well. To create a moisturizing, greasy feel, add a few drops of coconut oil and a few drops of foaming agent.
Note: During the melting process of foaming agents, soap base, and coconut oil at high temperatures, these substances may emit fragrances. People who are sensitive to odors should wear a mask. Additionally, be cautious of the high temperatures during heating to prevent burns.
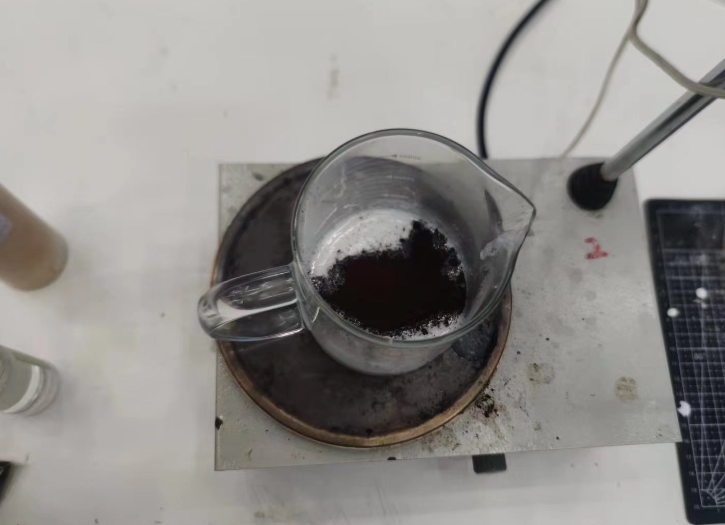
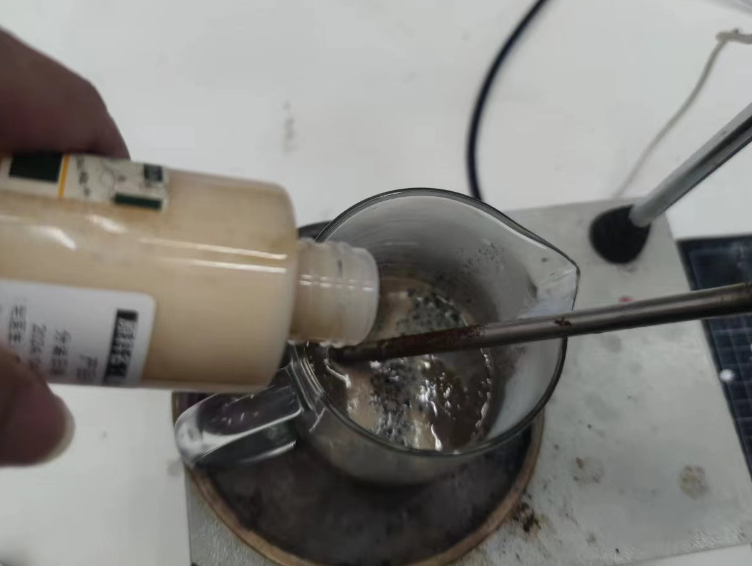
After stirring all the materials thoroughly, introduce the materials into the mold and wait for them to cool and solidify.
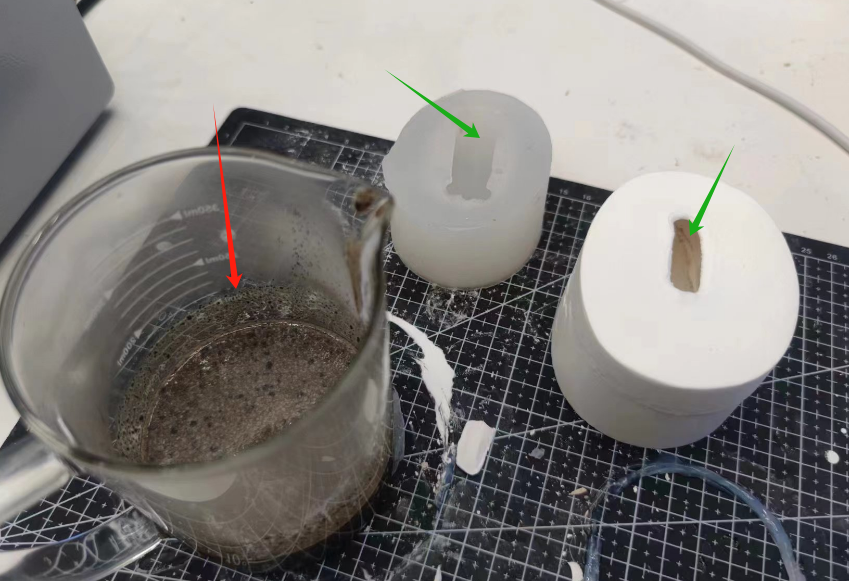
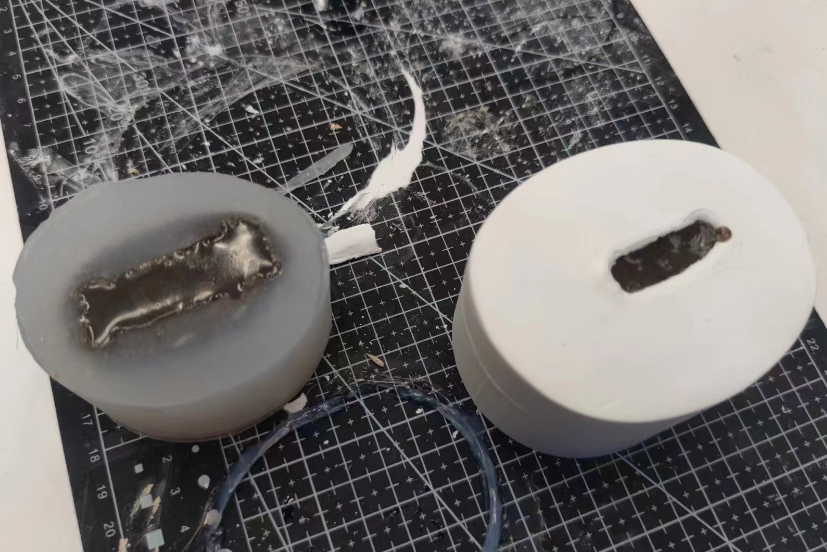
After about an hour of waiting, the coffee grounds soap was finished.
