WHAT I DEVELOPED IN THE GROUP ASSIGNMENT?
My contribution
Here I will explain my contribution to the group task, about the Data Sheets:
Data Sheets
SILICON OMMO 25 - SMOOTH ON
OOMOO 25 is an easy to use tin cure silicone rubber compound that features a convenient one-to-one by volume mix ratio (no scale necessary). It has a low viscosity for easy mixing and pouring . . . vacuum degassing is not necessary. This product cures at room temperature with negligible shrinkage. OOMOO™ 25 has a 15-minute pot life and 75-minute cure time.
We had a problem with this input, all the batches in our Fab Lab were dry.
SILICON RTV F20 PLUS
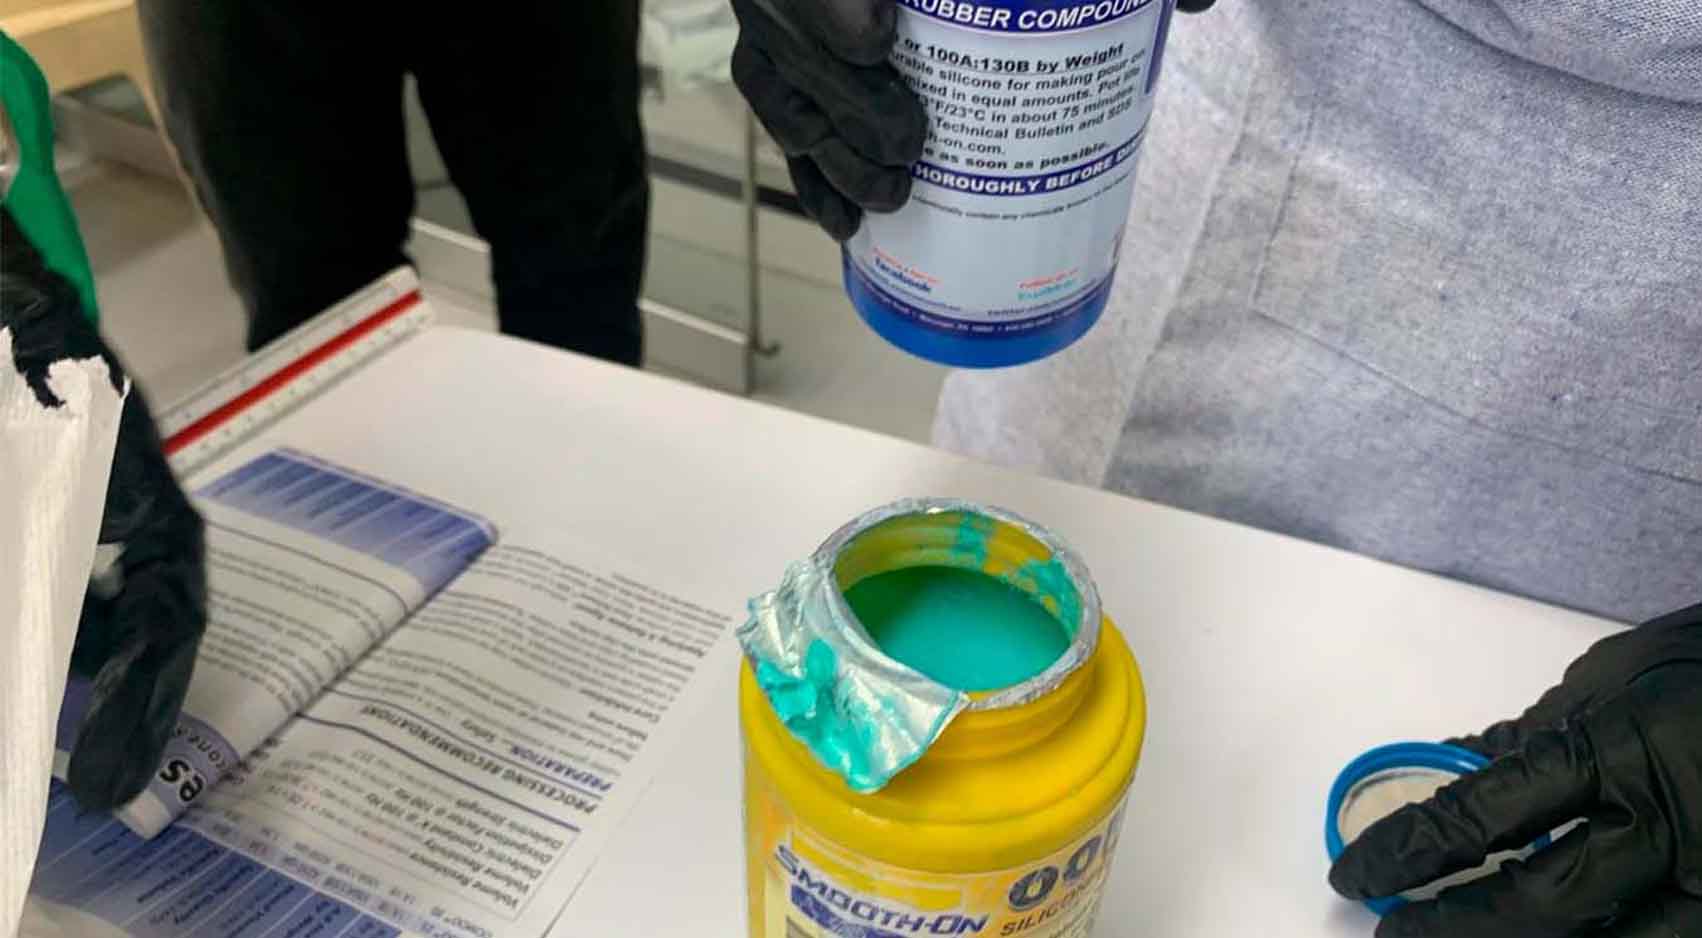
RTV silicone consists of a white liquid which is the silicone and the curing agent. The curing time is 4 to 8 hours. It has good tear strength and excellent temperature resistance.
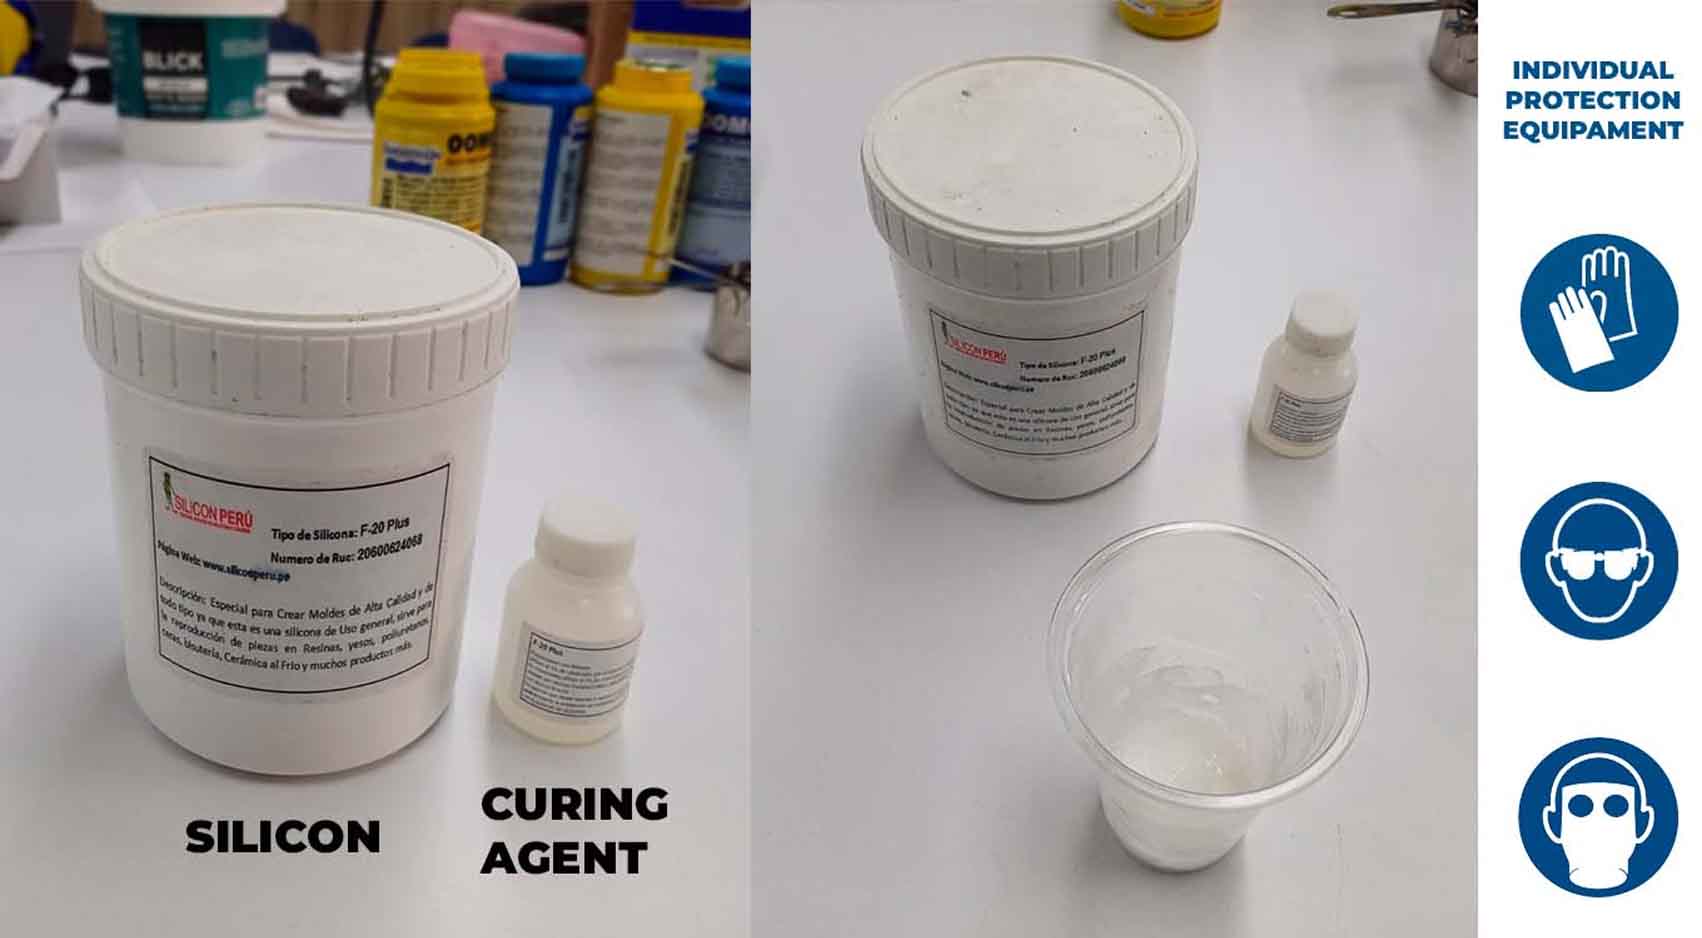
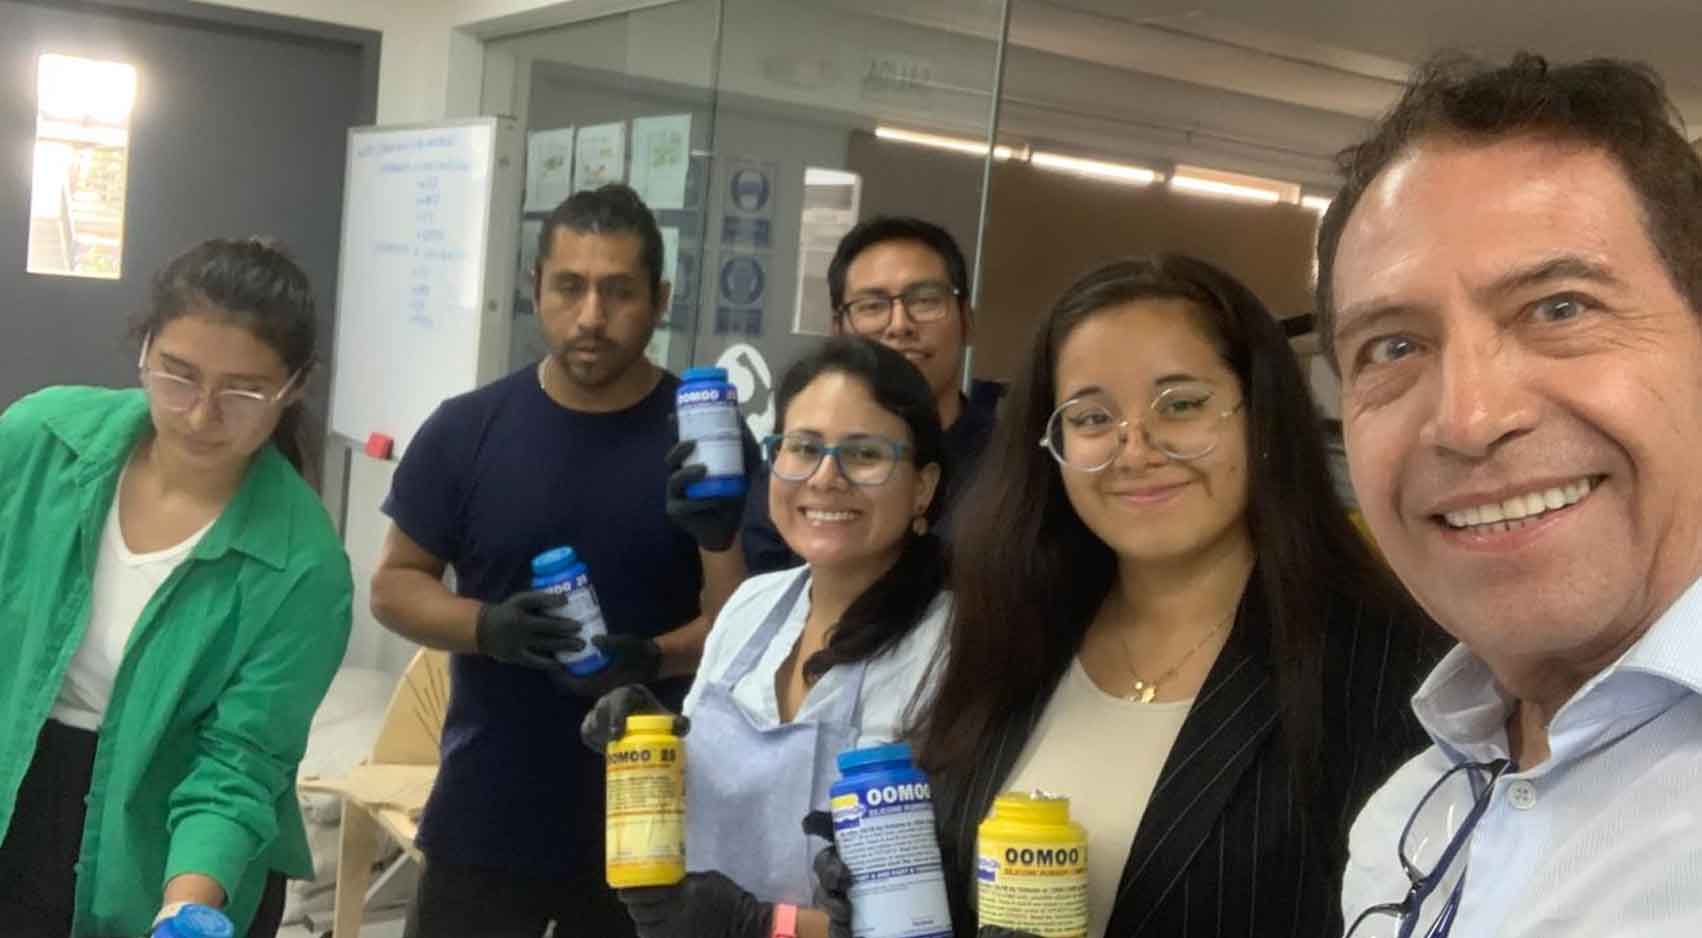
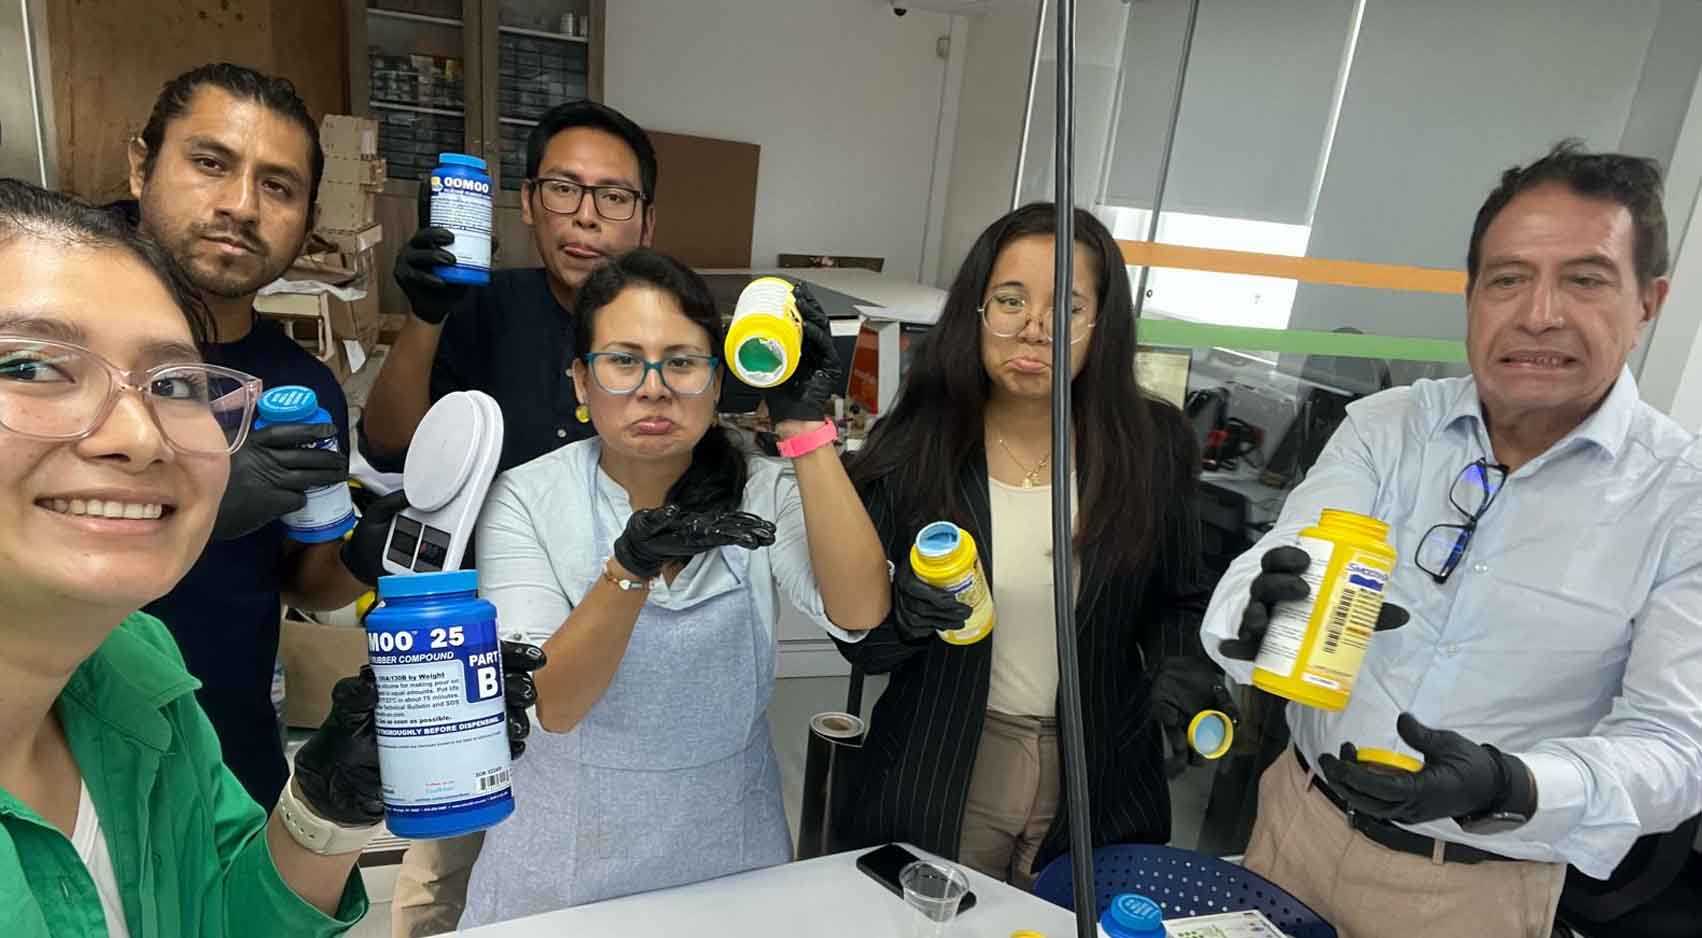
After reading the technical data sheets, we use the material and mix according to the characteristics and values mentioned. Consider the mandatory personal protective equipment for the use of this material.
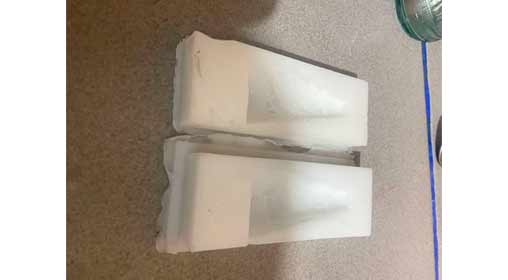
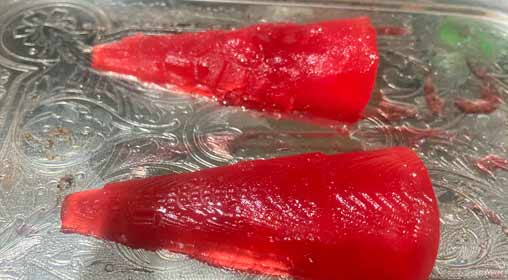
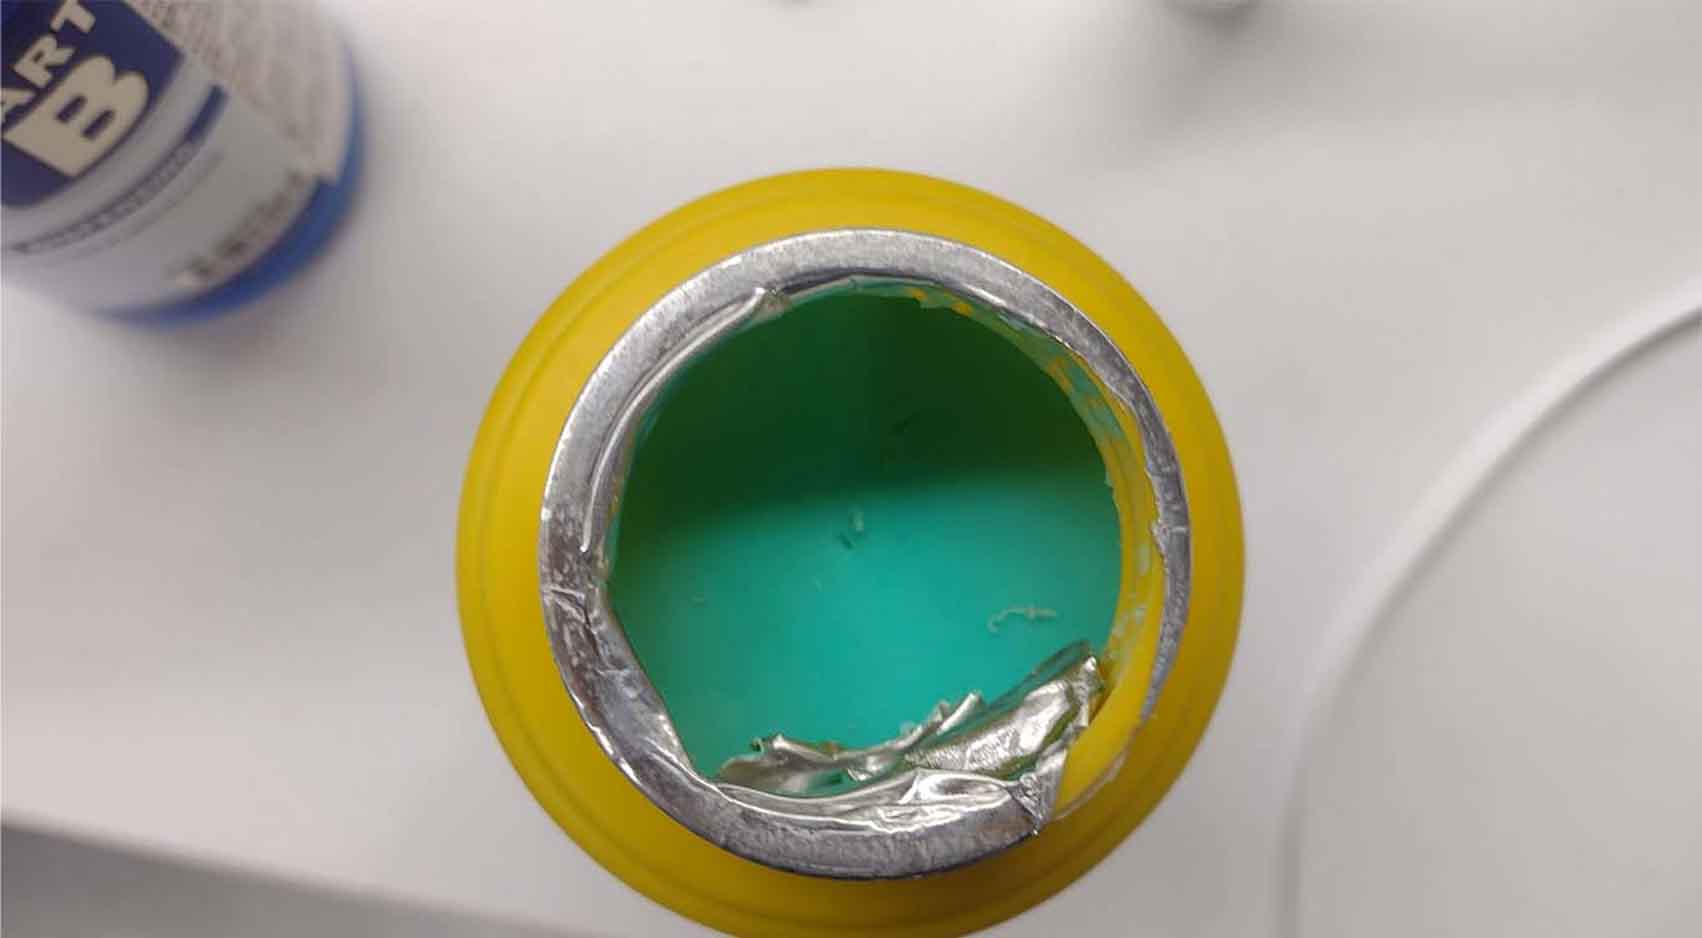
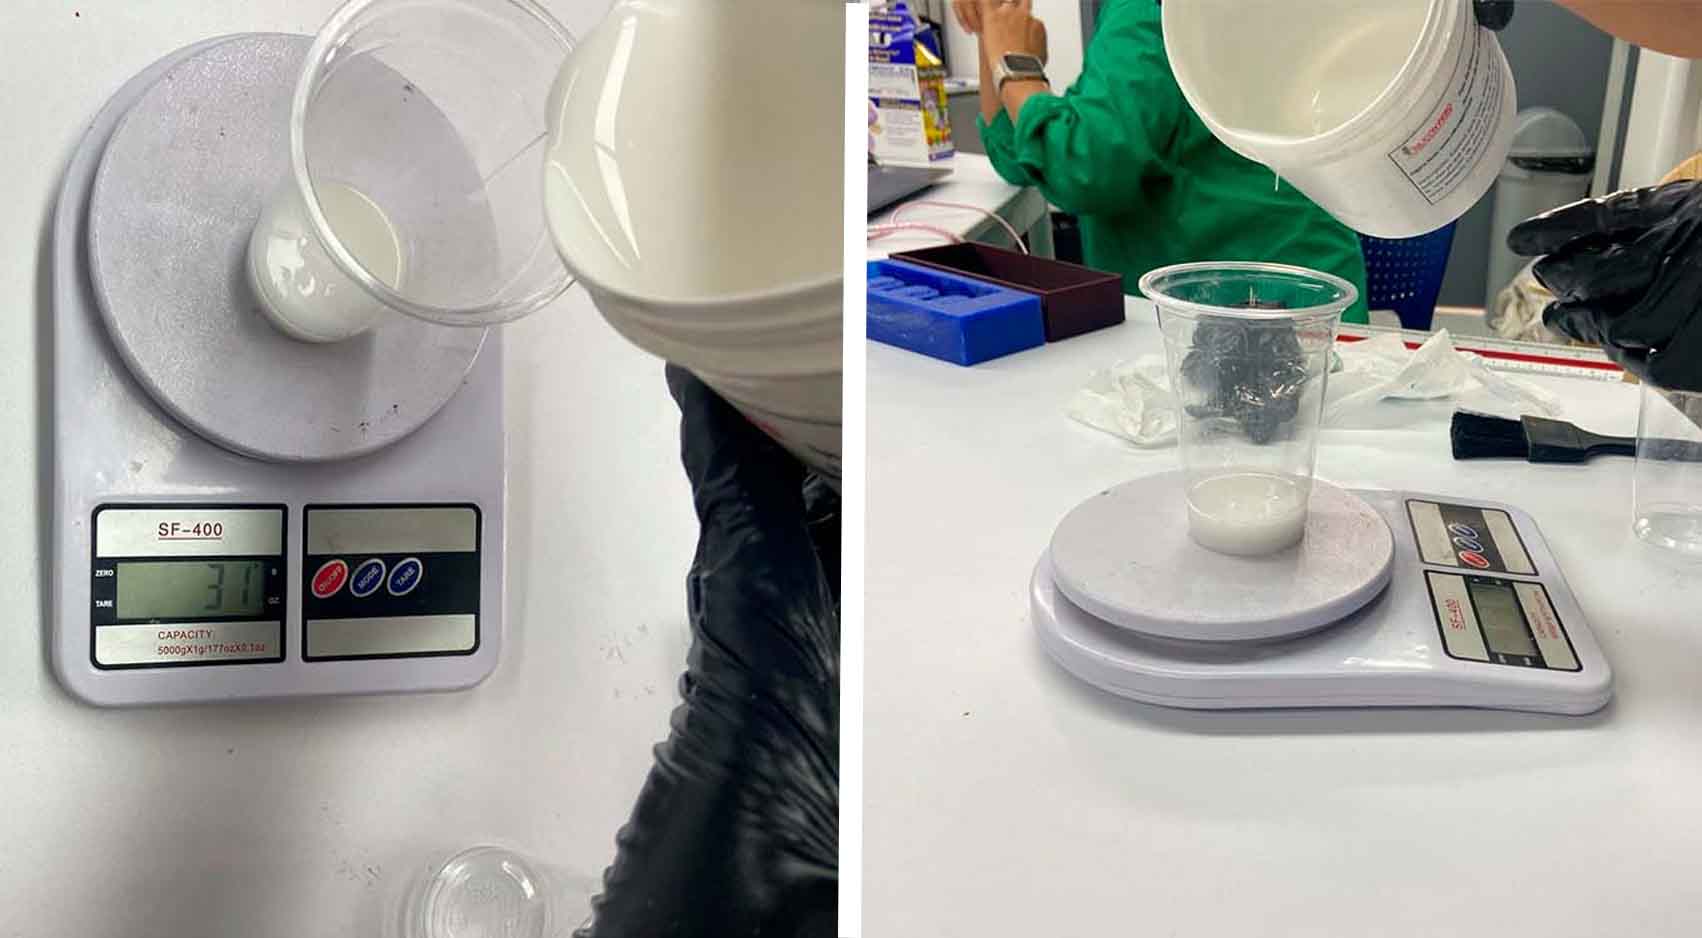
We proceed to perform the weighing according to the considerations, placing only a % of catalyst, we move and let dry for 8 hours, this is the result, we use as a mold the plastic cup.
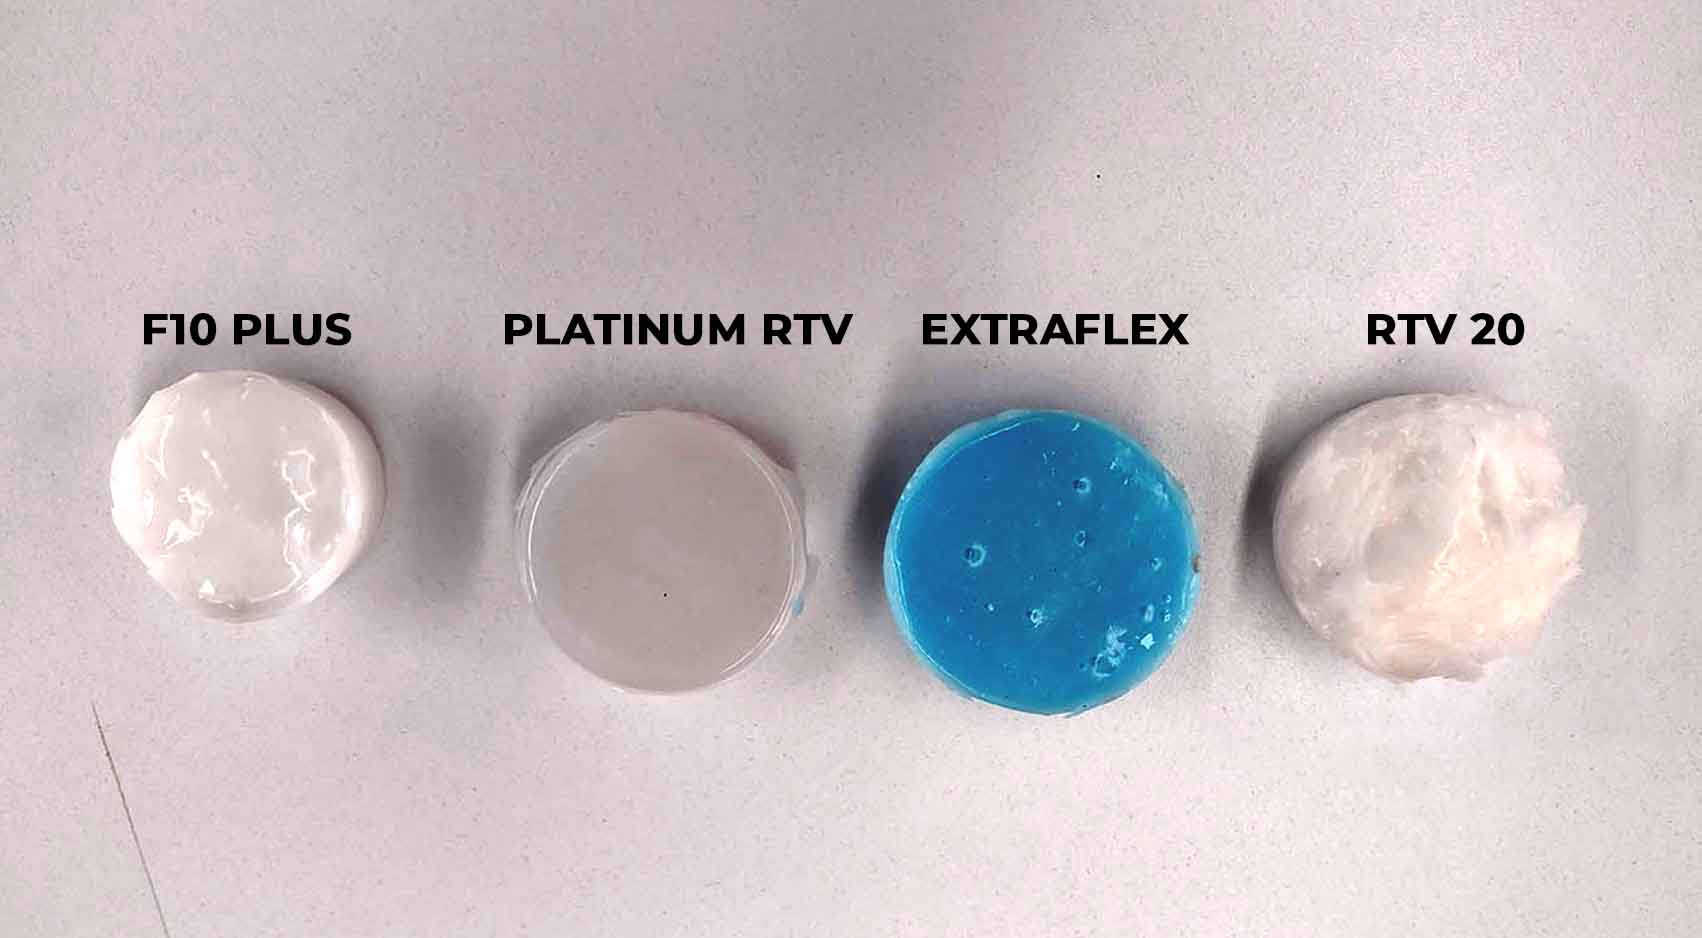
The consistency is partially firm, the translucency is at least 80%.
PLATINUM RTV SILICONE HARDNESS 30-1 FOOD
The following silicone, similar to the previous one, also includes 2 mixtures. The main characteristic of silicone is that it is food grade, that is, we can use it to make molds for food, cakes or other types. It has high resistance to high temperatures and tearing.

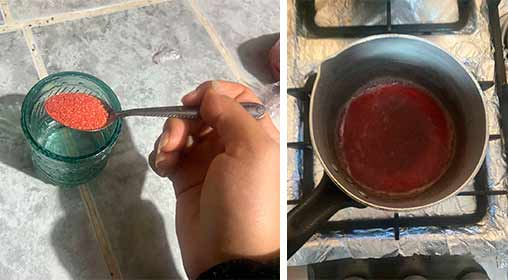
After reading the data sheets we did our test with the proportion we provided and mixed to obtain the result. Let's remember that the curing time is 5 to 12 hours. In addition, we have to keep in mind that the mixing time is 3 to 5 minutes maximum and then pour into our mold.
First we started measuring the components on a scale to calculate the exact proportions. After waiting the hour recommended by the supplier for the curing time, we were able to get the result. It came out very good, resistant and with better molding compared to the previous one.
The consistency is stronger, heavier, solid and not very flexible, showing a good firmness.
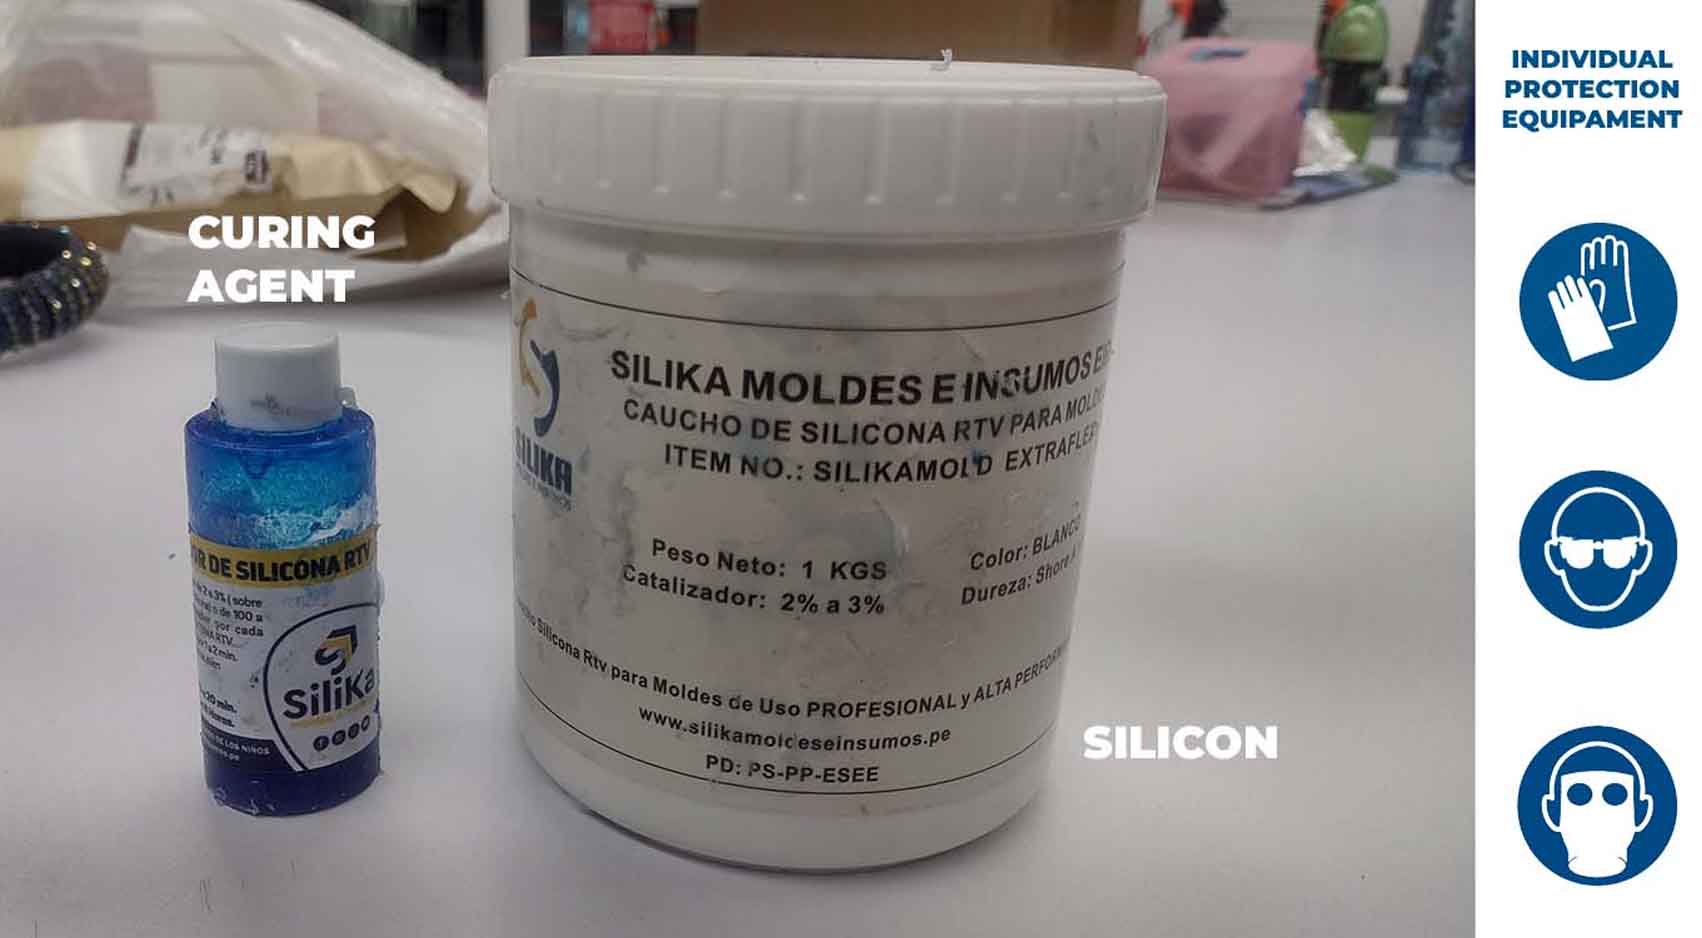
RTV EXTRAFLEX SILICONE RUBBER
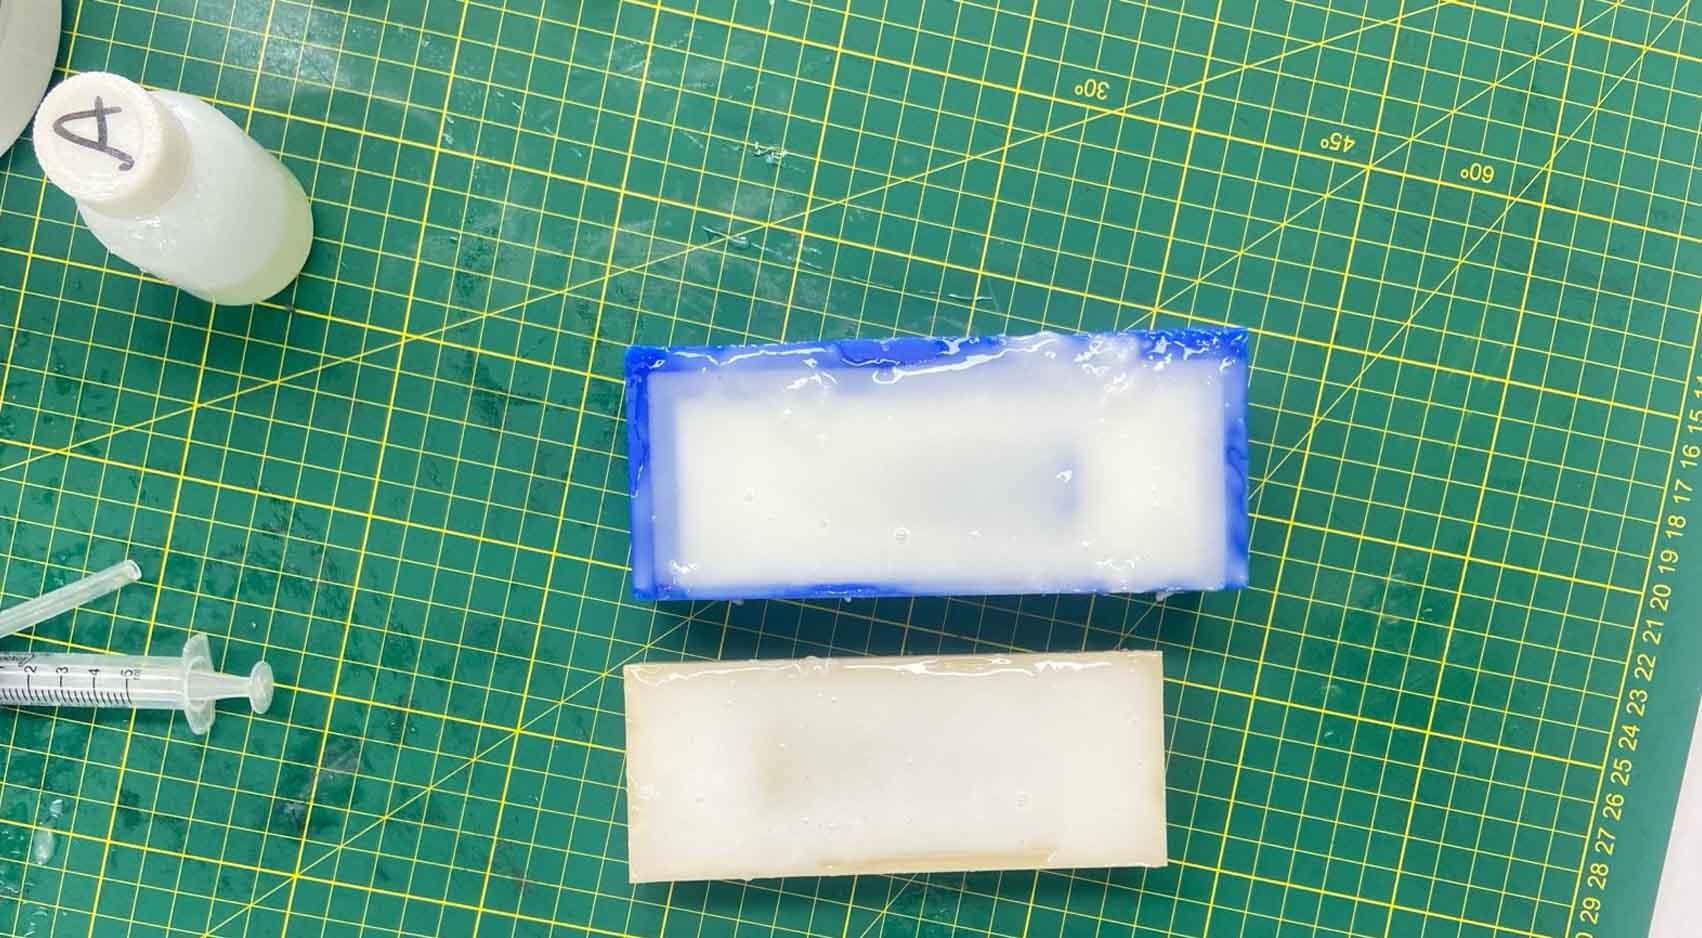
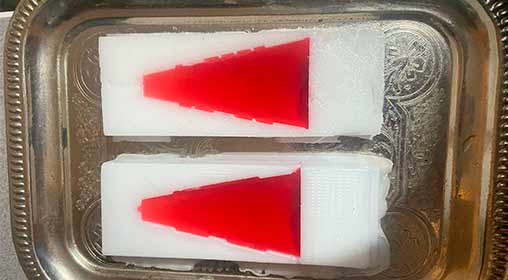
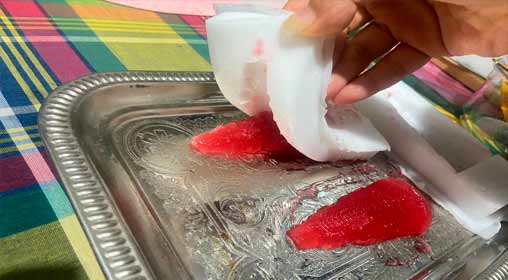
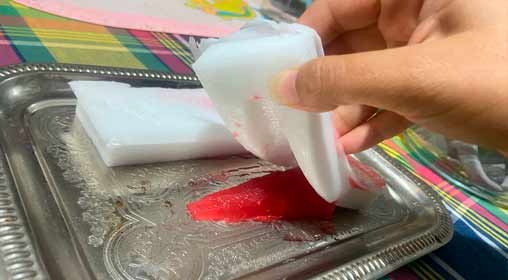
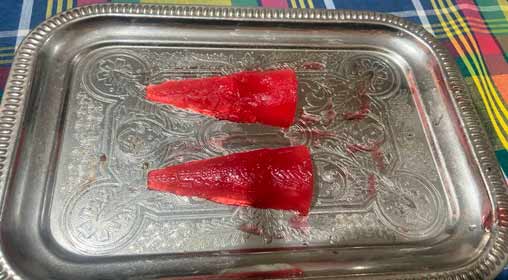
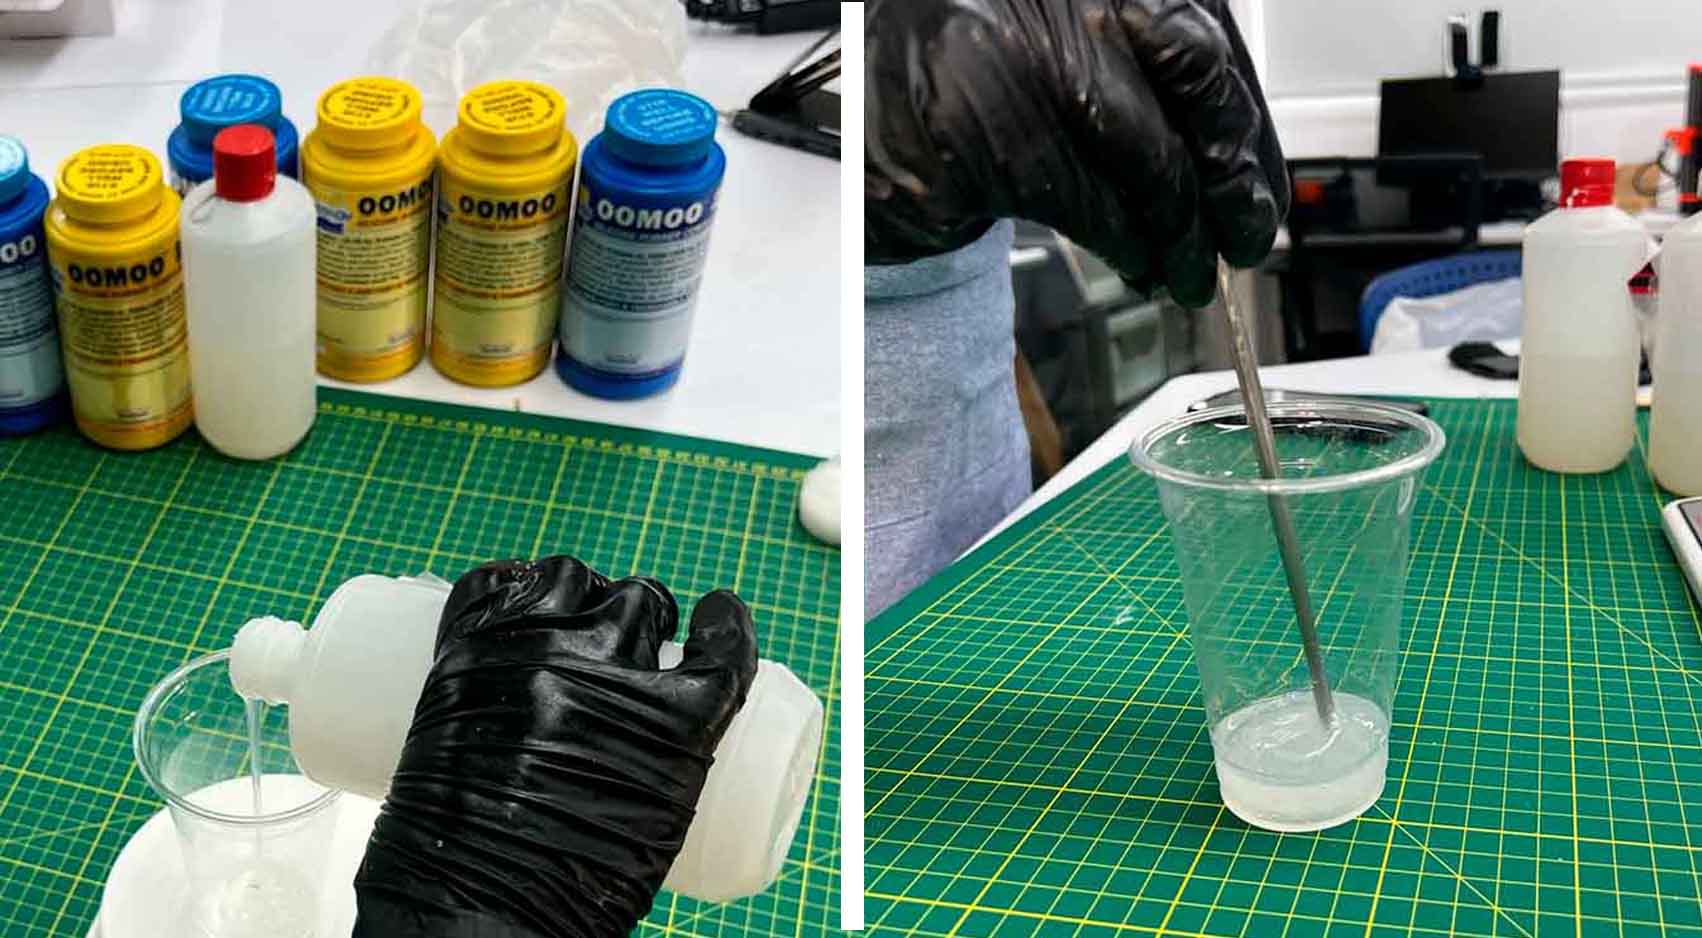
The following silicone has extra flexibility that facilitates the removal of the inner mold, it is specifically intended for soaps, candles, among others. It comprises 2 products, silicone and silicone catalyst, which only uses 2% of the total amount of silicone used.
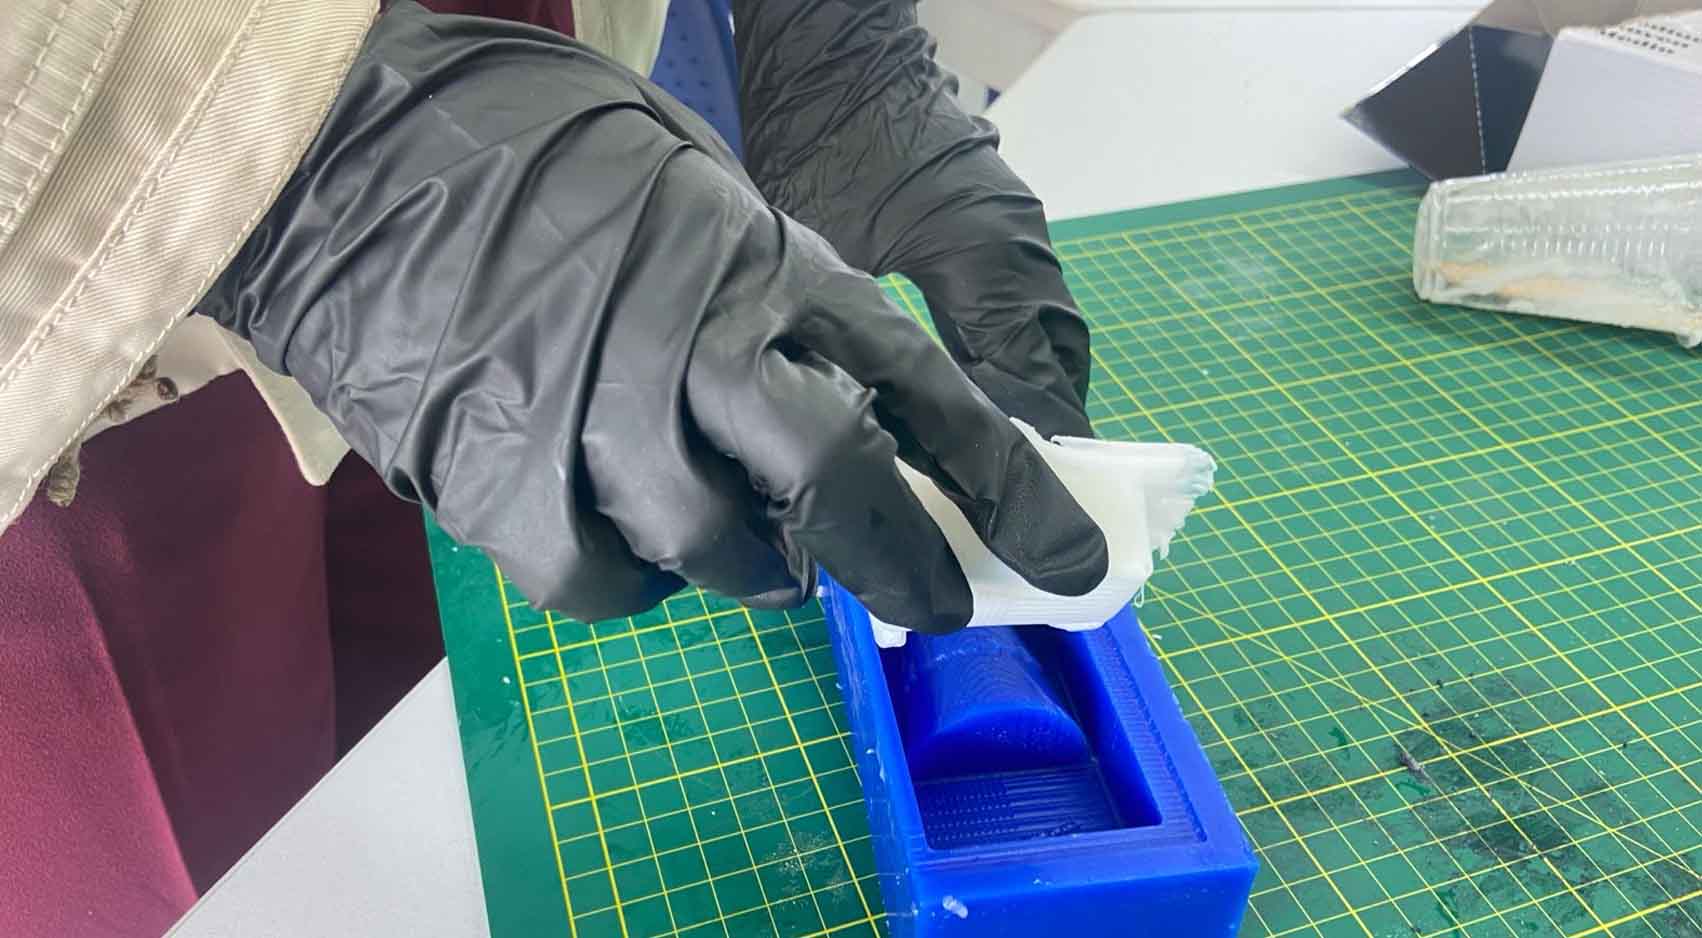
After understanding the proportion of silicone and catalyst as well as other aspects such as the security that we must have. We will proceed to carry out the test in a glass.
First we start by weighing our container for the test and then we do simple calculations to obtain the amount we will need. We can use water to have better precision.
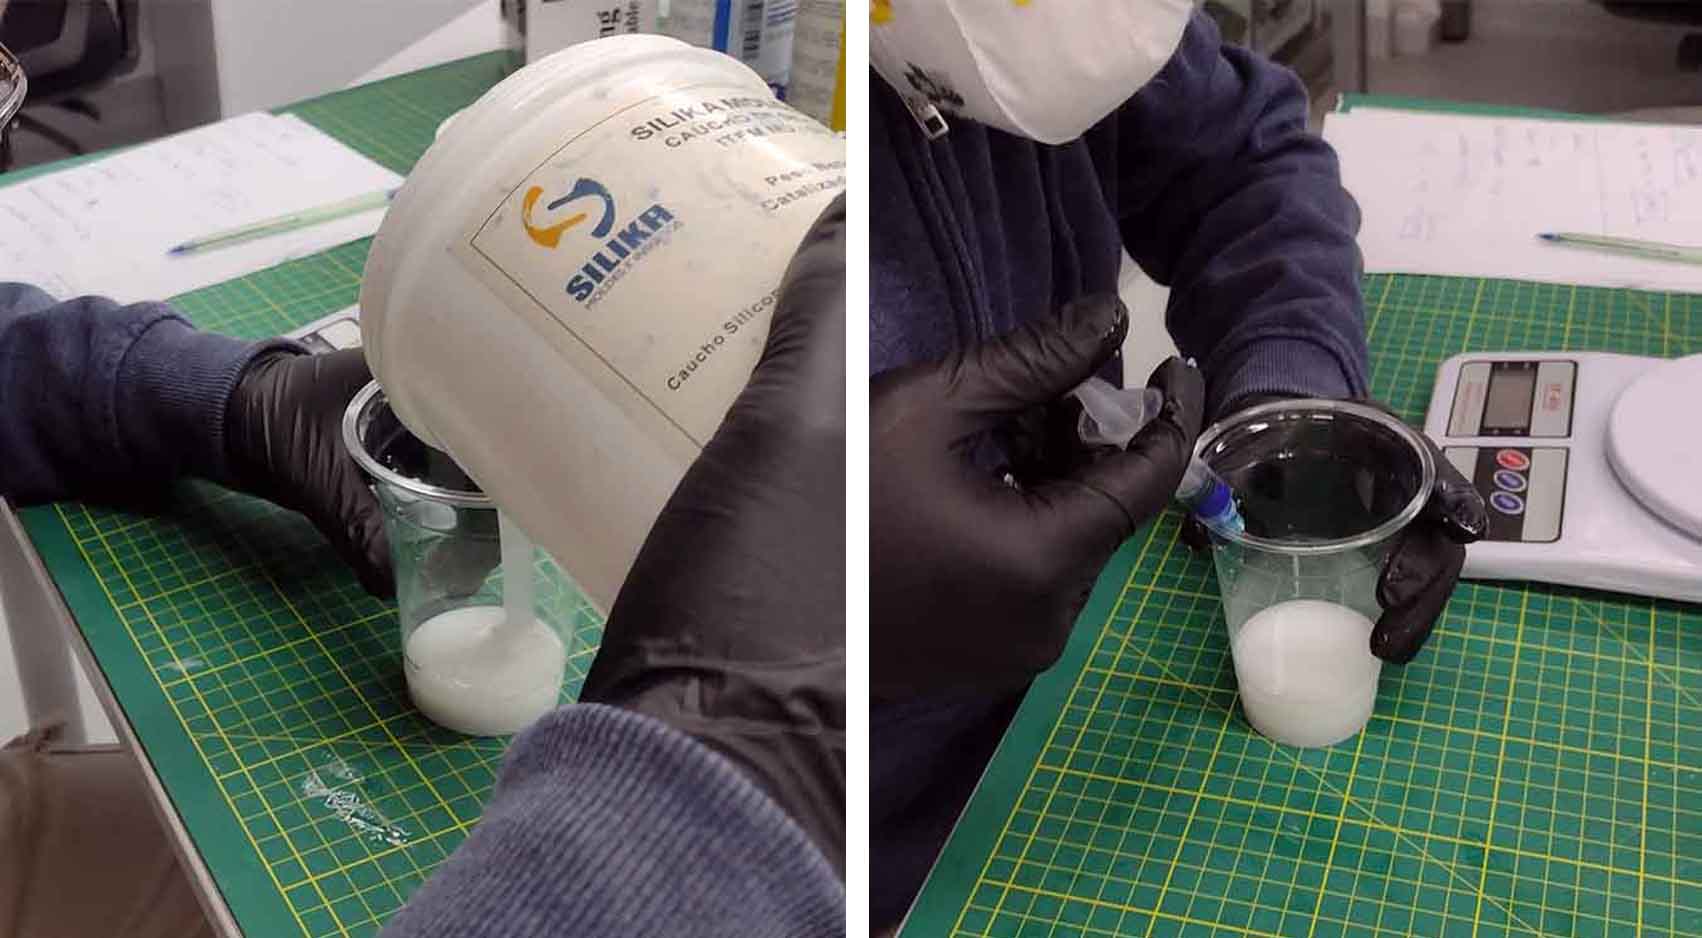
Then we start mixing and moving to have a uniform mixture so that it can be contained in the mold and can enter all the details of the glass on that occasion.
The consistency is flexible, a little softer than the previous one, but equally consistent.
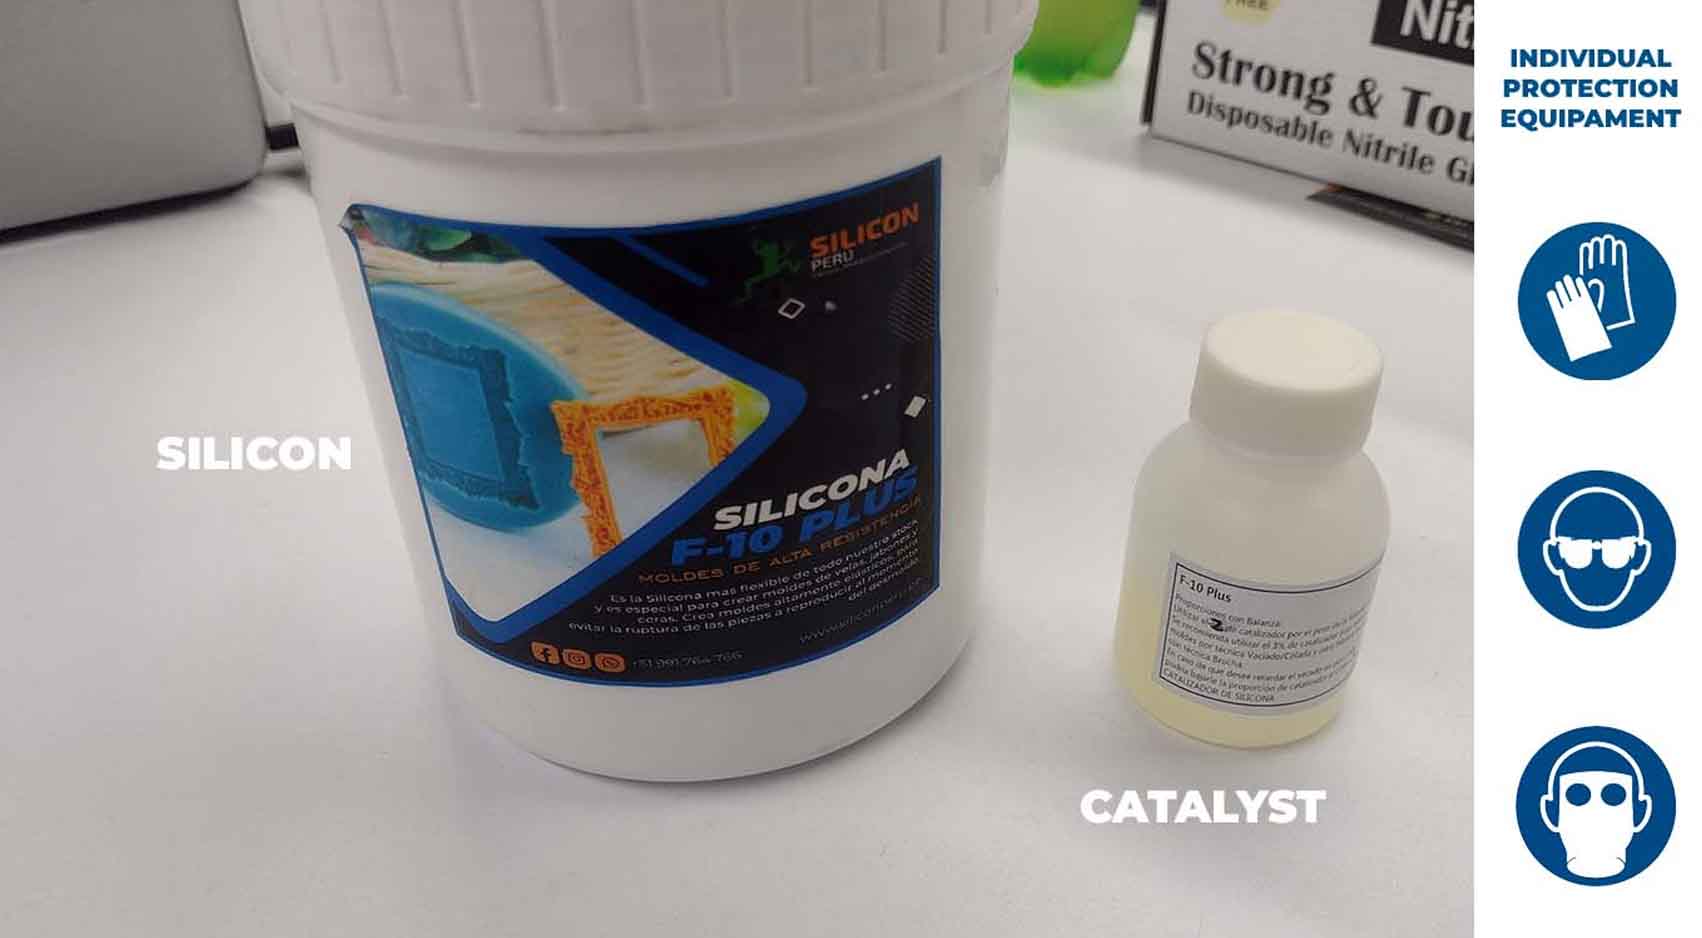
SILICON F10 PLUS
The following RTV F-10 silicone is a flexible silicone used to create flexible molds. It is strong and suitable for making wax, soap and candle molds. Here is the data sheet given to us by the supplier and a summary table of it.
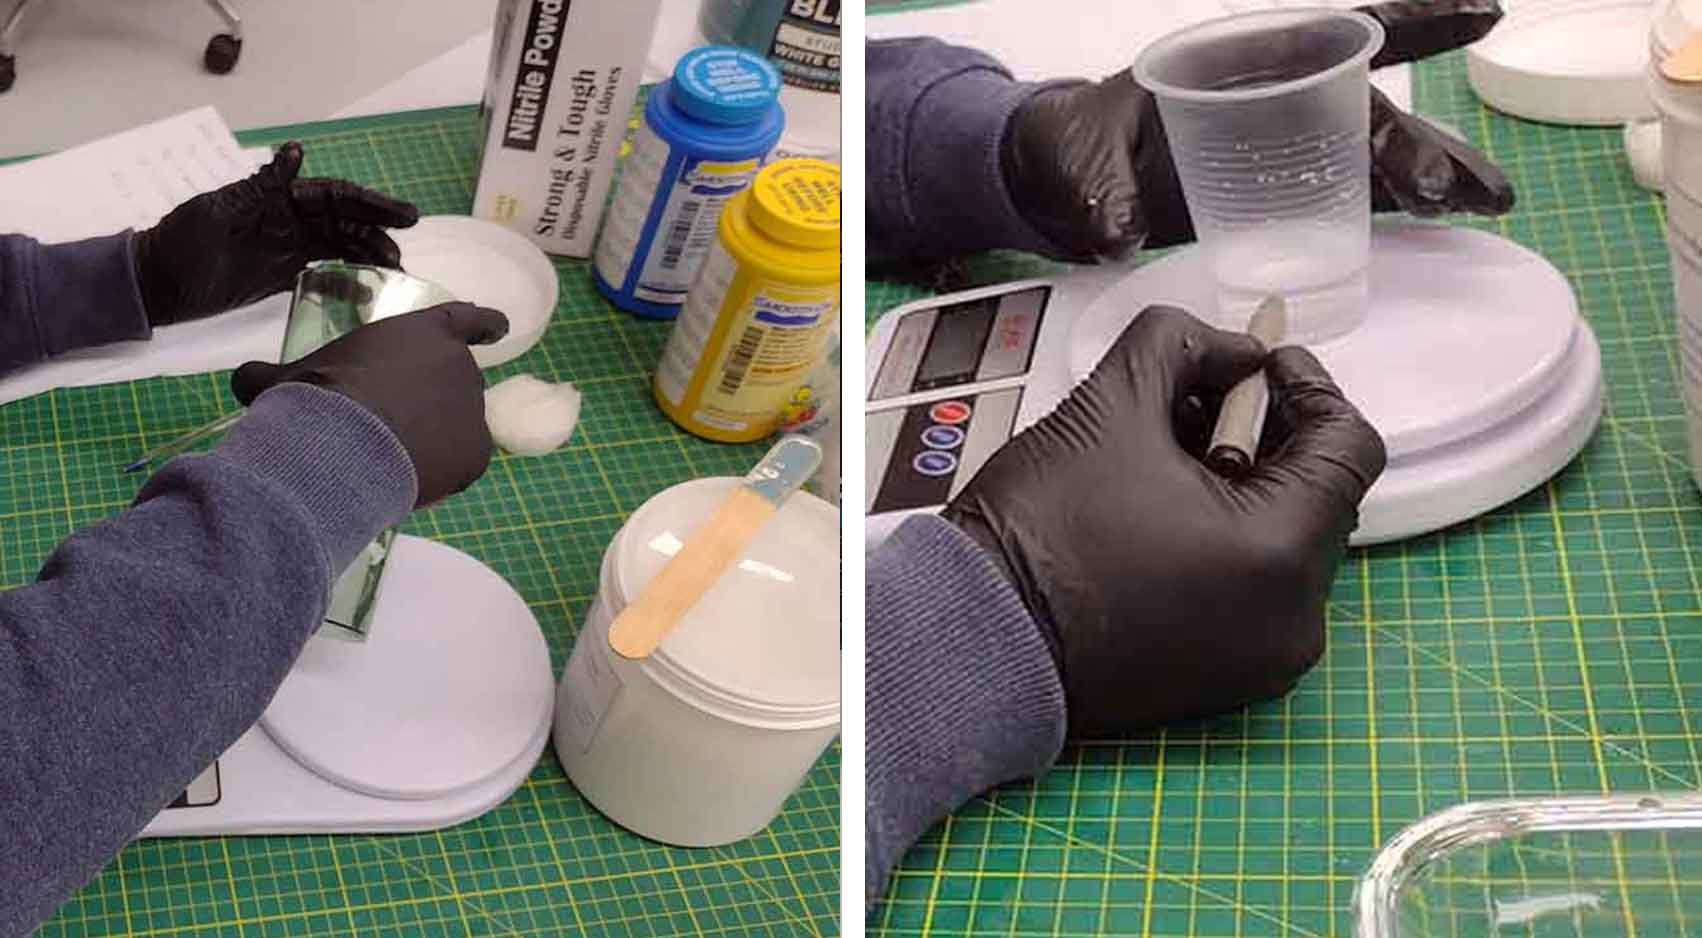
After knowing the curing time and the proportion we have to take into account for the silicone to become a mold, we will proceed to perform the test in a glass similar to the previous ones to know the consistency and curing time.
After obtaining the indicated weights and the appropriate portions for the test, we begin to make the silicone in our glass and then the catalyst; the proportion according to the data sheet is 100 to 1, that is, for 100 ml of silicone, 3 ml of catalyst.
Consistency is flexible, with an opacity of 90%, quite firm as a whole.
I leave here the Data Sheets of the silicones used.
PLATINUM RTV SILICONE HARDNESS 30-1 FOOD
COMPARATION AND CONCLUSION FOR SILICON TEST
| CHARACTERISTICS | RTV 20 | PLATINIUM RTV | EXTRAFLEX | F10 PLUS | CONCLUSION |
|---|---|---|---|---|---|
| DEMOLD TIME | 8-12h | 5-12h | 4-8h | 8-12h | Regarding time, I consider that Platinium silicone and Extraflex have a shorter curing time and the product is ready to use. |
| DESMOLDING | Little difficult | Difficult | Easy | Easy | Regarding demolding, I would recommend using the EXTRAFLEX and the F10 PLUS because being more flexible than the other two, we can obtain better molding. |
| DETAILS | little detail | detailed | Very detailed | Very detailed | According to the details, I consider that the F10, Platinium and Extraflex silicones present better detail of the mold we want to make. |
| FLEXIBILITY | flexible | not very flexible | very flexible | Very flexible | I consider that flexibility is important when making molds to be able to remove them and we only had complications with the PLATINIUM silicone |