3D Scanning and Printing
The assignments for this week:
- Group assignment : Test the design rules for your 3D printer(s)
- Individual assignment:
- design and 3D print an object (small, few cm3, limited by printer time) that could not be made subtractively
- 3D scan an object (and optionally print it)
Group assignment:
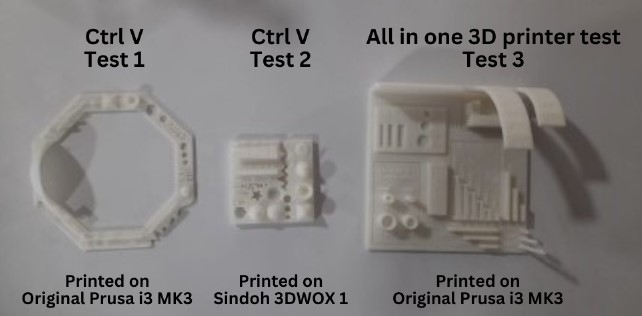
Test the design rules for your 3D printer(s)
About 3D printing
3D printing or additive manufacturing is a process of making three dimensional objects from a digital file. The creation of a 3D printed object is achieved using additive processes. In an additive process an object is created by laying down successive layers of material until the object is created. Each of these layers can be seen as a thinly sliced cross-section of the object. 3D printing is the opposite of subtractive manufacturing which is cutting out / hollowing out a block of material with for instance a milling machine. 3D printing enables you to produce complex shapes using less material than traditional manufacturing methods.
Additive Manufacturing Methods
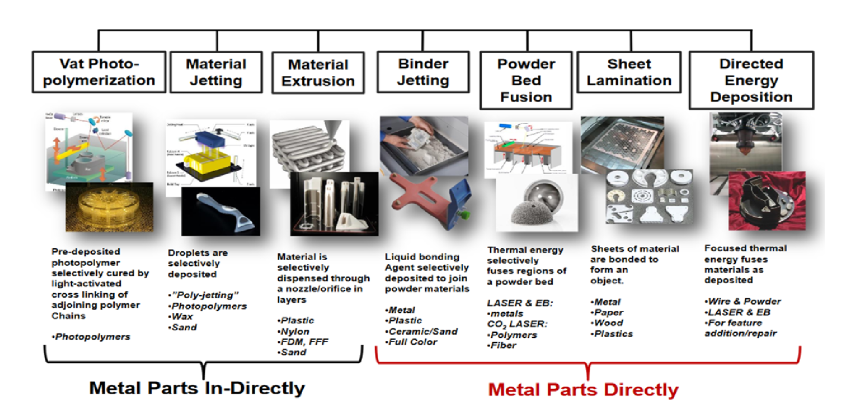
Types of 3D printing technologies
Fused Deposition Modeling (FDM):
FDM is one of the most common 3D printing technologies.
It works by extruding thermoplastic filament through a heated nozzle onto a build platform layer by layer.
The material is deposited in a precise pattern, solidifying as it cools to create the desired object.
FDM is known for its versatility, ease of use, and affordability.
It's suitable for a wide range of applications, including prototyping, functional parts, and hobbyist
projects.
Stereolithography (SLA):
SLA is a resin-based 3D printing technology.
It uses a vat of liquid photopolymer resin cured by a UV laser or light source.
The UV light selectively solidifies the resin layer by layer, building up the object upside-down on a build
platform.
SLA produces highly detailed, smooth, and accurate prints with fine features and intricate geometries.
It's commonly used for high-resolution prototypes, jewelry, dental models, and miniatures.
Selective Laser Sintering (SLS):
SLS is a powder-based 3D printing technology.
It uses a high-power laser to selectively fuse powdered material (usually nylon or other thermoplastics) layer by
layer.
The build platform lowers after each layer, and fresh powder is spread over the previous layer.
SLS does not require support structures since the unsintered powder acts as a self-supporting material.
It produces strong, durable, and functional parts with excellent mechanical properties.
SLS is used for producing end-use parts, complex geometries, and objects requiring high strength and heat
resistance.

Advantages of 3D printing
Limitations 3d printing:
The Orginal Prusa i3 MK3
The Original Prusa i3 MK3 is a 3D printer manufactured by Prusa Research, a Czech company founded by Josef Prusa. The MK3 offers excellent print quality, capable of producing highly detailed and accurate prints thanks to its precision engineering and high-quality components. Some of its key features are as follows:
- Using a sensor, the printer can precisely measure the position of the print bed and compensate for any unevenness, ensuring that the first layer of every print adheres properly and is uniform across the entire build surface.
- The MK3 includes a filament sensor that detects when the filament runs out or jams, pausing the print job and allowing the user to replace or fix the filament before resuming printing. This feature helps to prevent wasted prints due to filament issues.
- In the event of a power outage or interruption, the MK3S+ includes a power recovery feature that saves the progress of the print job. Once power is restored, the printer can resume printing from where it left off, reducing the likelihood of failed prints due to power-related issues.
- The MK3 features a removable magnetic build plate, which makes it easier to remove completed prints from the bed and helps to prevent damage to both the prints and the build surface.
- Once it is modelled,the file is exported as a printable .stl file.
- Once the printable file is ready, the next step is to prepare it for the 3D printer. This is called slicing.Slicing basically means slicing up a 3D model into hundreds or thousands of layers and is done with slicing software. Here, we used Prusa Slicer-2.7.1. It can be downloaded from Prusa Slicer 2.7.1
- Feeding the file to the printer can be done via USB, SD or Wi-Fi.
- When the file is sliced, it is ready for the 3D printer. The sliced file is now ready to be 3D printed layer by layer.
- I removed the supports and I was excited to see the top spinning
- I used the slicing software, PrusaSlicer to prepare my 3D model for printing. Adjusted settings such as layer height, infill density, and print speed according to my preferences and the desired print quality. I generated the G-code file for my model.
- I transferred the G-code file to an SD card. Inserted the SD card into the printer.
- I loaded the filament.I heated up the hotend to the recommended temperature for the filament I was using. Then,inserted the filament into the extruder and fed it through until it reached the hotend. I ensured the filament was feeding smoothly without any obstructions.
- I selected the G-code file from the printer's menu. Confirmed the print settings and started the print job. I monitored the first few layers to ensure proper adhesion and filament flow.
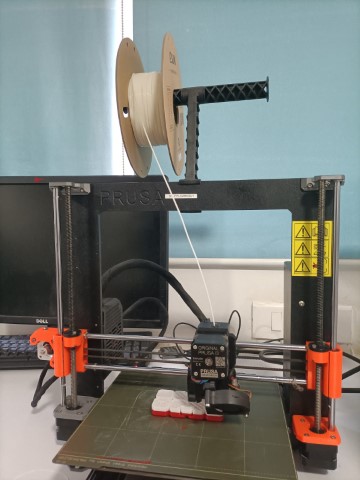
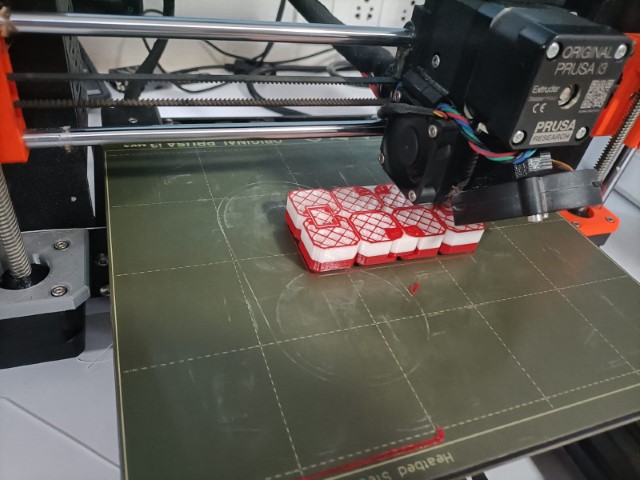
- I kept an eye on the print progress periodically to check for any issues such as warping, stringing, or layer adhesion problems. I thought it would be interesting to pause the print and change the colour of the filament from red to white. After two thirds of the time, I changed it back to red.
- Once the print was complete, I allowed the print bed to cool down if necessary. I carefully removed the print from the build plate. I cleaned the build plate to remove any residue.
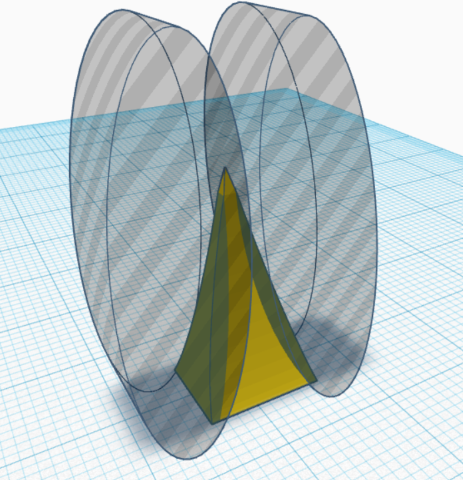
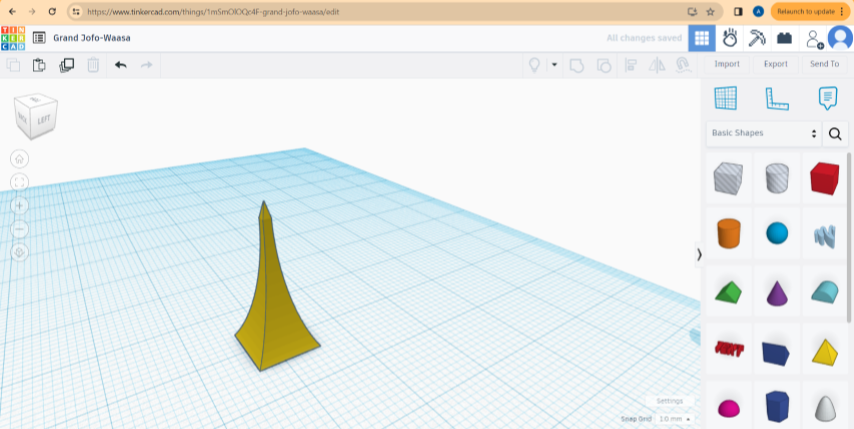
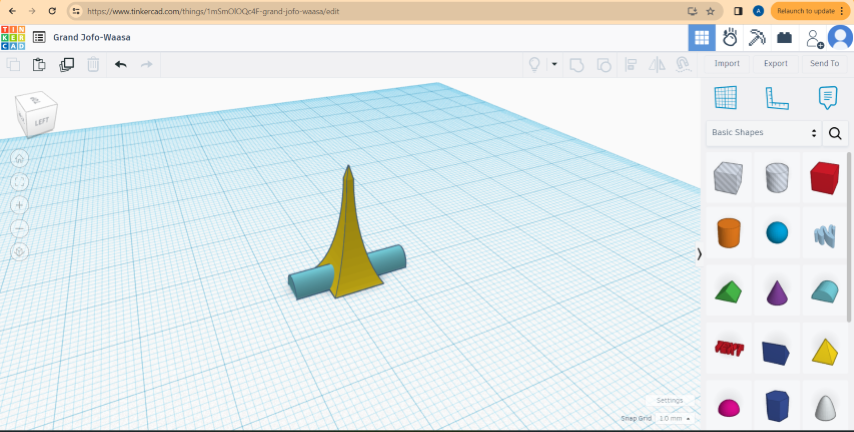
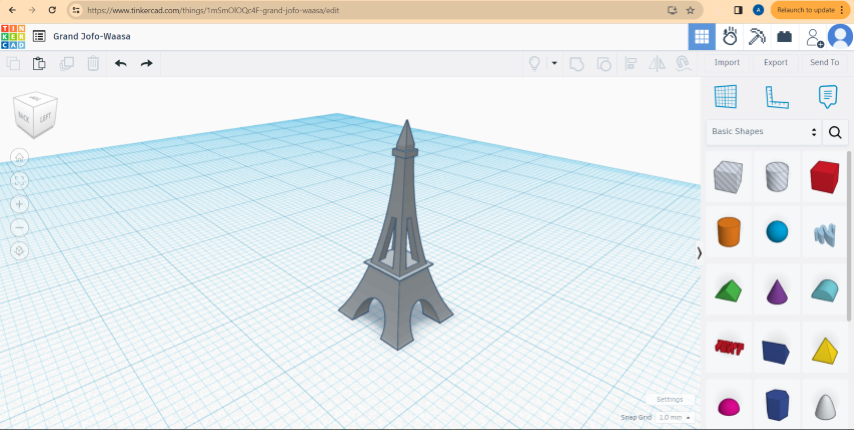
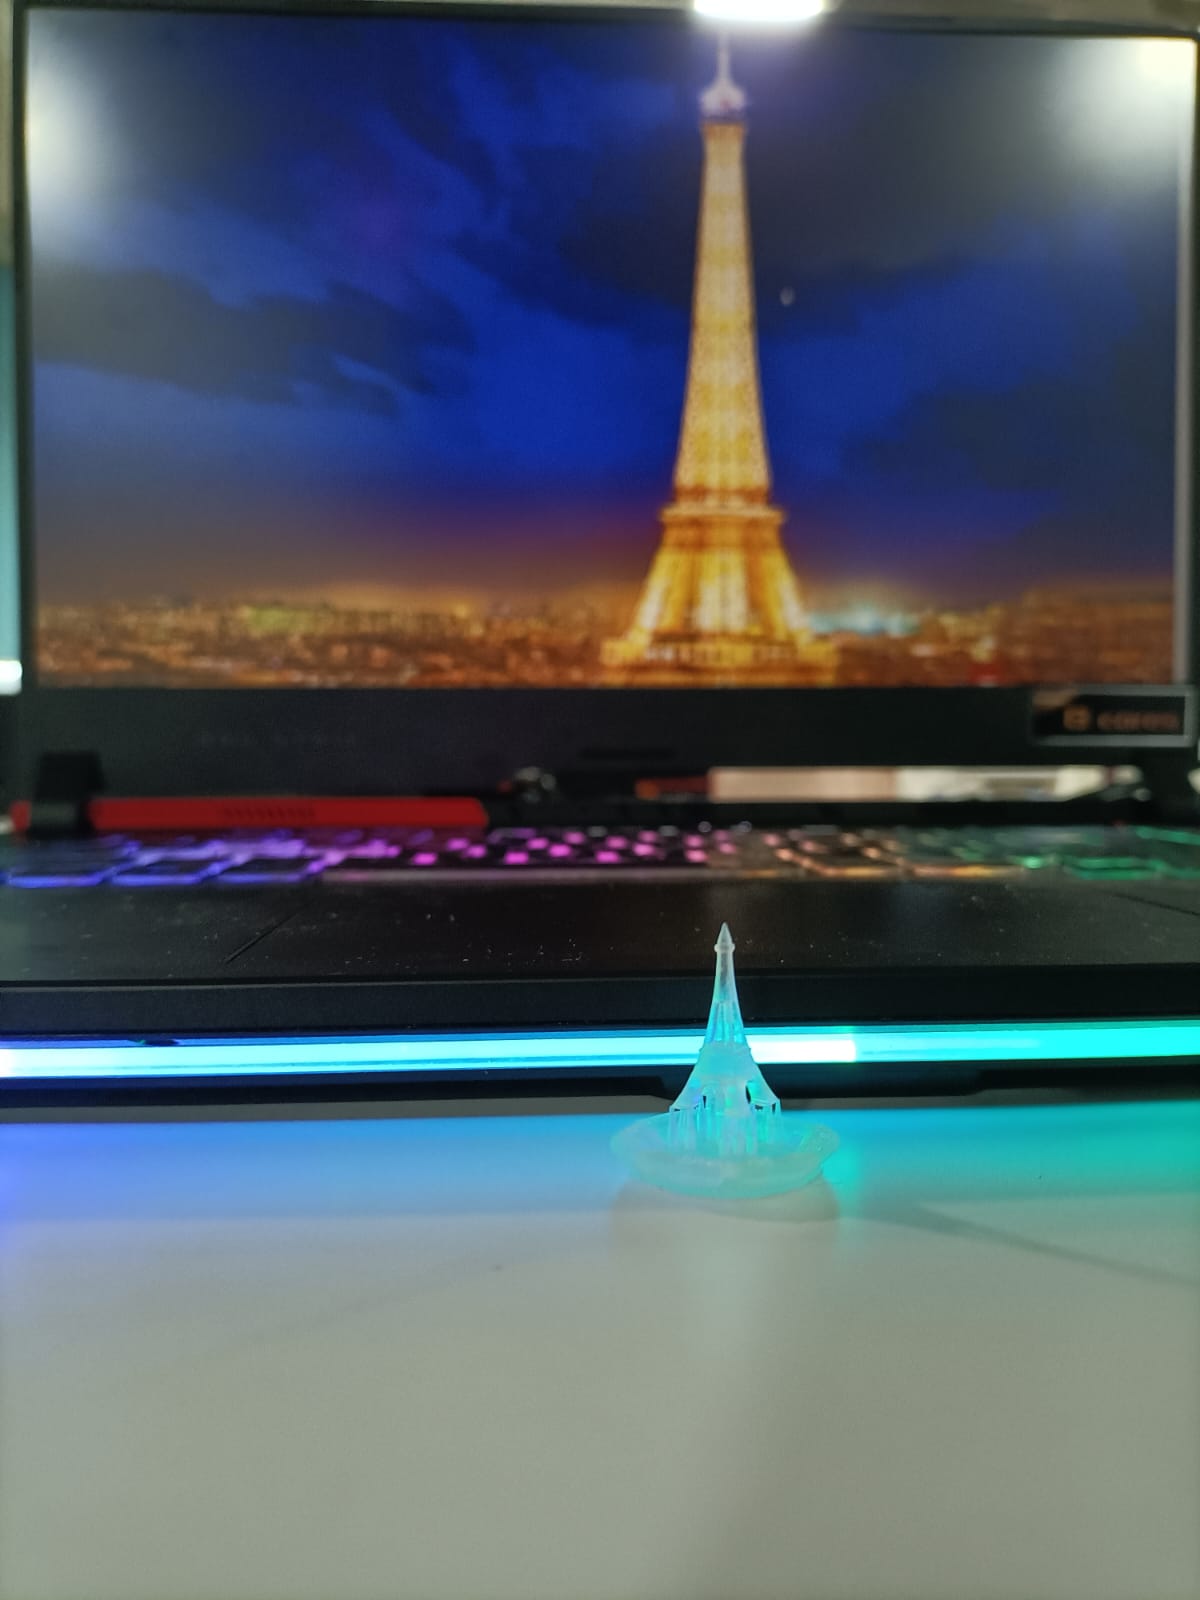
- I began by creating the 3D model of the Eiffel tower in TinkerCad.
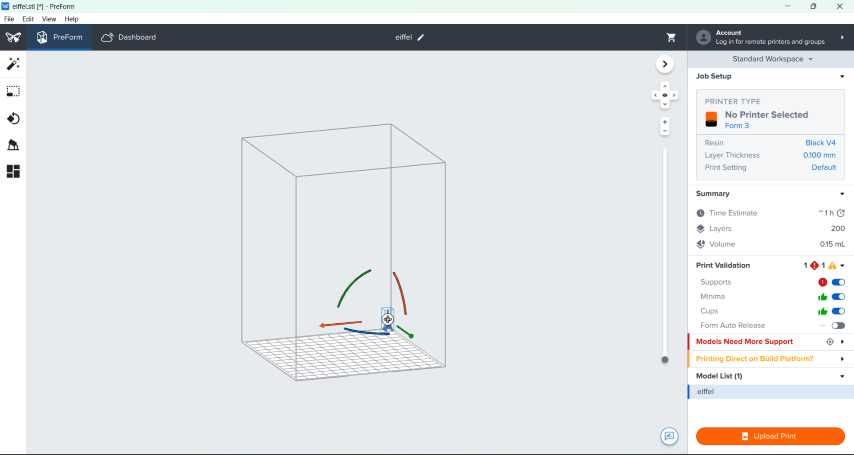
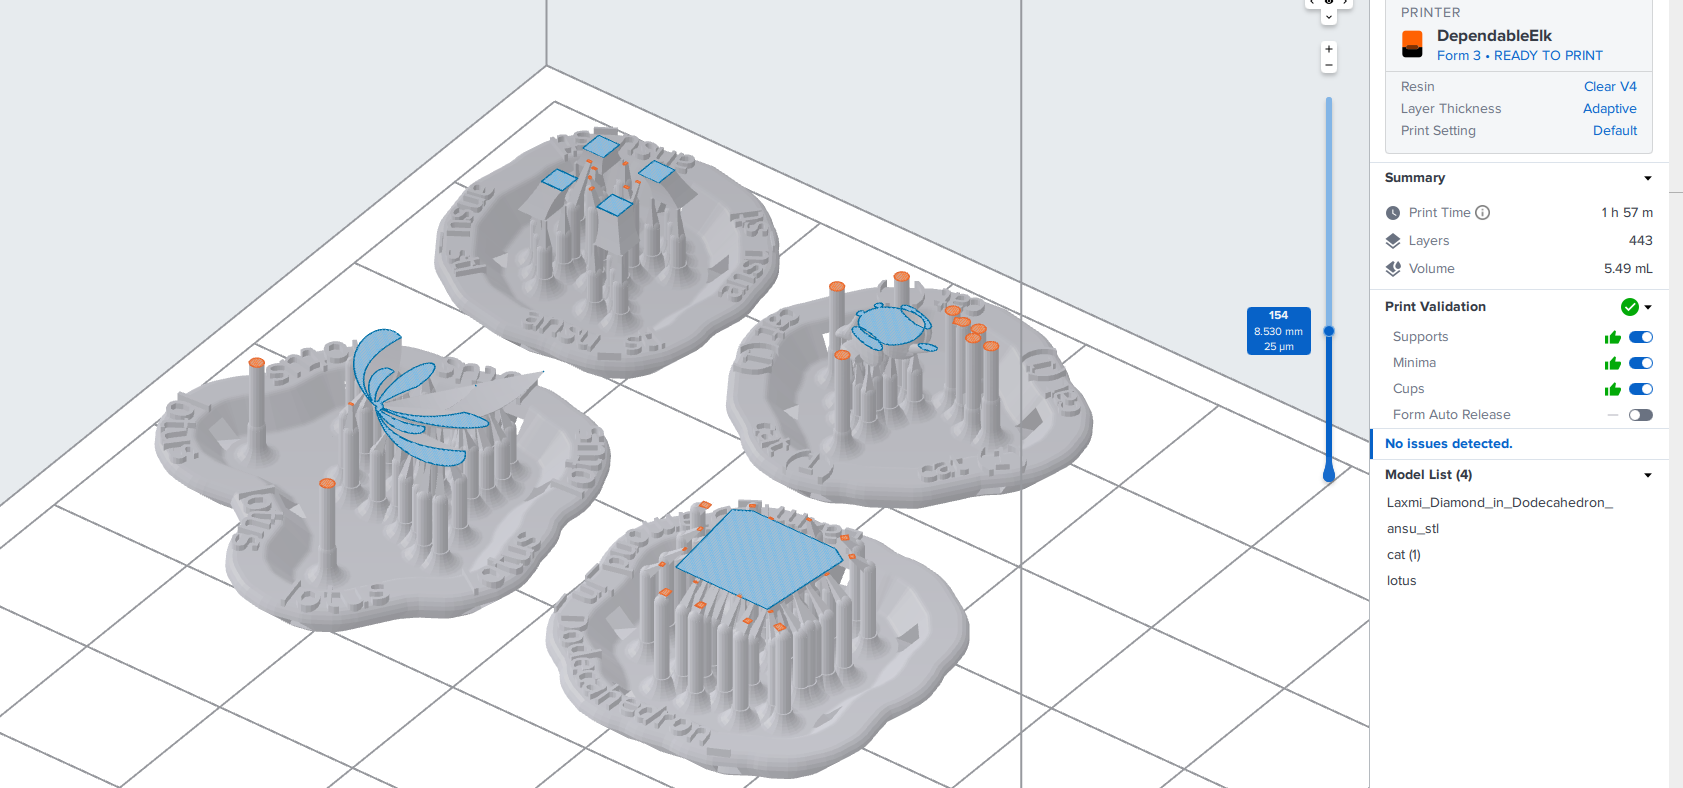
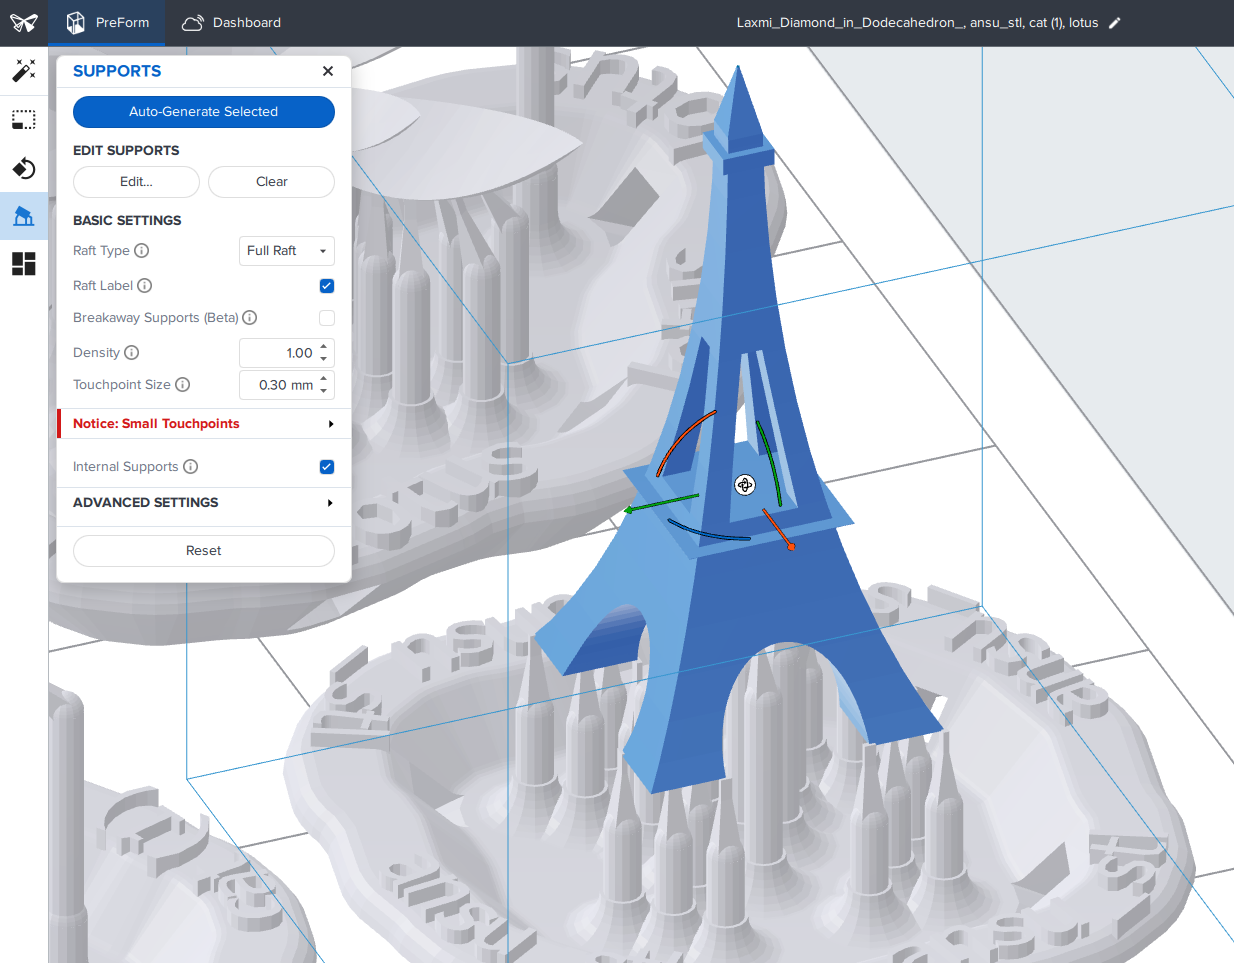
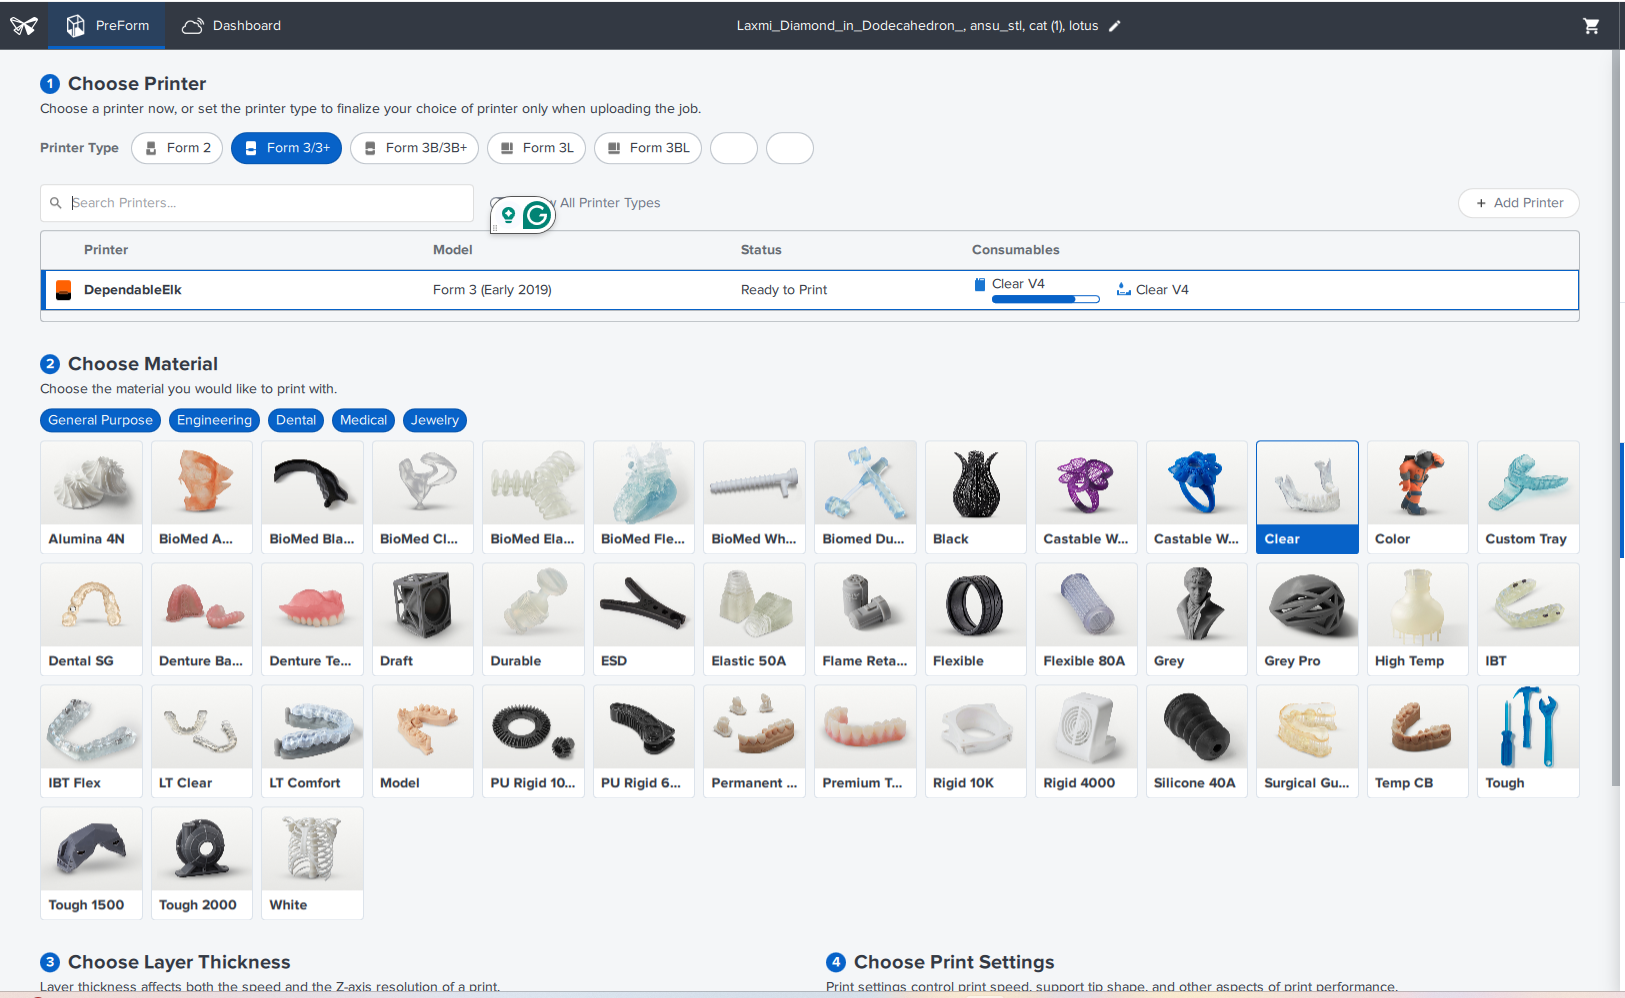
- I imported the 3D model into slicing software, PreForm provided by Formlabs
- I oriented the model and adjusted the settings.
- After that, I generated the toolpath and sliced the model into layers
- Once the Formlabs SLA printer was set up on a stable surface with proper ventilation, the resin tank was filled with the desired resin material, ensuring that it was properly seated and leveled. The build platform was inserted into the printer and ensured it was securely attached.
- Then, the print job started using the sliced file which was transferred to the printer via USB. The printer began the printing process by lowering the build platform into the resin tank to a precise height. A UV laser beam selectively cured the liquid resin, solidifying it layer by layer according to the sliced model. As each layer was cured, the build platform gradually rose, allowing the print to emerge from the resin tank.
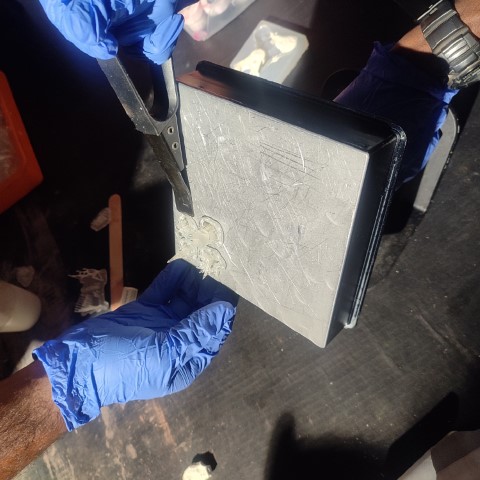
- Once the print was complete, using tools such as a spatula or scraper, the print was carefully removed from the build platform.
- The print is then rinsed in a solvent such as isopropyl alcohol (IPA) to remove uncured resin from the surface. Depending on the resin used, additional post-curing steps might have been necessary to fully cure the print and achieve optimal material properties. This could involve exposing the print to UV light in a curing chamber.
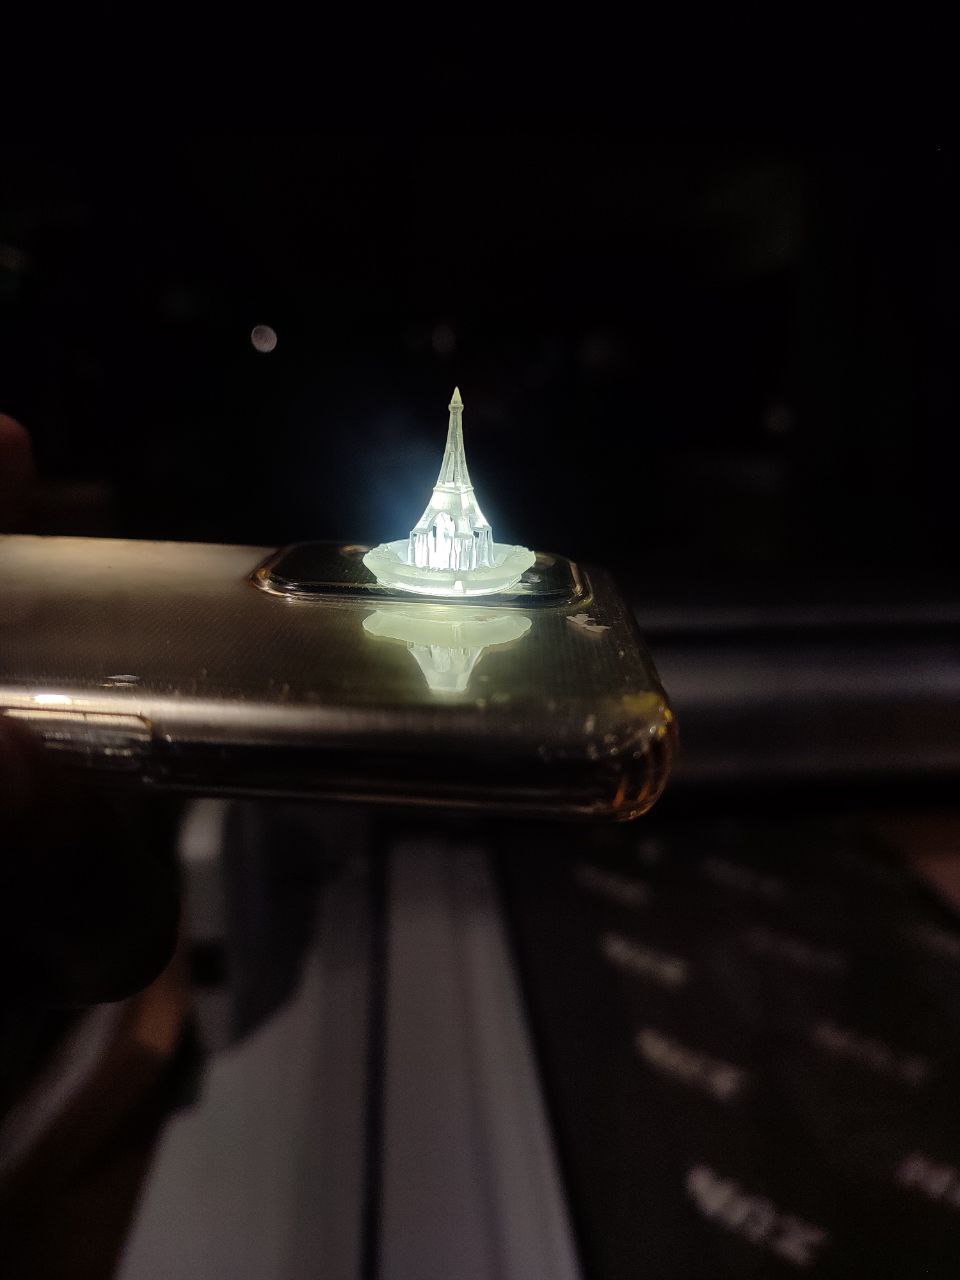
- And finally, I got a beautiful print of the Eiffel Tower.
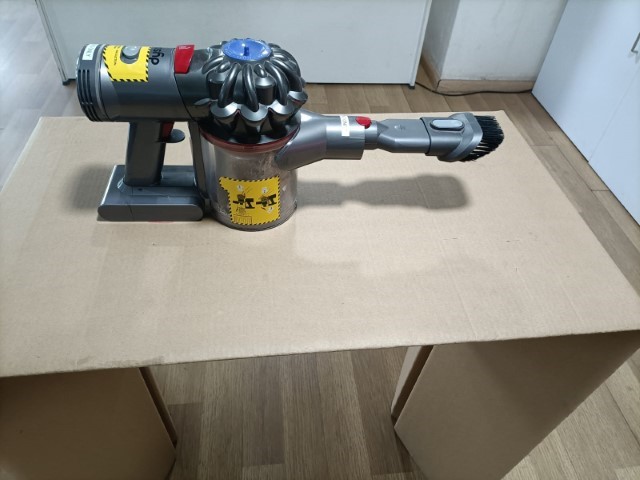
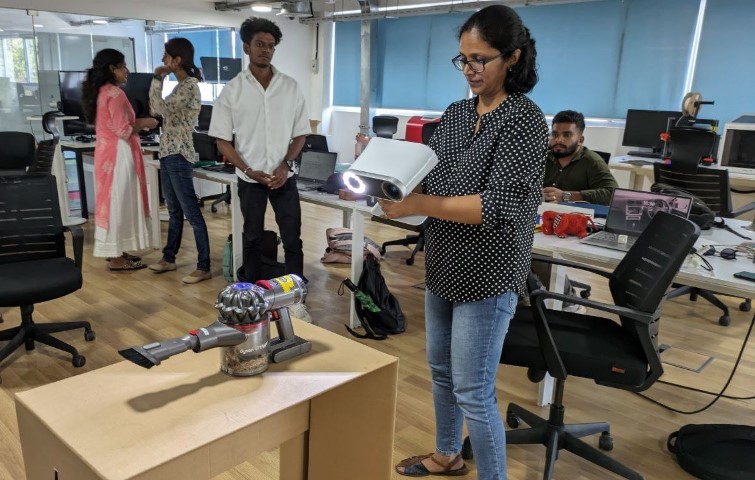
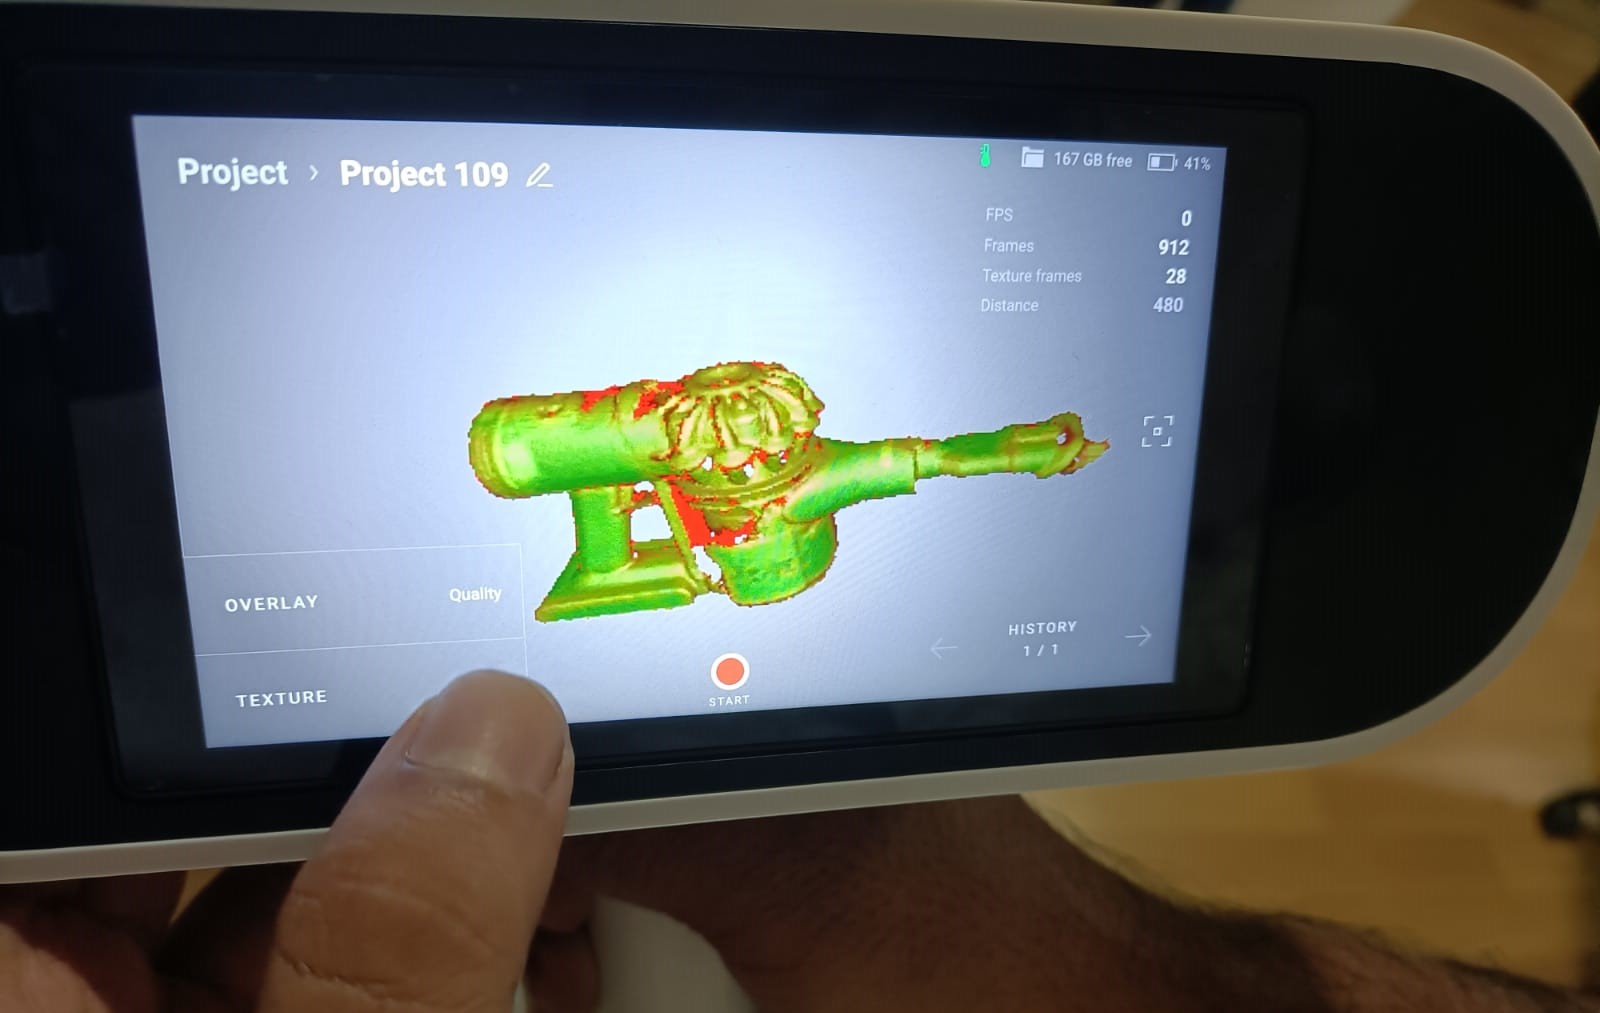
- I made sure the Dyson vacuum cleaner was clean and free of any dust or debris that could interfere with the scanning process. I set up the Artec 3D scanner in a well-lit environment with minimal background clutter to ensure optimal scanning conditions.
- I positioned the Dyson vacuum cleaner on a stable surface, ensuring that it was well-centered within the scanning area of the Artec scanner.
- Using the Artec 3D scanner software, I initiated the scanning process and carefully moved the scanner around the Dyson vacuum cleaner, capturing multiple angles and perspectives. I made sure to cover the entire surface of the vacuum cleaner, including intricate details and hard-to-reach areas.
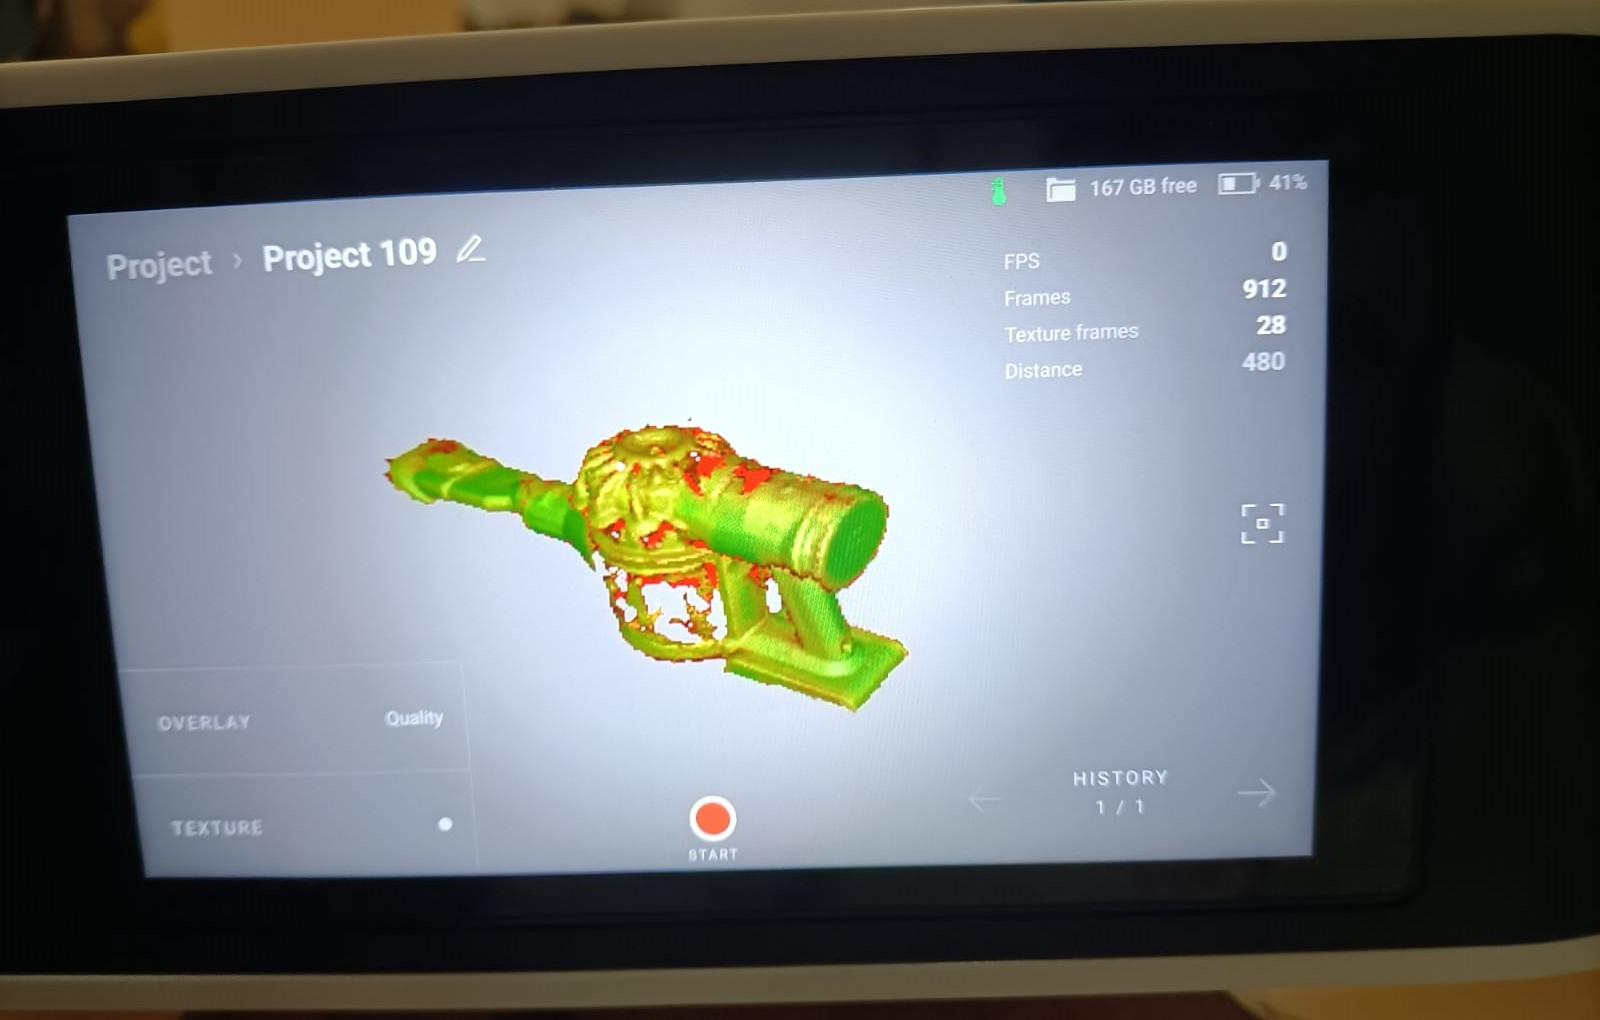
- After completing the initial scan, I reviewed the scan data in real-time to identify any areas that may need additional scanning or refinement. I repeated the scanning process for any missed or problematic areas to ensure a comprehensive and accurate 3D model.
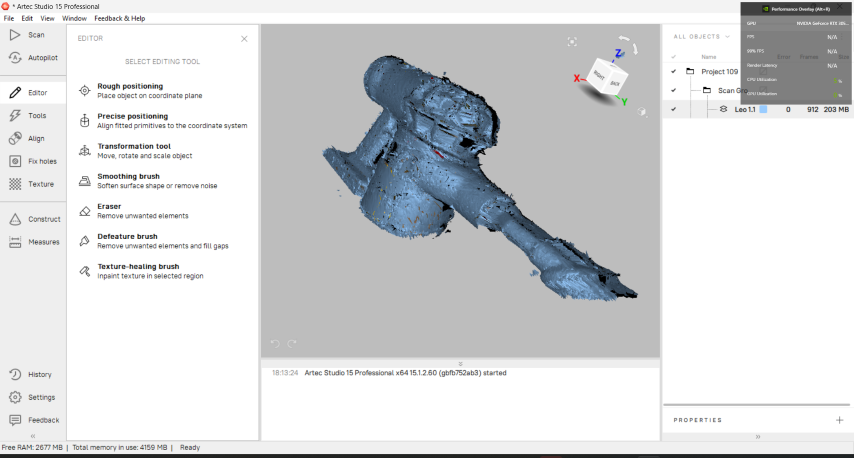
- I start by importing the 3D scan of the object I want to print into Artec Studio. This can be done by connecting my 3D scanner directly to the software or by importing a saved file.
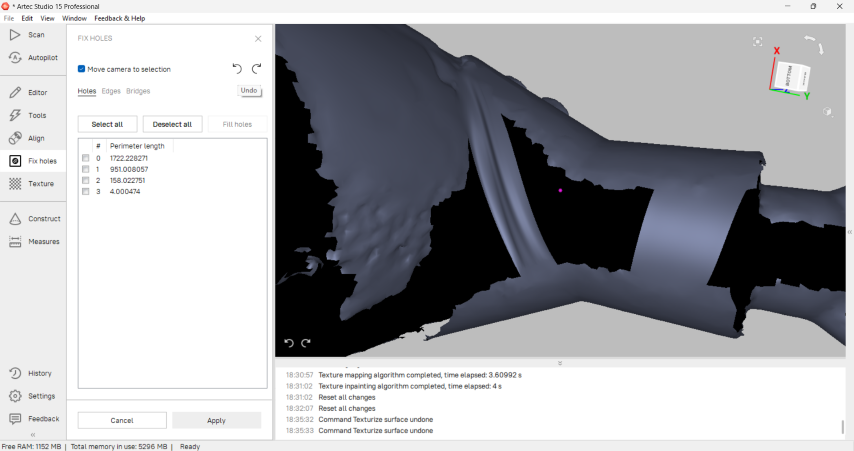
- Using Artec Studio's tools, I clean up and repair any imperfections in the 3D scan. This involves removing noise, smoothing surfaces, and filling holes or gaps in the mesh to ensure clean geometry for successful printing.
- In the editor, I erased the unnecessary spots.
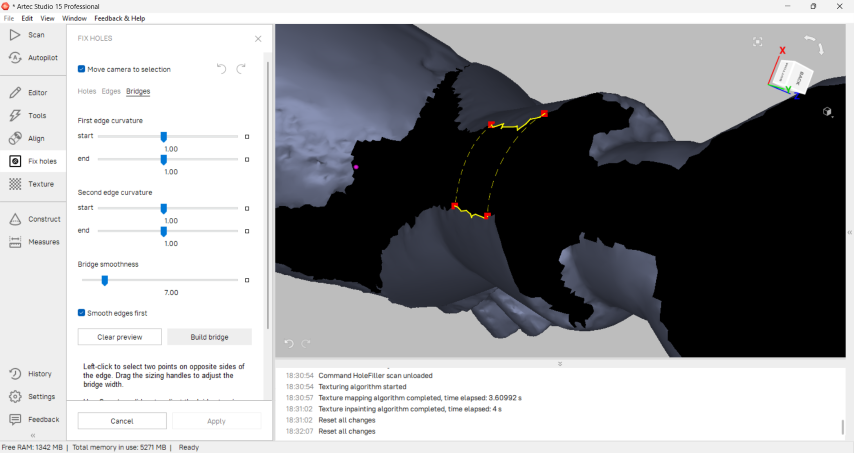
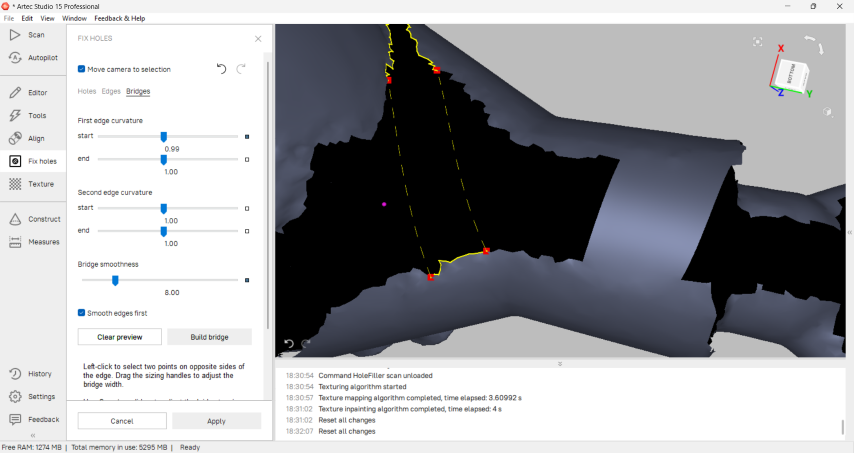
- Next, I fixed the holes.
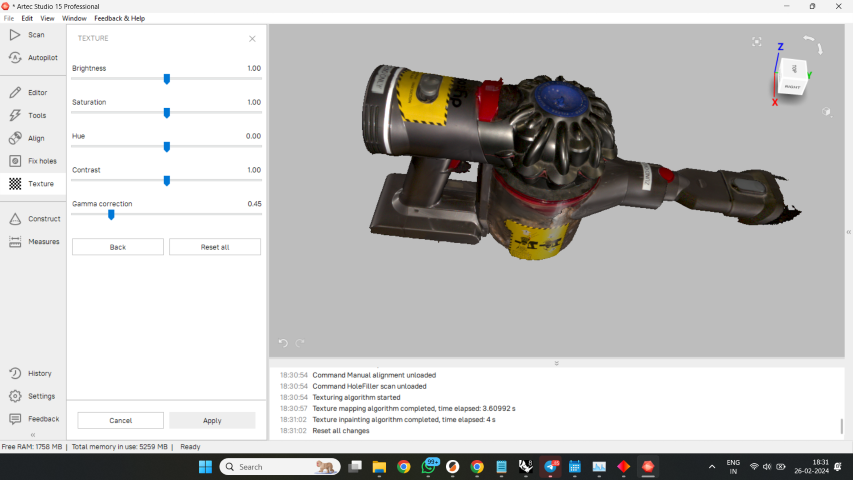
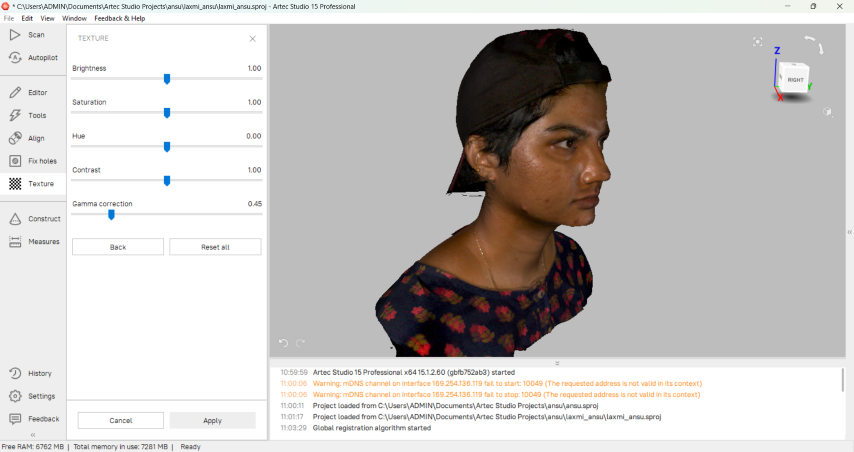
- I also applied texture mapping to add color and texture to the final model.
- I followed the same steps to scan an image of my friend.
My first experience using the 3d Printing machine
I started by designing a simple top. I have used Fusion 360 for modelling.
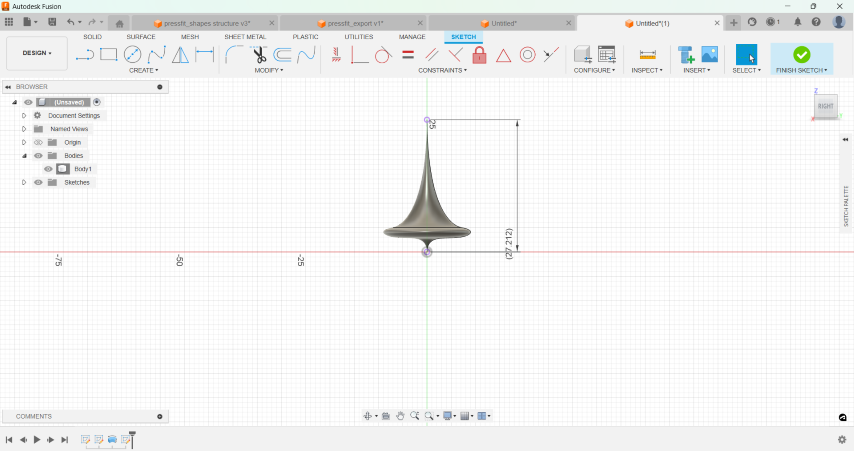
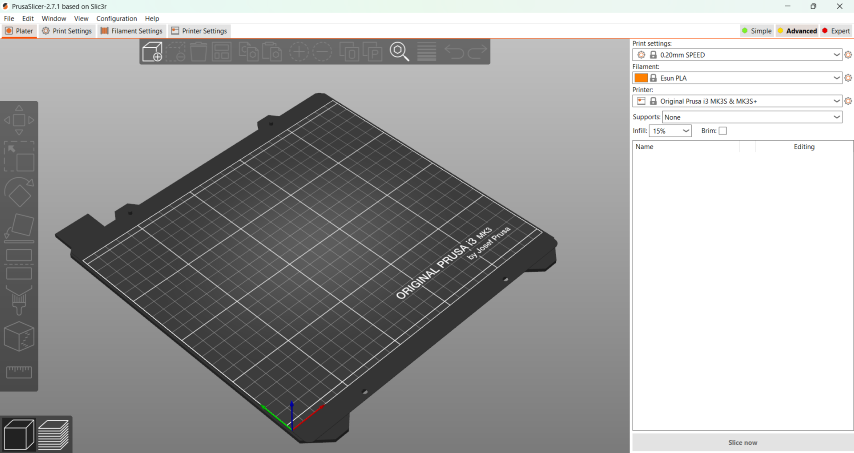
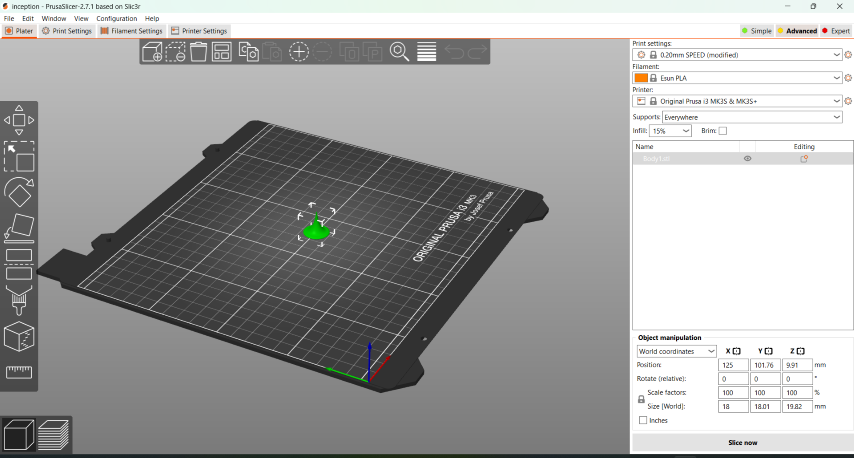
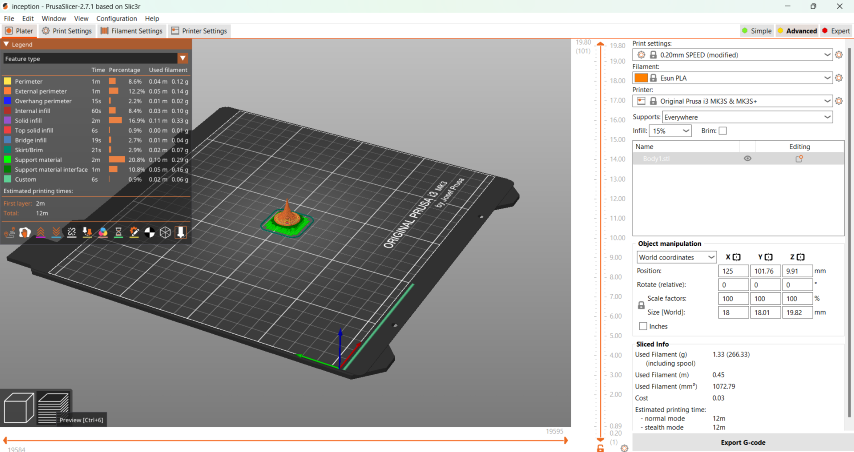
The 3D model
For my individual assignment, I planned to do something which is 'print in place'.
"Print in place" refers to a design technique used in 3D printing where an object is designed to be printed as a
single,
integrated piece, with moving parts already assembled and functioning without the need for assembly or support
structures.
This means that all components of the object are printed together and connected, rather than printing separate
parts that need
to be assembled later.Print in place designs are typically engineered to incorporate clearances and tolerances
that allow the moving parts to function correctly without fusing together during printing.
This can involve creating small gaps or channels between parts to ensure they can move freely once the print is
complete.
The fidget cube cannot be done substractively easily
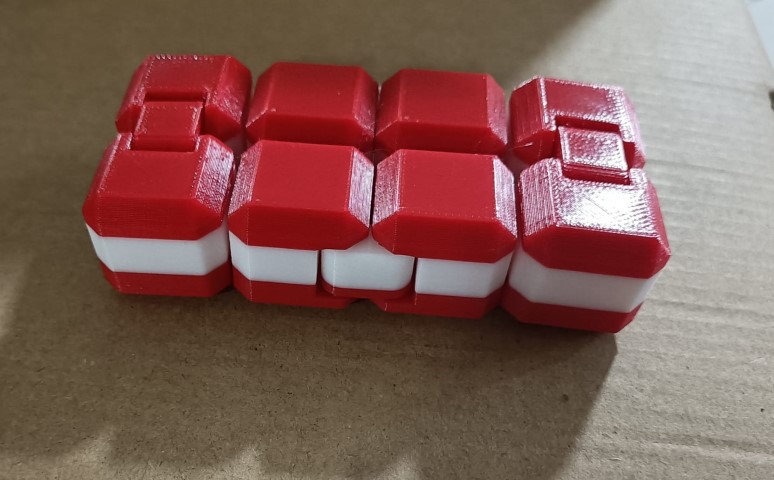
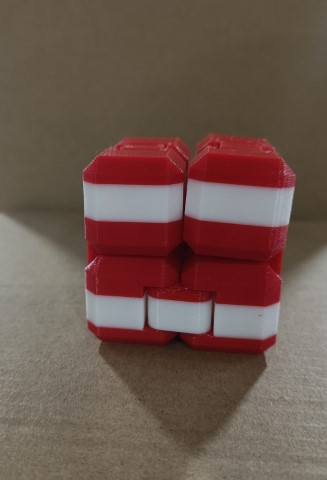
I decided to do a fidget cube.The interconnected nature of the cube requires precise internal components such as hinges or pivot points to enable the folding and unfolding motion smoothly. Subtractive manufacturing methods would struggle to create such intricate internal structures without damaging or distorting the surrounding material.I thought of doing a small part first with just two cubes before doing one with 8 cubes.
Here are a few key points about print in place designs:
Complexity: Print in place designs can be quite complex, especially when incorporating intricate moving mechanisms or multiple interacting parts. Designers need to carefully consider the tolerances and clearances required for each part to function properly.
No Assembly Required: One of the main benefits of print in place designs is that they eliminate the need for assembly after printing. This can save time and effort, especially for designs with many parts or intricate assemblies.
Support-Free: Print in place designs are often designed to be printed without the need for support structures. This can make the printing process faster and more efficient, as support structures can be time-consuming to remove and may leave behind unwanted marks or residue.
Precision: Achieving successful print in place designs requires precise calibration of the 3D printer to ensure accurate layer alignment and consistent print quality. Even small deviations in print settings or printer calibration can affect the functionality of the moving parts.
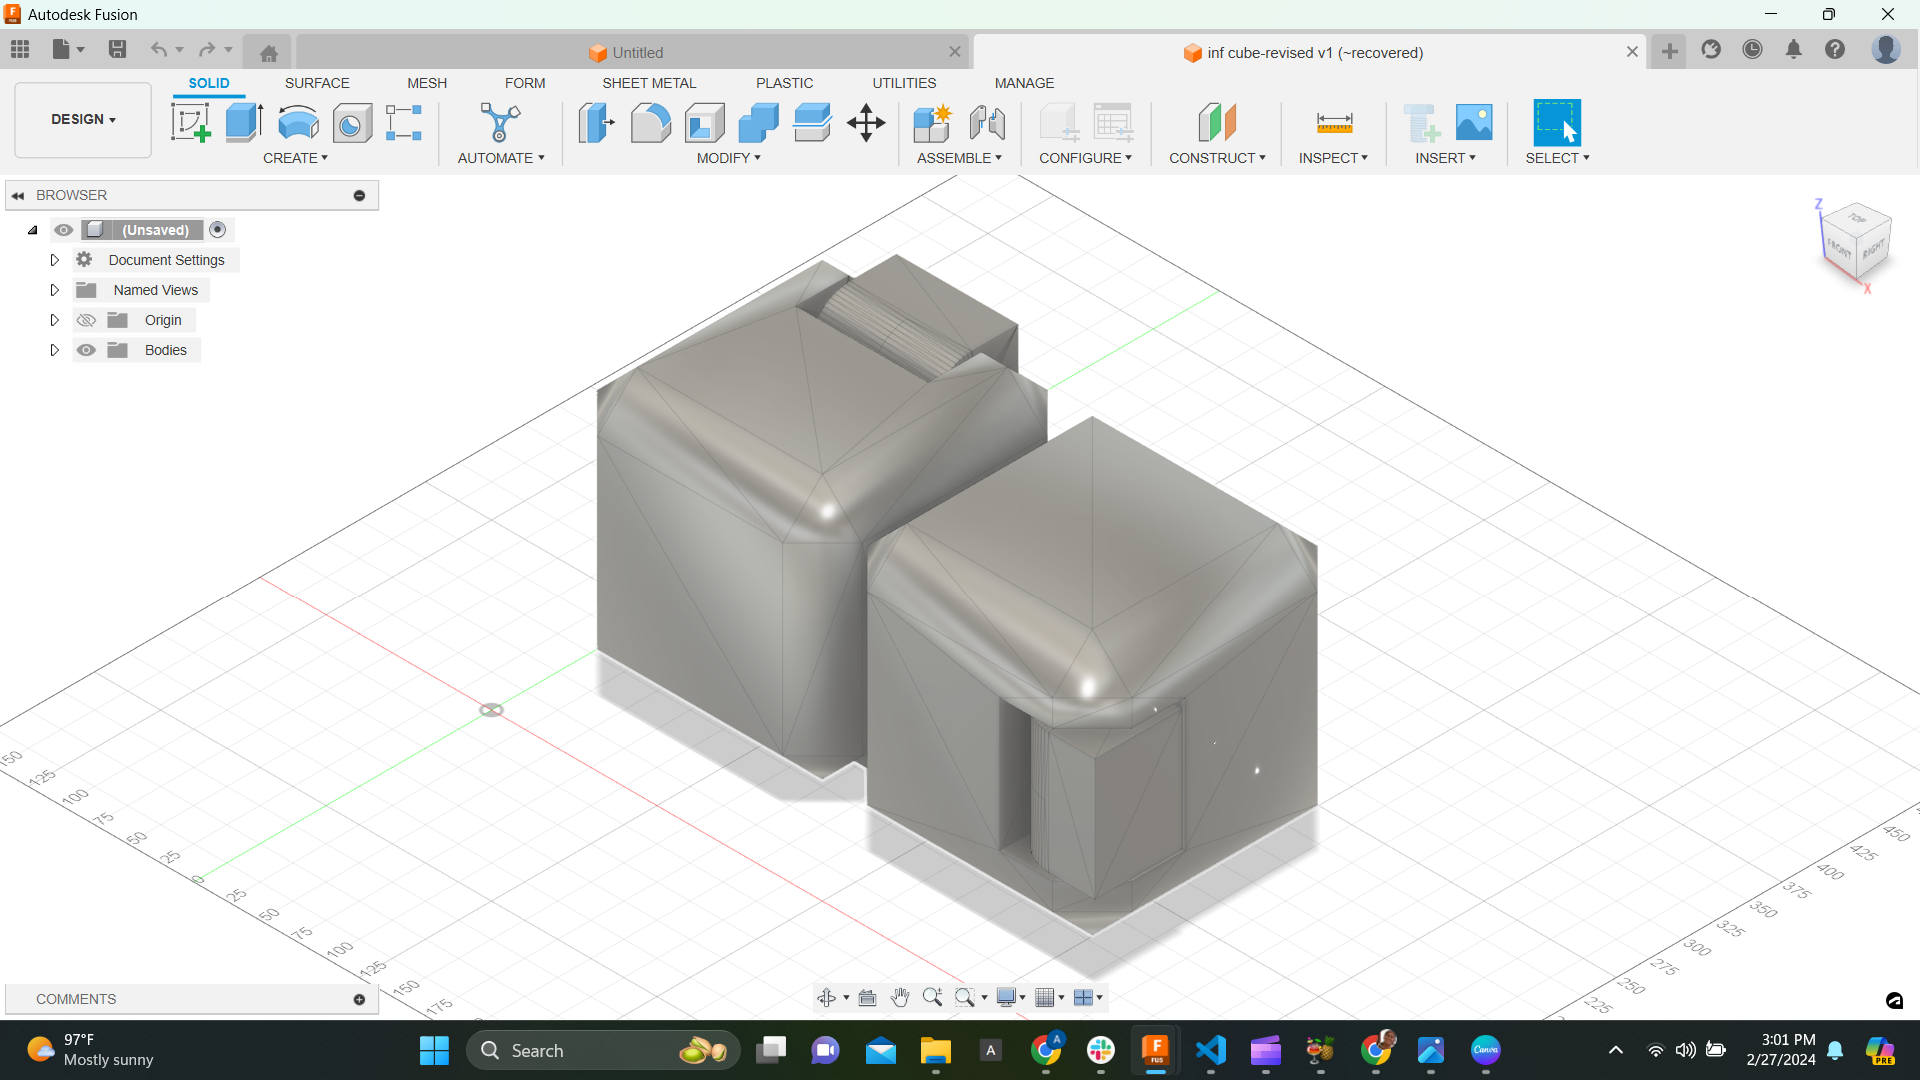
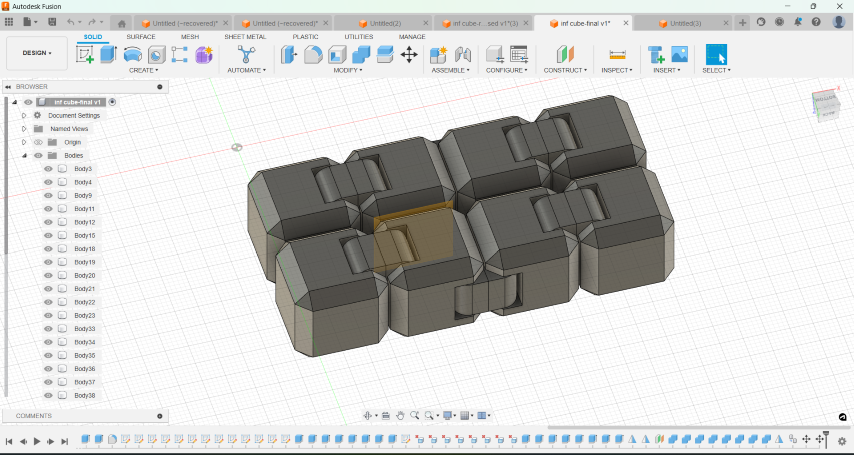
Designing the model
Slicing and printing
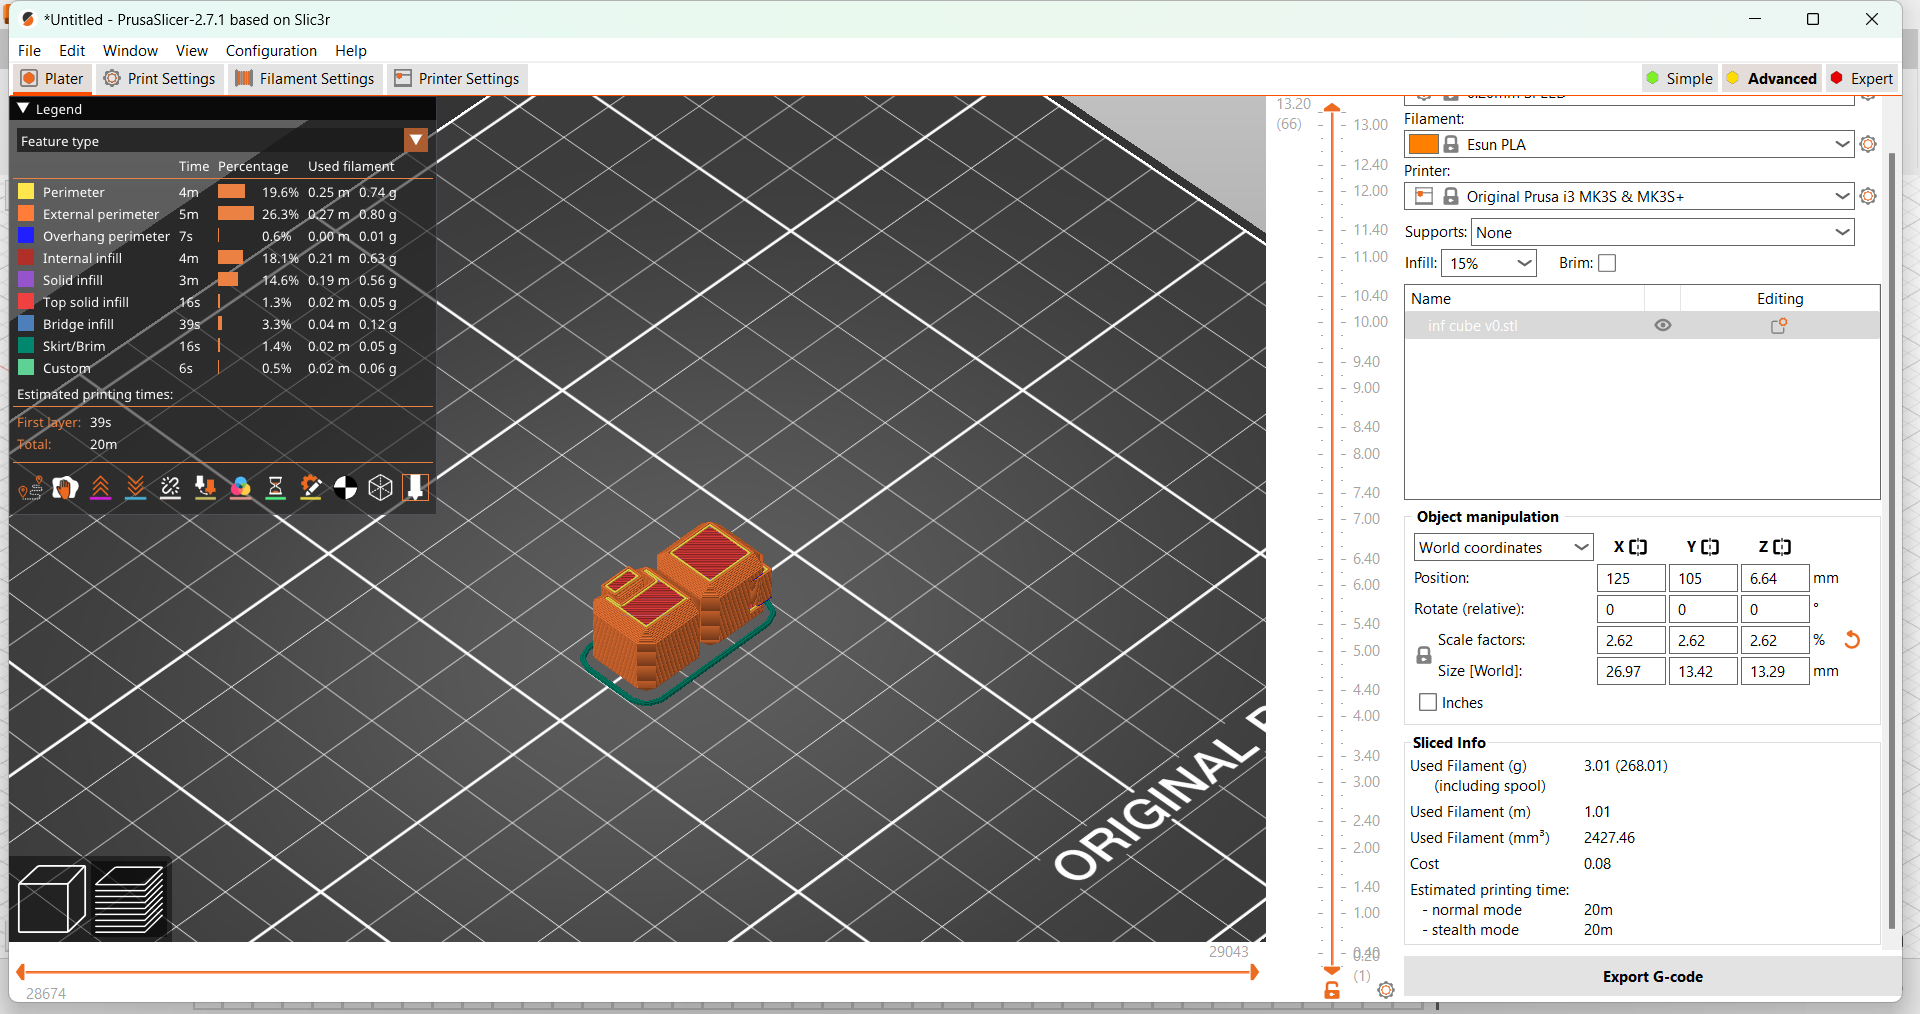
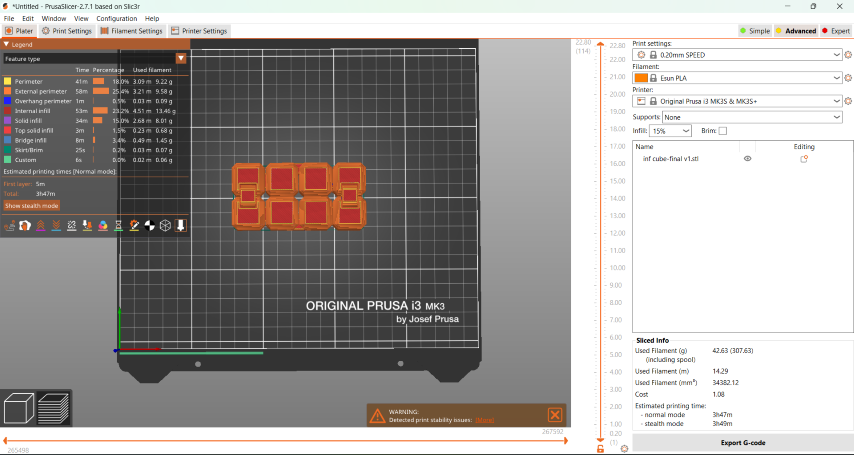
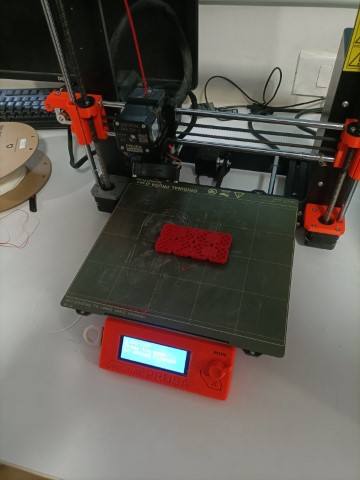
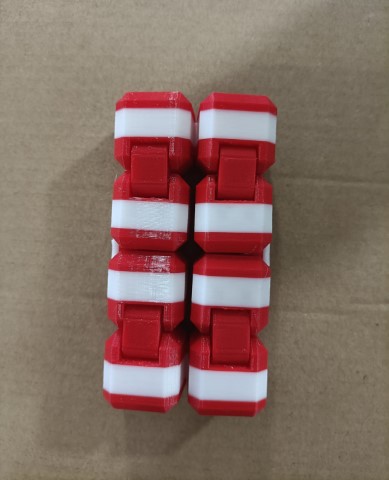
Designing using FormLabs SLA printer
I wanted to design the Eiffel tower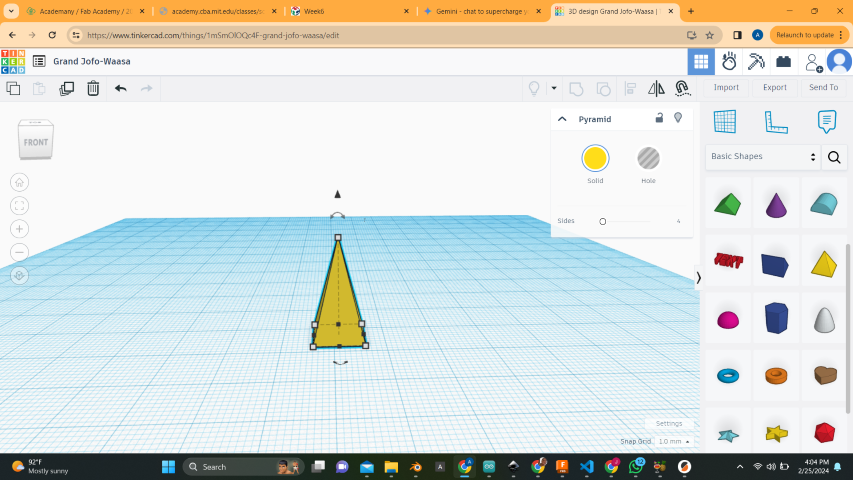

.jpg)
.jpg)
Post Processing
.jpg)
.jpg)
3D scanning an object
To 3D scan a Dyson vacuum cleaner using an Artec 3D scanner, I followed these steps:
Post Processing
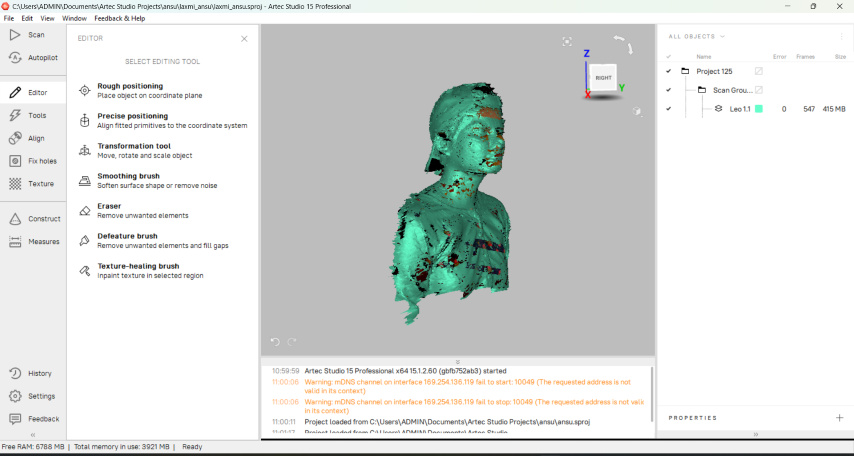
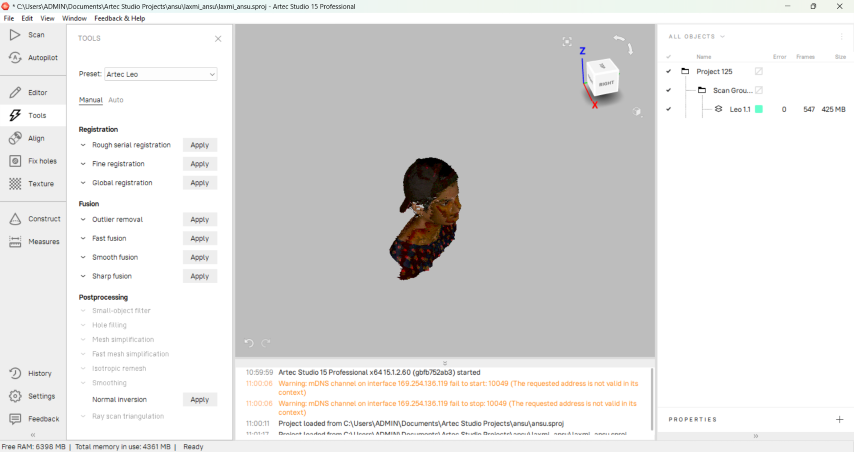
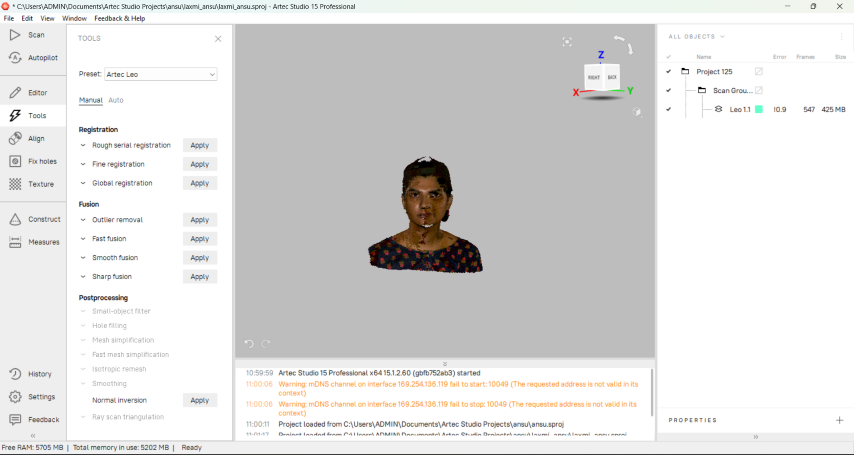
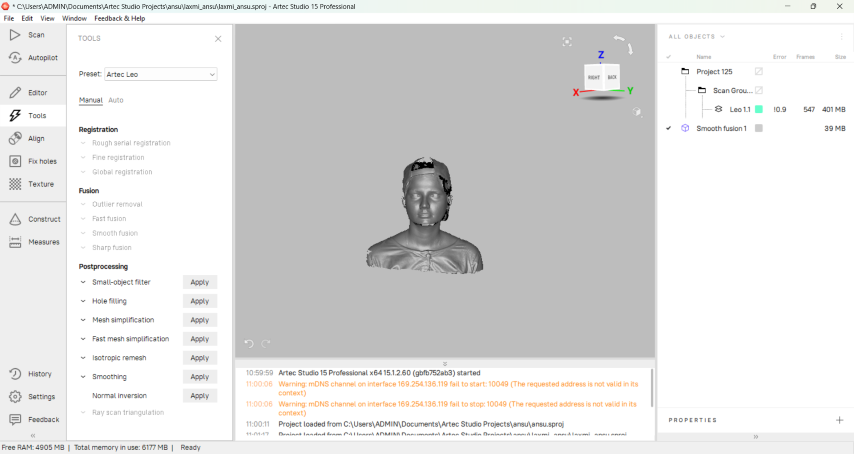
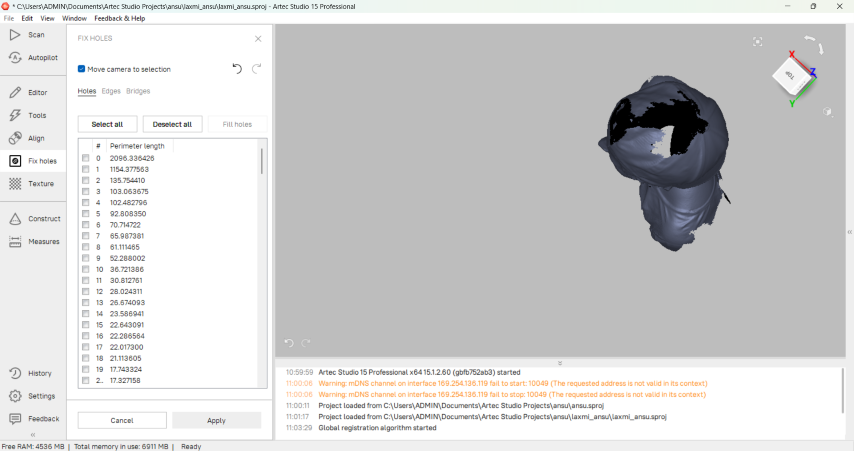
And finally, successfully scanned my friend, Laxmi.
Hero Shots


Design files
Design file for topFidget cube with 8 cubes
Fidget cube with 2 cubes
Eiffel Tower
