Computer-Controlled Cutting
The assignments for this week:
- Group assignment : Characterize your lasercutter's focus, power, speed, rate, kerf, joint clearance and types
- Individual assignment:
- cut something on the vinylcutter design,
- lasercut, and document a parametric construction kit, accounting for the lasercutter kerf, which can be assembled in multiple ways,
Group assignment:
Characterize your lasercutter's focus, power, speed, rate, kerf, joint clearance and types
Vinyl Cutting
The vinyl cutter uses a small knife to precisely cut the outline of a picture into a sheet or piece of vinyl. The knife moves side to side and turns, while the vinyl is moved beneath the knife. What results from the cut process is an image cut into the material. The material is then 'weeded' where the excess parts of the picture are removed. It is possible to remove the positive parts, which would give a negative sticker, or you could weed the negative parts, giving a positive sticker. Removing the letters would be like removing the positive, giving a negative image of the word, etc.
Roland GX-24 Vinyl cutter machine
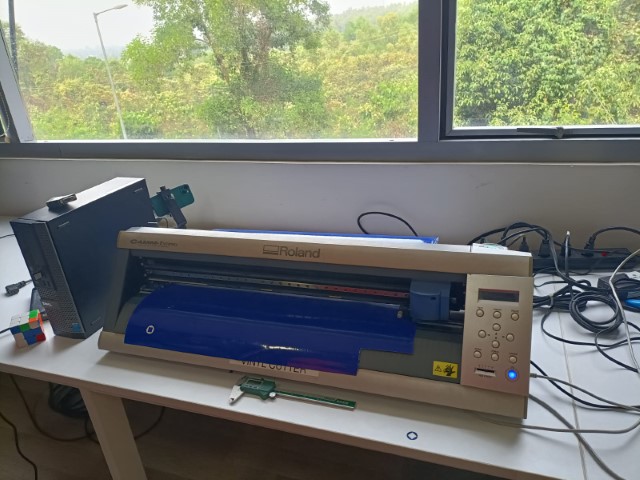
The knife, or cutting blade, used with the Roland GX-24 vinyl cutter is a crucial component for achieving precise and clean cuts on various materials. The angle of the blade used with the Roland GX-24 vinyl cutter refers to the angle at which the cutting edge of the blade is positioned in relation to the material being cut. The angle of the blade can have a significant impact on the cutting performance and the quality of the finished cut.
Designing
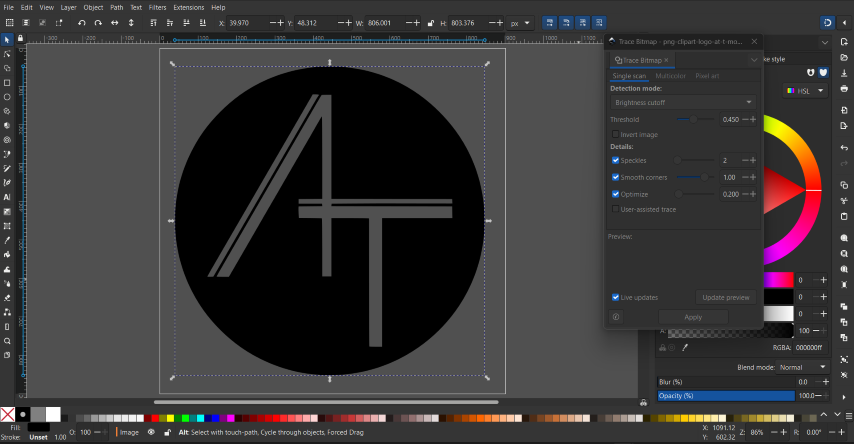
Here are the steps I followed to make my first sticker:- Initially, I decided to make a simple sticker with my initials, a small one first,to help me master the process quickly with a minimum of materials.
- I opened the .png file in Inkscape, to alter the size and to trace the bitmap
- After tracing, I saved the file as a Scaleable Vector Graphic(.svg) .The file is ready to be uploaded into FAB mods for the vinyl cutter. A ''.png' file is also supported.
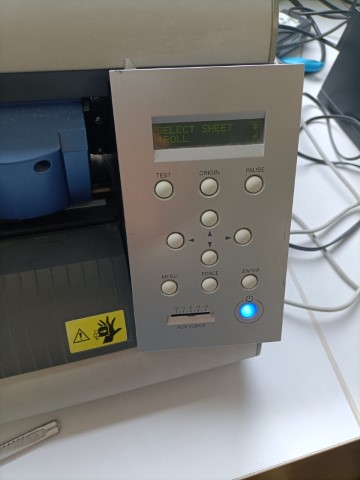
- I loaded a blue colour vinyl sheet.On the left side in the front and back are two LED 'eyes'. These are infared emitters and receivers which sense the presence of the vinyl. You have to position the vinyl so that it will cover these sensors. You also have to position the pressure rollers over the vinyl to make sure it will be able to handle the material. On the panel above the rollers, there are several white lines. The rollers must be positioned on these white lines or the machine wont run. Make sure the vinyl is running straight, or it may slip out from under the rollers. Flip the pressure lever to make the rollers press down, holding the vinyl between the rollers and the pressure bar.
- Check the display. It would say 'Sheet unloaded' intill you engage the pressure roller. Then you will need to use the down arrow to tell the machine you have loaded a piece or a roll. If you choose piece, the cutter head will move sideways, measure the space between the rollers, then it will move the piece out, the back in, then to its original position. This process used the 'eyes' to measure the height of the piece. You then should be able to see the readout on the display of the pieces measurements.
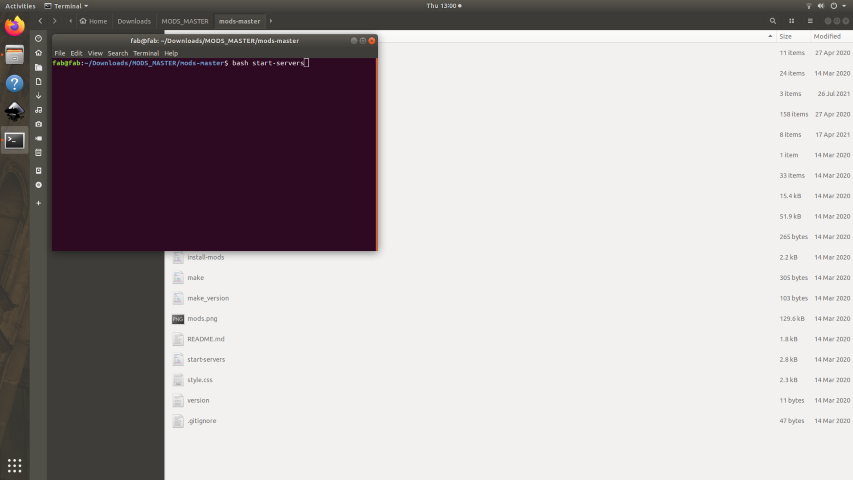
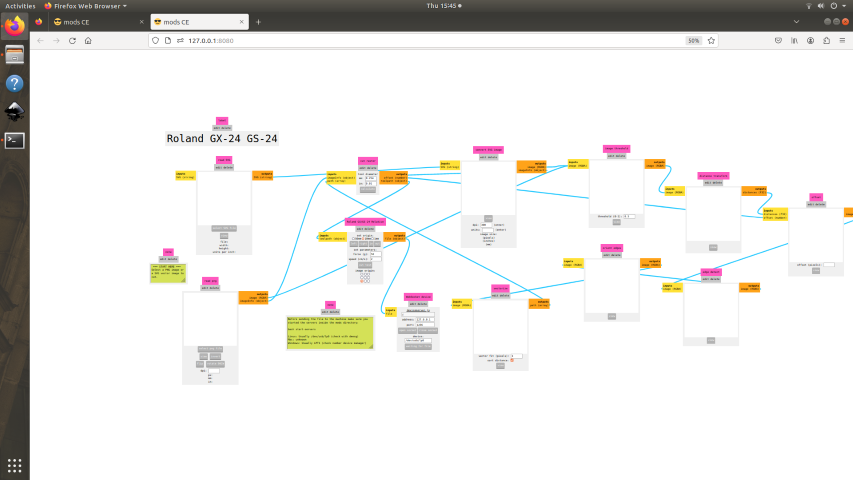
- Fab Mods is an open-source modular digital manufacturing CAM software developed by MIT's Centre for Bits and Atoms to control any machine from a computer. I opened a terminal and gave the command :
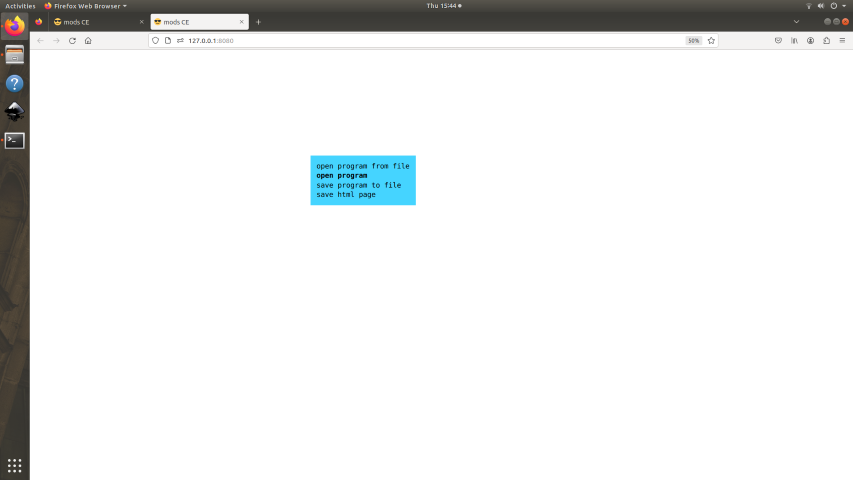
- Next, I clicked 'Open program
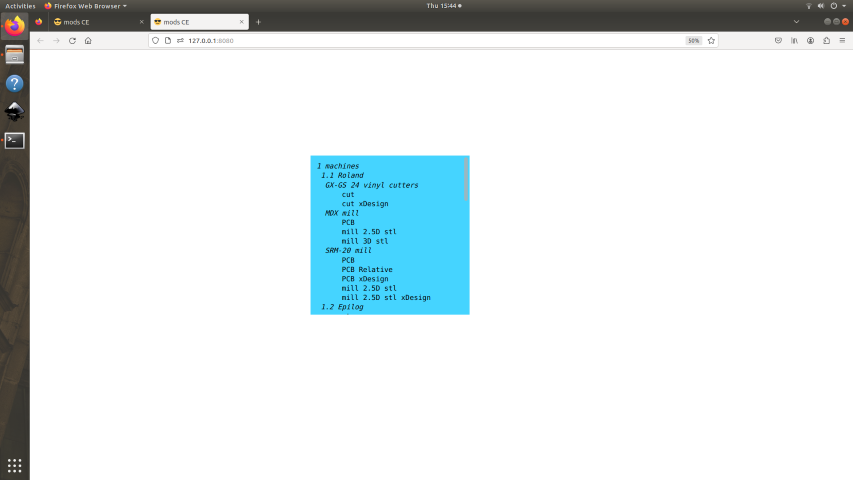
- Afterwhich, I clicked 'Cut' under GX-GS 24 Vinyl cutter
- Then, I uploaded my image
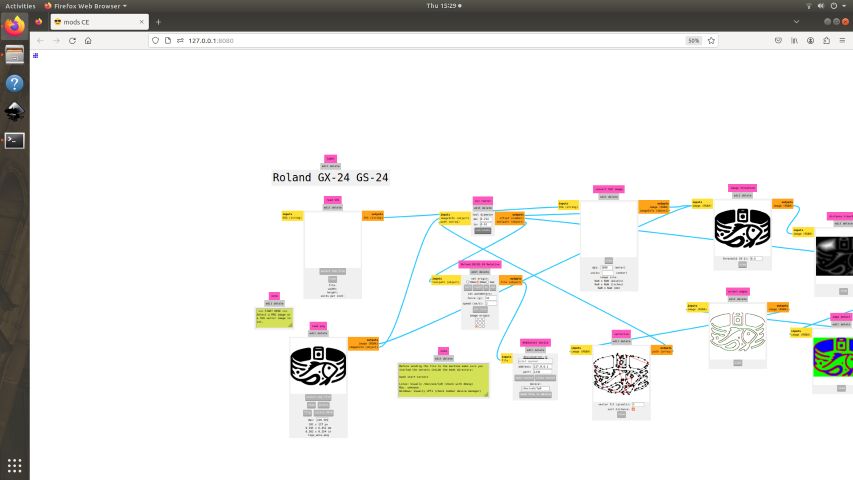
- Here, you can edit the 'force' and adjust the location of the orgin of the image.
- I sent the image to print after viewing it.
- After it was cut, it was easy to peel.
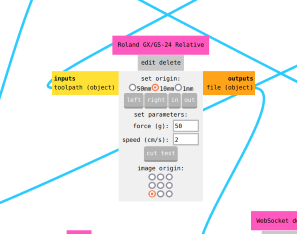
- Then, I decided to try another image which was more complicated.
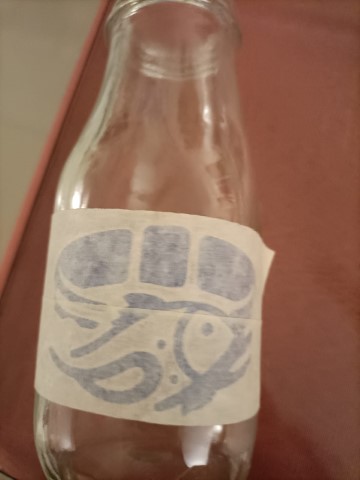
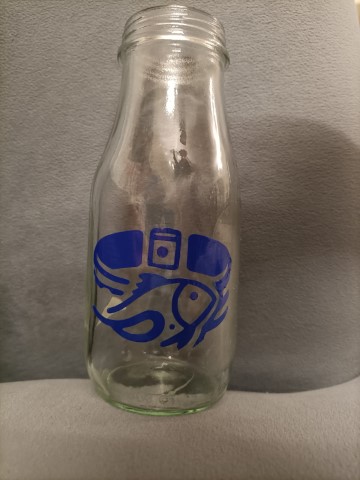
- The second image was more difficult to peel, so I used a masking tape to help transfer the image to a bottle.
Manufacturing
bash start-servers

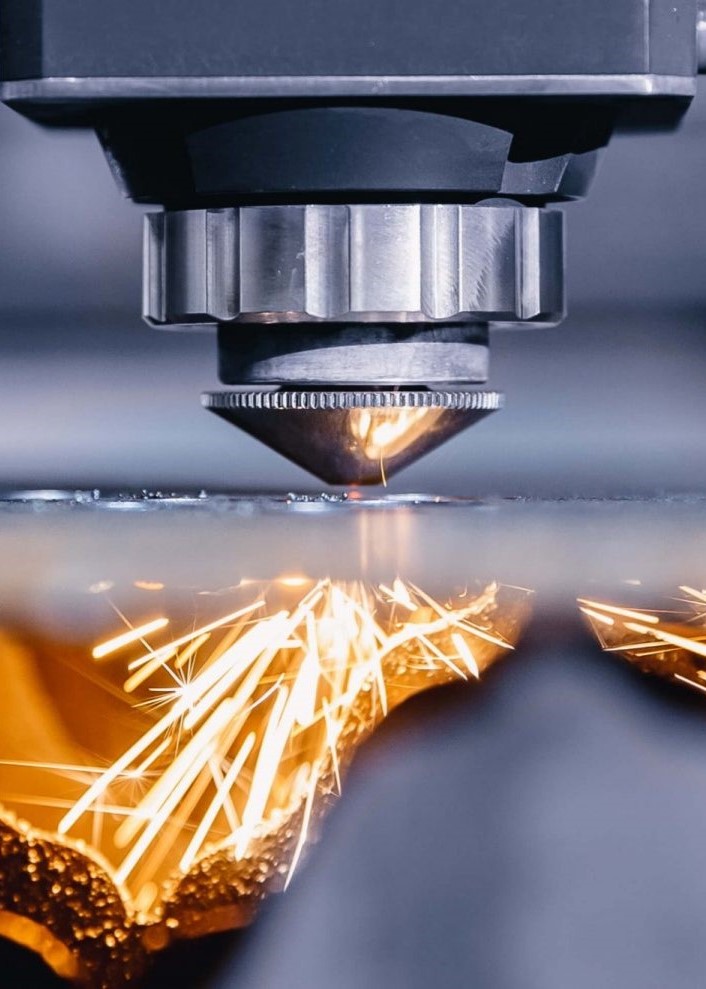
What is laser cutting?
Laser cutting is a frequently used process today for cutting
a variety of materials. The high accuracy, speed and versatility of the
laser cutters are the big advantages when using a laser cutting process. Here is an explanation of how
laser cutting works and for which materials it can be used.
Laser cutting is a type of thermal separation process. The laser beam hits the surface of the
material and heats it so strongly that it melts or completely vaporizes.
Once the laser beam has completely penetrated the material at one point,
the actual cutting process begins. The laser system follows the selected geometry and separates the material in
the process.
Depending on the application, the use of process gases can positively influence the results.
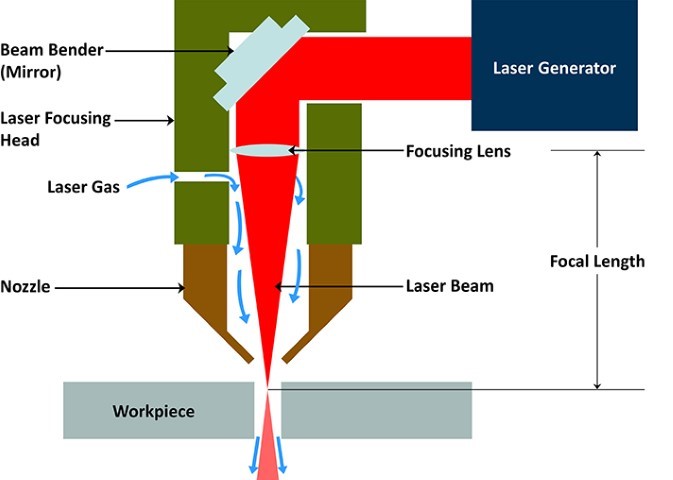
On starting the process, the laser source generates the laser light,
which then travels through various components to perform the desired
action.It consists of a series of mirrors or reflective surfaces
that guide the laser from the source.
These mirrors are strategically placed to reflect the laser beam and guide it towards the cutting head.
Mis-alignment of these mirrors will result in loss of laser energy
and affect the laser beam quality.
Whereas the delivery system of a fiber laser consists of a fiber
optic cable that requires comparatively less maintenance.
The cutting head consists of a focusing lens that converges the
laser into a narrow beam with a small spot size.
This conversion of laser into a highly focused beam increases
the energy density of the laser beam.
The laser beam then passes through a nozzle where a pressurized
auxiliary gas accompanies it.
Depending upon the type of material and its thickness,
the auxiliary gas can be oxygen, nitrogen, argon, etc.
Laser cutting in our Fablab
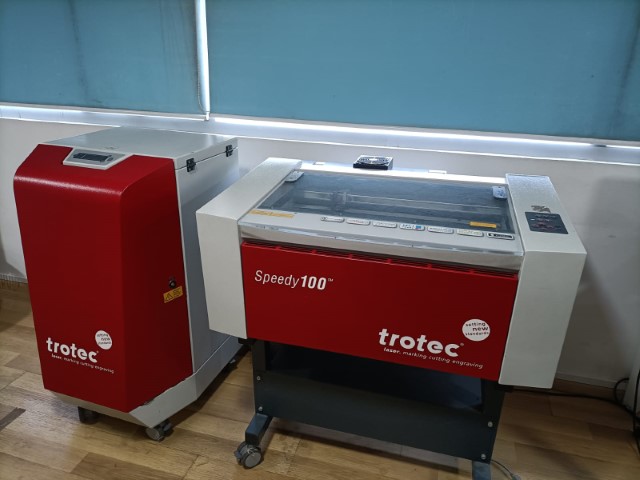
Trotec Speedy100 and Trotec Speedy400
Our lab has a Trotec Speedy 400 and a Trotec speedy 100. They are versatile laser cutting and engraving machines and offers a wide range of capabilities, making it suitable for various applications
Press-fit construction kit
I was so impressed seeing the press-fit kits
the previous batches had made and kept in the lab.
I was quite excited to make one myself.
Designing
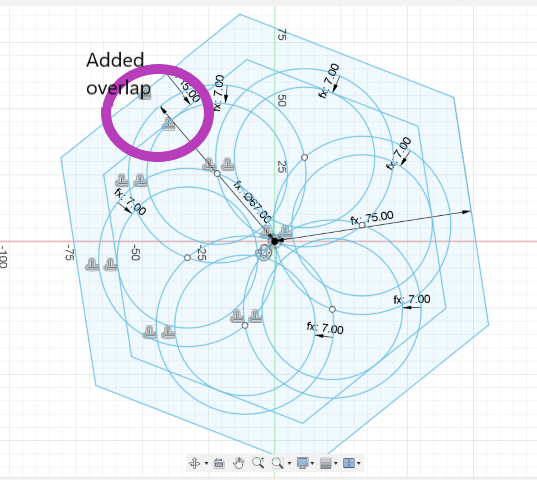
I started by designing a simple square with slots and using parameters. I, then , tried making a hexagon. I was tempted to add some design on it to see how it would look.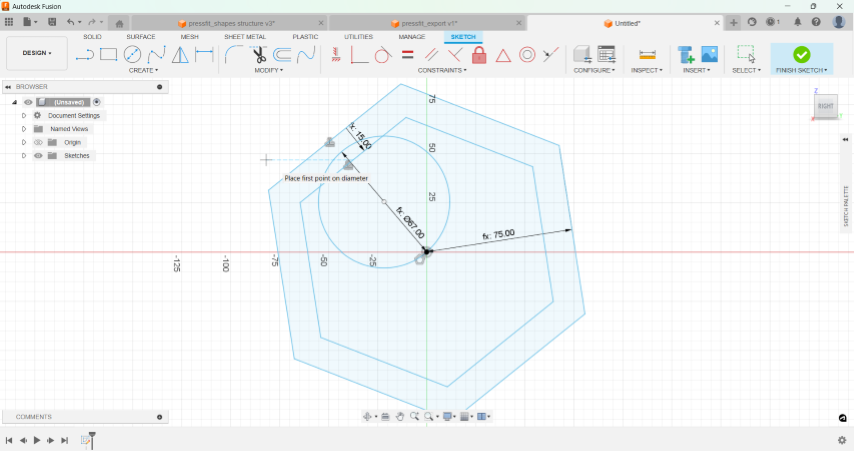
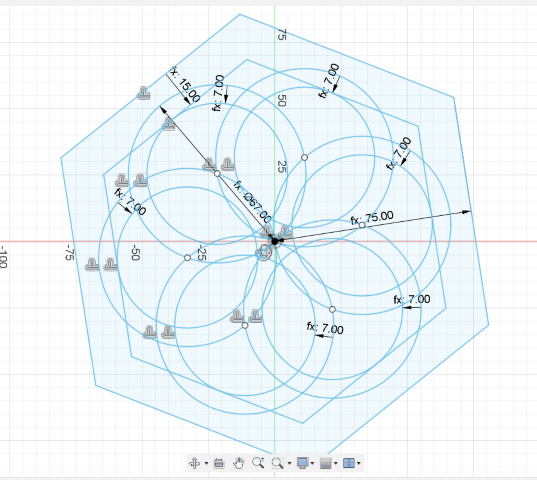
I added parameters for the radius of the polgon's circumscribed circle, the offset and the radius of the inner circle is computed using the polygon's radius and offset. So, it was easy to alter the shape by changing the parameters.

I, also, added slots using parameters and extruded the sketch.
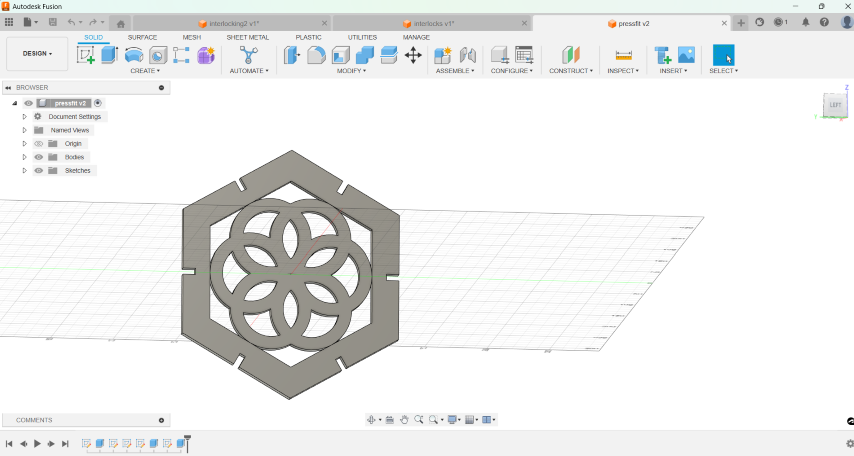
I made 4 shapes, including a connector.
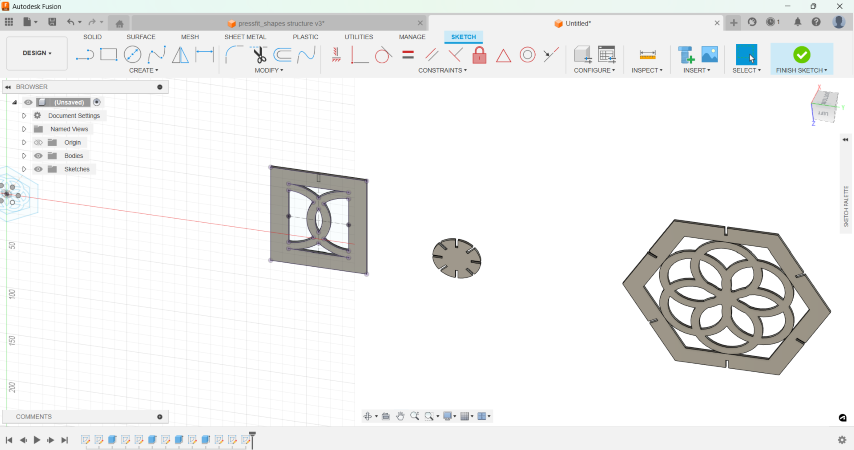
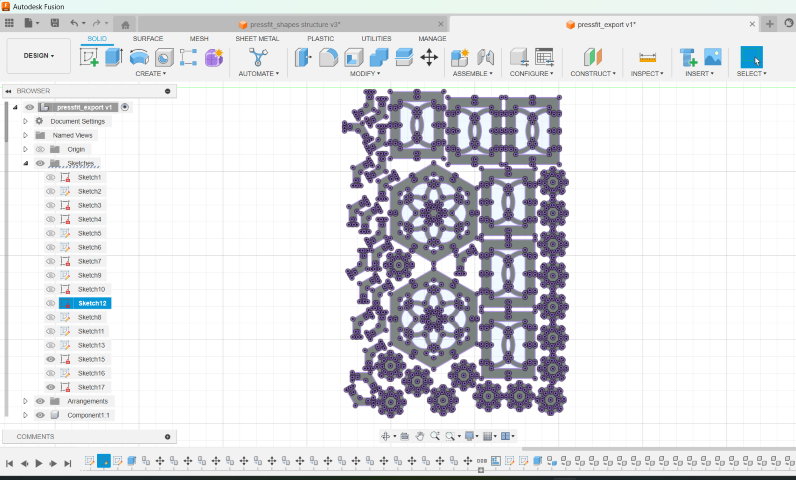
I created the required number of copies of the shapes and converted them to components.
Next, I arranged them in the plane I required , such that the space is optimised. After projecting them, I right clicked the new sketch and saved it as dxf.
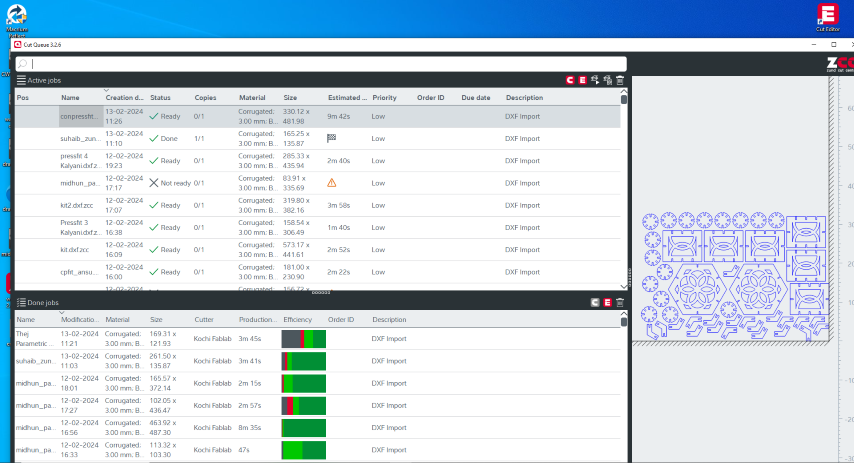
Manufacturing
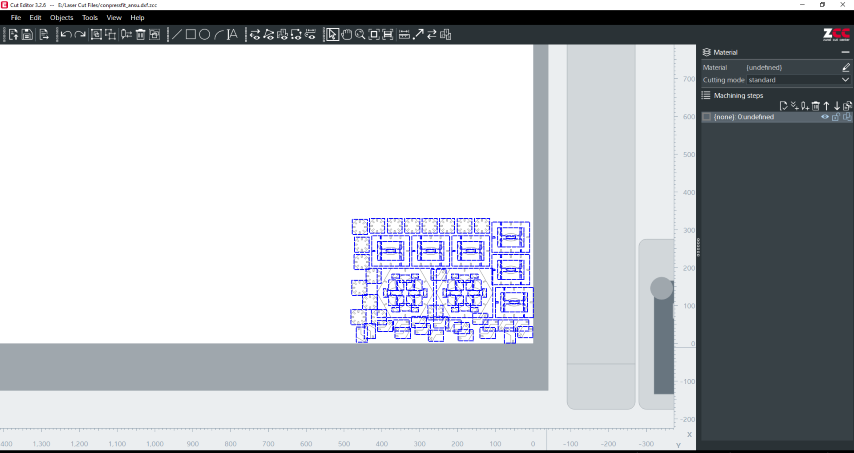
After importing my design into the Zund software, it allowed me to arrange the shapes on the material and specify the cutting parameters.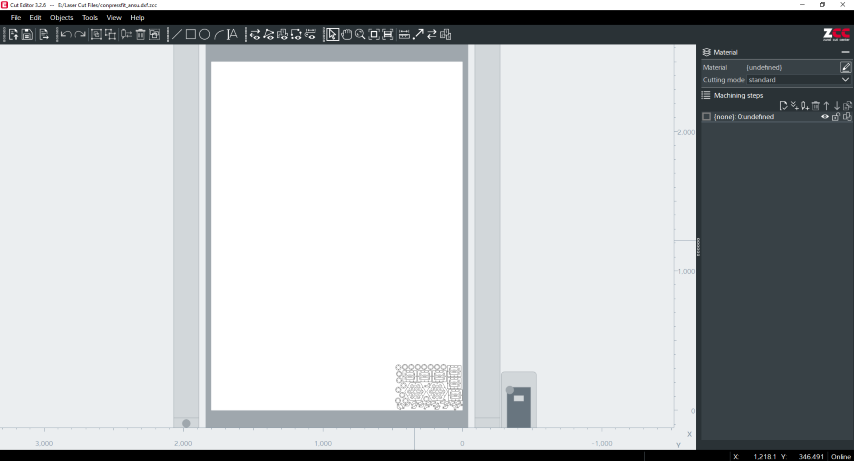
I selected all the components.
I added the method attributes as Thru-cut
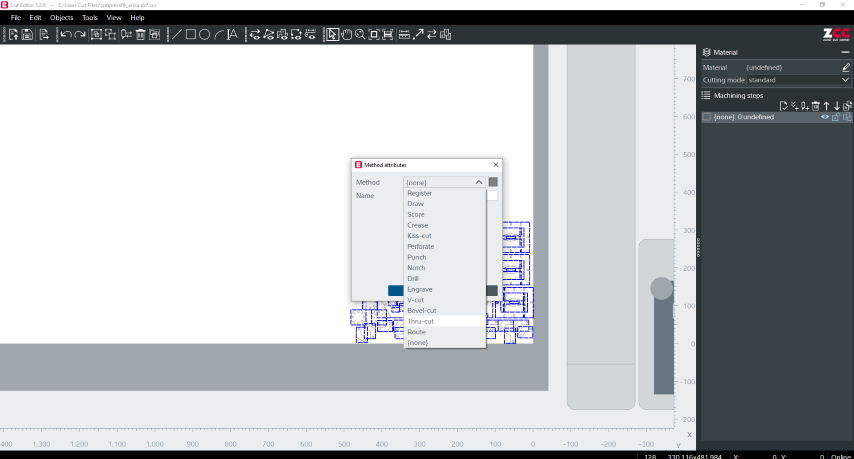
Then added the border as 'front-right'in the Register method

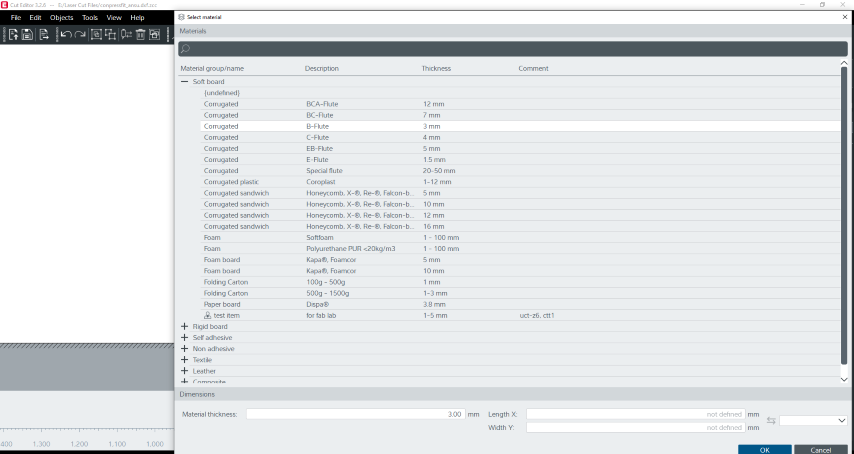
Next, gave the material as Corrugated, B-flute with thickness 3mm.
With everything set up, I sent the job to the Zund machine for cutting. The machine followed the paths defined in my design file and cut out the shapes according to my specifications.
After cutting was complete, I carefully inspected the cut shapes to ensure they met my quality standards. I then removed them from the material, being cautious of any leftover debris.
Challenges Faced
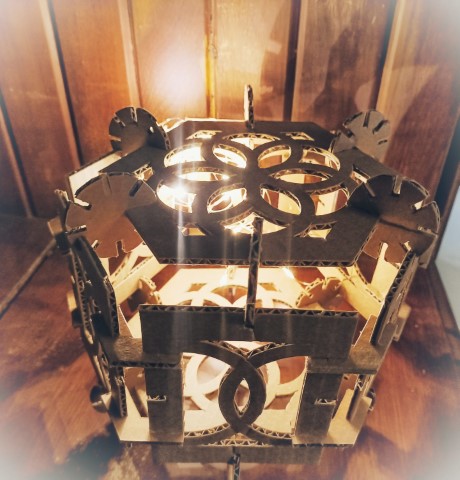
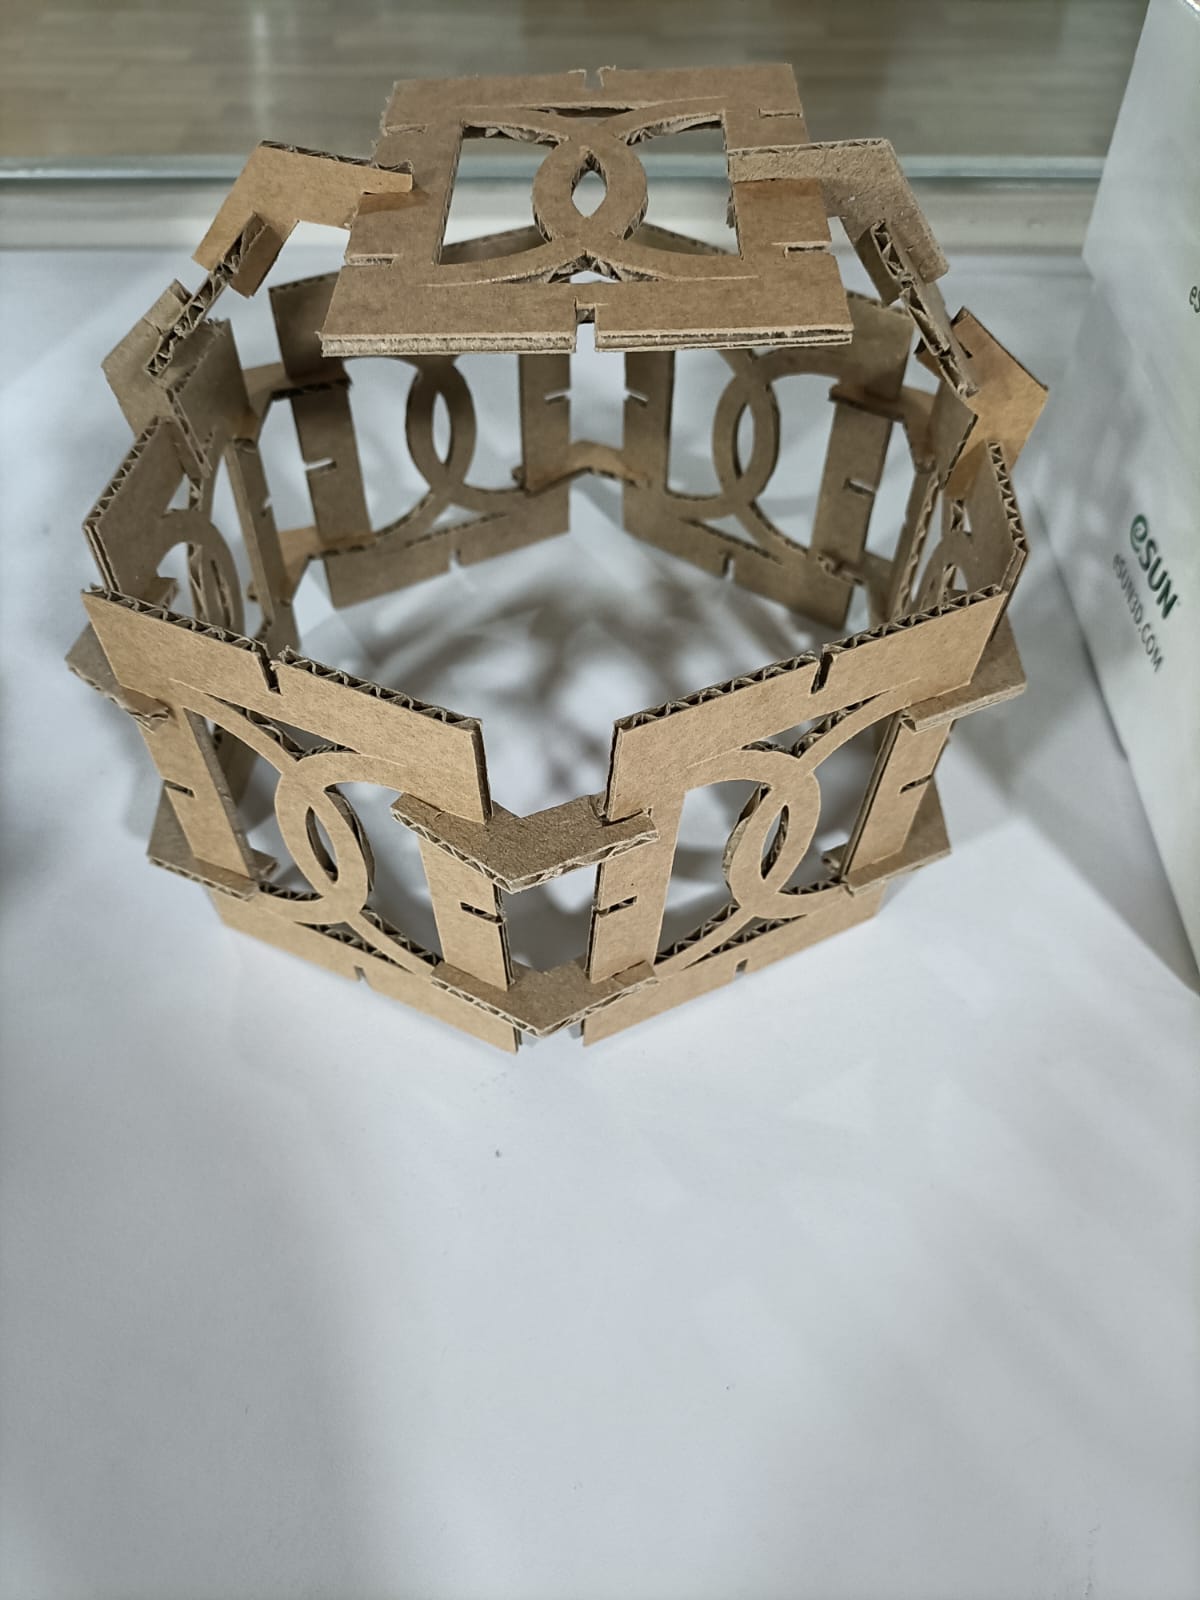
Hero shots

Design files
Press fit KitVinyl print