Computer Aided Design
The assignments for this week :
- model (raster, vector, 2D, 3D, render, animate, simulate, ...) a possible final project
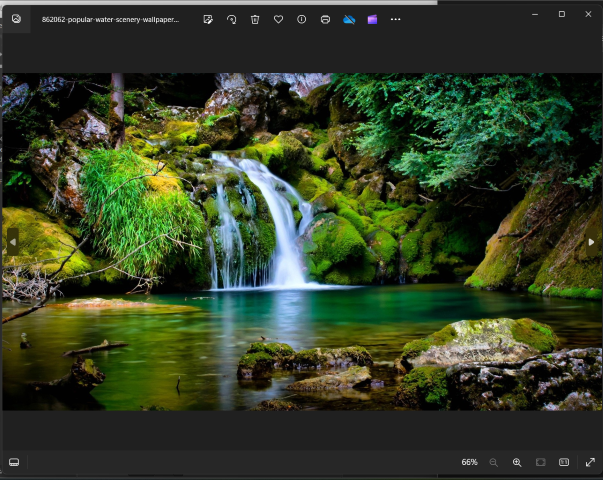
- compress my images and videos
- post a description with the design files in the class page
2D Modelling
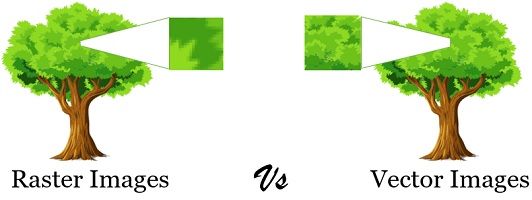
Basically, there are two types of computer graphics:raster and vector images. Whilest they perform similar roles, the way that they work is completely different. Few terms, like pixel and bitmap should be understood first.
Pixel: In Computer graphics, a pixel, dot, or picture element is a physical point in a picture. A pixel is
simply the smallest addressable element of a picture represented on a screen. A majority of pictures that we see on
our computer screen are raster images so are selfies taken in a mobikle phone.
An image is made up using a collection of pixels referred to as a bitmap.
Bitmap: In computer graphics, a bitmap is a mapping from some domain (for example, a range of integers) to bits, that is,
values which are zero or one. It is also called a bit array or bitmap index.
Raster Graphics
Raster images use bit maps to store information. This means a large file needs a large bitmap. The larger the image,
the more disk space the image file will take up.
We use algorithms that compress images to help reduce these file sizes. Image formats like jpeg and gif are common compressed image formats.
Scaling down these images is easy but enlarging a bitmap makes it pixelated or simply blurred. Hence for images that need to scale to
different sizes, we use vector graphics.
File extensions: .BMP, .TIF, .GIF, .JPG
Vector Graphics
Making use of sequential commands or mathematical statements or programs which place lines or shapes in a 2-D or 3-D environment
is referred to as Vector Graphics. Vector graphics are best for printing since it is composed of a series of mathematical curves.
As a result vector graphics print crisply even when they are enlarged.
In vector graphics, the file is created and saved as a sequence of vector statements. Rather than having a bit in the file for each bit of line drawing,
we use commands which describe a series of points to be connected. As a result, a much smaller file is obtained.
File extensions: SVG, EPS, PDF, AI, DXF
Conversions
Vector to Raster: Printers and display devices are raster devices. As a result, we need to convert vector images to raster format before
they can be used i.e displayed or printed. The required resolution plays a vital role in determining the size of the raster file generated.
Here it is important to note that the size of the vector image to be converted always remains the same. It is convenient to convert a vector
file to a range of bitmap/raster file formats but going down the opposite paths is harder. ( because at times we need to edit the image while
converting from raster to vector)
Raster to Vector: Image tracing in computing can be referred to as vectorization and it’s simply the conversion of raster images to vector images.
An interesting application of vectorization is to update images and recover work. Vectorization can be used to retrieve information that we have
lost. Paint in Microsoft Windows produces a bitmap output file. It is easy to notice jagged lines in Paint. In this kind of conversion, the image
size reduces drastically. As a result, an exact conversion is not possible in this scenario. Due to various approximations and editing that are done
in the process of conversion the converted images are not of good quality.
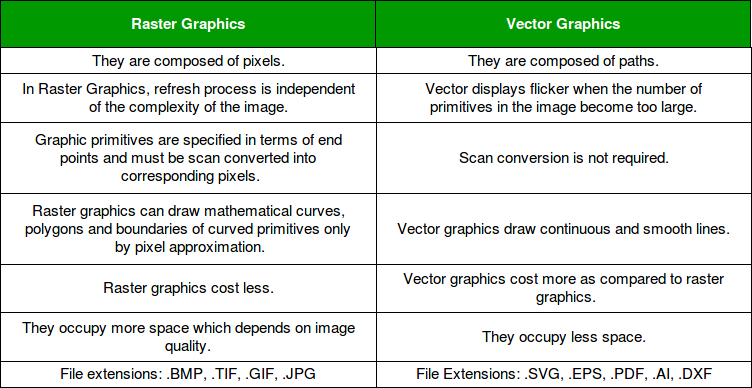
Difference between Vector and Raster graphics
After explaining about Raster and Vector graphics, our instructor told us to explore and get familiarised with few softwares softwares for modelling, rendering etc ,so that we can find out what is most comfortable for us to use for our projects. Here, are the softwares I explored :
Gimp
GIMP,an acronym for GNU Image Manipulation Program is a raster
graphics editing software.It is a freely
distributed program for tasks such as photo retouching, image composition
and image authoring.
In Gimp, I followed these steps to superimpose two photos.
1. I opened both images in GIMP by going to File > Open and selecting the images
I wanted to superimpose.
Then, I arranged the images in separate layers. I copied one image by selecting the entire image (Ctrl+A) and copying it (Ctrl+C).
Next, I switched to the other image and pasted it as a new layer (Ctrl+V). Alternatively, I could have used the "Edit"
menu and selected "Paste as" > "New Layer".
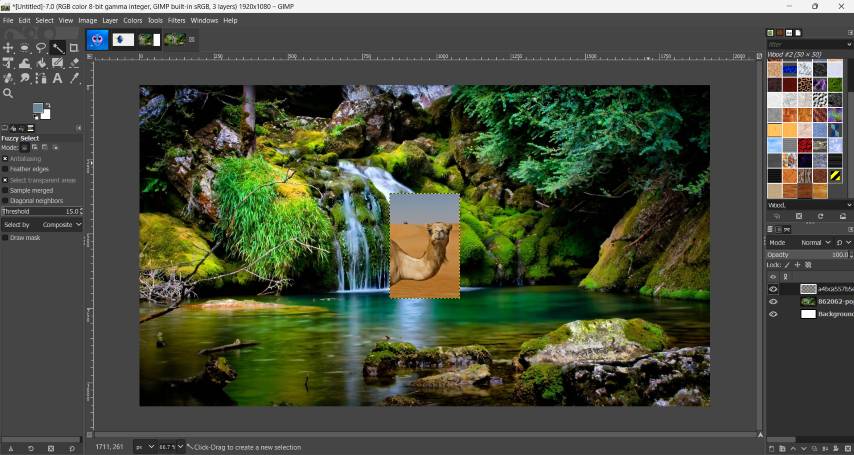
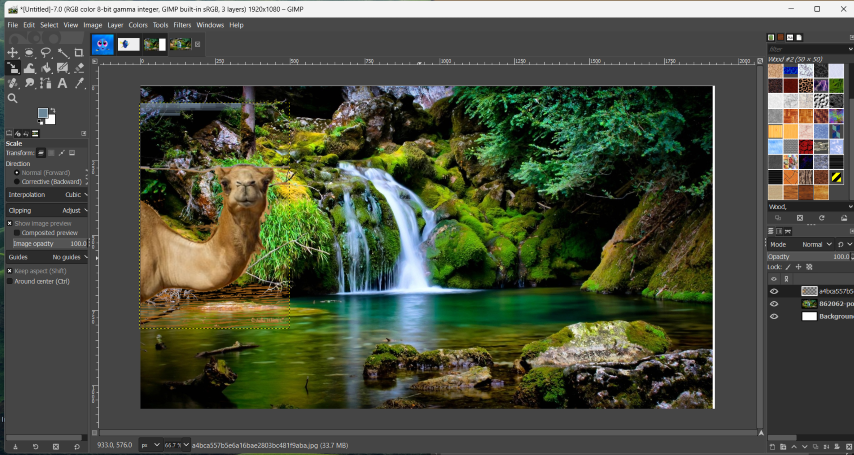
3. Now, I had both images as separate layers in the Layers panel. I adjusted the layers' positions and sizes as
needed using the Move Tool (shortcut: M) to move the layers around and the Scale Tool (shortcut: Shift+T) to resize them.
I used the 'Fuzzy Select' tool to remove the background
of the photo with the camel. Finally, once I was satisfied with the
superimposed result, I saved the image.
Photopea
Photopea is a web-based photo and graphics editor. It is used for image editing, making illustrations, web design or converting between different image formats. It is compatible with all modern web browsers, including Opera, Edge, Chrome, and Firefox. While browser-based, Photopea stores all files locally, and does not upload any data to a server.
Using Photopea, I followed these steps to create a poster.
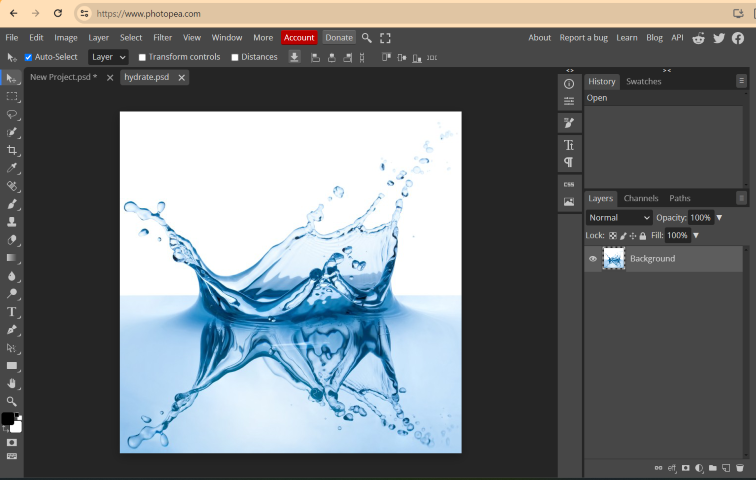
1. First, I opened Photopea in my web browser. Then, I clicked on "File" in the menu bar
and selected "New" to create a new document for my poster. I entered the
desired dimensions for my poster and clicked "Create". I chose a photo for
my background.
2. I chose a photo of a band but found it difficult to remove the
background.
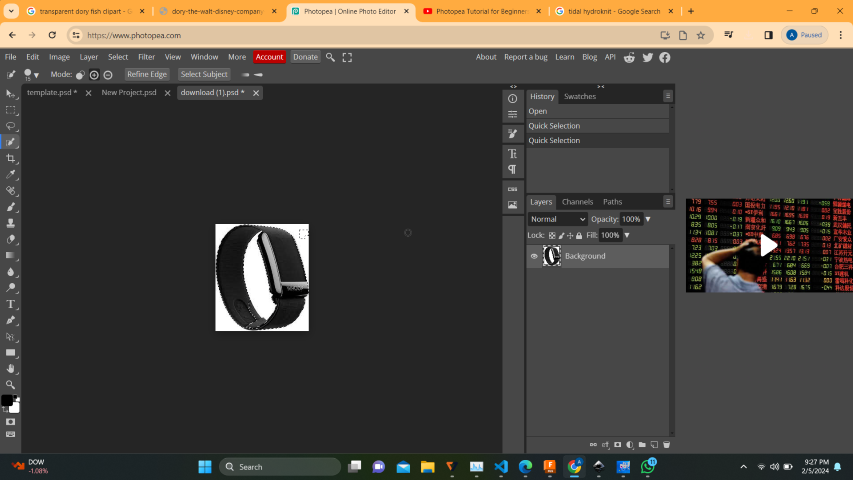
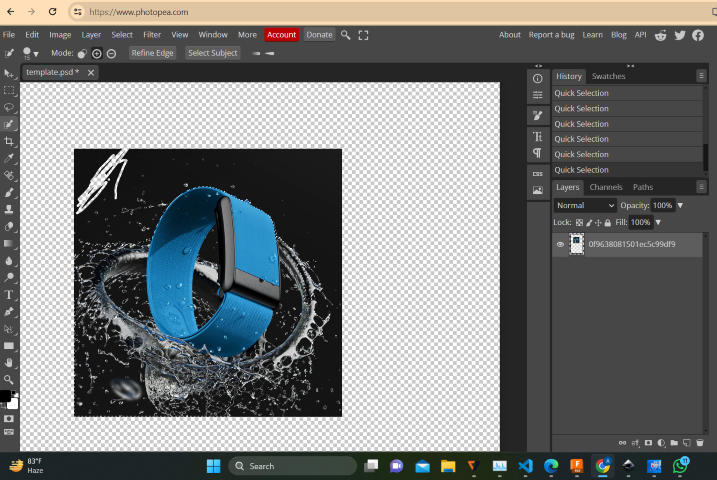
I decided to use this photo and removed the background by using the 'Quick
Selection Tool'
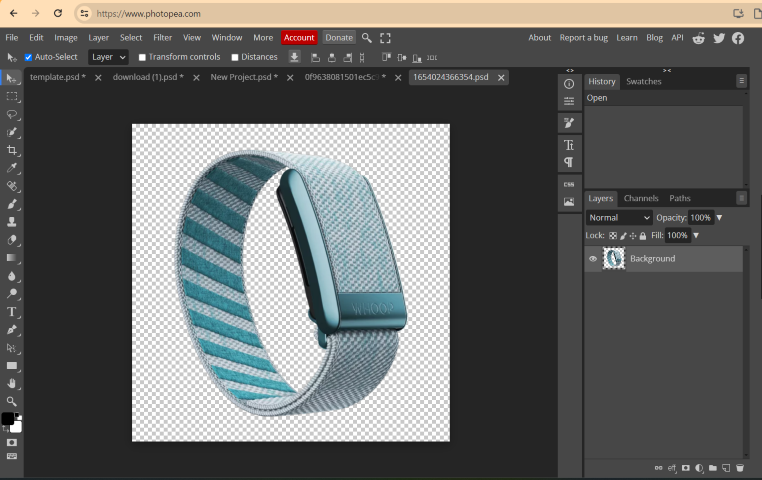
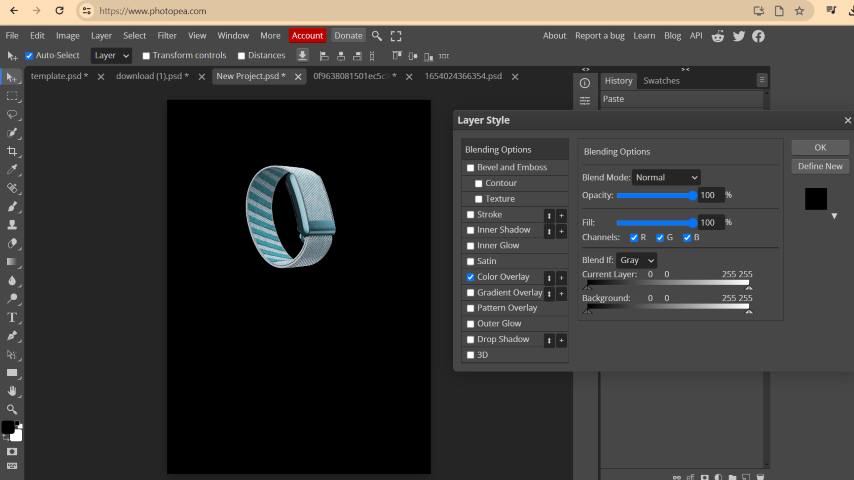
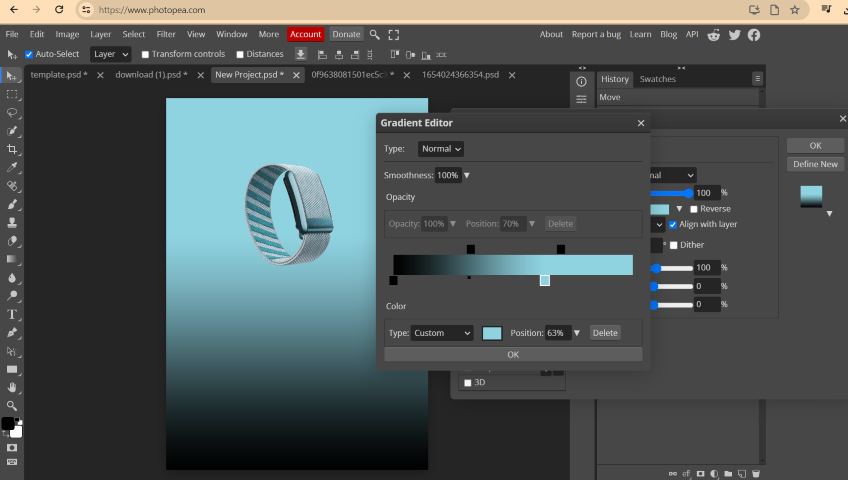
3. I added a background color and adjusted the gradient using the background
colorpicker tool or gradient tool.
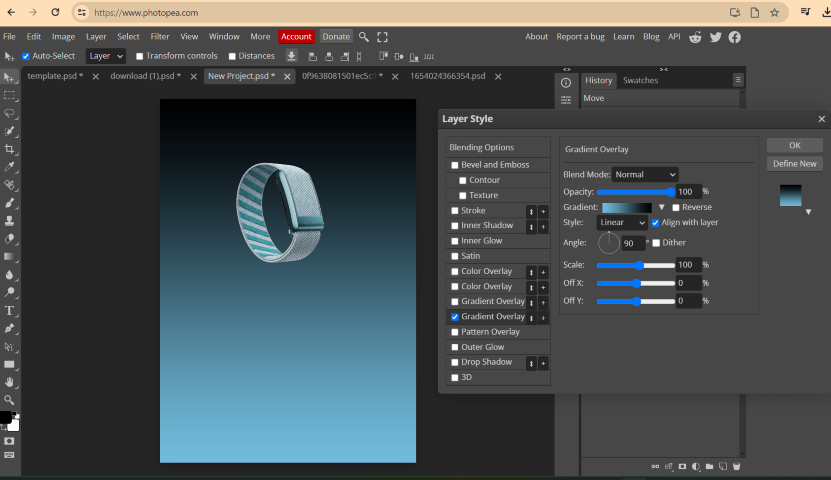
4. I rearranged the background, gradient and band layer and
added required opacity for the gradient level and background level. I,
then added the text and adjusted the font,size and color of the text.
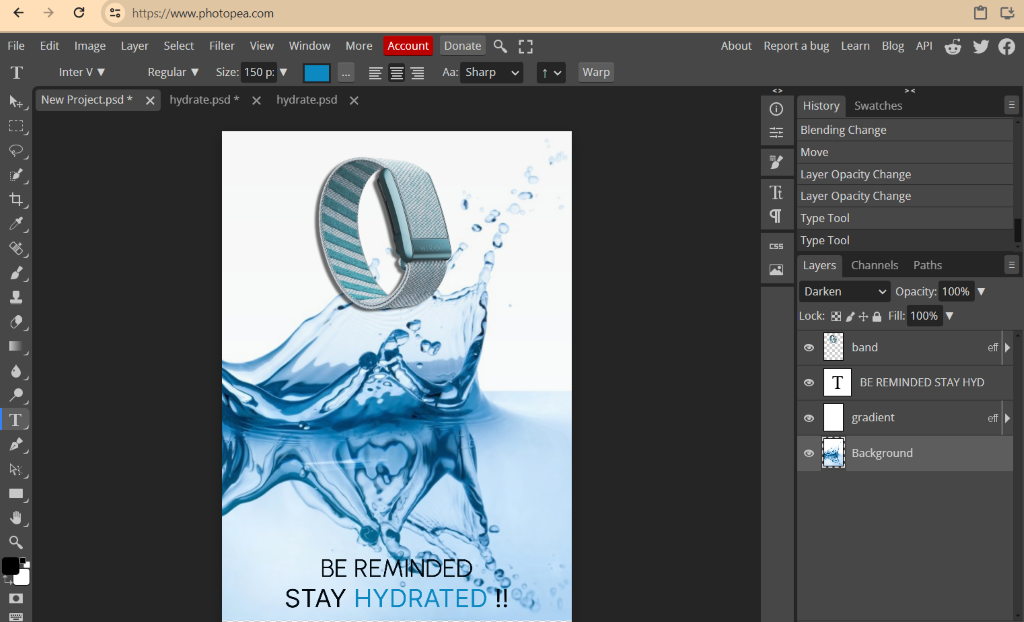
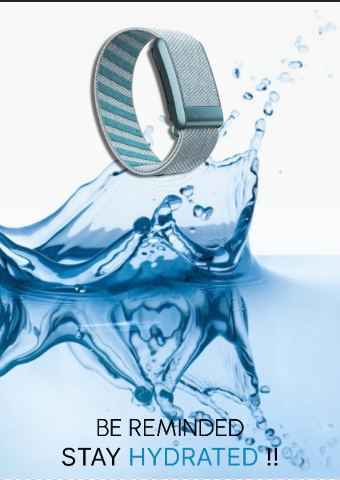
5. I saved the poster once I was happy with it.
Inkscape (vector design)
In Inkscape, I traced a bitmap image to convert it into
a vector graphic using the "Trace Bitmap" function. Here's how I did it:
First, I imported the bitmap image I wanted to trace into Inkscape by going
to File > Import and selecting the image file from my computer. Next, I went to Path > Trace Bitmap
to open the "Trace Bitmap" dialog box.
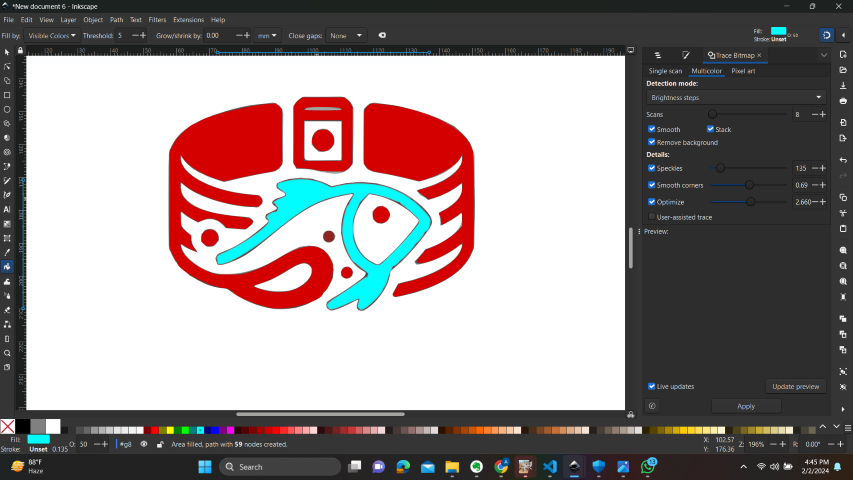
In the "Trace Bitmap" dialog box, I saw various options for tracing.
I chose from different tracing modes like "Brightness Cutoff", "Edge Detection",
"Color Quantization", etc., and adjusted the "Threshold" value to control the
level of detail in the traced result.
After selecting the desired tracing options, I clicked on the "Update" button to
preview the traced result in the dialog box. I adjusted the options further
til I was satisfied with the preview.
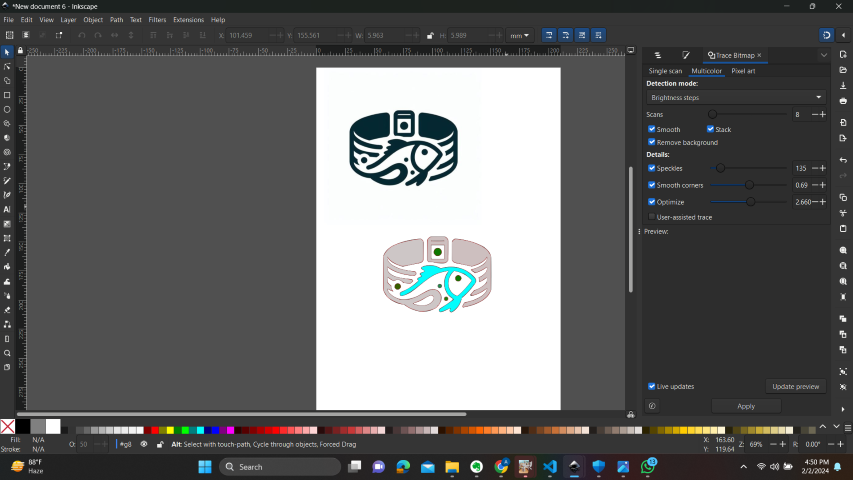
This created a vectorized version of the bitmap image based on my selected tracing options.
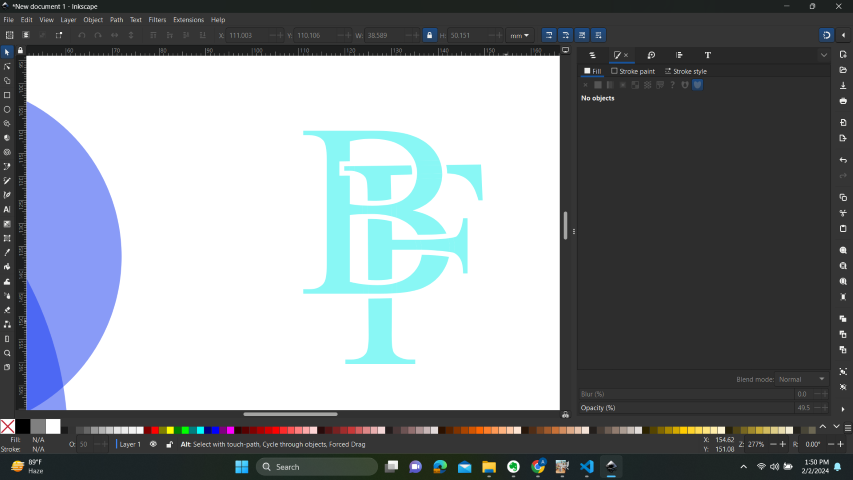
I tried creating a logo in Inkscape too.
3D modelling
Fusion 360
Fusion 360 is a commercial computer-aided design (CAD), computer-aided manufacturing (CAM),
computer-aided engineering (CAE) and printed circuit board (PCB) design software application, developed by Autodesk.
Fusion has built-in capabilities to do 3D modeling, sheet-metal, simulation and documentation. It can manage manufacturing
processes such as machining, milling, turning and additive manufacturing. It also has electronic design automation (EDA) features,
such as schematic design, PCB design and component management. It can be also used for rendering, animation, generative design
and a number of advanced simulation tasks (FEA).
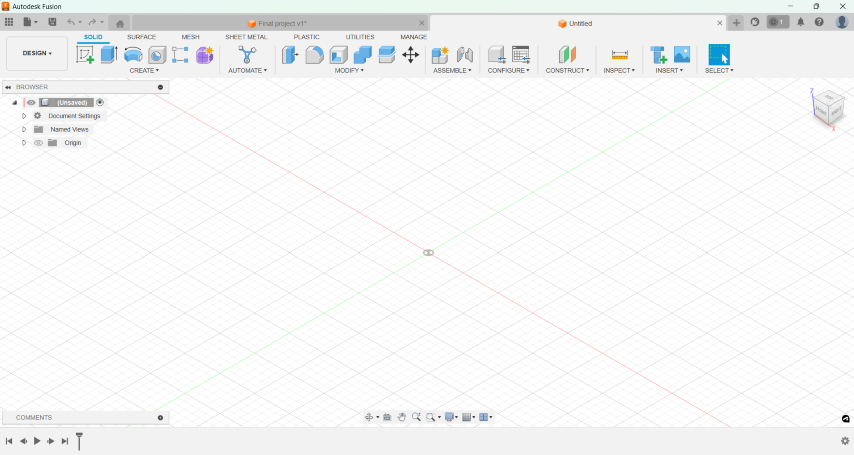
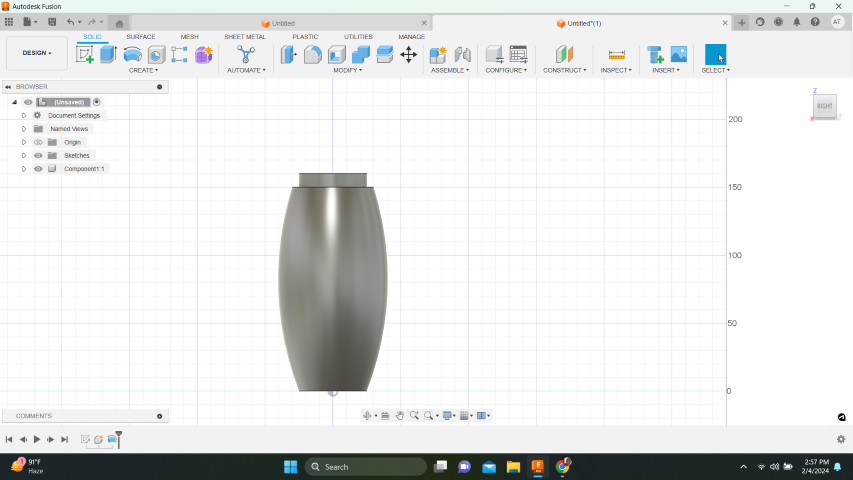
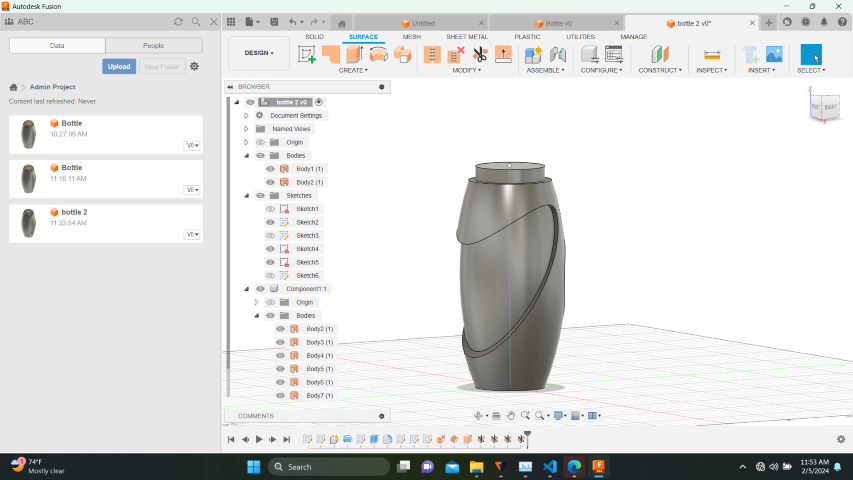
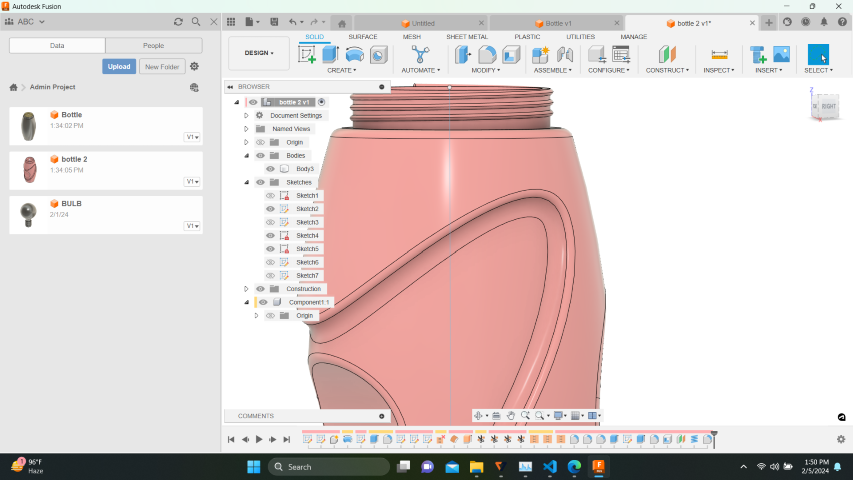
Using Fusion 360,I modelled a bottle with a band.
1. Initially,I started by creating a sketch of the water bottle profile on the XY
plane, ensuring that the profile was closed and represented the
cross-section of the bottle. I used the Revolve feature to create a
solid body by revolving the sketch profile around a vertical axis.
I selected the sketch profile as the profile to revolve and chose the
axis of revolution.
2. After revolve, I created another sketch on the top face of the revolved
body to represent the cap of the water bottle. Extruded this sketch to
add material and form the cap.
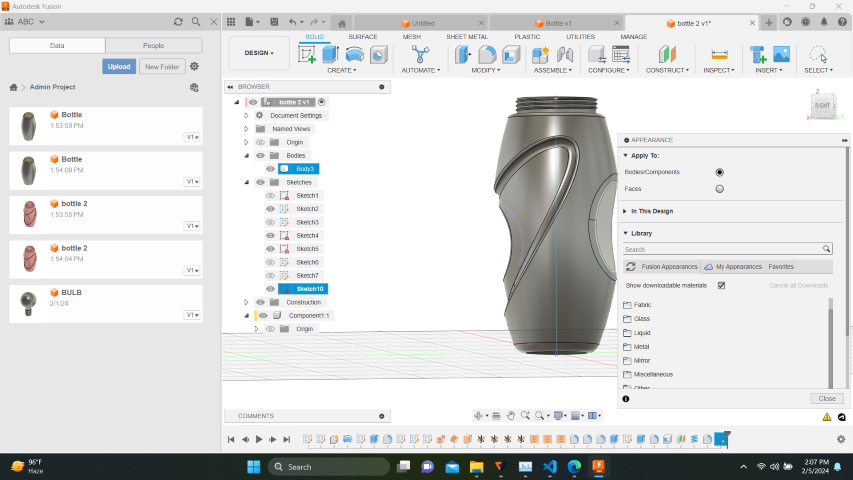
3. I applied fillets to the edges of the water bottle body and the cap
to create smooth, rounded edges. This added a realistic touch to the
model.
4. Then, I added decorative features to the bottle using the circle
and spline commands and extruding them.
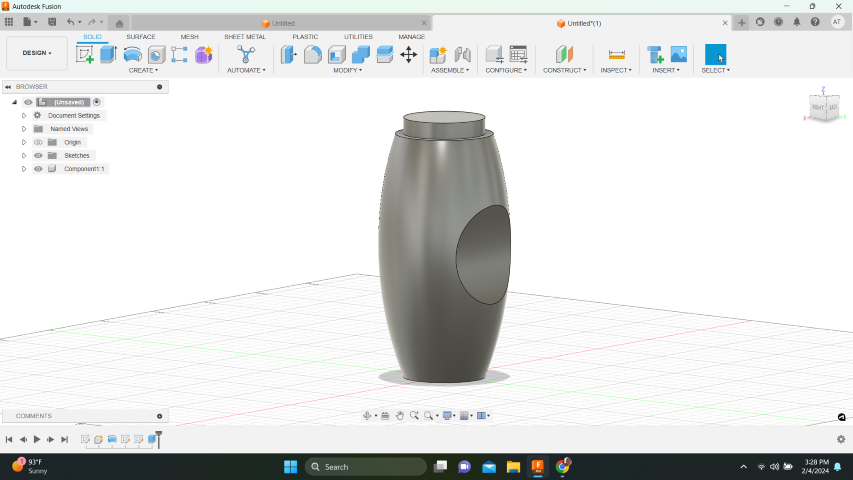
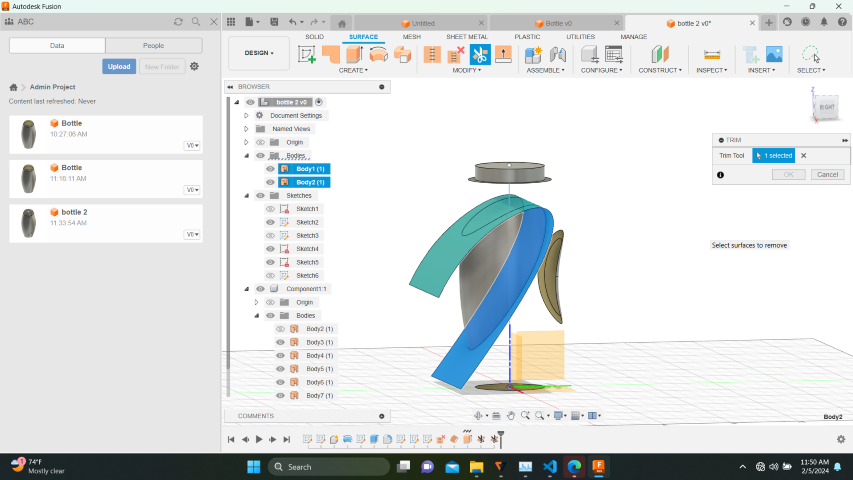
5. I selected multiple faces on the bottle body or cap and
specified an offset distance to create variations in thickness or add
decorative features.
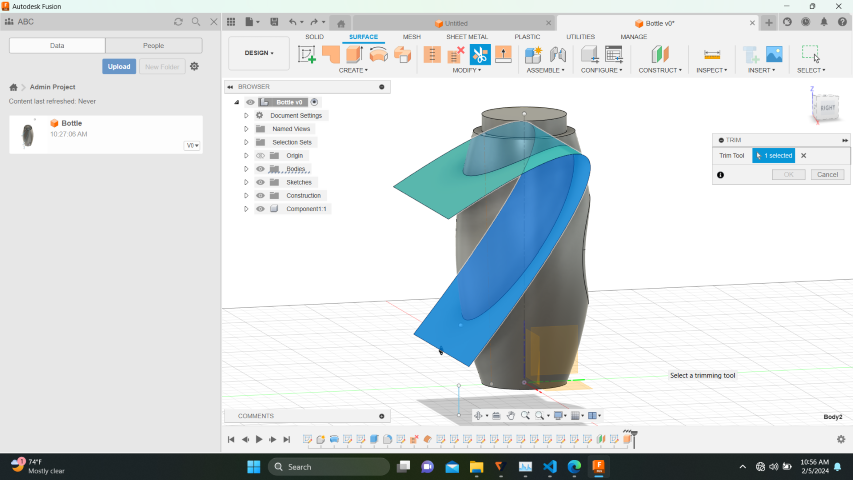
6. I used the coil command to create a helical feature on the bottle
body, mimicking a spiral design or thread pattern.

Here is a video of how I modelled the bottle
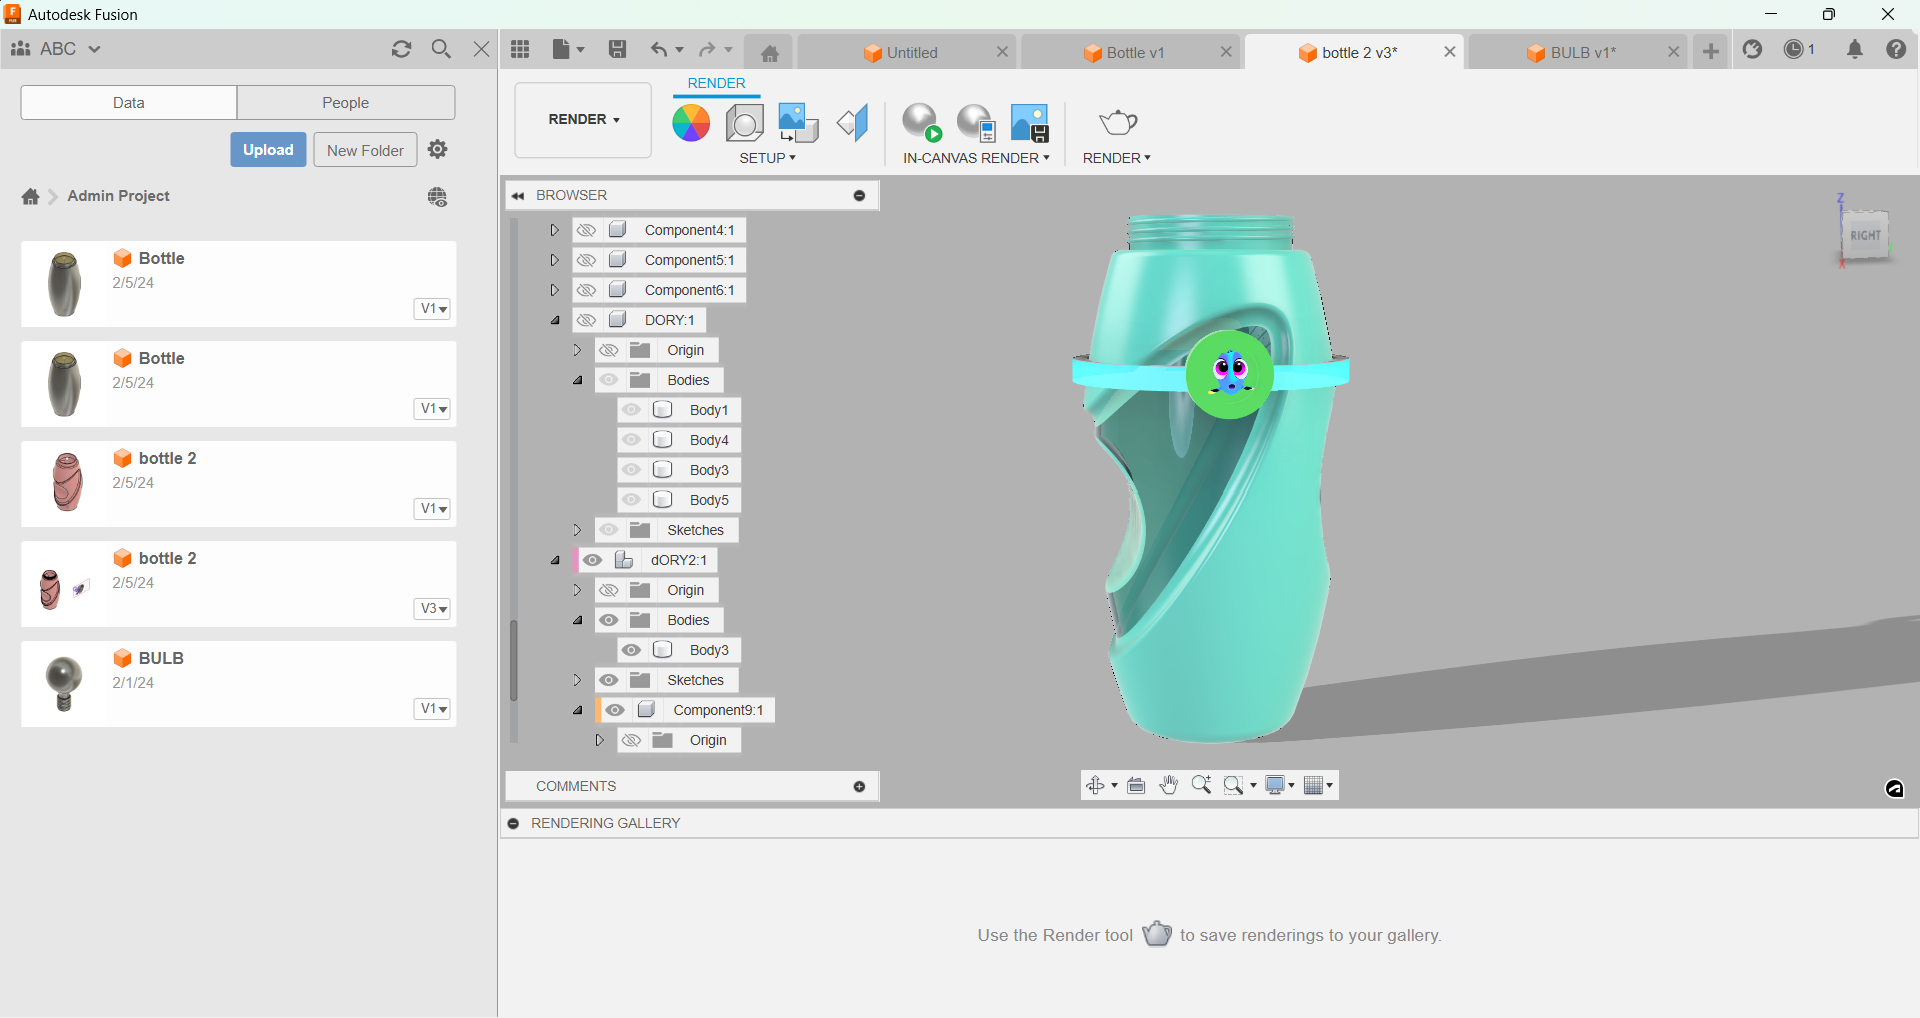
7. I added the band with the device.
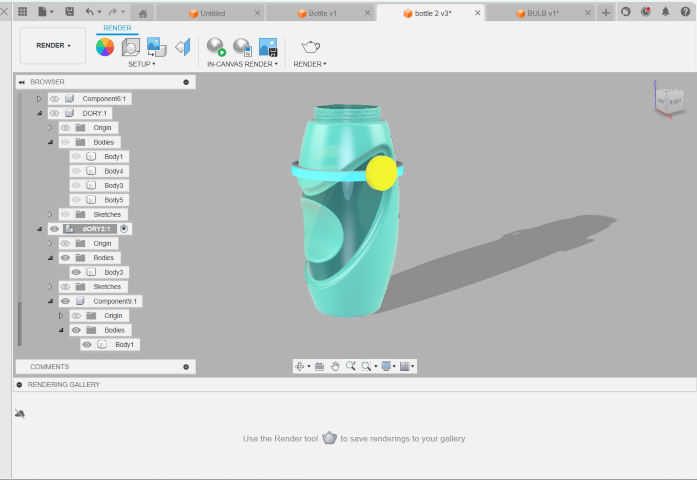
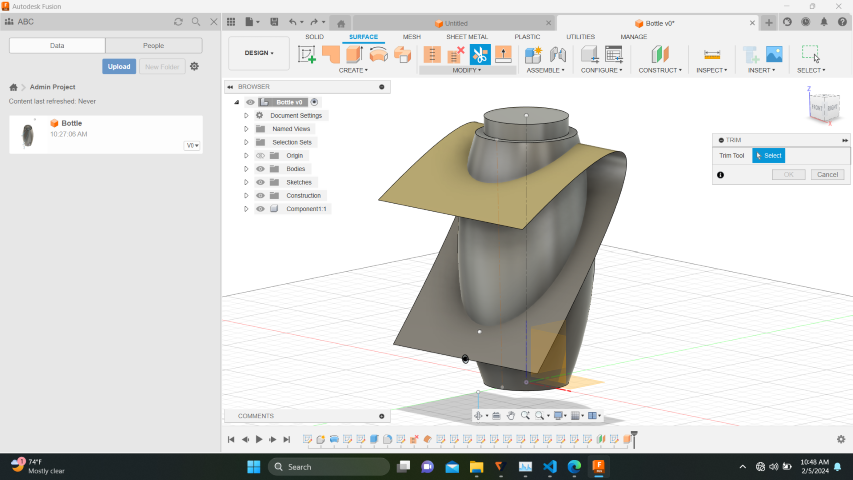
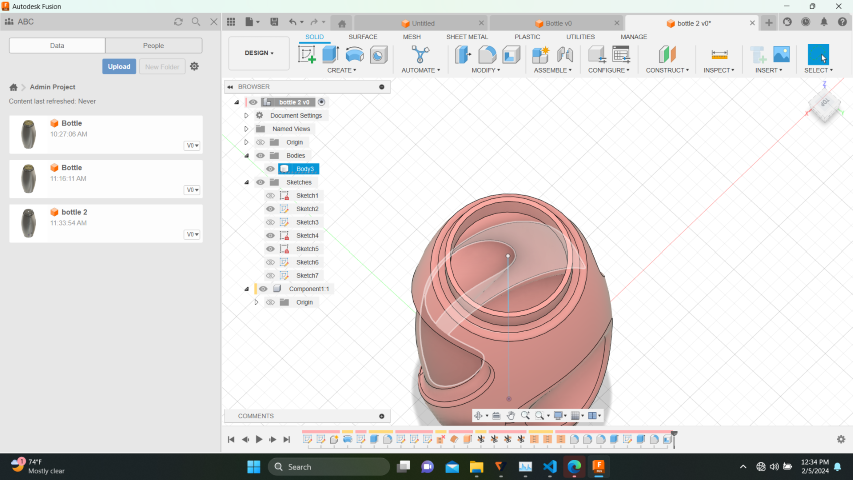
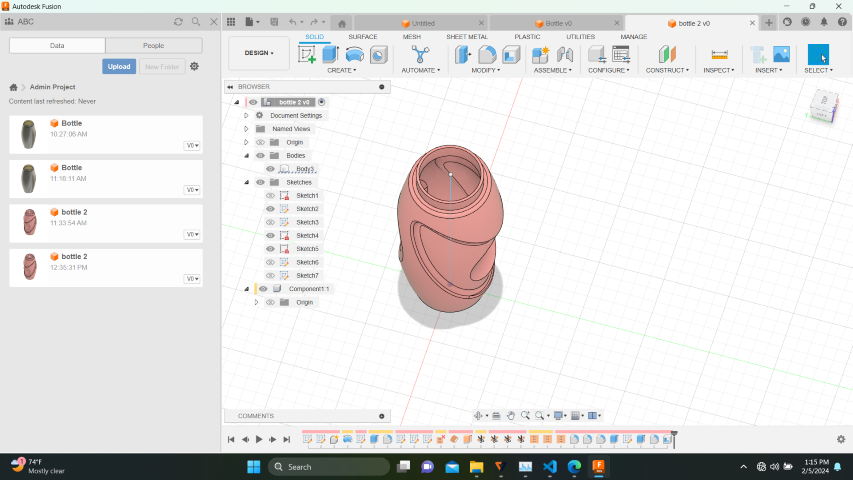
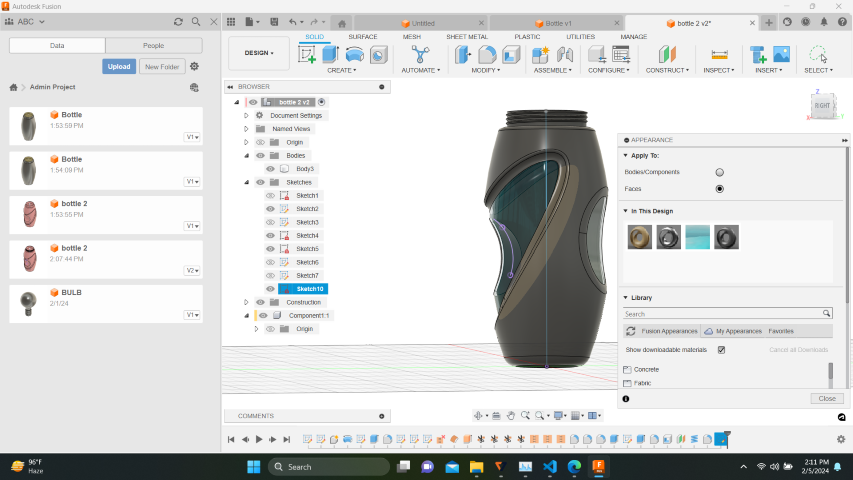
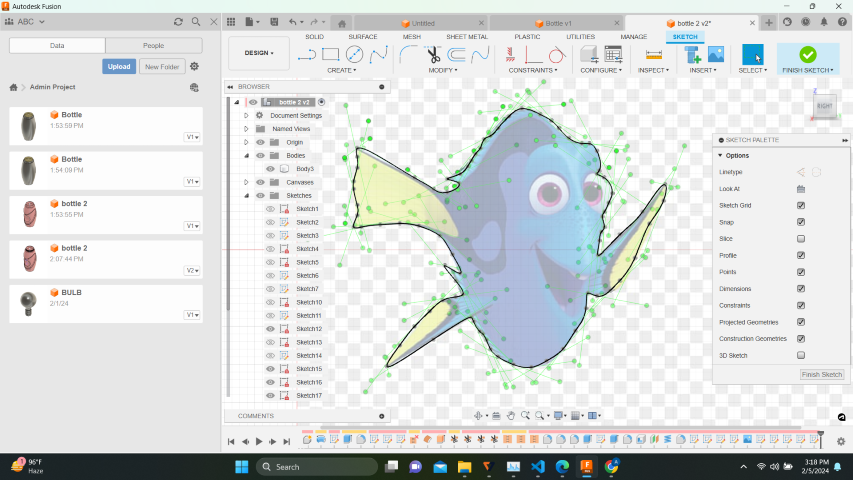
8. I wanted to add a 'forgetful Dory' casing to enclose the components.
Then, I tried sketching using the spline command and extruding it. I
was not able to get all the features, so decided to add a decal instead.
Blender
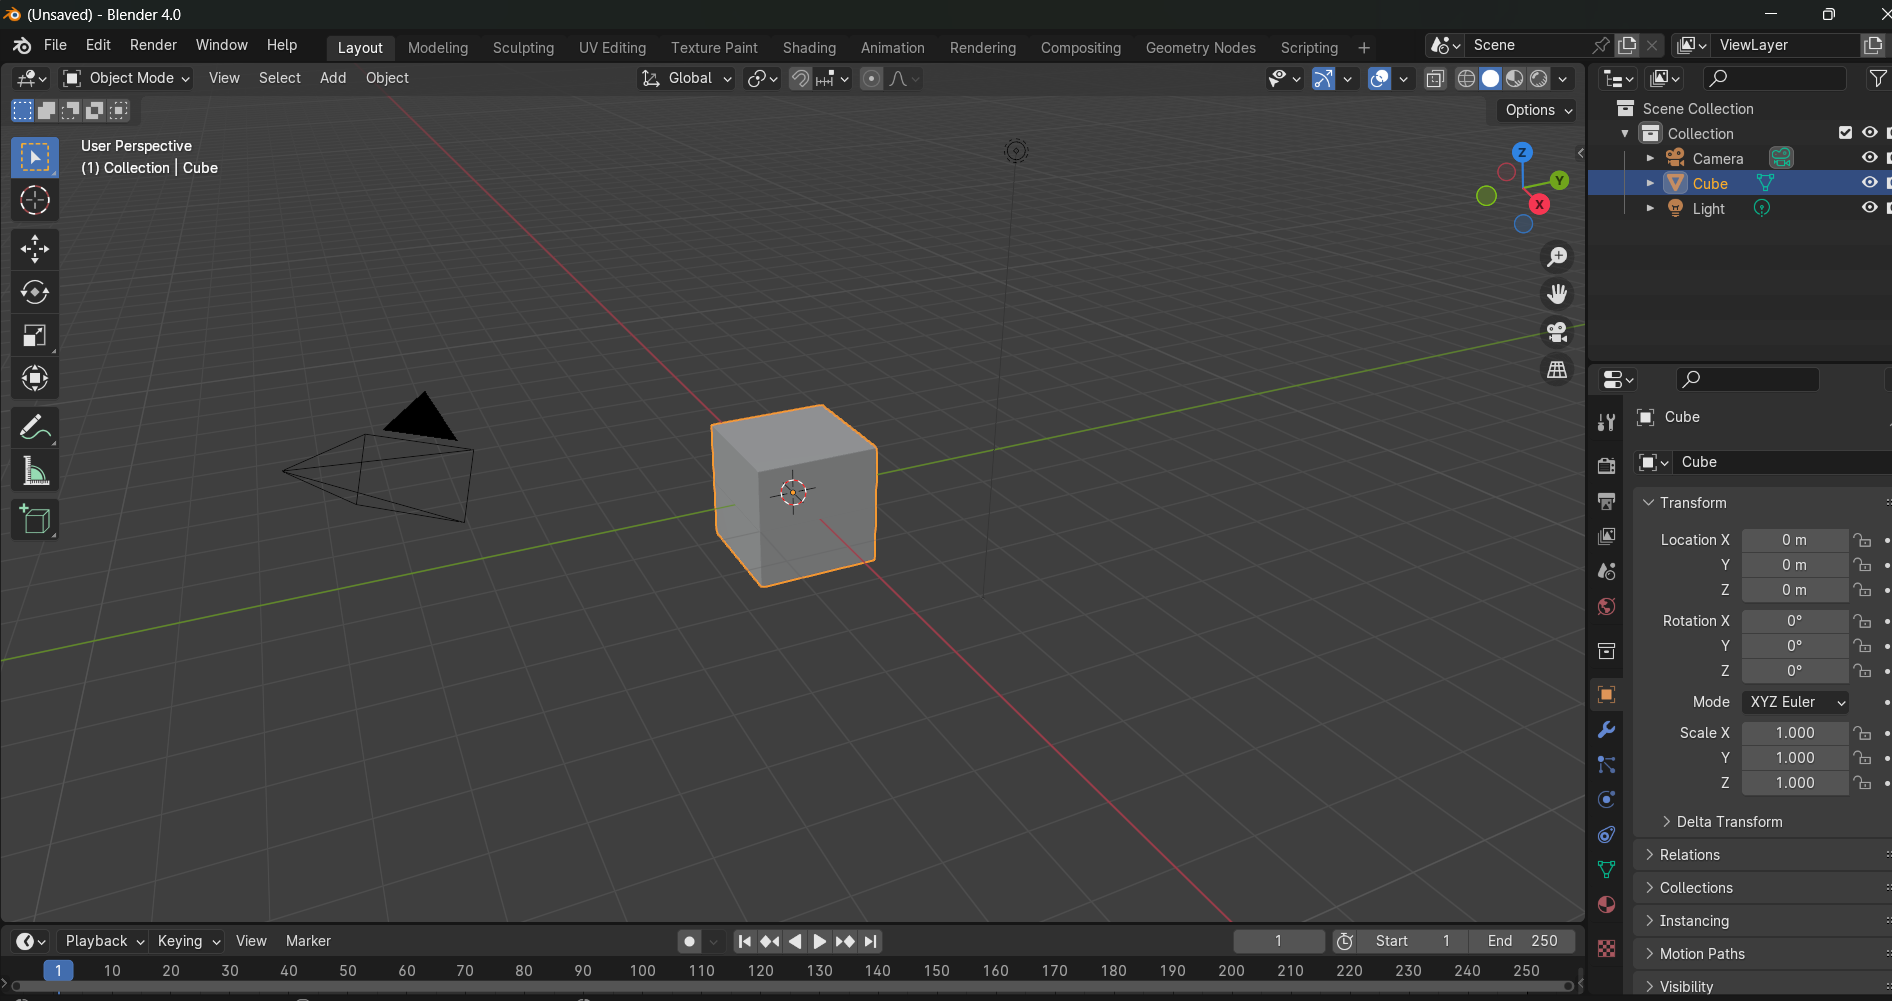
1. I downloaded Blender from the official website
and installed it on my computer.After installing, I opened Blender
and found myself in the default scene with a cube, camera, and light. I
removed the default cube by right-clicking on it and pressing the "Delete" key.
2. To create the mug, I went to the "Add" menu and selected
"Mesh" > "Circle".
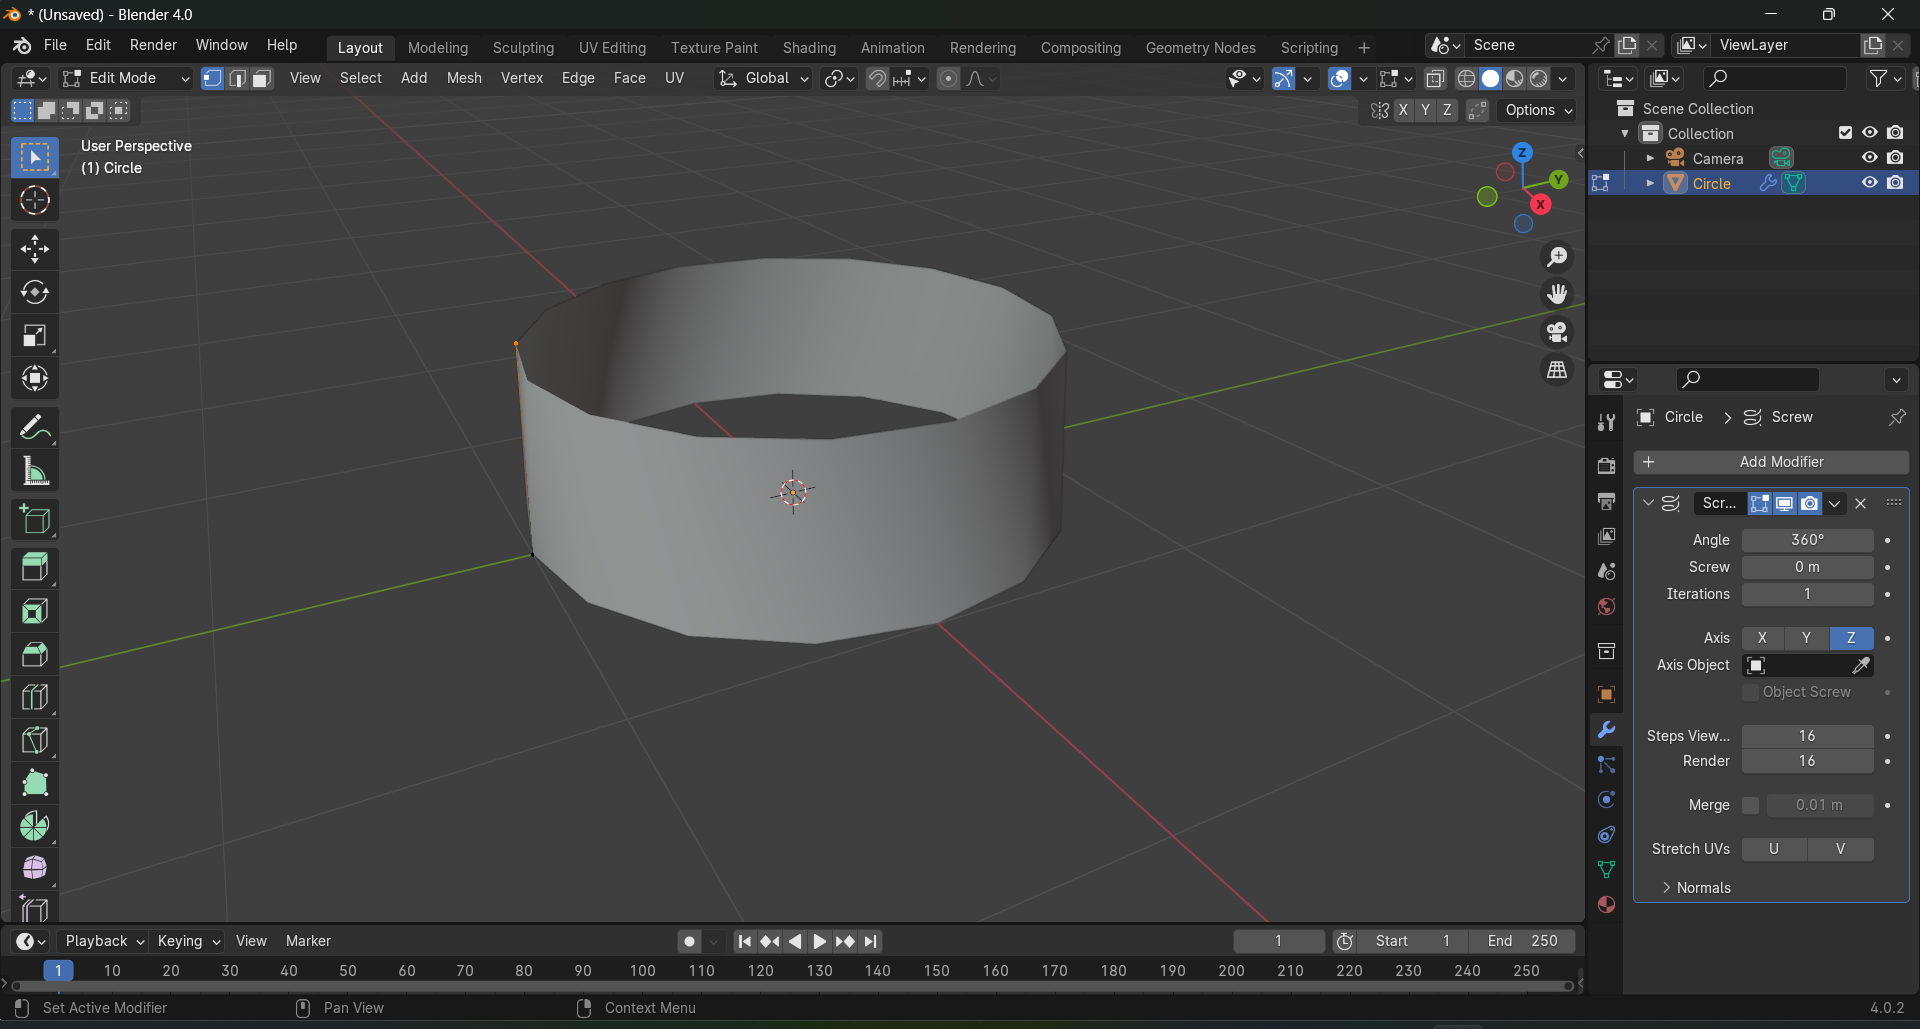
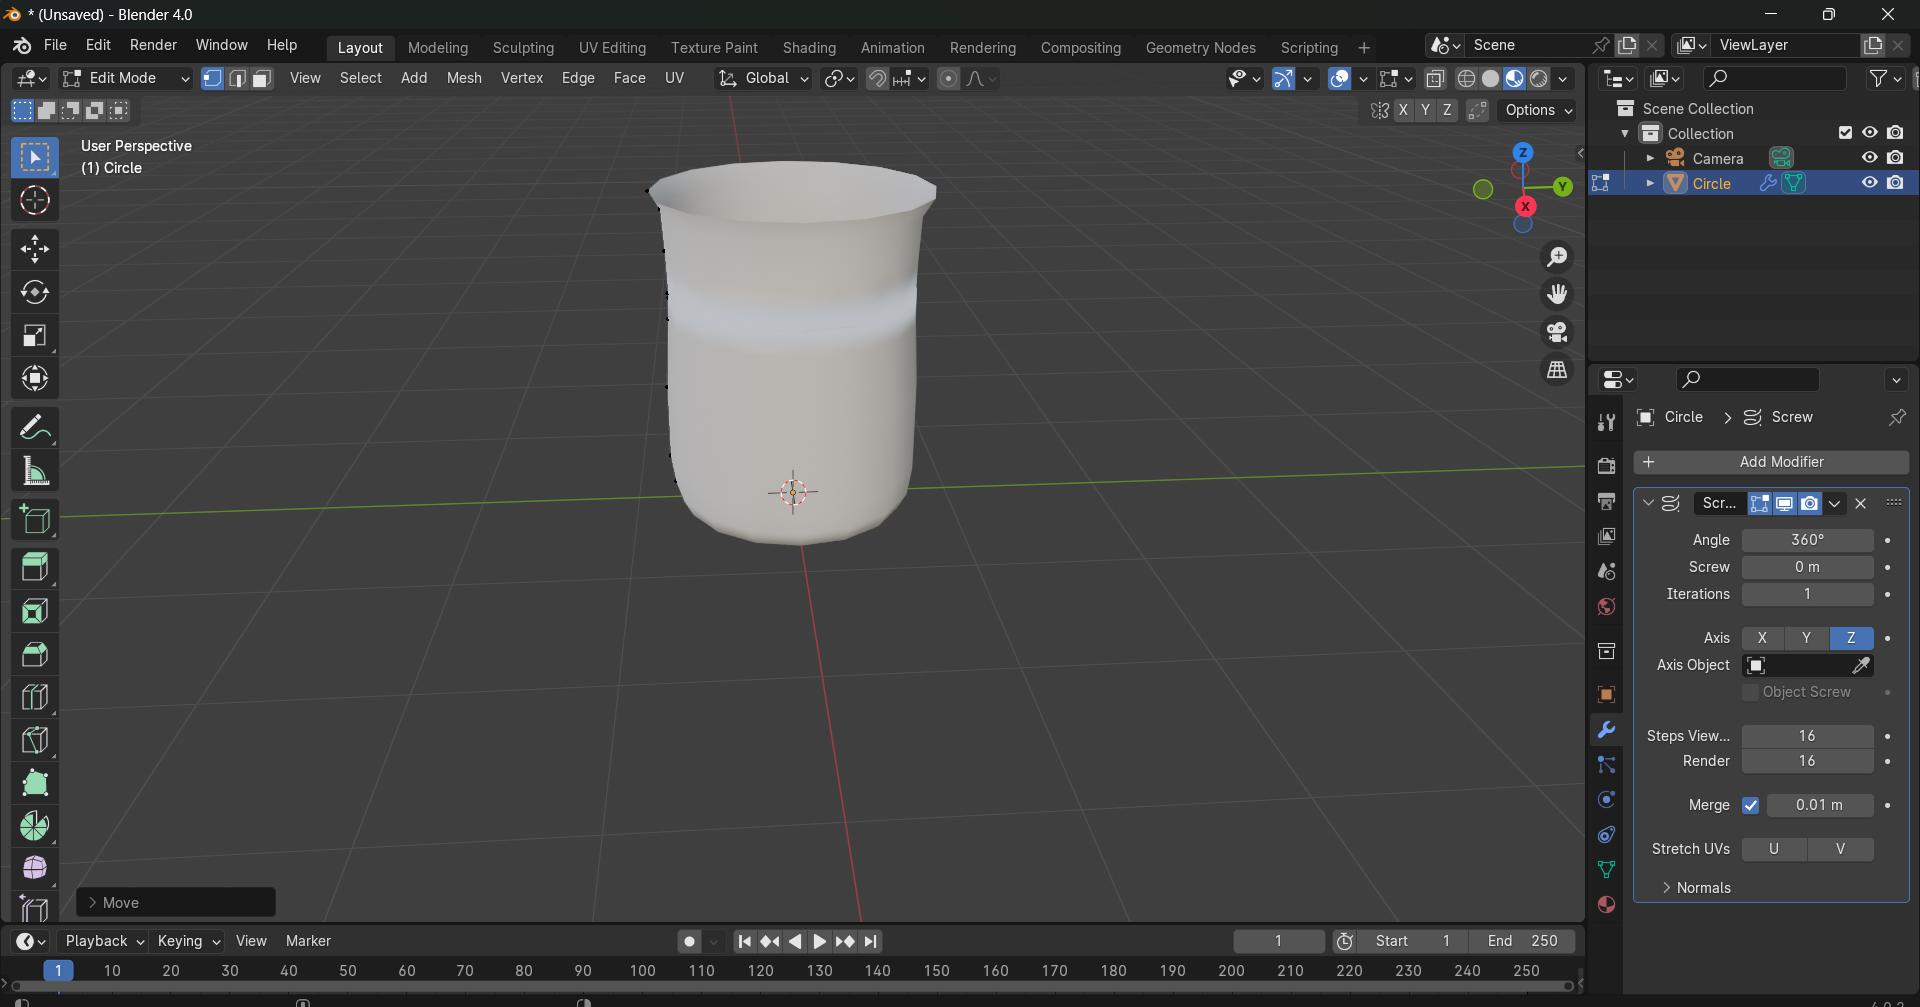
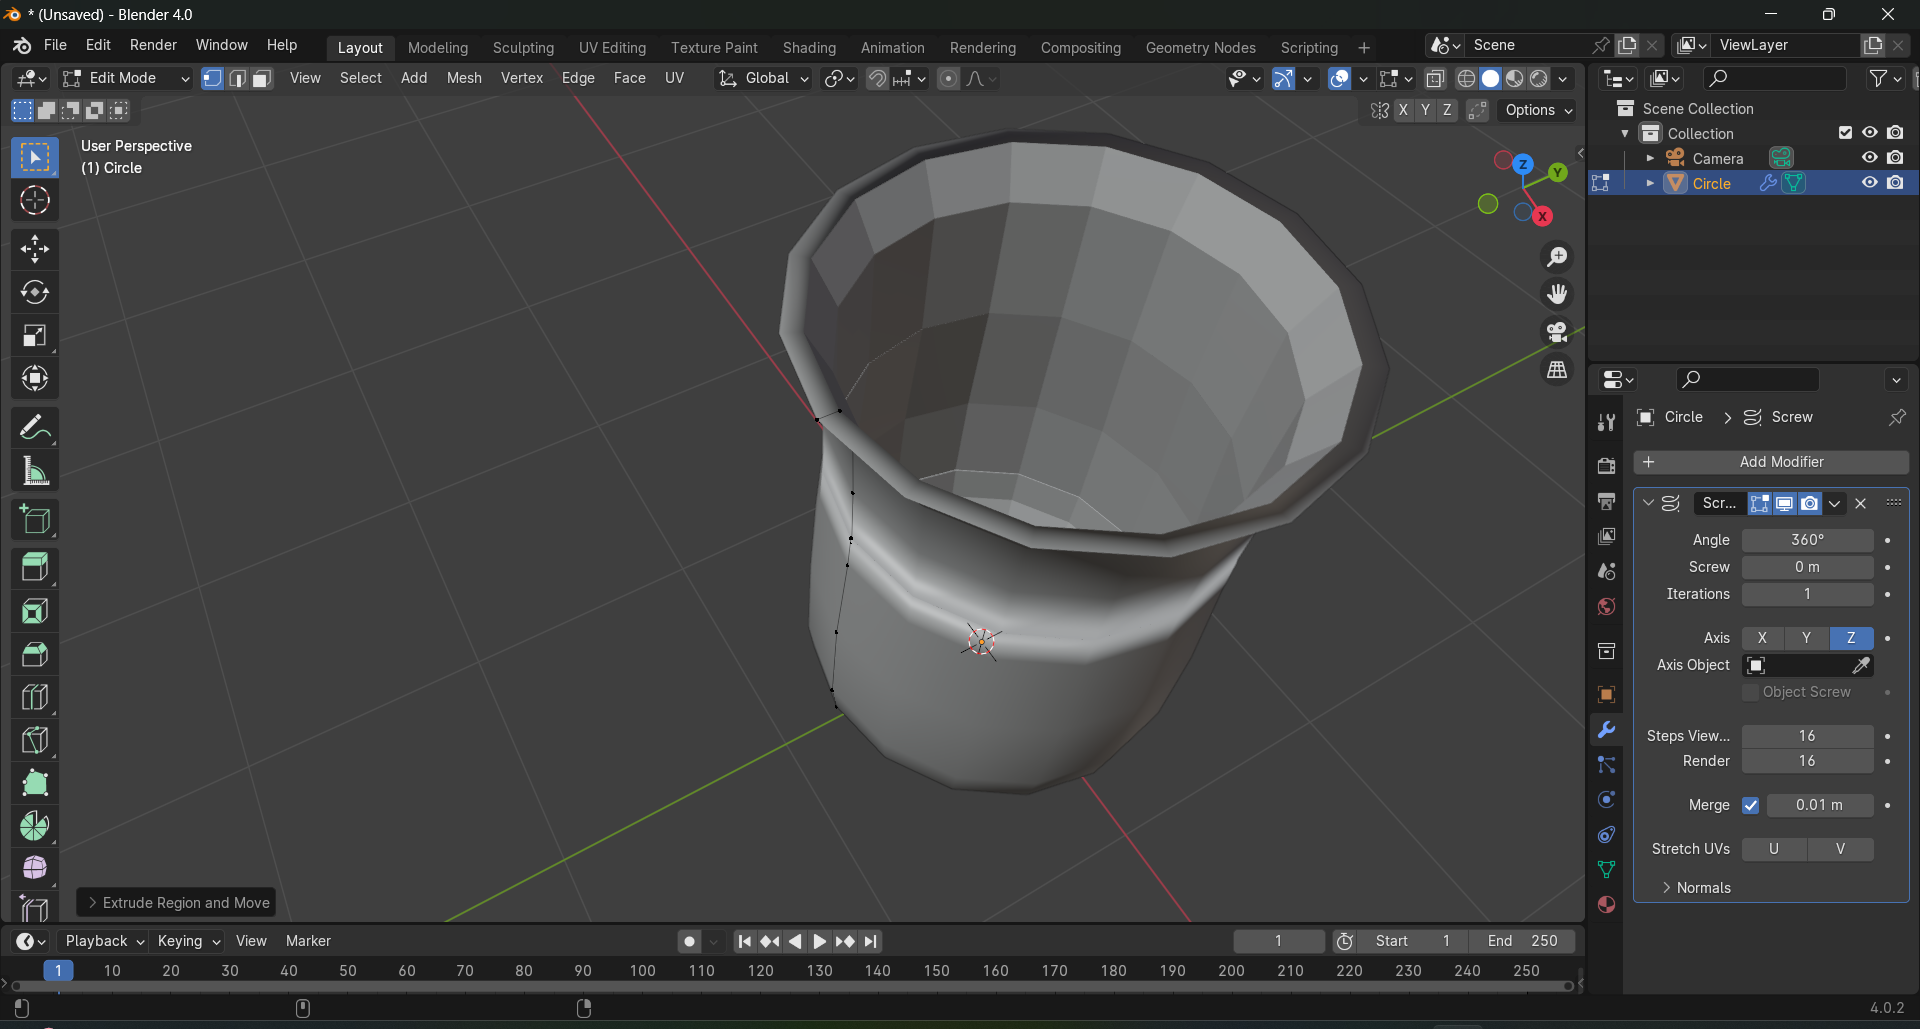
3 Entering Edit Mode, I selected vertices, edges, or faces and used tools like extrusion,
scaling, and rotation to shape the mug according to my vision.

4. With a cube primitive,I made an ice cube and gave it 'cloud' texture,
adjusting it's strength.
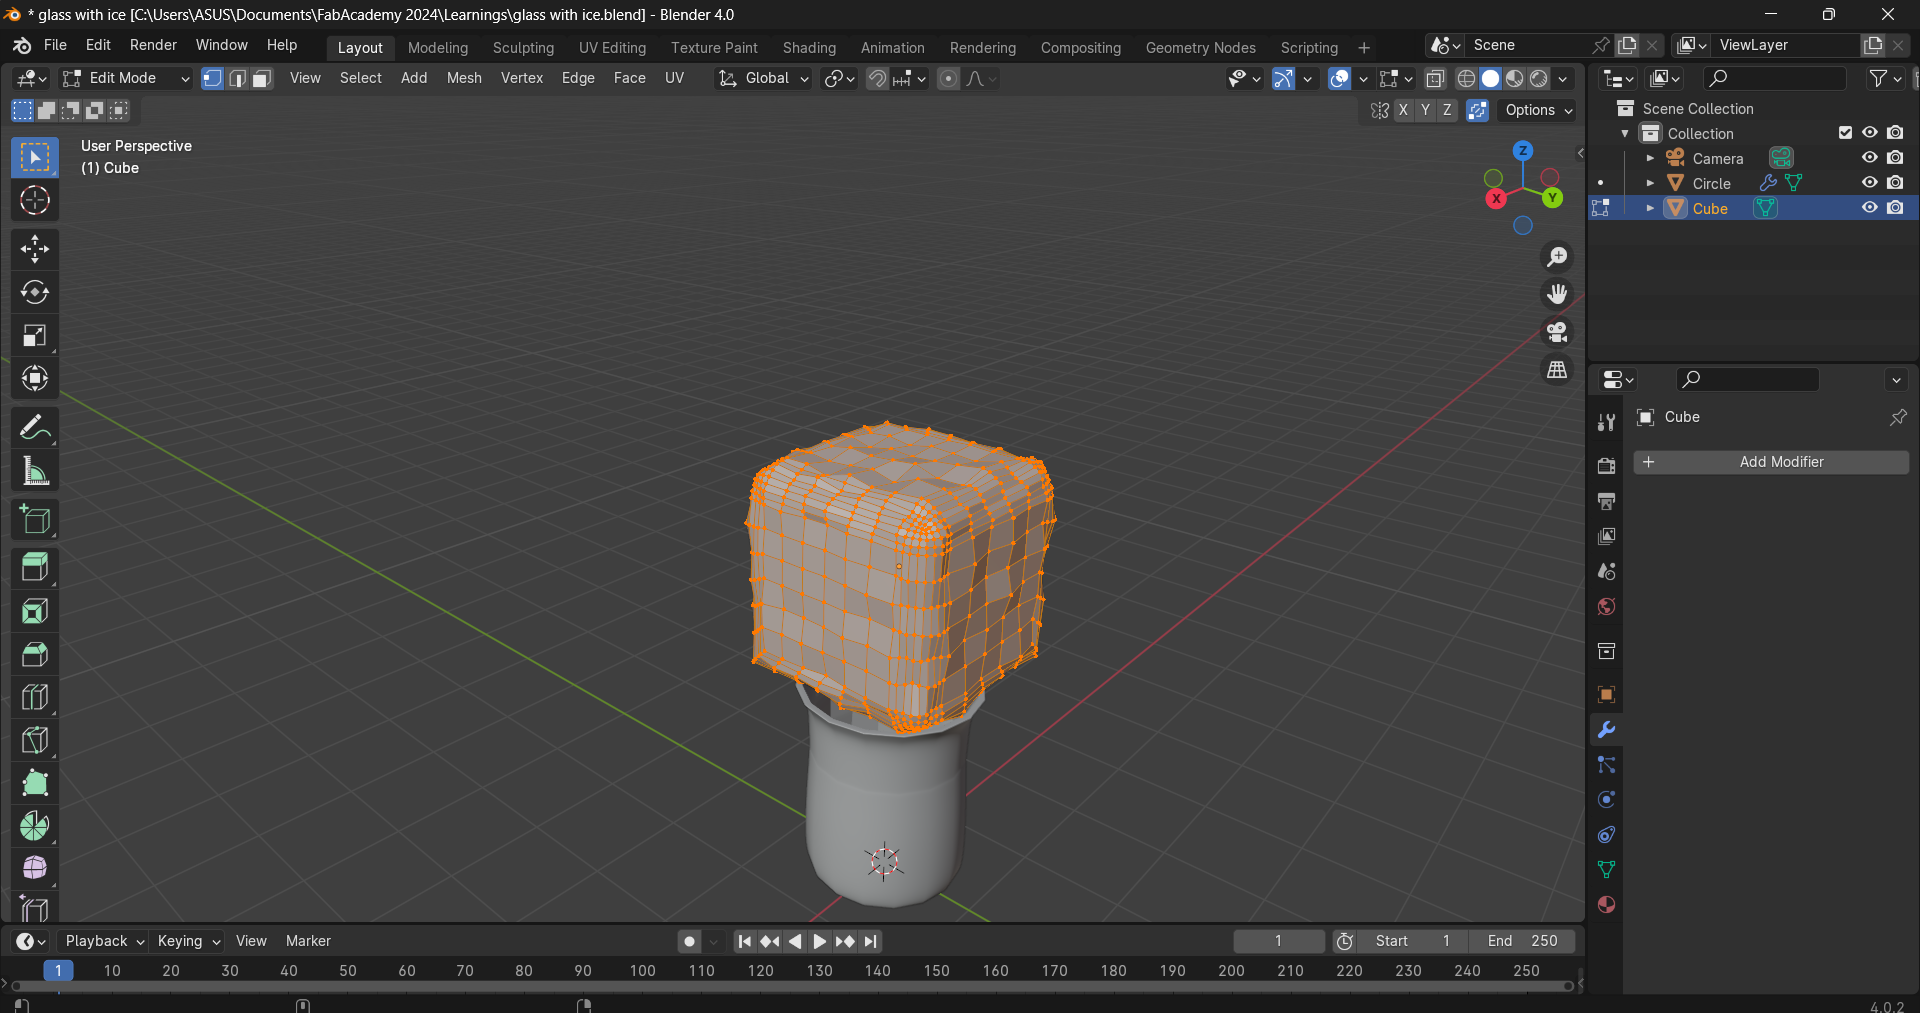
5. I duplicated the ice cubes and arranged it over the mug.
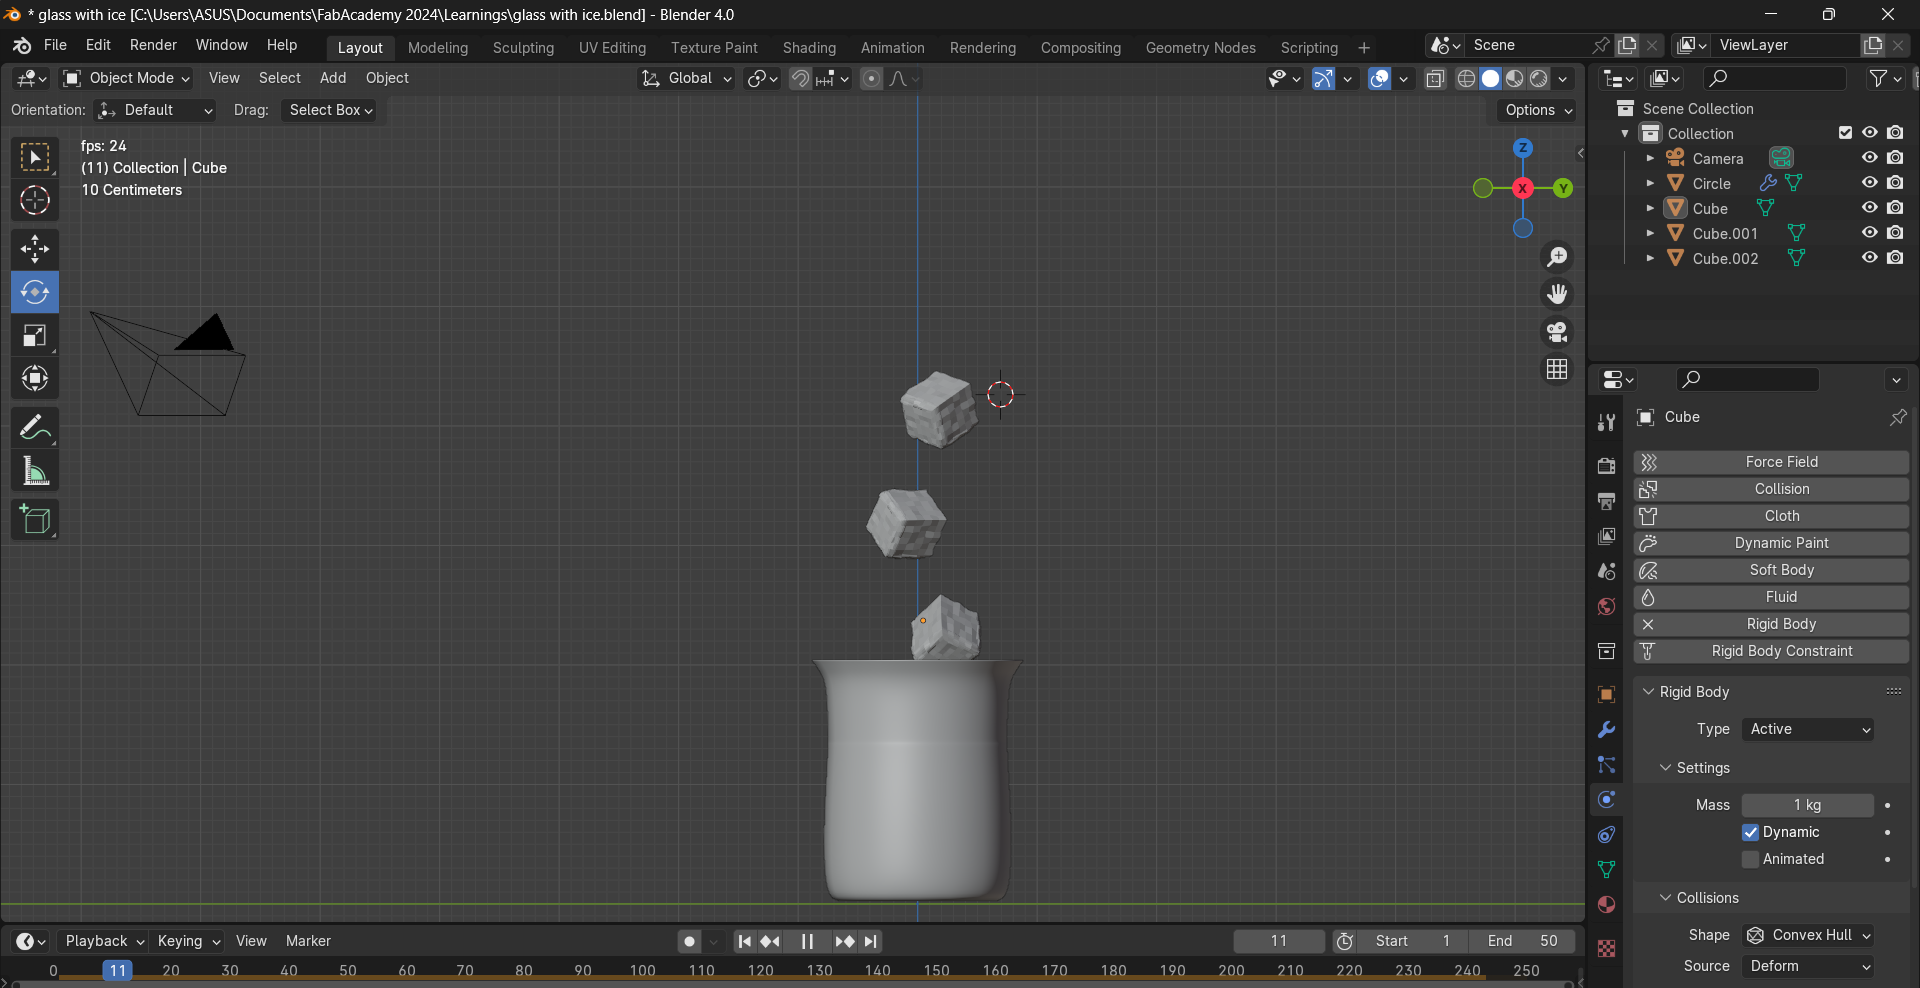
6. i tried animating the fall by adding 'Physics' but the cubes were falling
through the mug.
To summarize, I prefer using Photopea for 2D and Fusion 360 for 3D
modelling. The animation in Blender,though,is commendable.
How I compressed my videos and photos?
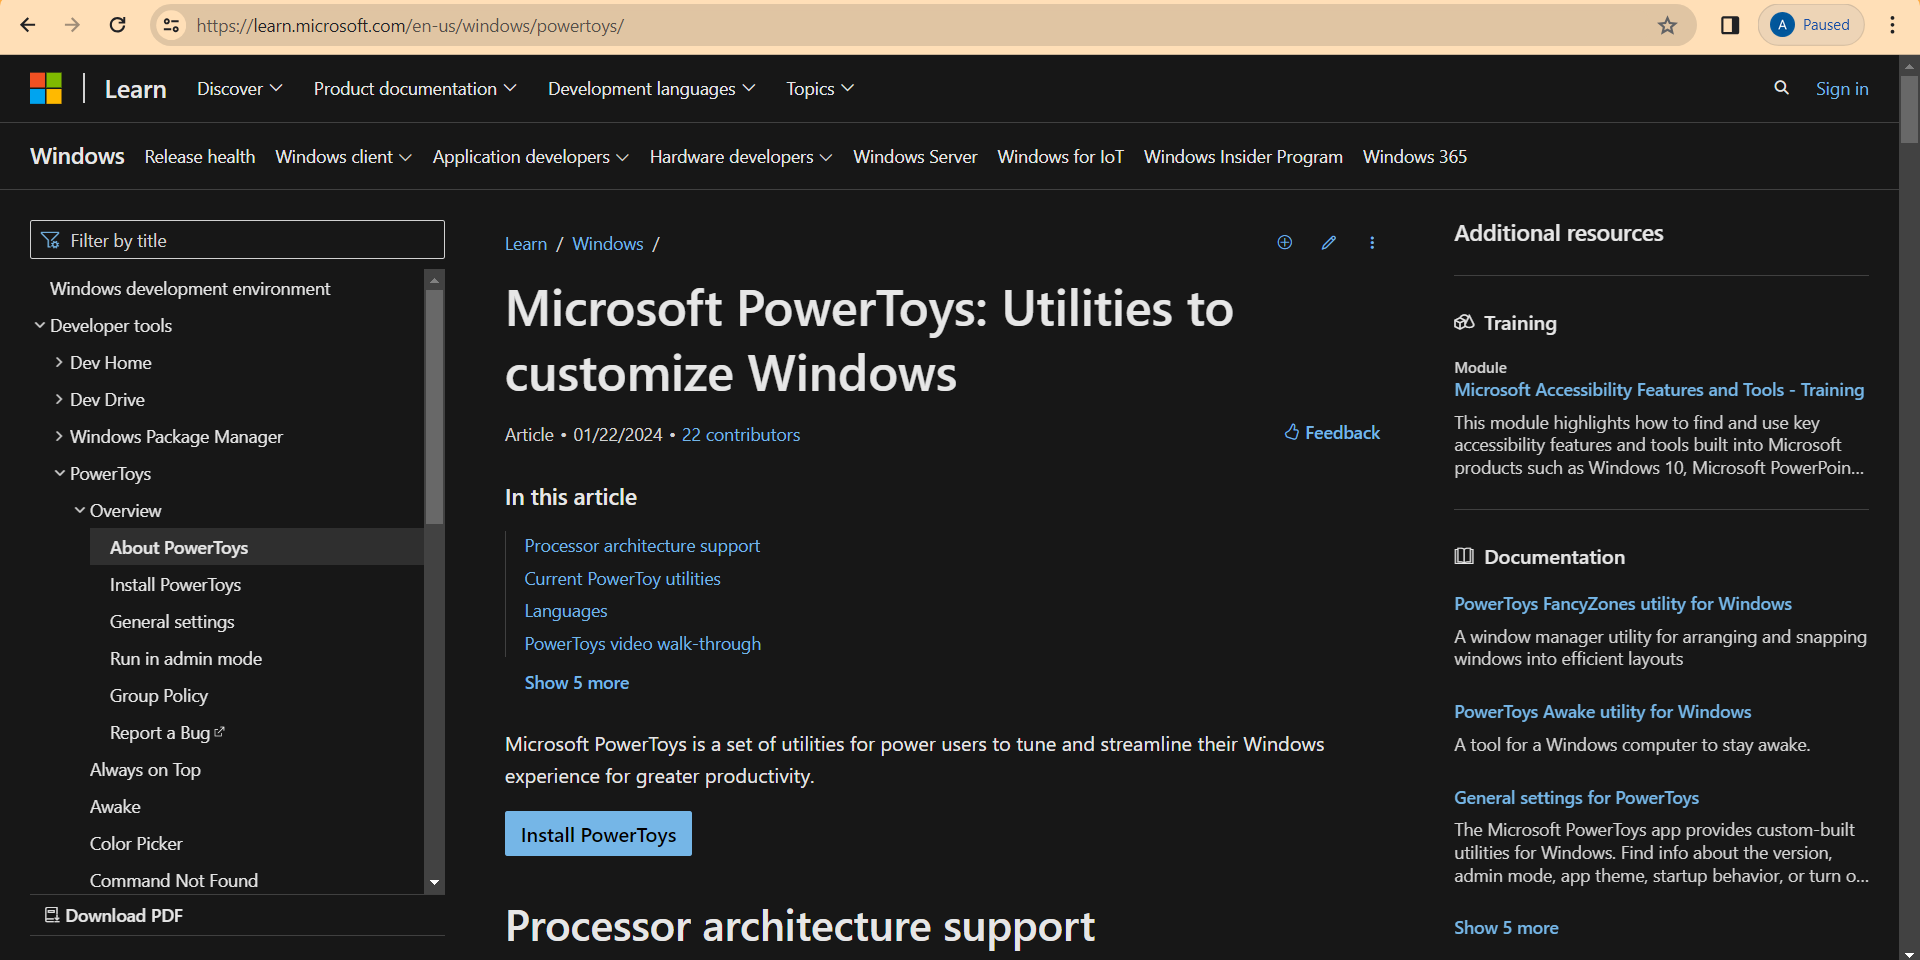
I used Microsoft's Microsoft's PowerToys to compress photos.It is a simple tool that lets you resize images in bulk that integrates directly with the File Explorer. With just a few clicks, you can resize images to a set of preset sizes or any custom size that you'd like.
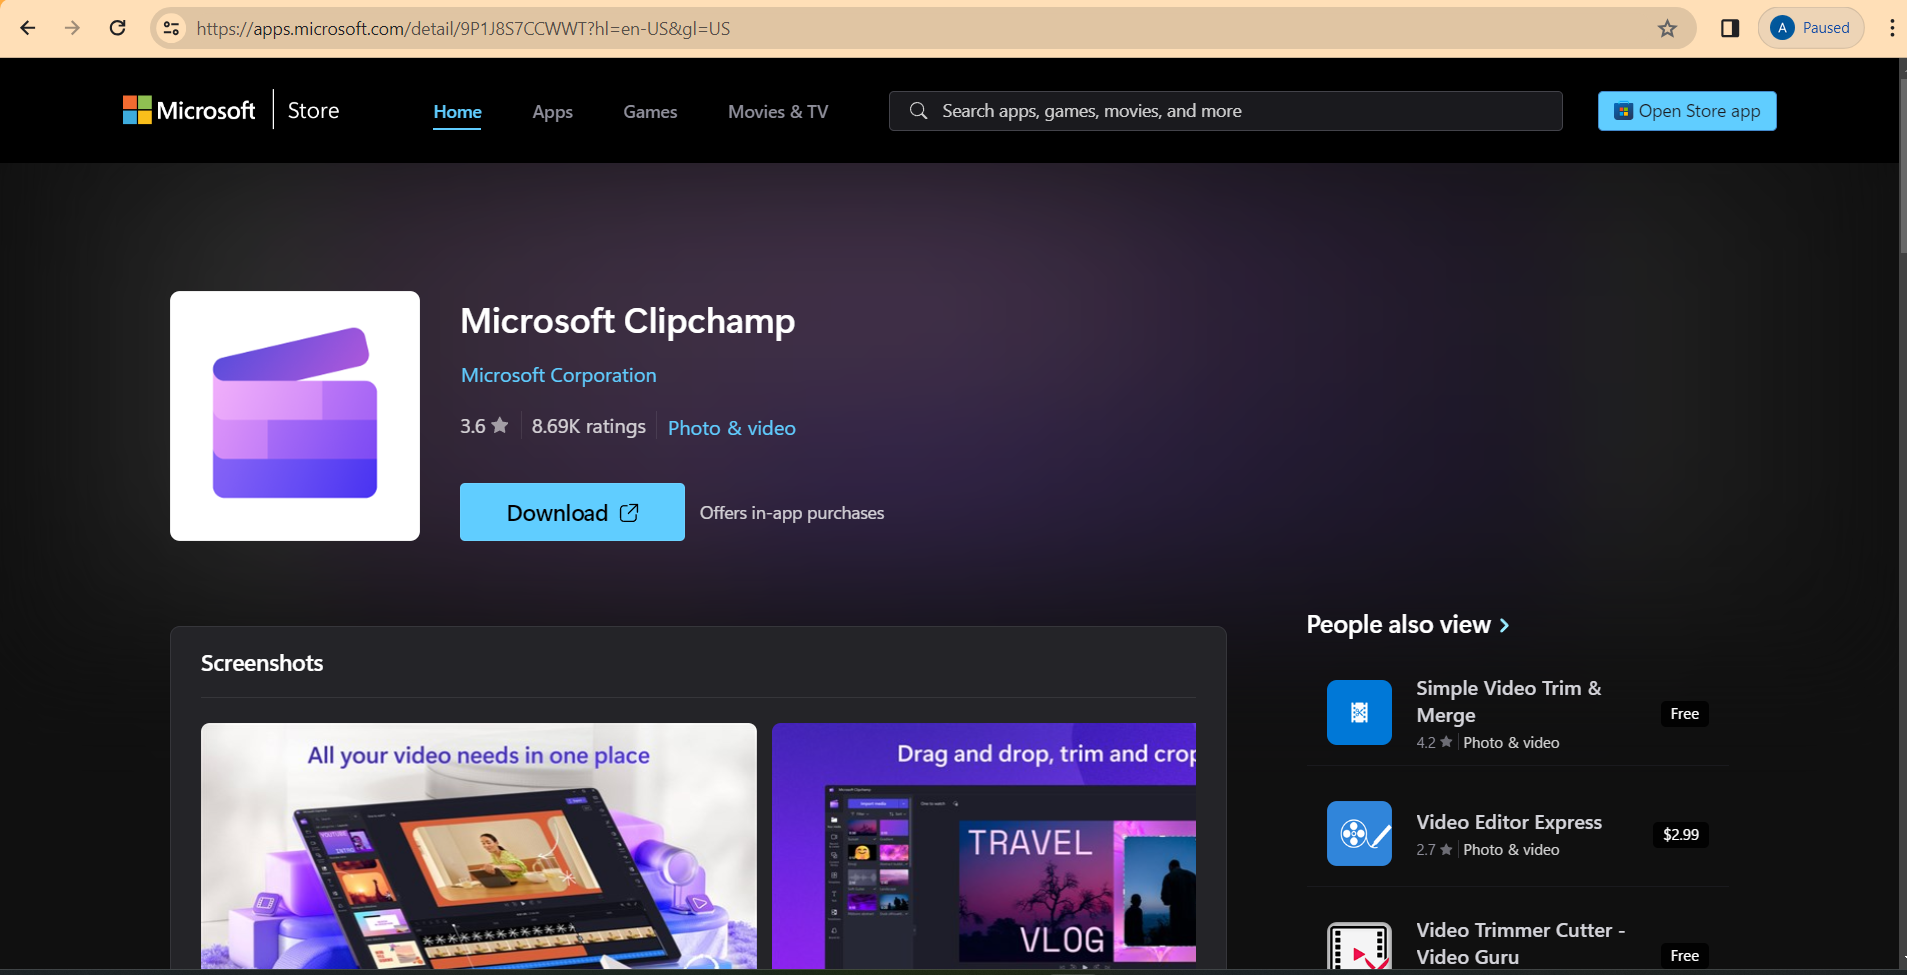
I used Microsoft's Clipchamp for compressing videos. Clipchamp offers a video compressor for files up to 20 GB in size.
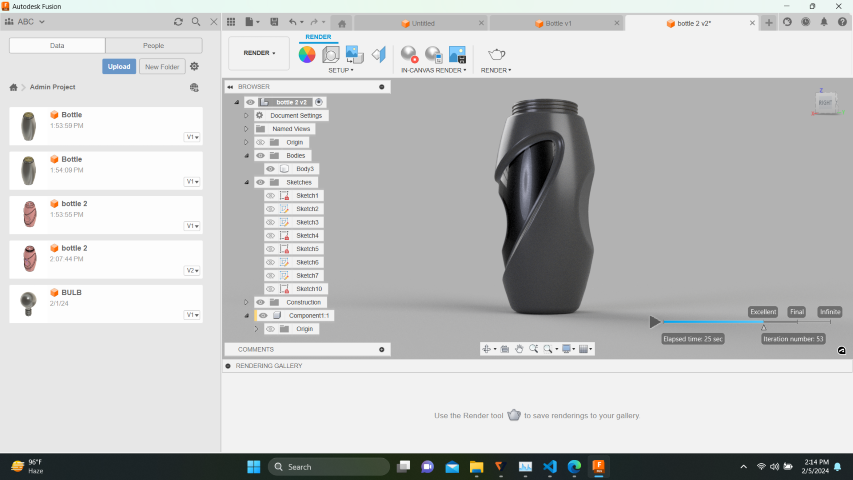
Design files
Final Project in Fusion 360Glass with Ice in Blender
Logo in Gimp