WEEK10 Mechanical design, Machine design
WEEK10 Mechanical design, Machine design
Group Assignment
design a machine that includes mechanism+actuation+automation+application
build the mechanical parts and operate it manually
document the group project and your individual contribution
actuate and automate your machine
document the group project and your individual contribution
Individual Assignment
Document your individual contribution
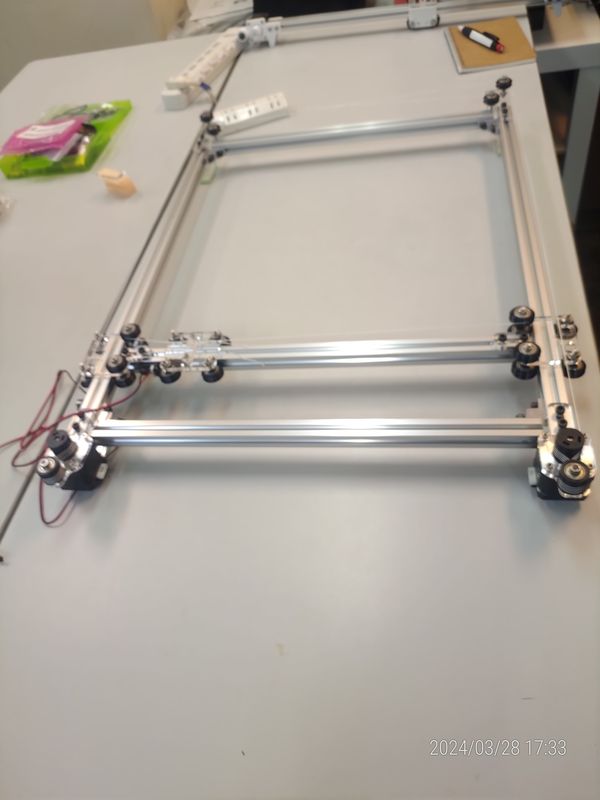
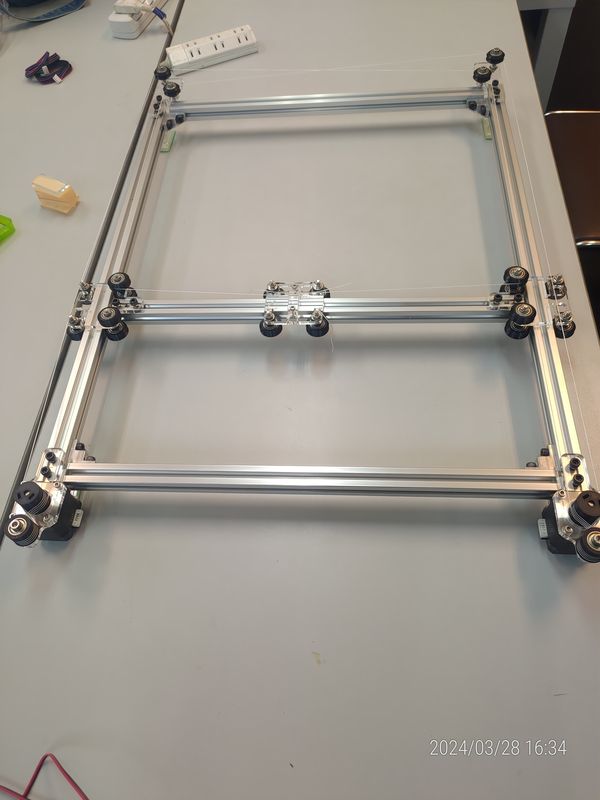
Building the CoreXY module
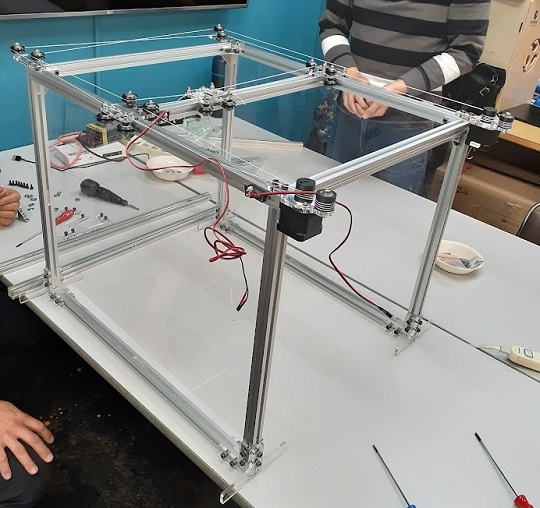
The Complete Form of CoreXY
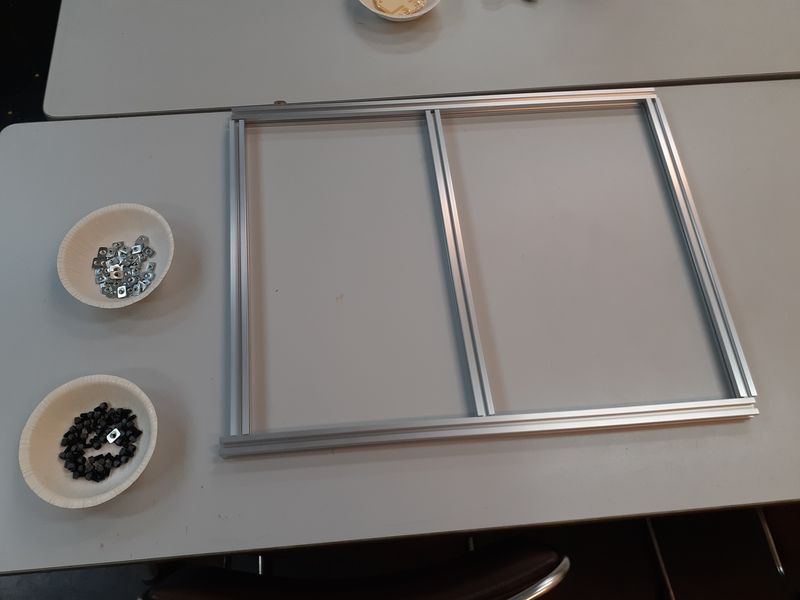
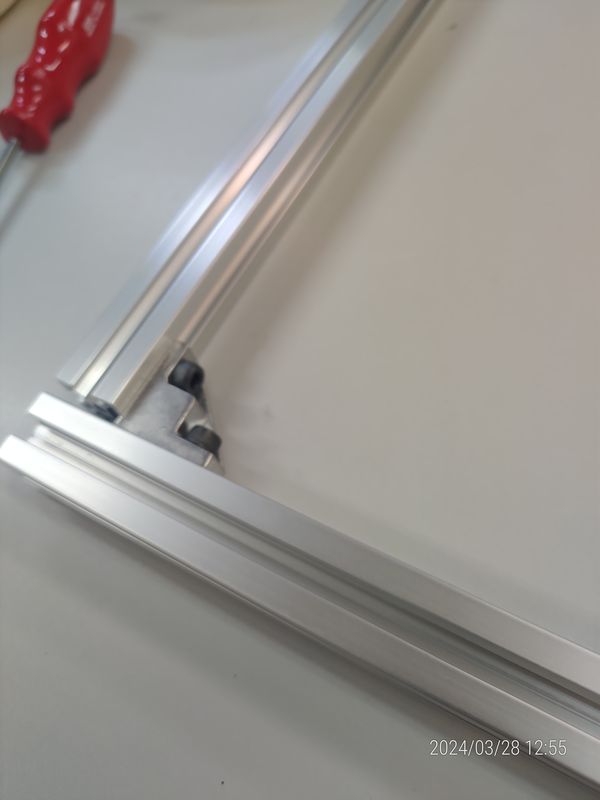
Building Construction
2020Aluminum Extrusion(Y) ex.400mm x2P
2020Aluminum Extrusion(X) ex.300mm x2P (3mm Acrylic spacer will be added)
2020Aluminum Extrusion(X) ex.300mm x1P
Delta socket x4P
Socket Head Screws M5x8mm x8P
T-Slot M5 x8P
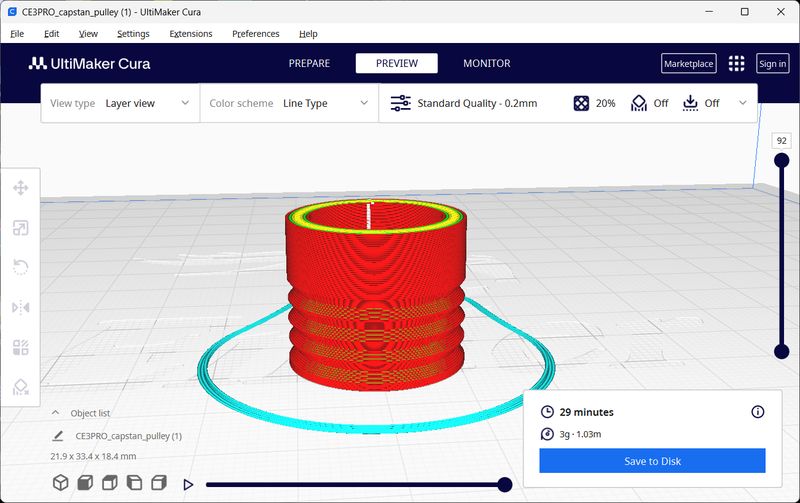
3D Print
First, print the capstan_motor and capstan_pulley with a 3D printer.
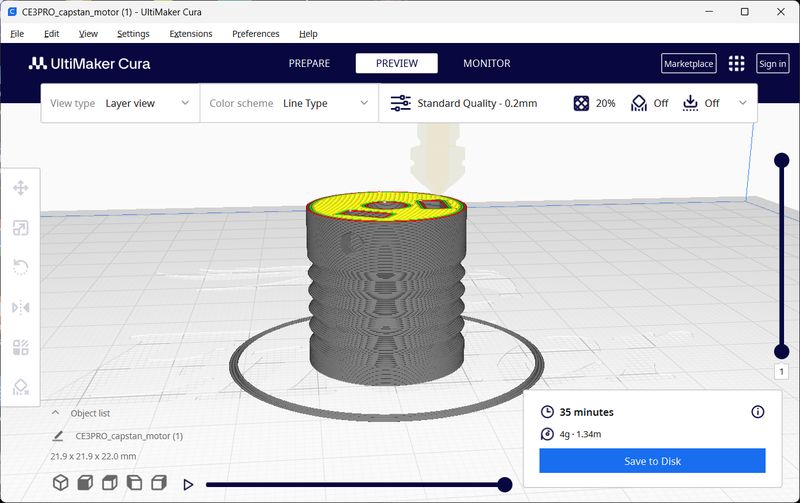
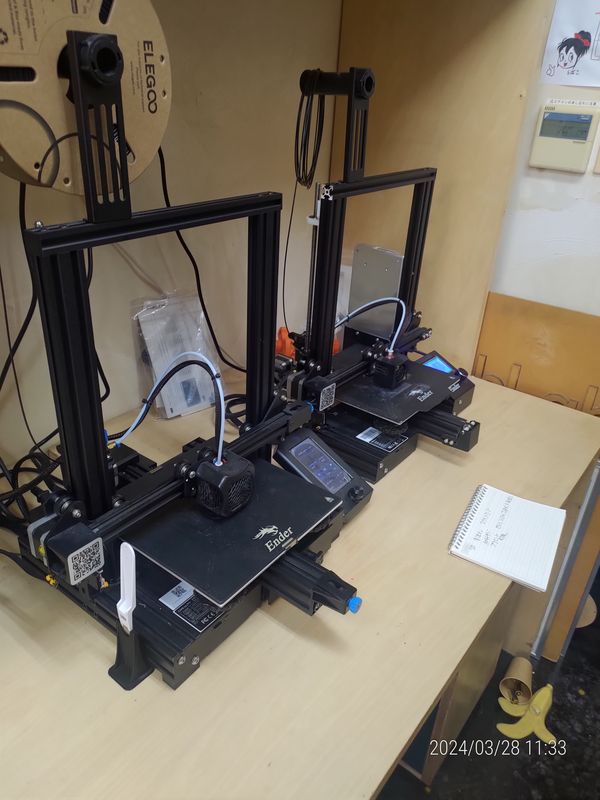
I tried to use two 3D printers simultaneously to proceed efficiently, but one of the printers stopped printing midway.
The cause was that ABS used by the previous user had clogged the nozzle. It seems the preheat temperature setting was too low for ABS, as it was set for PLA. I learned that in an environment where multiple users use the same printer, it is necessary to be careful when preheating.
Laser Cut
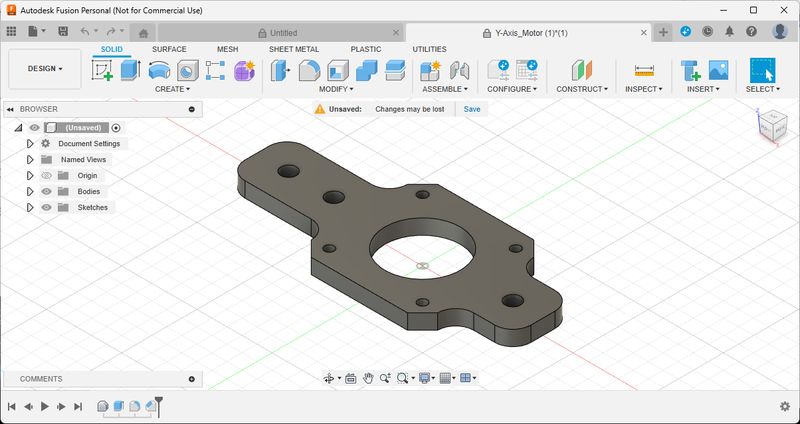
Cut out two each of Y-Axis_Pulley and Y-Axis_Motor with a laser cutter.
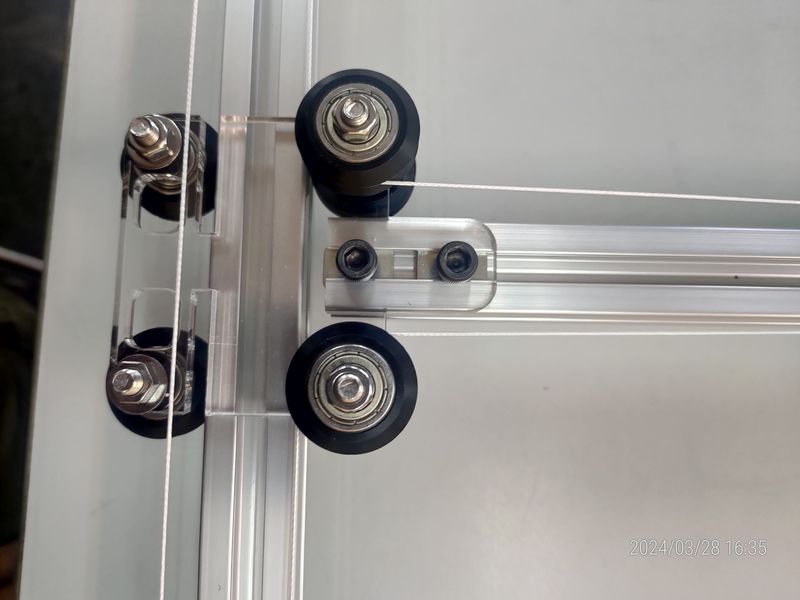
Assembling
Now that all the parts are ready, we will begin the assembly process.
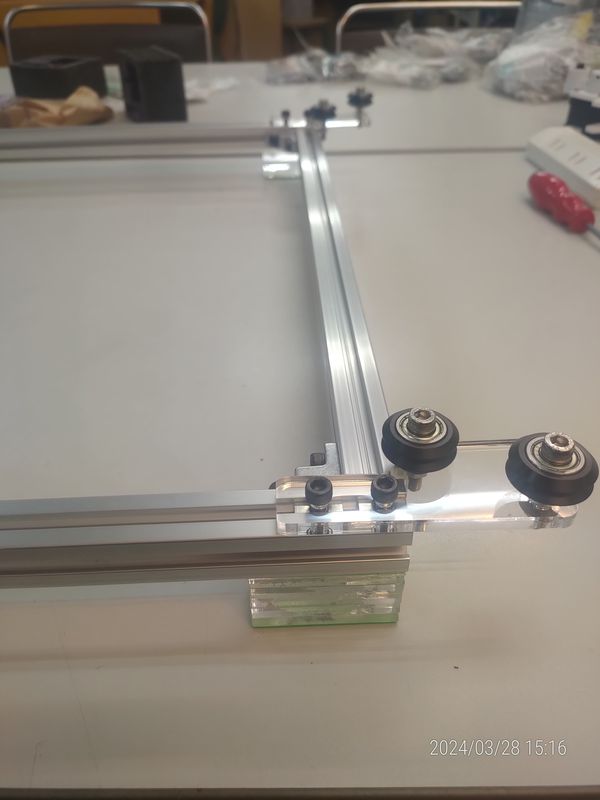
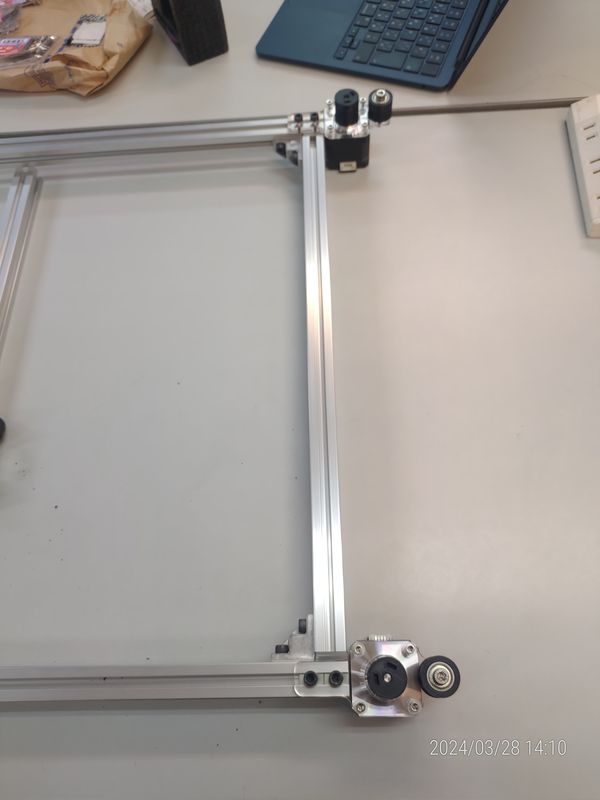
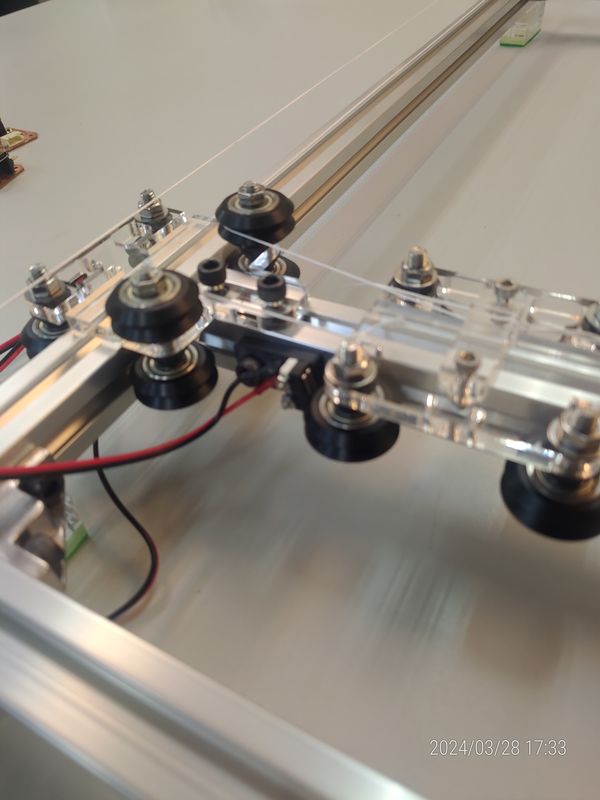
Routing and tensioning
Routing and tensioning the fishing line between the motors and pulleys.
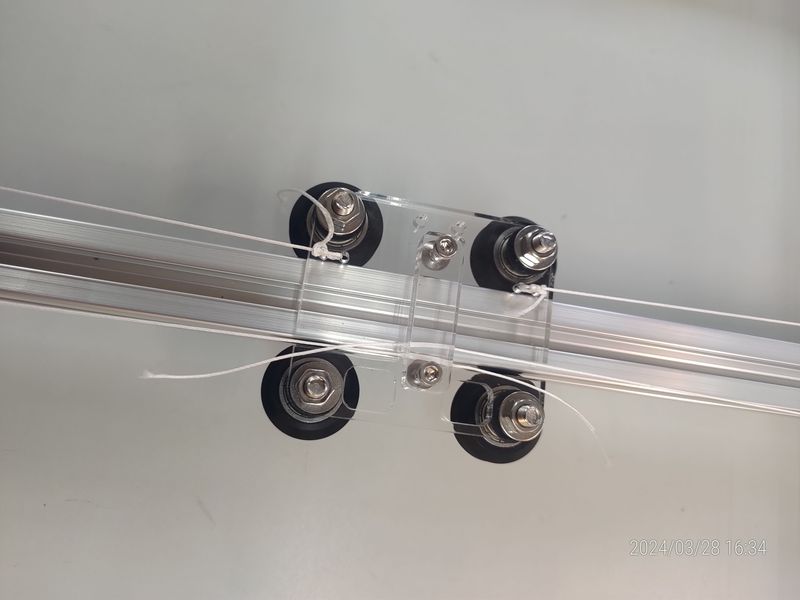
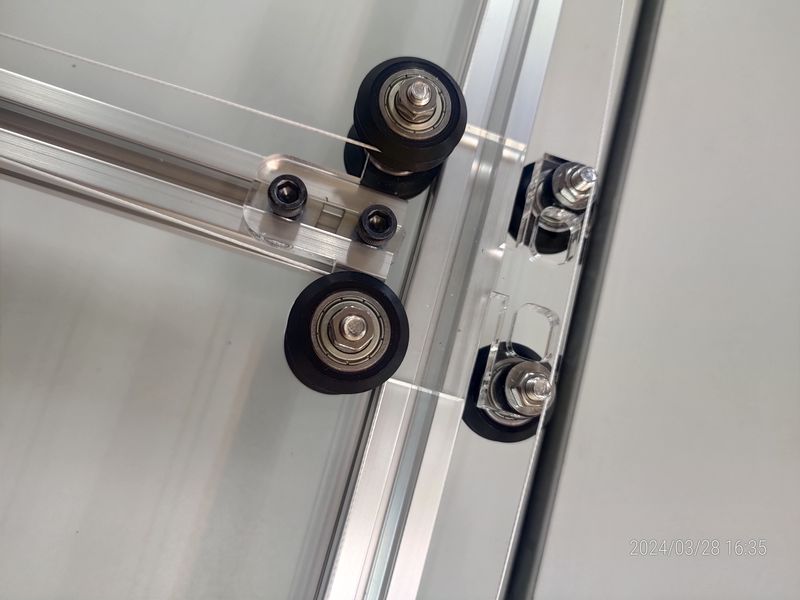
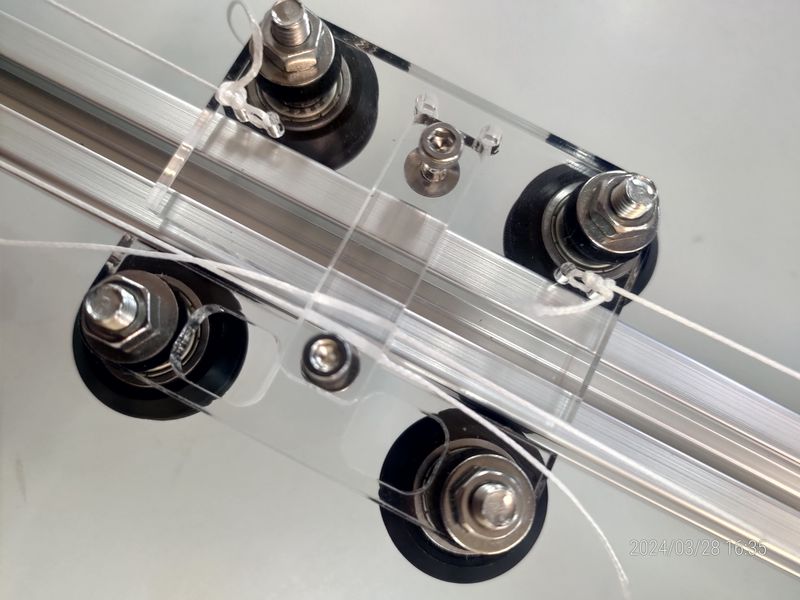
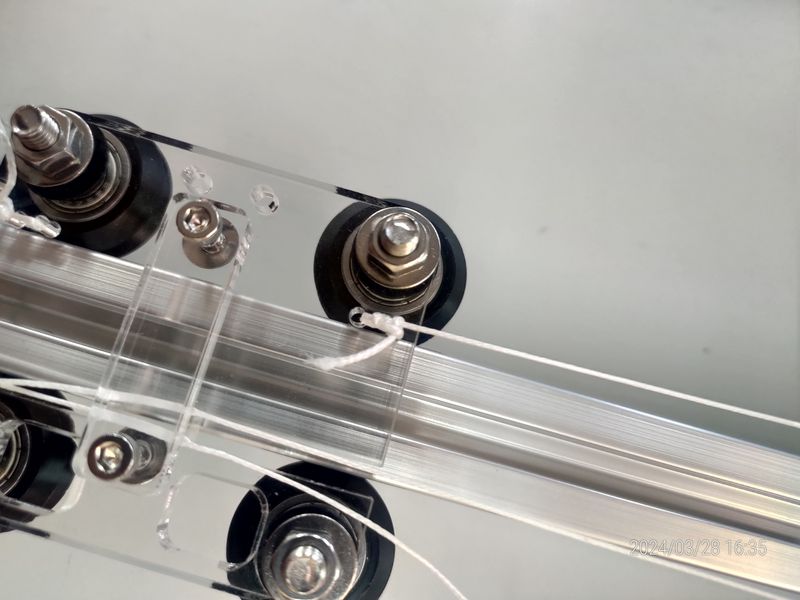

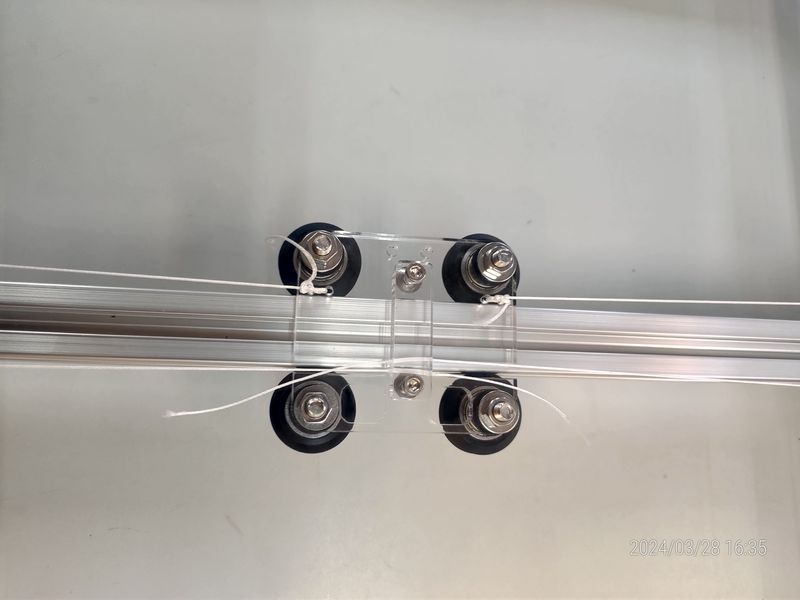
Done.
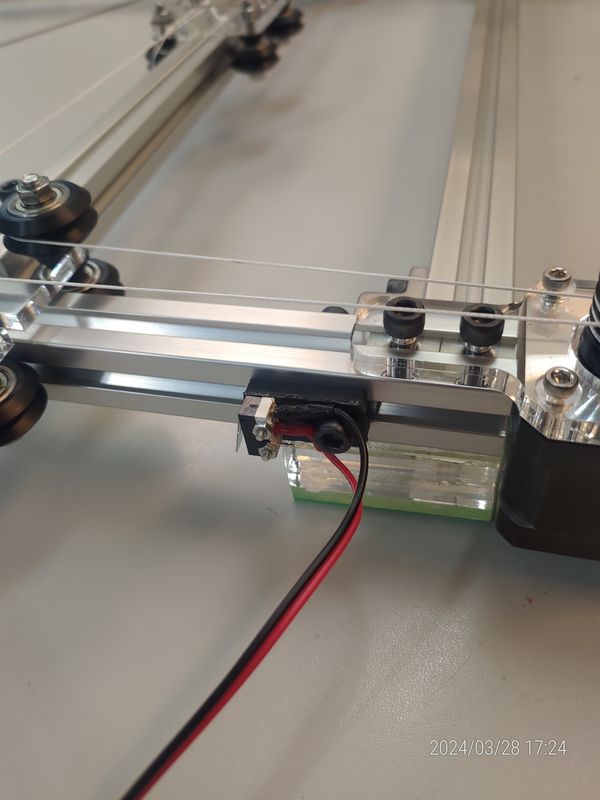
Installing the Limit Switches
After ensuring that the wiring wires are long enough so as not to impede the movement of the X-Axis, we will wire the limit switches to the NO (normally open) and Common terminals.
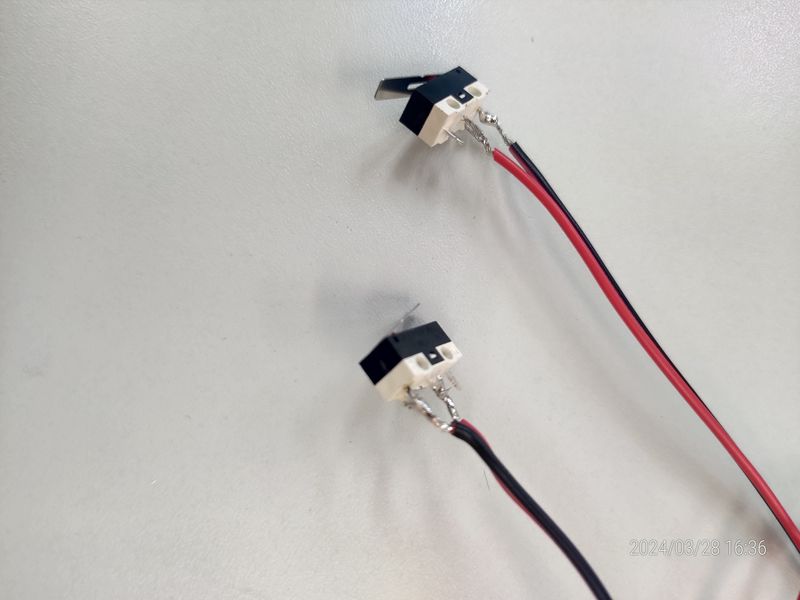
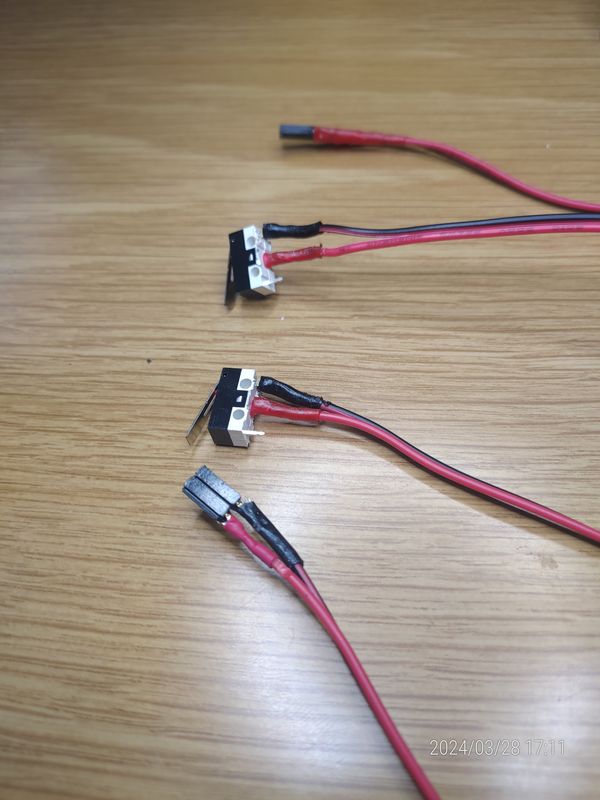
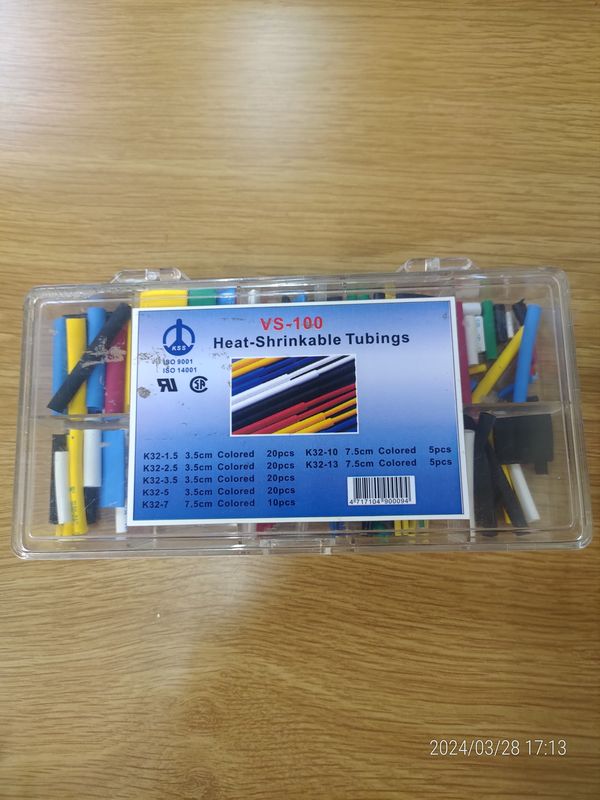
For safety, we will also use heat-shrink tubing.
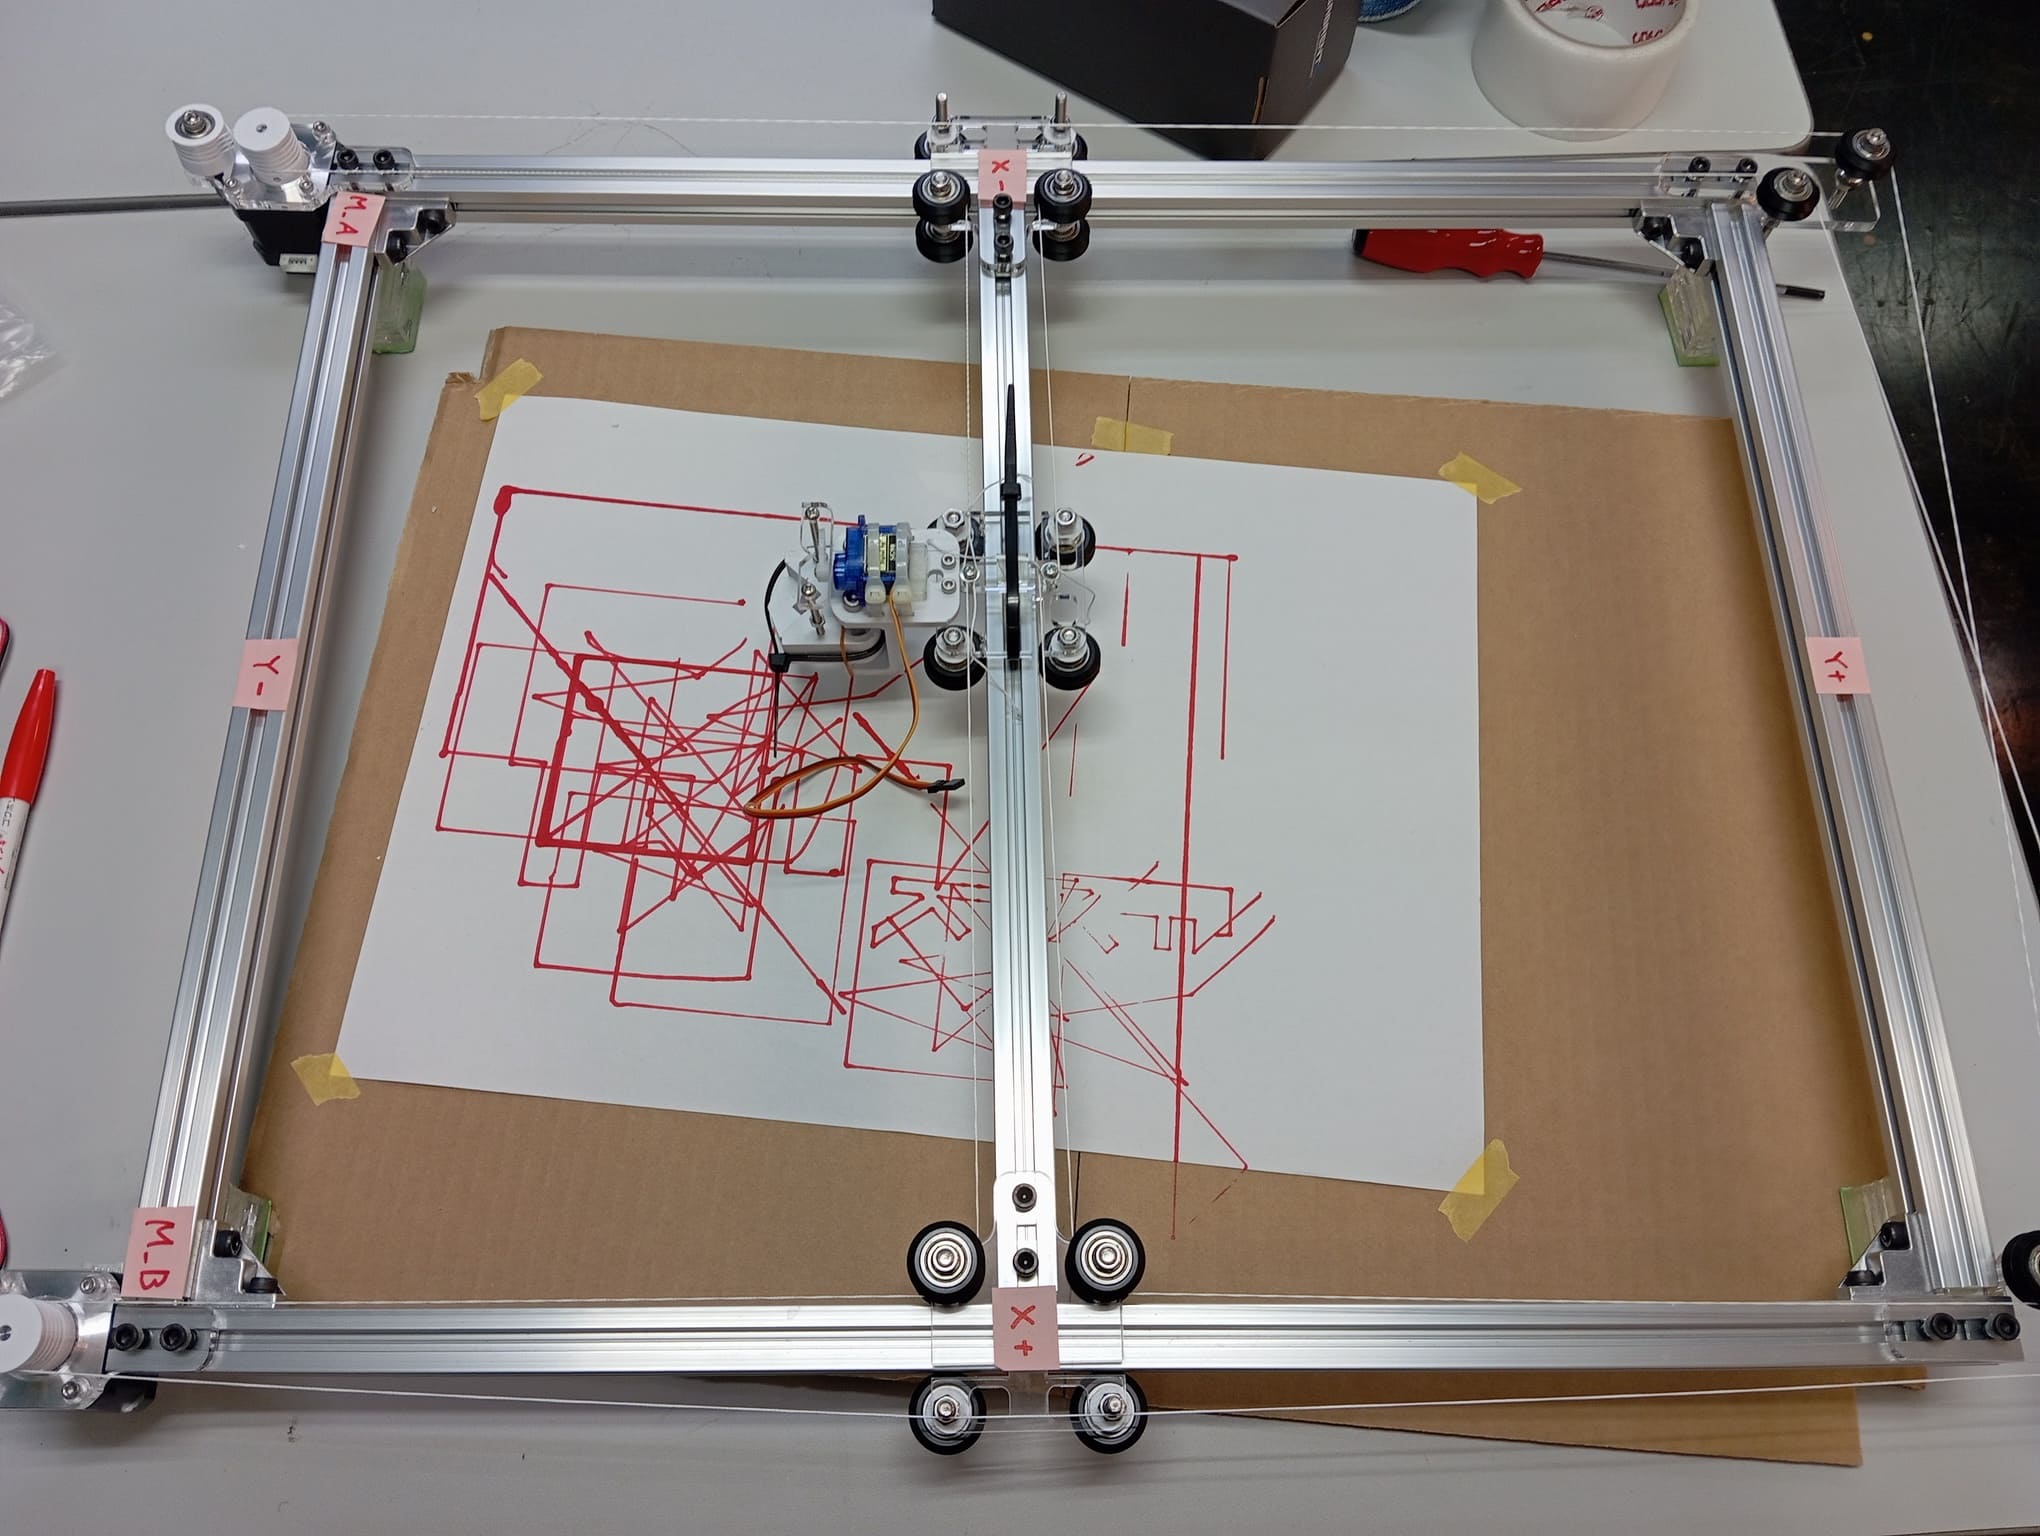
Operational Check
We will verify the operation of the assembled CoreXY module.
1.Connect each motor of the CoreXY to the Stepper Module.
2.Connect the Stepper Modules to the PC using USB cables.
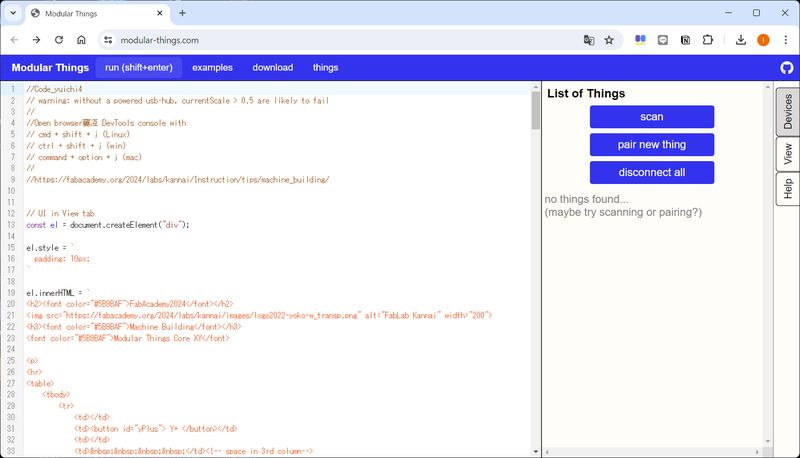
3.Using the JavaScript created by the instructor,control the CoreXY module from modular-things.
Project Differences: NGA Team and JPN Team
This Machine Building project branched out from the earlier project by the Nigeria team, leading to the development of the Japan team’s project.
I will examine the differences between the NGA and JPN projects.
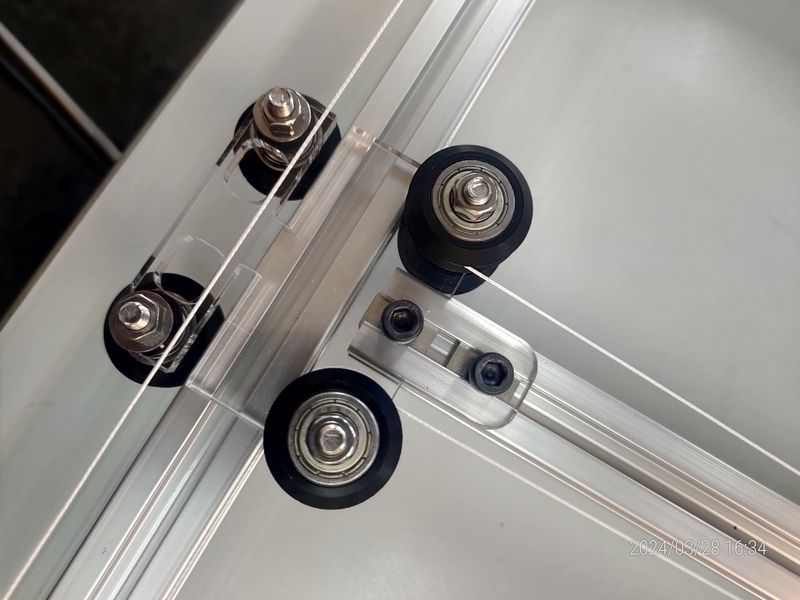
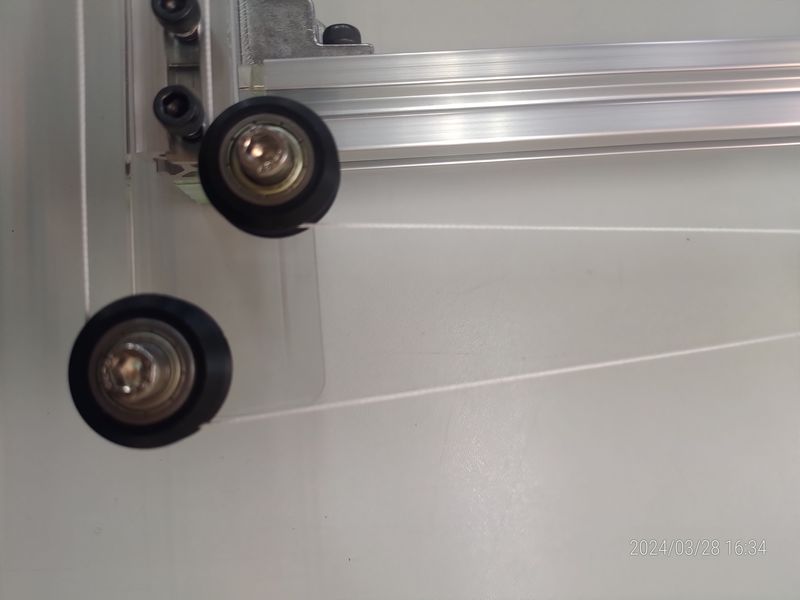
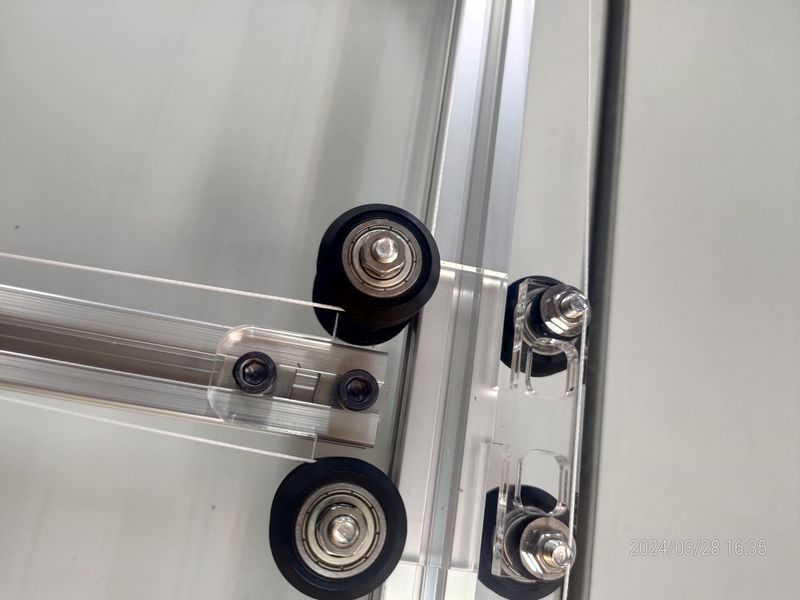
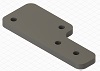
- Add Y-axis Carriage (Image and data)
The Y-axis Carriage is missing and looks like this:
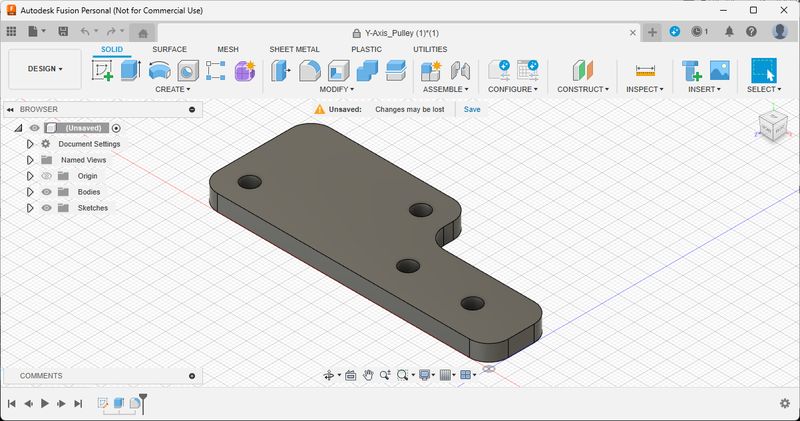
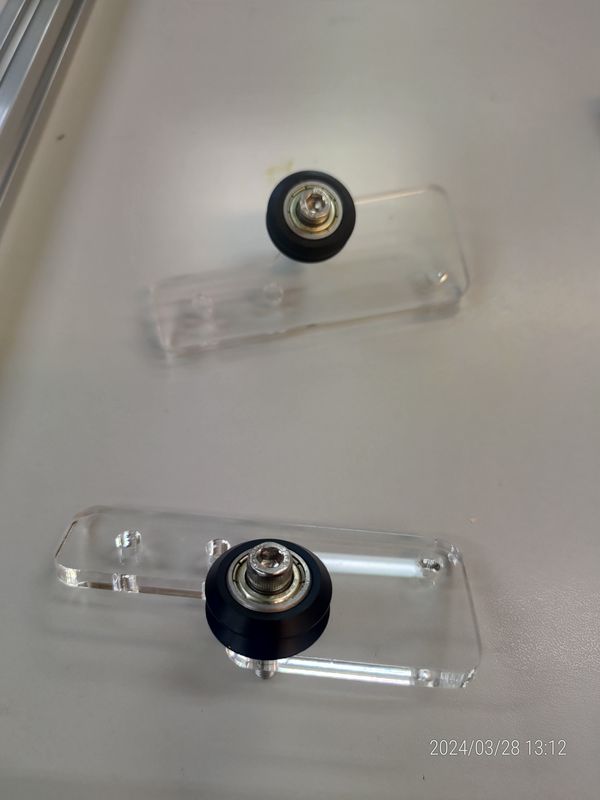
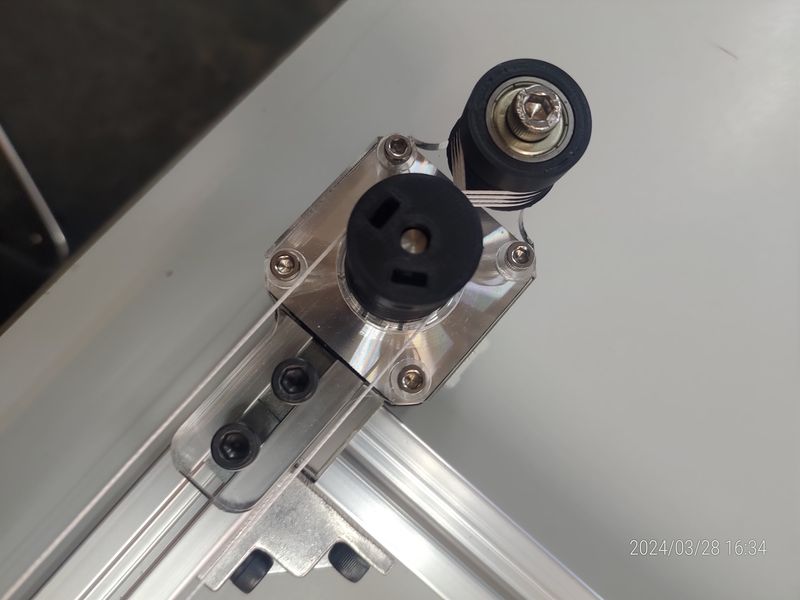
Group JPN used this Y-axis Pulley:
- Mention about CoreXY structure change
Initially, Group JPN used the same CoreXY structure created by Group NGA:
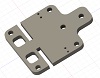
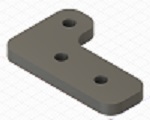
- However, to keep everything within the CoreXY size, Group JPN used a new Y-axis pulley and Y-axis motor mount part:
-
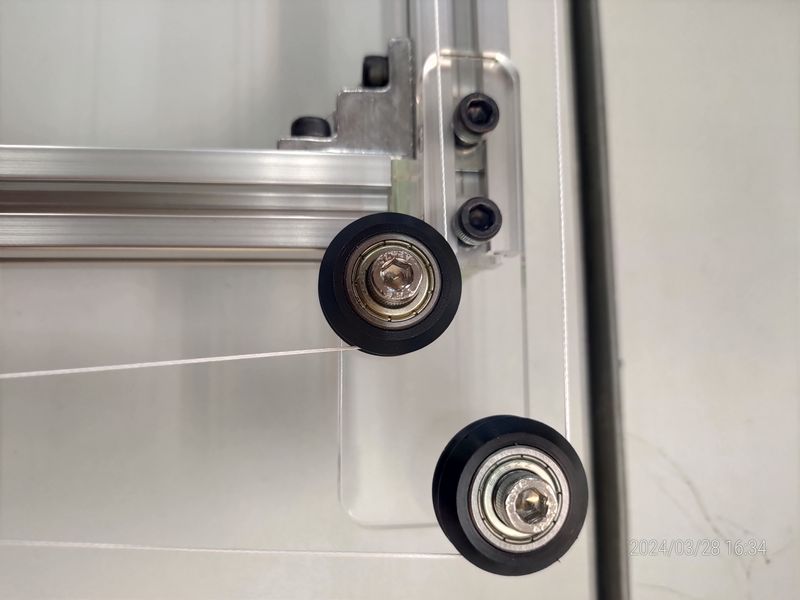
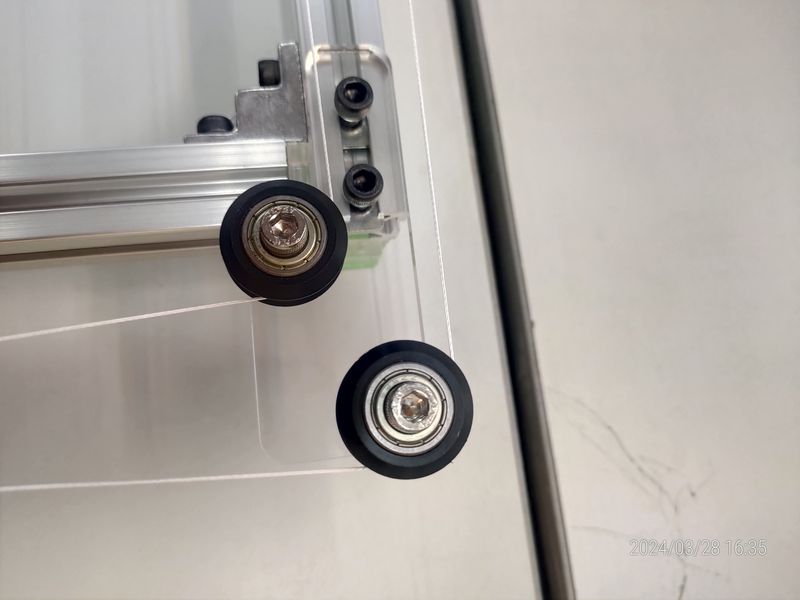
Y-axis Pulley:
- Initial design:
- New design:
- Initial design:
-
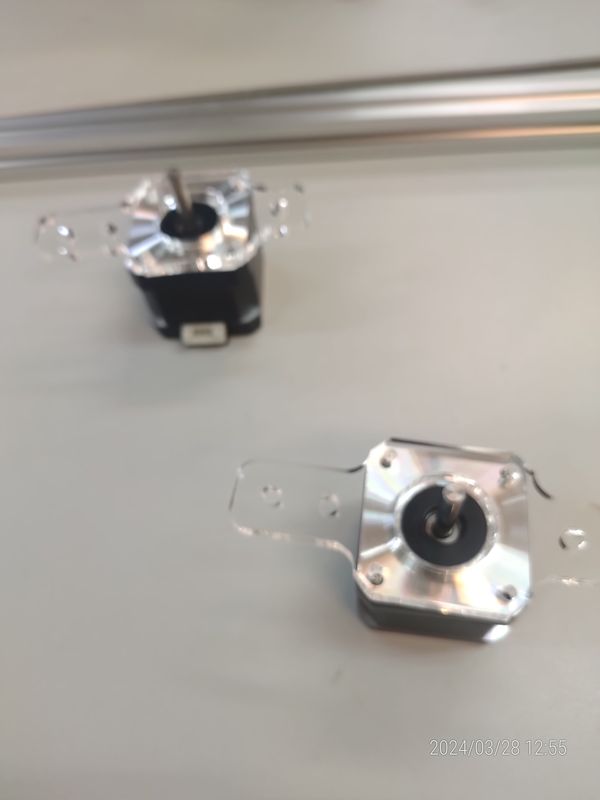
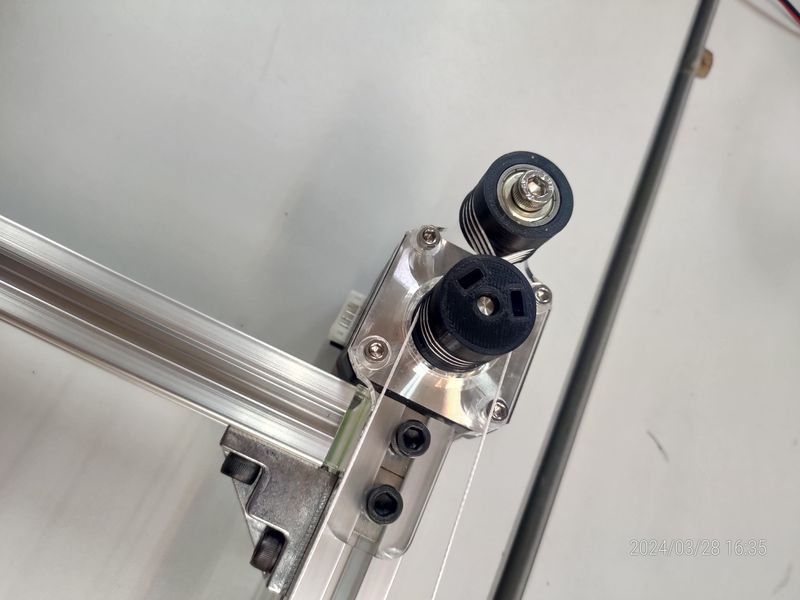
Y-axis Motor:
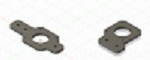
- (Initial design) Left
- (New design) Right
Code changes:
Since the stepping motor was installed with a new part, the winding direction of the thread was reversed. JavaScript was changed to accommodate this (multiplied by -1).
Initial (NGA):
//Definition of CoreXY Motion
async function goTo(x, y) {
  console.log(`Moving to (${x}, ${y})`);
  await machine.absolute([-1 * (x + y), -1 * (x - y)]); // The reason why "-1" is multiplied may be due to the wiring and
}
Accommodate (JPN):
//Definition of CoreXY Motion
async function goTo(x, y) {
  console.log(`Moving to (${x}, ${y})`);
  await machine.absolute([1 * (x + y), 1 * (x - y)]);
}
// Function definition
async function goToHome() {
  while (await motorB.getLimitState()) { // Limit switch at X- as Normally-Open
    motorA.velocity(10); //move motorA CW
    motorB.velocity(10); //move motorB CW
  }
  while (await motorA.getLimitState()) { //  Limit switch at Y- as Normally-Open
    motorA.velocity(10); //positive value means CW
    motorB.velocity(-10); //negative value means CCW
  }
  …
}
// Function definition
async function goToHome() {
  while (await motorB.getLimitState()) { // Limit switch at X- as Normally-Open
    motorA.velocity(-10); //move motorA CW -> CCW
    motorB.velocity(-10); //move motorB CW -> CCW
  }
  while (await motorA.getLimitState()) { //  Limit switch at Y- as Normally-Open
    motorA.velocity(-10); //positive value means CW -> CCW
    motorB.velocity(10); //negative value means CCW -> CW
  }
  …
}