13. Embedded Networking and Communications
Assignment
-
Group assignment:
- Send a message between two projects
- Document your work to the group work page and reflect on your individual page what you learned
-
Individual assignment:
- design, build and connect wired or wireless node(s) with network or bus addresses and a local interface
Group assignment
This week's group assignment we tried to control each other's devices over wifi network. We tested the functionality of our final project prototypes and it provided a base for further development.
Link to this week's group assignment
JDY-31 Bluetooth Module
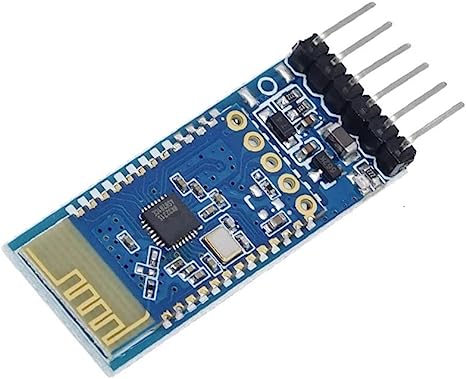
I did bluetooth communication for the personal assignment with a JDY-31 bluetooth module. The module itself can be controlled with serial communication with AT commands, the table of commands can be found here.
The module can take 3.6V-6V for power but uses 3.3V for the serial communication lines, and my board has 5V for the serial IO pins, so I use 2 resistors (5K and 10K) to form a voltage divider to lower the voltage level on the RX pin of the module.
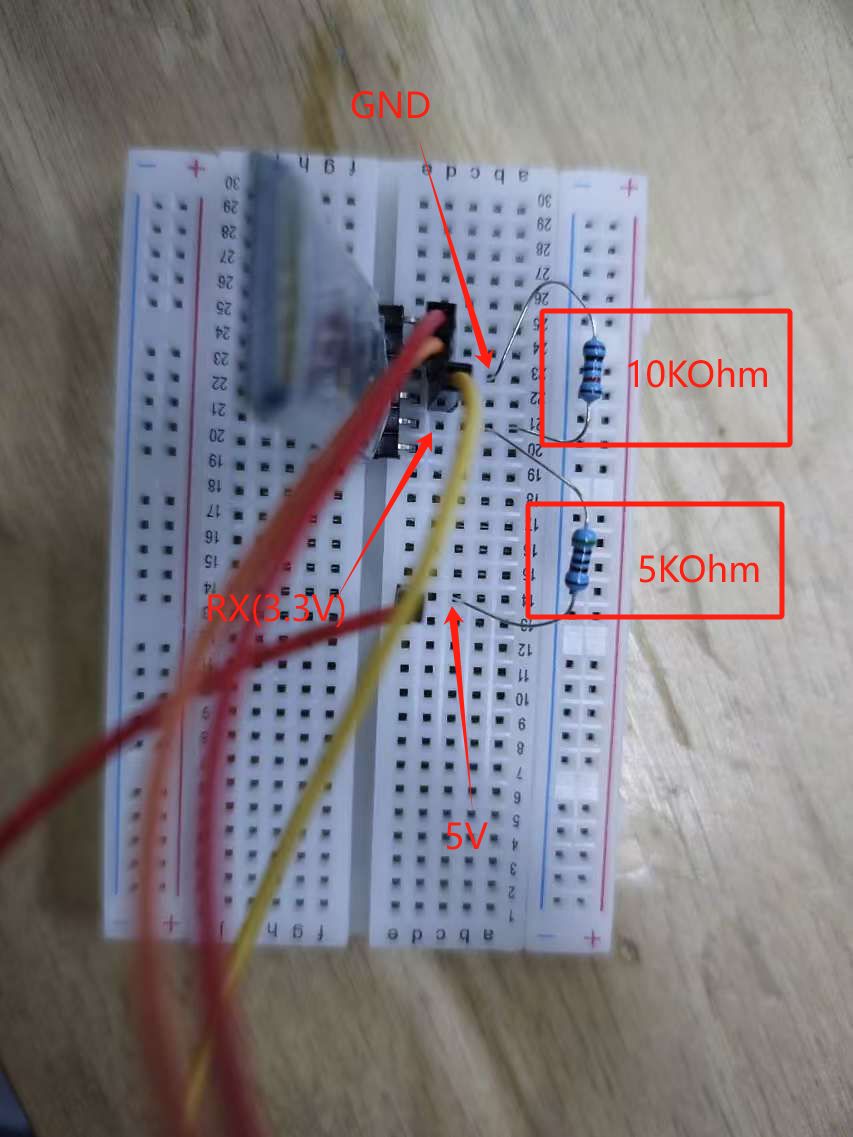
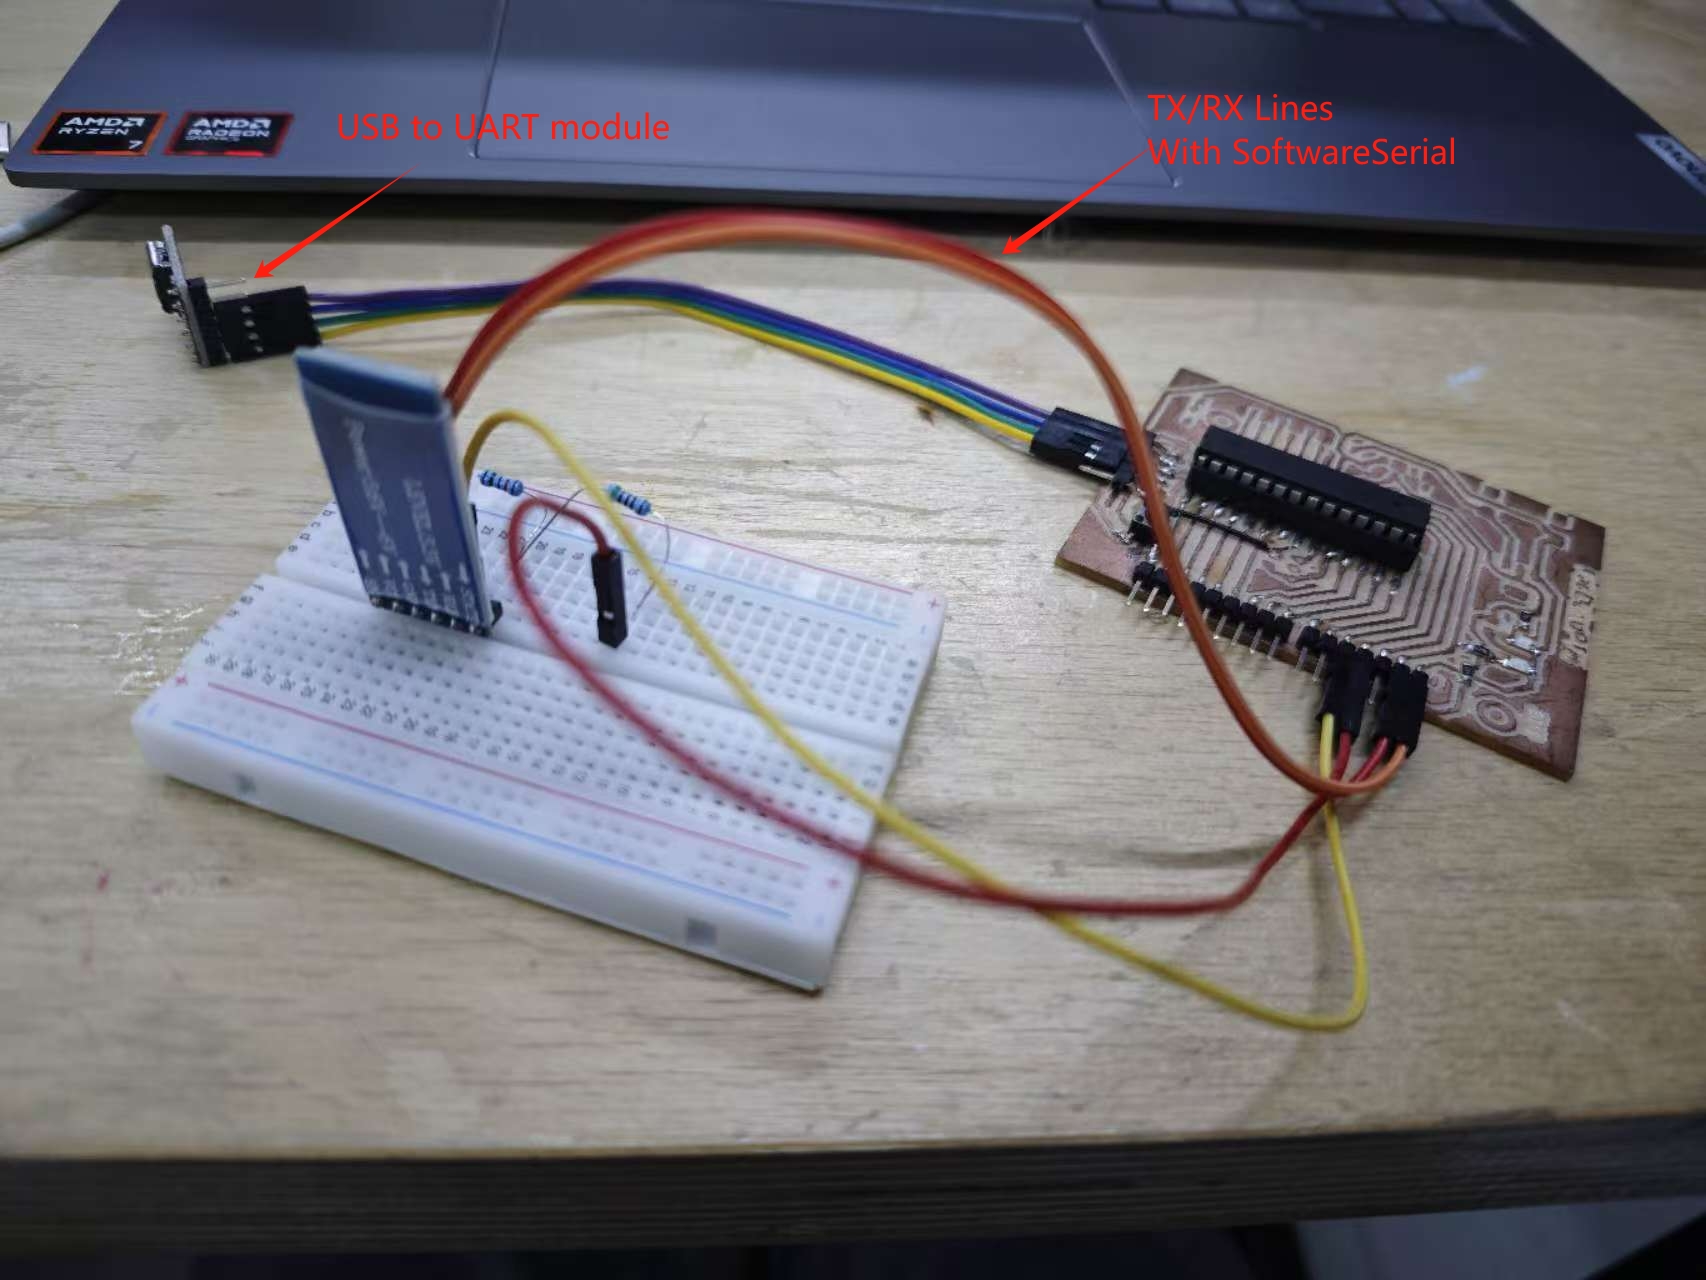
Then just connect the module with the serial TX/RX lines of the board.
Programming the board
First I use a program to let the board forward the message between the computer's serial monitor and the module. I can send command from the computer and read what's sent by the module.
#include <SoftwareSerial.h>

SoftwareSerial jdy31(10, 11);  // RX, TX

void setup() {
  Serial.begin(9600);
  jdy31.begin(9600);
}

void loop() {
  while (Serial.available()) {
    jdy31.write(Serial.read());
  }
  while (jdy31.available()) {
    Serial.write(jdy31.read());
  }
}
| Command | Function | Default |
|---|---|---|
| AT+VERSION | Version Number | JDY-31-V1.2 |
| AT+RESET | Soft reset | |
| AT+DISC | Disconnect (valid when connected) | |
| AT+LADDR | Query the MAC address of the module | |
| AT+PIN | Set or query connection password | 1234 |
| AT+BAUD | Set or query baud rate | 9600 |
| AT+NAME | Set or query broadcast name | JDY-31-SPP |
| AT+DEFAULT | Factory reset | |
| AT+ENLOG | Serial port status output | 1 |
Above is a table of the AT commands that can be used to configure the device,
note in the code, the baud rate of the SoftwareSerial is set to 9600 because
the AT+BAUD command shows 4 indicating the module is using 9600 baud rate,
and the Both NL & CR option has to be selected from the Arduino serial
monitor because the module is expecting CRLF line ending, otherwise the AT
commands won't work.
Connecting via bluetooth
Then I can pair the device with the computer to send message via bluetooth. To pair it with a Windows 11 computer, first open the Bluetooth and device setting in windows settings, and goto Device, set the Bluetooth device discovery setting to Advance (or Windows will no be able to see the module), and click Add device to scan for the module.
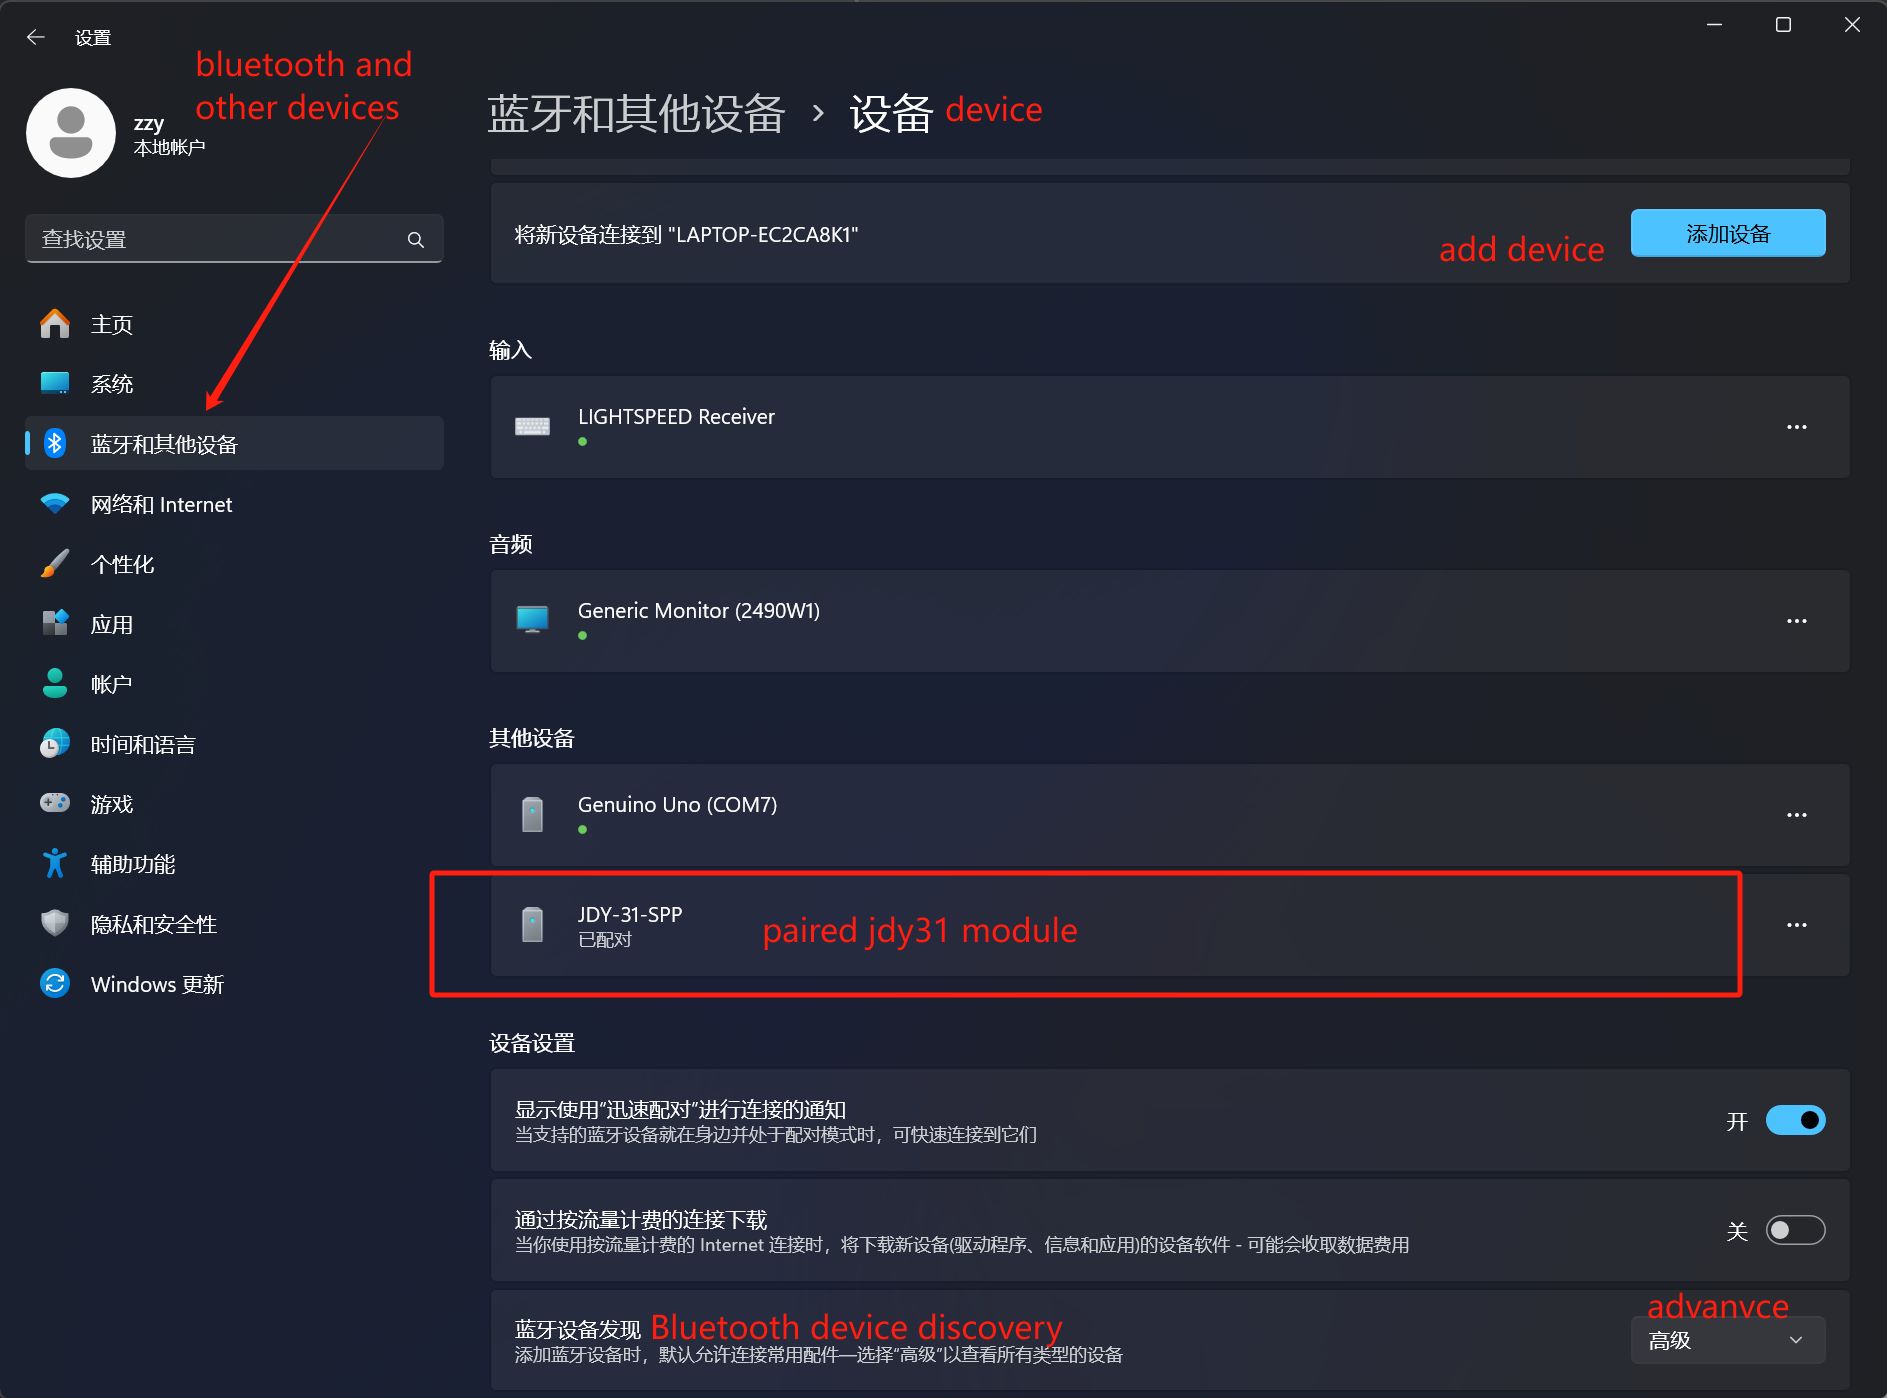
In the opened dialog, the module should appare with the name configured with the AT command, select it and enter the pin for the device, which is also viewed and configuerd with the AT command, then the module should be added.
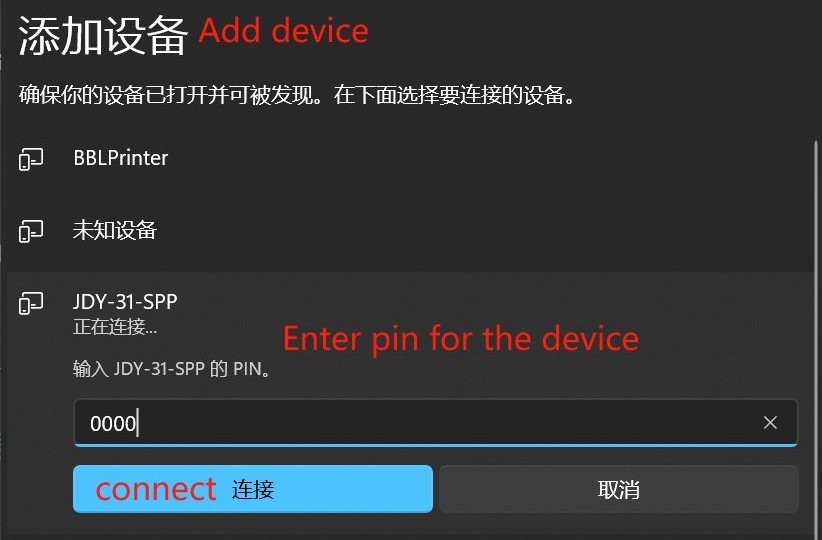
Then from the Device setting page, below it has a More bluetooth settings button, select it and from the Bluetooth setting popup window, go to the second tab which says COM port. The COM ports for the module should be listed, and the one with "out going" port can be use to send message to the module.


Sending message through COM port on Windows can be done with the Arduino IDE's serial monitor.
I started another instance of the Arduino IDE and select COM8 (which is the out going port of the module) and open the serial monitor. As I opened the serial port, the module sends a message on its own serial port indicating we are connected, and subsequence messages send through the port is output by the module on its own serial port, and anything it gets from its own serial port is sent out to the computer. AT commands other than AT+DISC (which is used to disconnect the connection) are disabled.
Source files
- JDY-31 module Arduino Code: jdy31-bluetooth.ino