5. 3D Scanning and Printing
Exploring the 3D printing technology.
Assignment
-
Group assignment:
- Test the design rules for your 3D printer(s)
- Document your work on the group work page and reflect on your individual page what you learned about characteristics of your printer(s)
-
Individual assignment:
- Design and 3D print an object (small, few cm3, limited by printer time) that could not be easily made subtractively
- 3D scan an object (and optionally print it)
Group assignment
For group assignment we tested the Bambu Lab P1S 3D printer in our lab with different test files and material, recorded the best printing parameters for PETG and PLA material for various tasks.
Link to this week's group assignment page
3D Print Chain Mail
For this week's personal assignment, I decided to use 3D printer to make 'chain mail-like' fabric structure.
First attempt
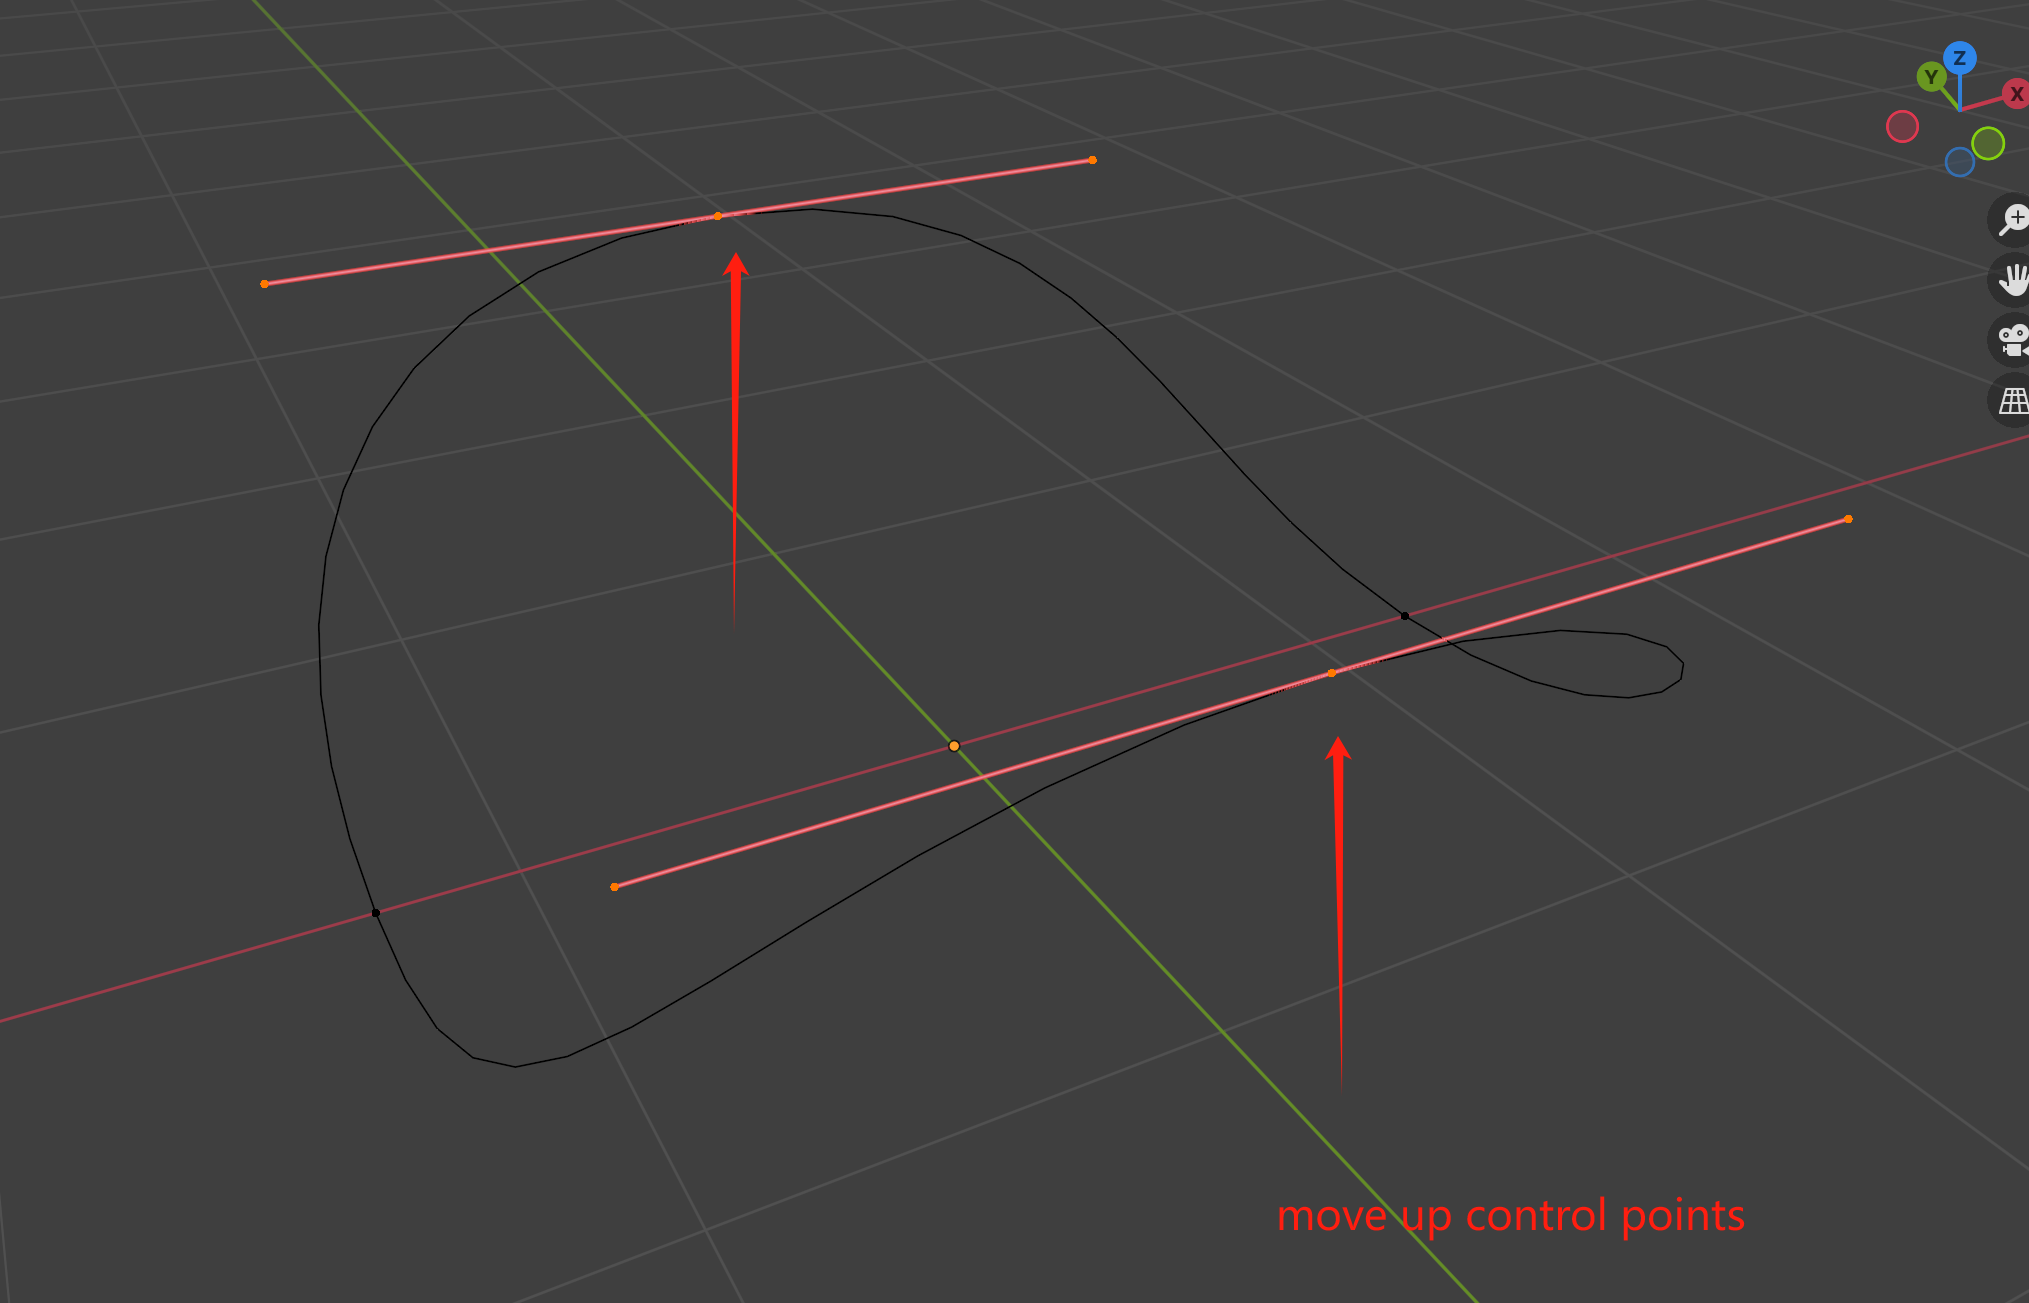
I start by making the 3D model in Blender. The first time, I tried to make rounded chains with a deformed Bezier curve circle. I added the circle and moved up its two control points to form the shape of the chain.
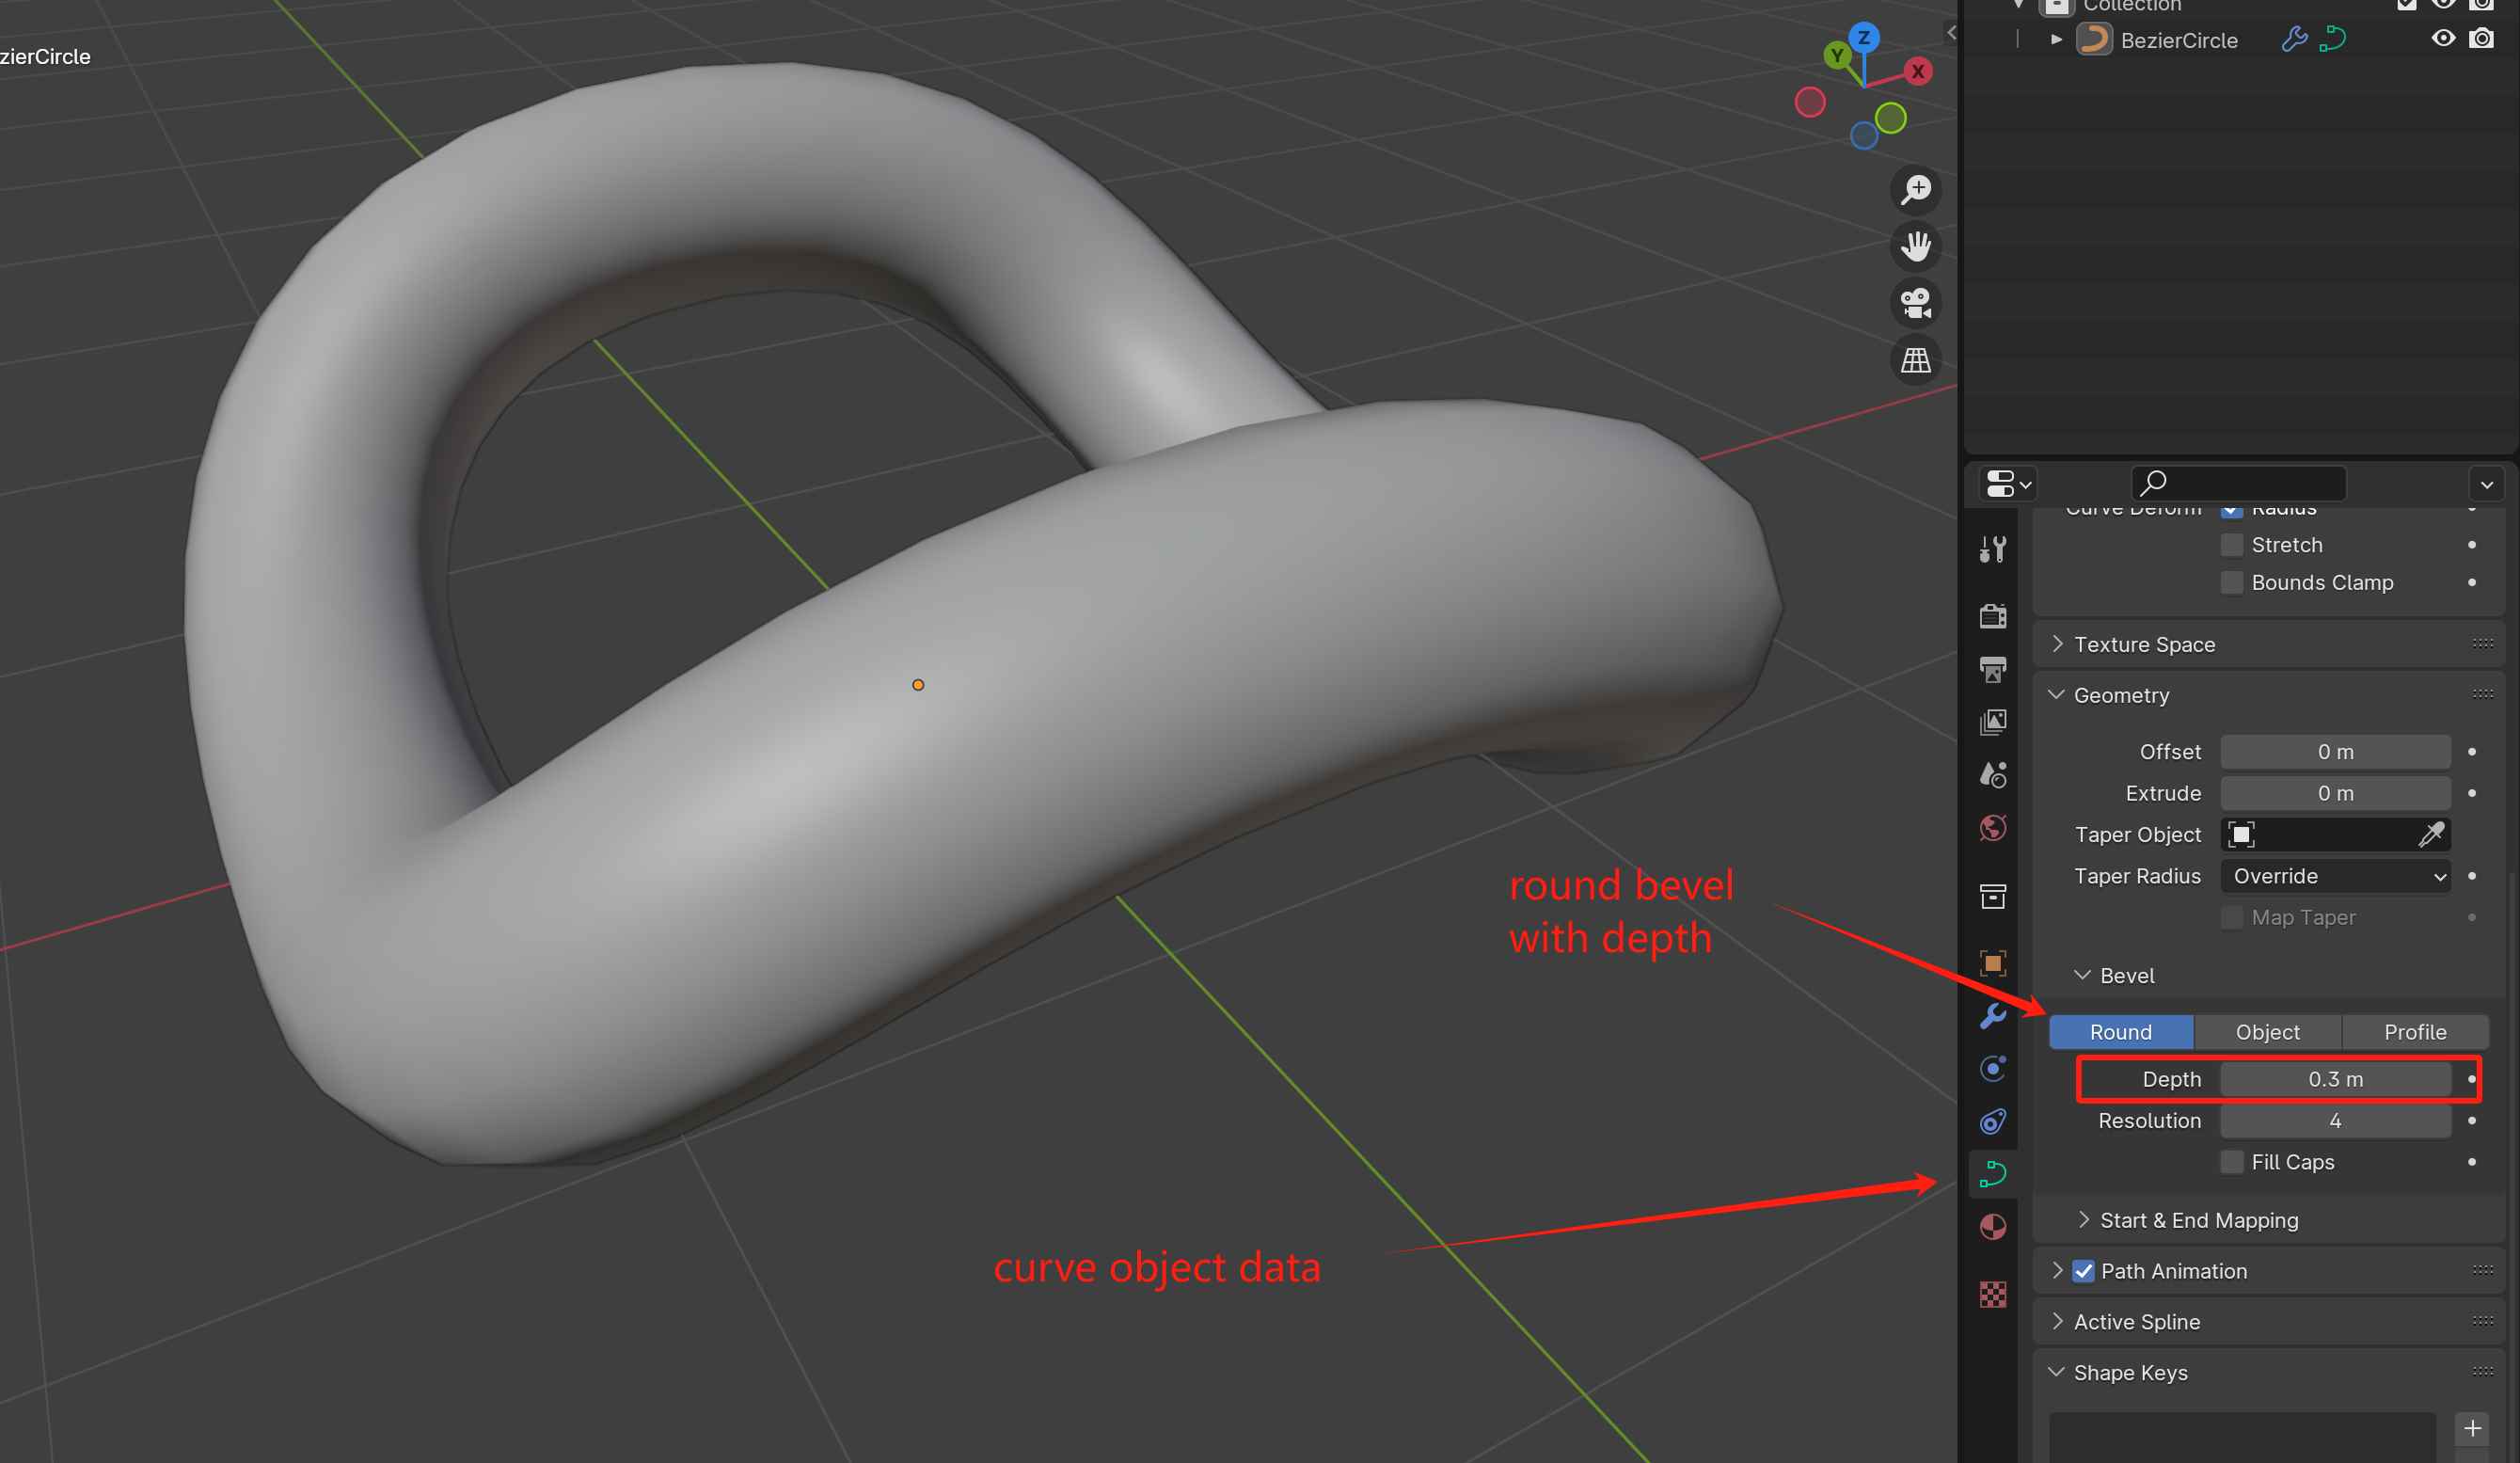
Then on the right, go to Object Data Tab, under Bevel > Round, set the Depth value to make the bezier curve a solid ring.
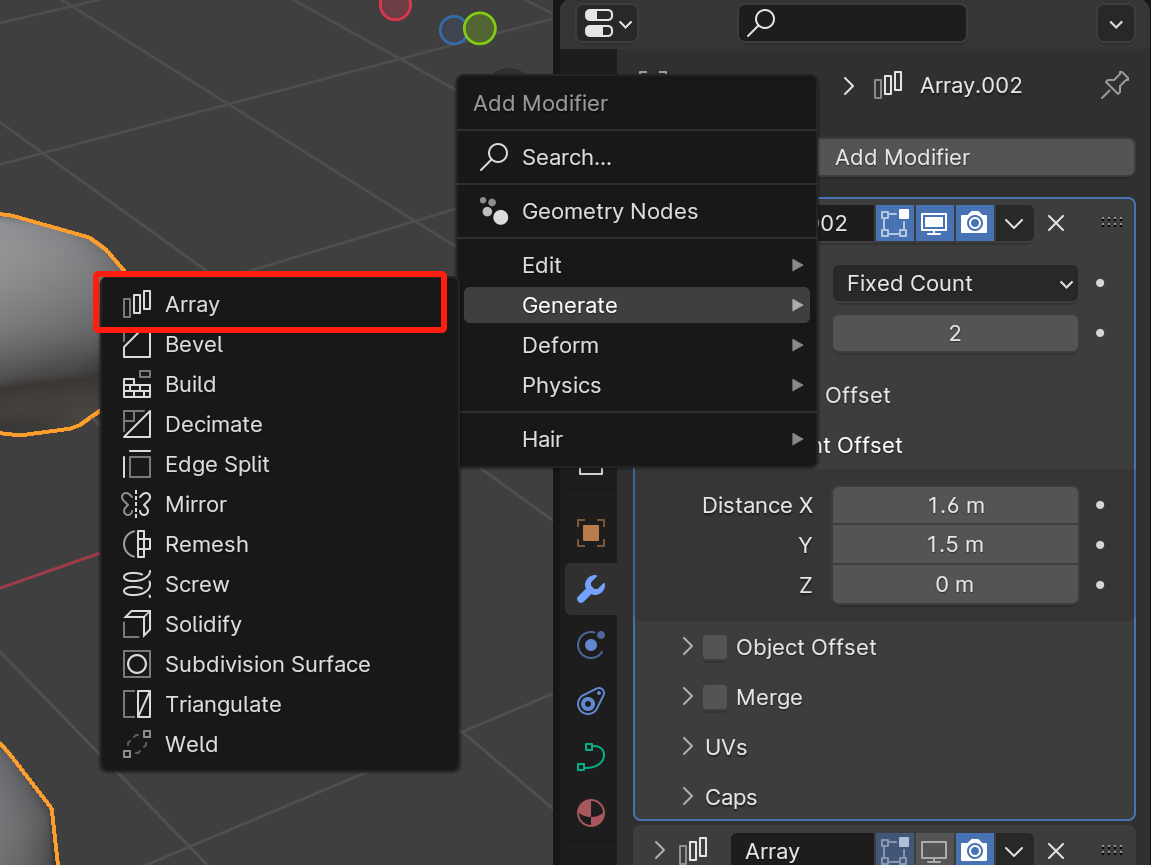
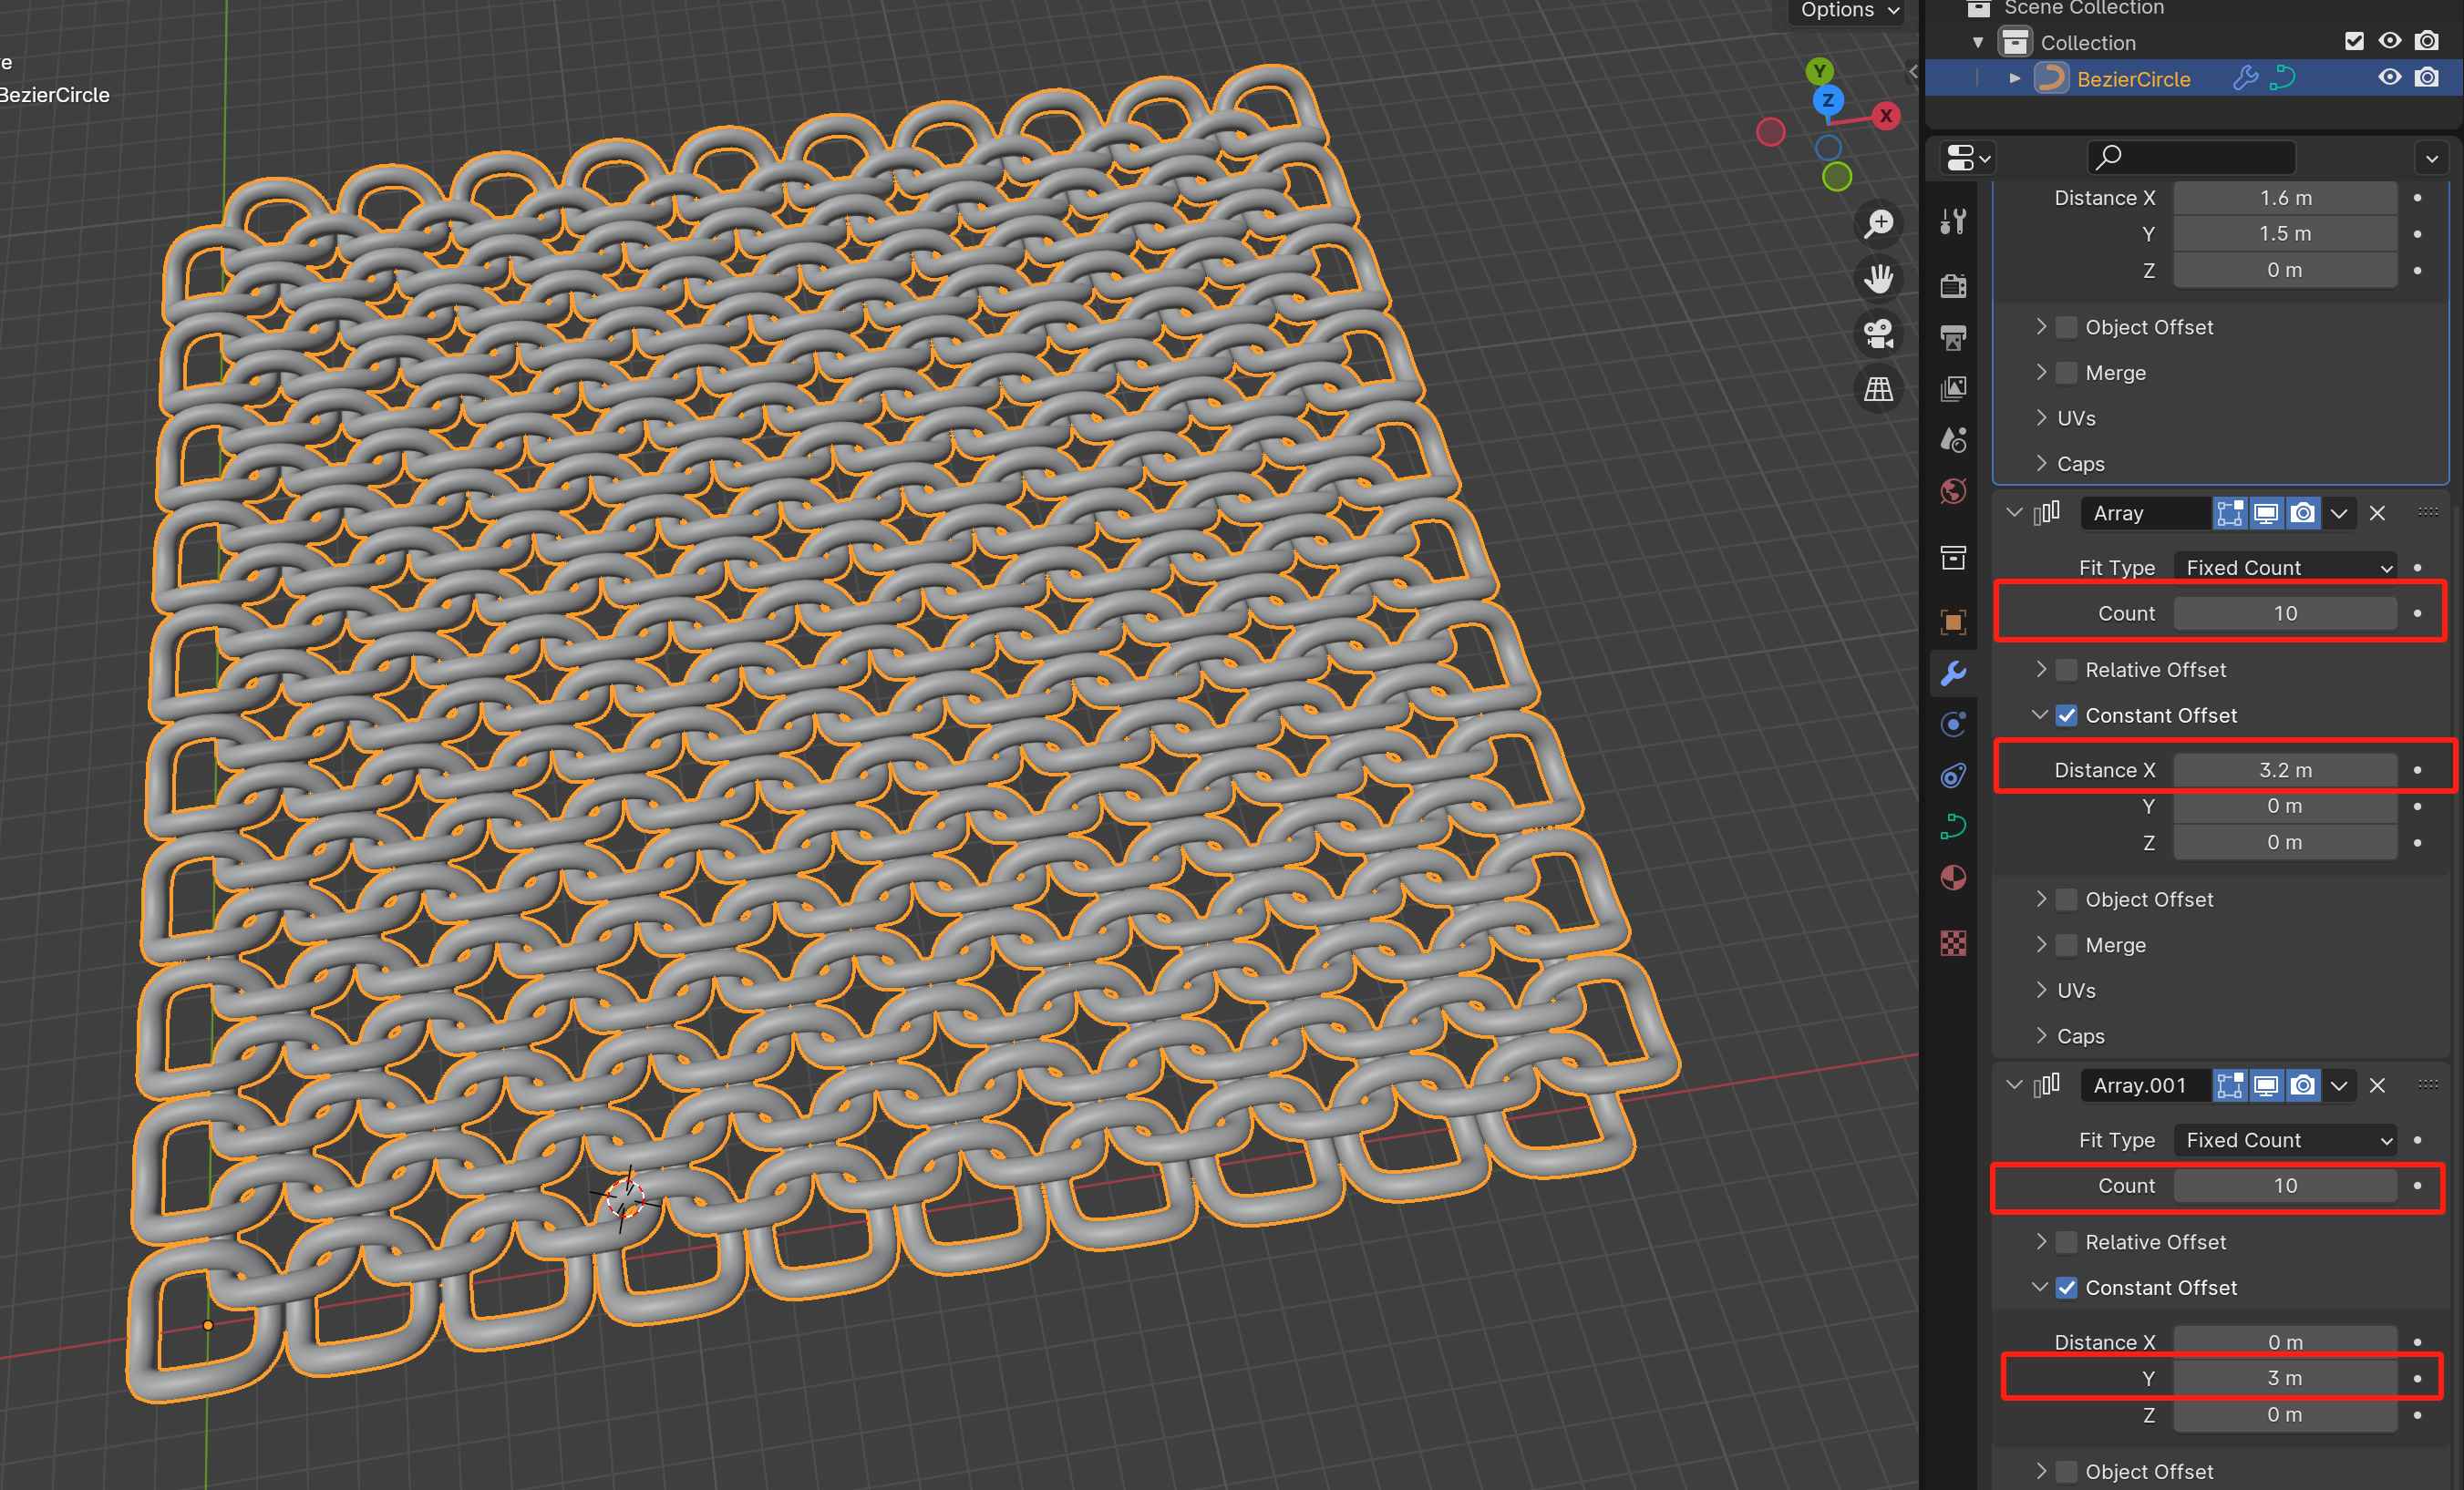
Then go to the modifier tab, click Add Modifier and add an Array Modifier under the Generate category. Set the modifier count to 2 and select the Constant Offset mode and adjust the X/Y offset distance to make it intersect with the original object.
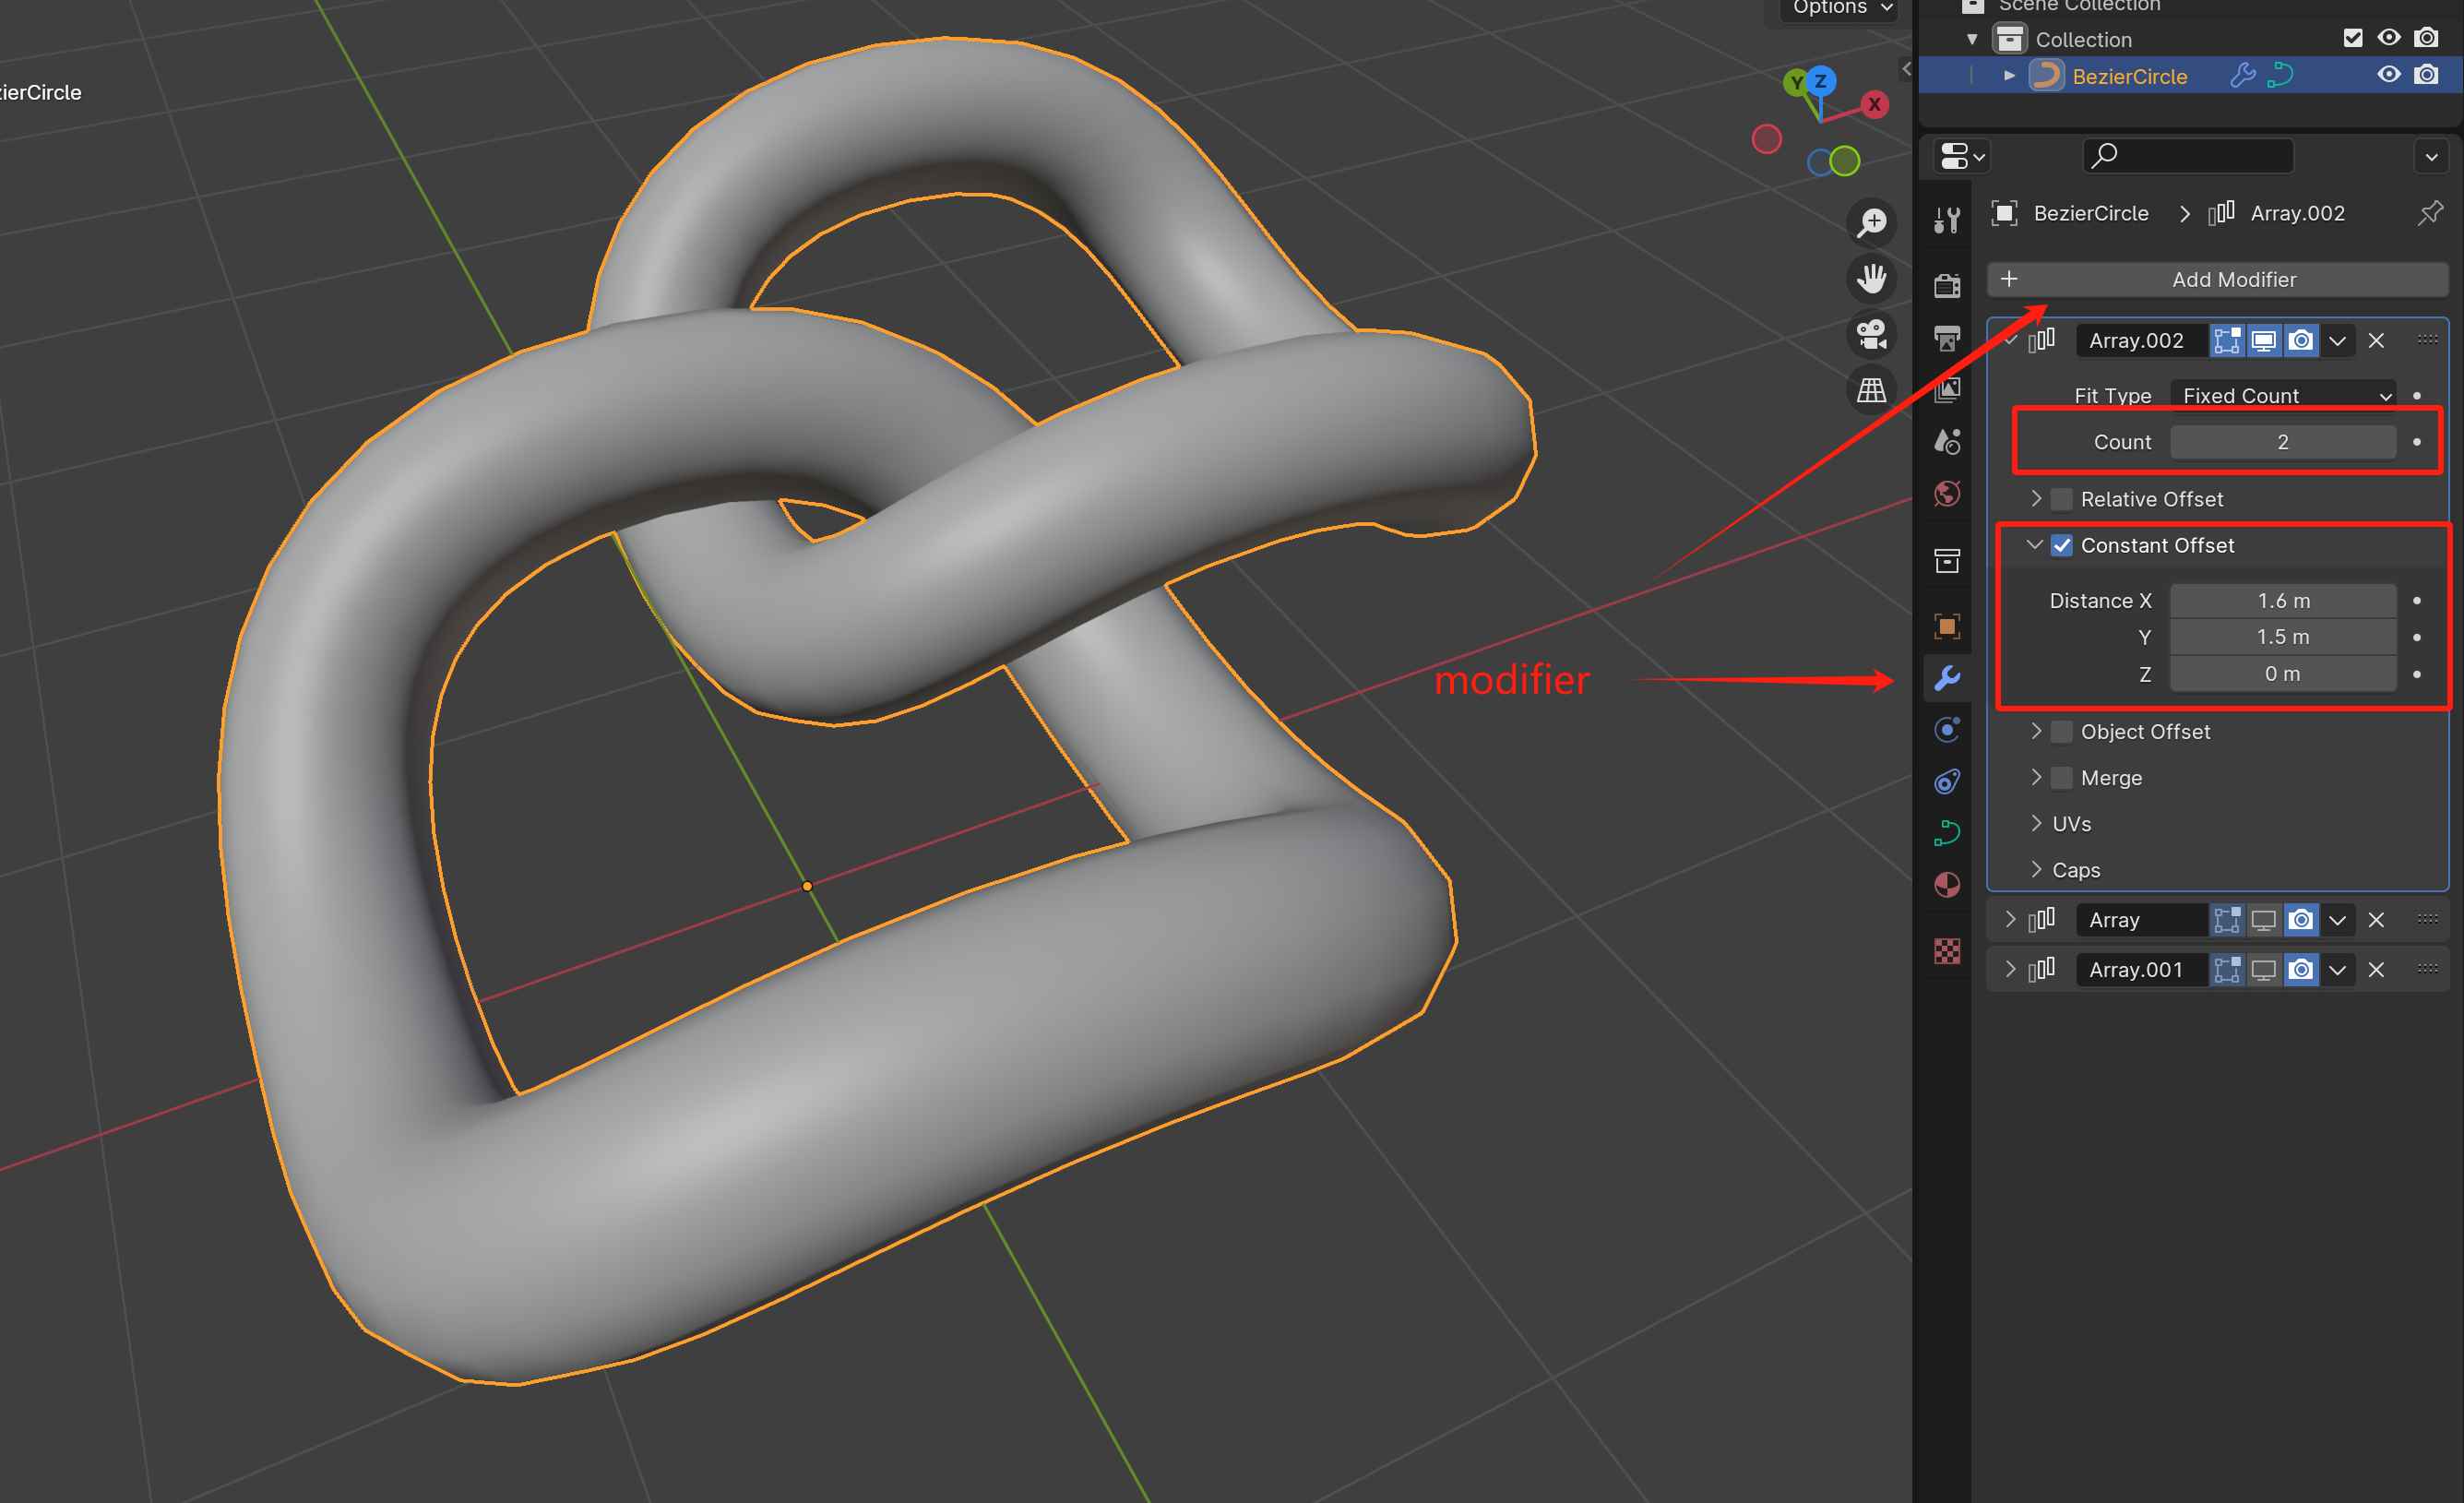
Then add two more array modifiers to make the arrays on the X/Y direction. Also set them to Constant Offset mode and set their corresponding offset on X/Y direction to twice the offset on the first array modifier. This makes every objects in the generated array have the same offset between each other. The count of the modifiers can be used to set the size of the printed structure.
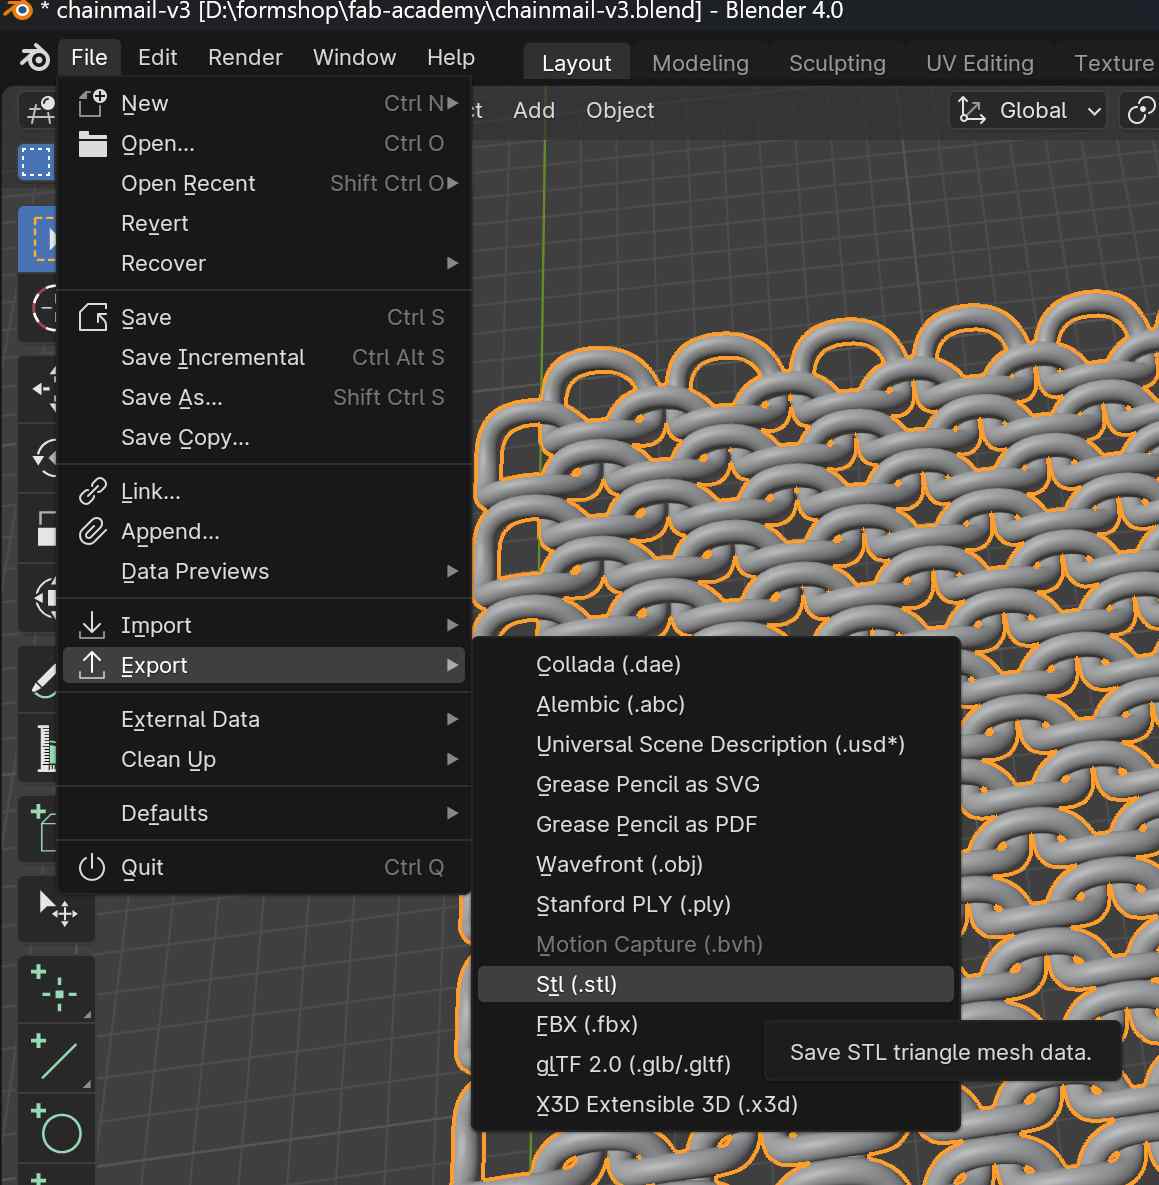
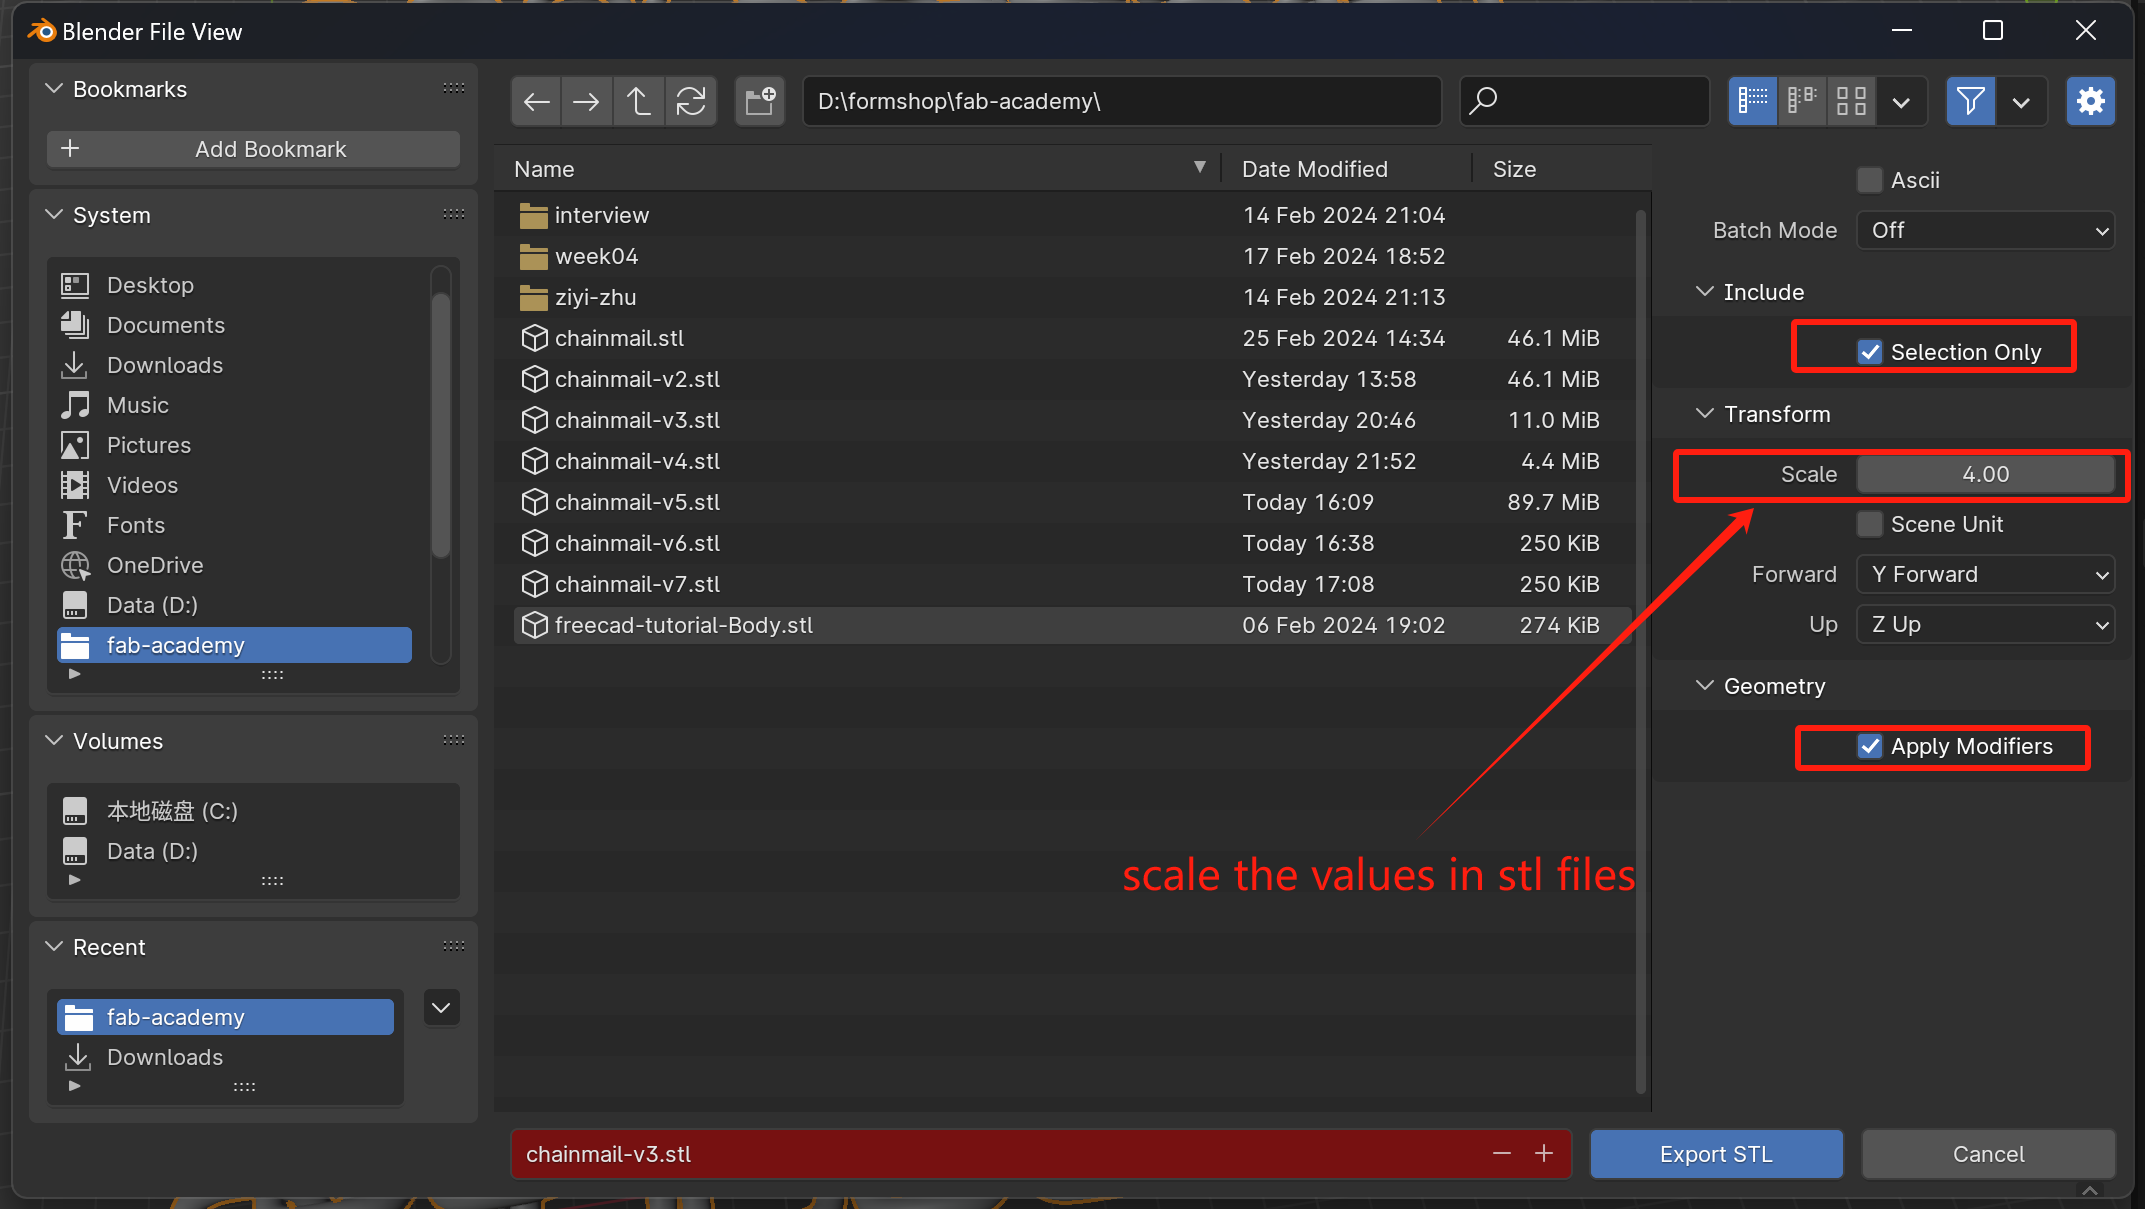
Then I can just export the model for 3D printing. Select the model, from main menu, select File > Export > Stl and in the opened window, select the Selection Only and Apply Modifiers options. And under Transform, change the scale value to a slightly larger value. Because the stl file format uses millimeters for the length unit by default and Blender uses meters, the length showed in meters in Blender multiplied by the scale value results the length of the exported model in millimeters.
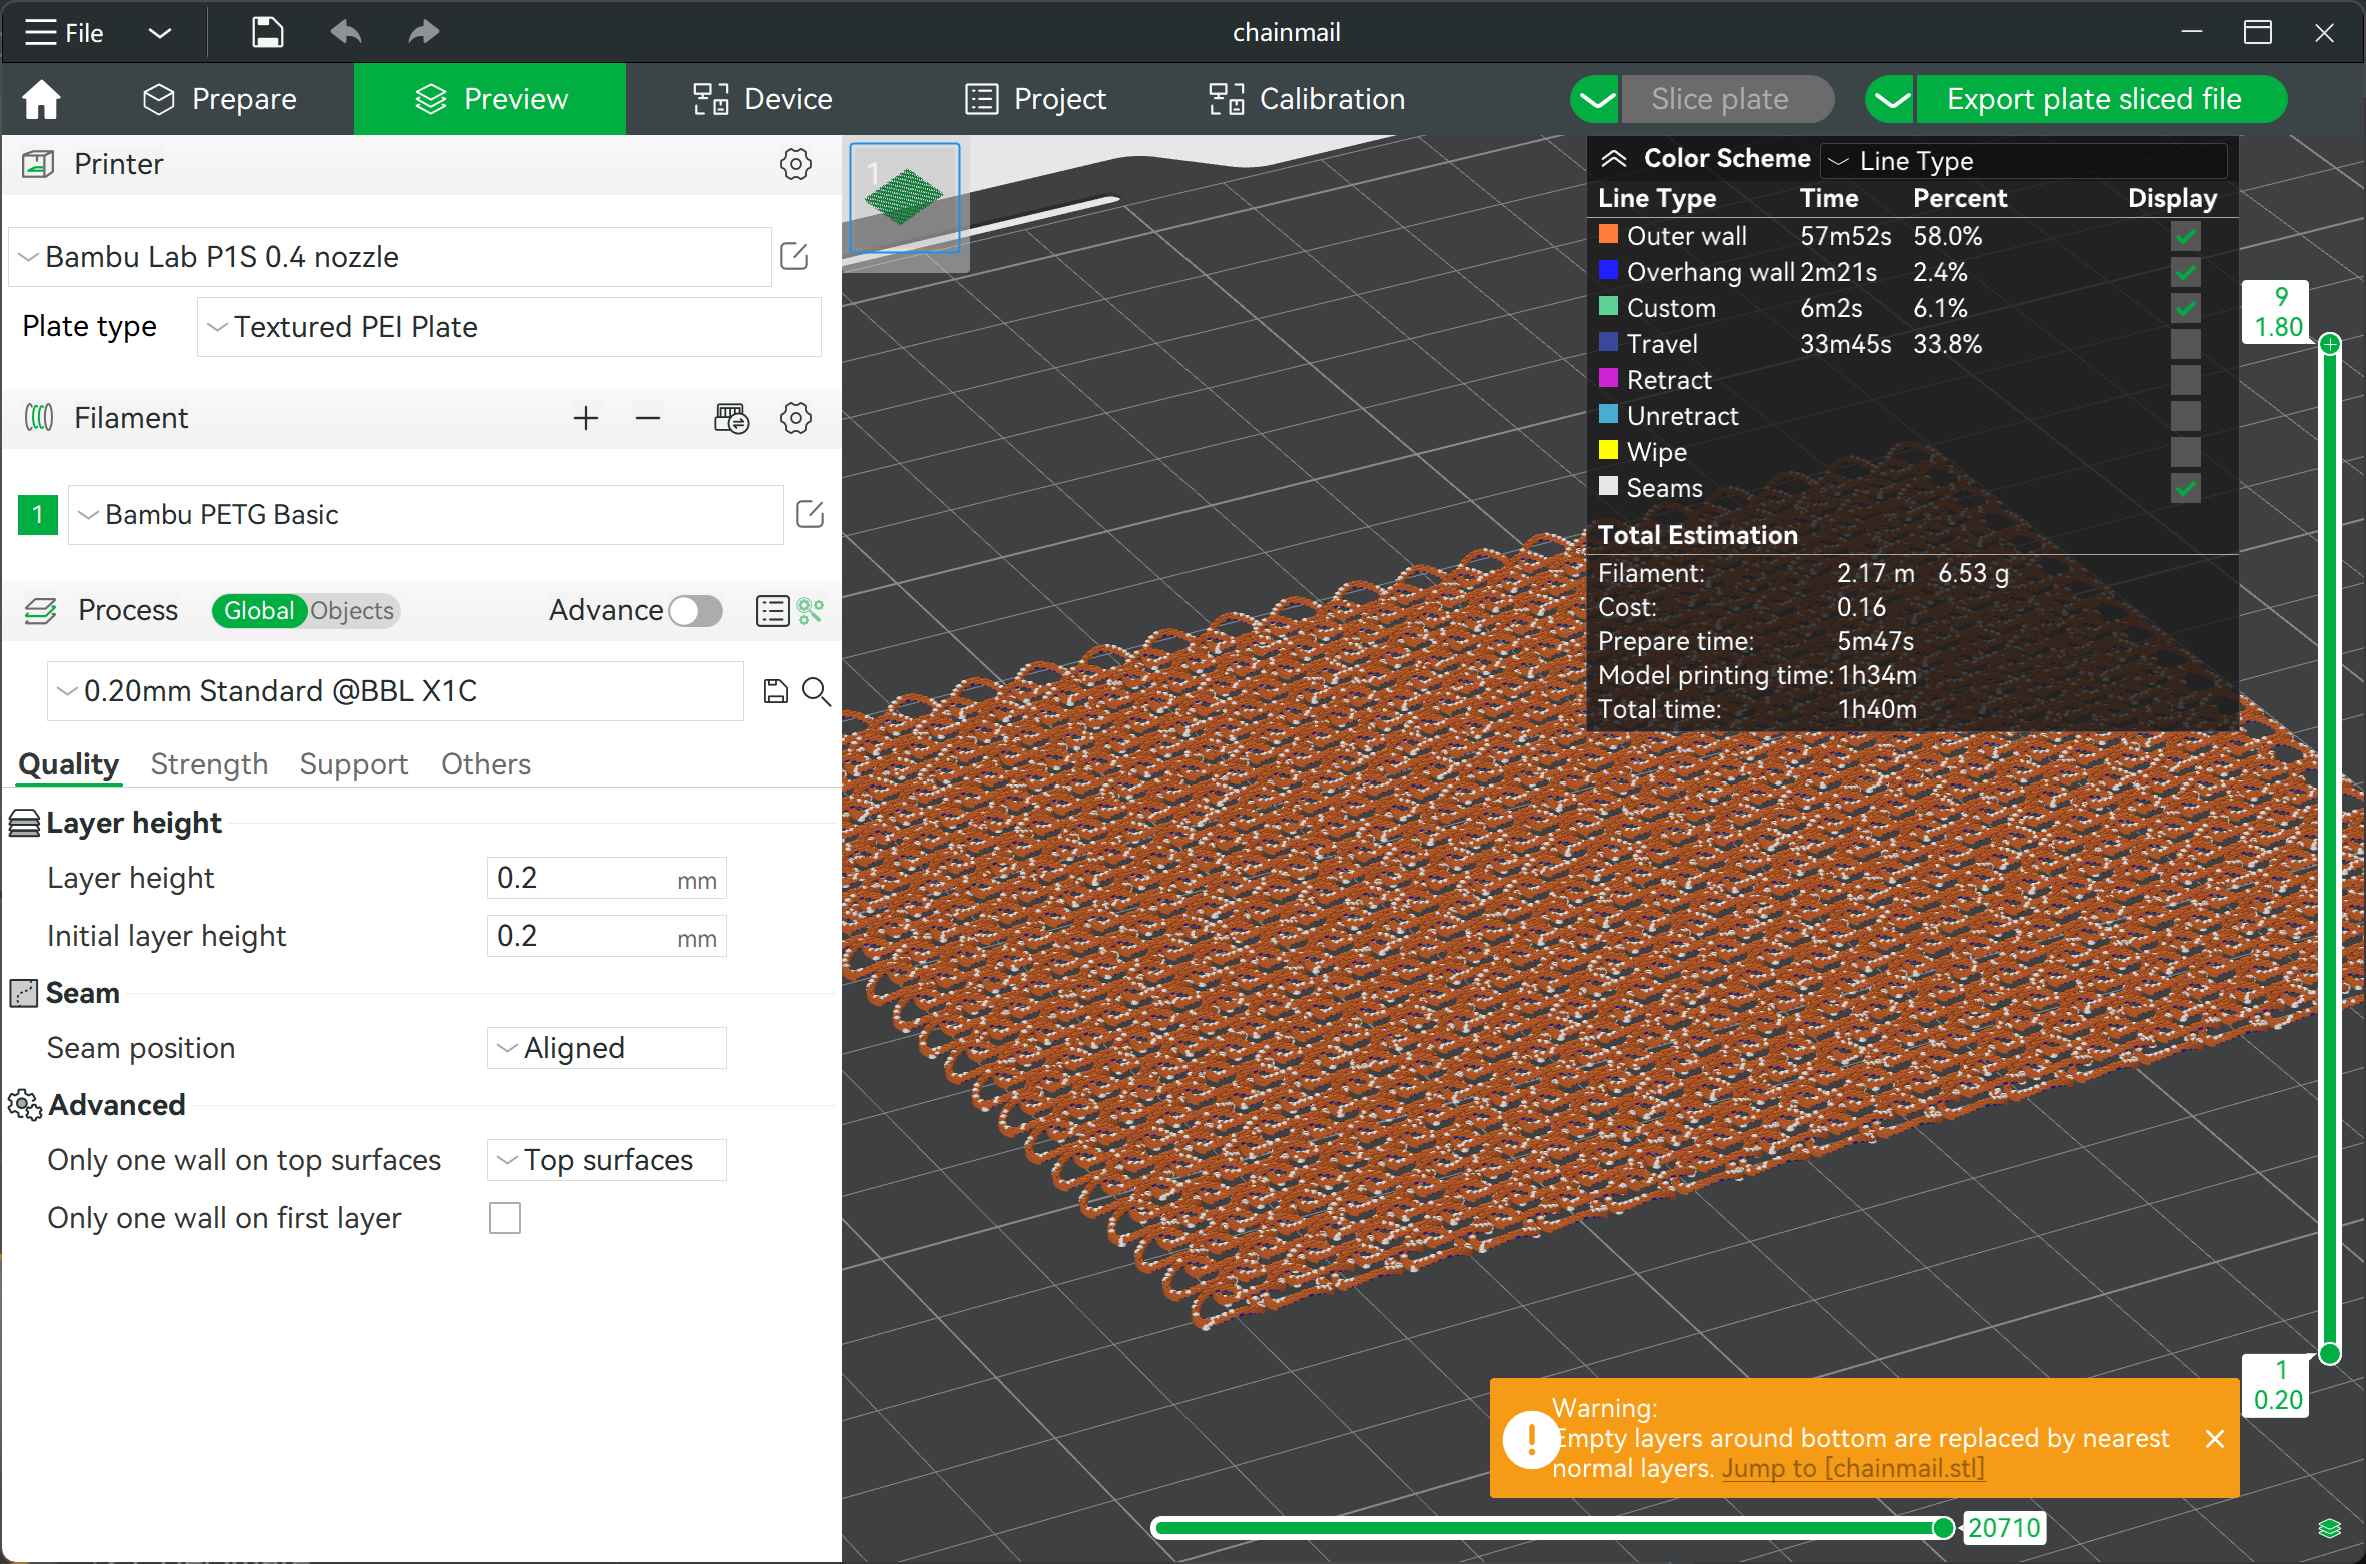
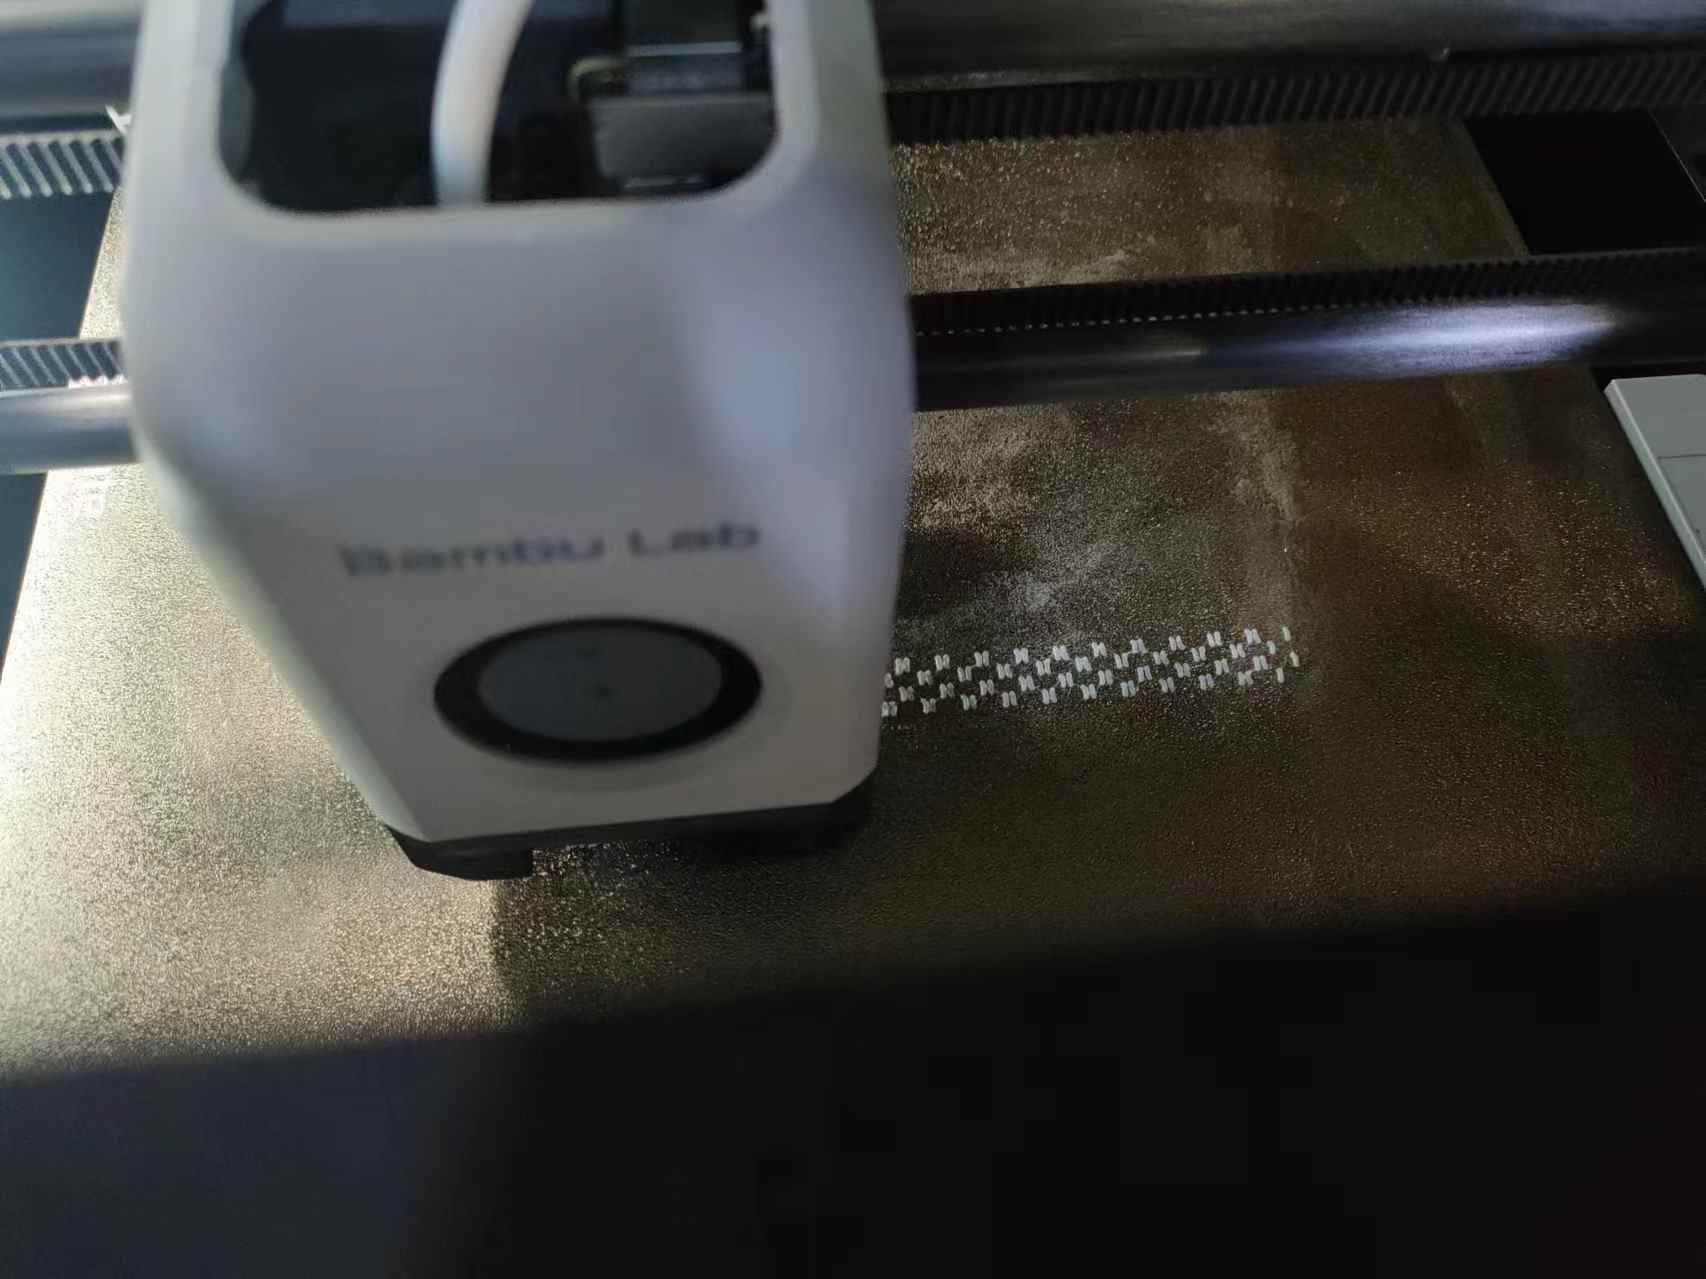
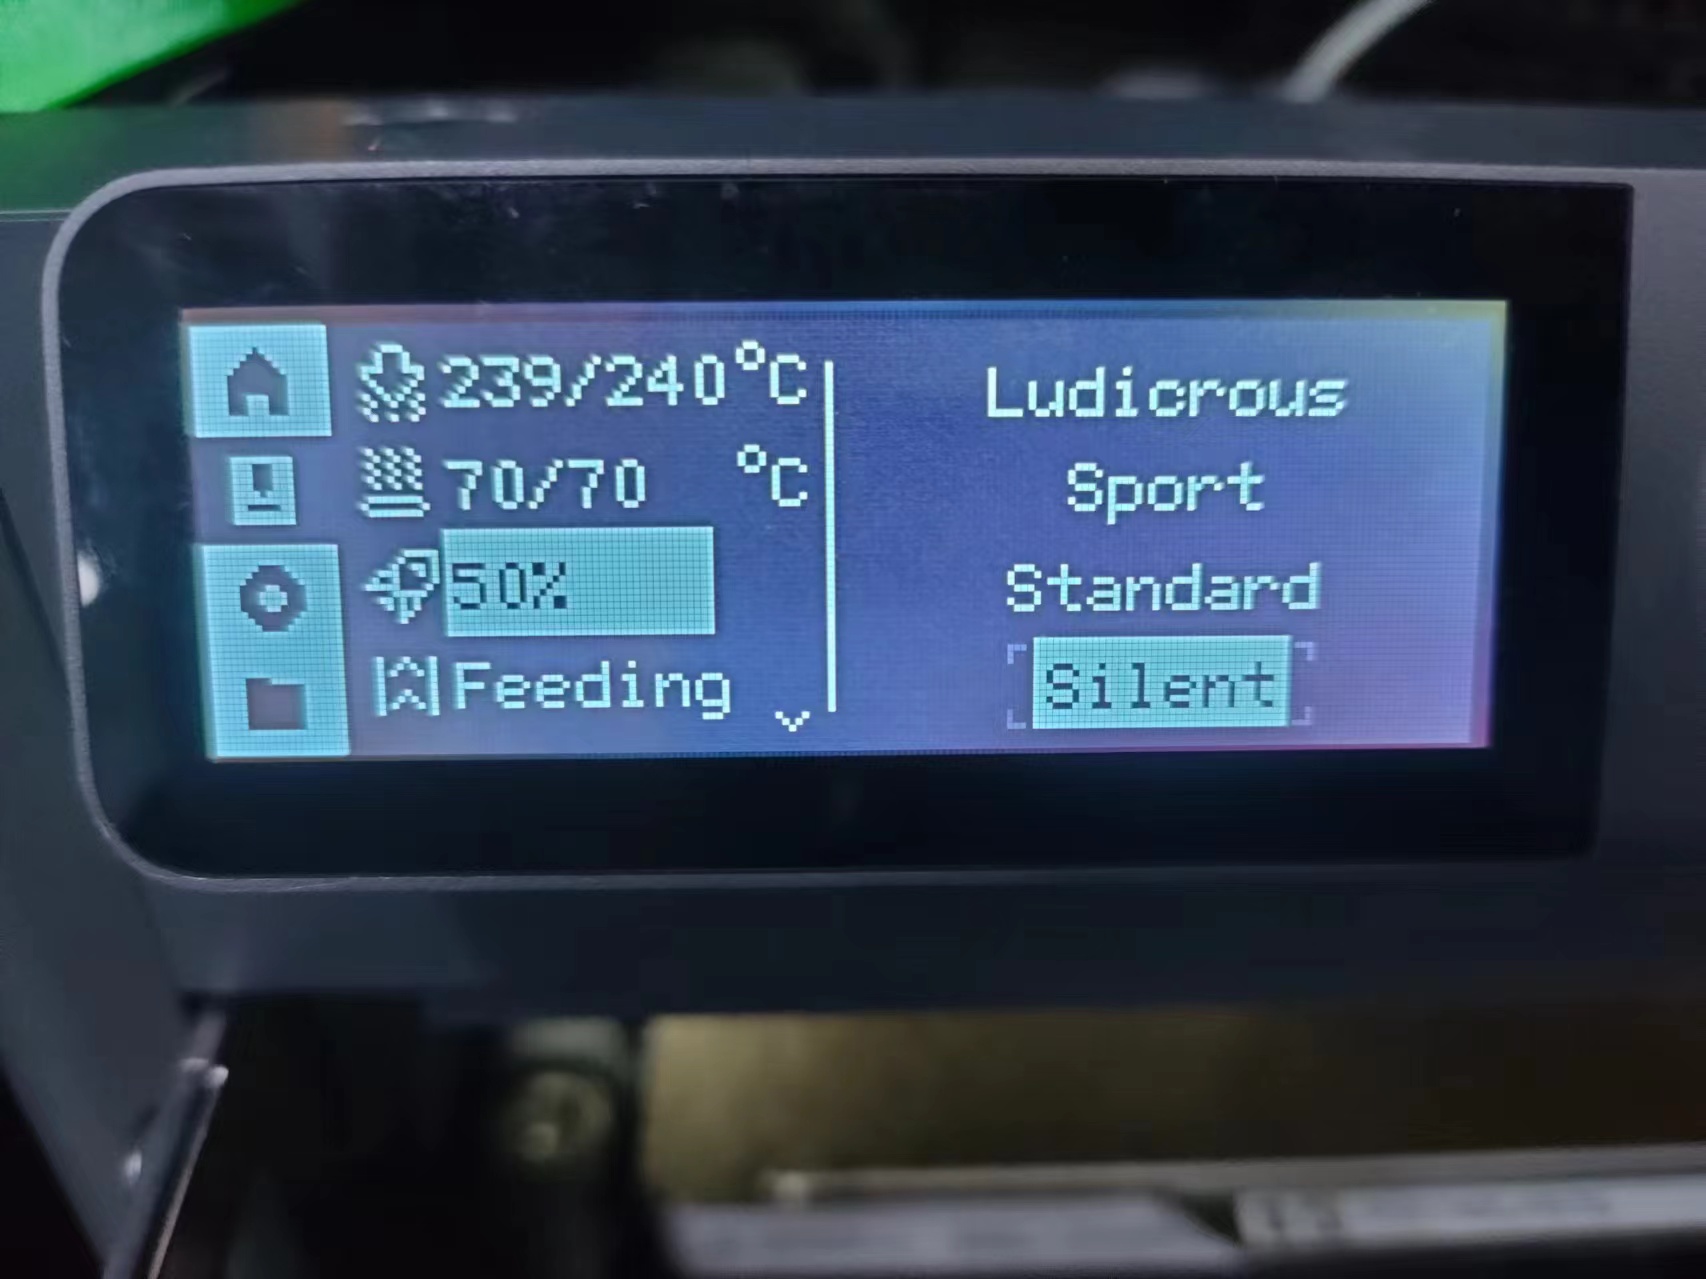
I use a Bambu Lab P1S to print the model with PETG material, so I imported the exported stl model into the slicing program Bambu Studio and just used the default parameters for PETG and exported the g-code to print. The first time I didn't change the configuration option, I just went change the nozzle temperature to 240 degrees Celsius which is the optimal temperature of the PETG material we use.
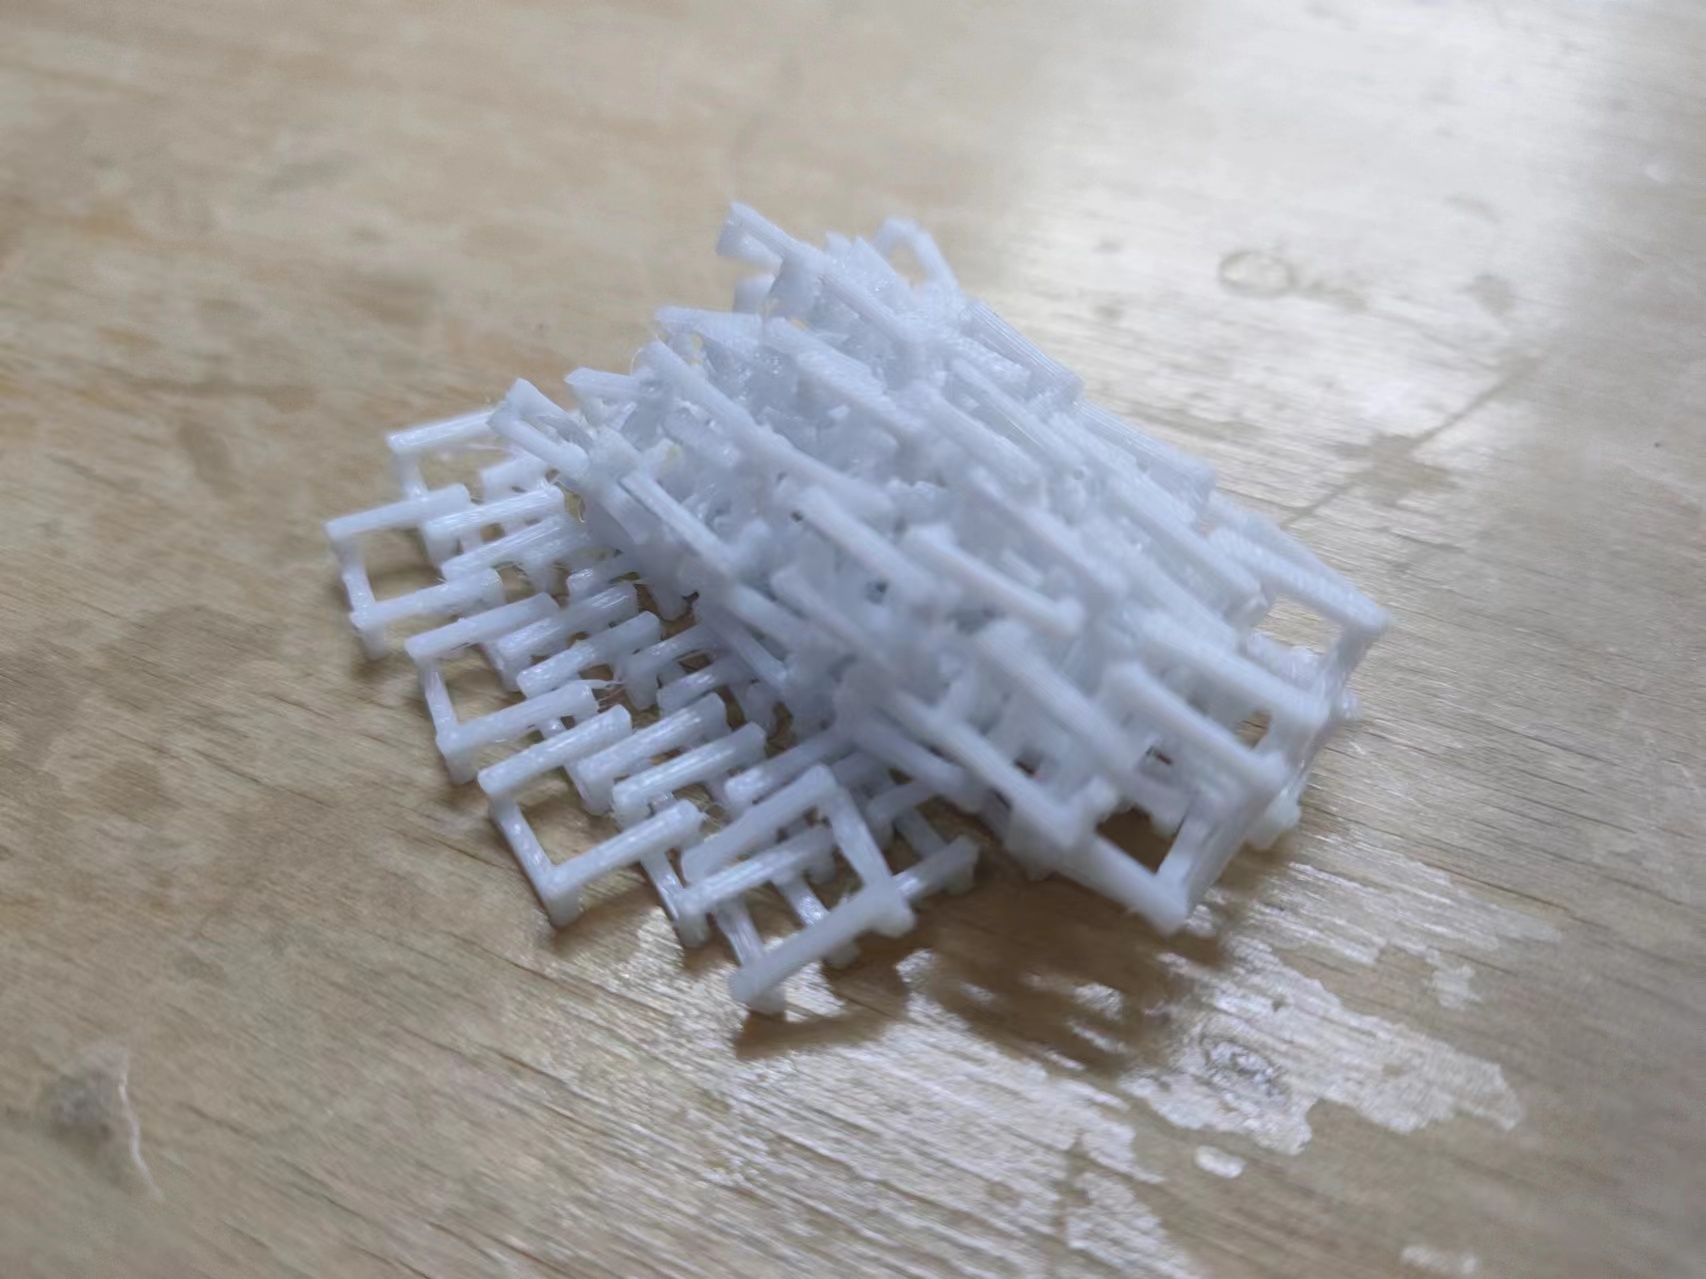
Failure
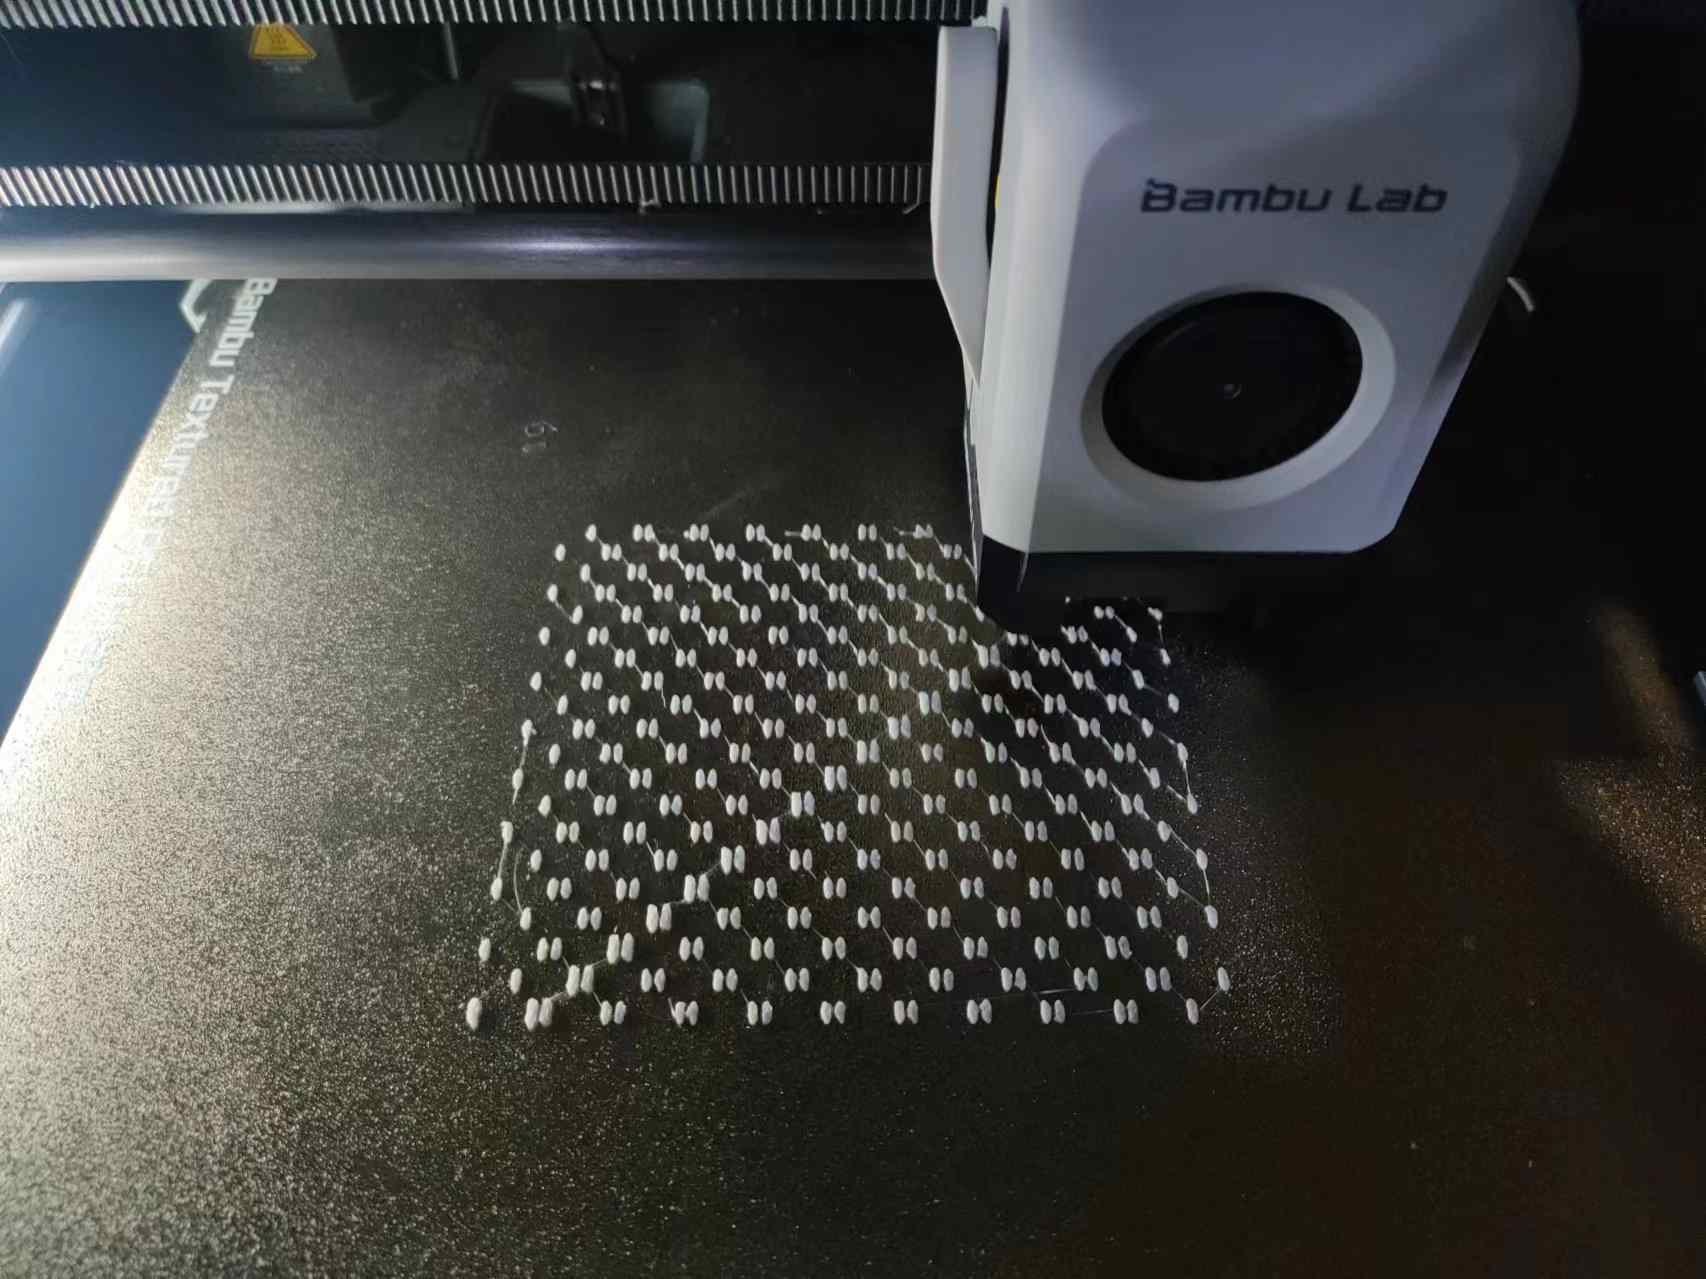
My first few attempts to print the structure was not very successfull. The model I exported initially was too small and the chains were sticking together with each other. And there's also some artifacts due to the extra fillimen sticking to the nozzle, resulting in some part of the structure was fused together and went away.
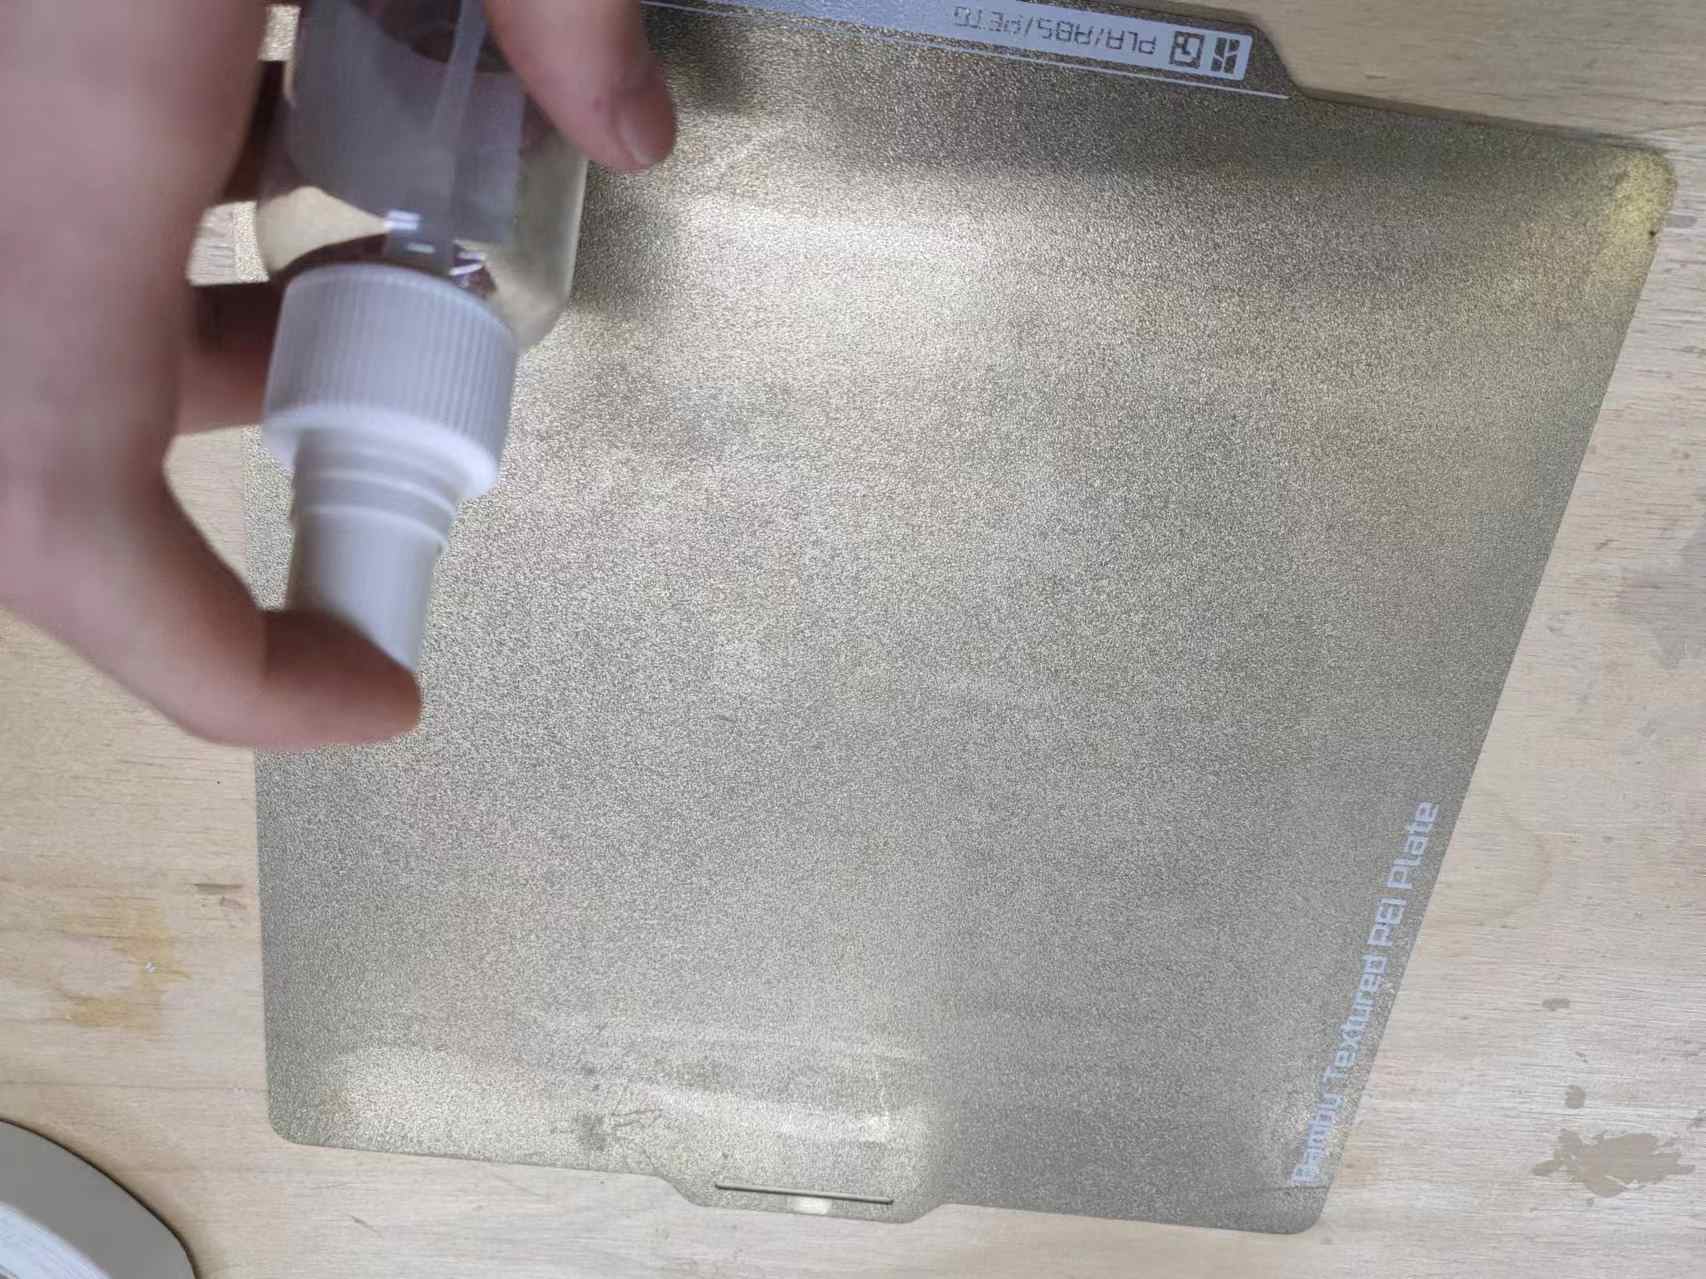
Then I tried to tweak some of the parameters in the Blender model to make the chains bigger and have larger gaps between them. But after trying many times, as well as applying more 3D printing spray to make the structure stick to the plate, the structure still didn't stick despite the first few layers were printed properly. Later they still moved result in failed print.
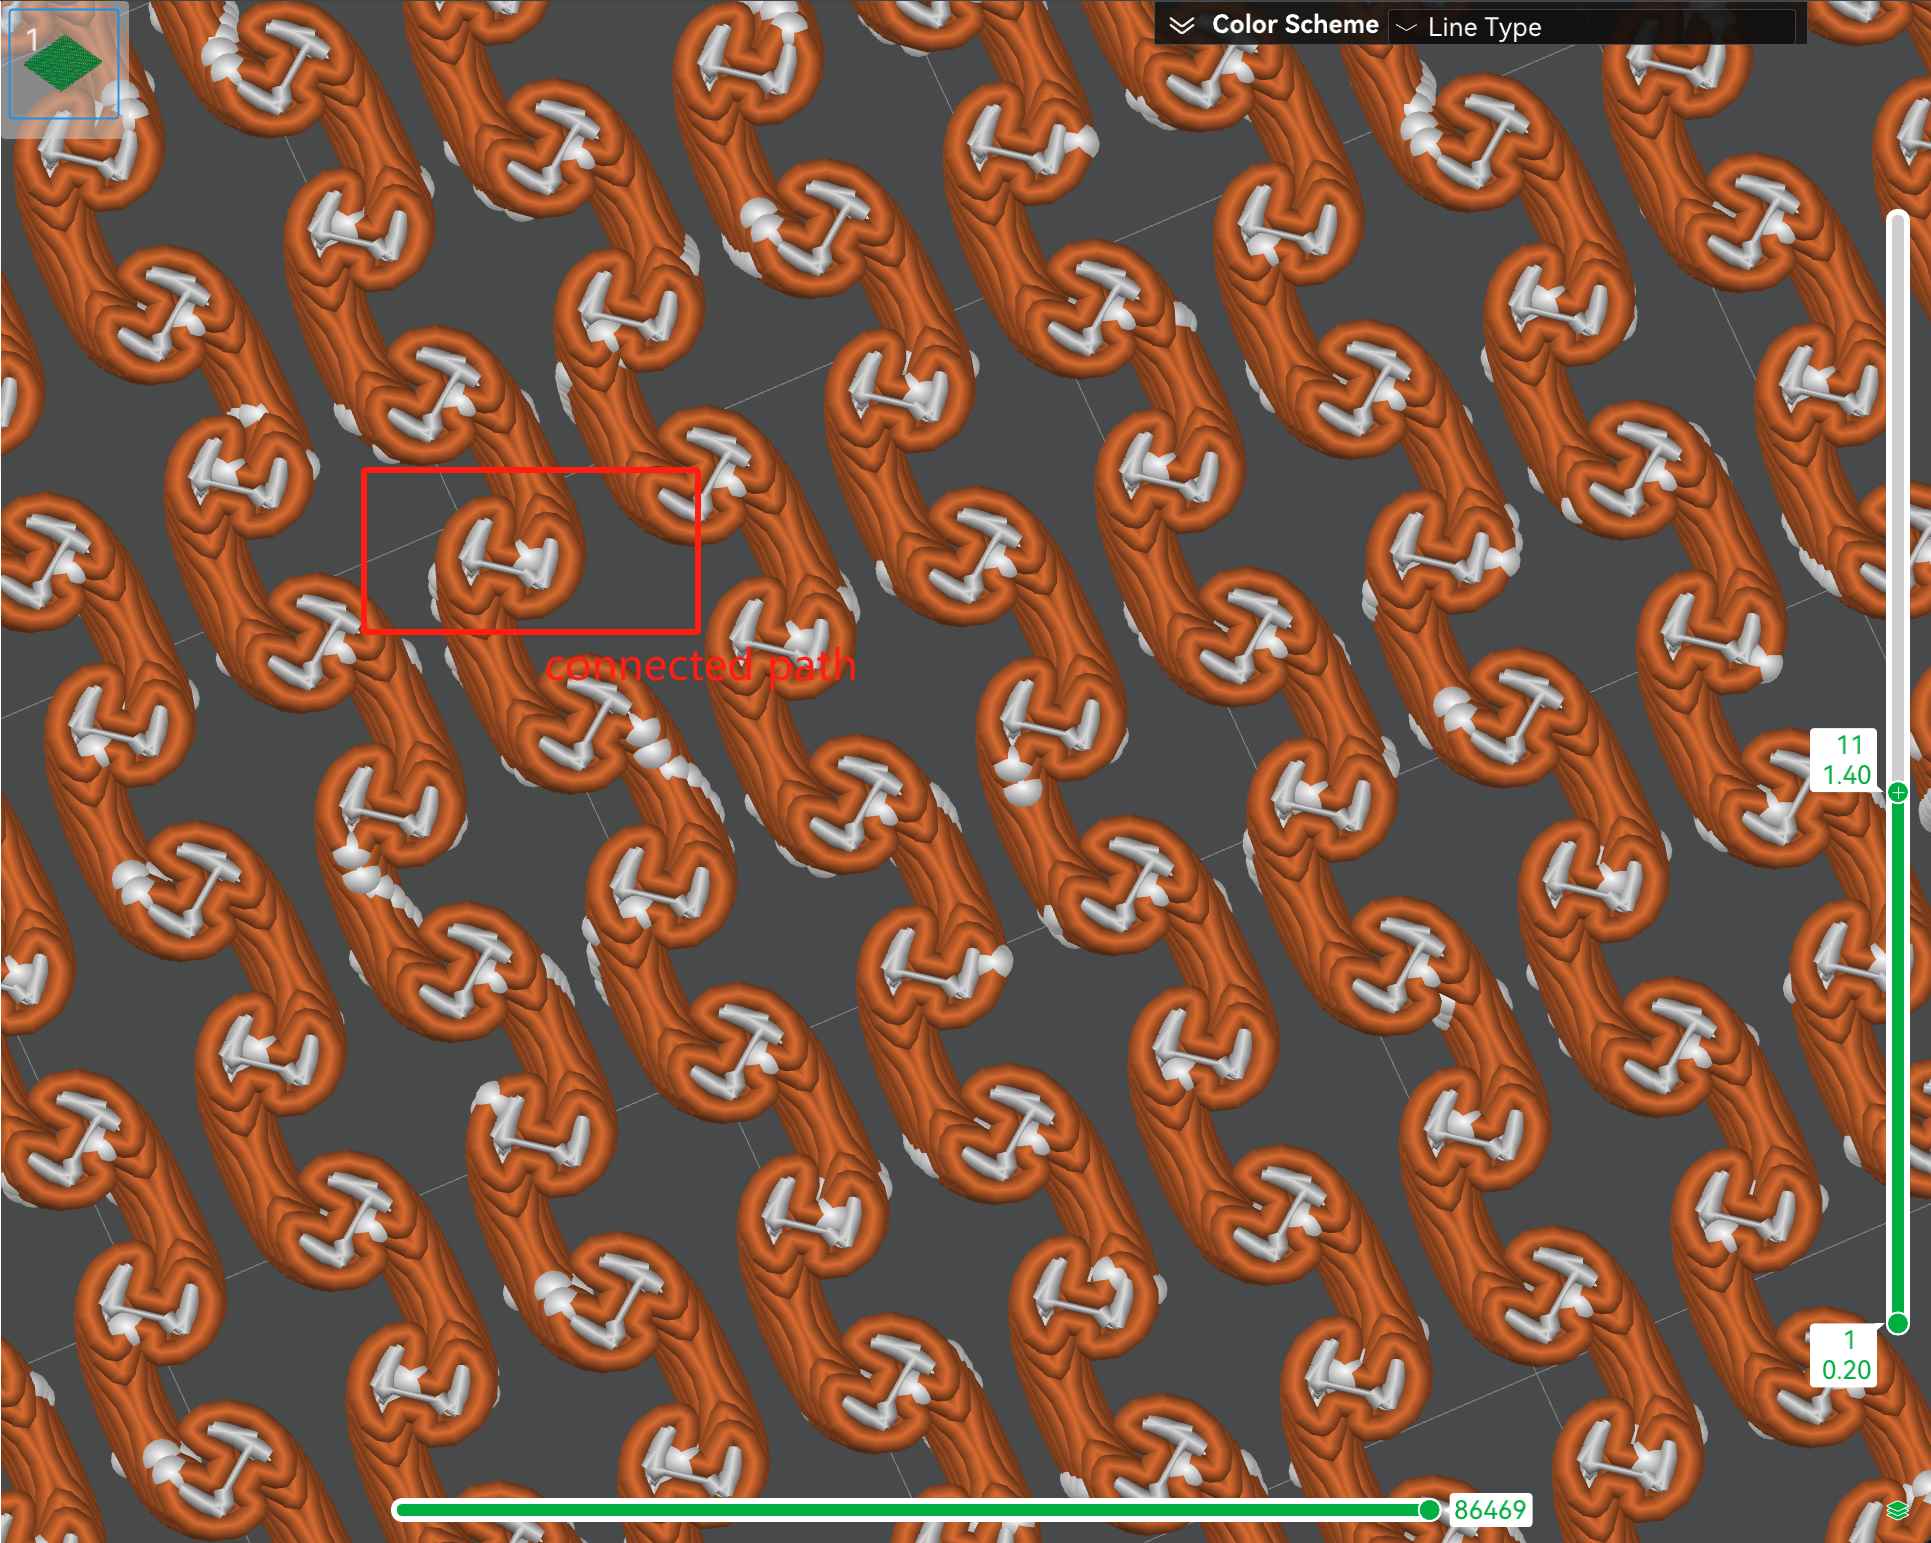
Also the paths in generated g-code might be connected together though in the 3D model they are seperated. And for this model, the g-code generation is super slow.
Lowered the speed hoping the chains can be printed.
More 3D printing spray.
The first few layers were fine.
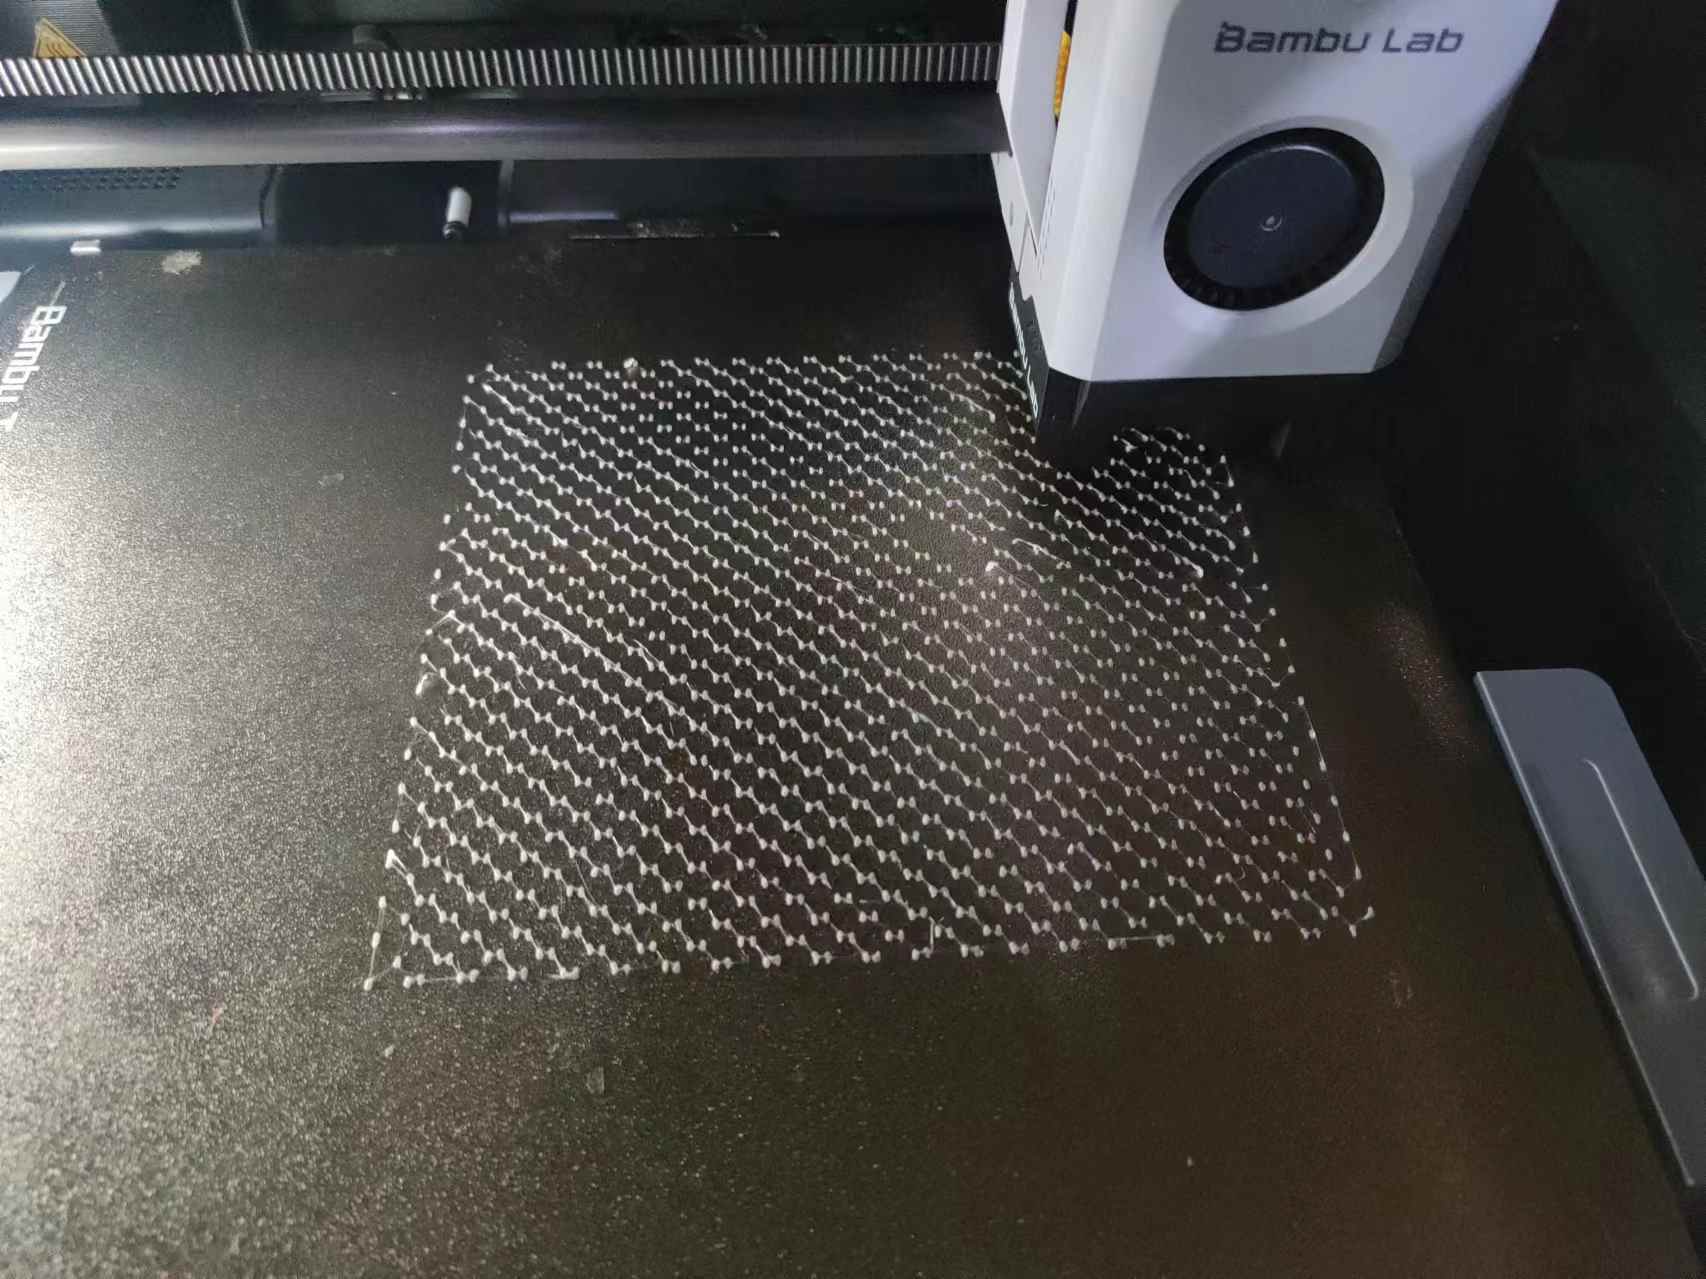
Later the chains still came off.

After failing for 6-7 times, the model still didn't stick to the plate, I decided that I need to change the design to have larger contact surface on the bottom of the model with the plate.
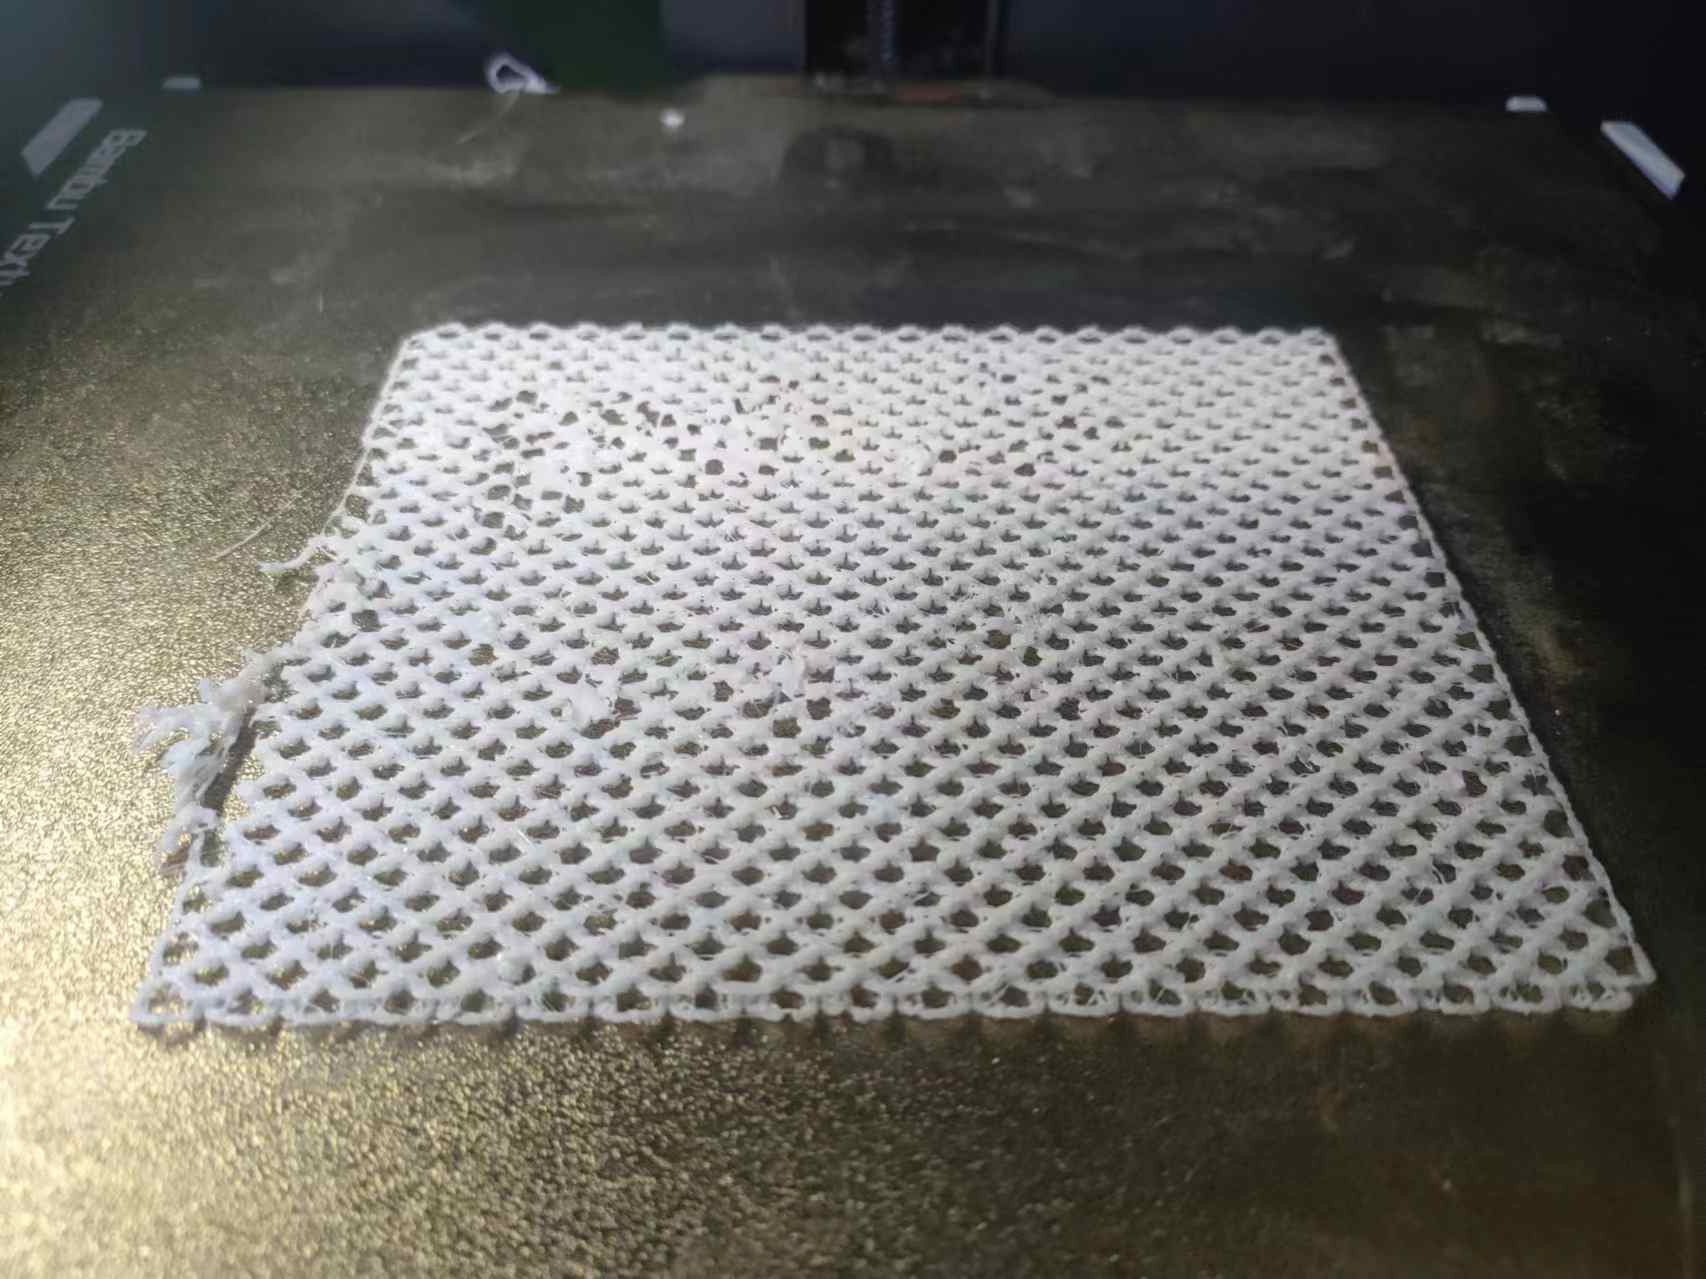
New design
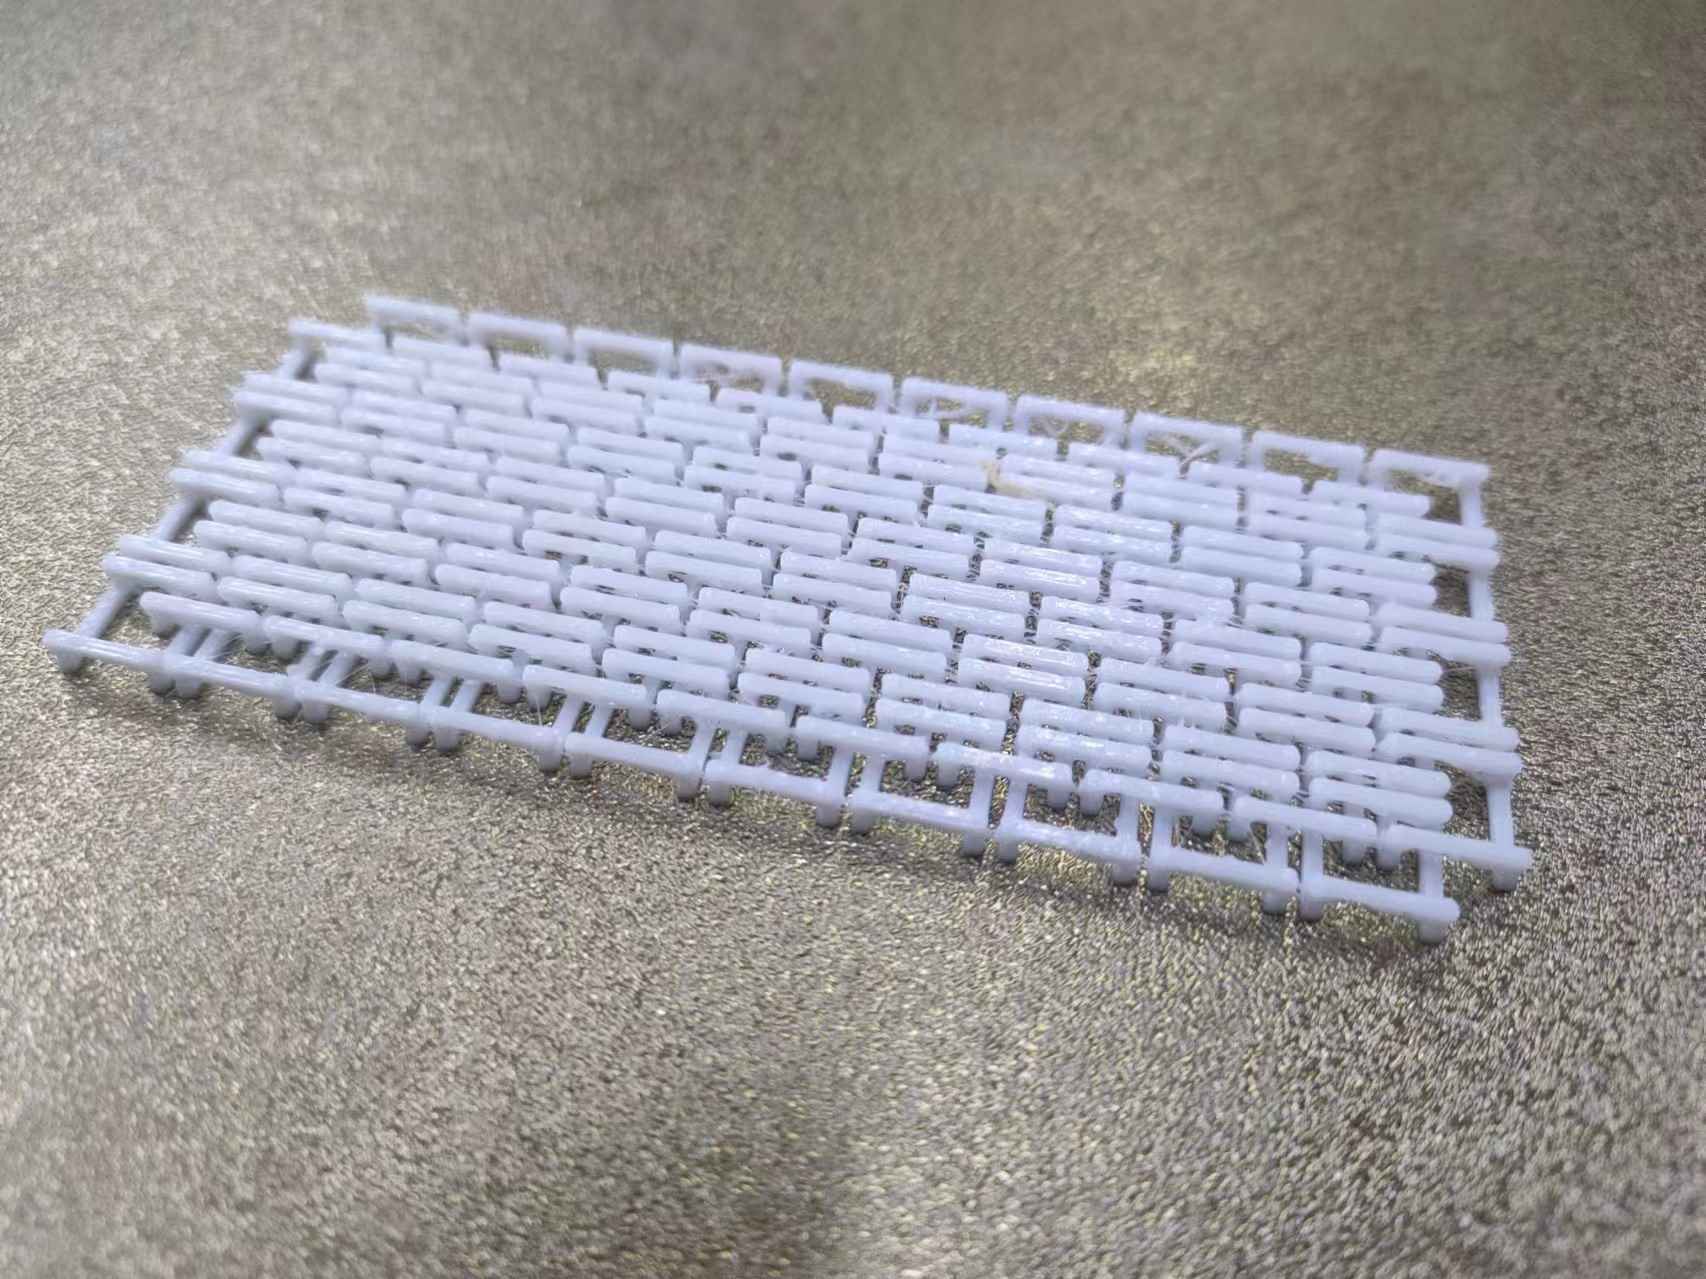
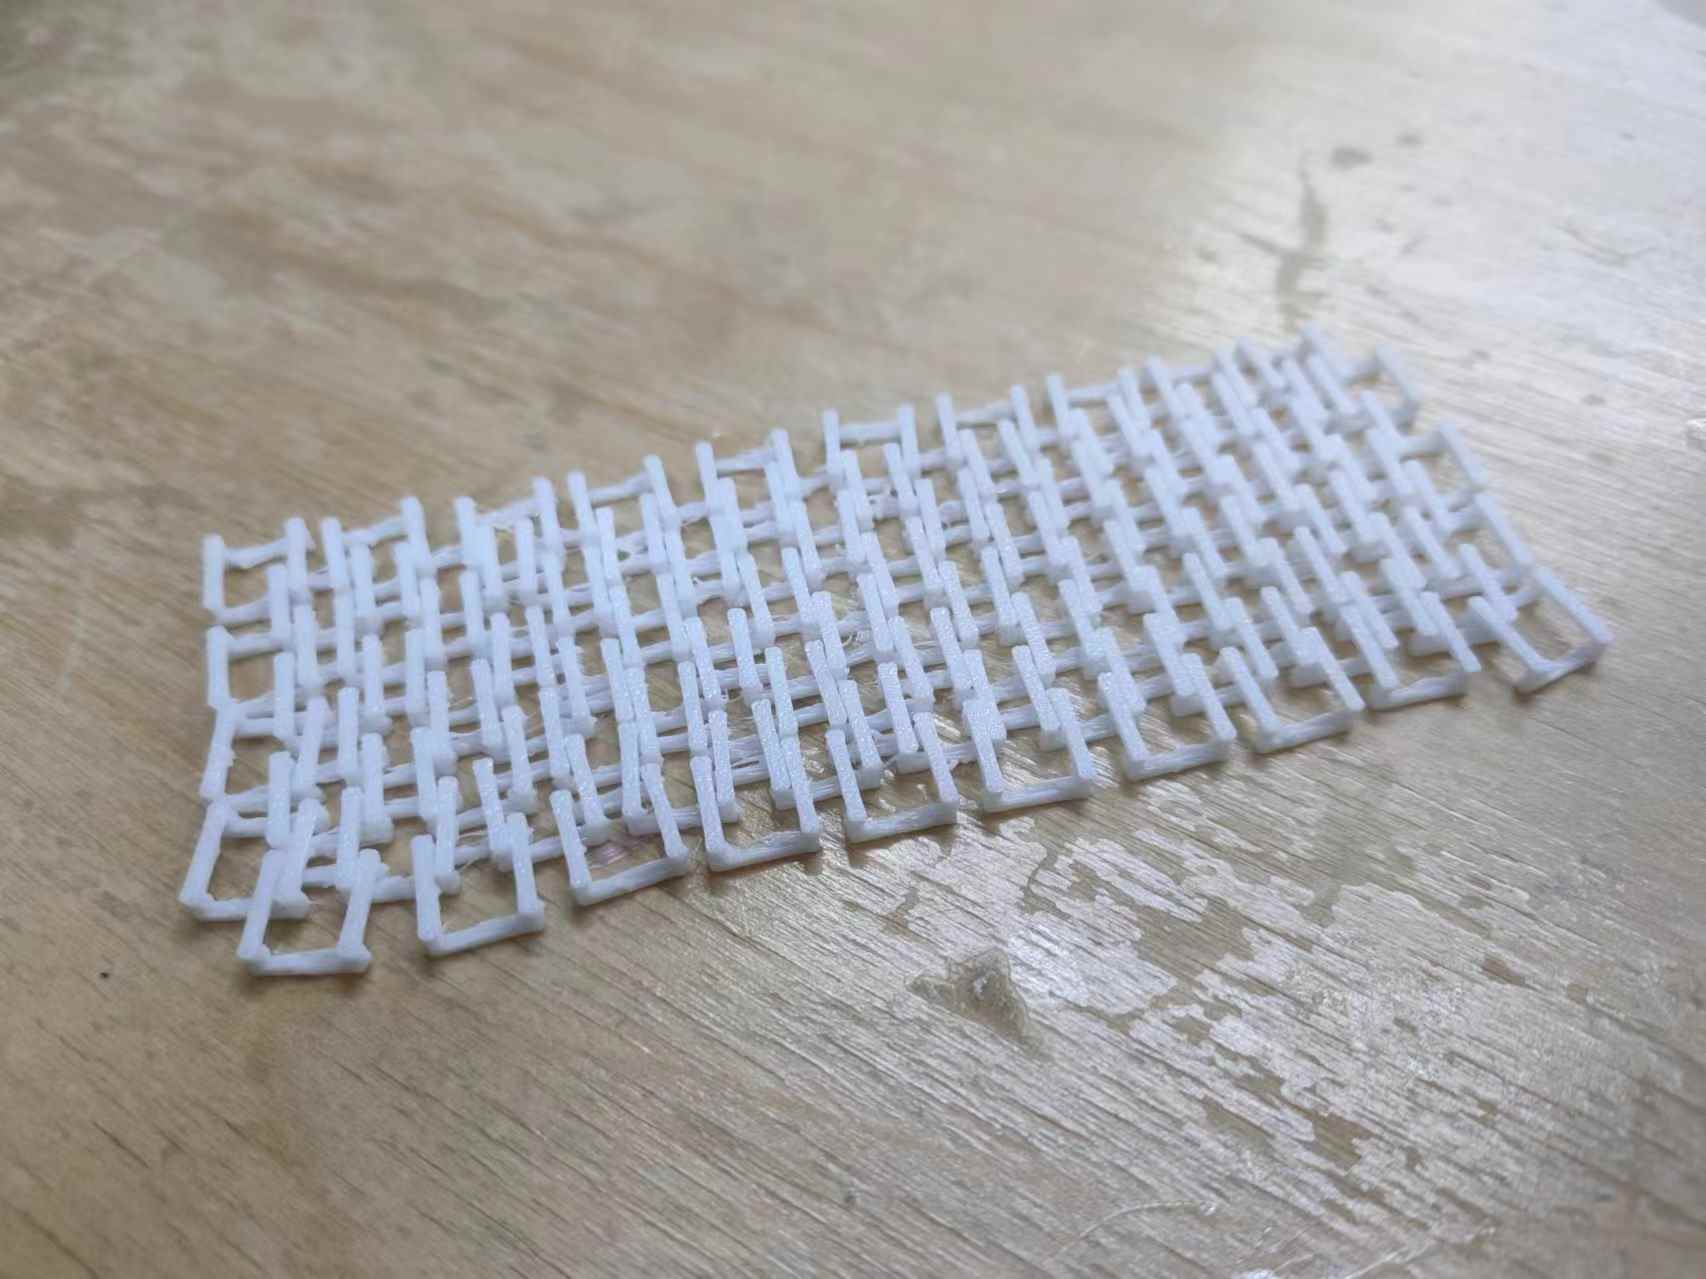
I went and changed the chain mail design to a squarly shape. The chain is simple a rectangle cube and subtracting it with two more cubes with boolean modifier.
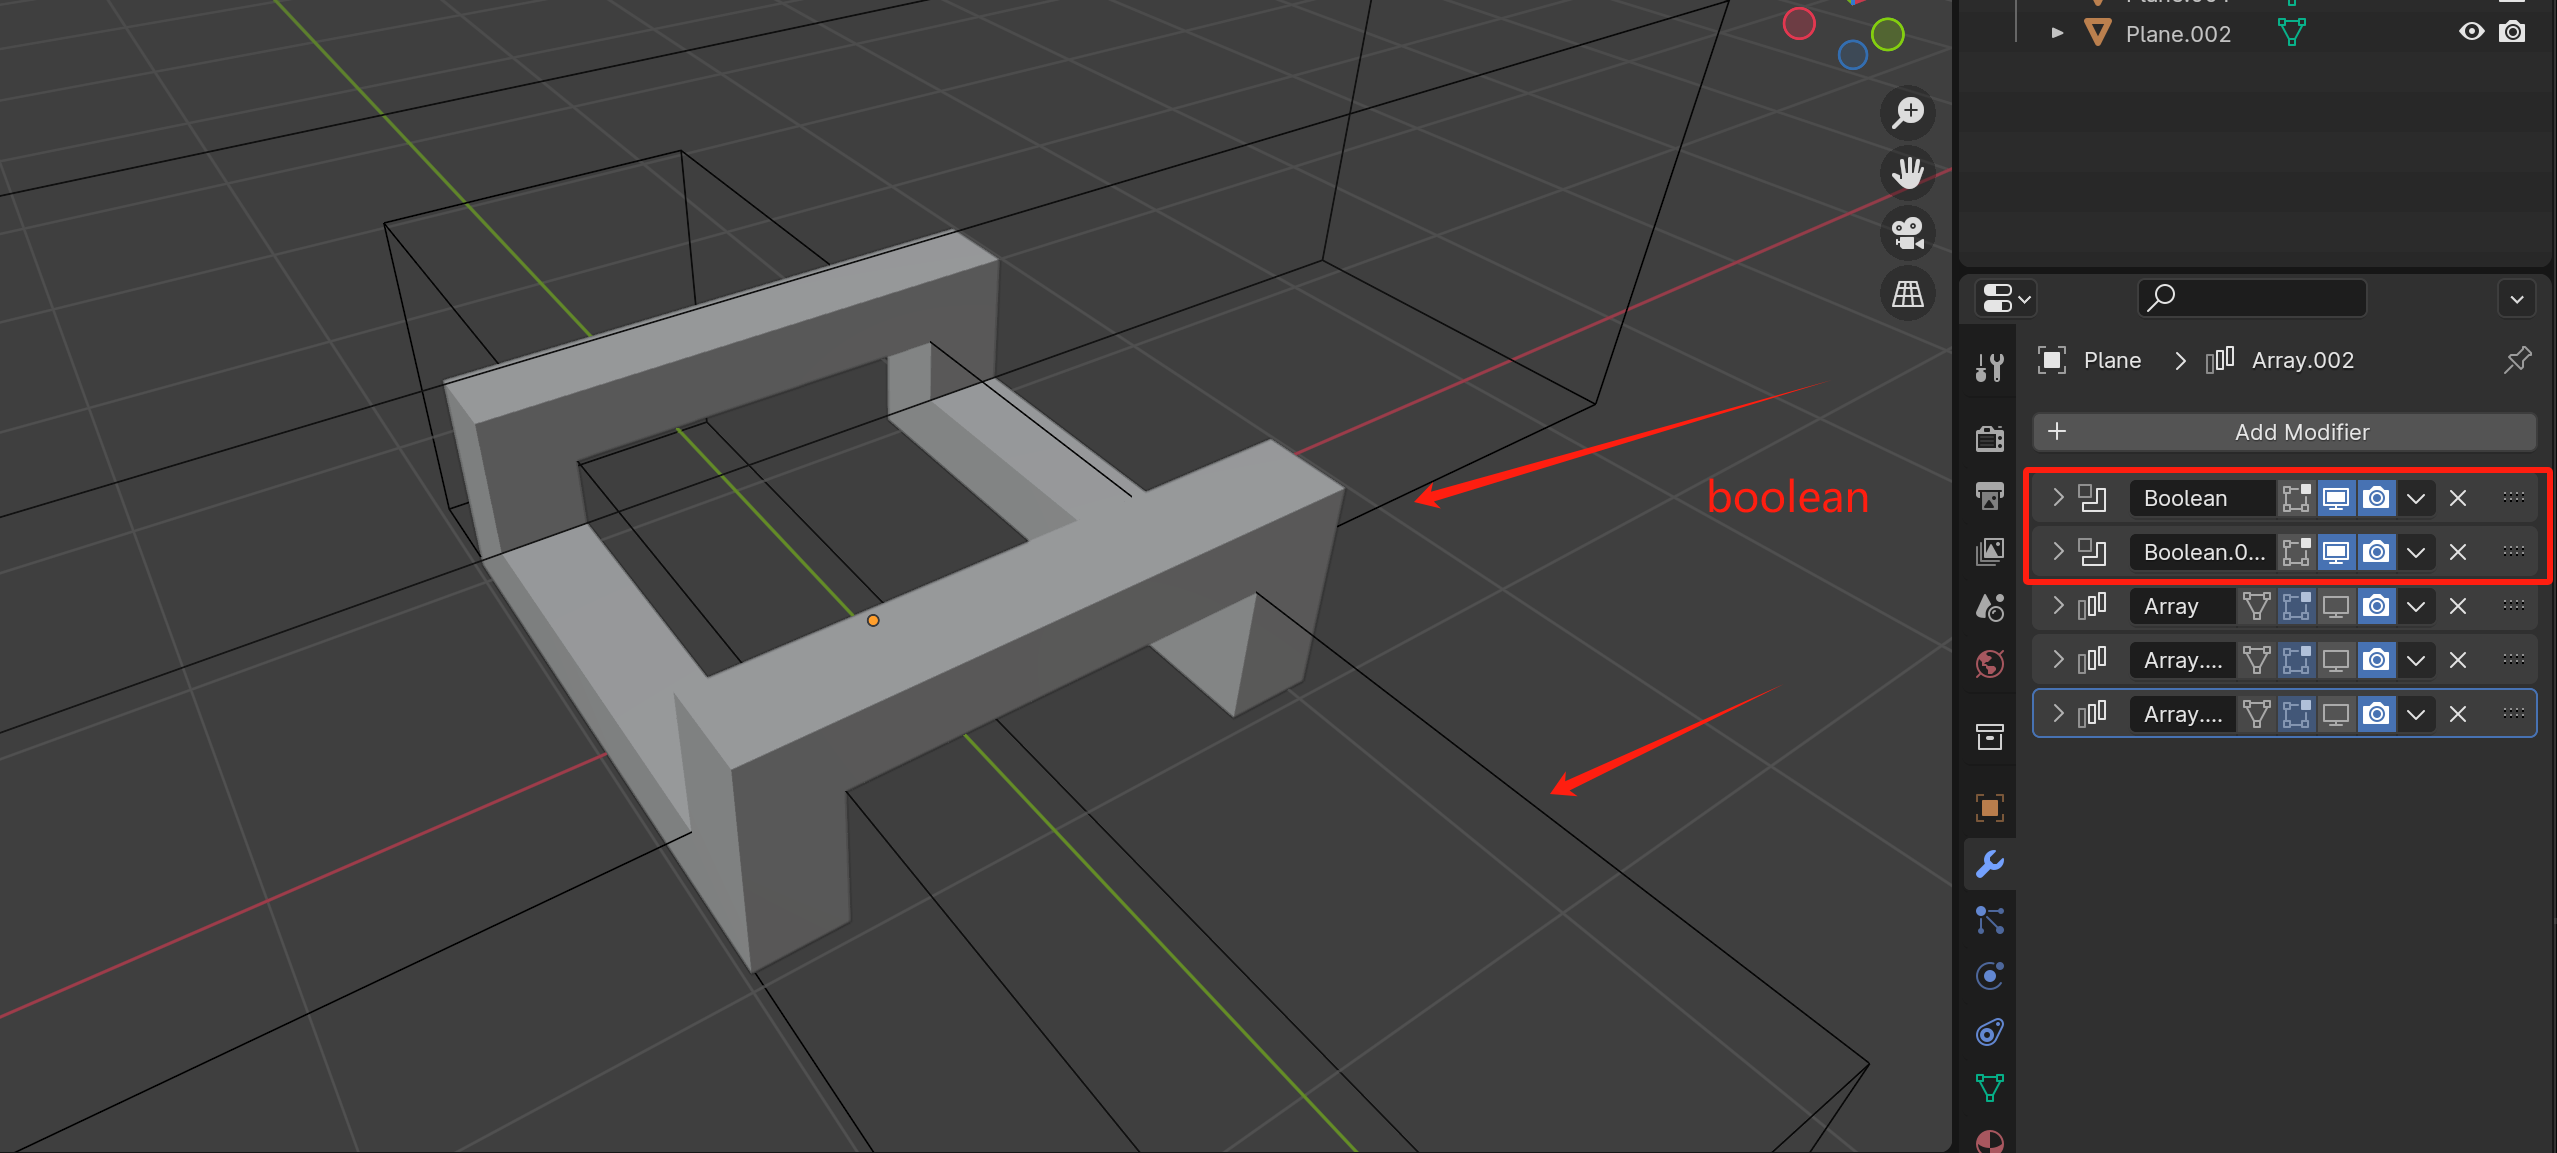
Then just generate the array with the same approach.
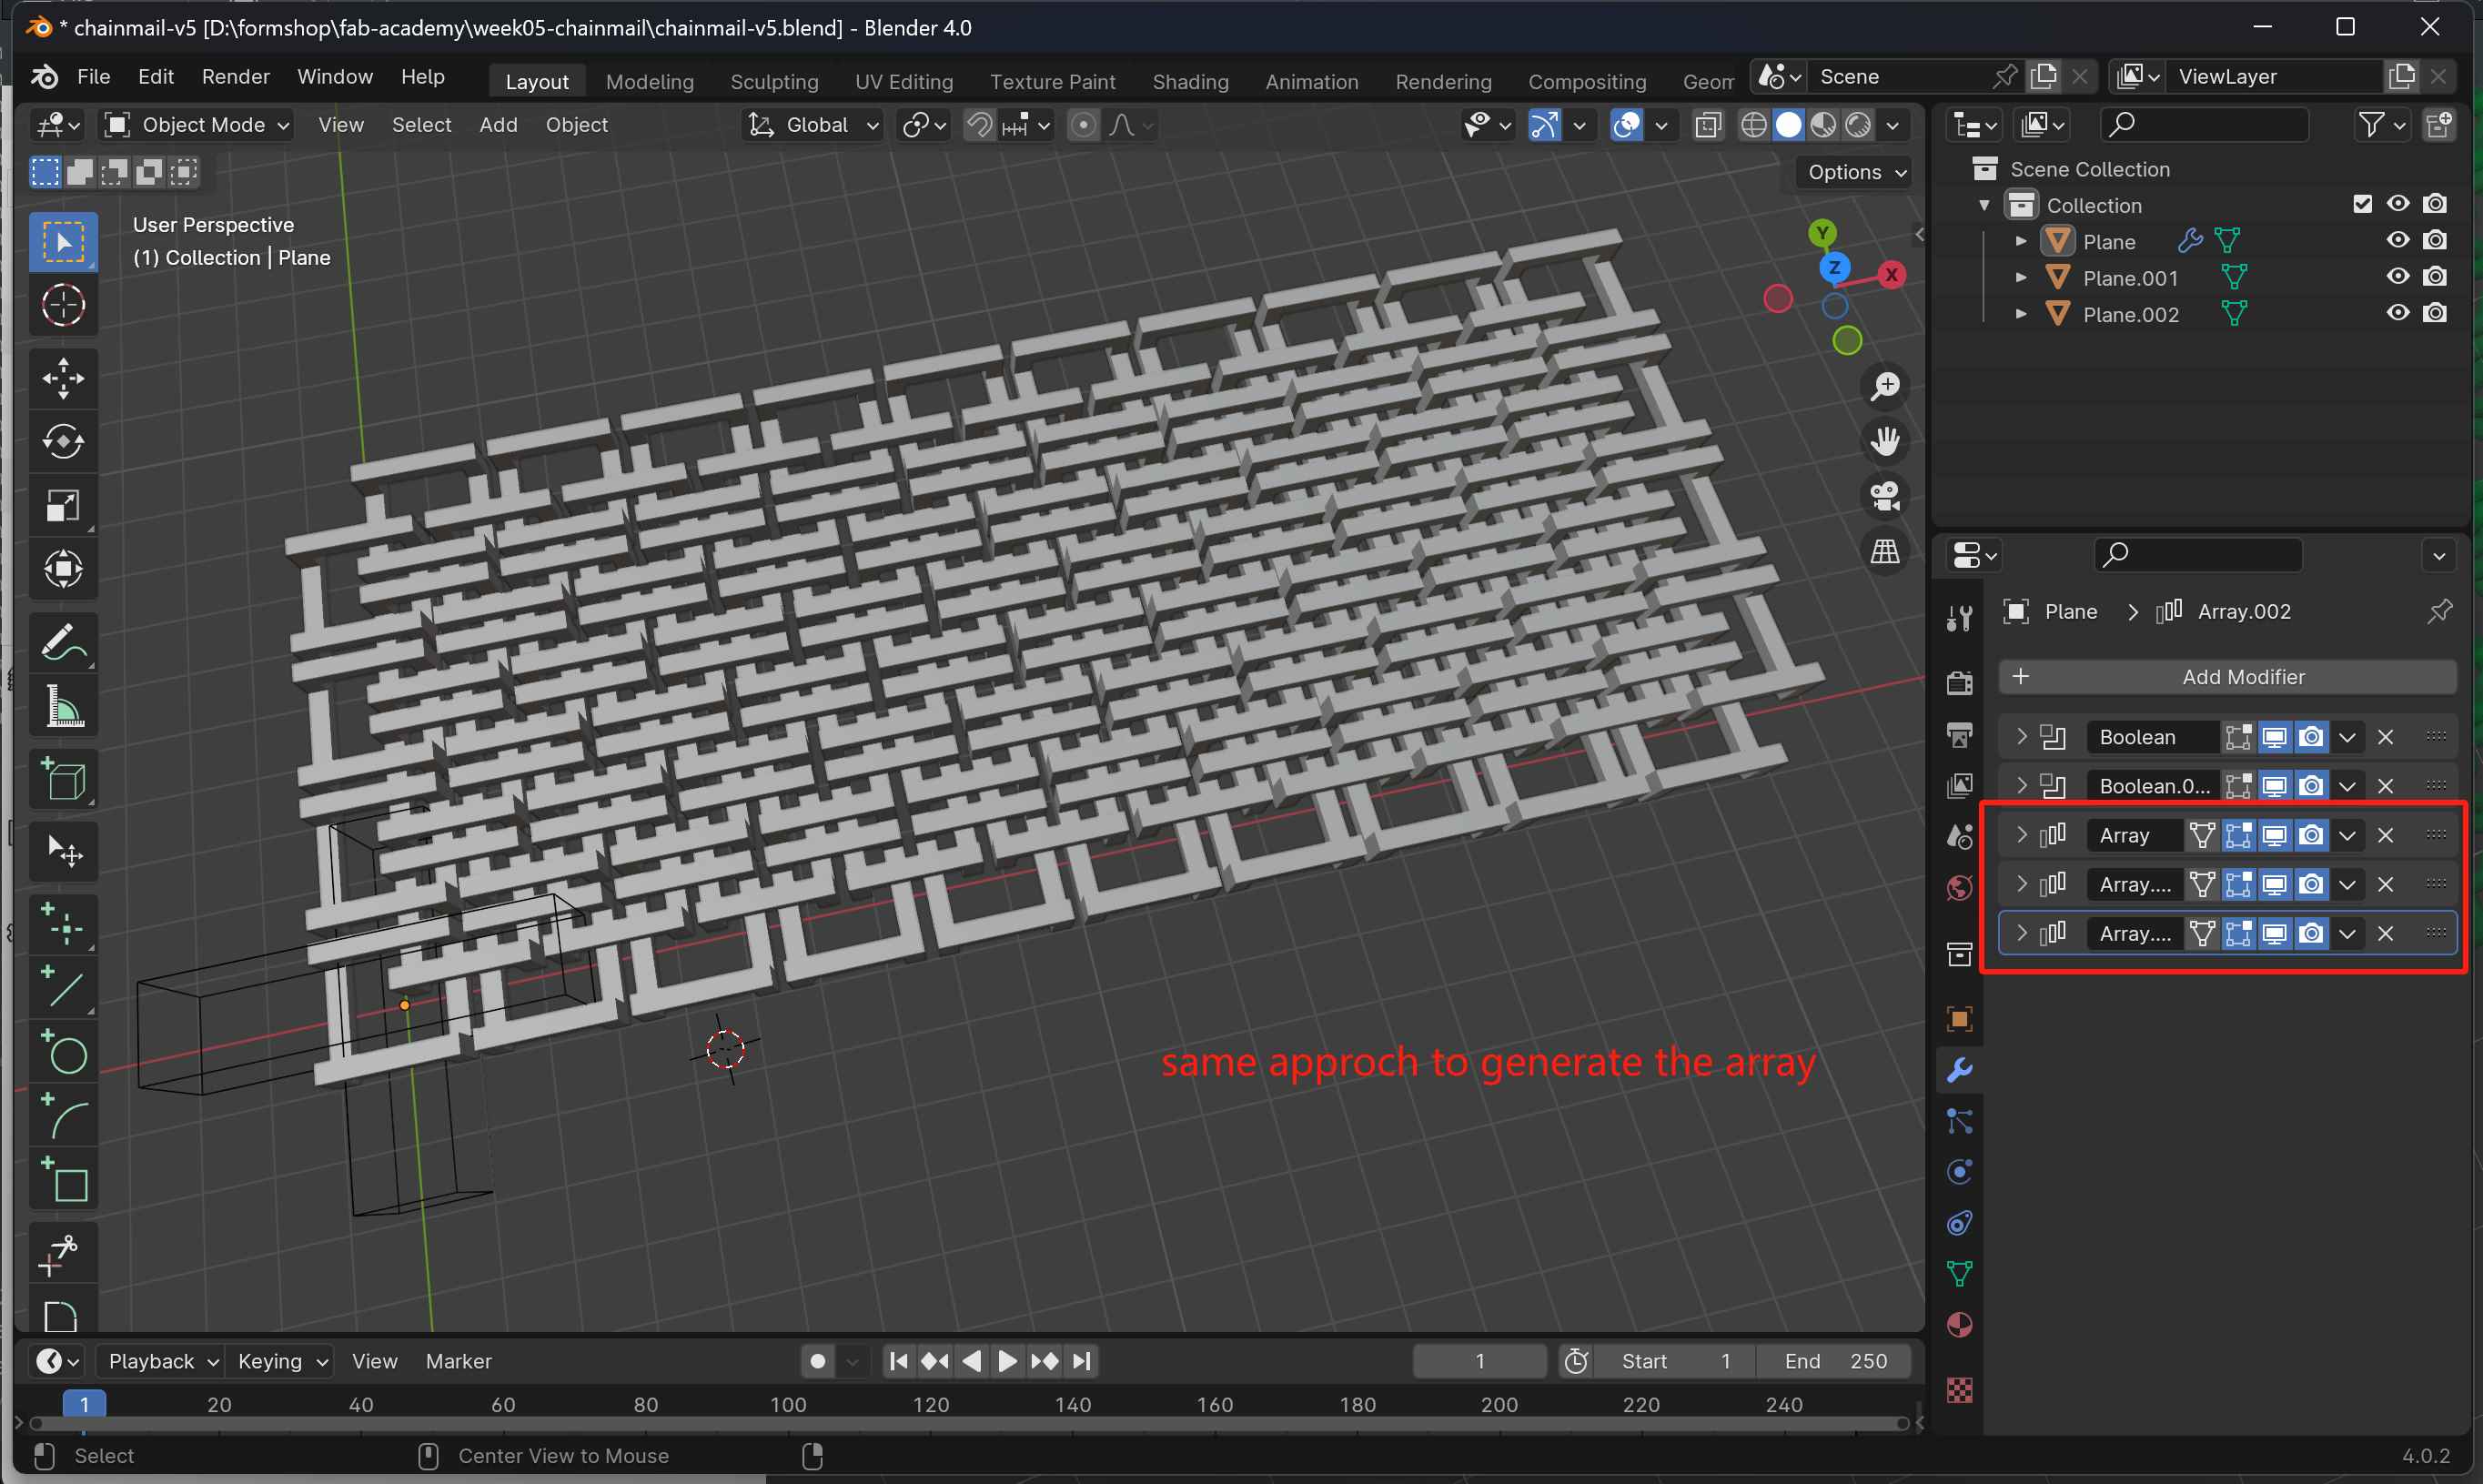
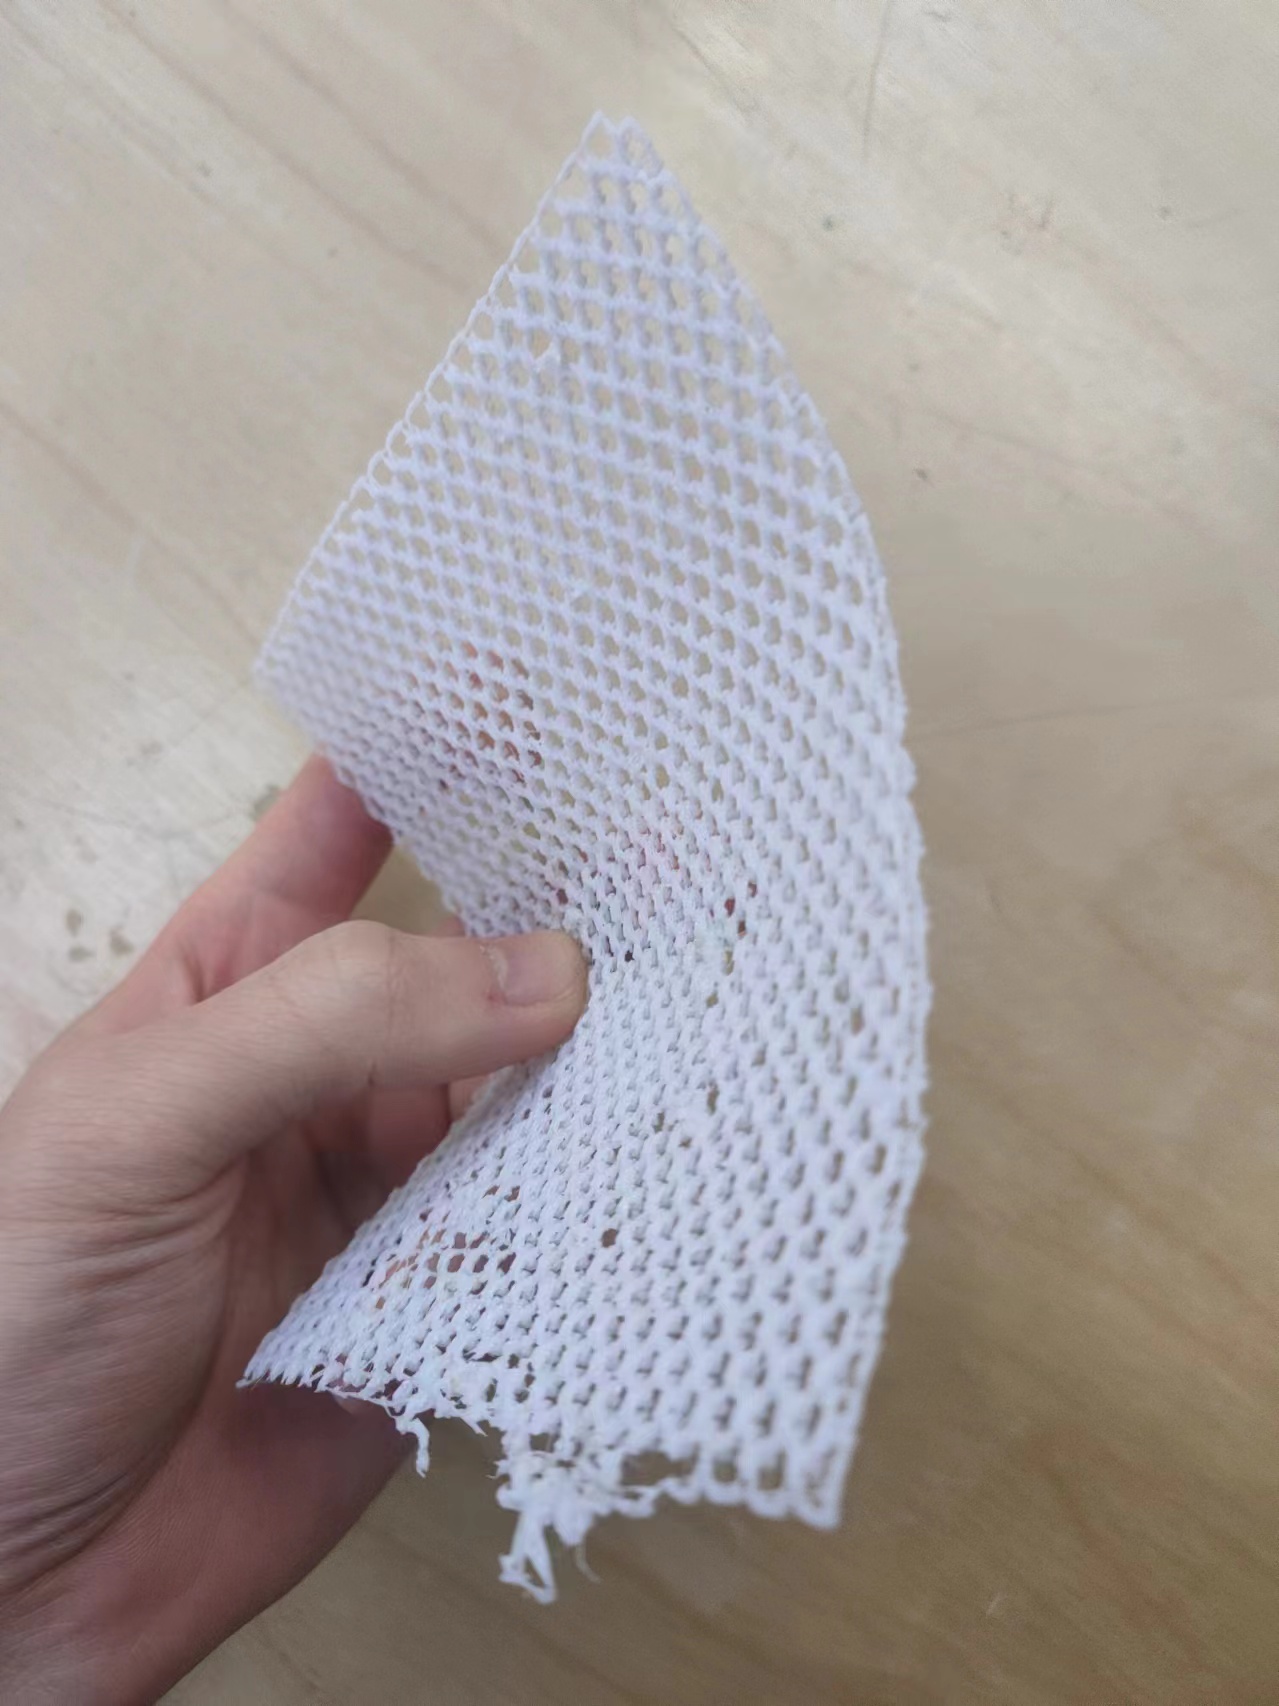
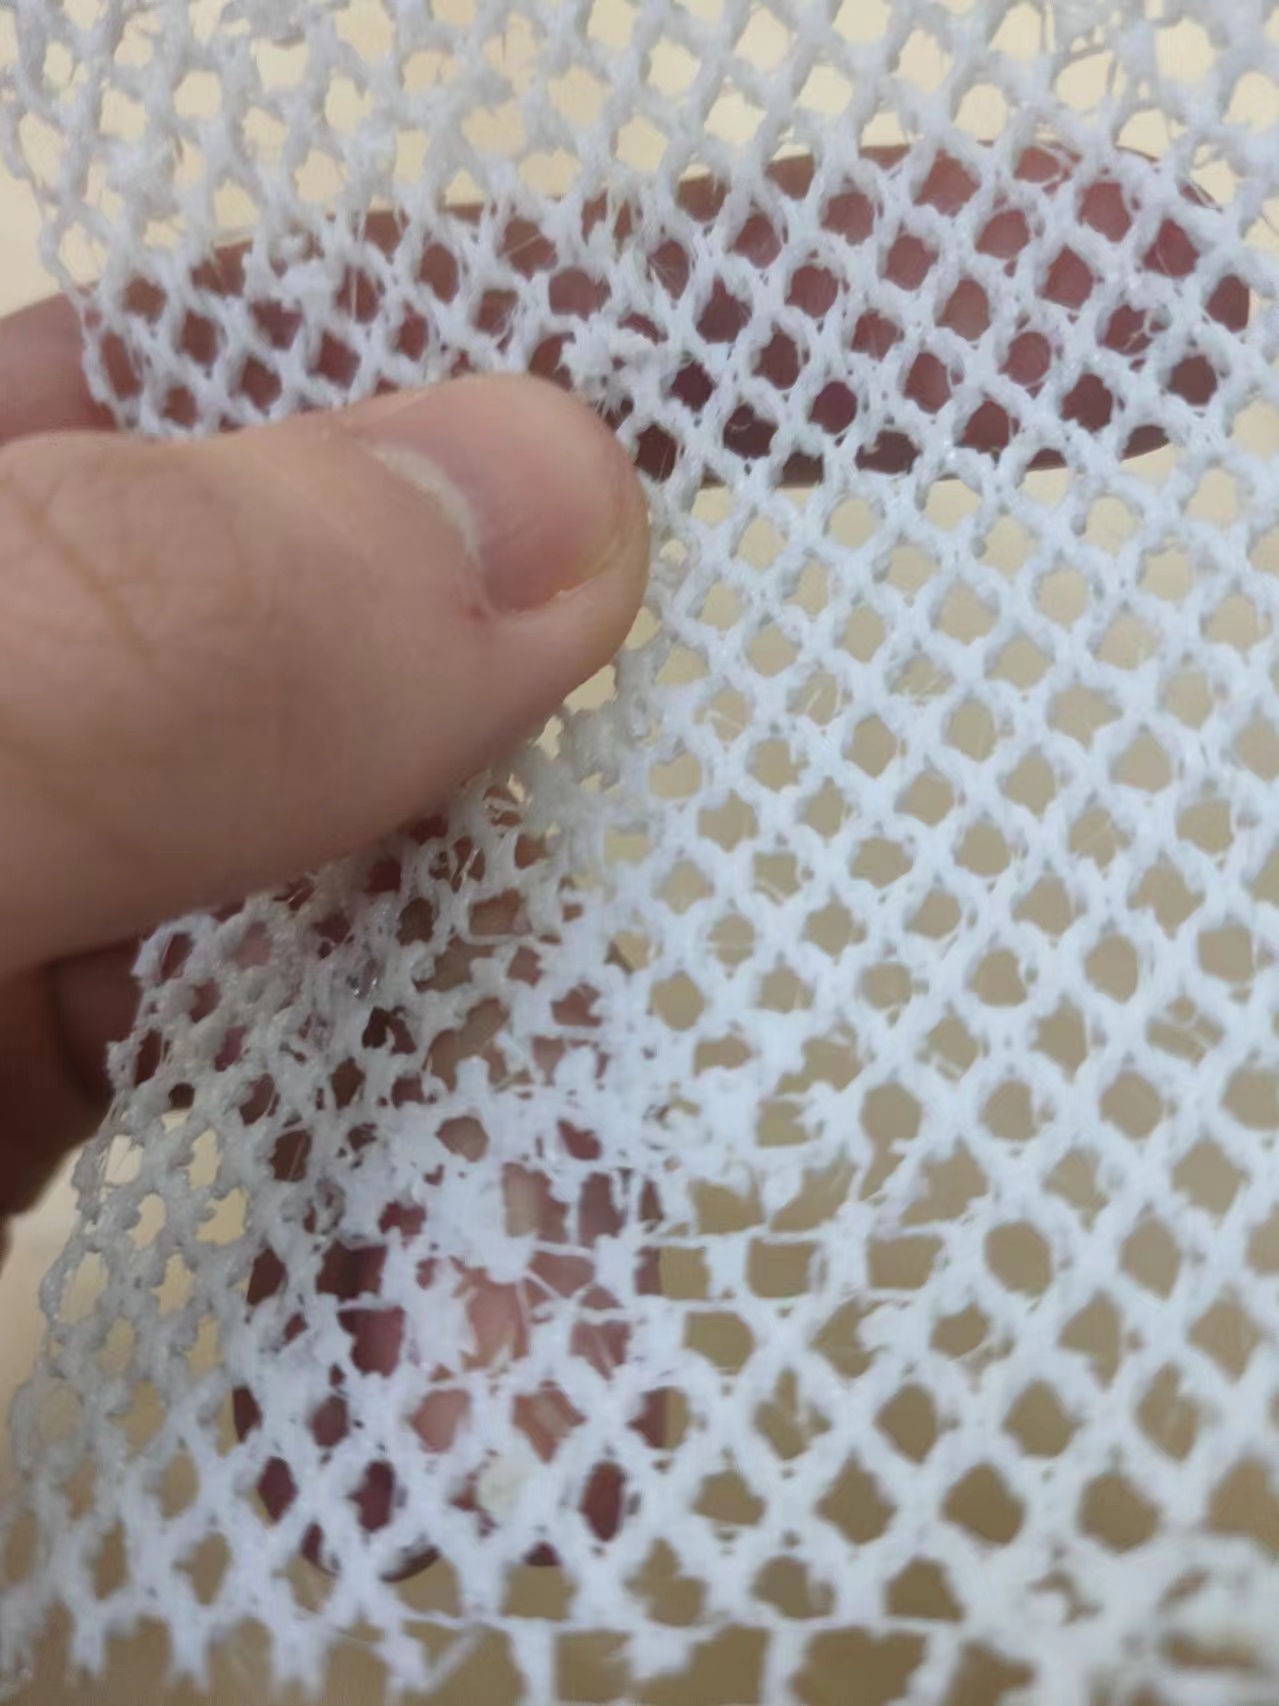
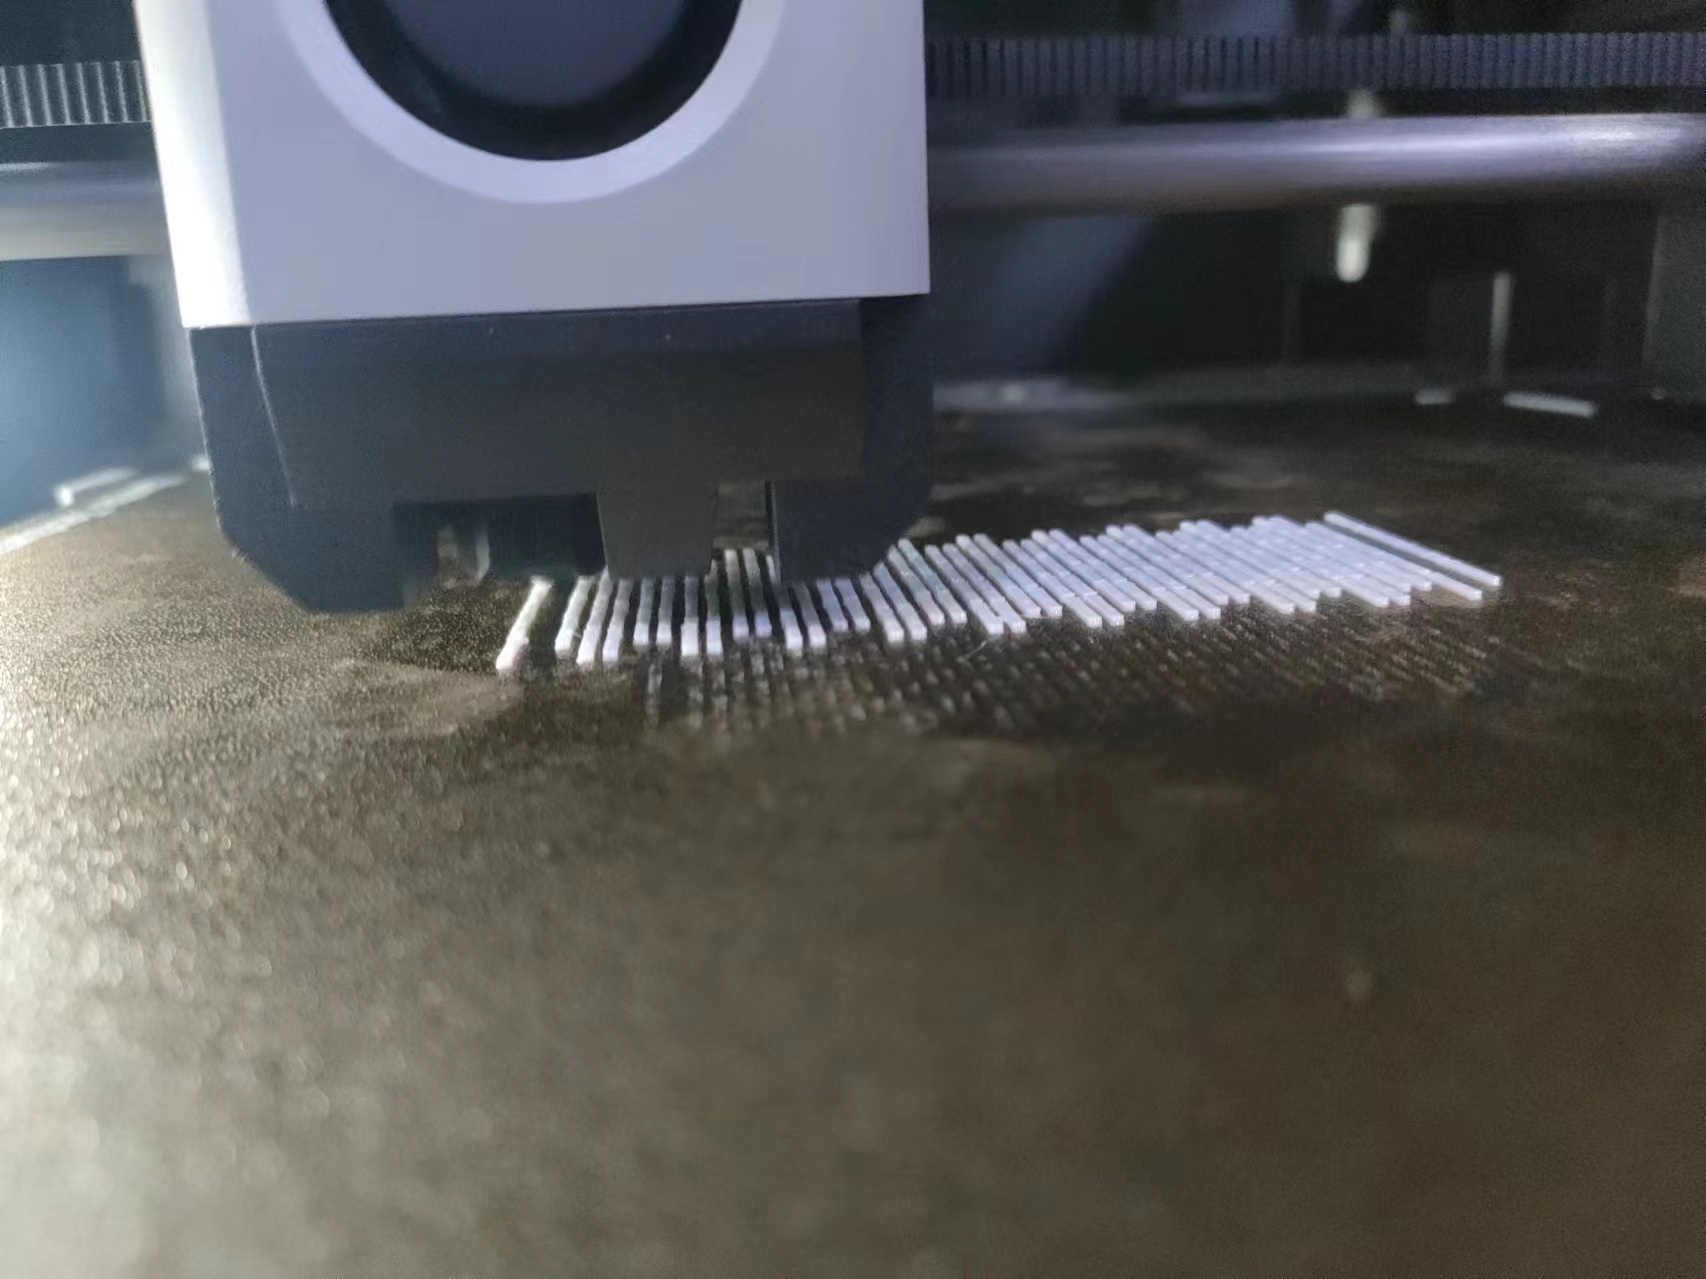
Finally with the new 3D model, the structure is successfully printed. And it can be folded like fabric very well just as I was expected.
3D Scan A Small Stuffed Toy
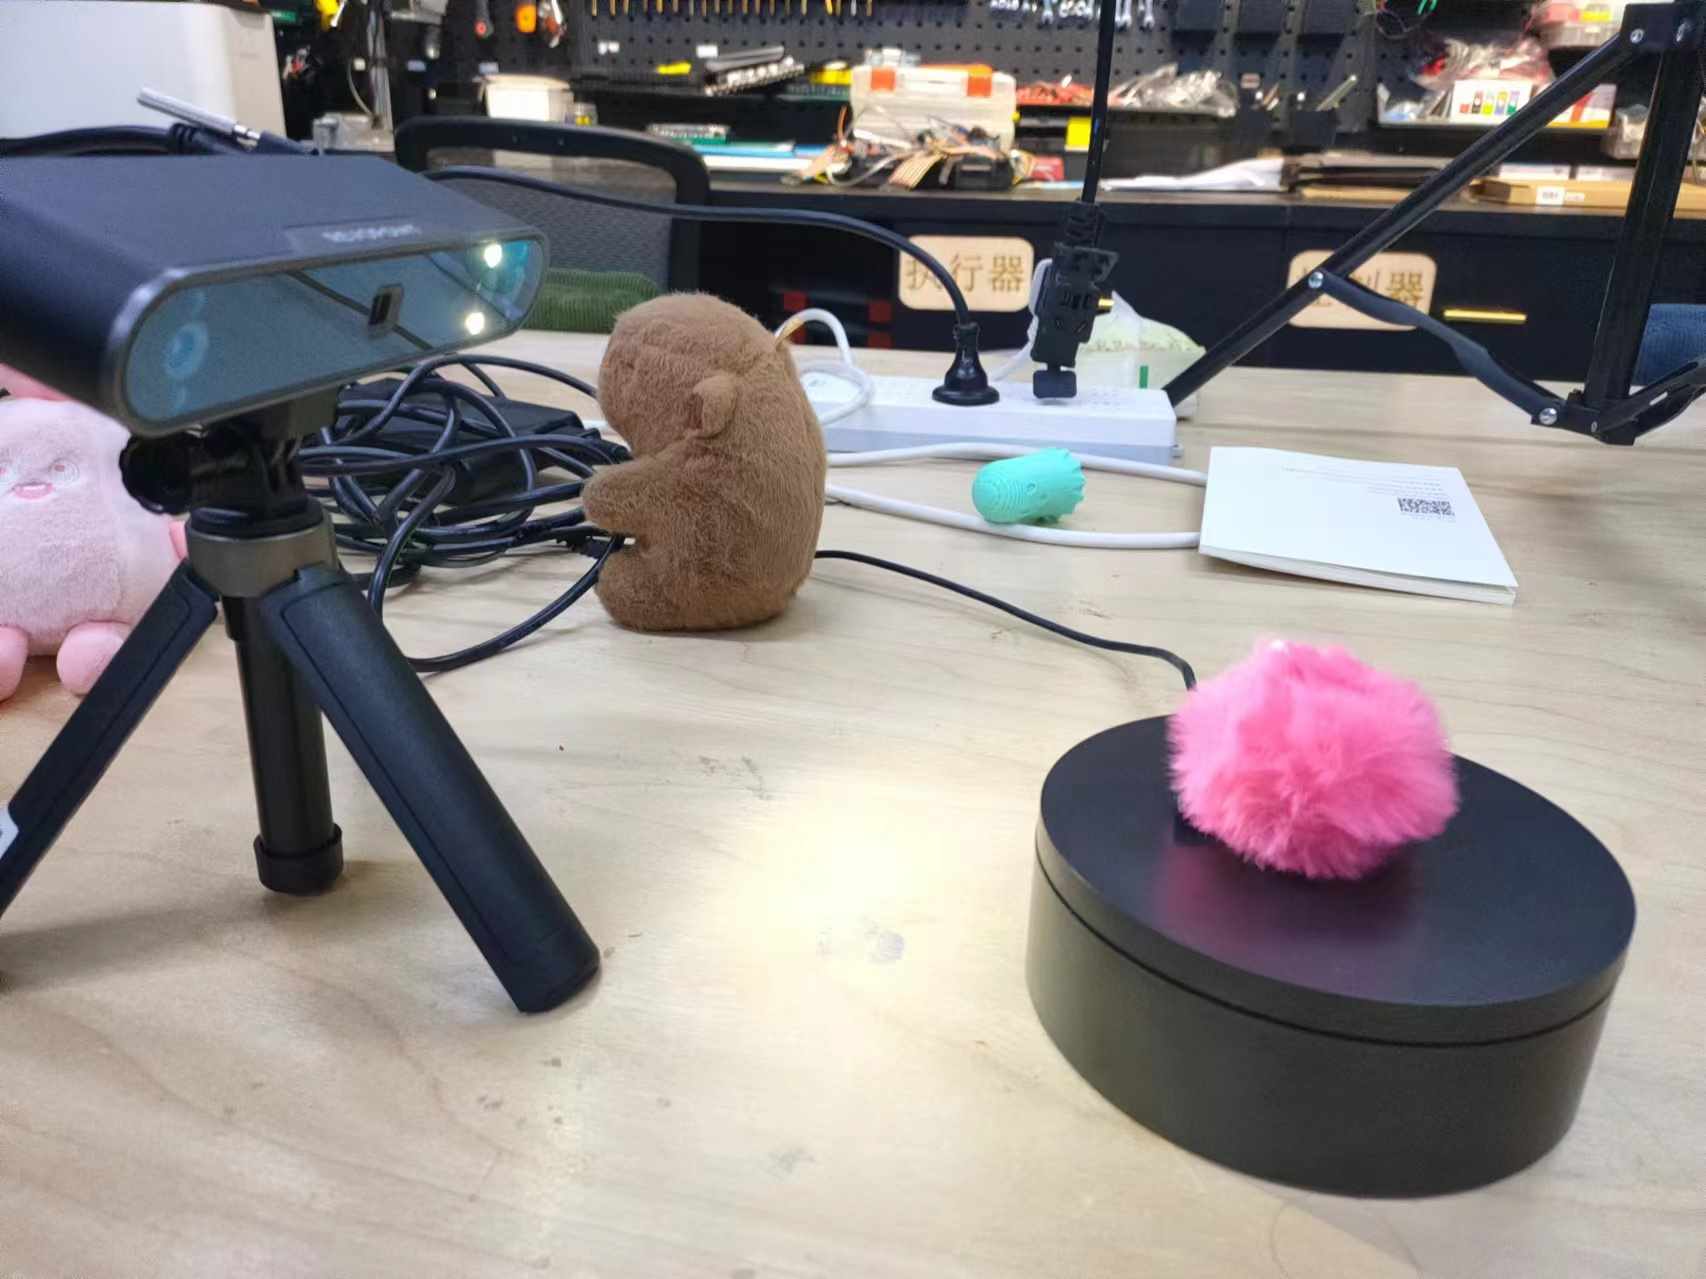
For 3D scanning, I used the 3D scanner we have - Revopoint POP3, and combined with the software - Revo Scan to do the scanning.
The usage of the scanner and the software is rather simple, first connect the device and launch the program, it requires a quick celebration for the device and can then just start scanning.
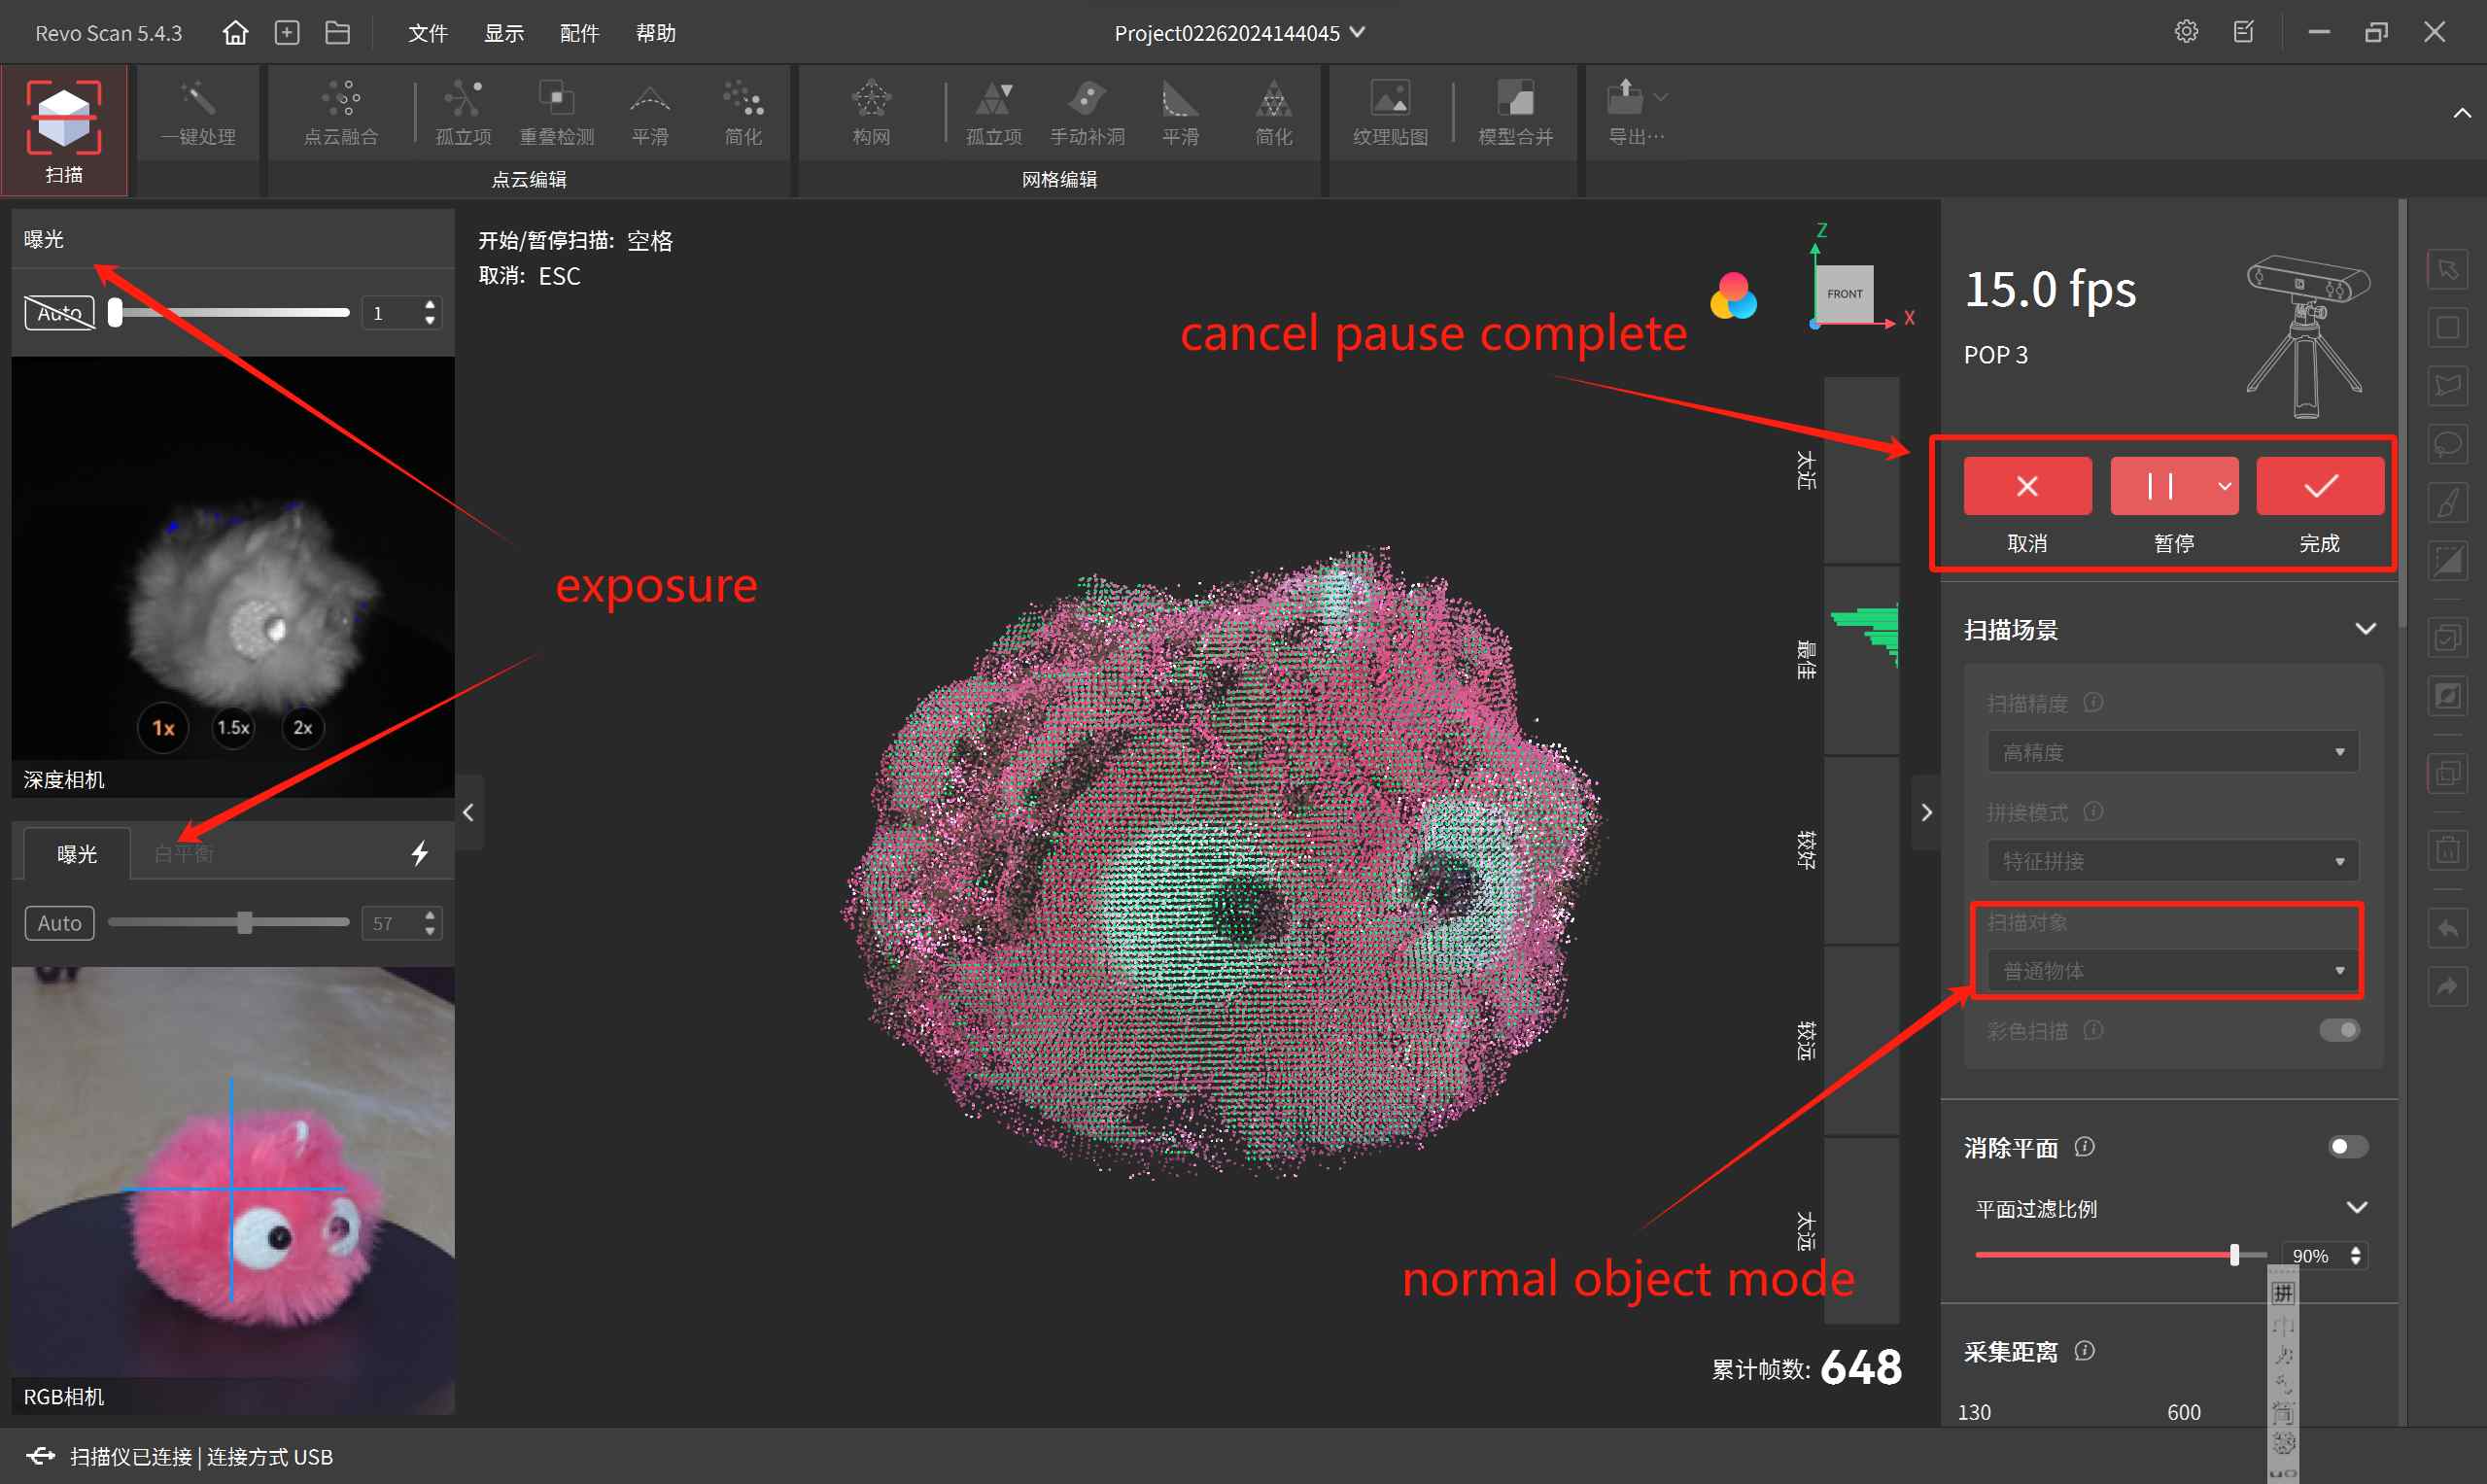
I decided to scan a cute little stuffed toy, just put it on the spinning table that comes with the scanner and arrange setup the scene for the depth camera and hit Scan in the software.
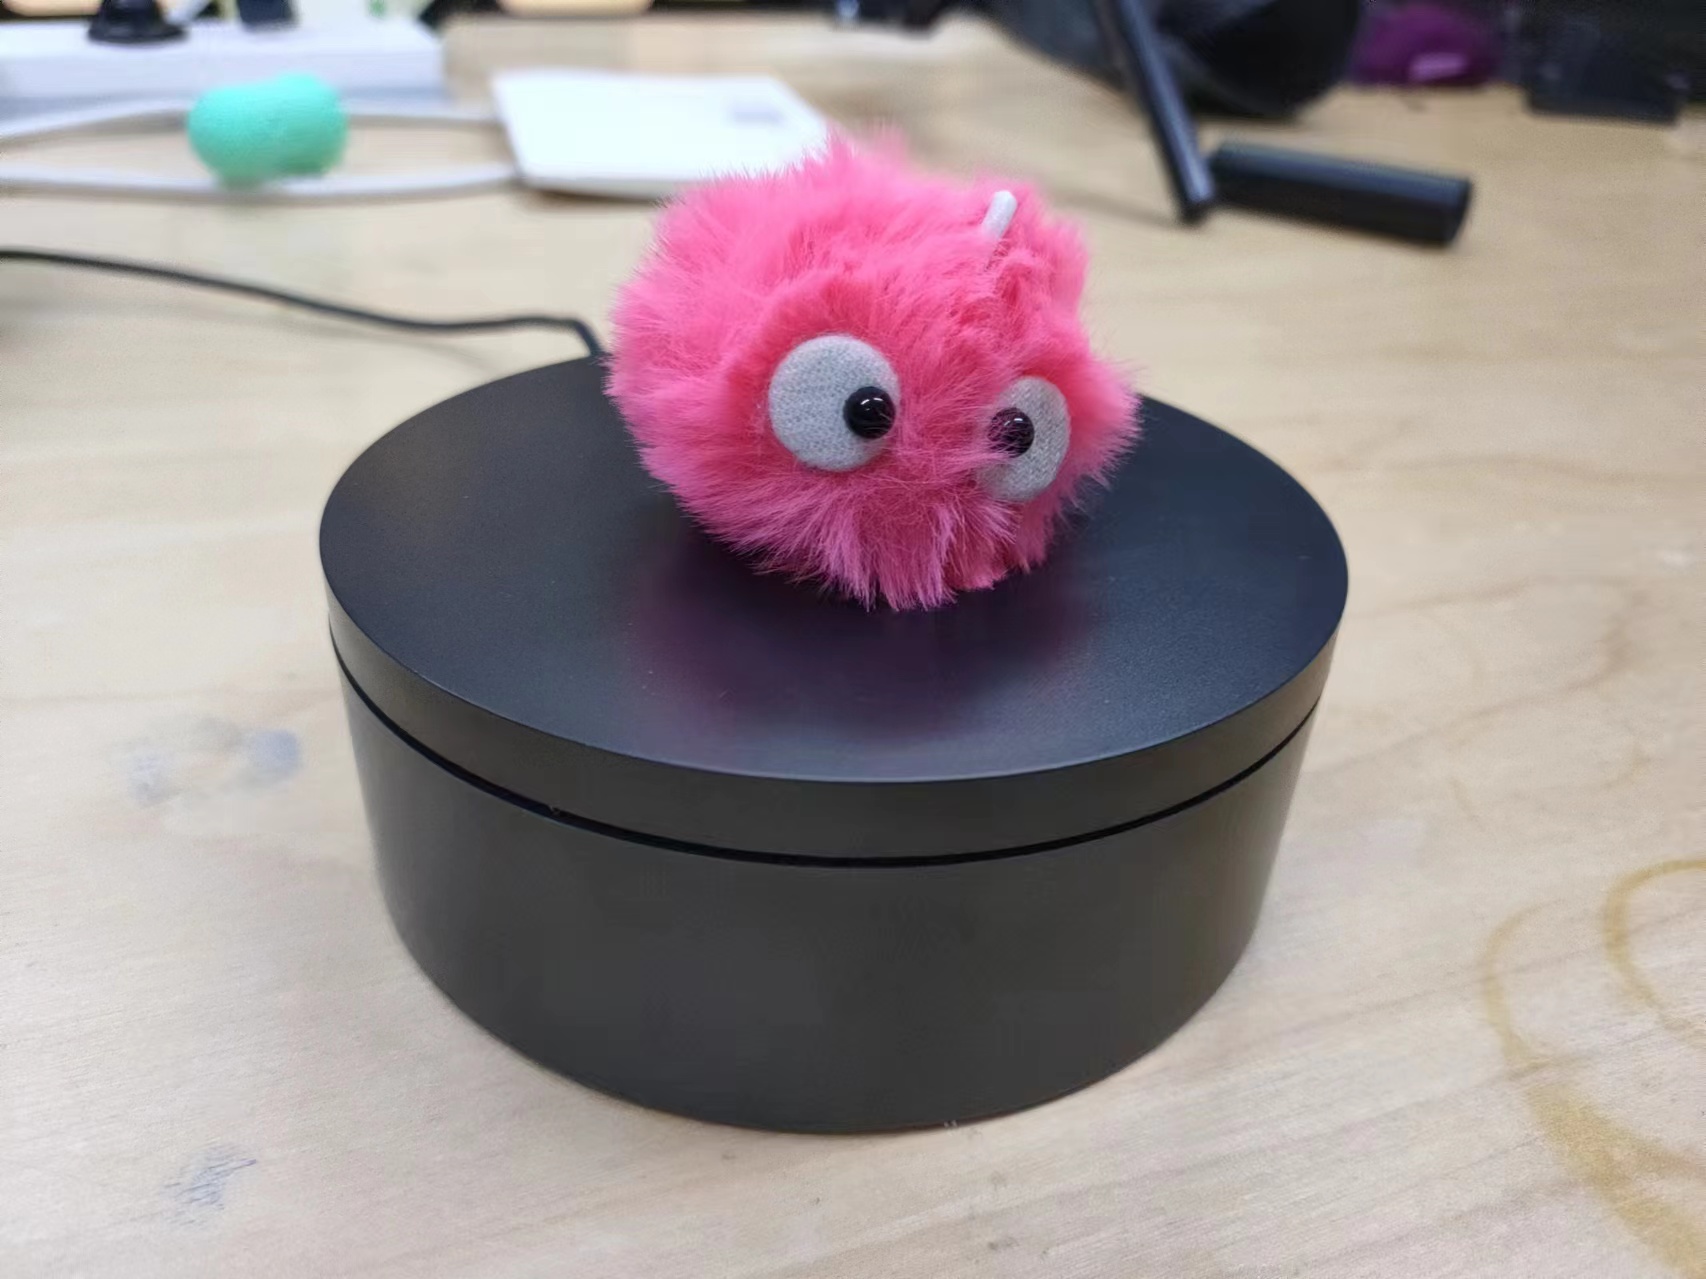
Adjust the exposure and scan quality a little bit then wait for the scan to finish.
Then do the post processing with the software, it has One Click Processing to work with the point cloud data, then use the Manual Fill Hole tool to fill the additional holes on the model.
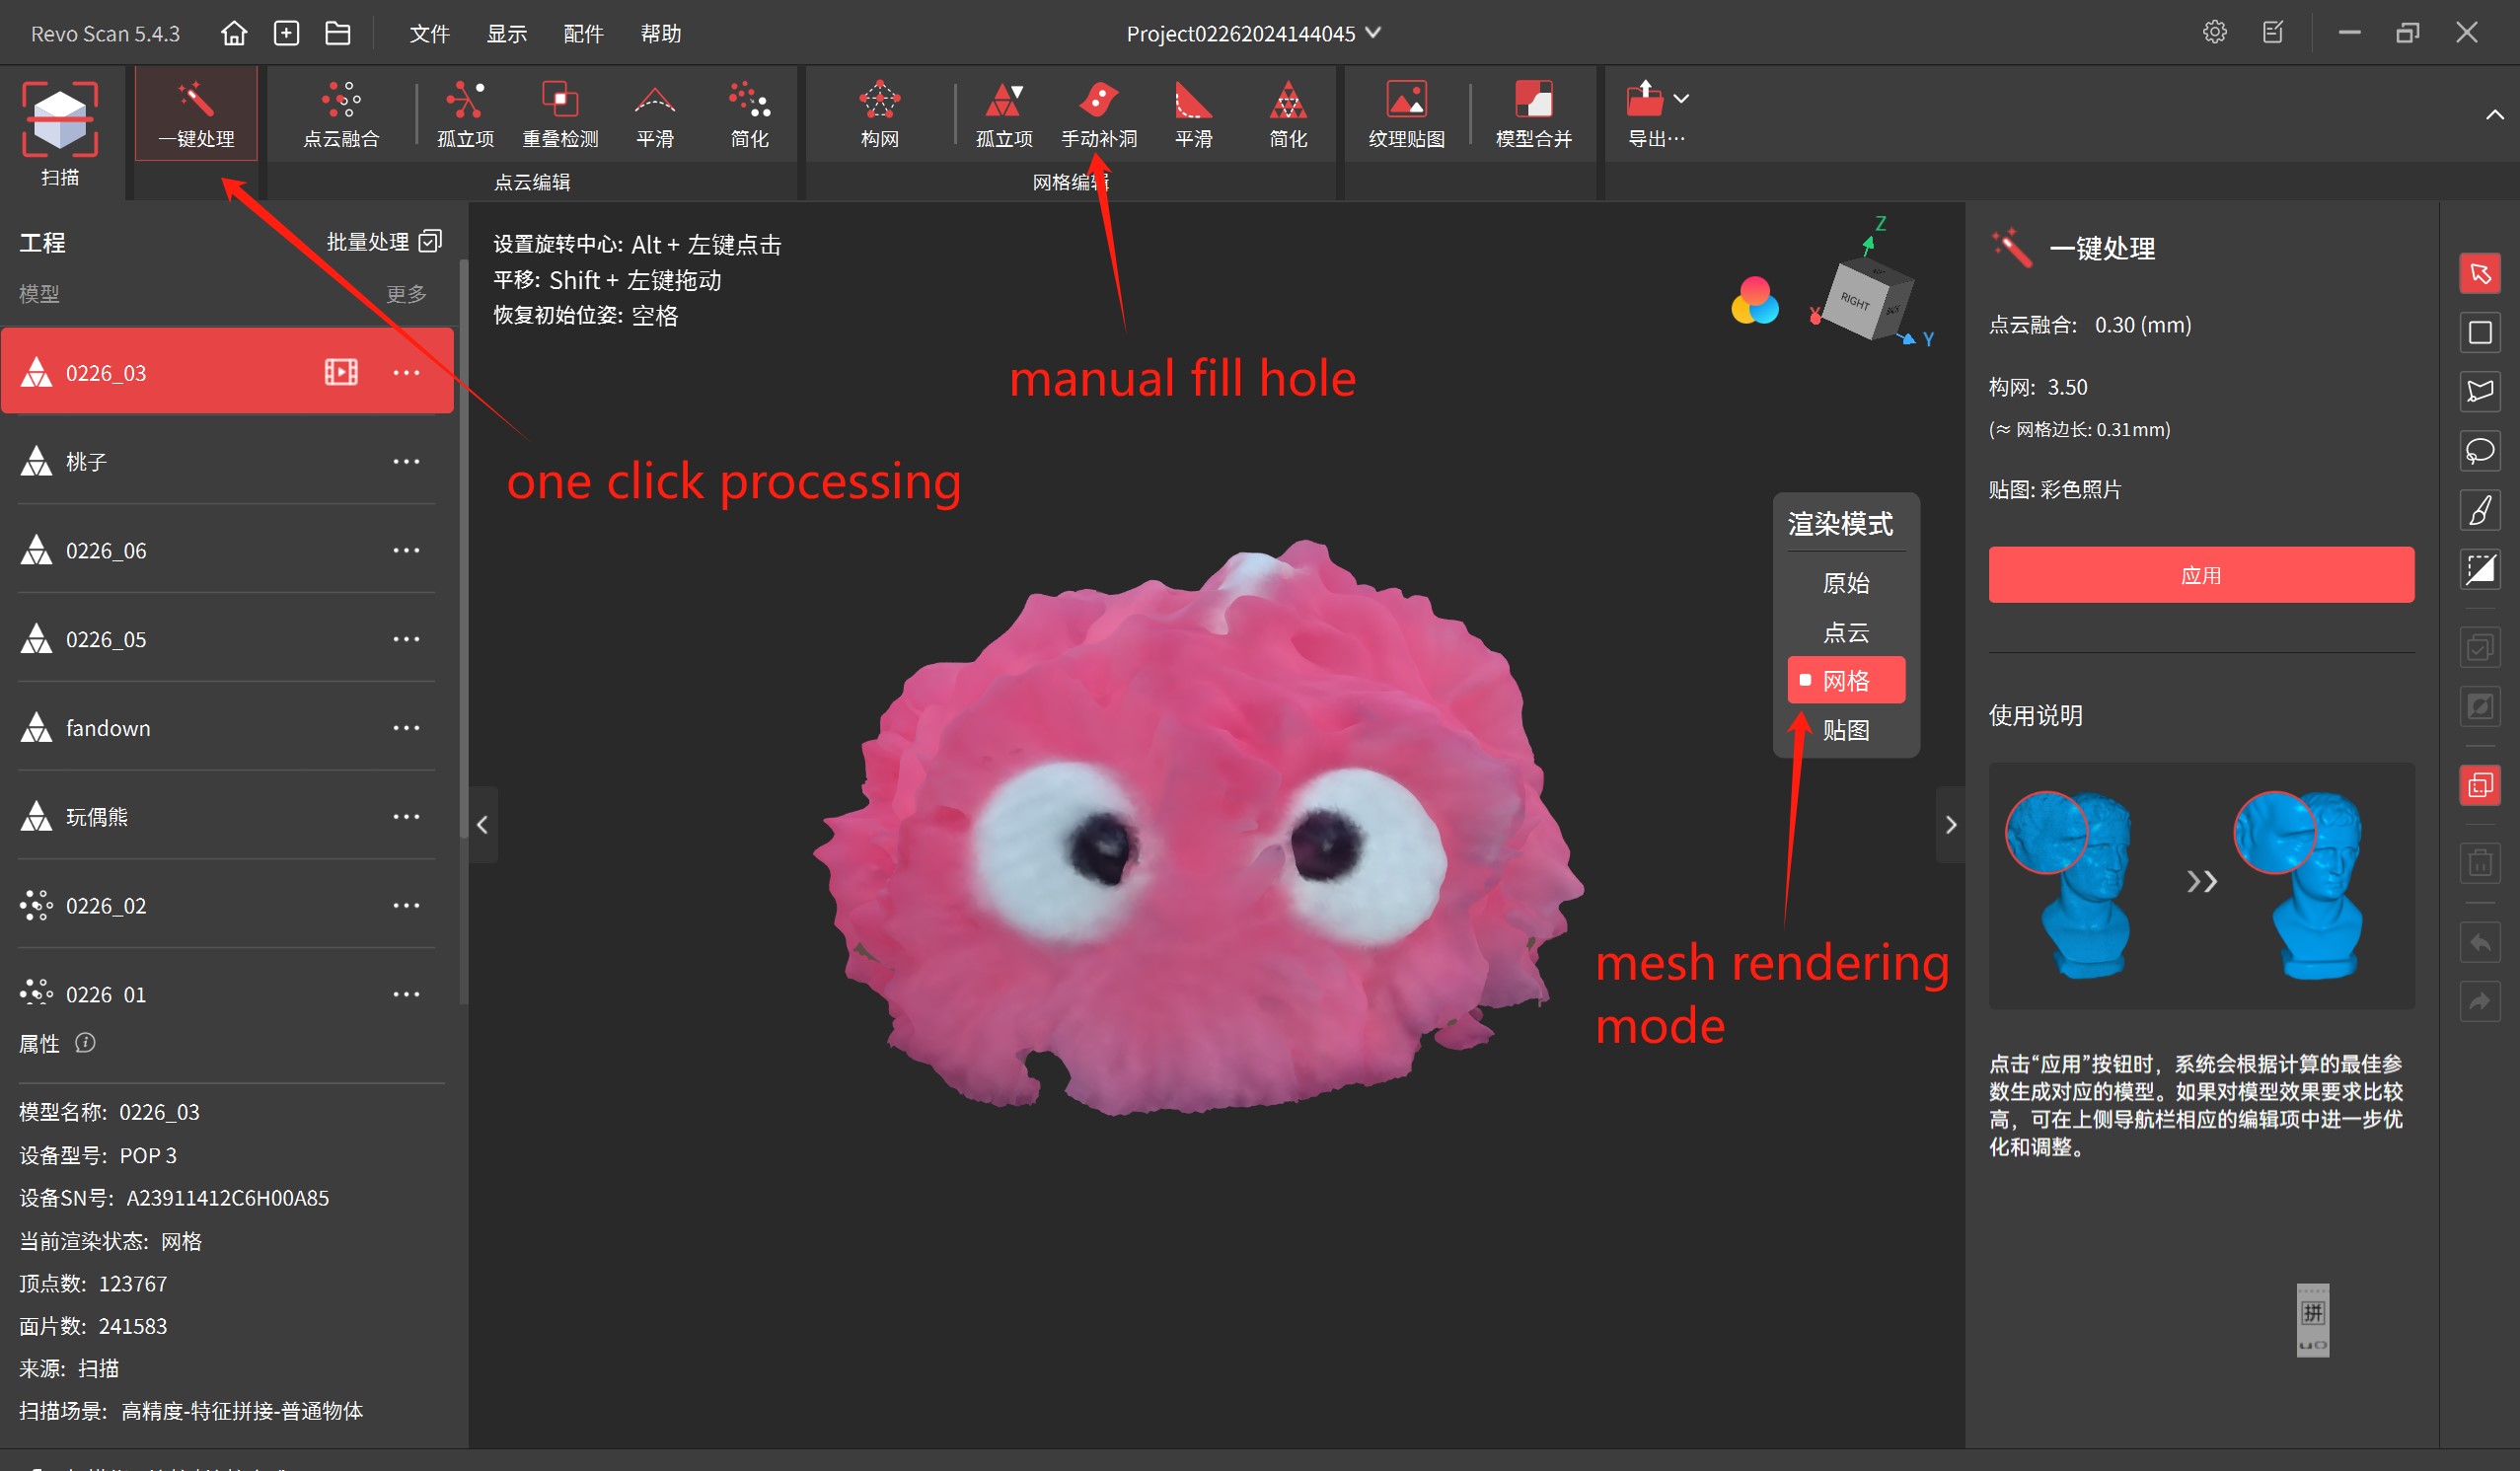
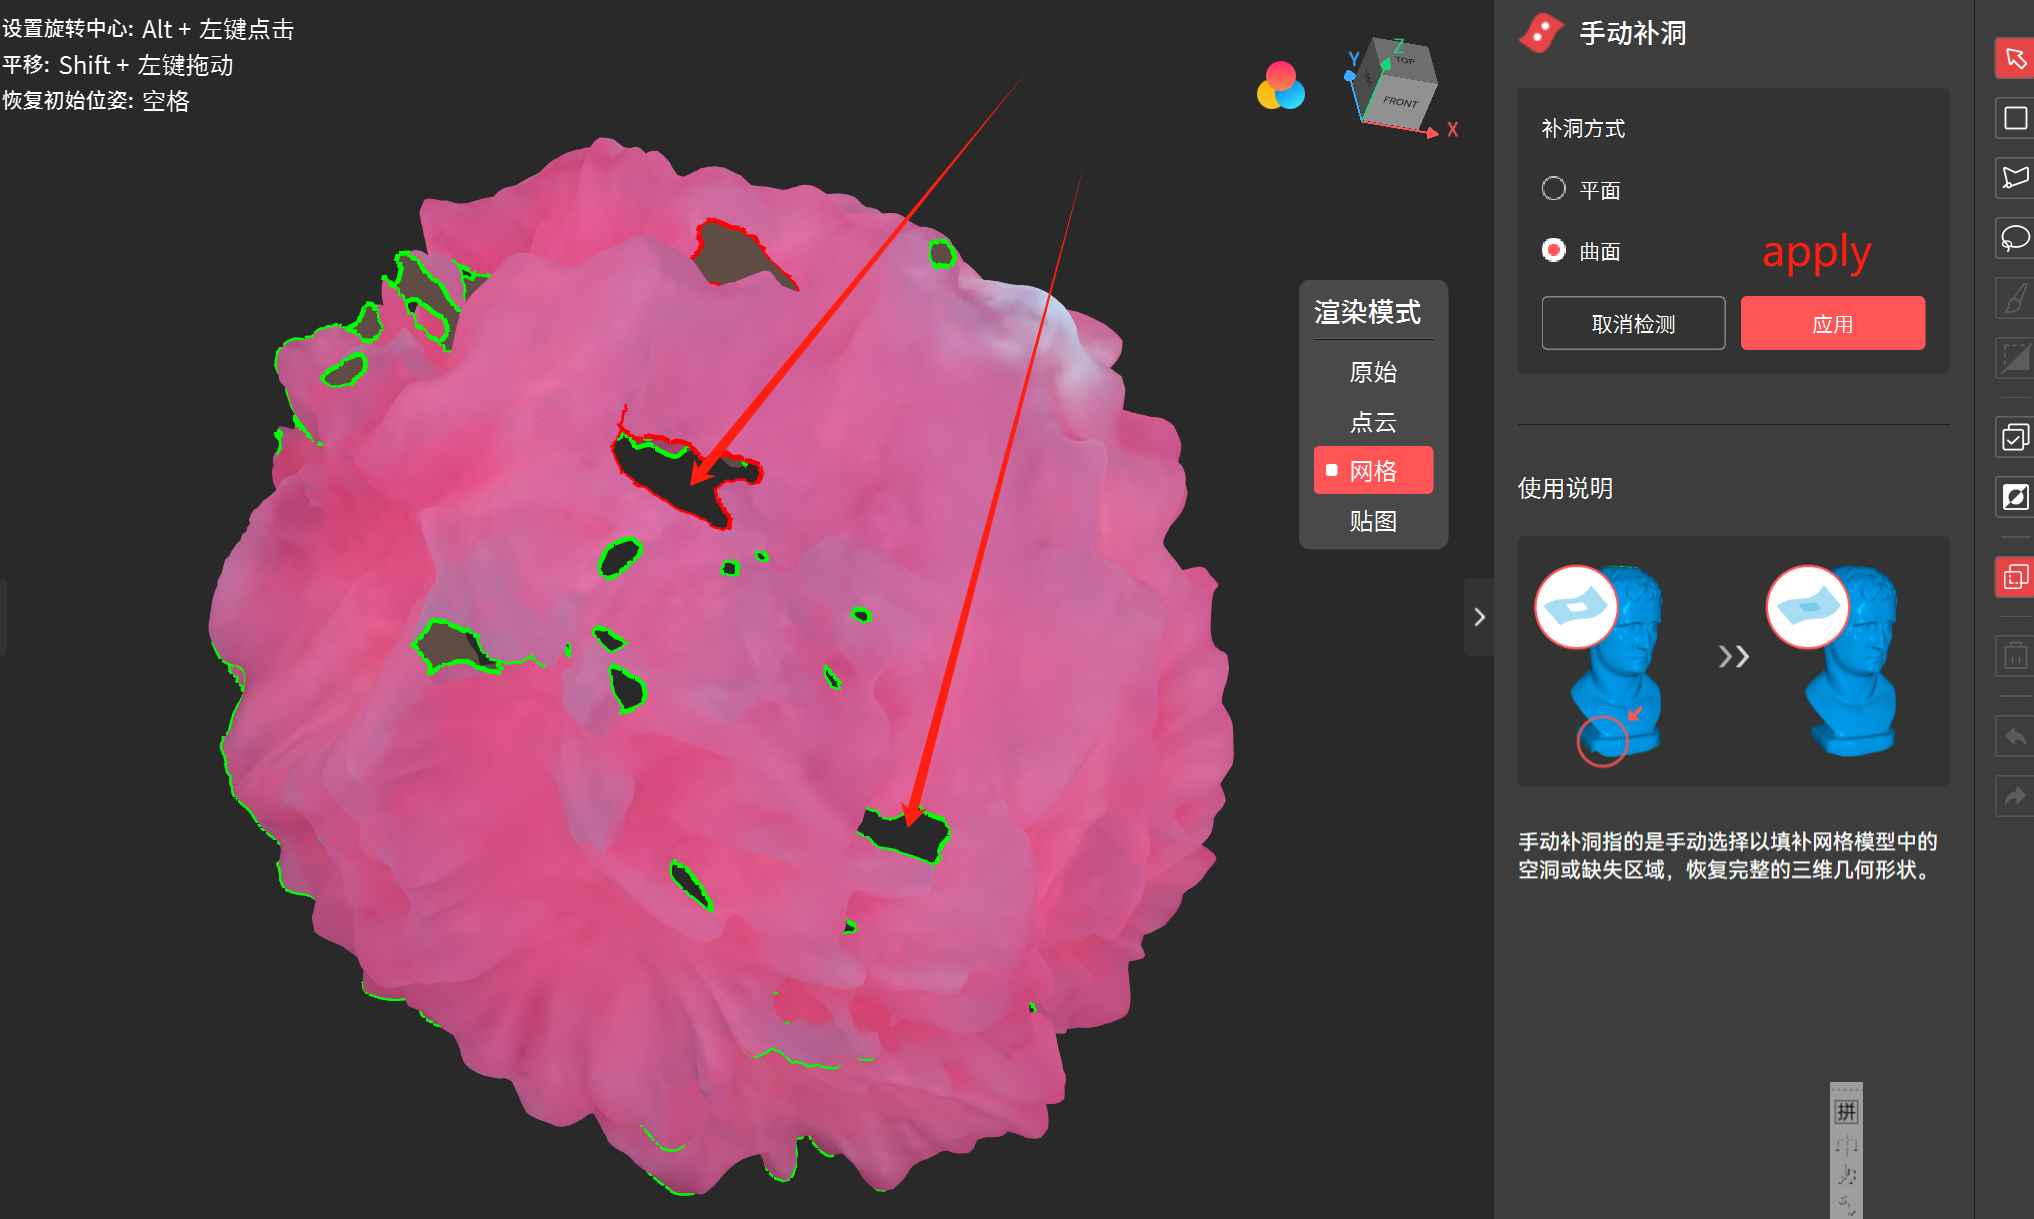
Then I just got a fully scaned 3D model, along with its texture image.
Project files
-
3D print chain mail:
- Blender file: chainmail-v5.blend
- STL 3D model: chainmail-v7.stl
-
3D scaned stuffed toy data:
- Polygon mesh model: 3d_scan_mesh.obj
- Point cloud data: 3d_scan_pc.obj
- Textured surface 3D model: 3d_scan_tex.obj
- Texture mapping file: 3d_scan_tex.mtl
- Texture image: 3d_scan_tex.jpg