Electronics Design
That's an exciting week ahead! I'm going to make my own board, my first PCB in life!
1.1 Assignments of the Week
- Group assignment:
Use the test equipment in your lab to observe the operation of a microcontroller circuit board (as a minimum, you should demonstrate the use of a multimeter and oscilloscope)
- Individual assignment:
Use an EDA tool to design a development board to interact and communicate with an embedded microcontroller
1.2 Group Work
1.3 Individual Work
1.3.1 Design PCB-EDA
- ✨Use existing packaged components to ensure proper positioning of solder pads; otherwise, the pad positions may be incorrect.
- ✨Each circuit needs to be complete and properly labeled; otherwise, it's difficult to make connections.
- ✨ Circuits, labels, etc., should have distinct colors; if the colors are incorrect, it may indicate a lack of connection.
- ✨Be careful not to connect positive and negative poles incorrectly; if unsure, consult the symbol meanings, as the Design Rule Check (DRC) will provide prompts.
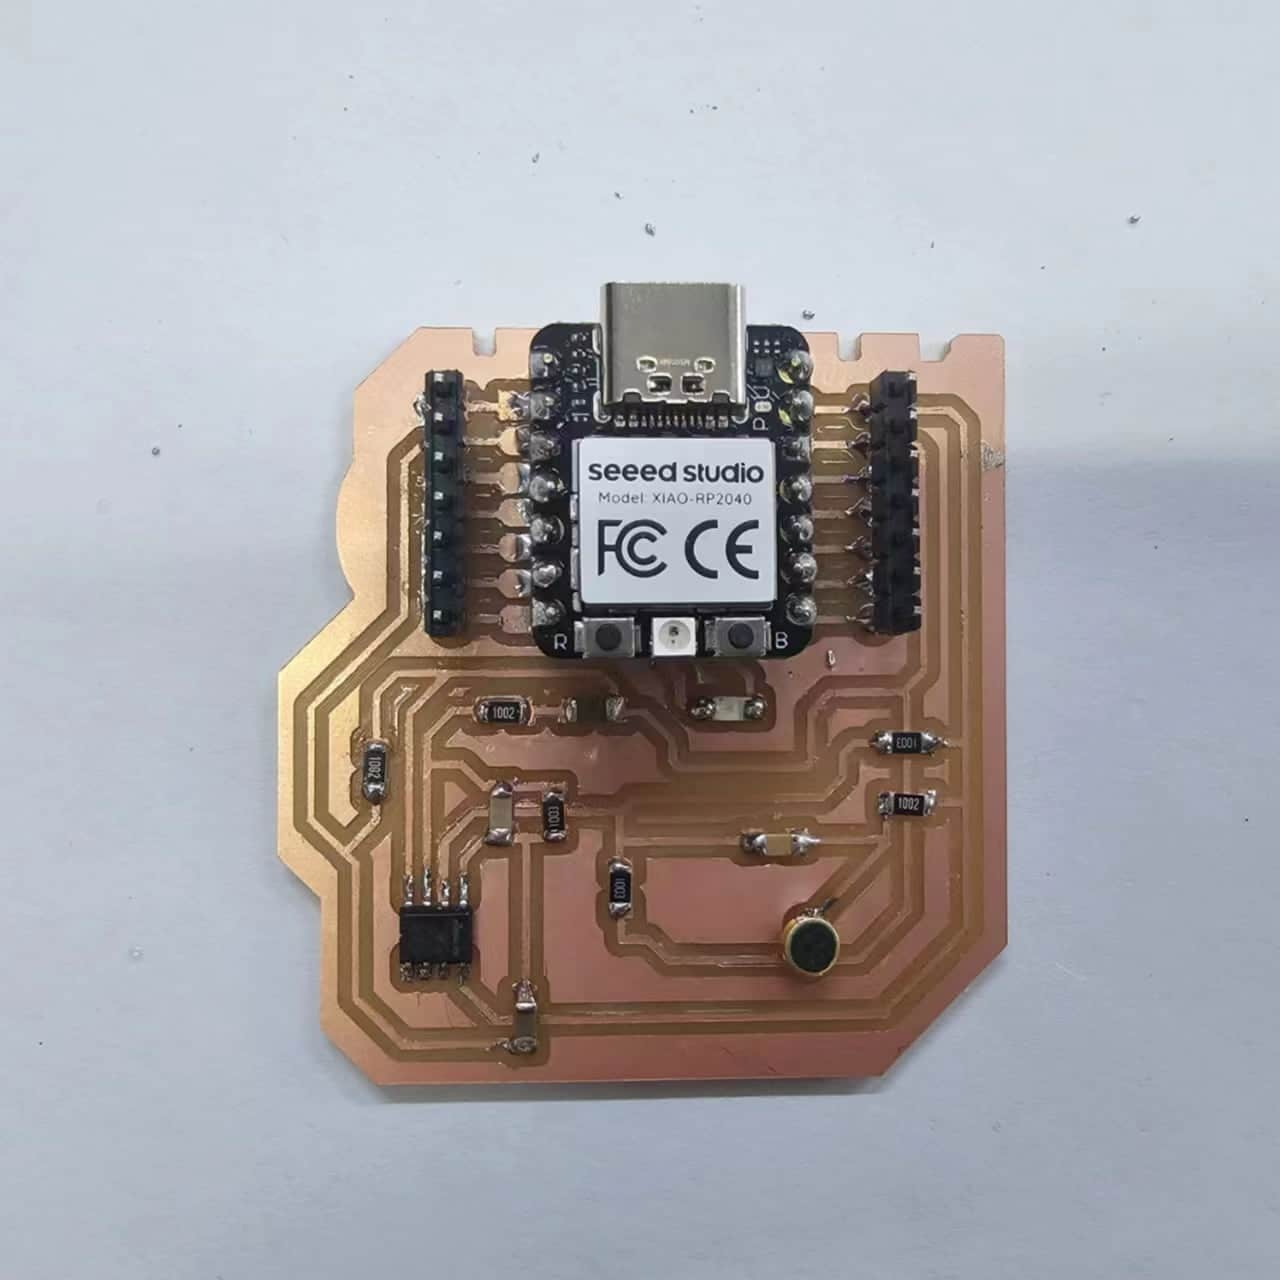
This week, I finalized my project, and one part of it involves detecting sound levels with a microphone, converting them into voltage signals, and wirelessly transmitting them to another controller board to control small lights. For this assignment, I'll attempt to implement some of these functions on a PCB.
I use EDA to design my circuit board. Its advantages include automatic completion of multiple processes such as circuit design, simulation and verification, shortening the design cycle, and browser drawing without downloading.
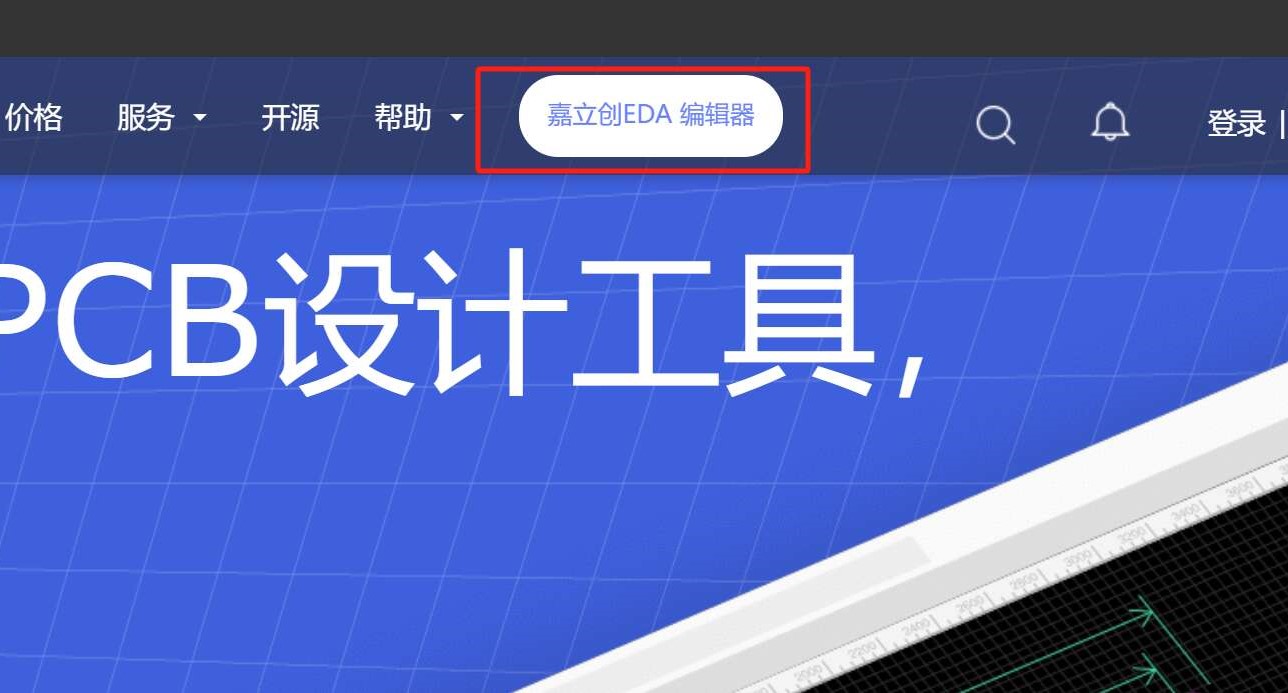
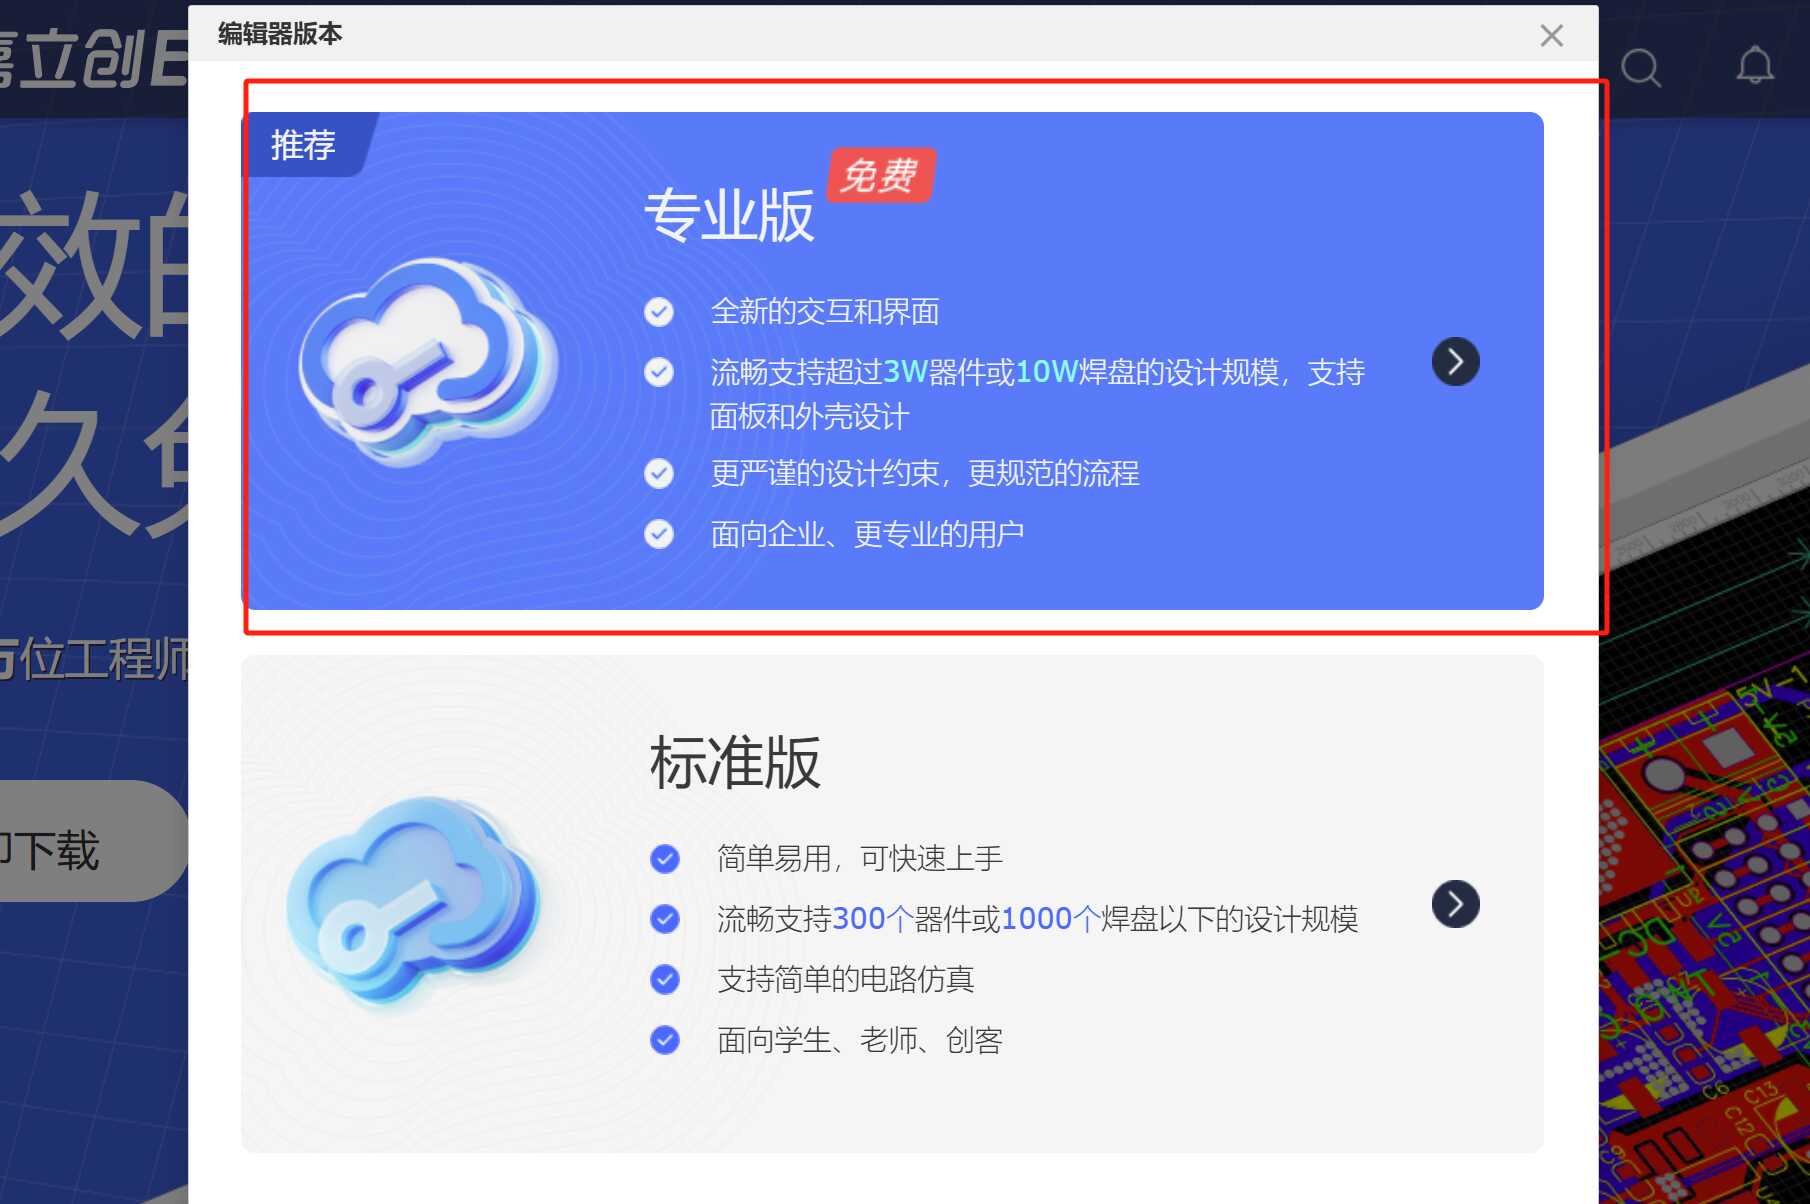
Click on the JLCEDA editor and select the Pro version
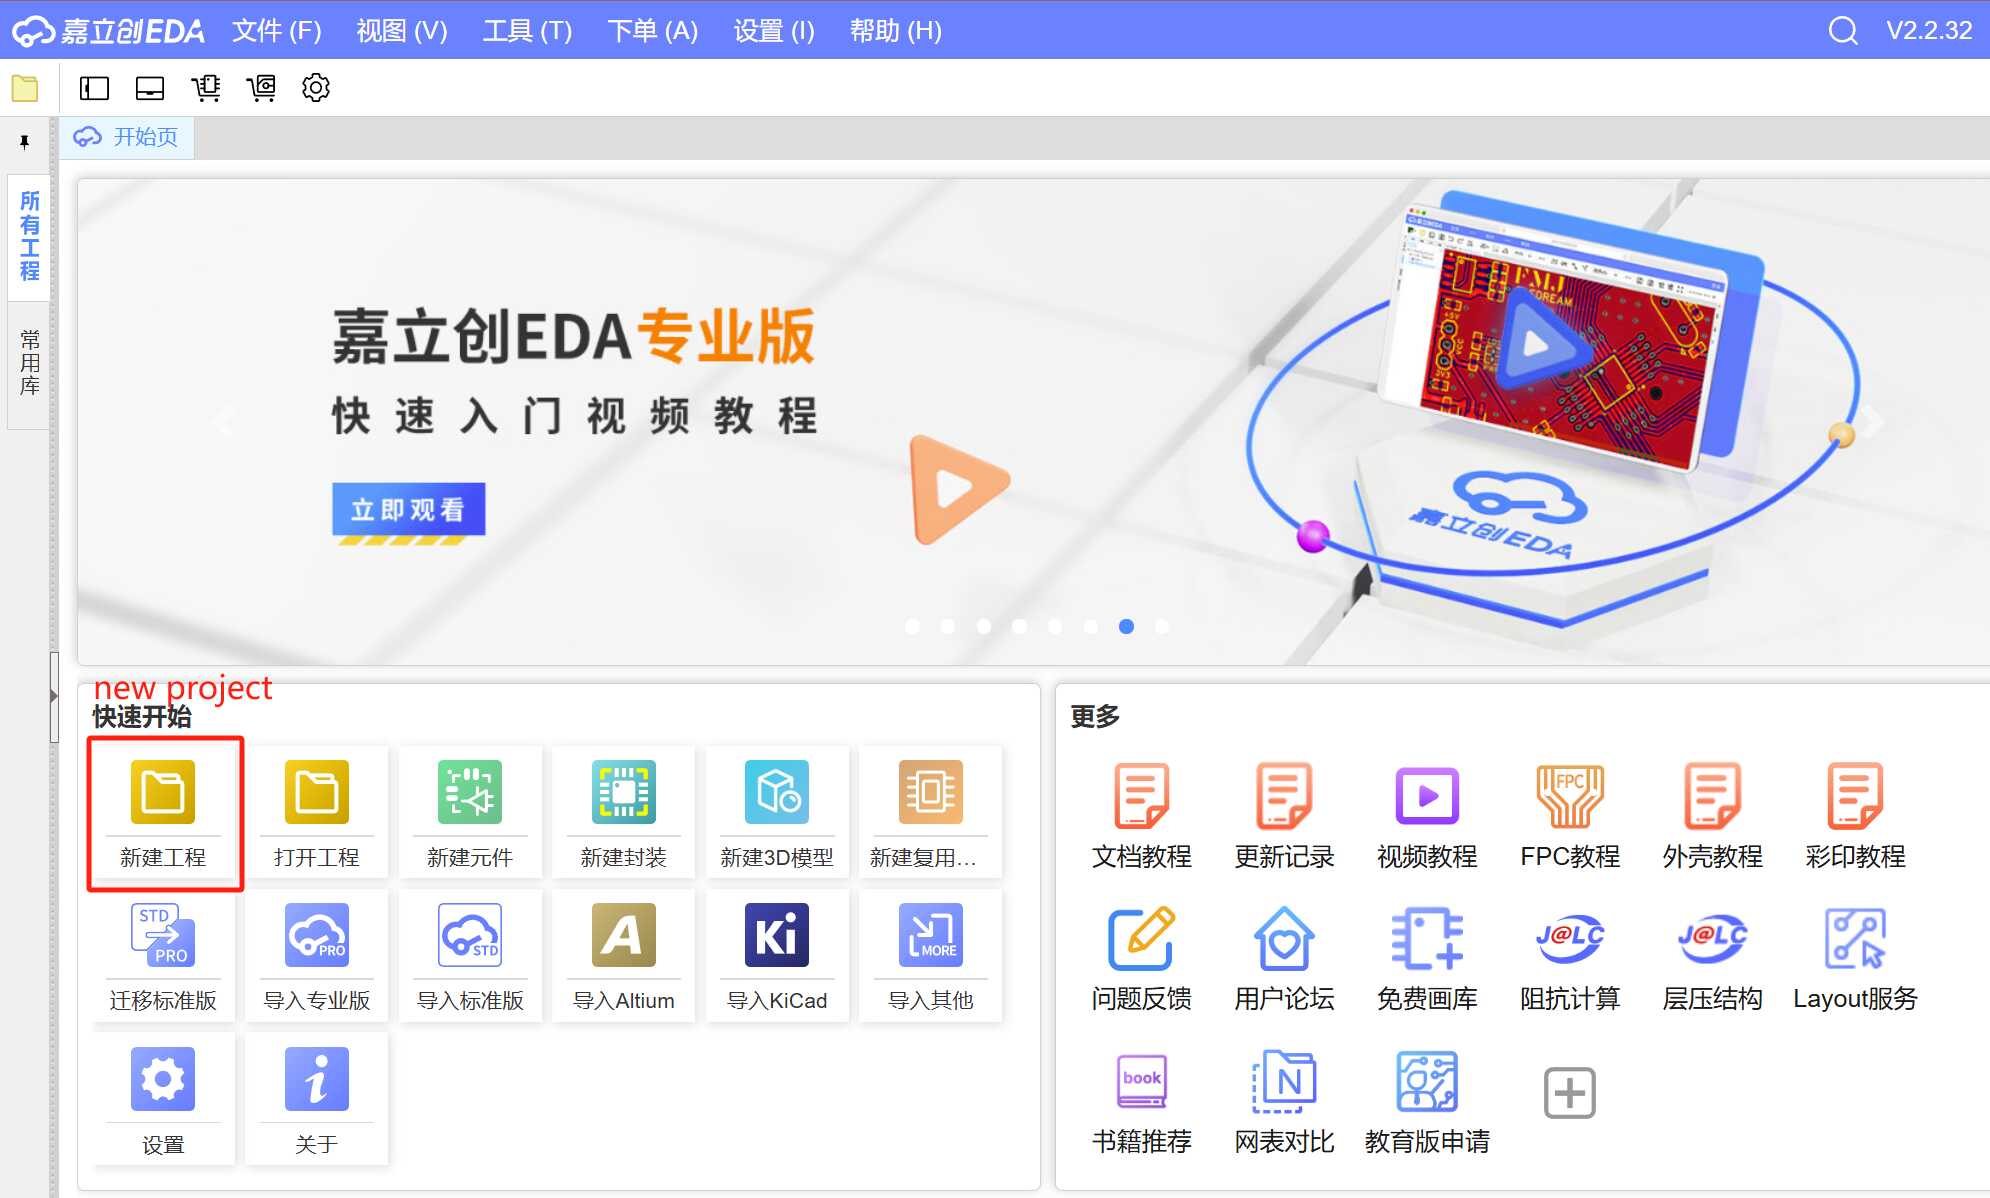
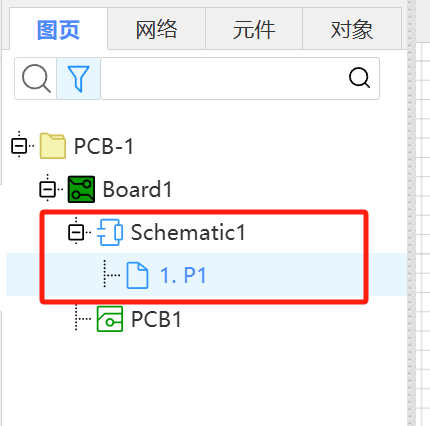
Create a new project
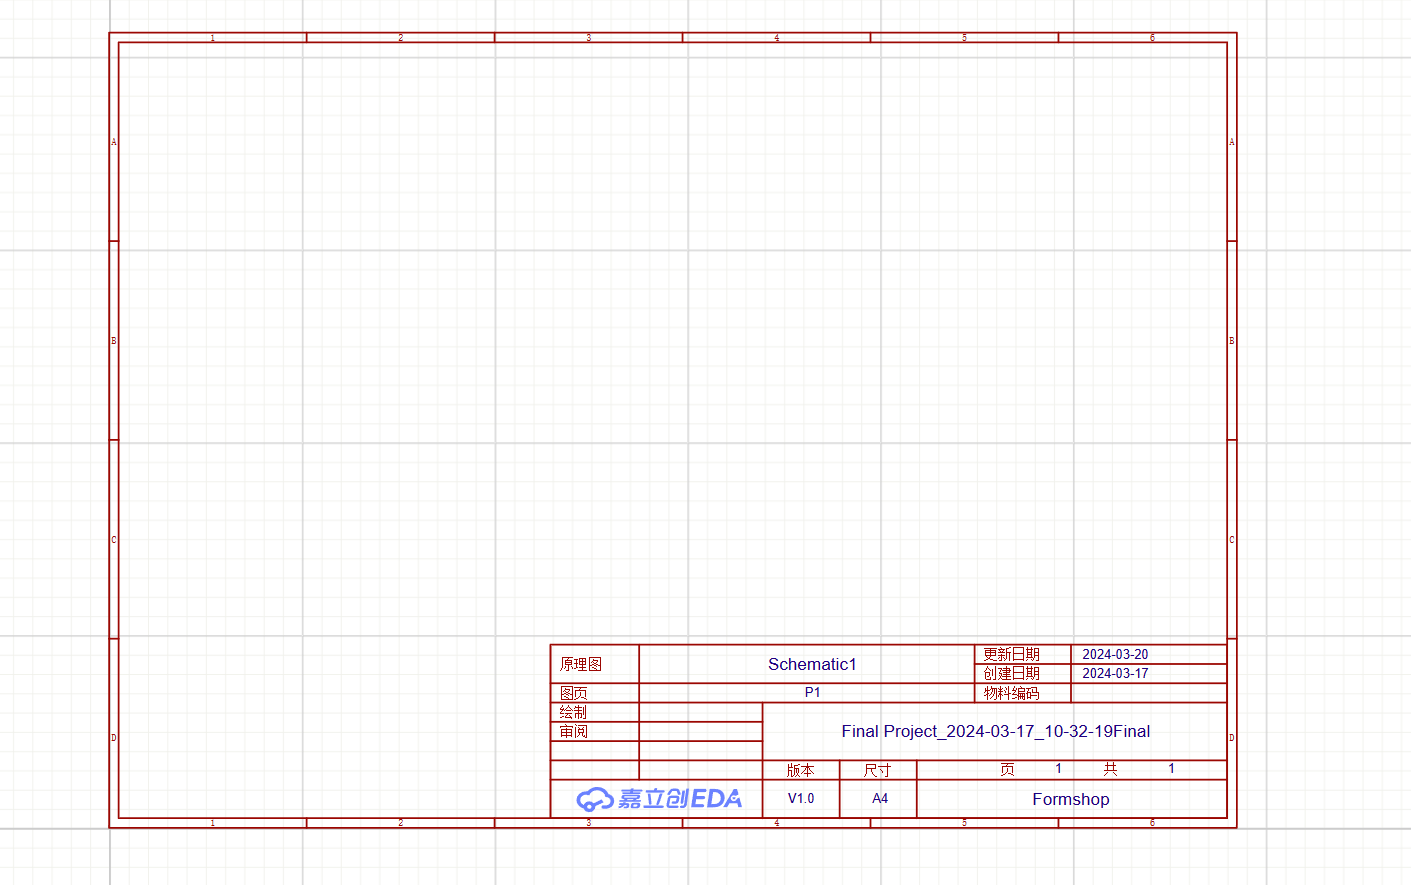
On the left side of the interface, open a new Schematic page, where a blank page will pop up for you to add components
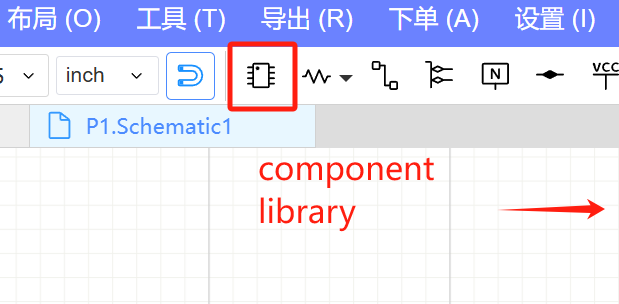
Components can be sourced in two places. On the left side, there’s a list of commonly used components, such as resistors, capacitors, and pins. For components like the XIAO RP2040, you’ll need to search in the library, which offers a wide range of parts
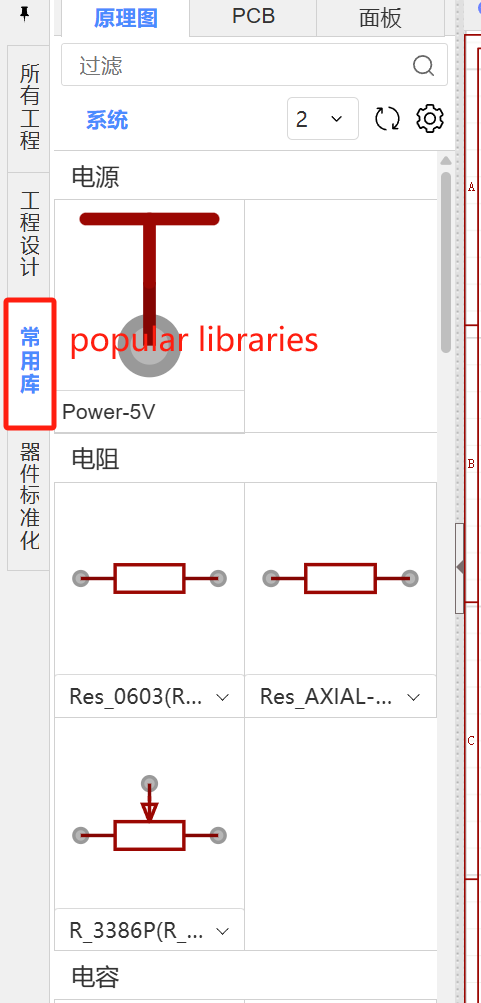

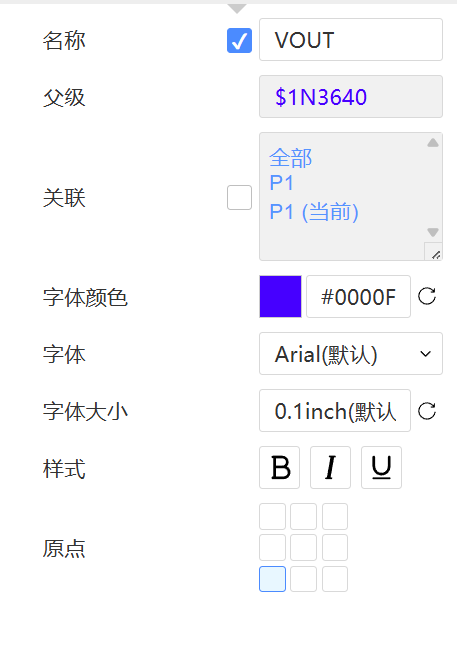
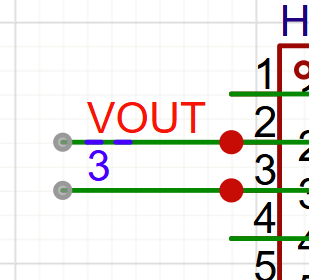
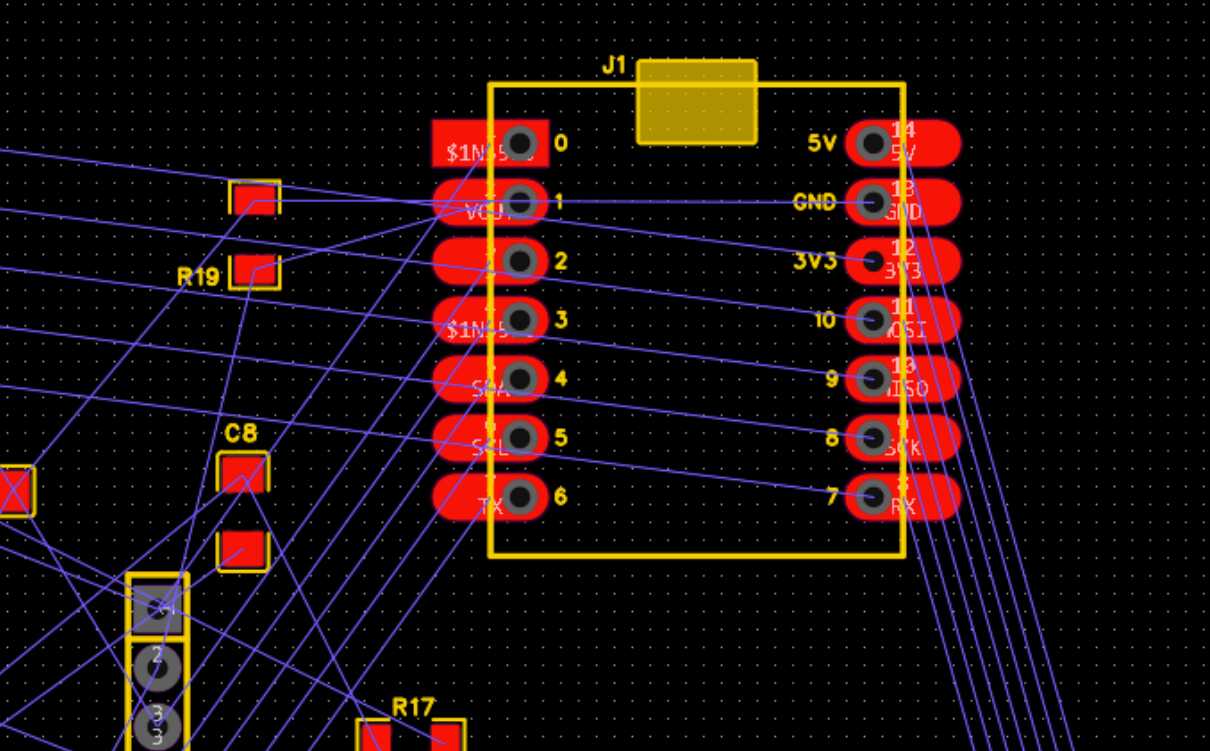
Drawing the schematic is pretty straightforward. Just find the required parts from the component library and place them on the page, then connect them with wires or by naming the connections. Initially, I thought I needed to wire every pin to its corresponding component, but it made the schematic look cluttered. Later, my peer taught me that in schematics, you don’t need to connect everything. Instead, you can draw a short line at the end of each pin and label it, which indicates the connection. For example, when I want to connect two distant points, labeling makes it visually clearer. Thanks to him!
If lines are neither connected nor named, it means the pins are unconnected, and they won’t be linked on the PCB either
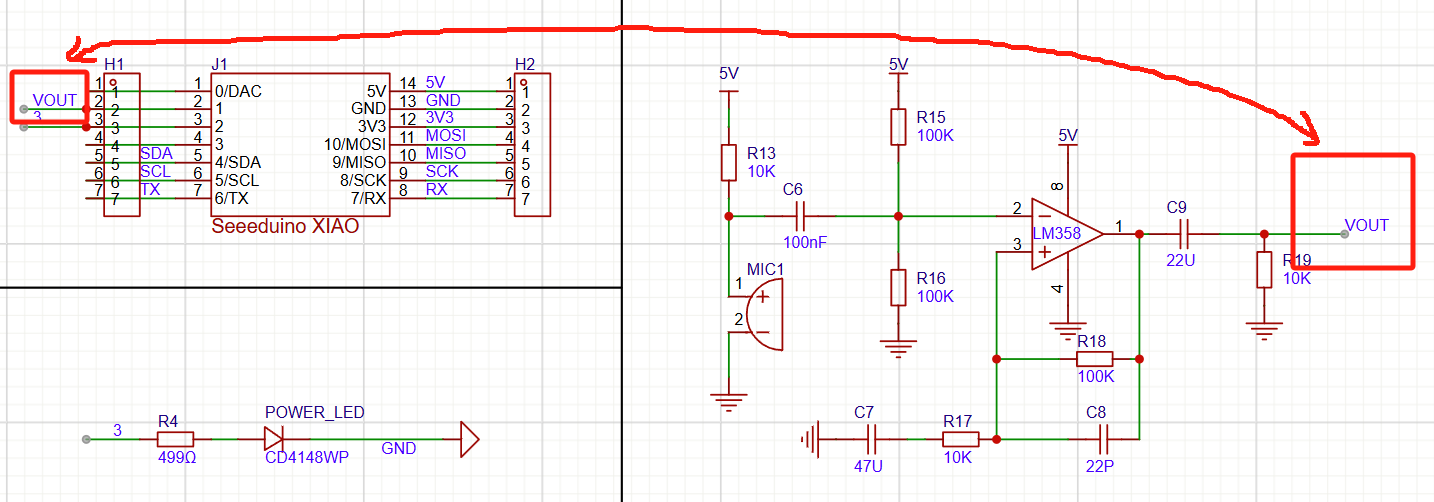
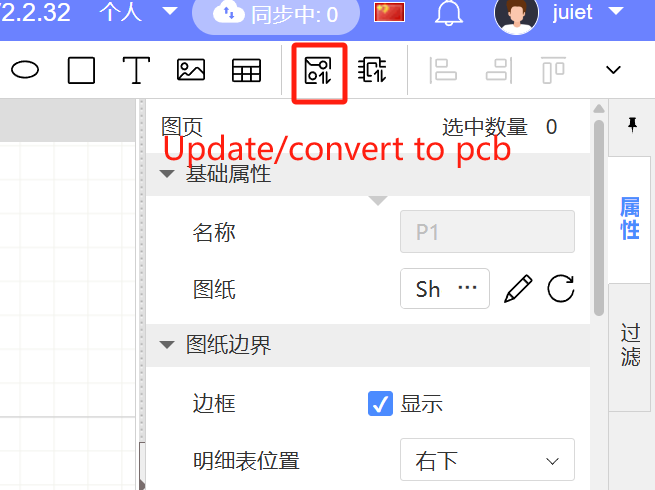
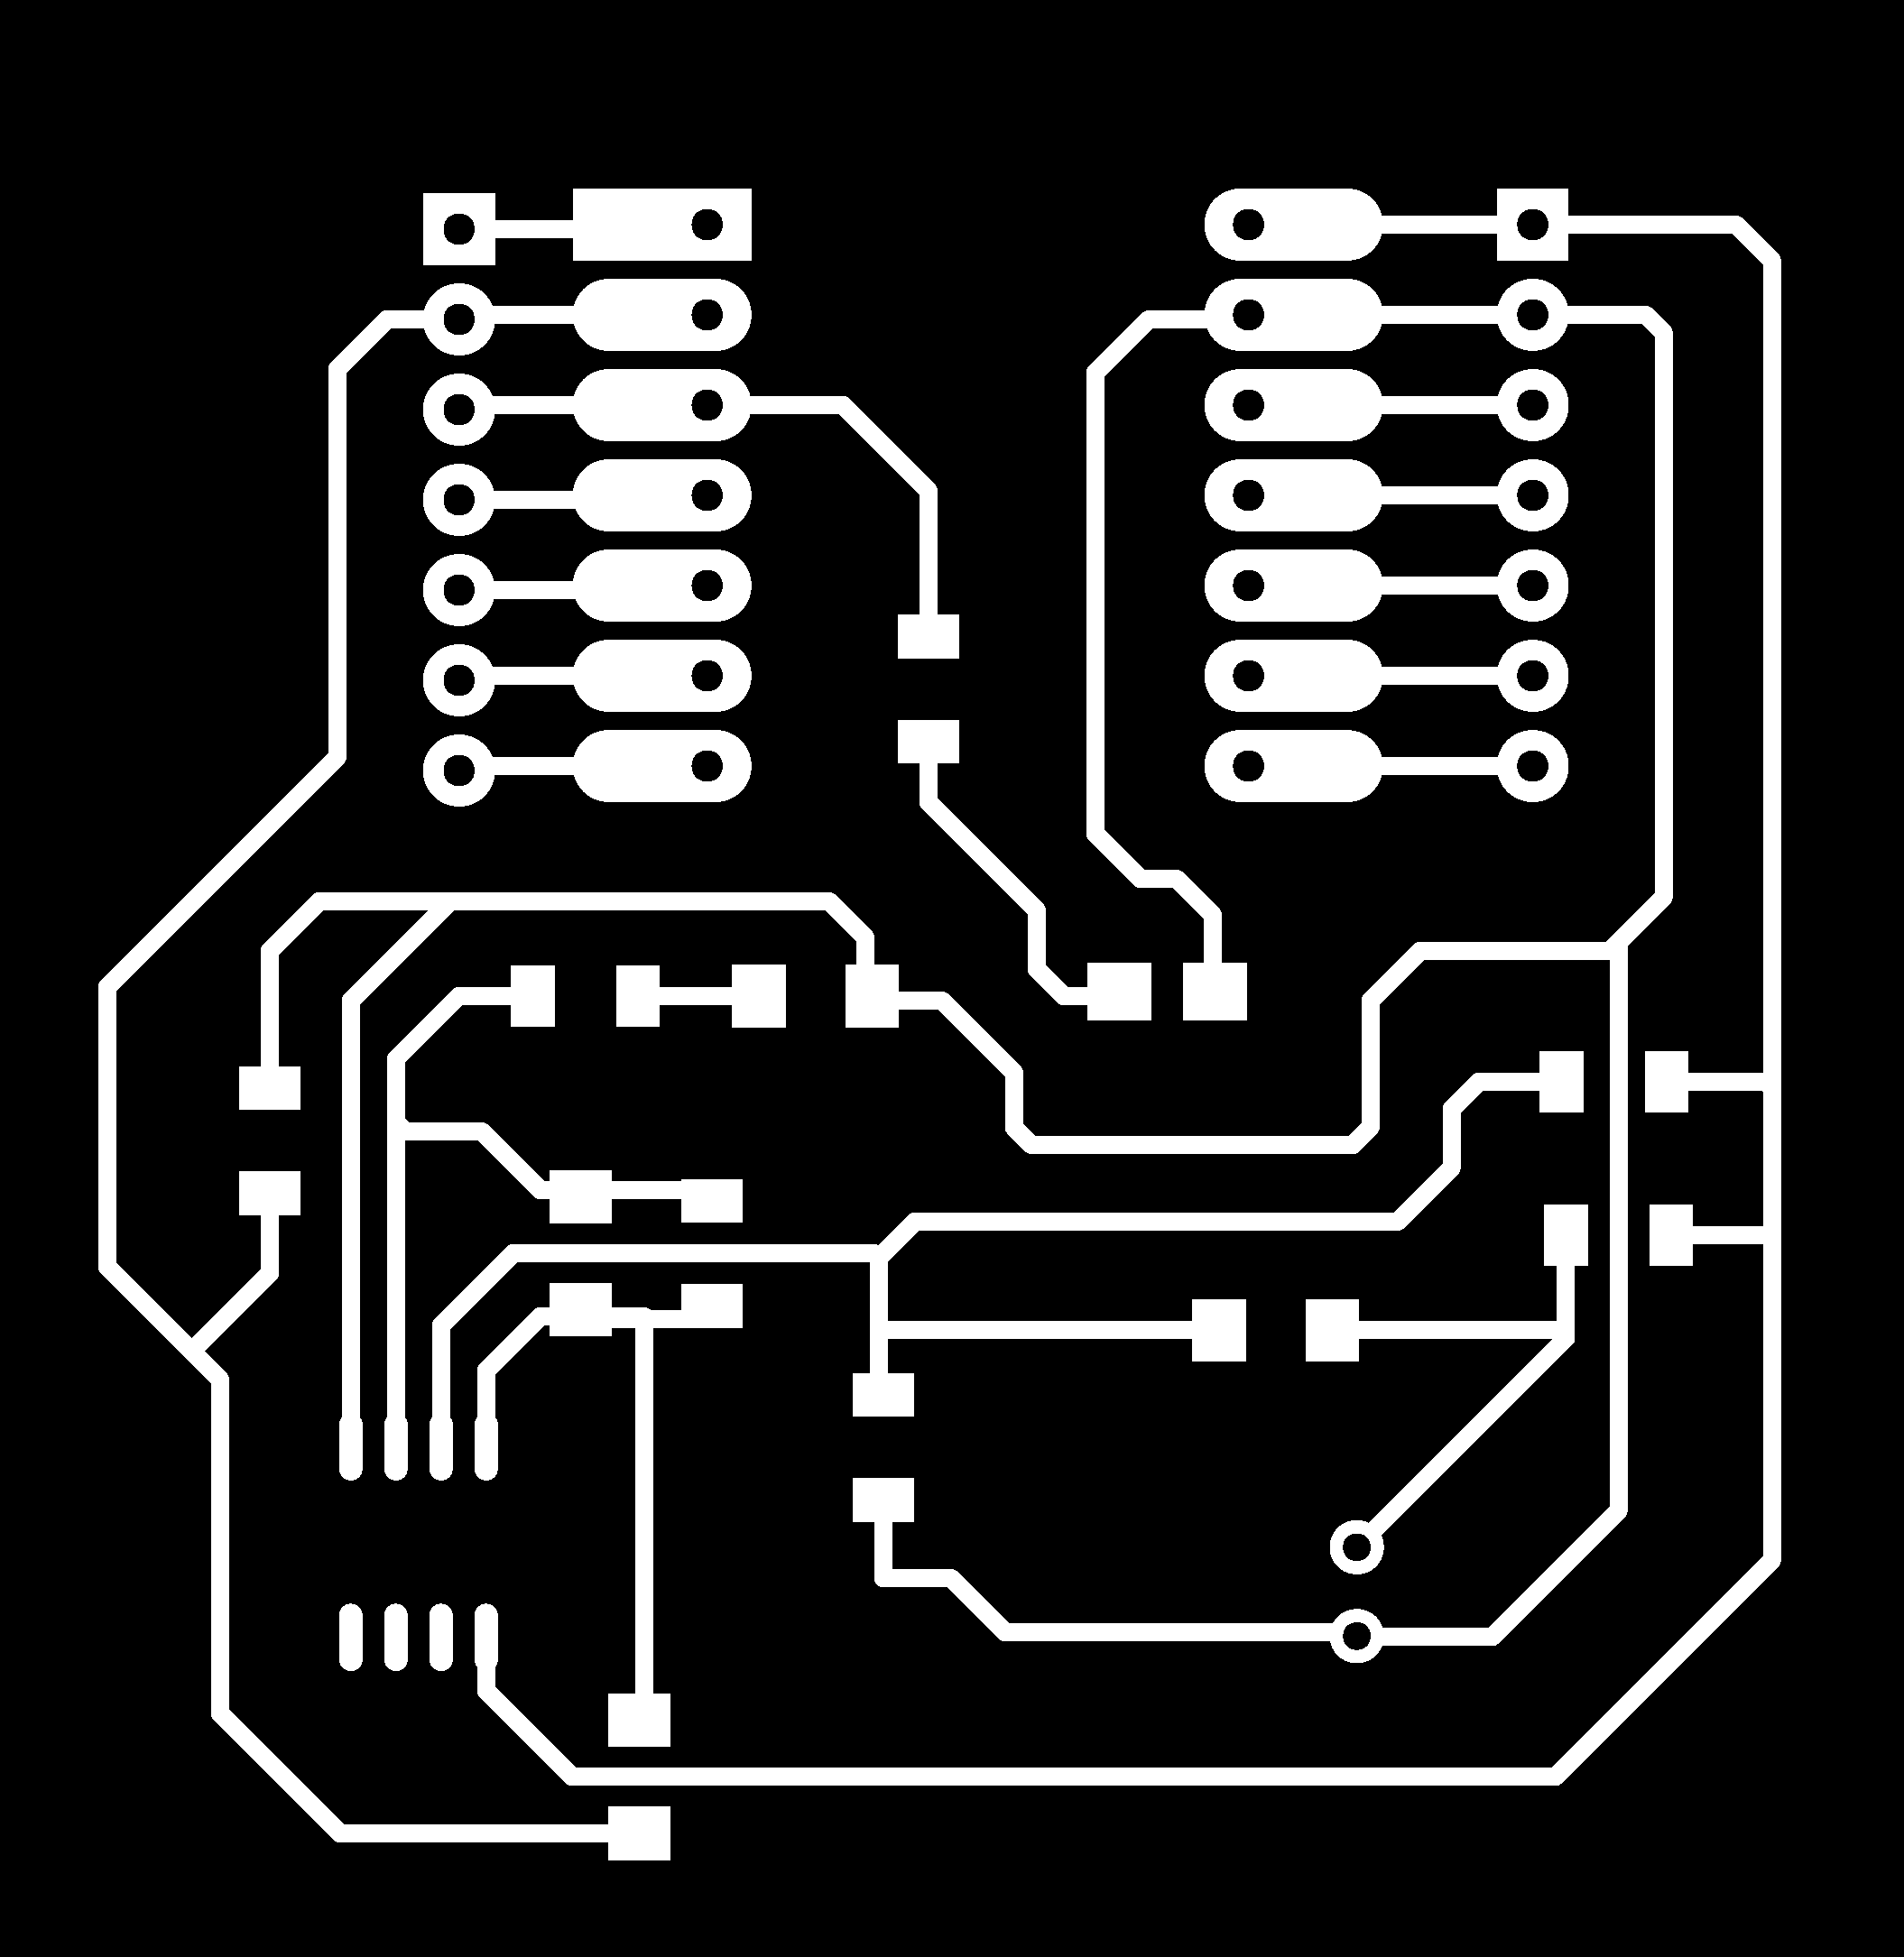
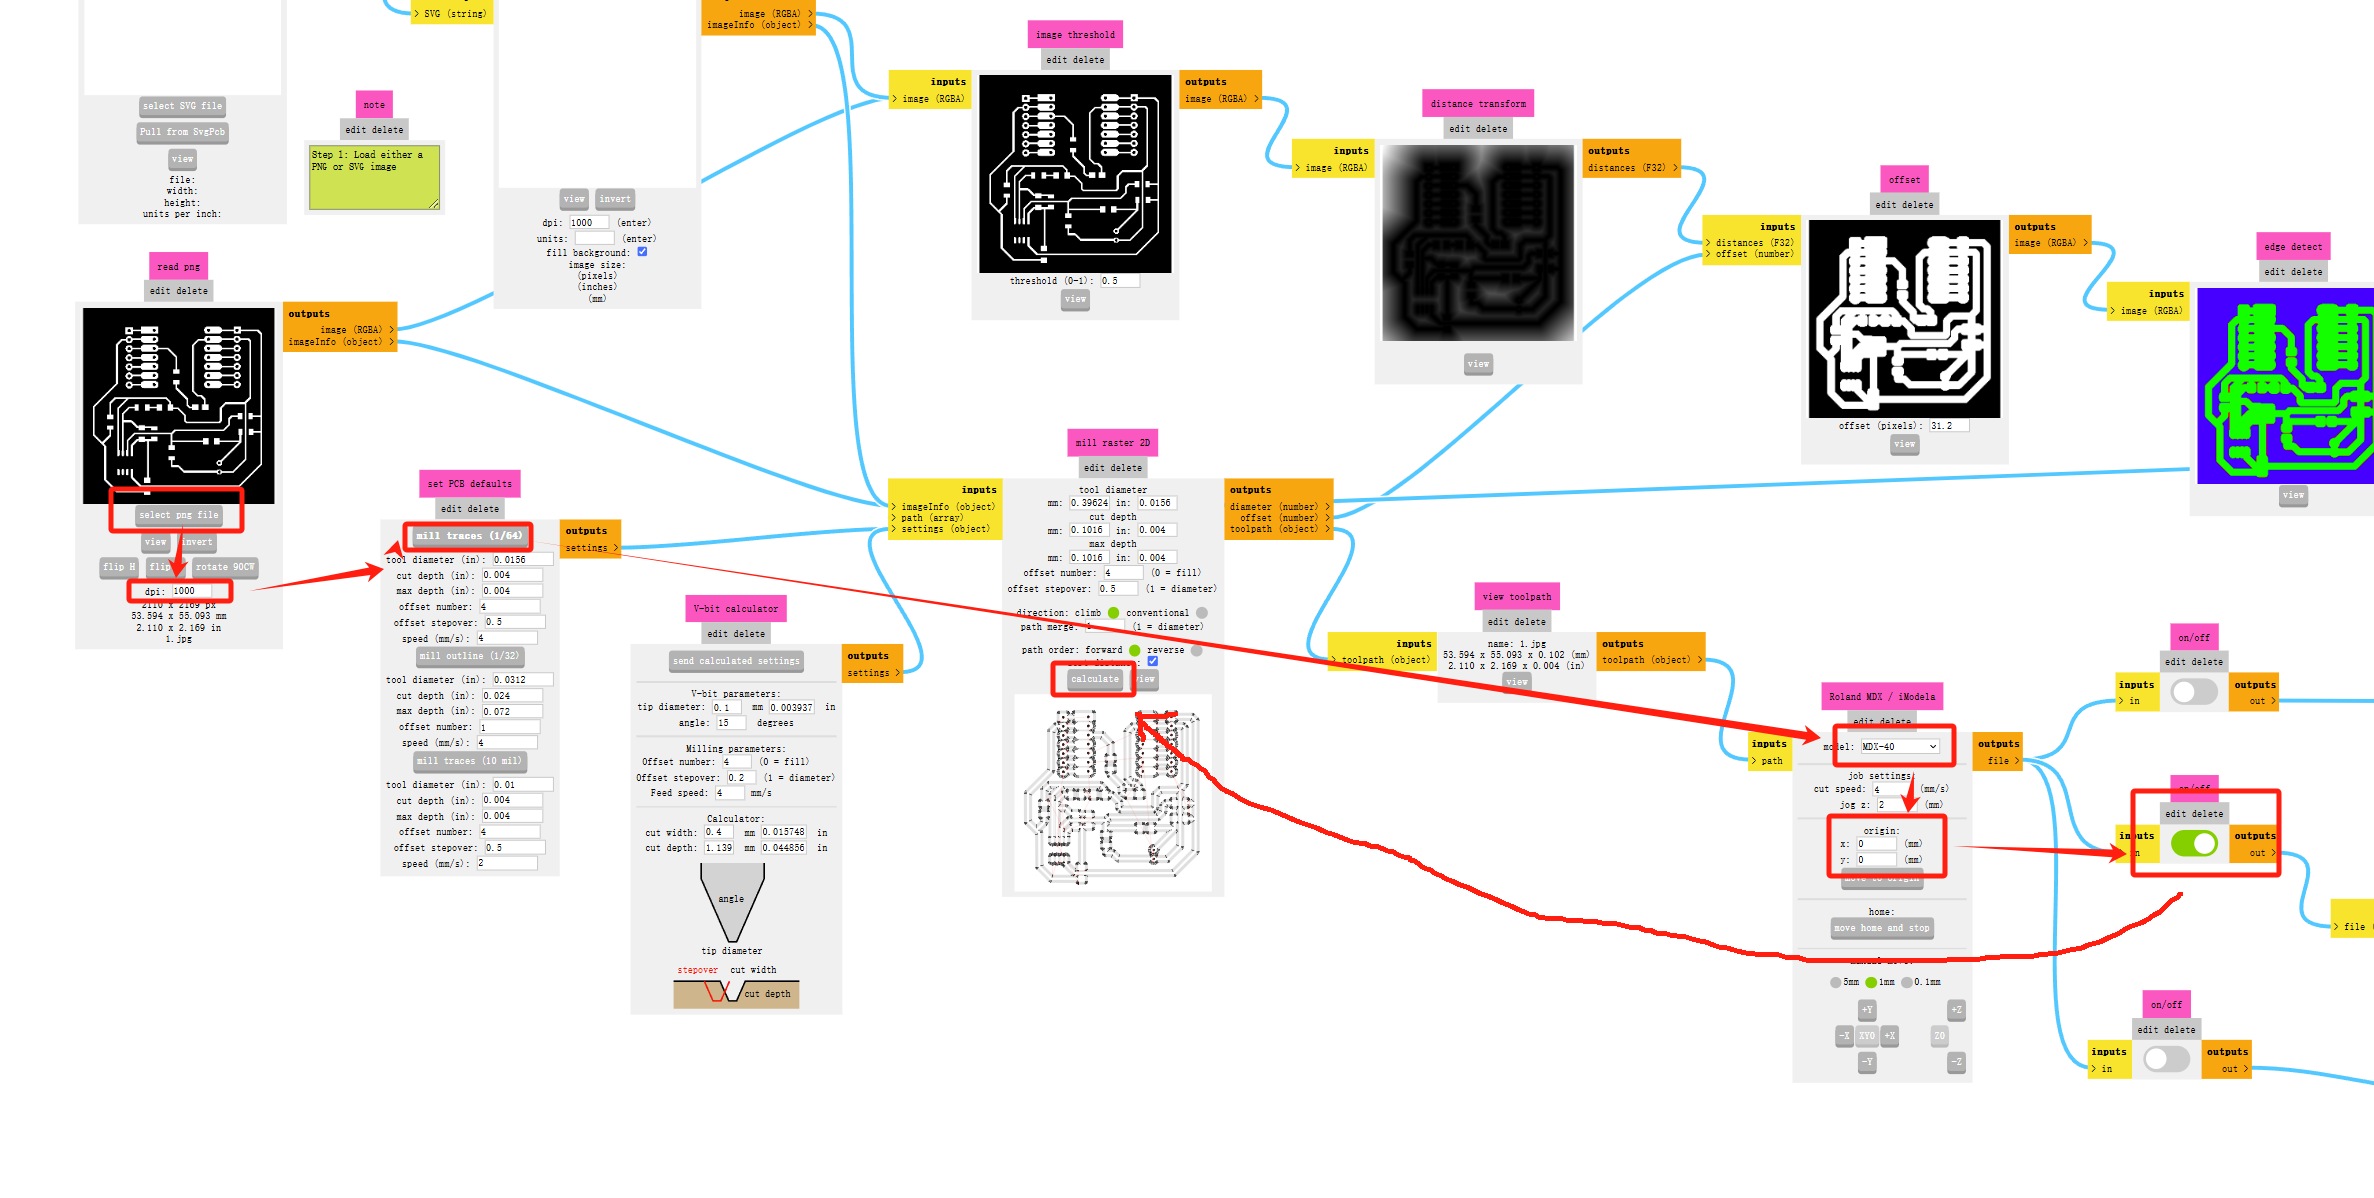
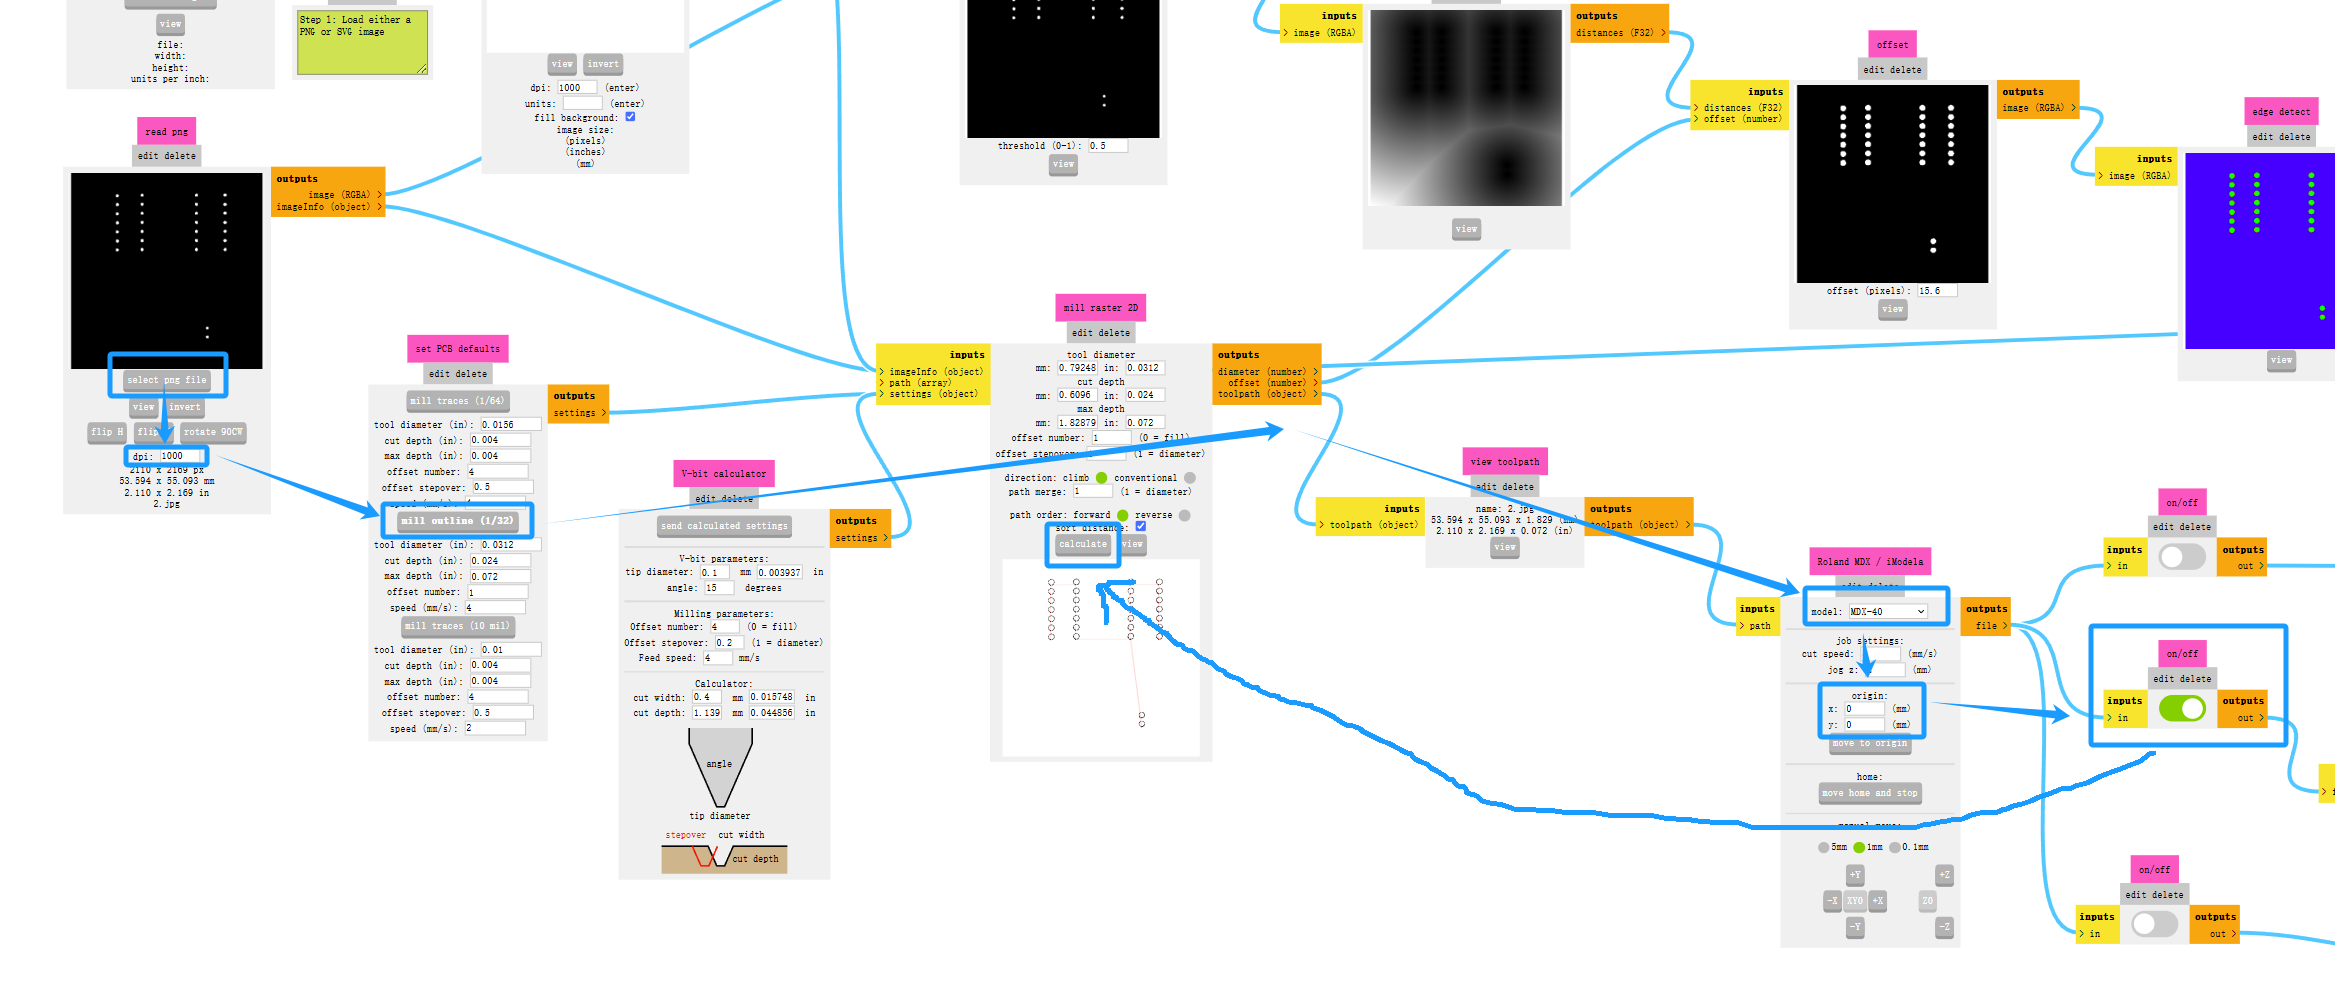
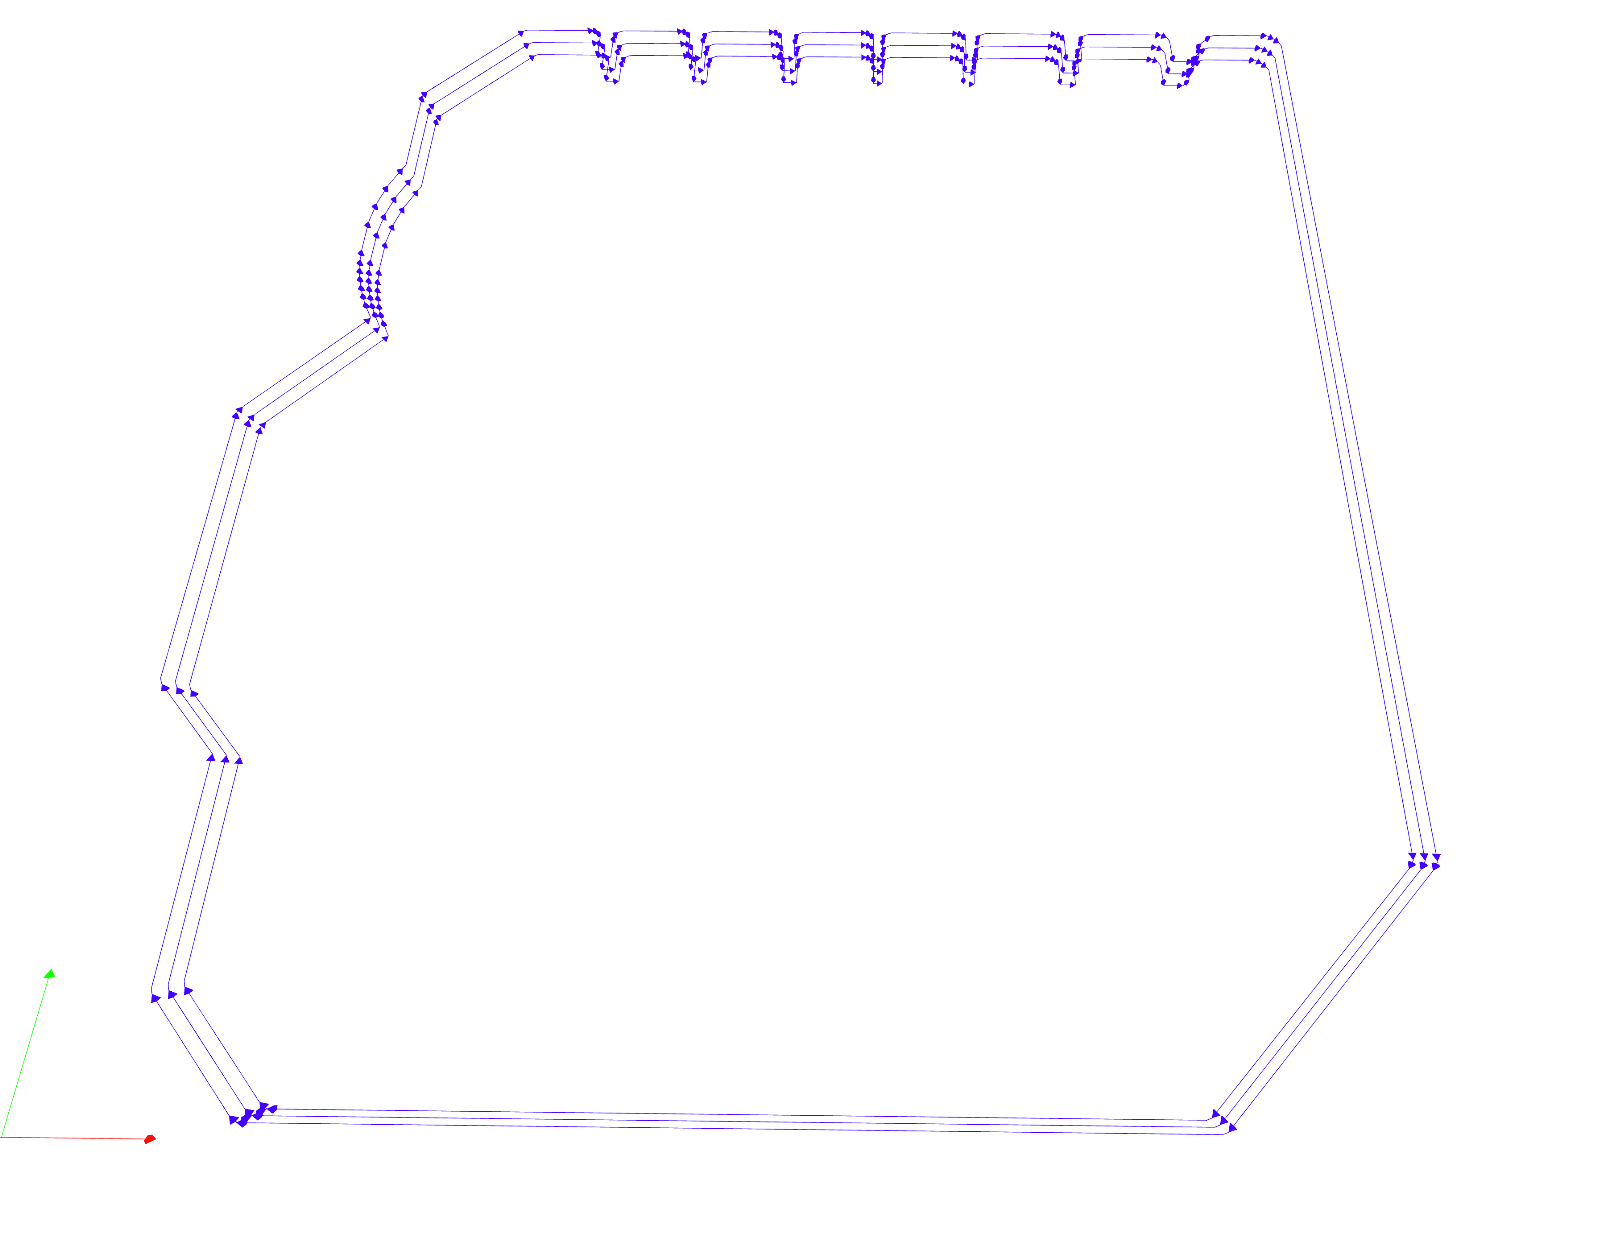
Click this icon to enter the PCB layout interface. Initially, it looks like a mess, but you’ll notice some blue lines connecting components. We need to use traces to connect them
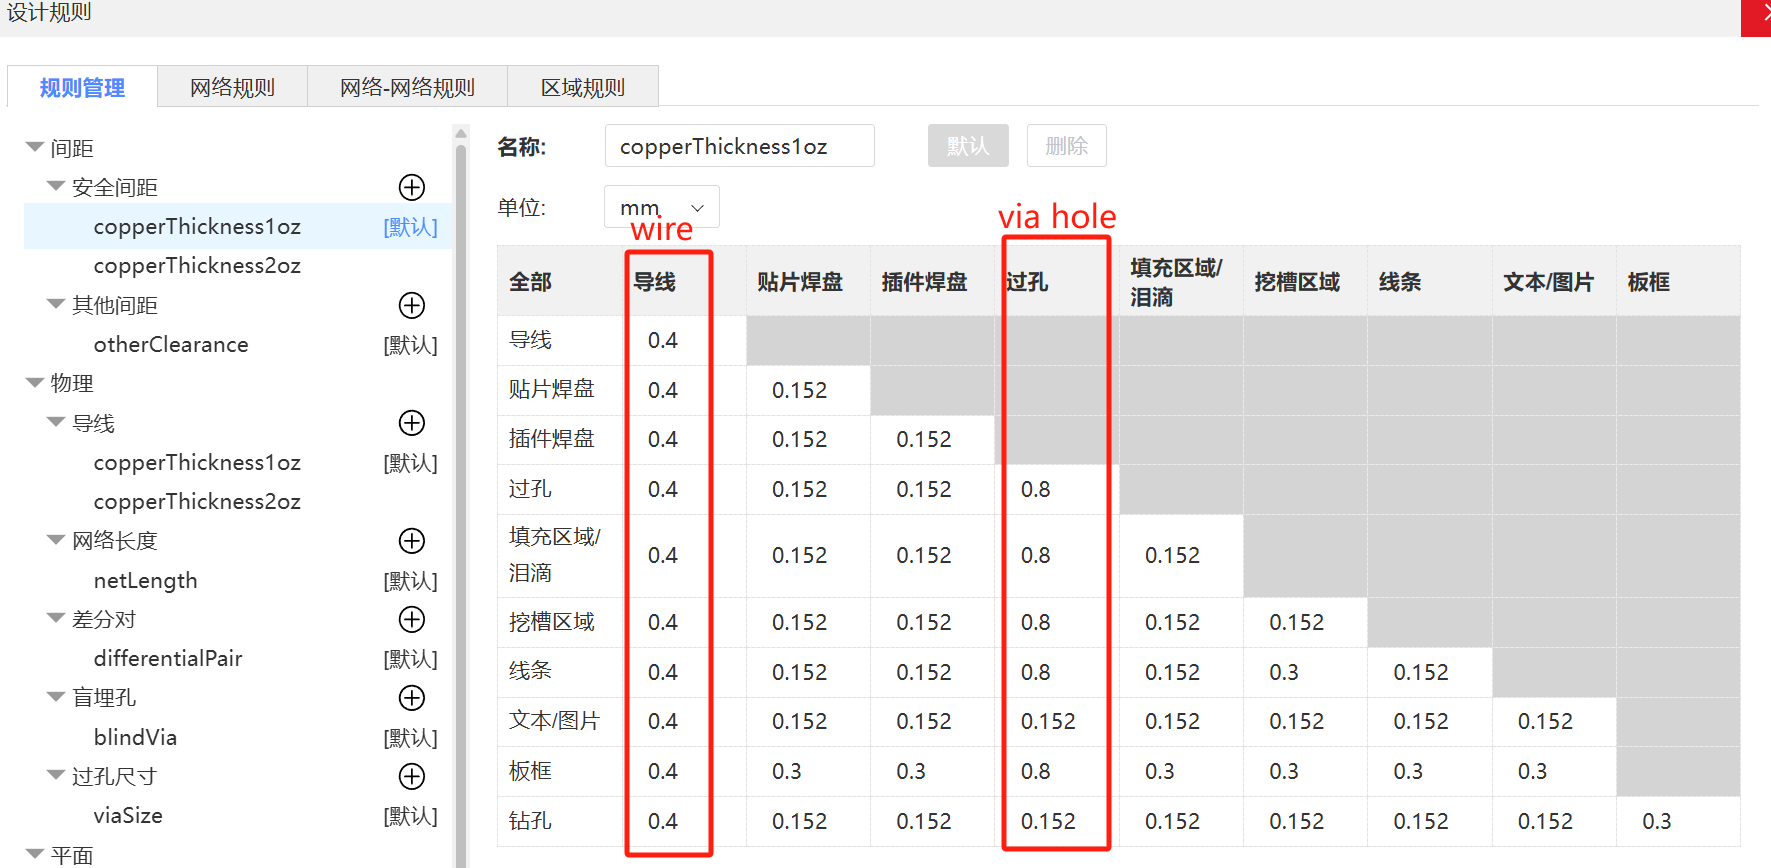
Before proceeding, go to Design Rules and adjust the trace width and hole width, similar to week 4. For milling the circuit board, I used a 0.4mm drill bit, and for vias, an 0.8mm drill bit. My design rule modifications are as follows
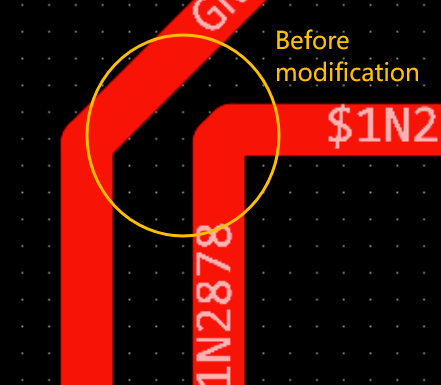
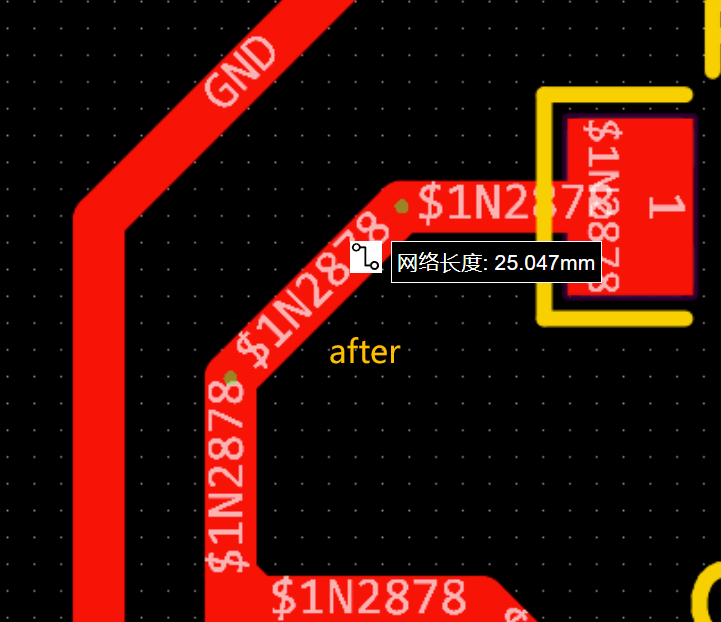
Choose single-track routing and connect the components. This took quite a while... I made my first-ever circuit board, and after showing it to my mentor, Nancy, I found a few minor issues. Some traces were too close together, less than the drill diameter, which could cause them to connect. Additionally, traces should avoid right angles (especially acute angles), as the round drill bit can’t effectively mill sharp angles (great new tip!).
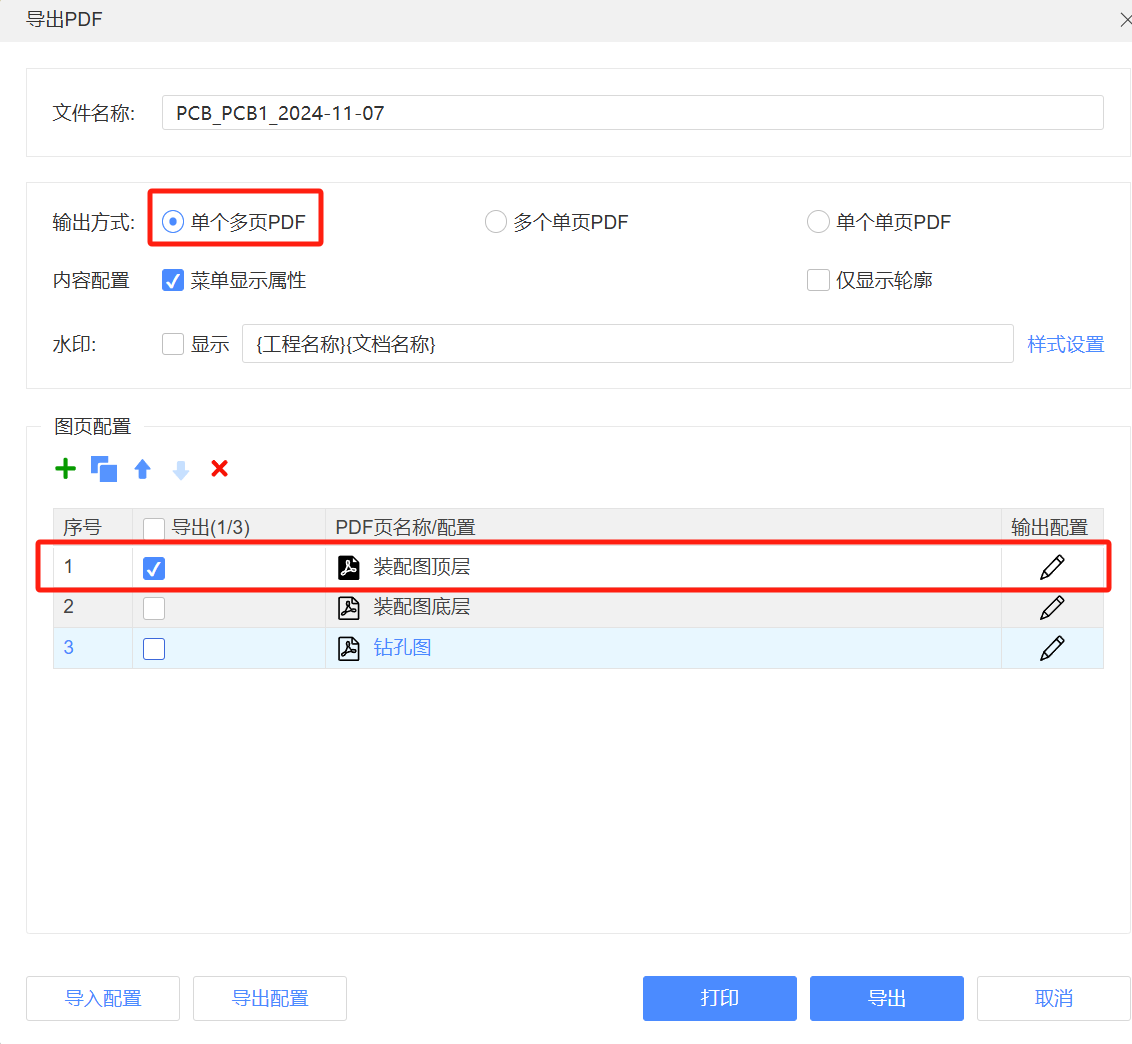
Multiple checks were done to ensure accuracy, and then I exported it! (The export settings are shown below)
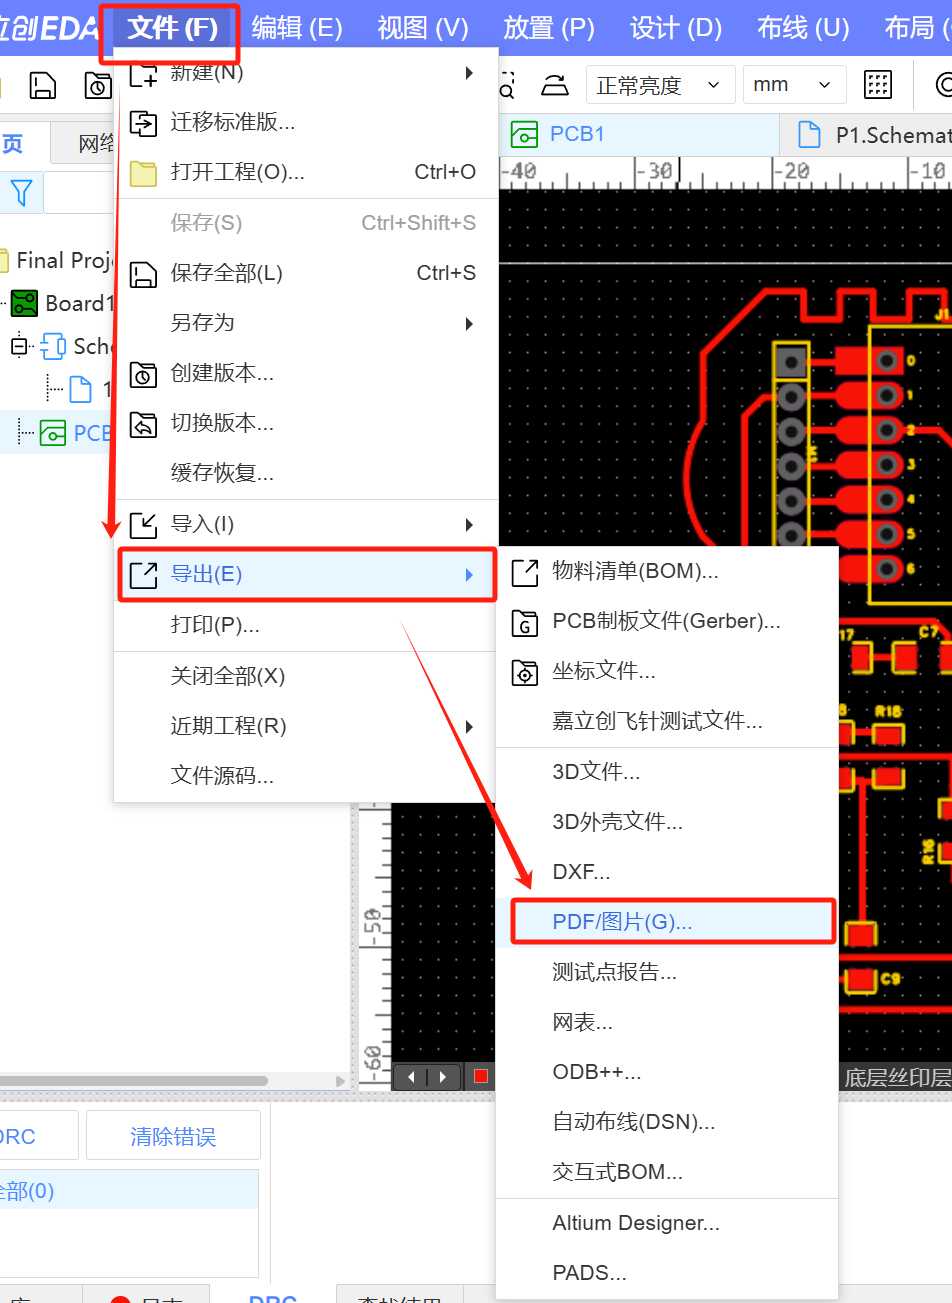


⭐Summary of some practical experiences with the schematic:
1.3.2 Generate the Milling Path
-
1.Photoshop
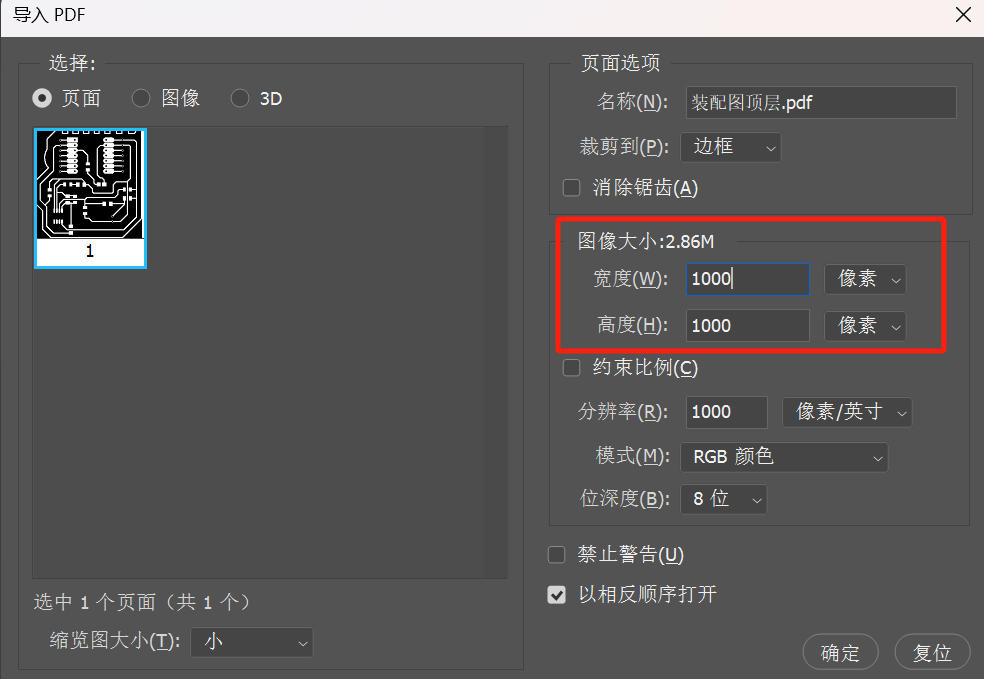
- The first step where mistakes often happen is the DPI setting. Each time a new PNG is selected, the default DPI is 72000, so make sure to change it to 1000.
- Set mill traces to 1/64 and mill outline to 1/32.
- Set the starting point to 0, since people tend to naturally think it starts from 0.
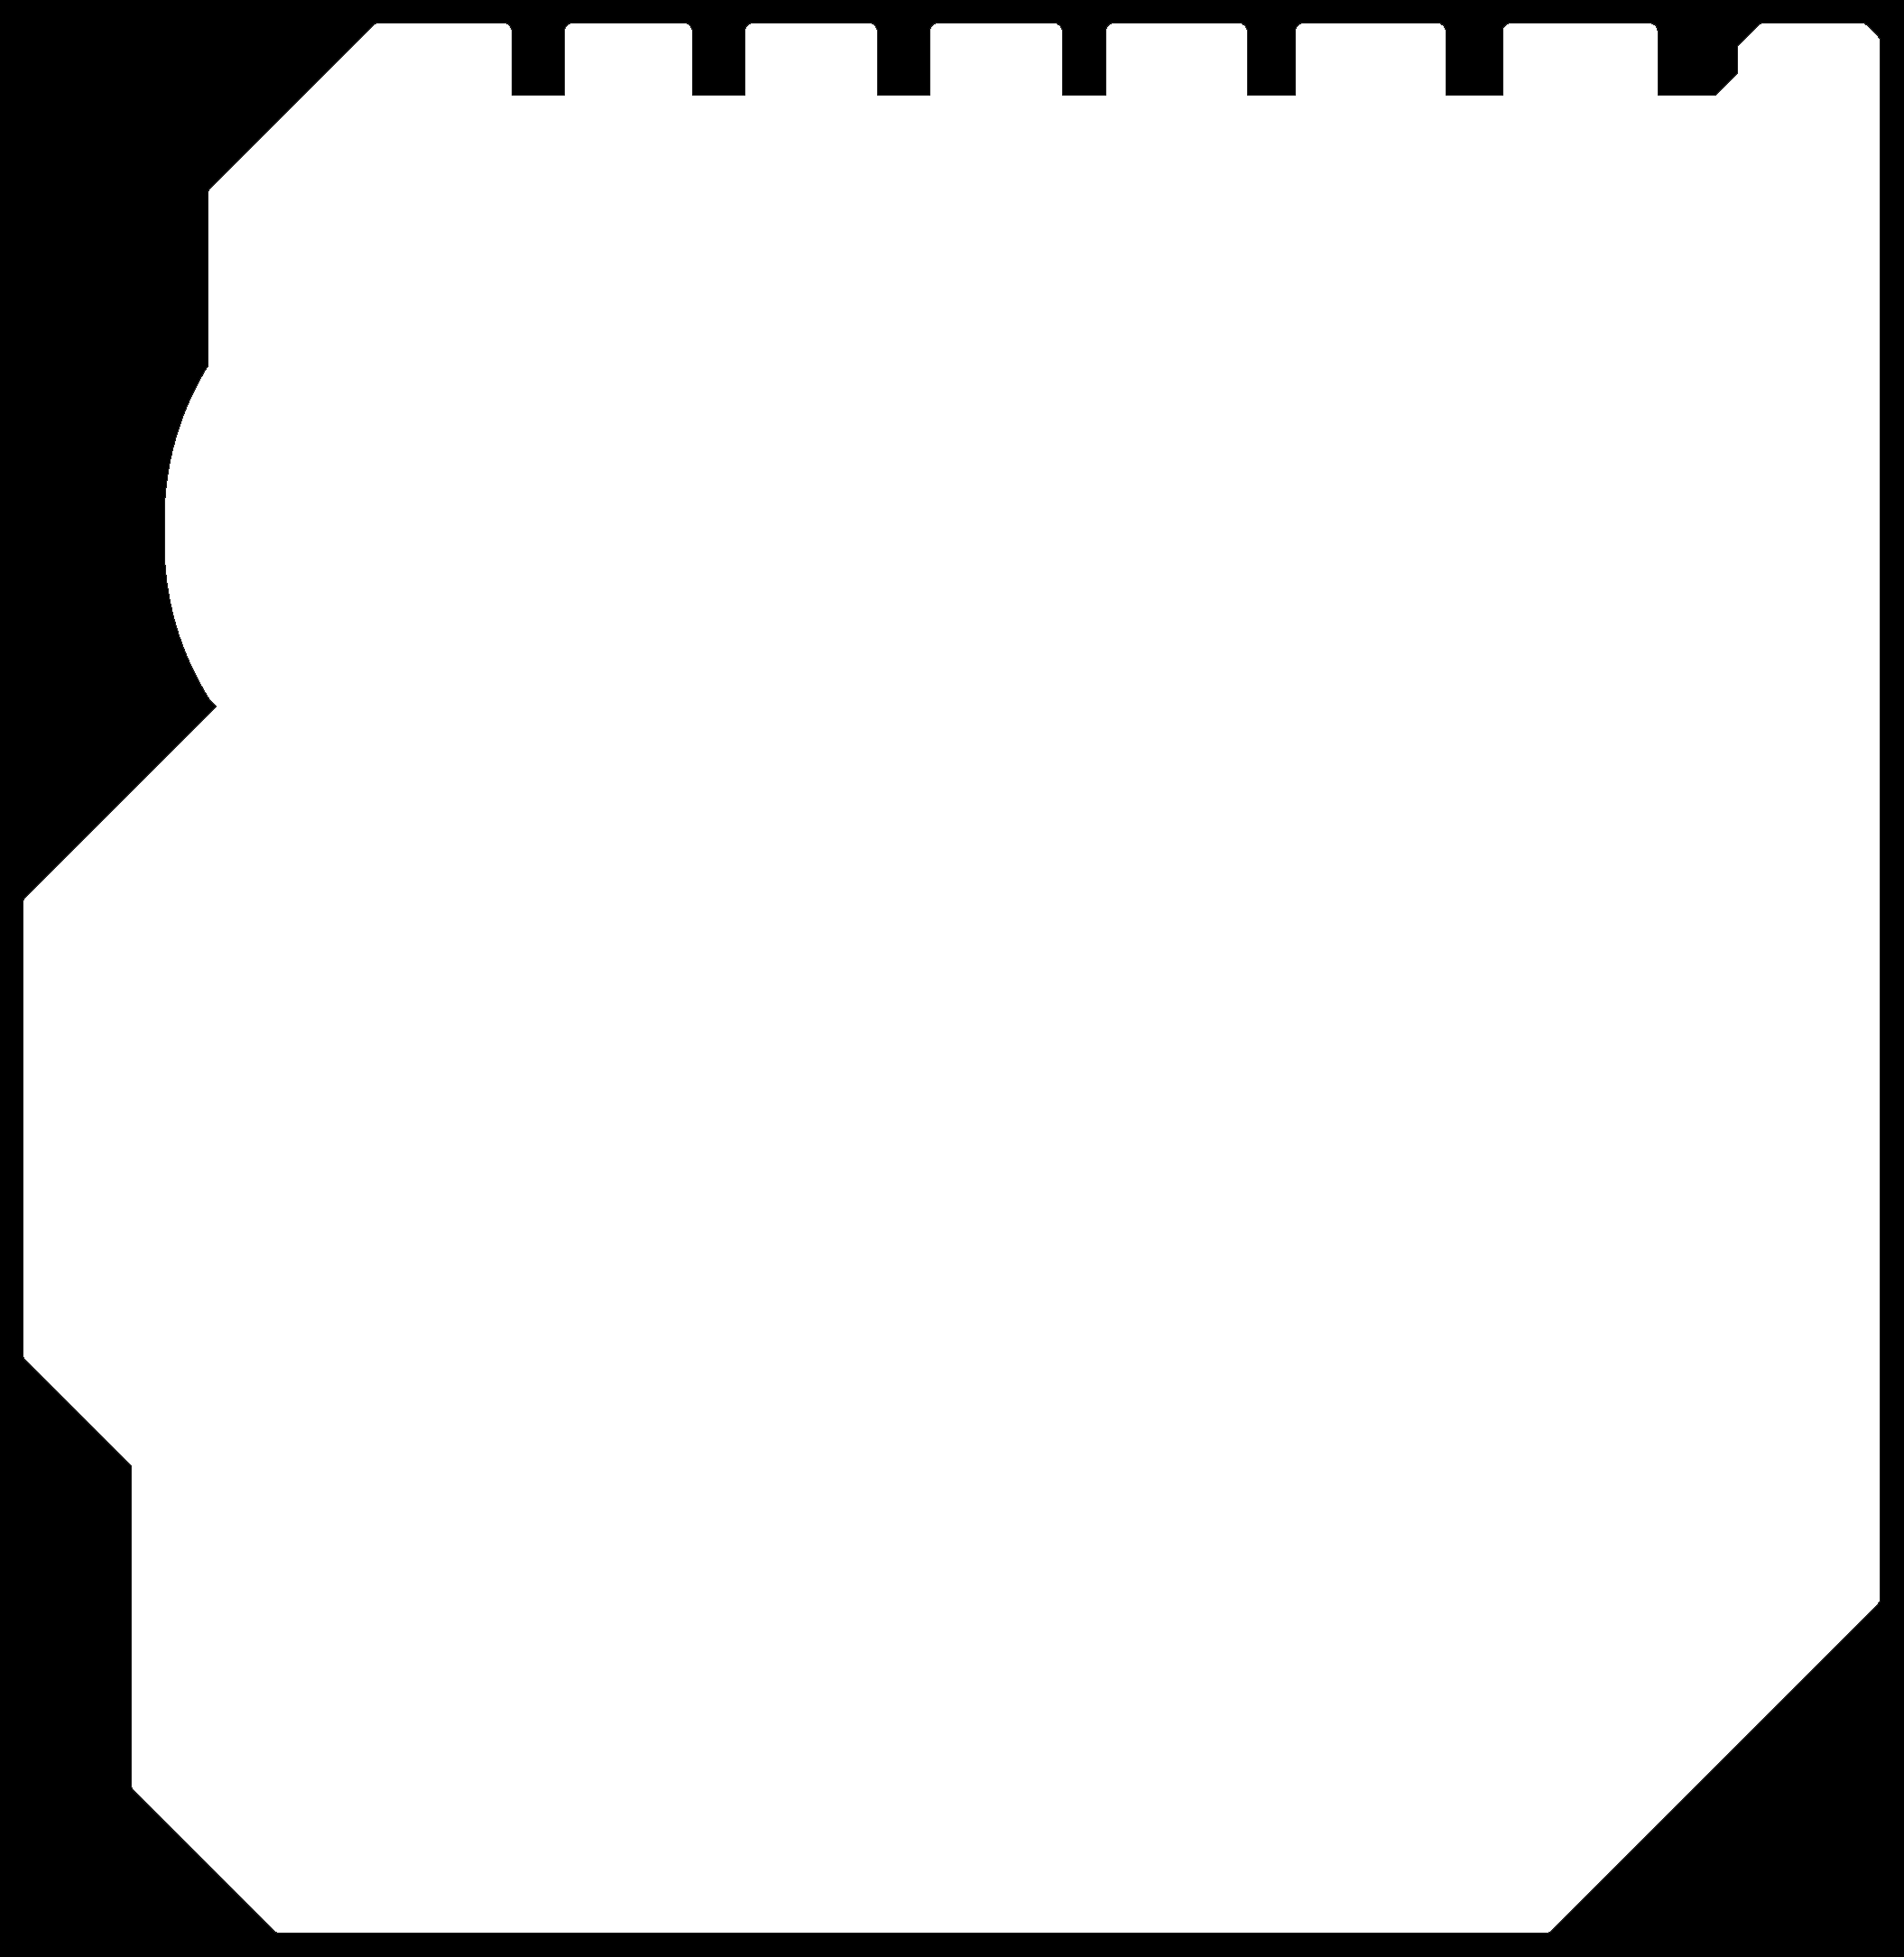
Since the export from EDA is a single PDF, we need to separate it into three layers: traces, vias, and outlines, each for separate milling. The traces will use a 0.4mm tool, and the vias and outlines will use a 0.8mm tool. The outline will be milled last to avoid the risk of the bottom tape not sticking properly.
Open the downloaded PDF in Photoshop, set the PDI to 1000, and synchronize it with mods.
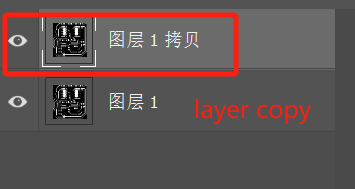
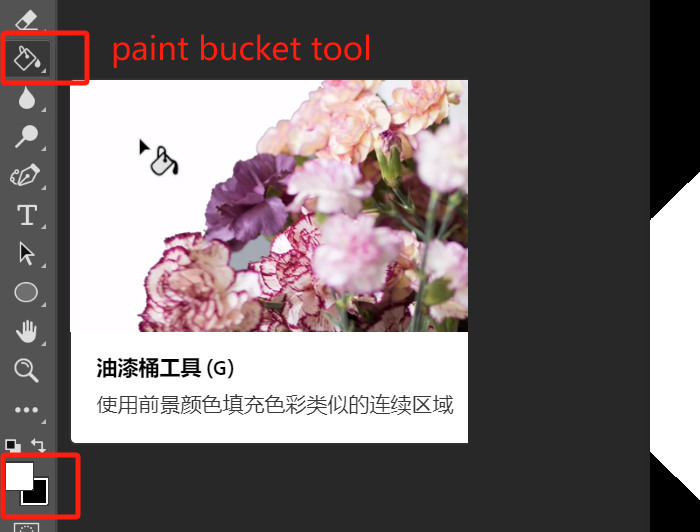
[Ctrl+J] to duplicate three layers and rename them. The exported PDF has a black background with white lines. Simply put, white represents the lines to keep, and black represents the areas to be milled away (typically, the toolpath in a circuit diagram is generated on both sides of the white lines). Use the paint bucket to fill with ink (ensure the foreground is white and the background is black). Then, separate into traces, vias, and outlines

Export as PNG, then use mods to generate the toolpath [hero shot]
In Week 4, I explained why each step is done in a certain way. Below are a few important settings that are easy to get wrong:
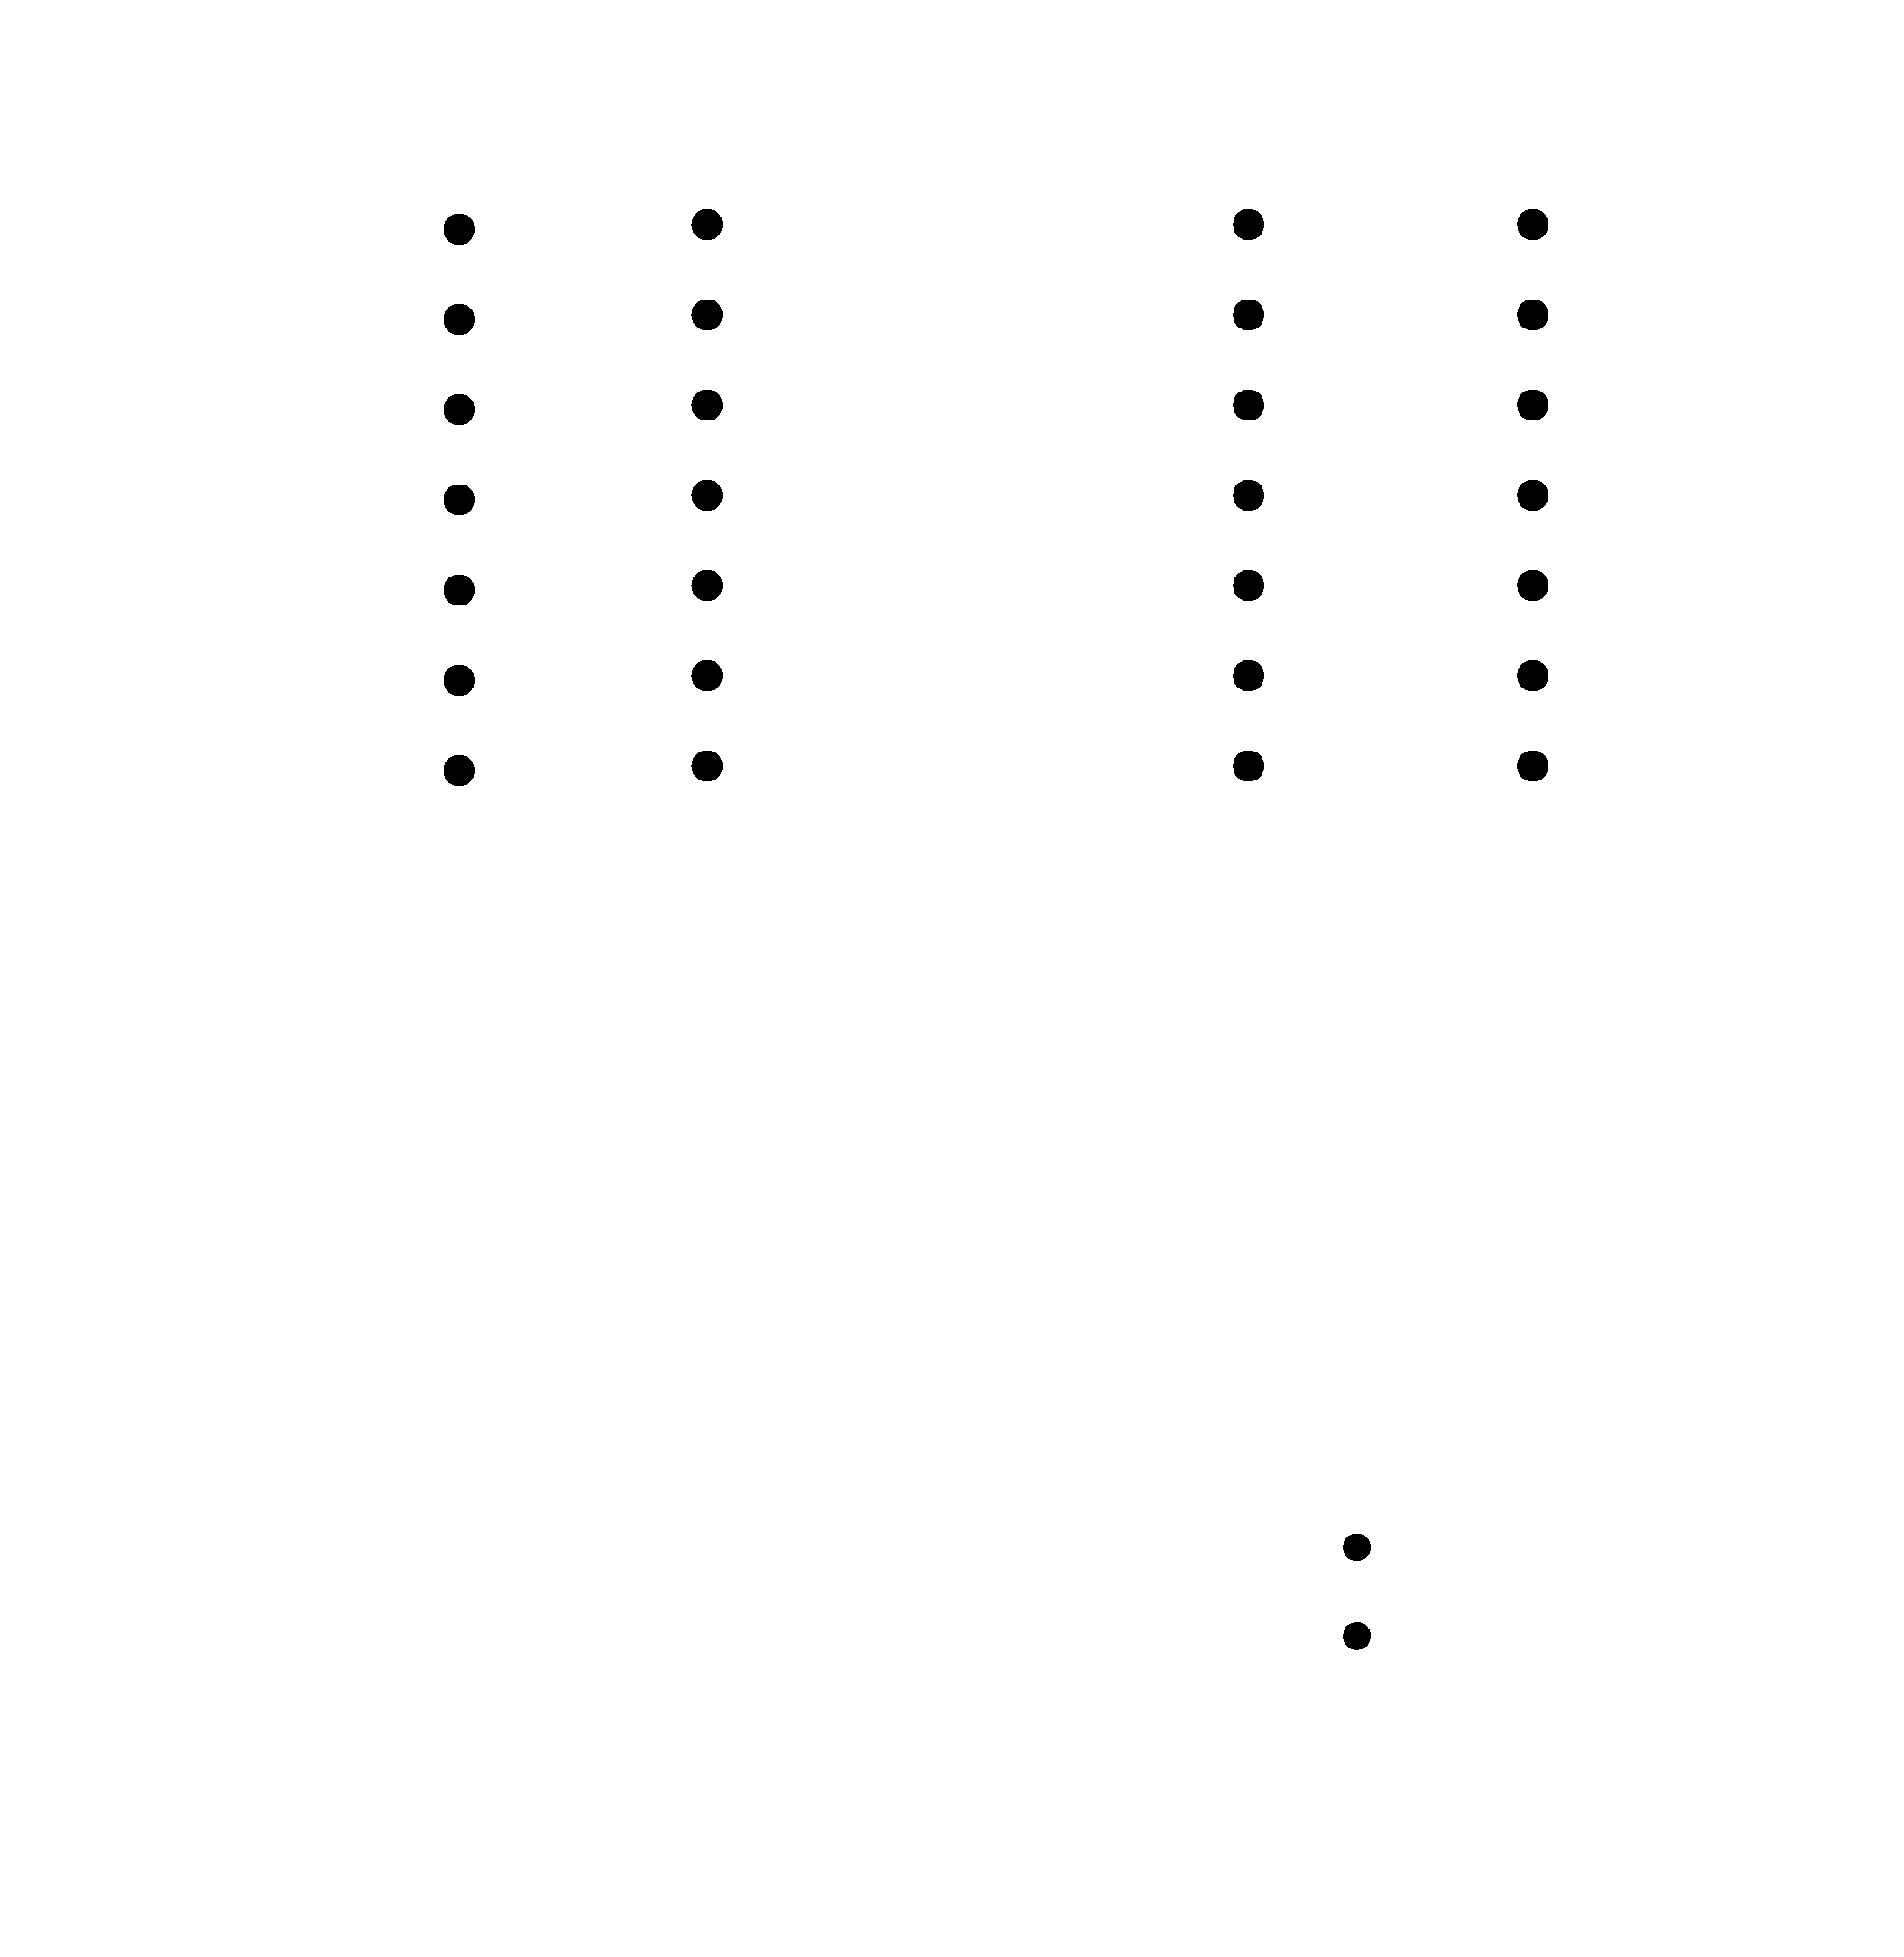
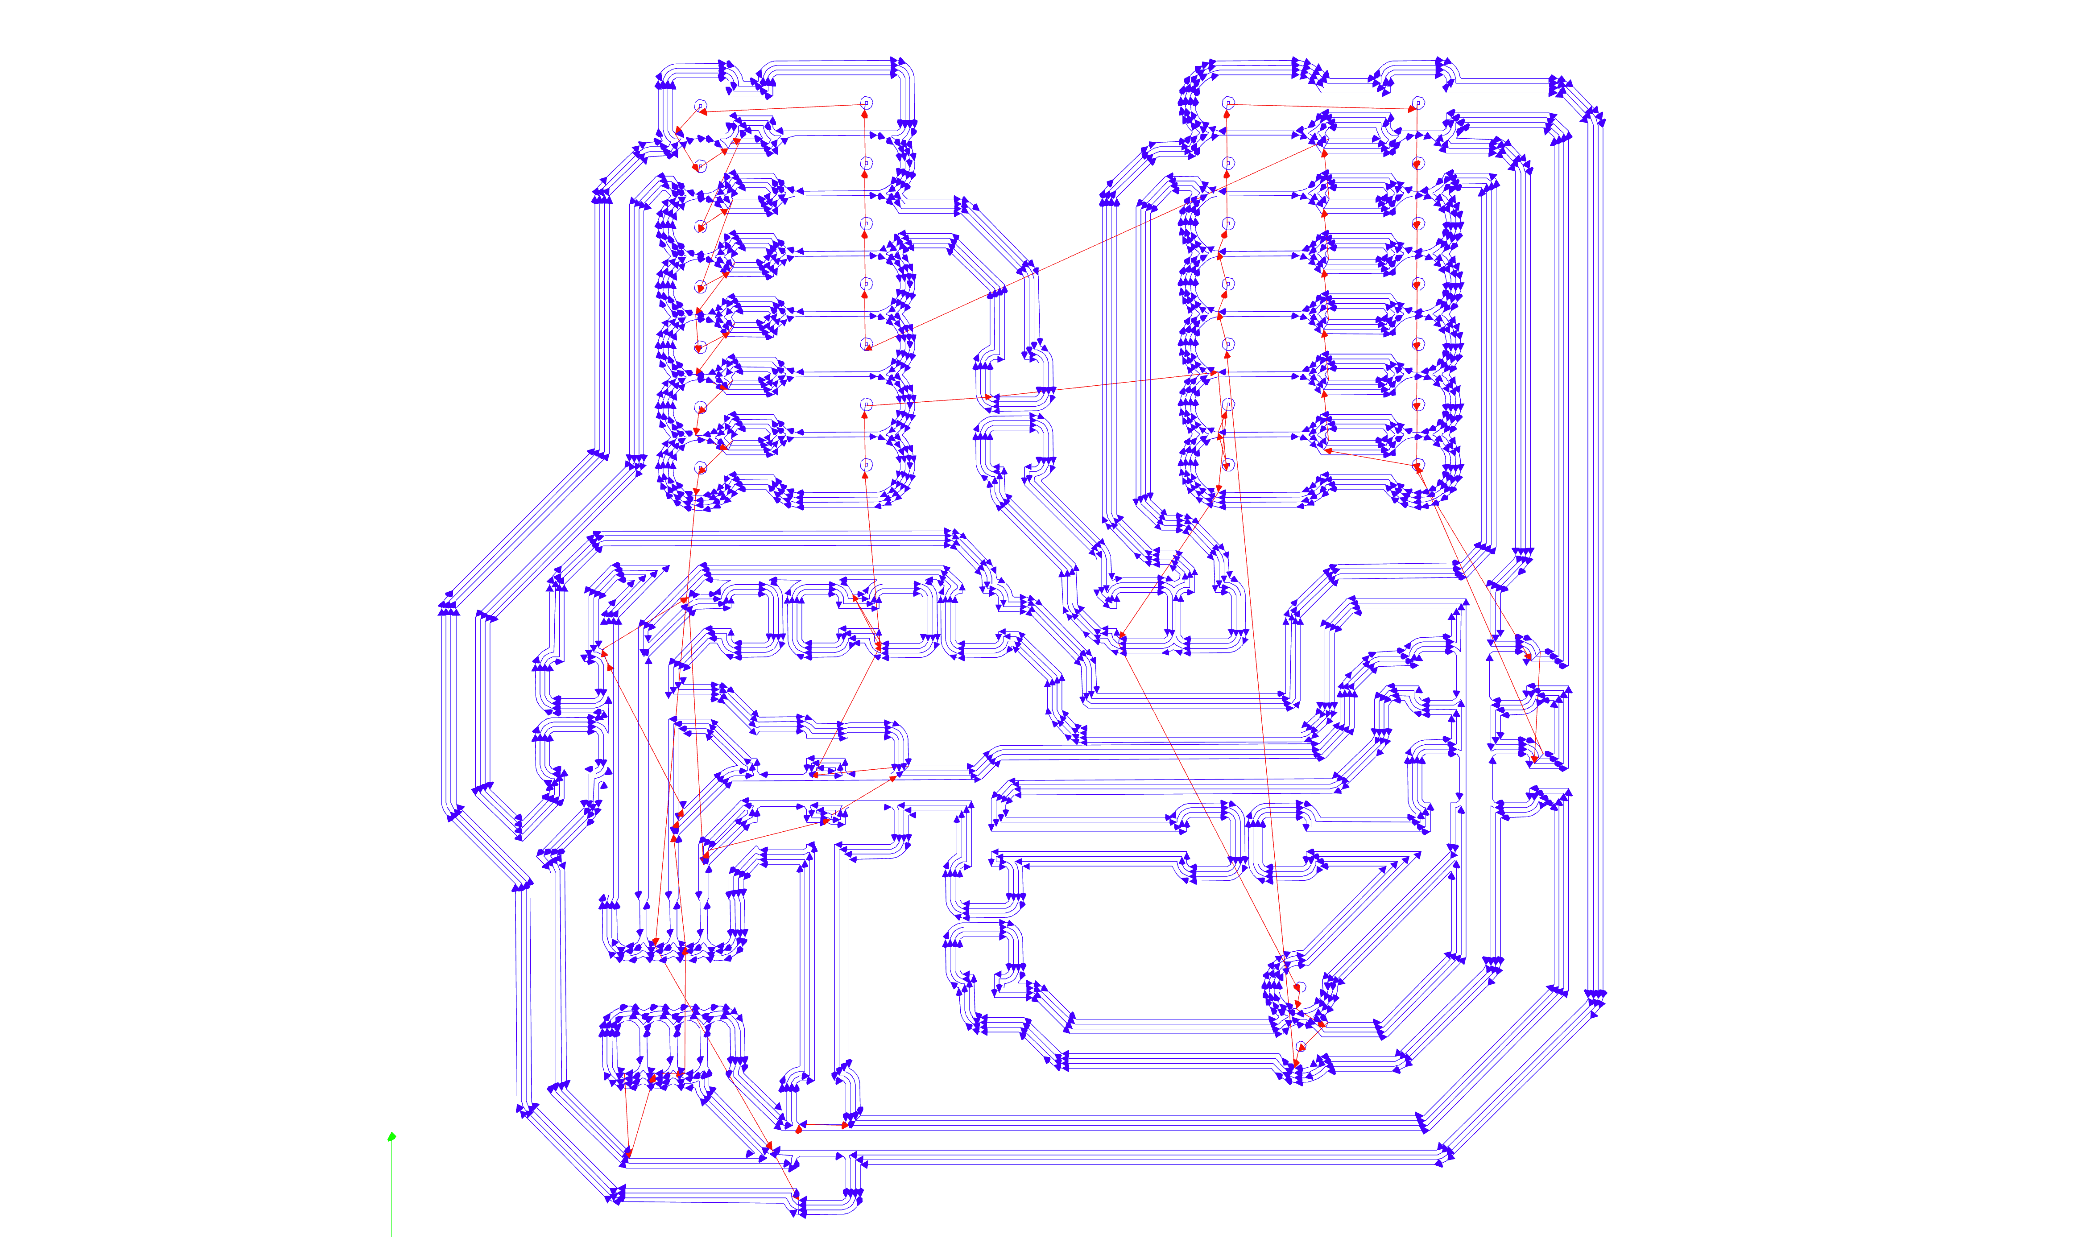
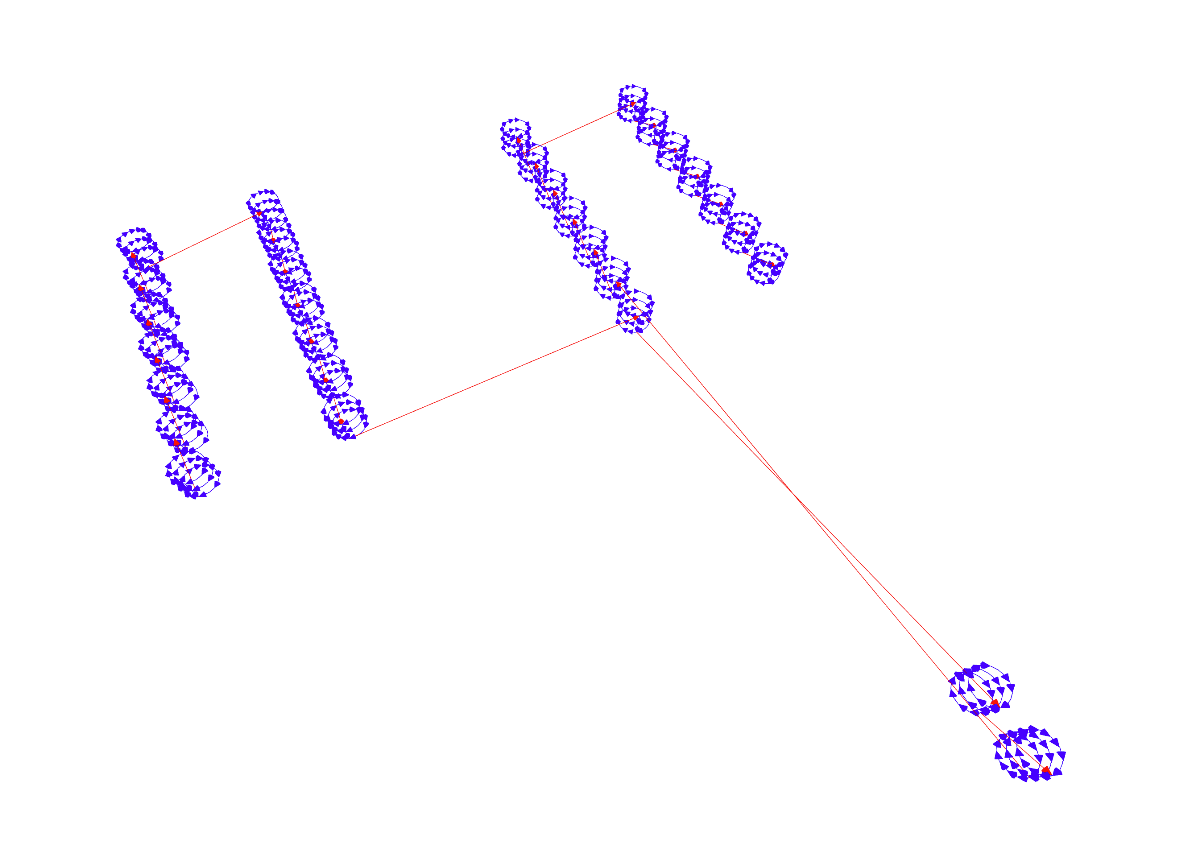
Some of the process and results of generating the paths:
mill traces
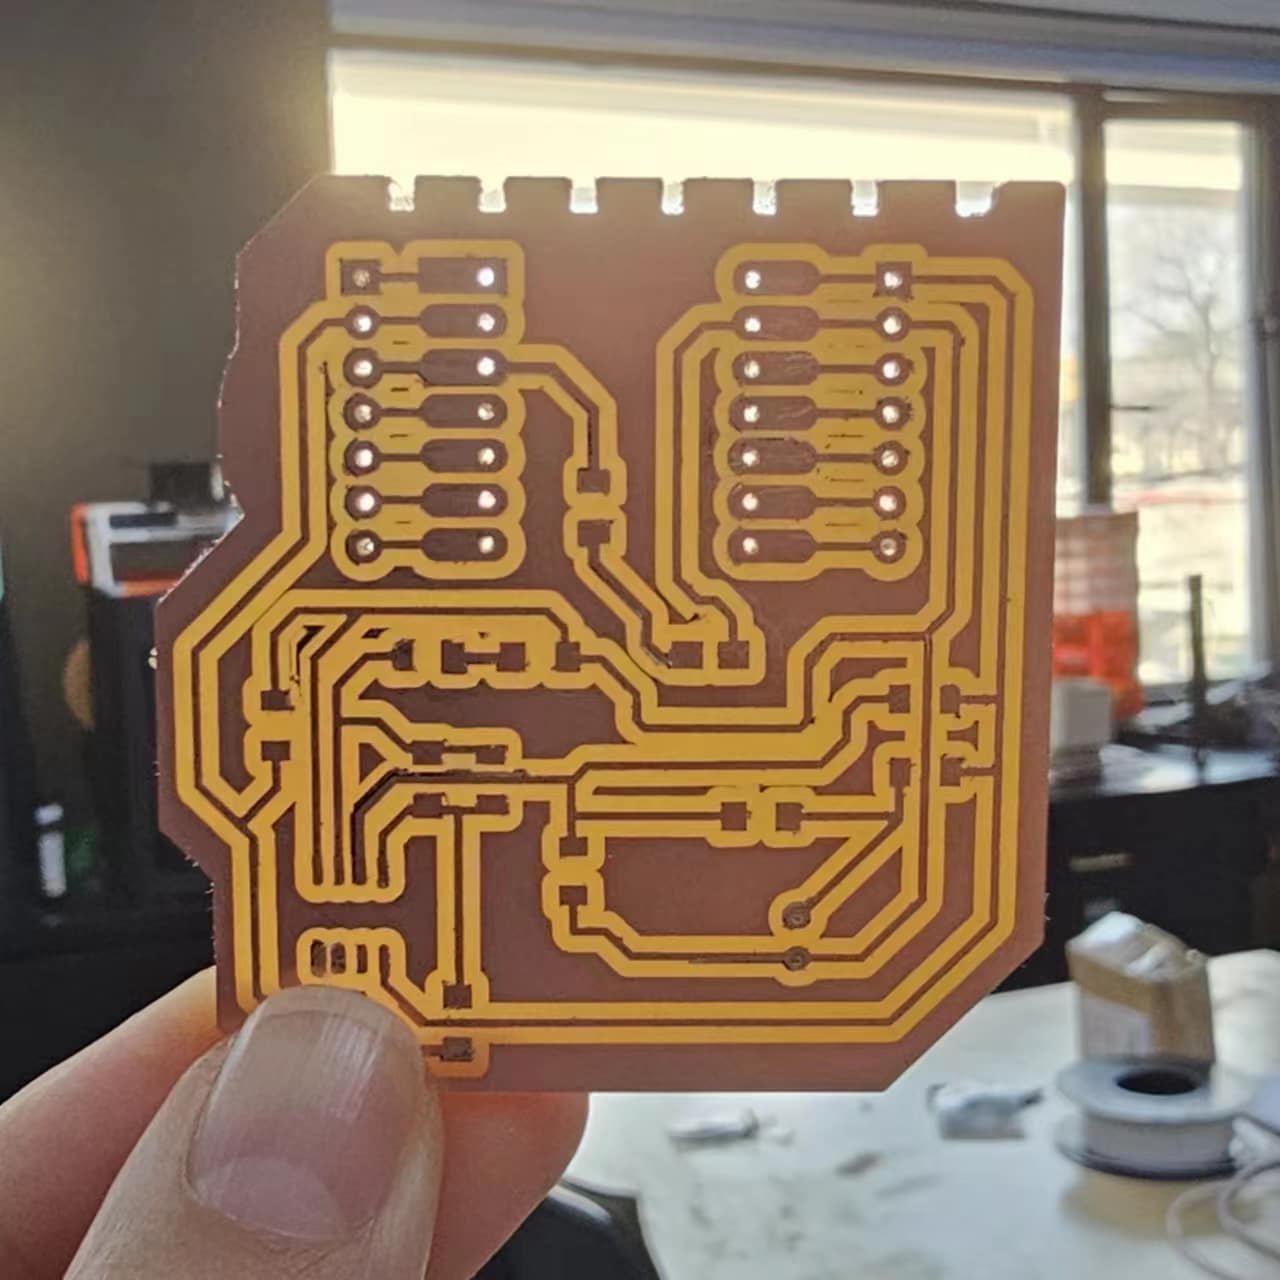
1.3.3 Milling and Soldering the Circuit Board
1.MillingSince I've done this before, I had a smoother experience this time with no major issues.
1:Check the tool bit. The previous user used a 0.8mm bit. Typically, I start with milling the traces before changing tools.
2:djust the RPM to 10,000
3:Manually set the X and Y axes, and use the auto-leveling probe to set the Z origin.
4:Use a USB drive to import the three RML files into VPanel, then select “Output” to begin the milling process.
5:Vacuum extraction
2. Soldering
With the deadline approaching, I didn't have time to mill a backup board, so I nervously began the soldering phase.
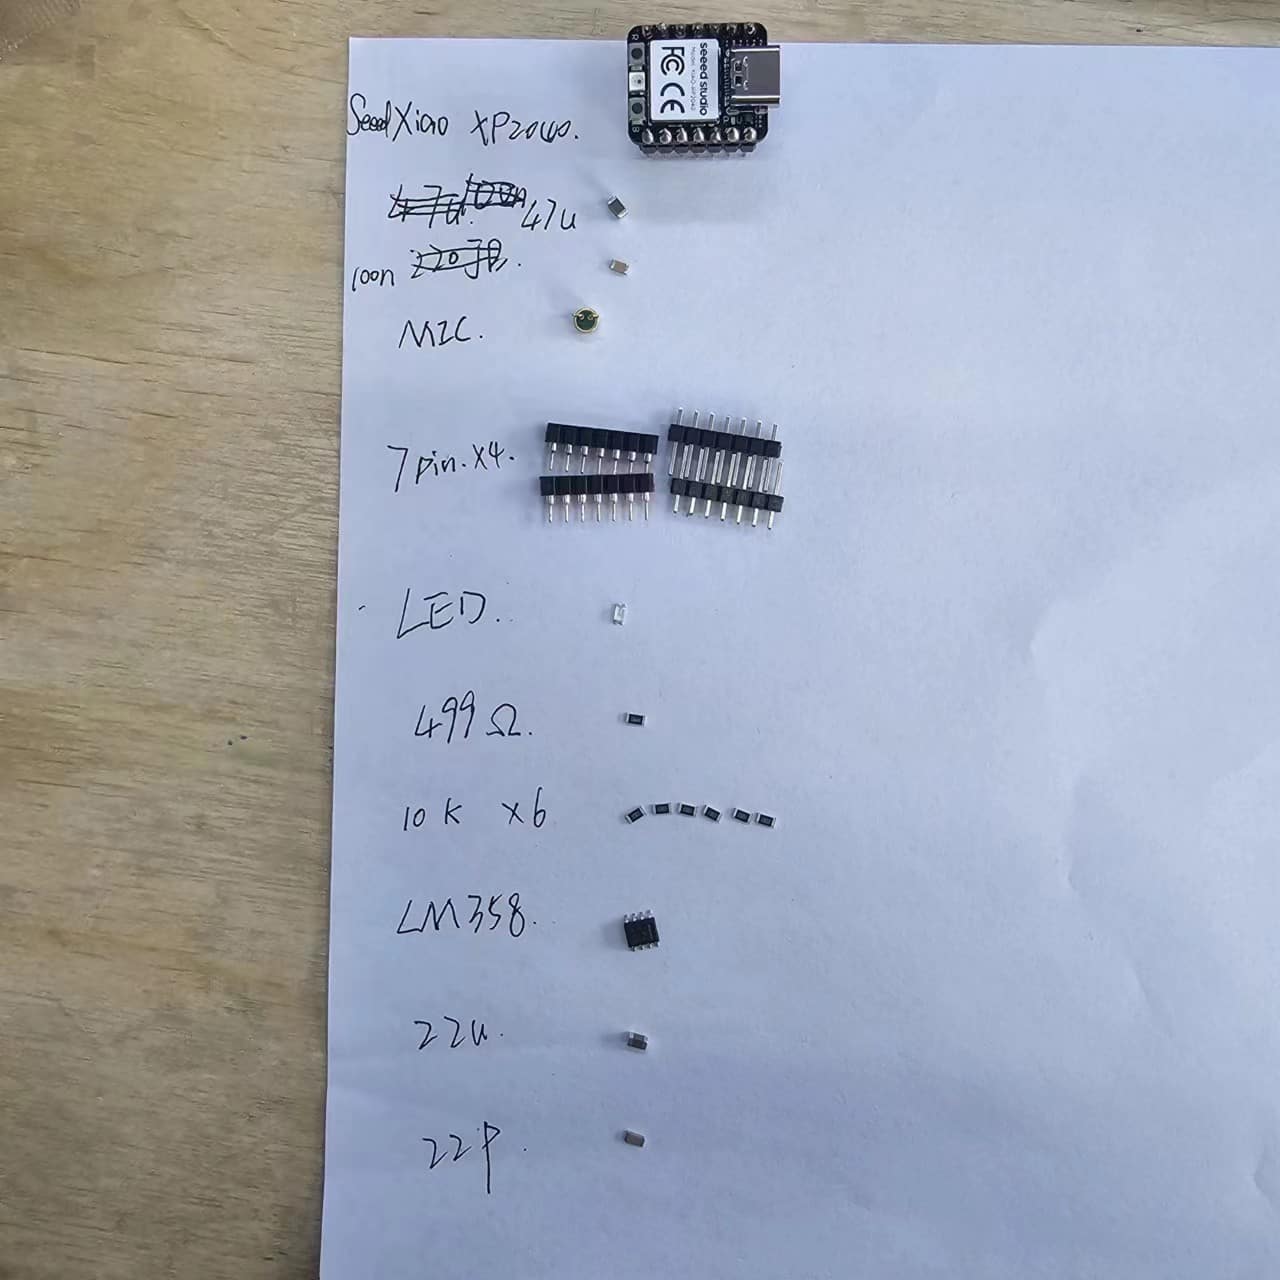
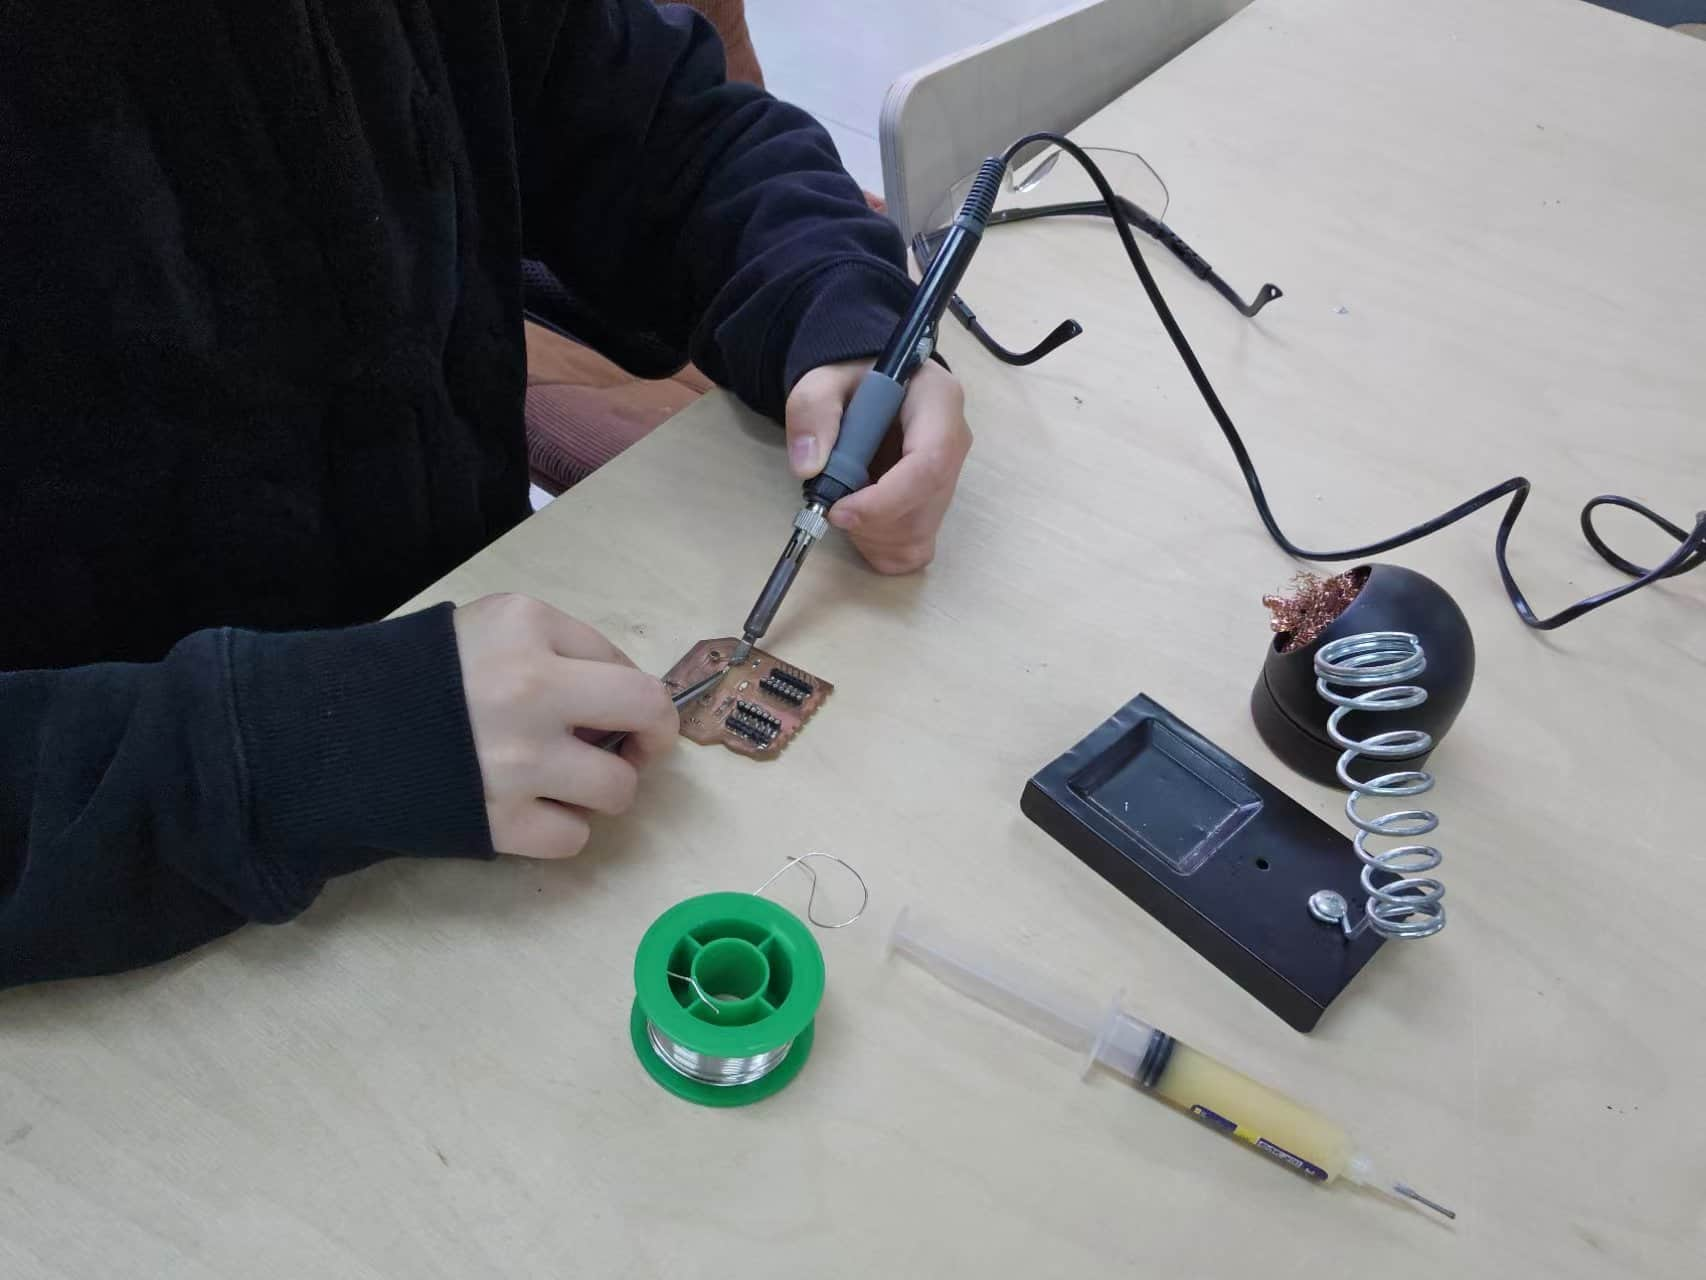
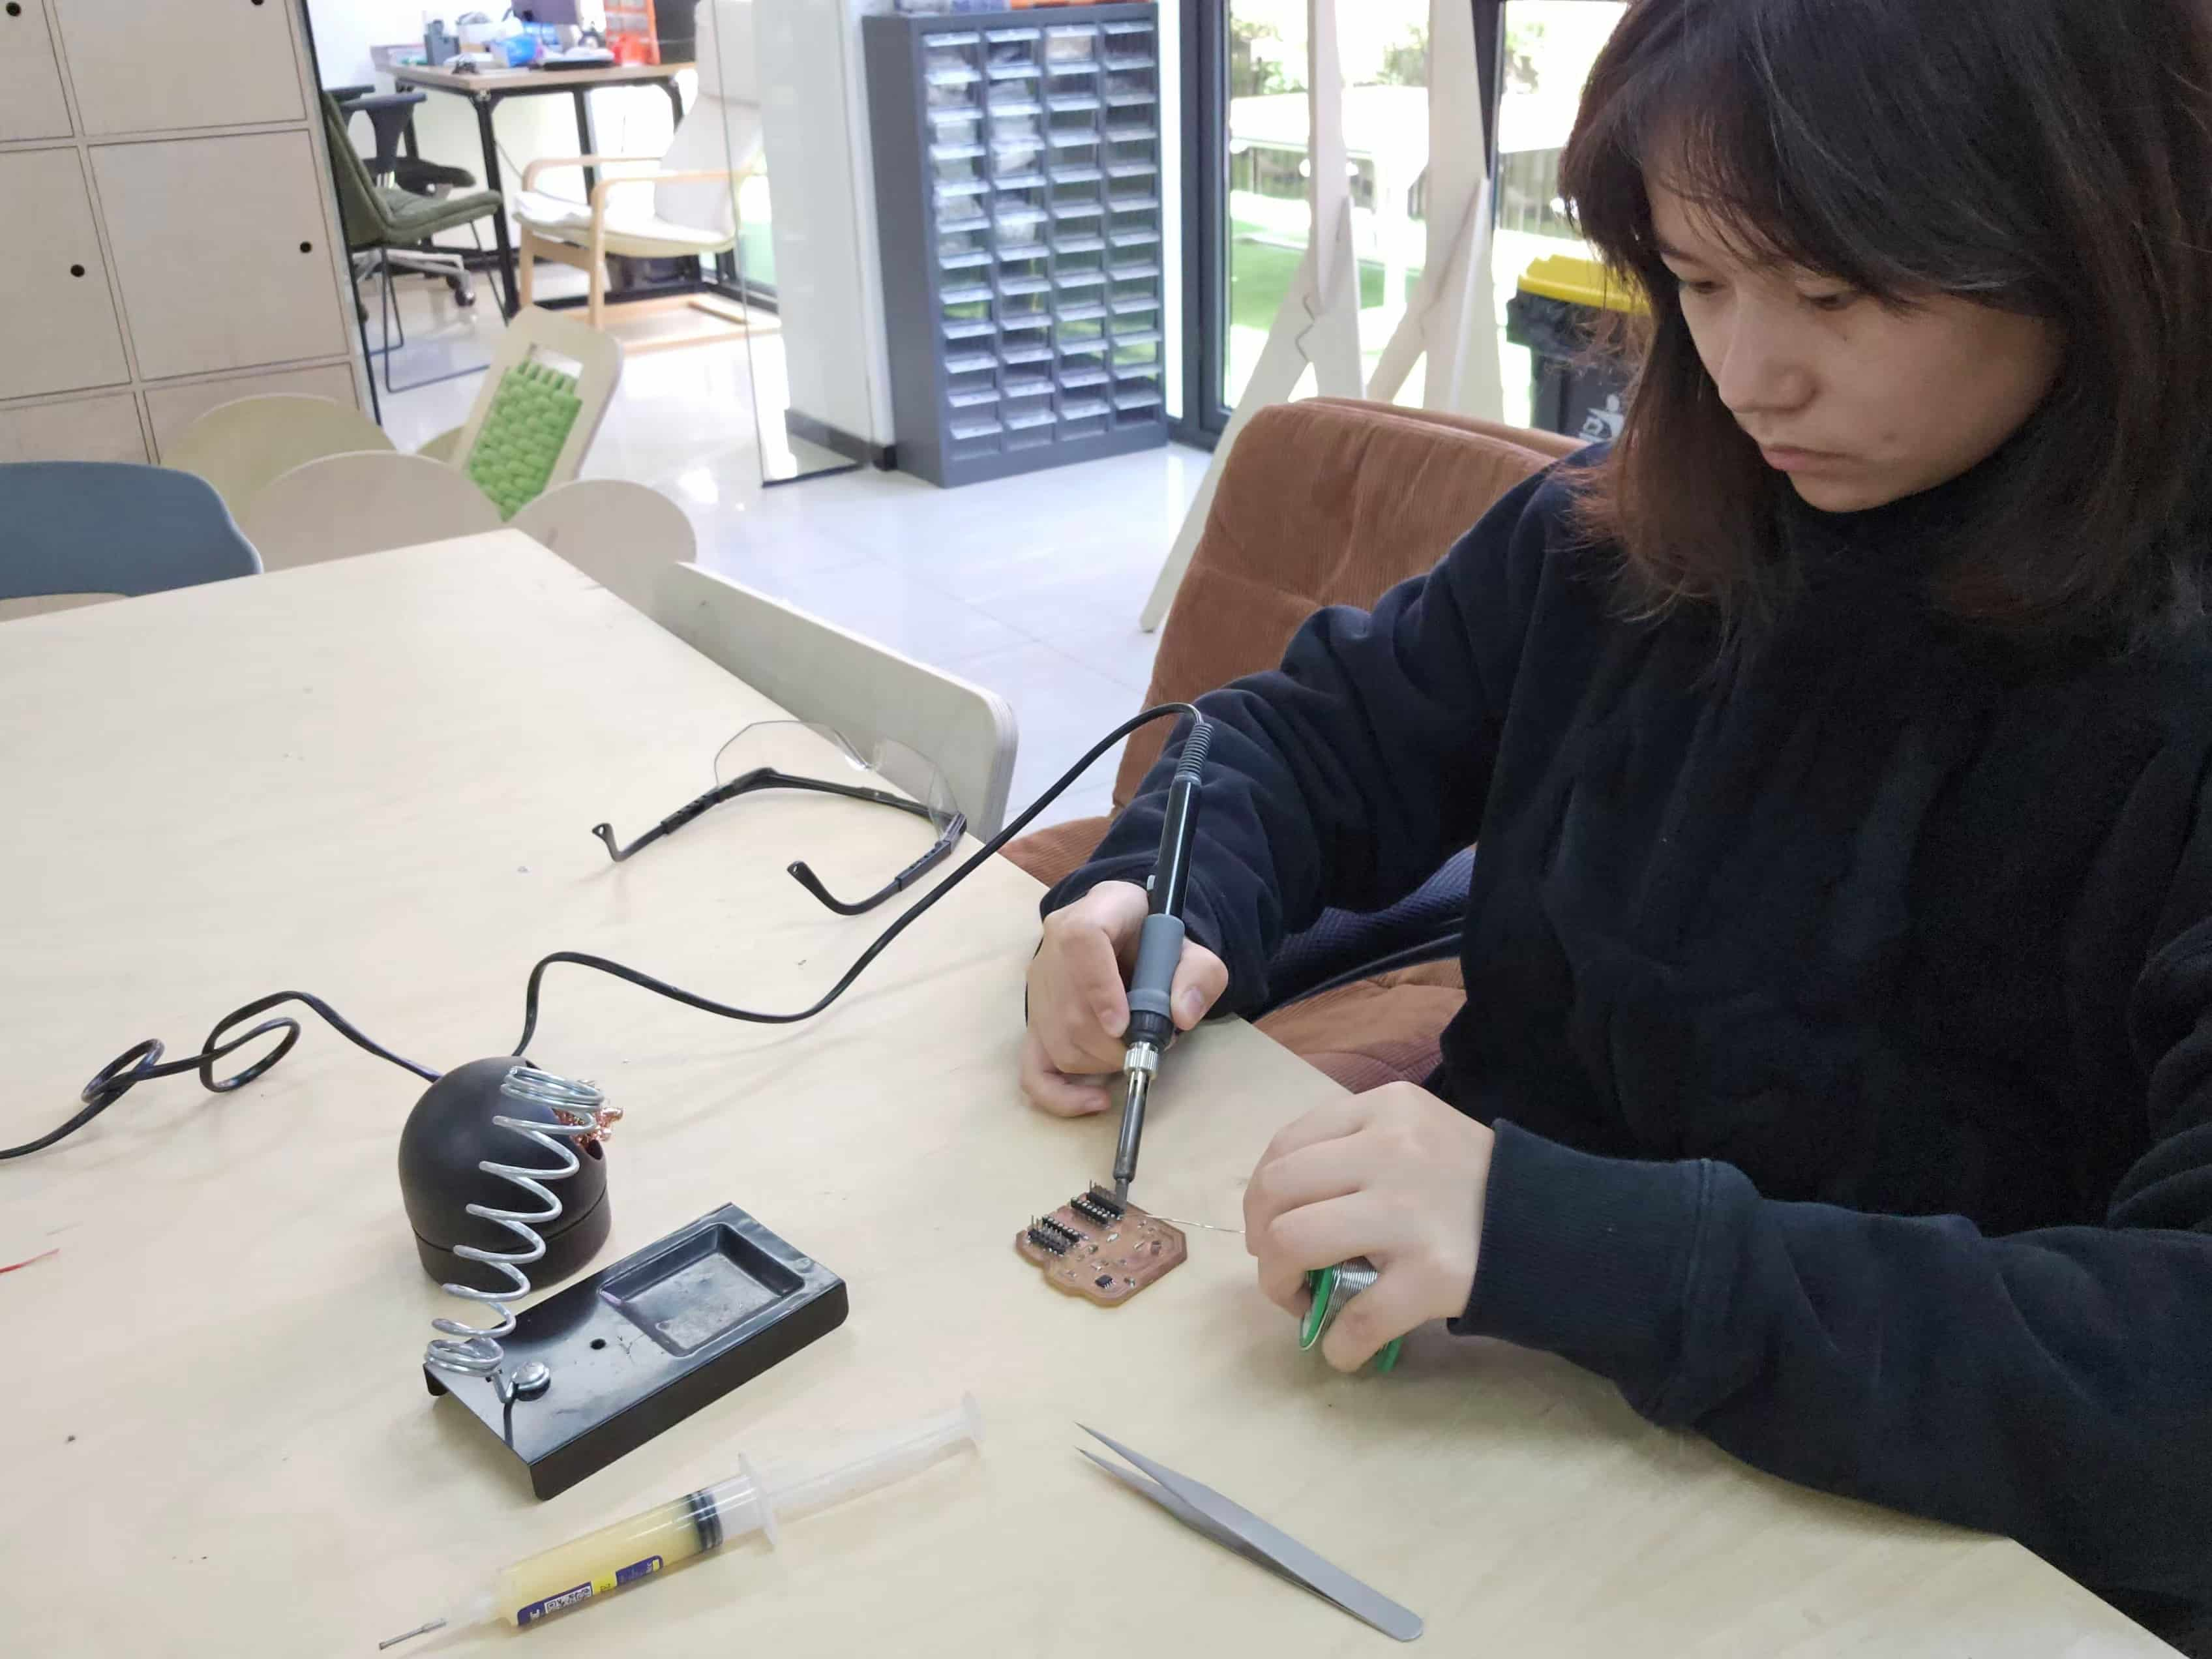
There was a minor incident at the start. I began soldering the smaller components first out of habit. However, my colleague recommended soldering larger, heavier components first (like capacitors and inductors), then moving to smaller ones (like resistors, diodes, and chips) to avoid knocking smaller pieces out of place or overheating them. I appreciated the advice!
Final Product!
⭐Key Soldering Tips and Techniques Learned::
1.3.4 Arduino IDE
I used the sound sensor to test and used music to control the small lights on the circuit board to dance.
According to the wiring diagram provided by the seller, I connected the signal line of the sound sensor to pin 26 of the XIAO RP2040, and controlled an LED on pin 28 to flash in sync with the sound frequency.

When I started programming, emmm… I ran into some difficulties. I wasn't sure how to make the sound sensor control the LED. My colleague told me I needed to use the map function, which converts the voltage signal read from pin 26 into an analog value in the range of 0-1023, then maps it to the PWM signal range (0-255) needed for the LED. This allows the brightness of the LED to be controlled by the intensity of the ambient sound—the louder the sound, the brighter the LED; the quieter the sound, the dimmer the LED.
I found a video here that explains the map function:
Here's the code:
Success!