Computer-Controlled Machining
Hooray! Make (design+mill+assemble) something big! I'm seriously pumped up for this!
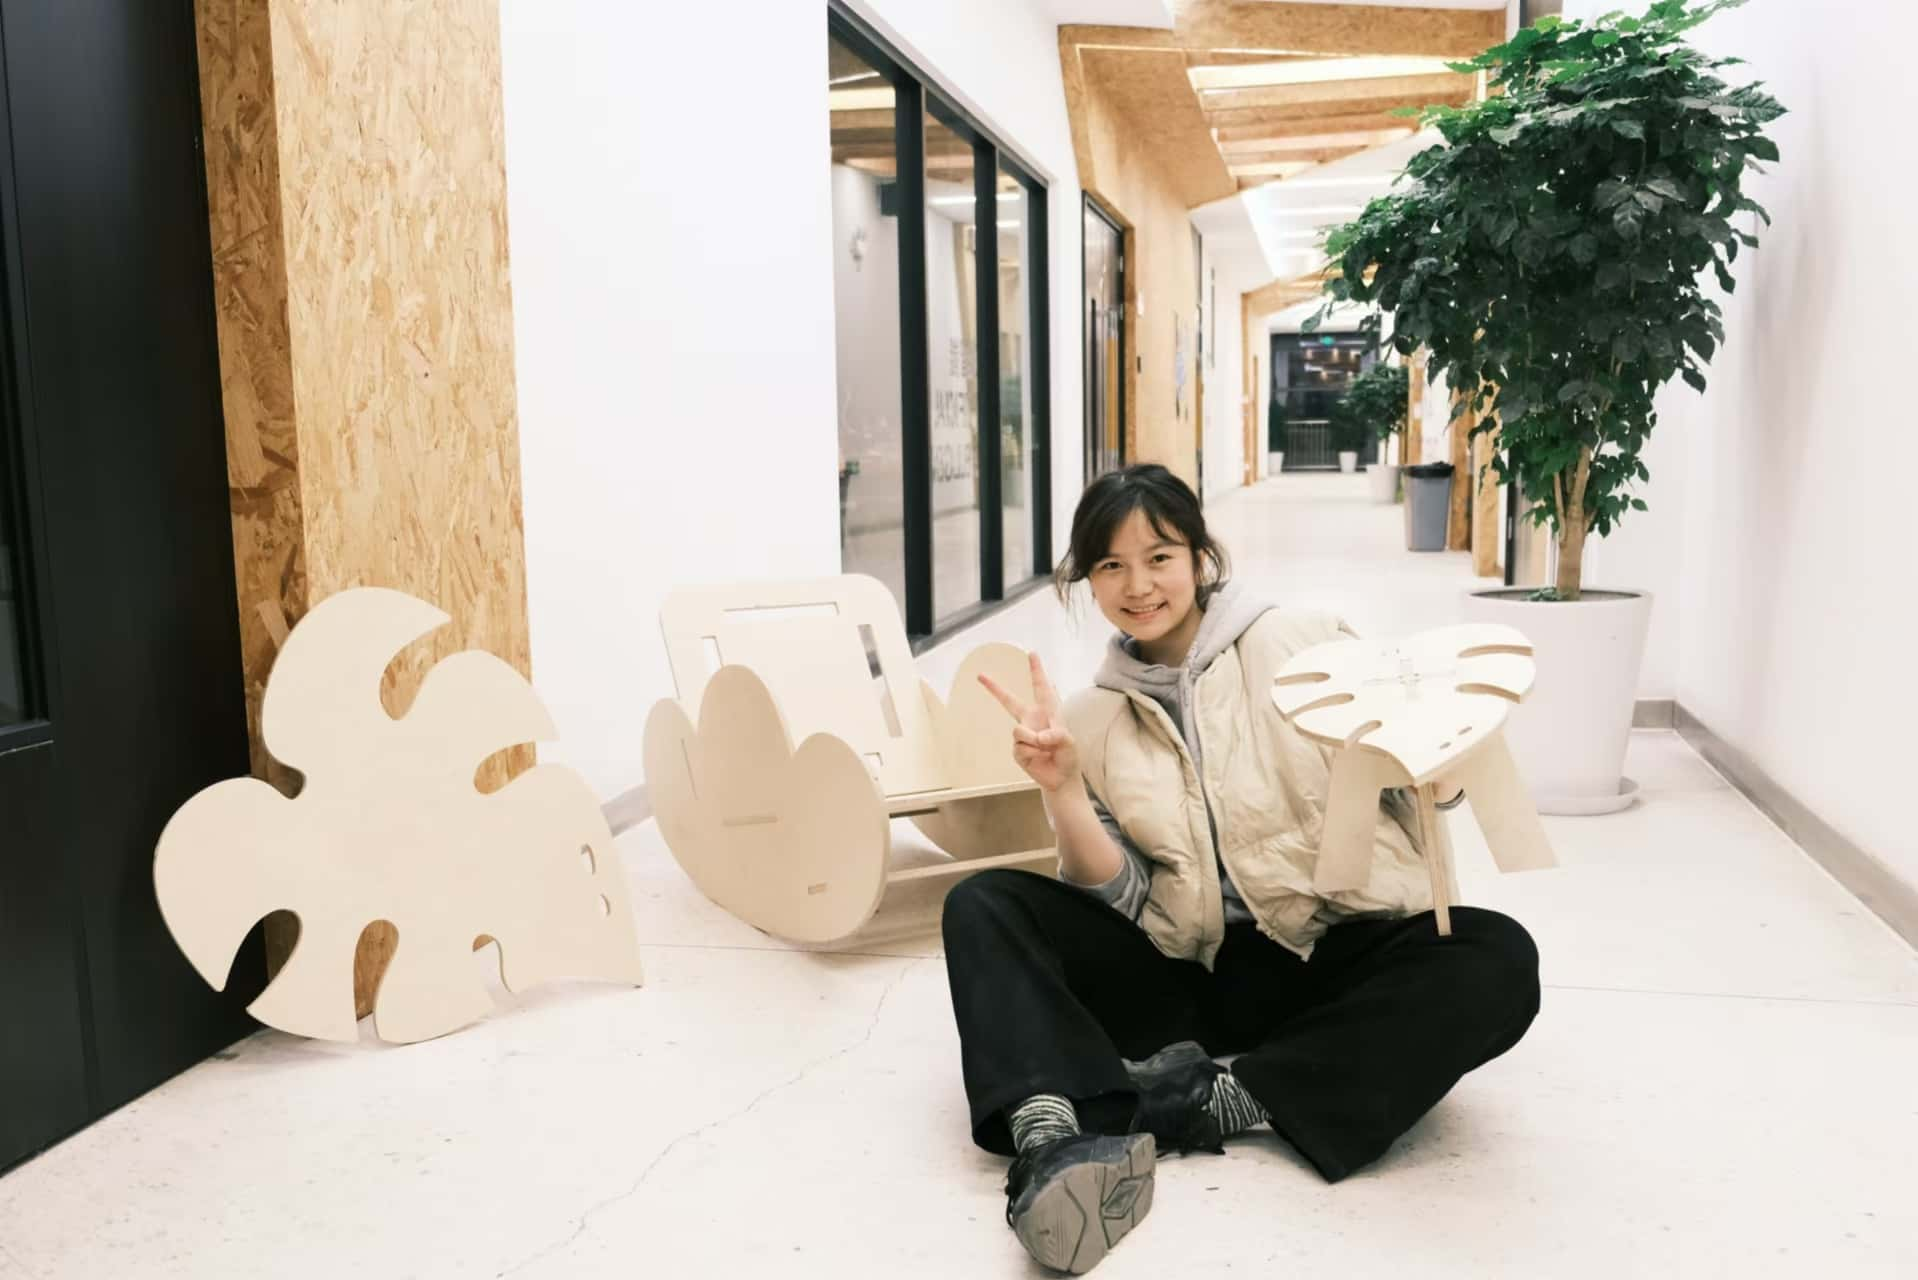
Hero Shots
1.1 Assignments of the Week
- Group assignment:
Complete your lab's safety training
Test runout, alignment, fixturing, speeds, feeds, materials and toolpaths for your machine
Document your work to the group work page and reflect on your individual page what you learned
- Individual assignment:
Make (design+mill+assemble) something big
1.2 Group Work
1.3 Individual Work
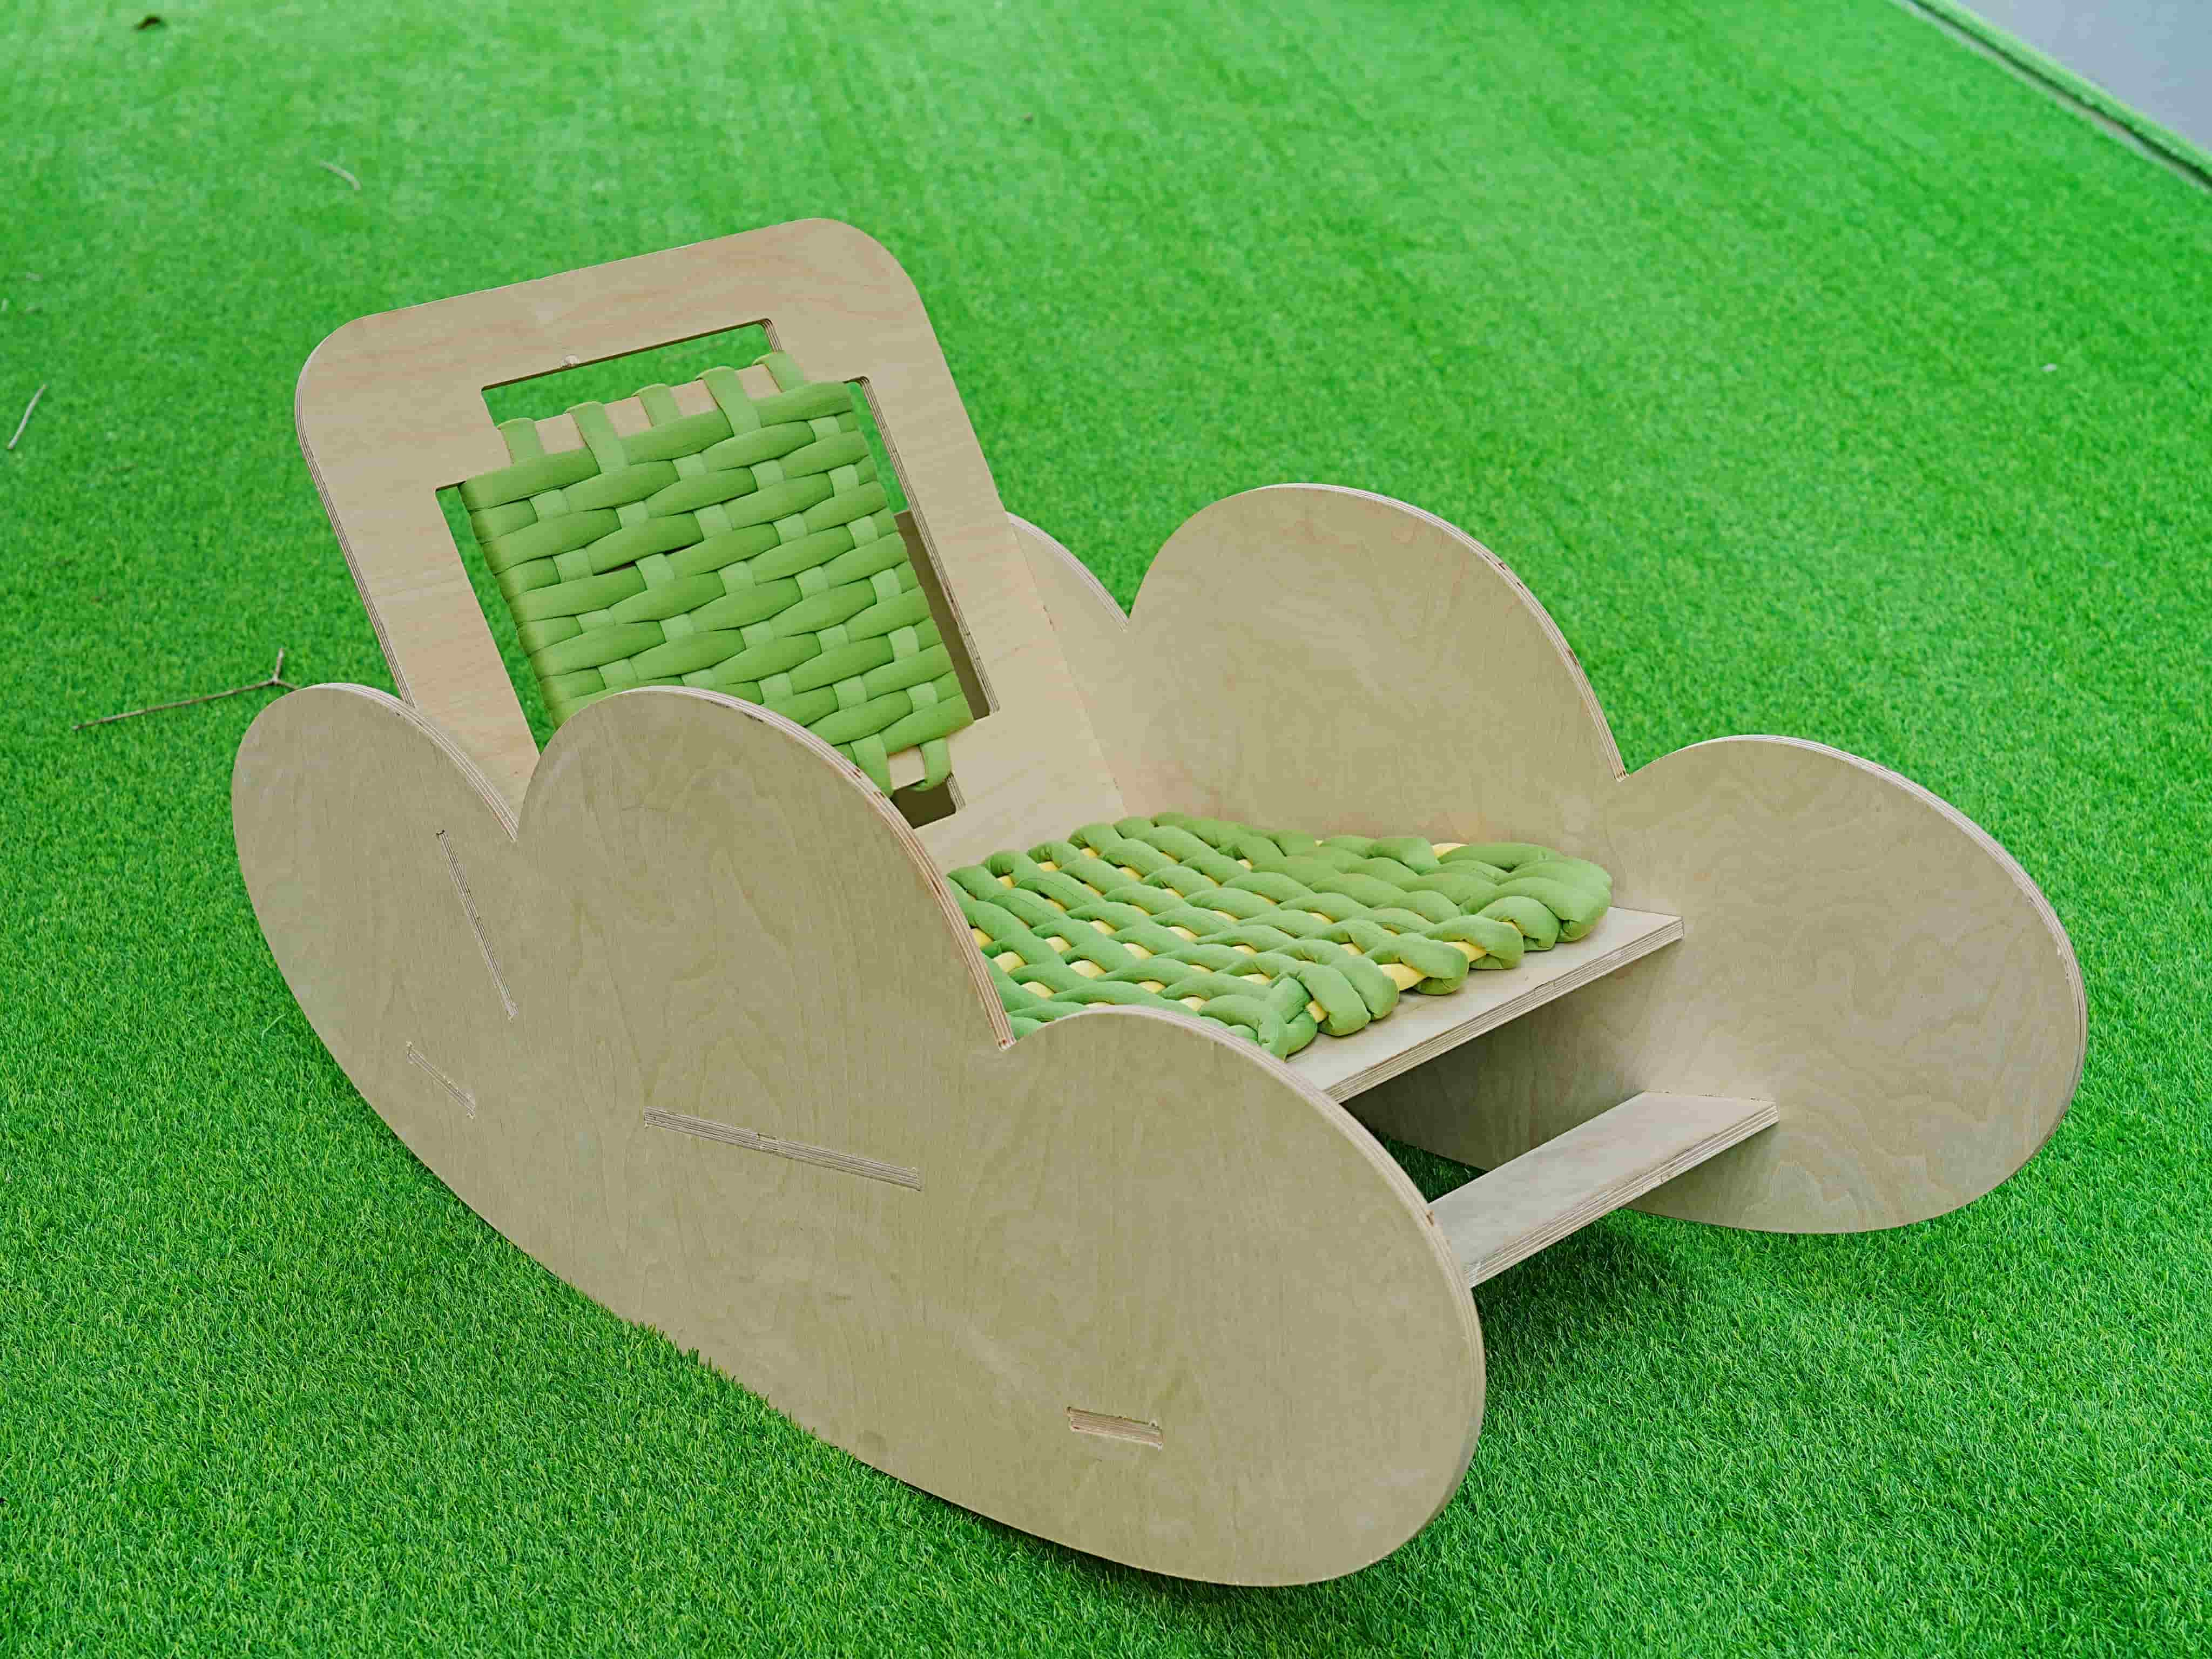
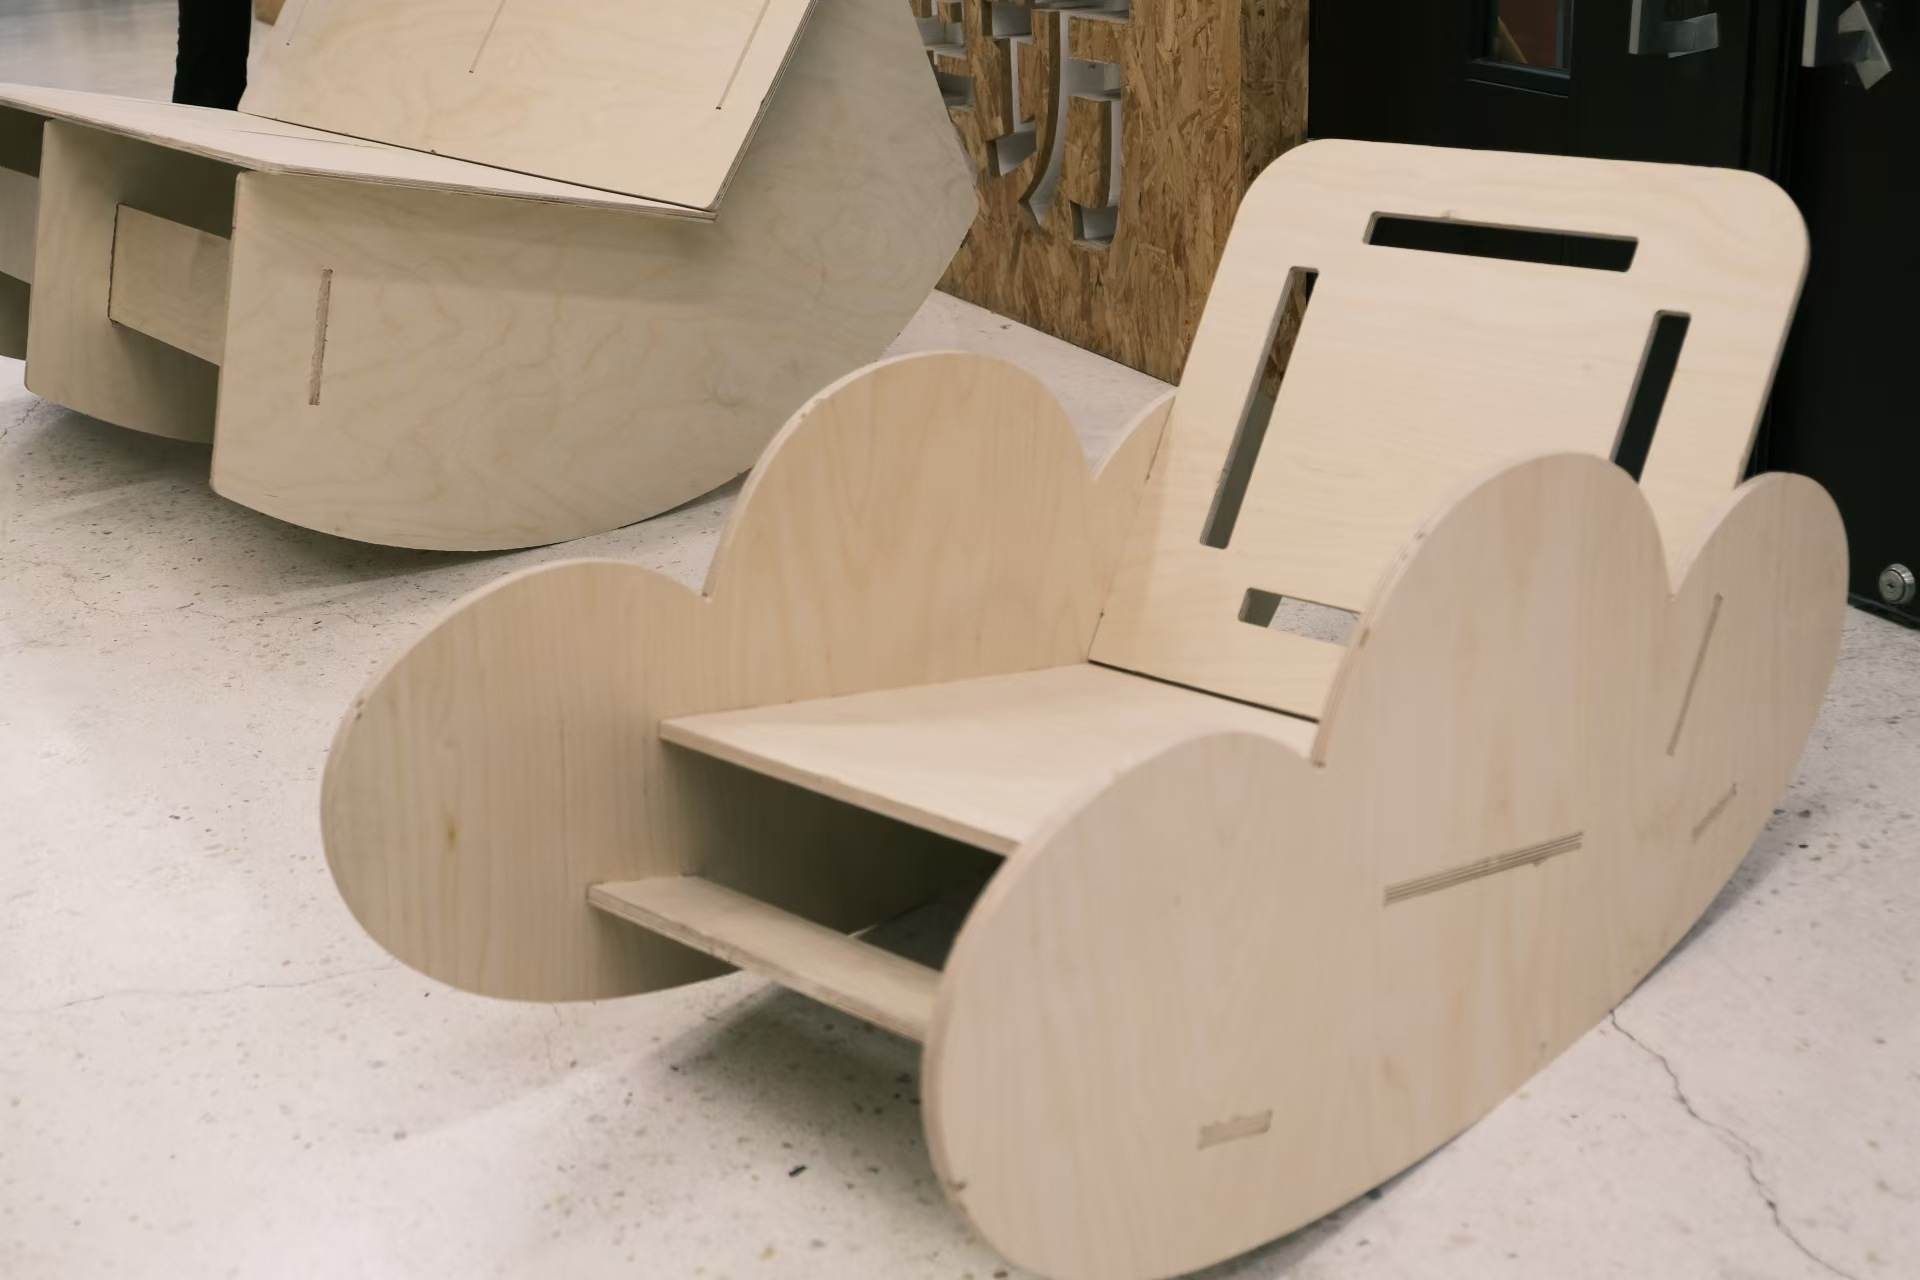
Since I've always been a fan of rocking chairs, but the ones on the market are pretty traditional, I figured I'd make myself a cloud rocking chair!
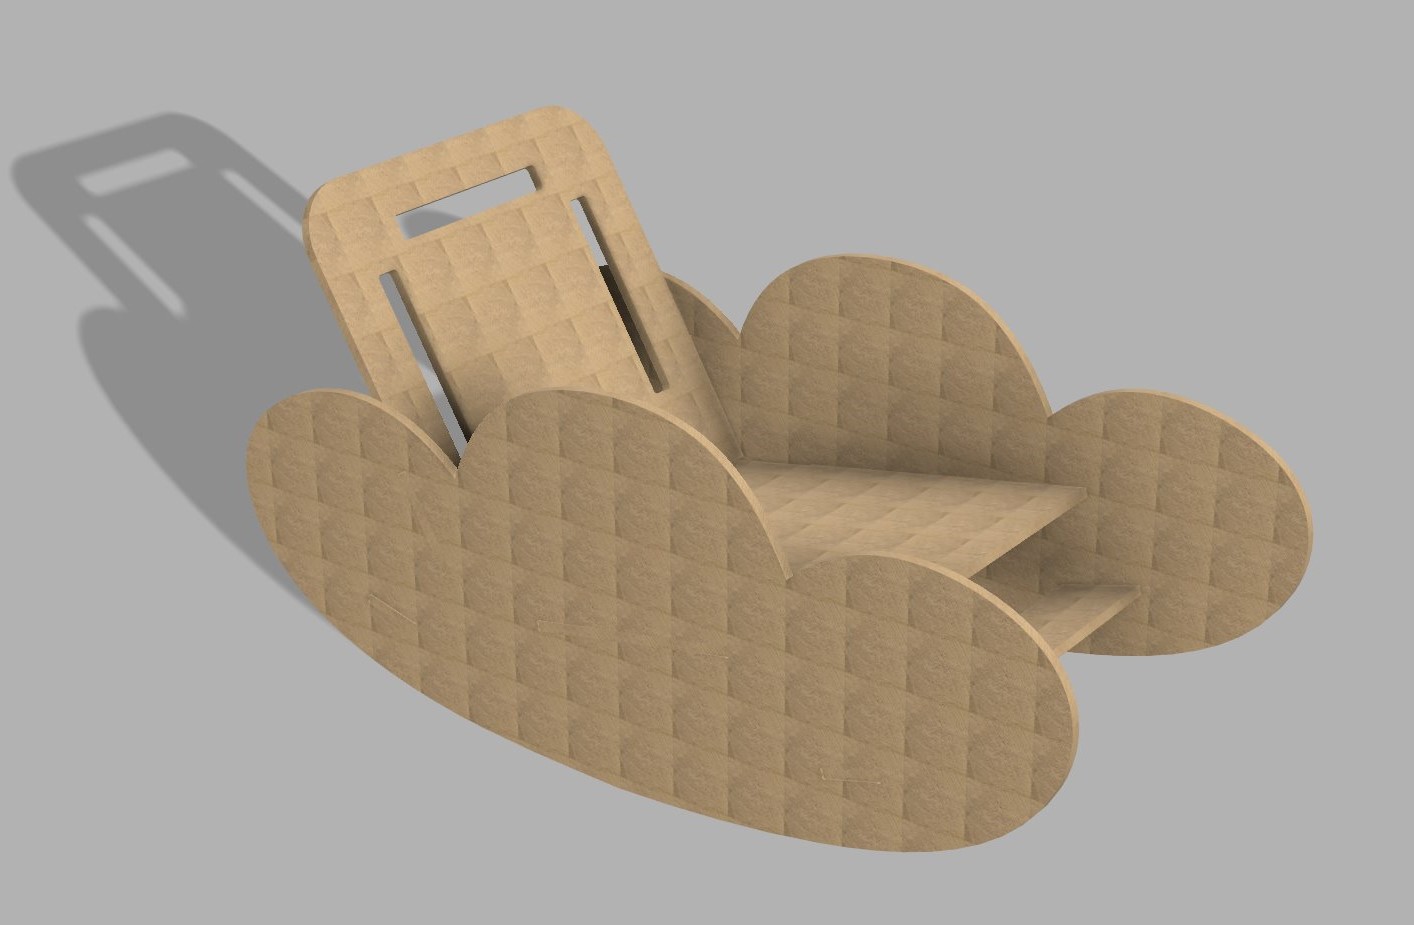
The entire process:1. Design
2. Vcarve Pro generates the path
3. Shotbot3 adjusts the cutting machine
4. Polishing, assembly, weaving
- Since I'm testing the wood before finalizing the design, parametric design is crucial. I'll be using Fusion 360, which I'm not very familiar with (encountered a lot of issues during the design process, but learned a lot).
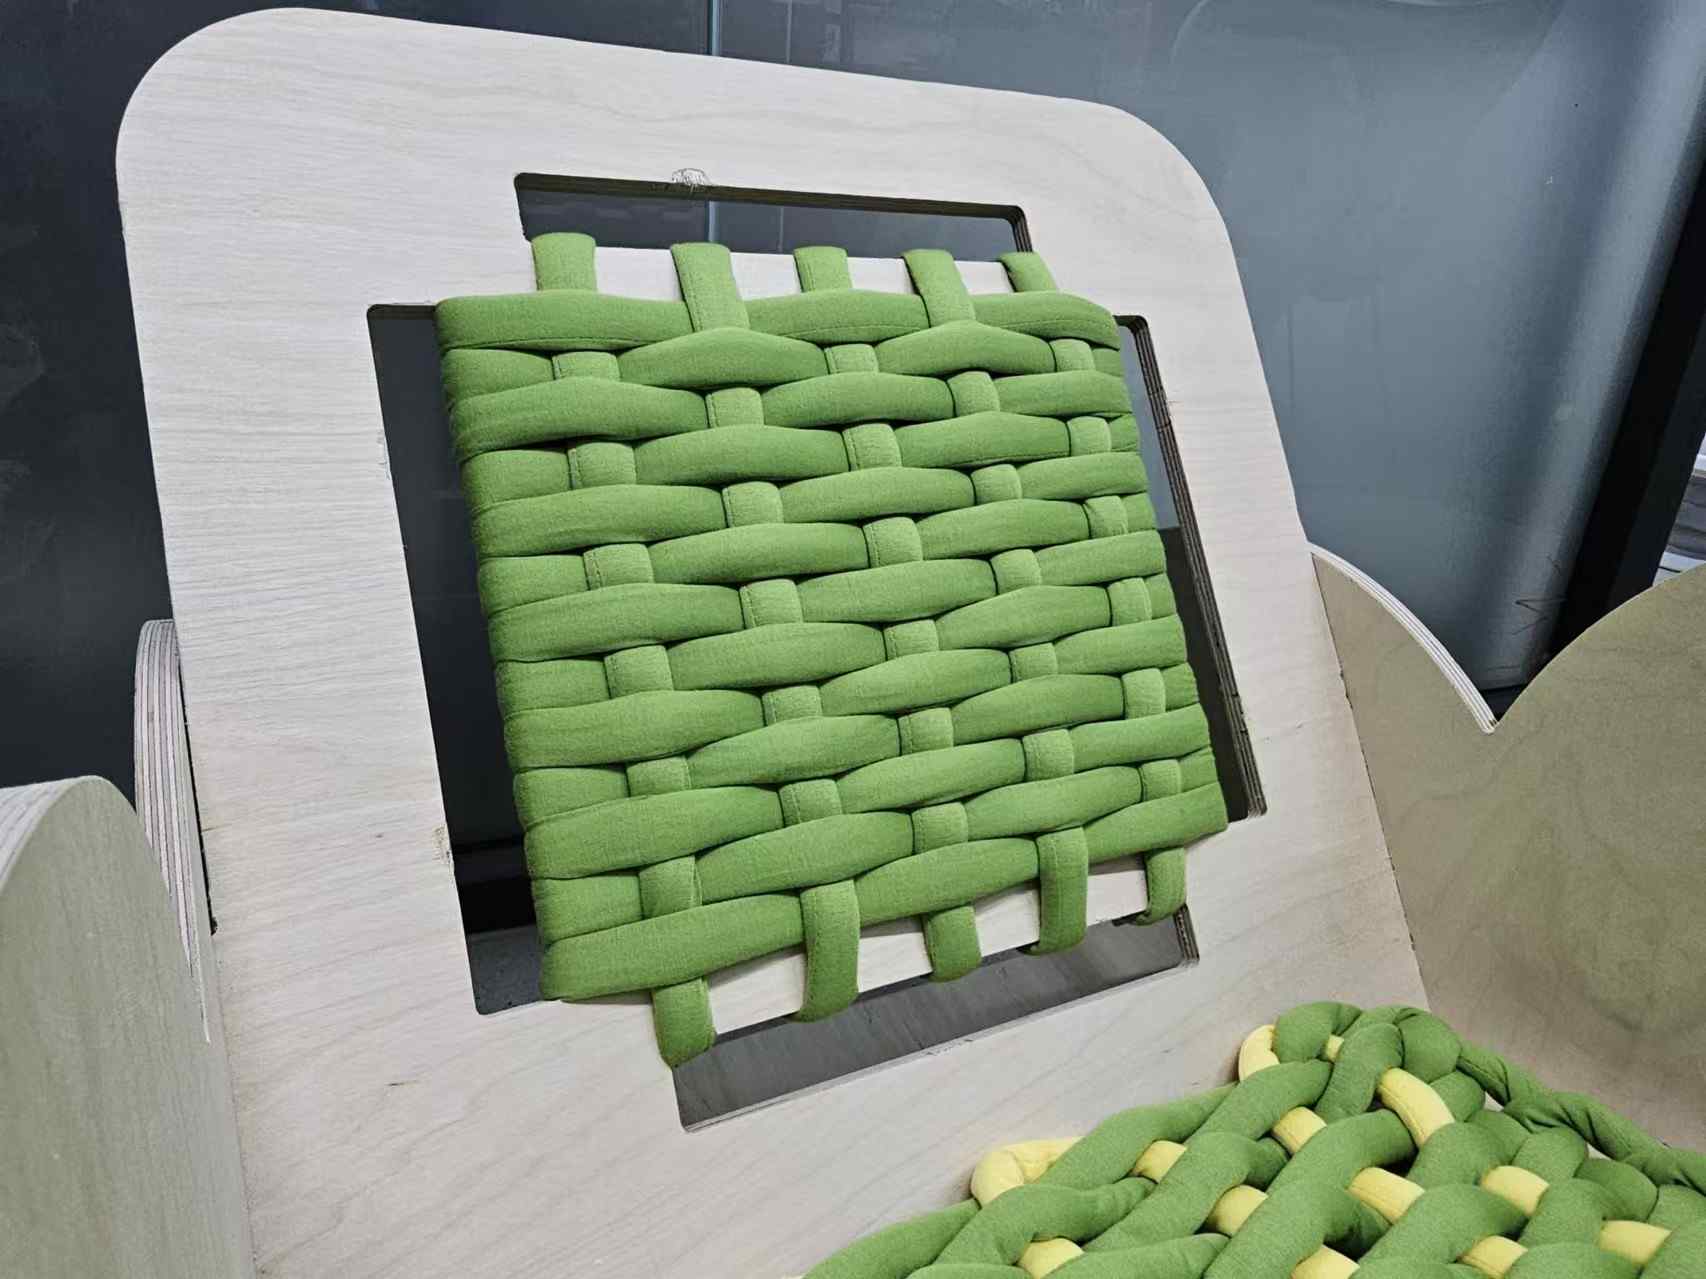
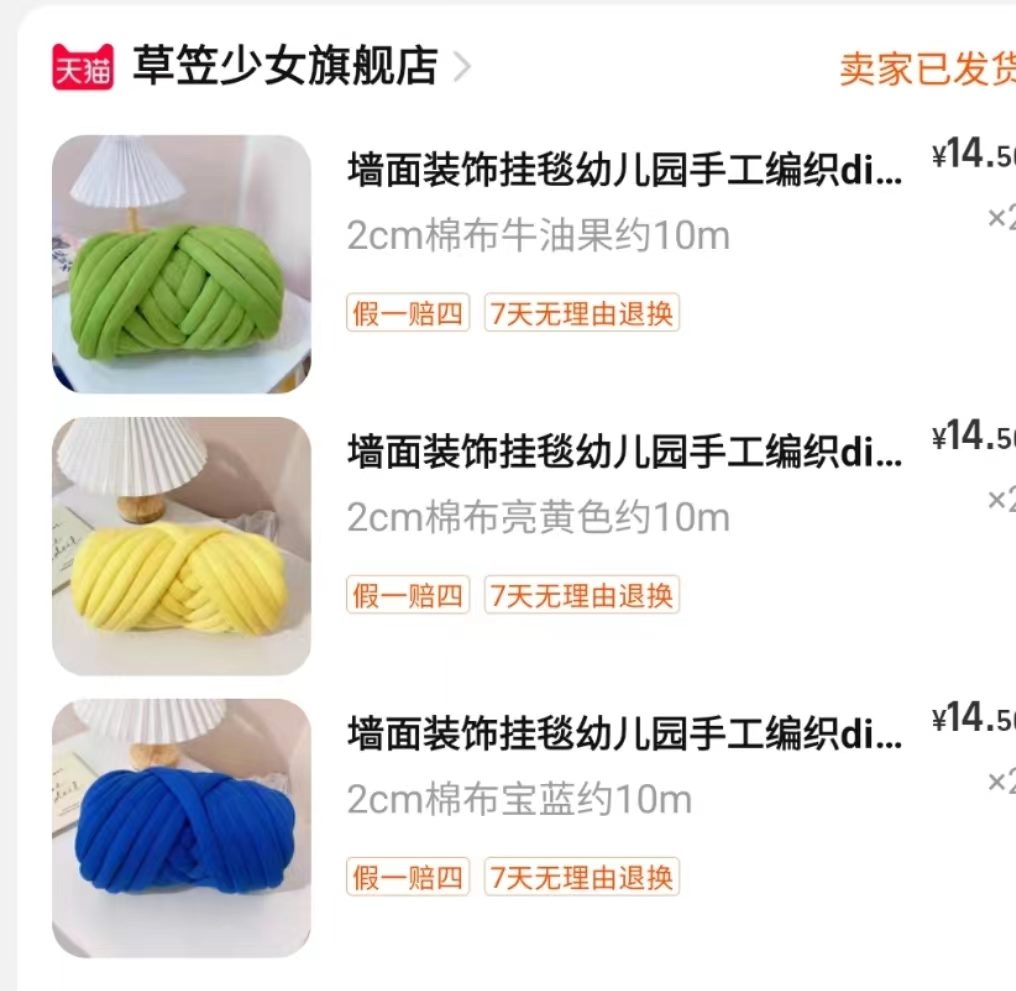
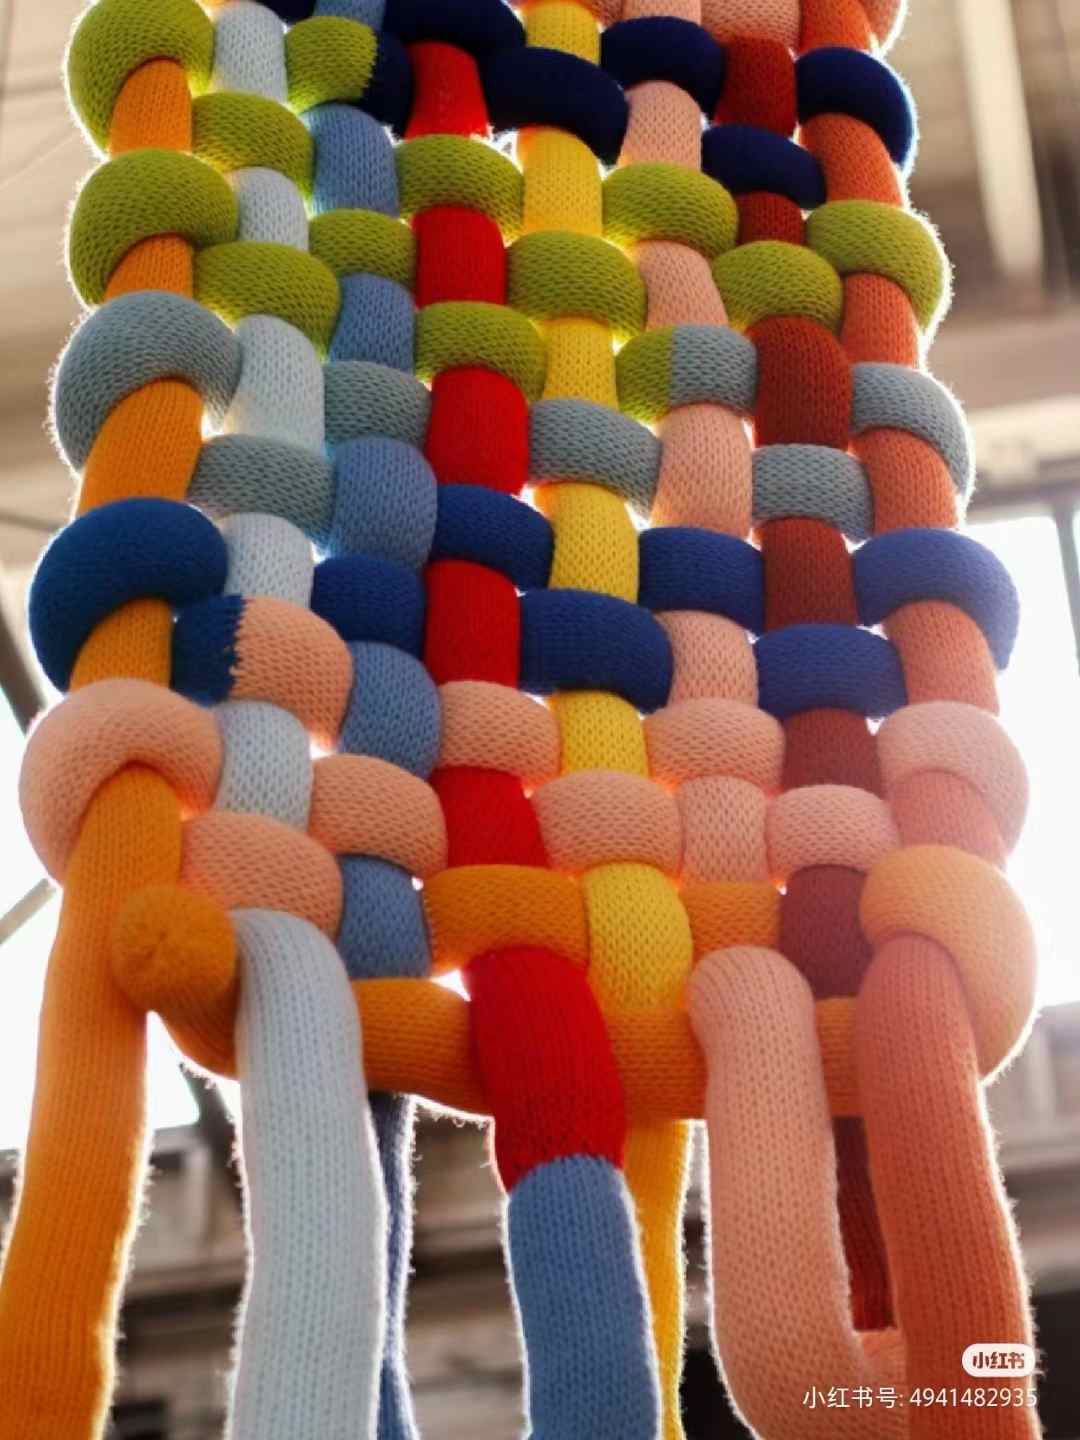
- To make the backrest more comfortable, I'm considering handcrafting a backrest using yarn. I found a reference image on Xiaohongshu (a Chinese social media platform similar to Pinterest).
1.3.1 design

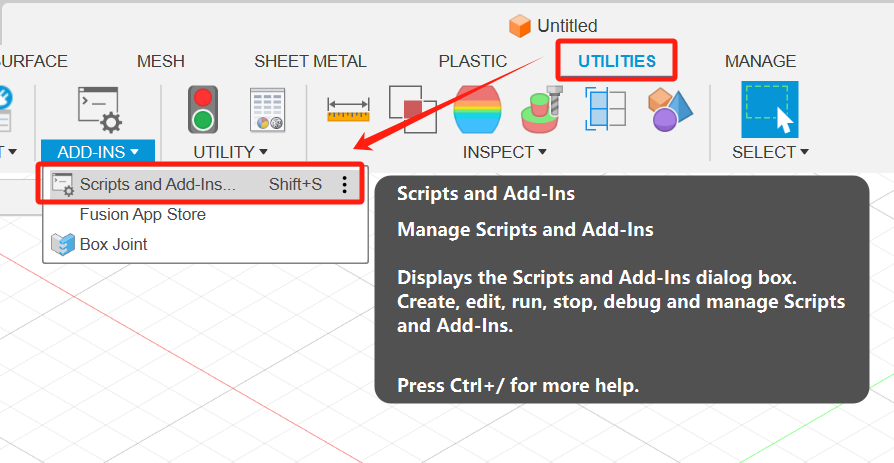
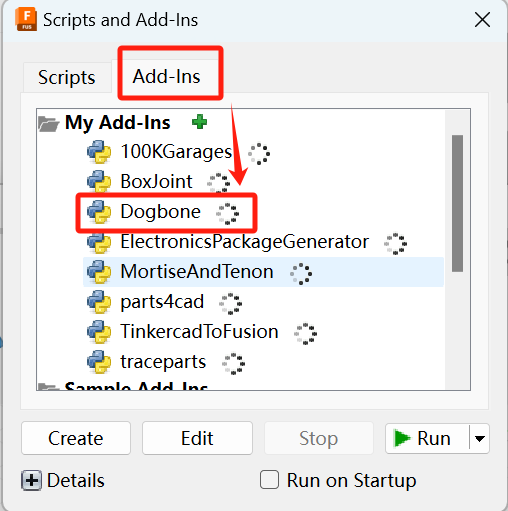
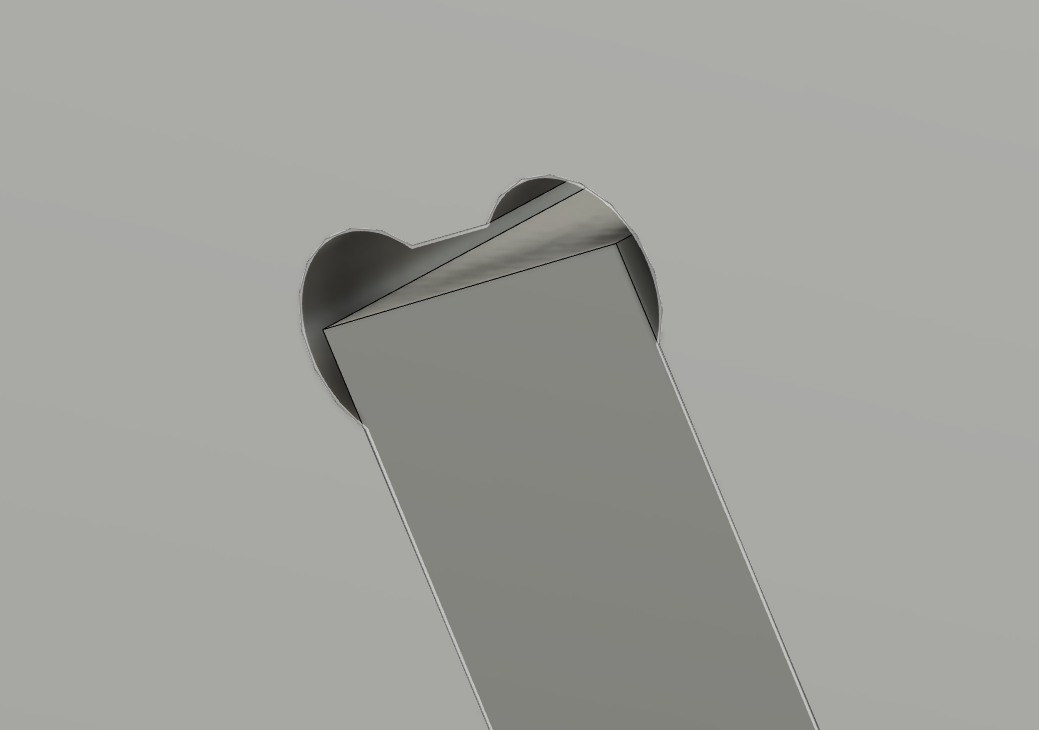
1.3.2 Dogbones
This is crucial because during milling, the round cutter cannot reach right angles, causing a 1/2 cutter diameter gap during assembly. So, I need to create Dogbones. Here's a detailed guide and download link. Then, in Fusion 360's add-on module (shortcut Shift+S), import Dogbones, select the shape, and change the cutter diameter to 6.2 (originally 6, but I added 0.2 for better fit).

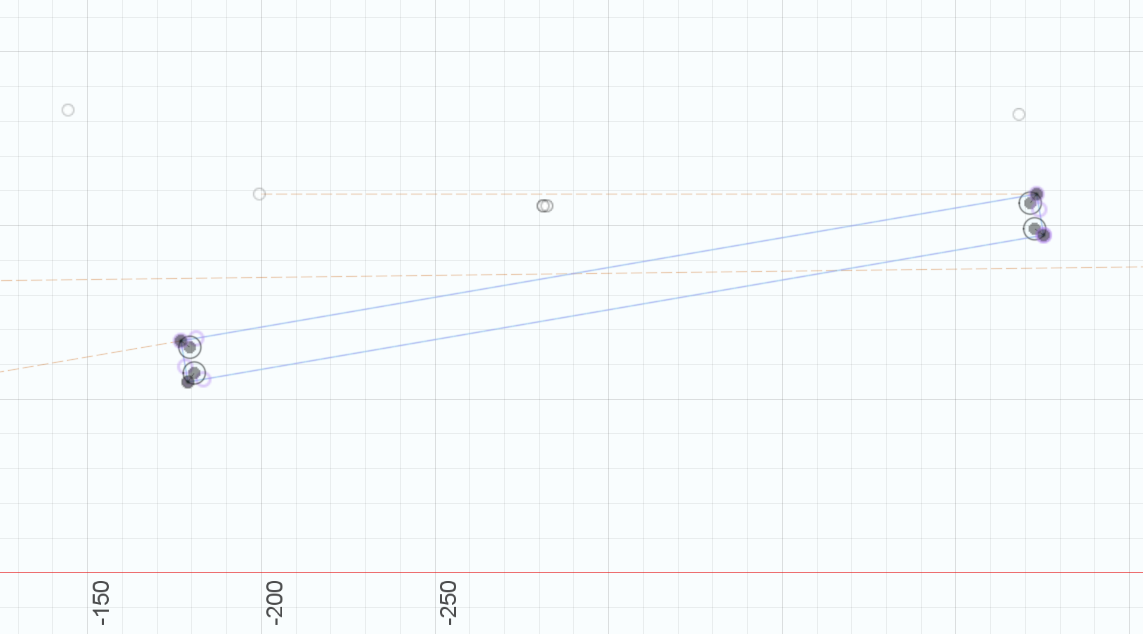
It's parameter

1.3.3 VCarve Pro
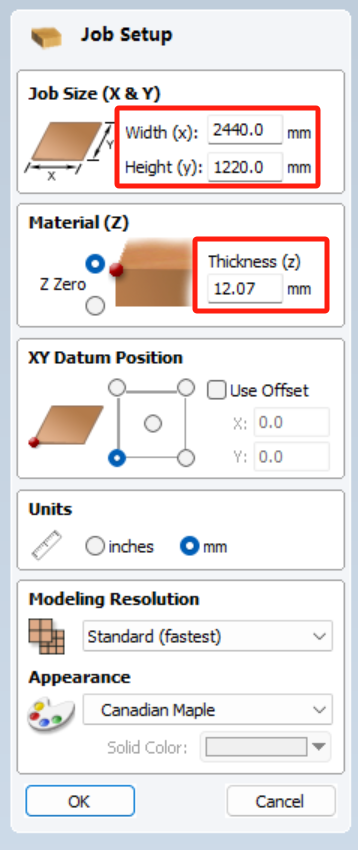
Here are some important settings during the process:
Length : 2440 mm
Width : 1220 mm
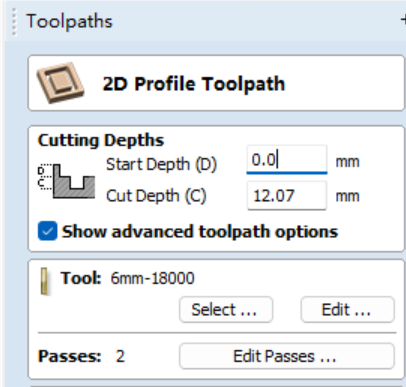
Depth : 12.07
Tool Diameter : 6 mm
RPM: 18000
Feed Rate : 4 in/s
Tab: 10-15 cm
Start Depth : 0.0 mm
Cut Depth: 12.07 mm
Here is the process of obtaining the parameters:
1.In the newly created file, adjust the wood board's dimensions in the Job Setup to length (2440), width (1220), and depth (12.07). The board's thickness is 12mm, and due to wood board precision, we added 0.07 to ensure complete milling.
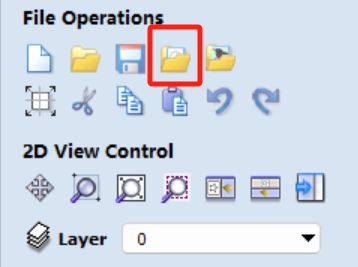
2.Import vectors from a file. This machine can only open vector files with names in English letters.
3.Modify Cutting Depths: Start Depth: 0.0mm; Cut Depth: 12.07mm.
4.Edit Tool: Adjust Diameter to 6mm. Since the board is thick, milling all at once with a depth of 12mm may break the tool. RPM is set to 18000, and Feed Rate is set to 4.

5.Add Tabs: Pay attention to the spacing, which should be around 10-15cm to prevent the wood board from warping or splintering. Avoid setting tabs in curved areas or too close to each other.Then,Rename and calculate the cutting path
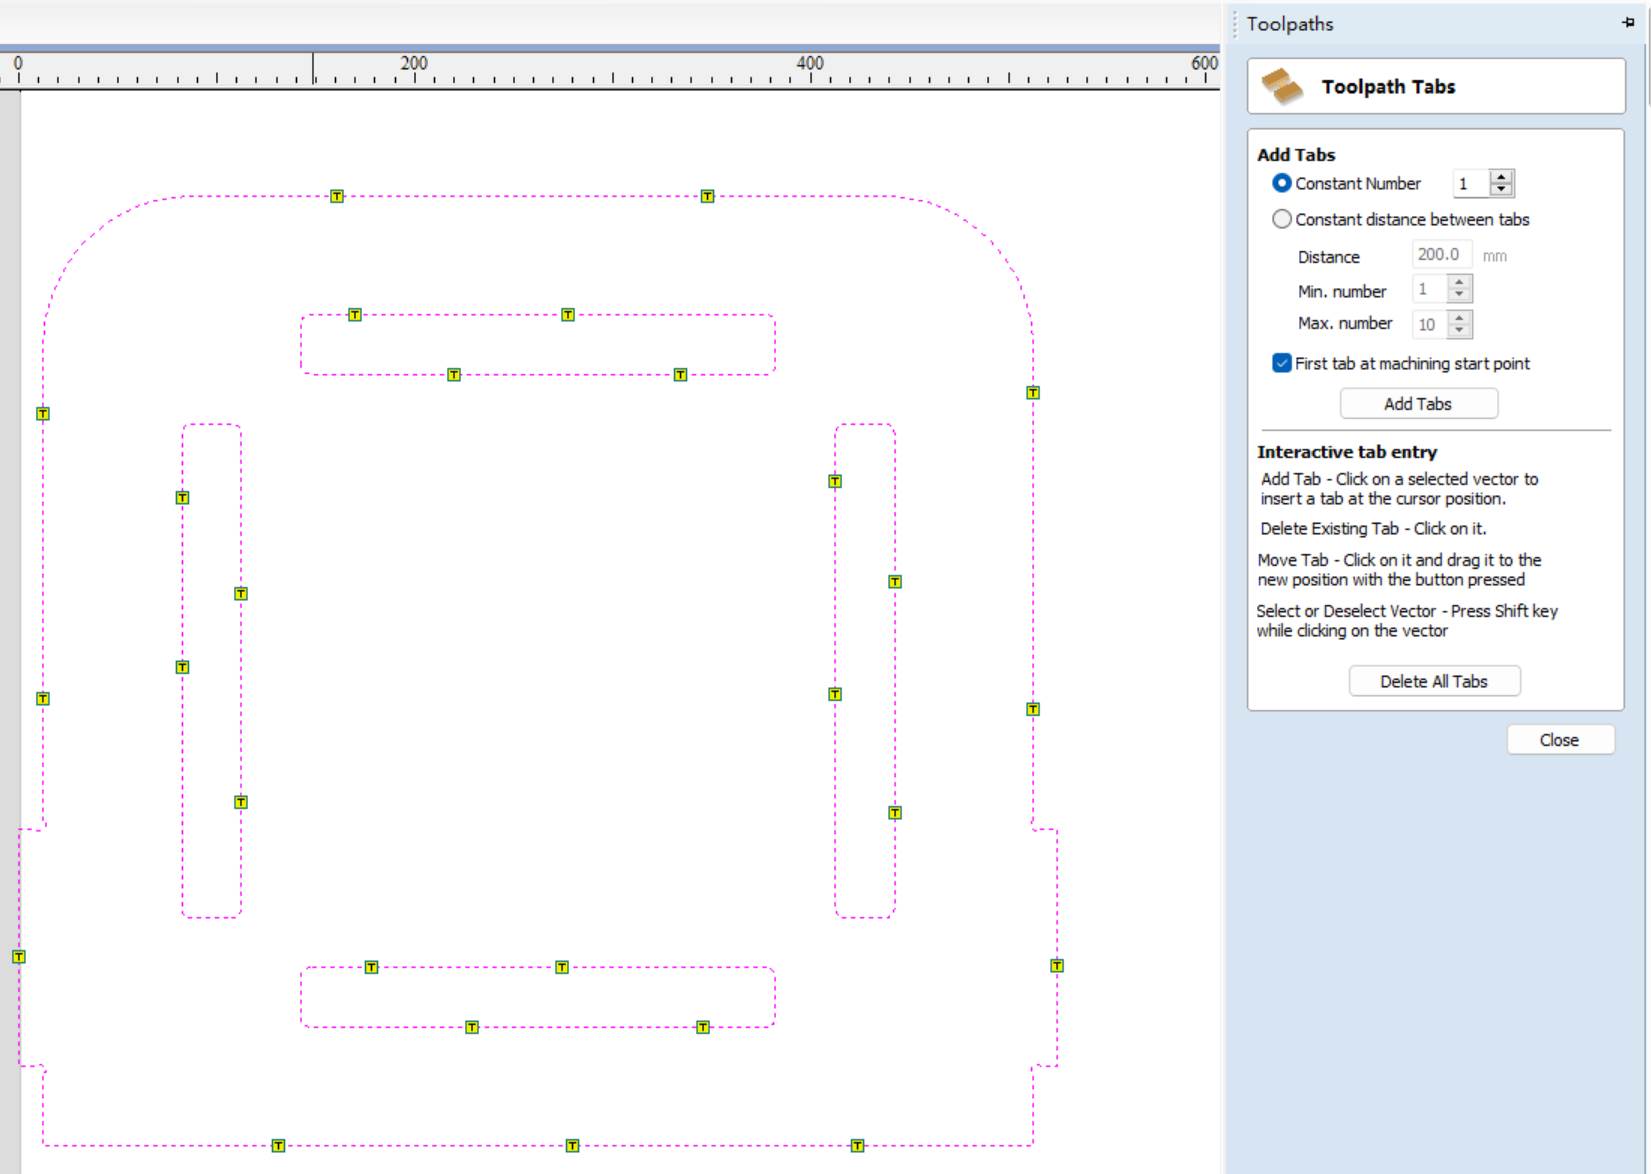
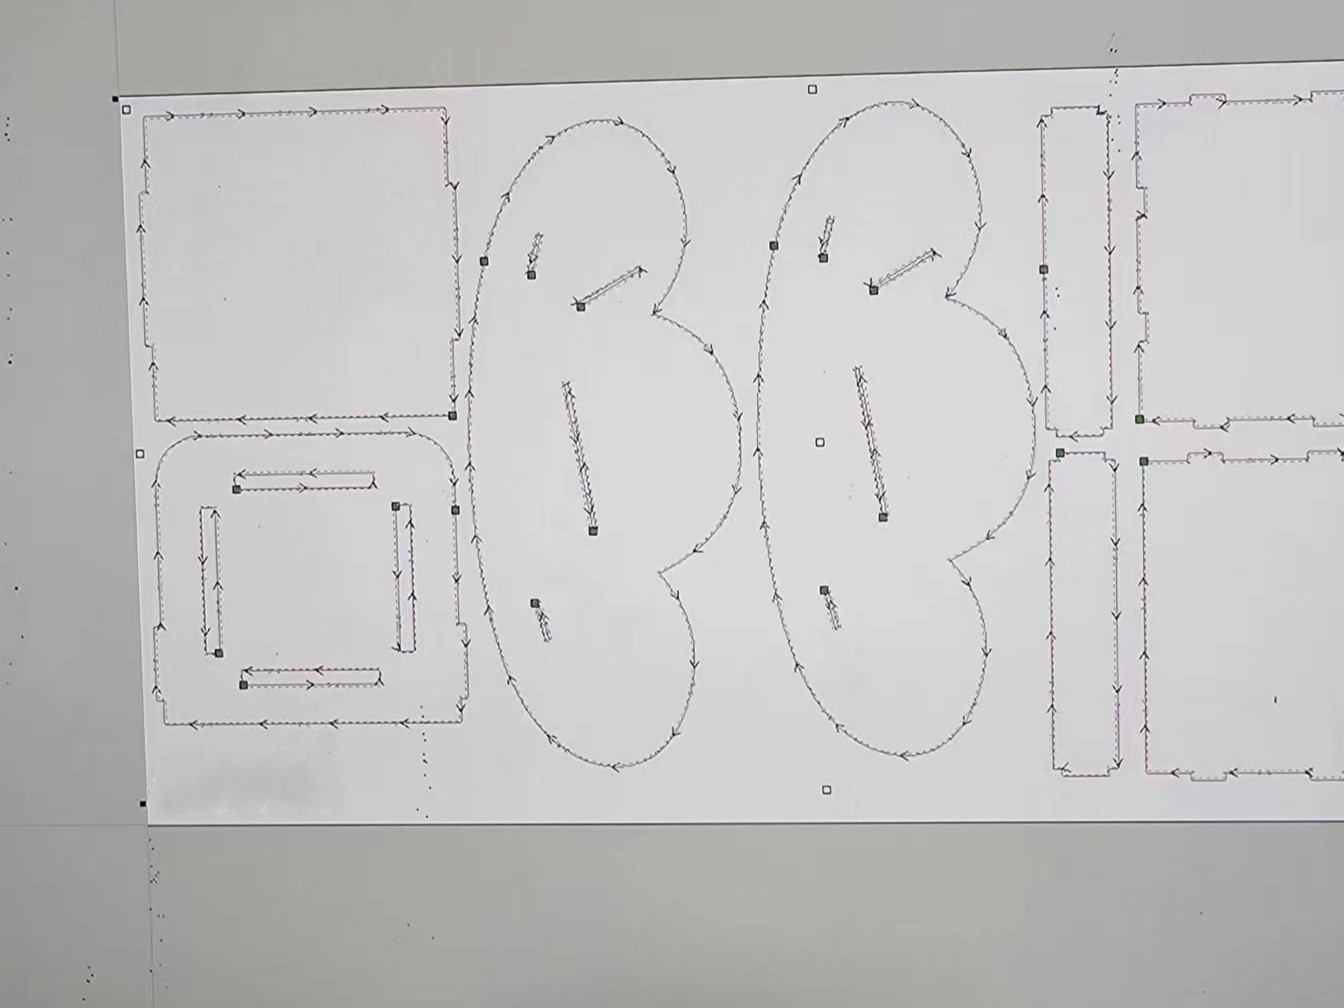
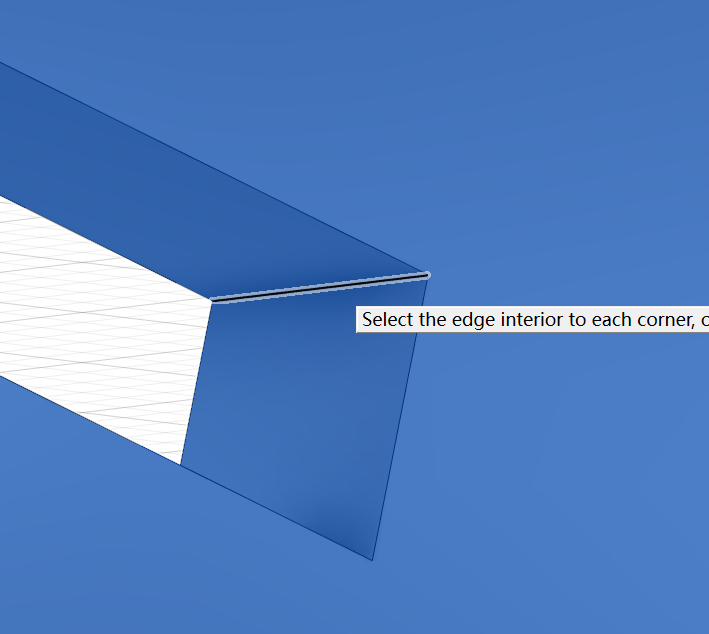
Check that the path is correct!

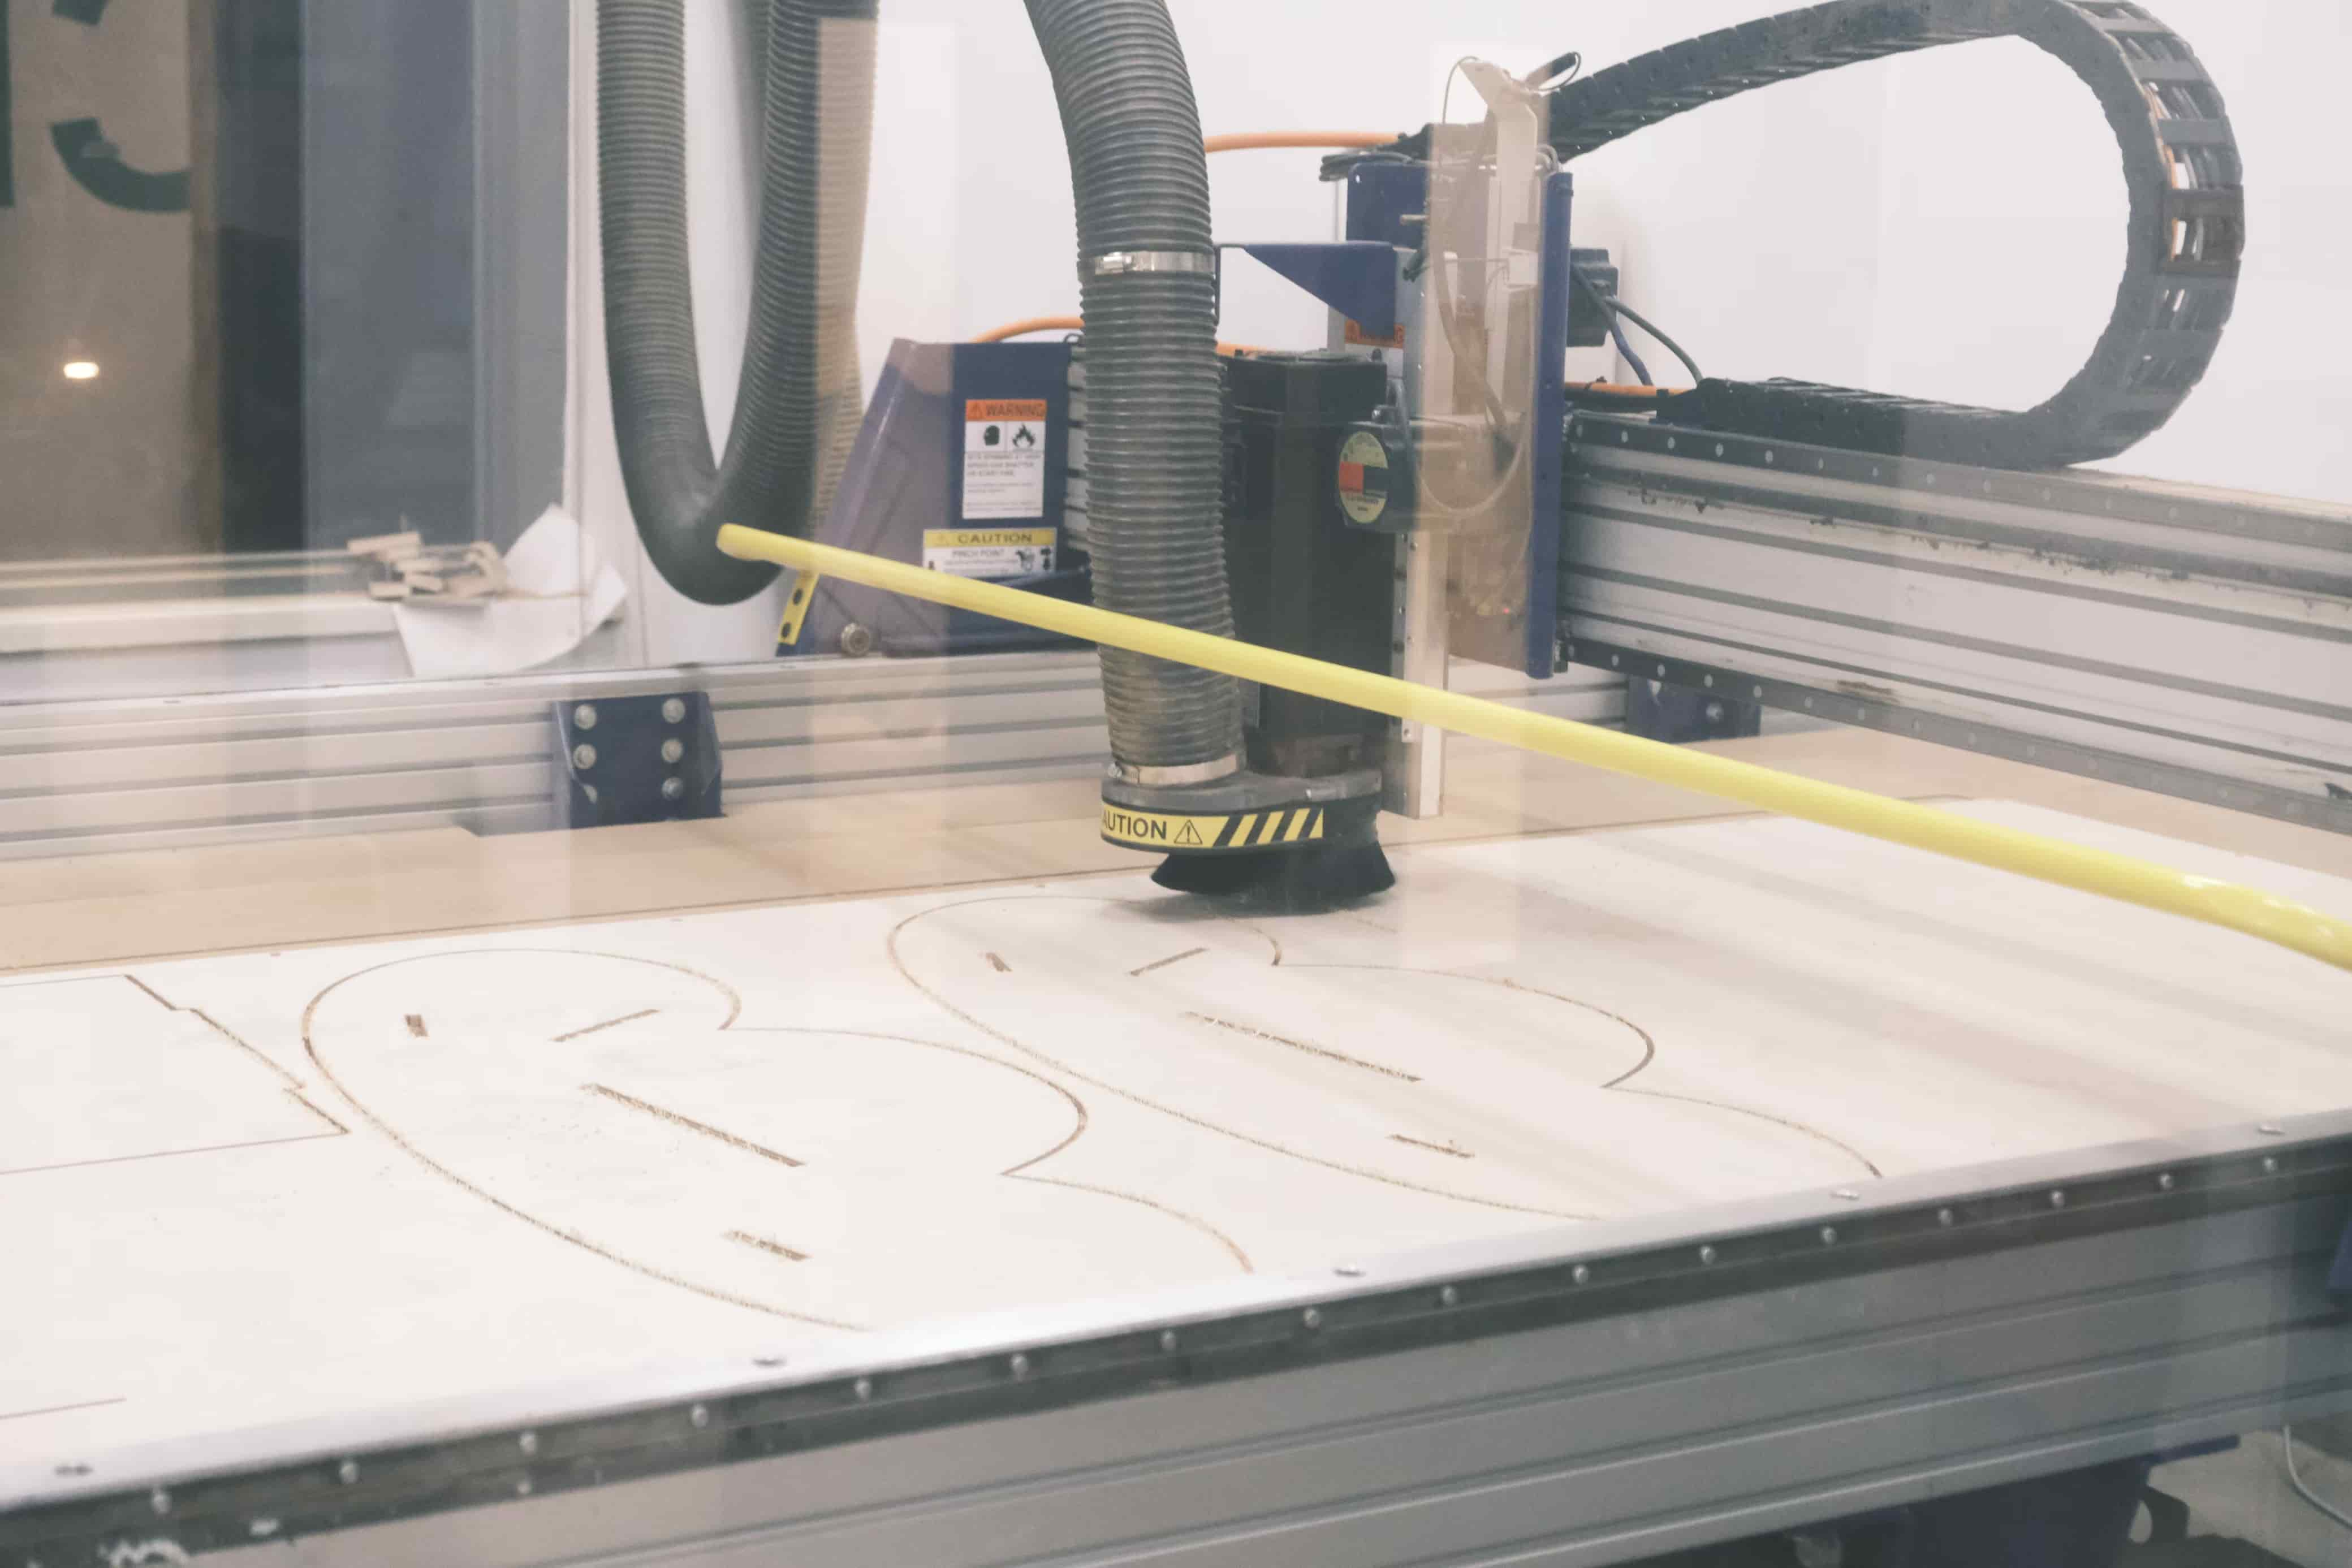
1.3.4 Shopbot3 and milling
Under the guidance of Nancy and Sarviro, Safety was emphasized the most, as it is crucial. Moreover, it's essential to have two people working together when using a machine! Safety should be ingrained in our DNA! With excitement and caution, I began!
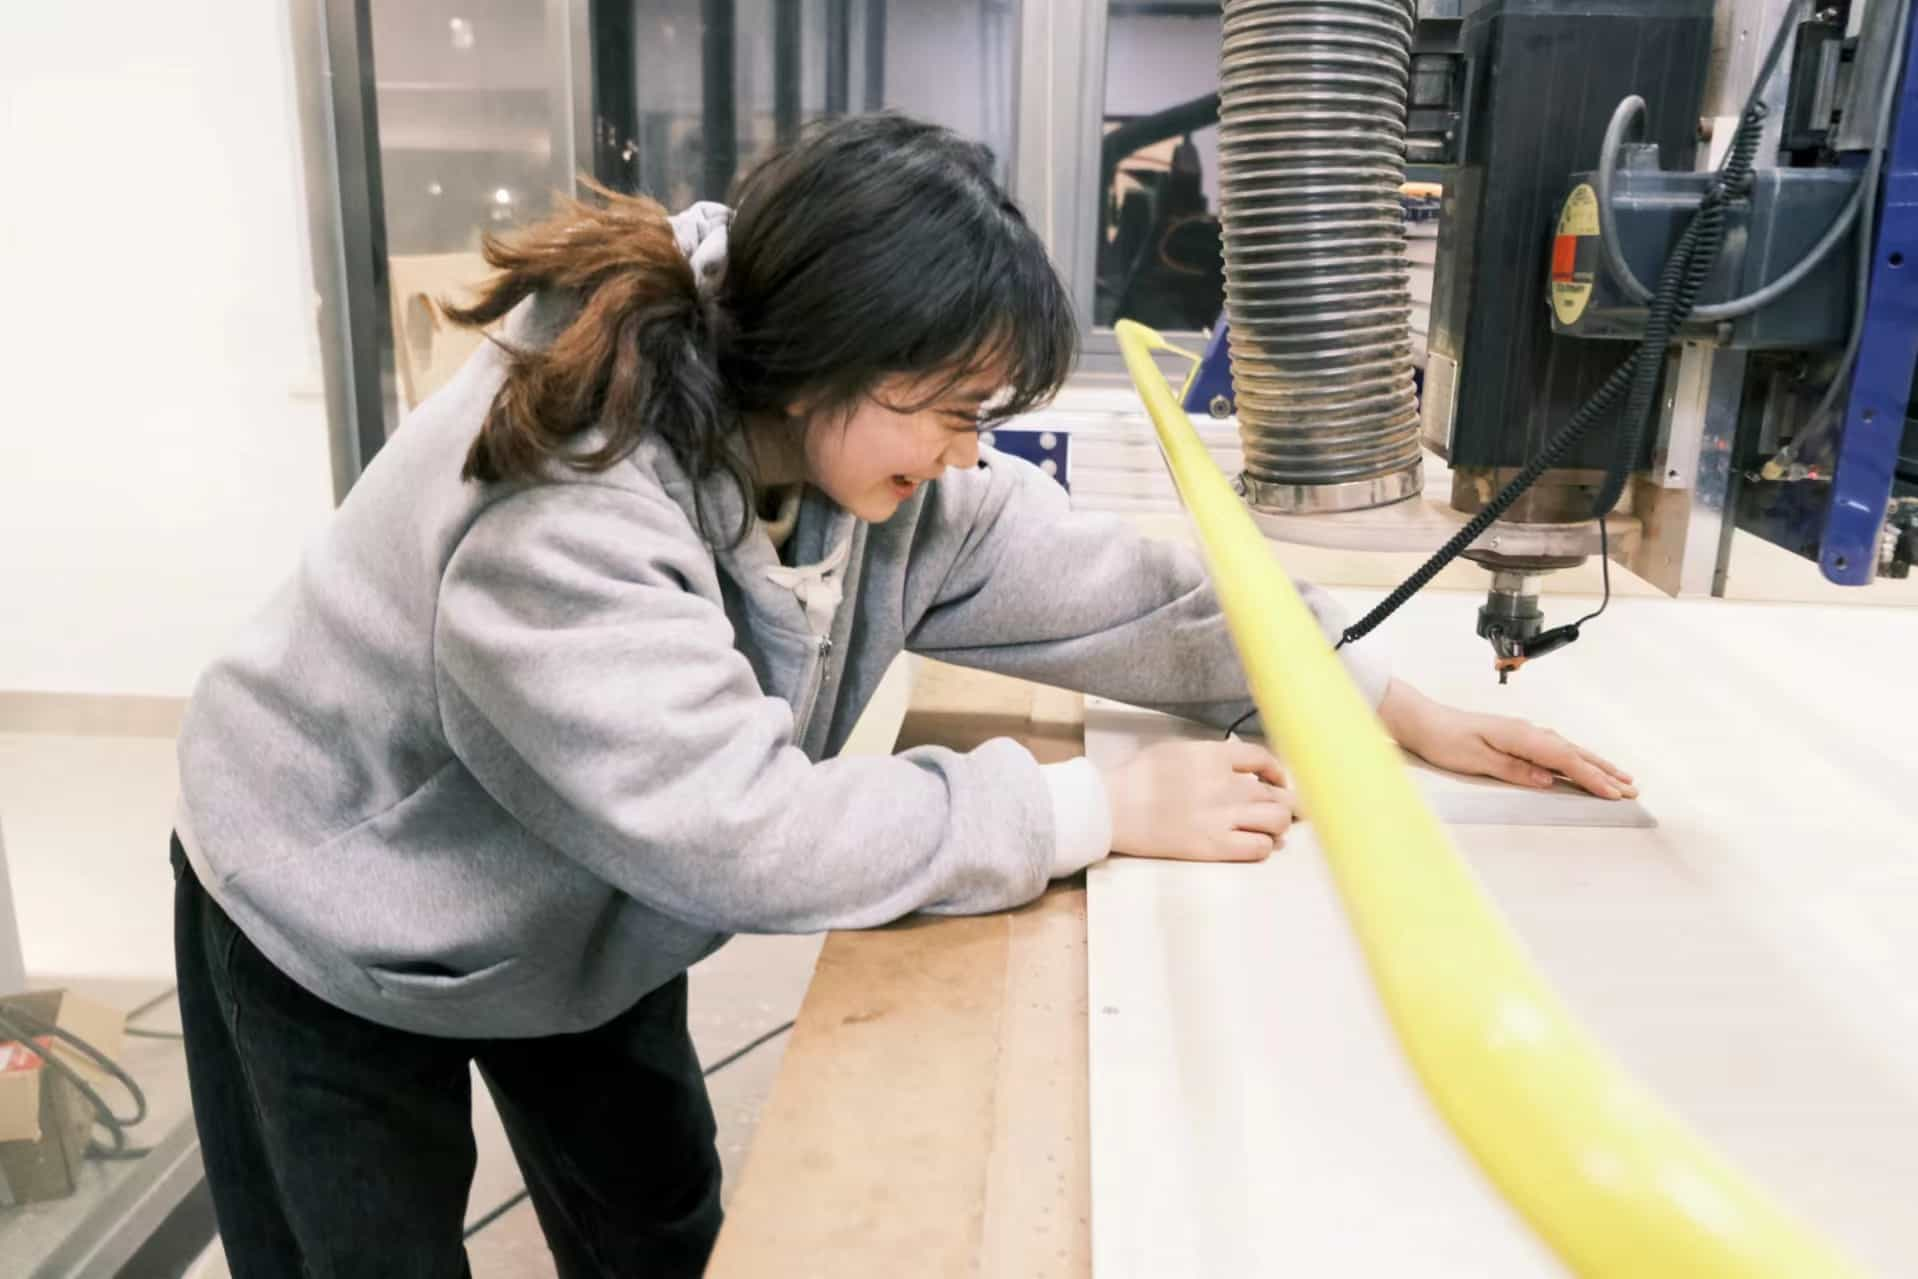
Then, I used a vacuum cleaner to clean the surface where the wooden board would be placed. I appreciate my teammate for helping me positioned the wooden board at the bottom left corner of the surface (the origin point), ensuring alignment along the edges. Next, we secured it with screws, leaving a distance equivalent to the size of a thumbnail between the screws and the edges.


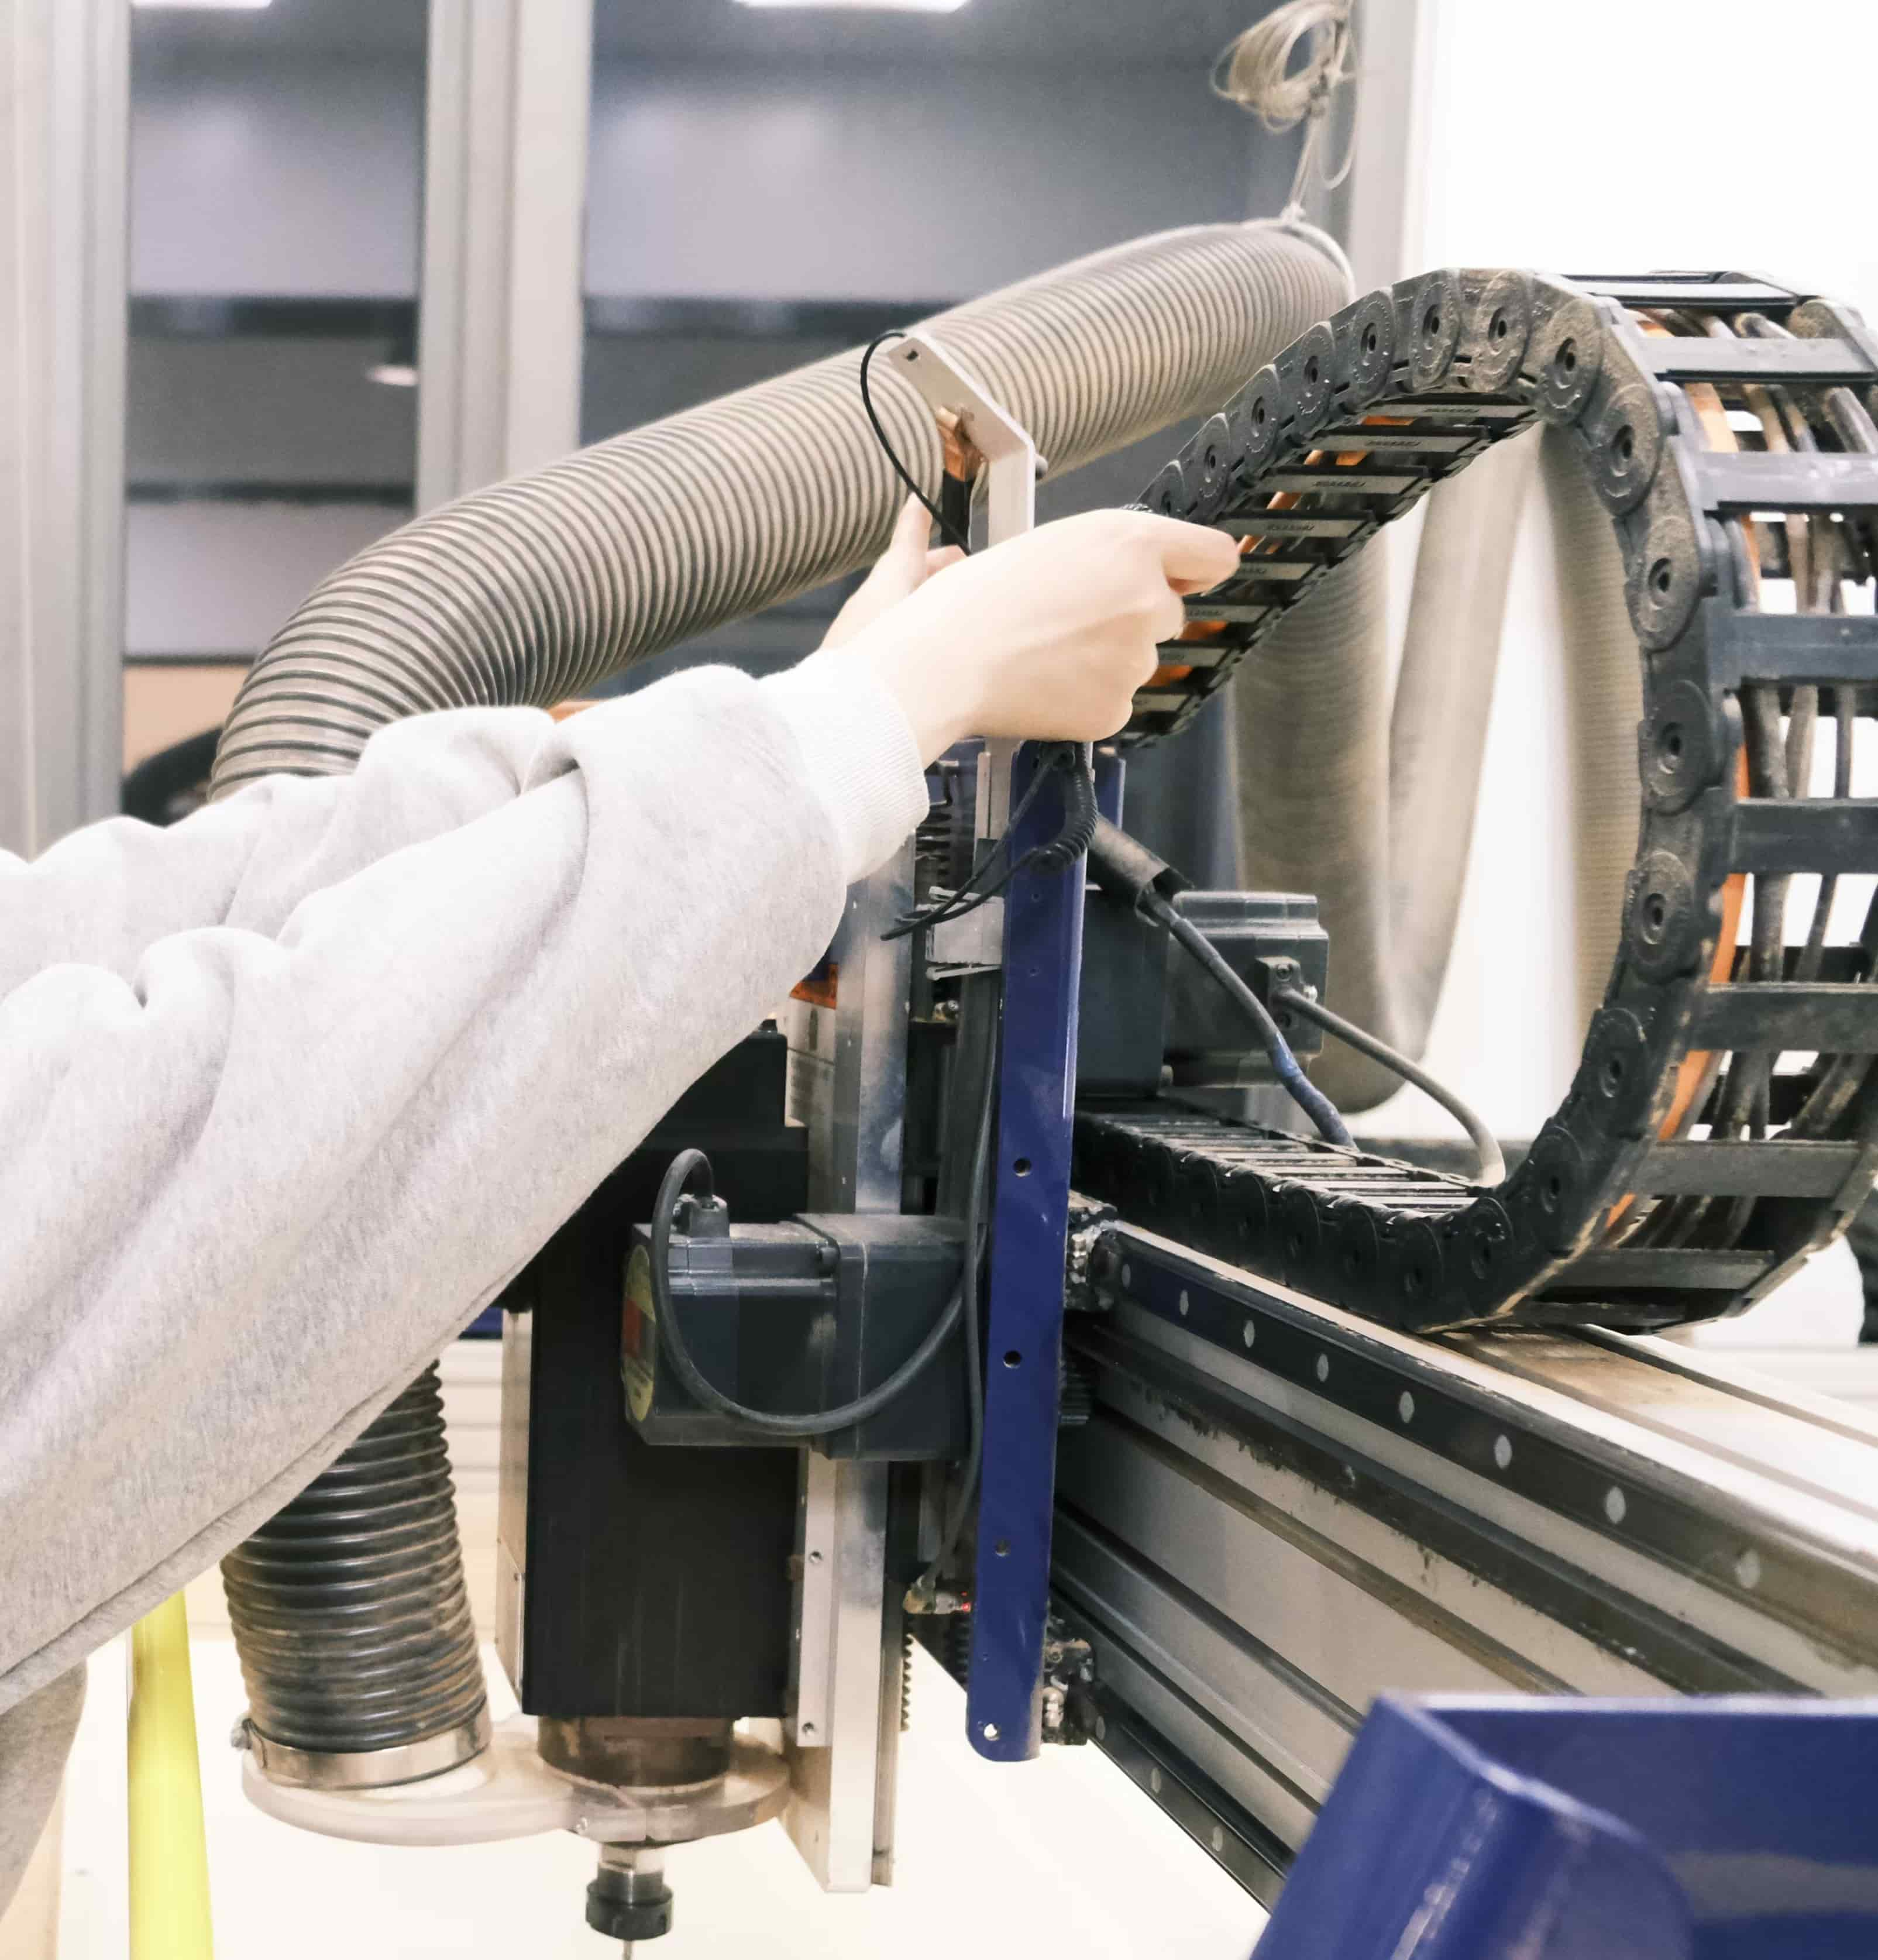
Next step: Control the Shopbot CNC through the Shopbot 3 software. Load the path file in Shopbot3 and set the machine's zero point, cutting speed, feed rate and other parameters to ensure accurate cutting. This is a common workflow for VCarve Pro and ShopBot CNC cutting machines.
After cleaning and fixing the marine board, it is necessary to calibrate XYZ.
When calibrating the XY axis, you need to have a keen eye, just like using a ruler. Pay close attention to the position of the screws, otherwise the bit will be broken in the process. Then select X-Axis and Y-Axis to Zero.(Warning: Do not approach the machine while it is in operation.)
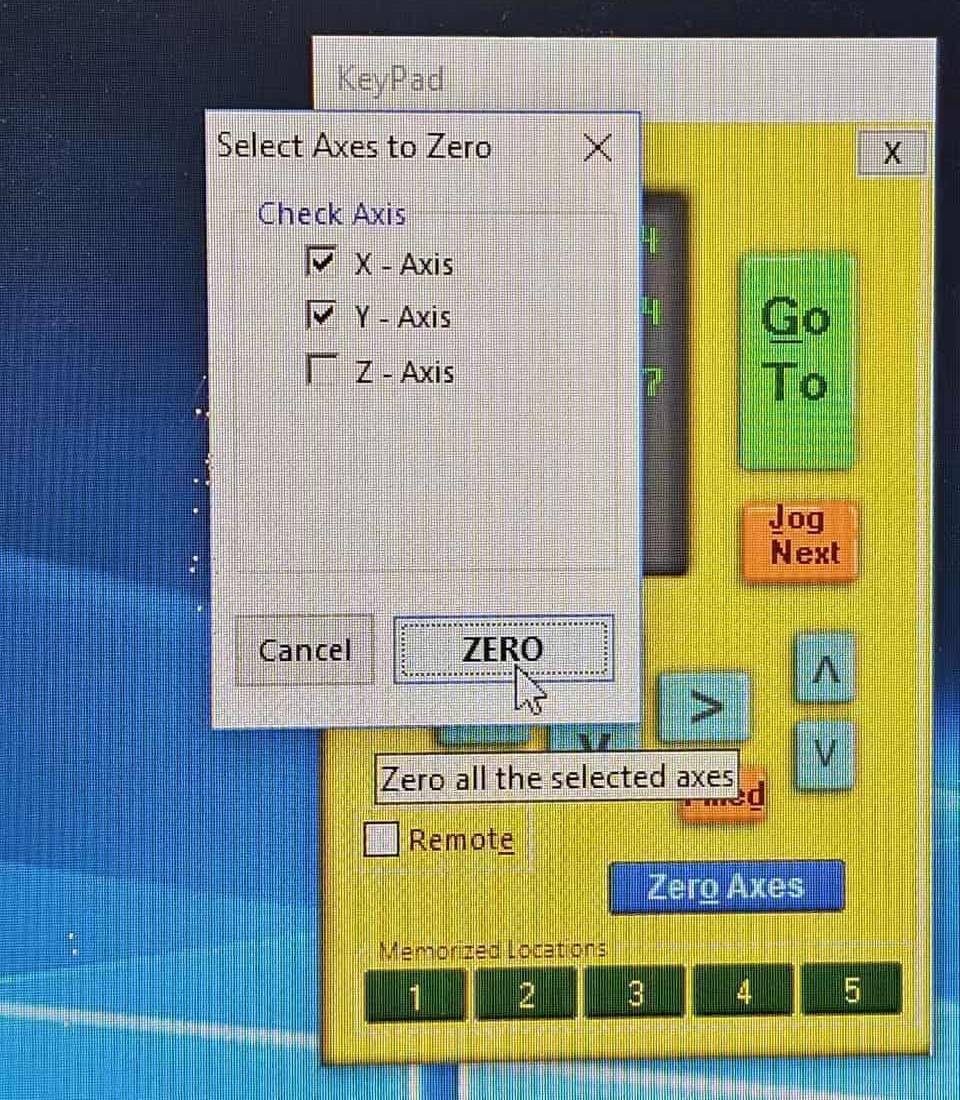
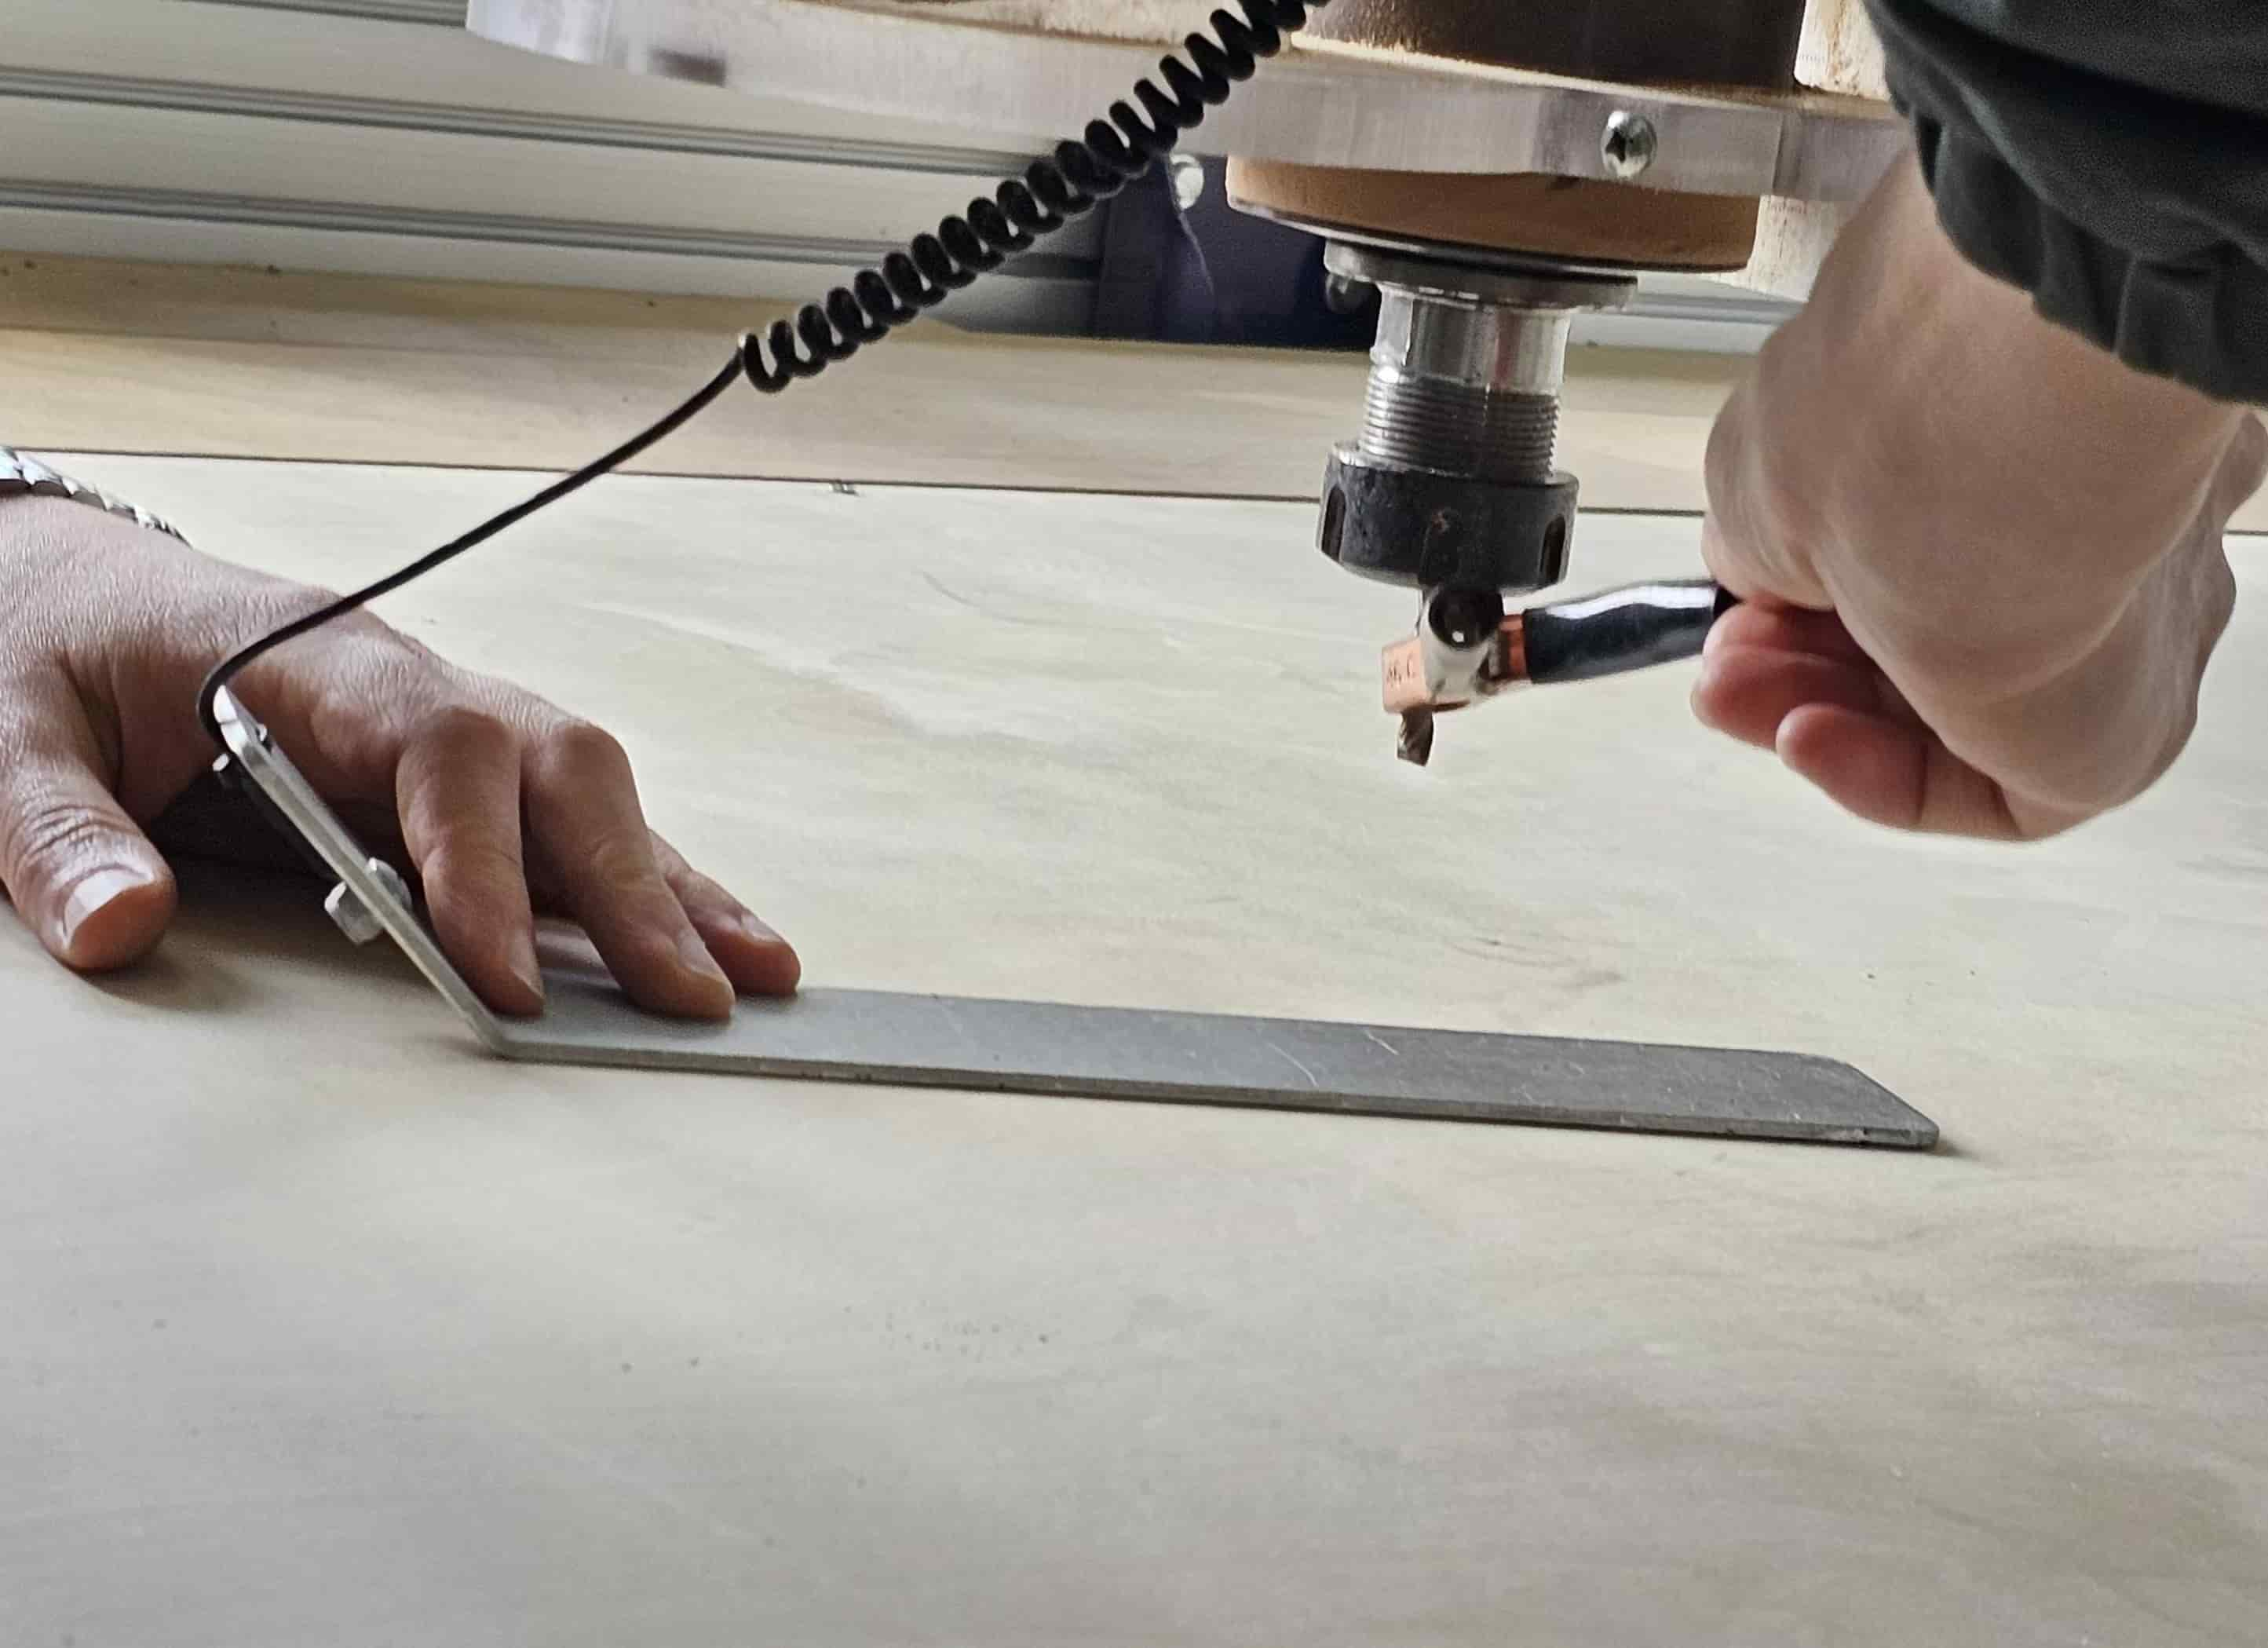
Next the z-axis is zeroed, a conductive metal plate is placed flat on the wooden board and the connection clip is attached to the spindle for electrical continuity testing
ACTIVE!
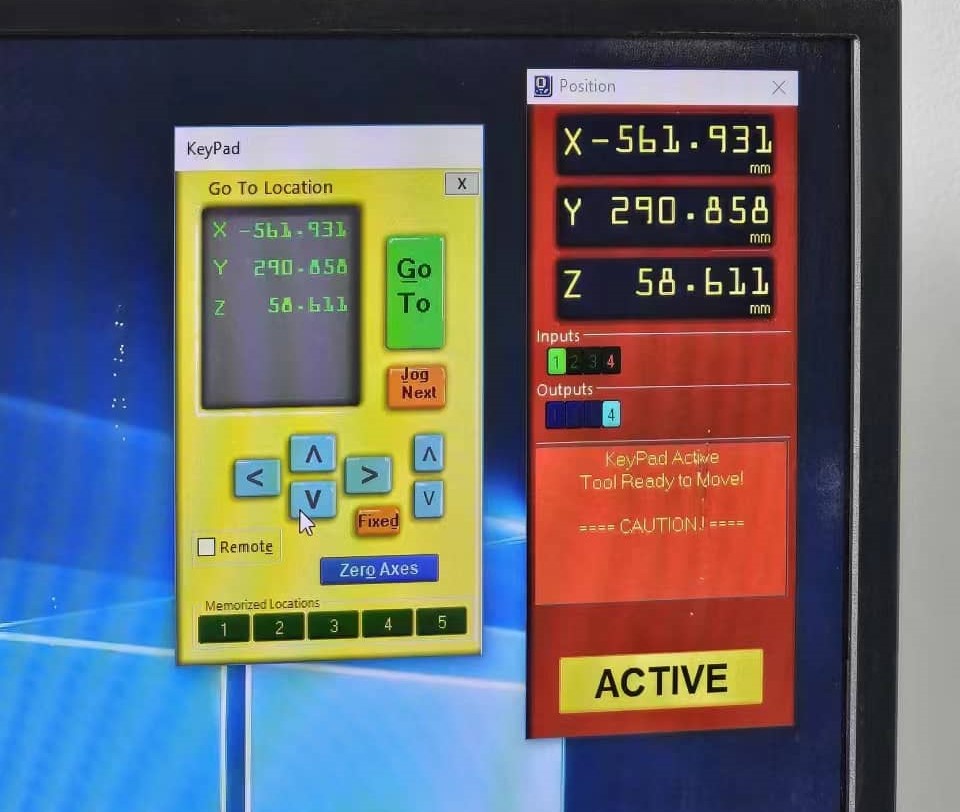
Suddenly I heard a sharp sound and felt something was wrong... I stopped immediately and an unknown trace appeared. I guessed that maybe I accidentally set the z axis again during the process? Or the previous file path was not deleted? So I rechecked the generated file in Vcarve, adjusted the z, and started again!

Nervous! I stood outside the glass to check the driving process. There was no problem. I waited for him to finish milling and see the results.

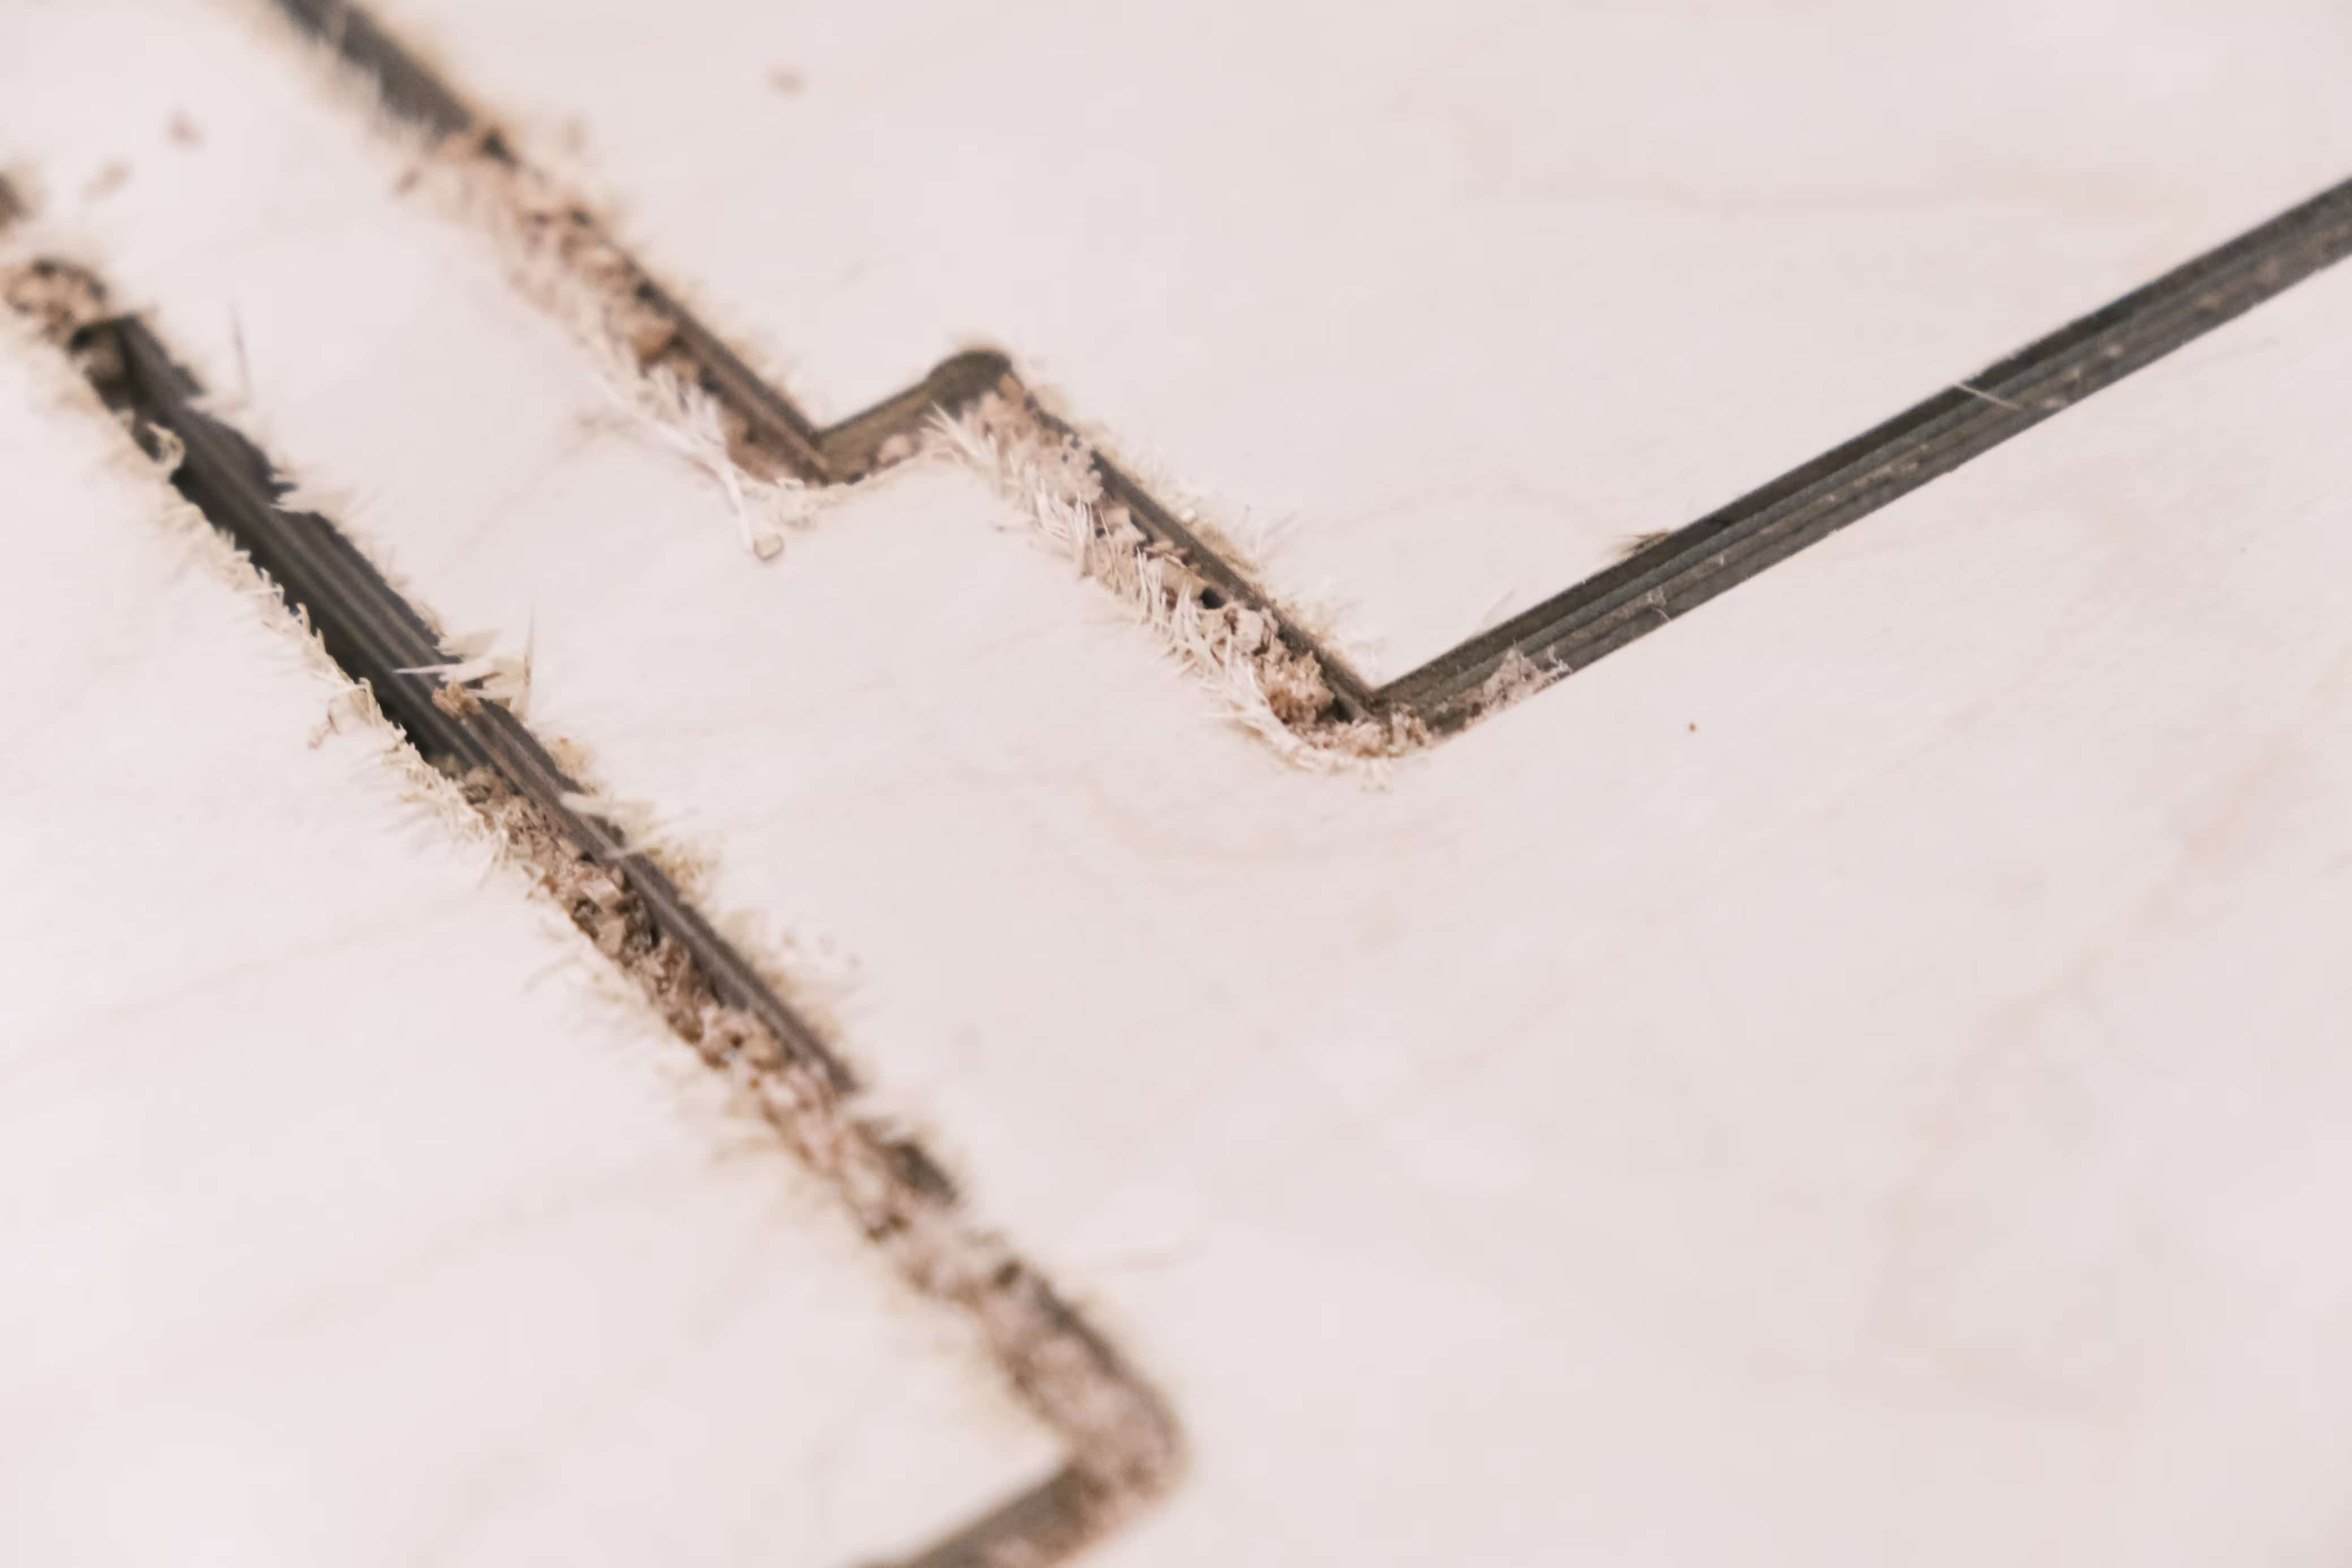
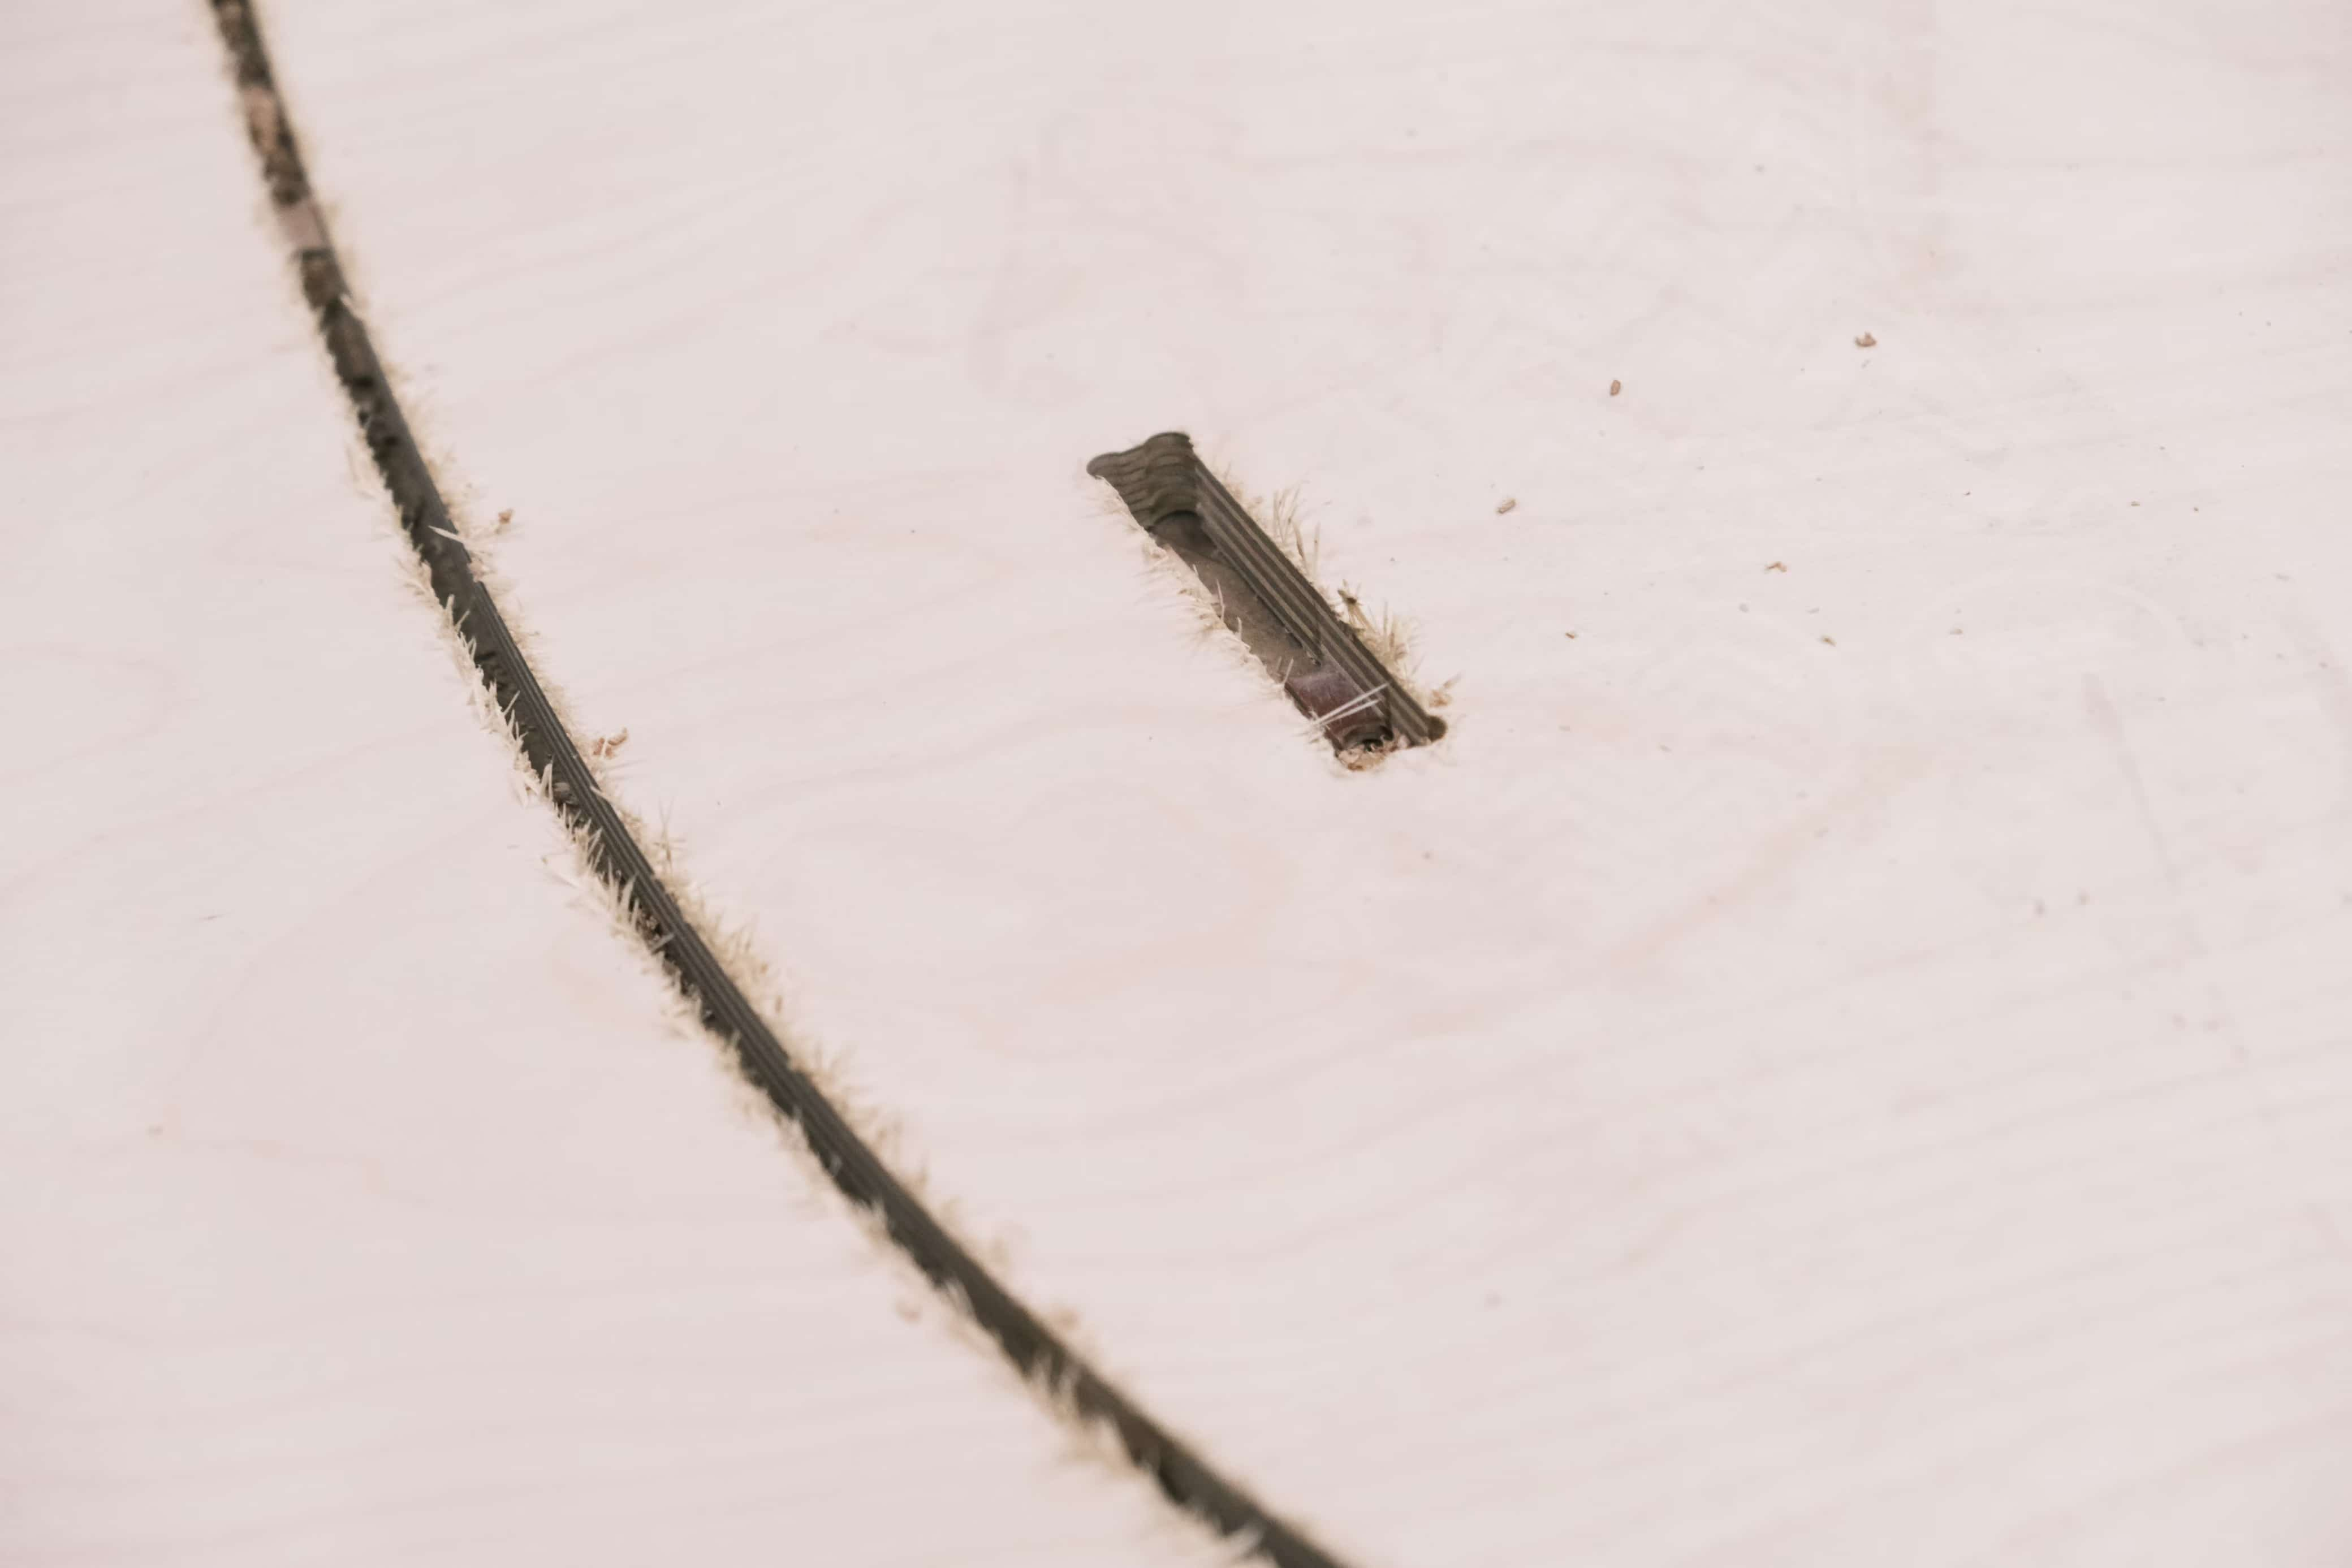
Take a look at the details of the milling. The designed depth is OK. There are some burrs on the sides, which can be fixed with a little polishing.
1.3.5 Assembly
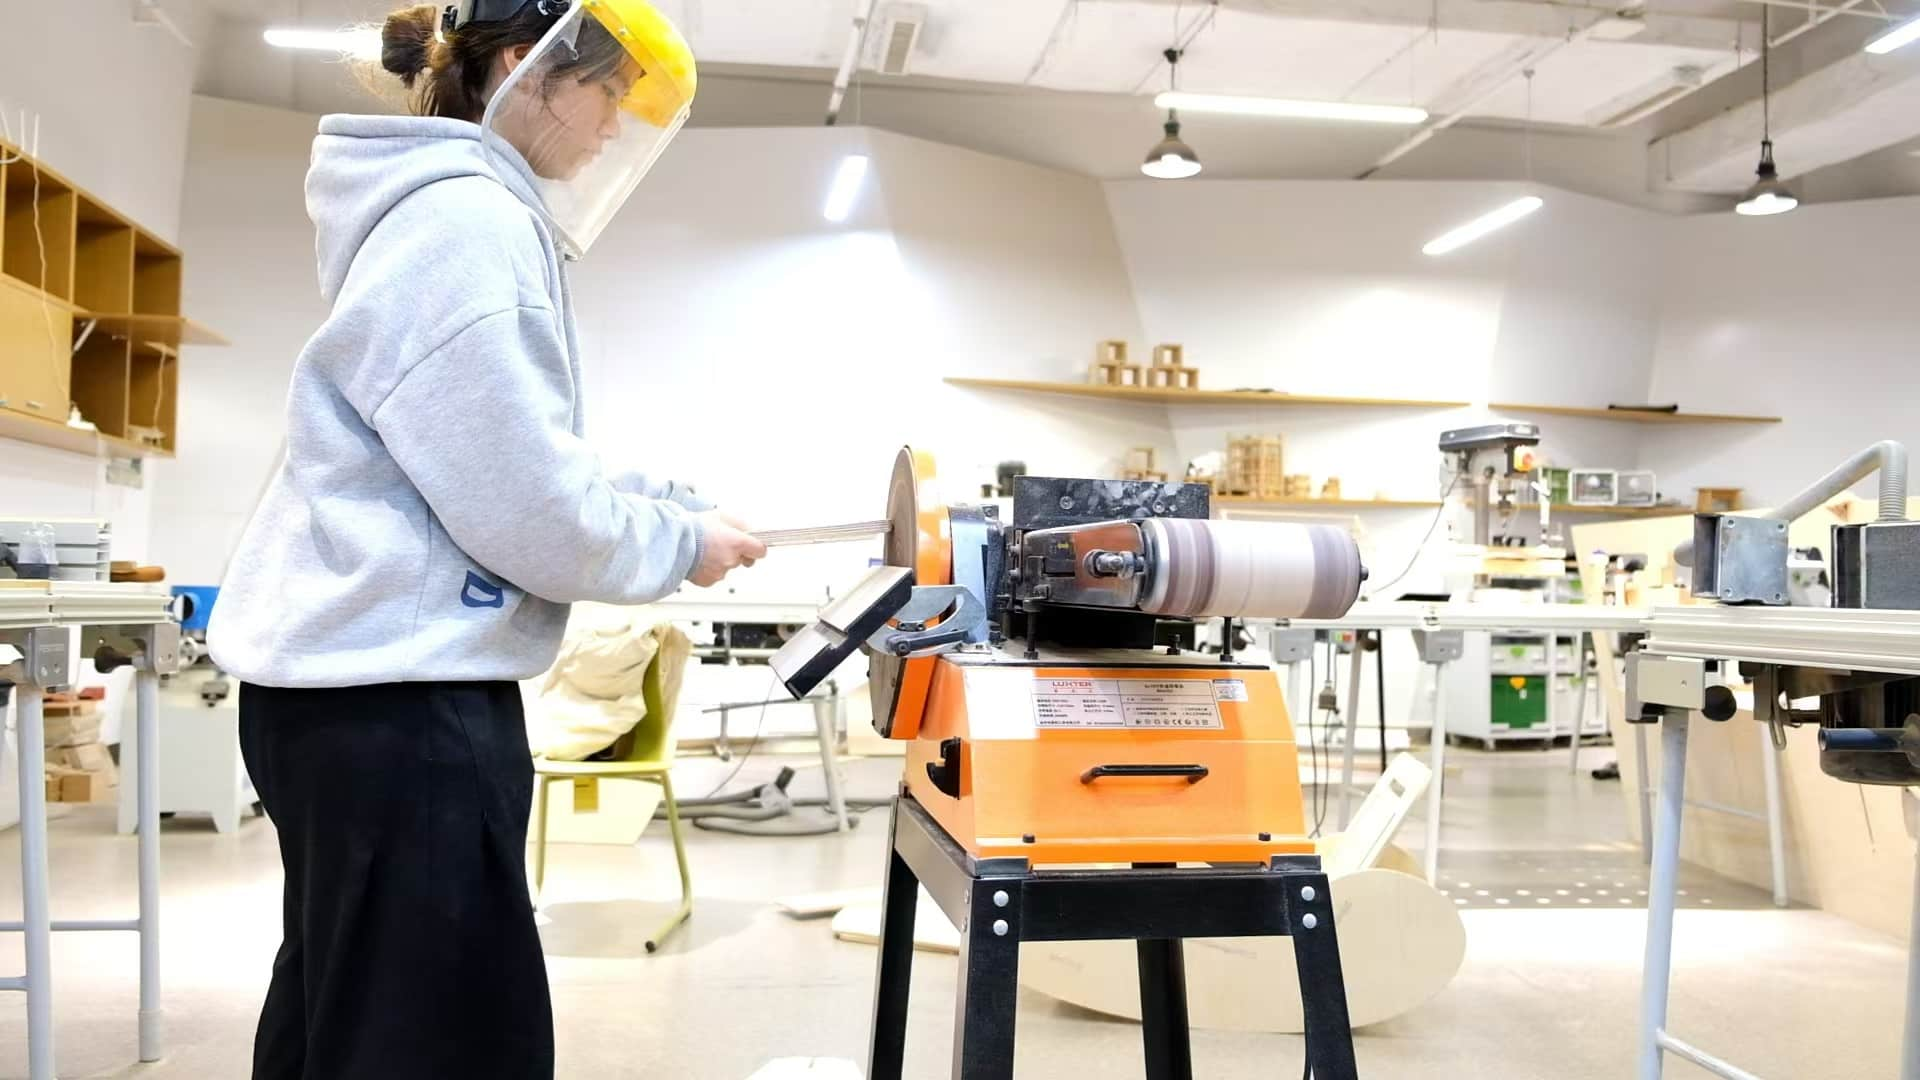
The milling result is very good, but because of the added tab, I used a grinder (I wore a protective mask to prevent sawdust from flying) to grind the outer tab, and the inner side was smoothed with a file, and then fine-grinded with sandpaper.
Some assembly process....
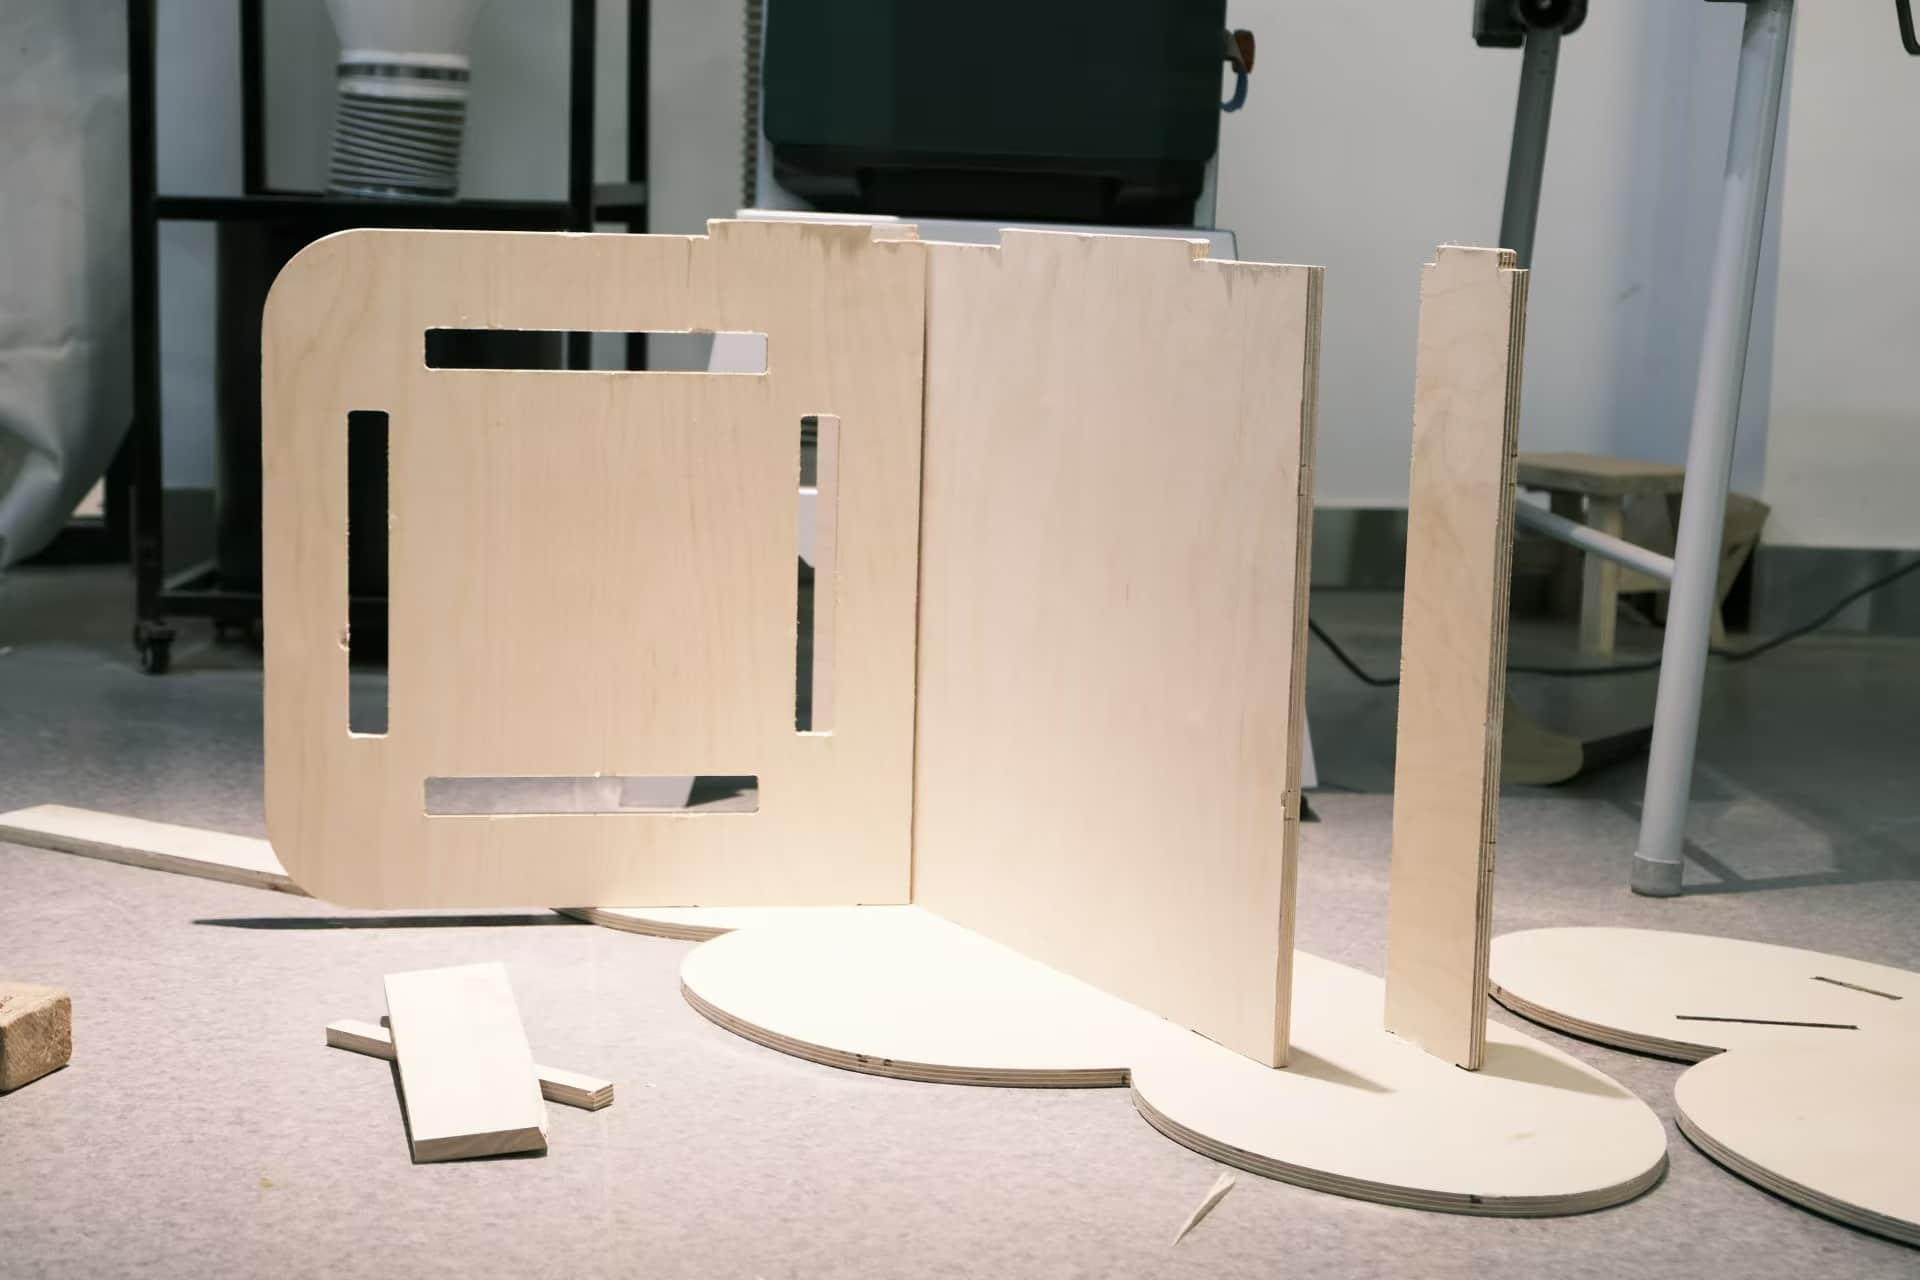
The result before weaving
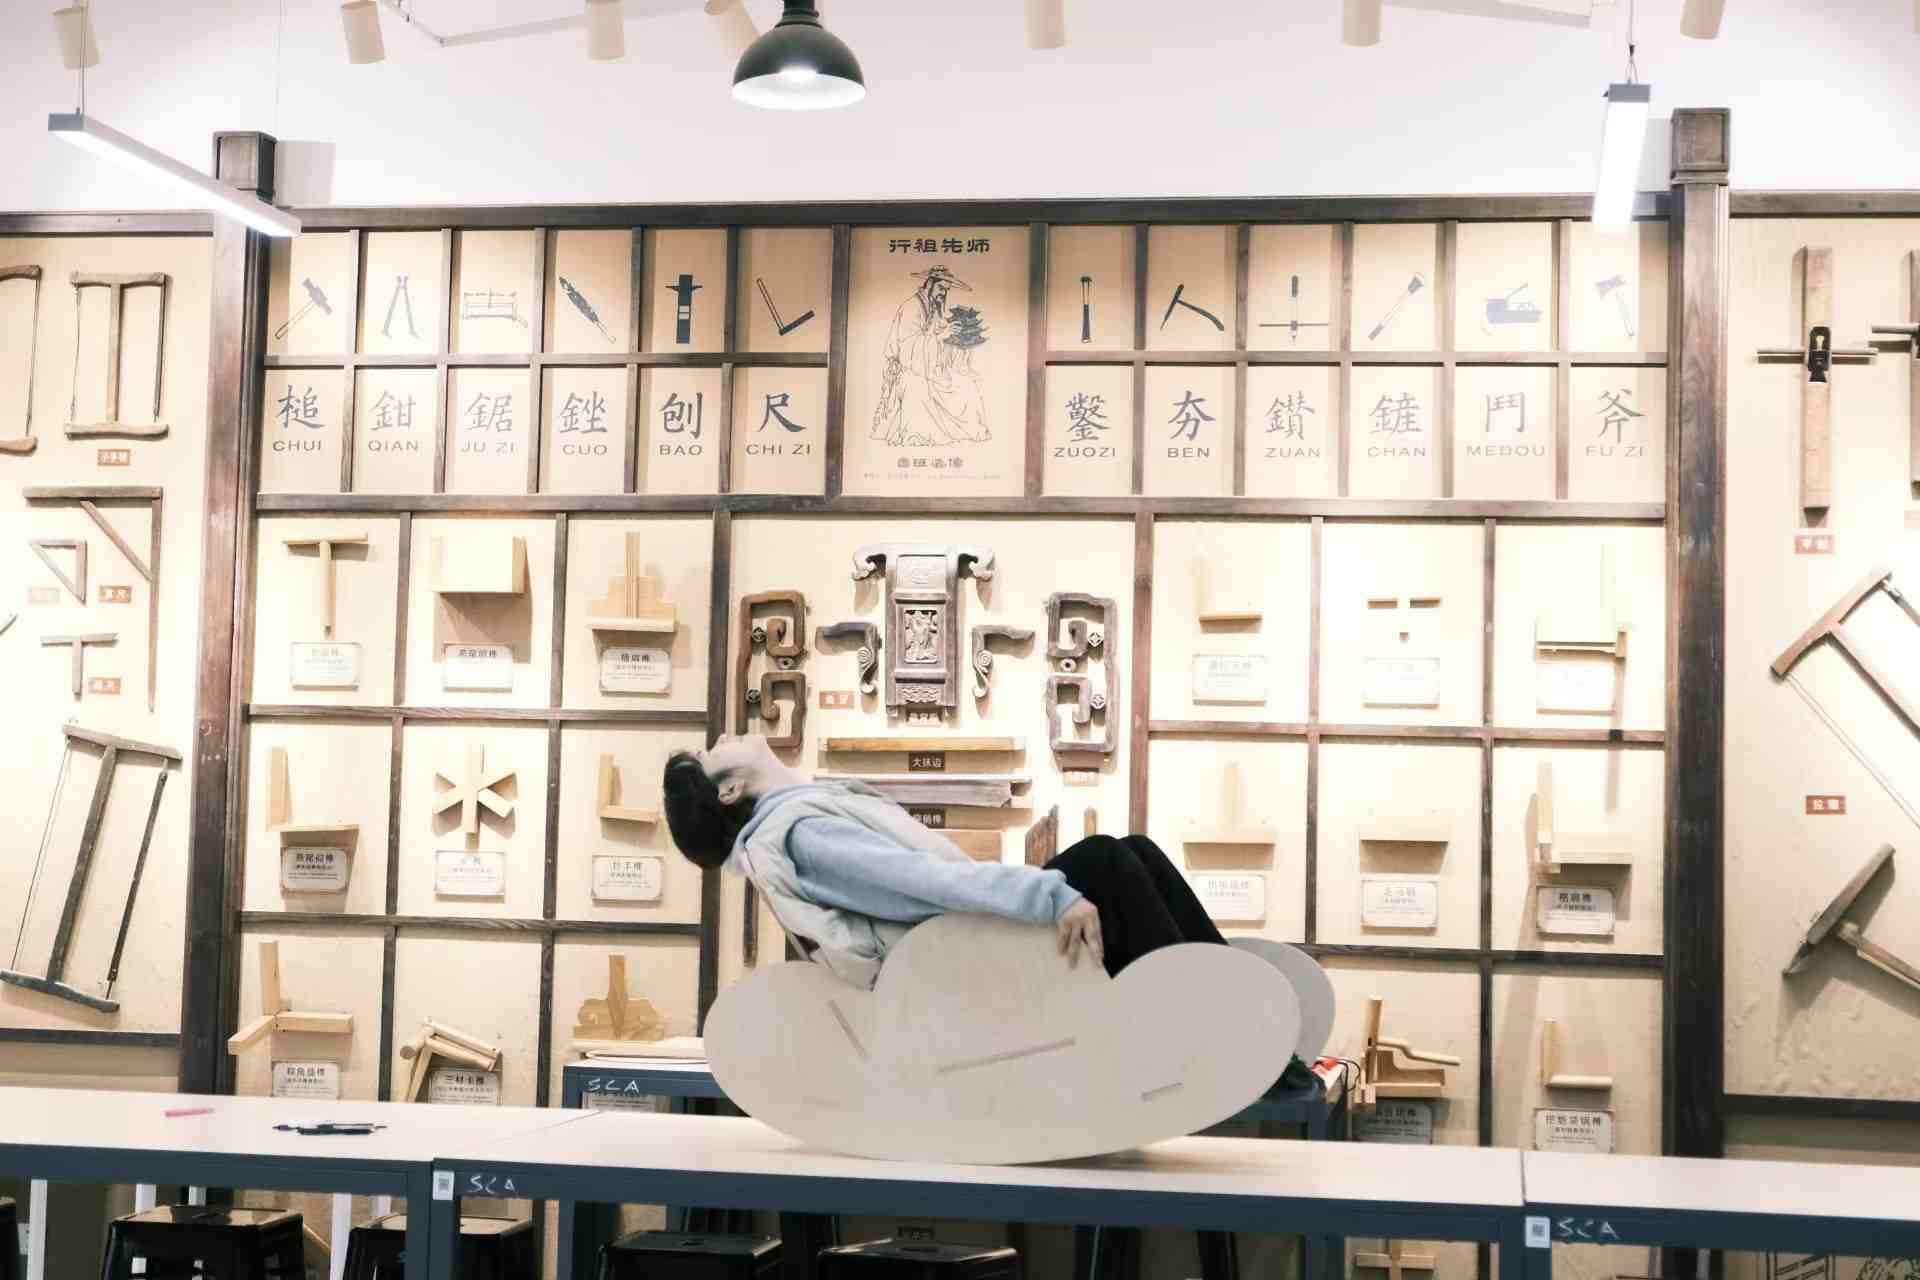
The swing amplitude is appropriate, and it feels safe to sit back
Weaving completed