Group assignment
This week, our “Pinnochio” helped us realize this group assignment. You can find out more about these features here
Setup
To control our CNC machine, we use the “Candle” software installed on this desktop computer, as you can see in the image below. We also put our copper plate to be milled on the bed of our CNC. More on this later


Toolpath and Milling
Below you can see the toolpath of the test we want to perform. This G-Code will be sent to the milling machine.

Zeroing Technique
We used the paper zeroing method to help in zeroing the bit(Z-travel). this is the process of using that technique, a piece of paper is placed on the copper piece and then the bit in the spindle is lowered until the tip of the bit touches the paper. the paper is then removed and the head is moved 0.08mm downwards to compensate for the thickness of the paper.
Instead of paper, we use a multimeter to set the Z zero.

Milling Process
Before starting the milling process, we check that our copper wafer is level on the bed. This ensures quality milling.


Here are some ideal parameters for good quality milling.
| IDEAL SETTINGS FOR PCB V-BIT | IDEAL SETTING FOR PCB END-MILL |
|---|---|
| Bit type: V-bit | flat-end Mill |
| Bit size: Select 0.3 mm | 1 mm |
| Cut depth: 0.1 | 0.5 |
| Max depth: 0.1 | 1.5 |
| Cut speed: 2.5 mm/s | 2.5 mm/s |
| Plunge speed: 2.5 mm/s | 2.5 mm/s |
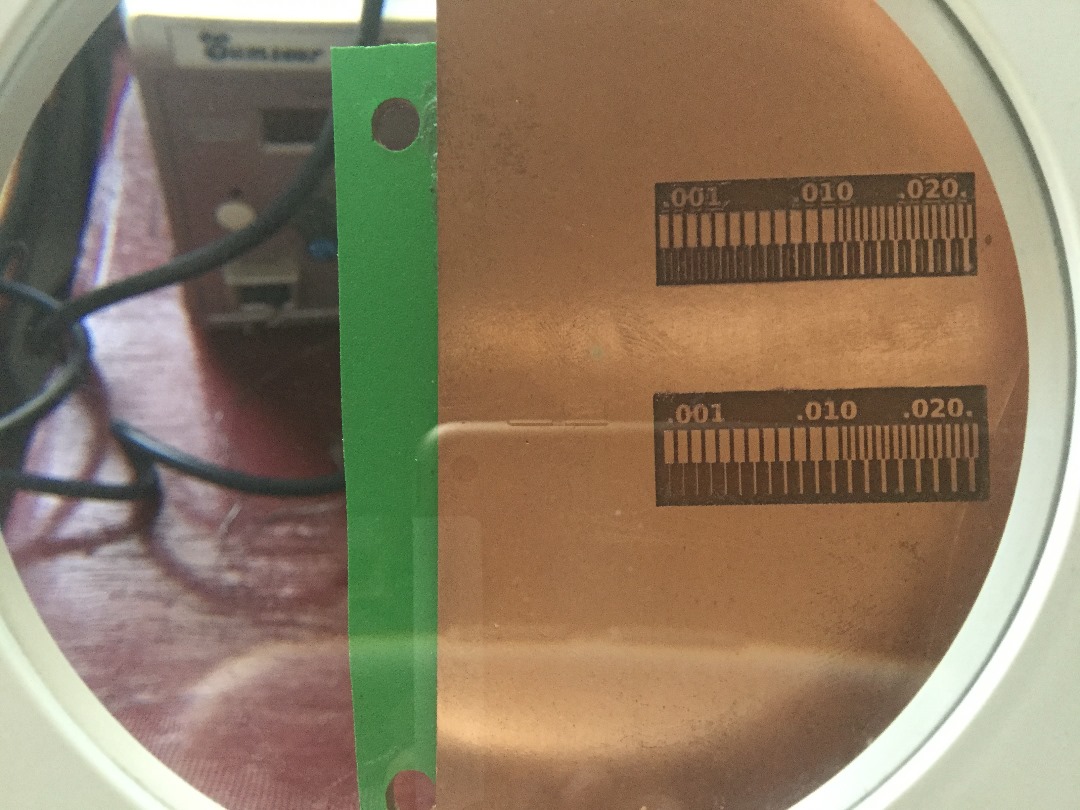
Result
