wildcard week
this week is going to be a fun one! We are going to be using a machine or procedure usually not used in your typical fab lab. For this the DGI Aesthetics center we decided to do screen printing.
Individual assignment
Design and produce something with a digital process not covered in another assignment, documenting the requirements that your assignment meets, and including everything necessary to reproduce it. Possibilities include but are not limited to wildcard week examples.
Screen printing.

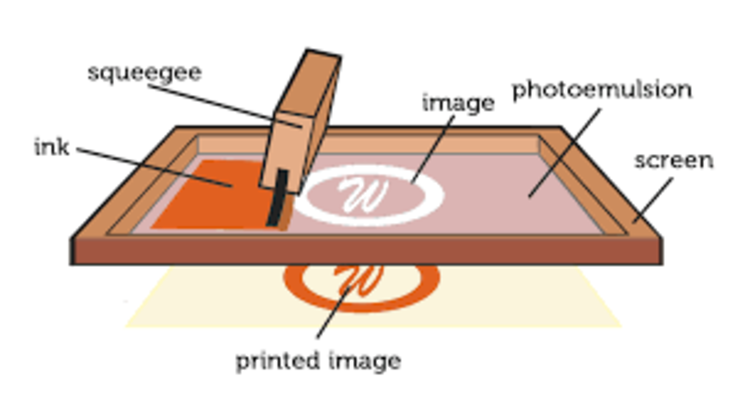
Screen printing is the process where you press ink through a mesh to form designs with in paper, posters or even shirts!! To make the design show up on our material we have to use a stencil. For our assignment we used designs we printed through the use of the of the Roland GS-24 vinyl cutter as our stencil.
First before anything lets start designing teh stencil and then get it printed out!
Designing!
For this weeks assignment I used inkscape to design my stencil.
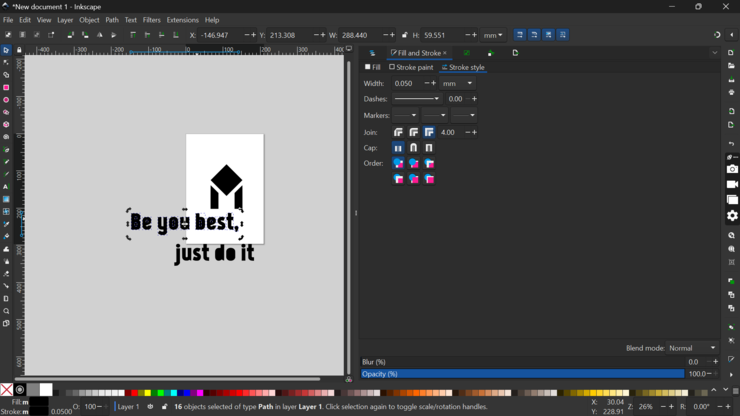
I first I wanted to create a that I could use and screen print on my shirt. I first opened inkscape and then created a square.

After creating the square, I needed to rotate the square to turn it into a rhombus. I also created the a quadrilateral with a slanted edge.


After that I also created a copy of the structure I created and then flipped the structure and then moved it to the opposite side of my logo.


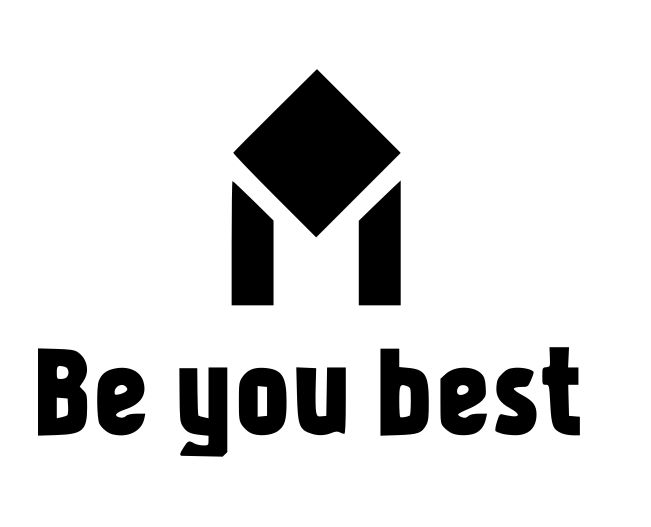
With that I am finally done with creating my design! but I also filled my design so that it looks good.

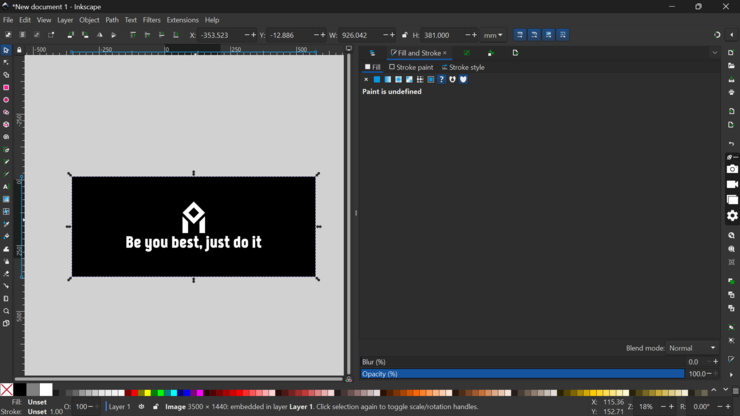
After that I also wanted to write some messages on it.
I added some text on my design using the text tool in inkscape and then messed around with some designs.


But after a while of tinkering, I decided on a relatively simple design that just felt right for me!

After the designing was done I simply moved on to cutting my design and then begin with the screen printing.
Screen Printing.
Now with all the designing work done, we now have to move on to the main assignment. We firstly wanted to test the screen printing on some random piece of cloth.
All of us began to group up to work on the screen printing.

Next we moved to sticking the stencil onto the stencil.


Then we next moved to placing the frame on to the piece of cloth and then placed the paint over it and then spread it using the squeegees.

this is the result

Now next we moved on to screen printing my design on my shirt.
Firstly we have to stick the my design onto my frame. and then put paint over it


After the I applied the paint over my design this is how my shirt looks.


Hero shot !!!
This is the final result of all our work!
