Week 2 - Computer aidded design
This week, the fab academy course was focusing on designing. In our Wednesday class, we learned of many different editing software and asked to exlpore then pick the one you are most comfortable with. We were also tasked with creating multiple designs and documenting the designing process. Neil Sir also asked for us to explore into the aspect of raster and vector images
Neil's Lecture
The very first event of this weeks learning was from the master himself, Neil talks about computer designing in both 2D and a 3D plane. For 2D designing, the class mostly consists of usage of different software such as inkscape, gimp or free cad. Raster ansd vector images were also explained in this part of the session.
Next moving to the part of the session that included 3D designing. Sir explained how there were several different 3D designing softwares and asked us to explore. Not only that but he also explained to us some of the commen tools across different designing software. Such as boolean operation on shapes.
Assignments of the week!
If possible try and create a 2D design, Sketch or 3d model of your final project (i want to do all of it :smile:)
Also decide on using a 3D and 2D software - Document your process while creating your design with the software(but there are so many softwares, i dont know which to choose!! :laughing:)
To do all the assignments, i have also created a scheadule for it!
2D designing
2D designing refers to creations that are on a 2 dimensional plane, pictures, logos and even your sketches are part of 2D designing. 2D designing consists of various different way to creat a design. The simplest could be to just get a book and draw. But for 2D designing in computer, we have to use specialized softwares. Through these softwares we can one of two results, a raster image or a vector image.
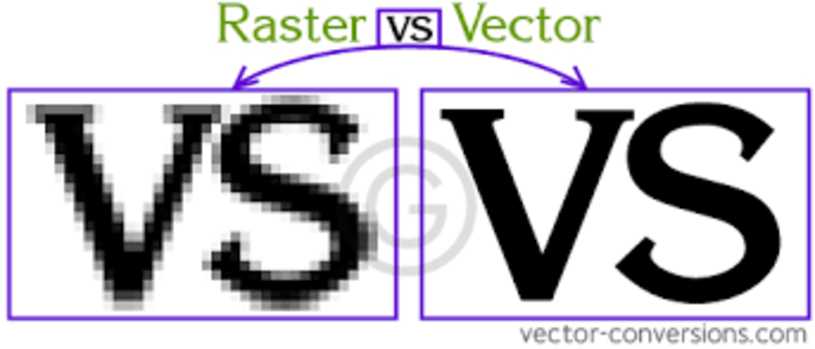
Raster vs. Vector Images: An Explanation and Differentiation
Raster images are made up of individual pixels, while vector images are made up of mathematical paths or lines.
Raster images (such as JPG, TIFF, GIF, PNG) are best for photographs and complex images. They can lose quality when scaled up or down.
Vector images (such as AI, EPS, SVG, PDF) are ideal for logos, illustrations, and designs that require scalability without loss of quality.
Raster images are edited using programs like Photoshop, while vector images are created and edited using software like Illustrator.
In summary, raster images are made of pixels and are best for photographs, while vector images are made of paths and are scalable without loss of quality.
Inkscape
Also as a part of the 2D design learning process i am going use and learn inkscape as it's an simple but powerful 2D design software. Here i am trying to create a name tag design for myself!
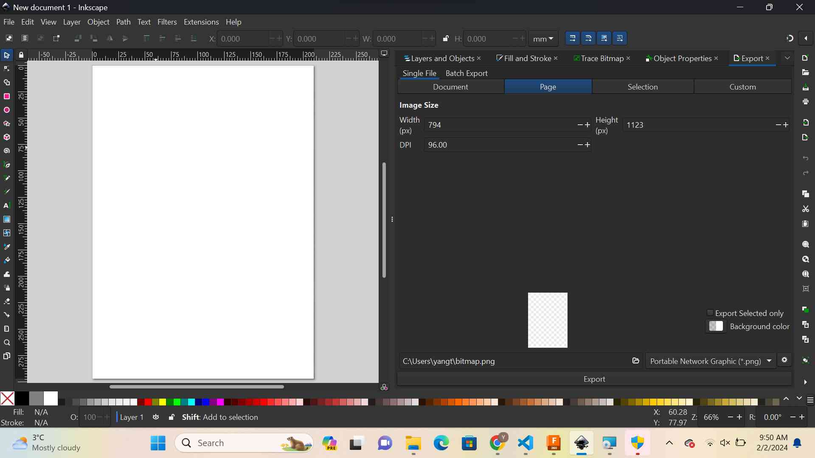
Lets first start by opening up inkscape in our device.(If you want to install inkscape follow this link --> INKSCAPE)
After opening inkscape you should get somthing like this.
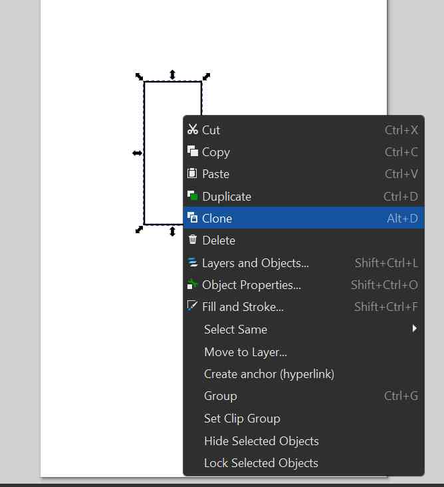
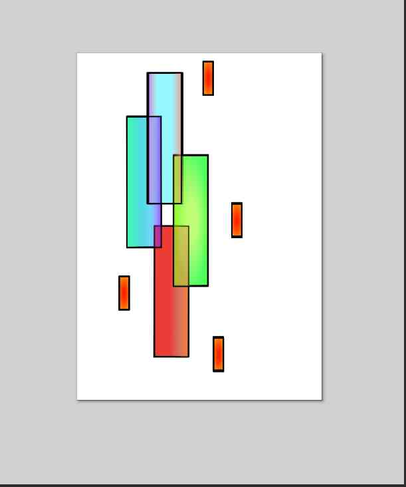
After that i created a simple rectangle and started messing around with it! I also used the clone tool to create a lot of them and create a design
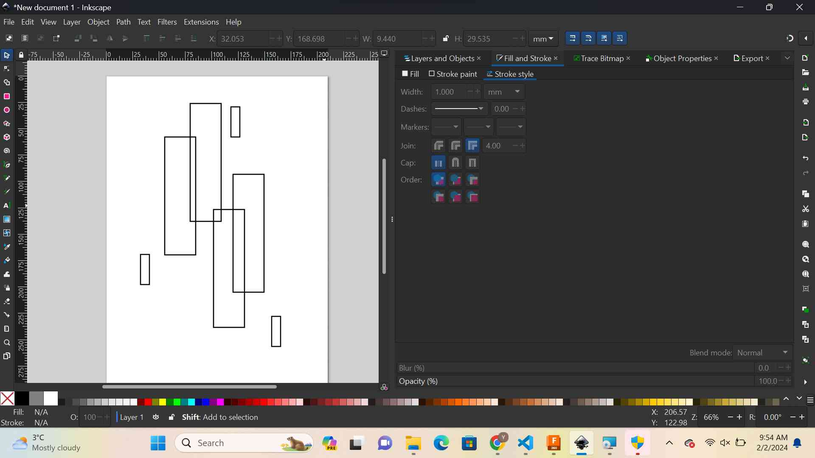
With all the cloning I created a design looking like this.
With that, i needed to color the design and also for better visuals i also blended differnet colors together.

Blending, or as I like to call it. is a process where you mix several different colors together to get depth and detail. Its like an painter mixing colors to get somthing better!
Then we can finally end our design by adding a background to our design and most importantly our name as well! I used a background from printest
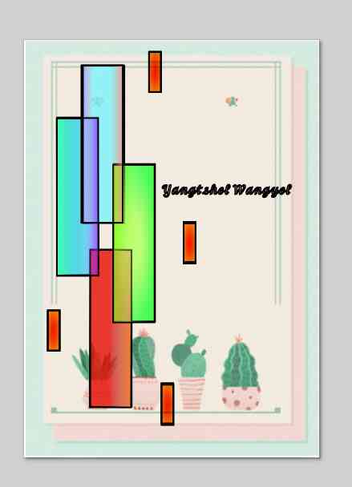
With that it ends our 2D design! That was fun and I really enjoyed using it. I think i use inkscape as my main 2D designing software for the future as well.
Gimp
Gimp is a powerful software that is able to merge 2 completly differnt phots into one! Its a 2D designing software that imporves on already finished designs, Such as croping images or bluring them to improve their visual.
If you want to use Gimp for yourself, use the link to install Gimp --> Install
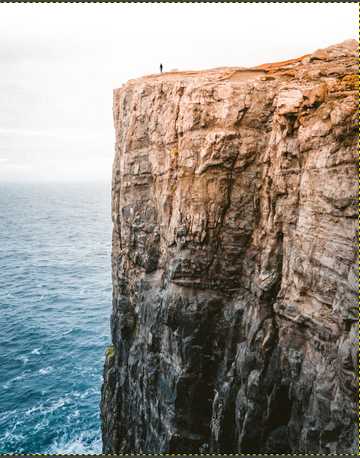
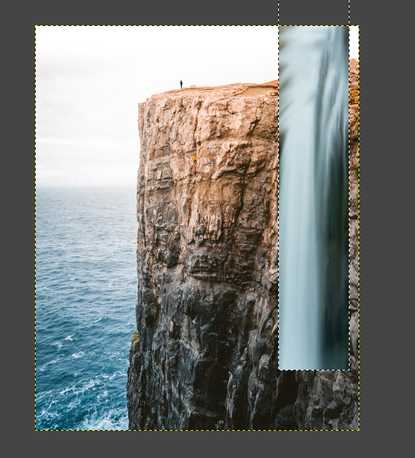
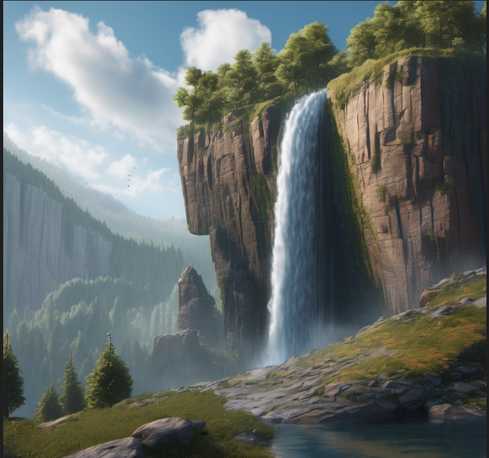
What i want to do is to crop in a water fall into a cliff so it looks as if the water fall originated from the cliff it self!
This is the image of the waterfall that i want to crop into the image of the cliff and blend it in to make it seem natural.
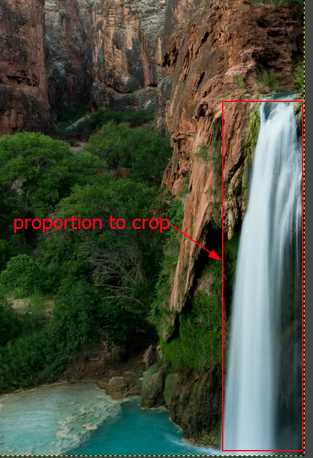
Then i use the crop tool and crop out the portion of the picture i want to use in the actual picture of the cliff
After croping, i will copy that image and then paste it in the file that contains my cliff
And now the final step being to aline the crop so that it looks natural with the background image.
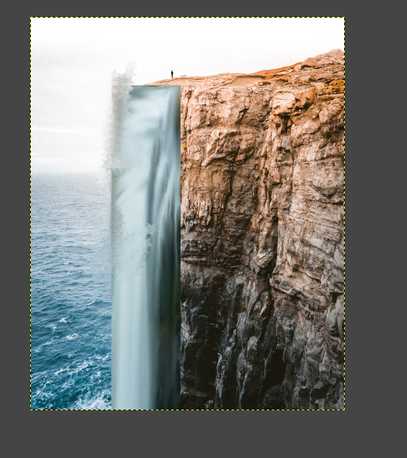
This is the final result of the design. I know it seems that it looks a bit odd and not natural at all :D, but still then it is my first attempt and i seek to better it as i move forward with the fab acdemy course
AI based 2D designing
As we all know that ai is currently a really hot topic in the tech industry and I thought it would be a shame to not include it in my documentation.
Here i am going to create a name tag for my self like did with inkscape but with the help of the ai image generator, pixle.com
so first lets generate the actual image using the promt "create a name card for a person named yangtshel wangyel"
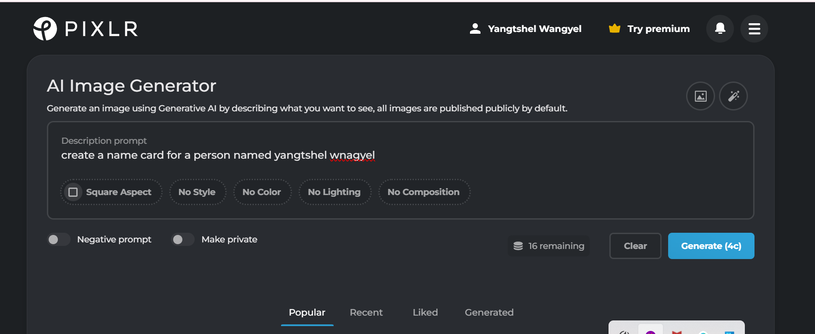
With that prompt when I press the generate button, I got this image! thats the name tag design
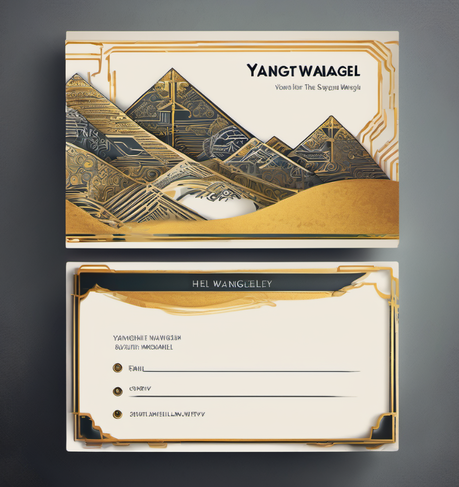
Now only that but now lets make it create a cliff with a waterfall in it and compare it to my design

Not only that but i also got several other designs as well! compared to this, my design looks like childs play. I really am fasinated with how much ai has been able to improve. The ai generator was able to create a name tag that took me about 30 minutes in a few seconds! The generated image is also better and also completely original
ffmpeg
FFmpeg is highly versatile and can be used on different operating systems, including Windows, macOS, and Linux. It is widely regarded as one of the most powerful and comprehensive multimedia processing tools available, offering developers and users the ability to manipulate and transform audio and video files in various ways
Installing ffmpeg is a long and tedius process, but it has been explained beautifully by this tutorial right here
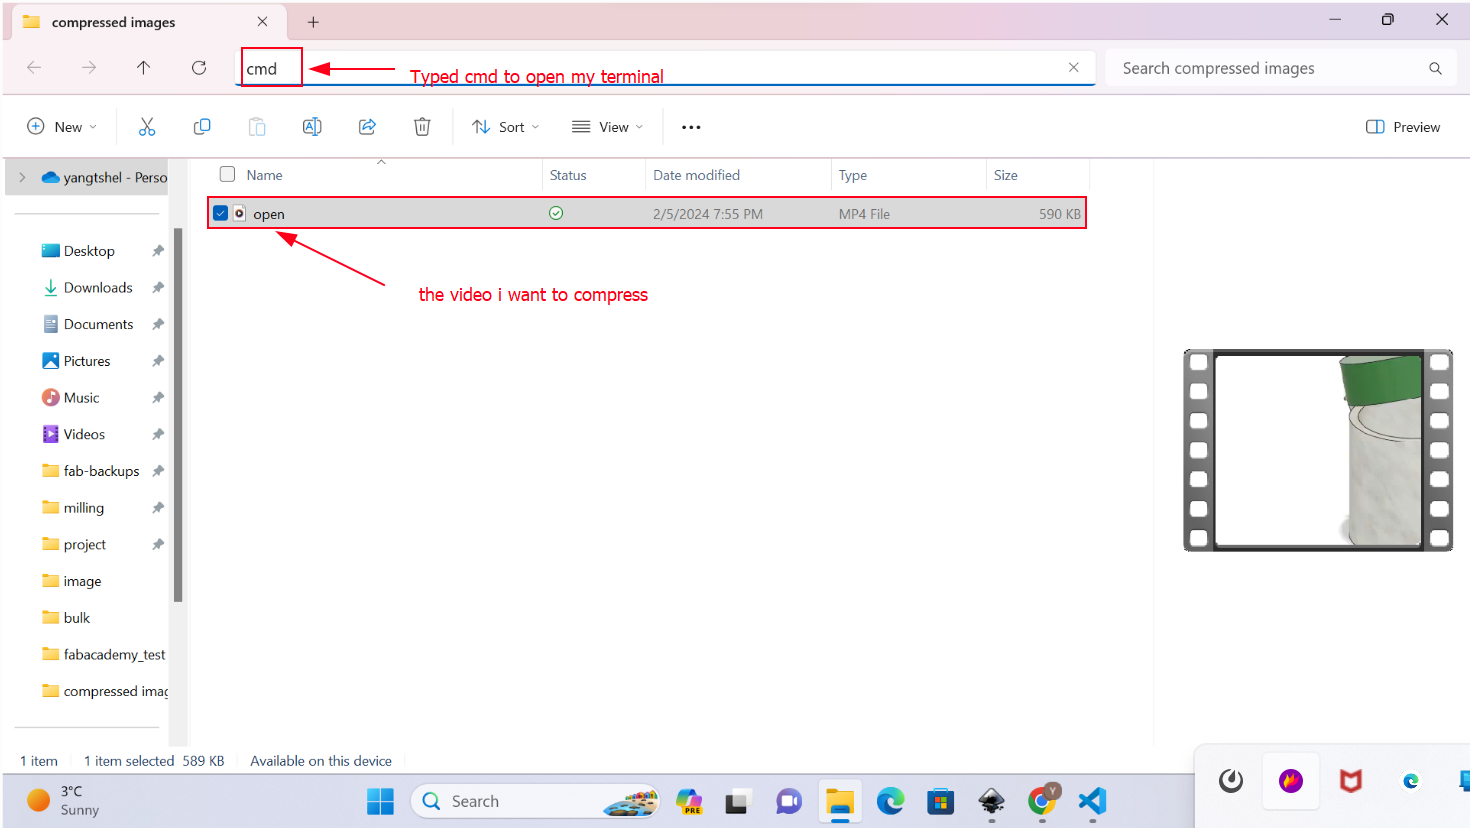
So to begin, lets use ffmpeg to compress a video/animation that I have created with the help of fusion 360. firstly I had to locate where the file containing the animation is. Once in that file I typed in cmd to open up my terminal.
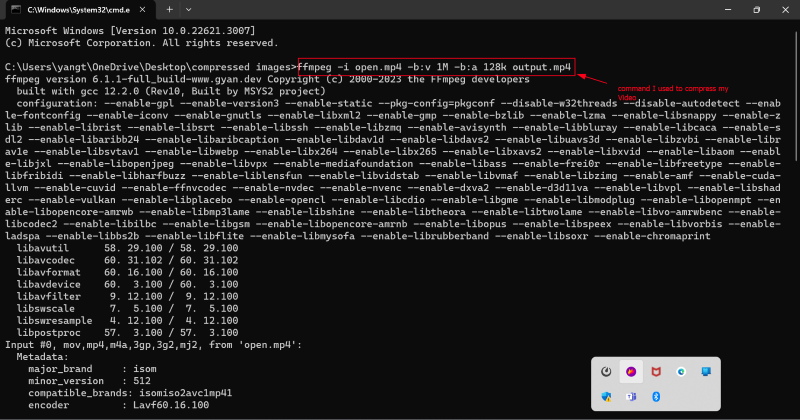
Then to actually start using ffmpeg to compress my video, i need to know all the commands that might help me. To get all the codes i used You.com to generate some commands for me. I gave the prompt "could you give all the commands used to reduce the size taken by a video using ffmpeg." And this was its response.
Adjust Bitrate: Lowering the bitrate can reduce the file size, but it may also affect the video quality. Here's an example command to adjust the bitrate:
ffmpeg -i input.mp4 -b:v 1M -b:a 128k output.mp4
After that i opened up my terminal and typed in the code with the name of my file
With that my video has been successfully compressed and ready to be used docummented.
imageMagick
ImageMagick is an open-source suite of command-line tools for manipulating digital images. It provides a wide range of features and utilities for tasks such as image editing, conversion, composition, and batch processing. With ImageMagick, you can resize images, apply filters and effects, convert between different image formats, and perform precise modifications.
I used it alot while making this documentation as I had a lot of images and had to do a lot of compression and resizing, but before I started using it I had to install it for which I used this tutorial
Firstly to begin i had to first know all the different commands that are used for imagemagick. For that I used You.com to generate me all the necessary commands I need to learn to use imagemagick for me to compress images.
The prompt I used to generate the command was "Tell me all the commands used for imagemagick" and it gave me this as a response
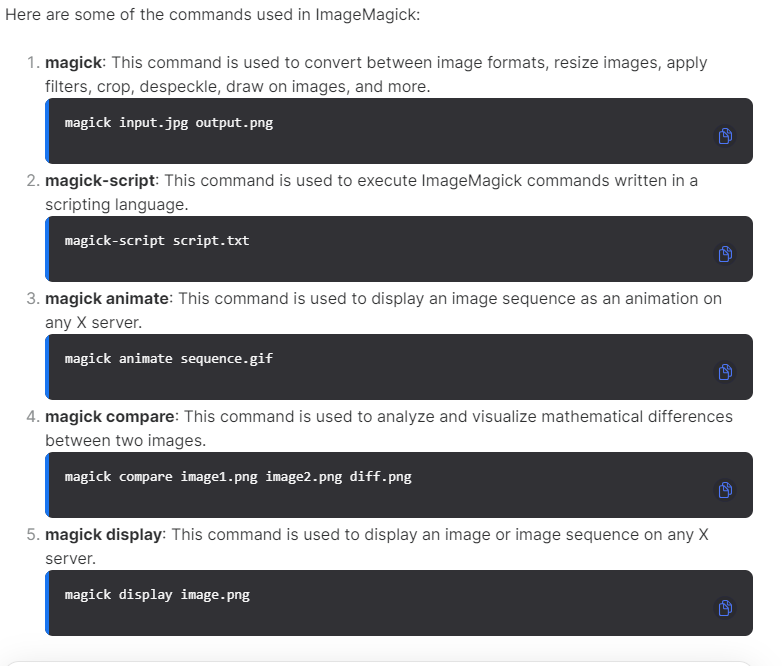
Now with all these commands I need to see which one actually compresses images and after I have found it, I will open up my terminal and navigate to the file which has the image I want. Lastly I run the command "convert input.jpg -quality 75 output.jpg" with the name of the image
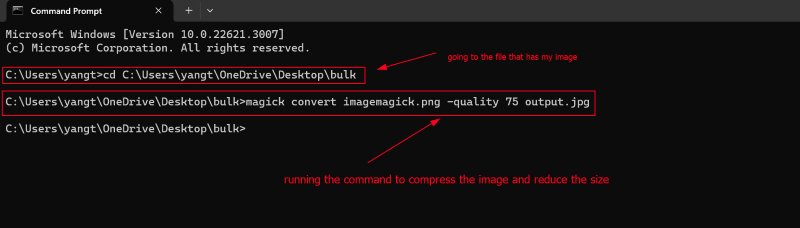
After that i was able to successfully compress my image!
3D designing
3D design involves creating digital models of three-dimensional objects using specialized software. Various software options like AutoCAD, SketchUp, Blender, and Maya are used for 3D design. Its fasinating how we can create digital representation of the real world!
For my learning I will only be using blender and fusion 360 for my 3D designs! Here are some example of 3D designs created through the use of fusion and blender
Blender
Blender is a free and open-source 3D creation suite that allows users to create 3D visualizations, animations, and VFX shots. It is widely used by professionals, hobbyists, and studios for various purposes such as creating animations, game assets, motion graphics, TV shows, concept art, commercials, and feature films.
Here is a link on how to install blender if you dont already have it on your device --> install
Blender is really complicated and has multiple different editors and ways to design, But the way i am going to use it is by learning how to use the geometry node editor in blender. The Geometry Node Editor in Blender is a visual interface that allows you to create and manipulate geometry using a node-based system. It is a powerful tool that enables you to generate and modify complex 3D models, procedural landscapes, animations, and more.
Lets first open up blender and begin with the editing and designing. When you open up blender, the very first thing you will see is default start up of Blender
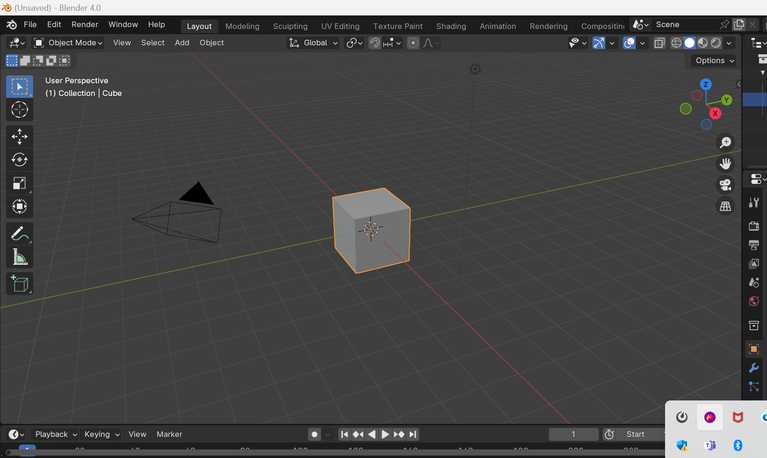
If you want, you can immeadiatly start designing with all the different shape and tool. But since i am going to design using the geometry node i have to take some extra steps to setup
to open geometry node you first have to pull up the bottom of the startup screen, then you have to click the clock icon and when you do that you will be given a lot of different options. Since we are working with geometry node, we have to select that
.png)
With that done, lets get to actually creatin our design. The i want to create is a simple landscape with the help of geometry node! I also wanted to color it but i had no clue on ho wto color so lets leave it for the next designing assignment
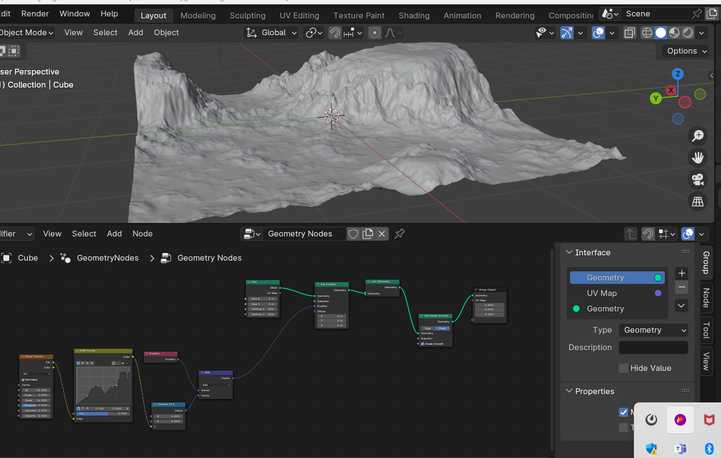
To create the landscape we first have to create a plain for the land scape to be position on so lets create that first. We are creating a flat object so we will be using the grid node. The node will be connected to the position node so that we can manipulate the position of the object. Finally it will be connected to the geometry output node to give the output that we desire.

Then we have to make it so that the our plane is deformed so that it more resembles a landscape. for that we have to use: the noise texture node to give texture to the plane. Then we have the RGB curve node, it will give us a way to minipulate the texture in a way that it looks like a landscape(basically design the curves of the texture). Now we simply have to connect these with the position node.
Here is the final result of the design
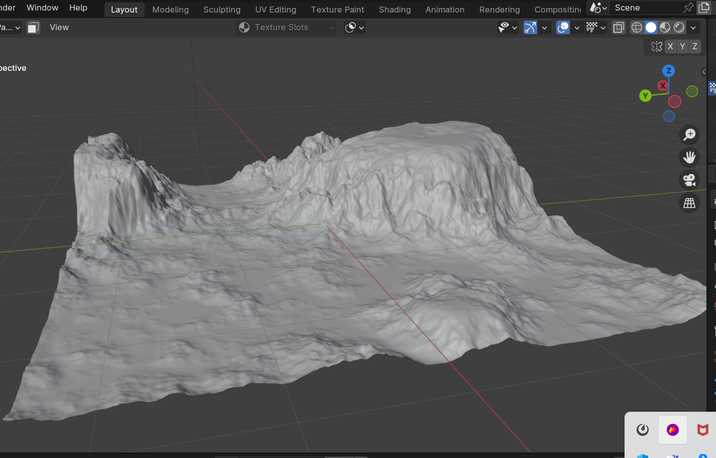
It looks nice but also it looks a bit bland, but thats it for now. Next time i also seek to color my designs with the help of blender
If you want to aqlso learn geometry node, follow this tutorial here
Lastly i would like to sincerely thank Rico sir, our fab guru, for giving me the idea of using geometry node in blender and being able to create this ausome design
Fusion 360
Fusion 360 is an 3D designing software created by Autodesk. It Specializes in the creation of simulationsand 3D designs
Lets create a model of the final project that i want to create
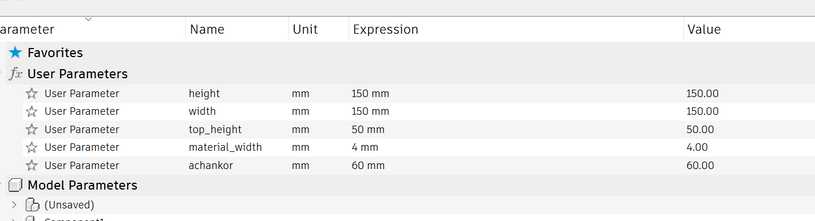
First we have to create a sketch of the model, and then we can use the tool extrude to make it 3D. To create a sketch it requires dimensions such as the width, radius etc... for that lets define some of the by using parameters.
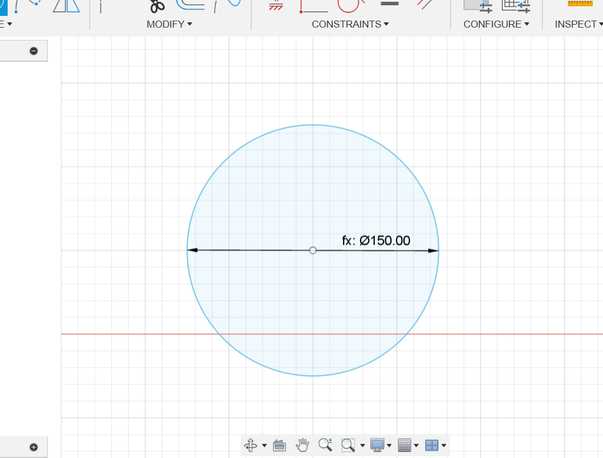
With the parameters defined, lets create a simple sketch of the circle since my project is a cylinder. Then i can just extrude to make a cylinder
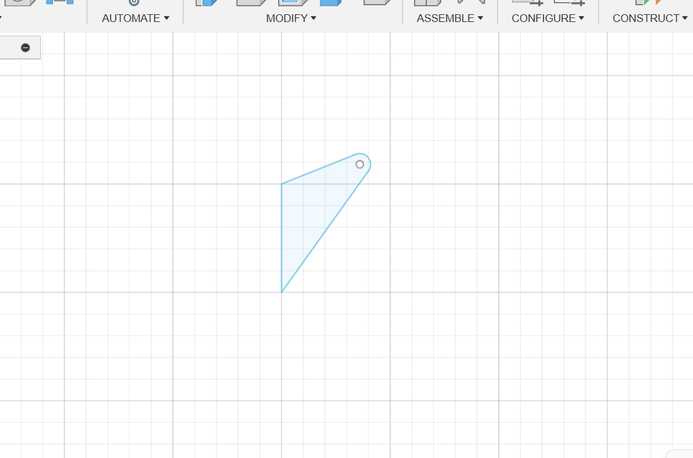
After that lets make the hindges so that my project can open and close with a lid. For that lets sketch the lid.
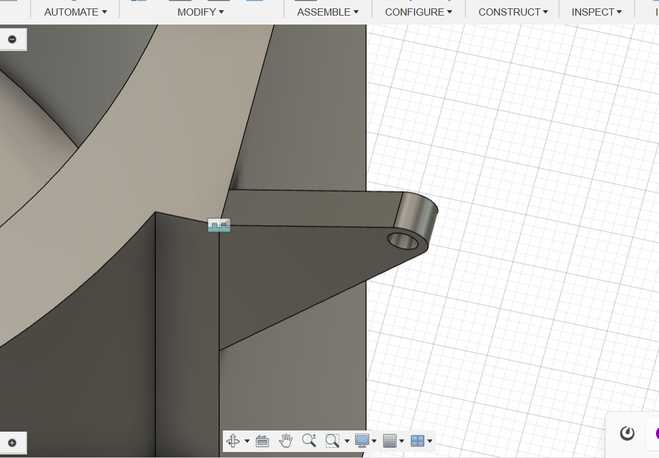
Now lets join the join the hindge in the actual body of the project.
With that lets just add some color to the finished project and then were are done designing
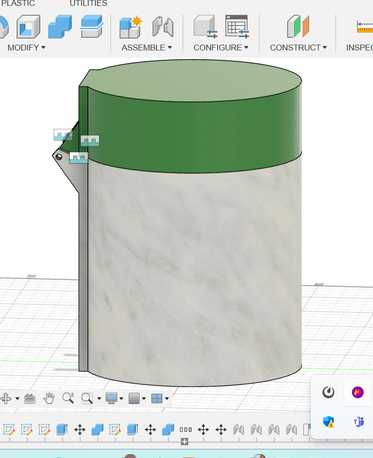
With that finished, we are done designing! This is how it looks
Here is the link to my project if you want to edit it yourself! Fusion
Learning outcome of the week!!
I learned how 2D/3D design using multiple different softwares and learned the pro's and con's of each
I learned about multiple ways of designing such as geometry node to the extremly powerful and versatile ai based designing.
I learned about how to animate my 3D designs using fusion 360
Special thanks
Rico sir - For suggesting the use of blender and the geometry node feature!
Anith sir - For going over my entire documentation and giving valuable feedback.