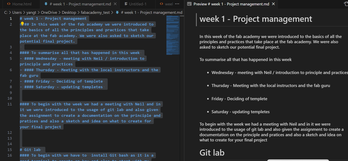
In this week of the fab academy we were introduced to the basics of all the principles and practices that take place at the fab academy. We were also asked to sketch our potential final project.
To summarise all that has happened in this week
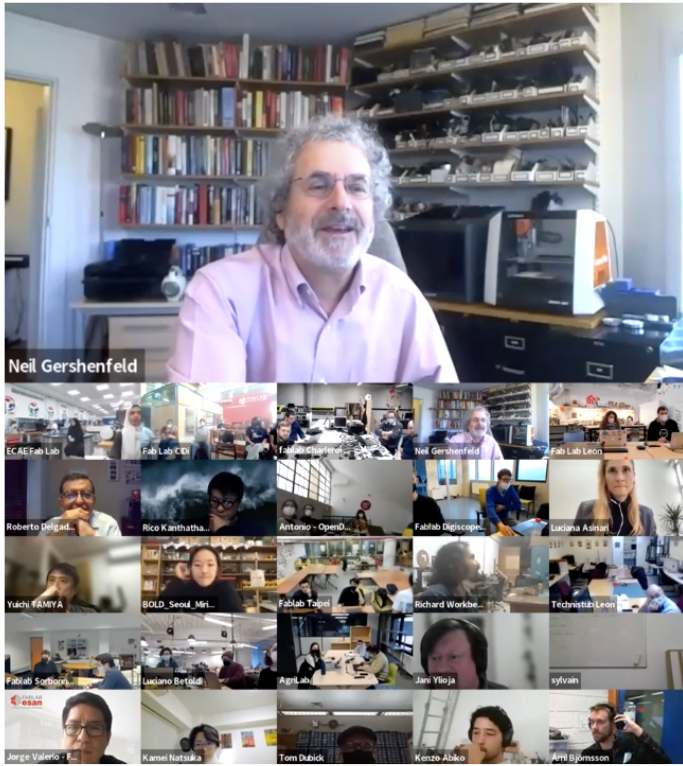
Wednesday - meeting with Neil / introduction to principle and practices
Thursday - Meeting with the local instructors and the fab guru
Friday - Deciding of templete
Saturday - updating templetes
To begin with the week we had a meeting with Neil and in it we were introduced to the usage of git lab and also given the assignment to create a documentation on the principle and pratices and also a sketch and idea on what to create for your final project
Git lab
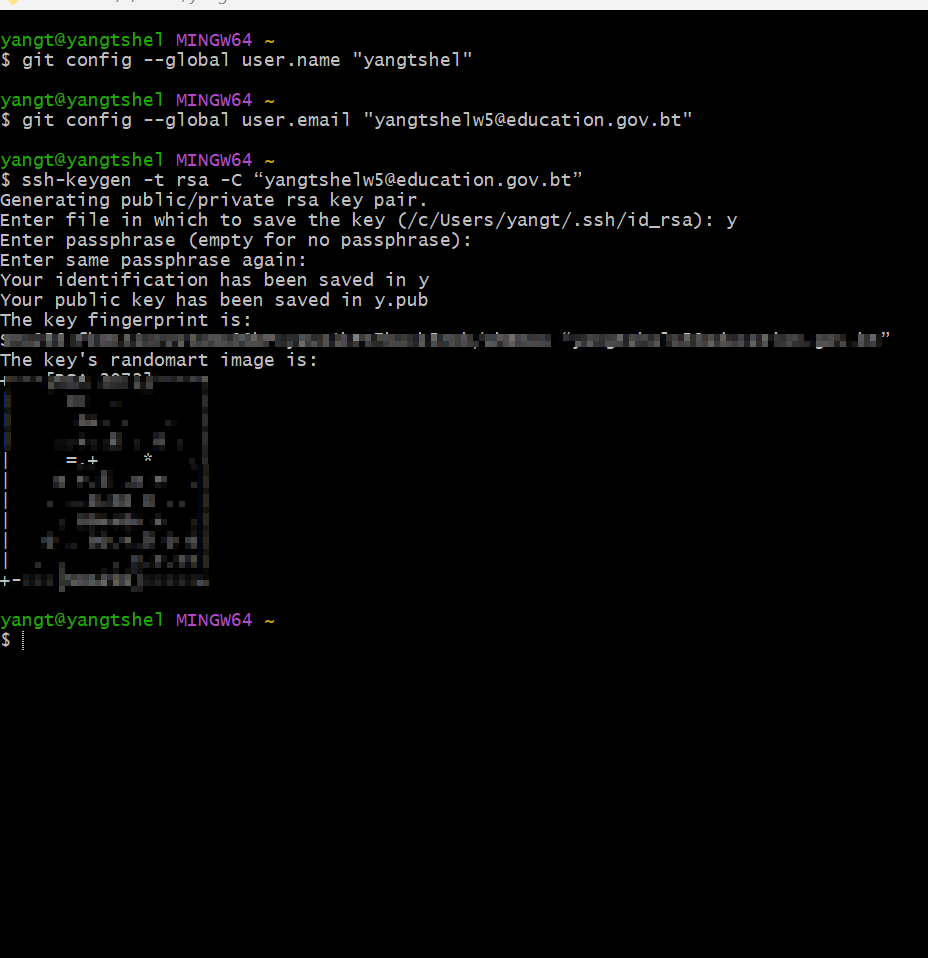
To begin with we have to install Git bash as it is a good terminal to create an key and also to start with my documentation. To install git bash follow the toturial here
After we are done installing we have to go through some procedures such as identifying yourself and also create a shh key
To do that we can use the following commands to identify yourself
git config --global user.name and git config --global user.email
Type the above commands, adding your username and email beside the commands in quatations
ssh-keygen -t rsa -C “your_email”
The above command generates a rsa key for you.
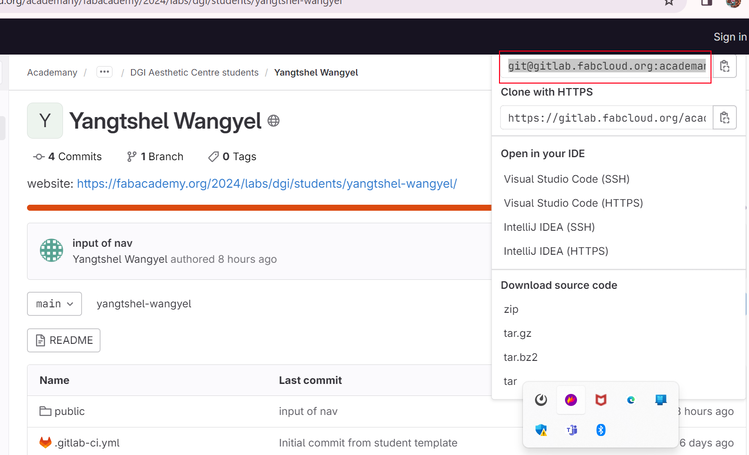
clone repository
now with the ssh key created lets clone our repository to one of our file.
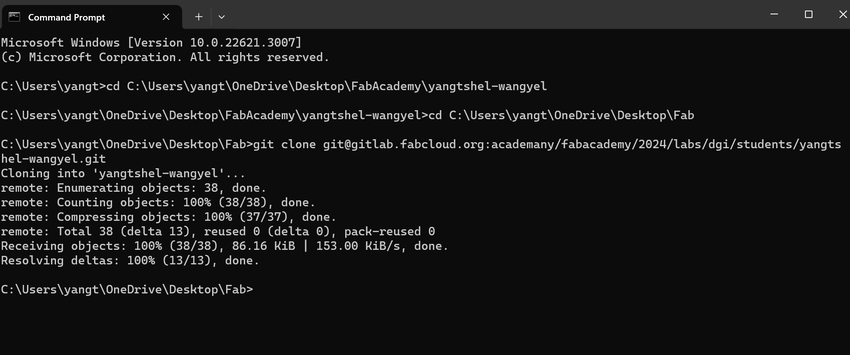
we must have a terminal open, For my case i will be using command prompt
after opening your terminal, you would have to navigate to the folder in which you would want to clone the git repository.
With that done you would have to clone the git archieve with ssh
Then just go back to your terminal and run the command (git clone) and paste the shh link
With that we have cloned our git repository!
Project management
Now lets make our very first commit and push it to the fab cloud!!
Firstly we need to open up our vs code and start making changes and updating our local repository, and lets also upload a templete so that it looks more asthetics
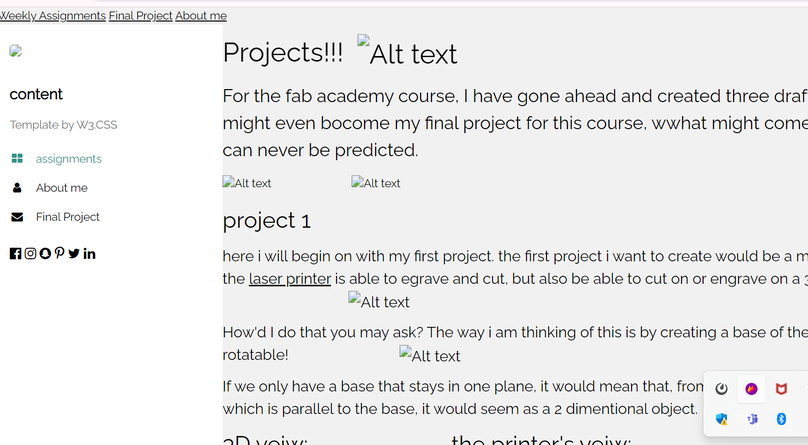
after uploading the templete I liked most, this is the results
It doesnt look good does it? So I made some changes and fixed the issue that caused the image to glitch. I moved the images to the photo file and was able to create a path to the file so that my images actually show up on my site. I also created a markdown file to write about my self, then I changed that markdown file into a html file and inserted it into my html file
Markdown
To talk more in detail about the markdown file, Markdown is a lightweight markup language that allows users to format and structure text with ease. With its simple syntax and intuitive design, Markdown has become a popular choice for writers, bloggers, and developers alike. It allows users to create headings, lists, links, and even embed images in a clean and efficient manner. Markdown's versatility extends beyond basic text formatting, as it also supports code blocks, tables, and footnotes. Whether you are creating a blog post, writing documentation, or simply taking notes, Markdown offers a seamless and efficient way to enhance the readability and organization of your content.
syntax
The syntax of Markdown is designed to be simple and easy to understand. Here are some key elements of Markdown syntax:
Headings: Use one to six hash symbols (#) at the beginning of a line to create headings of different levels. The number of hash symbols corresponds to the heading level.
Text Formatting: To emphasize text, surround it with asterisks () or underscores (_). For example, italic or italic will render as italic. To make text bold, use double asterisks () or double underscores (__). For example, bold* or bold will appear as bold.
Lists: Create ordered lists by starting a line with a number followed by a period. For unordered lists, use a hyphen or an asterisk at the beginning of a line. Indentation helps create nested lists.
Links and Images: To create a link, use square brackets ([]) to enclose the link text and follow it with parentheses (()) containing the URL. For images, use the same syntax but prepend an exclamation mark (!) before the square brackets.
Code Blocks: Surround code snippets with backticks (`). For multiline code blocks, use triple backticks at the beginning and end of the code block.
Horizontal Rule: To insert a horizontal rule, use three or more hyphens (---), asterisks (*), or underscores (___) on a separate line.
These are just a few examples of the Markdown syntax. Markdown offers a range of formatting options that can be combined to create visually appealing and well-structured documents with ease.
Html documentation!!!
Now that we now no how to create a markdown file we can also start with our html file. For my self I either do two things.
I make the html my self by coping the text from the markdown file and then inserting it into the html syntax.
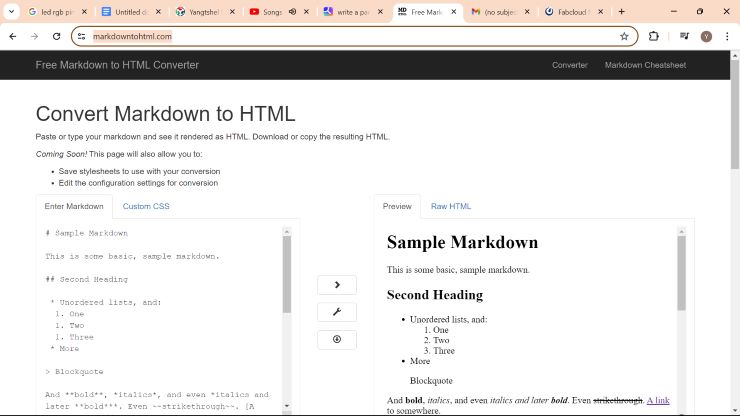
The second option, I can import my markdown file to a markdown to html converter. The converter I used myself is the free markdown to html converter.
Both methods have their own pros and cons. If I use the converter, the quality of my work isn't usually to my expectations. On the on other hand if I manually do the conversion, the documentations are exactly as I want them to be. Additionally using the converters saves a lot of my time compared to the time consuming manual conversion.
And after a very long while this is how it looks now.
2. Secondly to update the changes we made in our local repository to the fab cloud
To do that we need to frist open up our terminal and we have to use the "Git Mantra". Its a series of commands that is used to update the changes made to our local repository to the online repository
Git Pull(Updates your local repository)
Git status (checks if any changes have been made to the local repository)
Git add . (adds all the changes)
Git commit -m "your_message"(takes a snap shot of the changes)
Git push (this pushes the changes made to the online repository)
This is all the Mantras in order. Pray to god that it all works :D
It worked!, Now i have done my very first update to the fab cloud and it looks great
Final project
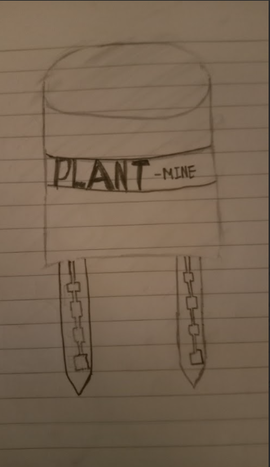
plant mine
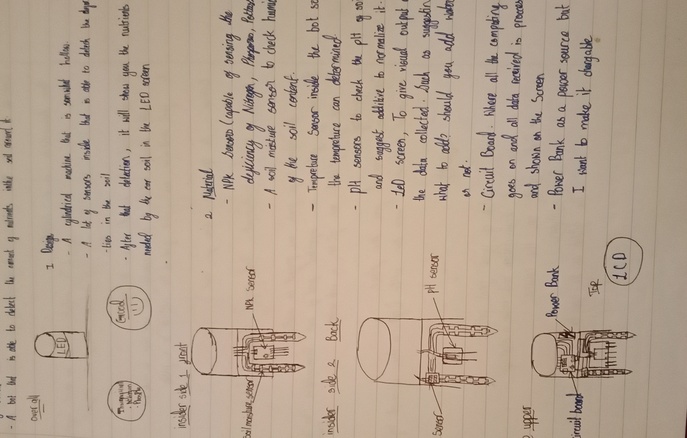
This bot is going to be my final project. The bot is ment to be placed in the soil so that it can function properly. It is a bot that detects the amount of nutrient and water that the soil has, and according to that is gives suggestions such as the soil needs more water!
It has multiple different sensors in it that help the bot observes and determin all the crucial needs of the soil are. Sensors such as the NPK sensor and also the humidity/tempreture sensor would be some of the sensor that would be present inside the PLANT MINE
I also plan to make this as cost efficient as possible, to the point were its effordable by most people. With this, crops yeilds from farms can massively increase and also reduce the amount of decay within crops!
Why am I making this?
The reason I have decided to make this my final project is. Due to the geographical terrain and location of bhutan, it constantly suffers from soil erosion and landslides. With these kinds of phenomenons the soils of Bhutan have been facing a huge loss of soil fertility. My school itself is located in a place where the soil is usually dry and lose. To improve on that i thought of creating something that can give accurate measurings and suggestions to who every uses it. With this we will be able to combat the difficulties faced while doing agriculture in my school.
How is it going to work?
My project works by first collecting data from the sensors. Then the info will be sent to the microcontroller. There the microcontroller will determine whether the soil is in good or bad health. The way it does that is by comparing the obtained info with the already existing info. Basically like a scale that has been built into it so that it knows whether the soil is in good health or not. Then finally my project will give suggestions to the user about what to do to make the soil health better.