
Individual Assignment:
____________
Past Waterjet Cutting Experience
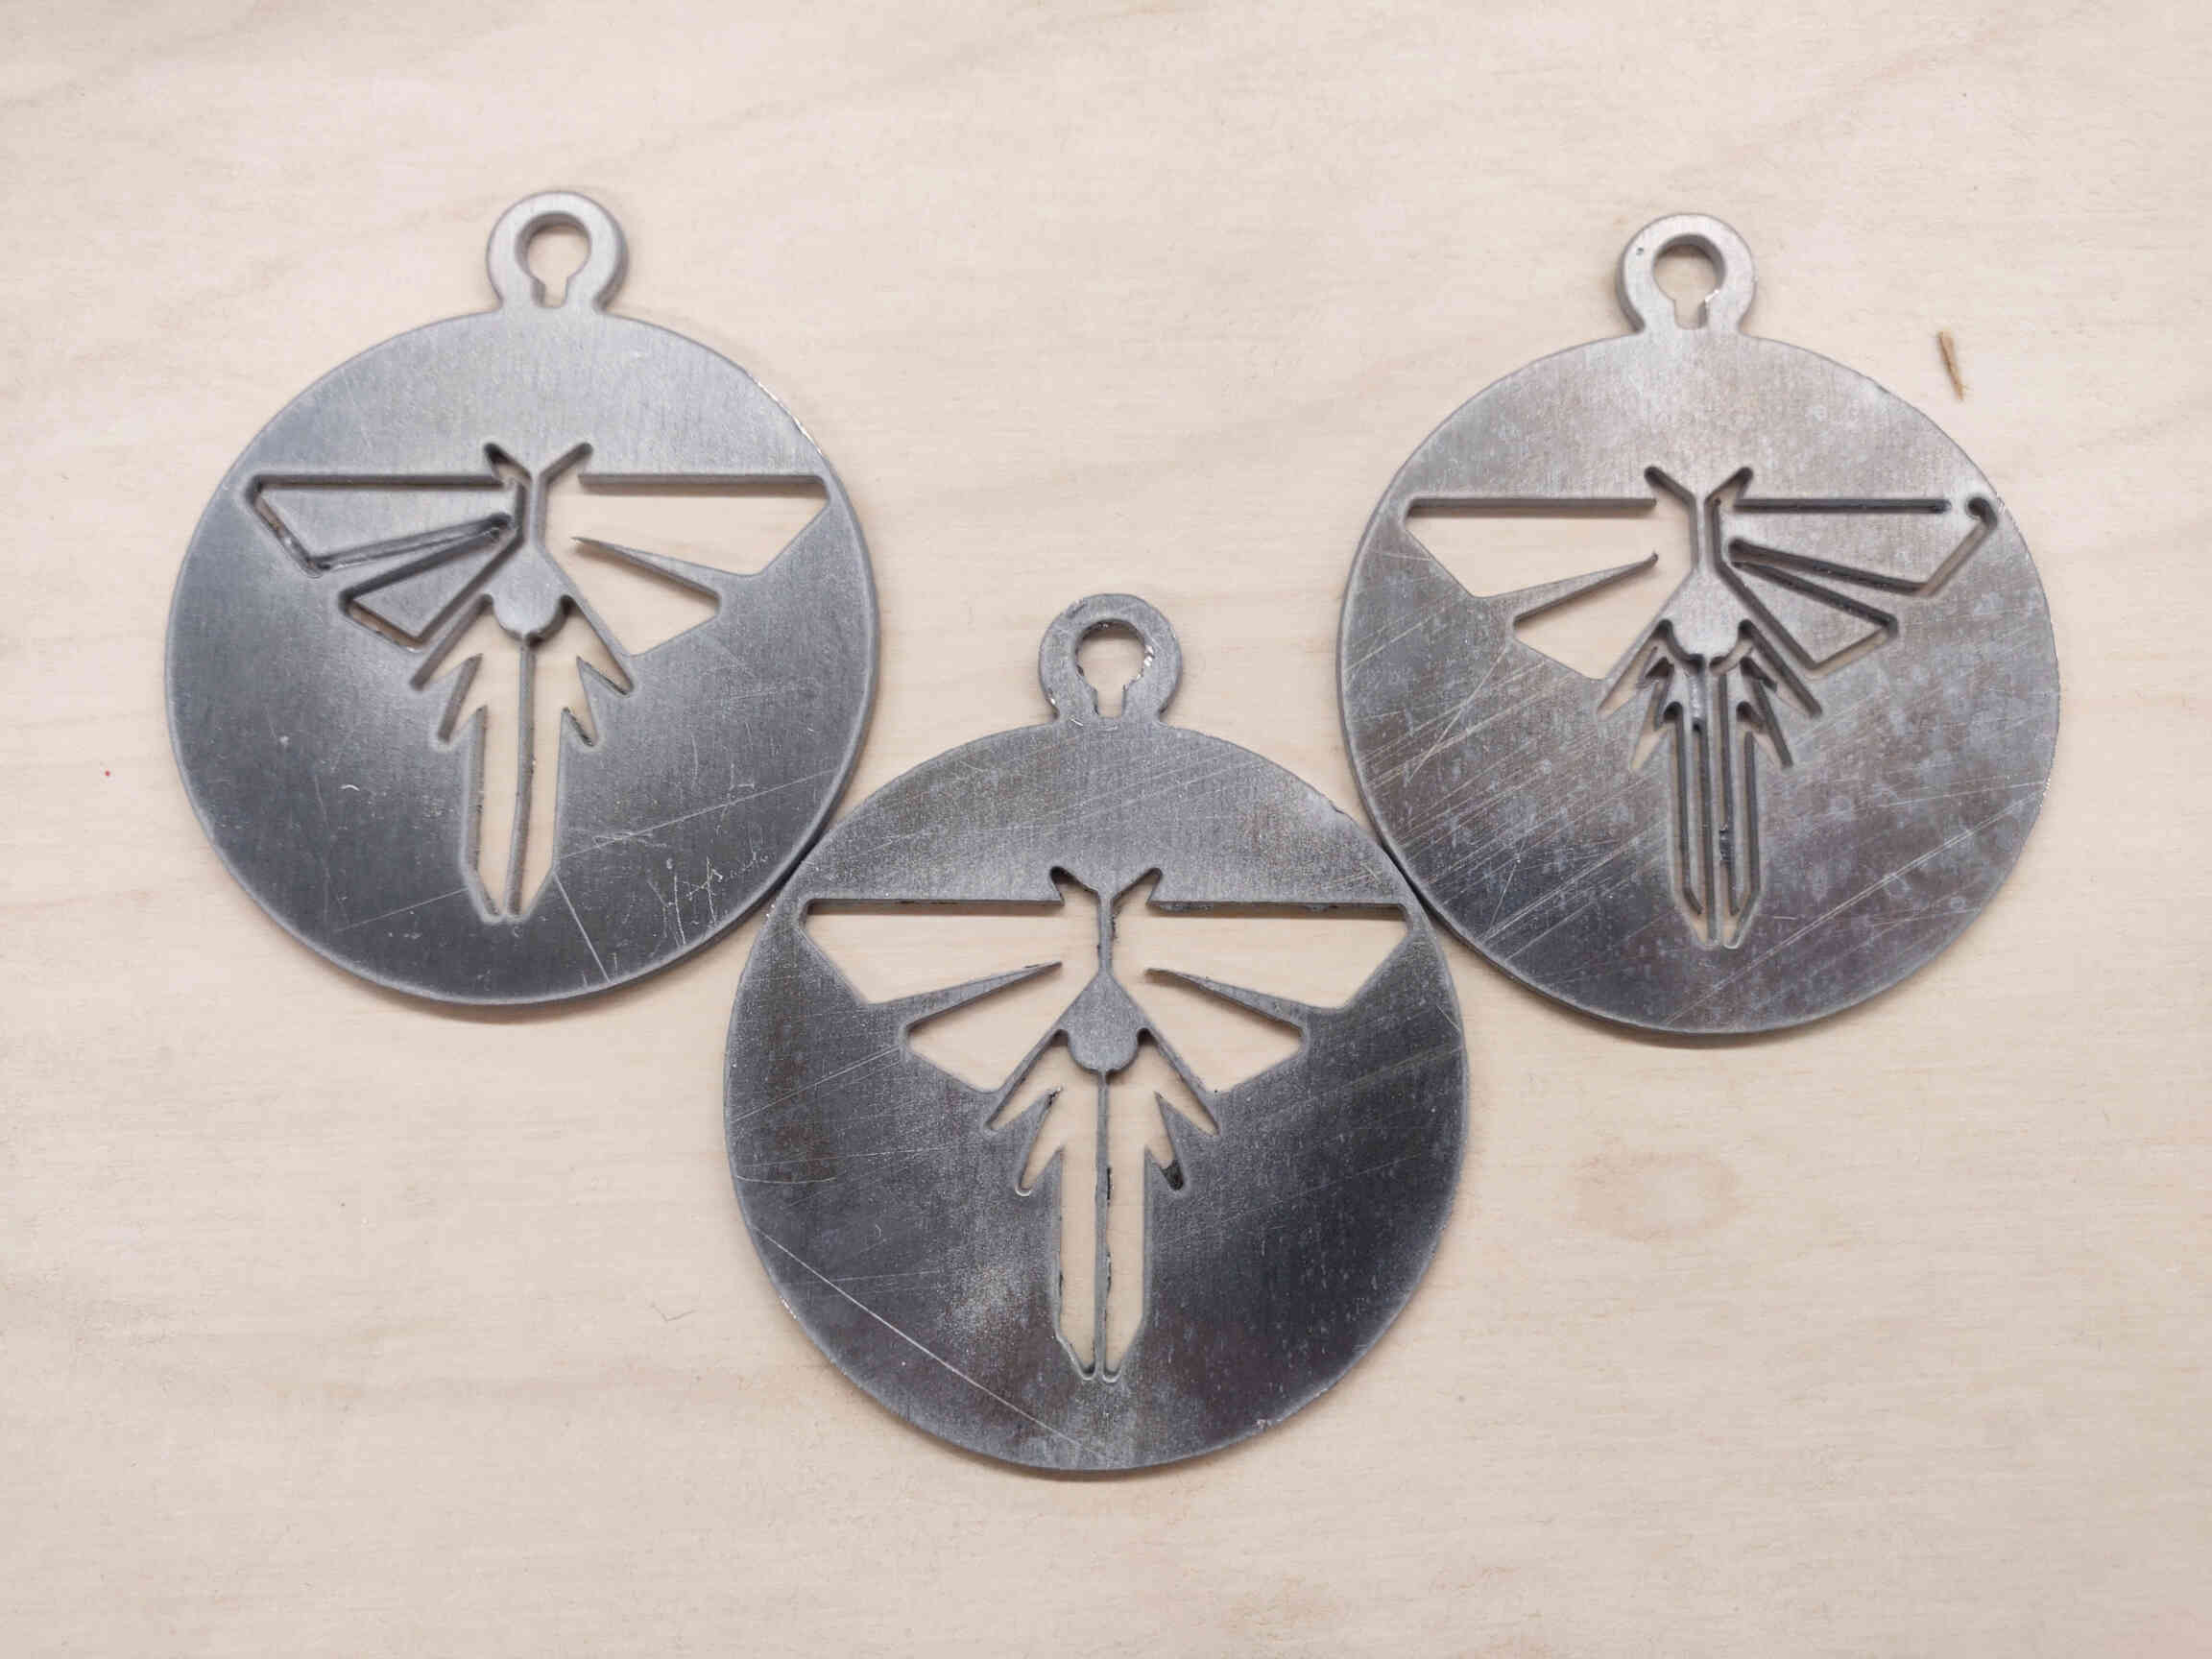
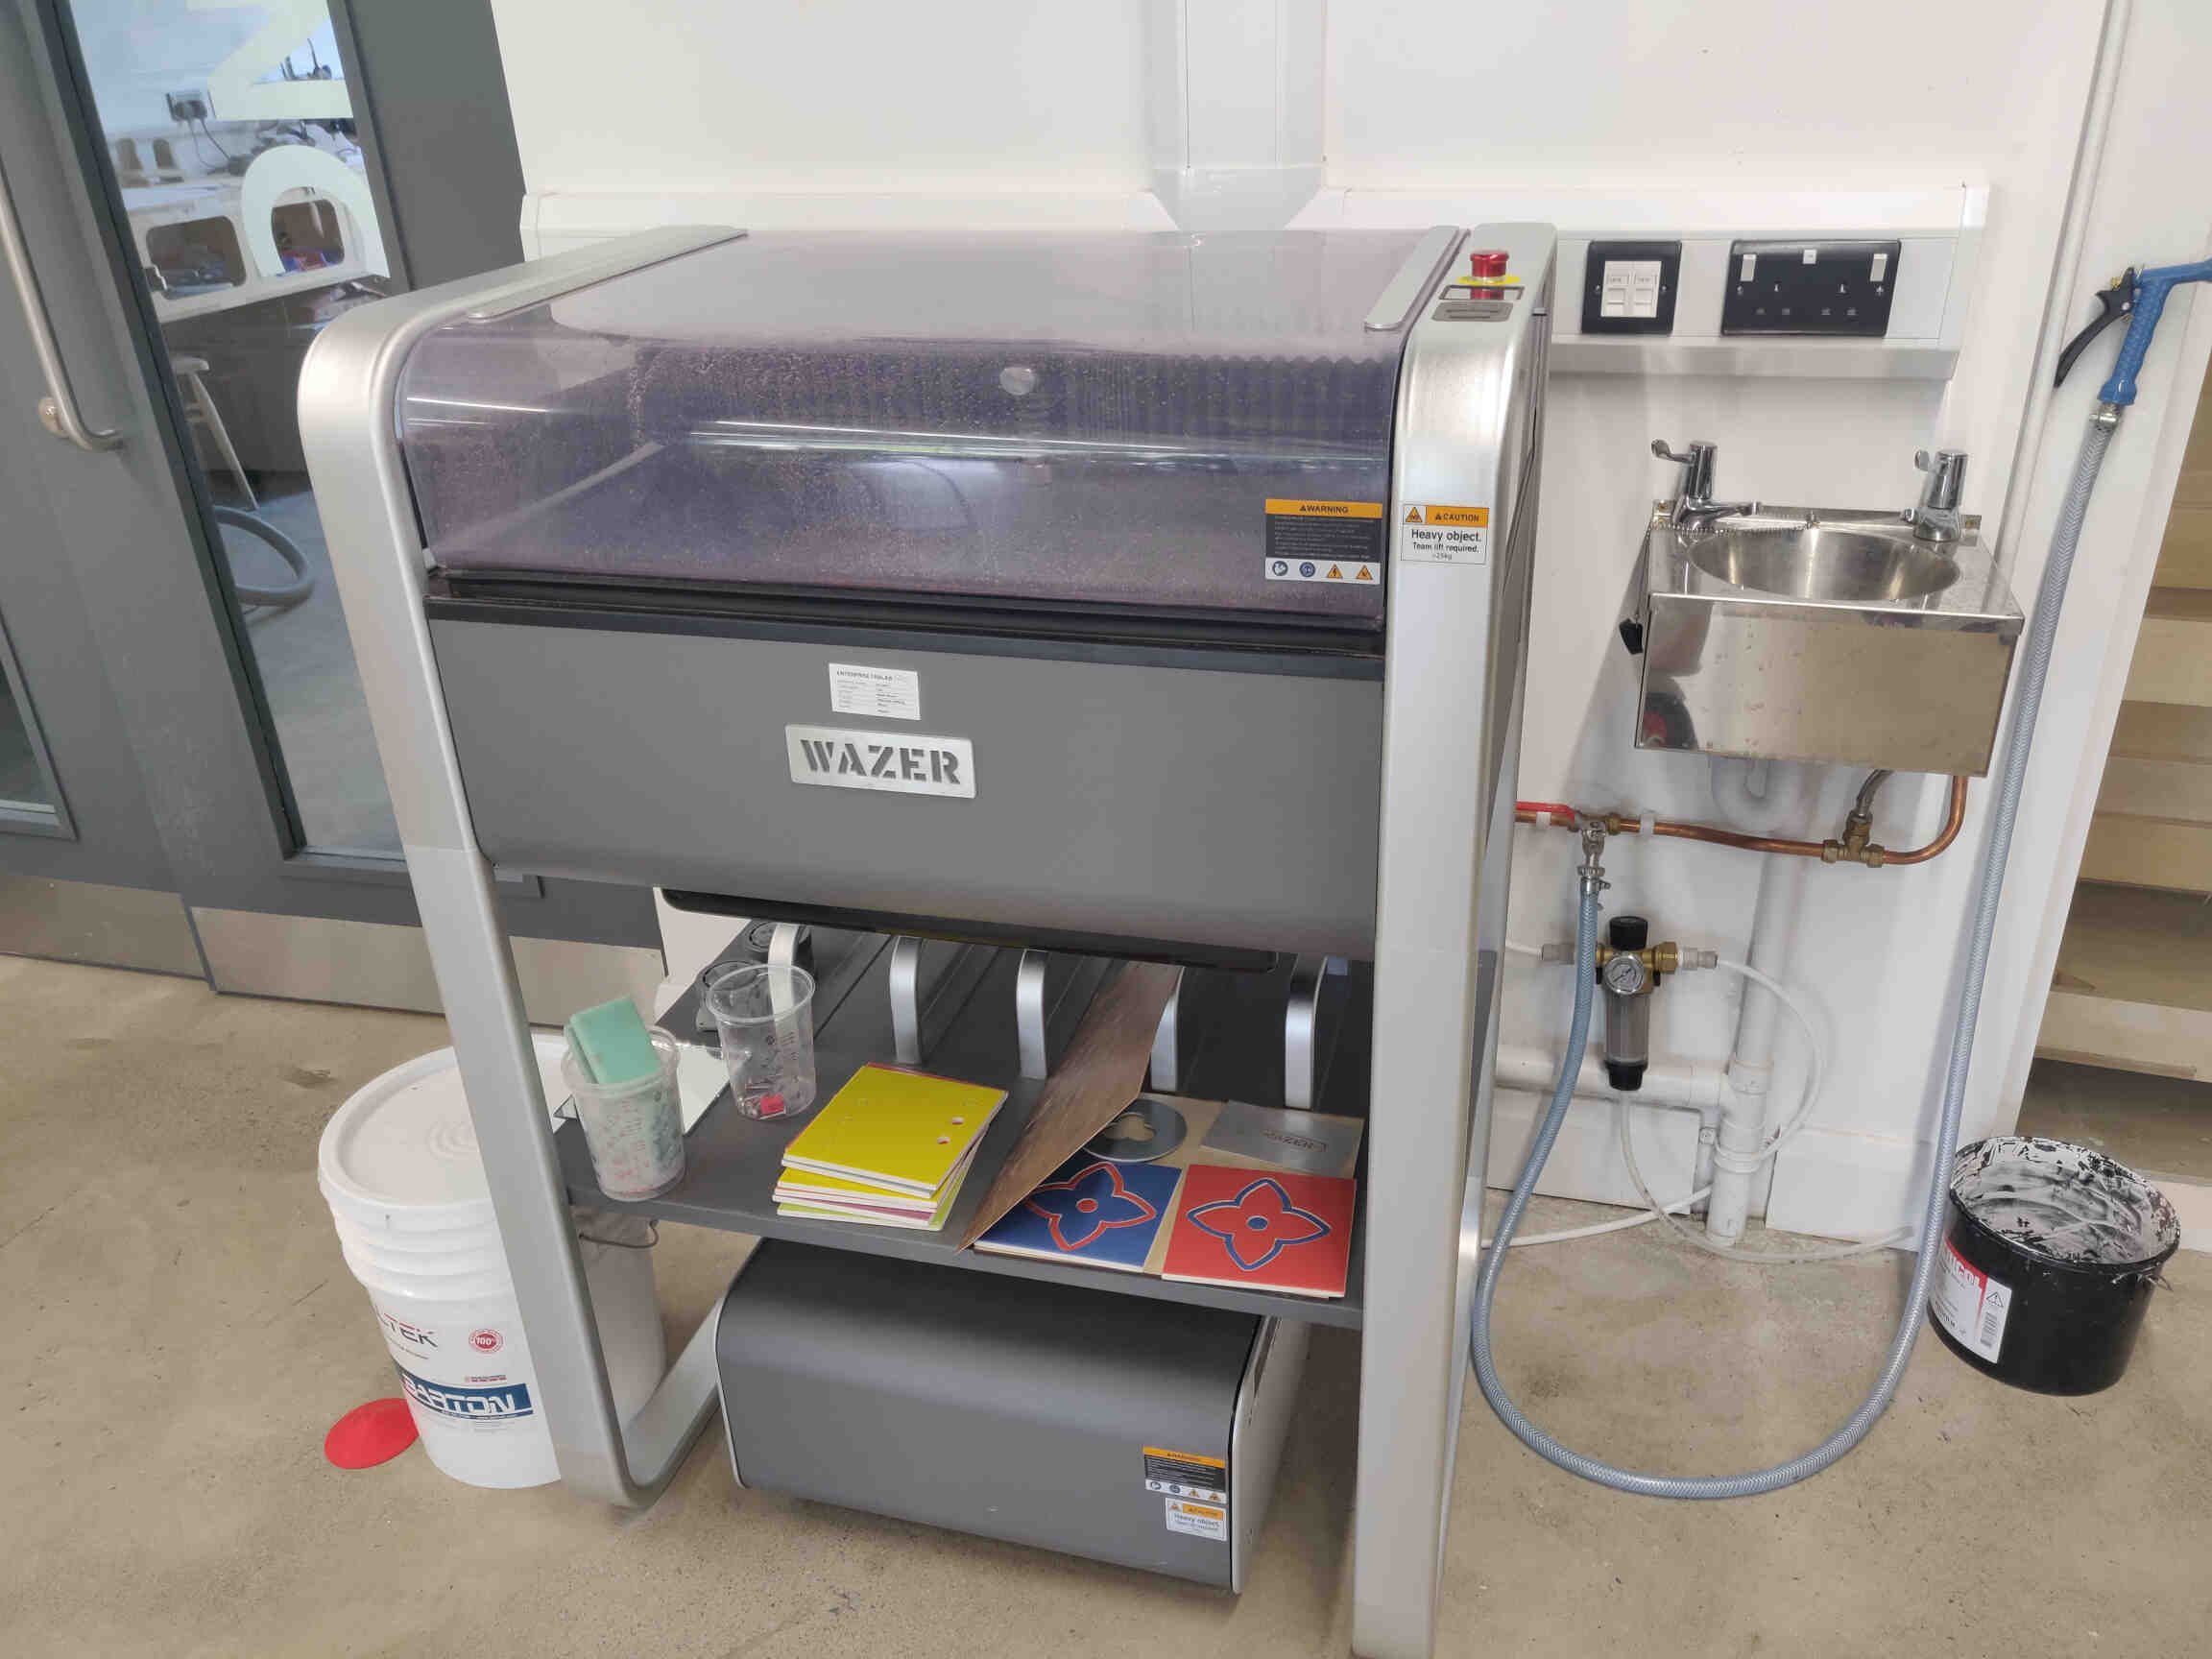
The Wazer Waterjet cutting machine was the first piece of equipment I used when I first entered the Fablab with tons of ideas. I wanted to cut my “No Purpose Indie” logo into metal medallions and then send them off to my Patreon supporters which I got done. Afterwards I recreated the “Firefly” medallions from “The Last of Us” series in celebration of the live Action series that came out. It took a while of testing and adjusting to the process but by the time I finished cutting my medallions, I became fully adjusted to the Wazer machine and even guided others trying to become acclimated to the machine.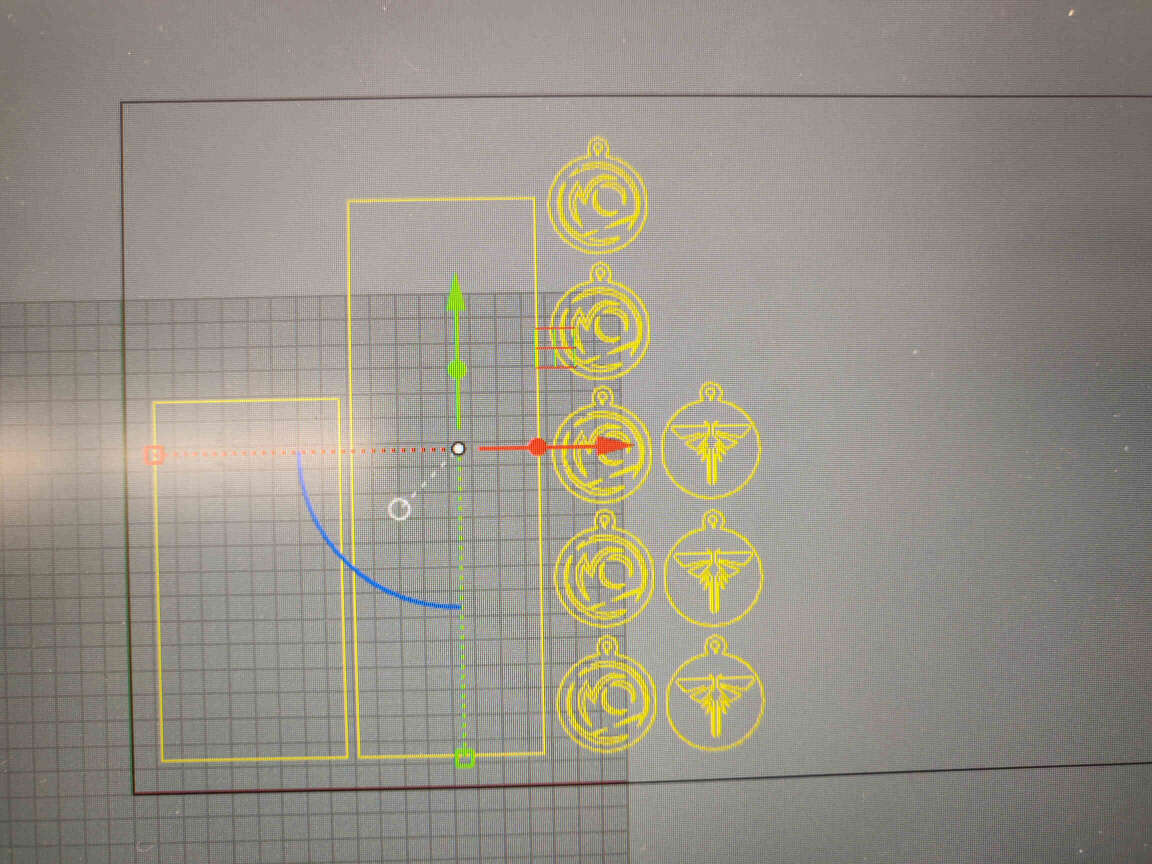
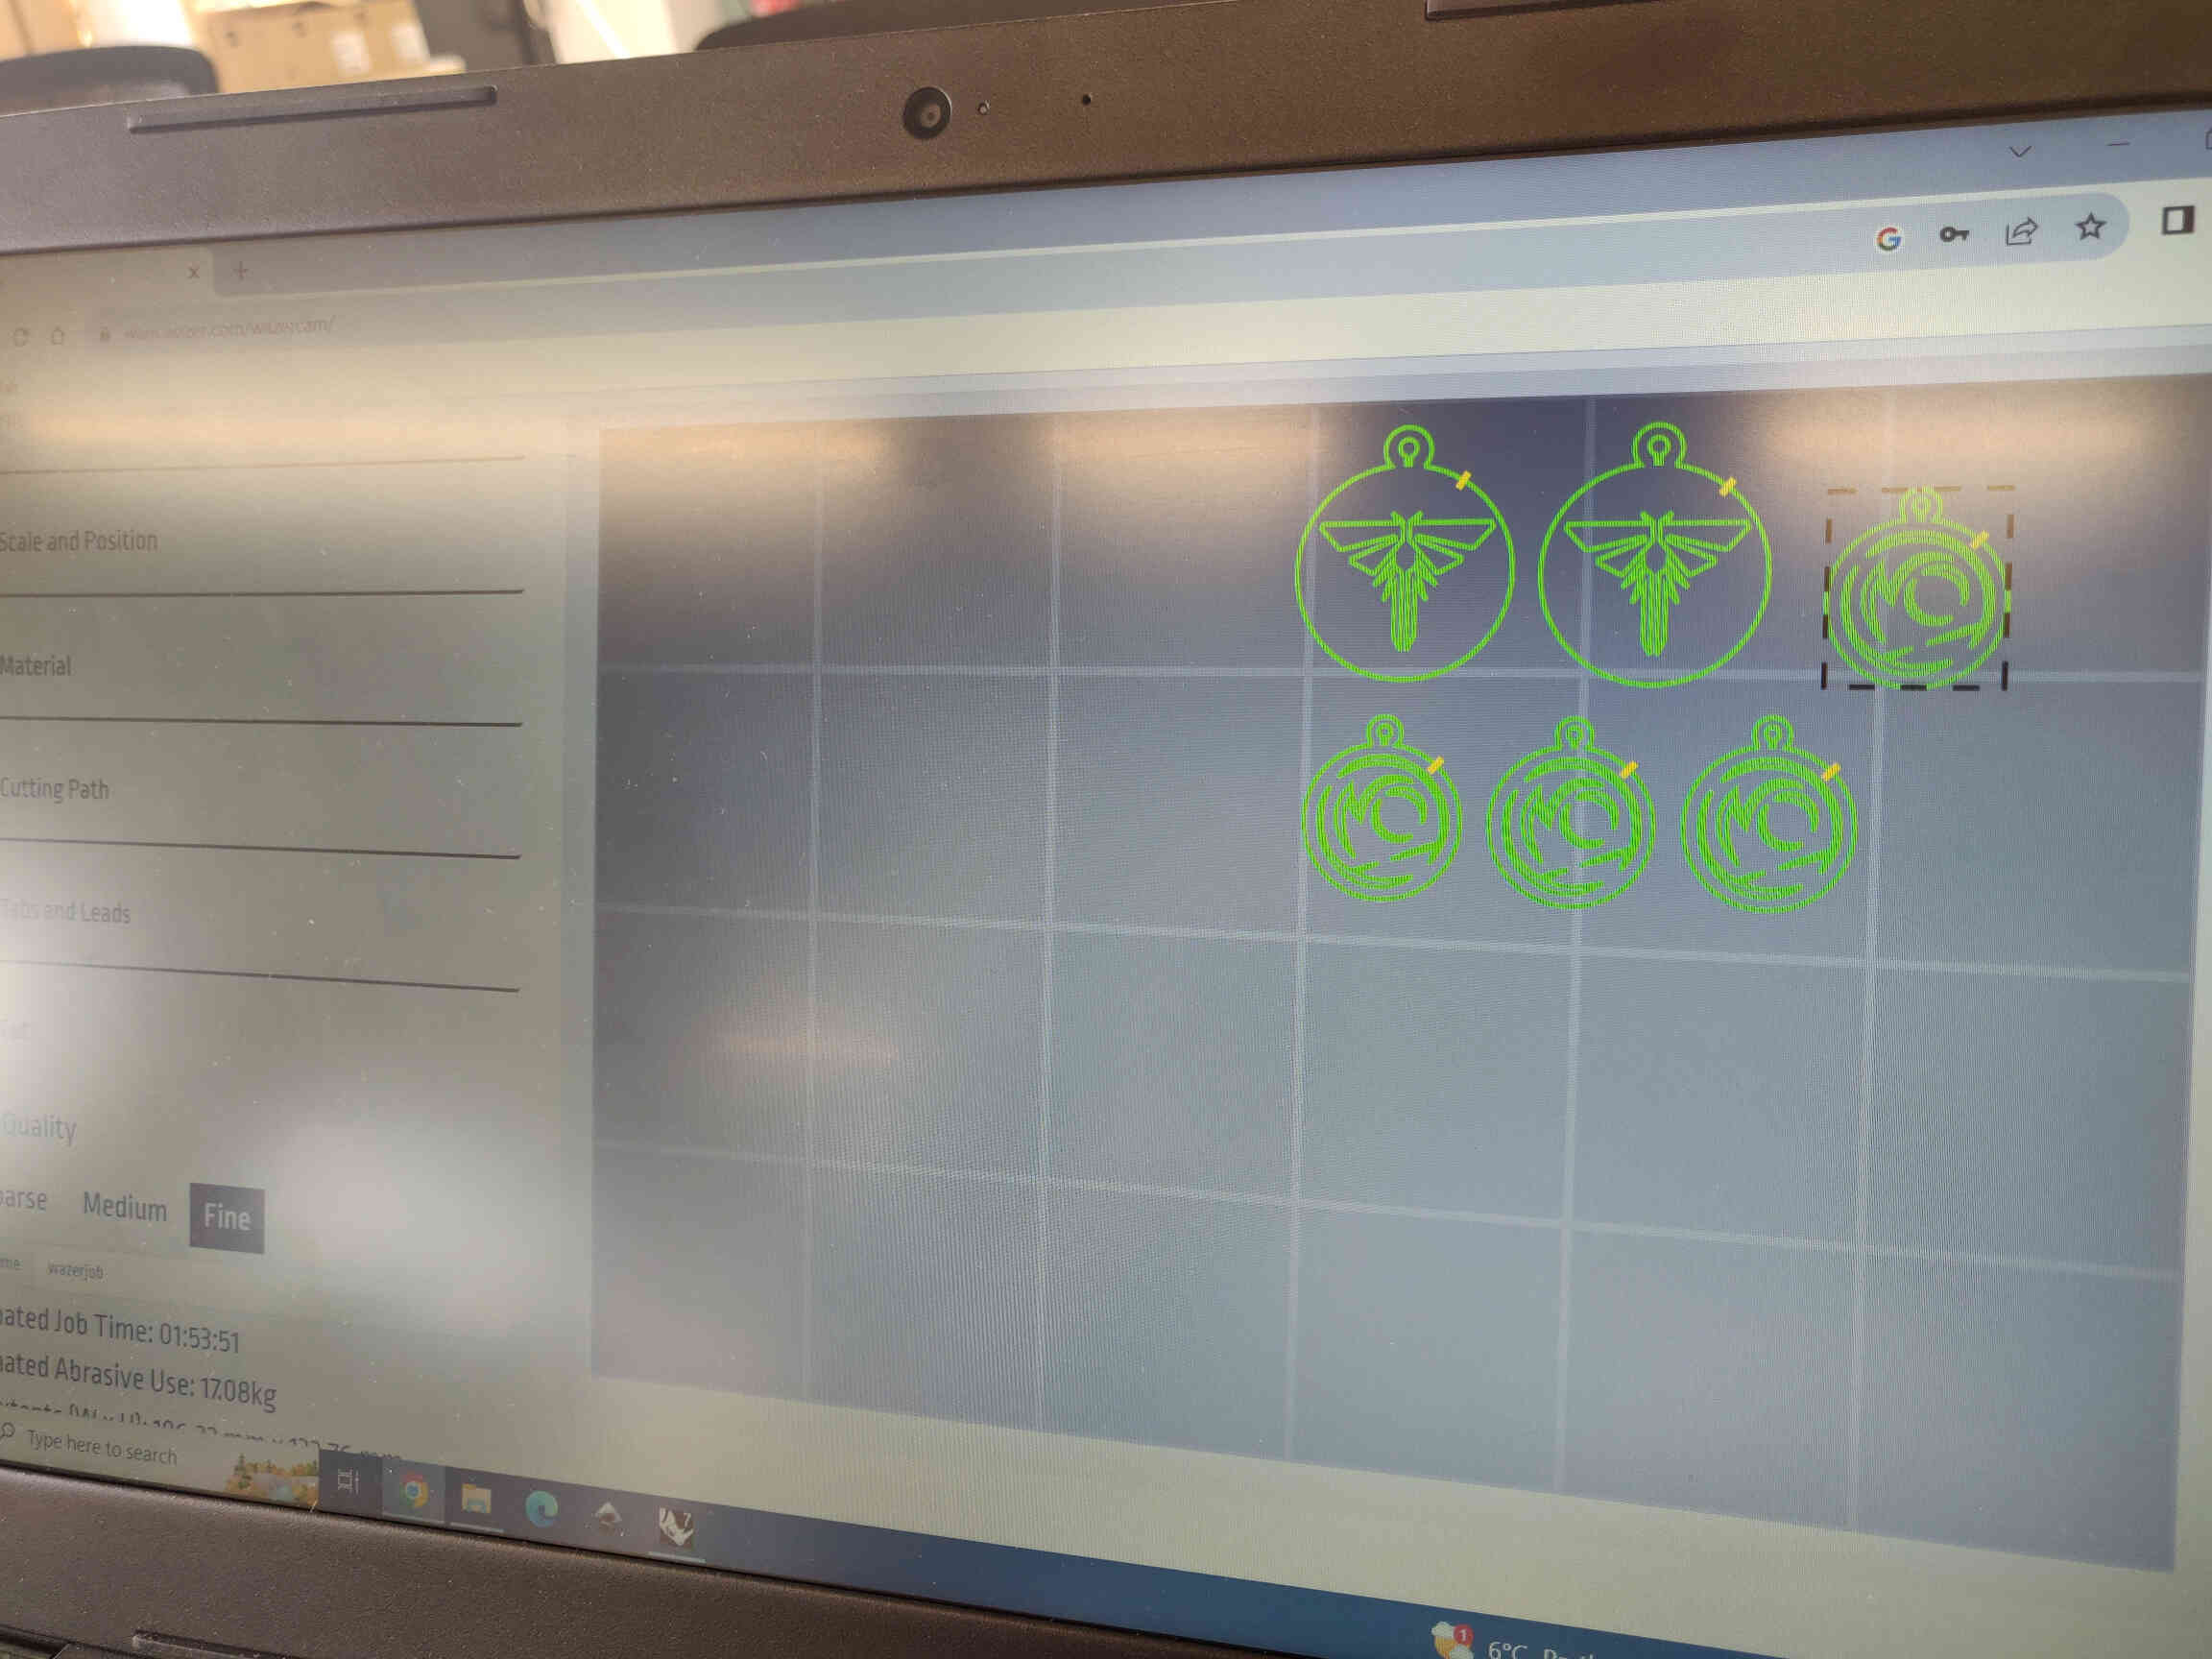
For Wildcard week I was interested in trying my hand at SLS Powder printing - however as it was technically already covered in 3D Printing week, I had to choose something else. My instructors suggested I pick something easy to try out and make something simple for the design - in the hopes to focus some time on my final project. My local instructors suggested the embroidery machine, however I didn't have much interest in it, nor did I see myself doing any embroidery fabrication in any of my future projects so my interest wasn't there. During the Wednesday meeting, I saw that Waterjet cutting was an option and happily jumped on that process as it was something I was already accustomed to and something I wanted to get better at, so that choice was clear that for Wildcard Week I will be working with the Waterjet Cutter.
__________
Concepting & Designing
Mockup Design in Procreate
Part of me wanted to create a new design but the Fab Academy experience has taught me that it's more important to keep control of time management so with that responsibility in mind, I returned to my little buddy logo that I made for Vinyl Cutting and decided to make a type of mosaic carving using Black, Blue & White Ceramic Tiles with a Glass/Mirror tile mixed in. I had only cut through metal plates before, so I wanted to try cutting with Ceramic and Glass as it offers a lot in terms of creating unique designs and it would give me experience cutting through different materials.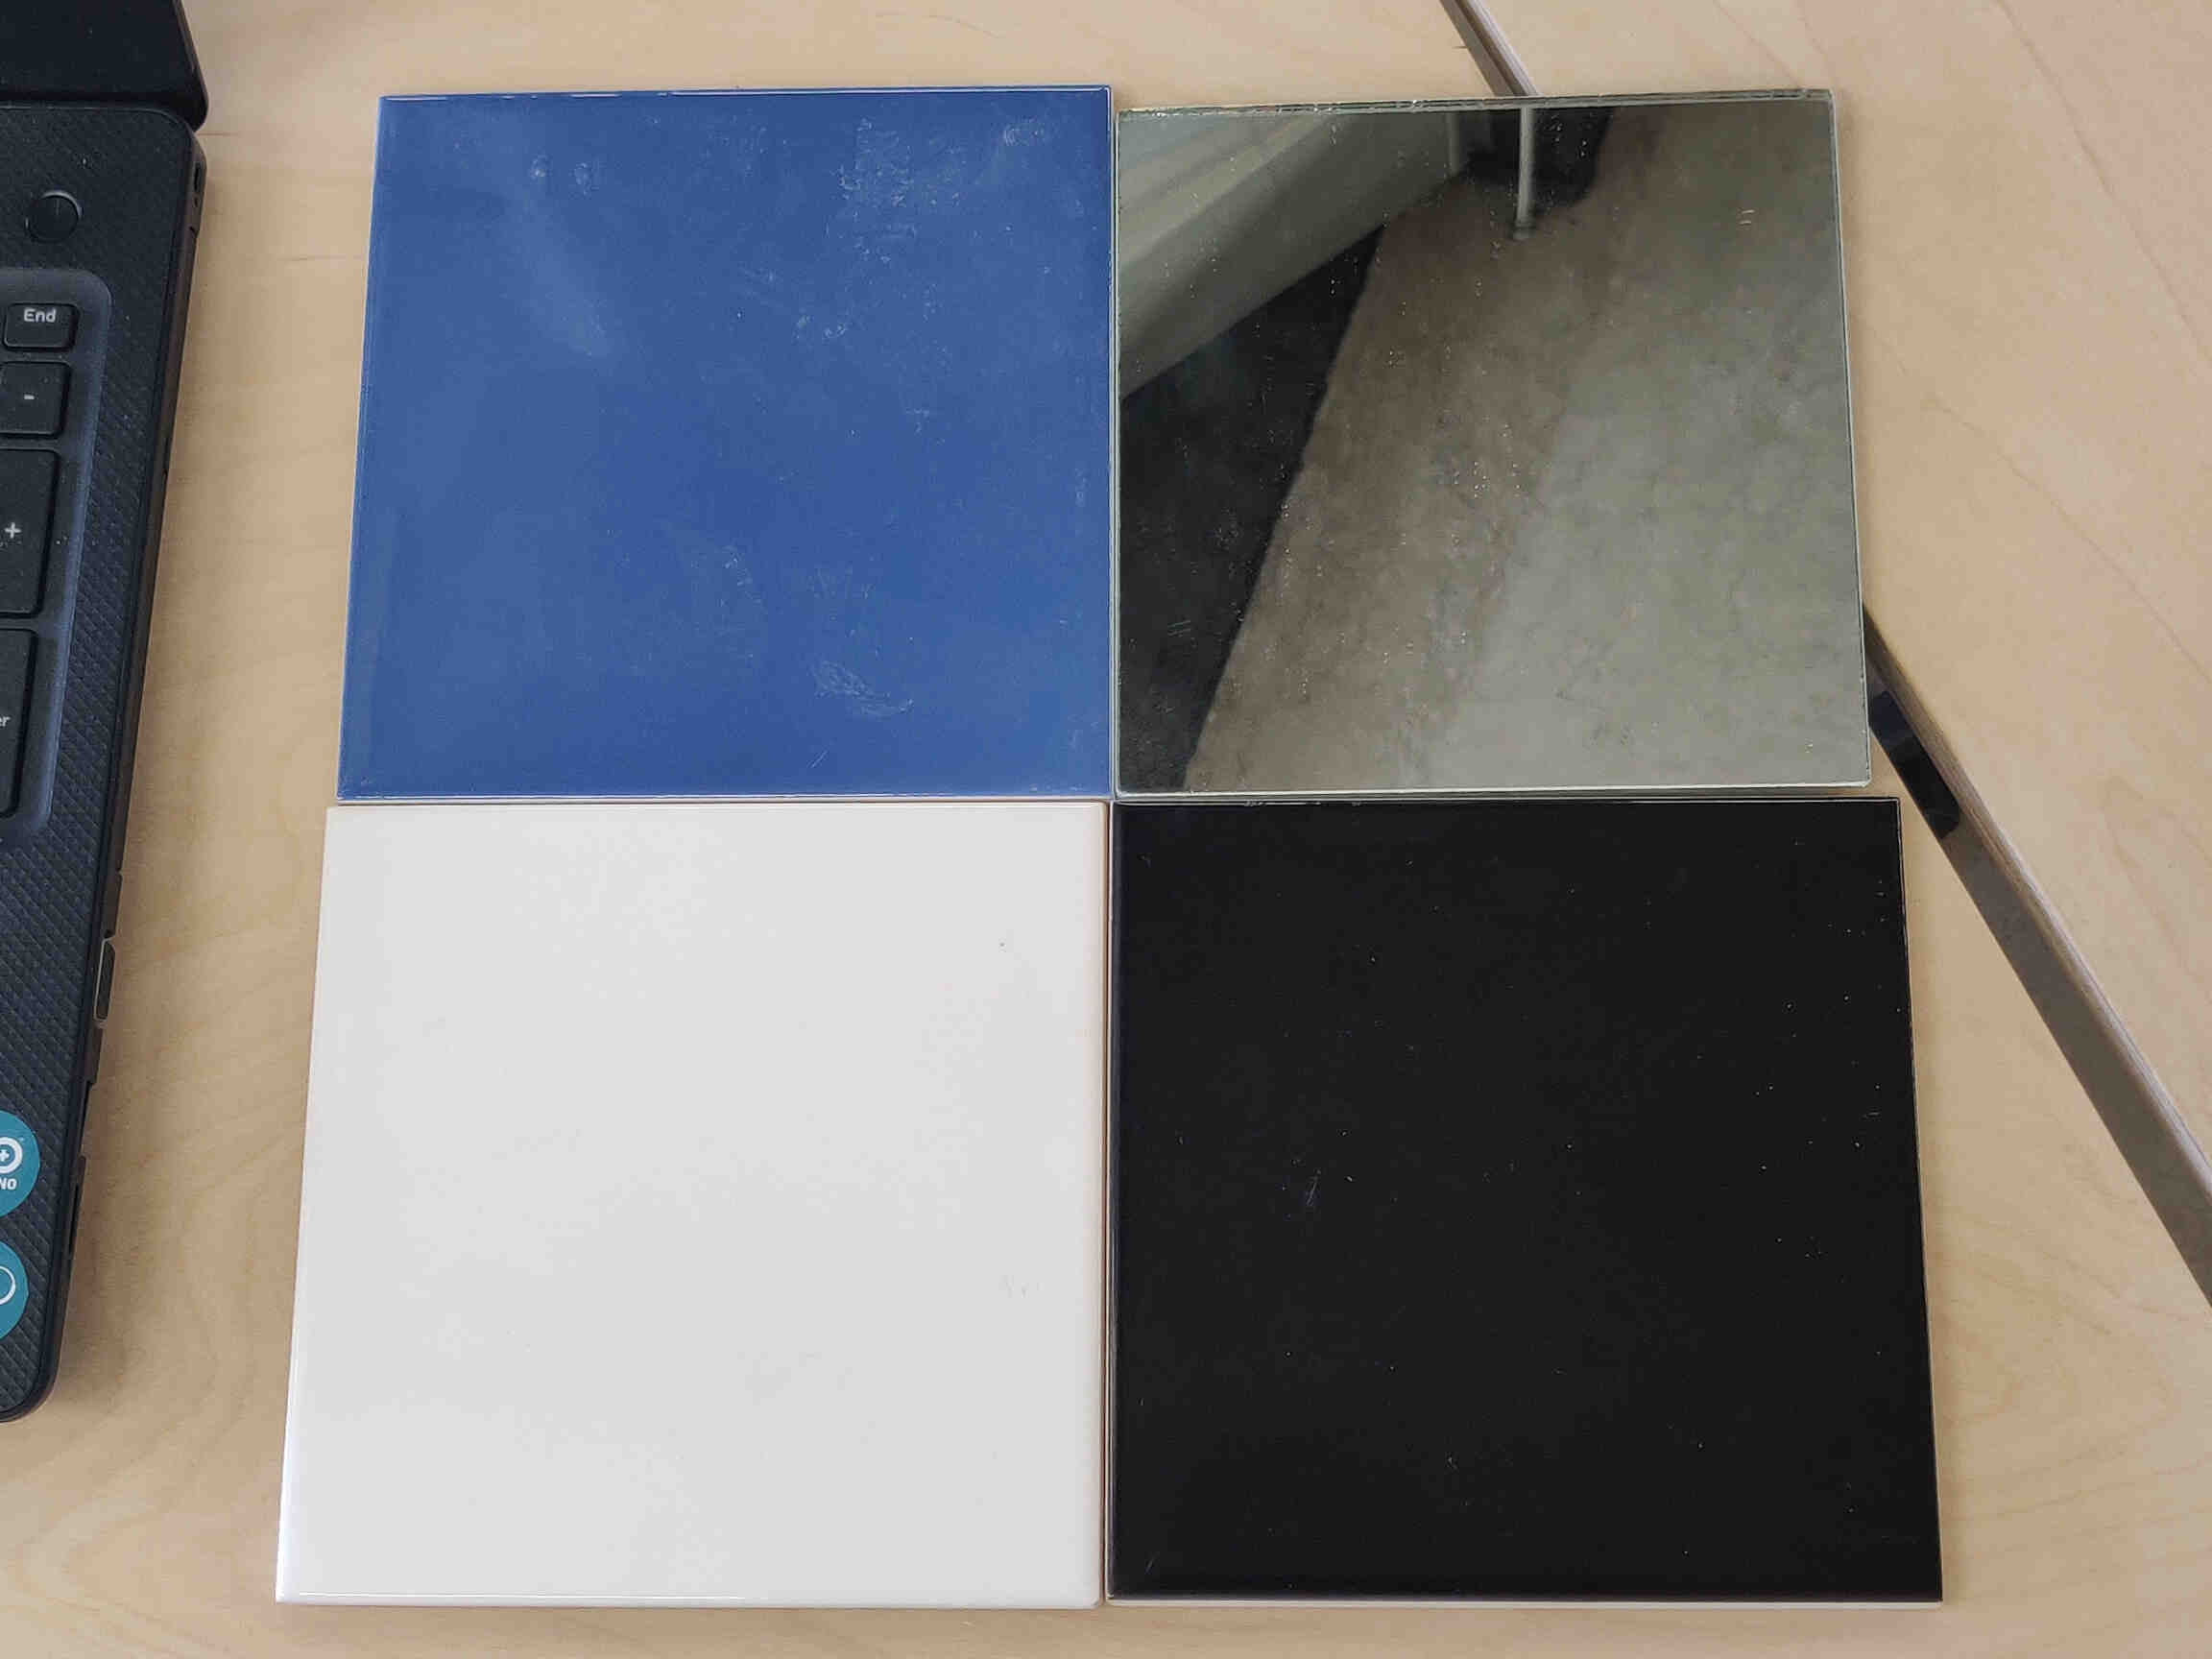
I took a screenshot of my Vinyl Cut Logo and brought it into Procreate to design a mosaic piece that would be cut through the waterjet cutter. I kept my design simple as I didn't want to overcomplicate things as the Waterjet cutting process can be long and prone to damaging the machine if not carefully prepared. However I left room for myself to add a cracked design around the logo using different colour pieces if things went well and I had the time. The reason why I left this as an extra option for myself was because it would take some time to prepare these cracked cuts. If I didn't nest them properly or add a ton of tabs to each crack, the ceramic or glass could potentially shoot out and crash into delicate machinery. So I focused on the basic 4-colour mosaic design for now.
 ->
->
 ->
->

Vector Design in Inkscape
I brought my DXF file that I used for my Week 3 Assignment into Inkscape and made some adjustments such as removing the text, lowering & centering the ‘head’ design. Then added a couple borders around the logo. I also added the cracks around the border edges as a separate layer and started exporting the layers separately.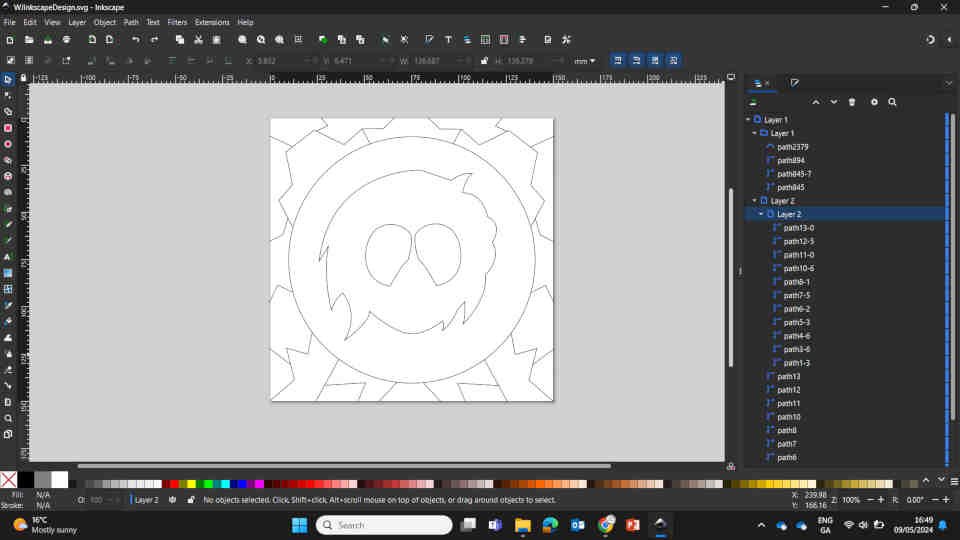
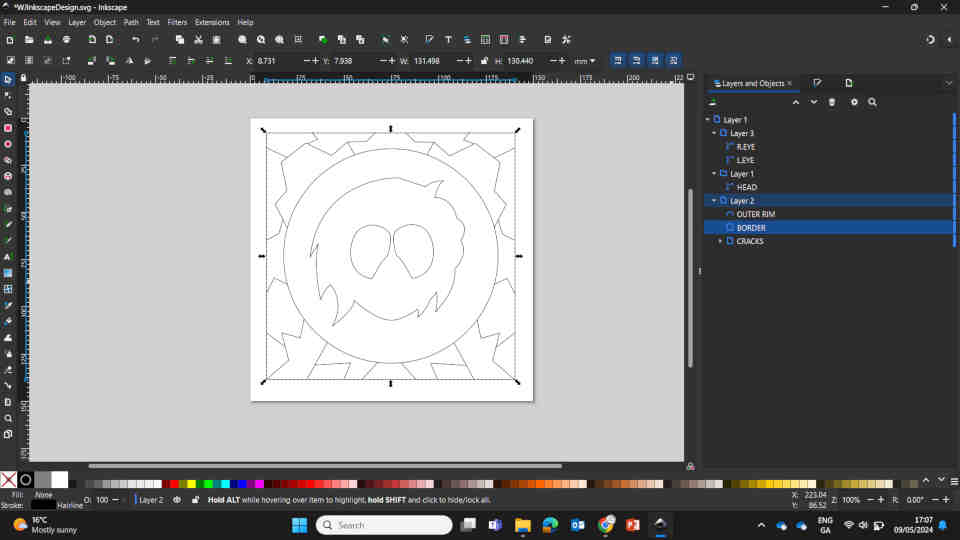
Initially I exported the logo into 5 different SVG files:
However when I brought it over to Wazer software there were some unexpected issues where all layers would be improperly imported into Wazer. Along with that, I reconsidered the layer files I needed. Separating them into 5 different files was being overly cautious and would take too long / be too inefficient to make. So I returned to Inkscape and this time I exported them into 2 DXF files:
__________
Setting up Wazer G-Code Files
I started off with importing the 1 - LOGO DXF file into the Wazer Software which has a setup process that is helpfully organized. I measured the size of the Ceramic/Glass tiles which came to “150mm x 150mm” in length. Ceramic Tiles had a depth of 6.5mm and Glass tiles had a depth of 4.7mm.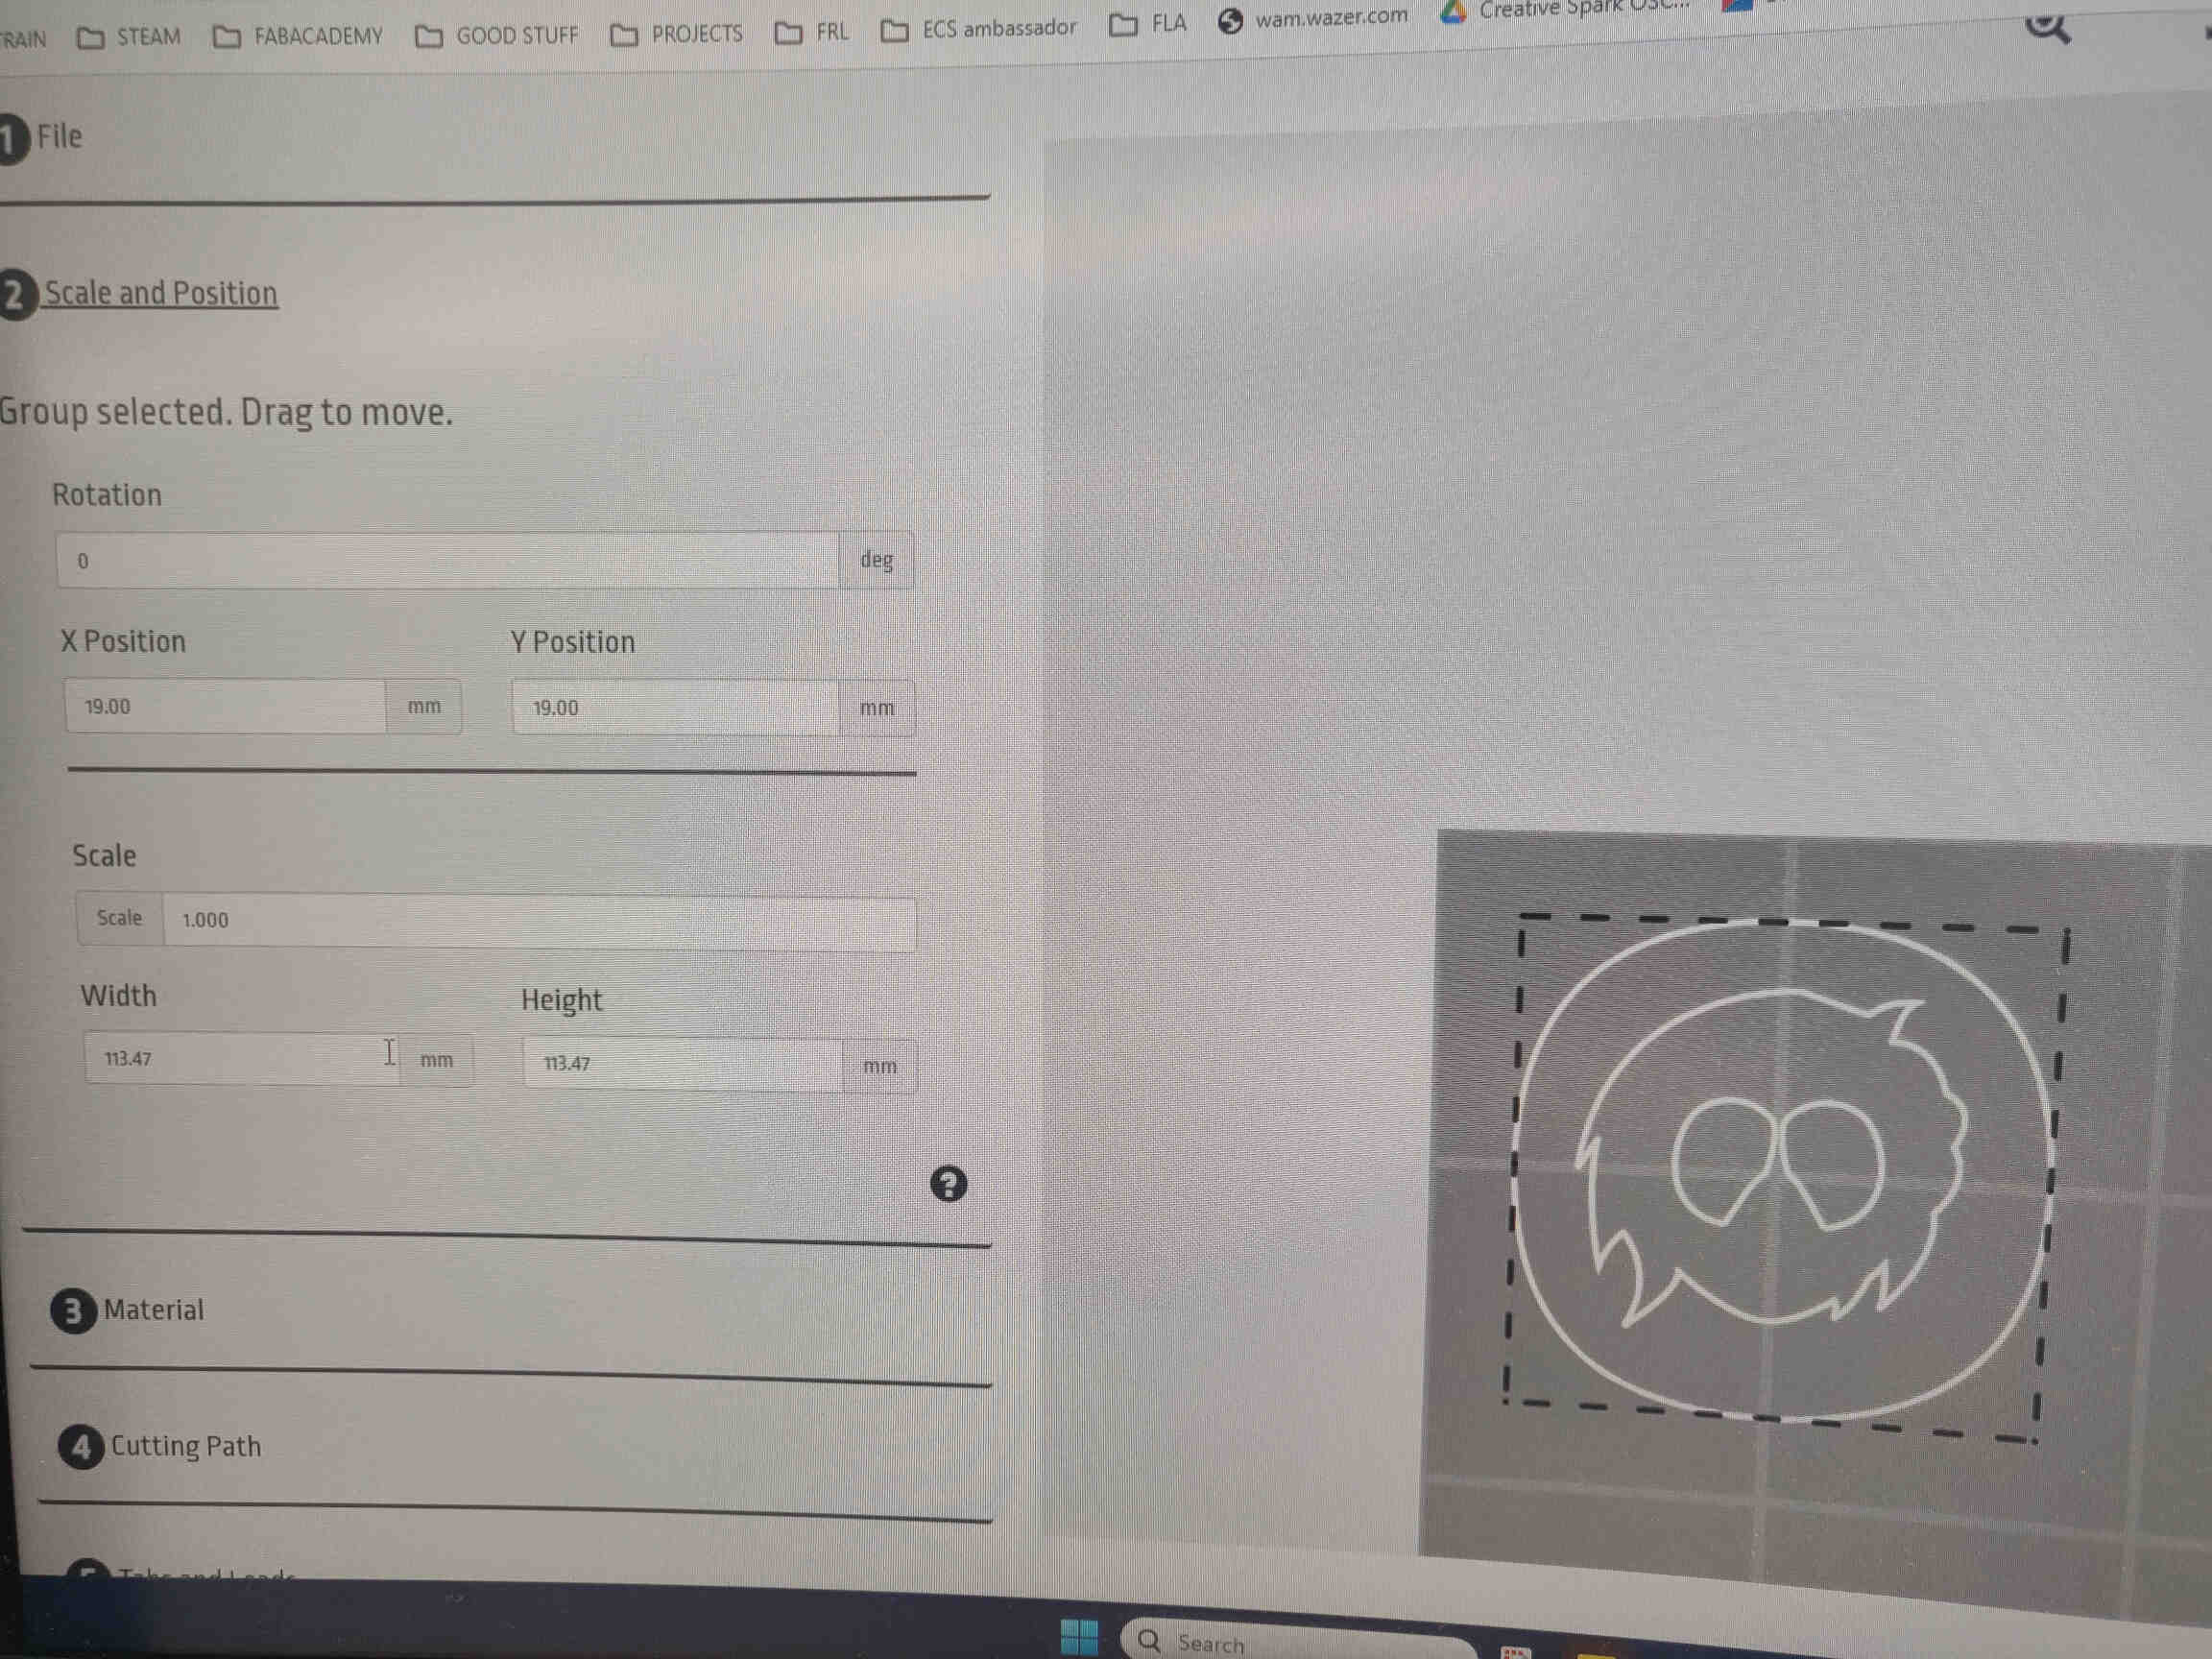
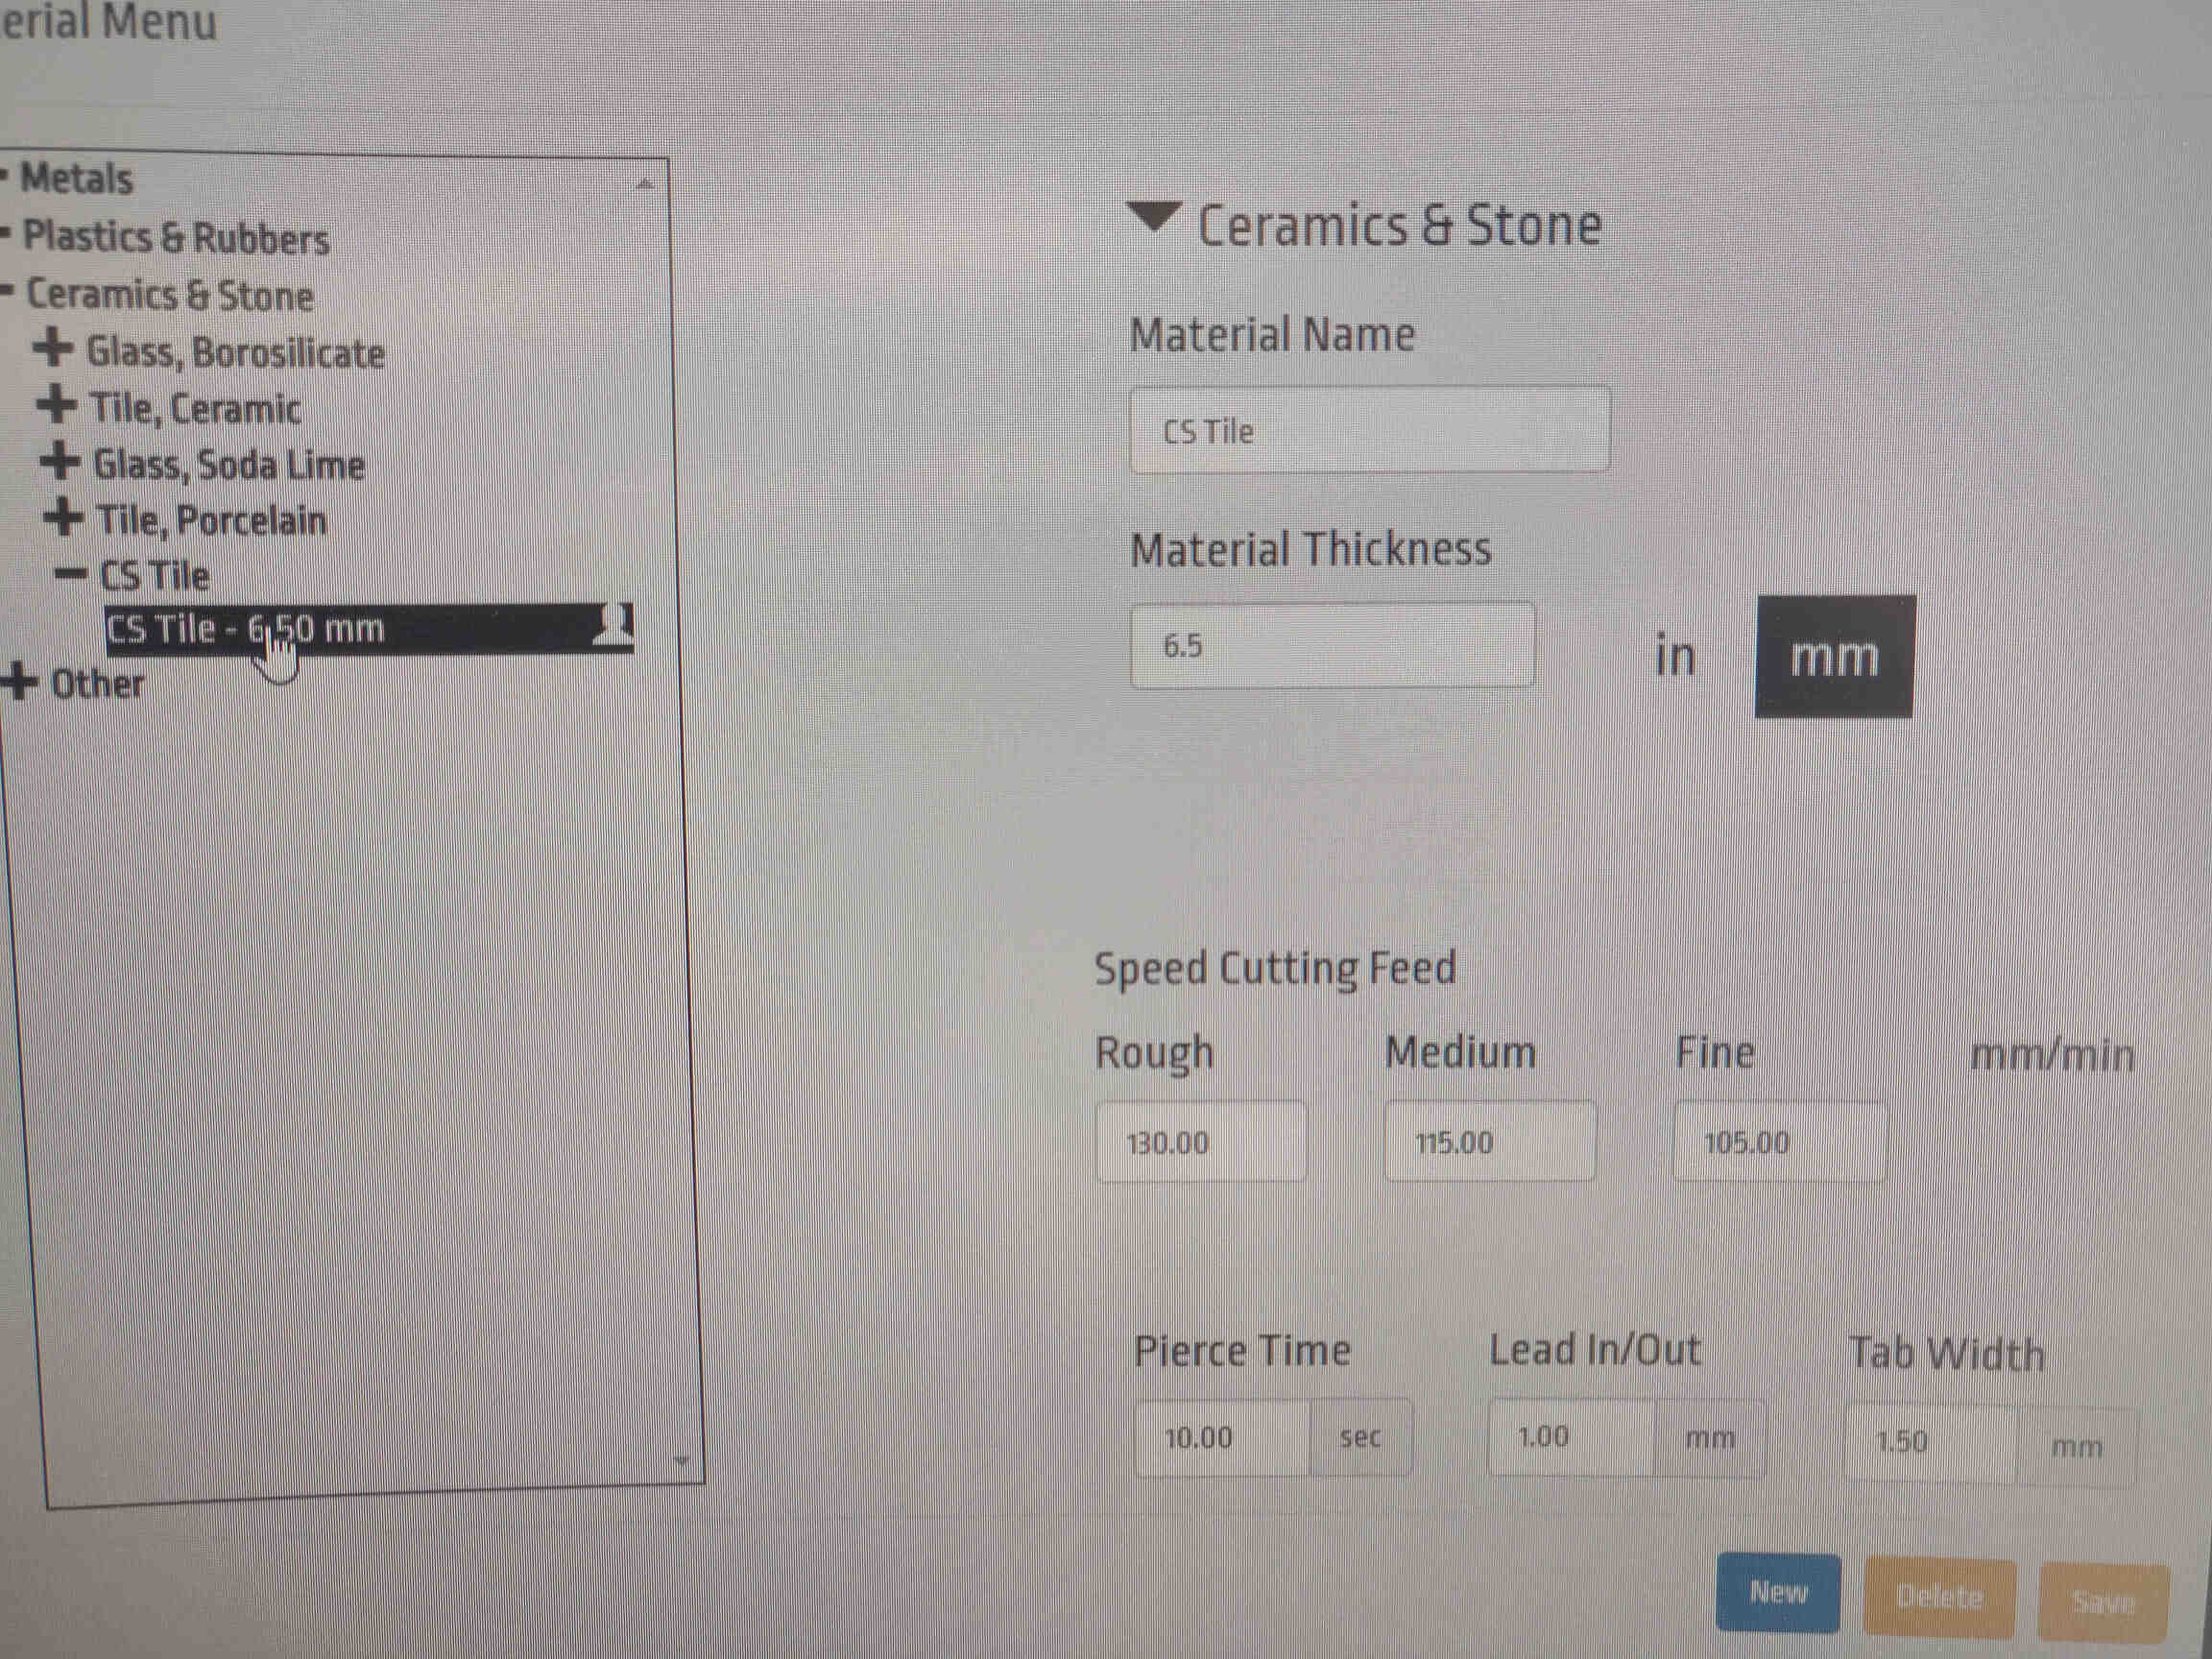
I set the correct positioning and scale of the design and chose the preset “Ceramic & Stone 6.5mm” to set the power & speeds. For the Glass panel I wasn't sure what the specific type of glass that I was using. When researching online I found mixed opinions on what these types of glass mirror panels are made of. So I chose & edited the preset “Glass, Soda lime and set Material Thickness to “4.7mm”. For both I set the Speed Cutting Feed to ‘Fine’ at 105.00mm/min, Pierce time to 10.00/sec, and Lead In/Out to 1.00mm.
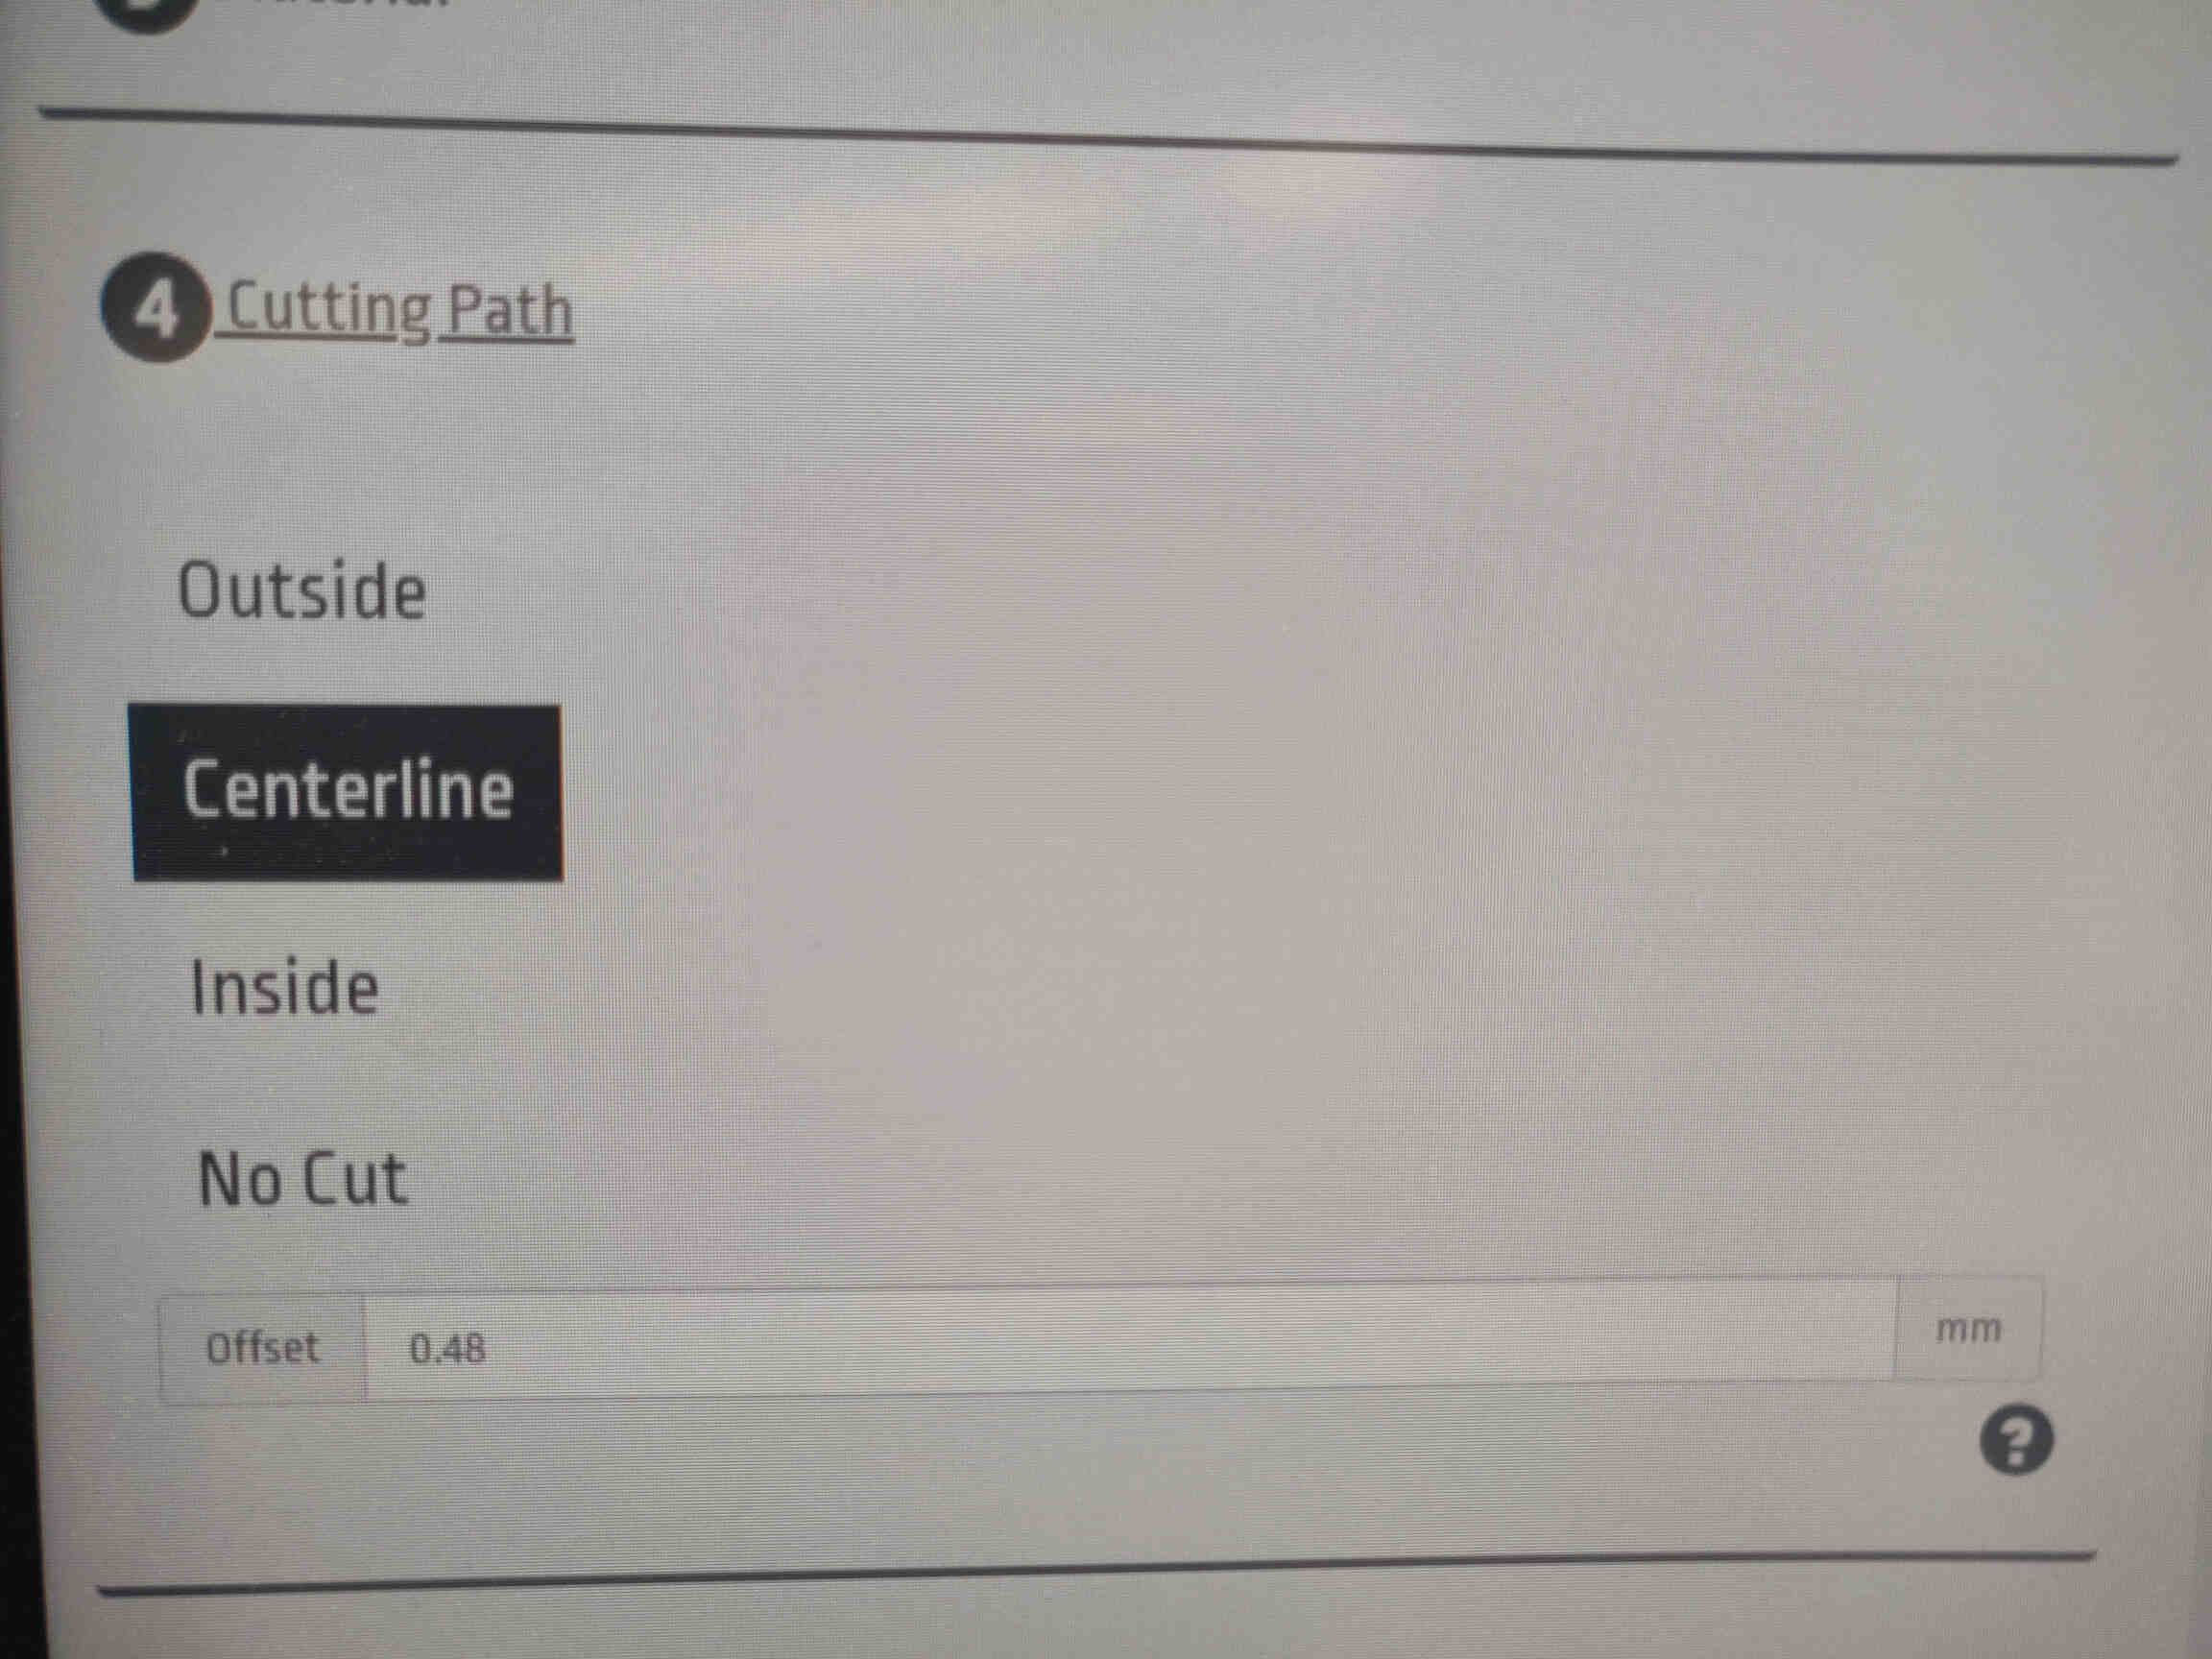
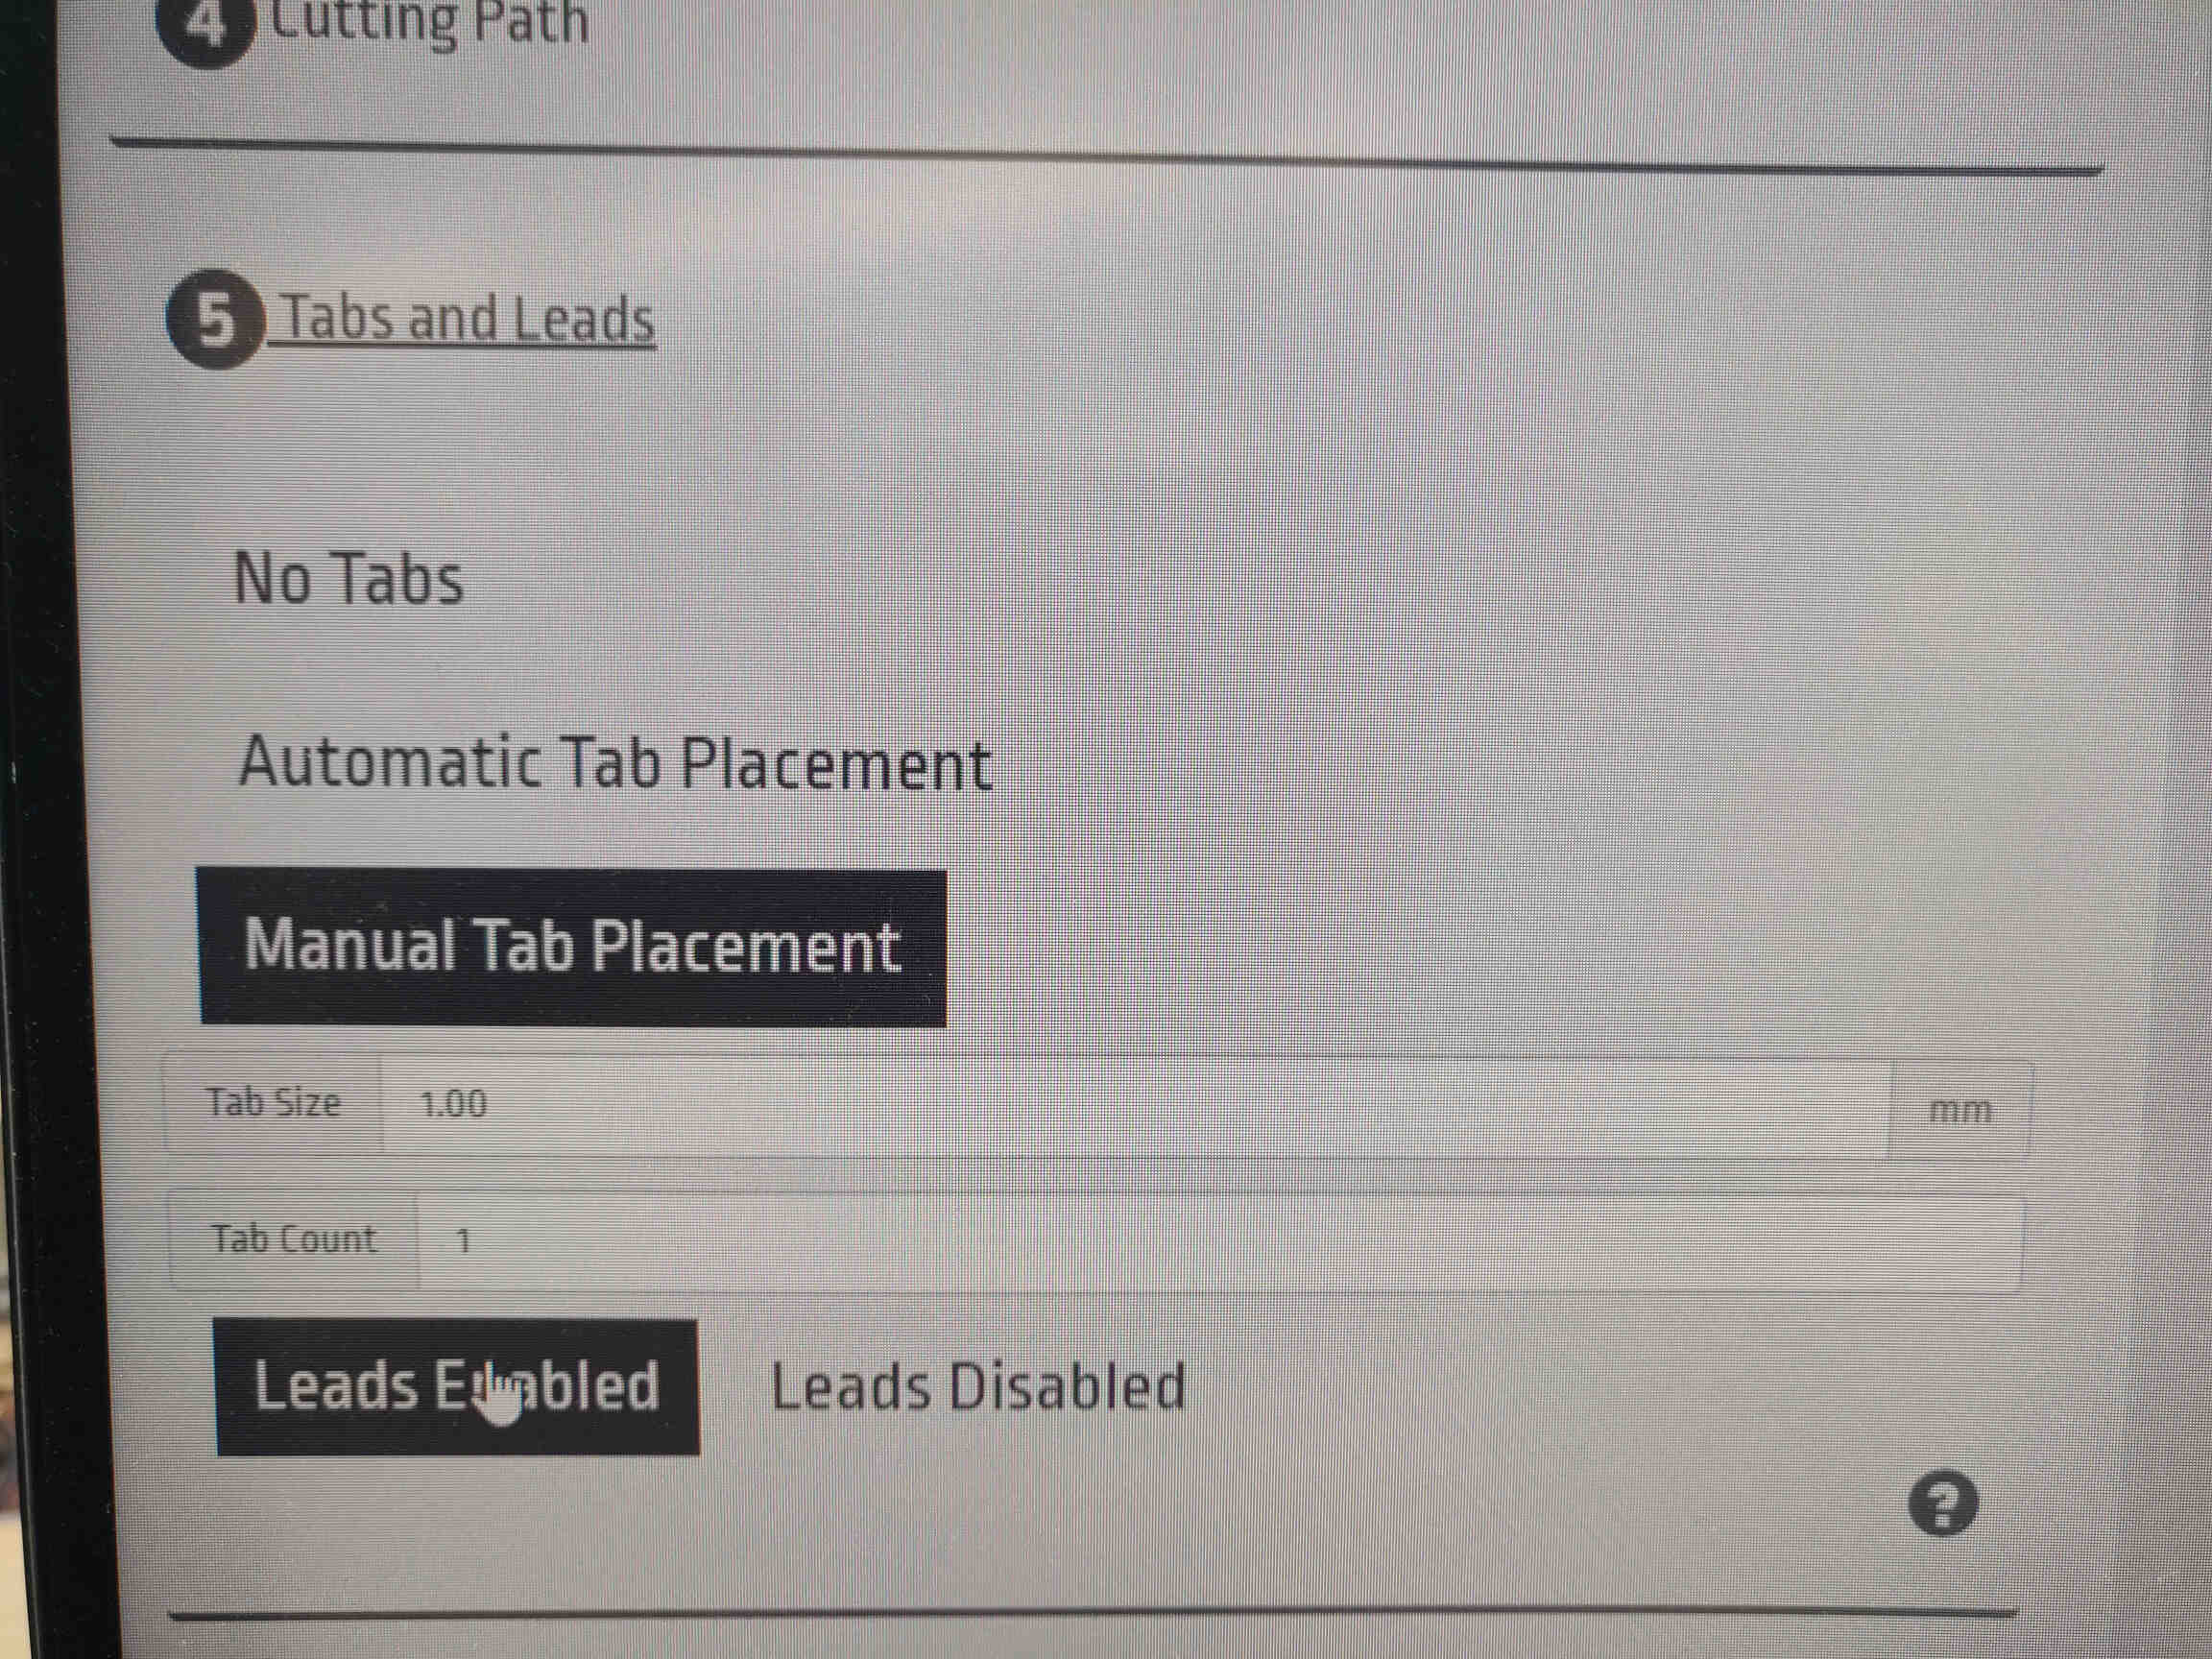
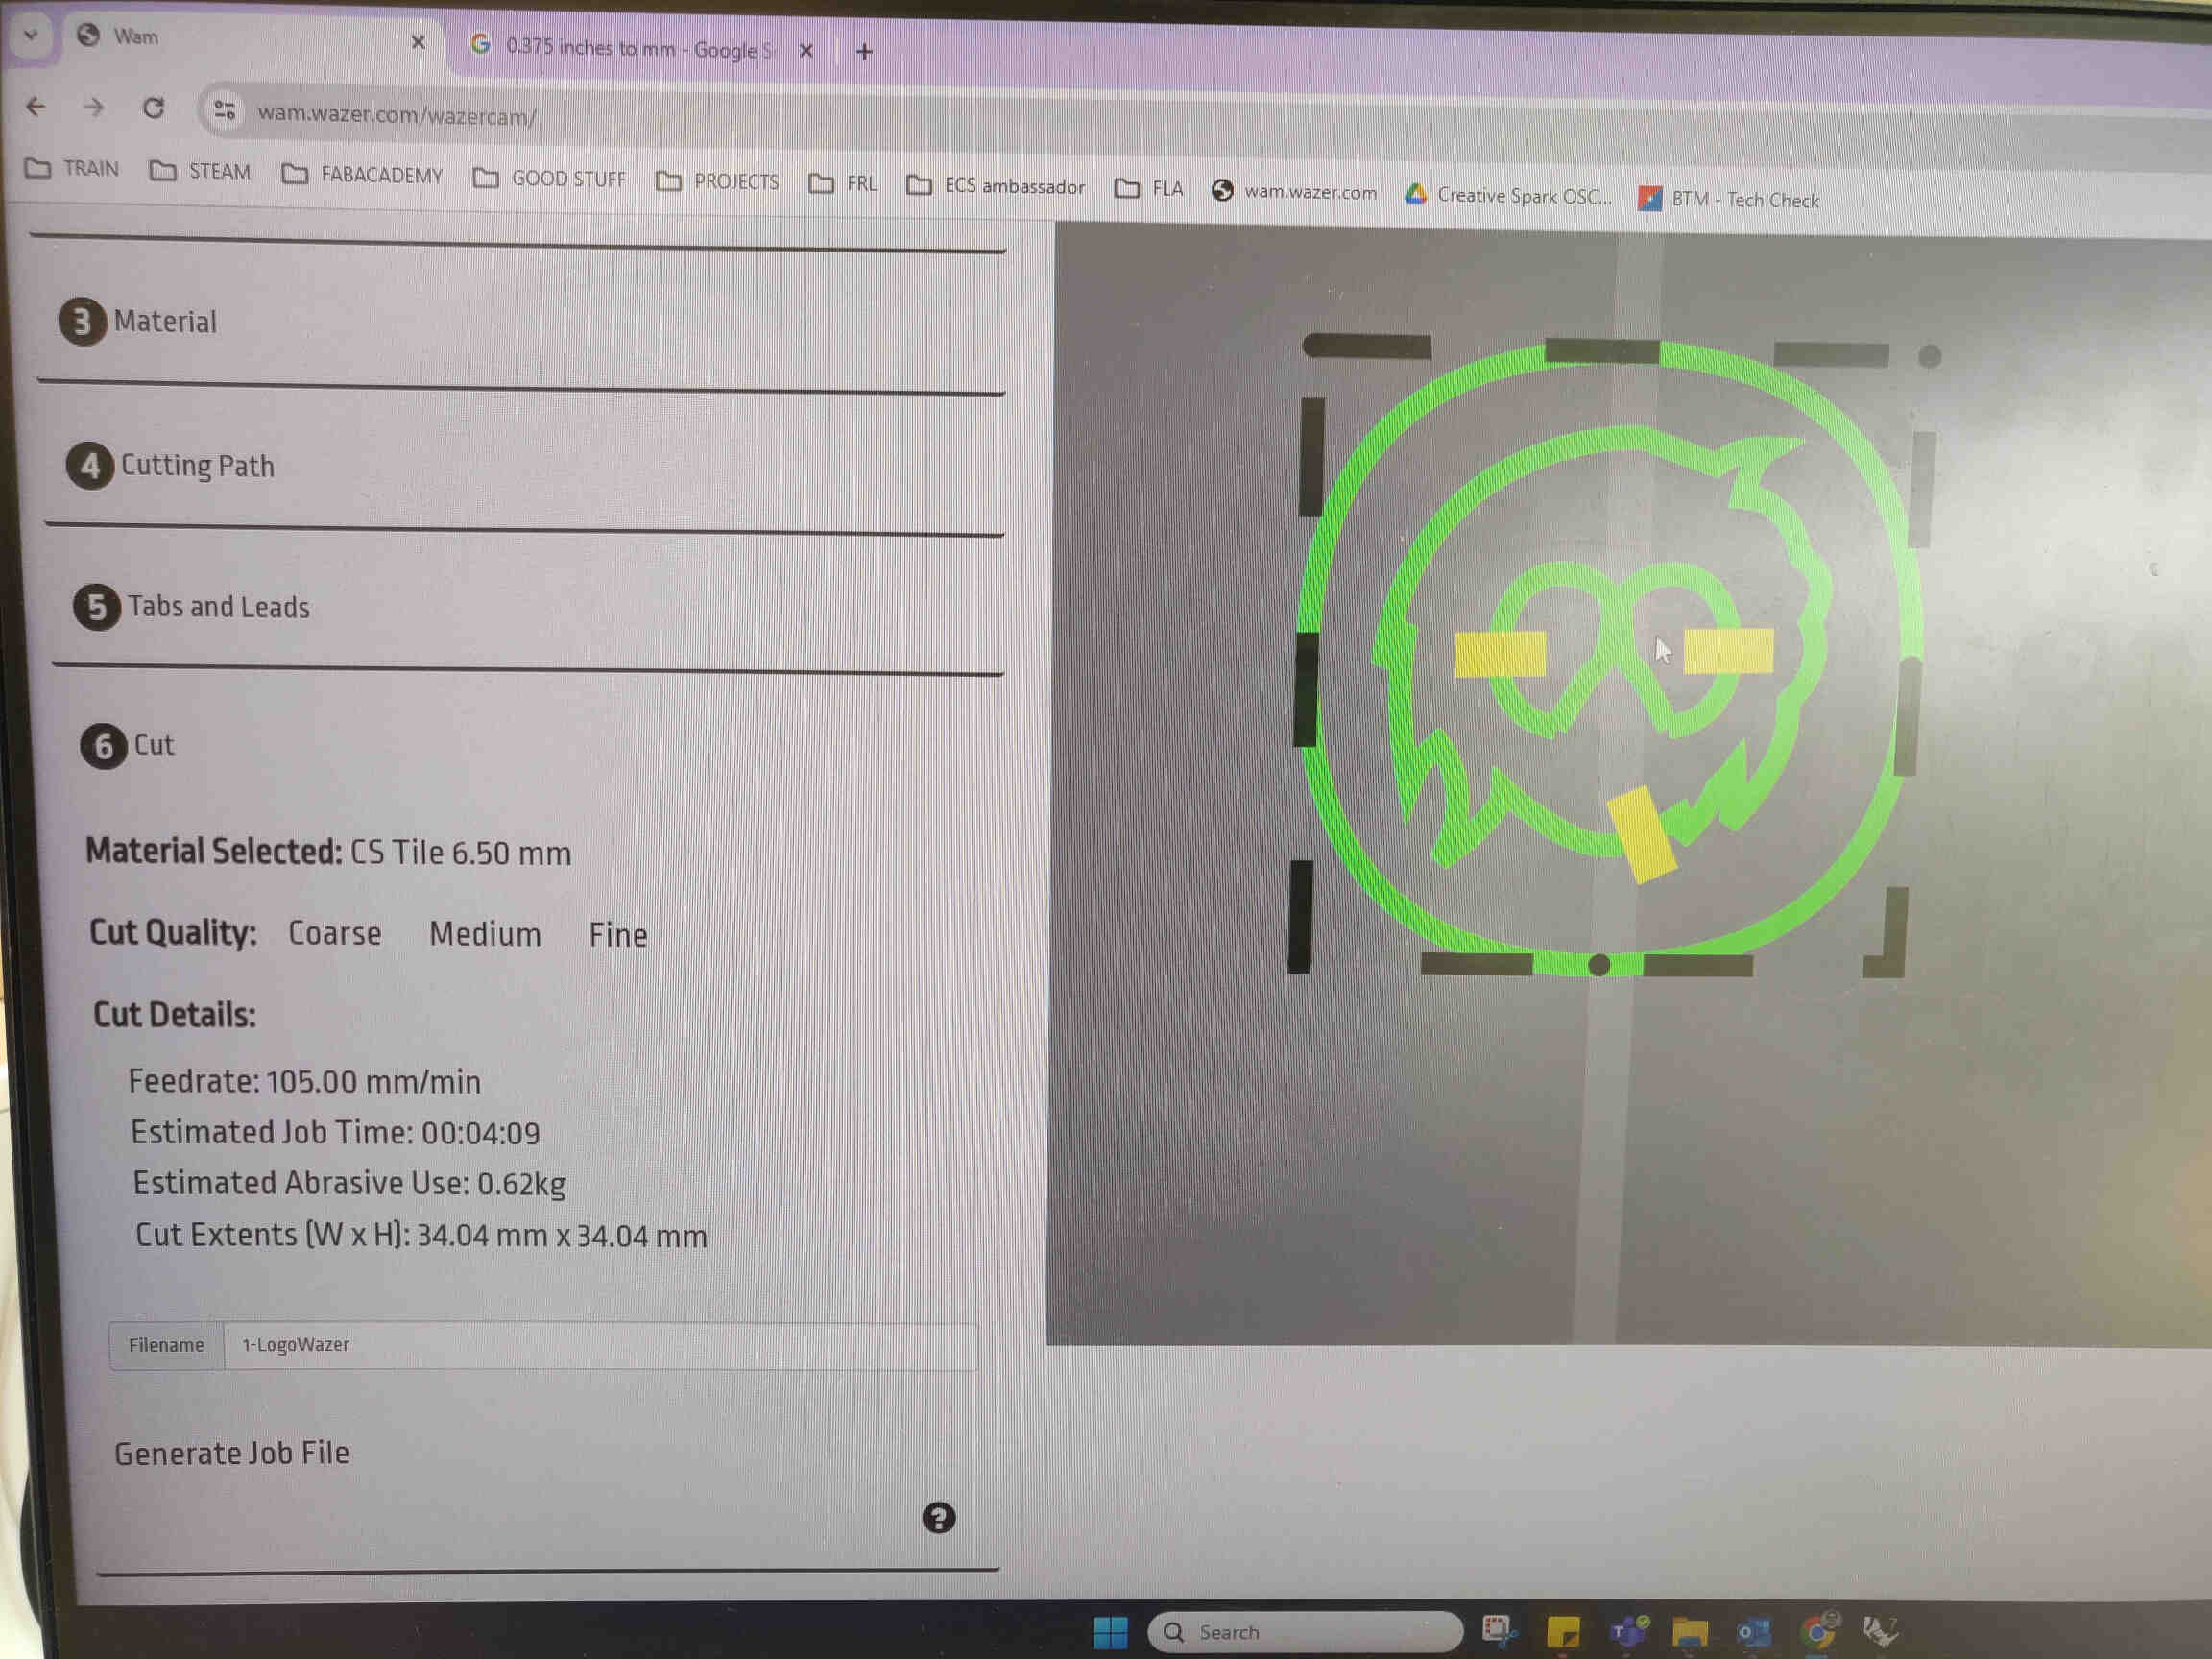
I set the cutting path to go through the Centerline then manually place 3 tabs (2 on the eyes, 1 on the head) at a size of 1.00mm so that it's just enough to hold on to the piece during the cutting process but thin enough that it could break off easily. Finally I exported and labeled the G-Code Files and transferred them onto a MicroSD card that would be slotted into the Wazer machine.
__________
Tips for Waterjet Cutting:
As described by ChatGPT
1. Material Selection: Waterjet cutting works well with a variety of materials including metals, stone, glass, and composites. Ensure the material is compatible with waterjet cutting.
2. Thickness Consideration: While waterjets can cut through thick materials, cutting speeds may vary based on thickness. Thicker materials may require multiple passes.
3. Precision: Waterjets offer high precision, but factors like nozzle size and pressure settings affect the accuracy of the cut. Fine-tune these settings for the desired outcome.
4. Edge Quality: Adjust the cutting speed and pressure to achieve the desired edge quality. Slower speeds generally result in smoother edges.
5. Support Structures: Depending on the material and design, consider using support structures to prevent parts from moving during cutting.
6. CAD Design: Use accurate CAD designs to ensure precise cutting. Pay attention to tolerances and part orientation.
7. Material Fixturing: Secure materials properly to prevent movement during cutting. This is especially important for thin or lightweight materials.
8. Maintenance: Regularly maintain the waterjet system, including checking and replacing worn parts, to ensure optimal performance and longevity.
9. Safety Precautions: Follow safety guidelines when operating the waterjet, including wearing appropriate personal protective equipment (PPE) and ensuring proper ventilation in the cutting area.
10. Environmental Considerations: Dispose of waste materials properly, especially if cutting materials that may produce hazardous by-products.
Step by Step Guide for Waterjet Cutting:
As described by ChatGPT
1. Design Preparation: Create or obtain the design you want to cut. This can be done using CAD software.2. Material Selection: Choose the material you want to cut. Waterjet cutting works well with a variety of materials including metals, plastics, glass, and composites.
3. Machine Setup: Set up the waterjet cutting machine, ensuring it's properly calibrated and the material is securely positioned on the cutting bed.
4. Water and Abrasive Mixing: If abrasive waterjet cutting is being used, mix the water with abrasive particles such as garnet to enhance cutting efficiency.
5. Programming: Input the cutting parameters into the machine's control software, including cutting speed, pressure, and nozzle distance.
6. Safety Precautions: Put on appropriate safety gear such as goggles and gloves to protect against splashing water and abrasive particles.
7. Initiate Cutting: Start the cutting process, either manually or by activating the machine through the control software.
8. Monitor Operation: Keep an eye on the cutting progress to ensure everything is proceeding as expected and make any necessary adjustments to the cutting parameters if needed.
9. Post-Cutting Inspection: Inspect the cut pieces to ensure they meet the required specifications and quality standards.
10. Cleanup: Clean up the work area, removing any debris or excess material, and shut down the machine properly.
Following these steps will help you achieve precise and efficient waterjet cutting results.
(Written by ChatGPT, 10th May, 2024)
__________
Waterjet Cutting Process
Started off with a small tester for ceramic to see if it will cut through cleanly, and it resulted in a really cute tile that I'm going to keep on my work desk.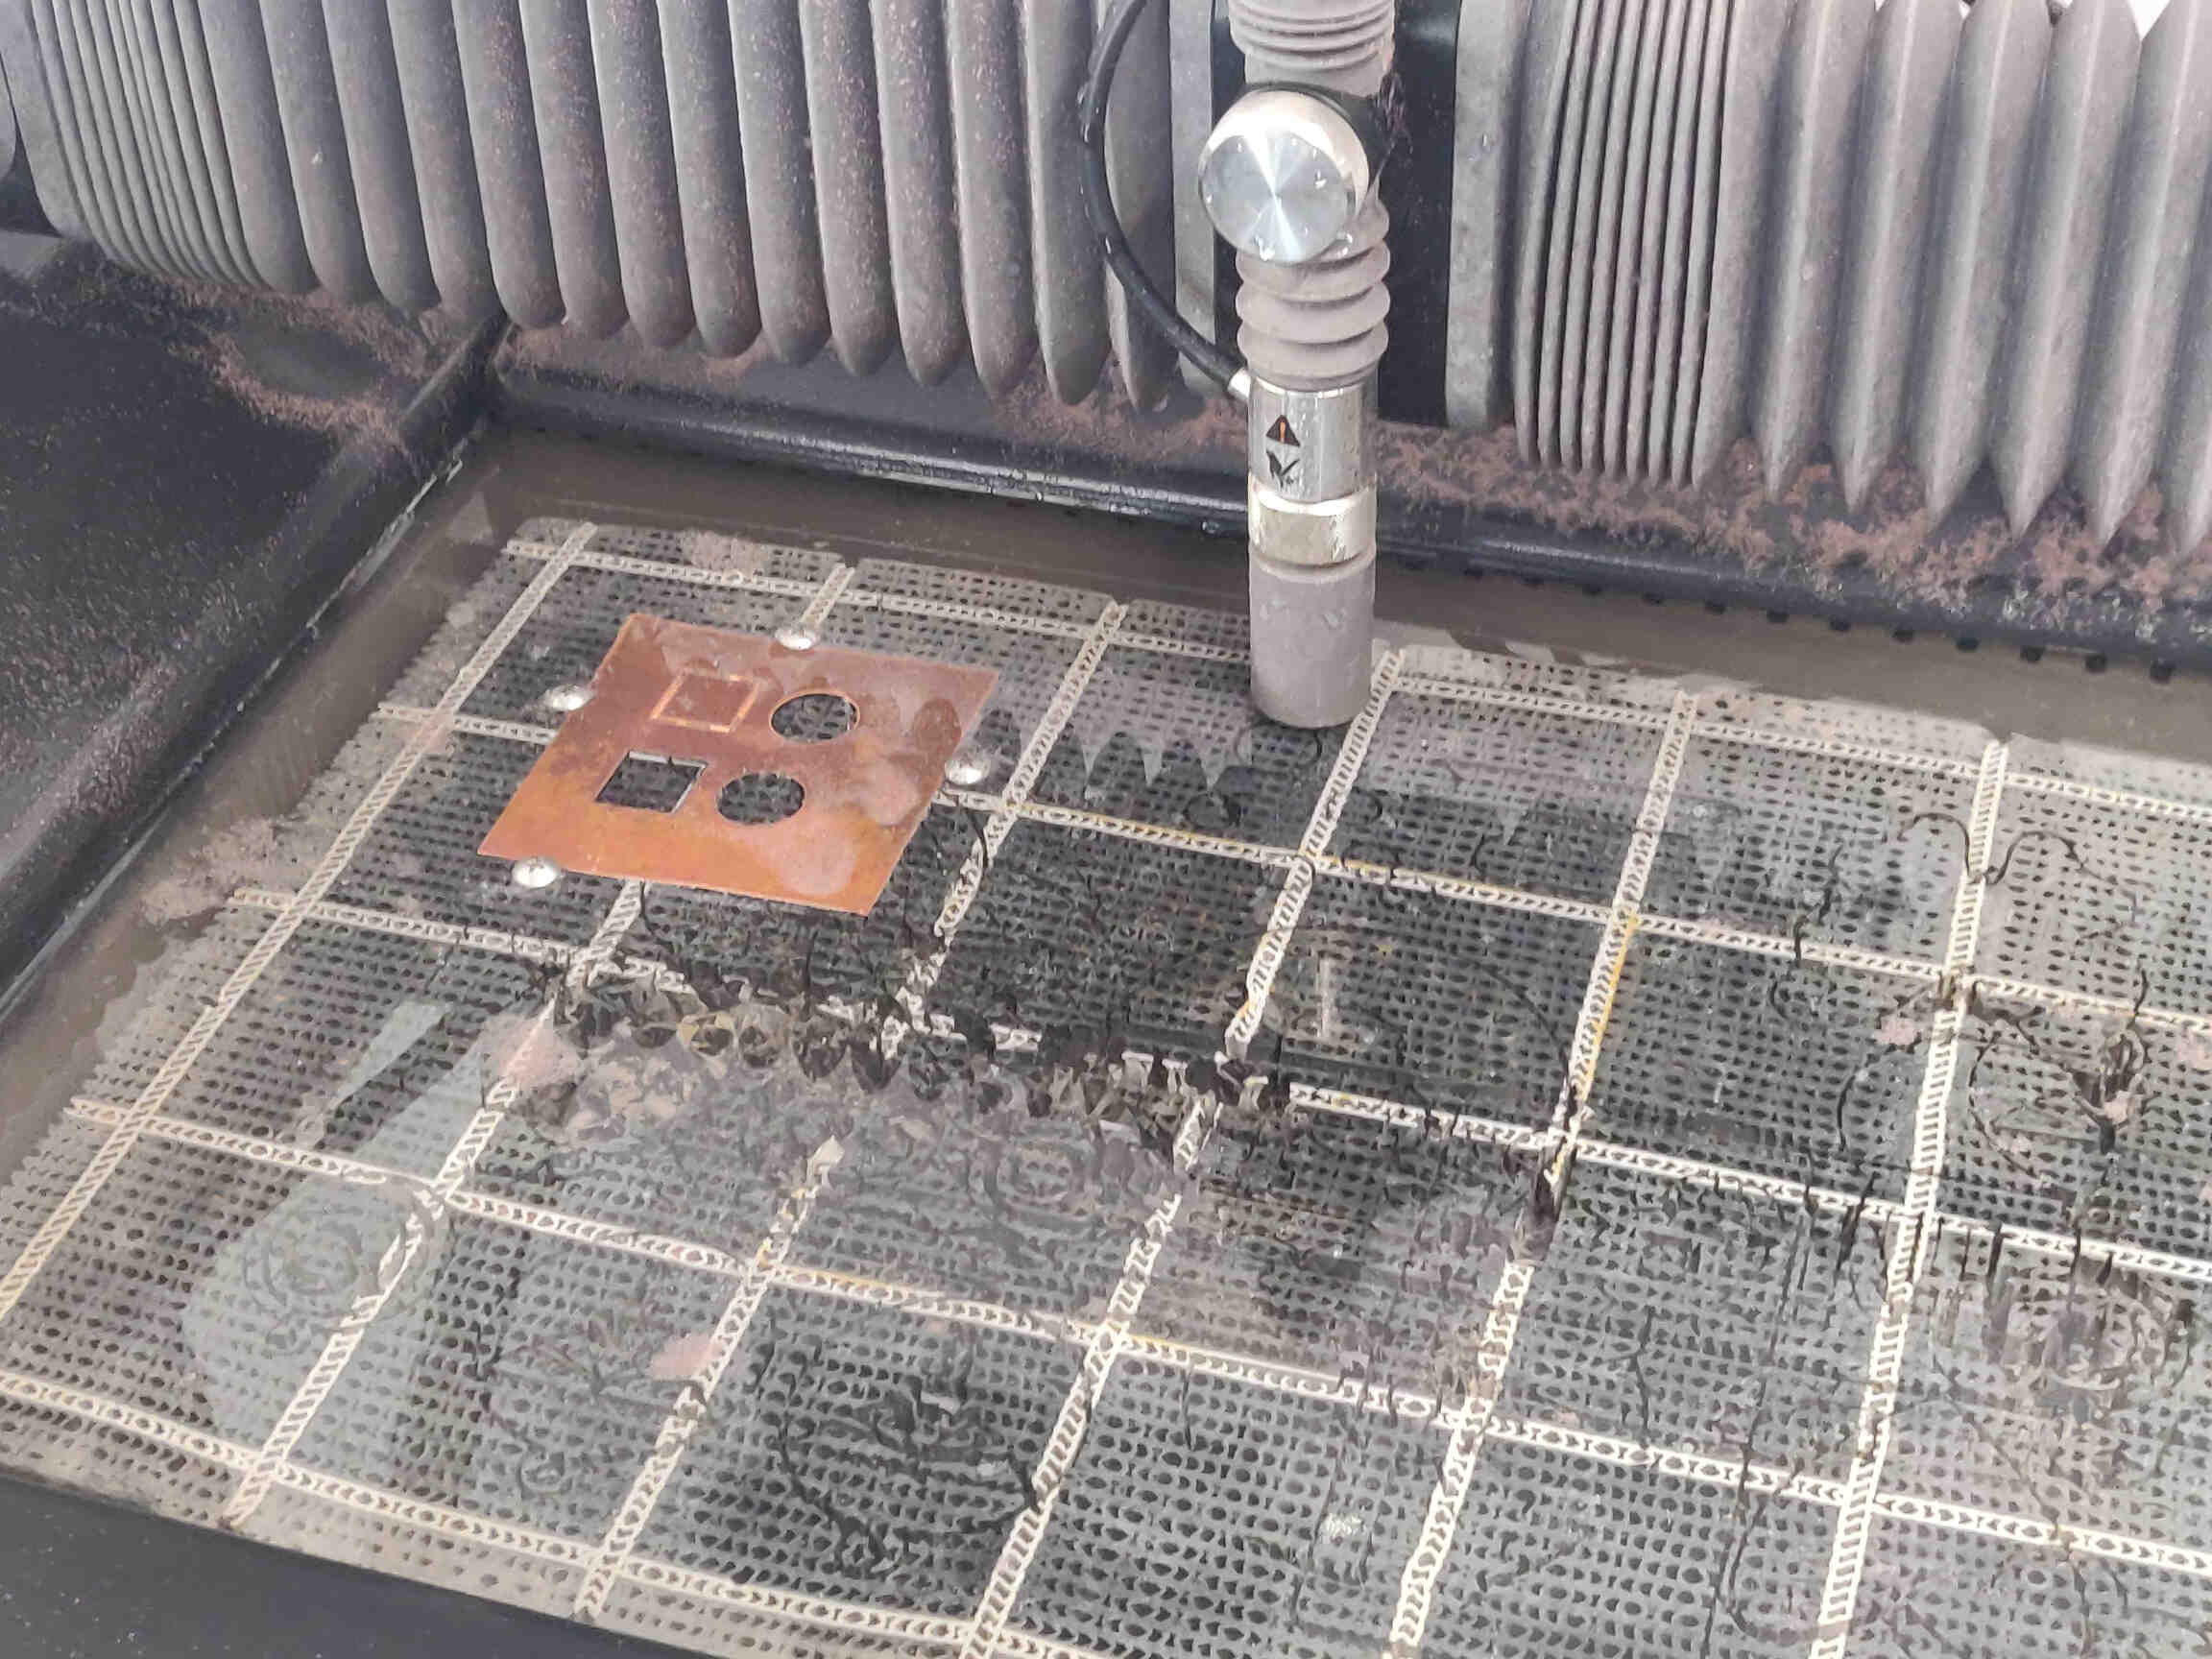 ->
->
 ->
->
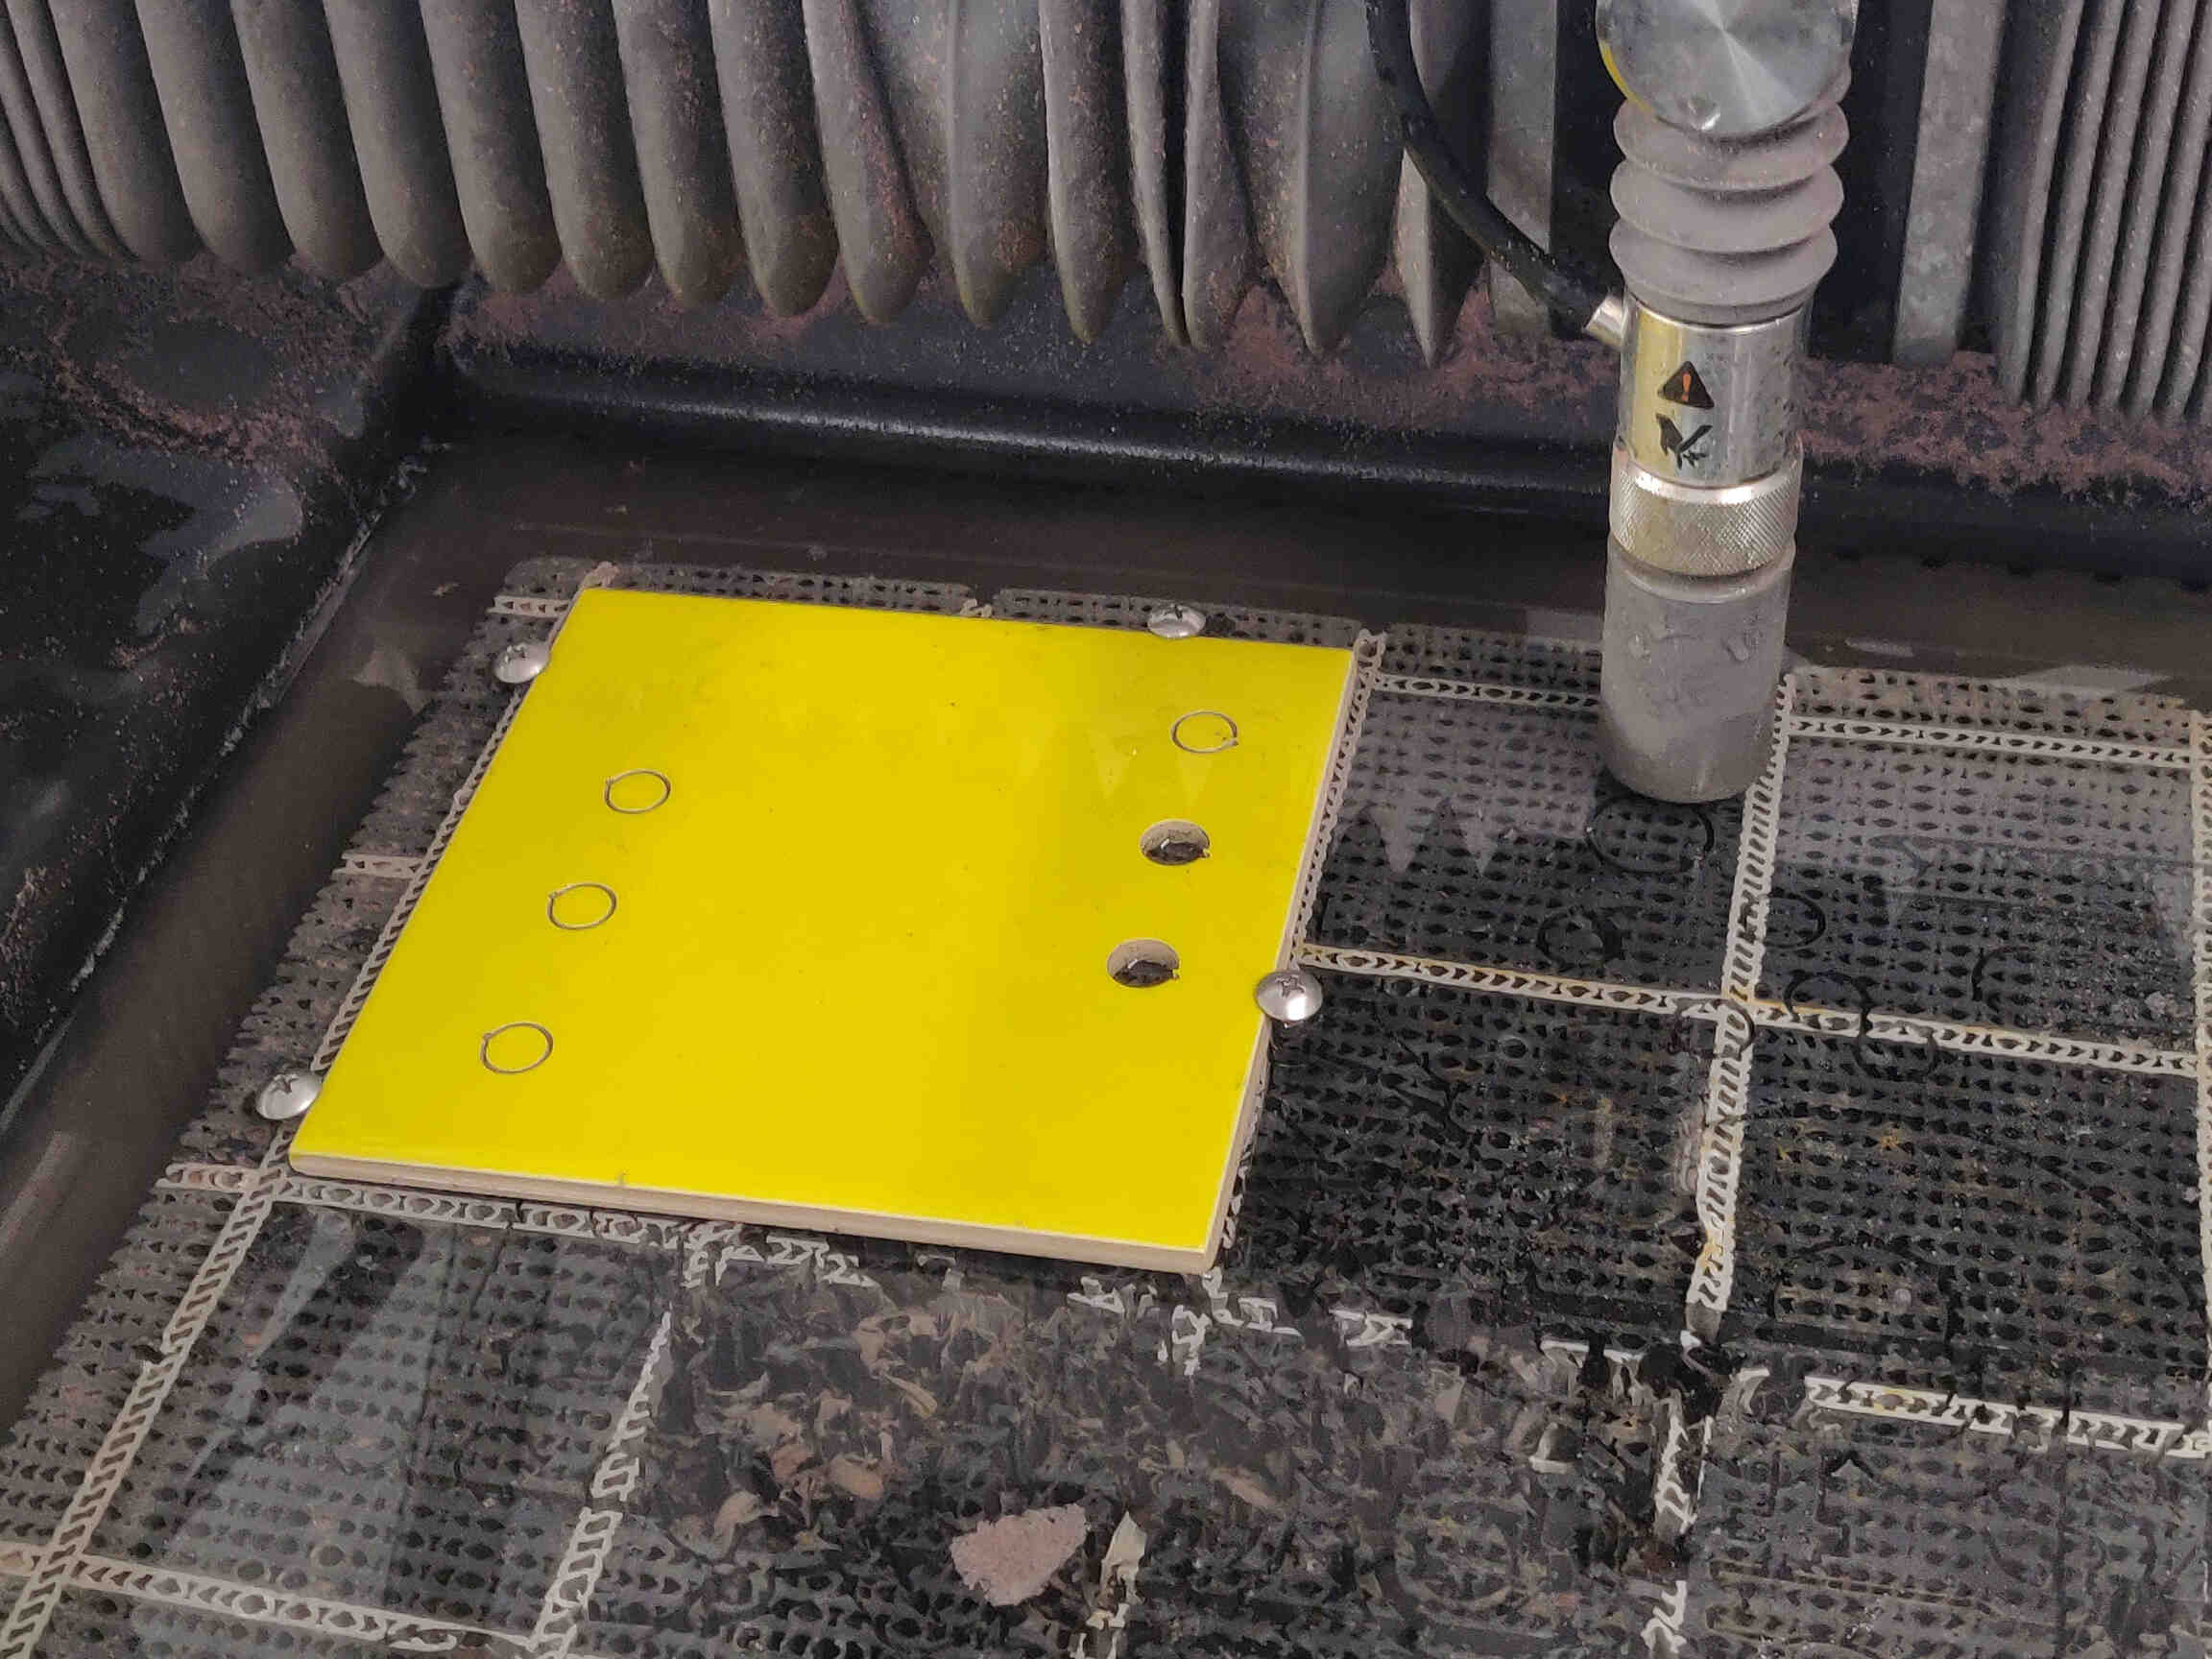
Then I started the cutting process which I will detail now for my first time panel: Place Tile exactly where you placed the design on the virtual bed in the Wazer software. HINT: Both the physical and virtual bed platforms have squares that accurately represent the measurements of each other. Use a screwdriver to screw in 4-6 screws into the bed with the tops of them holding on tight to the tile edges. I found this harder to do with Ceramic than metal but I was also dealing with a bed platform that has seen better days.
Turn the Wazer machine ON using the switch found underneath the right side of the machine., then turn the dial on the pipes behind the machine to activate the Water Supply. I turned the Water Hose on and sprayed the insides to clear some of the lingering abrasive and fill the water level enough to just about cover the bed platform - making sure to turn the pressure hose OFF when finished cleaning the abrasive (not to be confused with Wazer’s water supply!)
Pull out the tray on the left hand side of the machine and fill the tray with Abrasive. Be sure to sift the abrasive through the steel mesh rather than pour it straight into the tray. Then it’s time to set the Nozzle Height in a practical way. Twist the big gear on the nozzle and pull/drag the nozzle over the Ceramic Tile you wish to cut. There should be a ‘cap’ sitting atop the nozzle that can be removed. You SHOULD be able to place the extended part of the cap between the tile & nozzle and still have enough room to rotate it along the nozzle tip. That’s how you set the nozzle height - easy huh?
Close the lid of the Wazer machine and insert your MicroSD card with your g-code files on the right hand side of the machine. Interact with the machine’s interface and select your file. It will check bed leveling and ask you to fill the abrasive, water supply, set nozzle height etc. You could of course perform these tasks during this procedure, however I find it more beneficial to do everything beforehand, then when going through the interface use the opportunity to double check everything before the cut begins. Finally it will ask if you want to start the Cutting process among other options. I recommend going through the ‘Dry Run’ to get a sense of your toolpath and positioning. This can be helpful as screwing in the bolts into the bed platform can often move your material. When all is done, hit the START button to begin the cut.
Waterjet Cutting Prep & Result
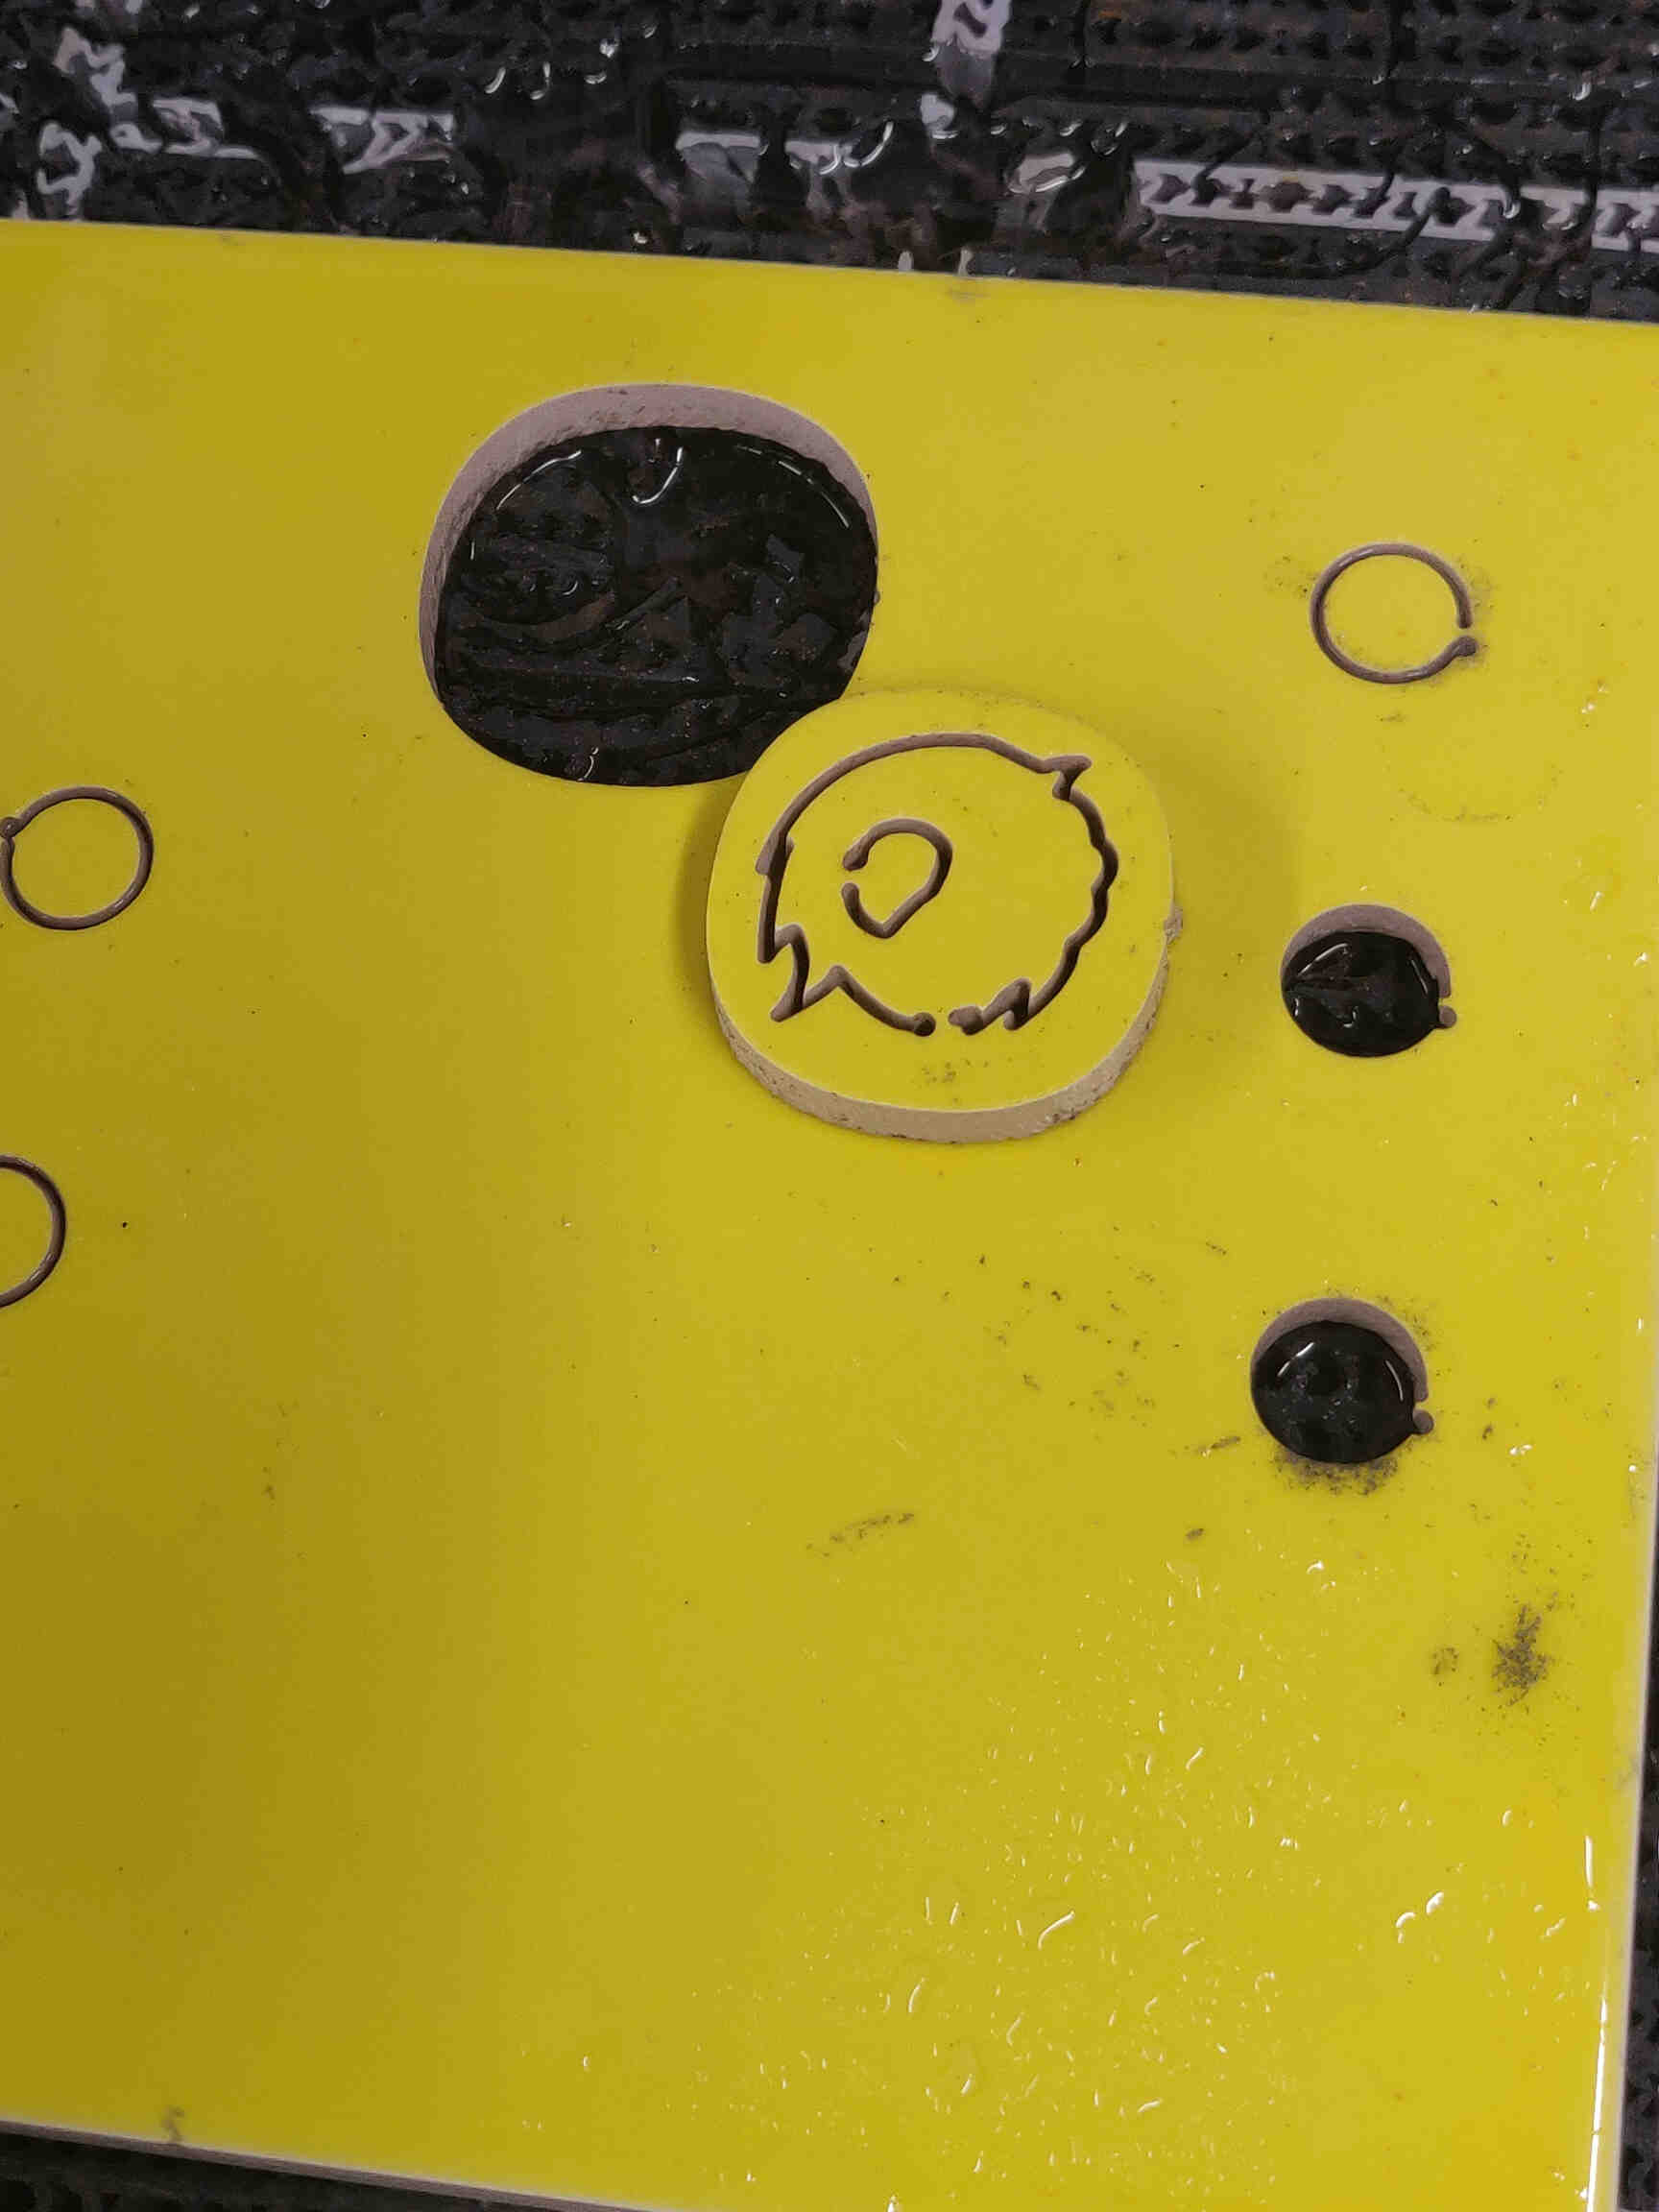
THINGS TO NOTE: If the material isn’t cut all the way through, it can cause water to shoot out of the machine, either spraying water & abrasive out of the corners and possibly into electrical sockets or potentially damaging the inside machinery or design. Adjust the Pierce Speed & Jog Speed until you get a continuously clean cutting path. If no water is coming out of your machine, be sure to check the water supply as mentioned earlier.
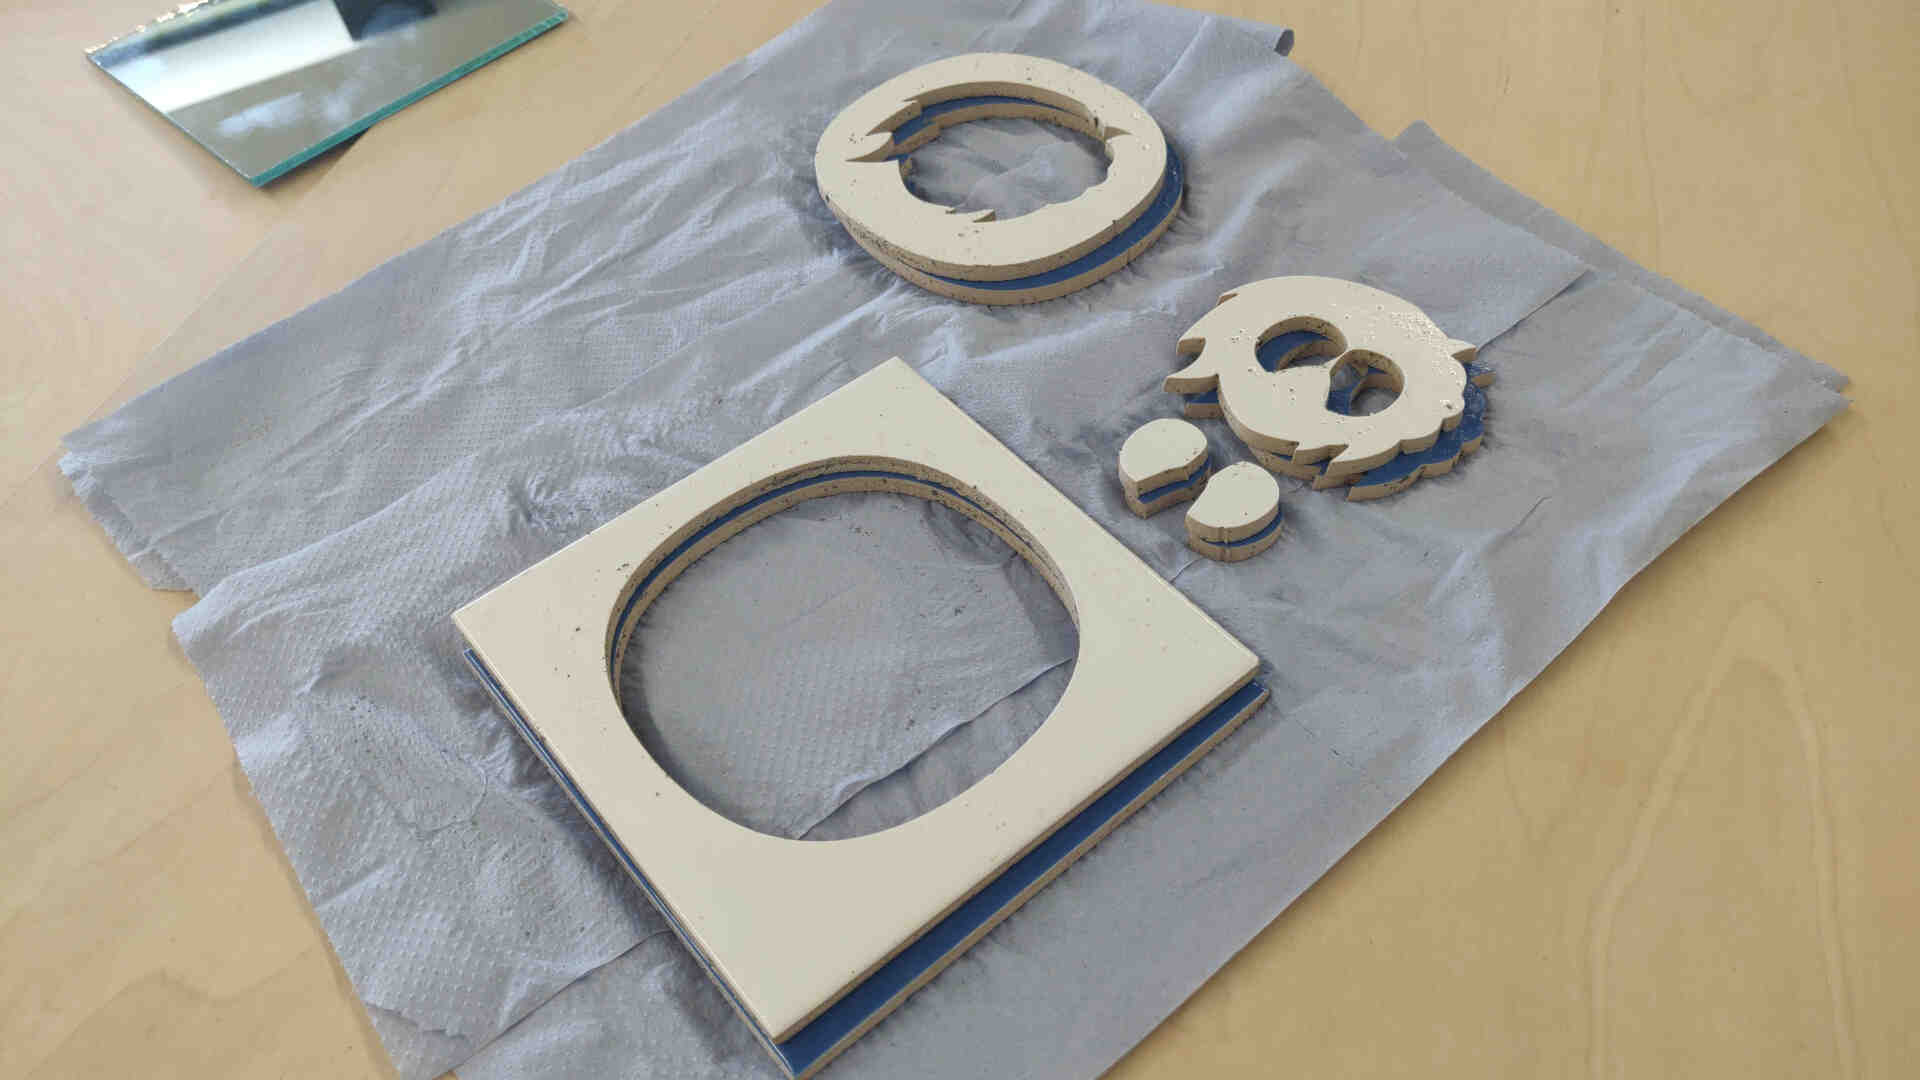
Once the cut was done I opened the lid and hosed down the abrasive on top of the ceramic tile and along the insides. Unscrewed the bolts and carefully lifted out the cut tiles and placed each part separately along the table. I then repeated the above process for each of my tiles.
____________
Assembly & Fitting
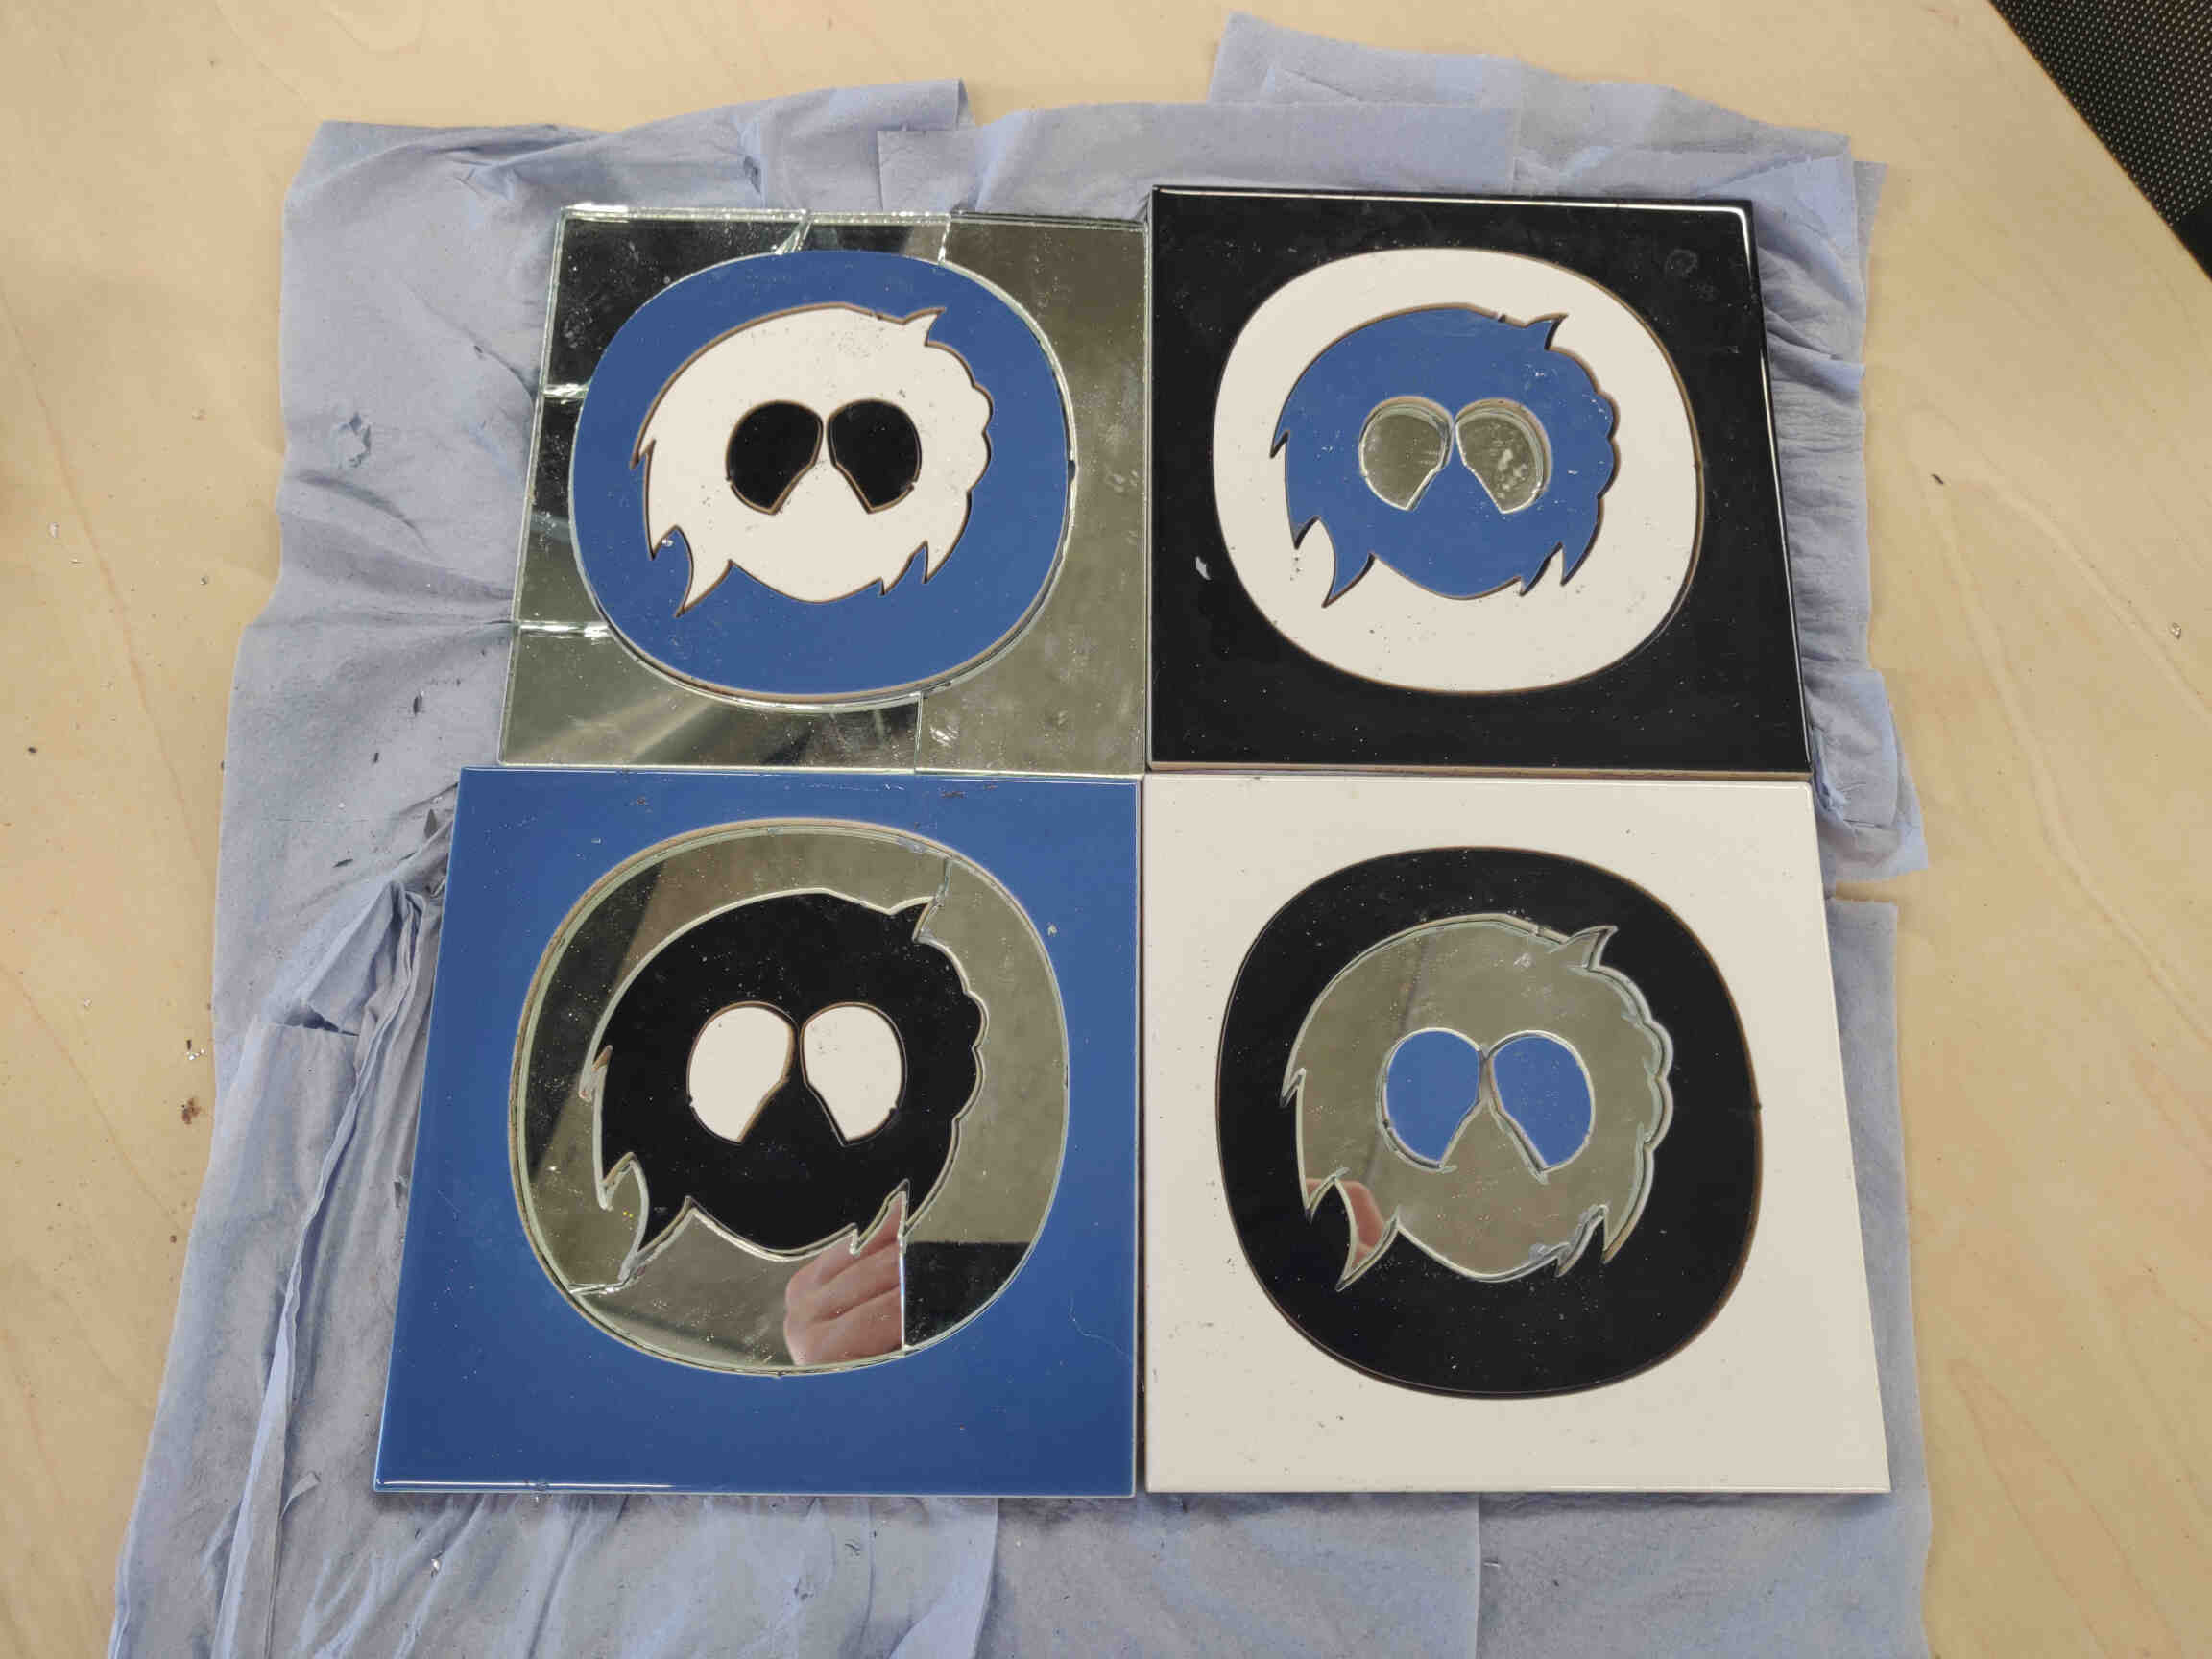
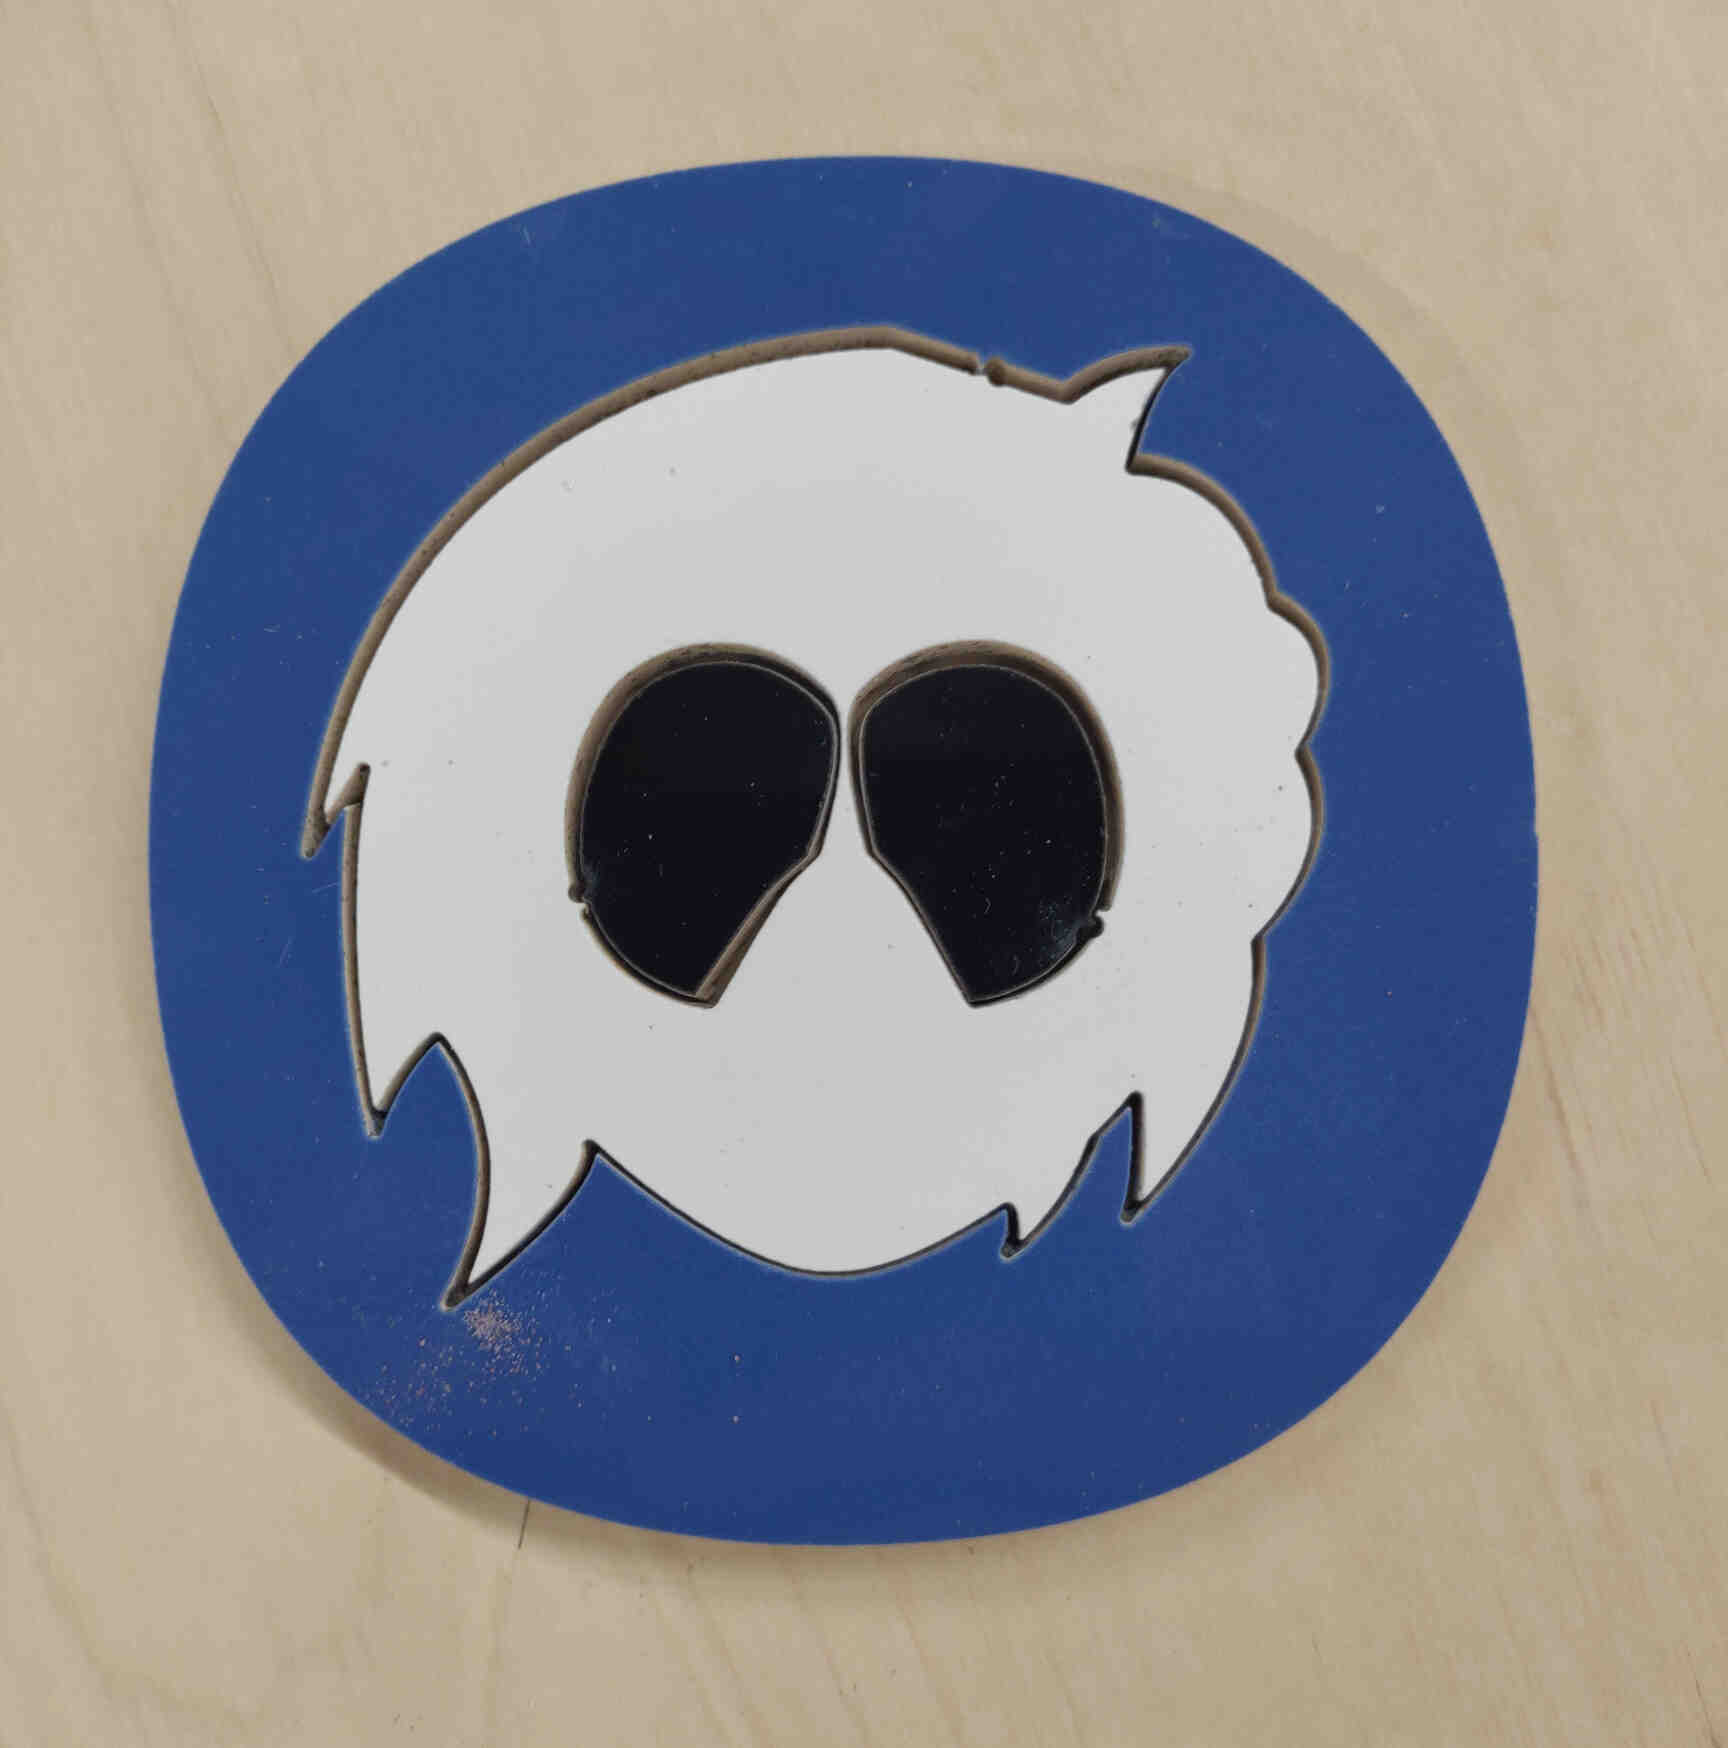
The ceramic cuts went beautifully with the glass being the odd one out. The cutting speed was too fast and left many uncut edges. There was enough of a cut to pressure the design out but the glass broke from the pressure. This could have been avoided by canceling the cut and making adjustments to the file’s toolpath or by running a small test on glass prior. But the parts of the glass I wanted the most (the eyes and the head) were left unbroken, so I was happy enough with the result and a lesson learned. I separated the pieces into collections and then reassembled the tiles while exchanging colours / material. I assembled with thick gloves as some chipping of sharp edges was required. All that’s left is to clean - VERY IMPORTANT. I hoovered the chips off the table and underneath, wiped down the desk and returned to the Wazer machine. Before shutting the machine down, hose down the insides to remove lingering abrasive and empty abrasive water buckets (found underneath the panel south of the bed platform). Be sure to purge the nozzle - this option can be found in the Wazer’s interface under ‘Maintenance’, Afterwards turn off the water supply and remove / safely store the screws.
____________
Conclusion / Reflection
It was fun to try out different materials on the Waterjet cutter. Ceramic cuts came out beautifully and I would love to make more designs using this process and material. It was also satisfying knowing all I need is Inkscape to create these designs, though Rhino3D would be better for more precise or technical designs. The glass pieces could have been better had I not been impatient with running out of daylight. I left the crack border design out of this assignment as it would have required some design & nesting adjustments while overall being just the same process as shown above. I thought my time would be better spent focusing on my final project which will be due to be presented in 3 weeks time. Still, it was great to return to the Wazer Waterjet Cutter as it was the machine that started my journey in the Fablab. As for the tile designs, I’m considering filling the inbetweens with coloured Grout and framing one of them, while glaze finishing the smaller ones. Would love to make small ceramic tile designs in the future and remodel them into keychains or stone tablets.____________