Mechanical Design
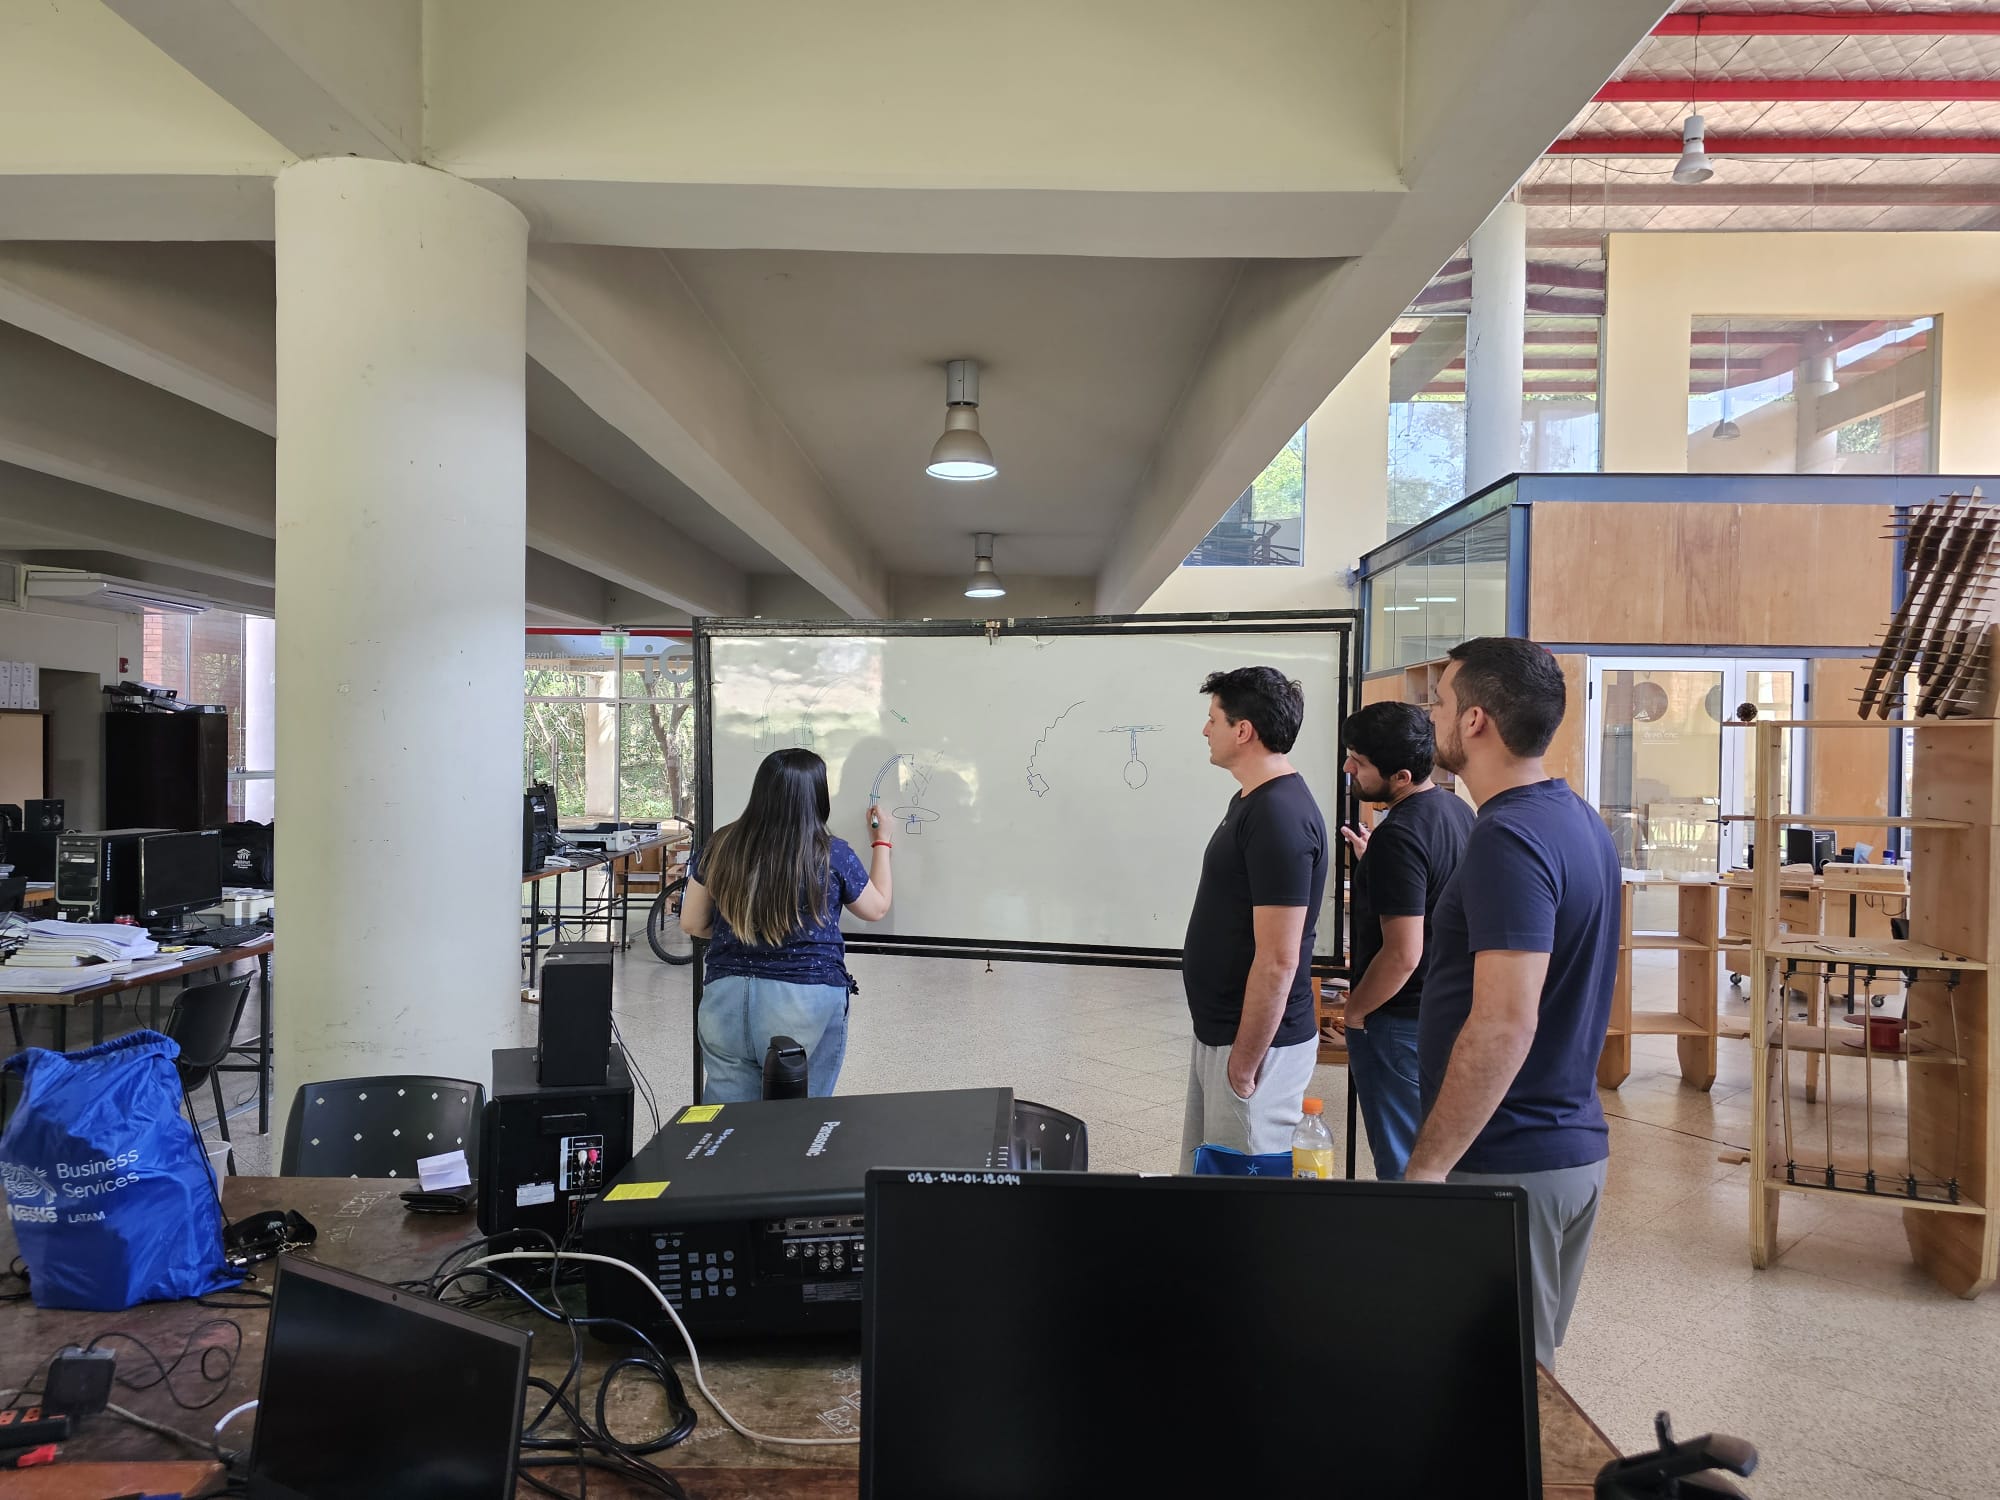
For this machine week we decided to build a t-shirt folding machine, after having a long time of discussion about what we wanted to make.
We wanted to make at least the folding part with 3 servomotors controlled by an arduino that were triggered by a button.
And thus, 'Esperancita' was born."
ESPERANCITA - Group Assignments.To create Esperancita, we had to divide the work into three areas that include the design and fabrication of:
Now we will develop the last item: creating the arms that couple the servos with the movable panels
In this stage, we need to design an arm that, on one end, is directly connected to a servo motor and, on the other end, to a panel with a hinge. It must obviously transmit the movement with the appropriate force and speed.
The system will include:
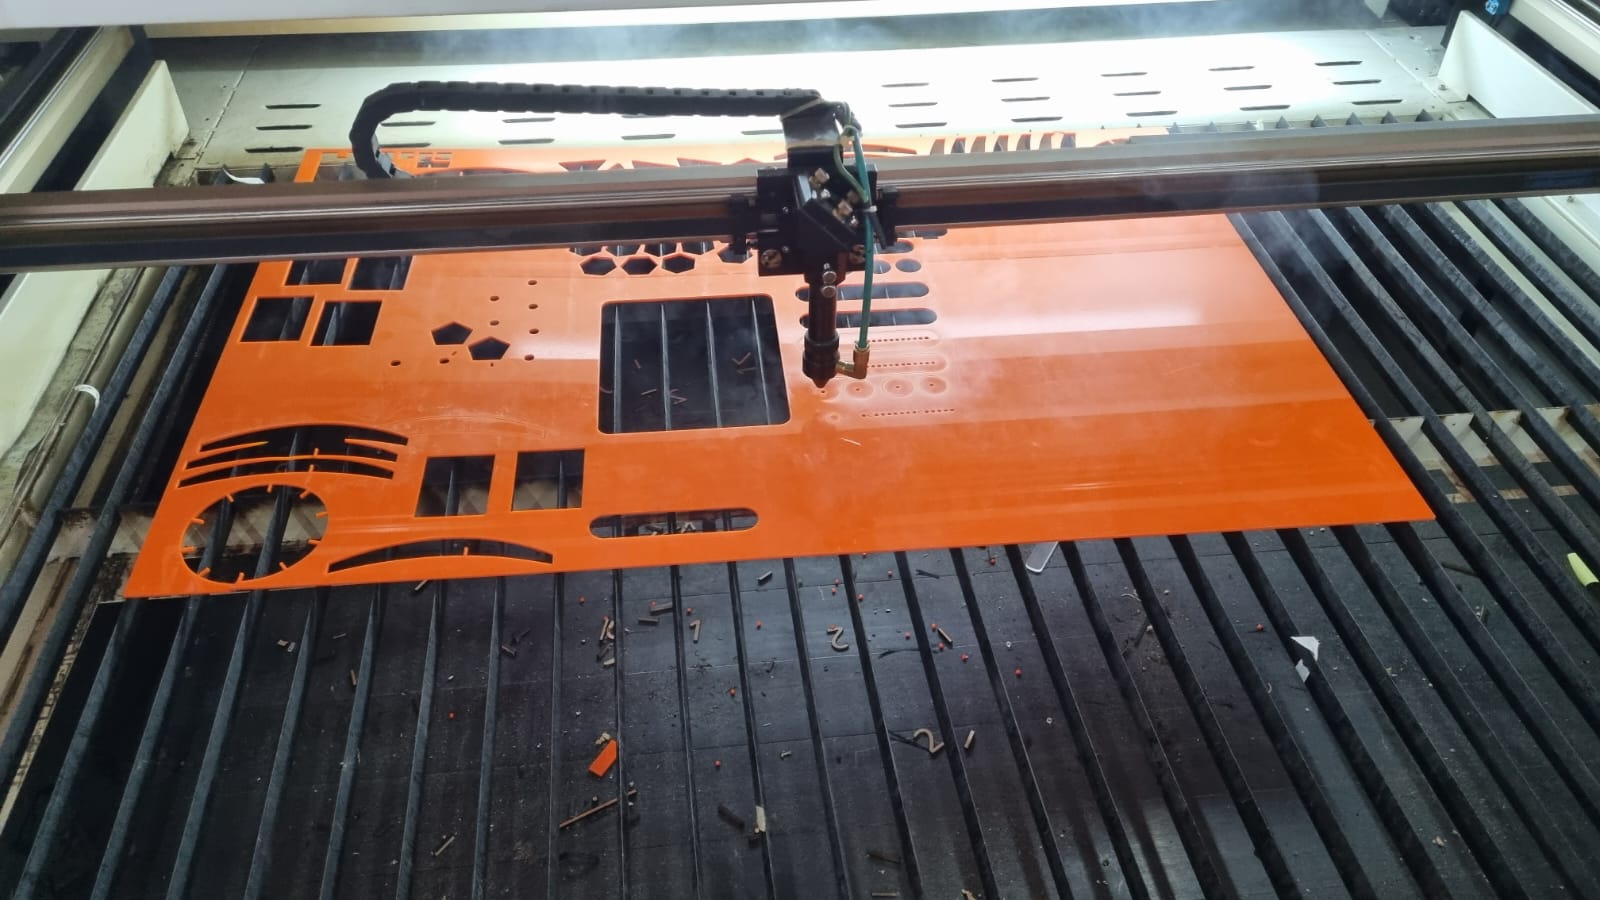
The design of the pieces was done using Fusion software, and we have prepared the files ready for printing or cutting.
Here are all the components of the arm; the connections are made with screws and nuts.
On one side, we have the piece that connects the rods with the panels. This piece will be made using 3D printing with a PLA filament.
This is the designed piece that connects the arm to the panels.
On the other hand, the rods and washers are made of 2.3mm acrylic and were cut with a laser.
Used materials:
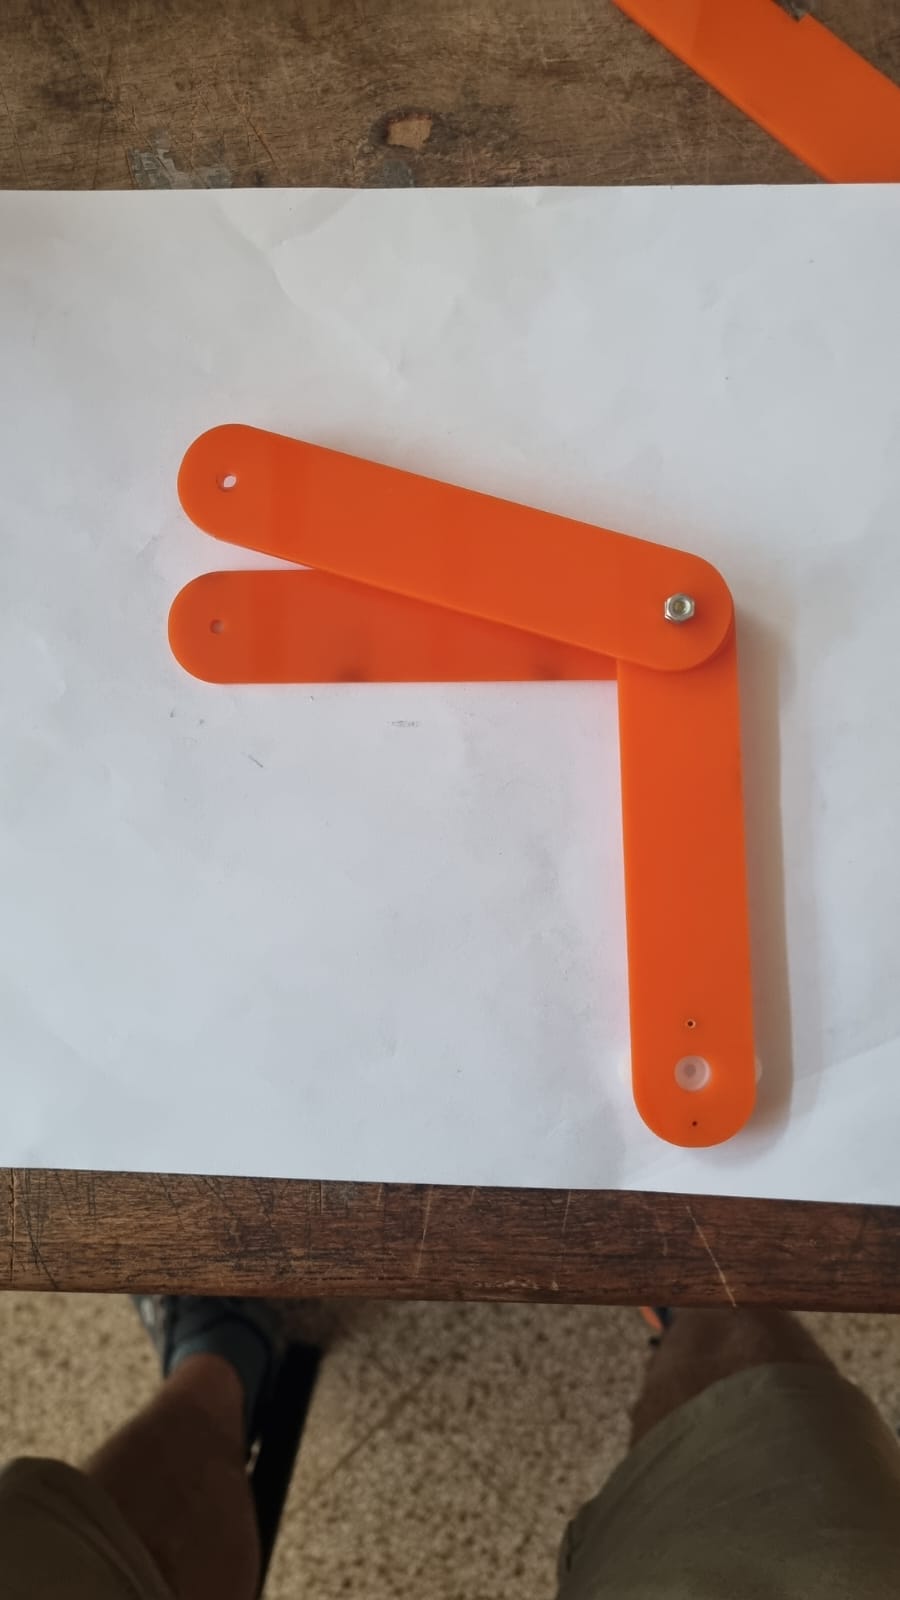
Figure 10-3 - Connecting the rods with the washers using screws

Figure 10.4 - Placement of the servo motor adapte
To test the functionality of the arm, we mounted the arm on a box with a lid that behaves like the final project. With this, we were able to ensure that we have the necessary movement, range, and angle.
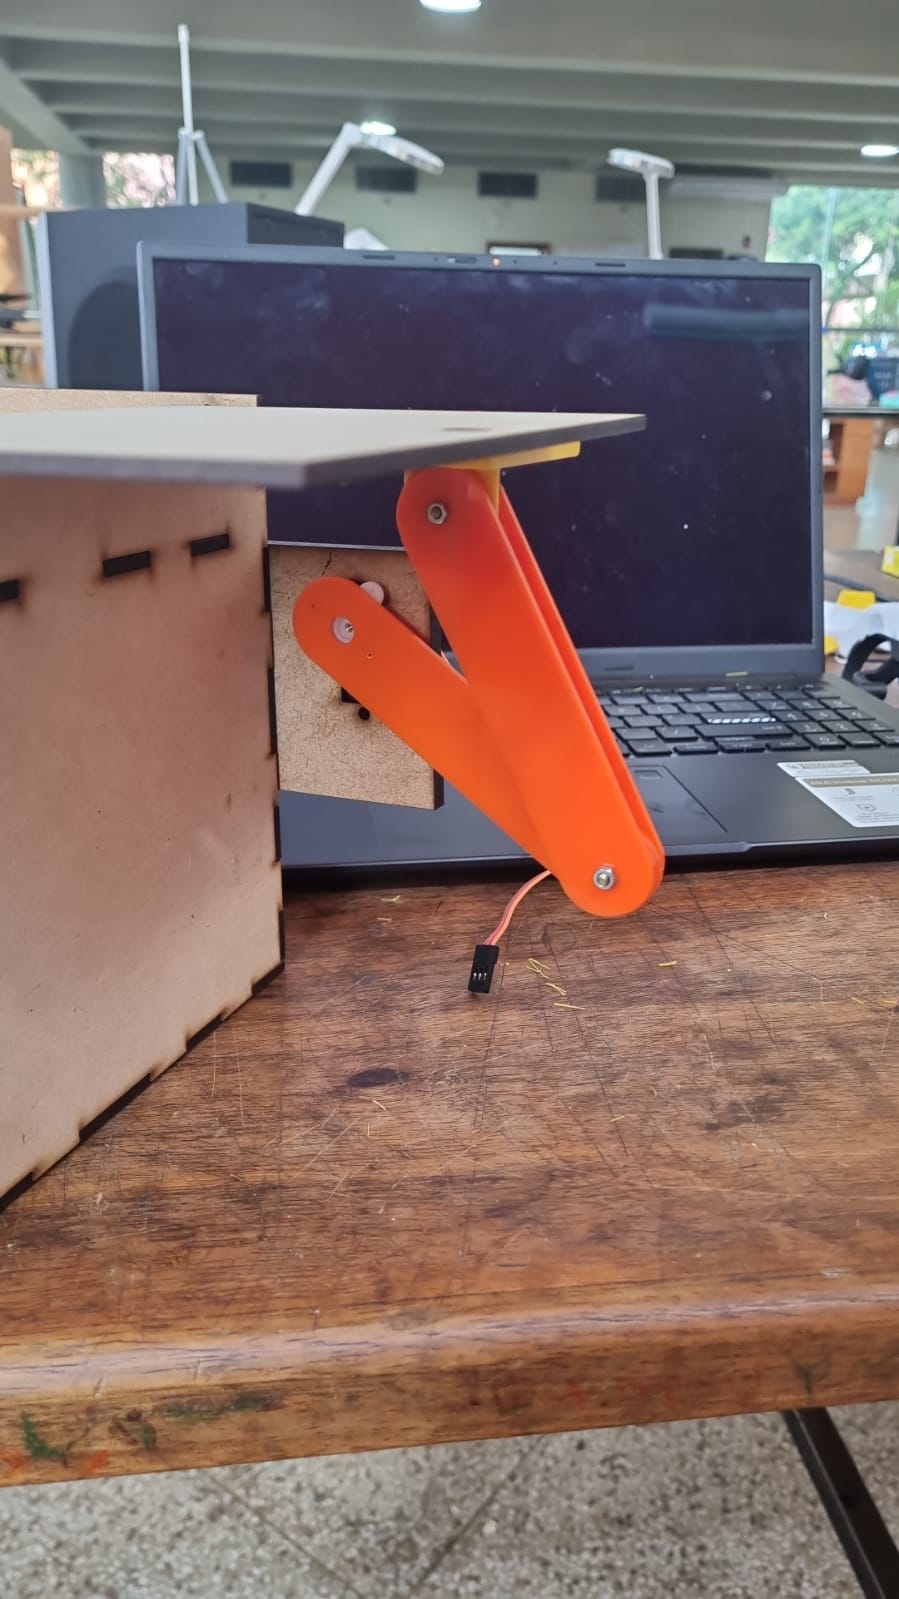
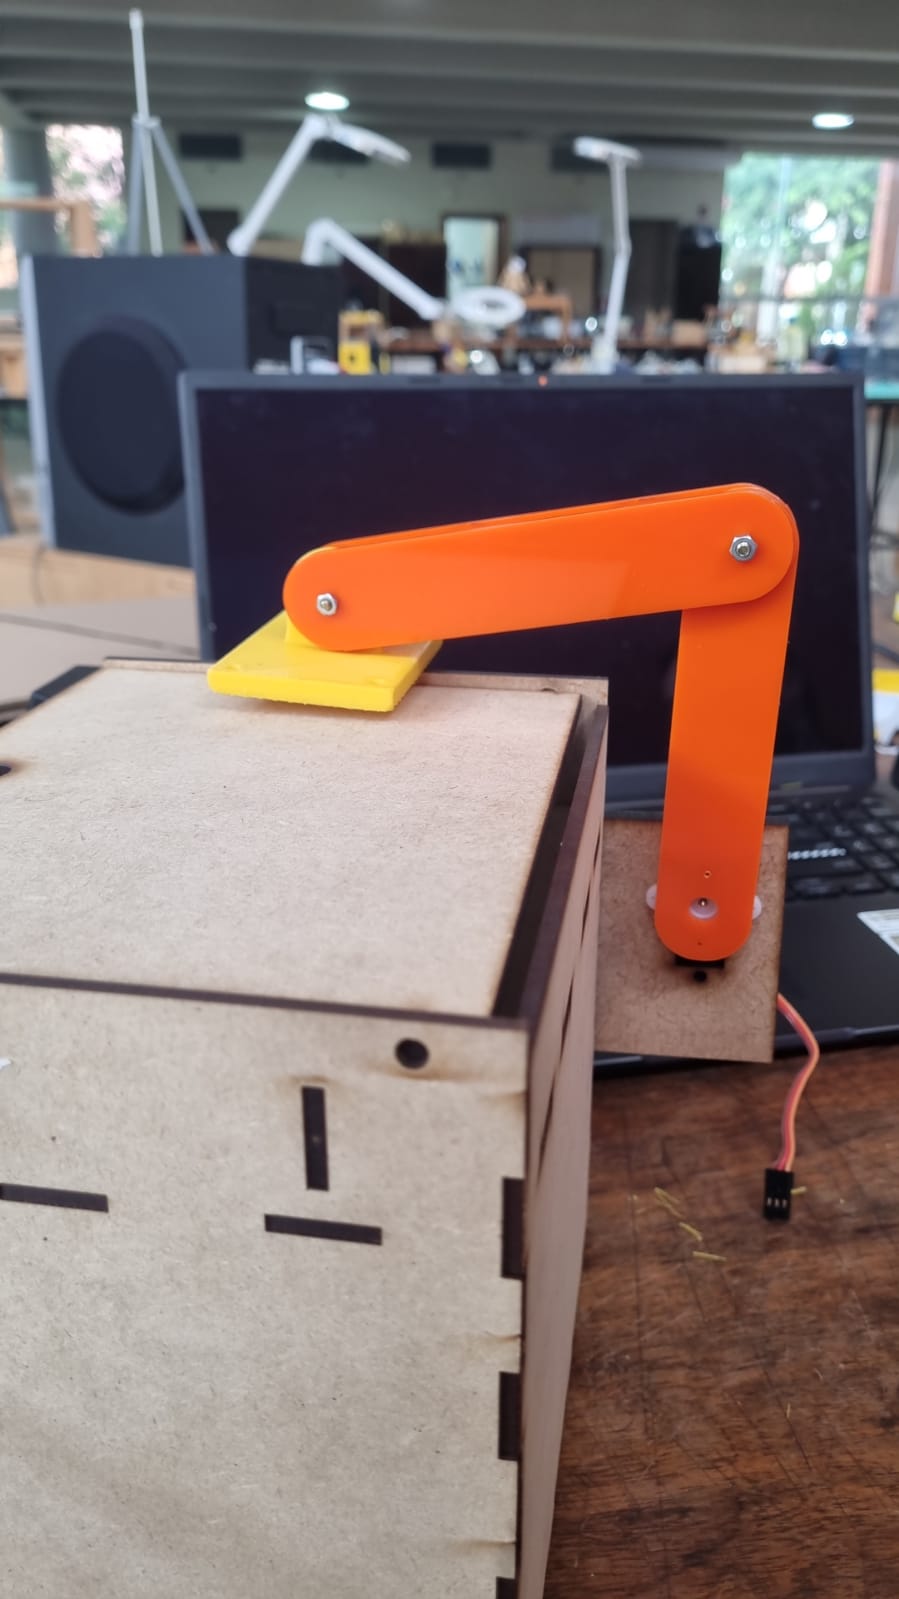
Figure 10.5 and 10.6 - Testing of the arm extension
With the mechanical movement confirmed, we proceed to perform a test with a servo motor
After this test, we decided to make some changes to the arms by adding more holes to adjust the torque effect by modifying the distances
After making some adjustments to the arm design, we printed three sets of arms and proceeded to install them on Esperancita's body.
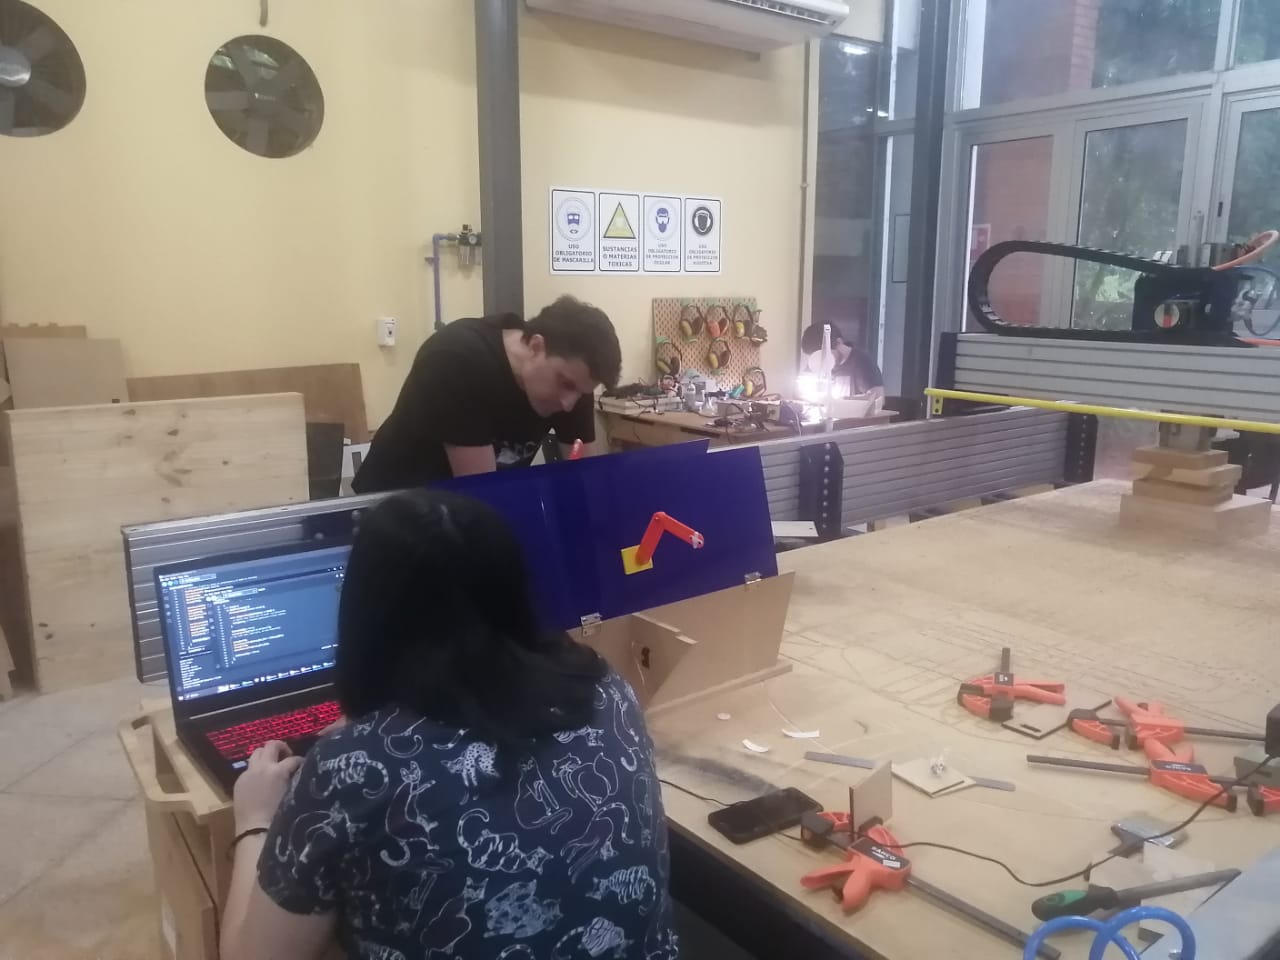
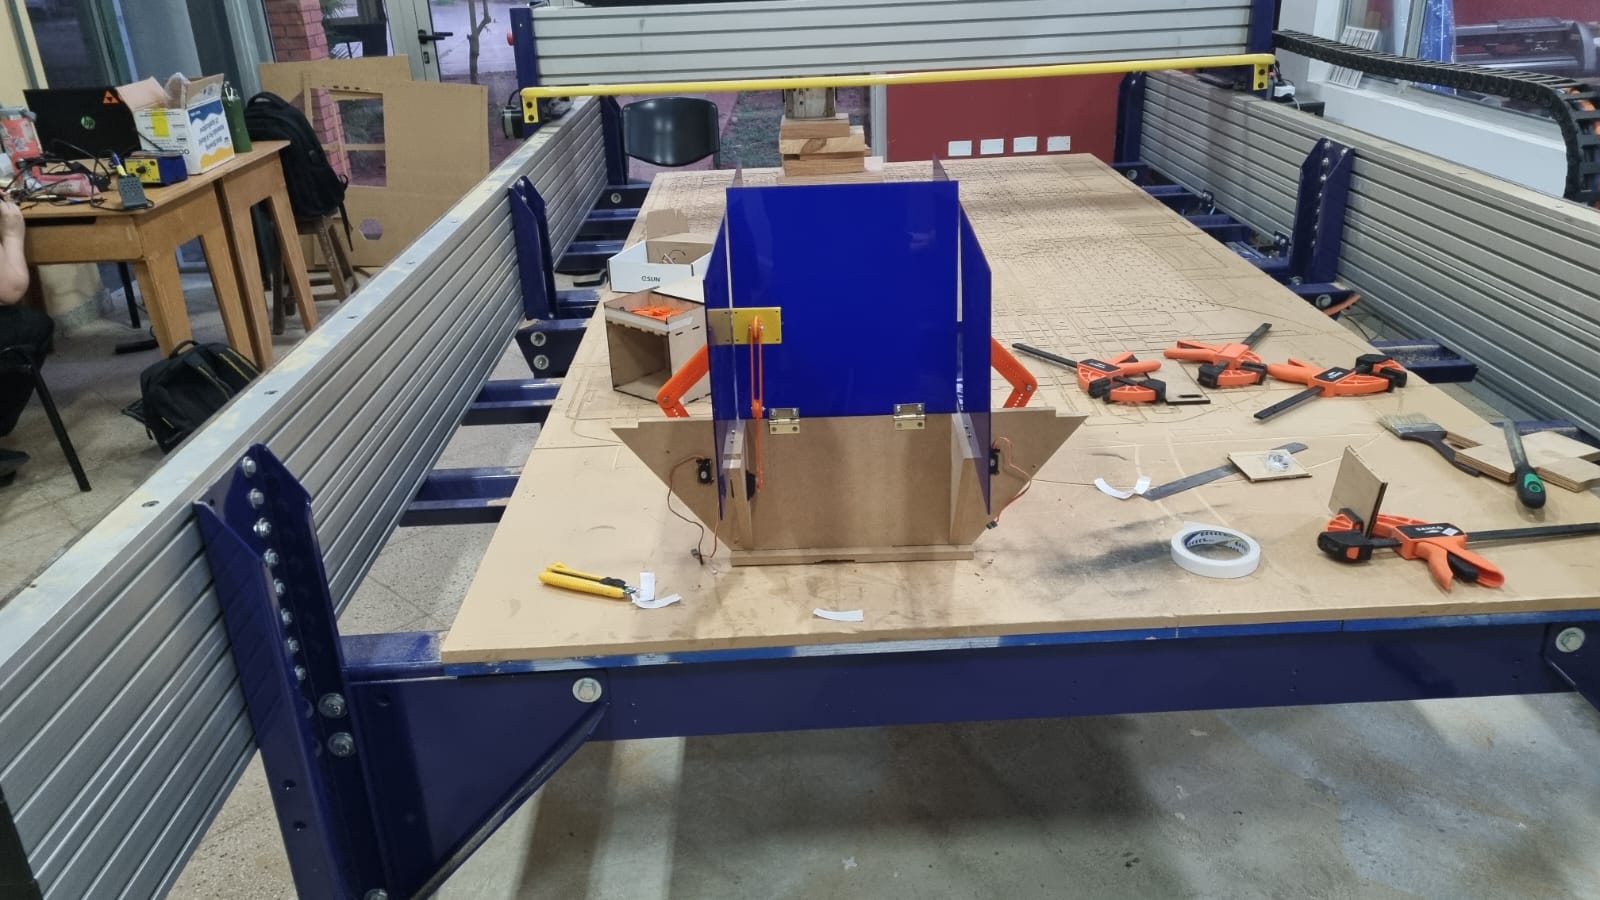
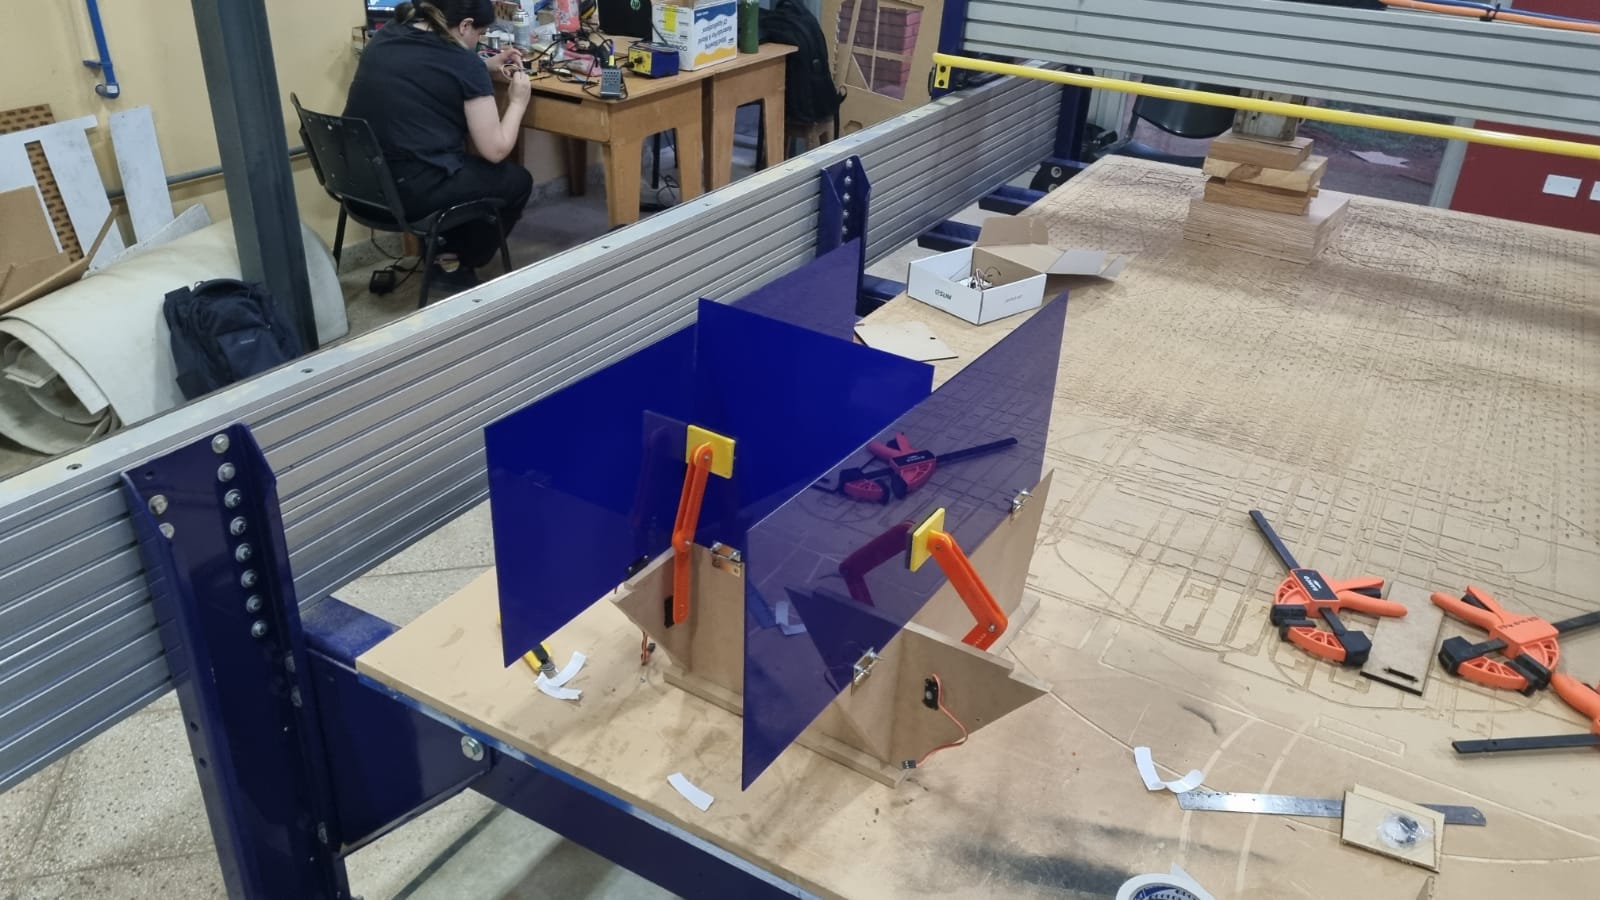
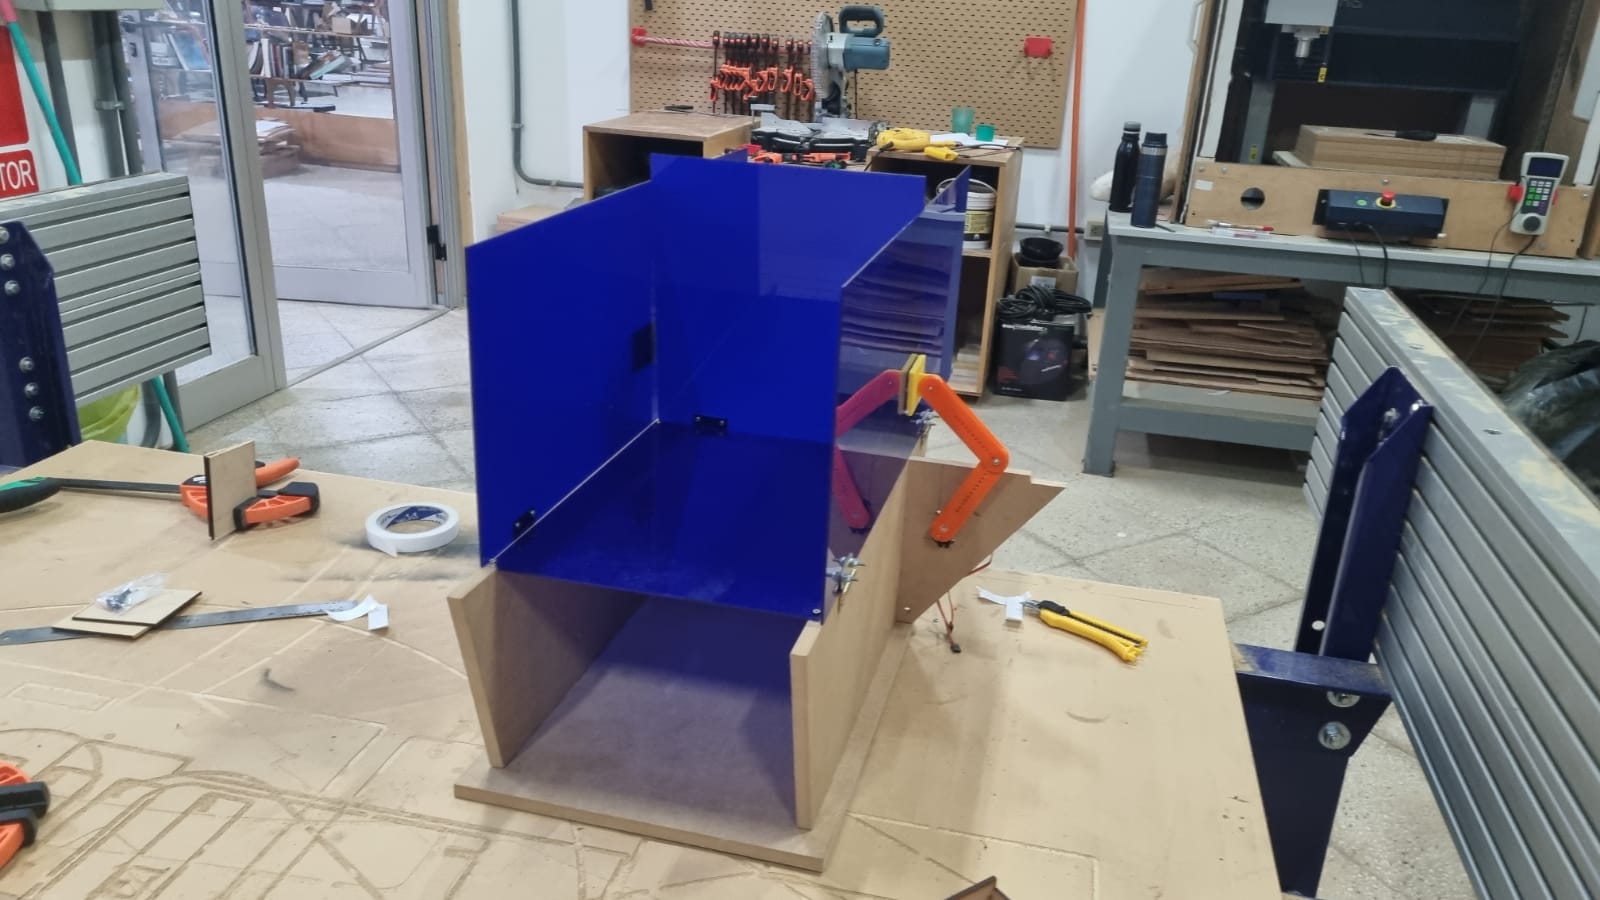
Figure 10.8, 10.9 and 10.10 - Installation of the three arms from various angles.
After some tests, we realized that the small servos were under too much strain. Since we didn't have other servos, we decided to lighten the weight by changing the material of the panels, initially made of acrylic, and manufactured them from MDF.