Week 15
Wildcard
Fab Academy 2024
Riichiro Yamamoto
- Python & MediaPipe
- Python: Setup
- Python: Serial Communication
- MediaPipe
- Machine Learning on Jupyter
- Serial Comunication + MediaPipe Custom Gesture
- Raspberry Pi
- SSH
- Samba
- Pi CAM
- Pi CAM with Python Scrip
- Raspberry Pi Backup
- Running the main Python script in Raspberry Pi
- FPS Picam vs Webcam
Another Task
Dear My Friend
This week is a wildcard week, which means we can get to try new things that was not covered in previous weeks. For example vacuum forming, computer-controlled sawing, and robotic arm. For this week I decided to computer vision and machine learning because it is something necessary for my final project.
It was a real challenge for a person like me with no programming background. However many of my friends and tutor helped me get through this week.
Since I didn't archive to run the Mediapipe gesture recognition on a microcontroller, it does not fulfil this week’s assignment. Therefore I came back to this week’s assignment later and tried using the Embroidery machine to fulfil the assignment.
Hope you enjoy
Riichiro Yamamoto
Python & MediaPipe
As feedback from the Project review, I was advised to first test motion capture with a webcam on a PC and then try the camera module. Also for the motion capture software, I was introduced to MediaPipe which is an open-source project developed by Google.
At first, I wanted to use MedeiaPipe with Arduino IDE, because it is only way of programming that I kind of have an idea. But after researching, I soon realised that it was not going to happen so I decided to try using Python in order to use Mediapipe.
By the way, I have no idea about Python. All I knew was Python is like the final boss in the programming world and I am a newborn baby who can barely speak a sentence.
Python: Setup
First I download the latest version 3.12.3 Python from the official page , then I followed a few installation steps on Hans Monnca’s Week 14 documentation page
When installing, I made sure to check the two boxes below.
Also made sure to disable the path length limit.
Then I used the below command to check the version of Python and see the list of libraries.
pip --version
pip list
I also checked the Python 3 Installation & Setup Guide
Then I followed this page Get started using Python on Windows for beginners To set up the Python plugin on Visual Studio Code.
Next, I followed this page To start programming in Python. I created a virtual environment and created a Python source code file.
Files
hello.py
Next, I continued to follow the tutorial page and I made a ”Roll a dice” message appear in the terminal. Then I installed a library for the first time.
py -m pip install numpy
At this point, I did not know how many times I needed to use this command to install a bunch of libraries later.
Finally, I was able to virtually roll a dice using Python scrip and a library.
Files
Roll a dice.py
Additional Useful Python tutorial for beginners I looked at
Your Python Coding Environment on Windows: Setup Guide
How To Write Your First Python 3 Program
Python: Serial Communication
Because I needed to use serial communication in Python for my final project, I needed to install a library called PySerial
python -m pip install pyserial, then I followed a number of tutorials on YouTube.
First I followed this tutorial Arduino and Python Serial Communication with PySerial I mainly followed this tutorial to establish serial port and USB port selection.
Files
SerialCommunication.py
Then I followed another tutorial Python Tutorial - How to Read Data from Arduino via Serial Port for specifically understand serial reading.
Files
Serial_Reading.py
Then I followed another How to Send Commands to an Arduino from a Python Script To specifically understand serial writing.
Files
Serial_Read_Write.py
After going through three tutorials and additional research, I was able to open the serial port, receive messages and send Gcode to the printer.
Files
Serial_Read_Write.py
Additional pages that helped me through this step
Can't import serial in VSCode
ArduinoPySerial_LearningSeries
How to Send Commands to an Arduino from a Python Script
How to send one gcode command over USB?
MediaPipe
Now it was time for me to jump into mediapipe. MediaPipe is an open-source project for computer vision and machine learning framework developed by Google.
First, I installed the MediaPipe package as it was a guide on the official page
python -m pip install mediapipe
After that, I followed this YouTube tutorial AI Hand Pose Estimation with MediaPipe and Python Also, I installed OpenCV with this command below. OpenCV is an open computer vision library allowing you to work with webcam, images, etc. It is a standard when it comes to computer vision.
pip install opencv-python
I followed this tutorial to understand how to initialise the webcam window, convert images, import media pipe models and draw & edit in the video feed.
Then I went on researching for reference and I found this YouTube tutorial. Custom Hand Gesture Recognition with Hand Landmarks Using Google’s Mediapipe + OpenCV in Python This tutorial basically explains how to work with a specific GitHub repo that uses MediaPipe, such as Hand-gesture-recognition-mediapipe This repo is an English-translation version of the original repo developed by a Japanese guy named Kazuhito Takahashi. The English translation was done by Nikita Kiselov
Through following this tutorial I needed to get the numbers of libraries and I encountered a lot of things that were not working as I imagined. Most errors were either because of me not doing things correctly or because of recent updates and changes on the software side.
Problem 1
At some point, I was getting an error that it could not find some library that it needed to run the script. I could not figure out the reason I was having the error, so I asked Chat GPT and then GPT told me to check my path and change it by using the provided code. I simply copied and pasted the provided code and it worked. I was very surprised at how easily I can solve errors and bugs with Chat GPT. It is important to know which path I am in and which path the script needs to run.
Full conversation with ChatGPT
Hand Landmark coordinate
This part of the script shows the coordinates of a single landmark and prints it. I thought this could be used for what I wanted to do, so I needed to investigate more.
Data Collecting Mode
This part is the most useful part of using this repo and the main reason why I wanted to use this repo. This repo already has a setup and function for teaching machine custom gestures. By using this function, I only needed to hit [k] to enter data-collecting mode and hit the number key [0-9] to create data for 10 different gestures.
Machine Learning on Jupyter
After collecting data I continued to follow the tutorial. In the machine learning phase, the tutorial uses Jupyter Notebook , so I installed Jupyter plugin on VS Code.
Before running the machine learning, it is important to check and change the NUM_CLASSES part. The number should be counted from 0, so if you have up to 4 classes, the number should be 5.
Additionally, I needed to install pandas, seaborn, and sklearns. I simply pip-installed them.
Also, I changed the file type of keypoint_classifier.hdf5 to .keras, because I was getting errors for it.
Problem 2
The most painful error that I encountered during this step was an Error pop-up when converting the Keras model to the TensorFlow Lite model. At first, I could not figure out why the error was happening, but after researching on the web and asking Chat GPT about it, the issue seemed to have something to do with the version of TensorFlow. The original repo is using tensorflow2.15.0 but I am using 2.16. Also, there seem to be other people having similar issues.
Only the solution I could find was to get TensorFlow 2.15.0 but it was not easy because Python 3.12 does not recognise Tensorflow 2.15 , so I installed Python 3.11 then Changed the version using this tutorial and installed Tensorflow 2.15.0. I am sure there are different way to go around it but for now, this was the simplest solution that I could take.
Full conversation with ChatGPT
In the end, I was able to train my custom gesture and run the main script with the new gesture classification.
Serial Comunication + MediaPipe Custom Gesture
Next, I combined the Serial Communication code and Mediapipe code to send Gcode by gesture. For this time too, my friends Tony and Danni helped me a lot. With only a few extra code modifications we were able to combine them together. More detailed documentation about the modifications is written in the code.
Files
app.py
Raspberry Pi
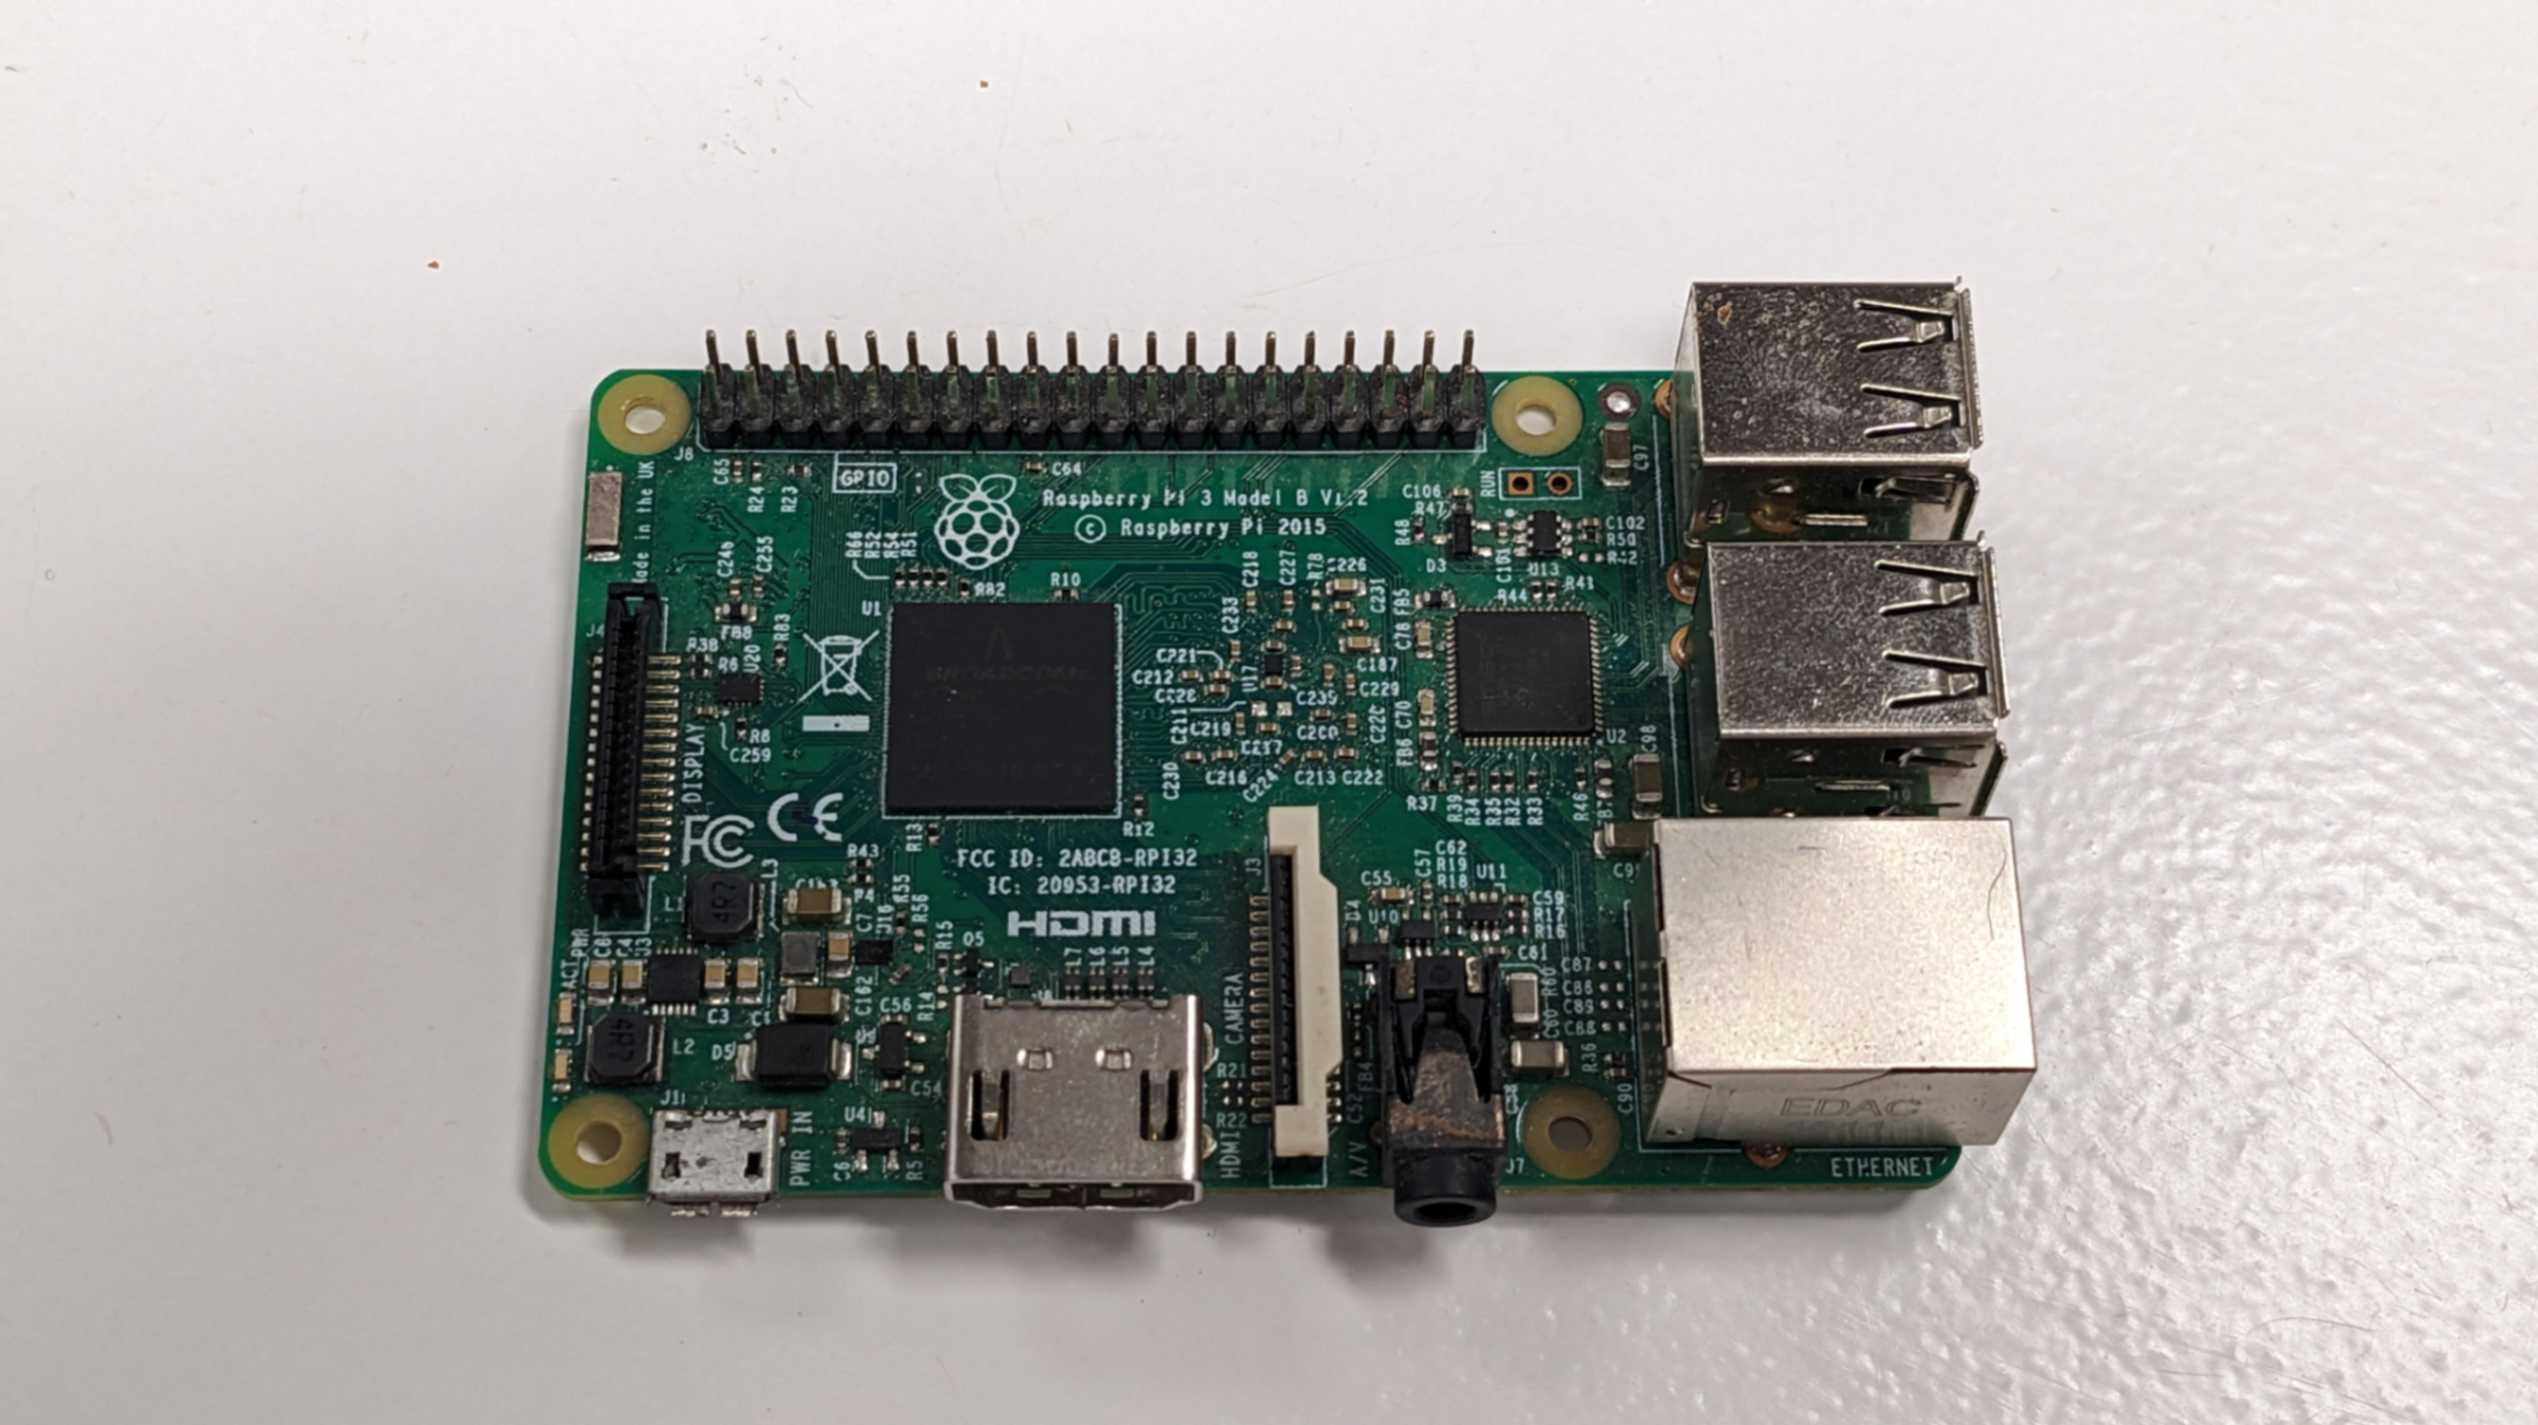
I decided to use Raspberry Pi because I wanted my final project to be a standalone machine and not need to connect a laptop. Raspberry Pi is basically a small computer that can take heavy data processing. I was recommended to use Raspberry Pi 3 Model B V1.2 since that was the one available in the lab.
Setup
For setting up Raspberry Pi I simply followed the instructions on the official page.
The things I needed are below
- Raspberry Pi 3 Model B V1.2
- 32GB class10 micro SD
- 2.5A micro USB supply.
- Display
- Mouse
- Keyboard
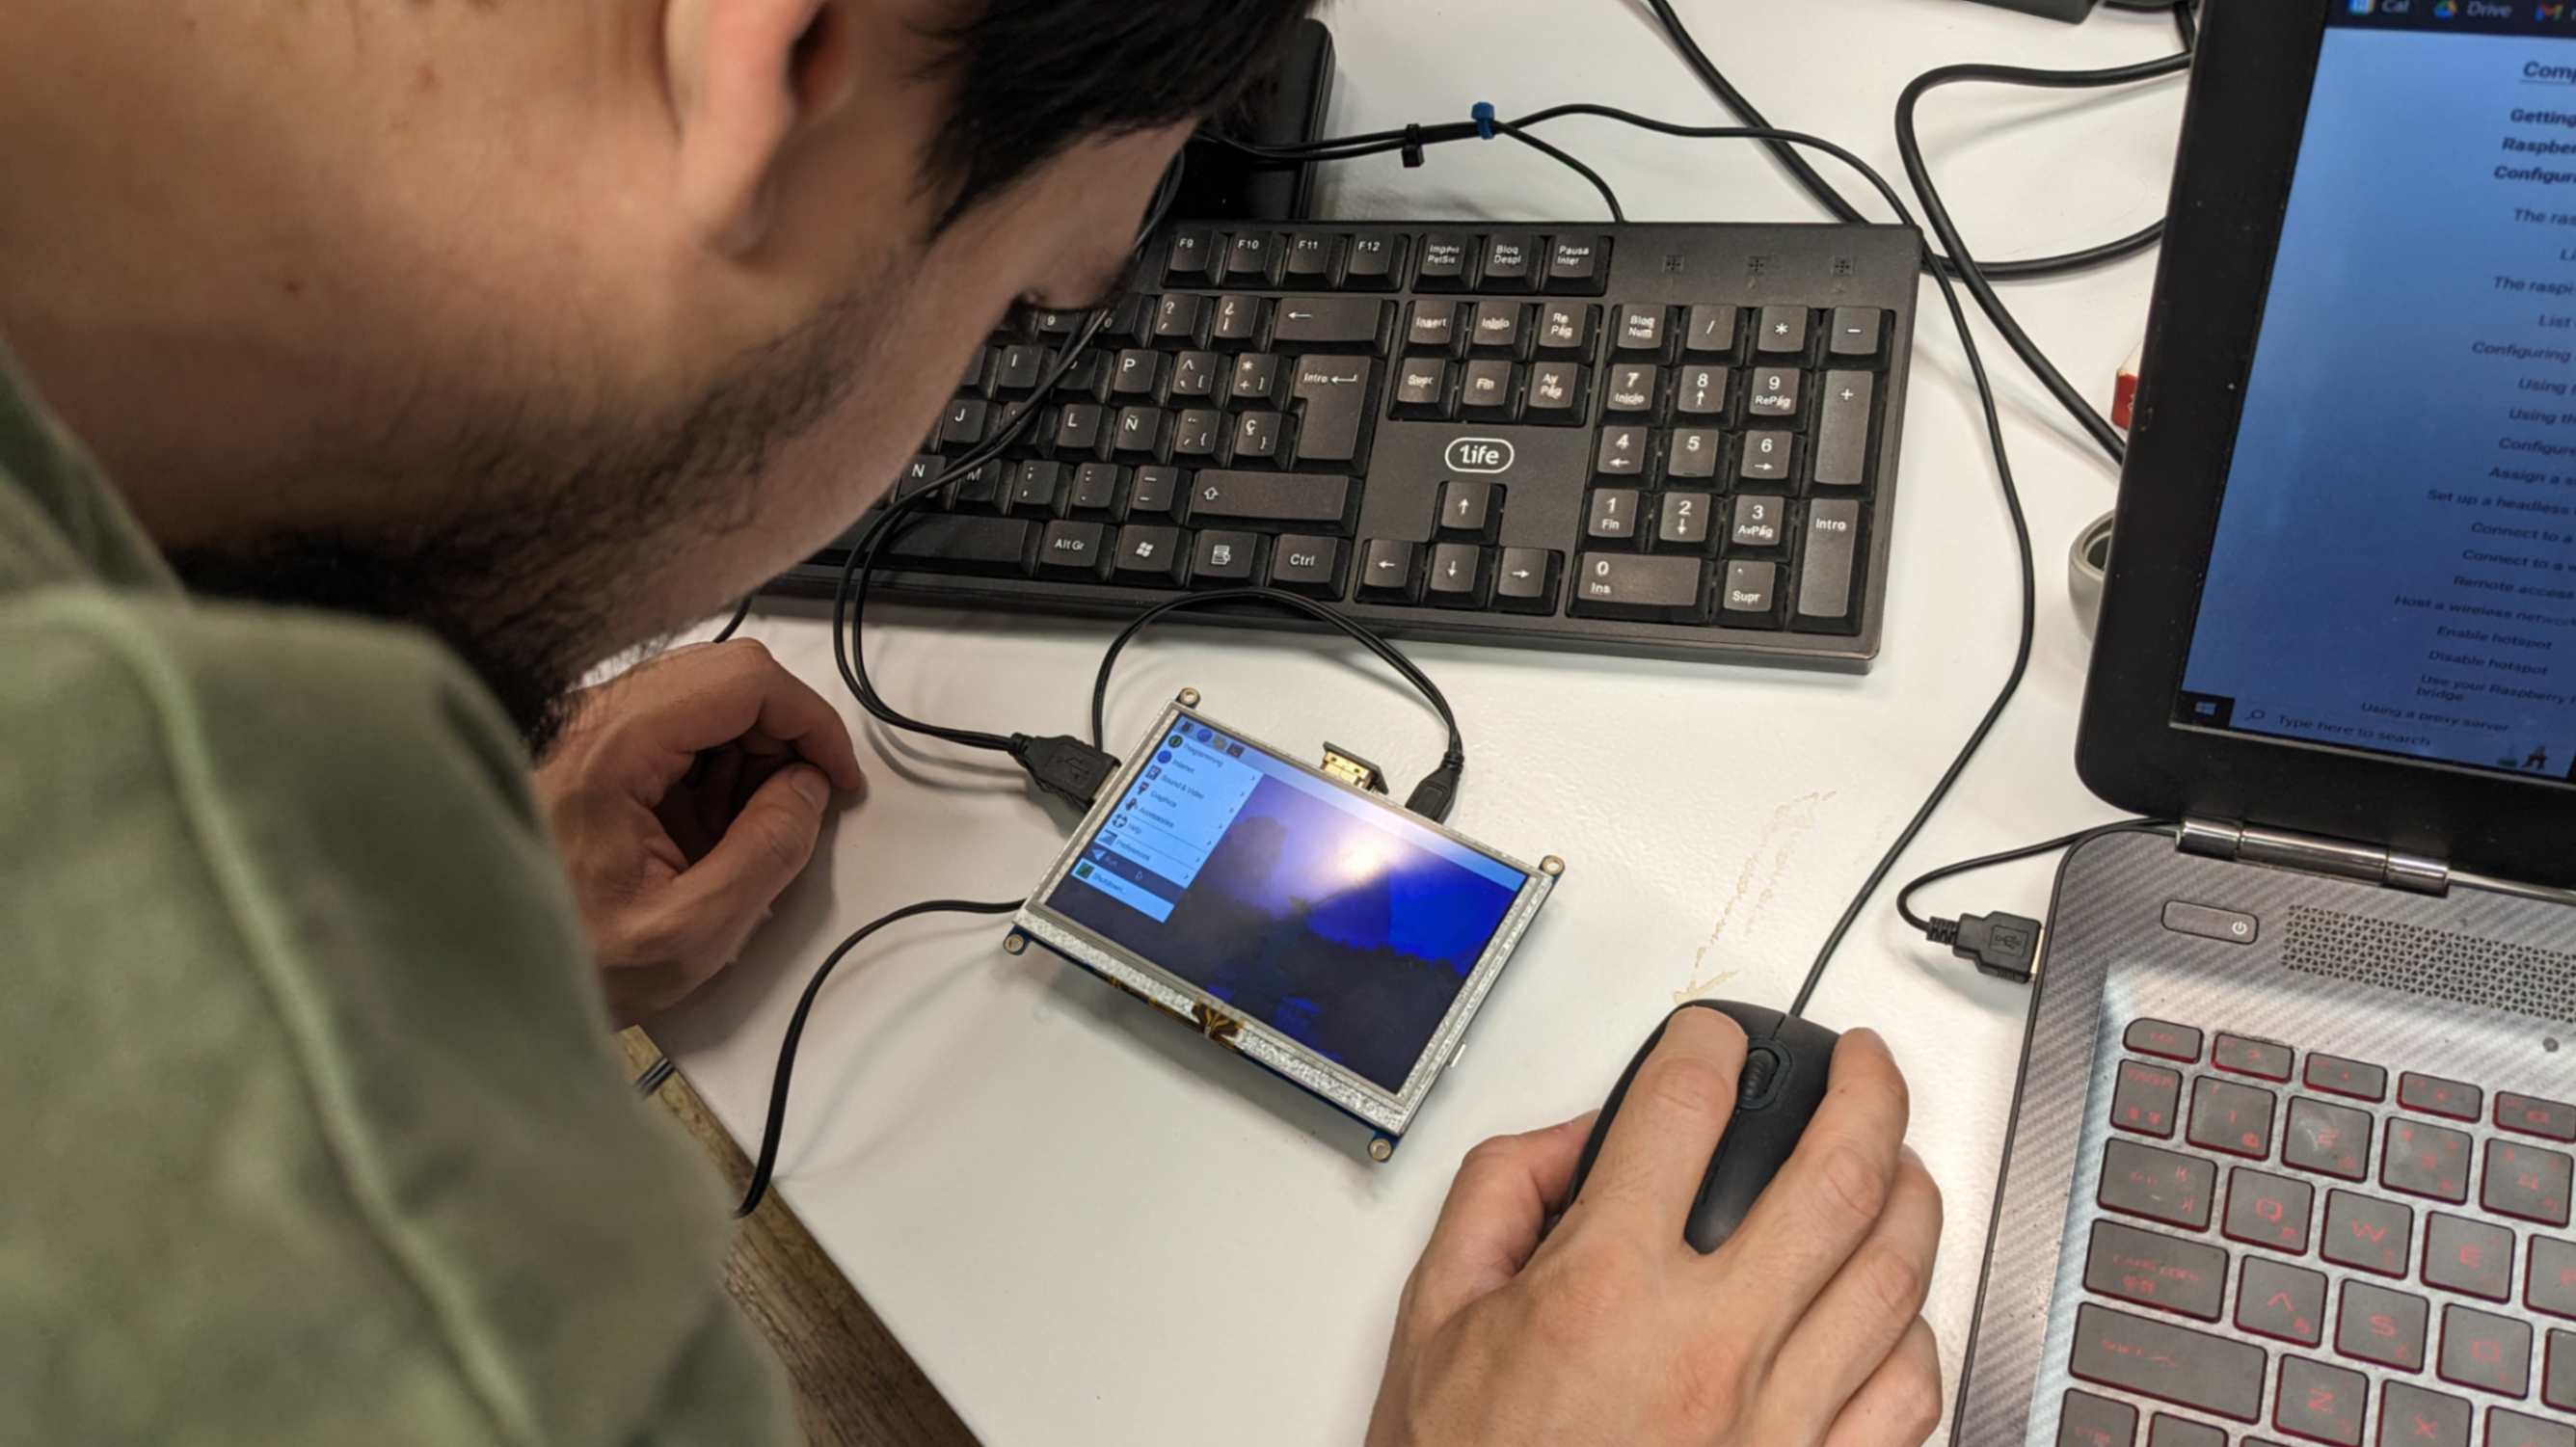
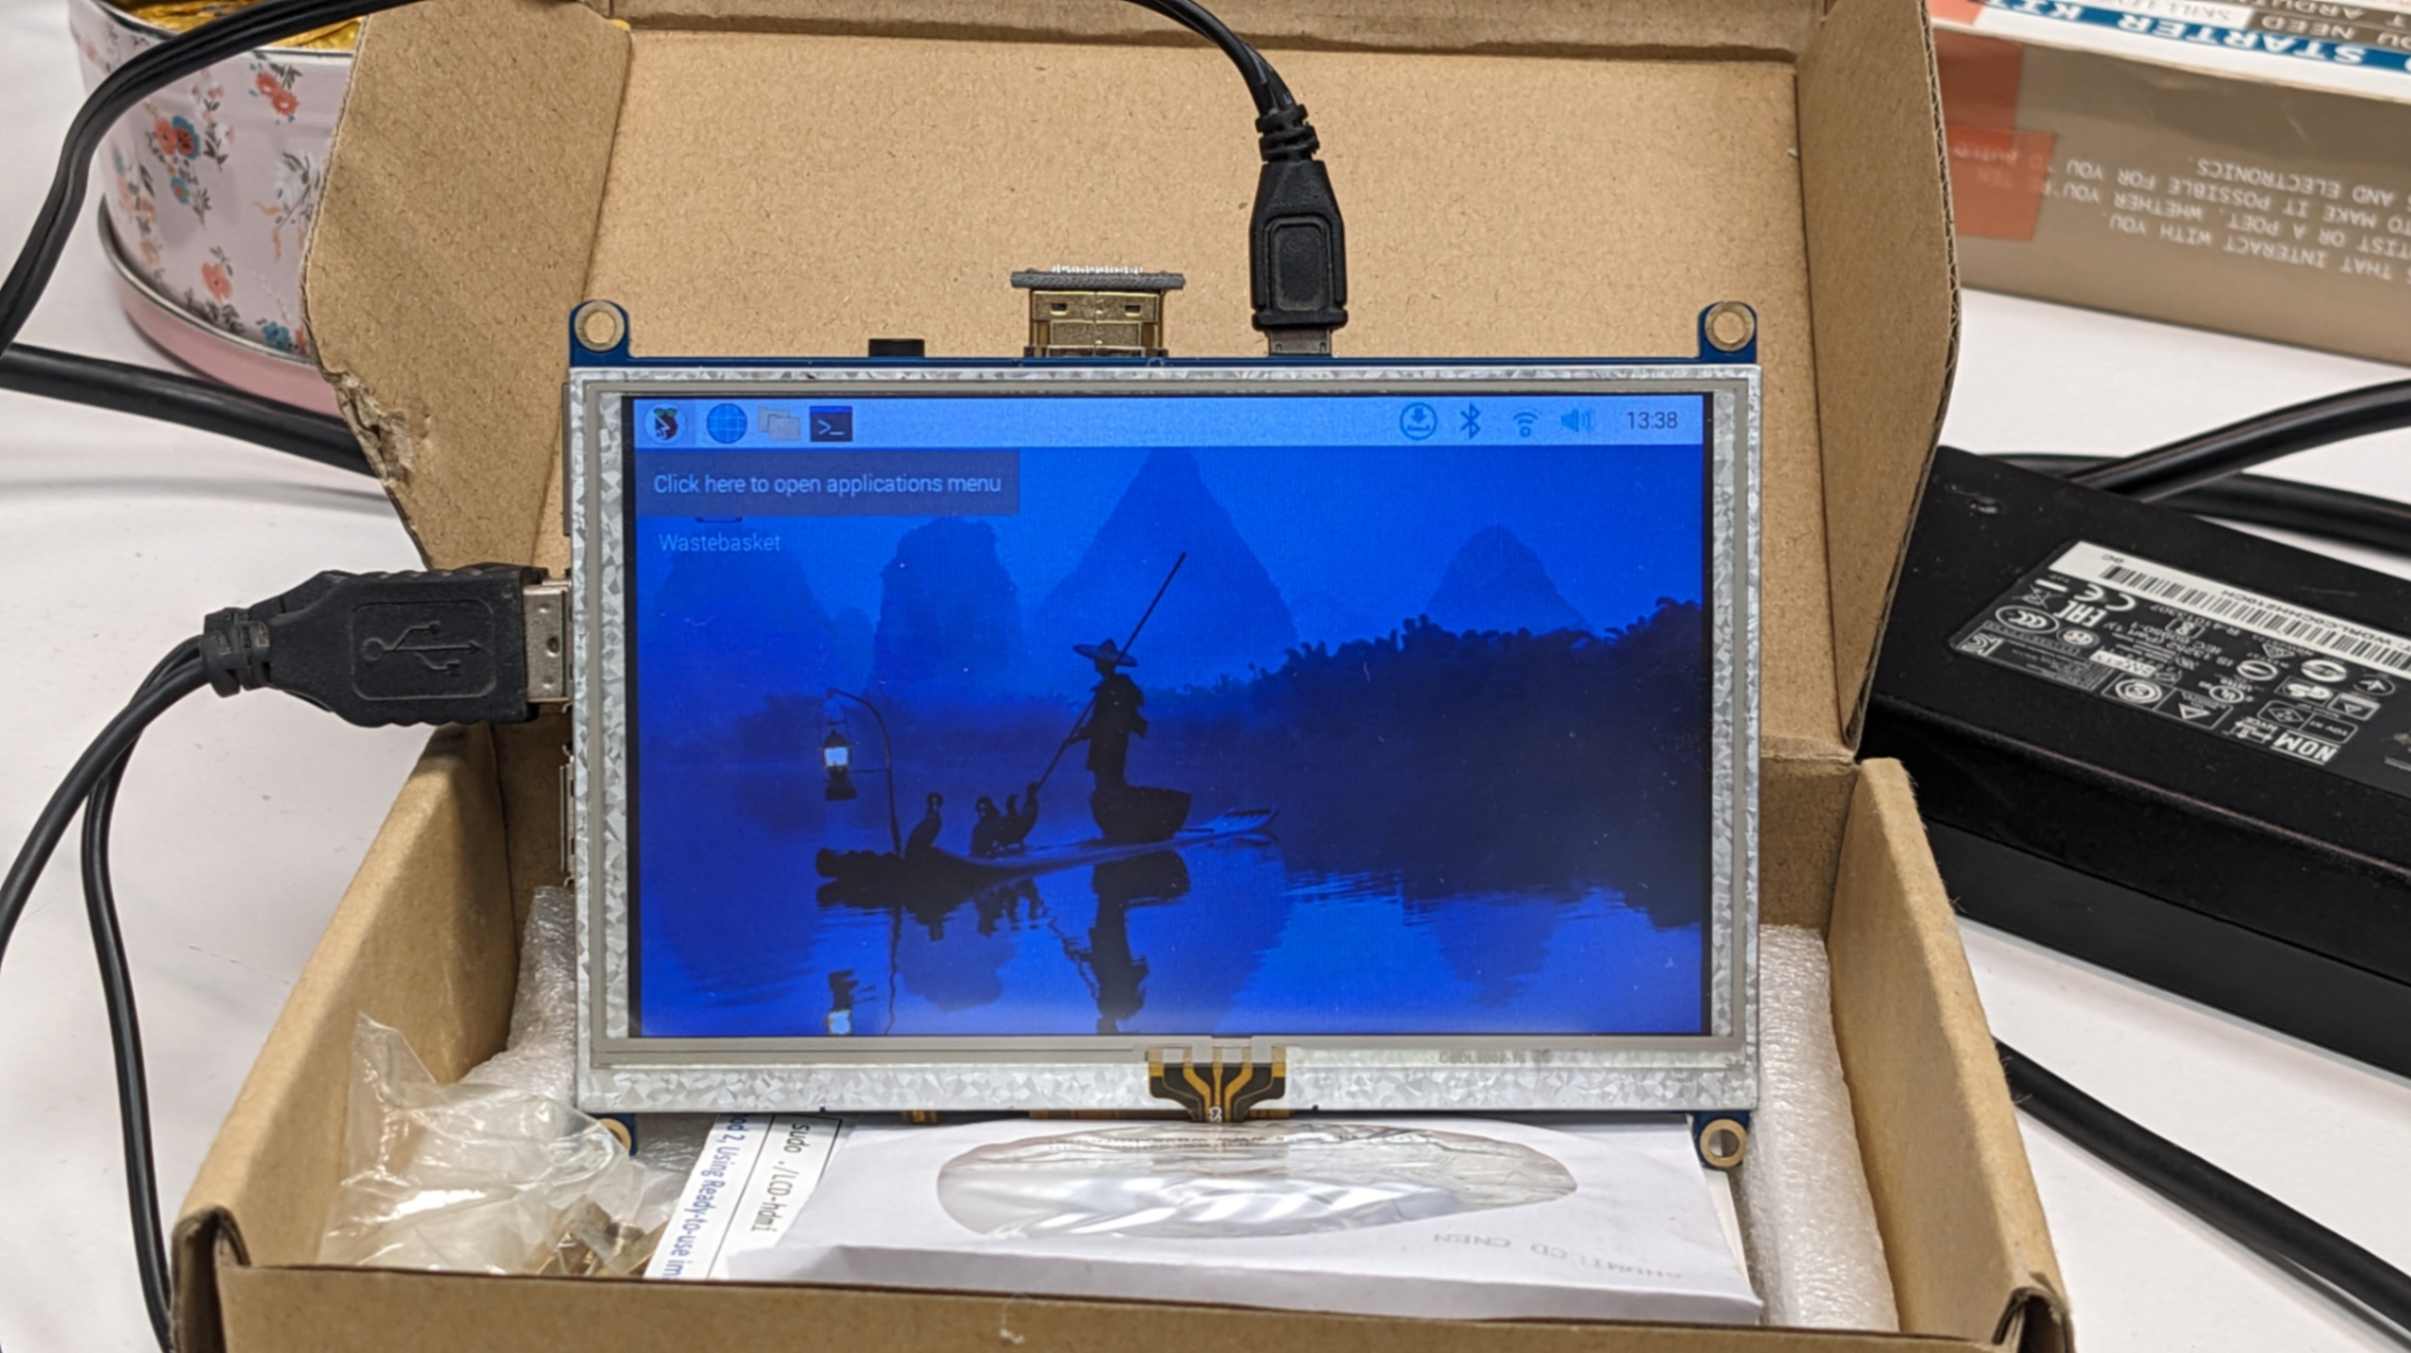
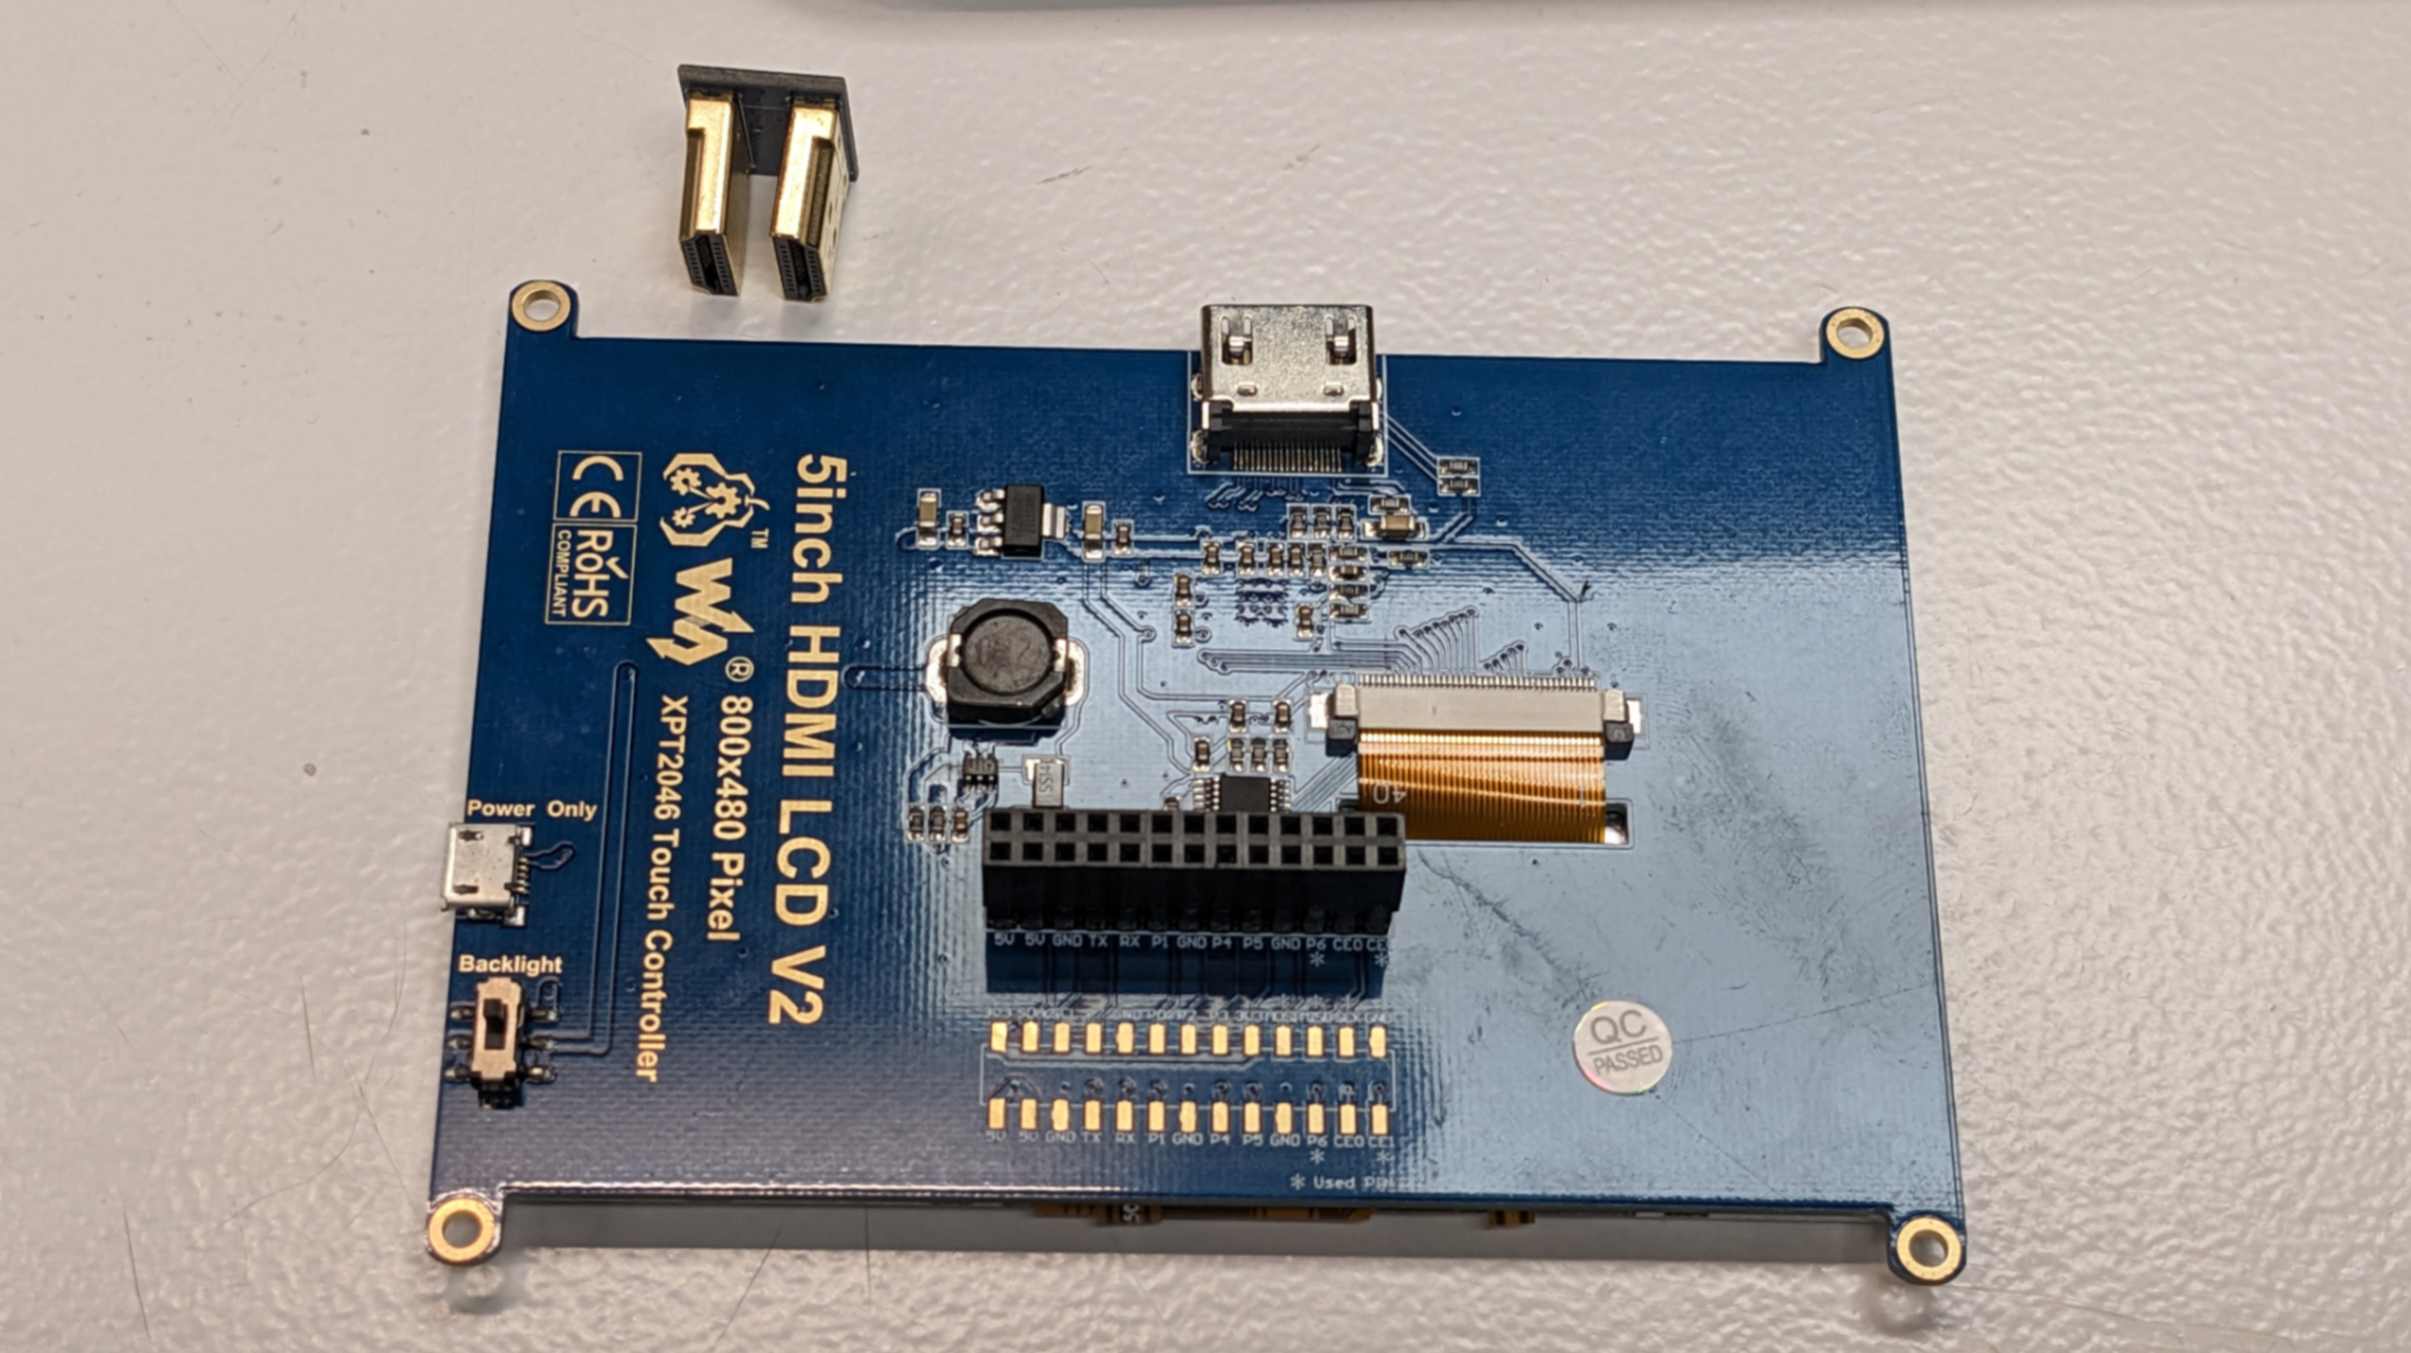
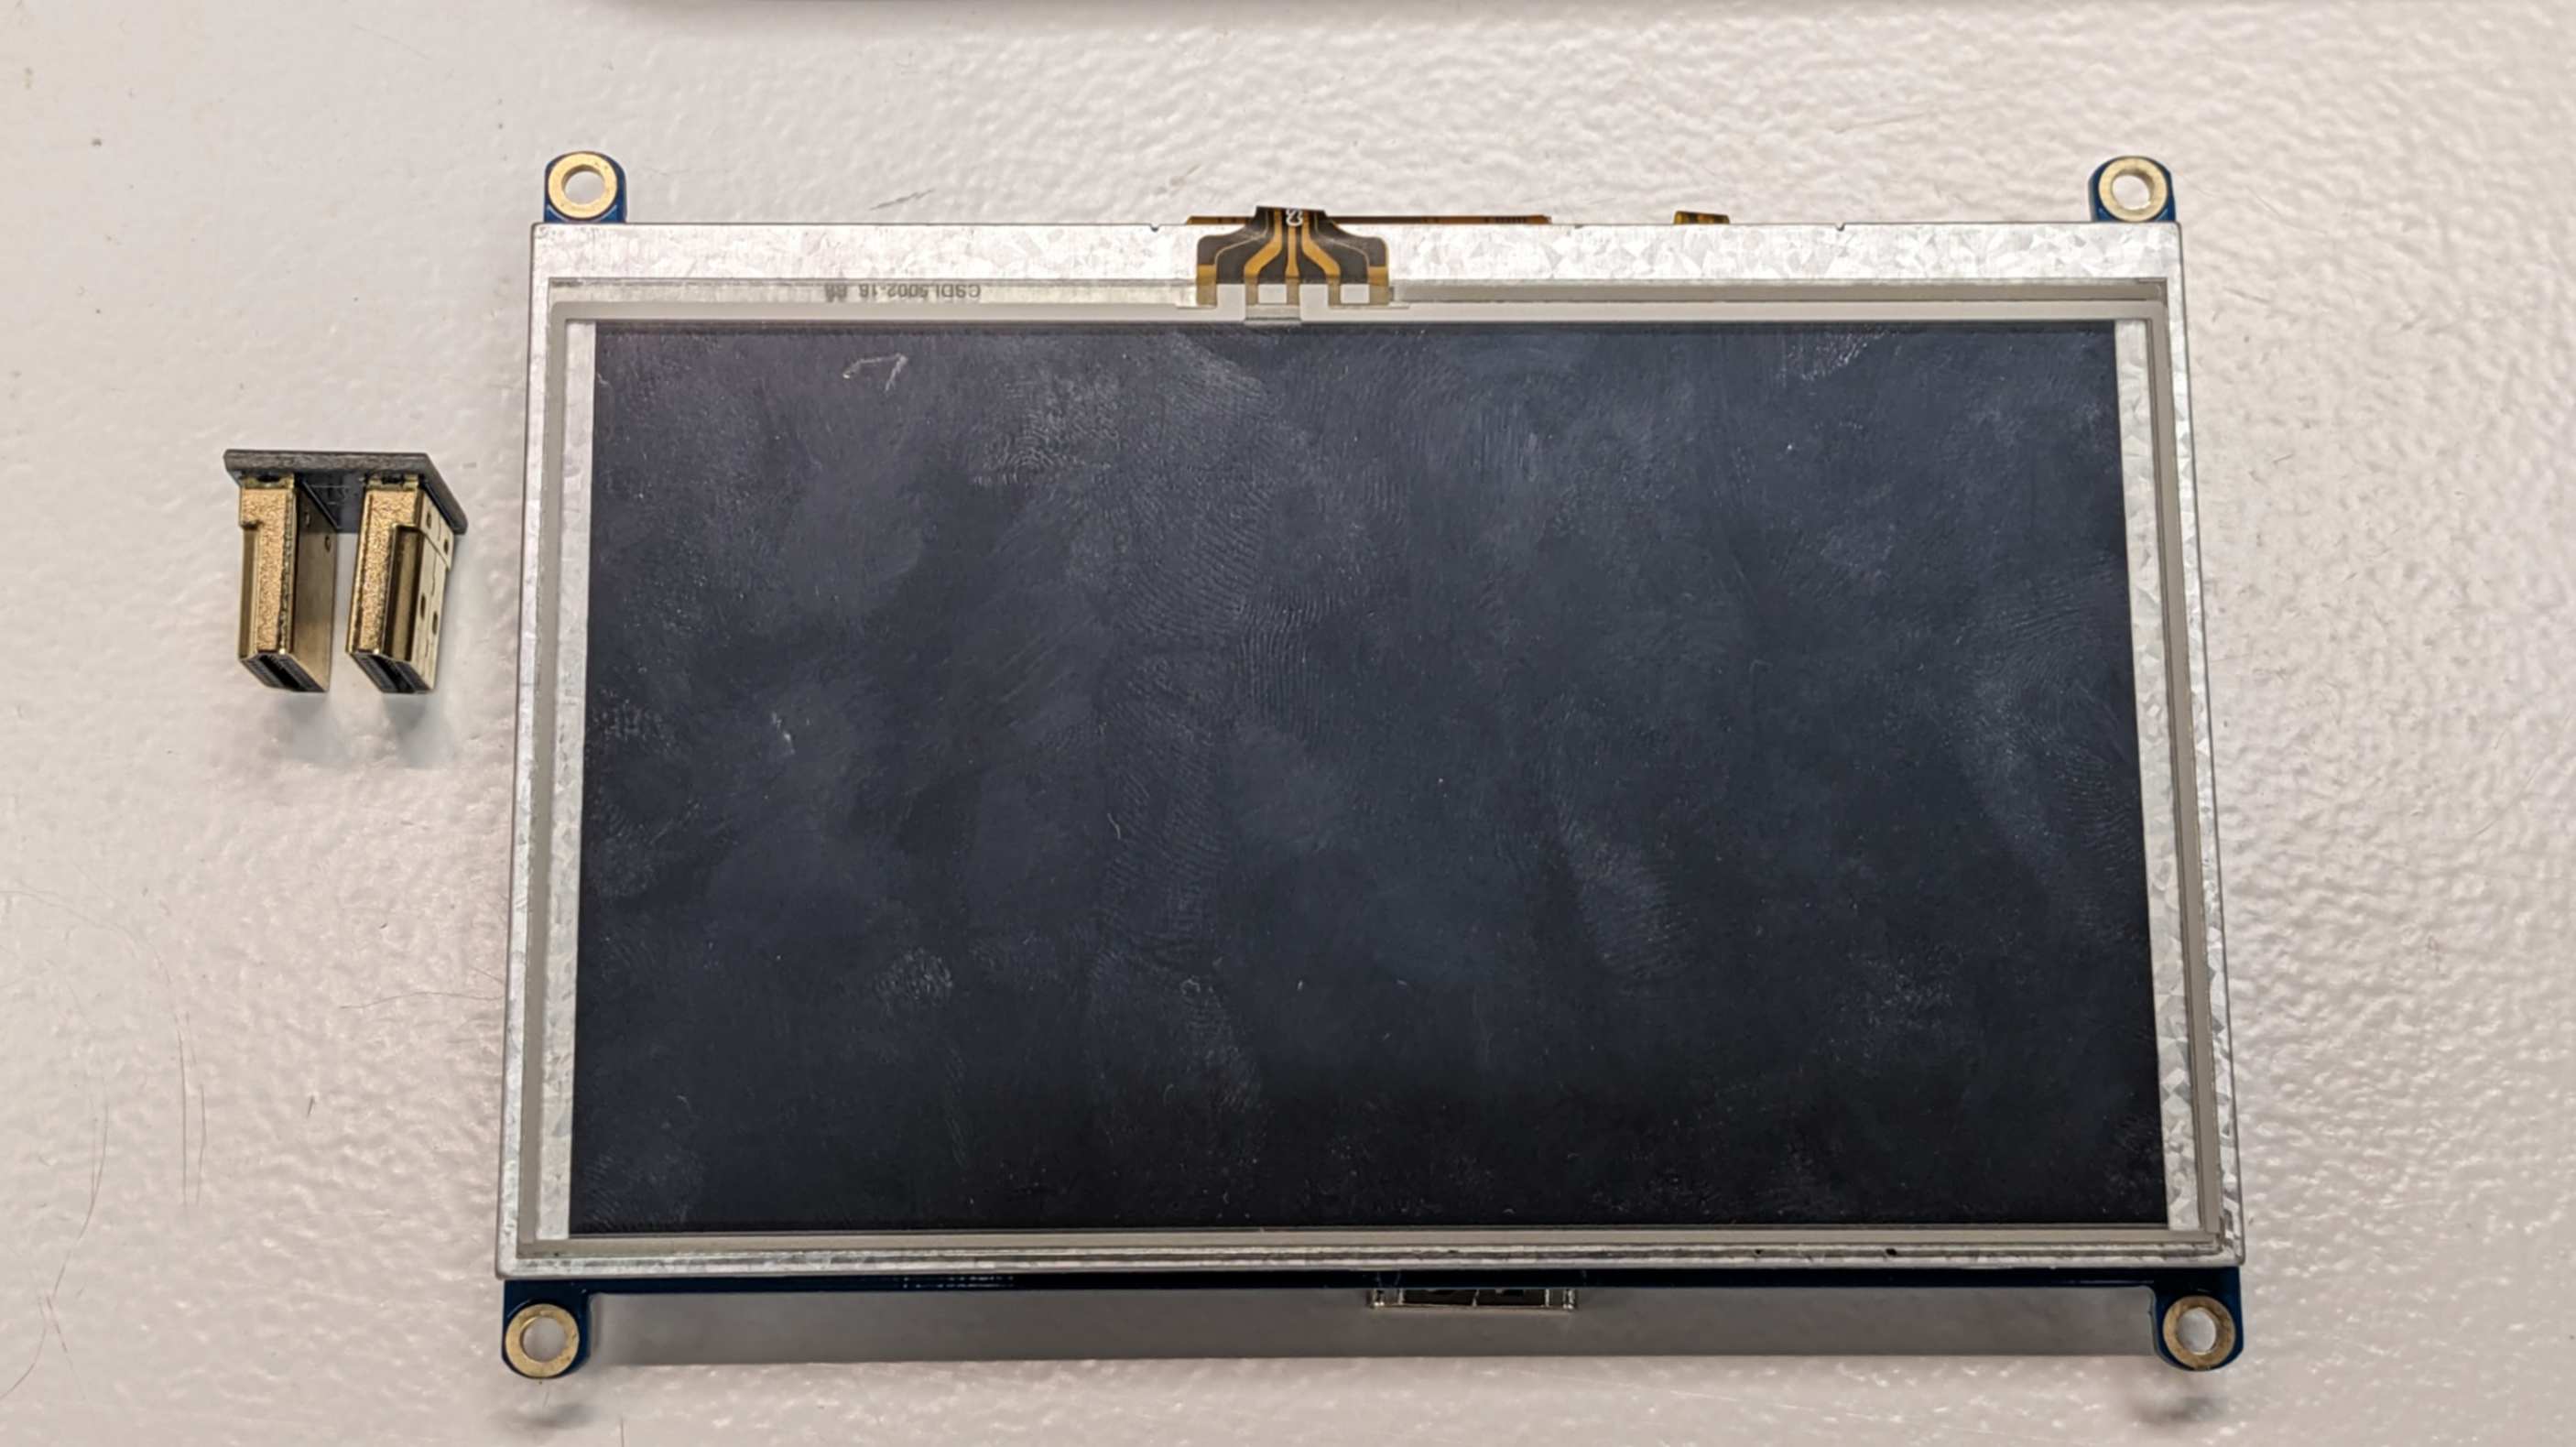
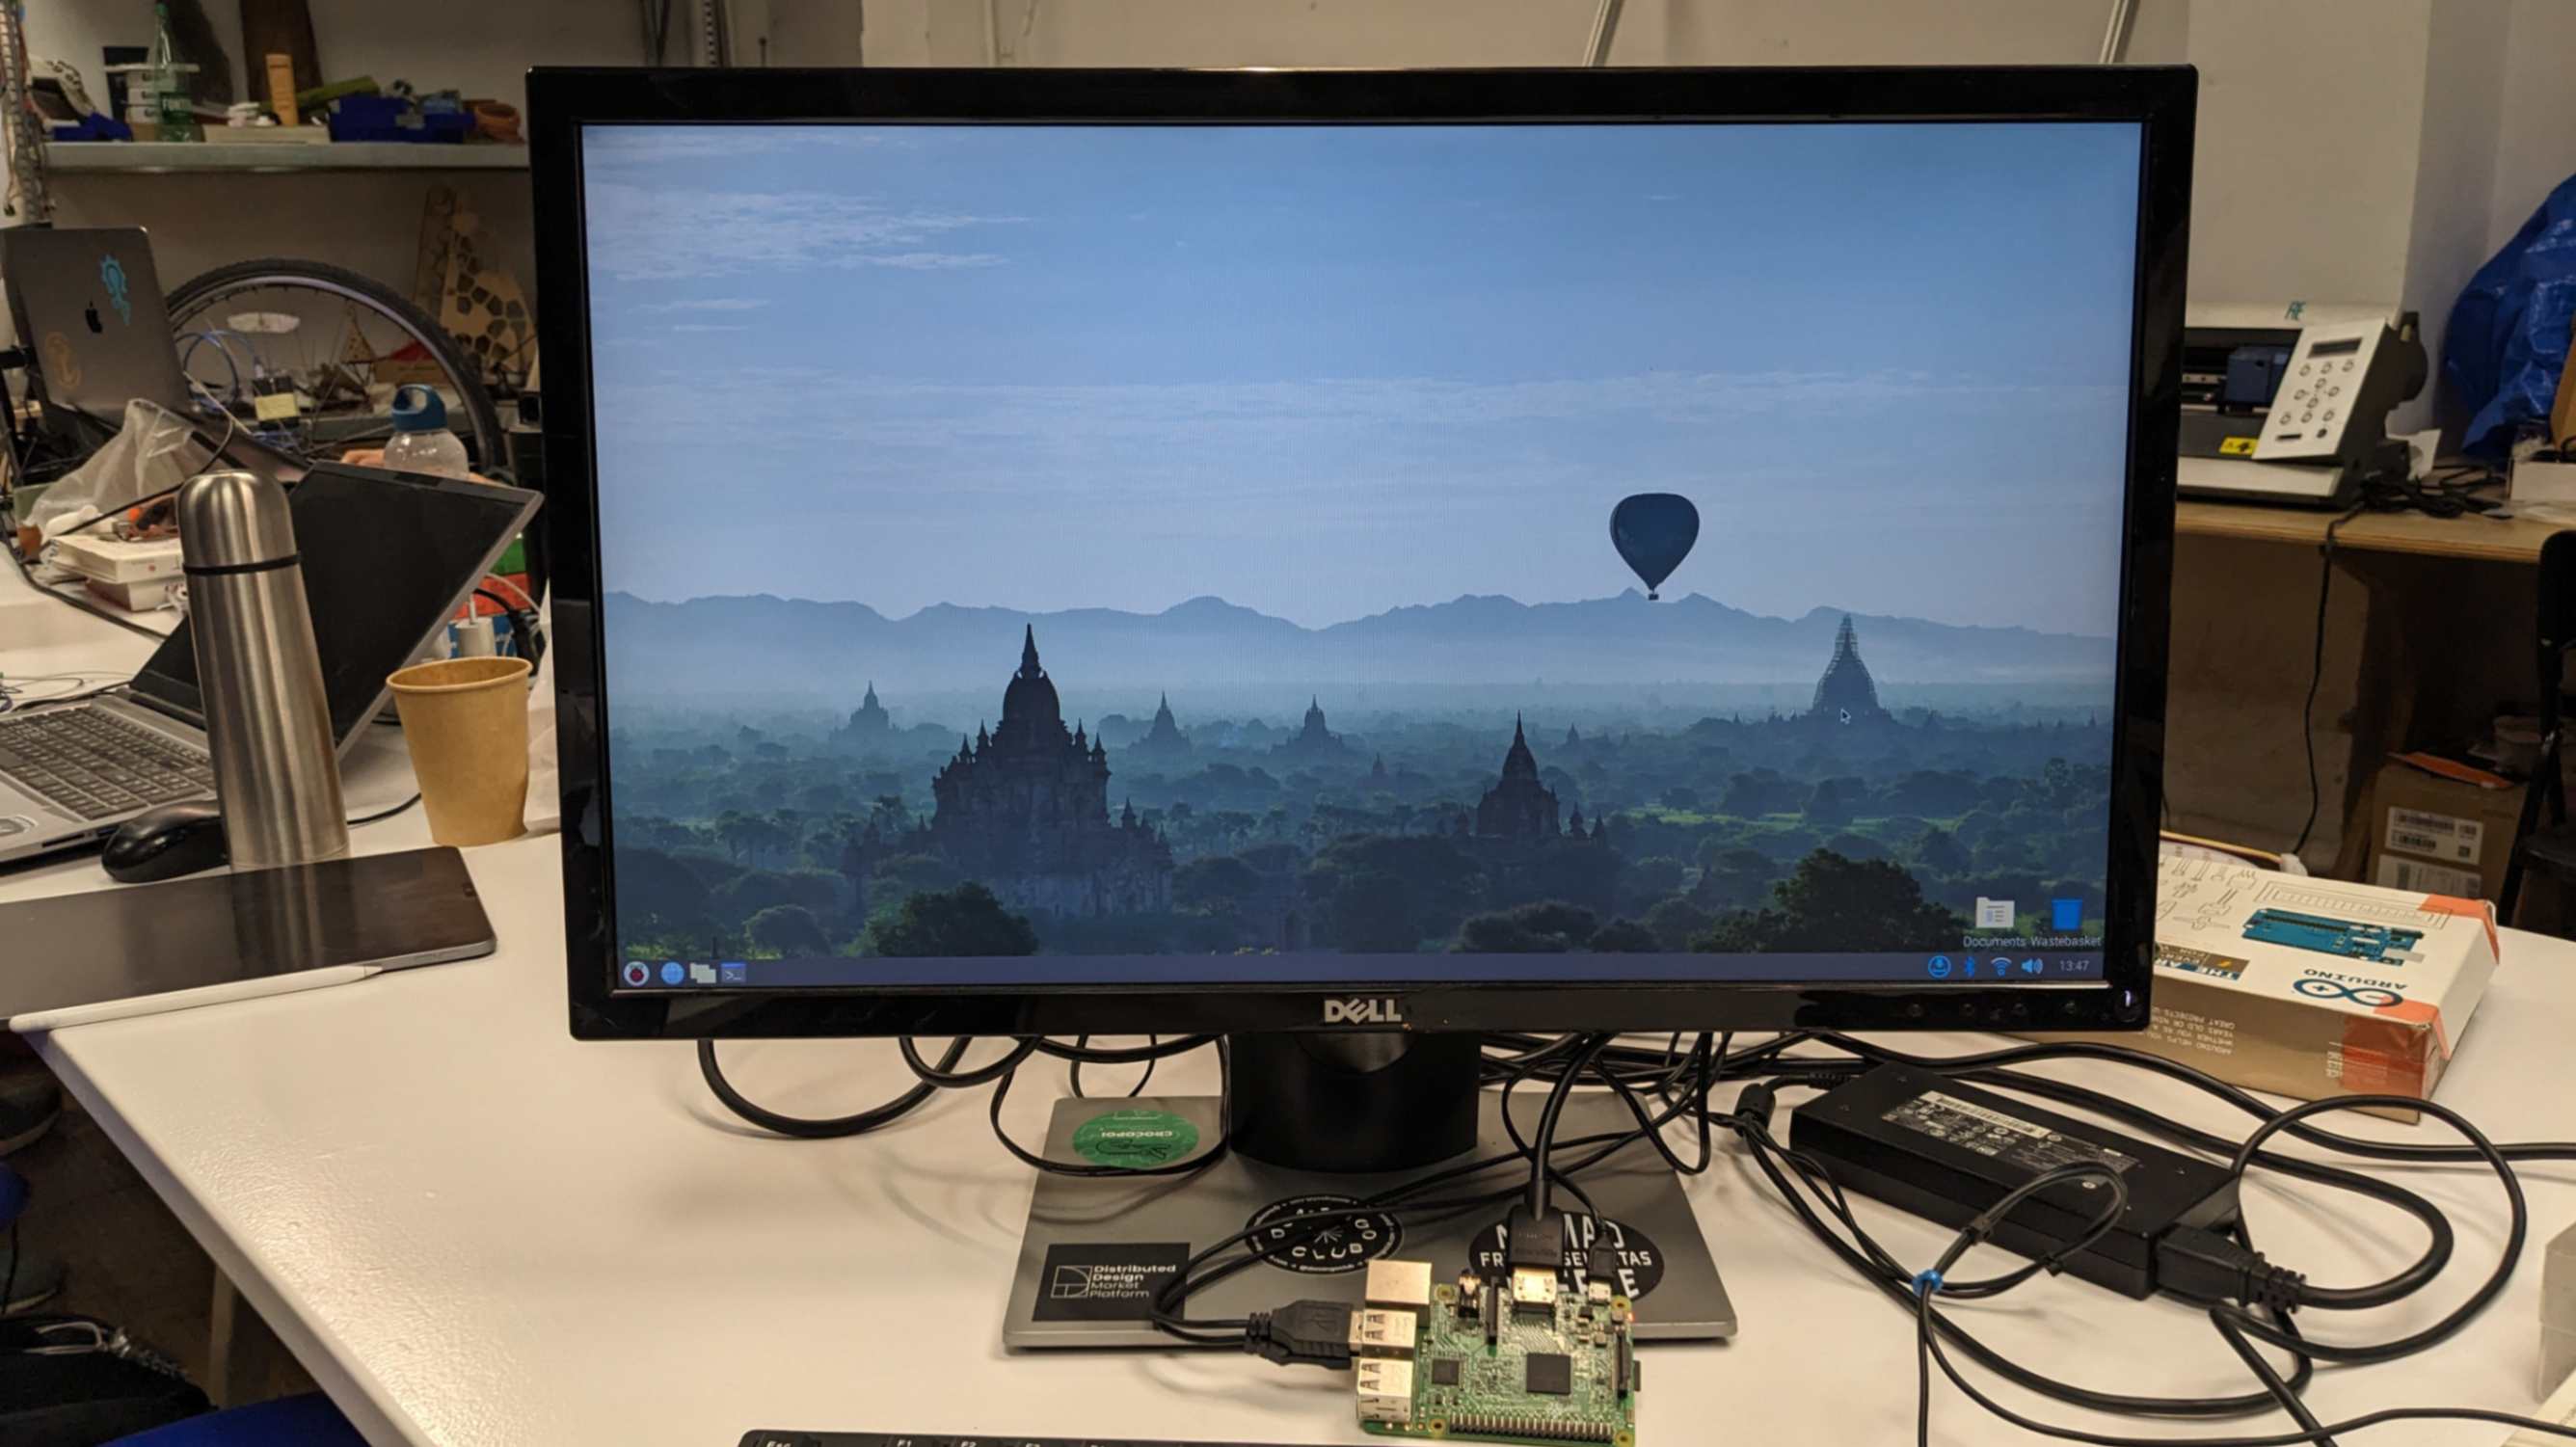
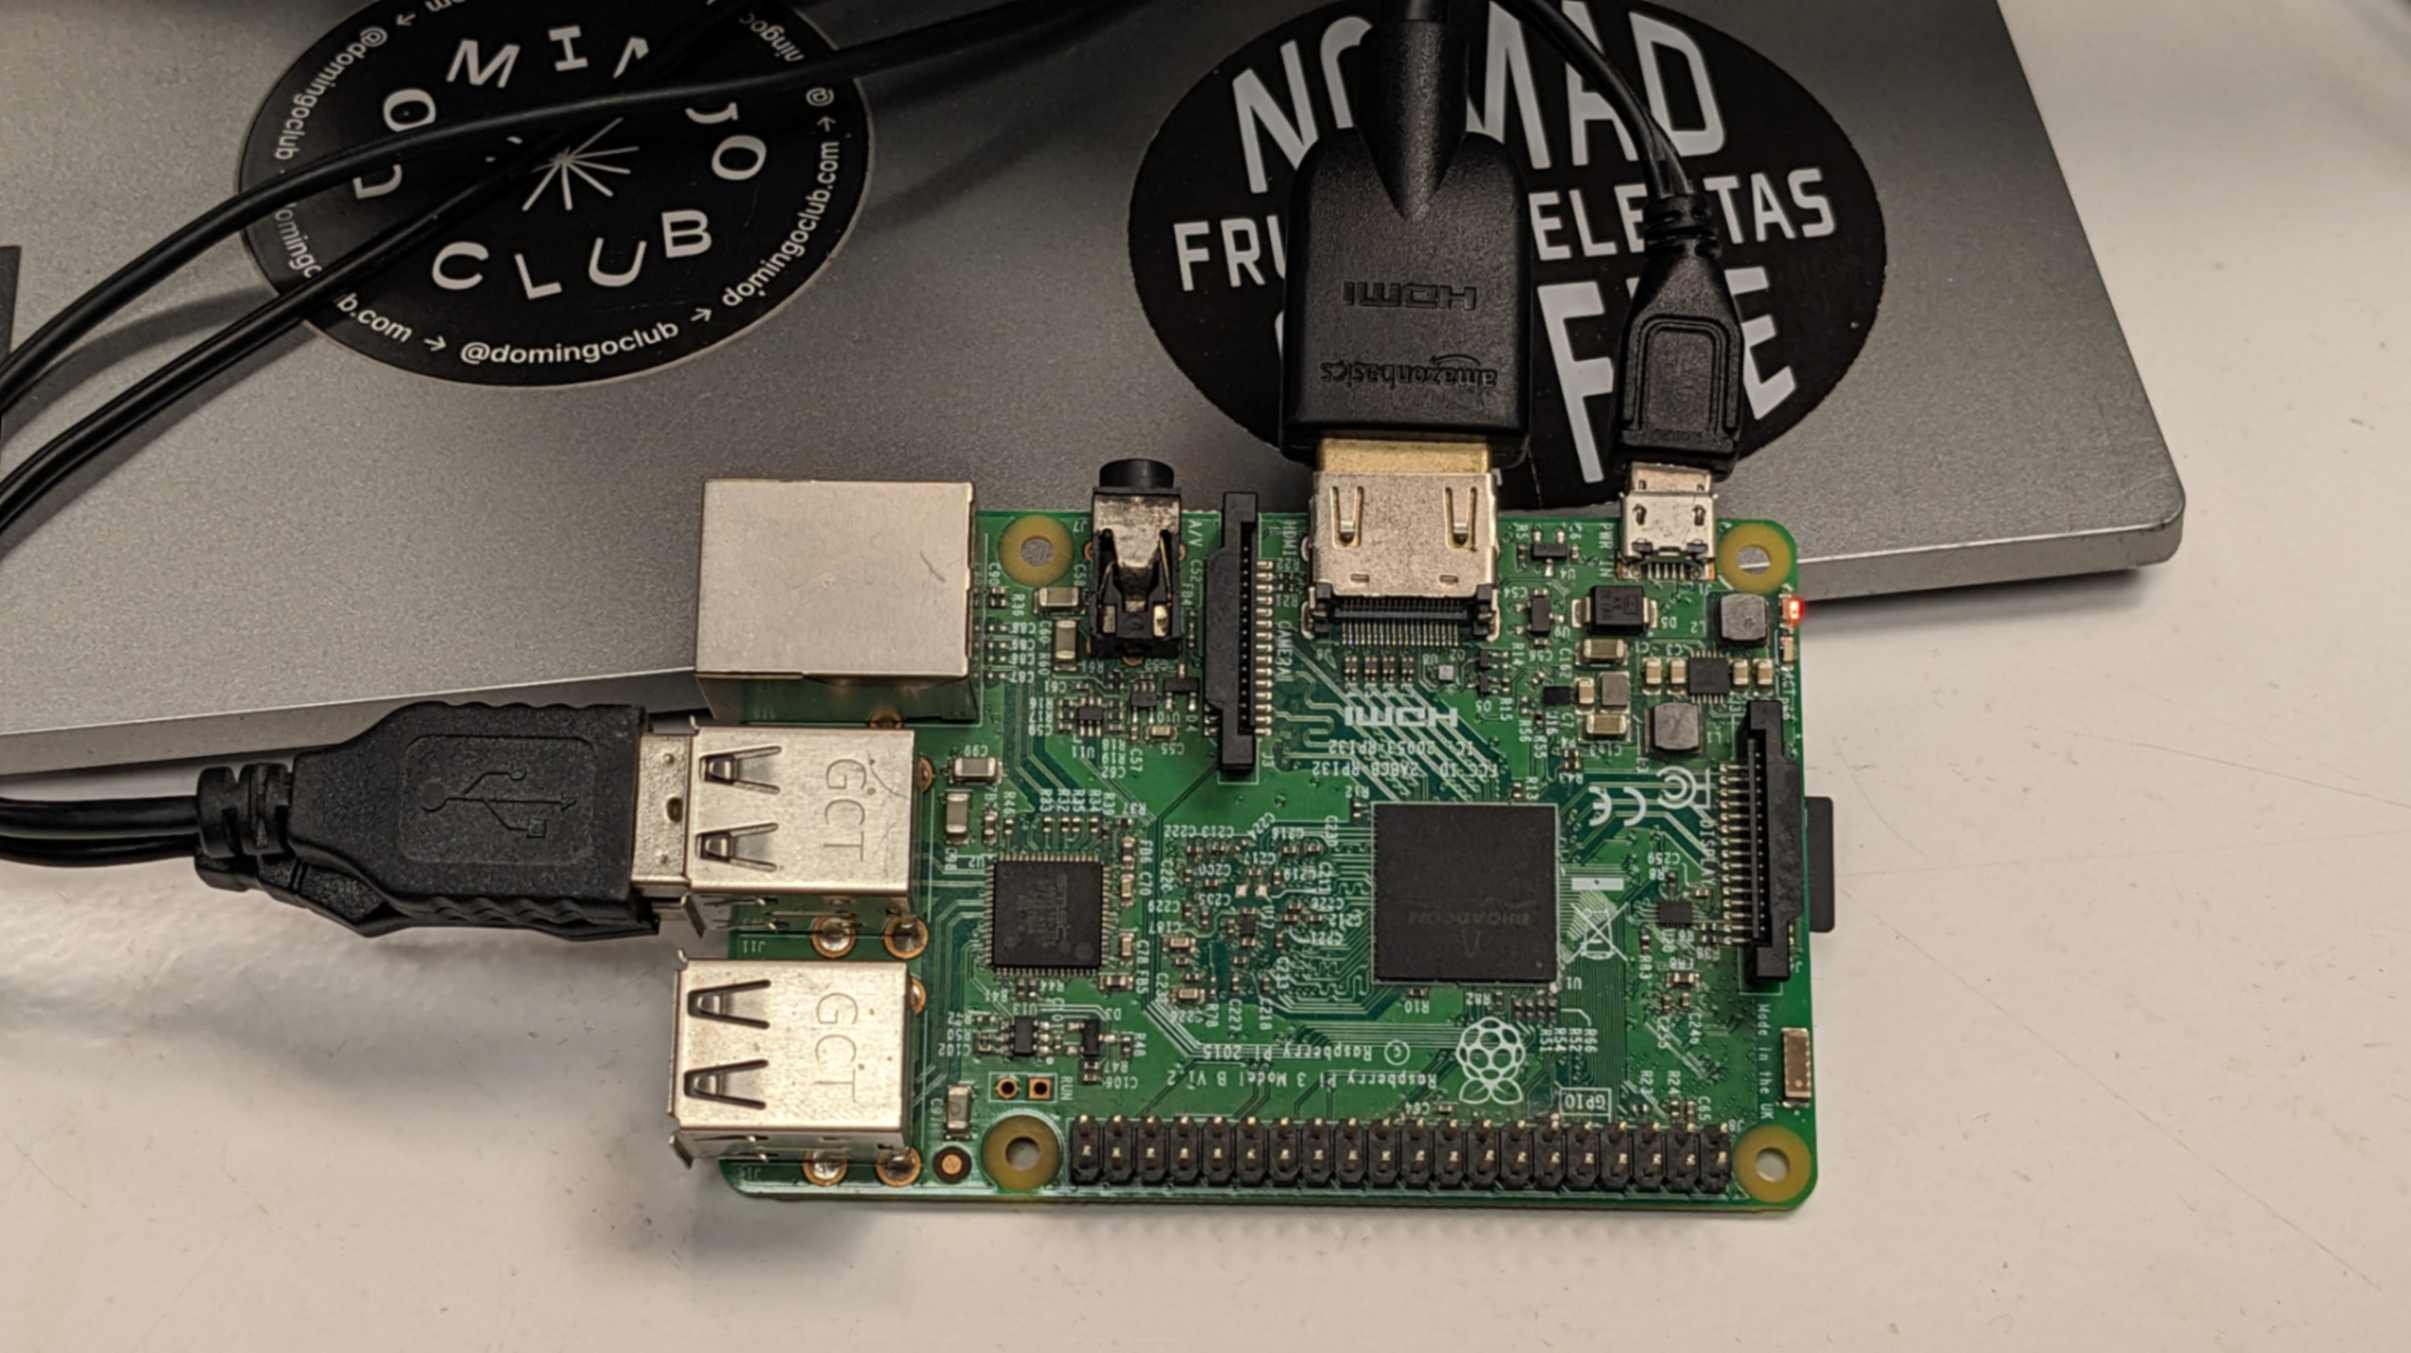
After Installing the OS on a microSD card, I inserted the SD into Raspberry Pi and connected the display, mouse, keyboard, and power supply. I was also recommended to use the 5-inch HDMI LCD.
However, It was a little bit hard for me to work with the small screen so I ended up using a bigger screen. (still, it was nice to know something like this for future development.) Then, Raspberry Pi was ready to use.
#SSH
My tutor advised me to establish the remote control on Raspberry Pi. This is useful when sending data or files wirelessly. I used Puuty This allows me to have access from my laptop to Raspberry Pi through the terminal using SSH
First, install Putty on my laptop and launch the Putty. On the first window, there is a box to type in SSH. SSH can be checked on Raspberry Pi if you hover over the WiFi icon on the desktop.
Alternatively, you can open the terminal in Raspberry Pi and type the command
ifconfig
After typing in the SSH, then it will ask you to type the username and password that you set up when installing OS to Raspberry Pi.
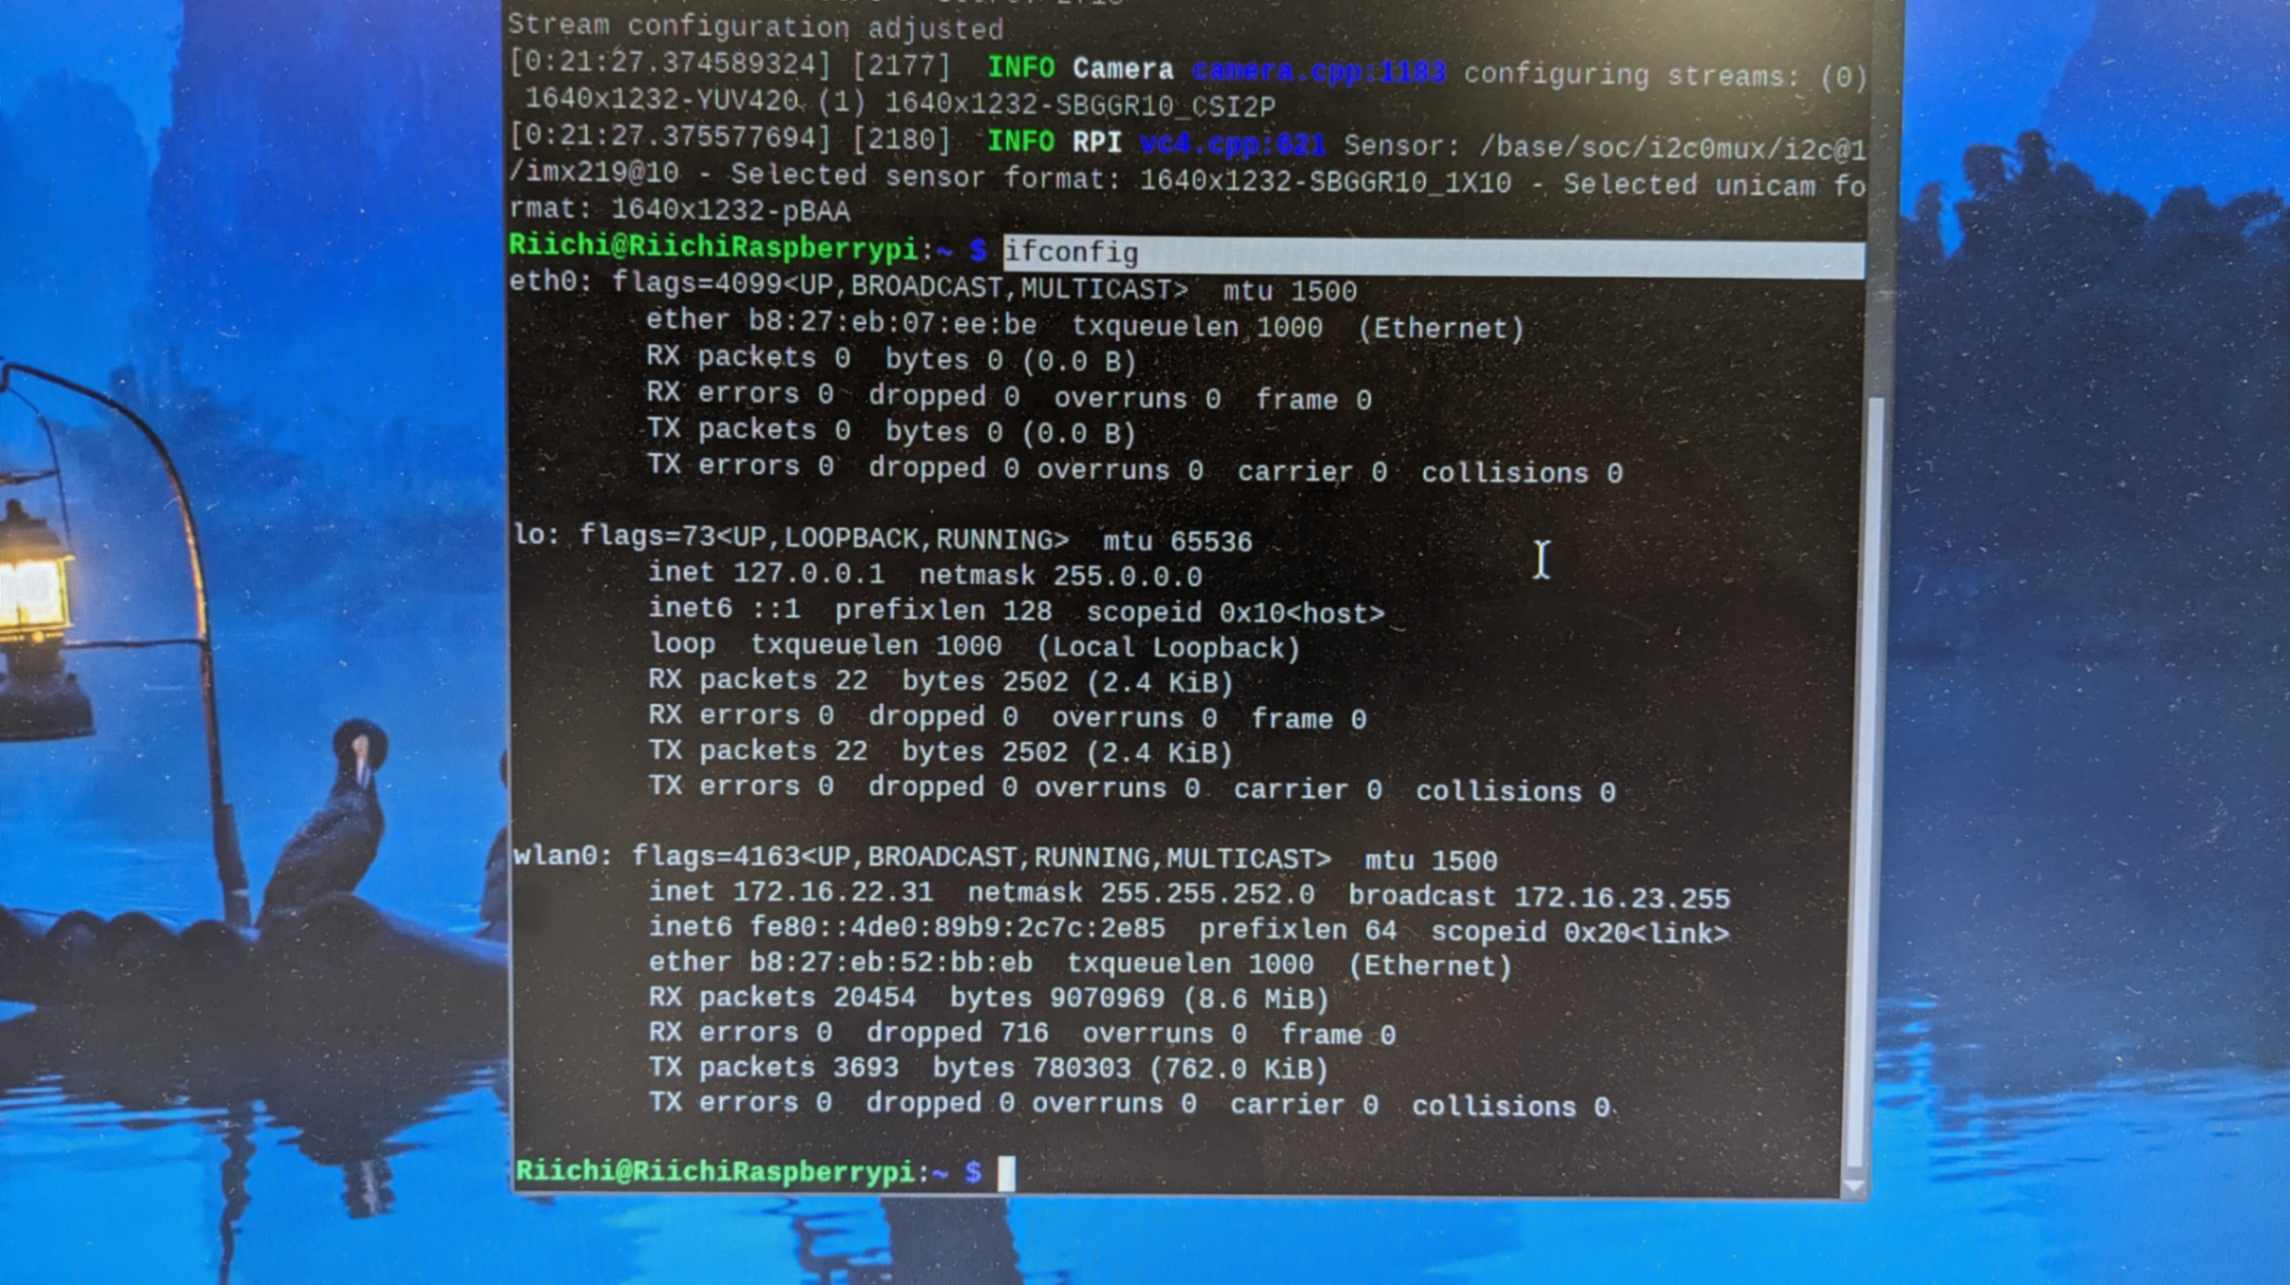
First, install Putty on my laptop and launch the Putty. On the first window, there is a box to type in SSH. SSH can be checked on Raspberry Pi if you hover over the WiFi icon on the desktop.
Now that I have access to Raspberry Pi, I can remotely make a file using the command
sudo nano HELLO.txt
Move around and see folders using the command
cd Desktop/
lsOr write text on the terminal using the command
wall ”hey”
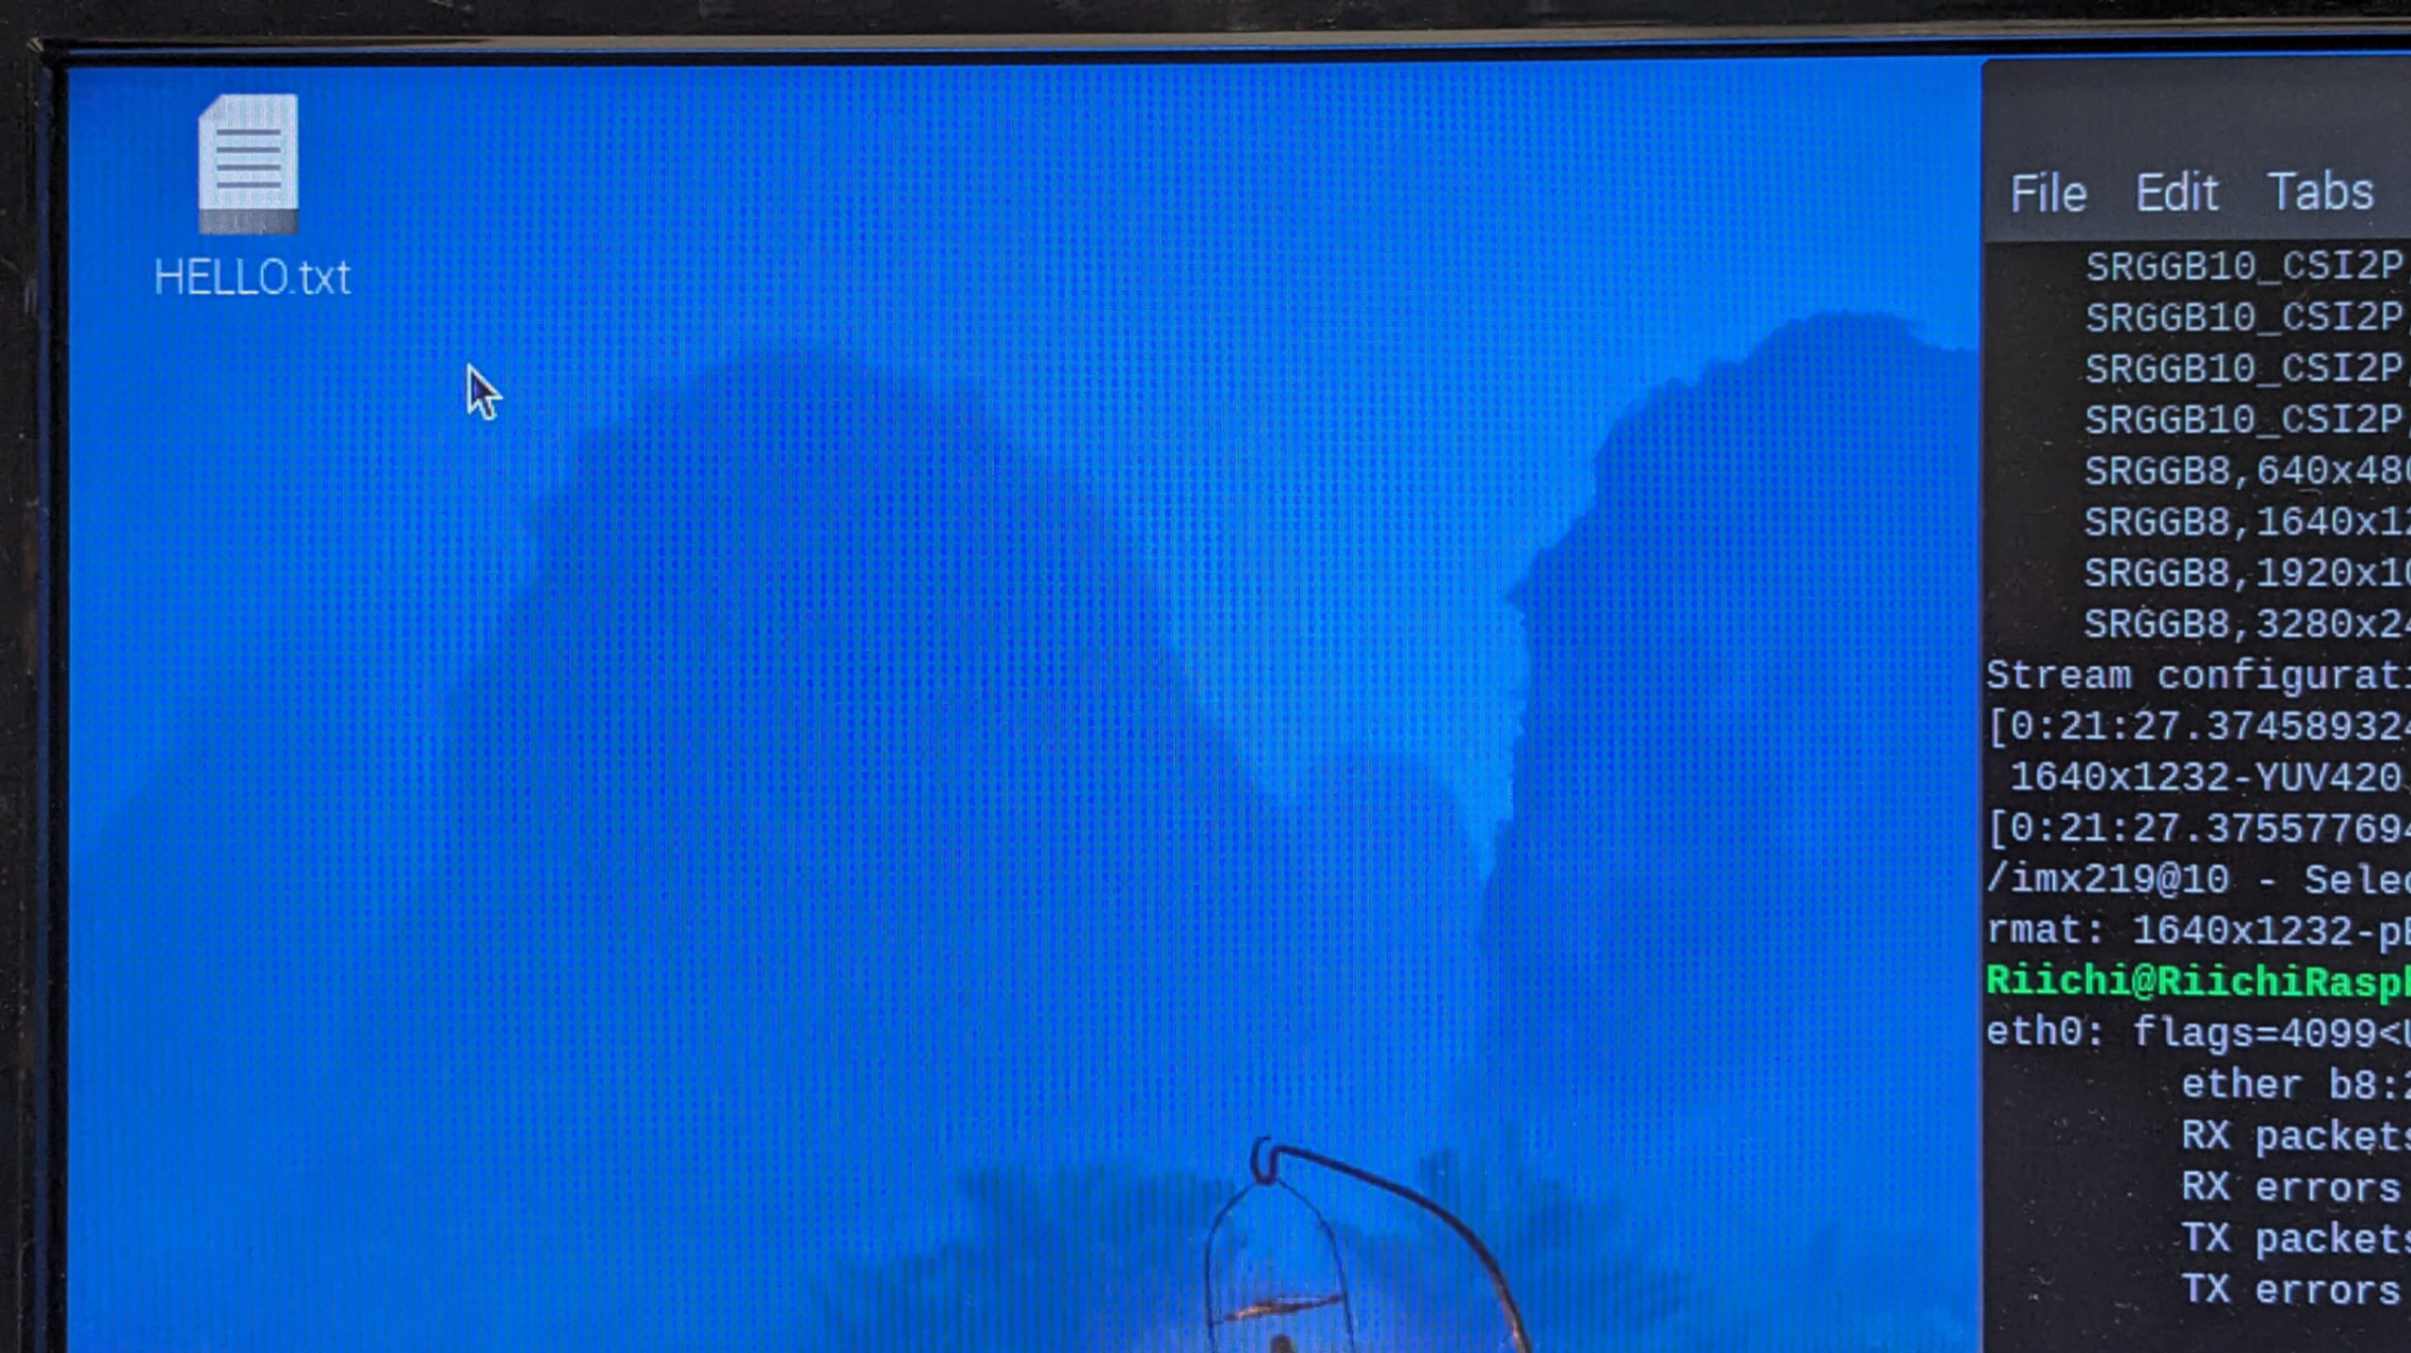
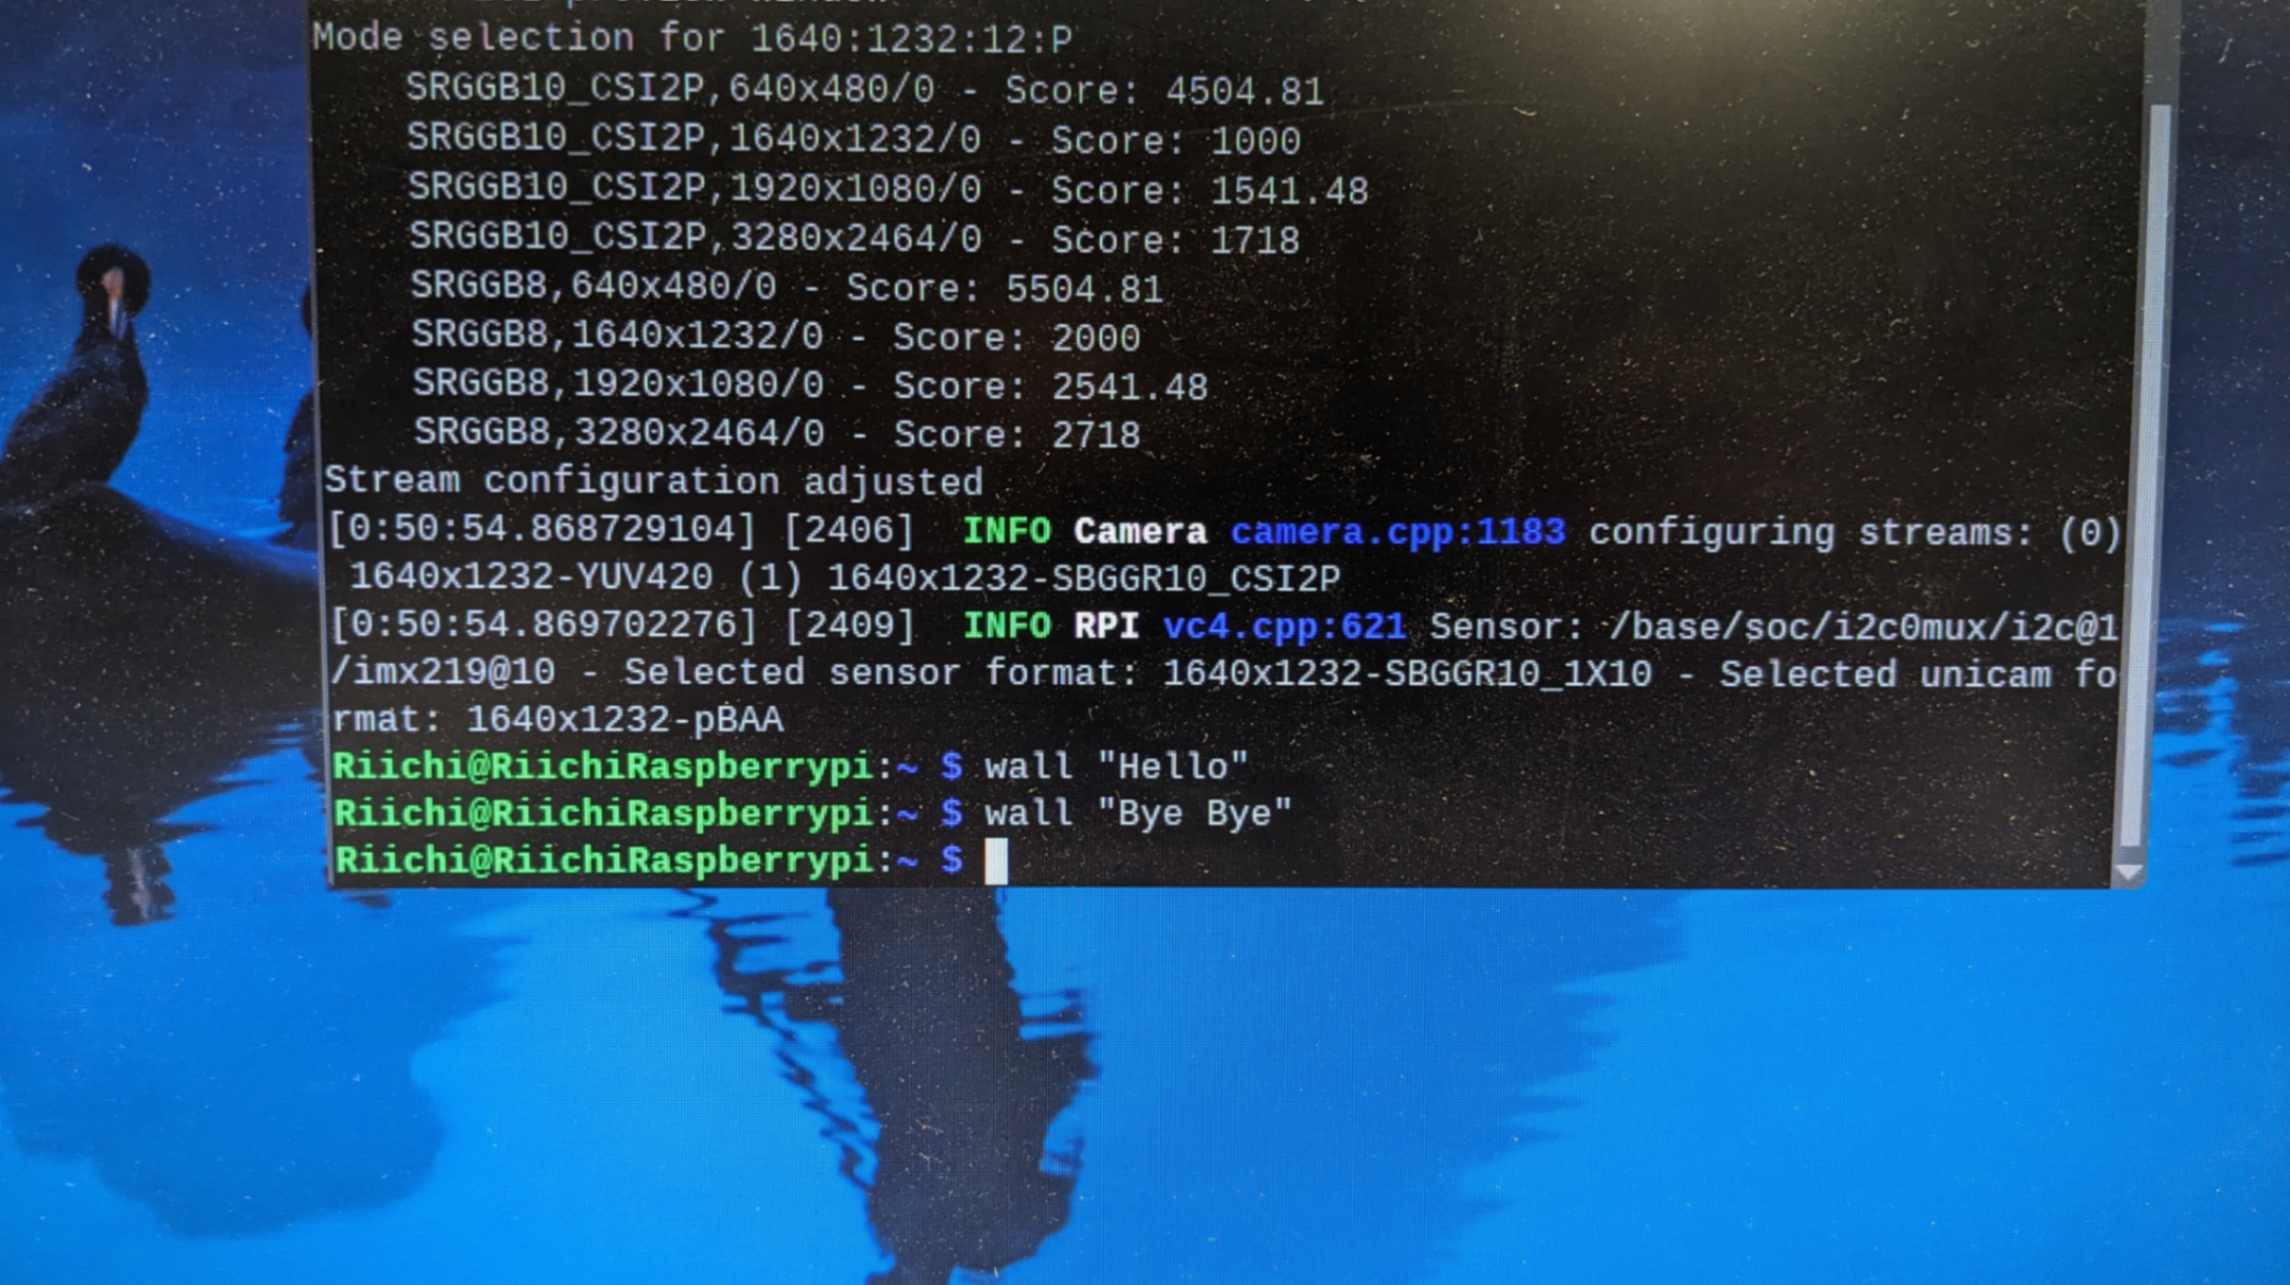
There are many other apps like Putty. For example, there are apps called Kitty which is more or less the same as Putty. There is also another one called Termius
Samba
Now it is time to transfer the file. For this, I was recommended to get Samba With Samba I can easily find Raspberry Pi drive from my laptop and move, open, copy, edit, and save files in File Explorer.
I followed the documentation done by my tutor Mikel.
First, I make sure my Raspberry Pi is updated using the command
sudo apt-get updateThen I install in Raspberry Pi using the command
sudo apt-get install sambaMake a shared folder using the command
mkdir sharedNext, I open the samba configuration using the command
sudo nano /etc/samba/smb.congScroll down to the button in the window and write
        [workspace]
        path = /home/riichi/shared
        writeable=Yes
        create mask=0777
        directory mask=0777
        public=yes
Write out the code by pressing ctrl+OHit Enter
And Exit by pressing ctrl+X
Restart samba using the command
sudo systemctl restart smbd
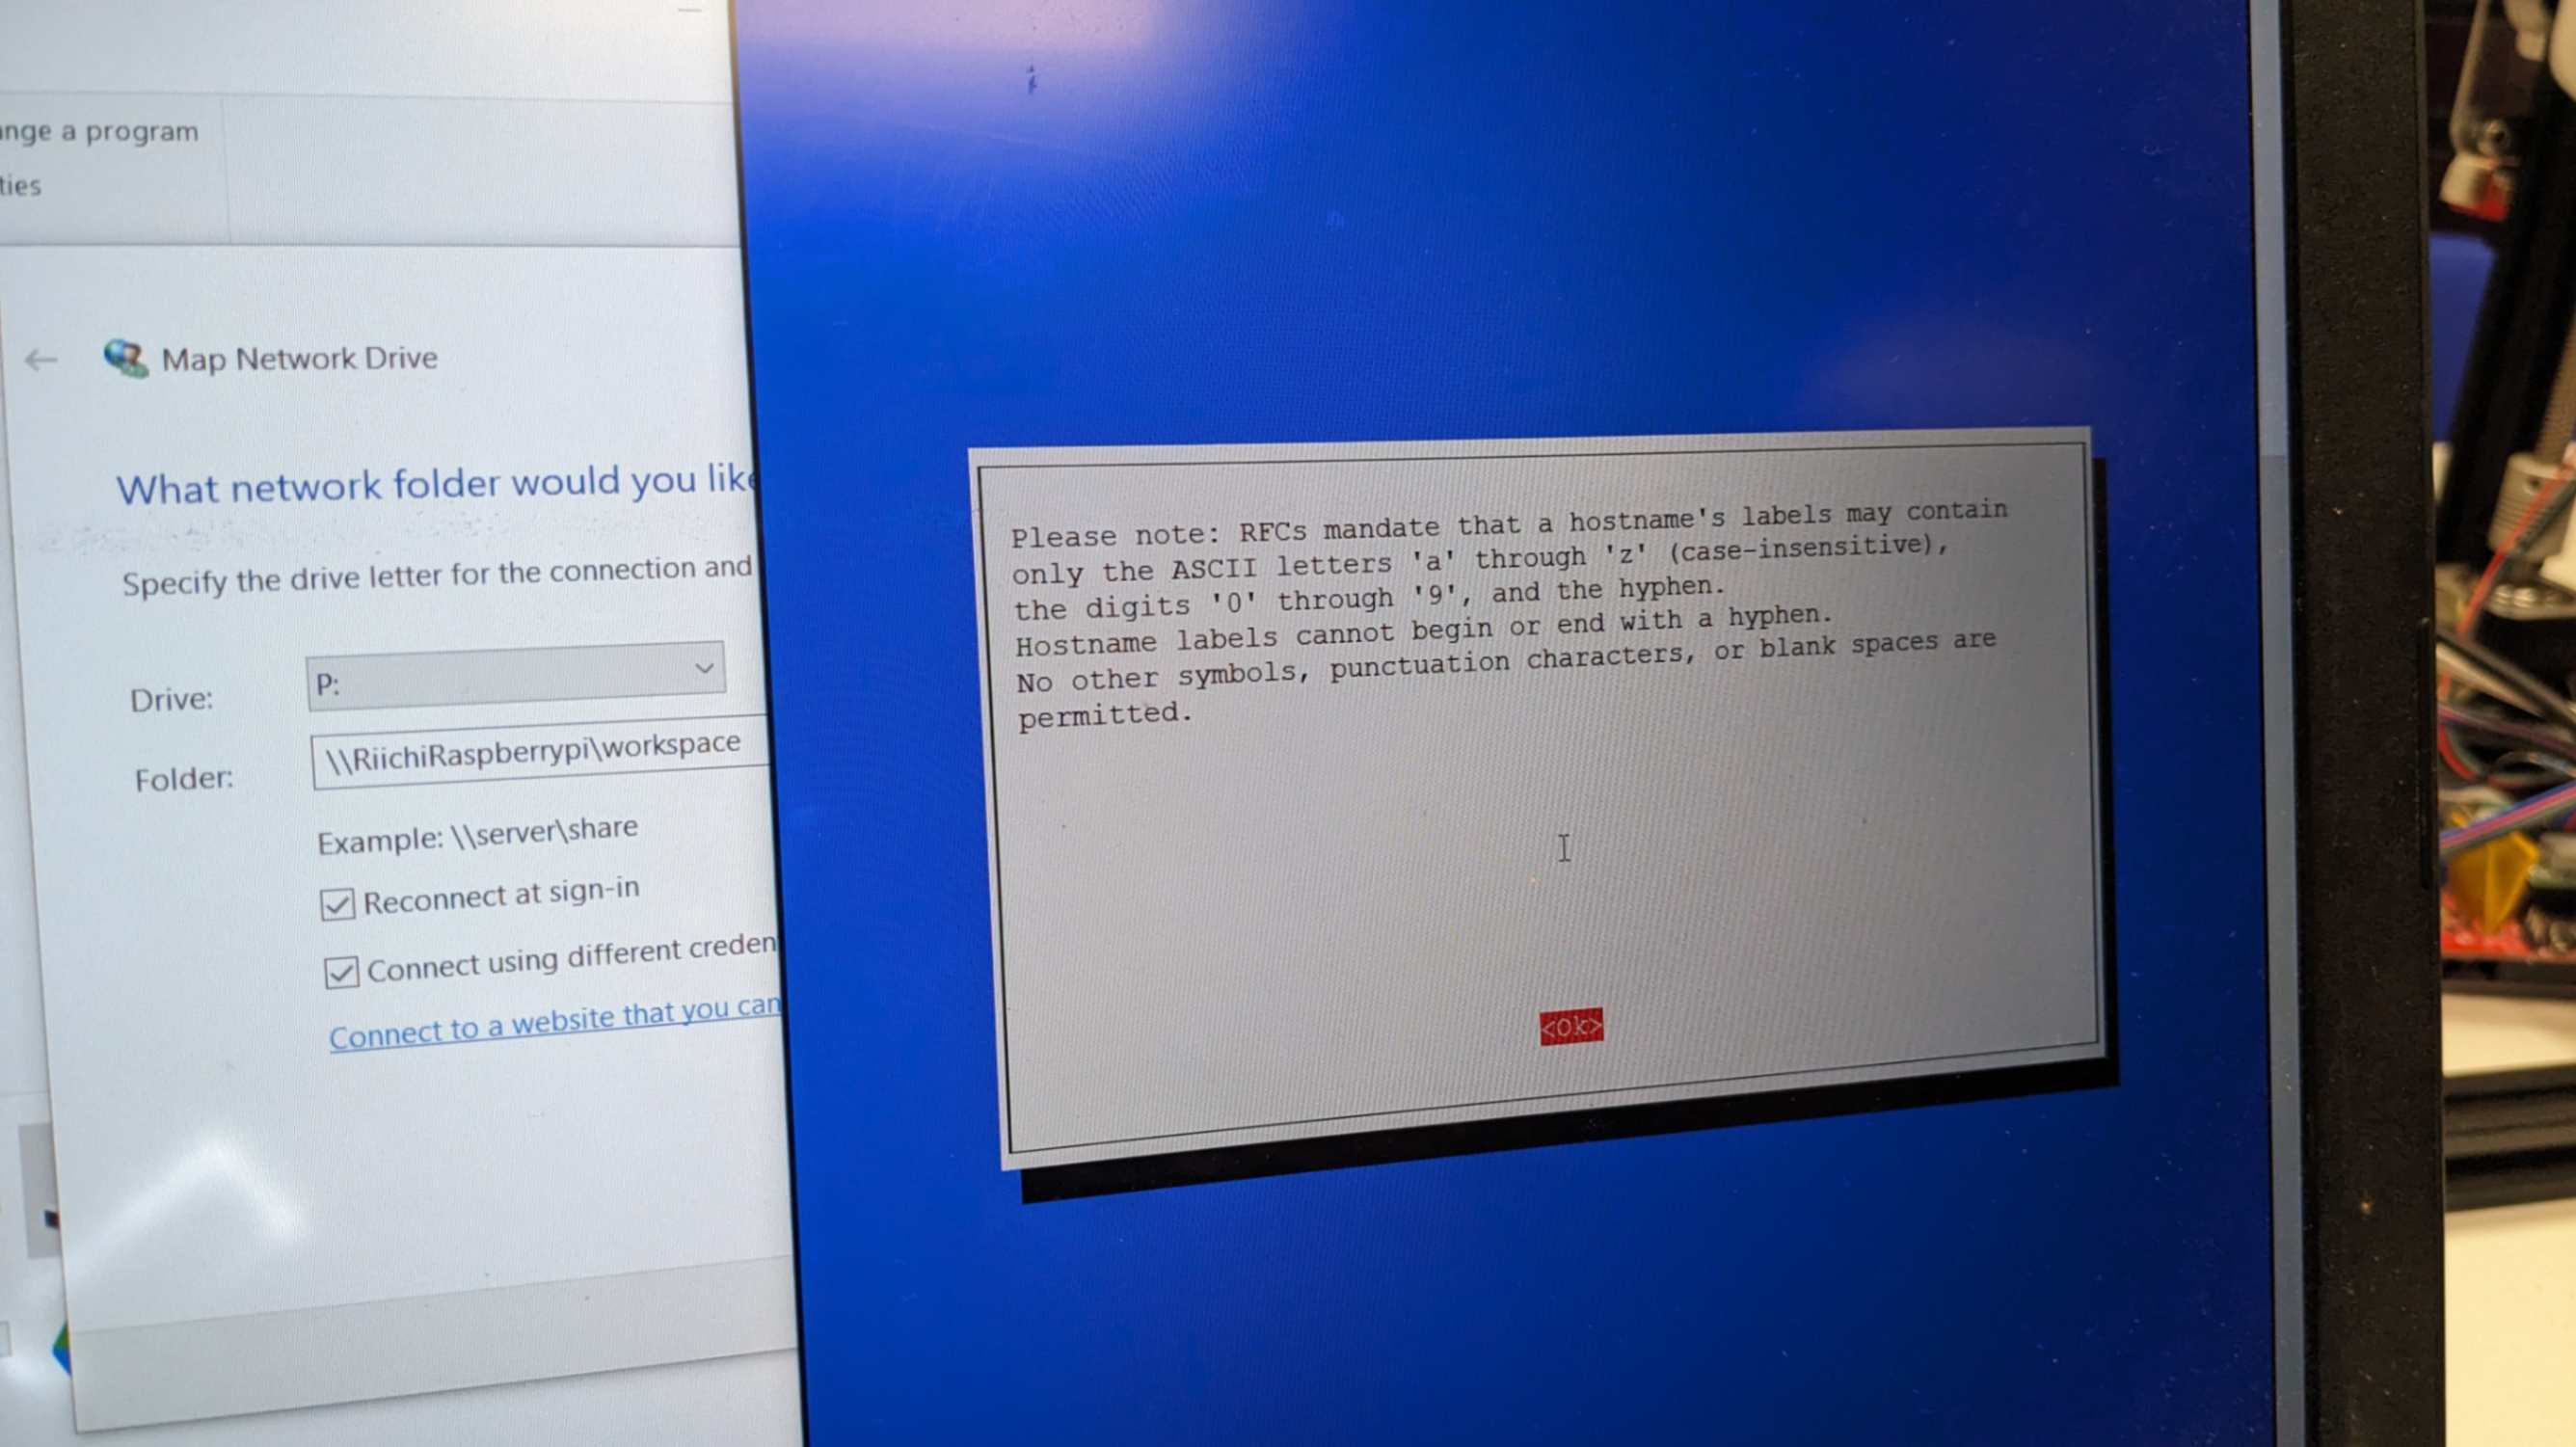
Then go to the laptop and open File Explorer, go to This PC, and Map network drive. Choose drive (this can be any letter), and type in shared folder path, hit Finish, and type in username and password. Now I should have access to the Raspberry Pi shared folder.
Problem
I was not able to get access to the shared folder. My tutor and I tried all sorts of things to solve this error, and we came to the conclusion that my hostname and username have capital letters in it, and that might be the problem. So I reinstalled OS to Raspberry Pi without any capital letters and tried again and it worked!! From this, I learned that when I am working with deeper things inside PC it is good to avoid capital letters.
Pi CAM
For the camera module, I used Raspberry Pi Camera V2.1. I first followed a few steps (especially about physical connection) on the official documentation page
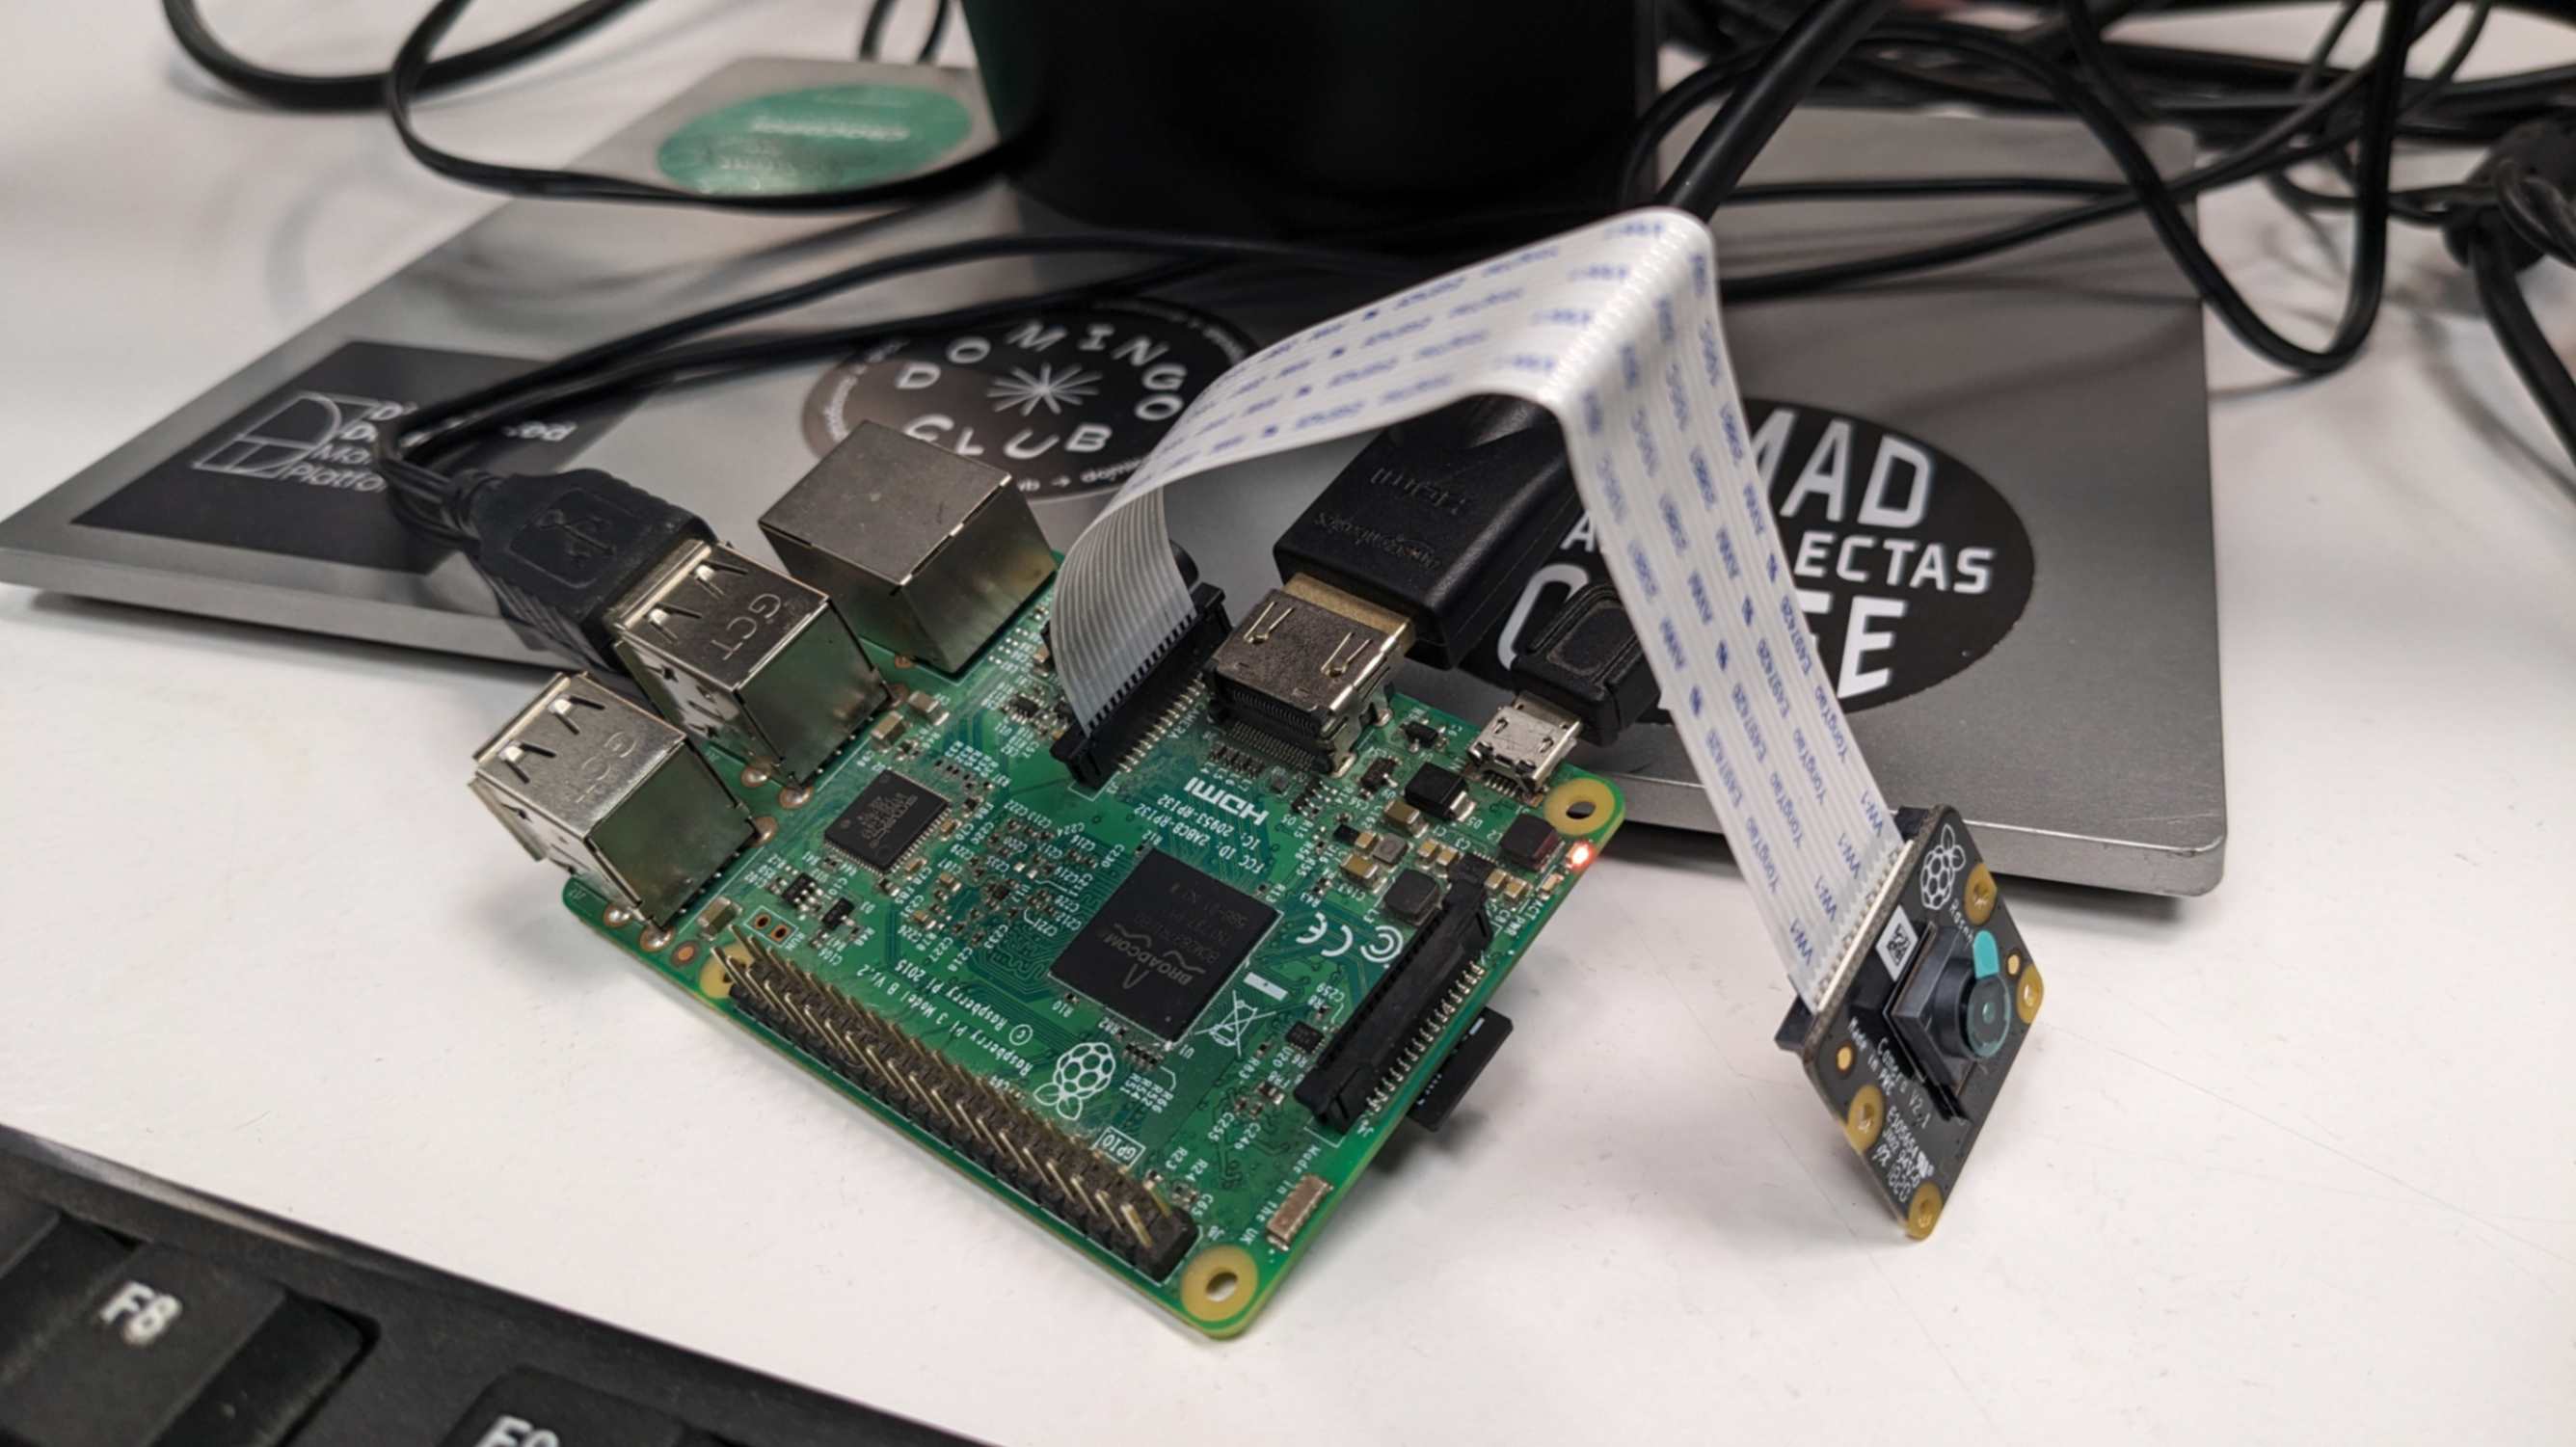
Problem
However, I soon realised something wrong, because I did not see the camera enable section in the Interface Raspberry Pi Configuration. Then I spend a long time researching this. This research process was very confusing because there are many outdated articles like below.
Use Picamera with Raspberry Pi OS Bullseye Capture an image - Raspberry Pi
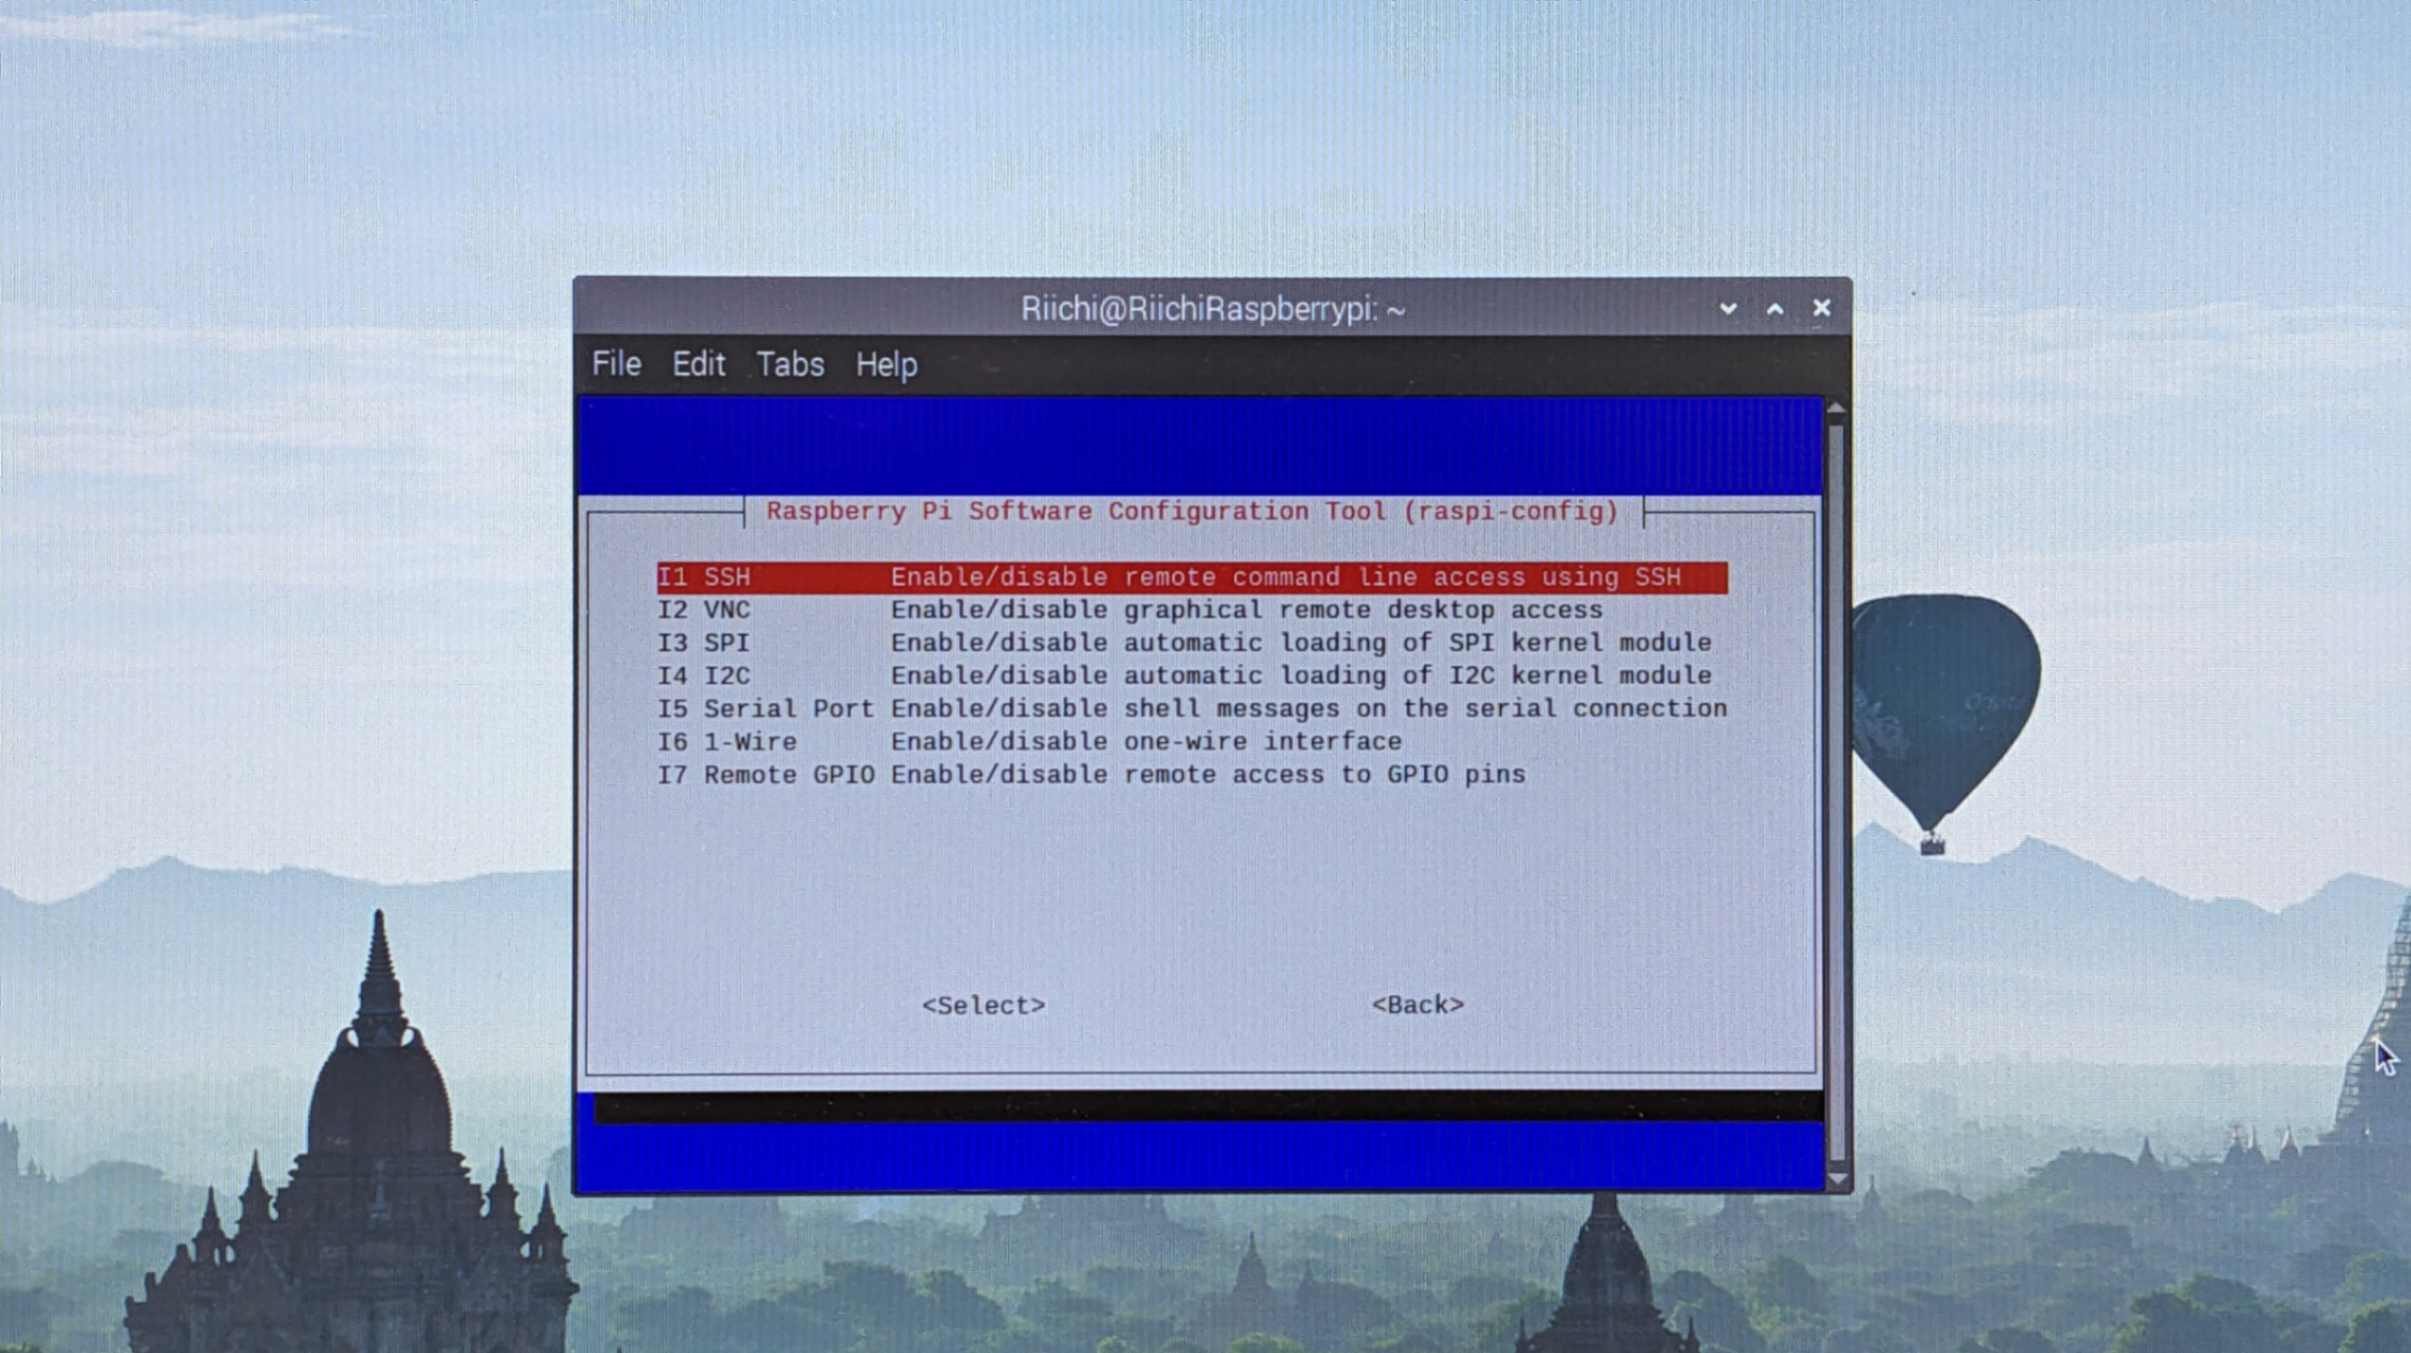
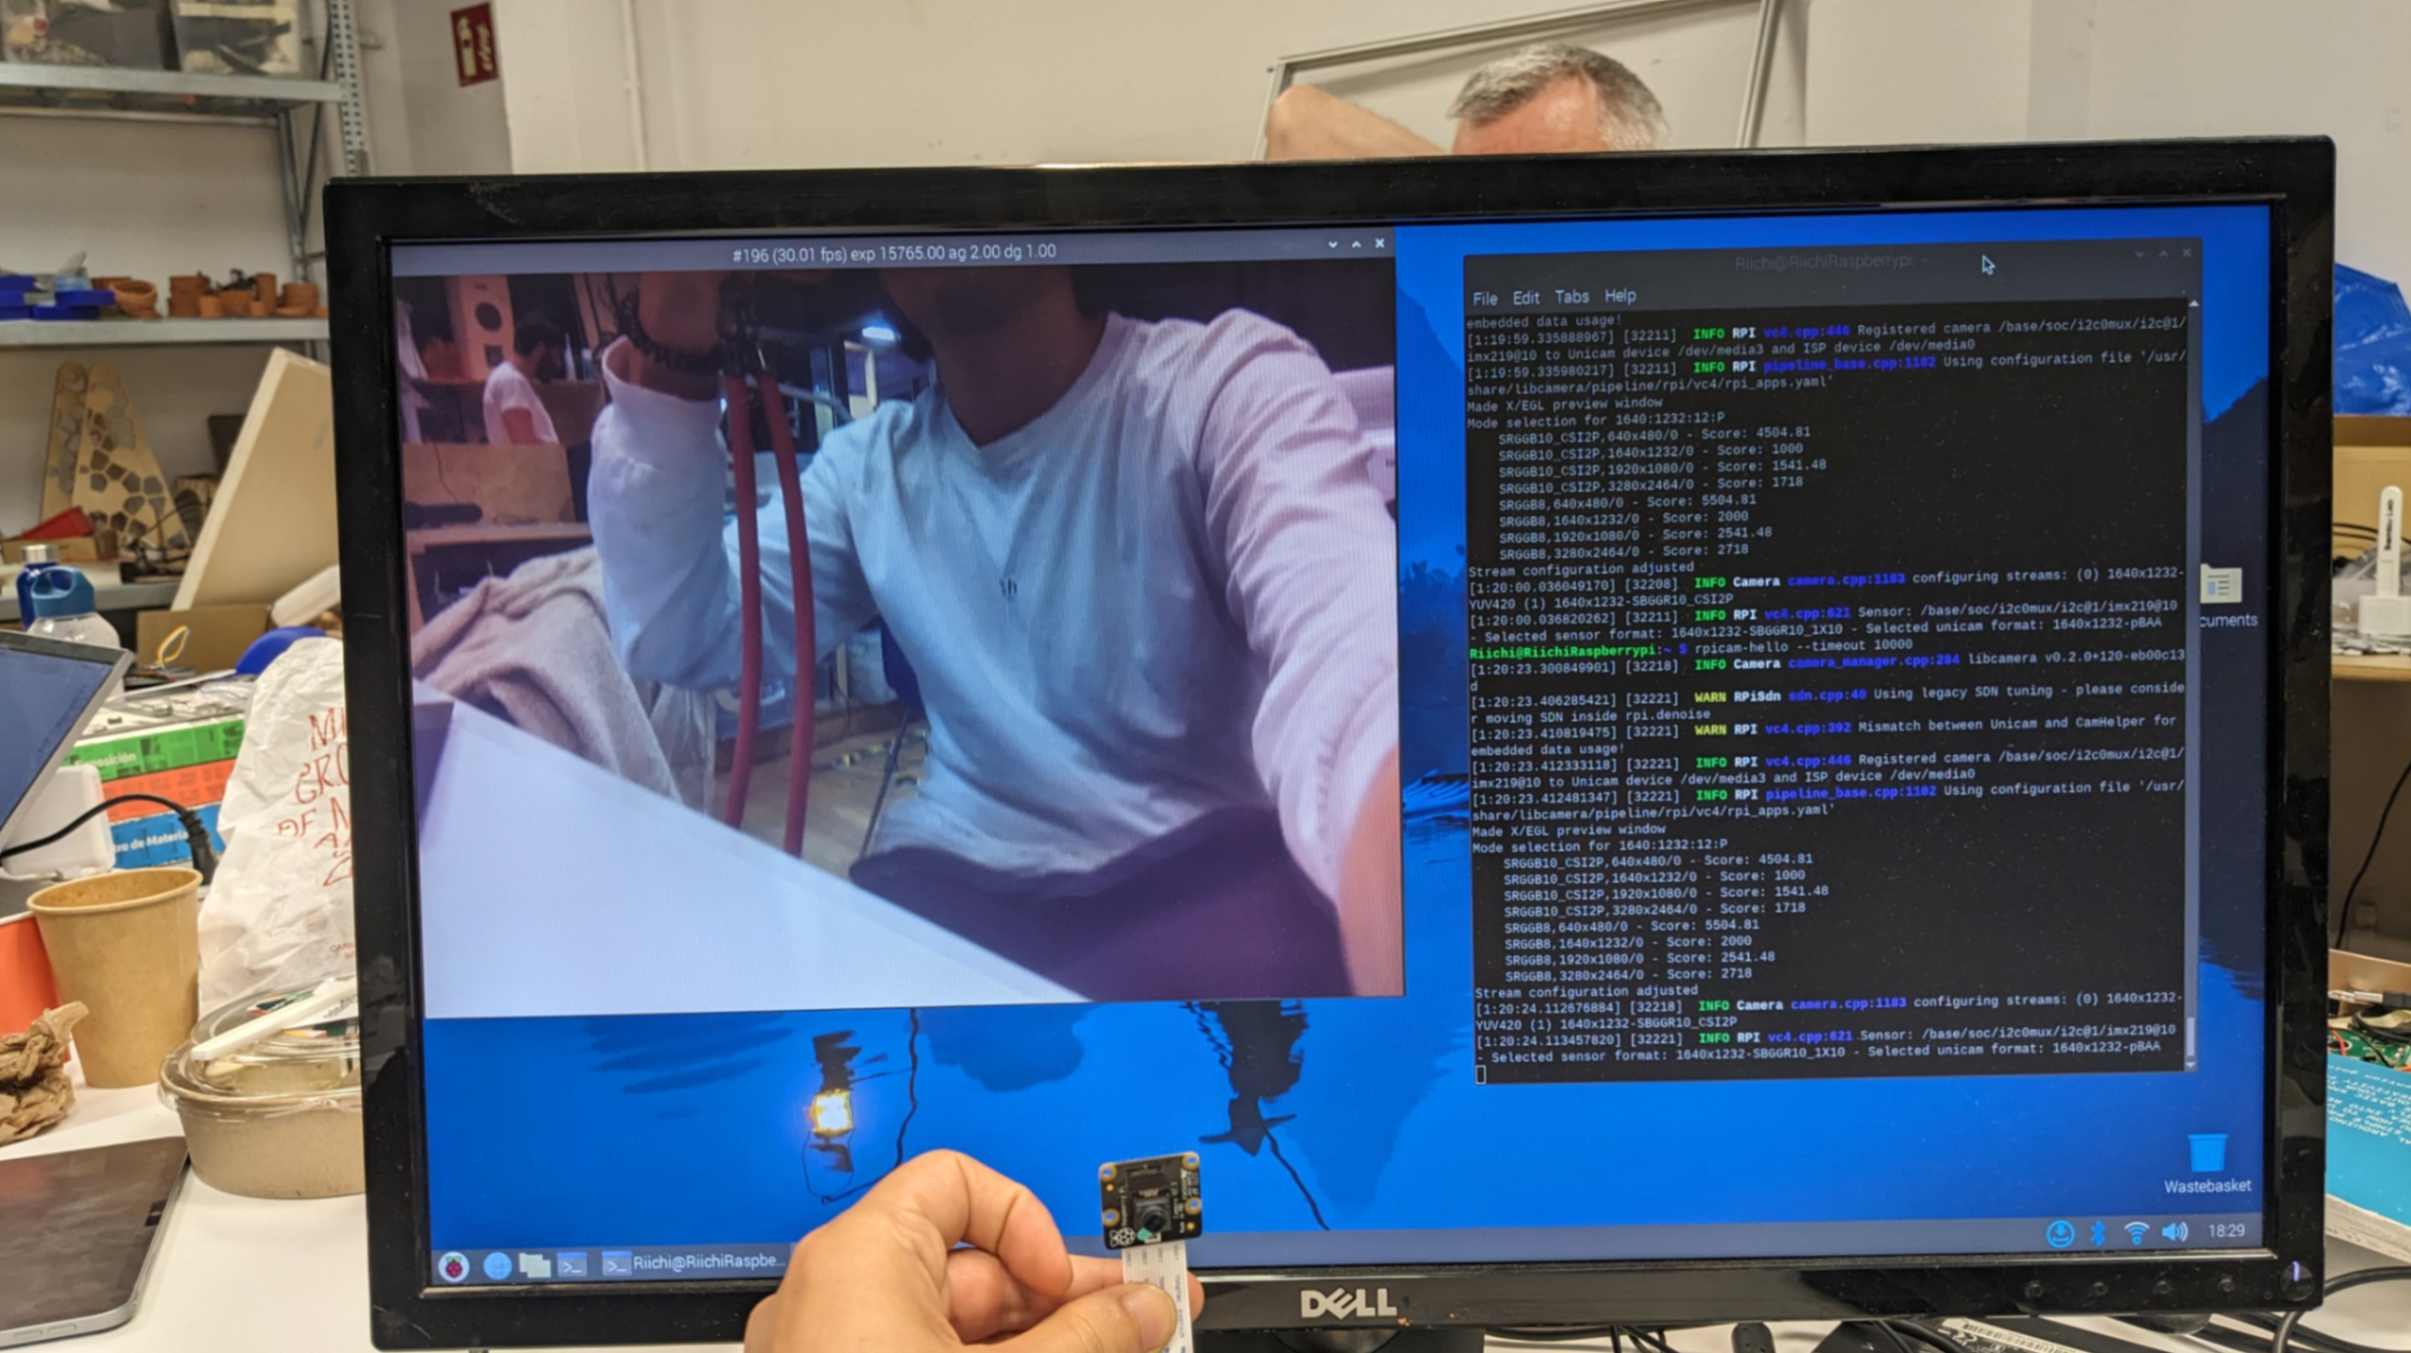
After spending hours researching I found trustable comments on these pages. So the problem was that there was a major change in Raspberry Pi in 2022 and now there is no need to enable the camera because it is already set by default. In the end, all I needed to do was upgrade the version and run the camera.
no camera enable section in raspi-config Cannot find any option to enable the camera module
So I took advice from the page and went back to
a different official documentation page
I followed the Prepare the Software section.
As I was guided I went to
This page
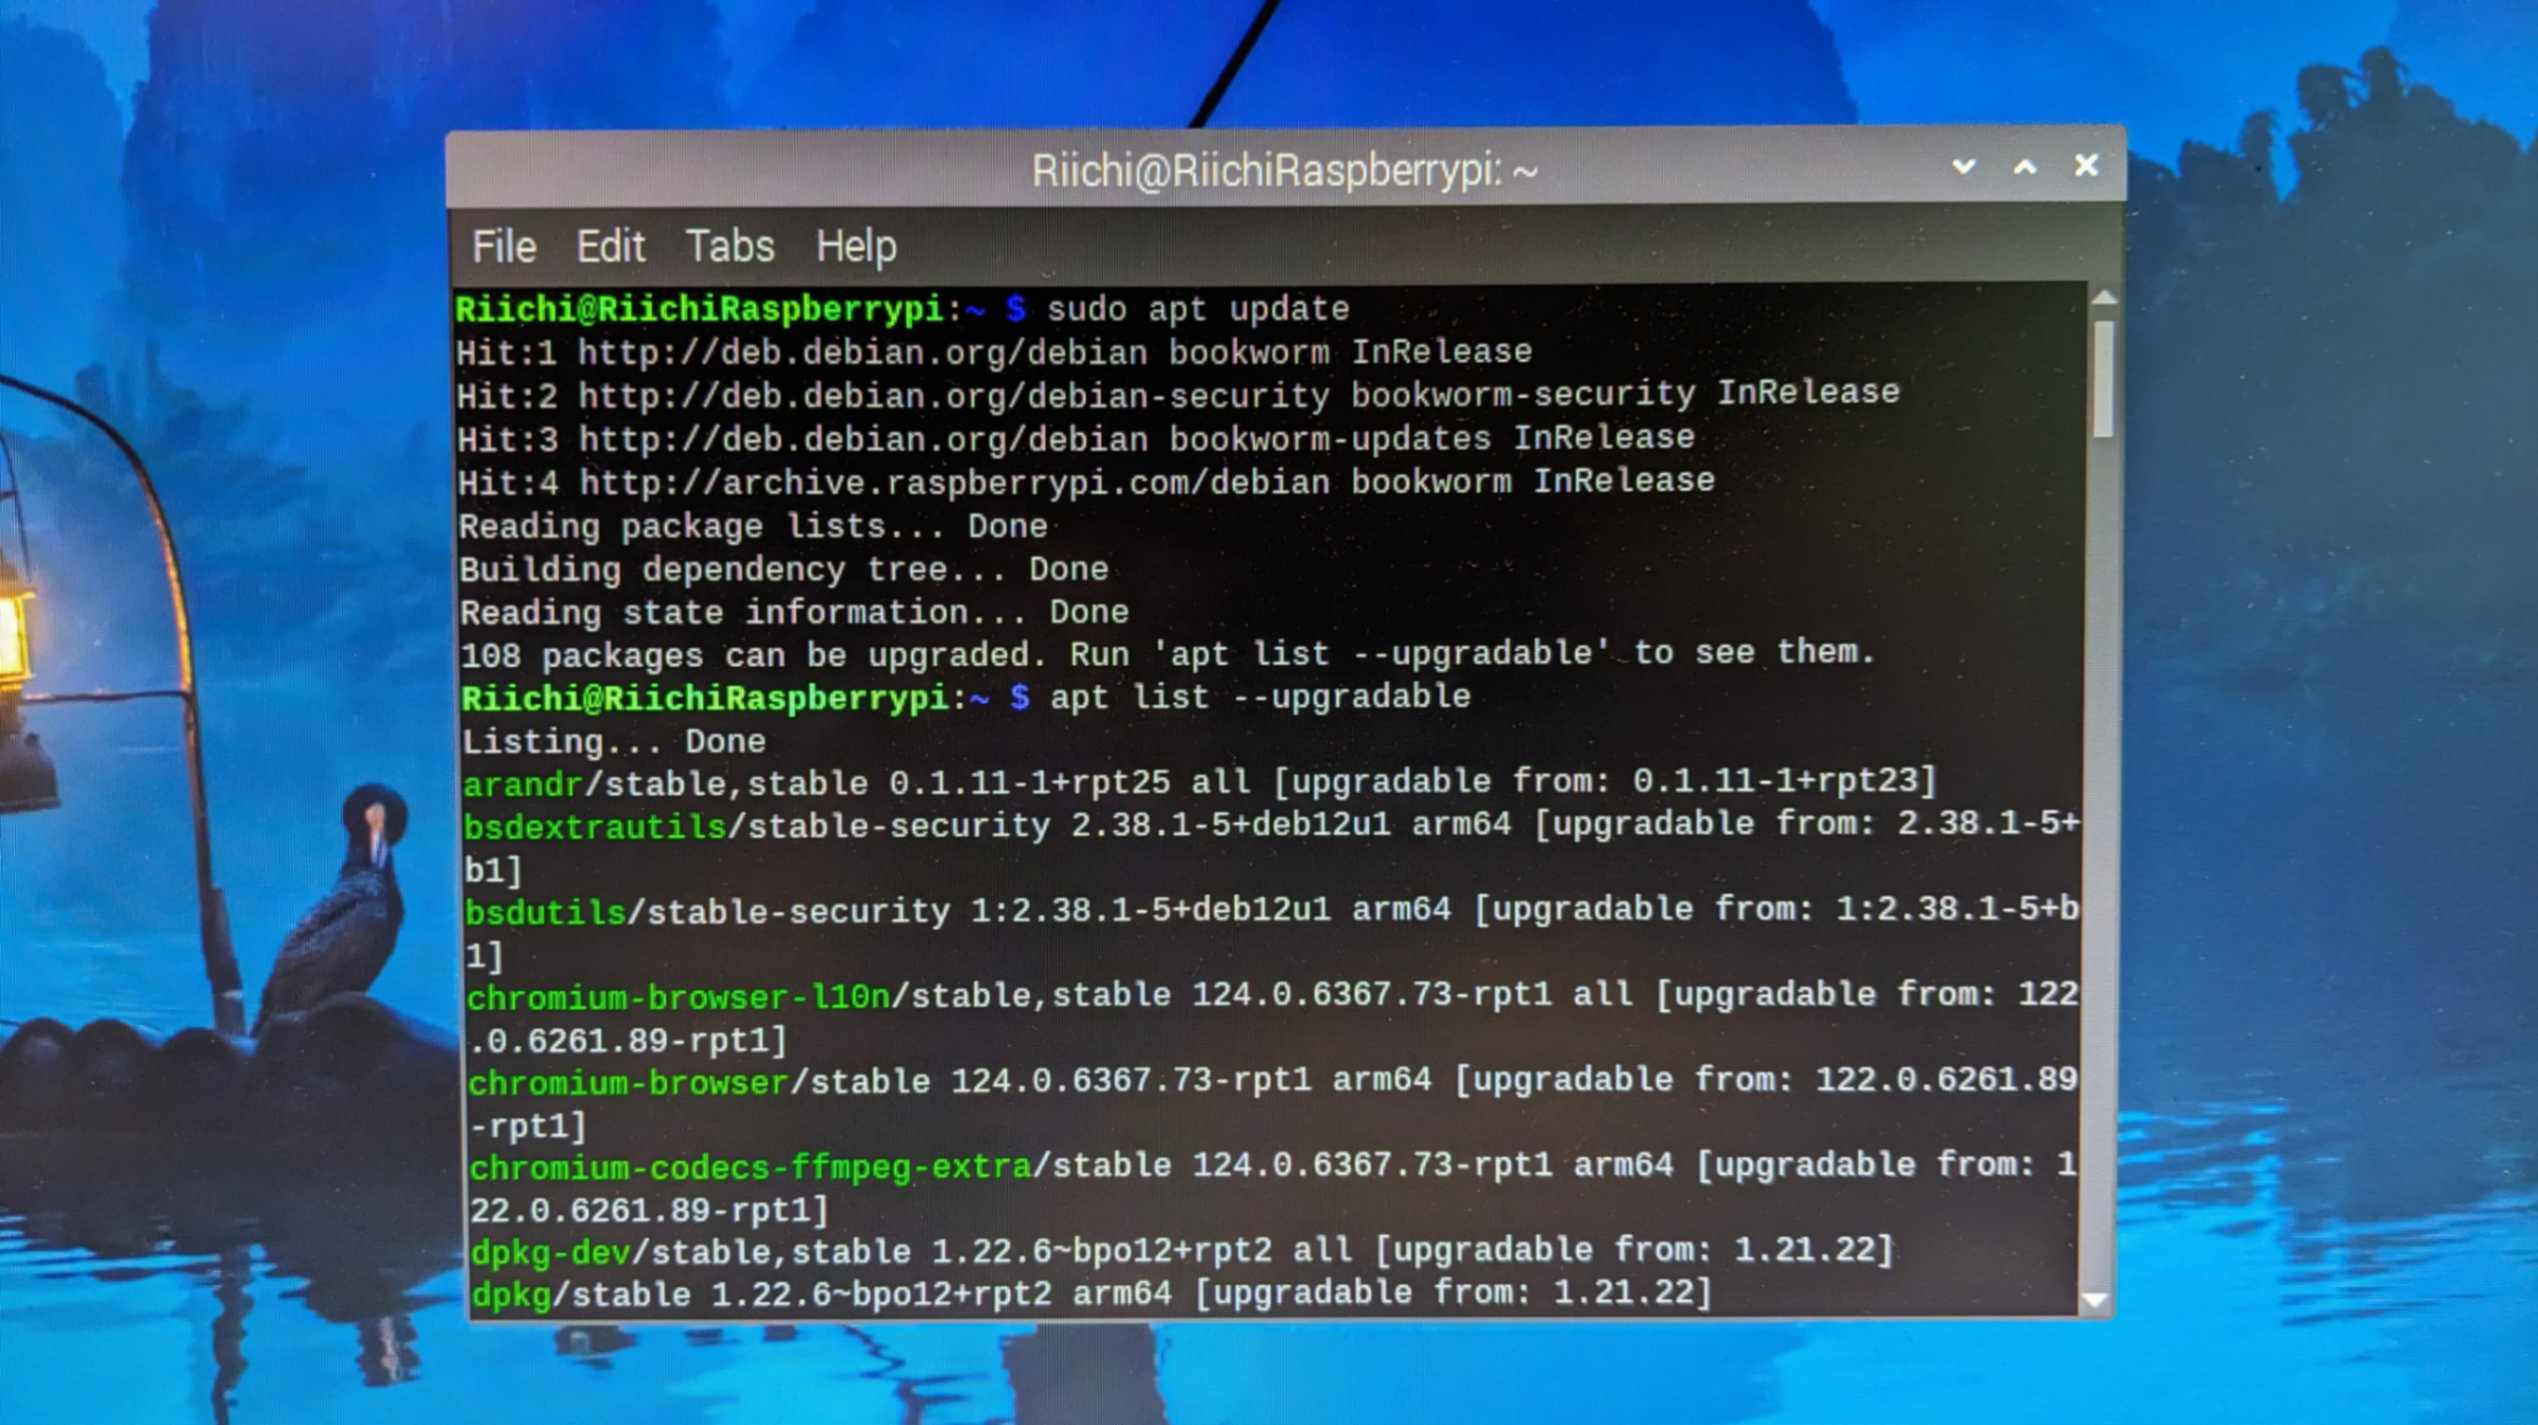
To update and fully upgrade my installed packages to their latest versions using the command
sudo apt update
sudo apt full-upgrade
Pi CAM with Python Scrip
venv
Now I moved on to run the python scrip in Raspberry Pi. My friend Tony recommended to me a way to create a Virtual Environment in Raspberry Pi.
First use this command to see what library I am using in the virtual environment on my Laptop
pip freezeThen take the list and convert it to a text file using the command
pip freeze > requirements.txtCheck the version of Python on the laptop by using the command
pythonTake the requirement.txt and move it to Raspberry Pi using SSH
Navigate to the folder by using the command
ls
cd
pwdCheck the version of Python in Raspberry Pi by using the command
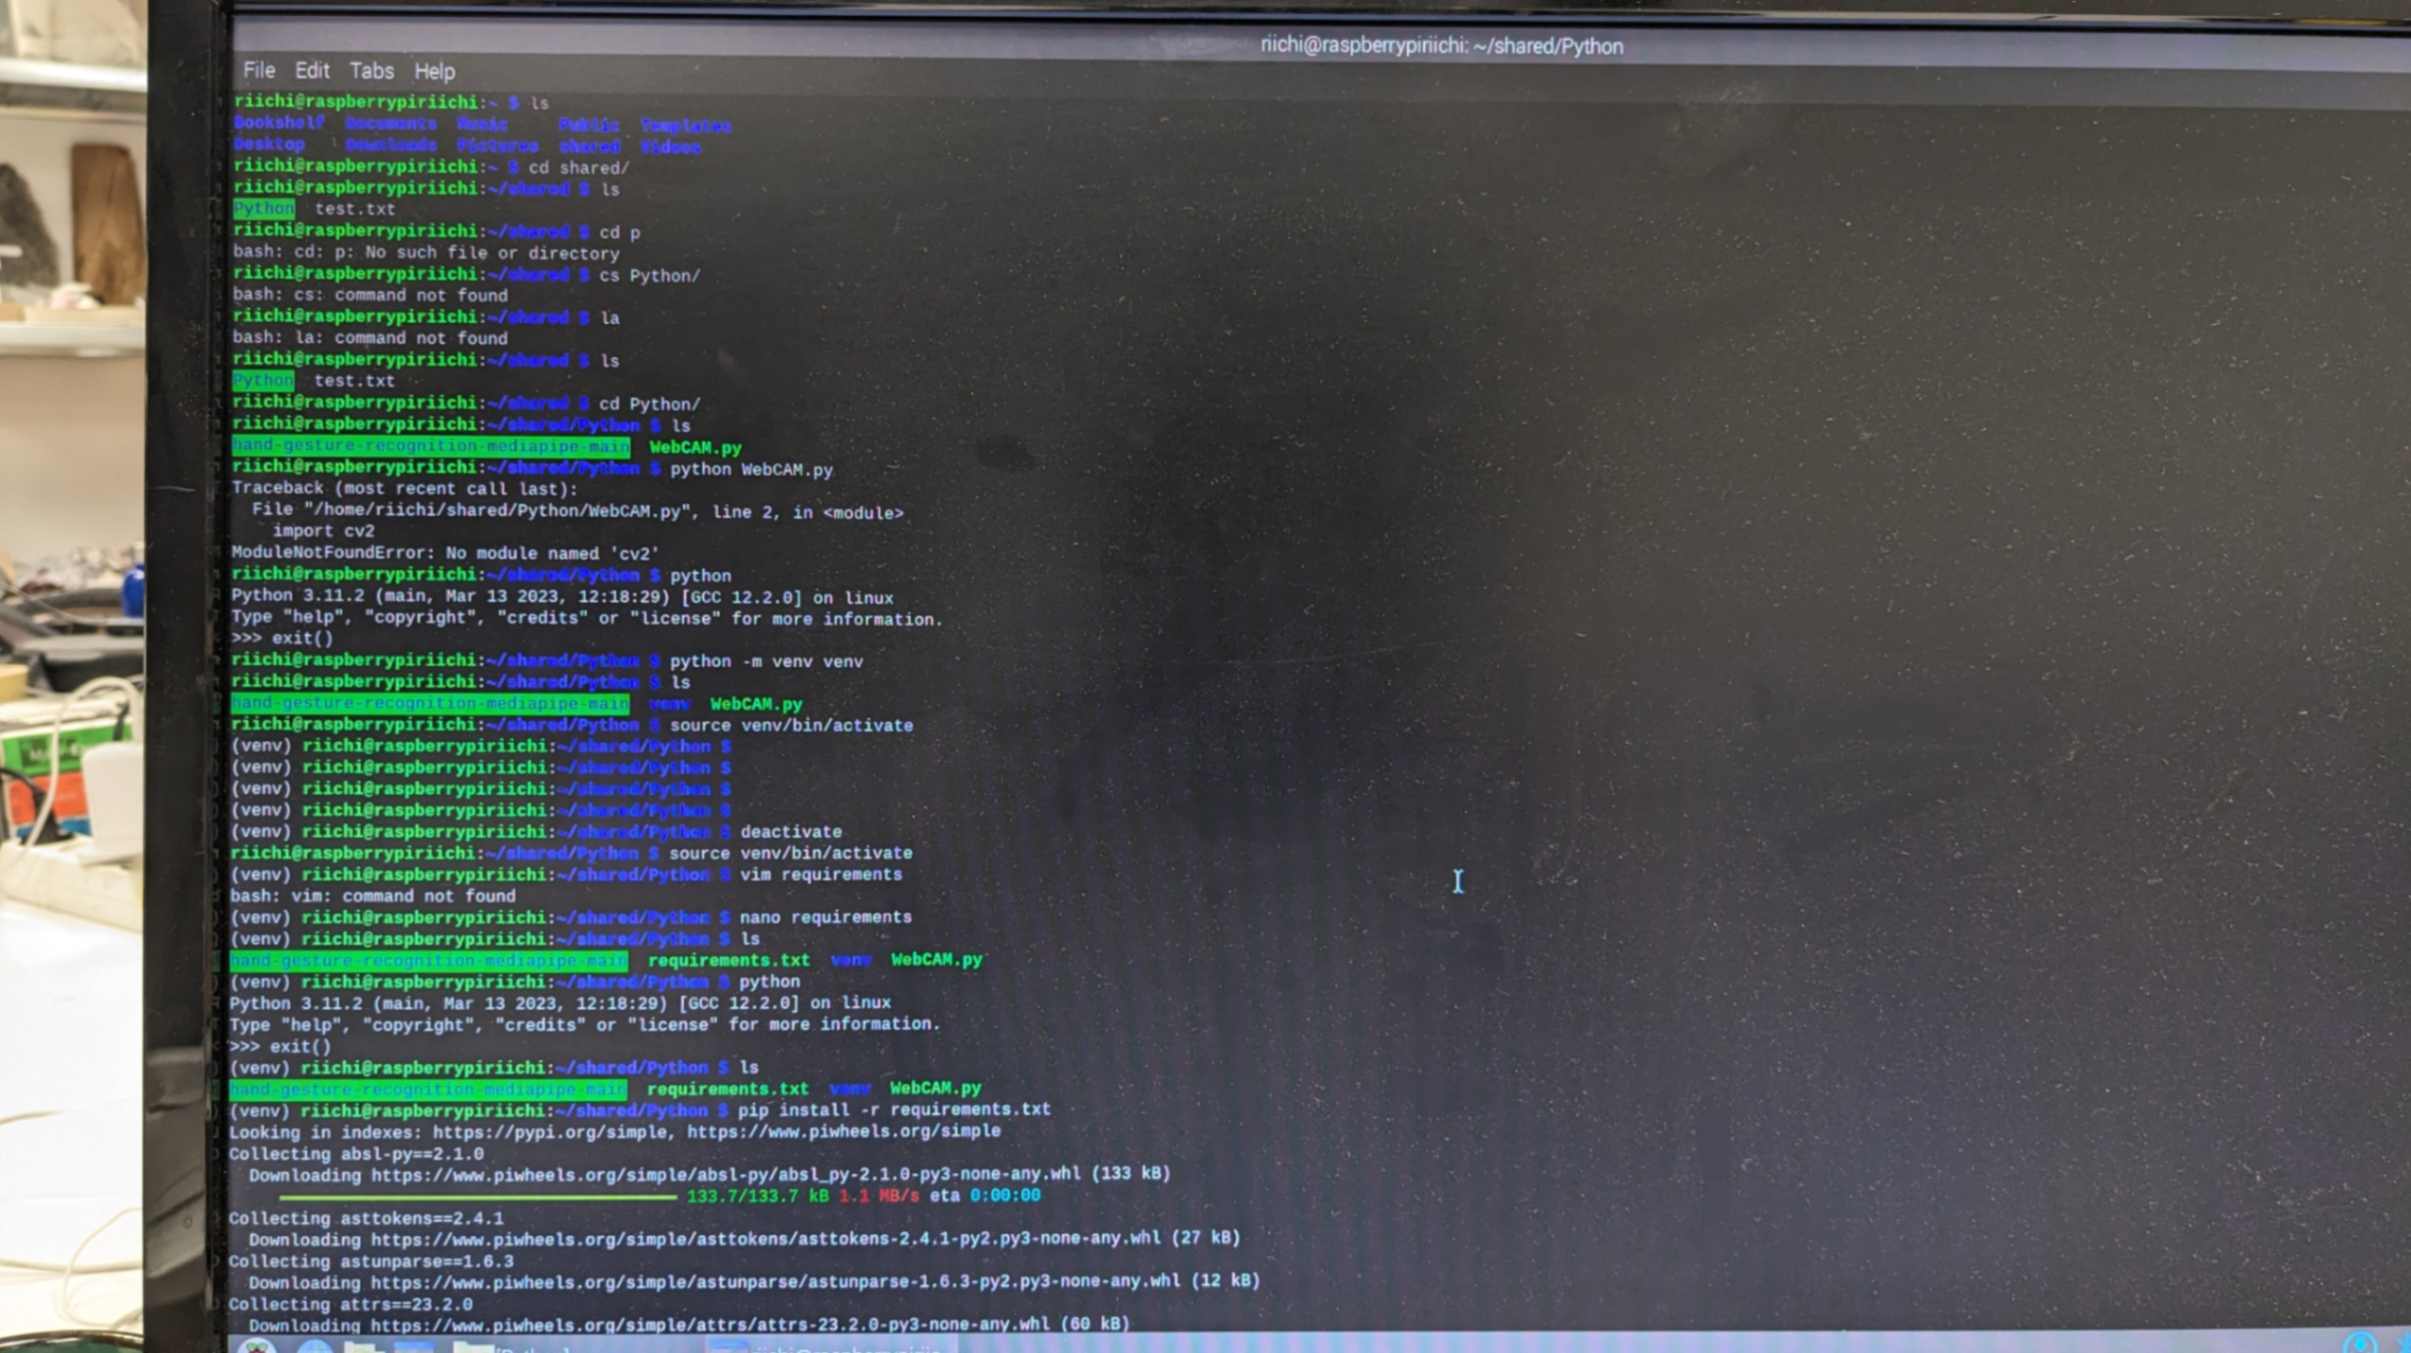
pythonMake a blank virtual environment folder by using the command
python -m venv venvActivate the virtual environment using the command
source venv/bin/activateOpen the requirements.txt by using the command
nano requirementsInstall the library according to the requirements list by using the command
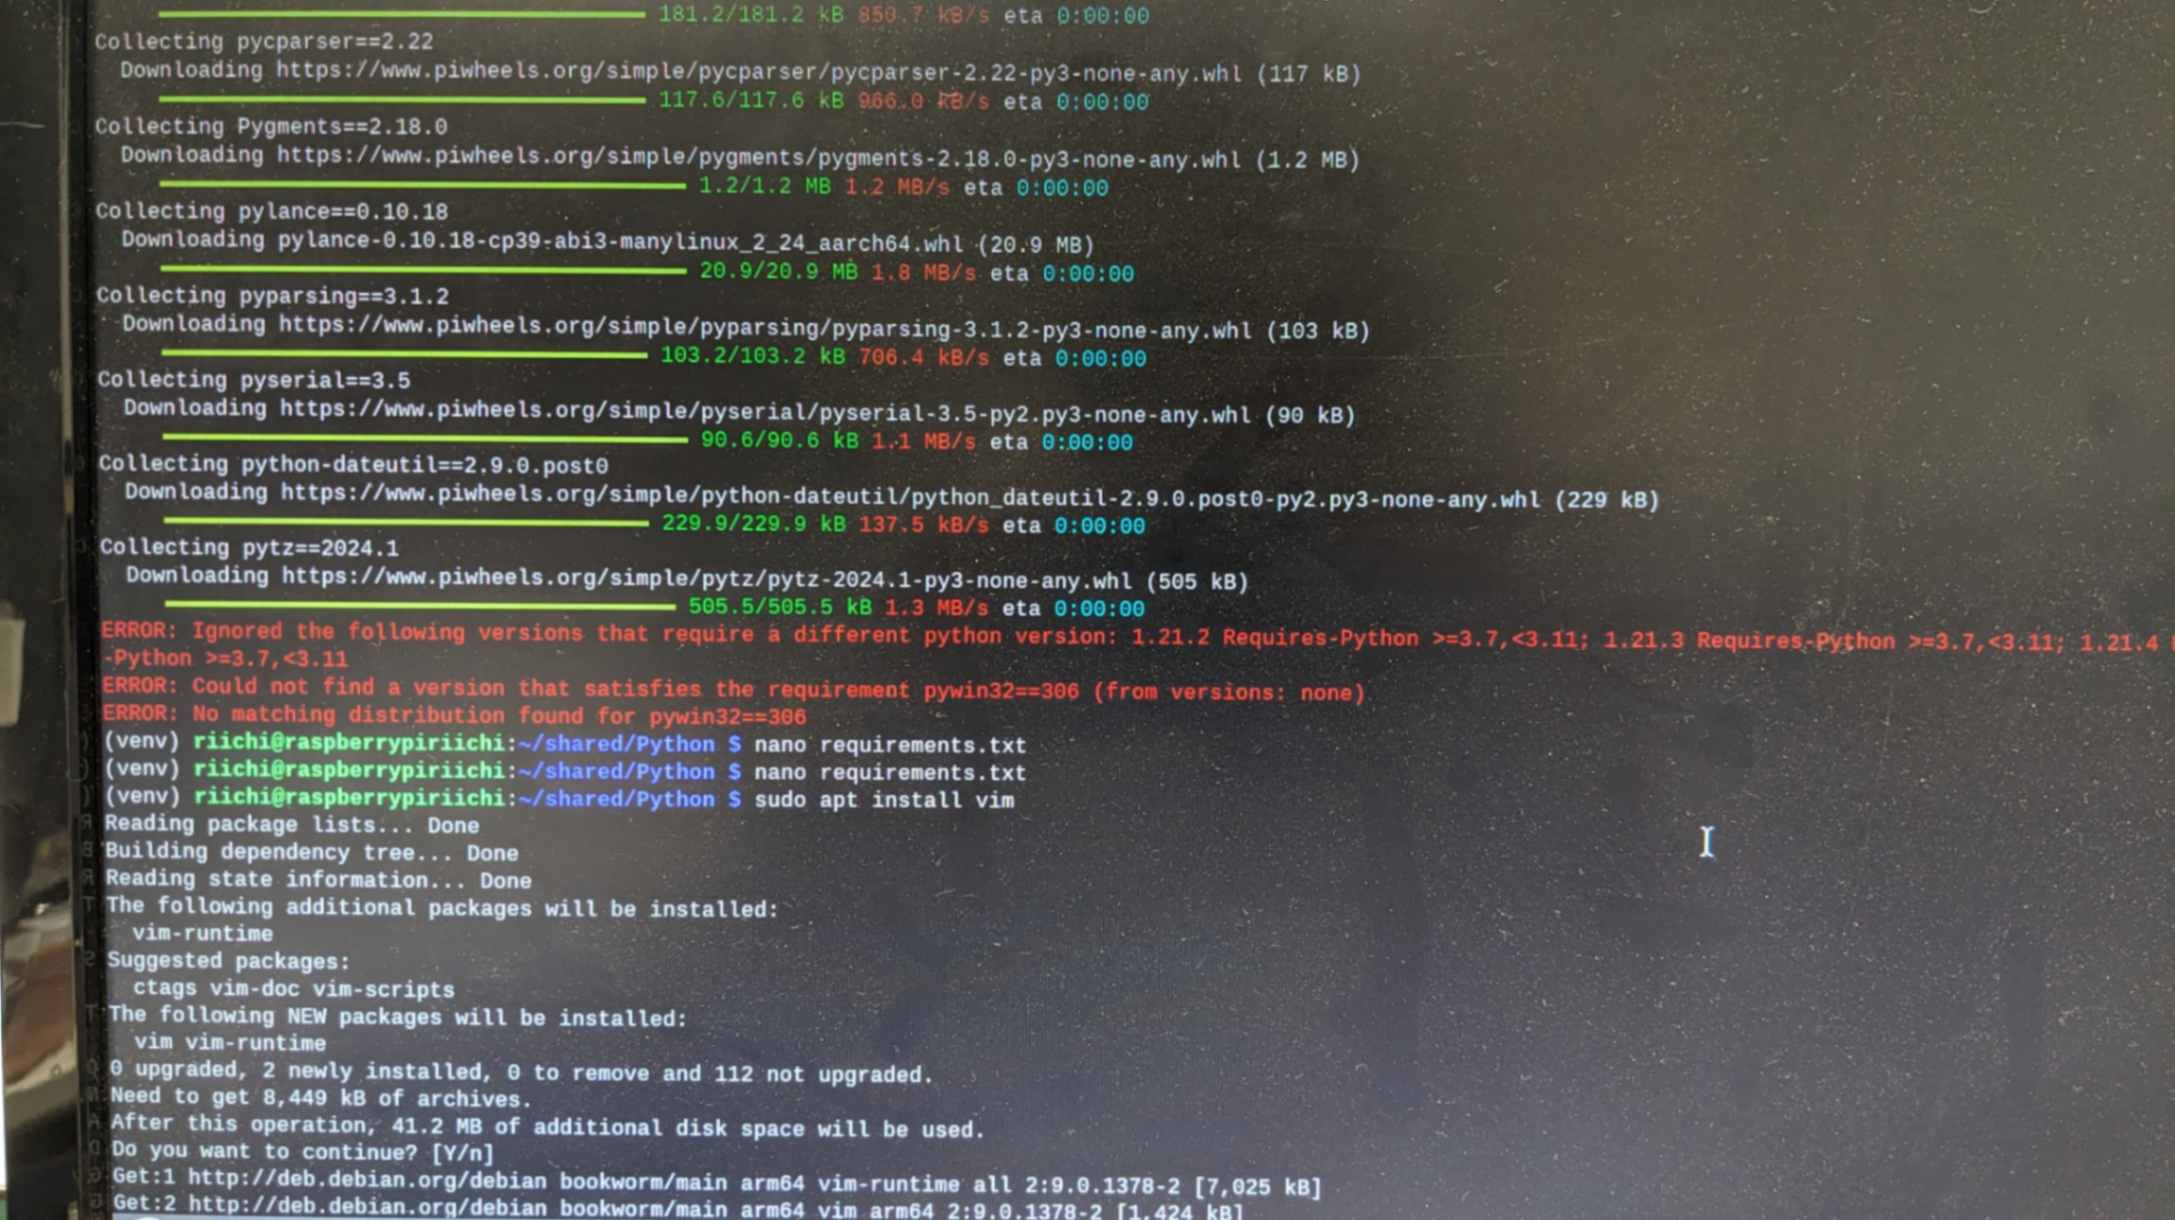
pip install -r requirements.txt
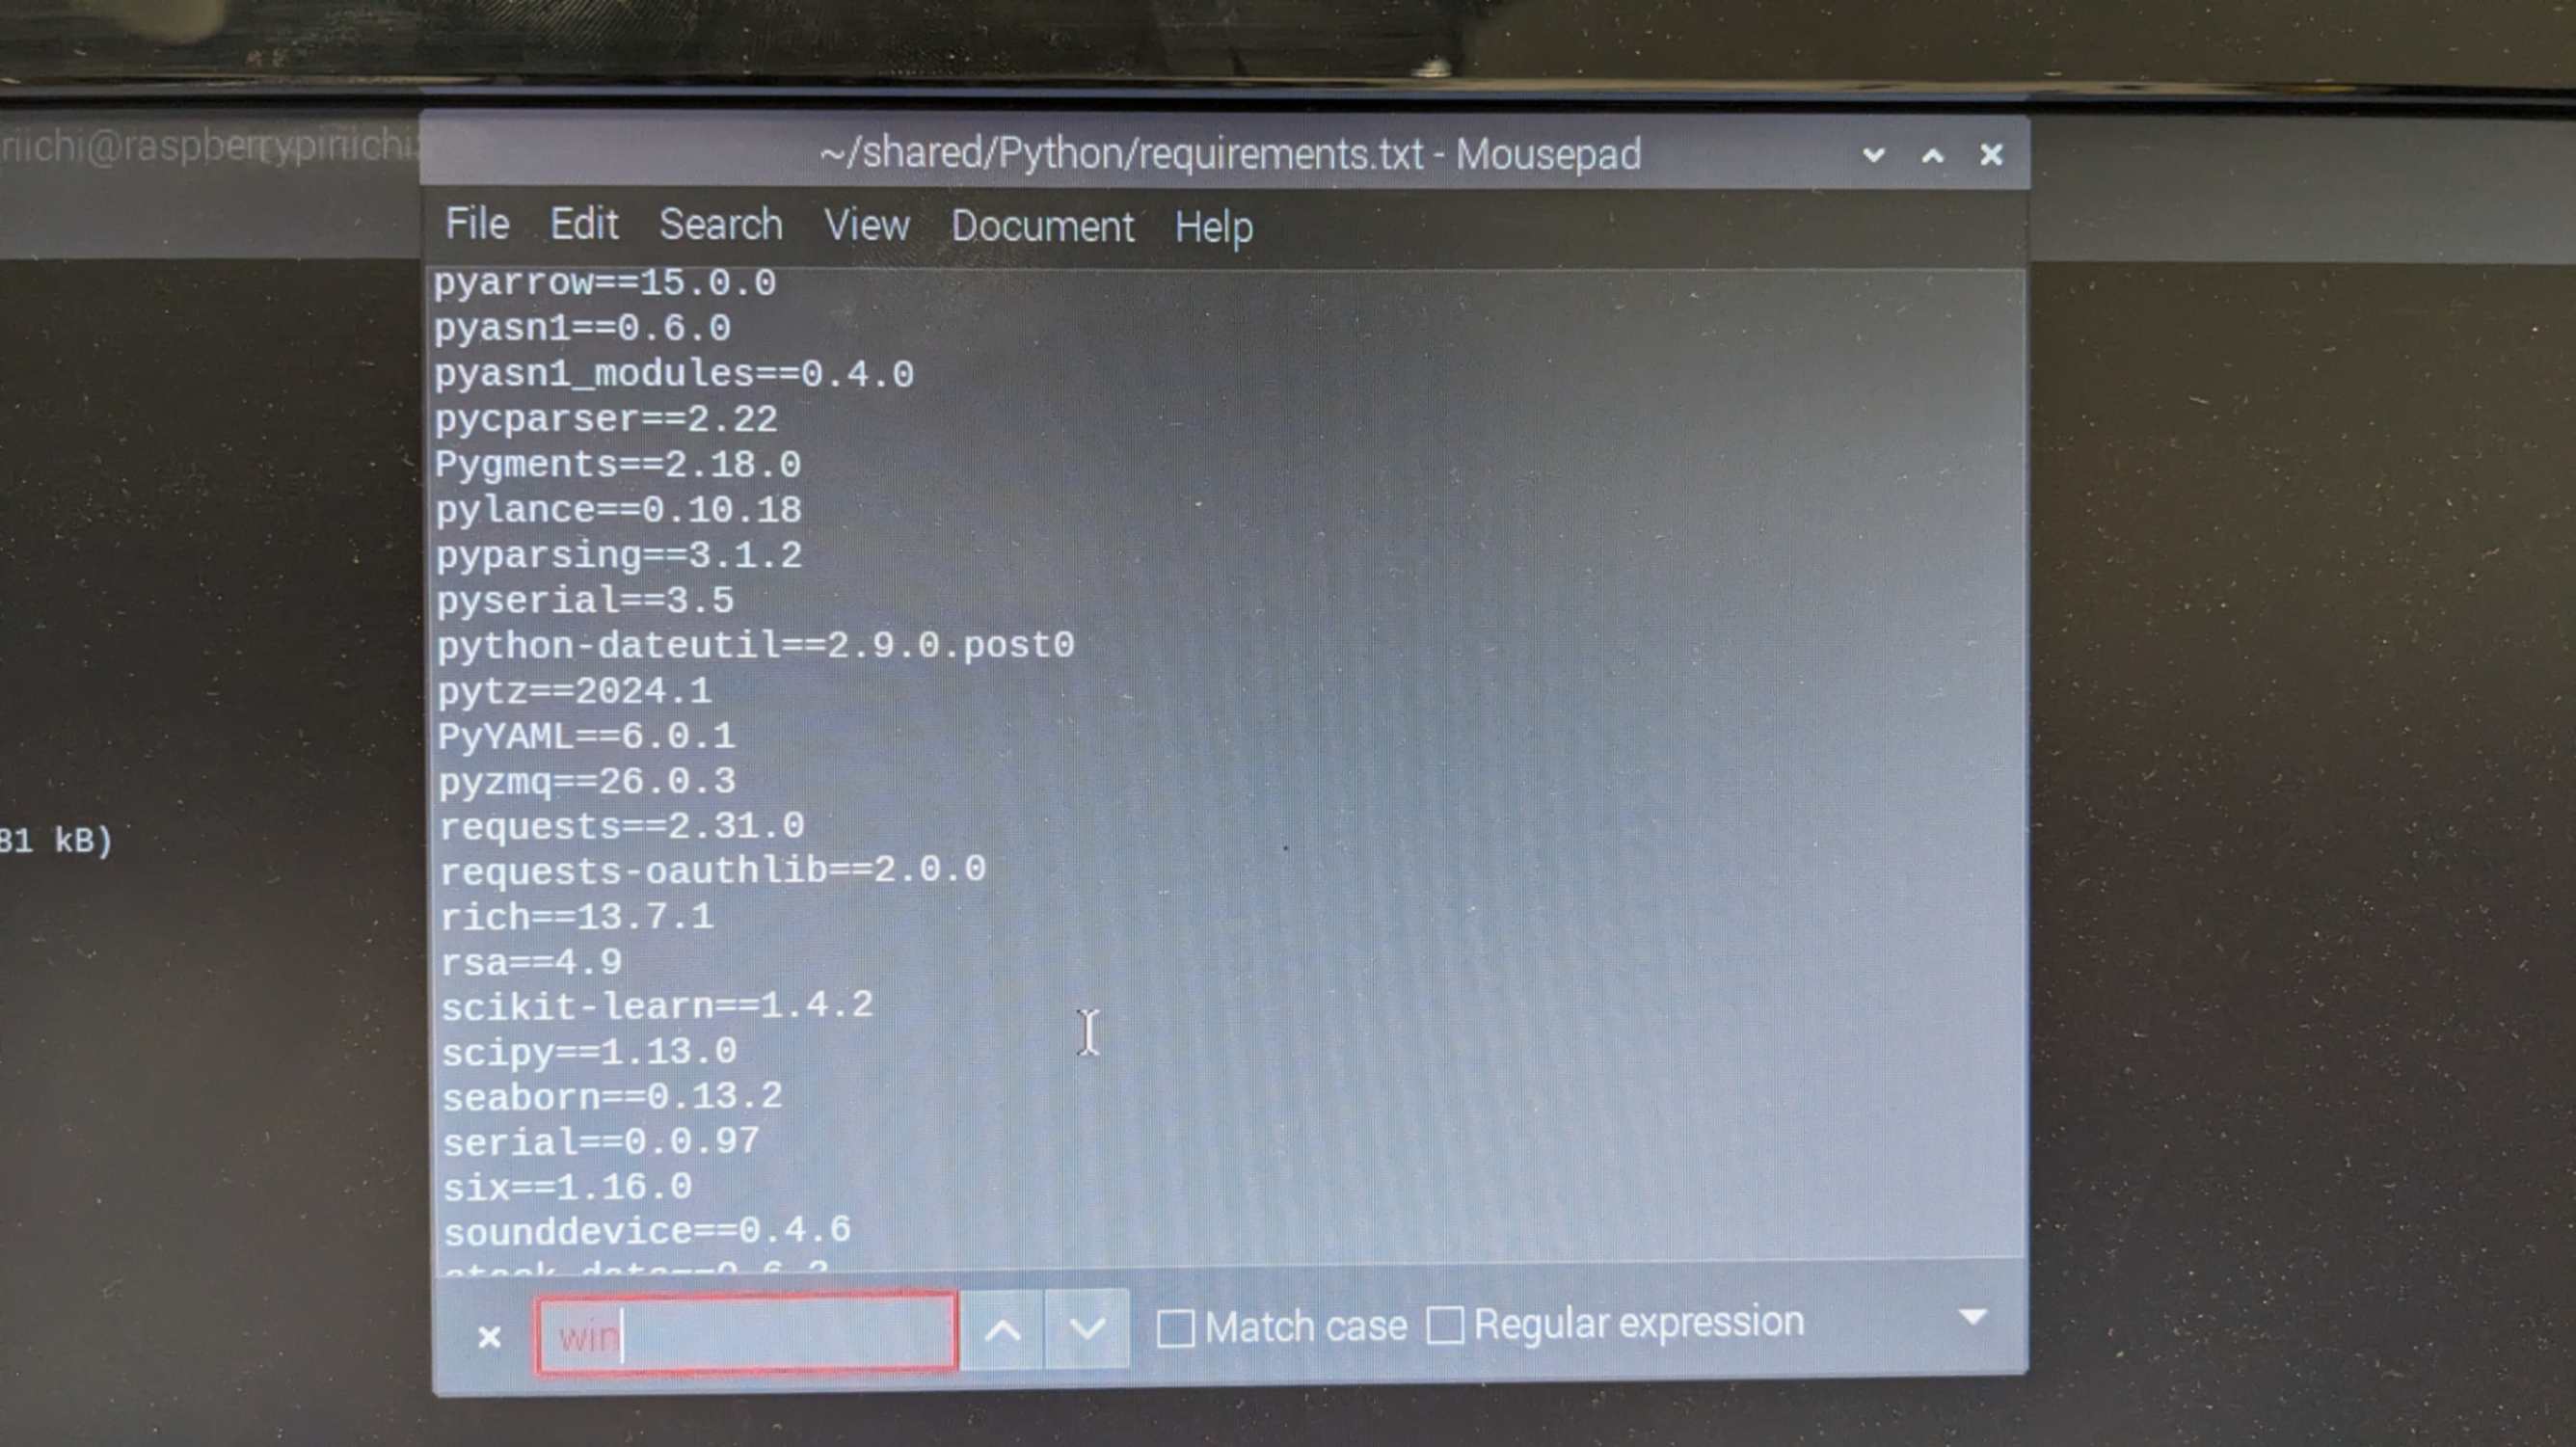
This method allowed me to install all the libraries at once. However because my virtual environment was very messy on my laptop, this method did not work correctly and I needed to install a couple of libraries in addition.
Problem
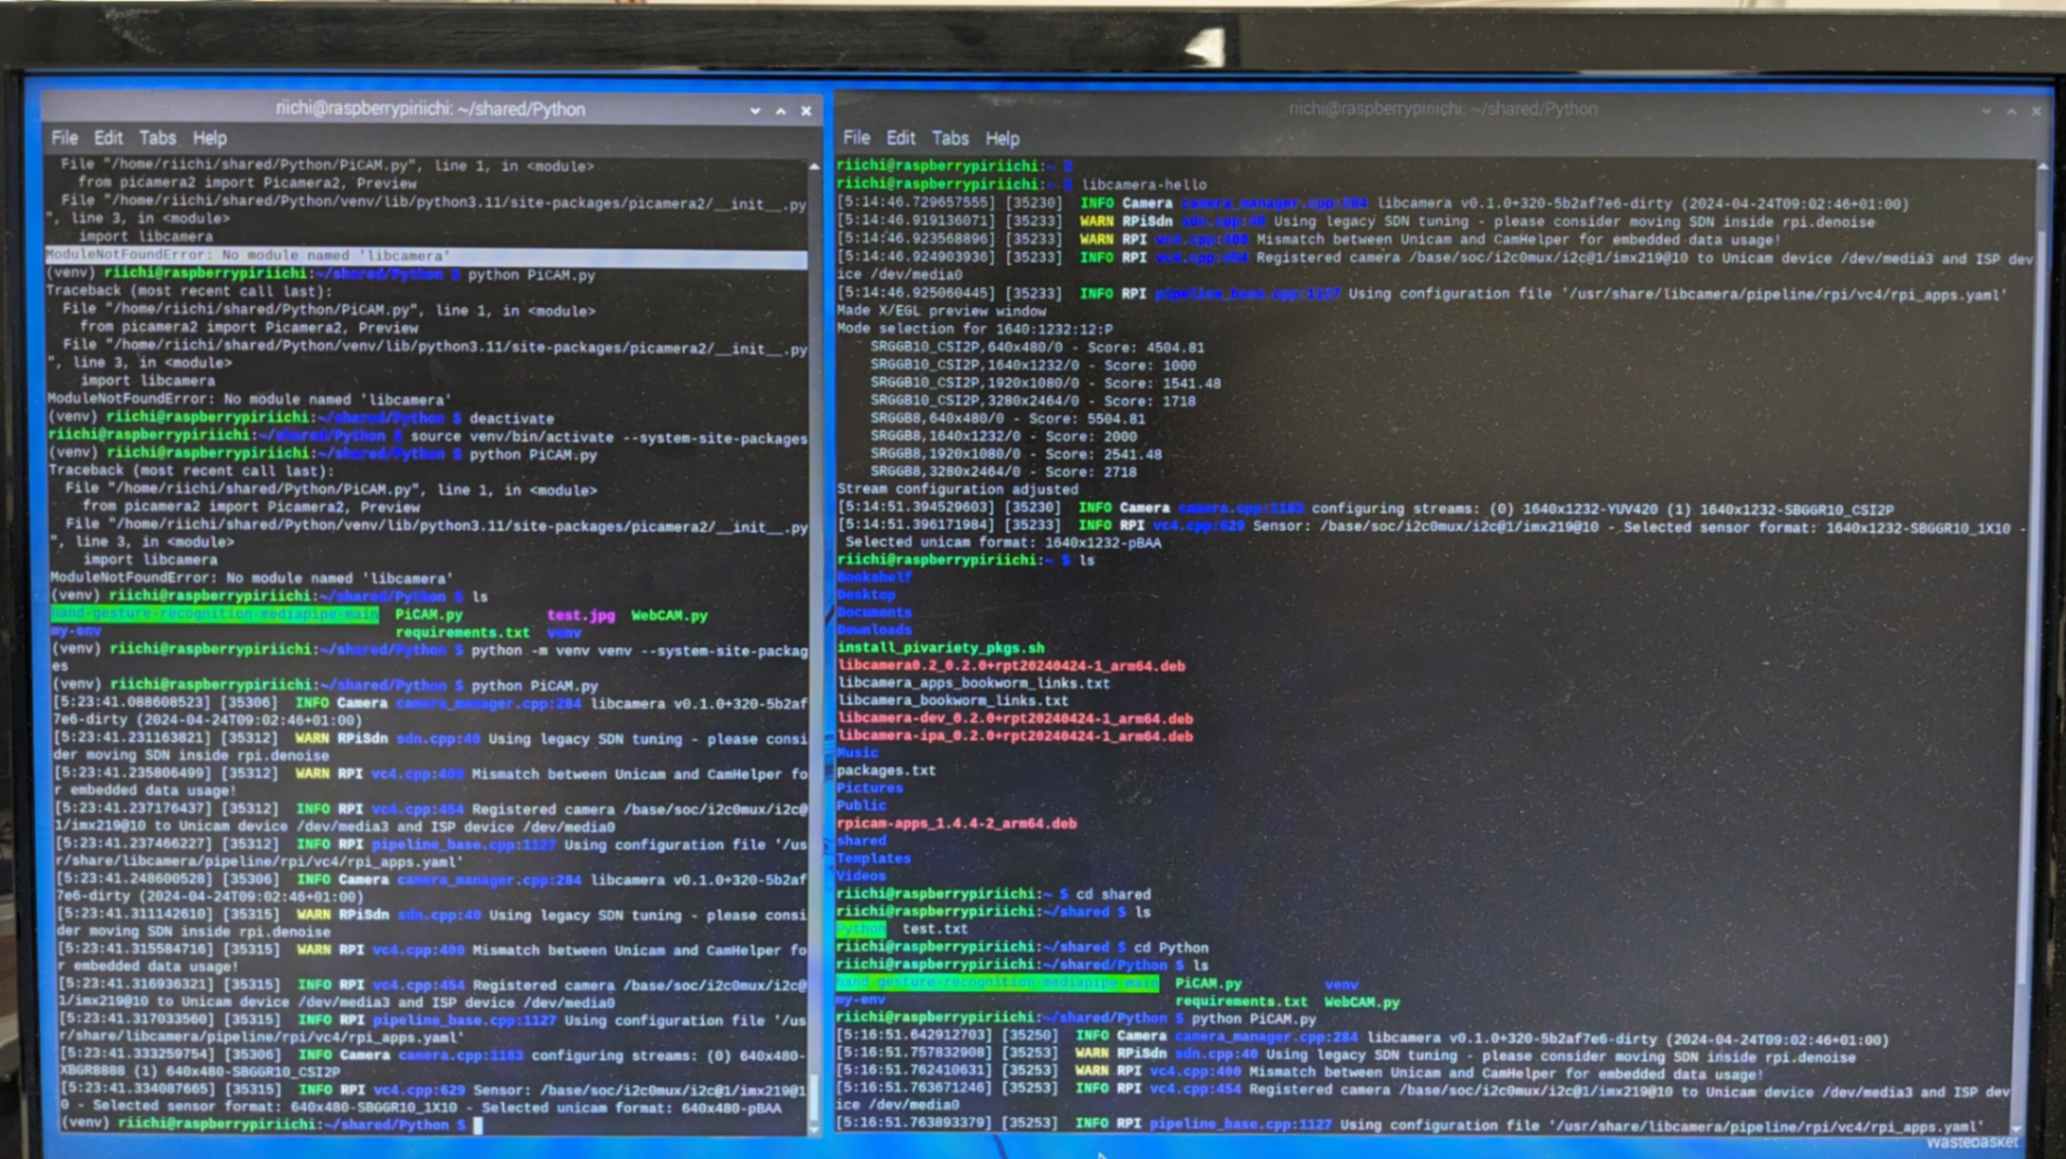
When I tried to test a simple Python script that should turn on the Pi camera, it did not work because it didn't find the libcamera module. I researched how to fix it and found out that
other people have the same issue
Then I tried one of the suggested ways to install libcamera by following
this page
It works when Venv is deactivated but does not when the Venv is active. My tutor found out
this page
The solution was to use this command when creating Venv
python -m venv venv --system-site-packagesAfter all, it worked my Pi CAM worked. I am sure there is another more sufficient way to do this. I would like to investigate that in the future.
Problem 2
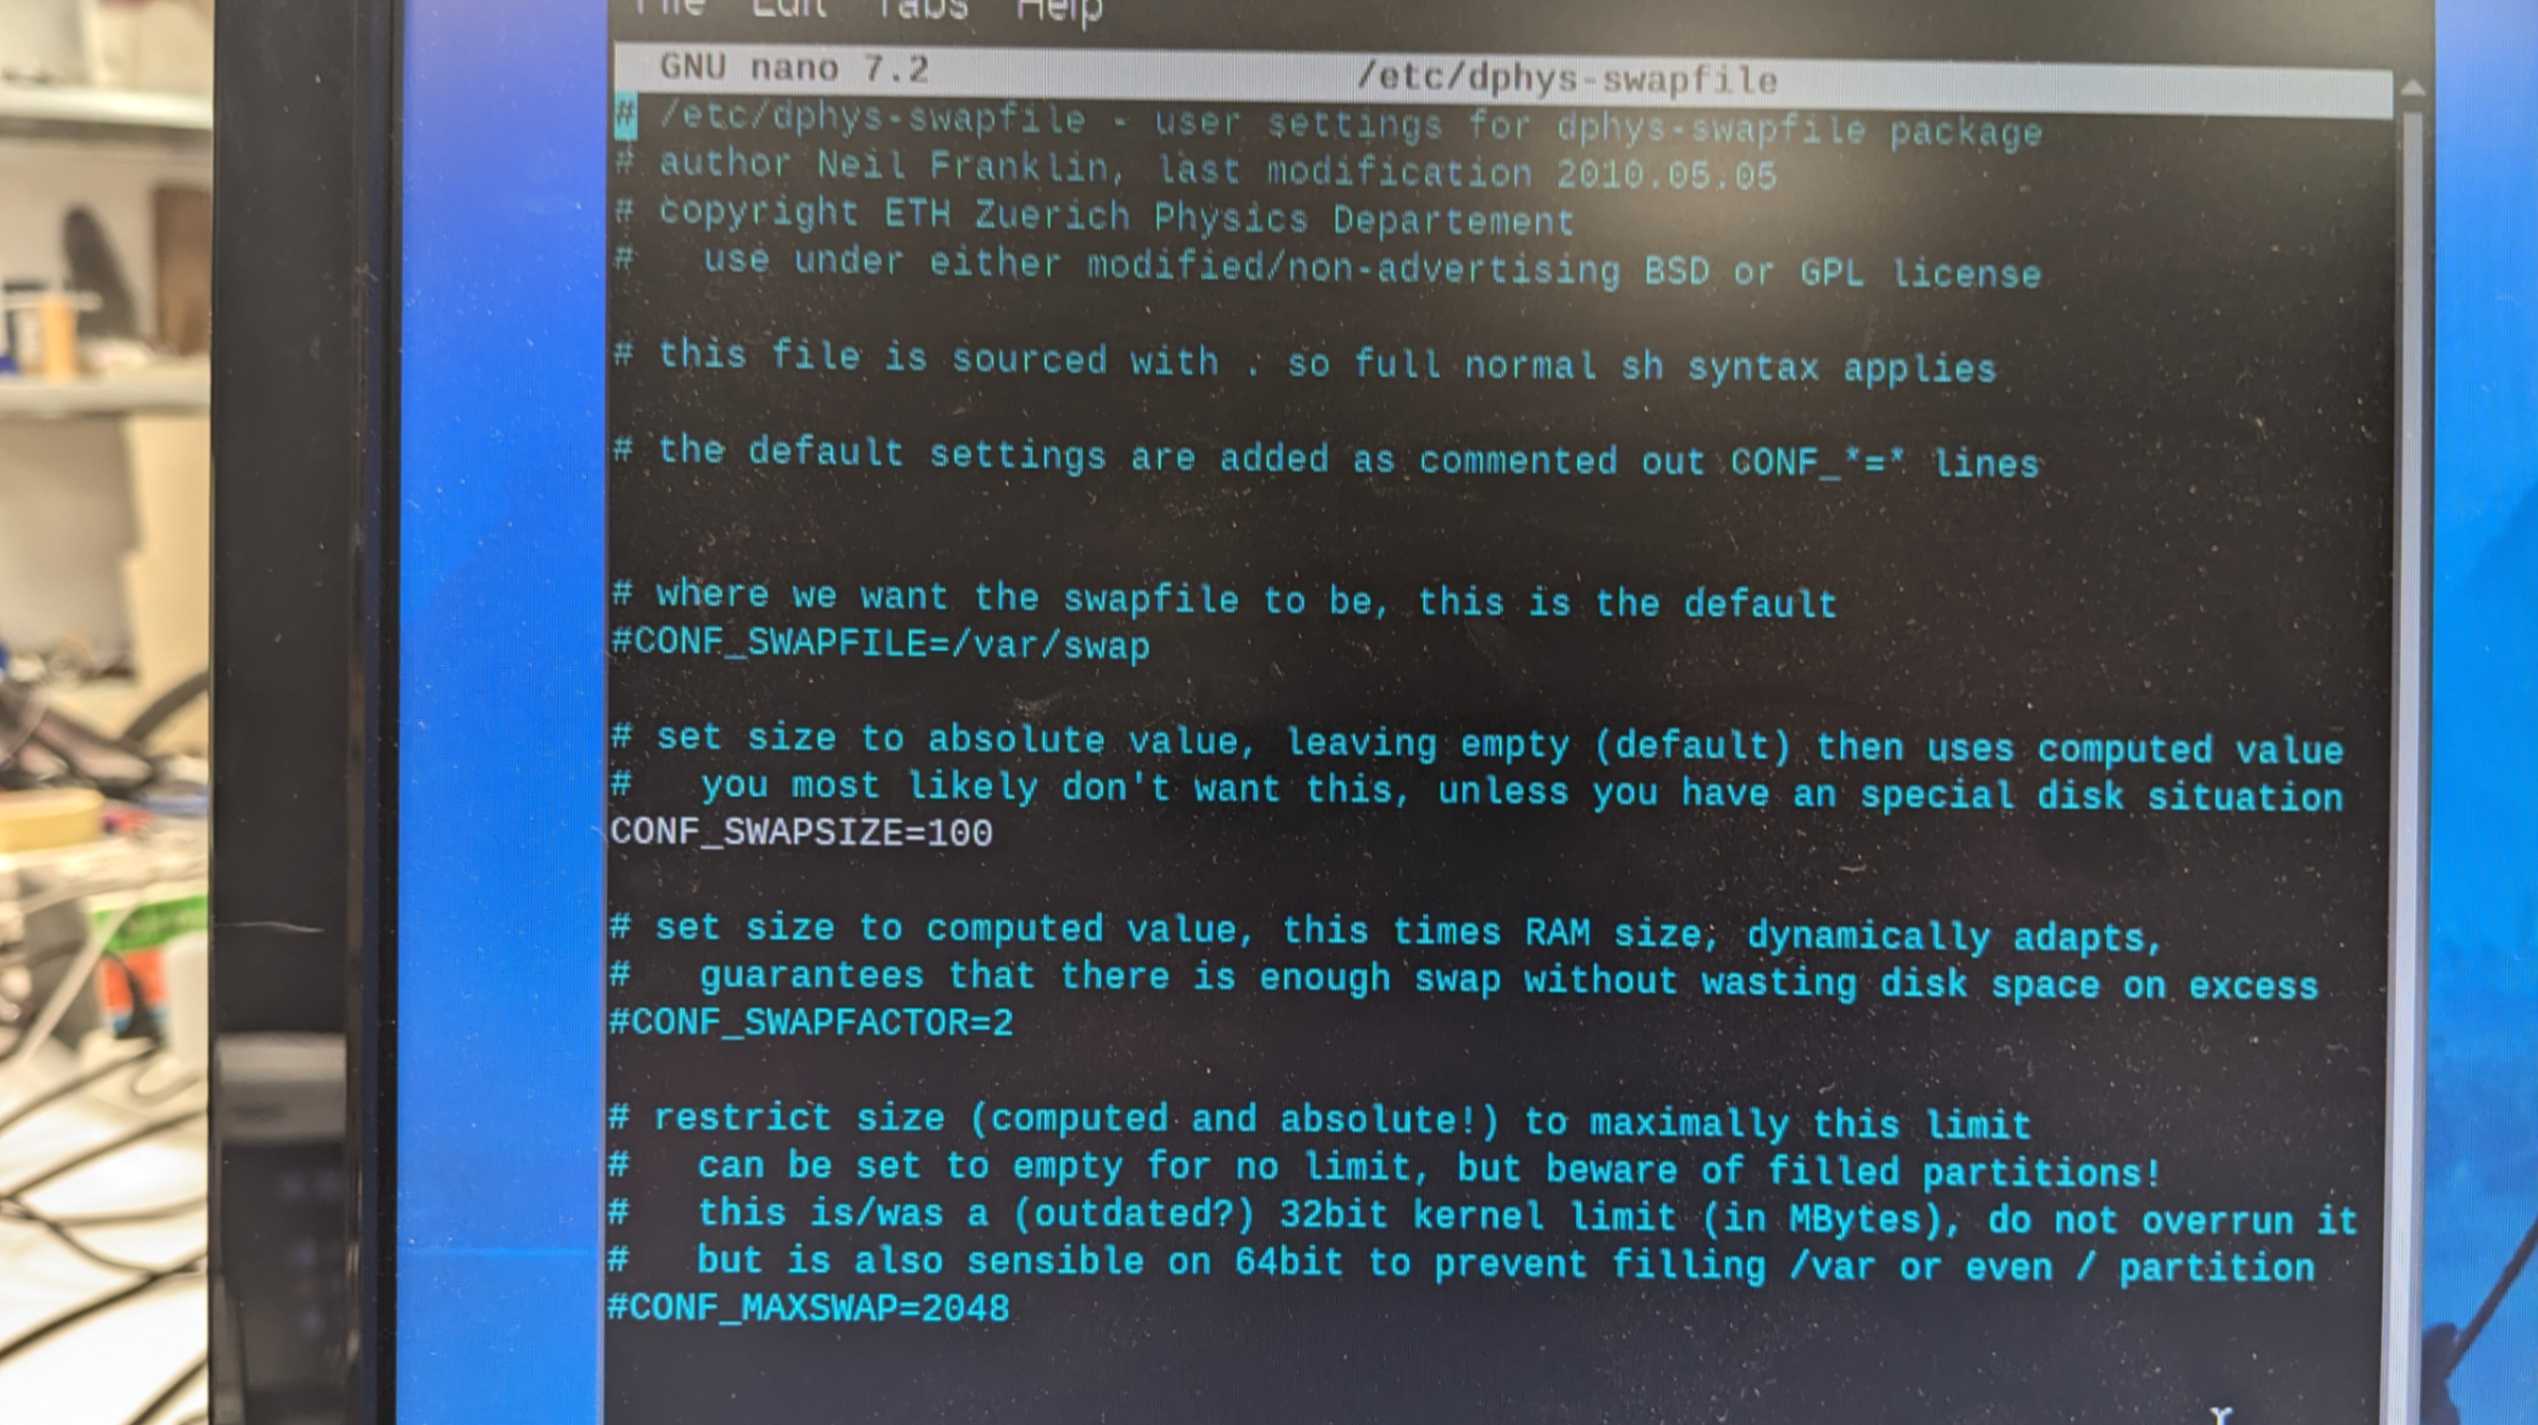
When I wanted to install TensorFlow on my Raspberry Pi it was getting killed every time. Then I asked ChaGPT to solve this problem. The reason for it getting killed was due to insufficient memory or swap space so I was advised to increase the swap space value by using the command
sudo nano /etc/dphys-swapfileThen change the value to
CONF_SWAPSIZE=2048Then restart the swap service using the command
sudo /etc/init.d/dphys-swapfile stop
sudo /etc/init.d/dphys-swapfile start
Then I use the command to install TensorFlow
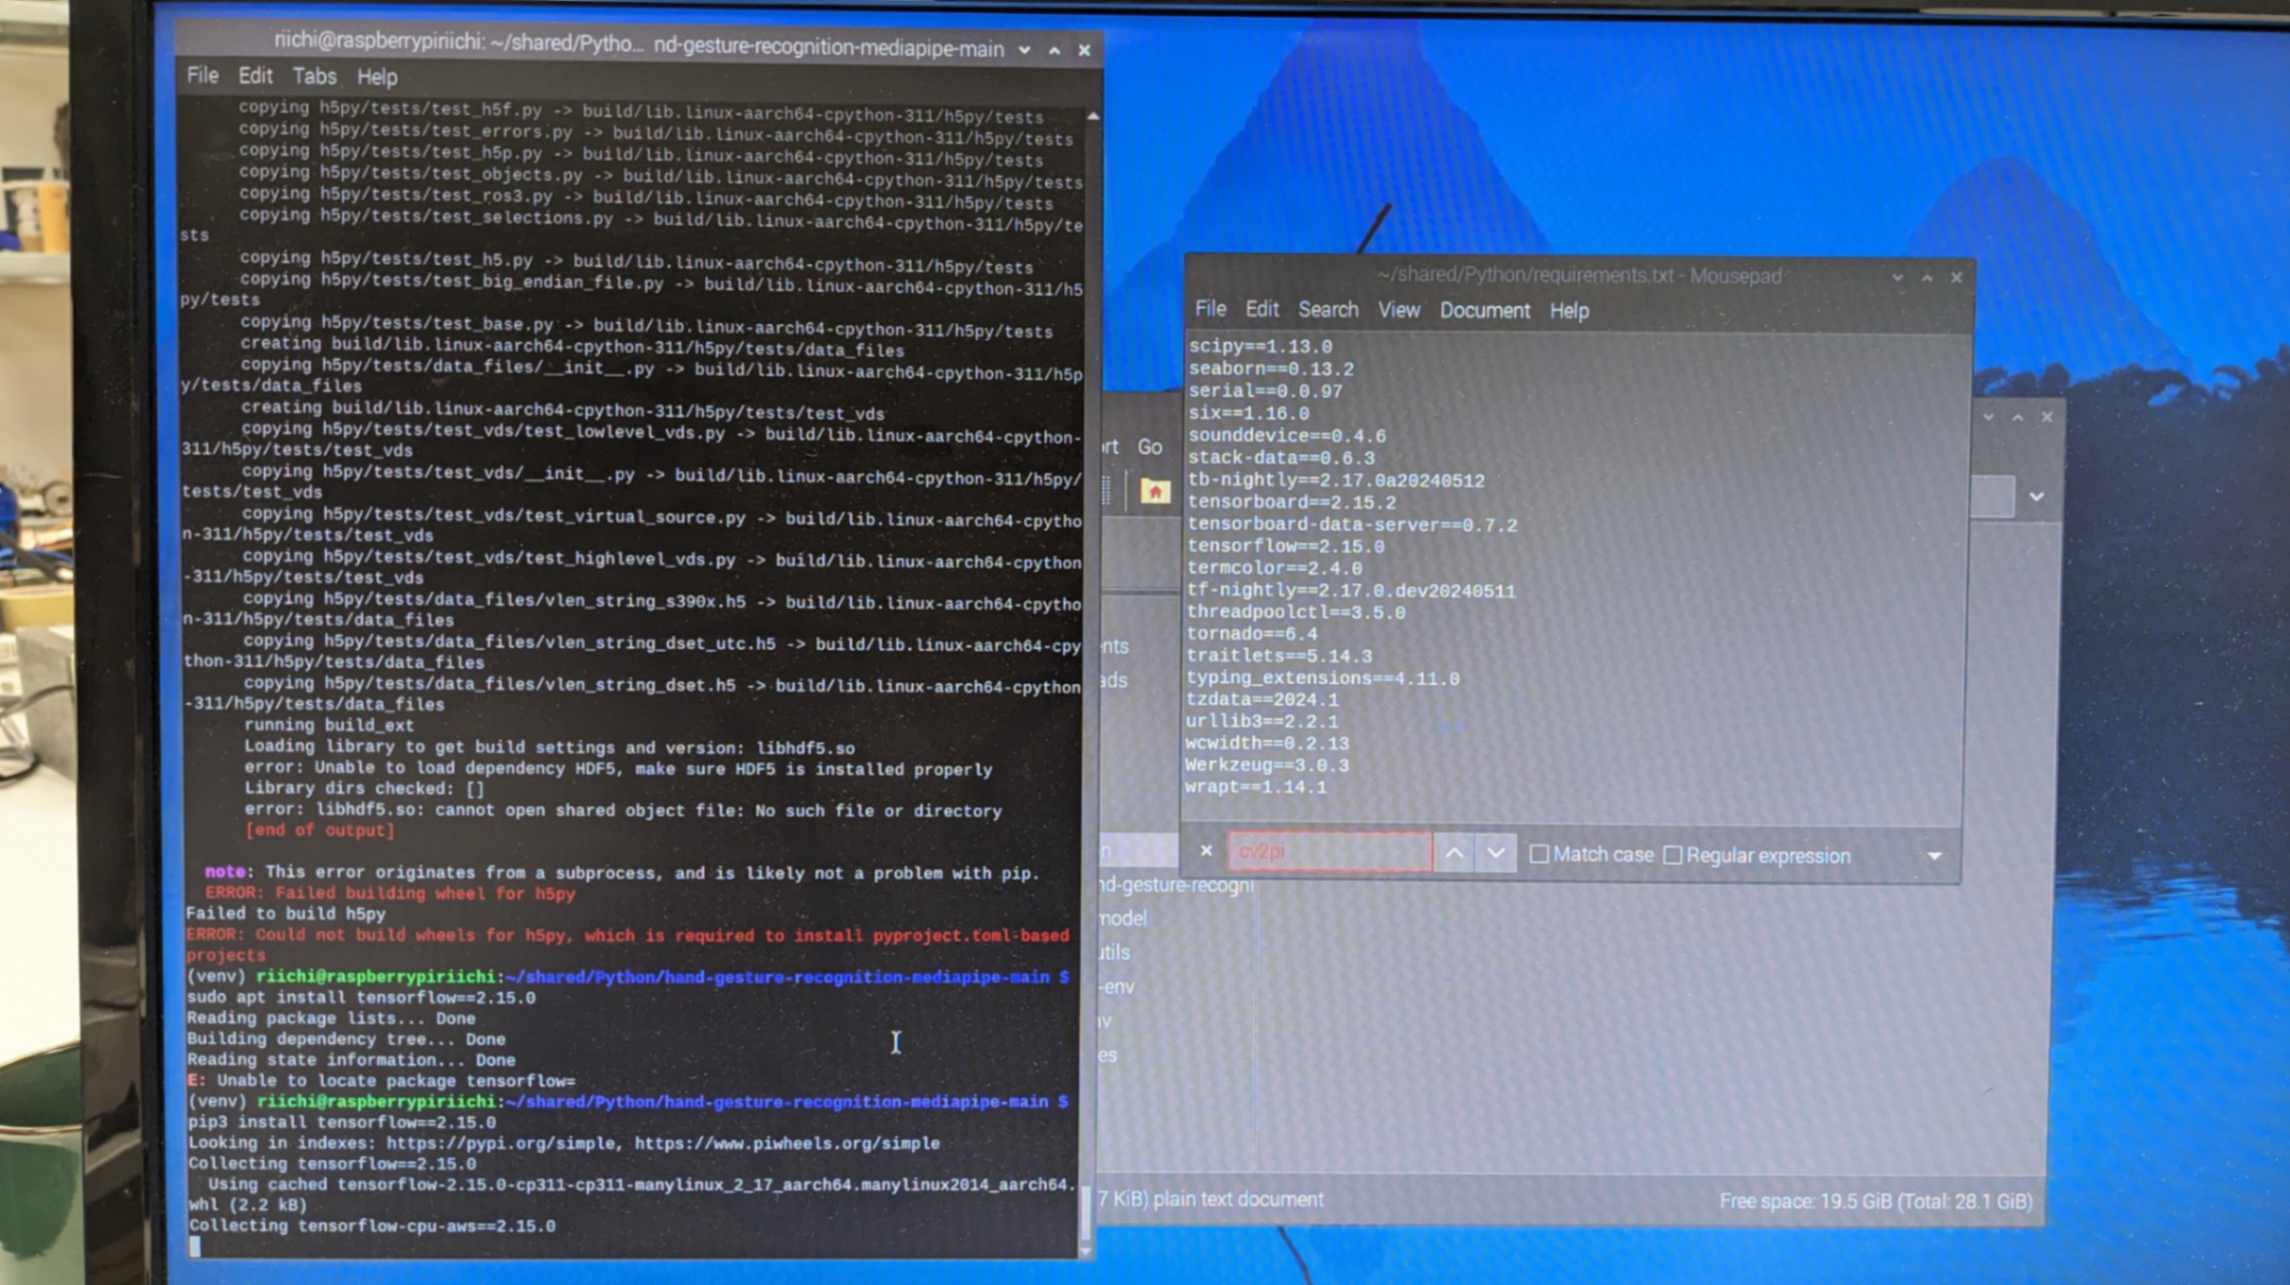
pip install tensorflow==2.15.0But I was still getting an error not finding h5py
So I simply followed the GPT instructions below
Install System Dependencies:
sudo apt-get update
sudo apt-get install libhdf5-dev libhdf5-serial-dev libhdf5-103
sudo apt-get install libatlas-base-dev gfortran build-essential python3-devUpgrade pip and setup tools:
pip install --upgrade pip setup toolsInstall h5py:
pip install h5pyInstall TensorFlow:
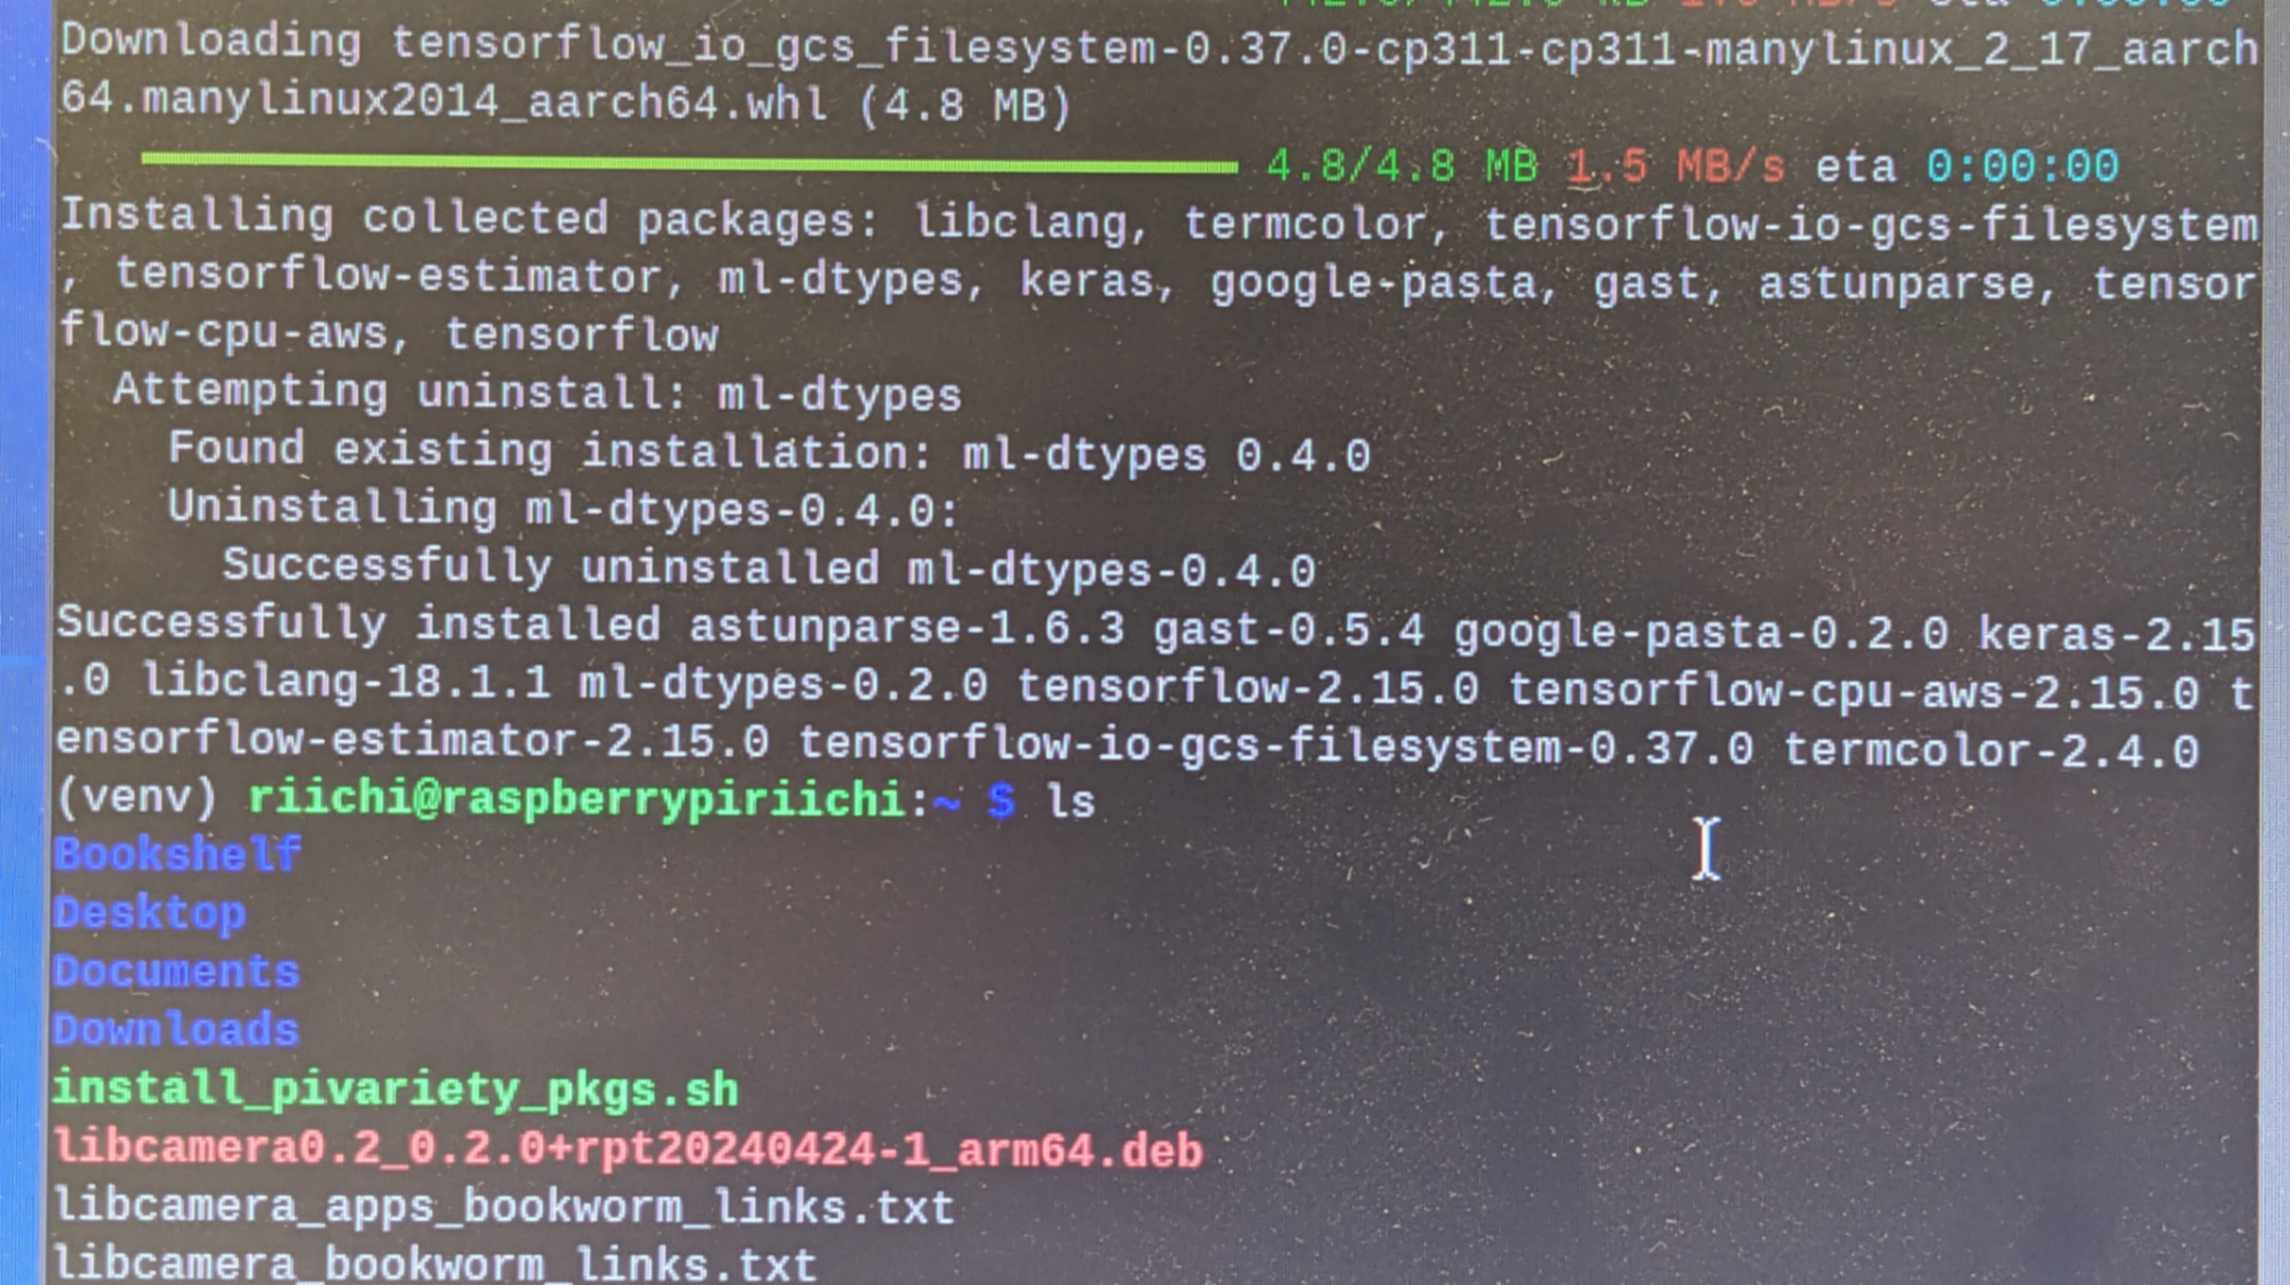
pip install tensorflow==2.15.0Finally, I was able to install Tensorflow on Raspberry Pi
Full conversation with Chat GPT
Raspberry Pi Backup
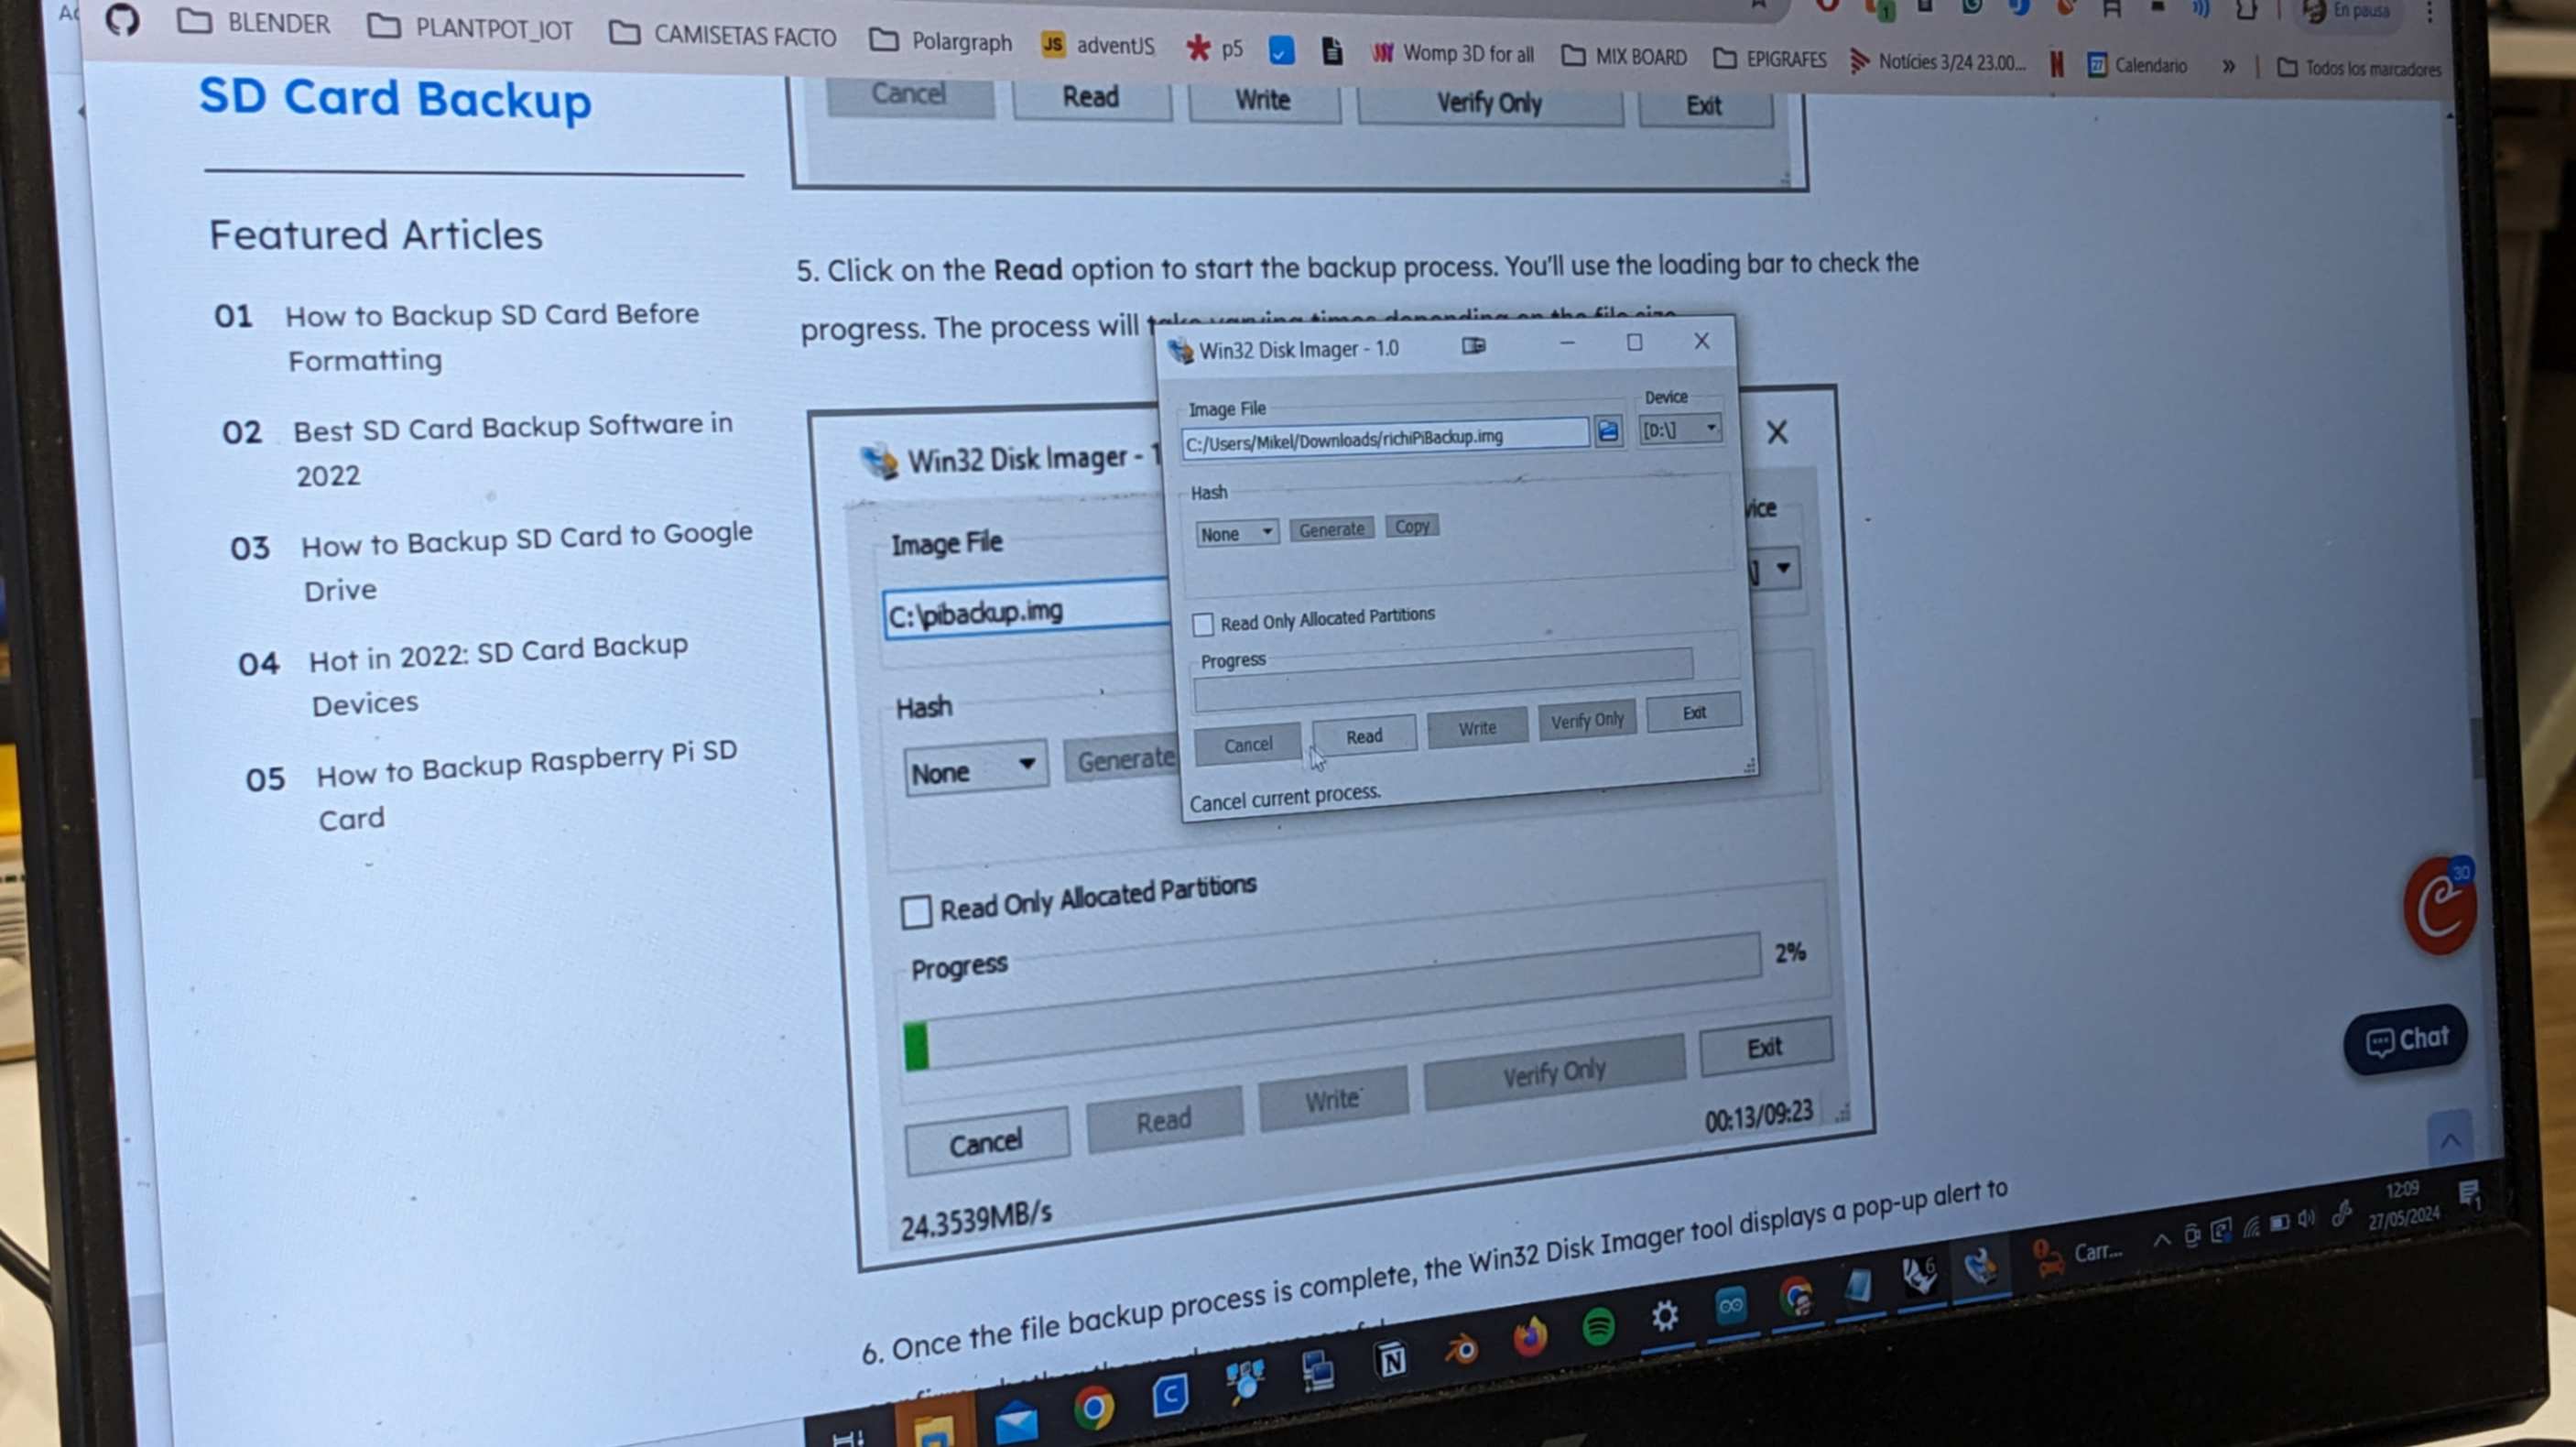
In the process of debugging a problem that I had with Raspberry Pi, I needed to do something that might change the setting of Raspberry Pi so I was advised to backup the data of the SD card in Raspberry Pi by my tutor Mikel. I think it is good to document this process of backing up.
To start this process I used
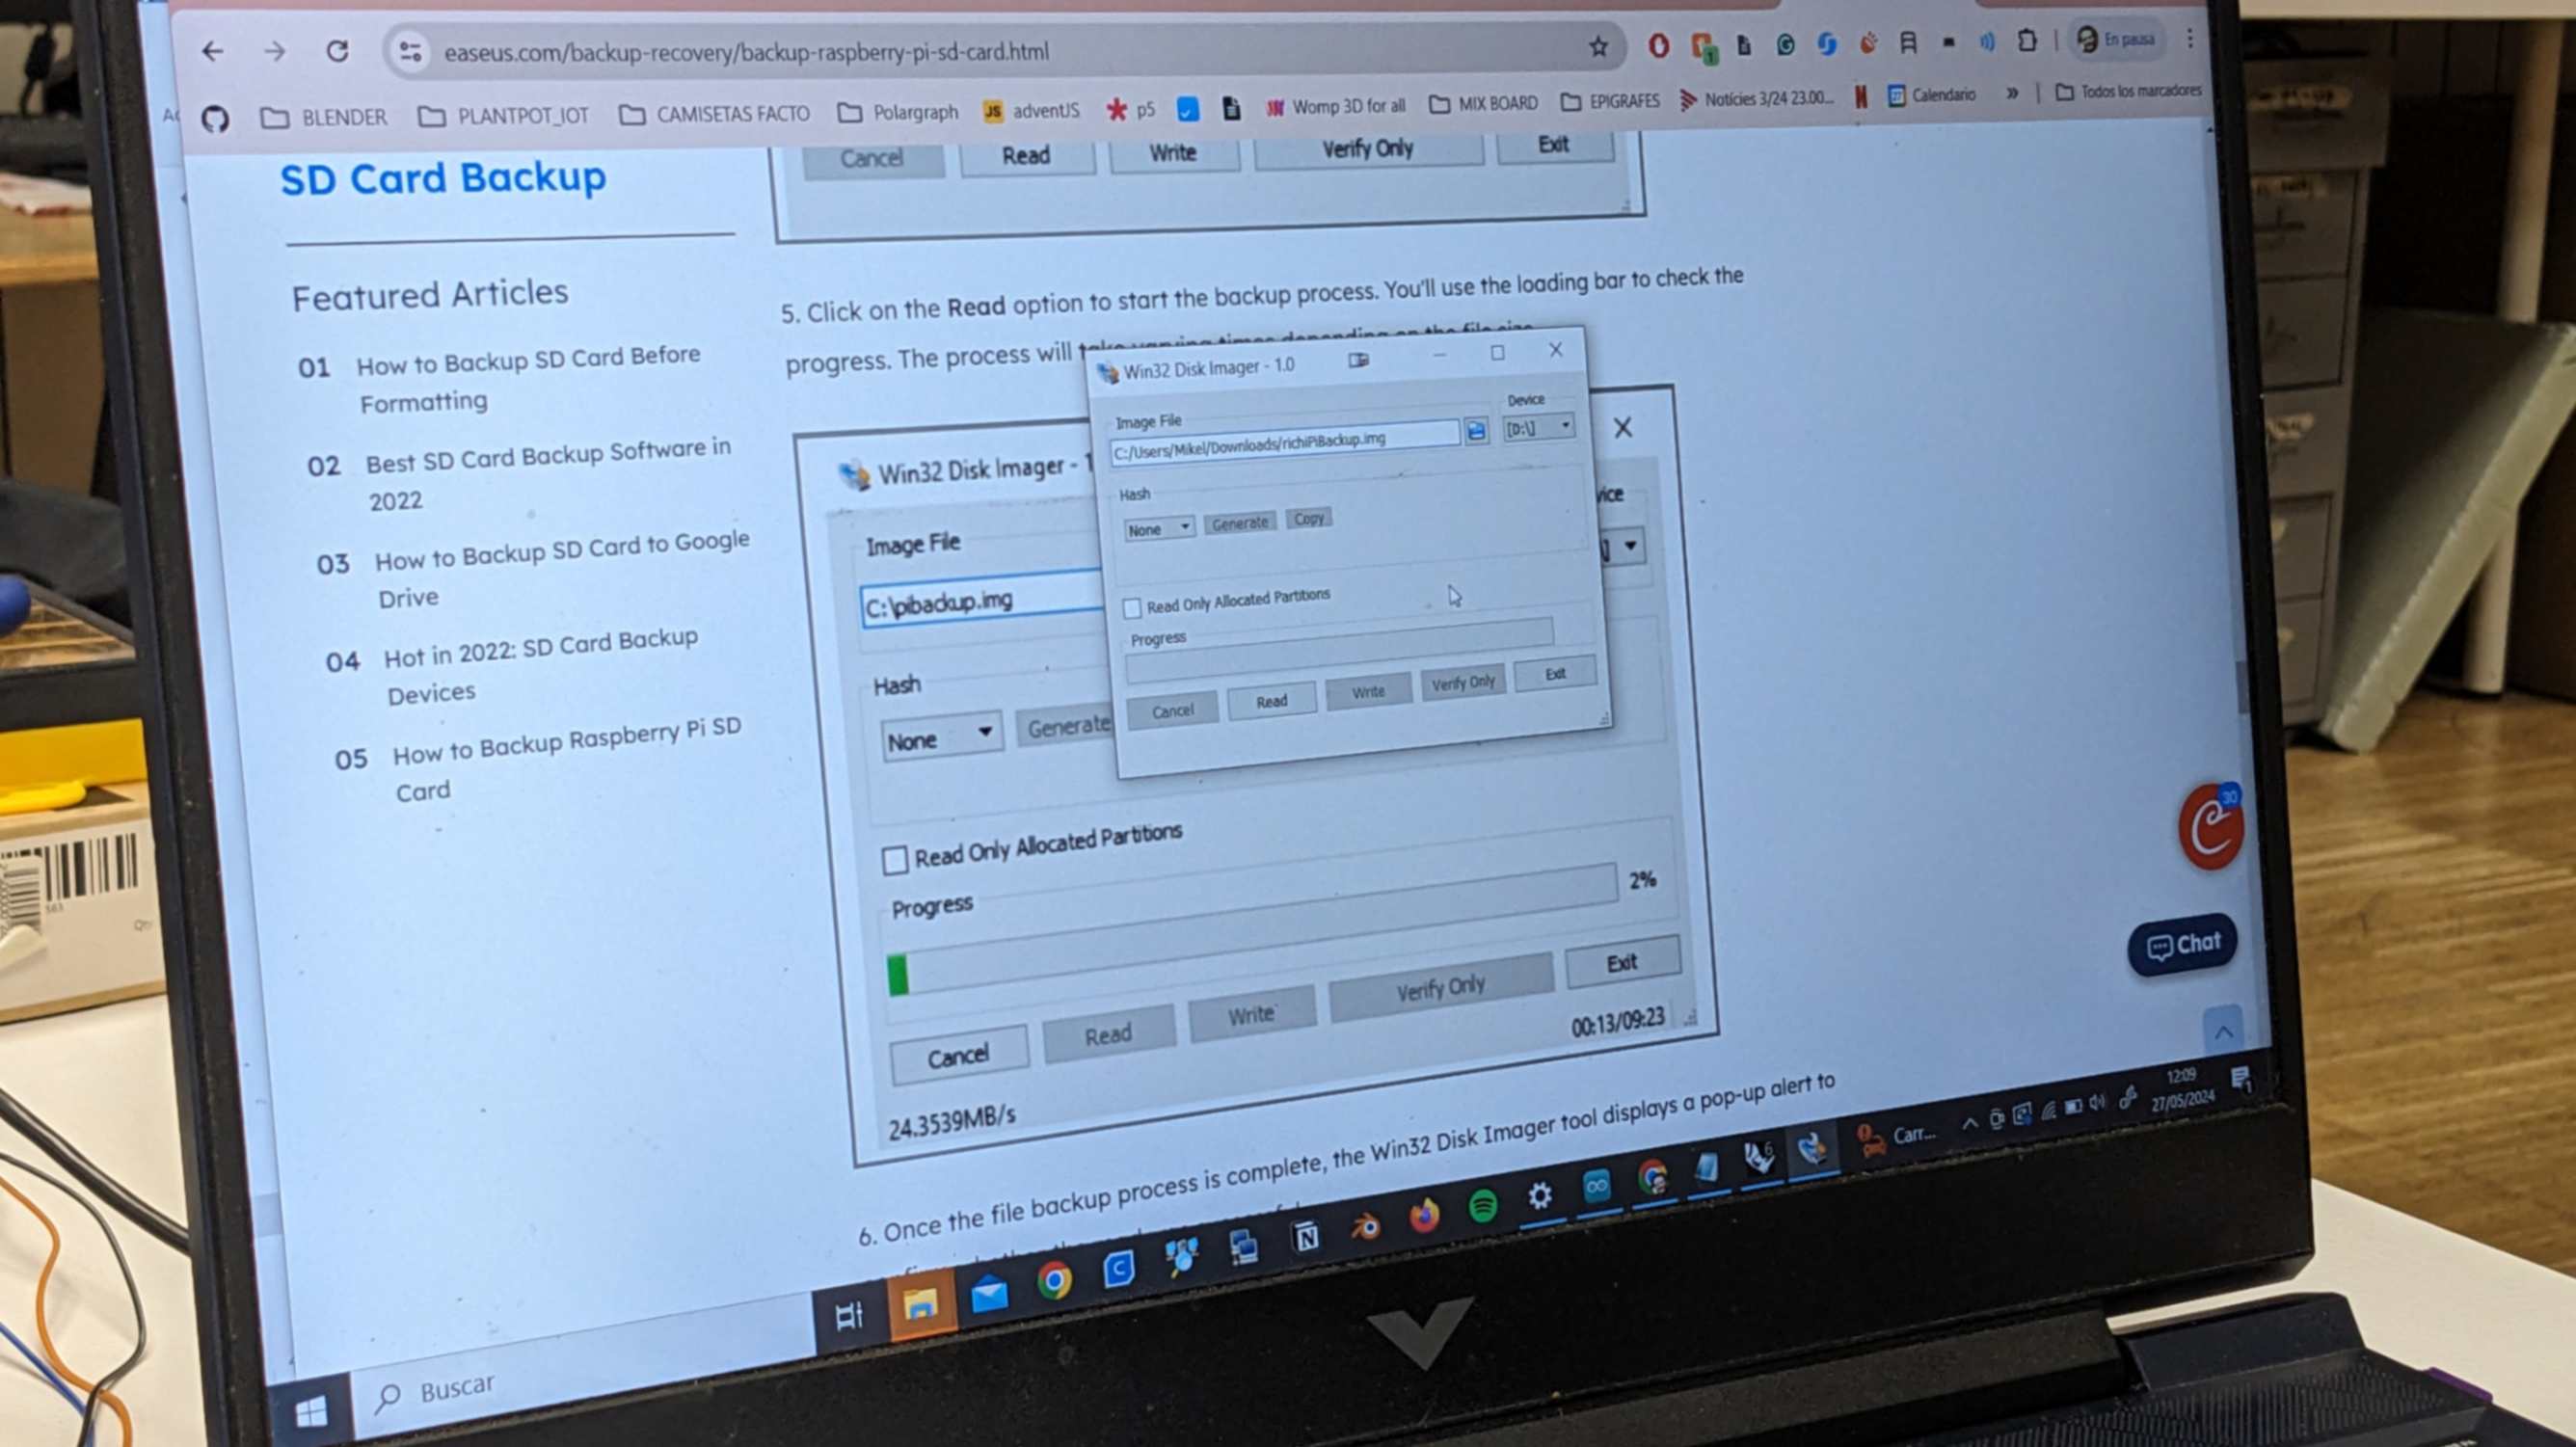
this page as a guide
I used
Win32 Disk Imager
as a tool for this backup since it was the same one that my tutor was using. However I was not able to start the application after installation for some reason. So I borrowed my tutor's laptop to do it.
The process is rather straightforward as it is explained on the page.
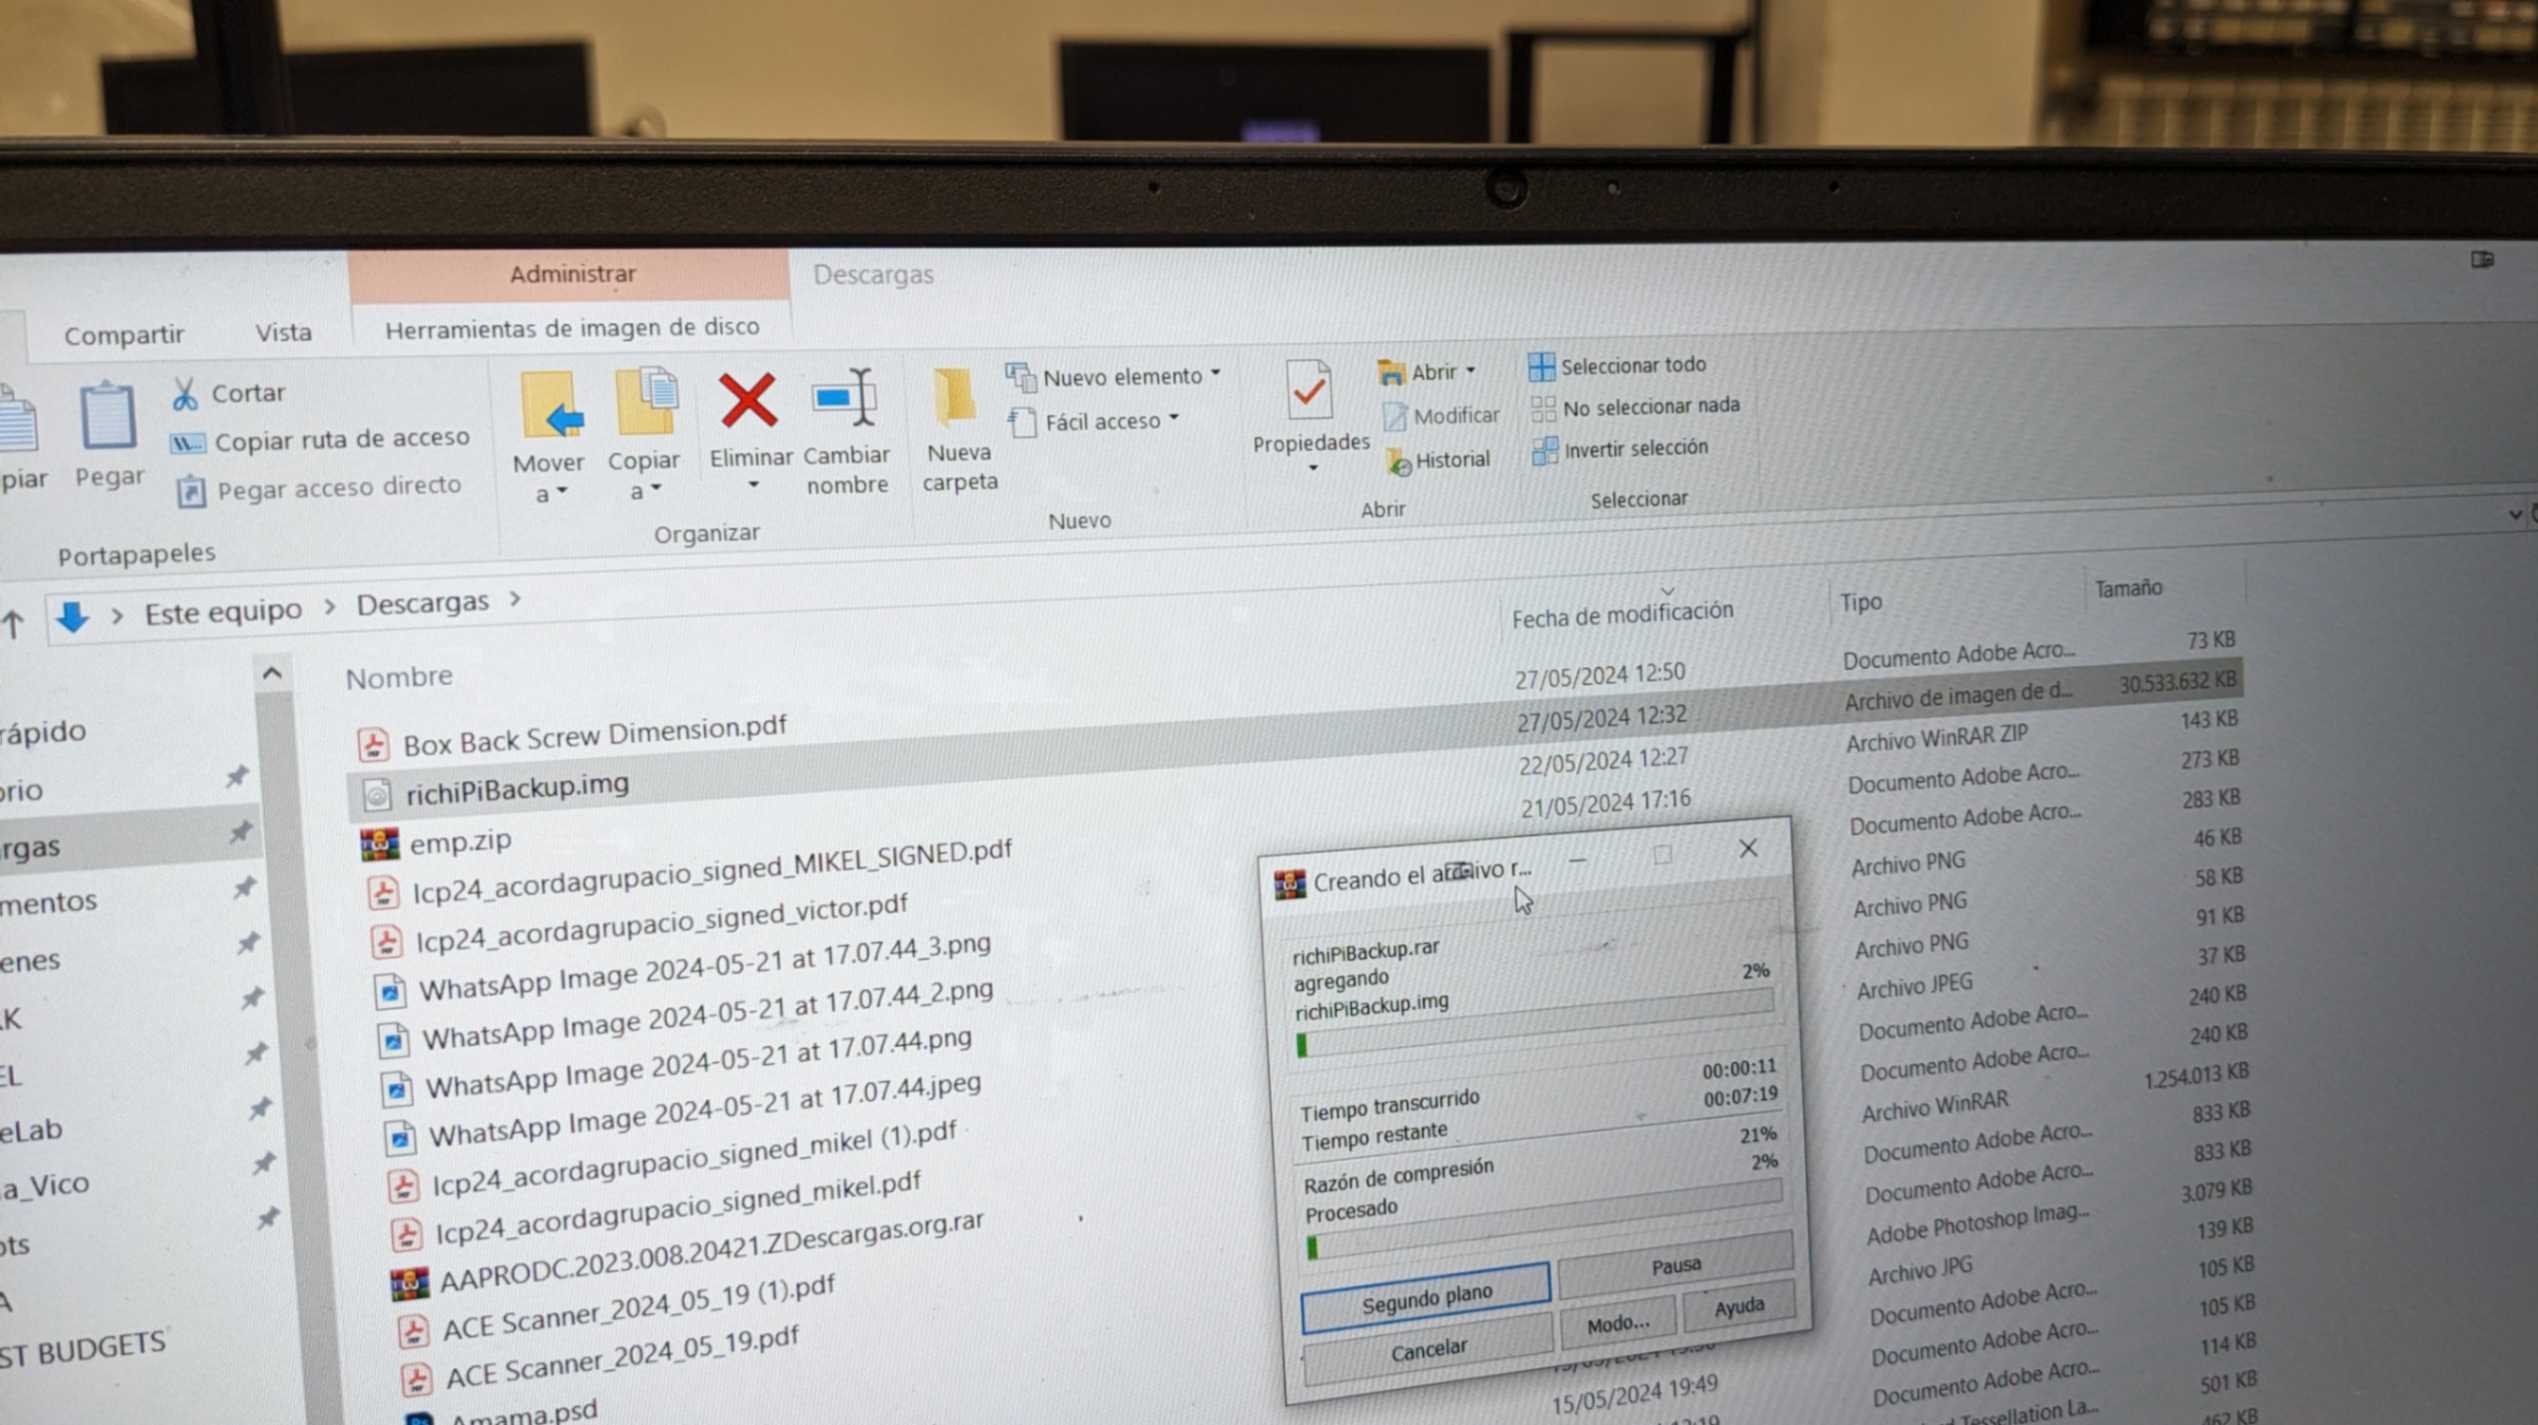
After reading the SD card, it will give me a single img file. However the file size was very big since it copies almost the same size as my SD card such as 32GB. I did not have enough storage space on my laptop so I saved it on my tutor’s laptop.
Running the main Python script in Raspberry Pi
After successfully installing the Tensorflow, I was expecting the main Python script to work, but that was not the case. My tutor Mikel and I tried a bunch of different possible solutions. Here are some pages that we looked at but none of those solutions worked in my case.
I am trying to make the Raspberry Pi camera work with OpenCV
VideoCapture.open(0) won't recognize pi cam
Raspberry Pi Documentation
My Raspberry Pi camera does not return frames to OpenCV
4.2. Capturing to an OpenCV object
Using Picamera2 With Cv2 / OpenCv
Problem with imshow in OpenCV
[OTHER] Problems video reading using OpenCV and picam2 #655
Install OpenCV on your Raspberry Pi
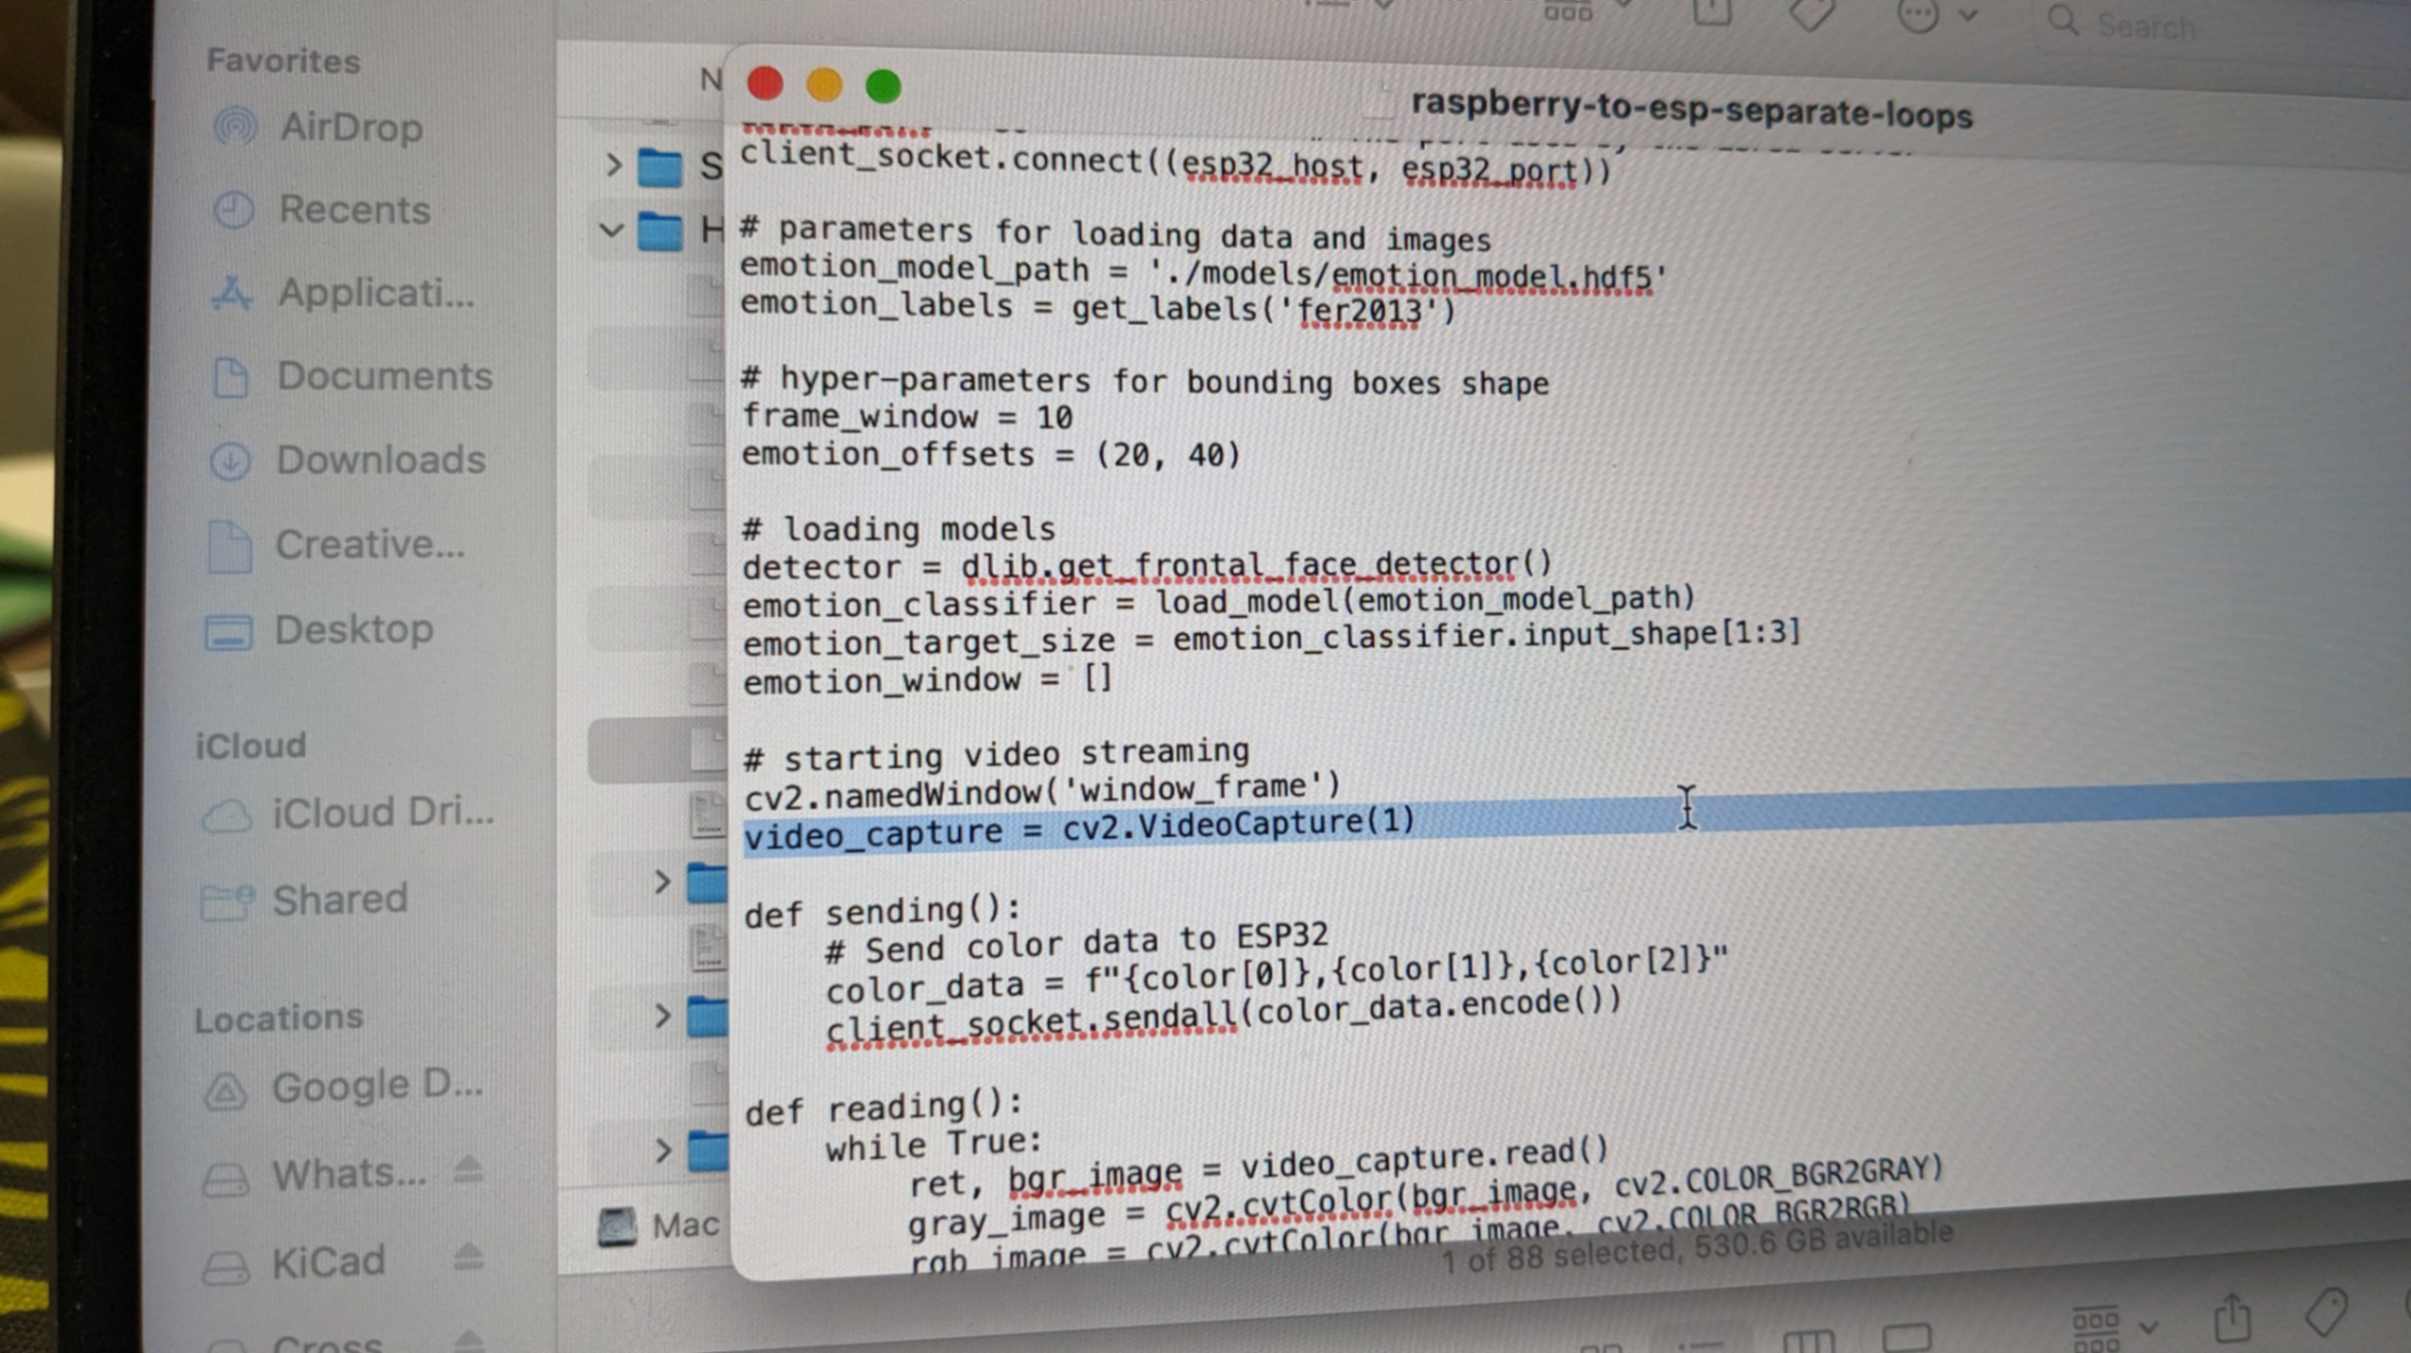
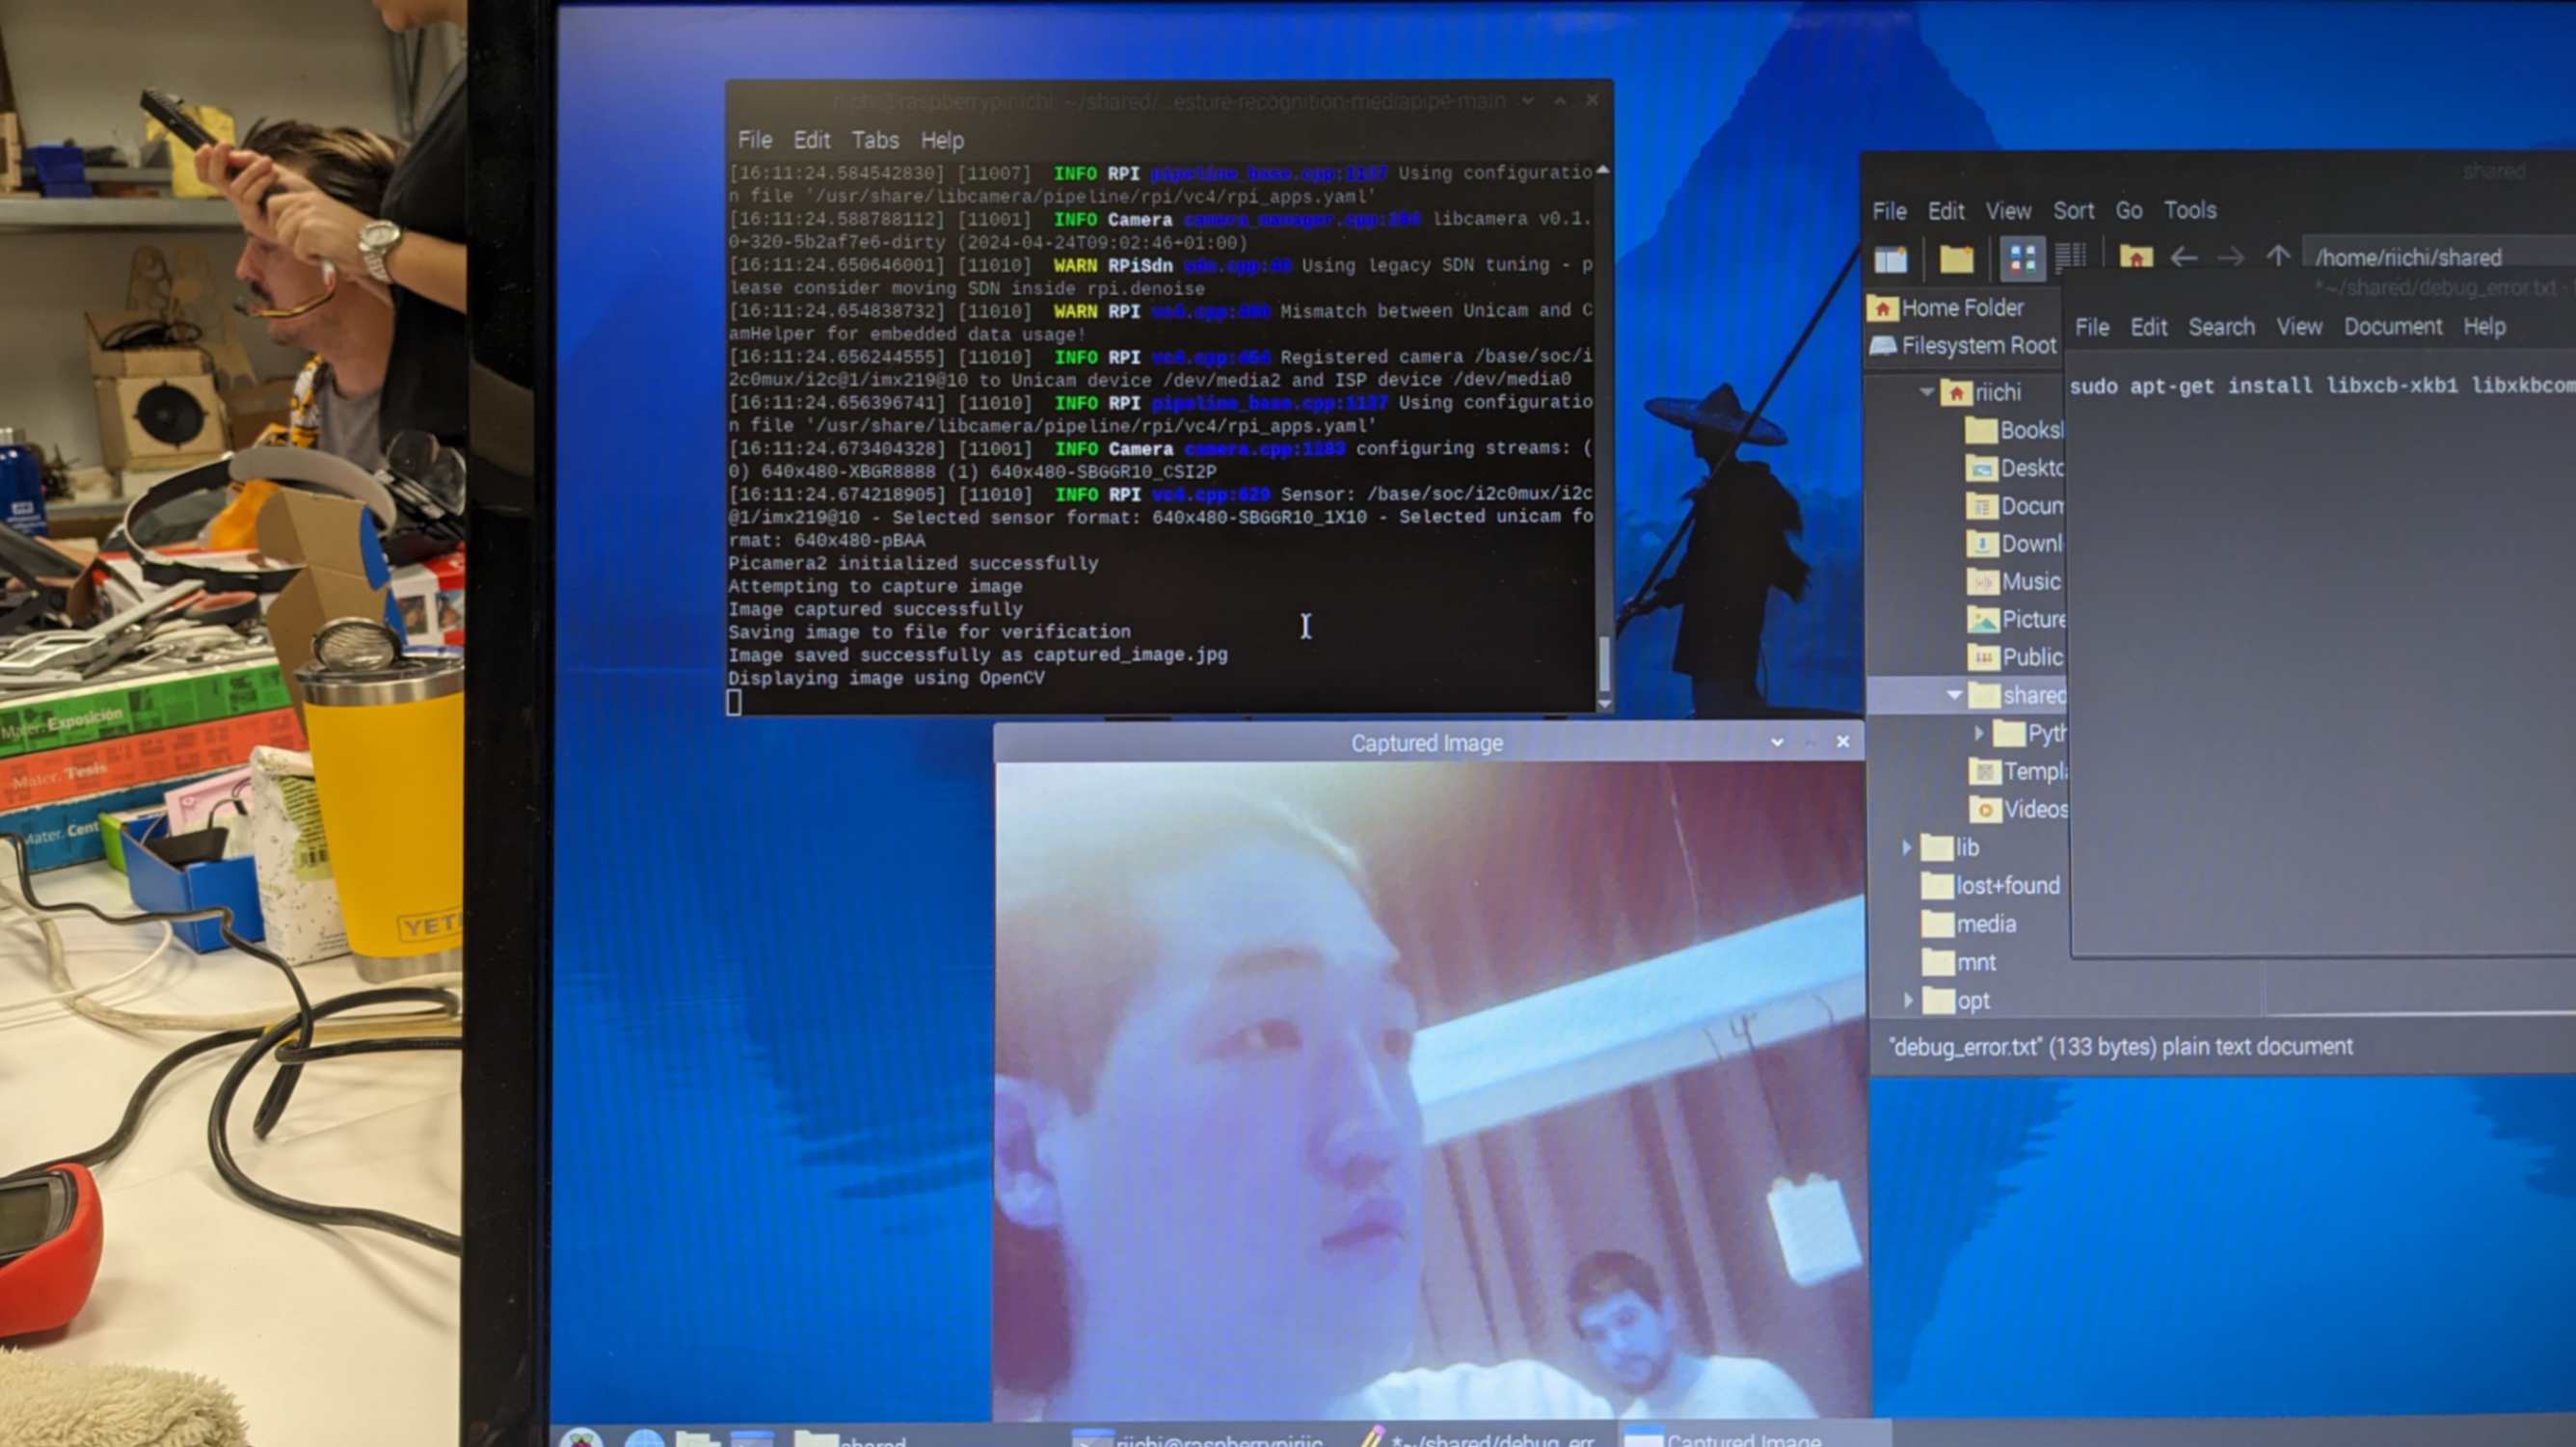
From hours-long investigation and help from Chat GPT, I was able to point out the core of the problem, such as the mixed-use of OpenCV and PiCamera library. More specifically the OpenCV function imshow() did not show the camera feed from Picamera.
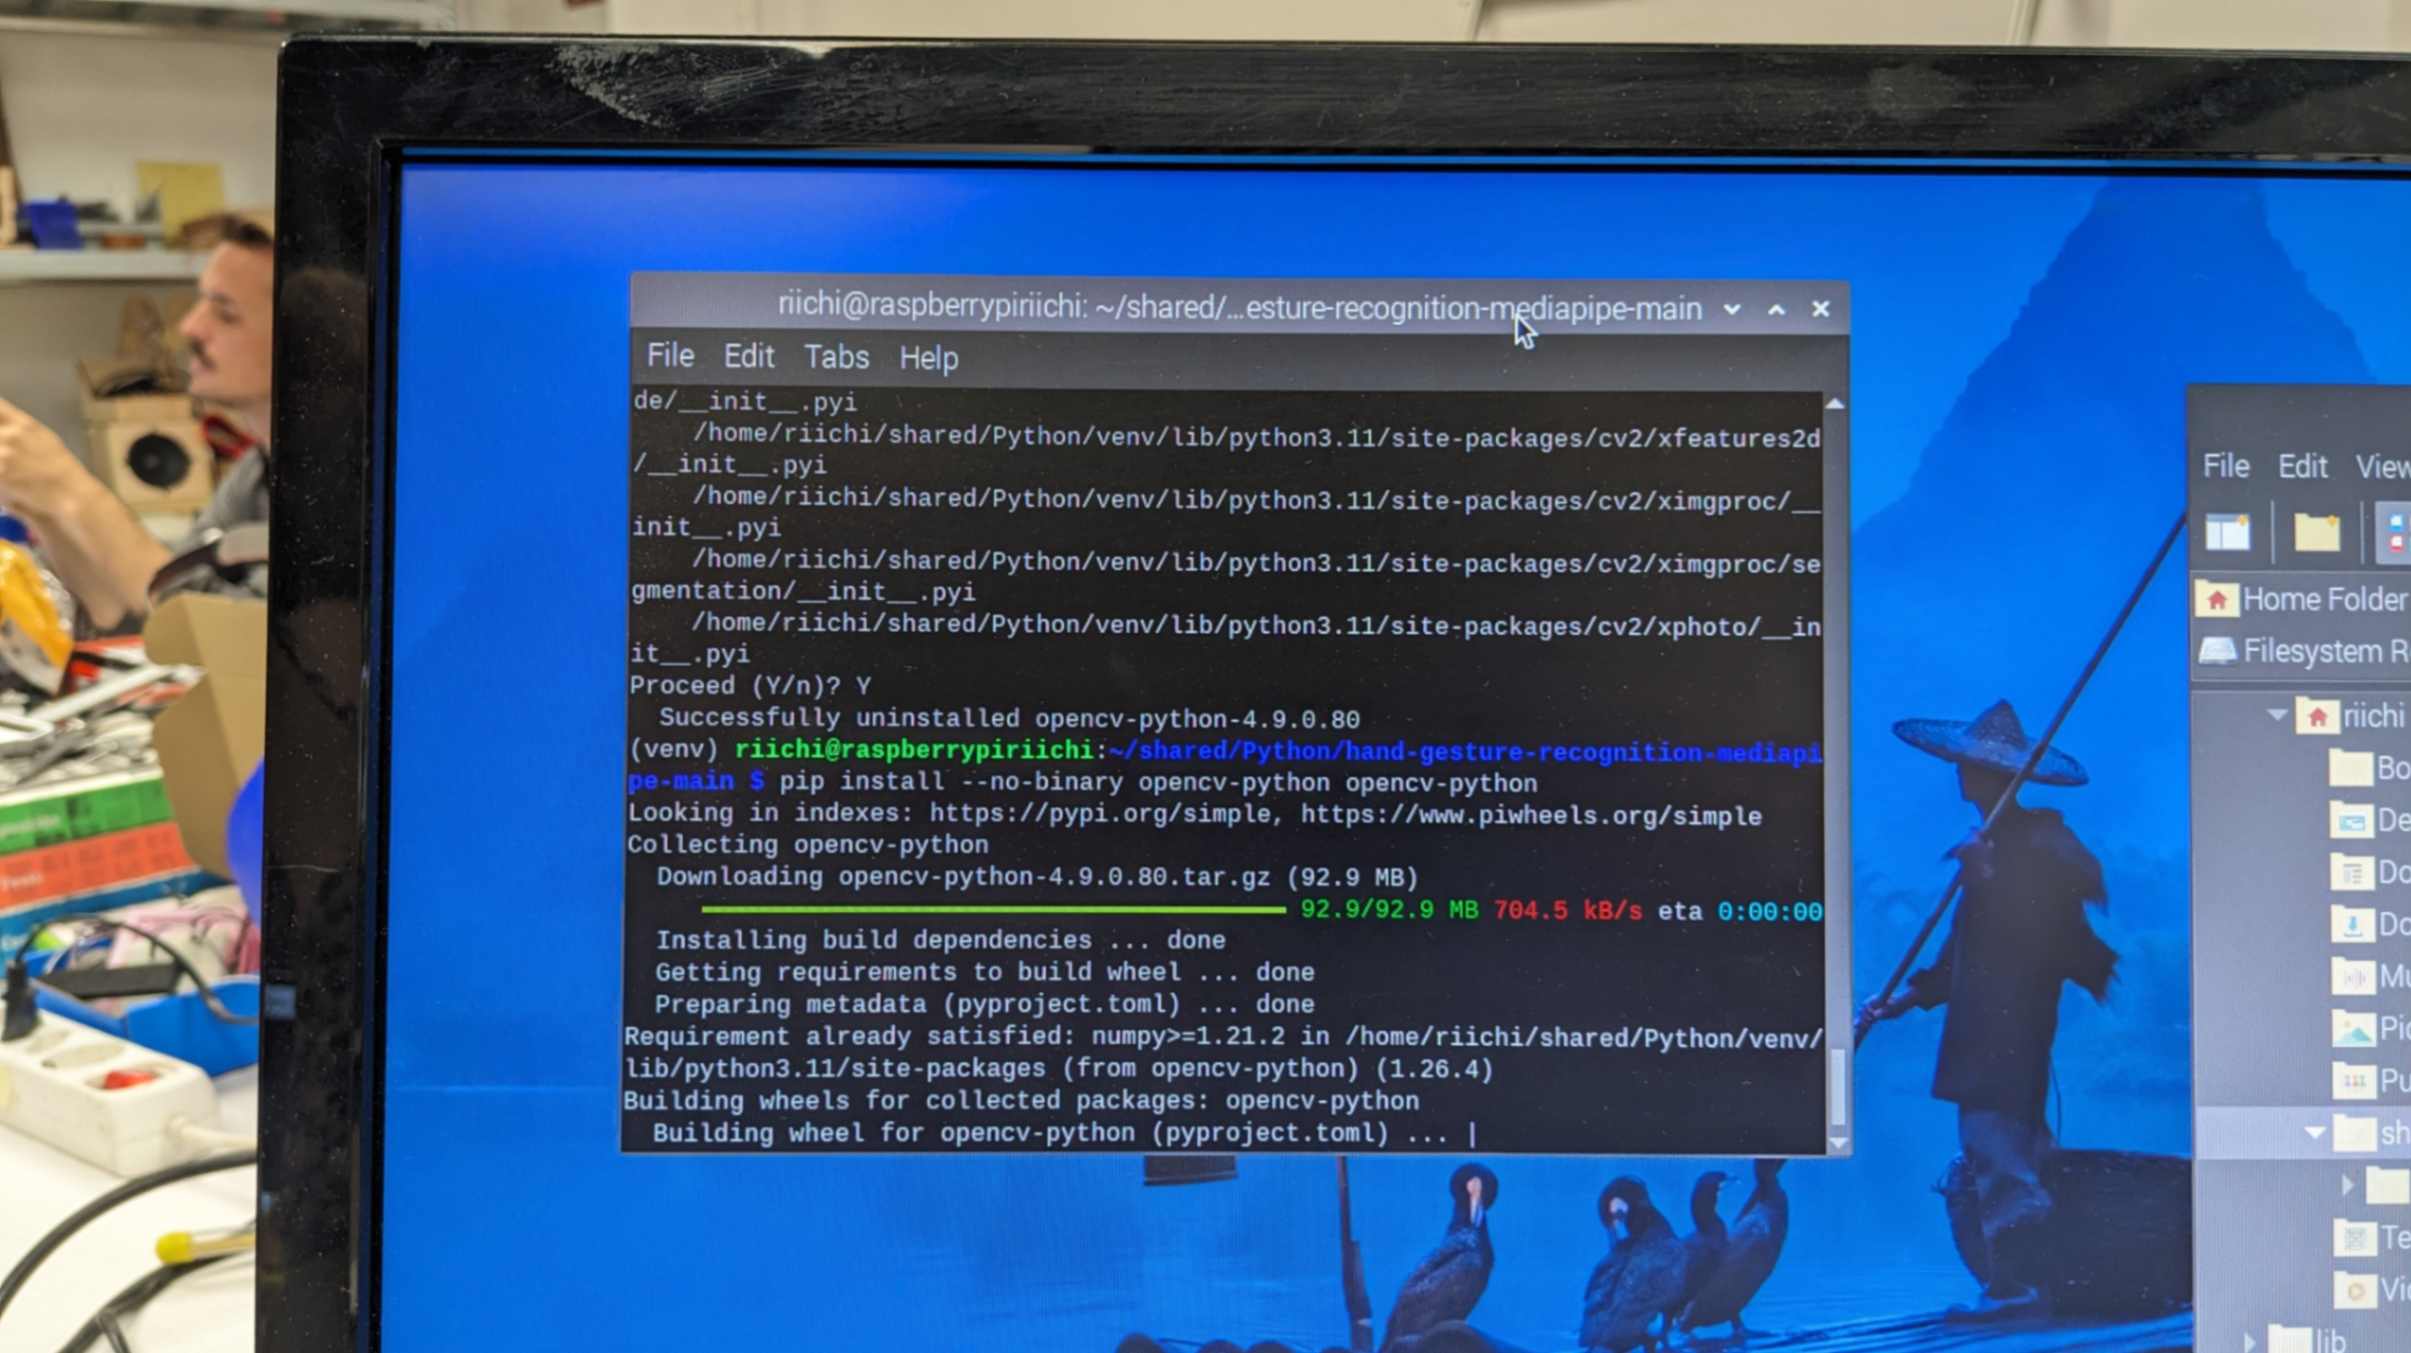
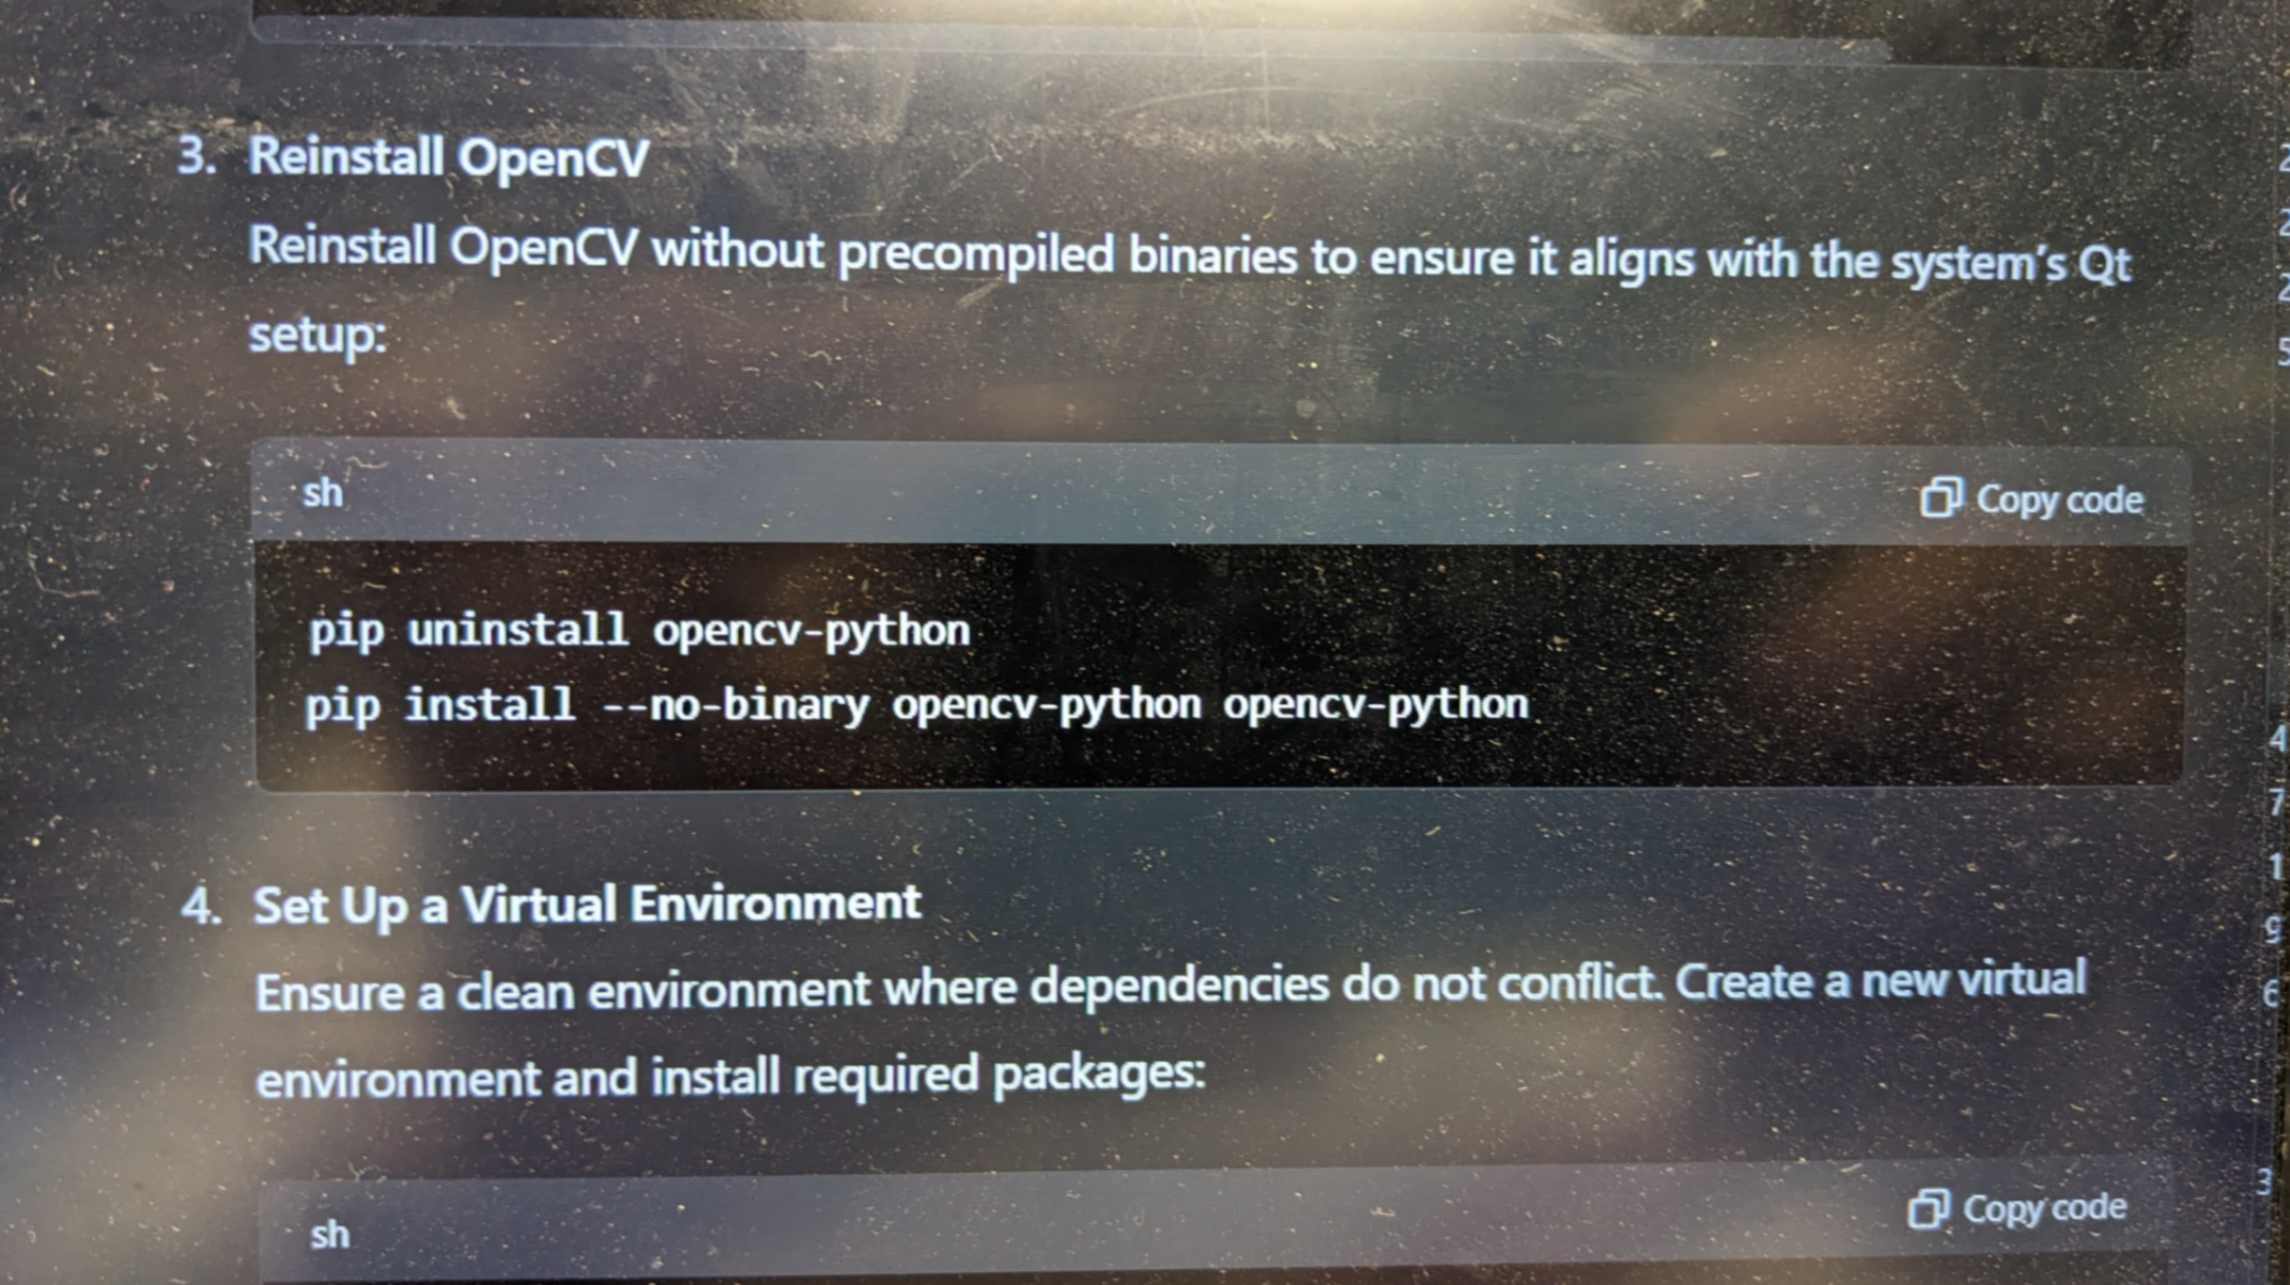
In the end, I used Chat GPT to tackle this problem, and I was able to solve it. The solution was to install missing dependencies such as Qt and XCB libraries, adjusting QT_QPA_PLATFORM_PLUGIN_PATH, and using the --no-binary option to reinstall OpenCV
pip install --no-binary opencv-python opencv-pythonFull conversation with Chat GPT
FPS Picam vs Webcam
After solving the previous issue, I was able to display the camera feed on the screen. However, the camera feed was really rugged and almost unable to capture my gestures properly. This was also obvious since the FPS was around 2.
To tackle this problem I looked at these pages
How to change the FPS with picamera2 library ? #566
PiCamera increase FPS?
How to get more FPS out of Pi Camera V2 with Python?
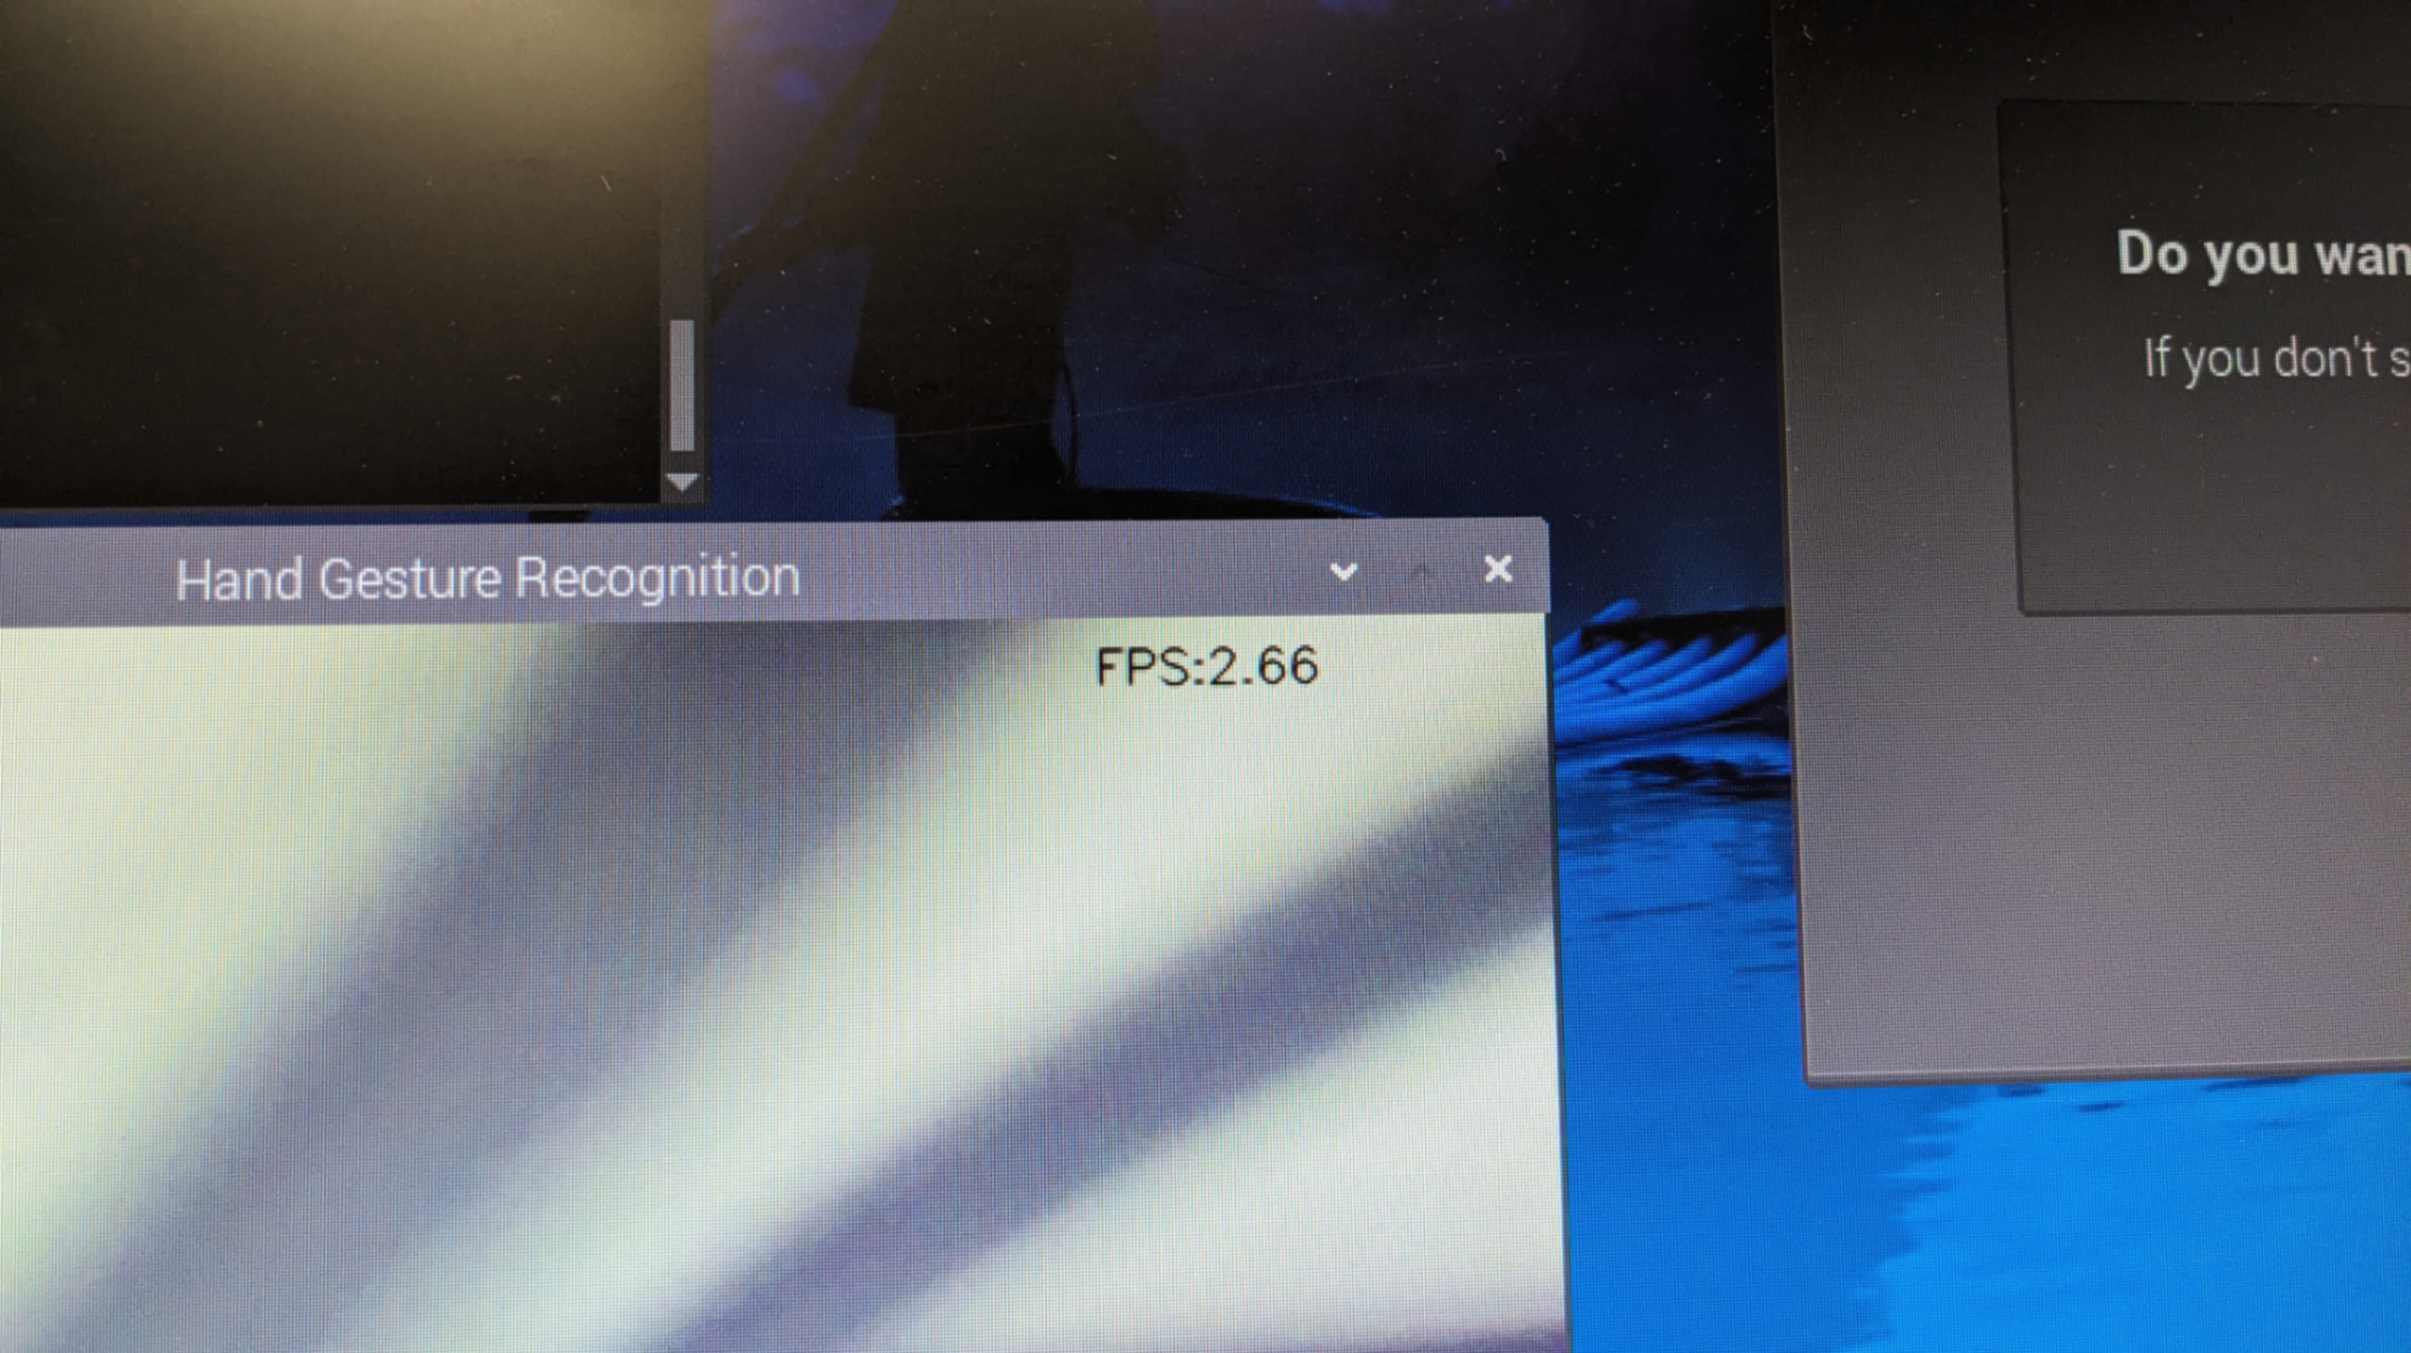
However none of the above were able to improve the FPS. Then my good friend Tony advised me a way to debug. He told me to run the camera function without gesture recognition and check the FPS. if the FPS is higher and the camera feed is not rugged, it might be that Raspberry Pi have a difficult time processing all the camera data at the same time.
So when I tried to run the script without gesture recognition processing that FPS went up to around 11 and the camera feed was really smooth.
I also used the command
topTo see the task load of the Raspberry Pi, and I found out that running the script was taking quite a lot of RAM space.
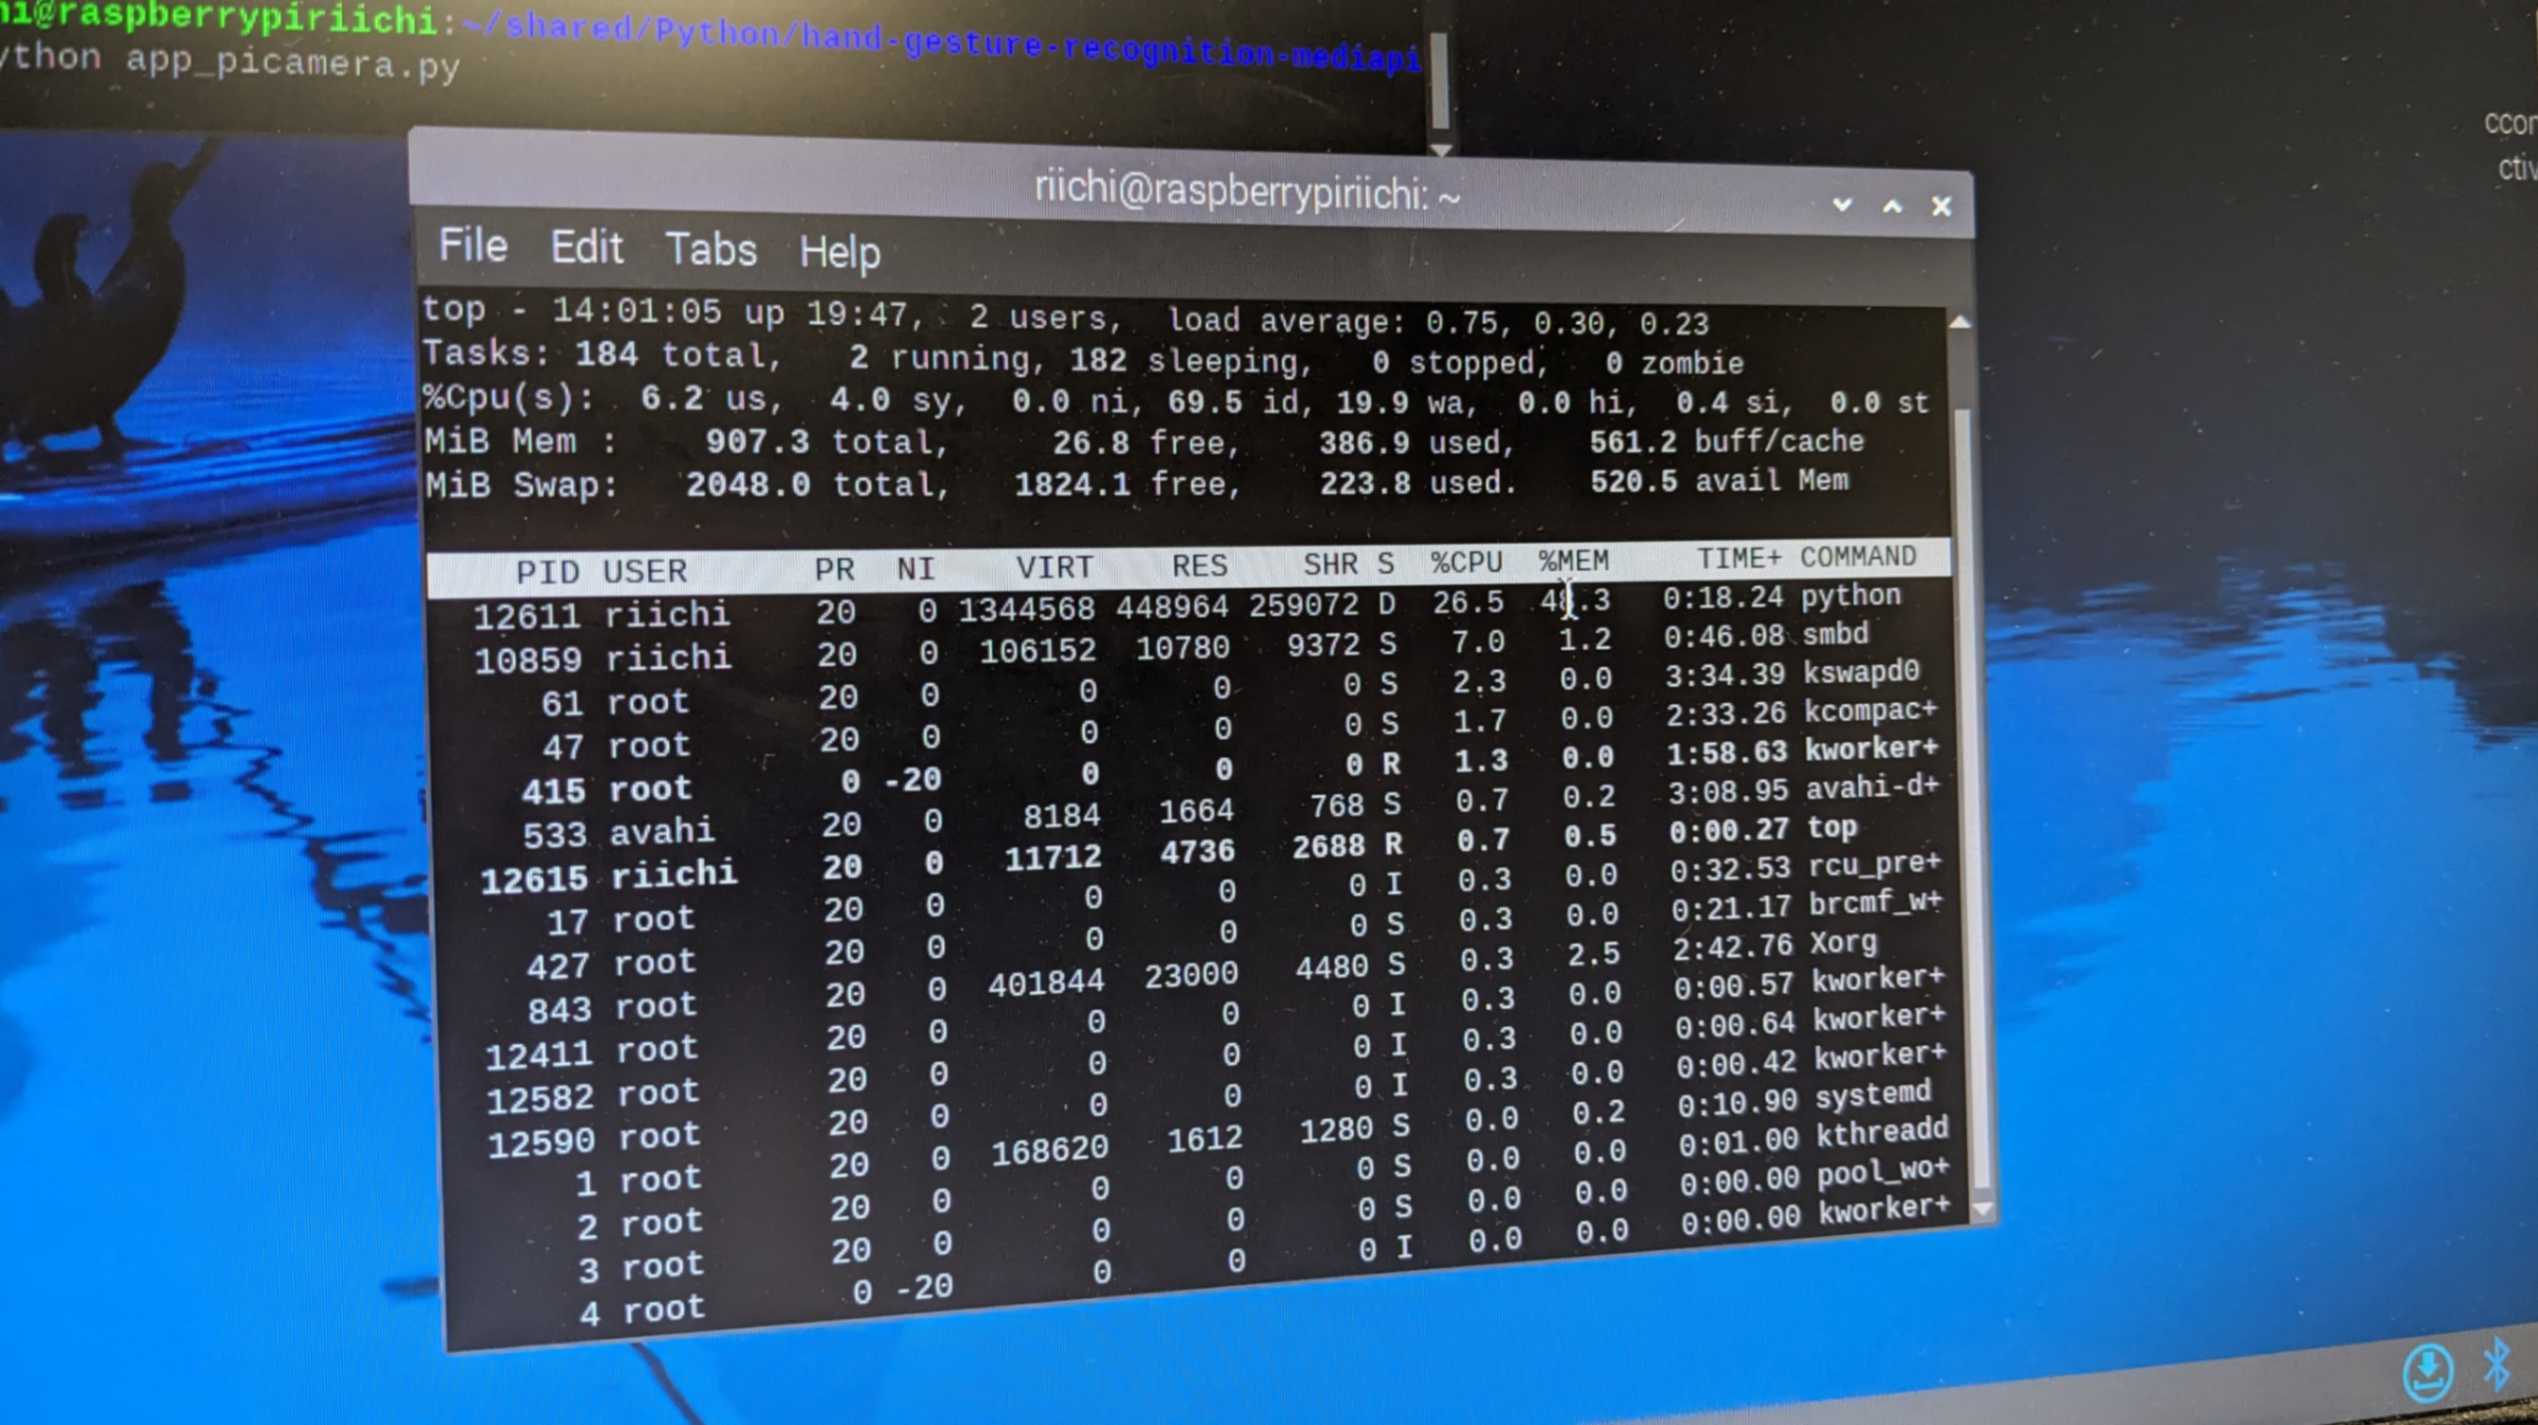
So my tutor advised me to use Multiprocessing or Multithreading which allows the Raspberry Pi to separate the processing task and reduce the workload. However, it did not work in my case because the processing task needed to be both ways. This means the processing task and the camera feed needed to be in a feedback loop with each other. This technique works well if the task is only gathering data and processing data, which in my case gathering data from camera processing data and giving back the feedback to show in the camera feed. So even if I do this technique it would not make much difference in terms of reducing the workload.
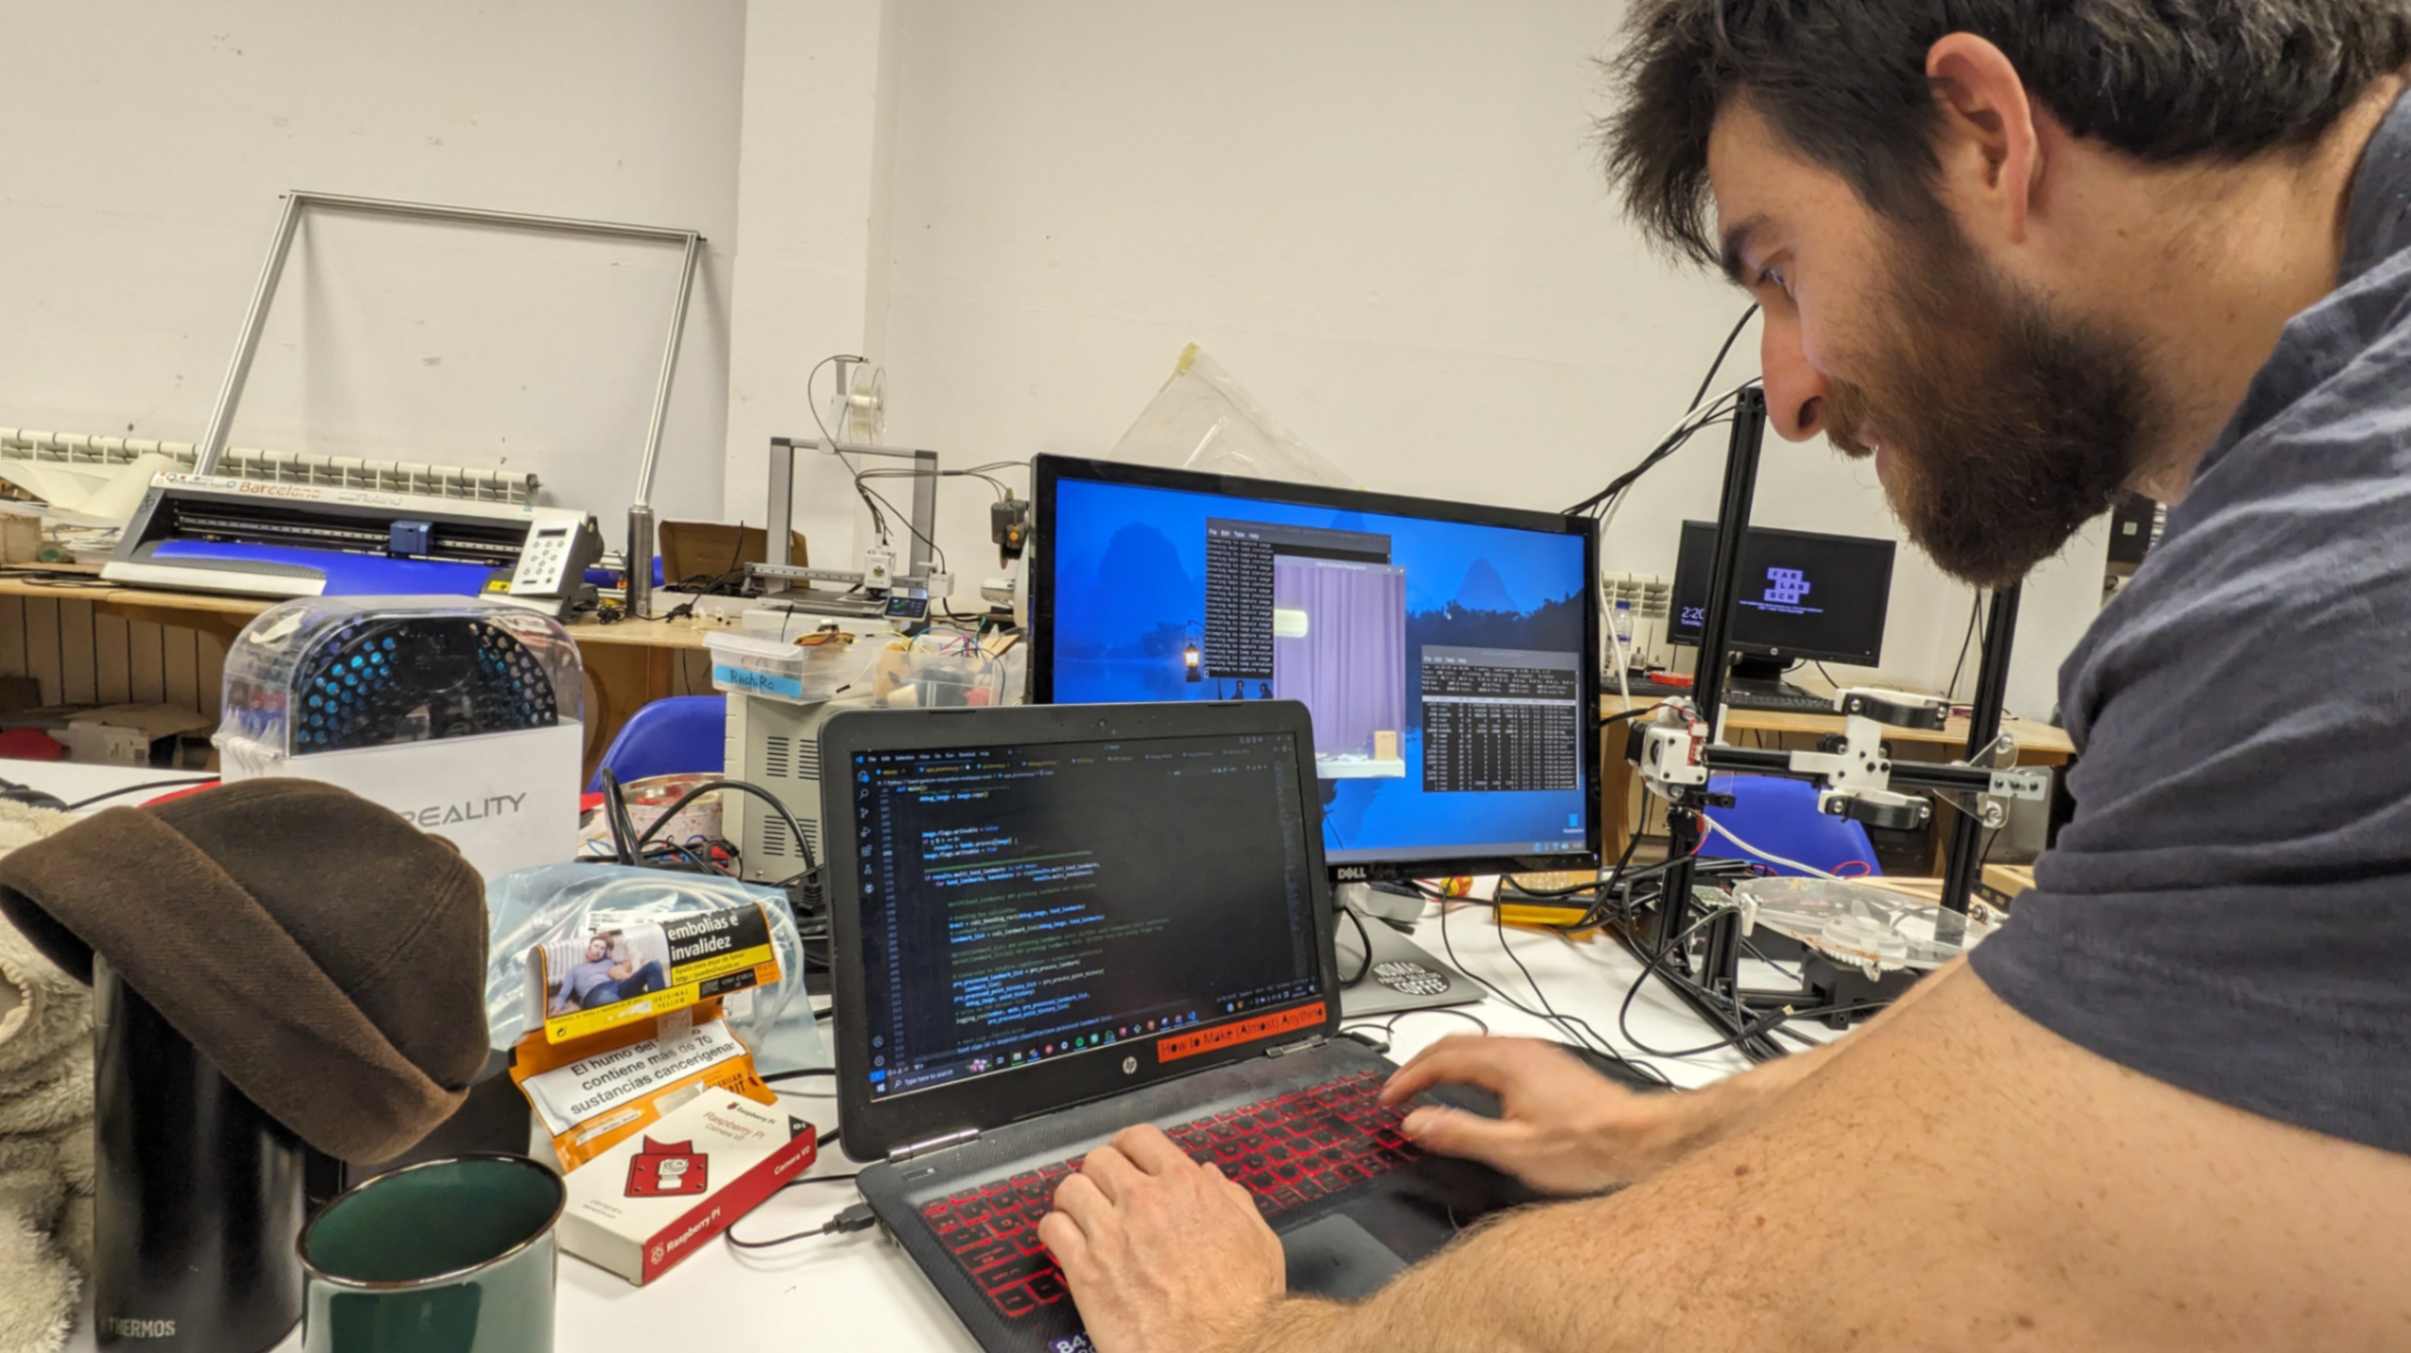
I also used the command
topTo see the task load of the Raspberry Pi, and I found out that running the script was taking quite a lot of RAM space.

So I switched my Raspberry Pi 3 to 5 which has a lot more RAM by only inserting the same SD card to it. I also tried using a normal webcam instead of a Picamera, and not only the camera feed was smoother but I was able to use the same script as I used on my laptop.
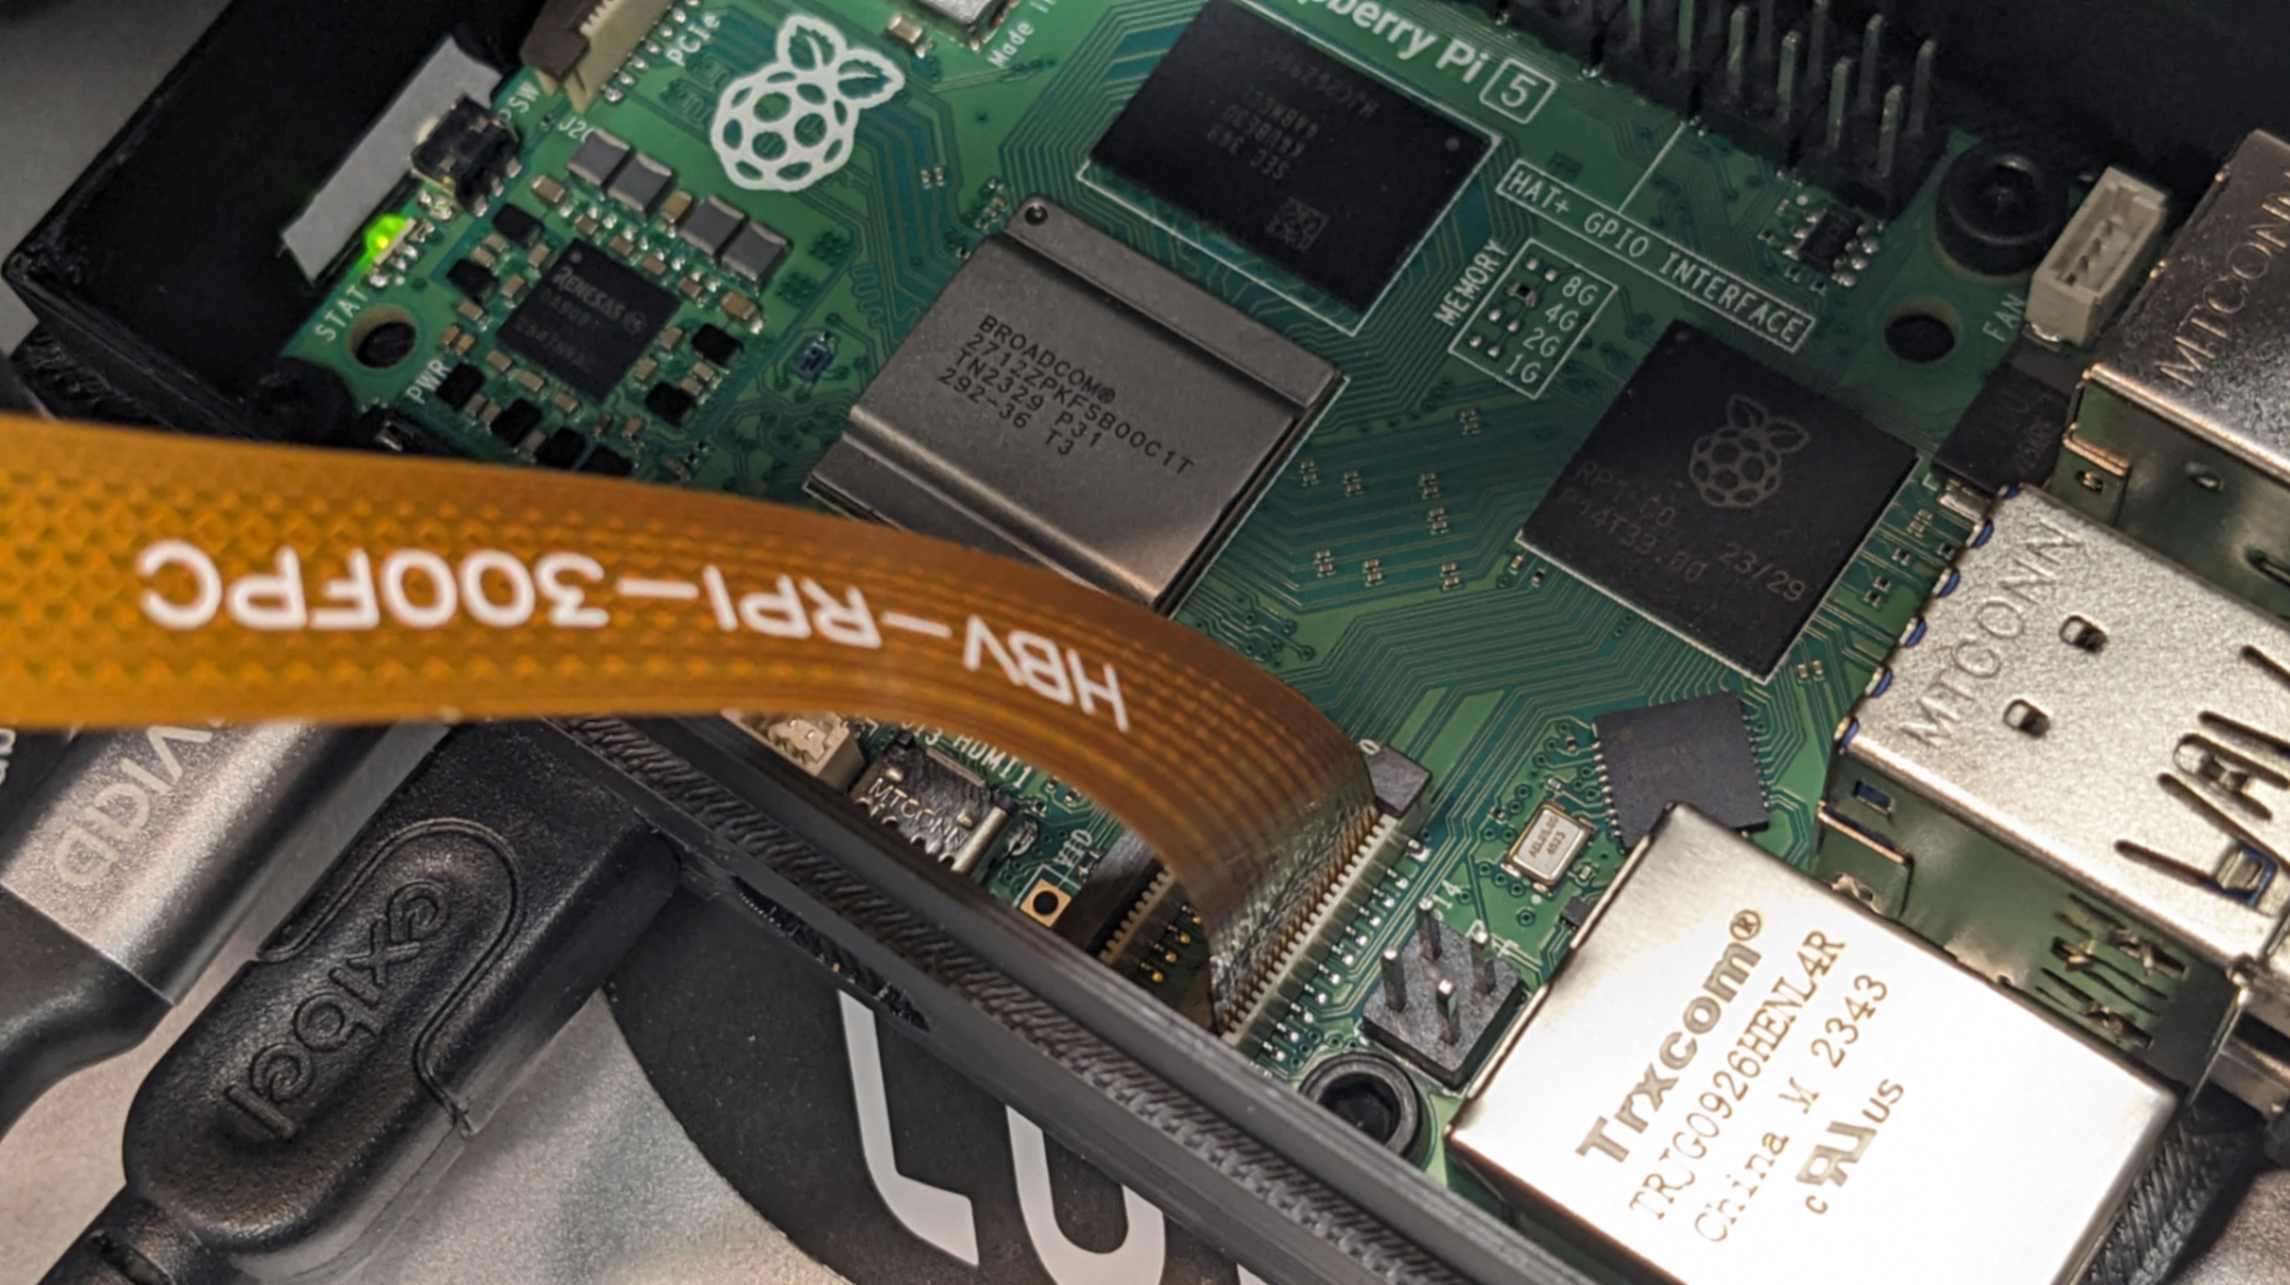
In the end, I decided to work with Raspberry Pi 5 and a webcam because Raspberry Pi 5 and Picamera were still nice but the gesture recognition was much more accurate and the FPS went up to 14.
Alternatively, my tutor mentioned NUC It is like a Raspberry Pi but a lot more powerful PC. Good to remember for the future.
Video(.mp4)W15_Webcam with Raspberry Pi 5_FA2024RY_compress.mp4
Embroidery Machine
Since I didn't archive to run the Mediapipe gesture recognition on a microcontroller, it does not fulfil this week’s assignment. Therefore I came back to this week’s assignment later and tried using the Embroidery machine to fulfil the assignment.
The one we had in our lab is
Brother Innovis NV870SE
I started off by looking at
documentation done by my classmate Emily
Her documentation helped me to get a general understanding of workflow and file preparation.
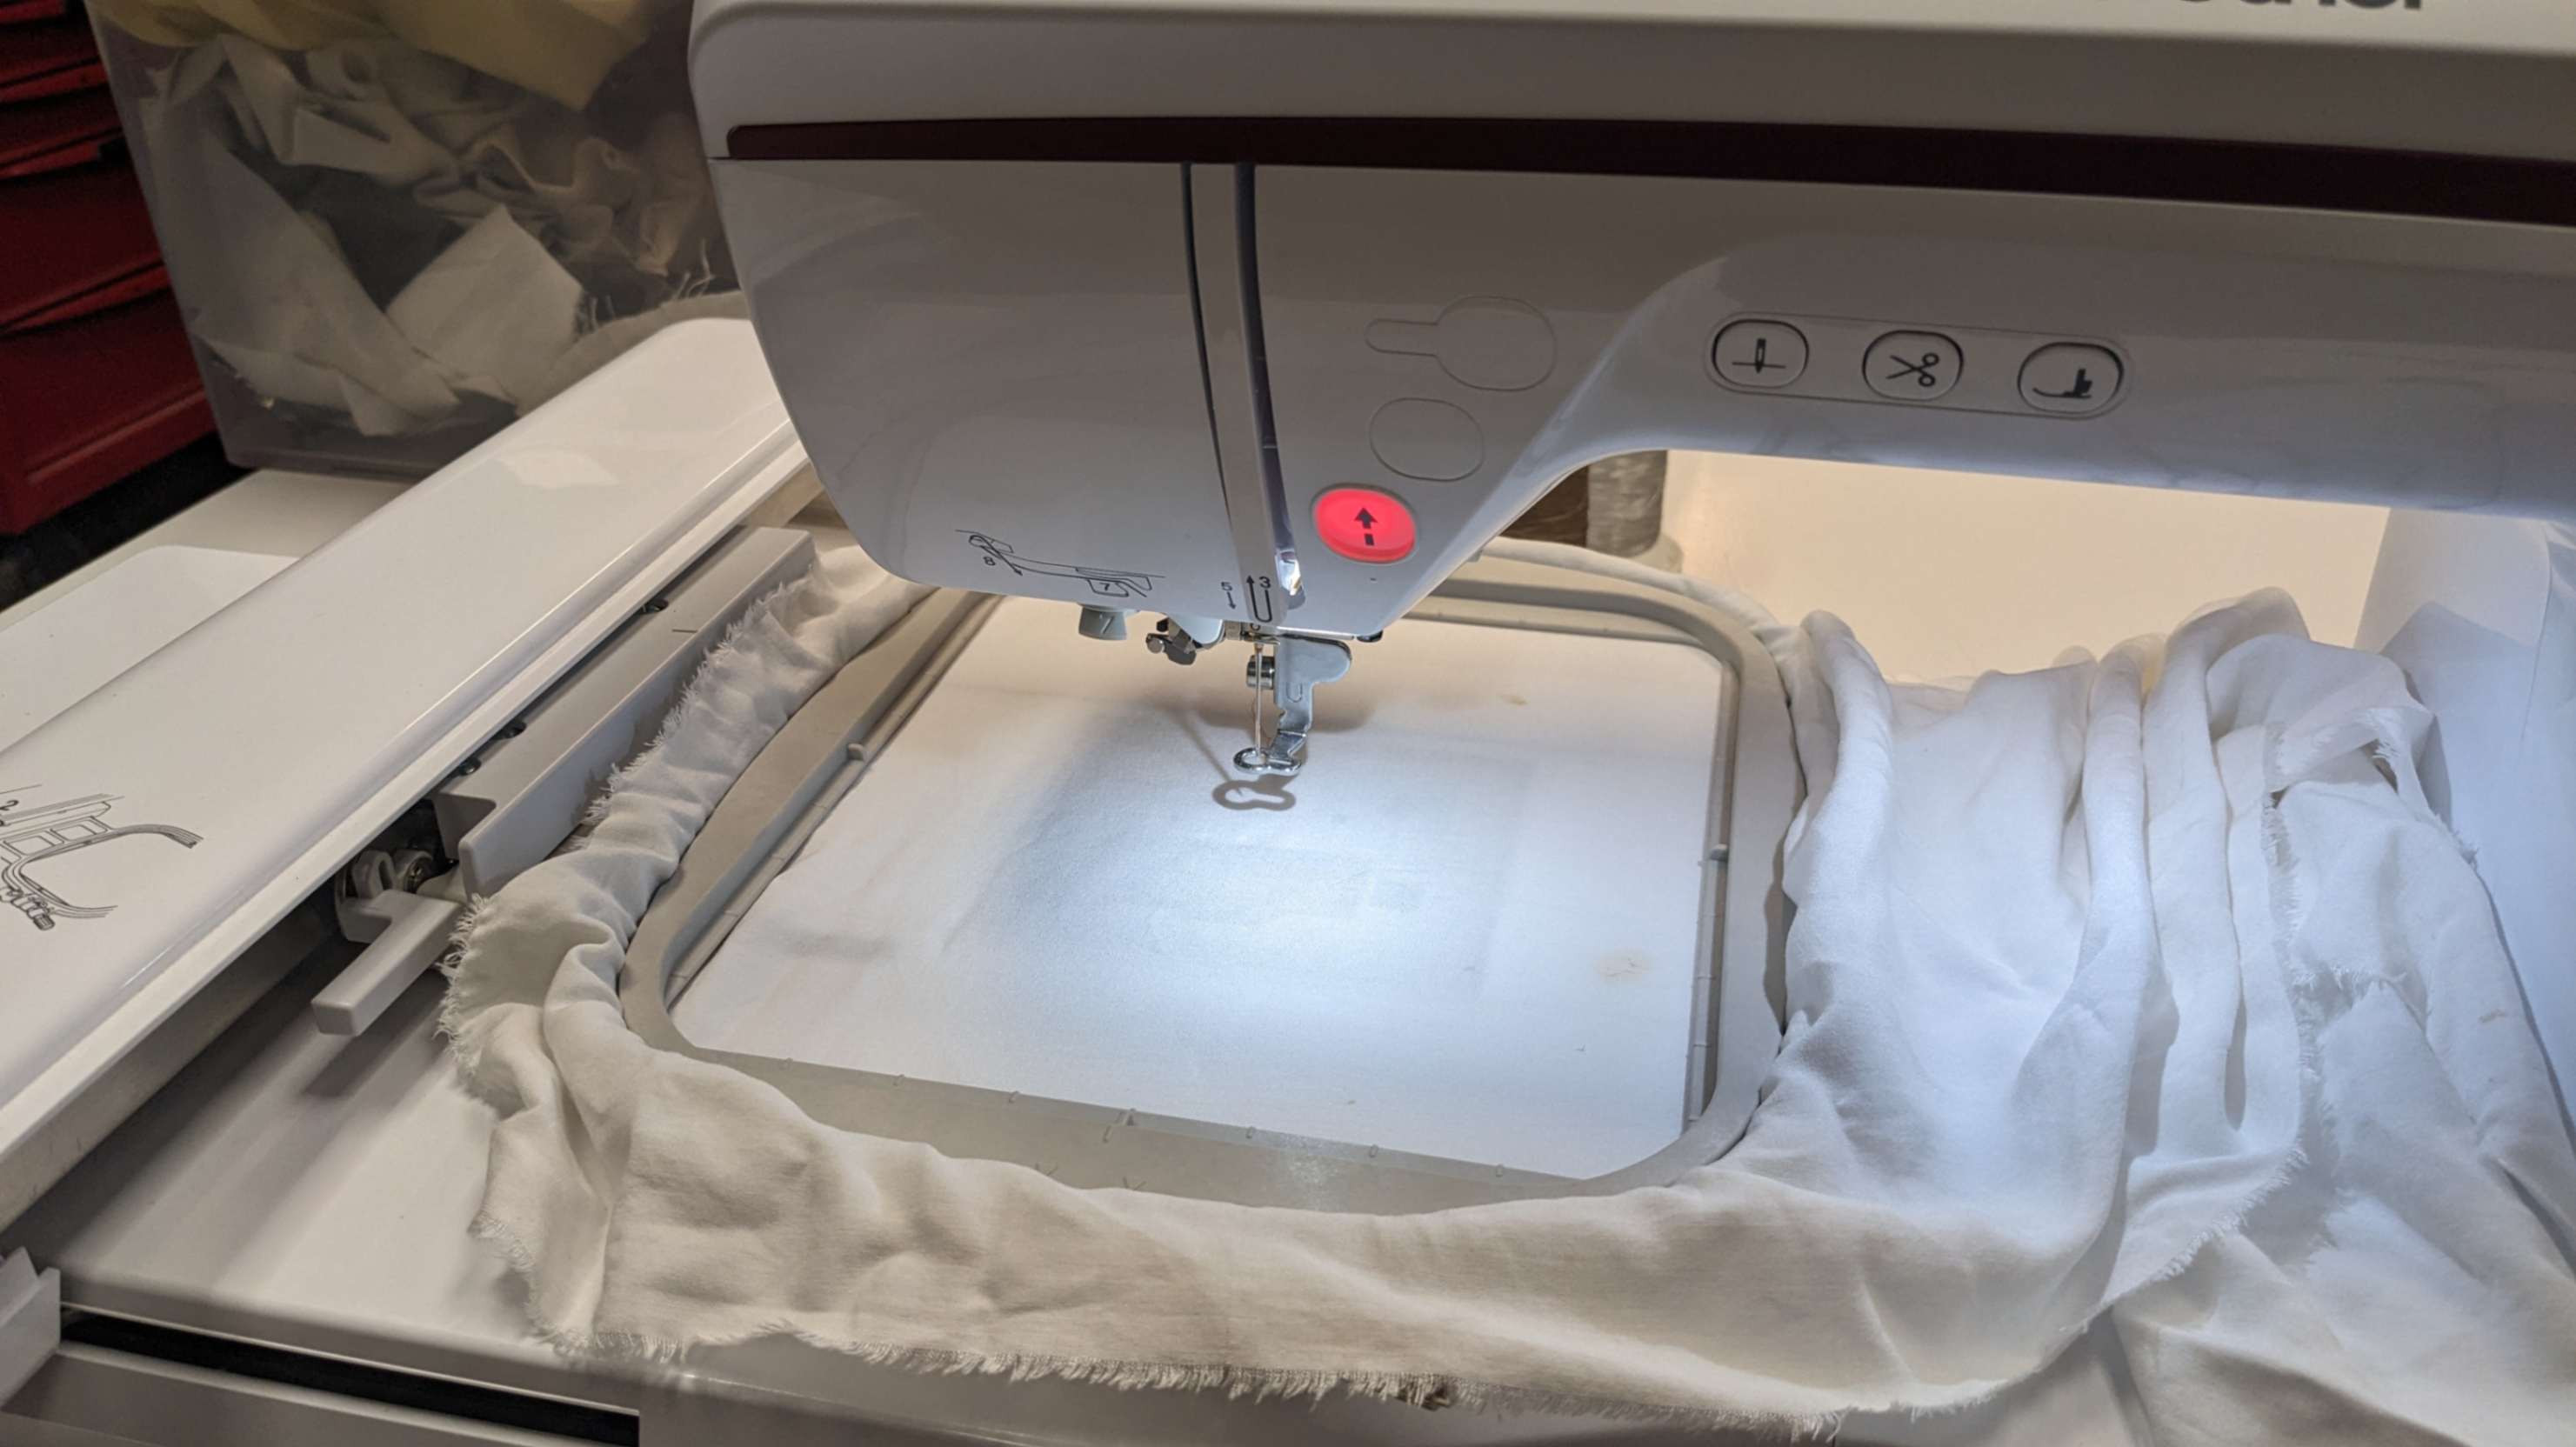
Designing
Since working with embroidery machines requires vector files, I was going to use Inkscape to design my pattern, however, I soon realised that I could also use Rhino which I am more comfortable designing, and exported it as an SVG file to work forward in Inkscape.
So I only designed a frame pattern in Rhino and I used Inkscape for the rest of the design. The flower design was made with a free image I found on the web and I use Bitmap to trace the image and tweak it.
FRAME.3dmFRAME.svg
Also, I measured the frame size of the embroidery machine and made sure the design fit within the frame.
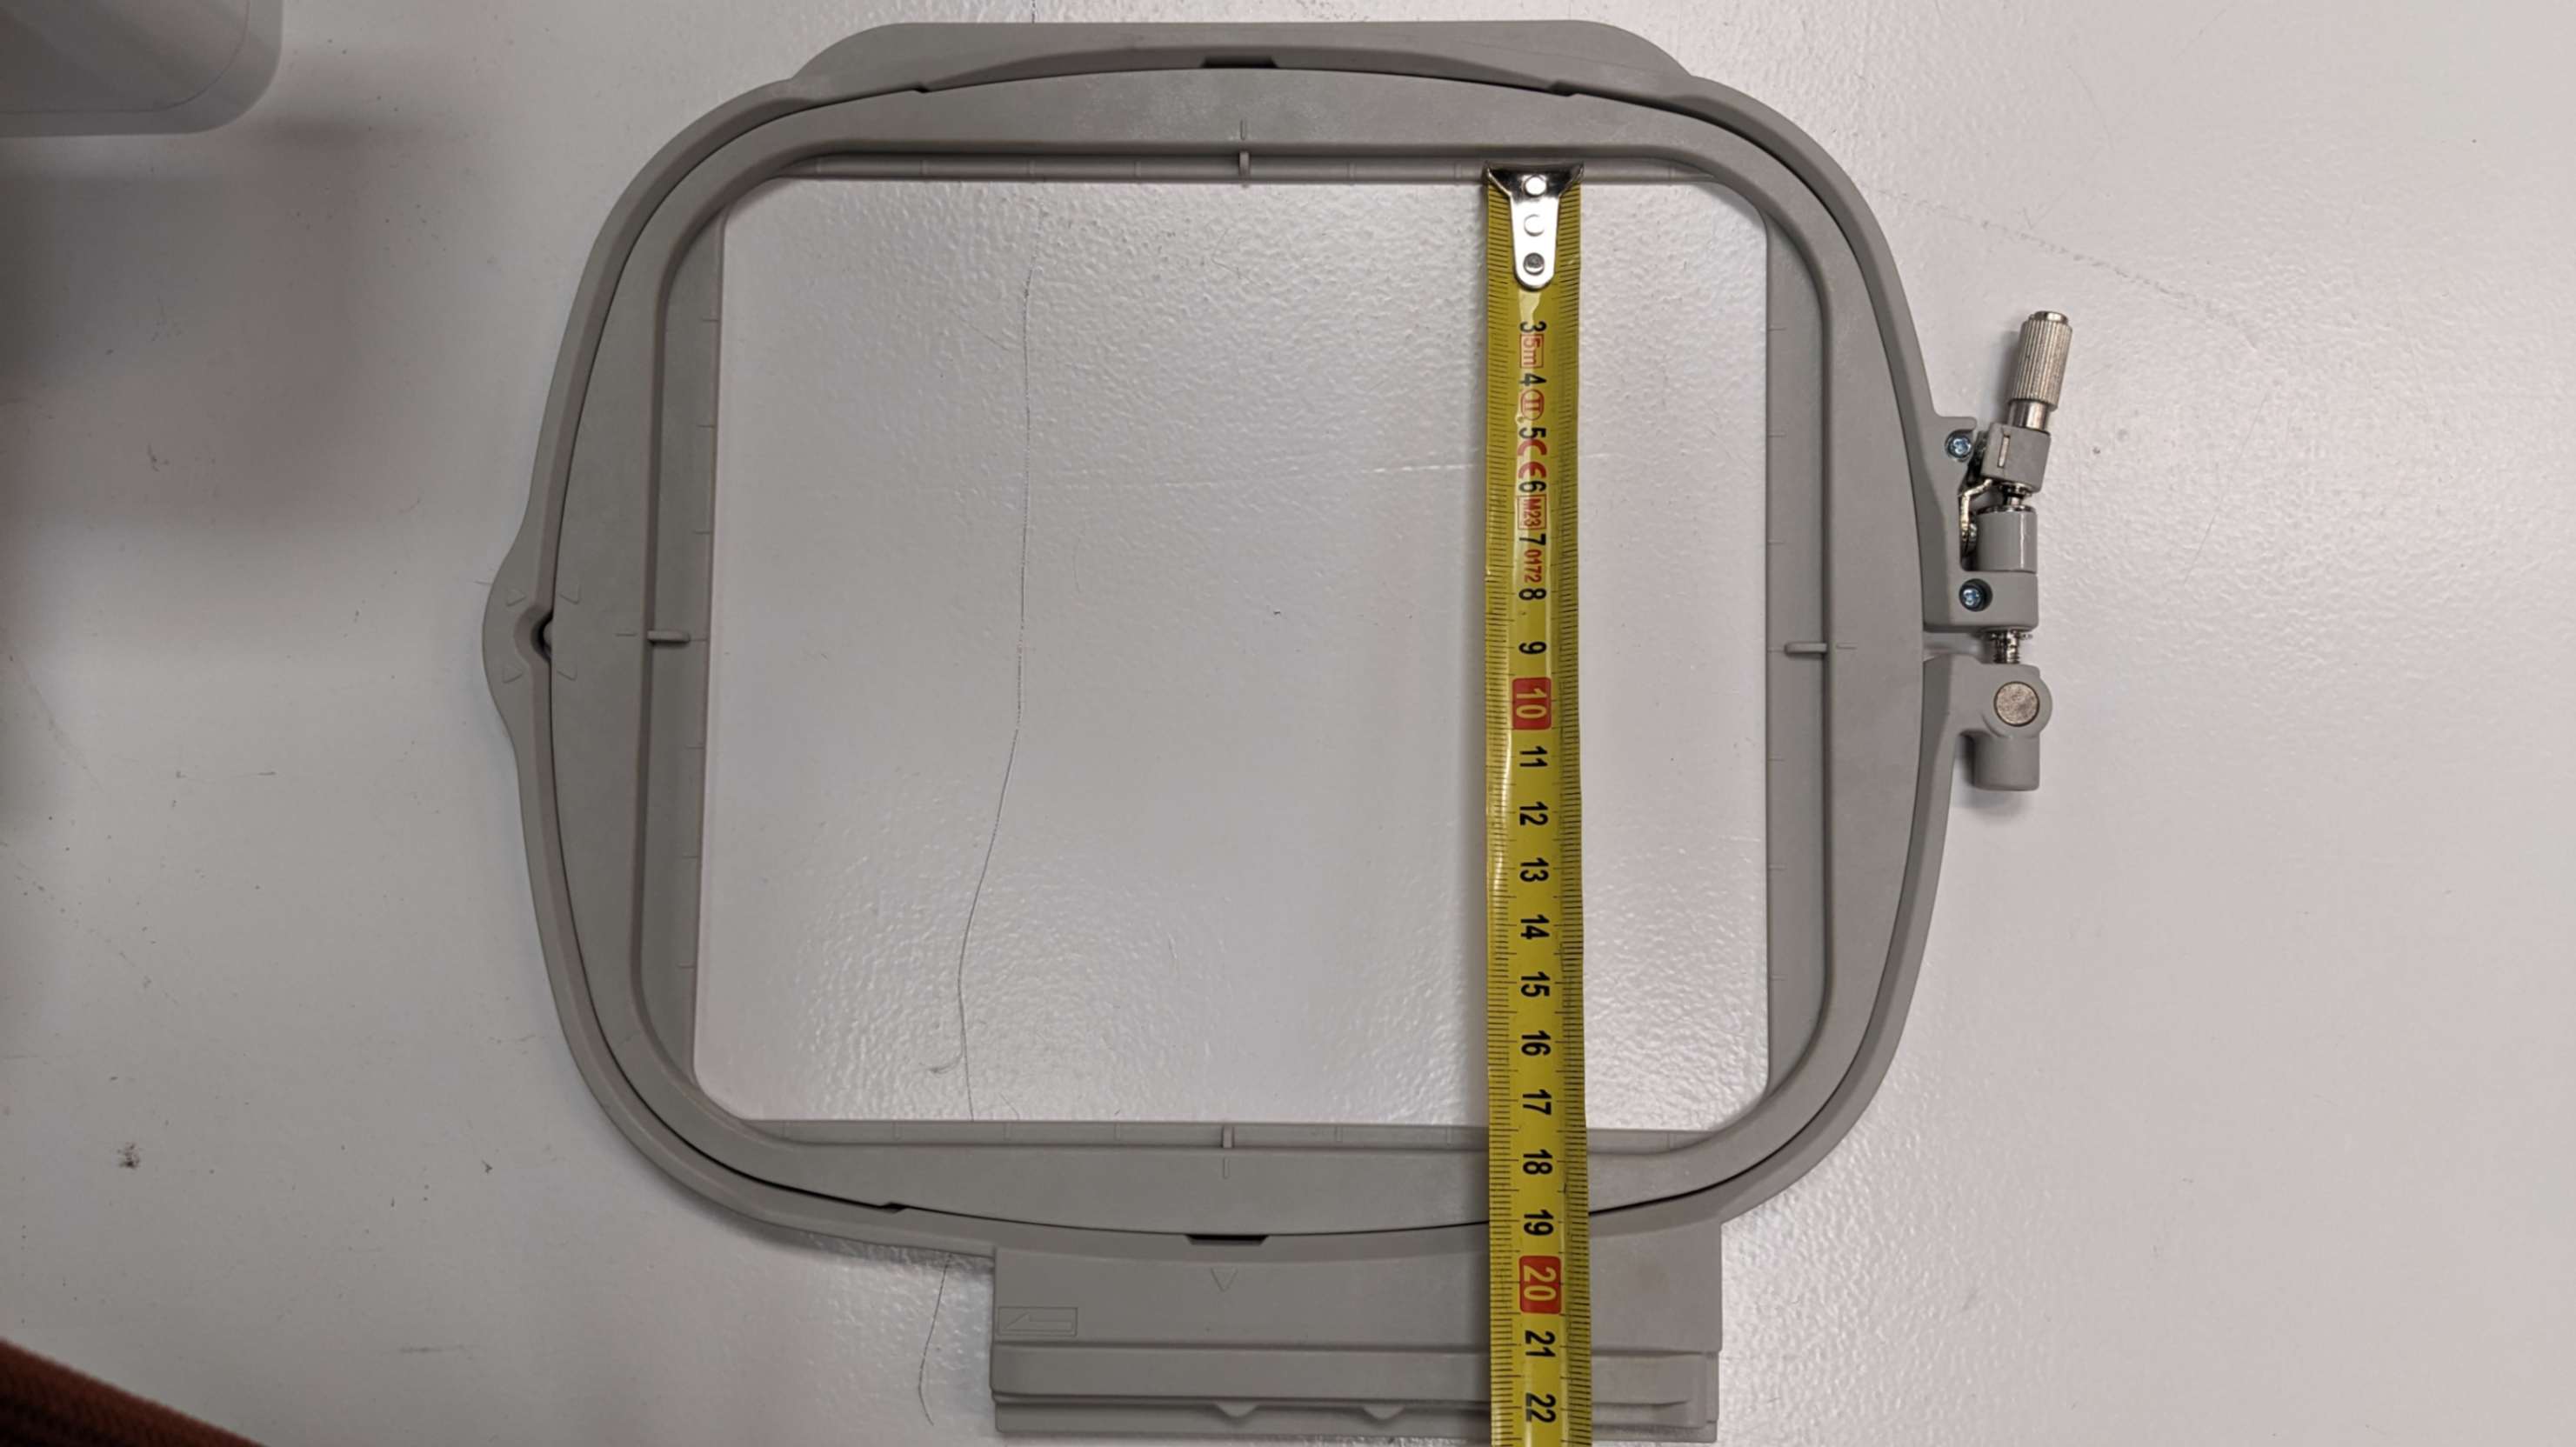
Since I was not sure how much detail the embroidery machine could do, so I made a smaller design for testing.
File Preparation
To prepare the file for the machine I used
InkStich
It is a plugin for Inkscape.
For the outer edge, I made it 2mm thick and converted it to Satin with a zigzag pattern
Inkstich - Tool: Satin - Convert Line to Satin
For text, I needed to first convert to text to the path to be able to read it in Inkstich
Path - Object to pathAlso tested it with 0.3 stroke for the text to see the visibility. Alternatively, I could use the Inkstish text function to directory create a text path, especially for the stitching, however, I do not have Japanese so I ended up not using it.
Lettering
For the flower image, I simplified it a little bit
Path - Simplify
To generate a stitching path, I used Params.
Inkstich - Params
I mostly used the default setting. The only thing I changed was activating the Trim After function. This function creates the outcome with fewer strings while travelling from one point to another.
Params - FillStitch - Trim After - activate
Then I apply the path and quit. To check the file I used Simulator Realistic Preview. Then I saved the design in pes file format.
Apply and quit
Visualize and export - simulator realistic preview
Save as .pestest1.svg
test1.pes
Using the machine
To use the machine, first insert the USB with the pes file. Insert the frame with a fabric that I found in the lab. I was advised to use paper-like material and place it underneath the fabric. This usually gives better results of stitching. However, I could not find the material in the lab and also I didn't want to use it since It would be hard to take them out especially where there is detail stitching. So I just placed a single layer of the fabric for the test pieces.
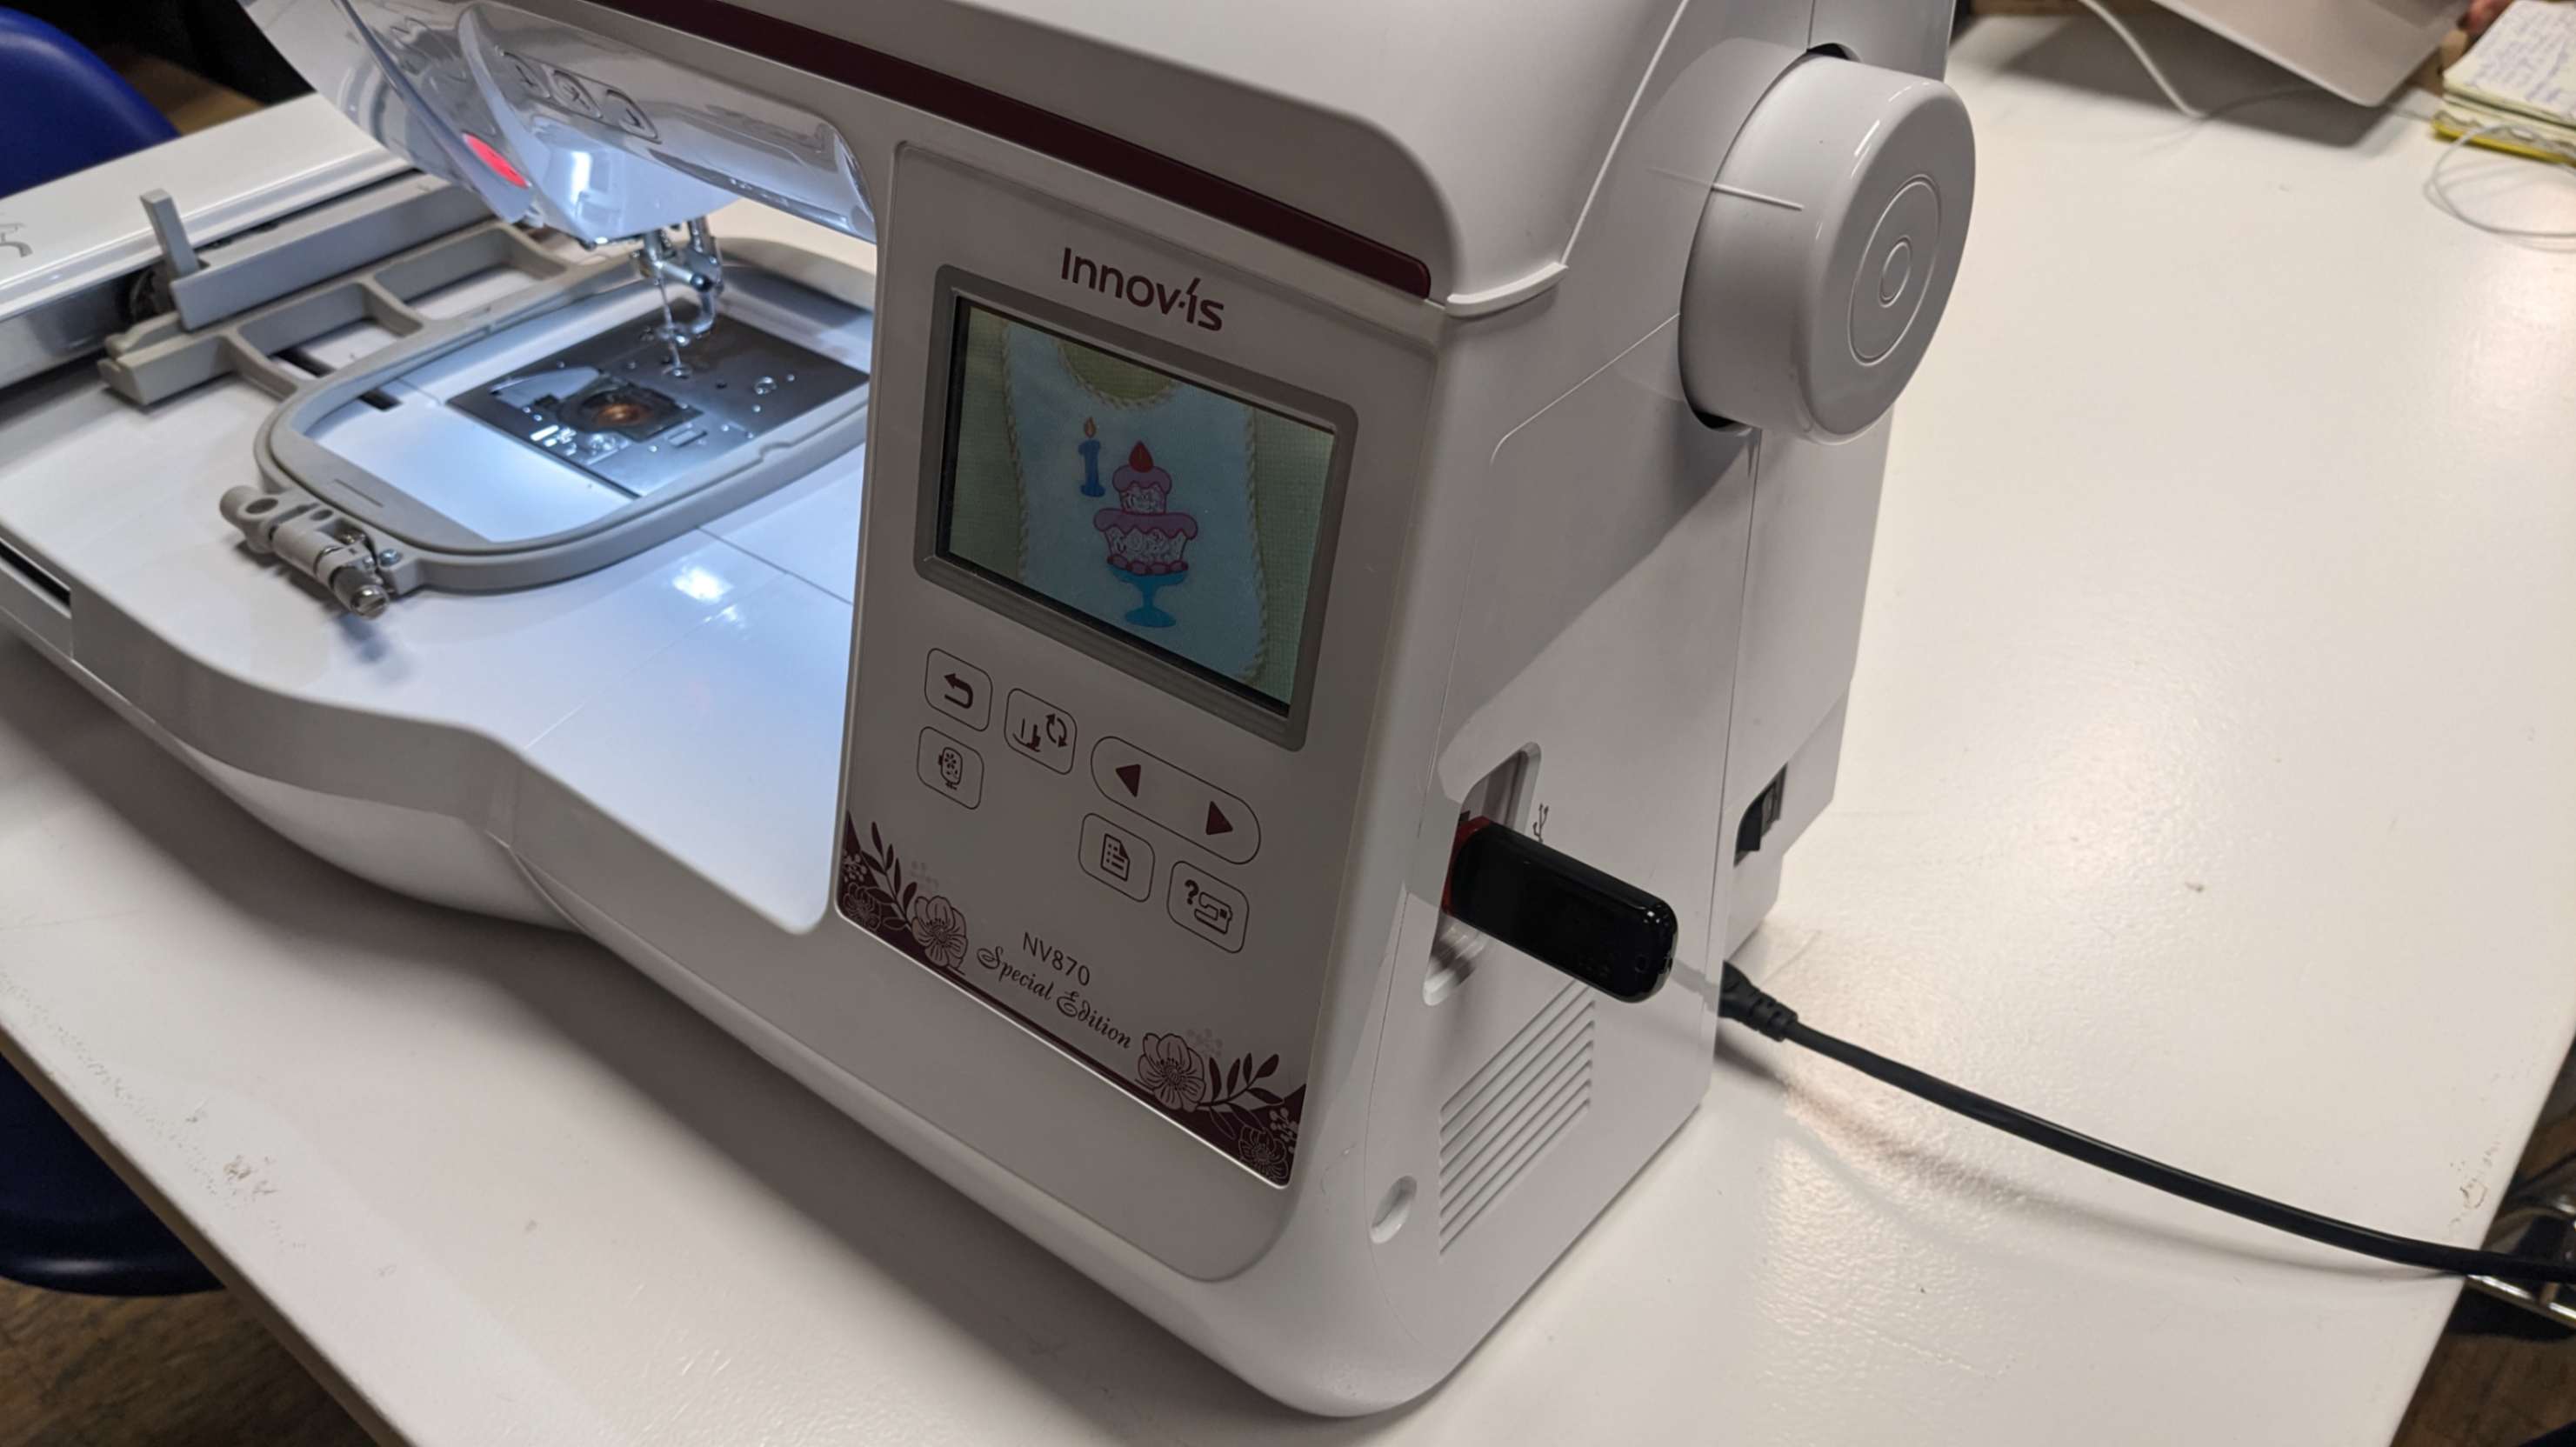
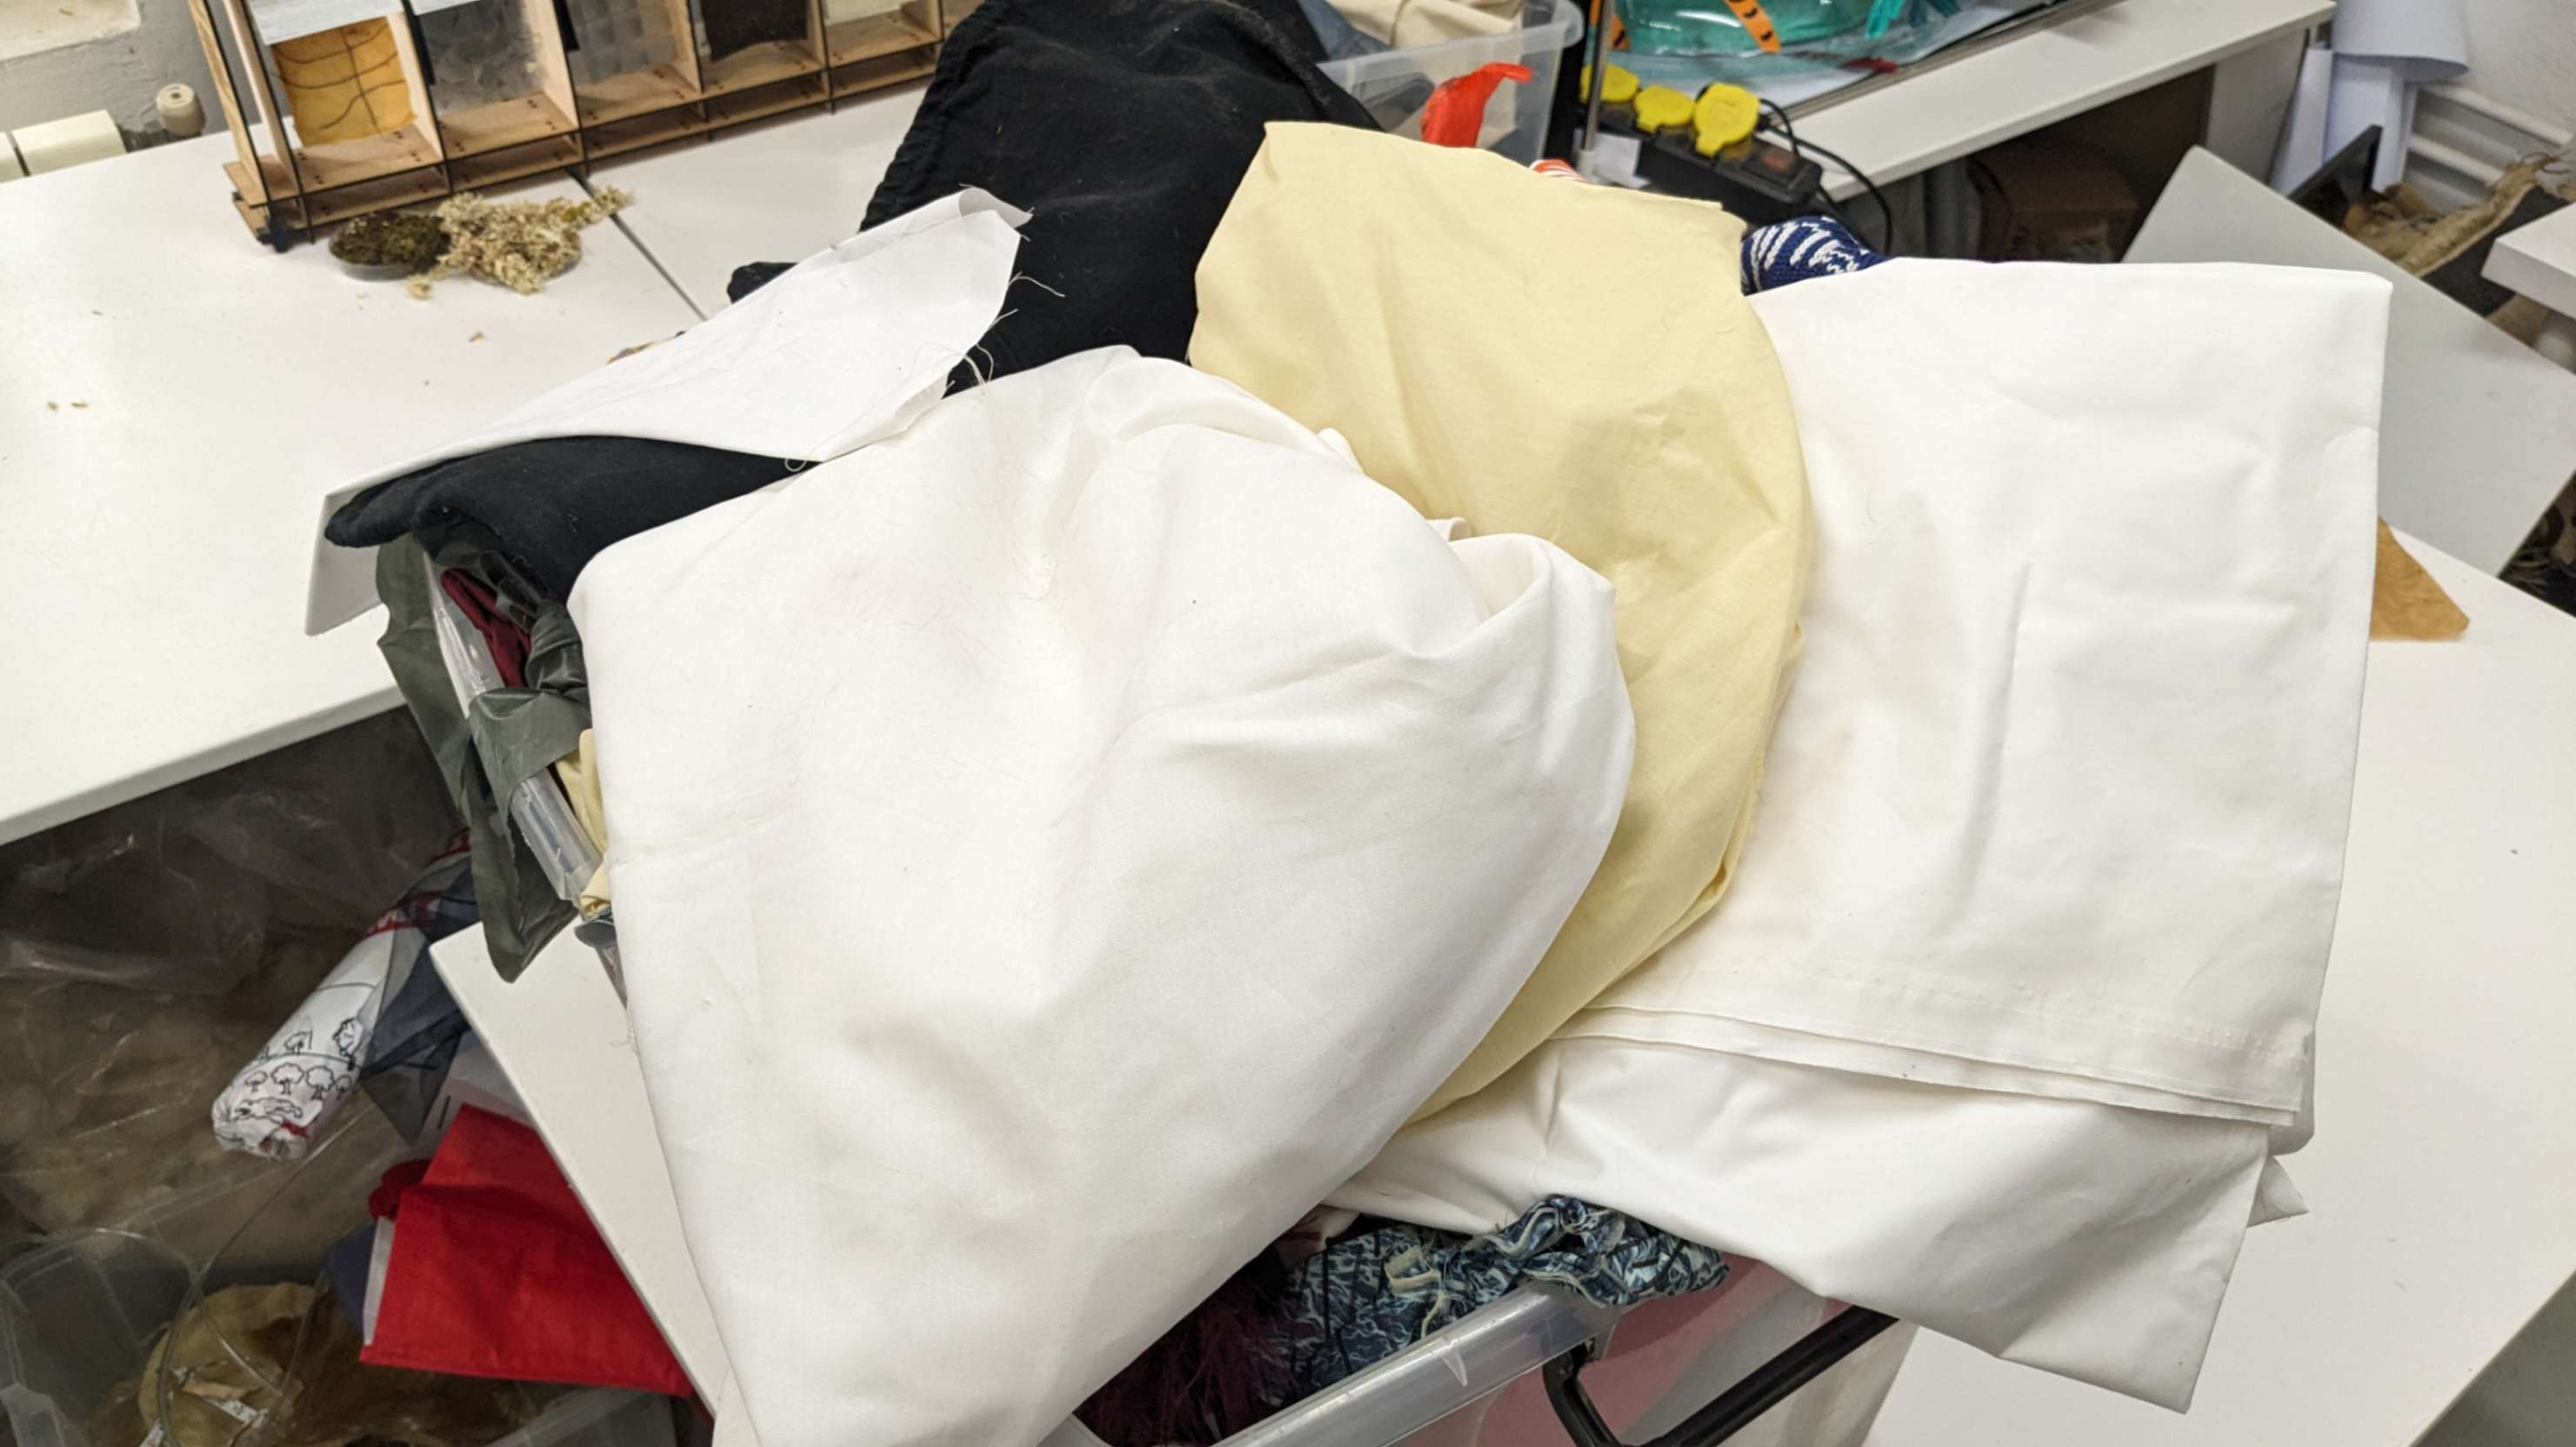
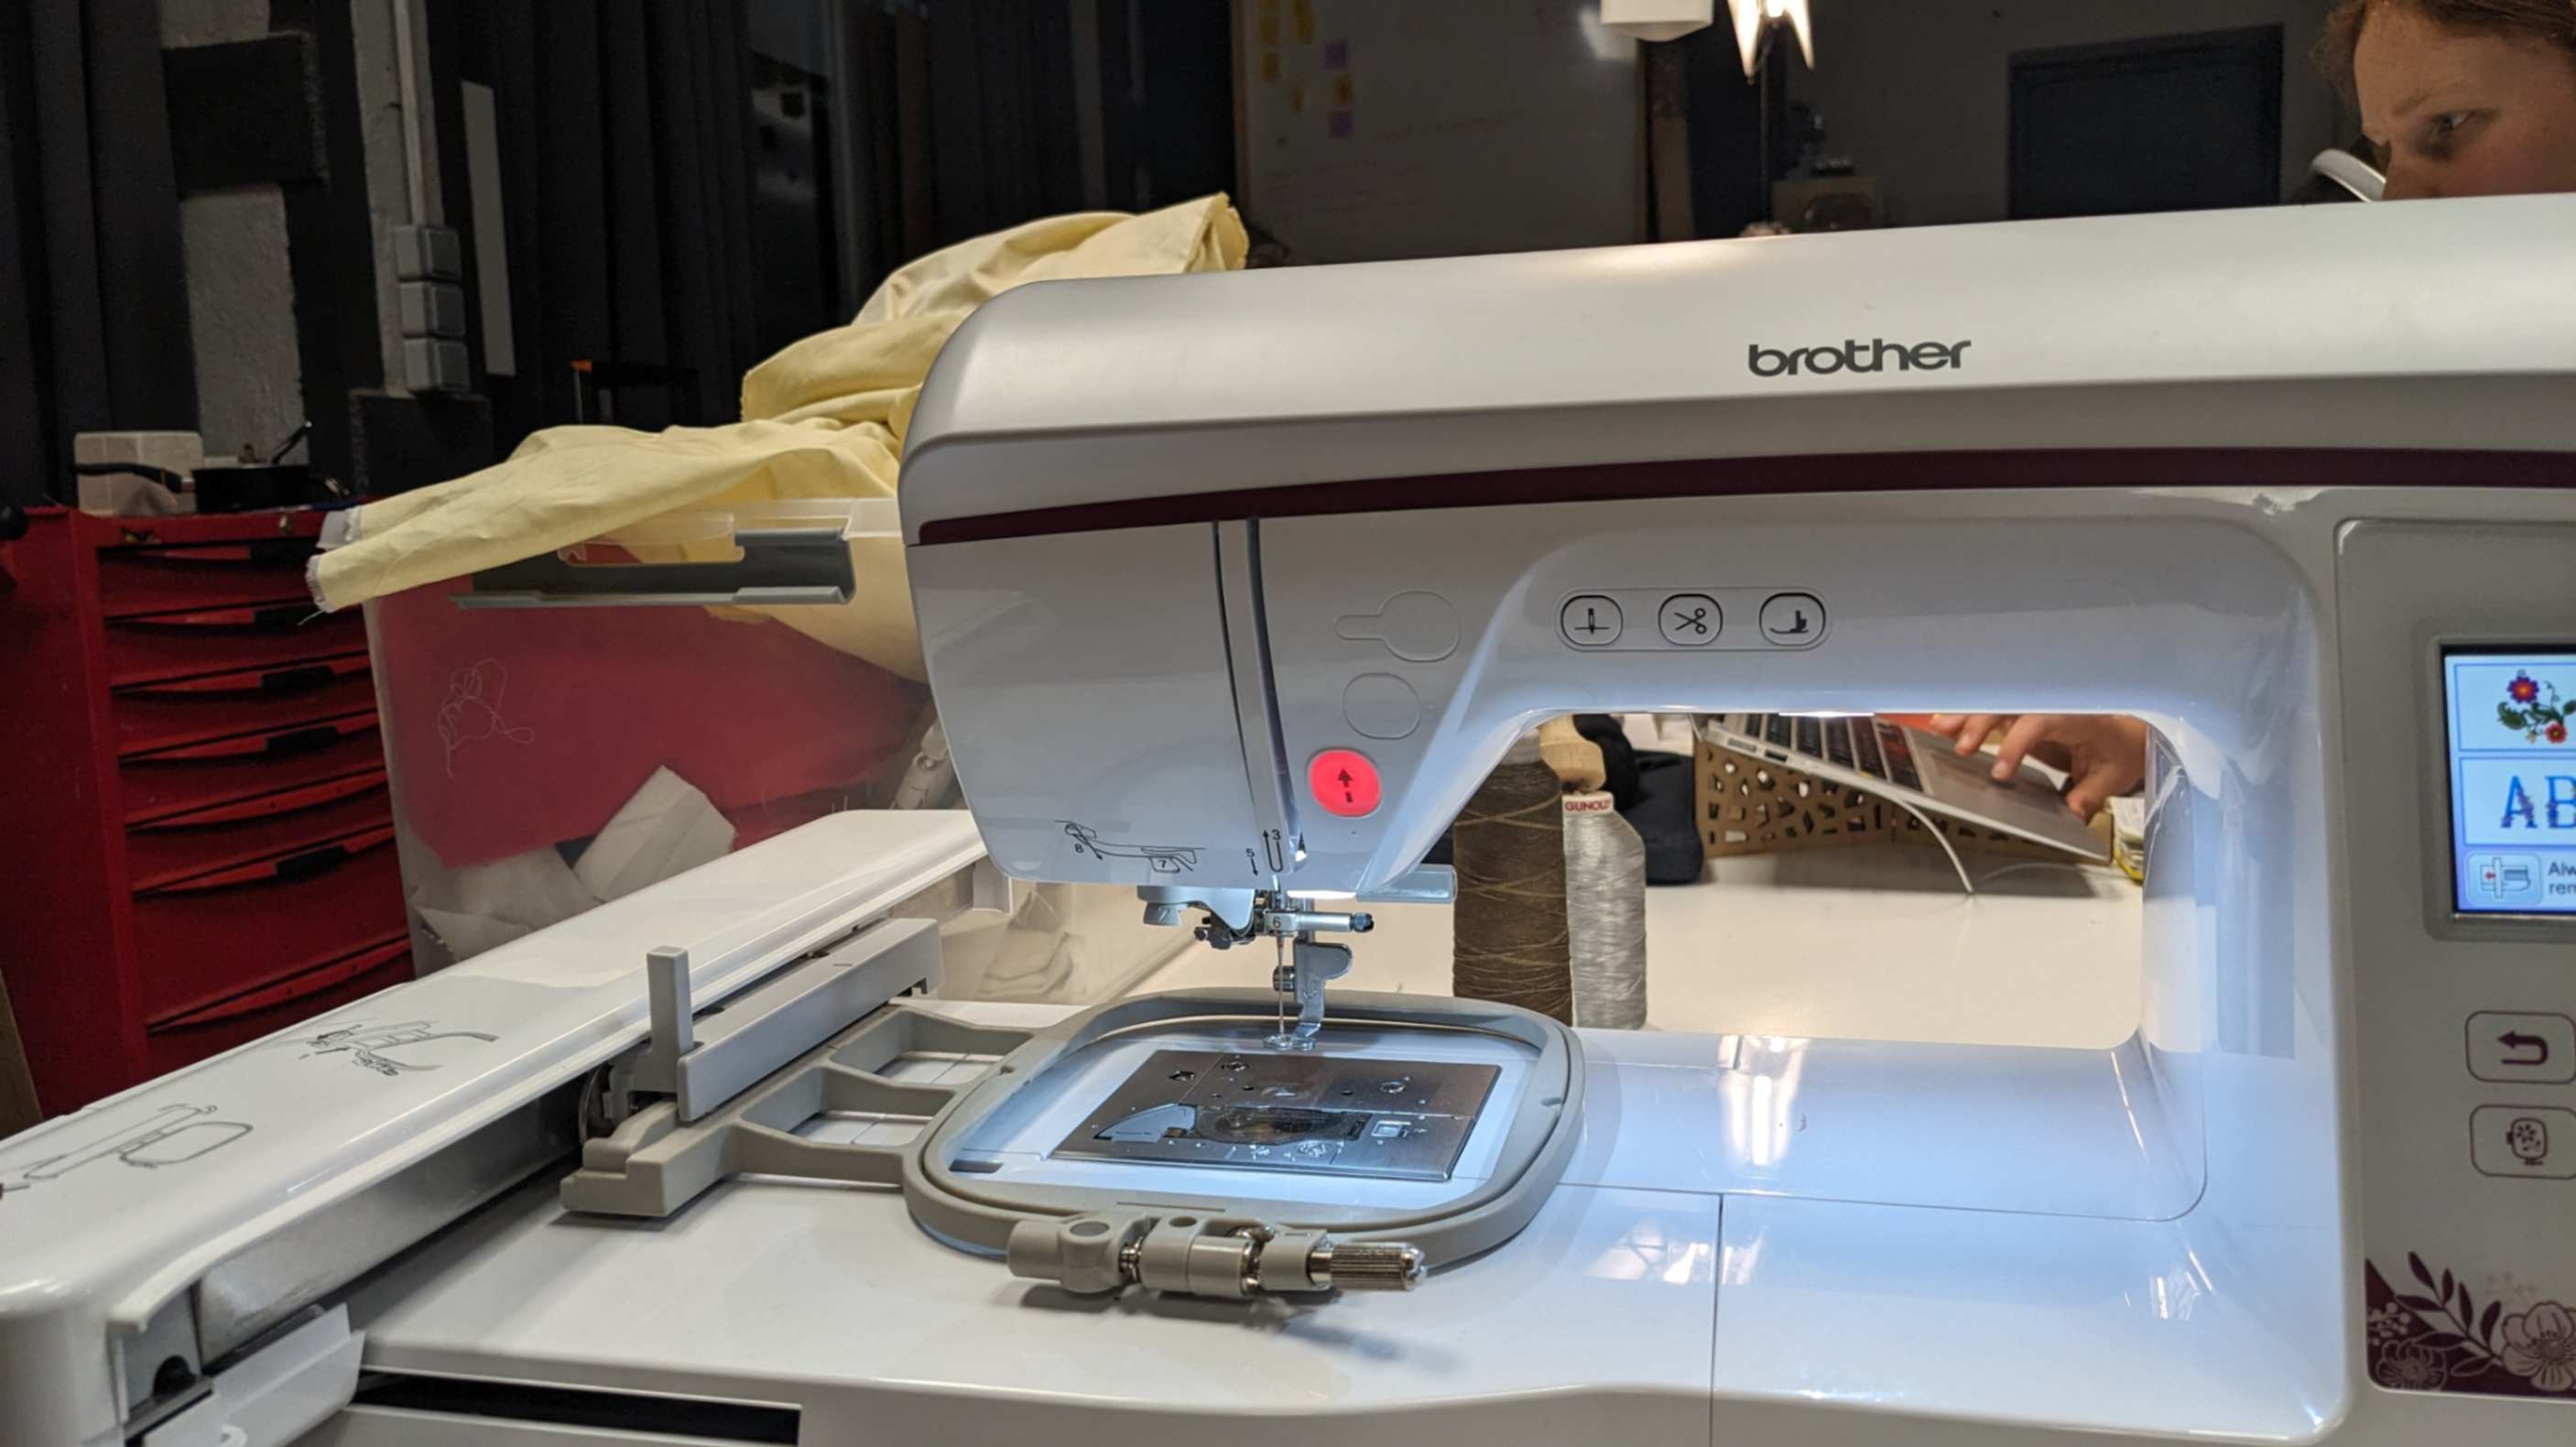
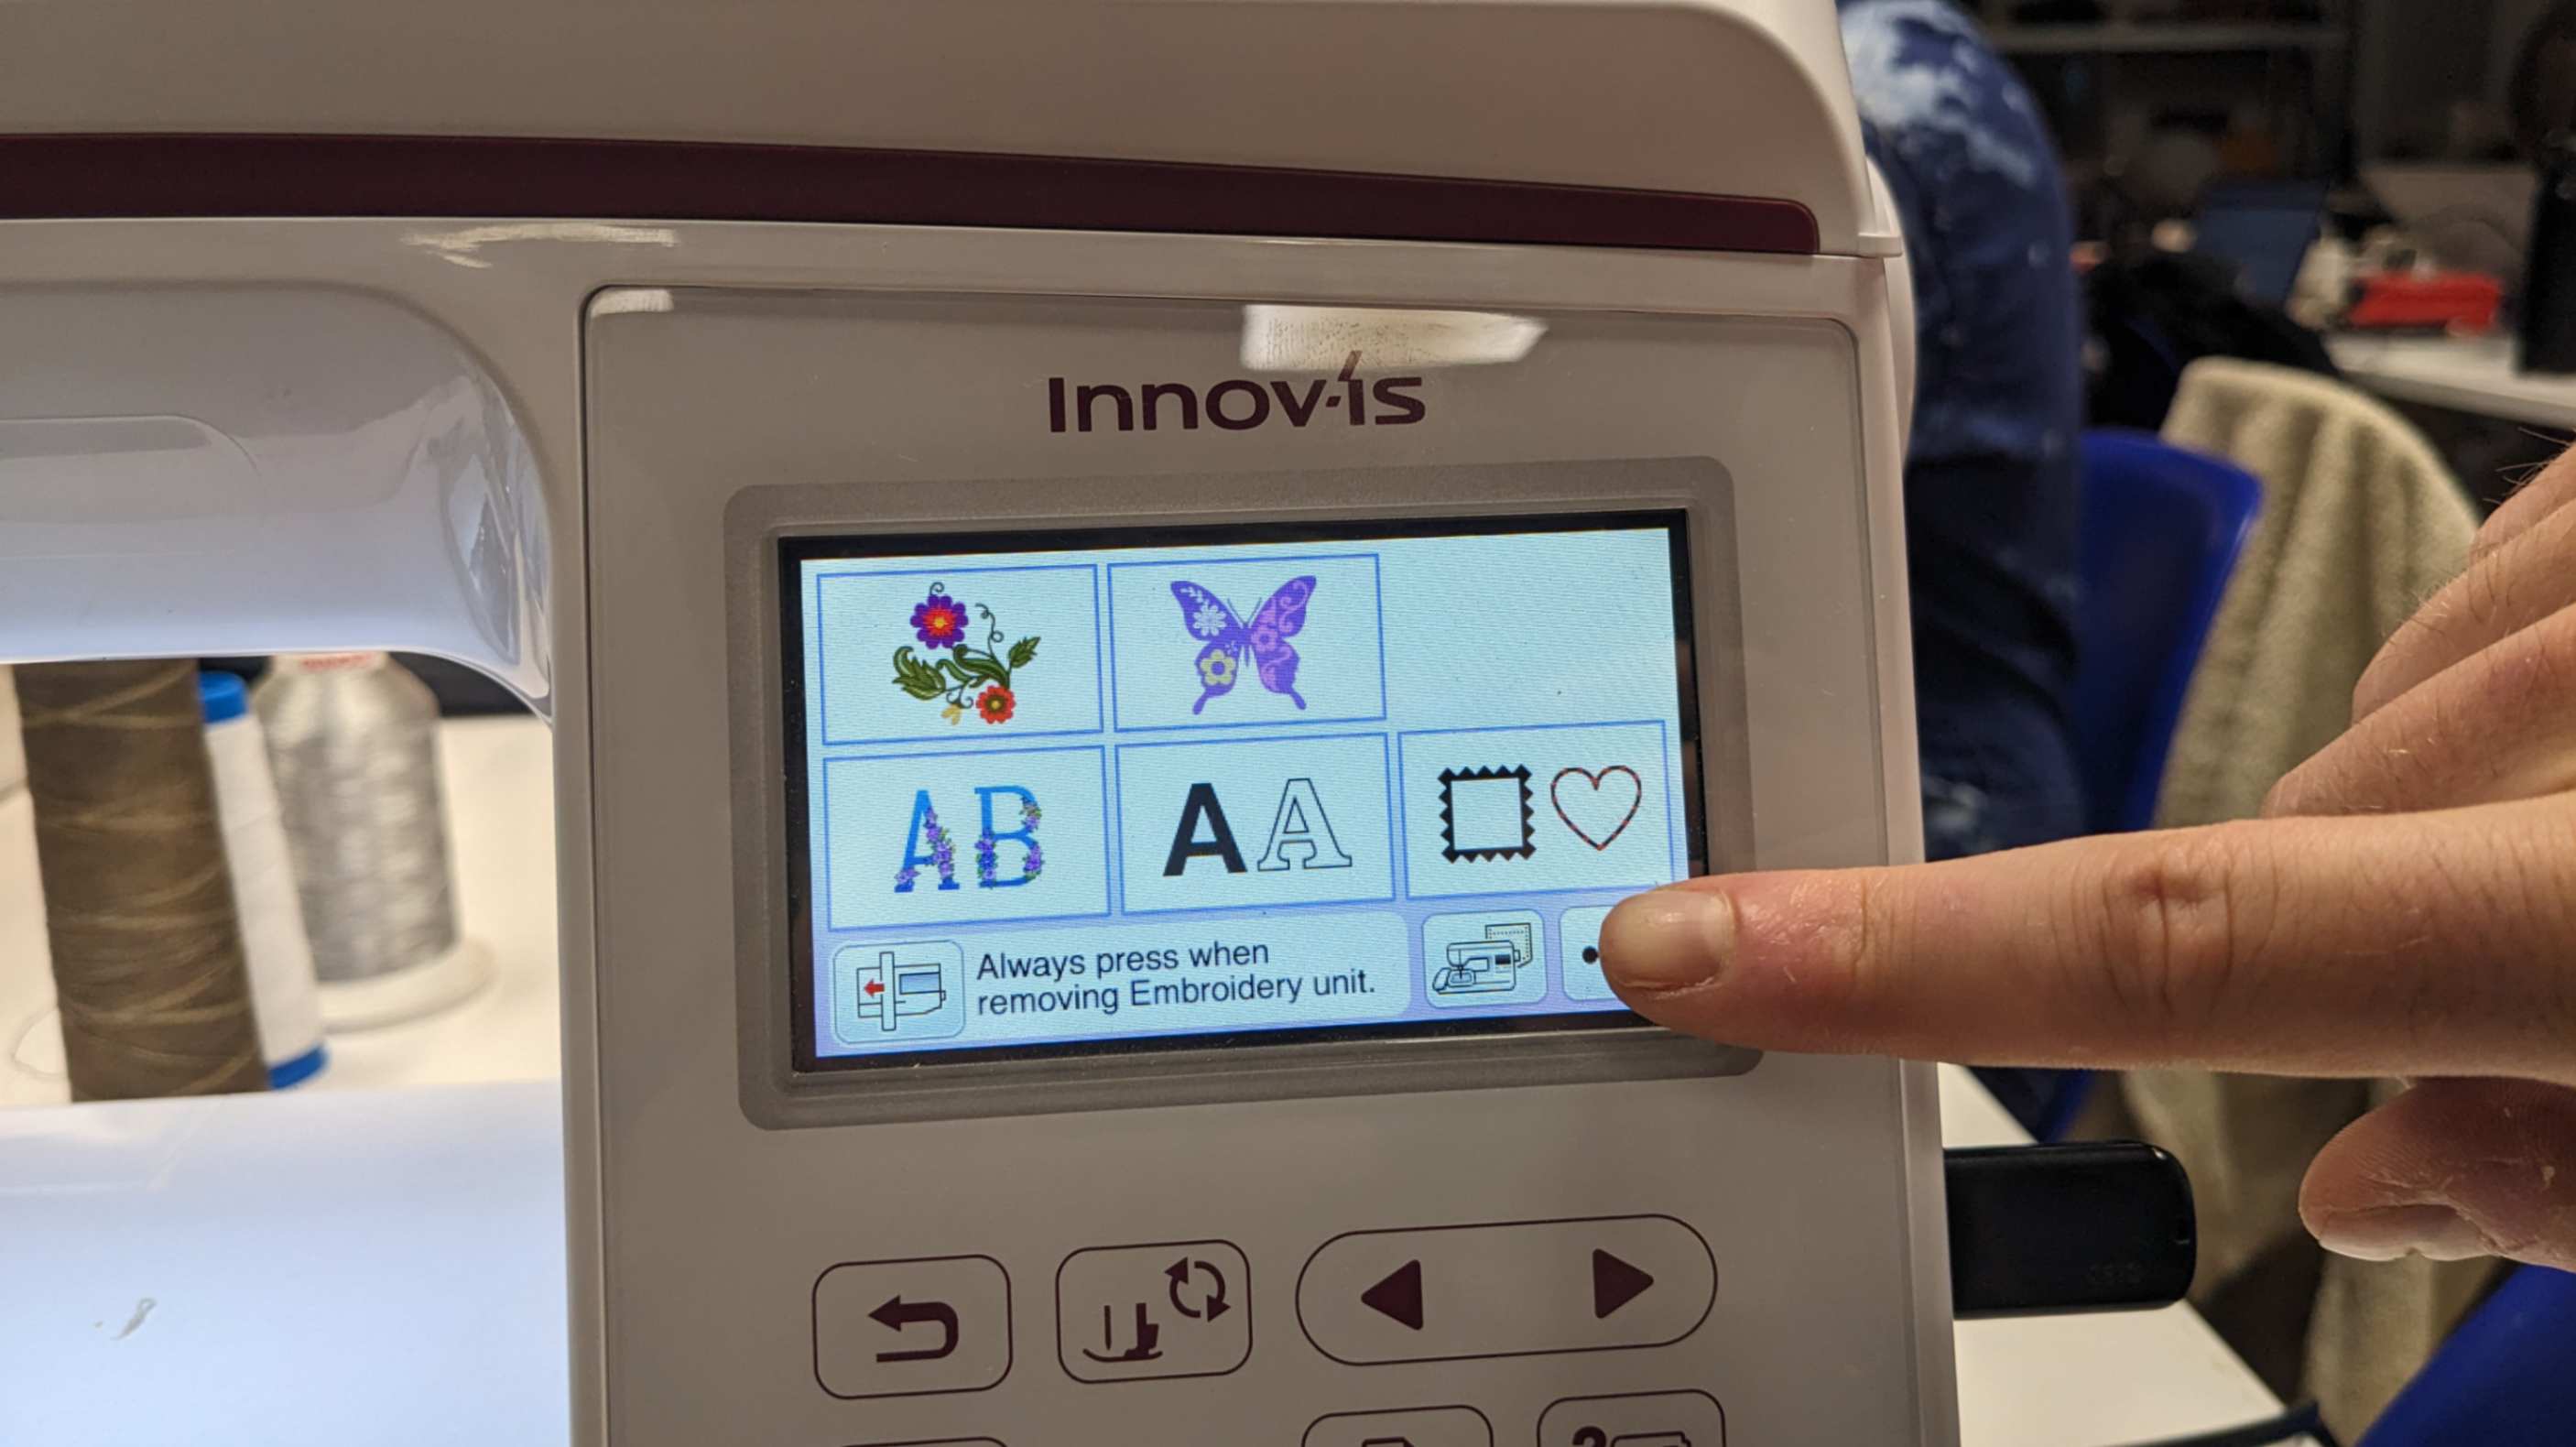
Then use the screen to navigate and select the file. Then I had the option to resize, locate and rotate the file. Then press a button to bring down the stitching head, then press the green button to start stitching.

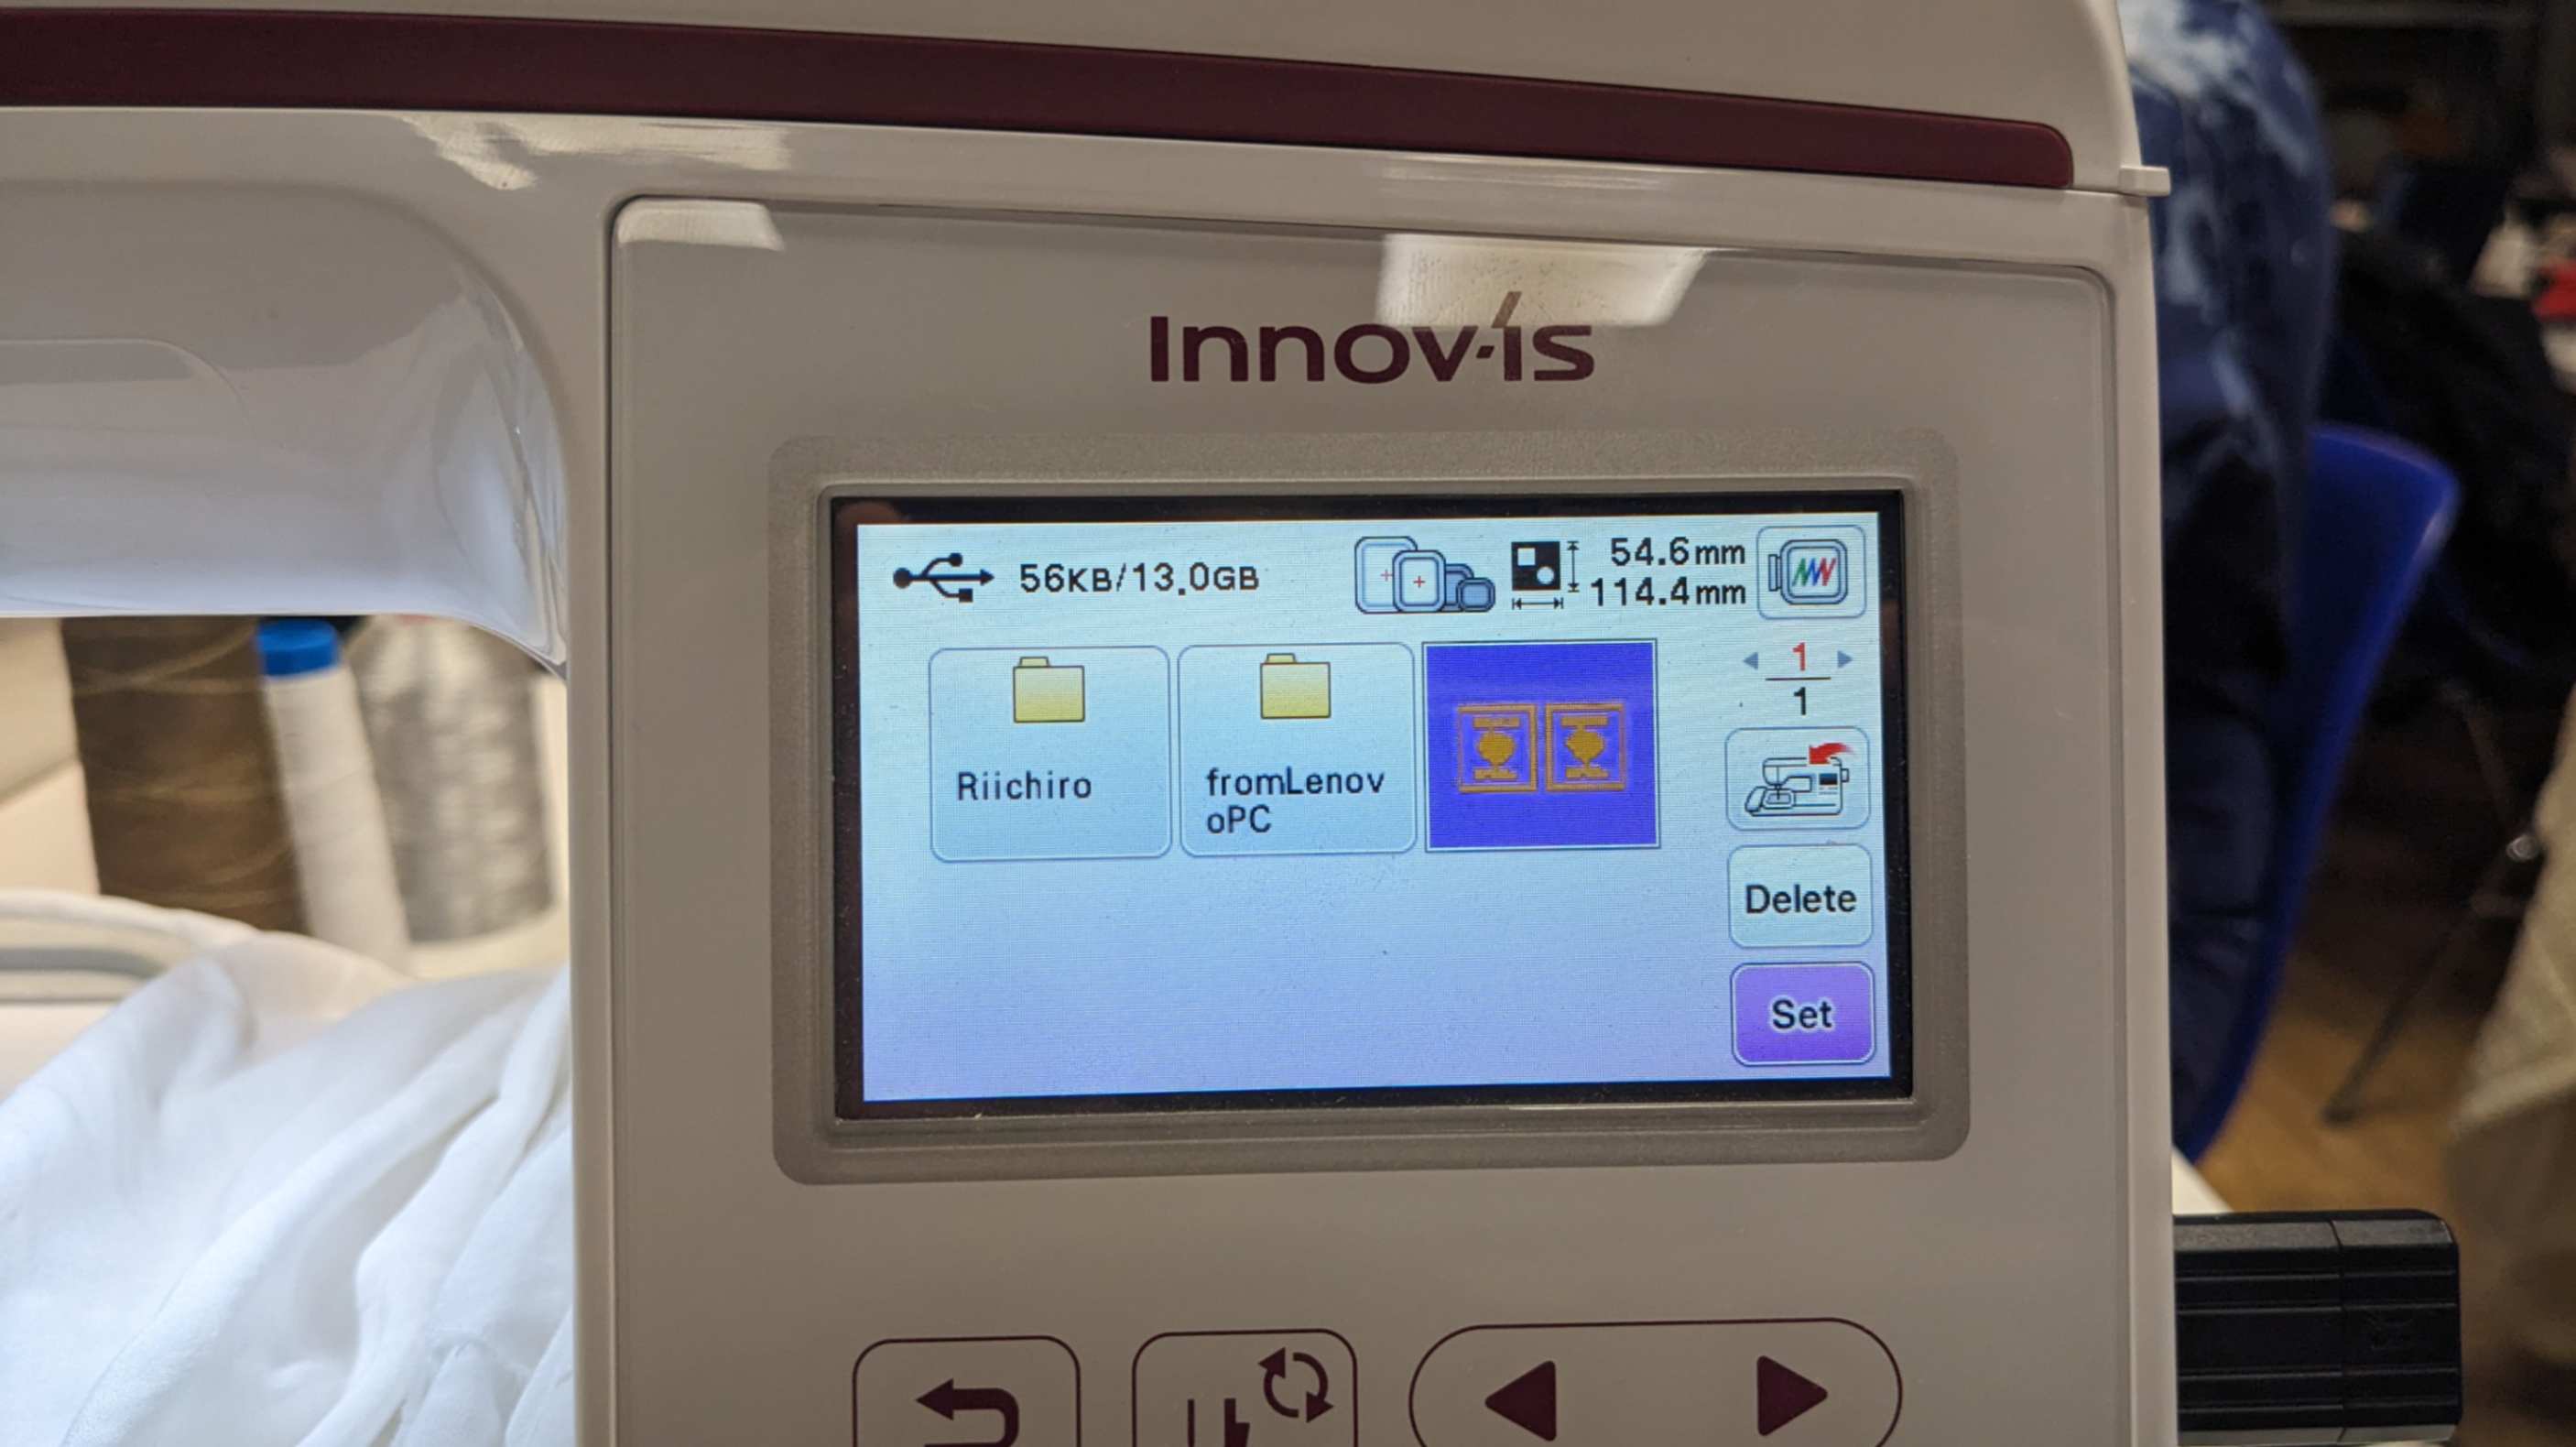
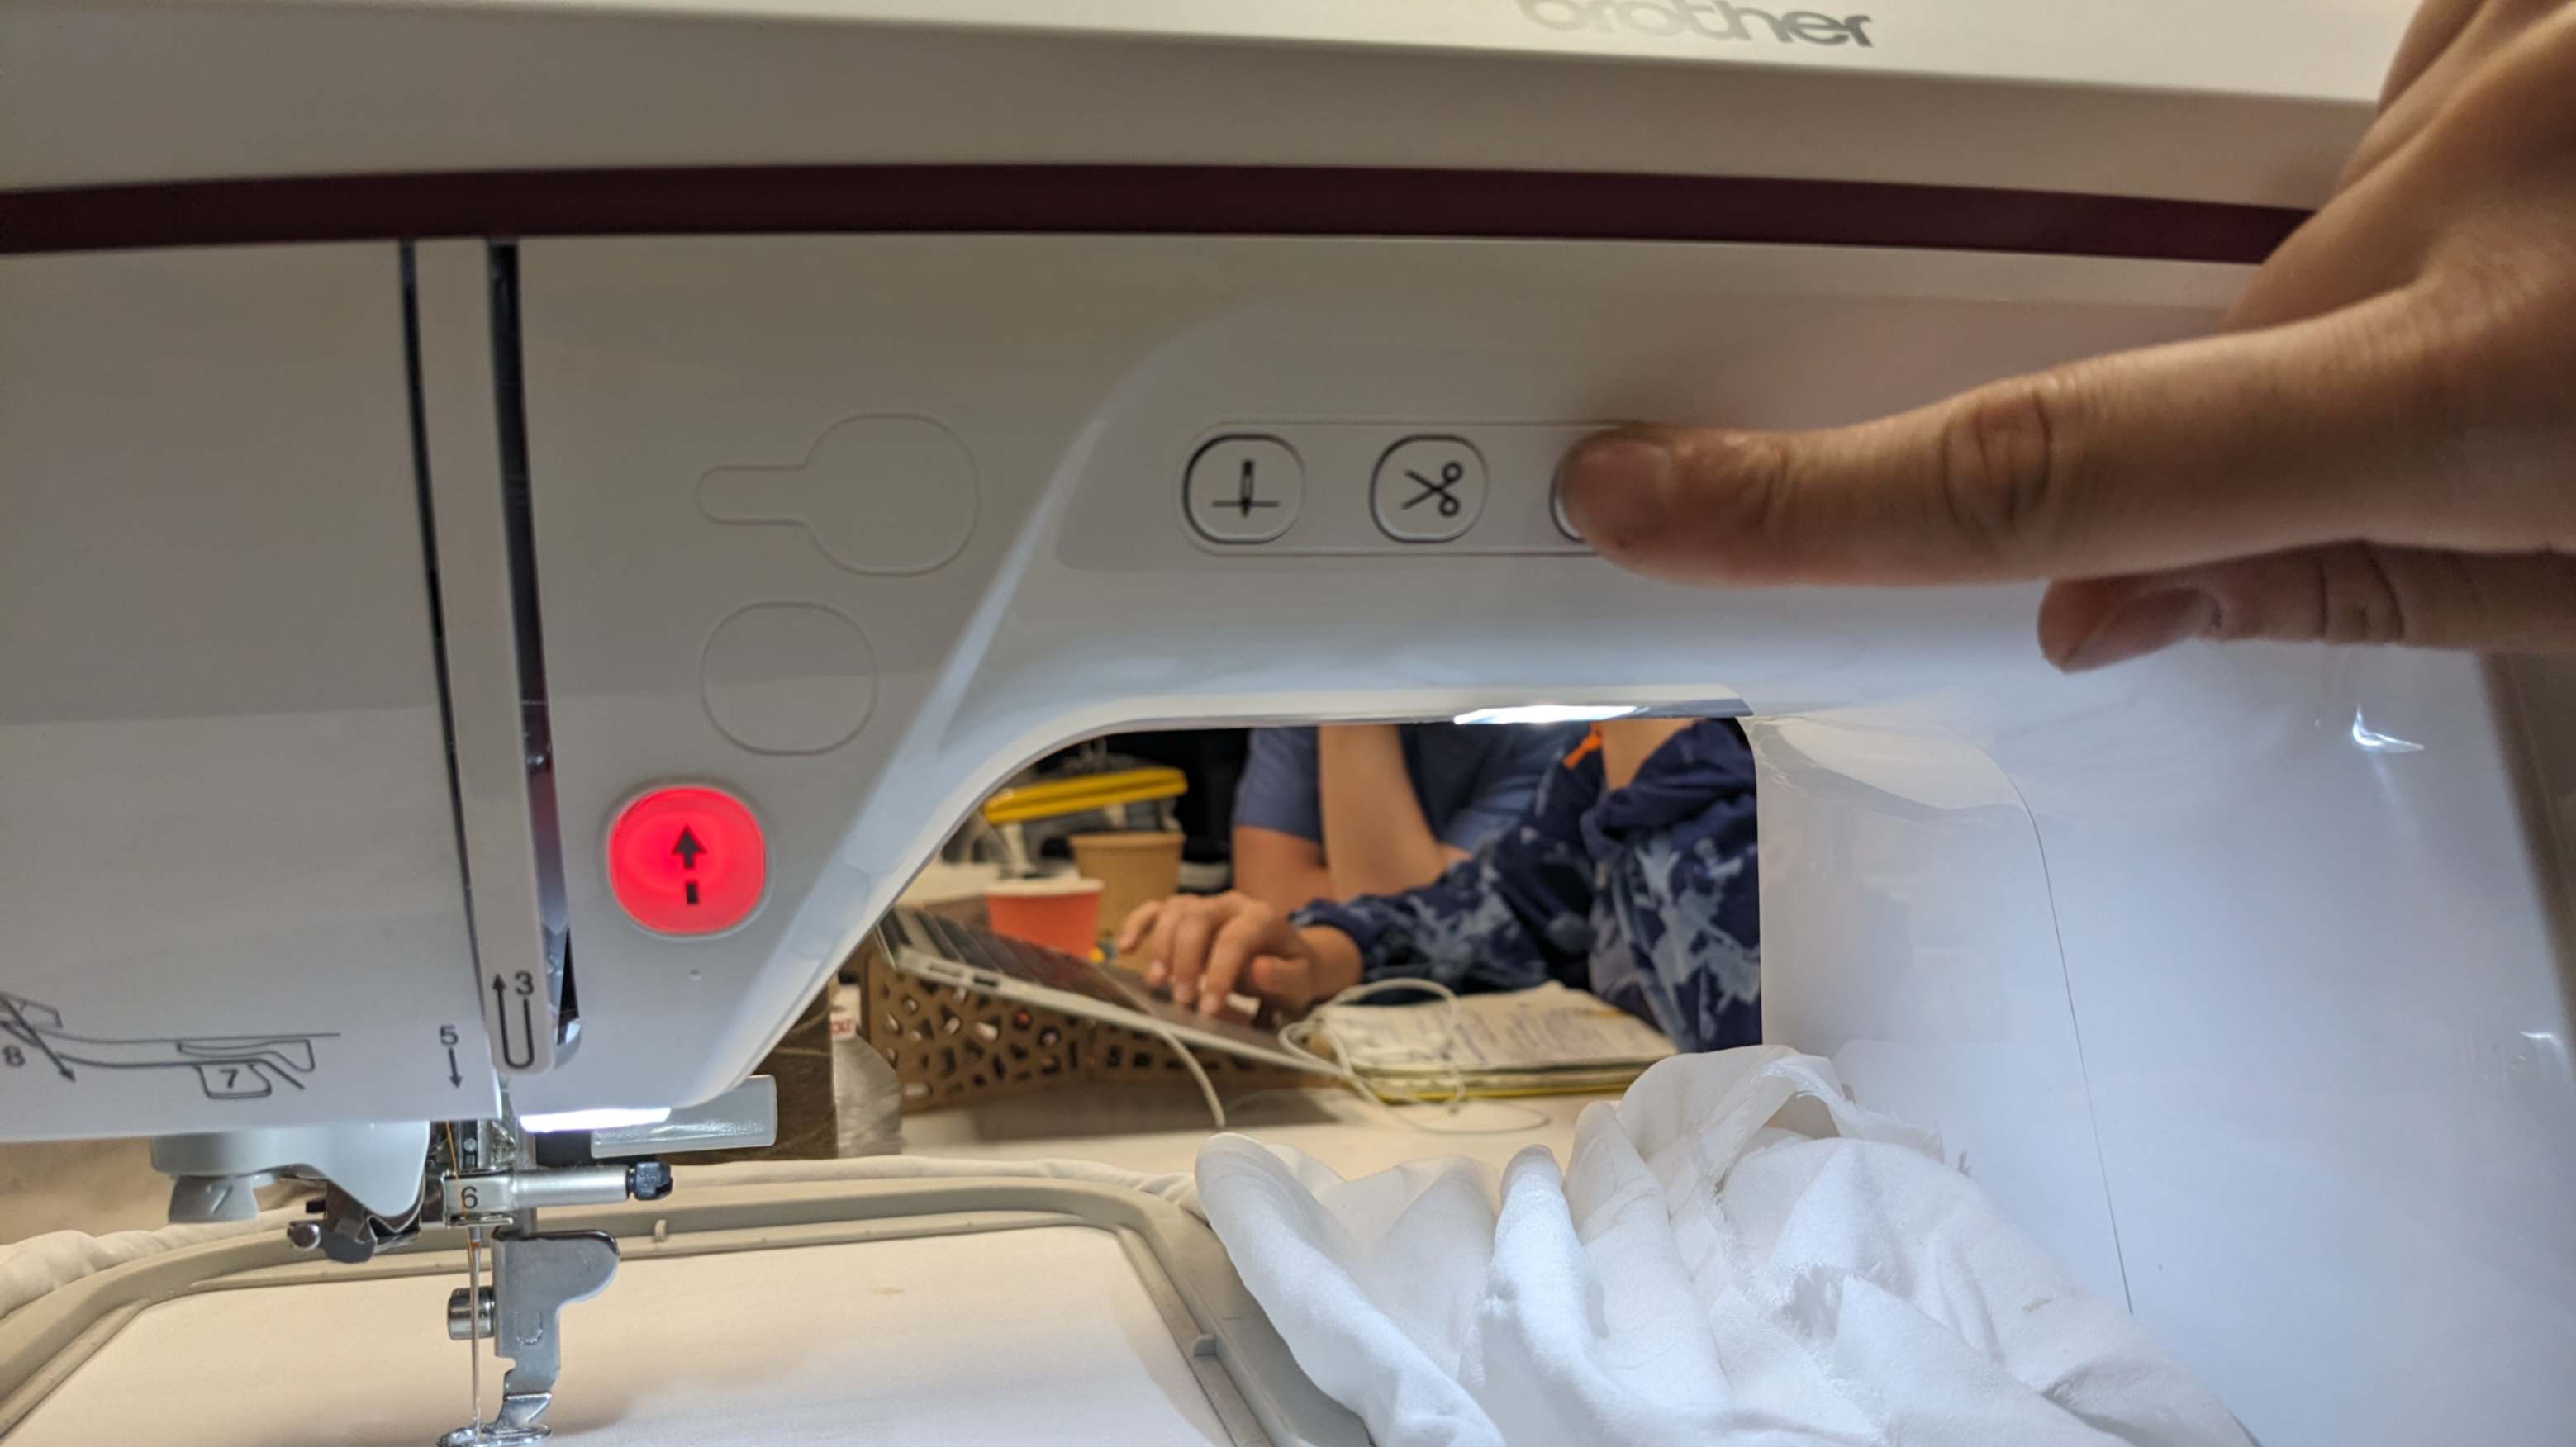
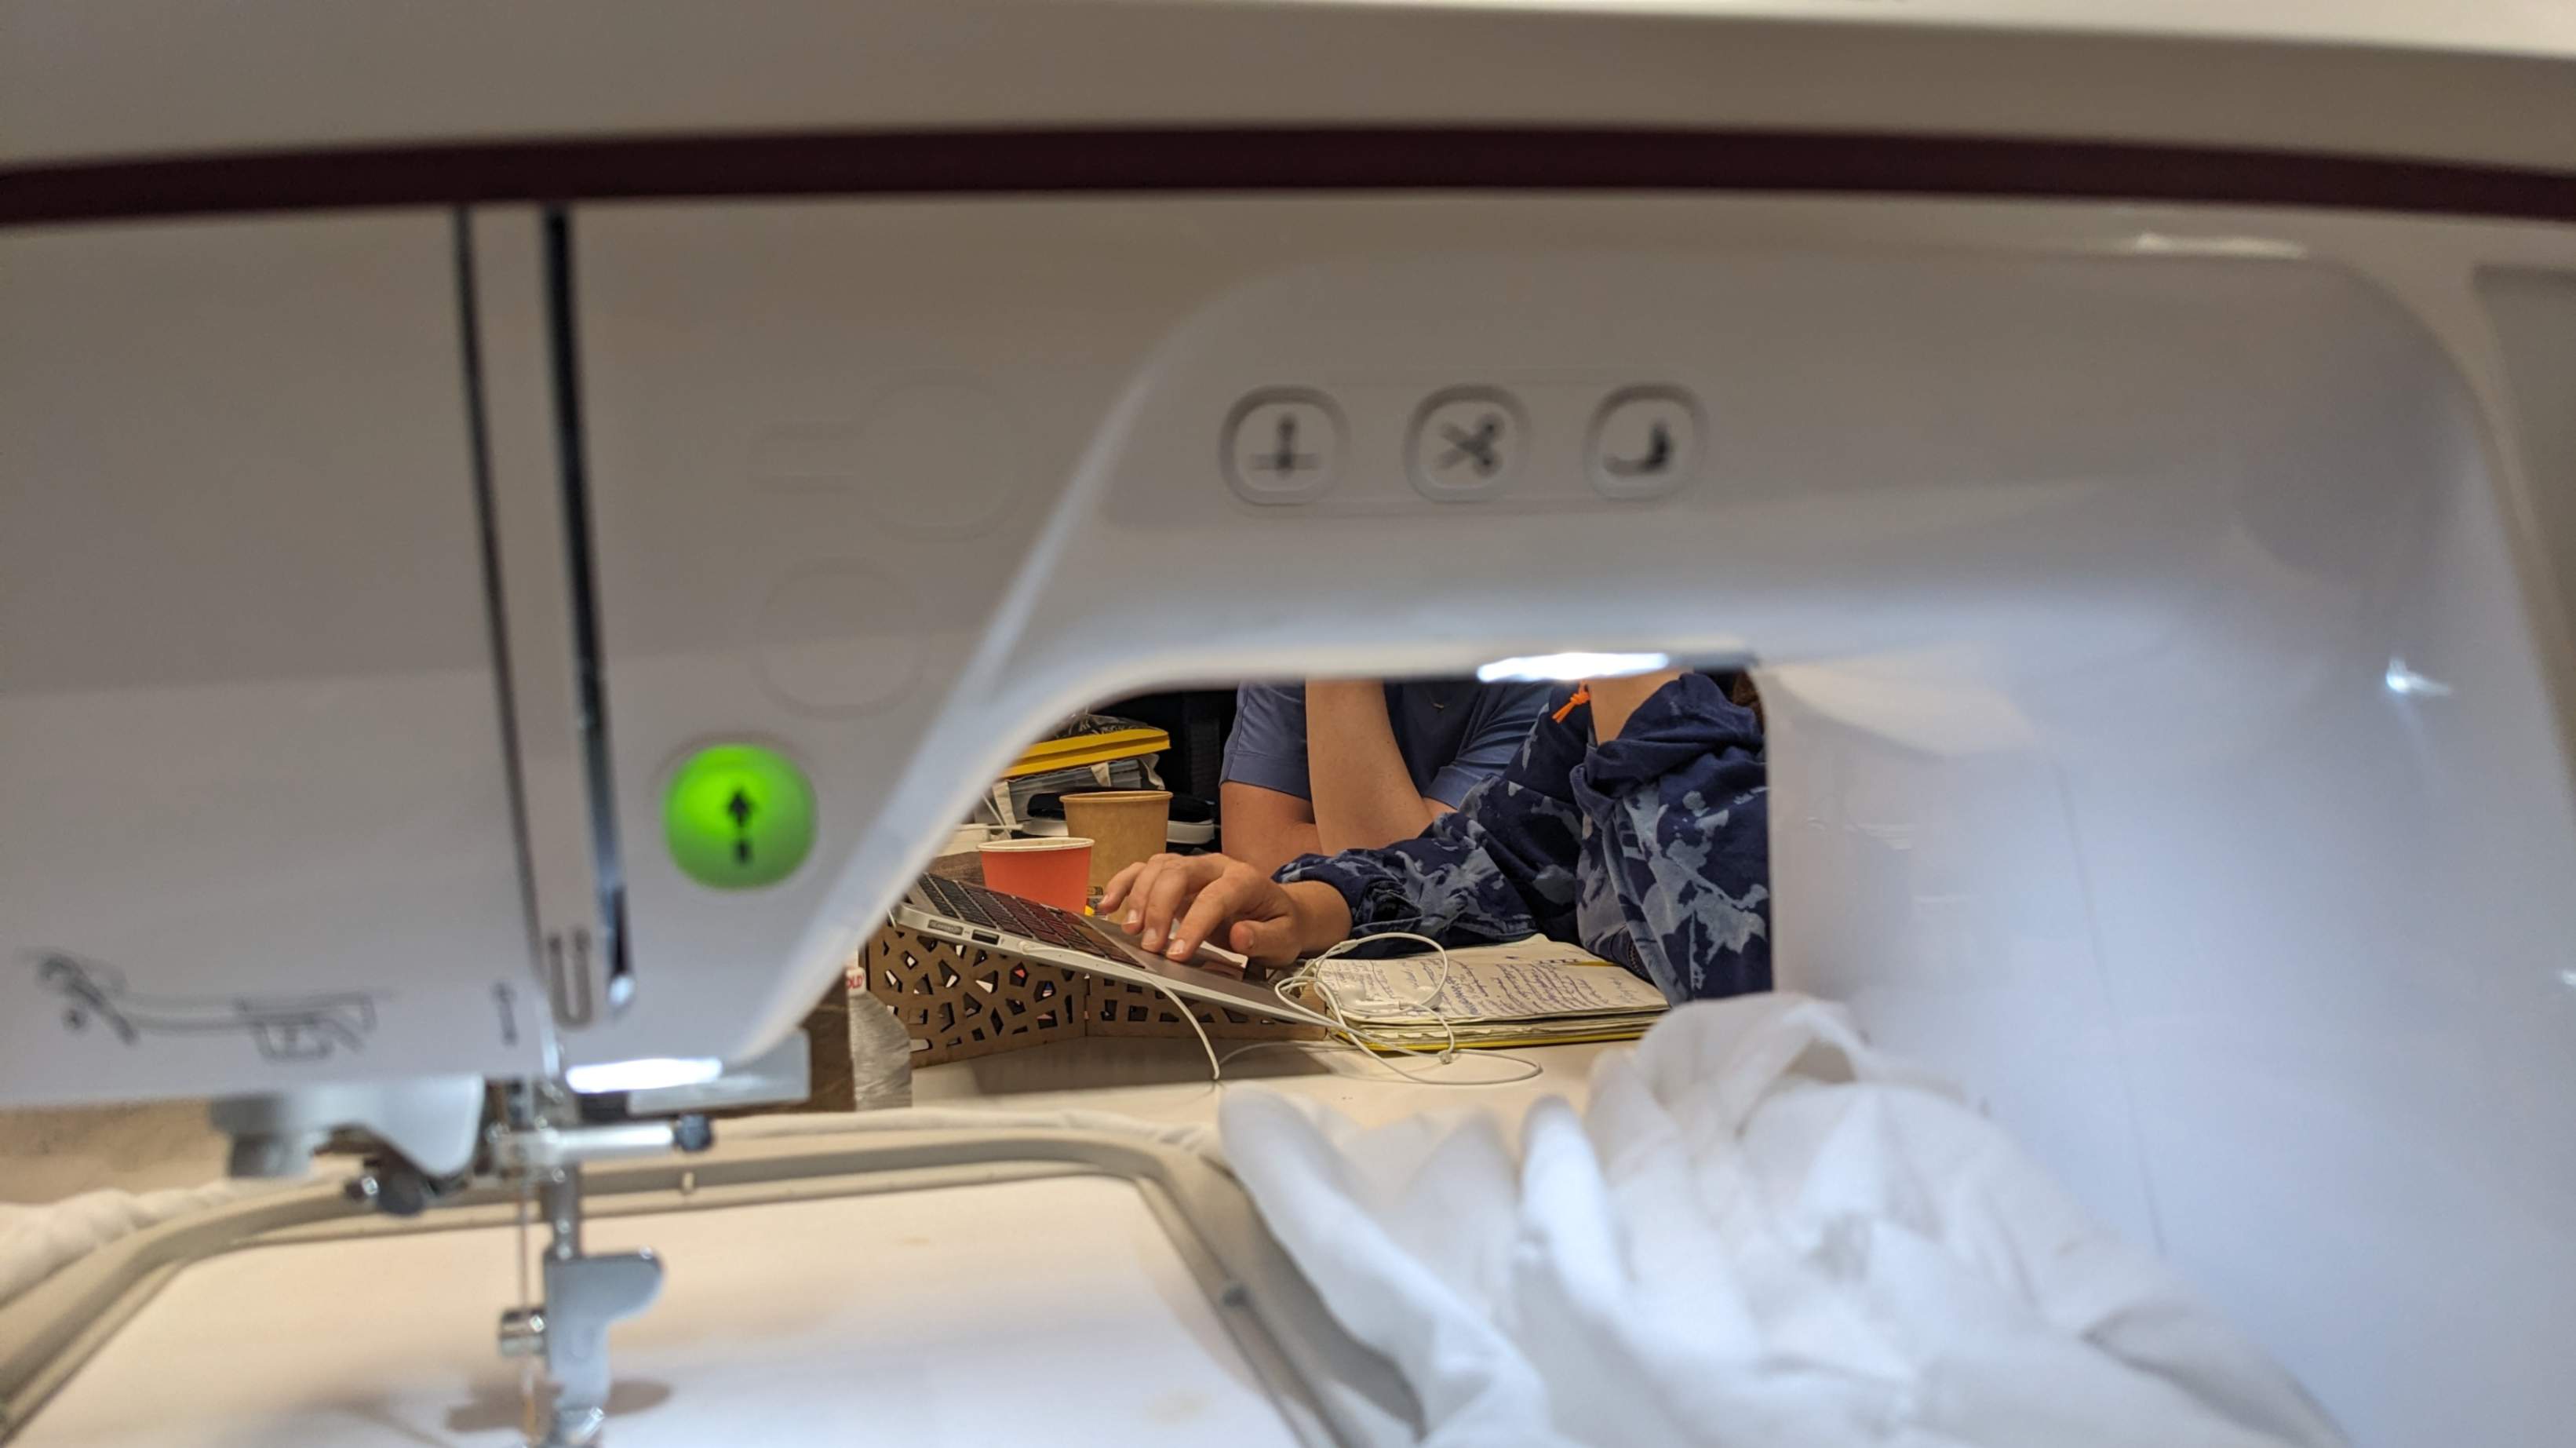
The text piece came out nice but the text was a little bit hard to read, and the fabric wrinkled a little bit.
Learning from the text pieces I made the main design to have bigger text (22pt), and also divided into different layers by each letter. This made the stitching follow the order of the layer resulting less travelling strings that I needed to cut afterwards.
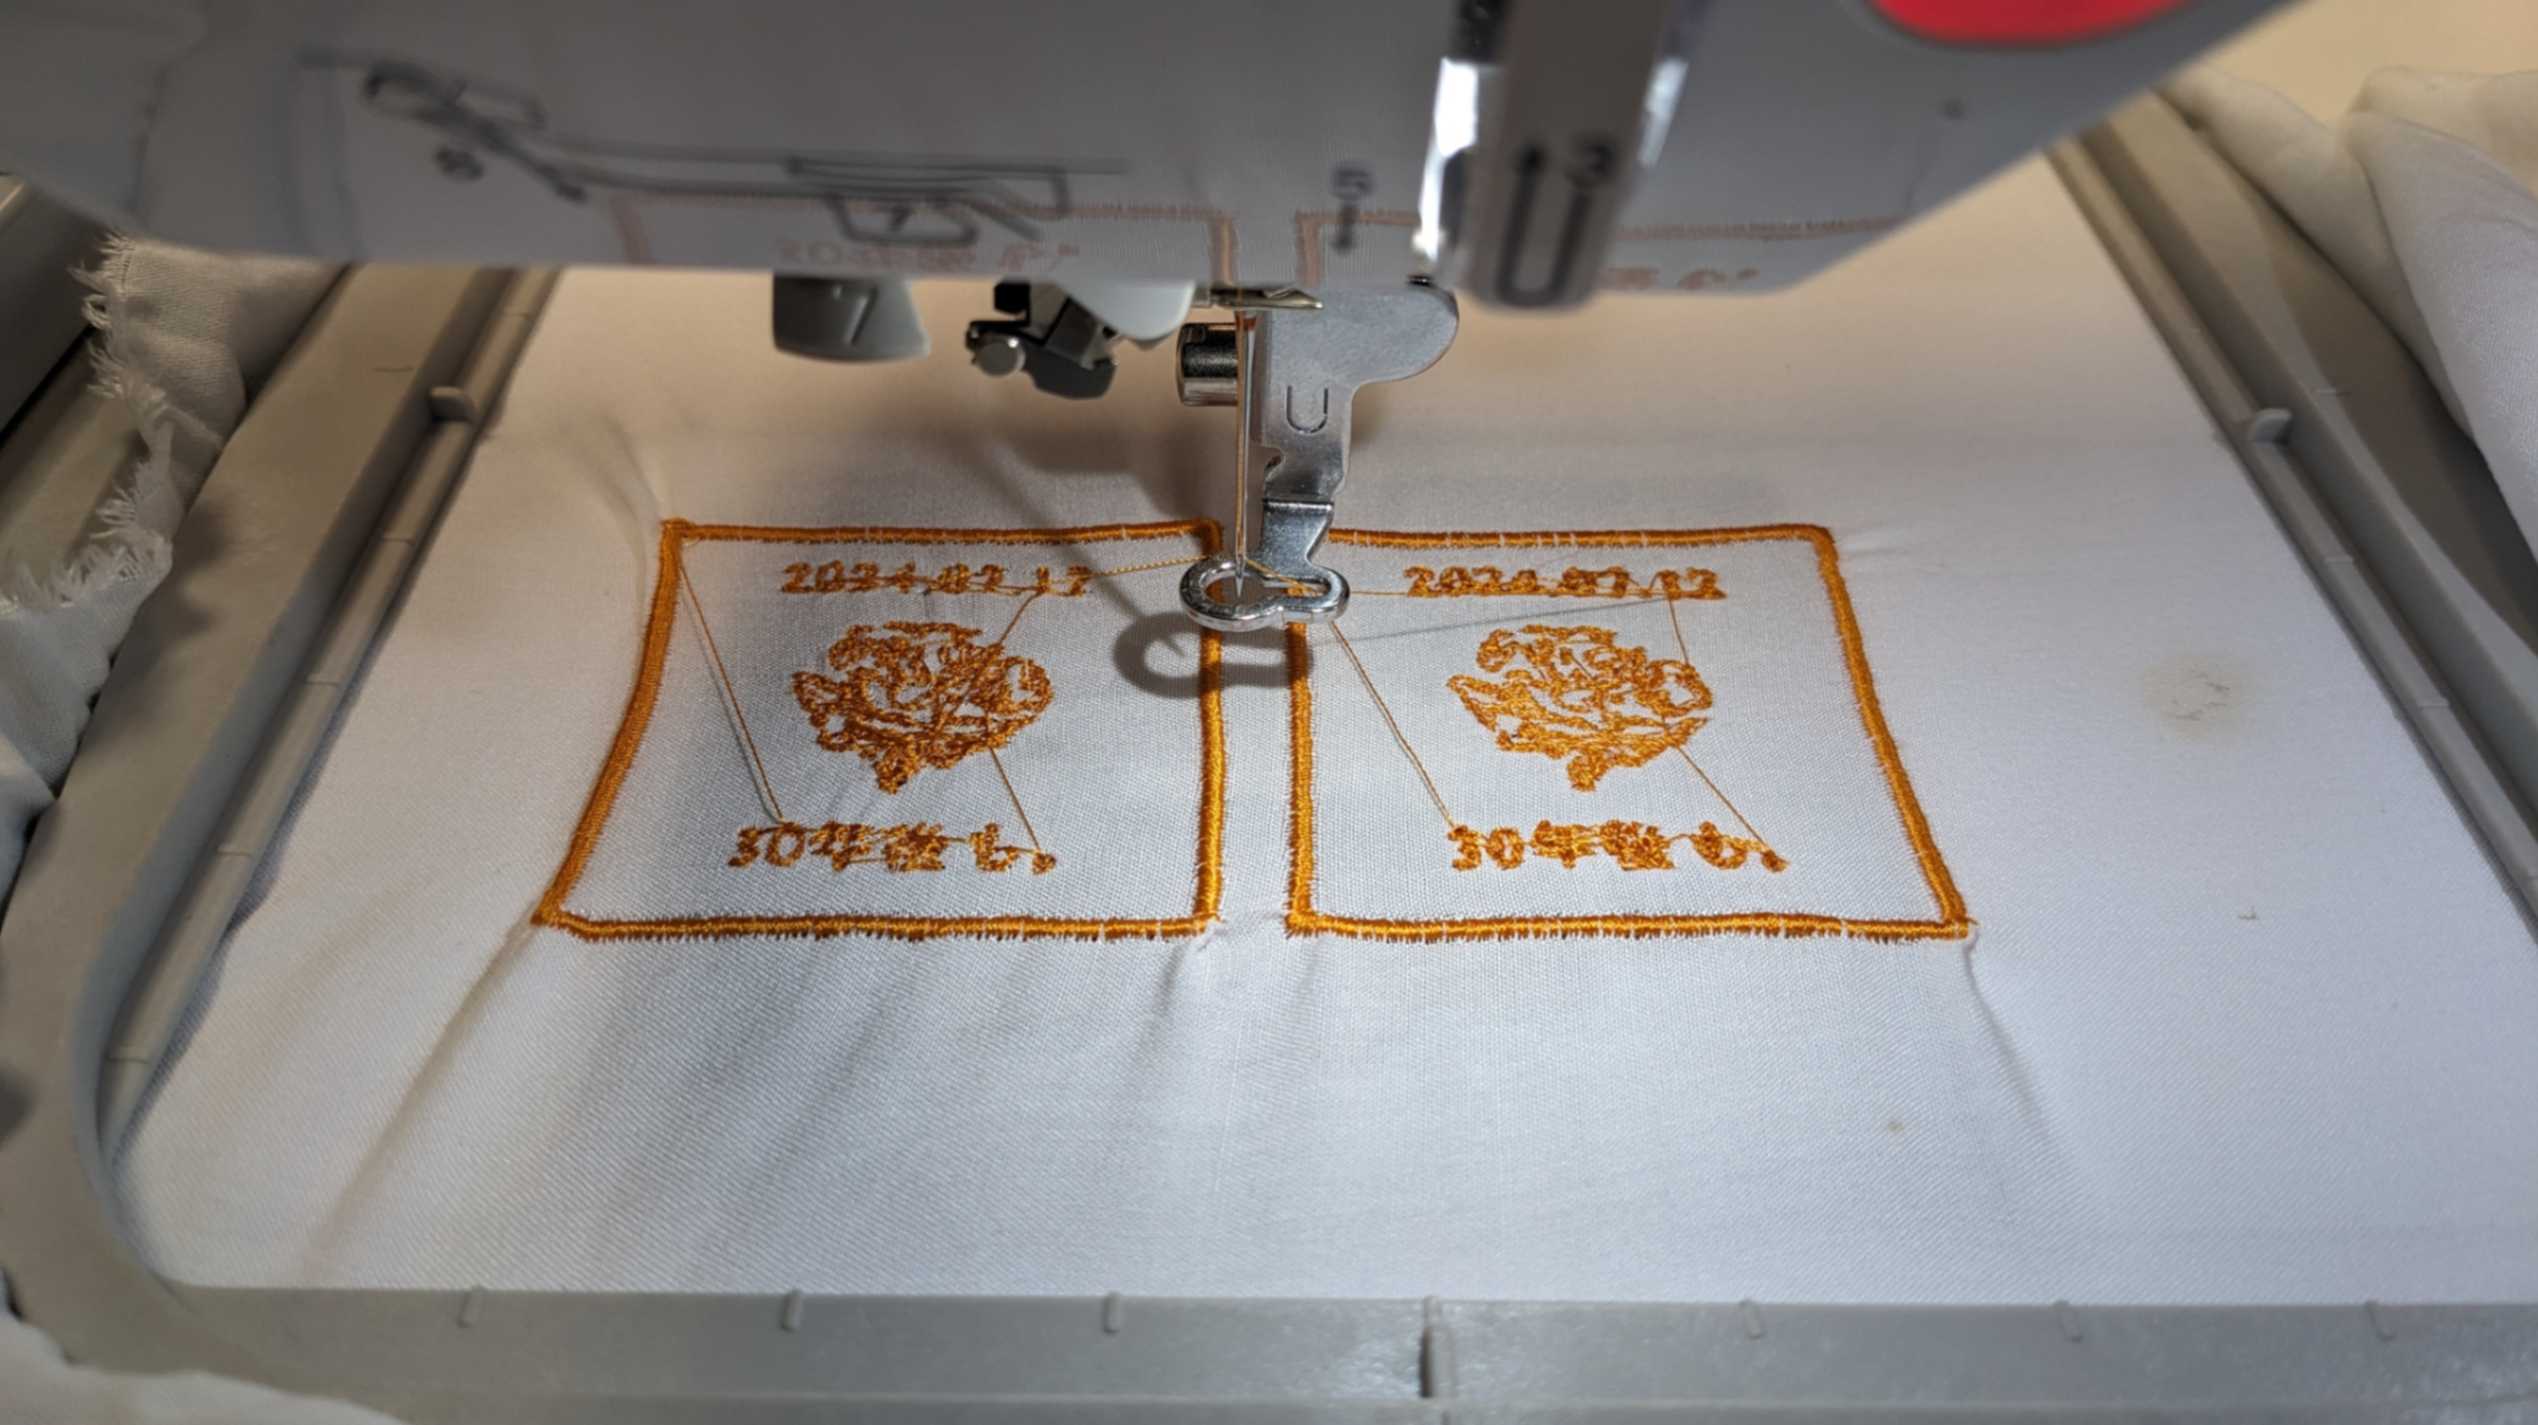
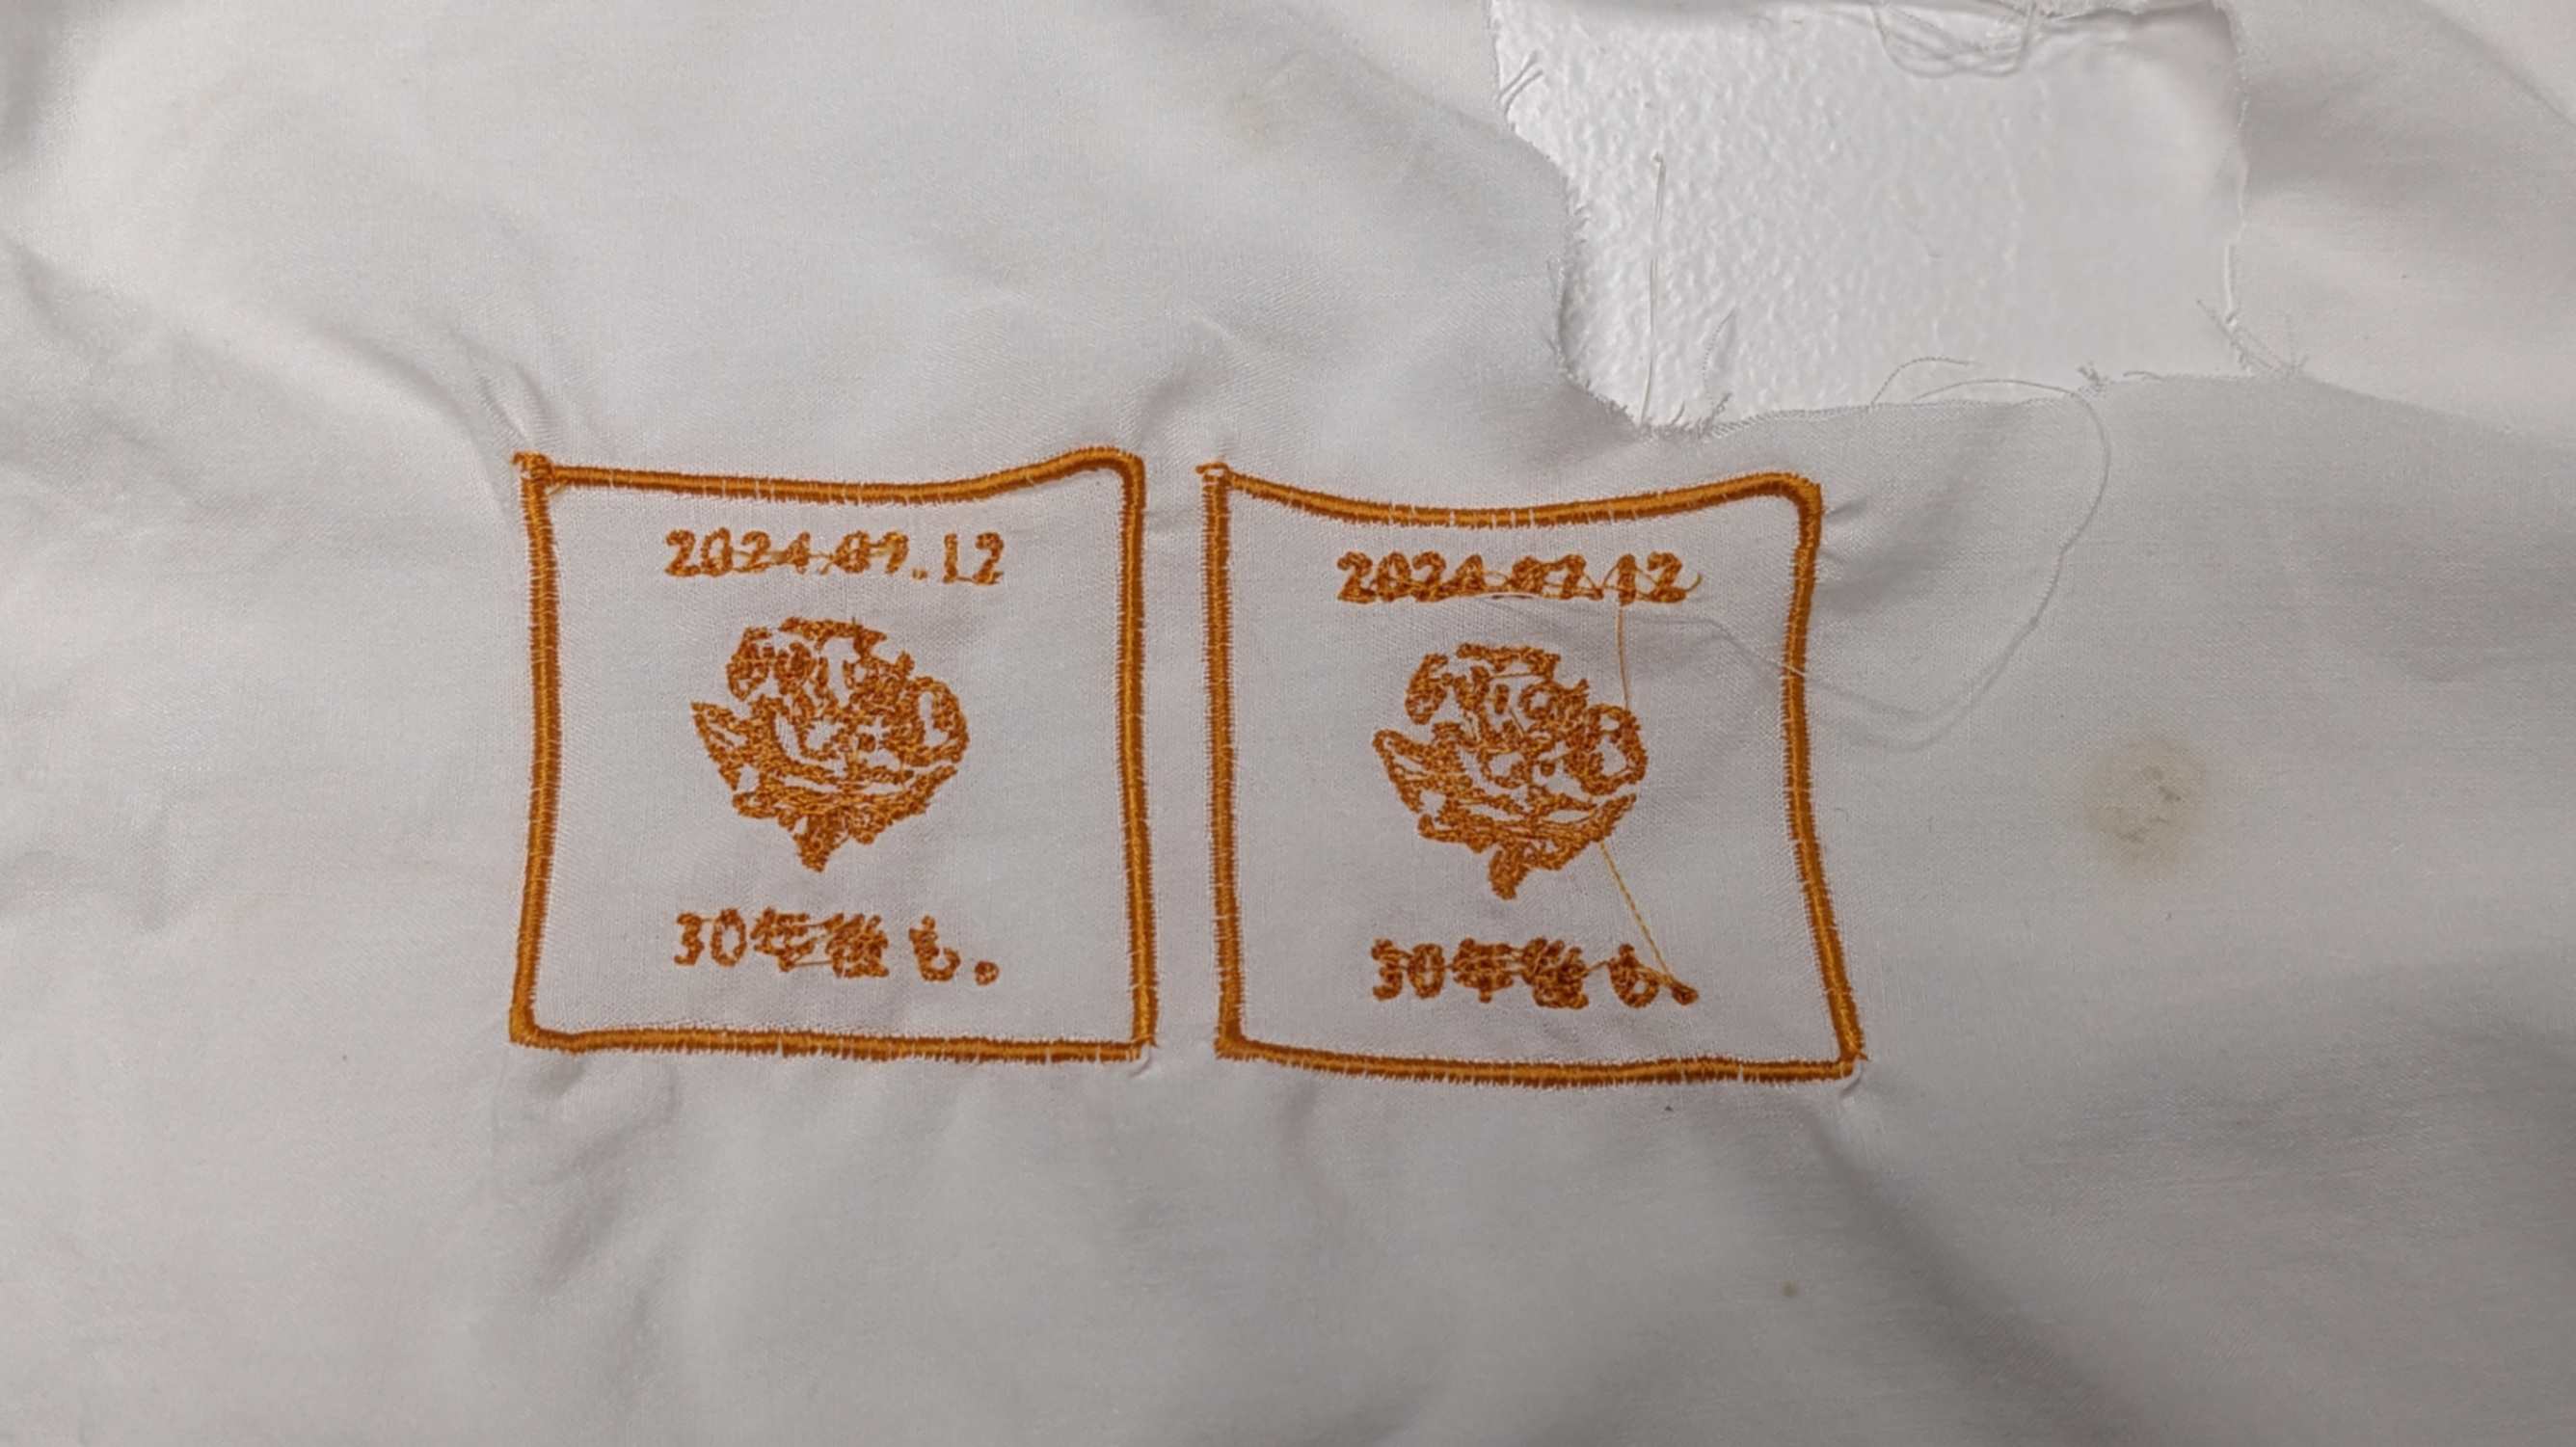
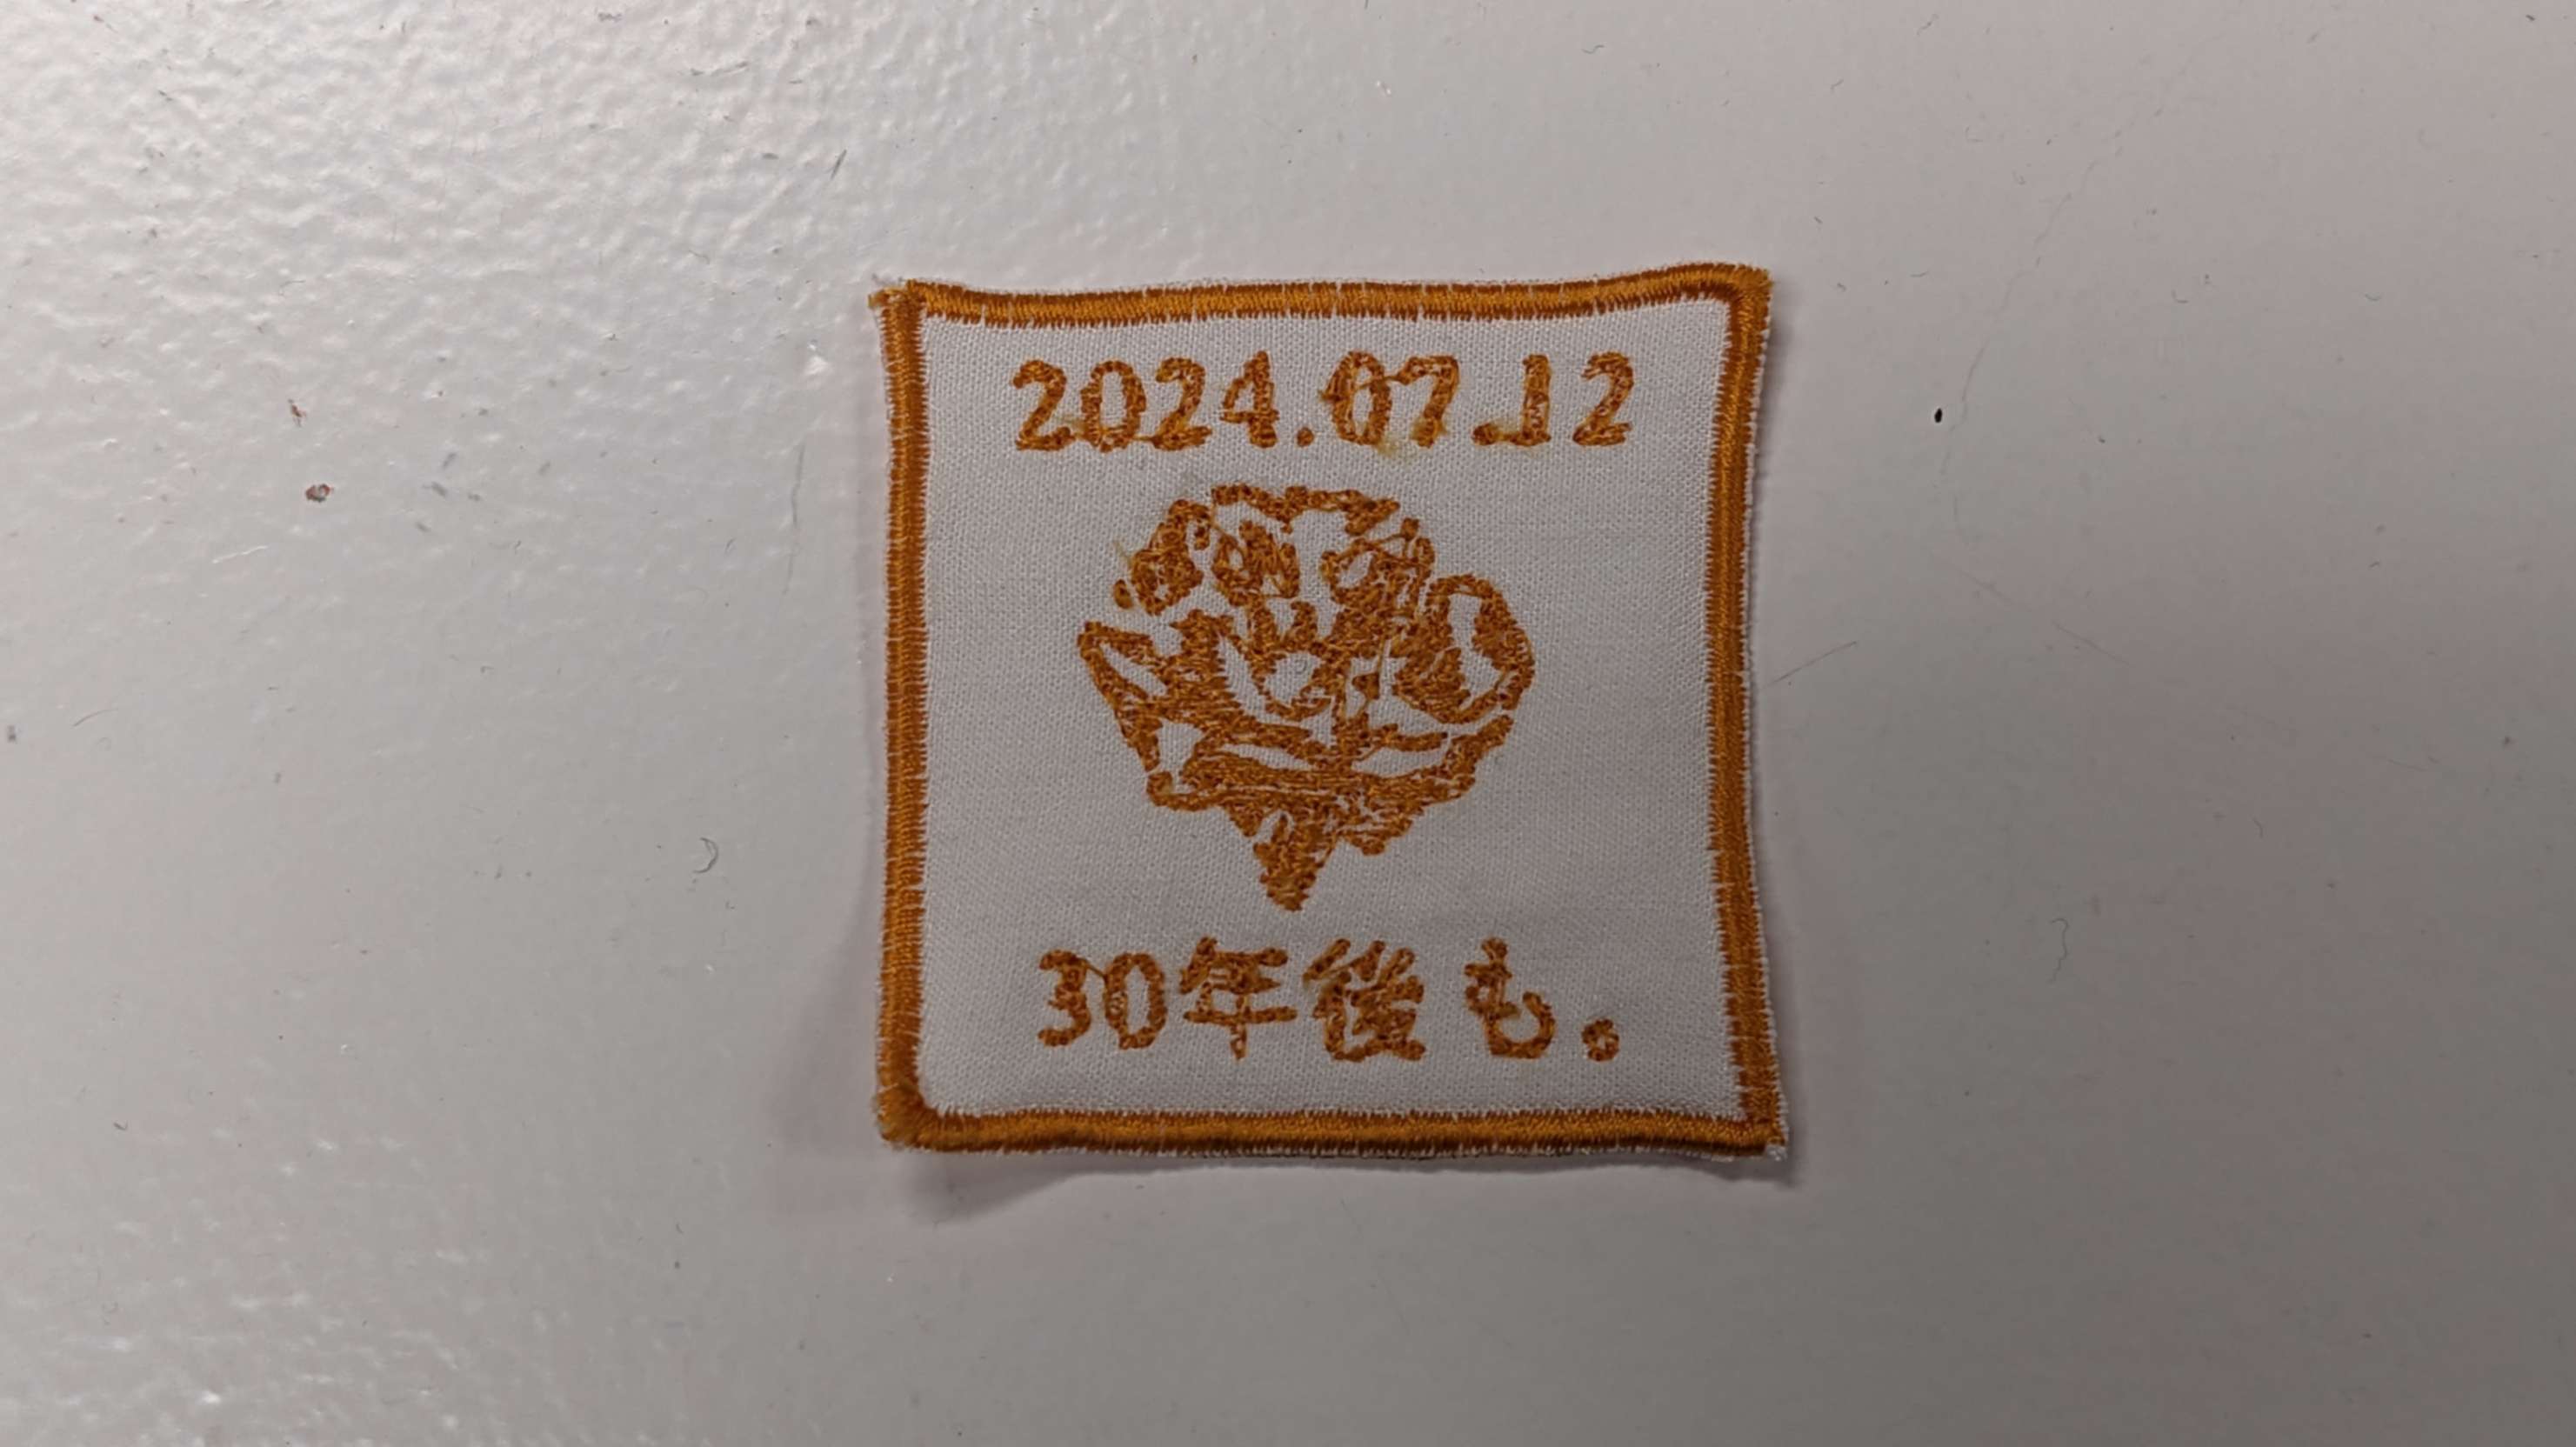
Also, I changed the design size because 170mm square was not accepted by the machine. I made it 160mm square which seemed like the maximum size of the largest frame I had in the lab.
This time I gave more tension to the fabric when putting in the frame to reduce the wrinkles. Also, I made it double-layer simply by folding the fabric in half.
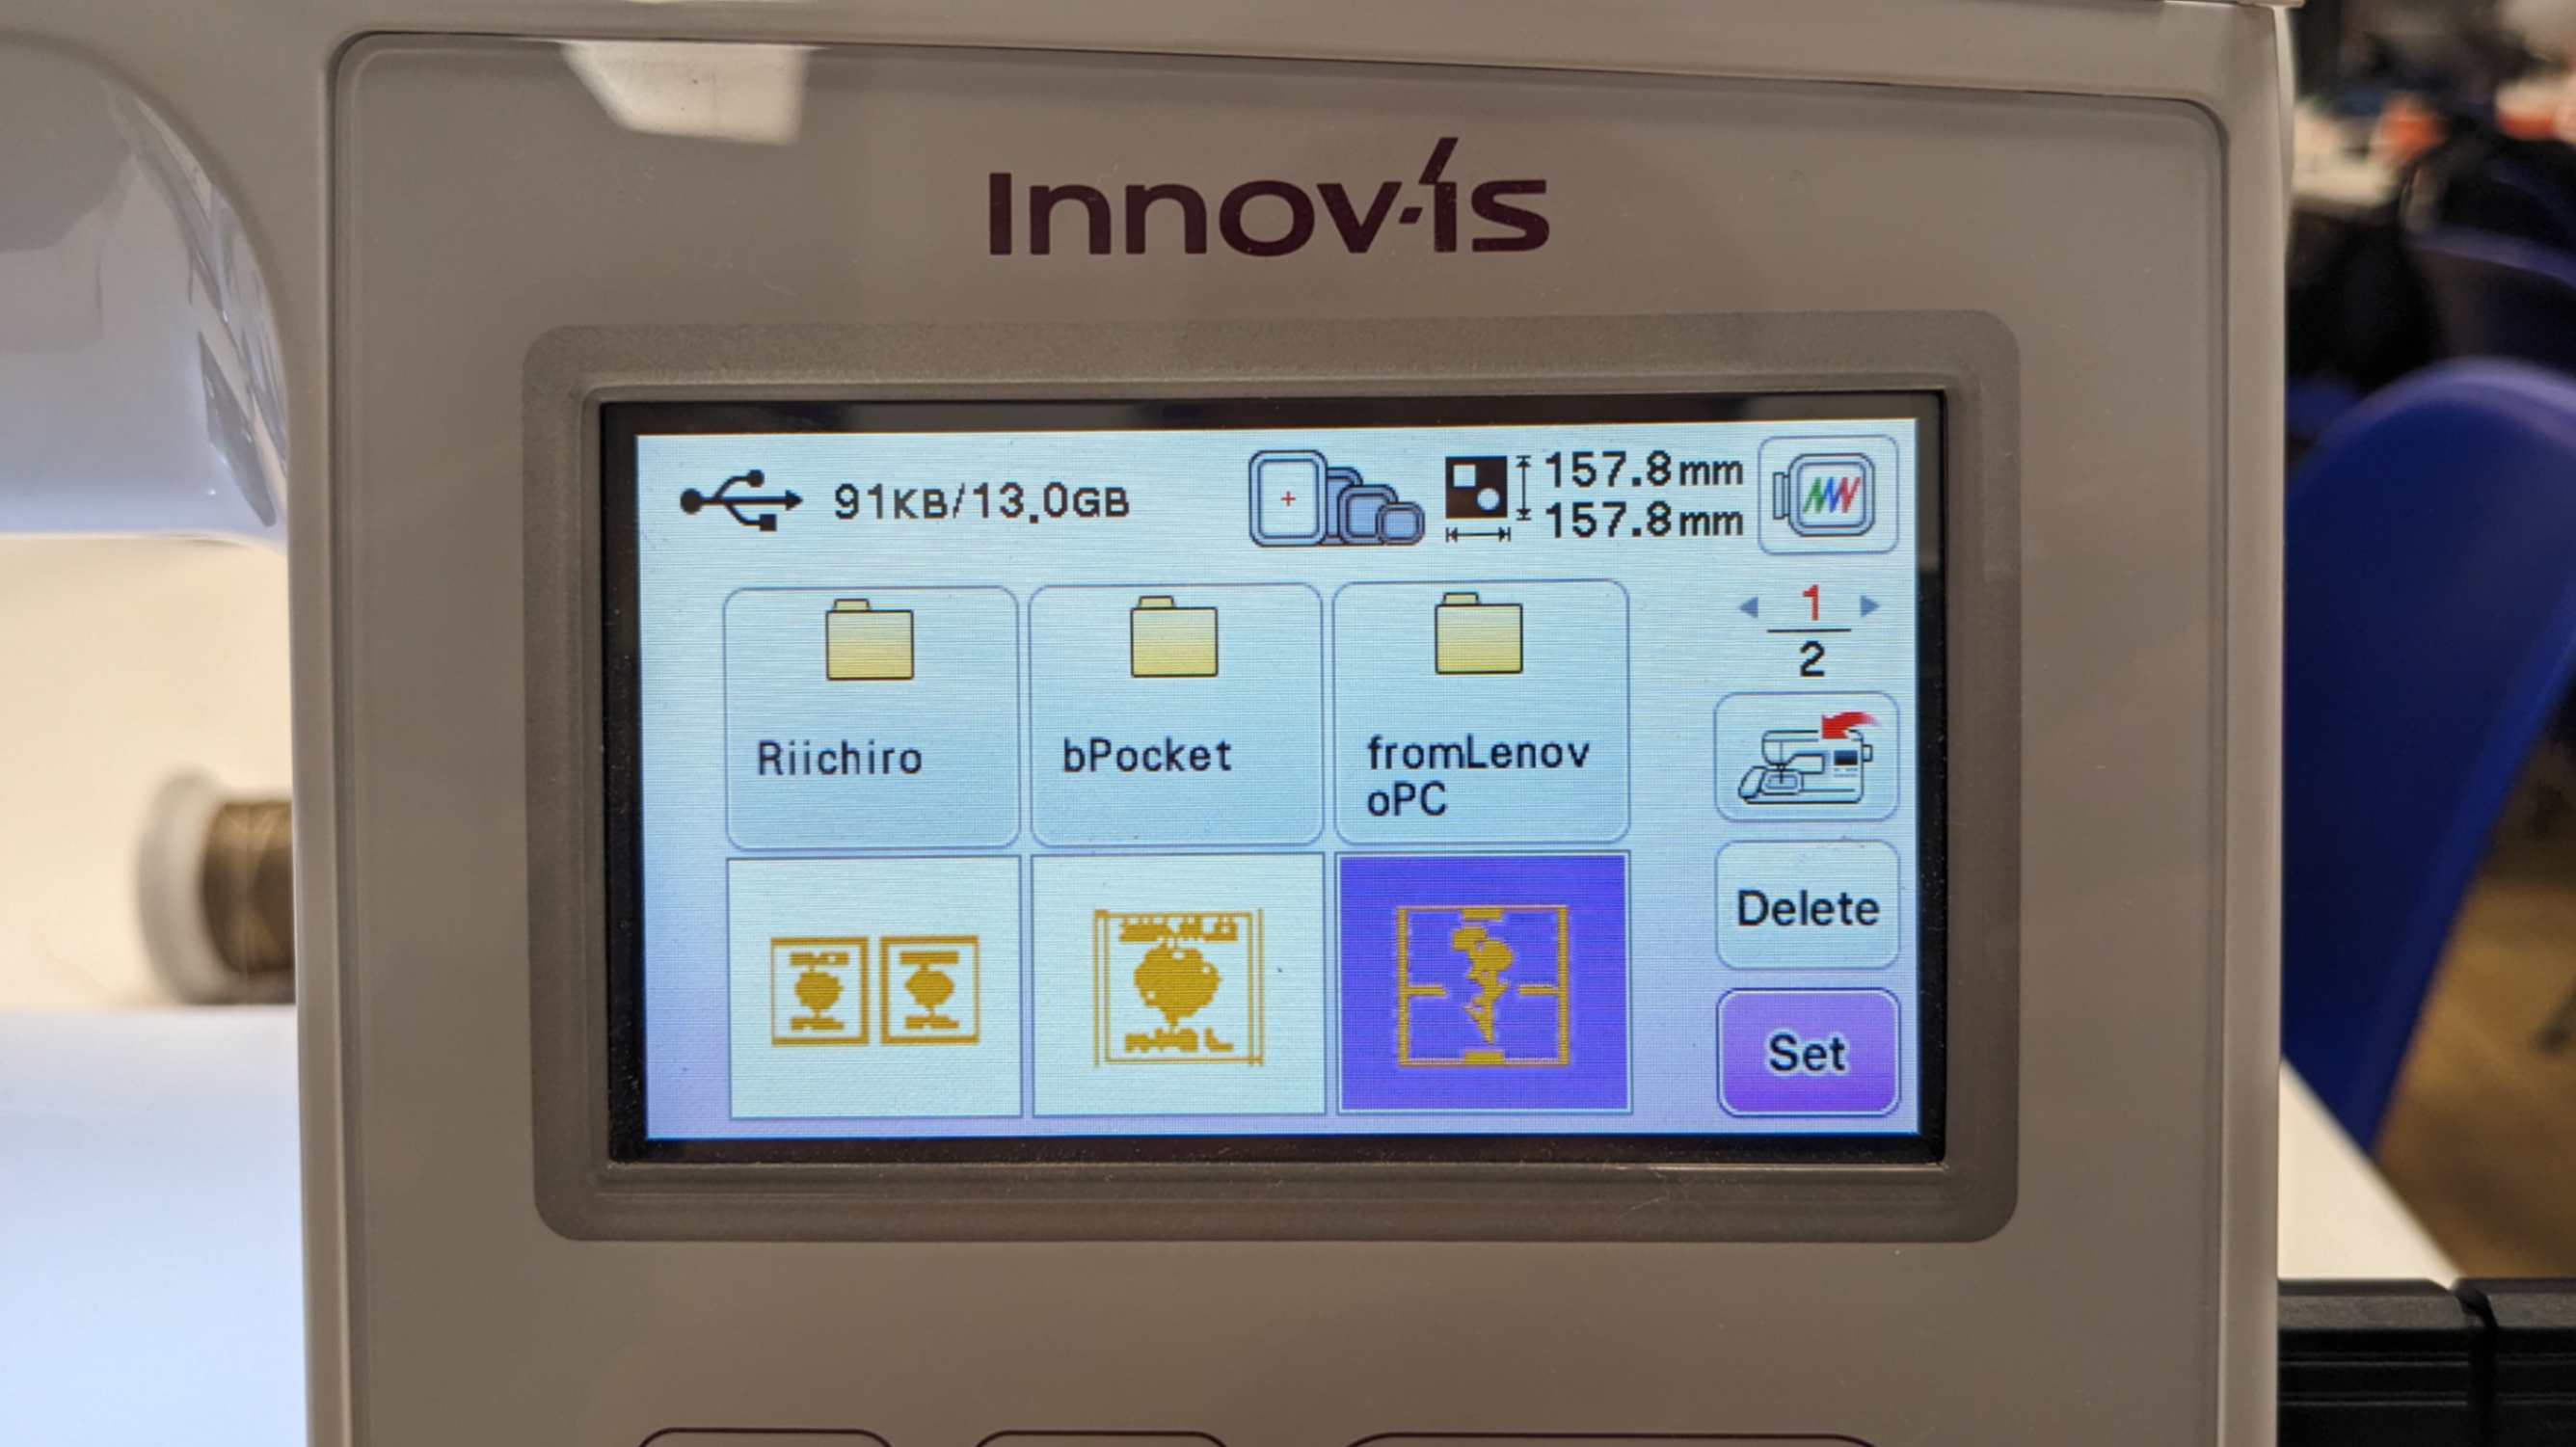
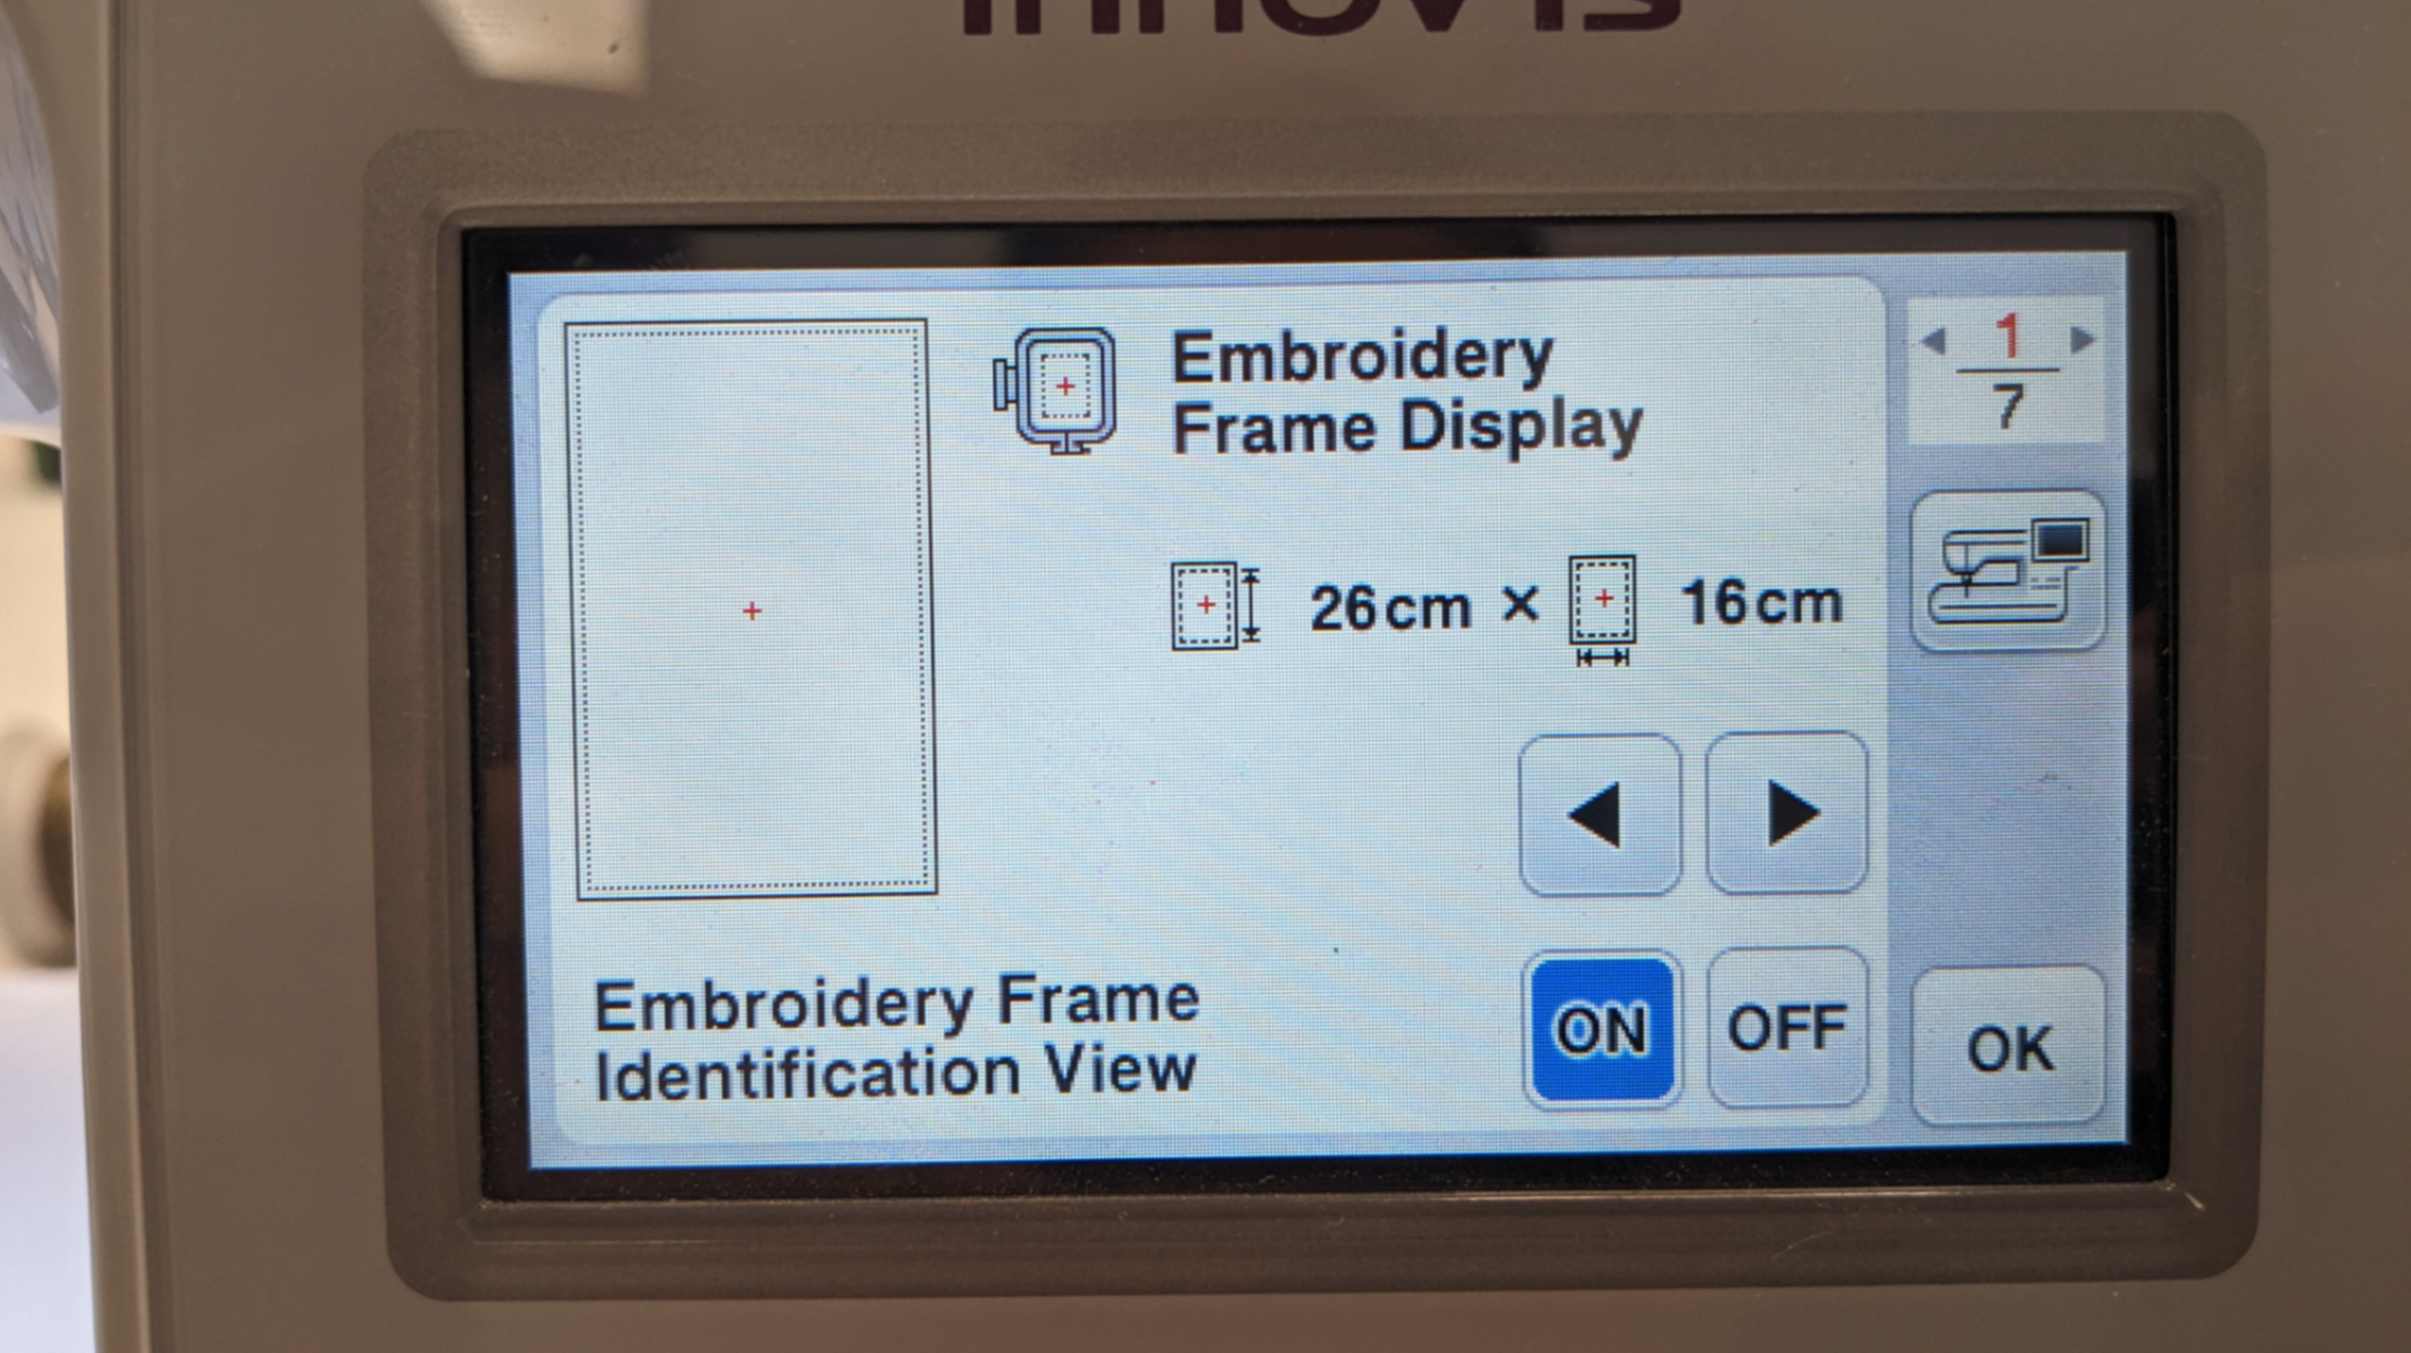
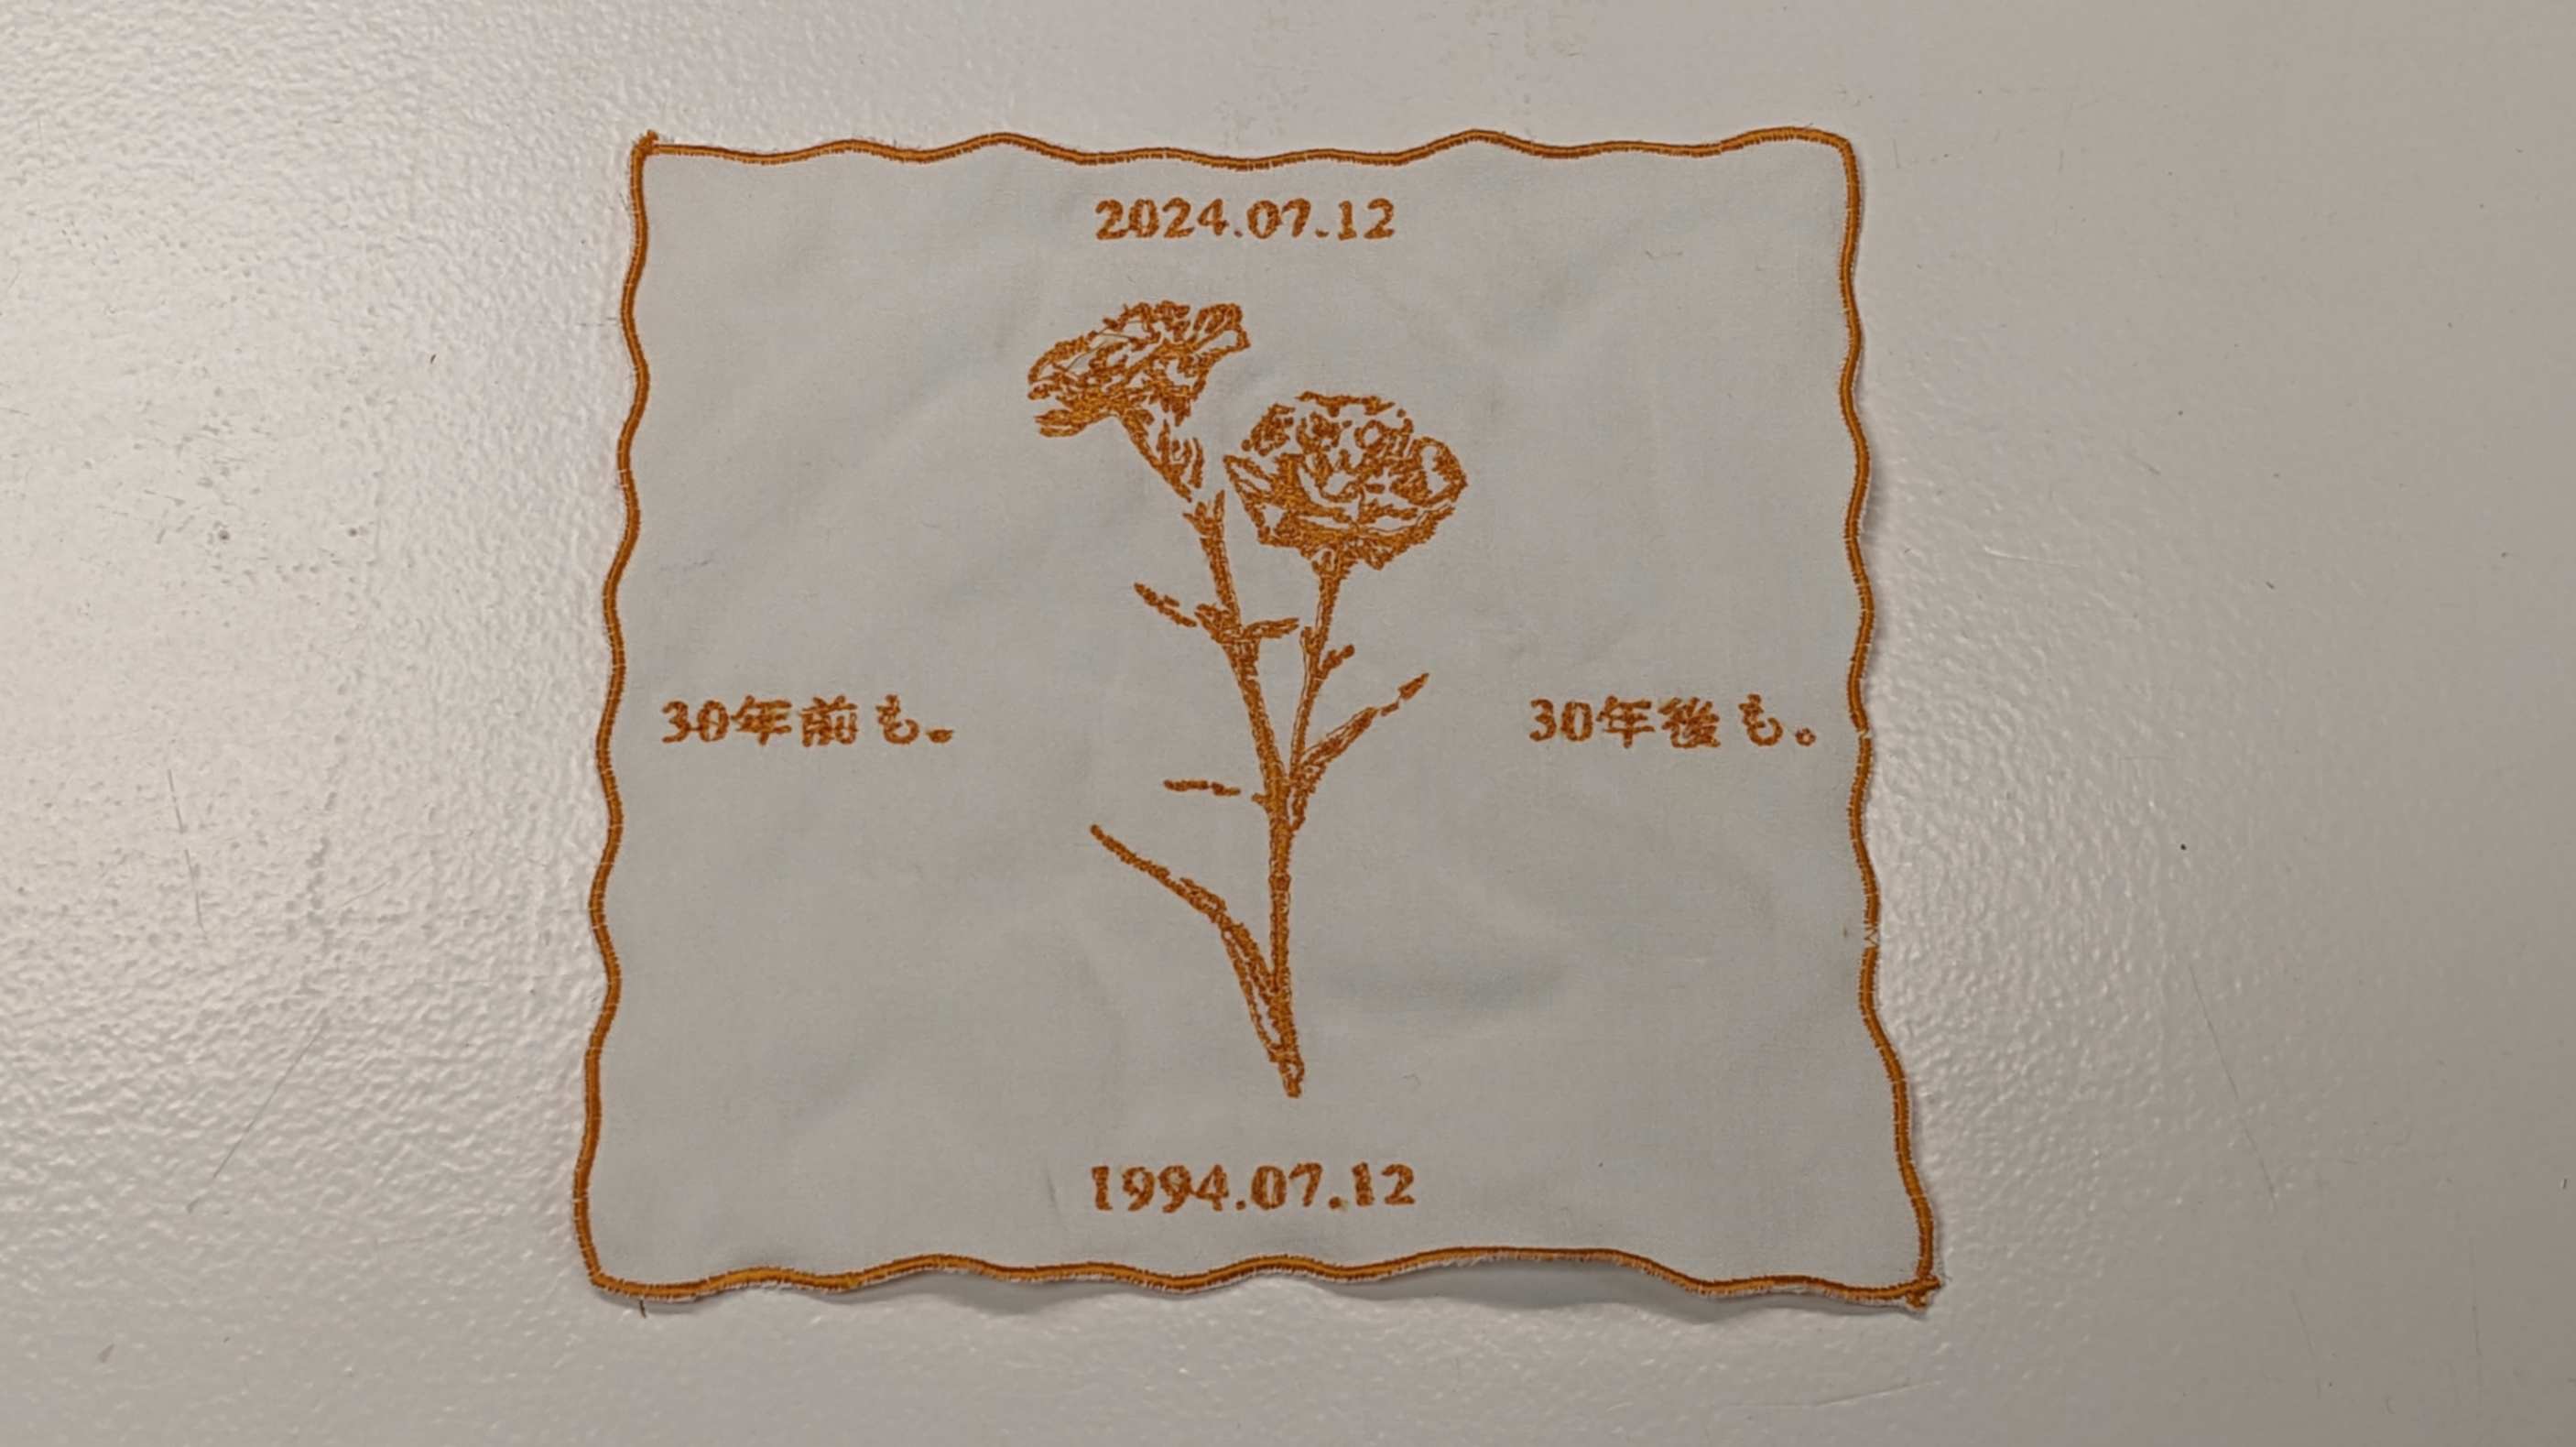
As a result, the main piece came out very nicely, and I am happy with the result.
Main_Mother.svgMain_Mother.pes
