Week 12
Molding and Casting
Fab Academy 2024
Riichiro Yamamoto
- Group Assignment
- Negative & Positive
- 3D Modelling
- ModelaPlayer4
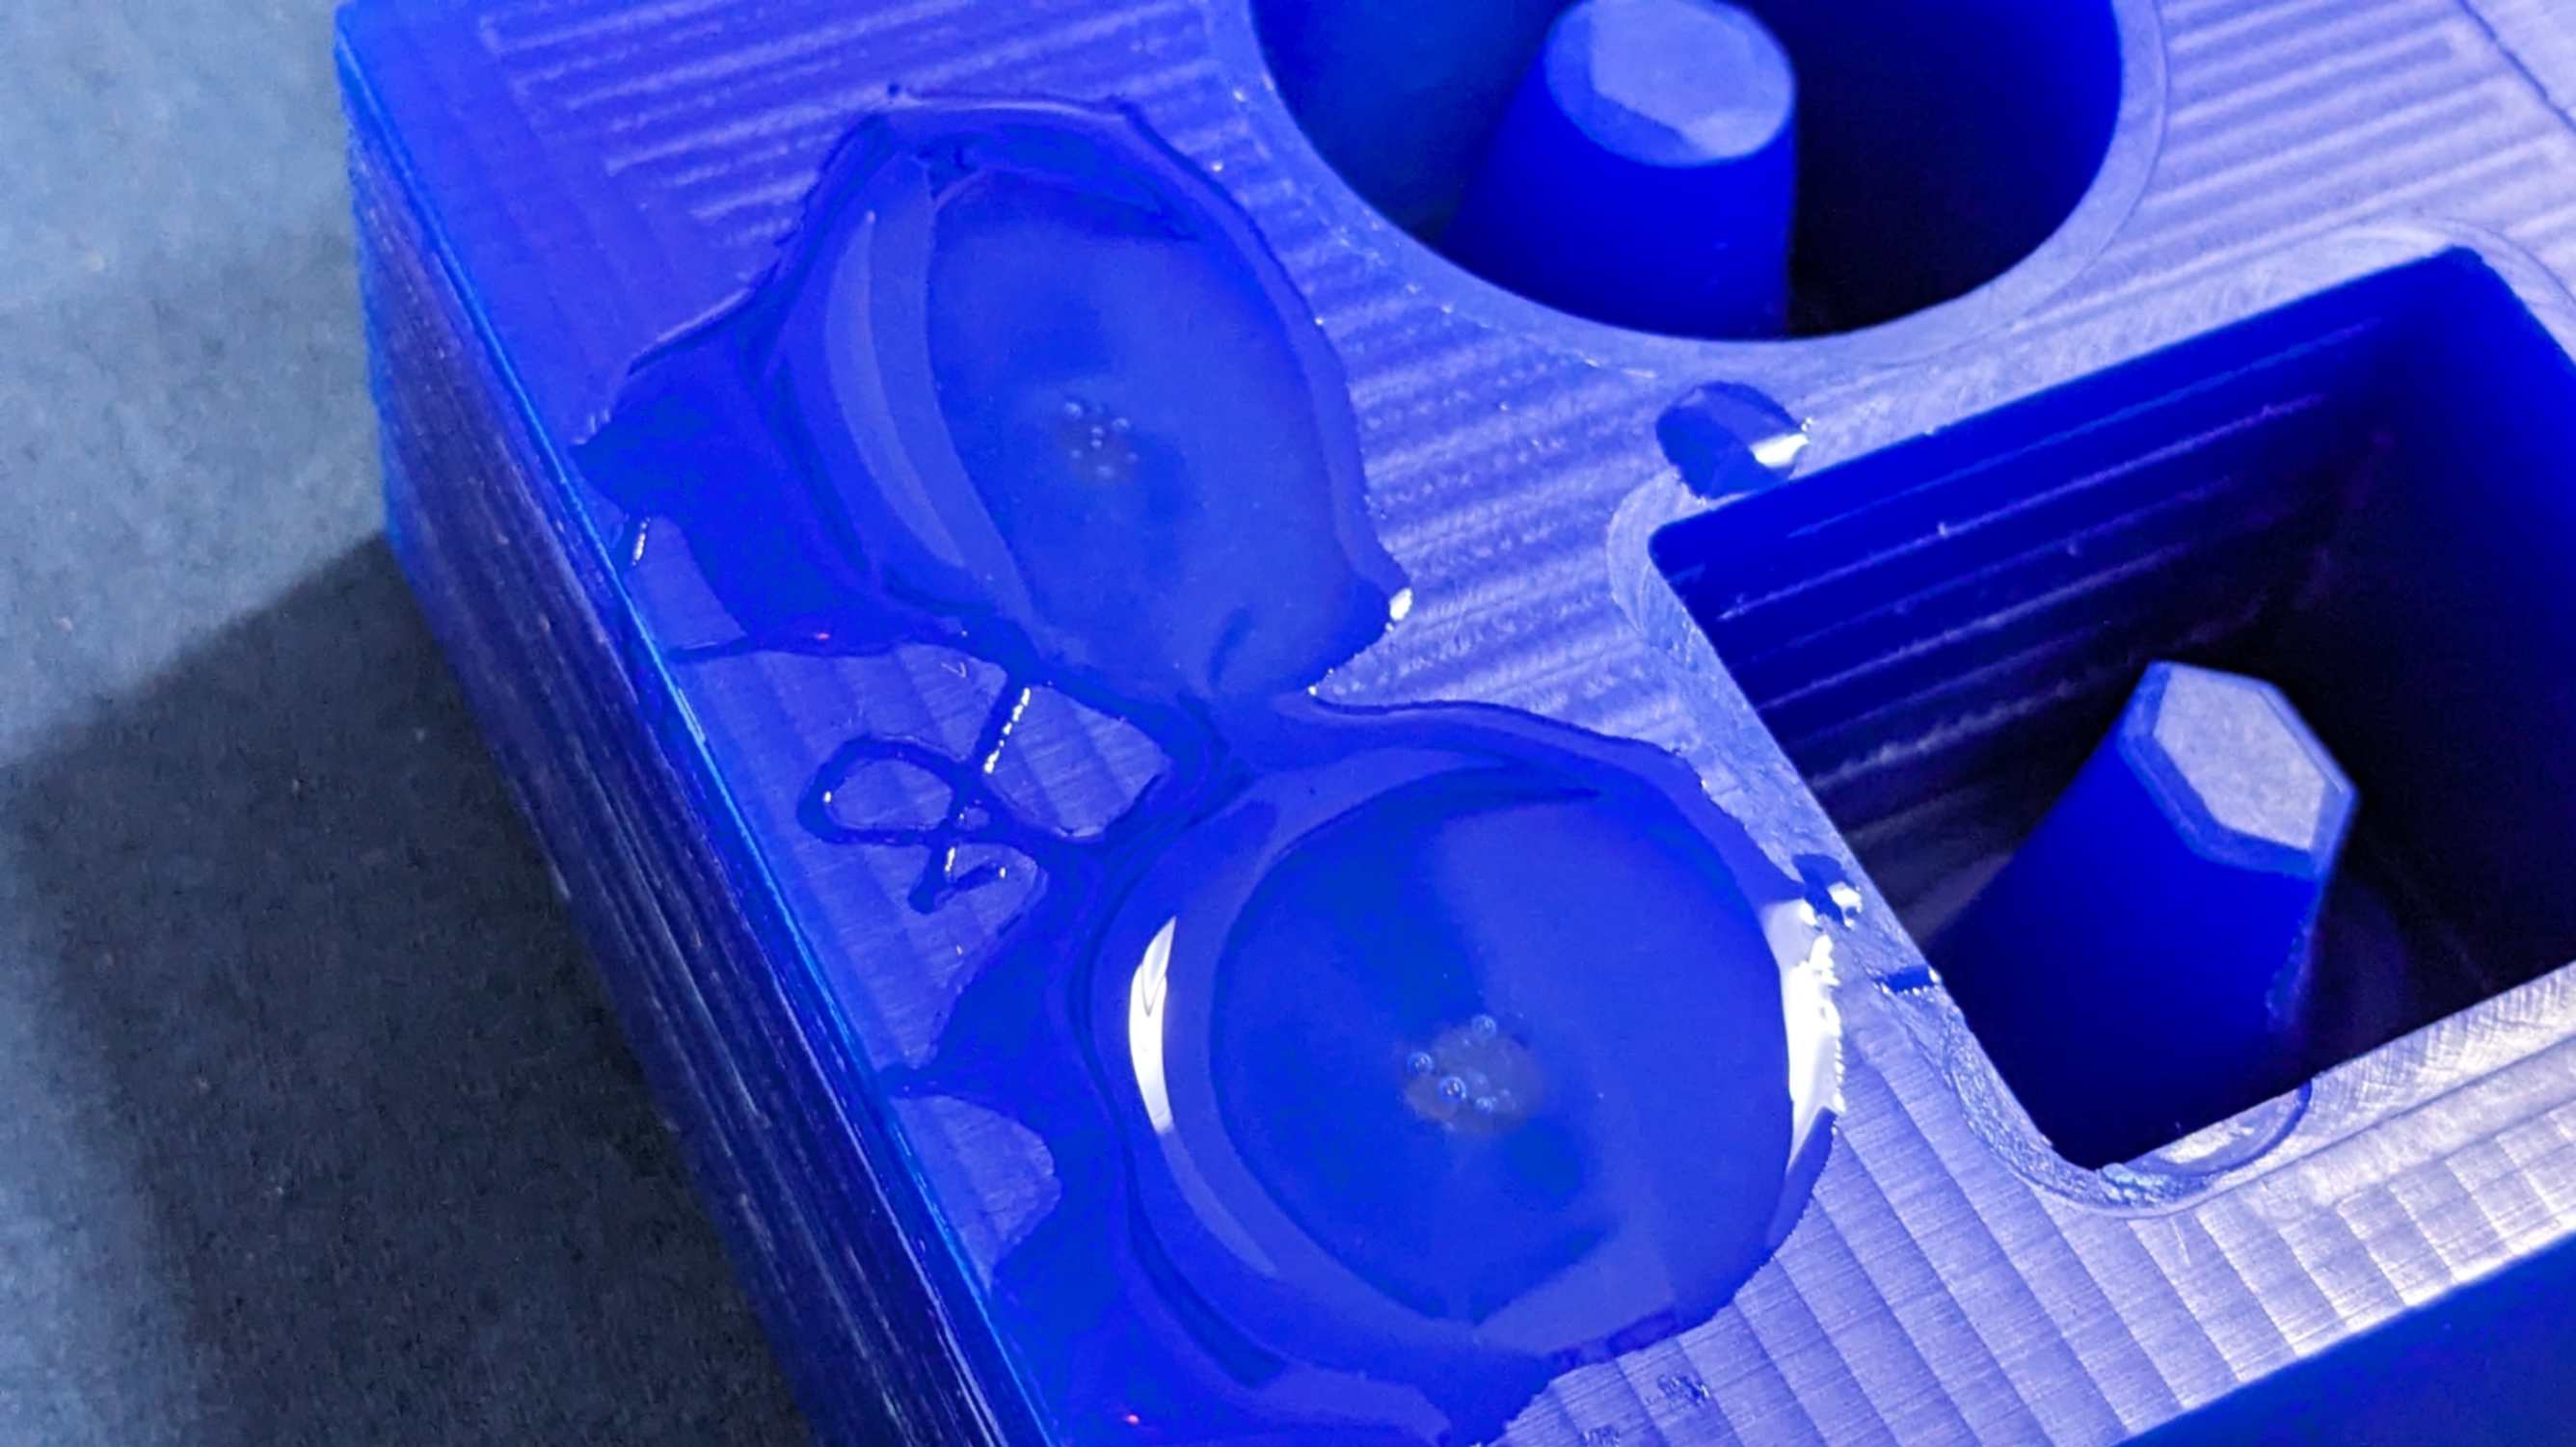
- Milling Molding Wax
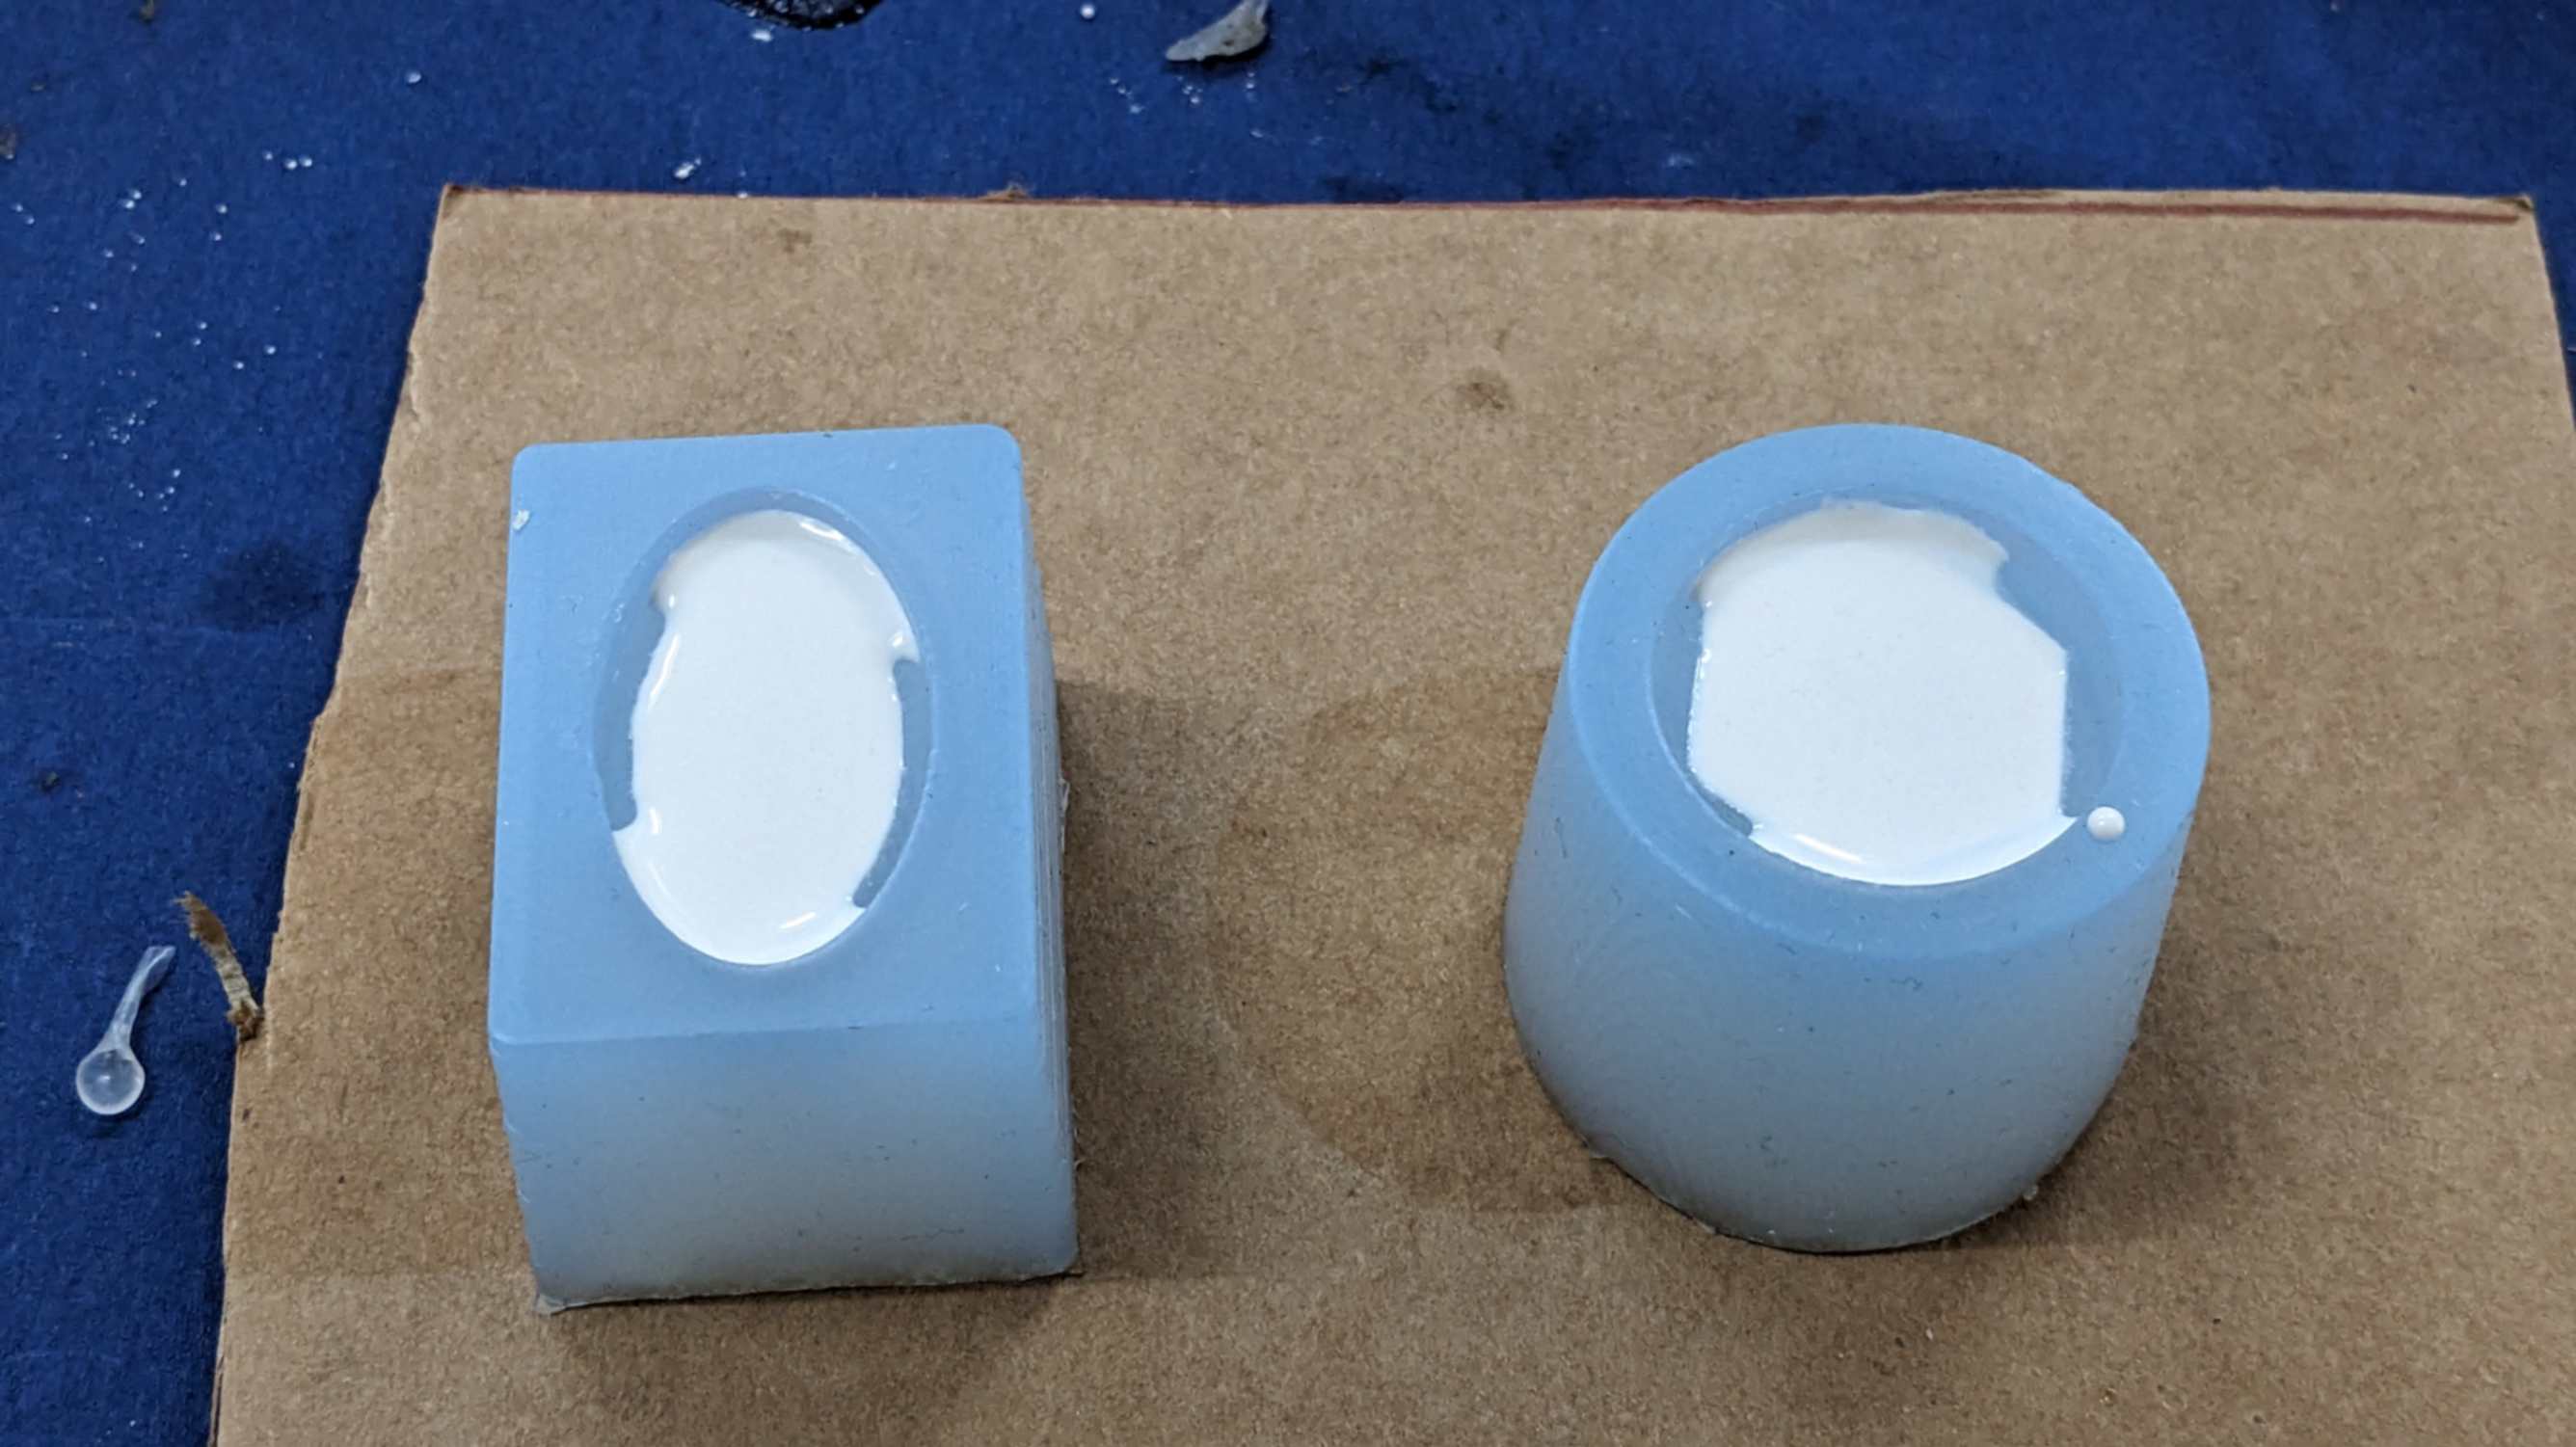
- Casting Silicone
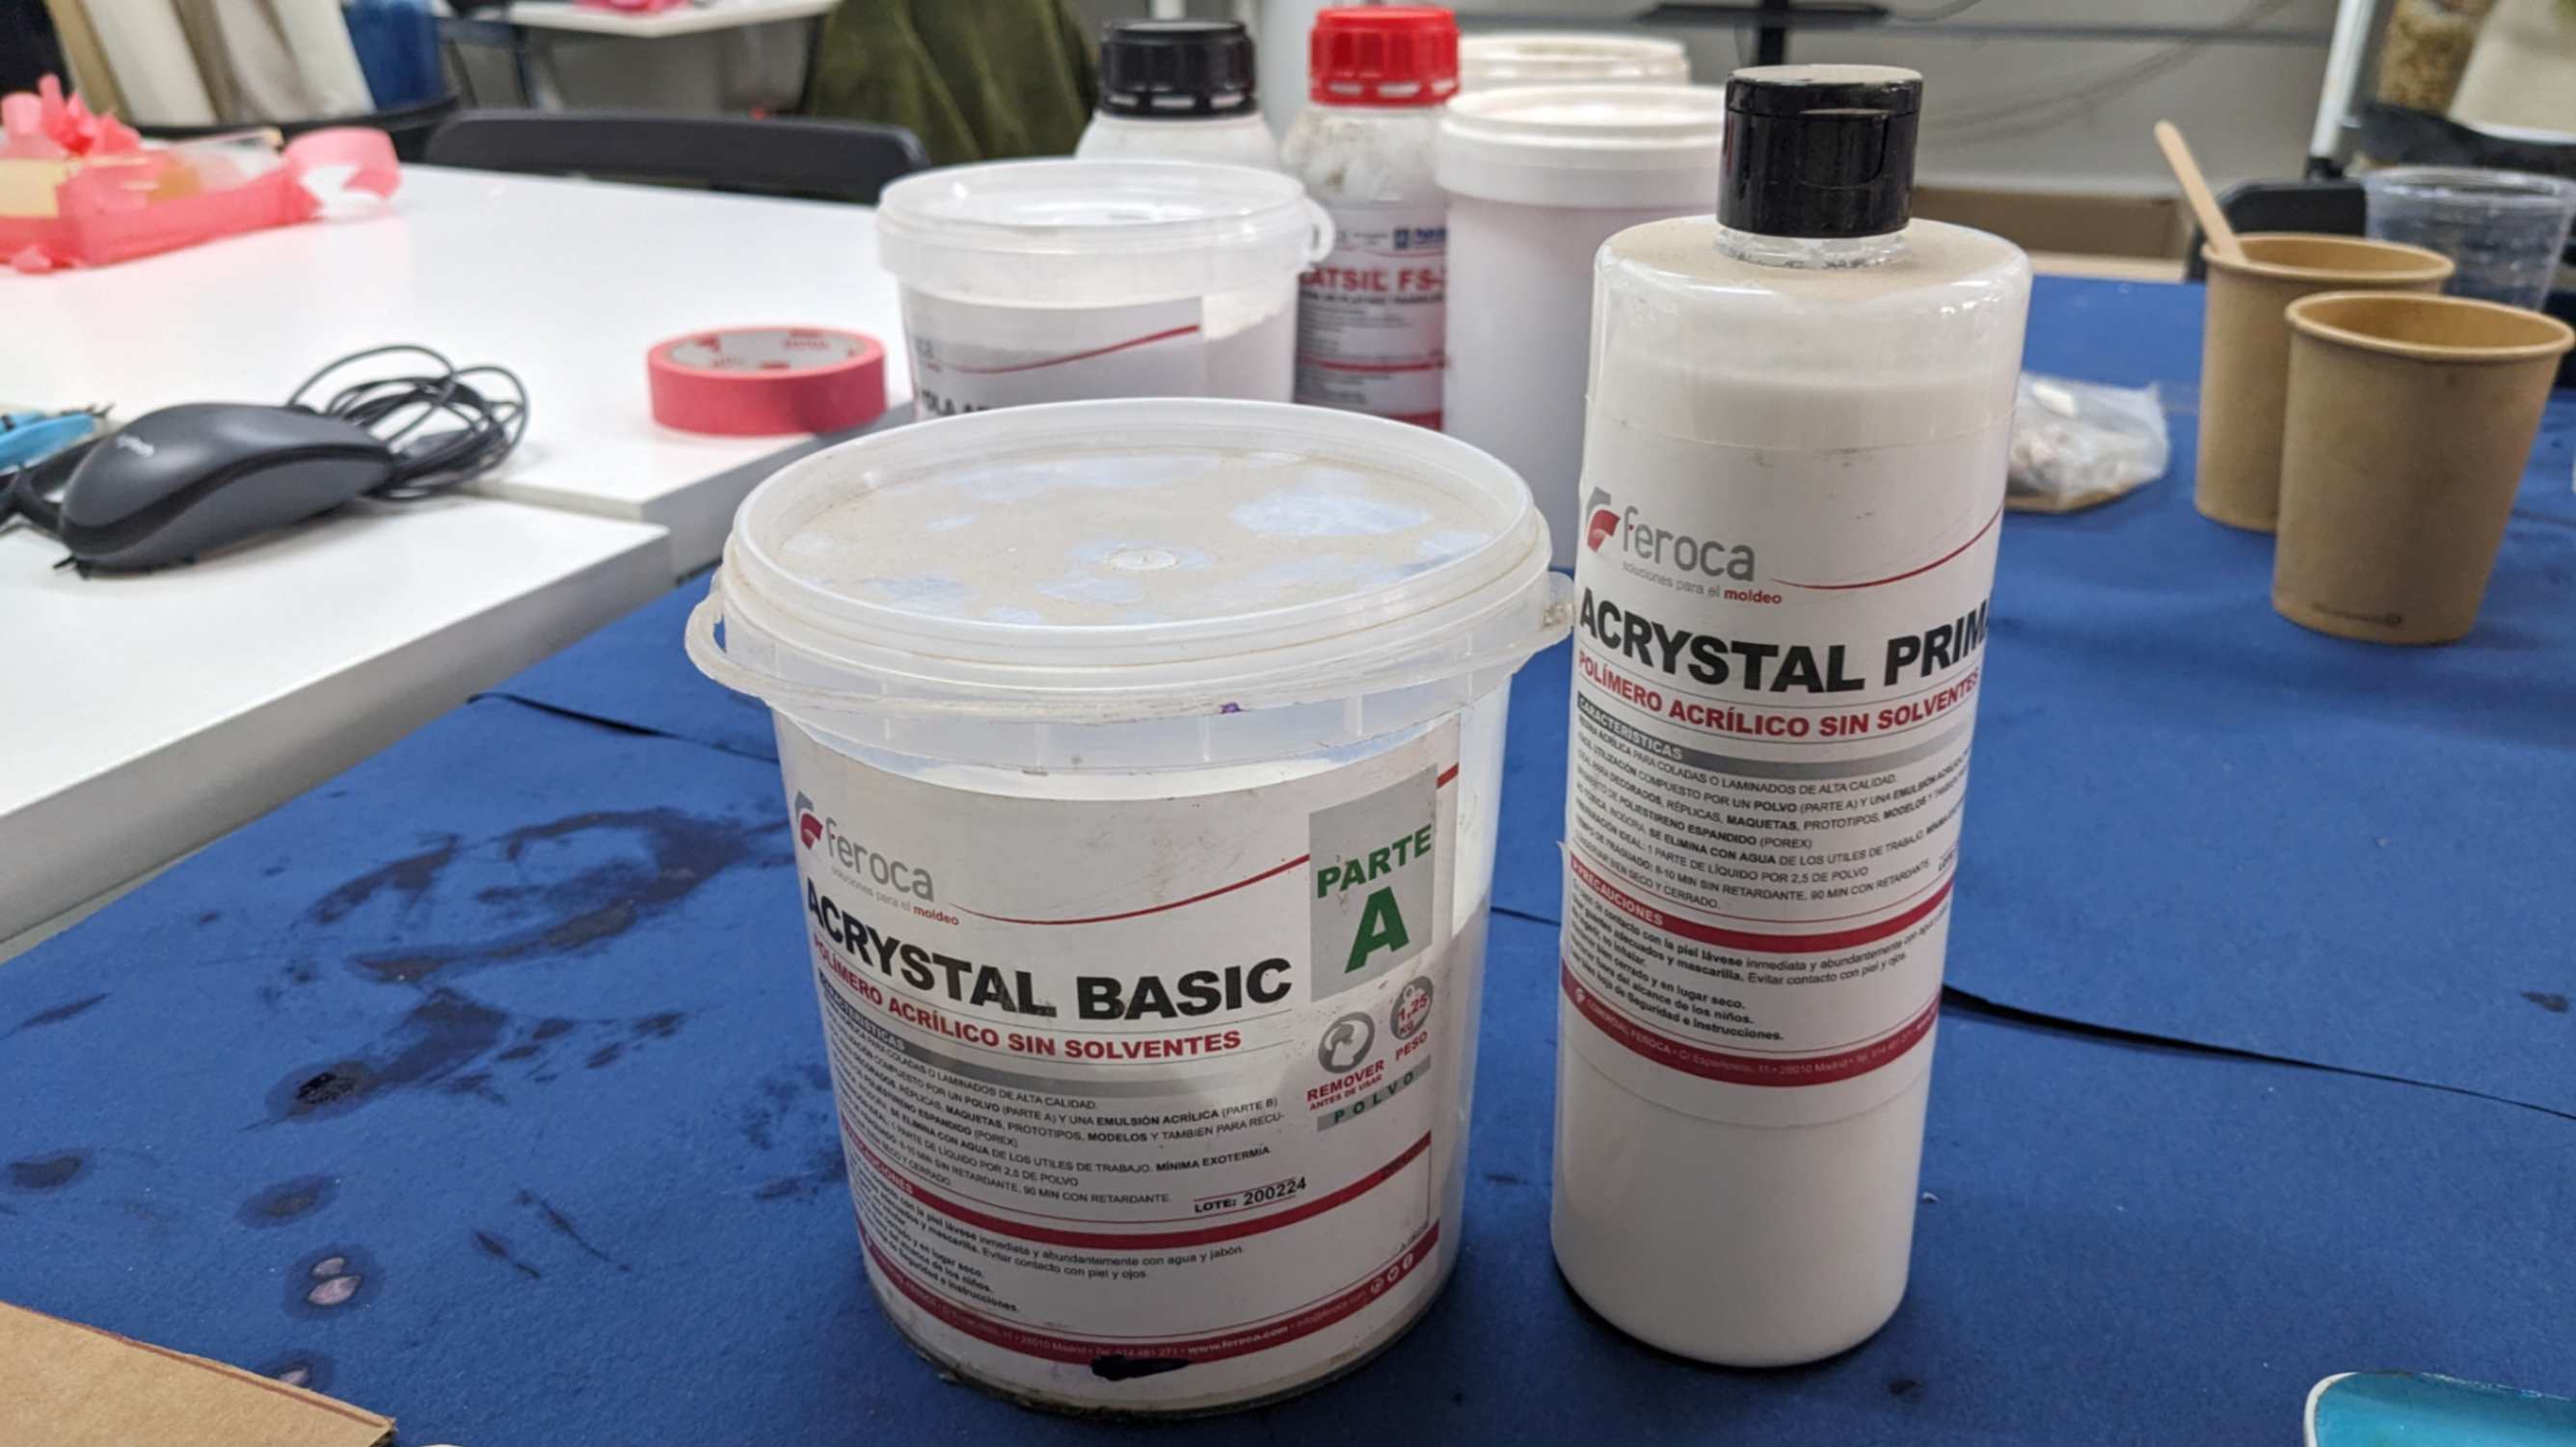
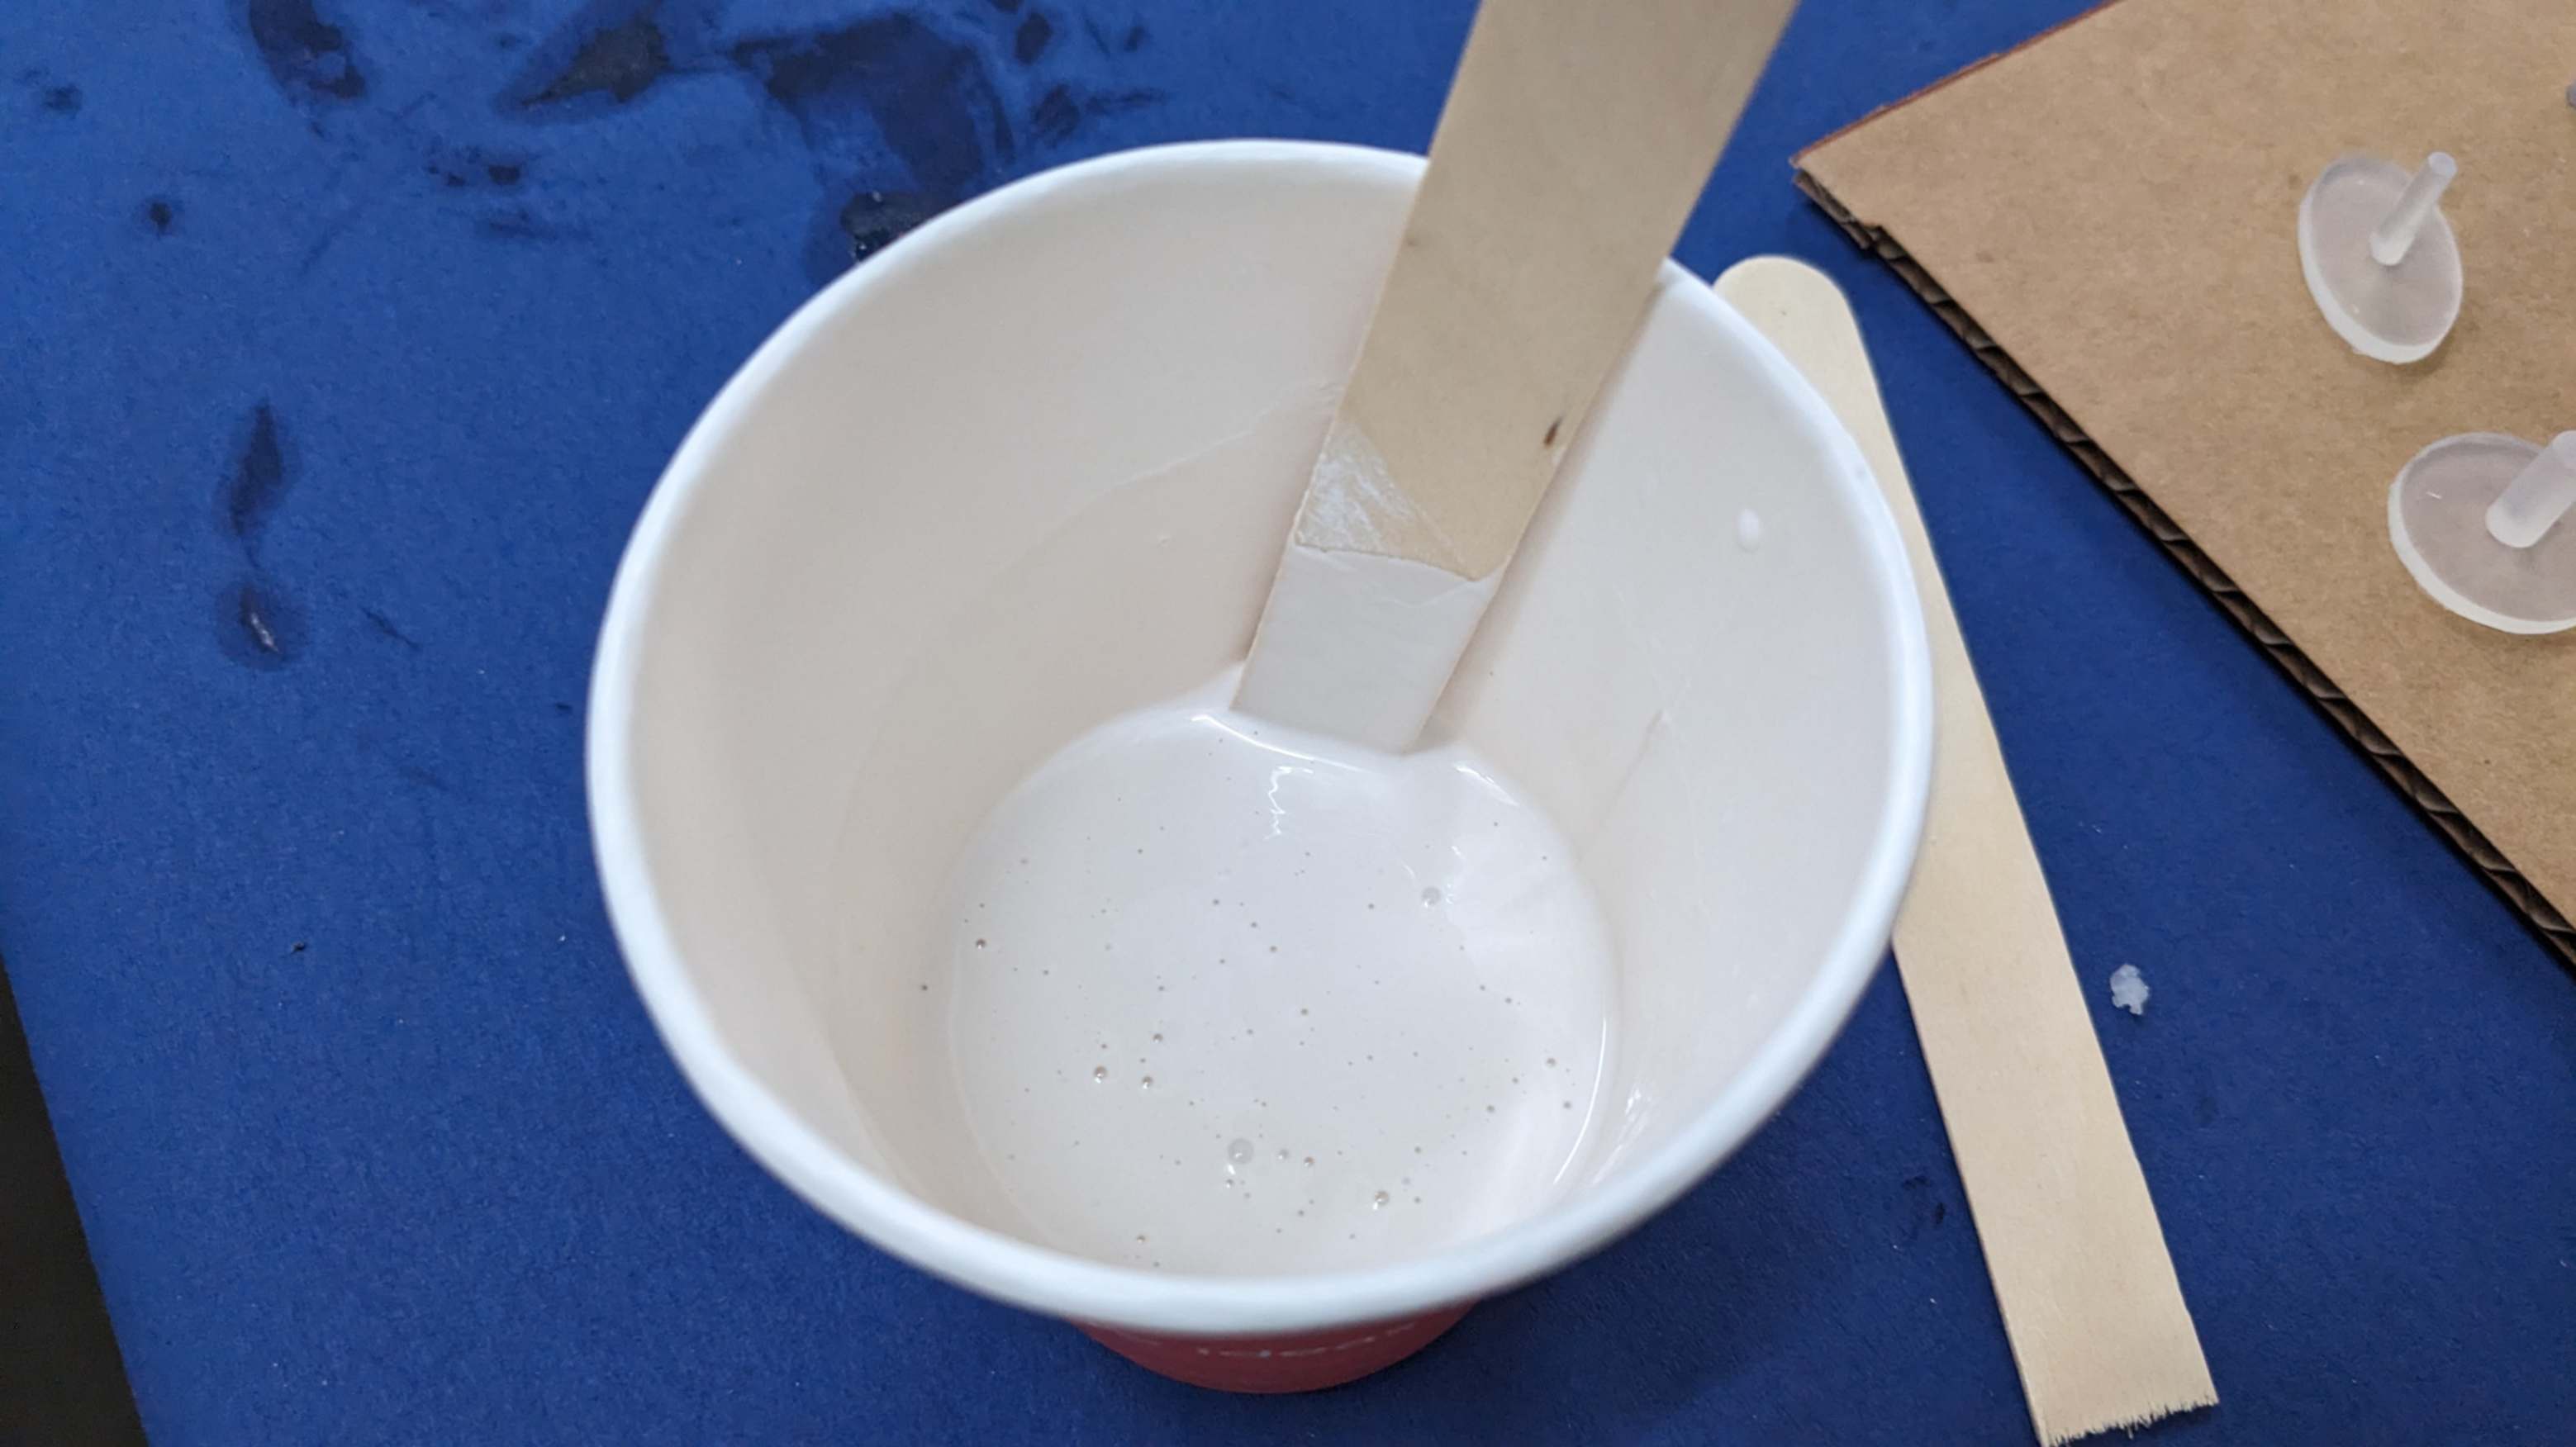
- Casting Acrylic Cast
Dear My Friend
This we got introduced to Molding and Casting. I did this week very quickly because I wanted to focus on developing my final project. Therefore I cast a very small and simple shape but it was still challenging for me to get my head around the conversion between positive and negative.
Hope you enjoy
Riichiro Yamamoto
Group Assignment
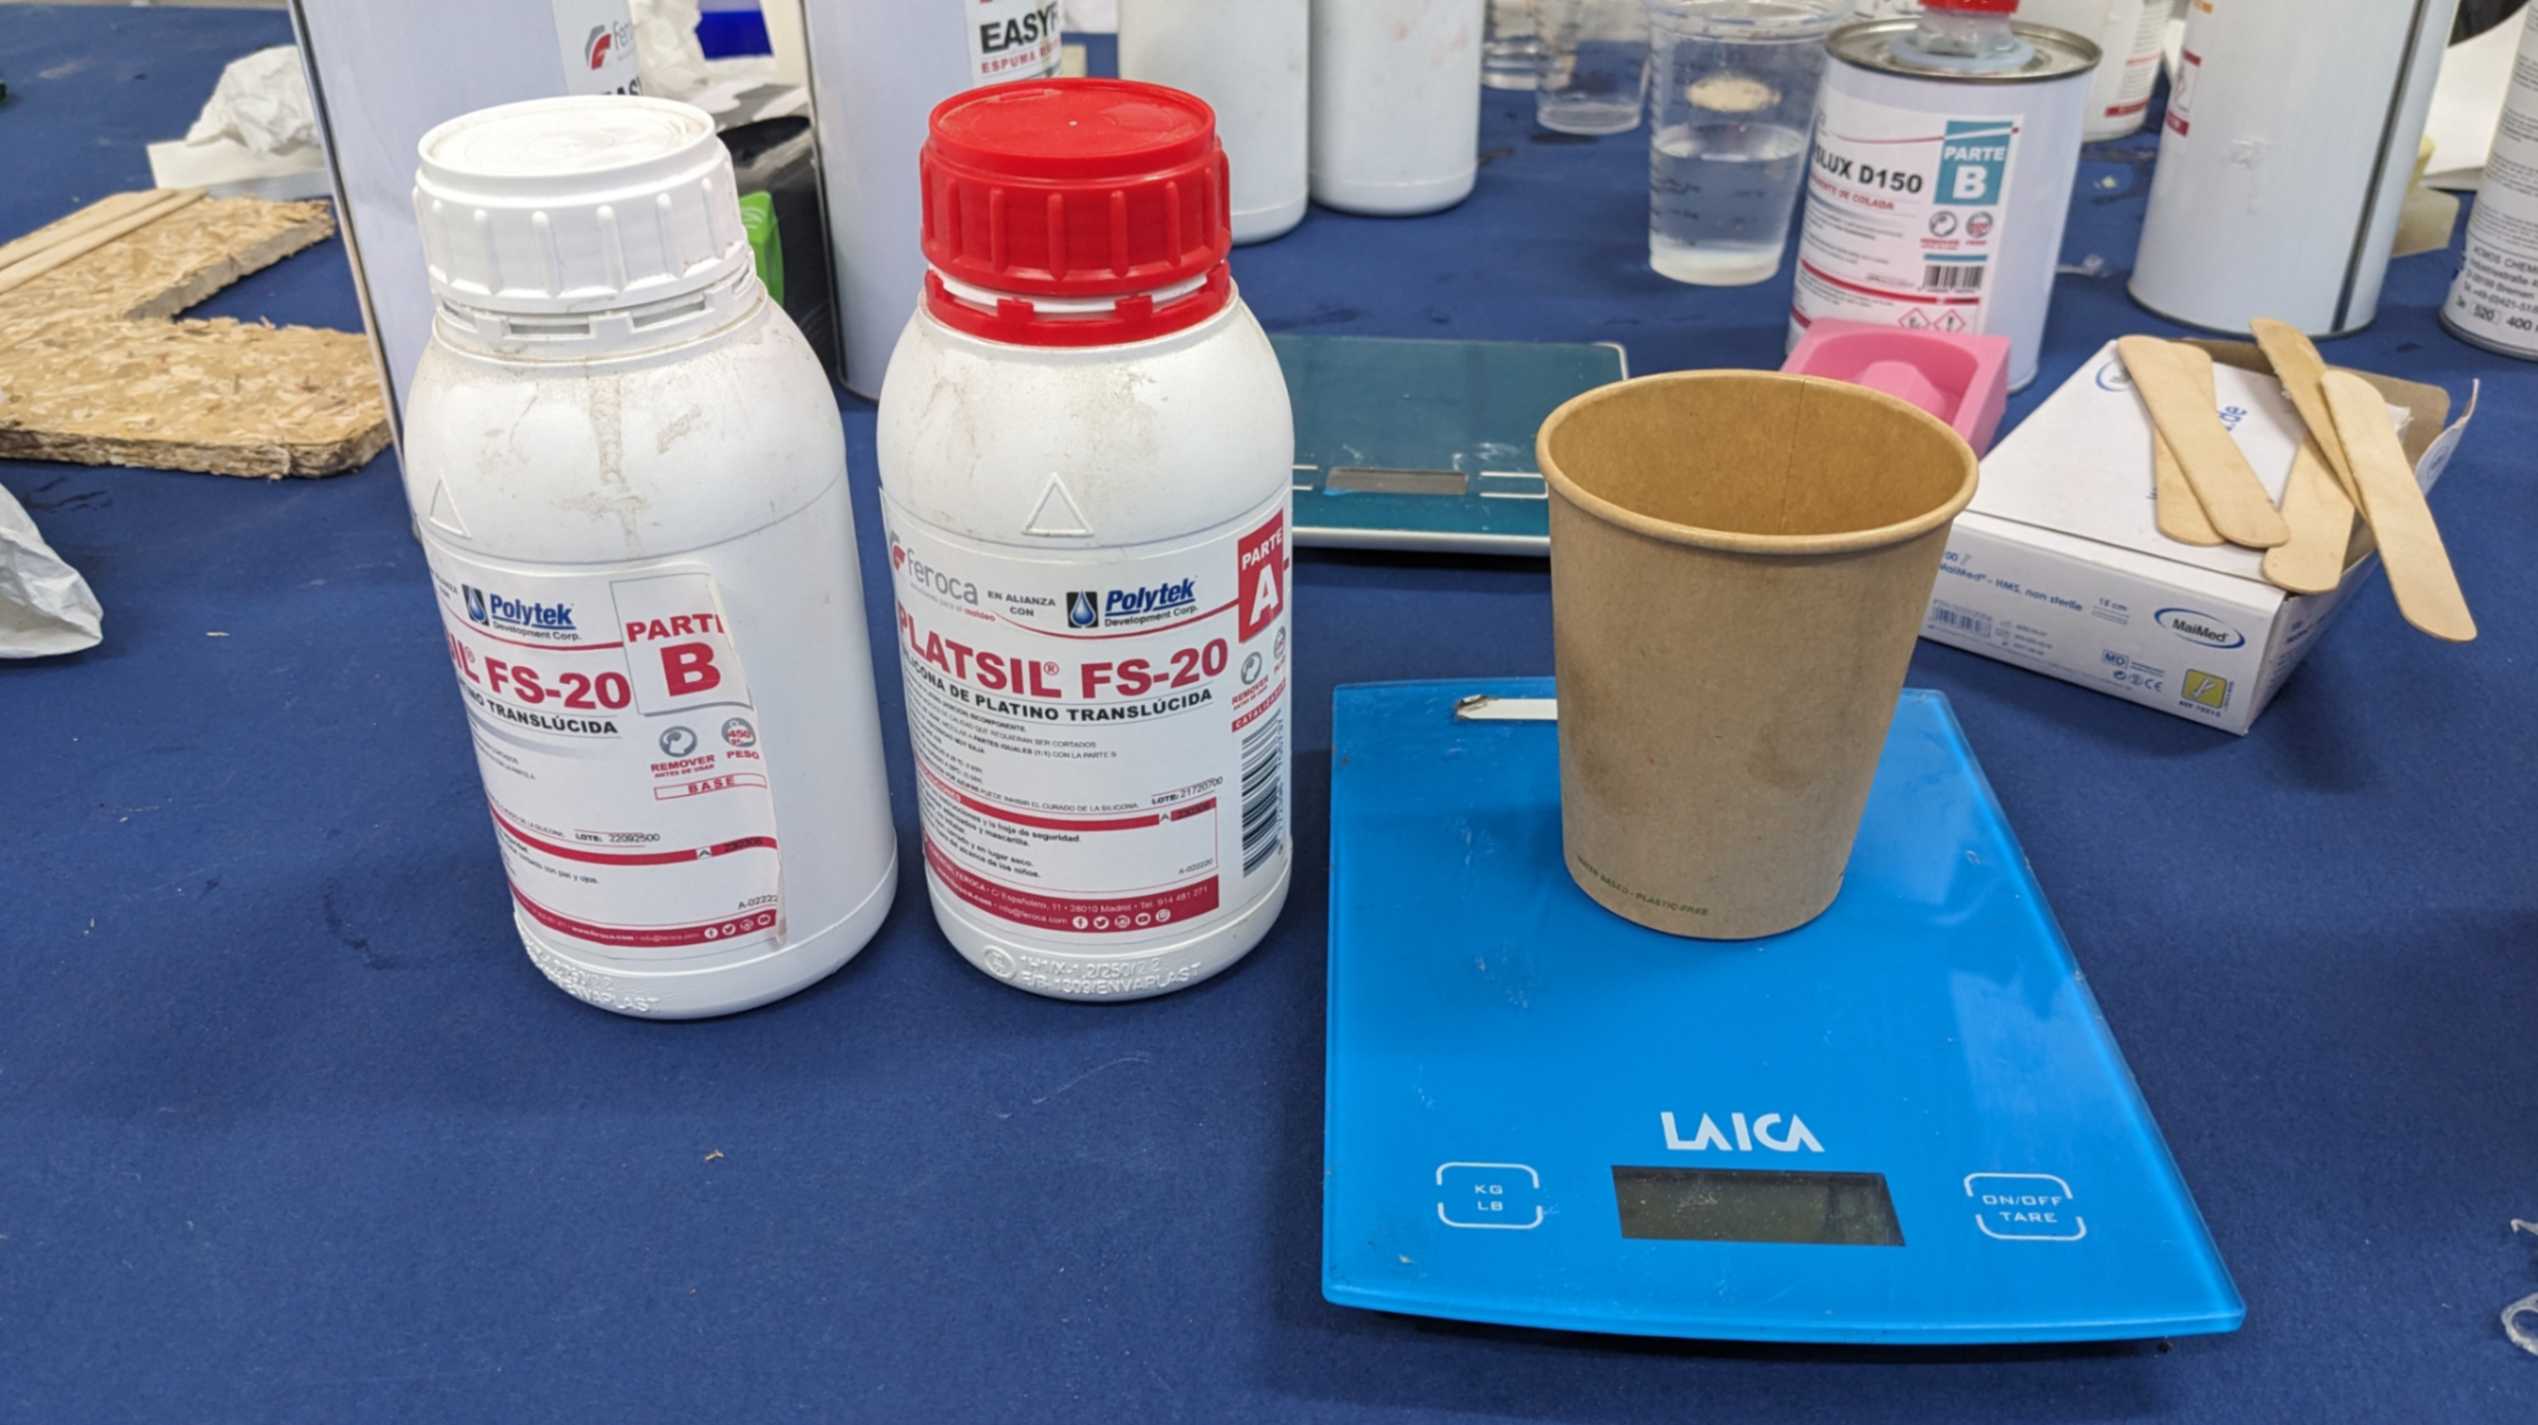
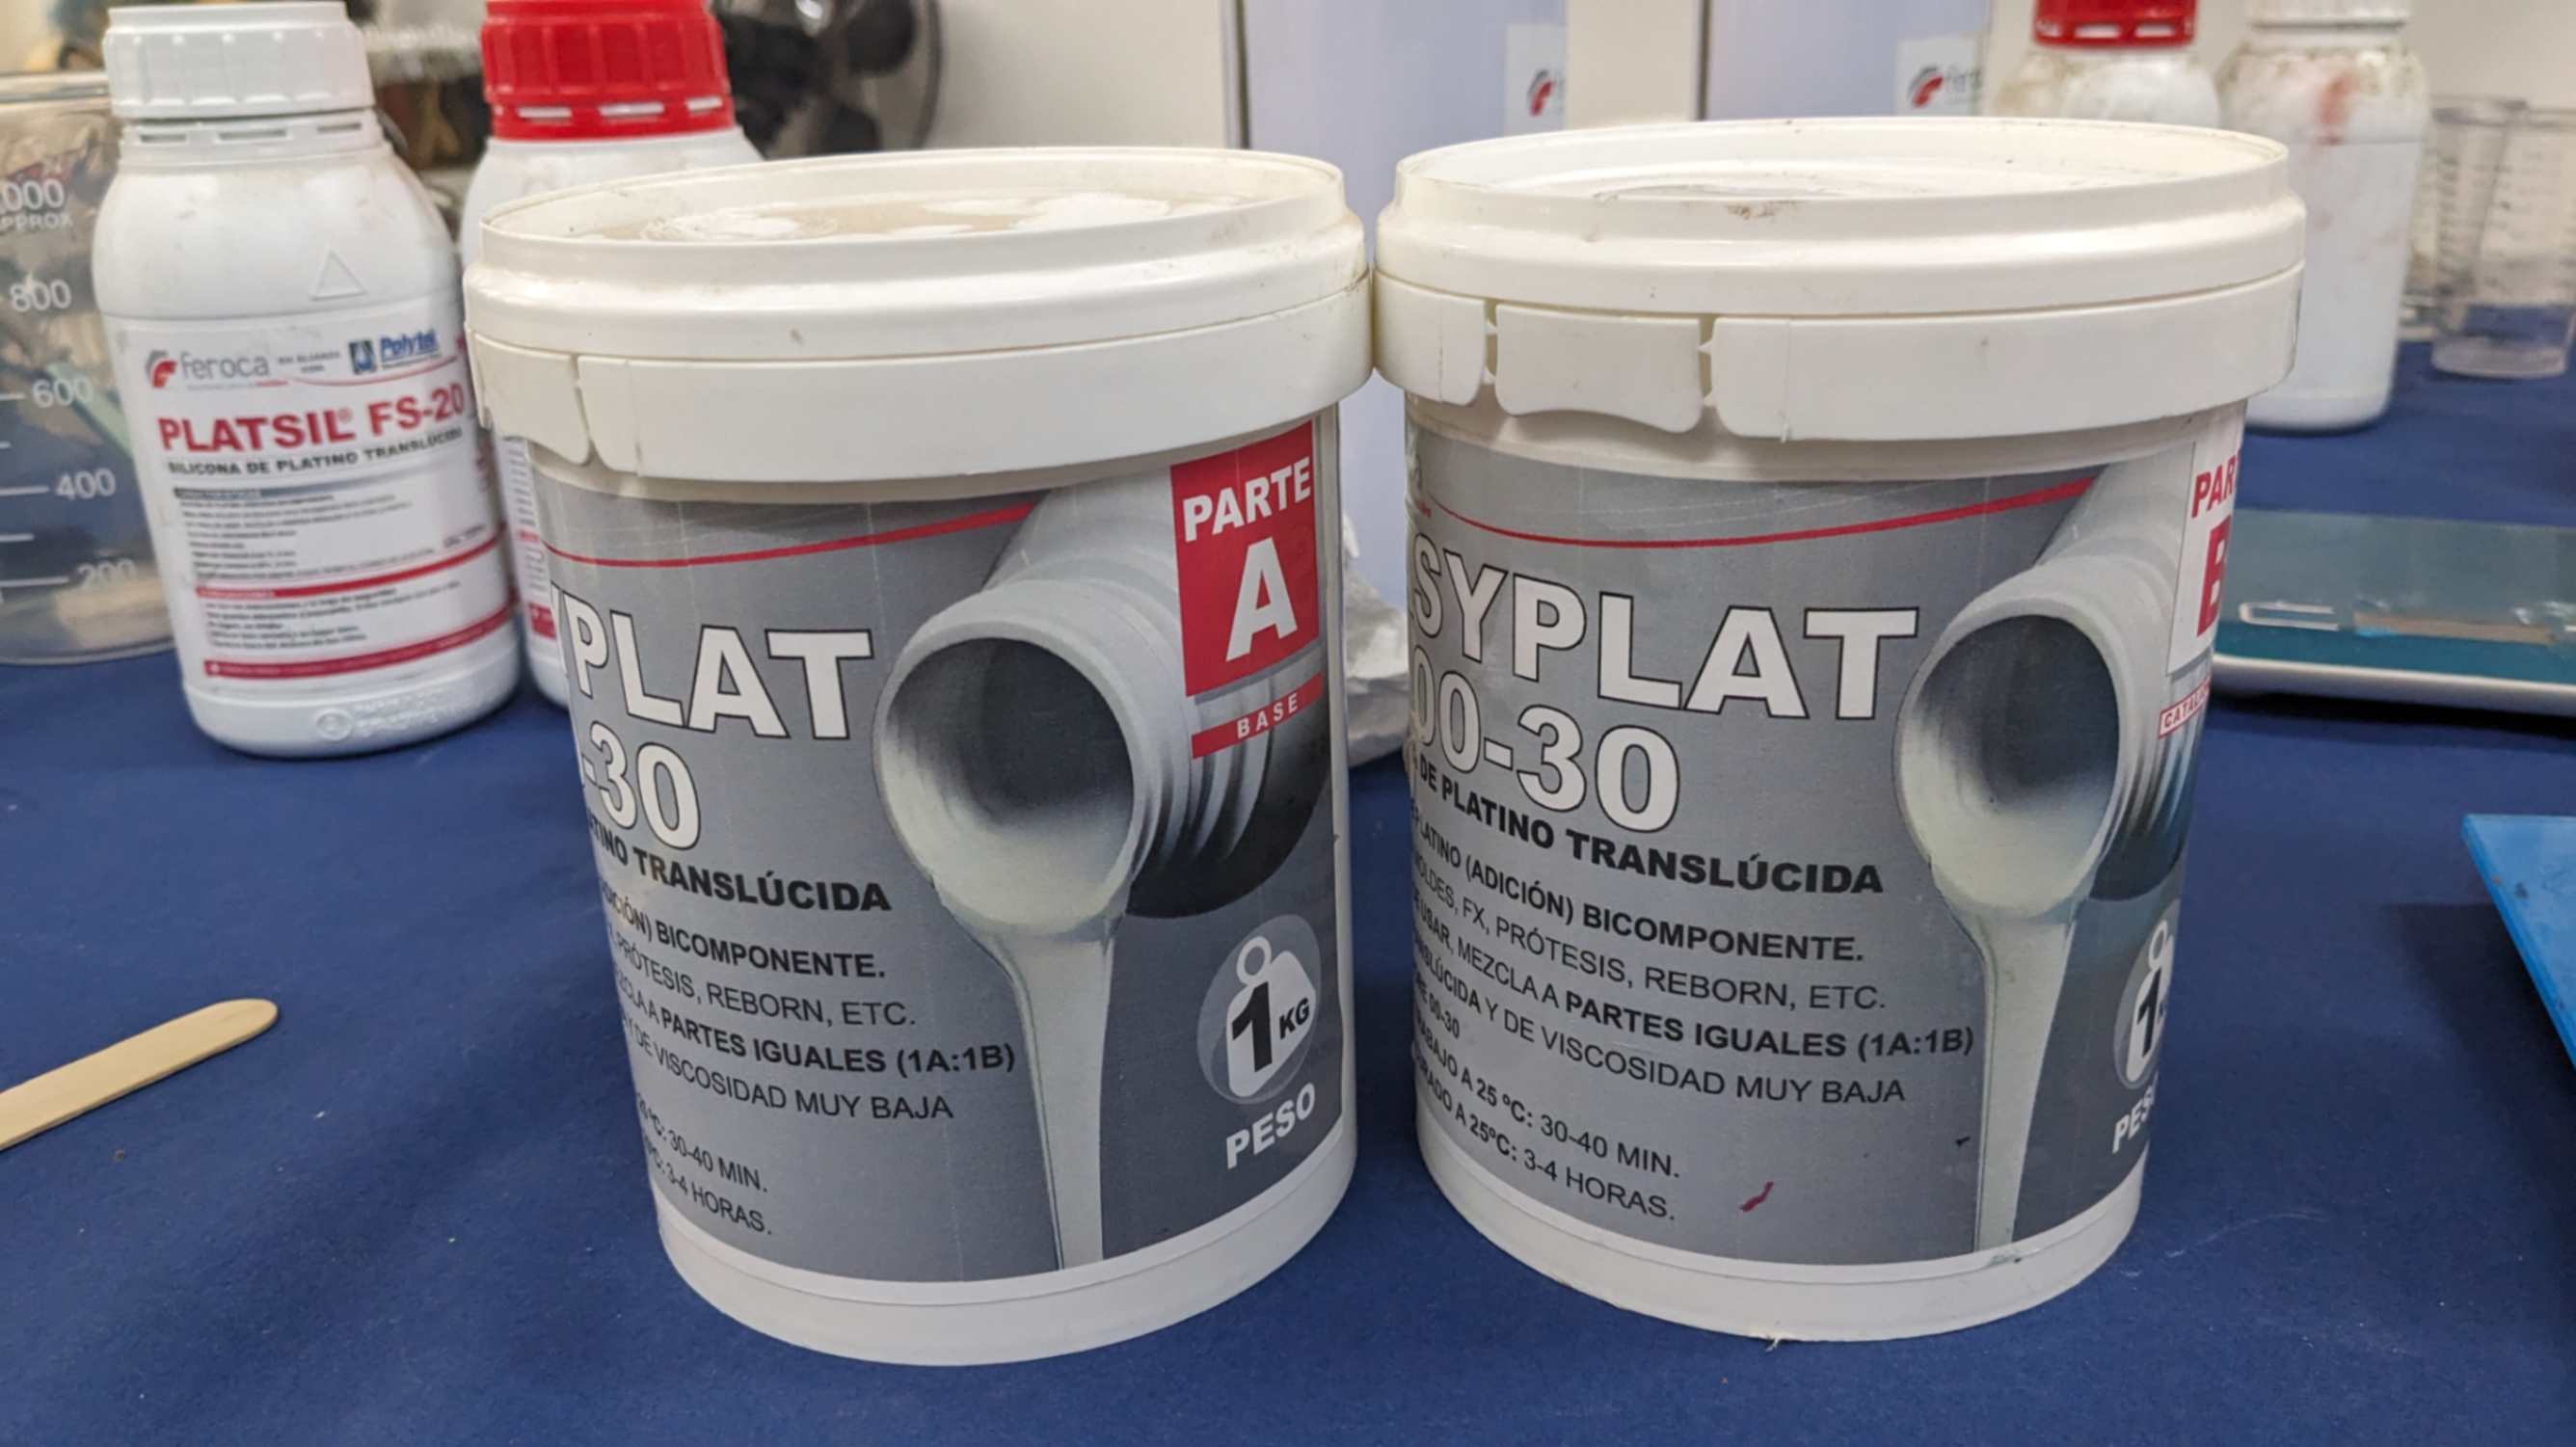
this week's group assignment was to review the safety data sheets for each of your molding and casting materials, then make and compare test casts with each of them compare printing vs machining molds.
Here is the link to the group assignment page

Negative & Positive
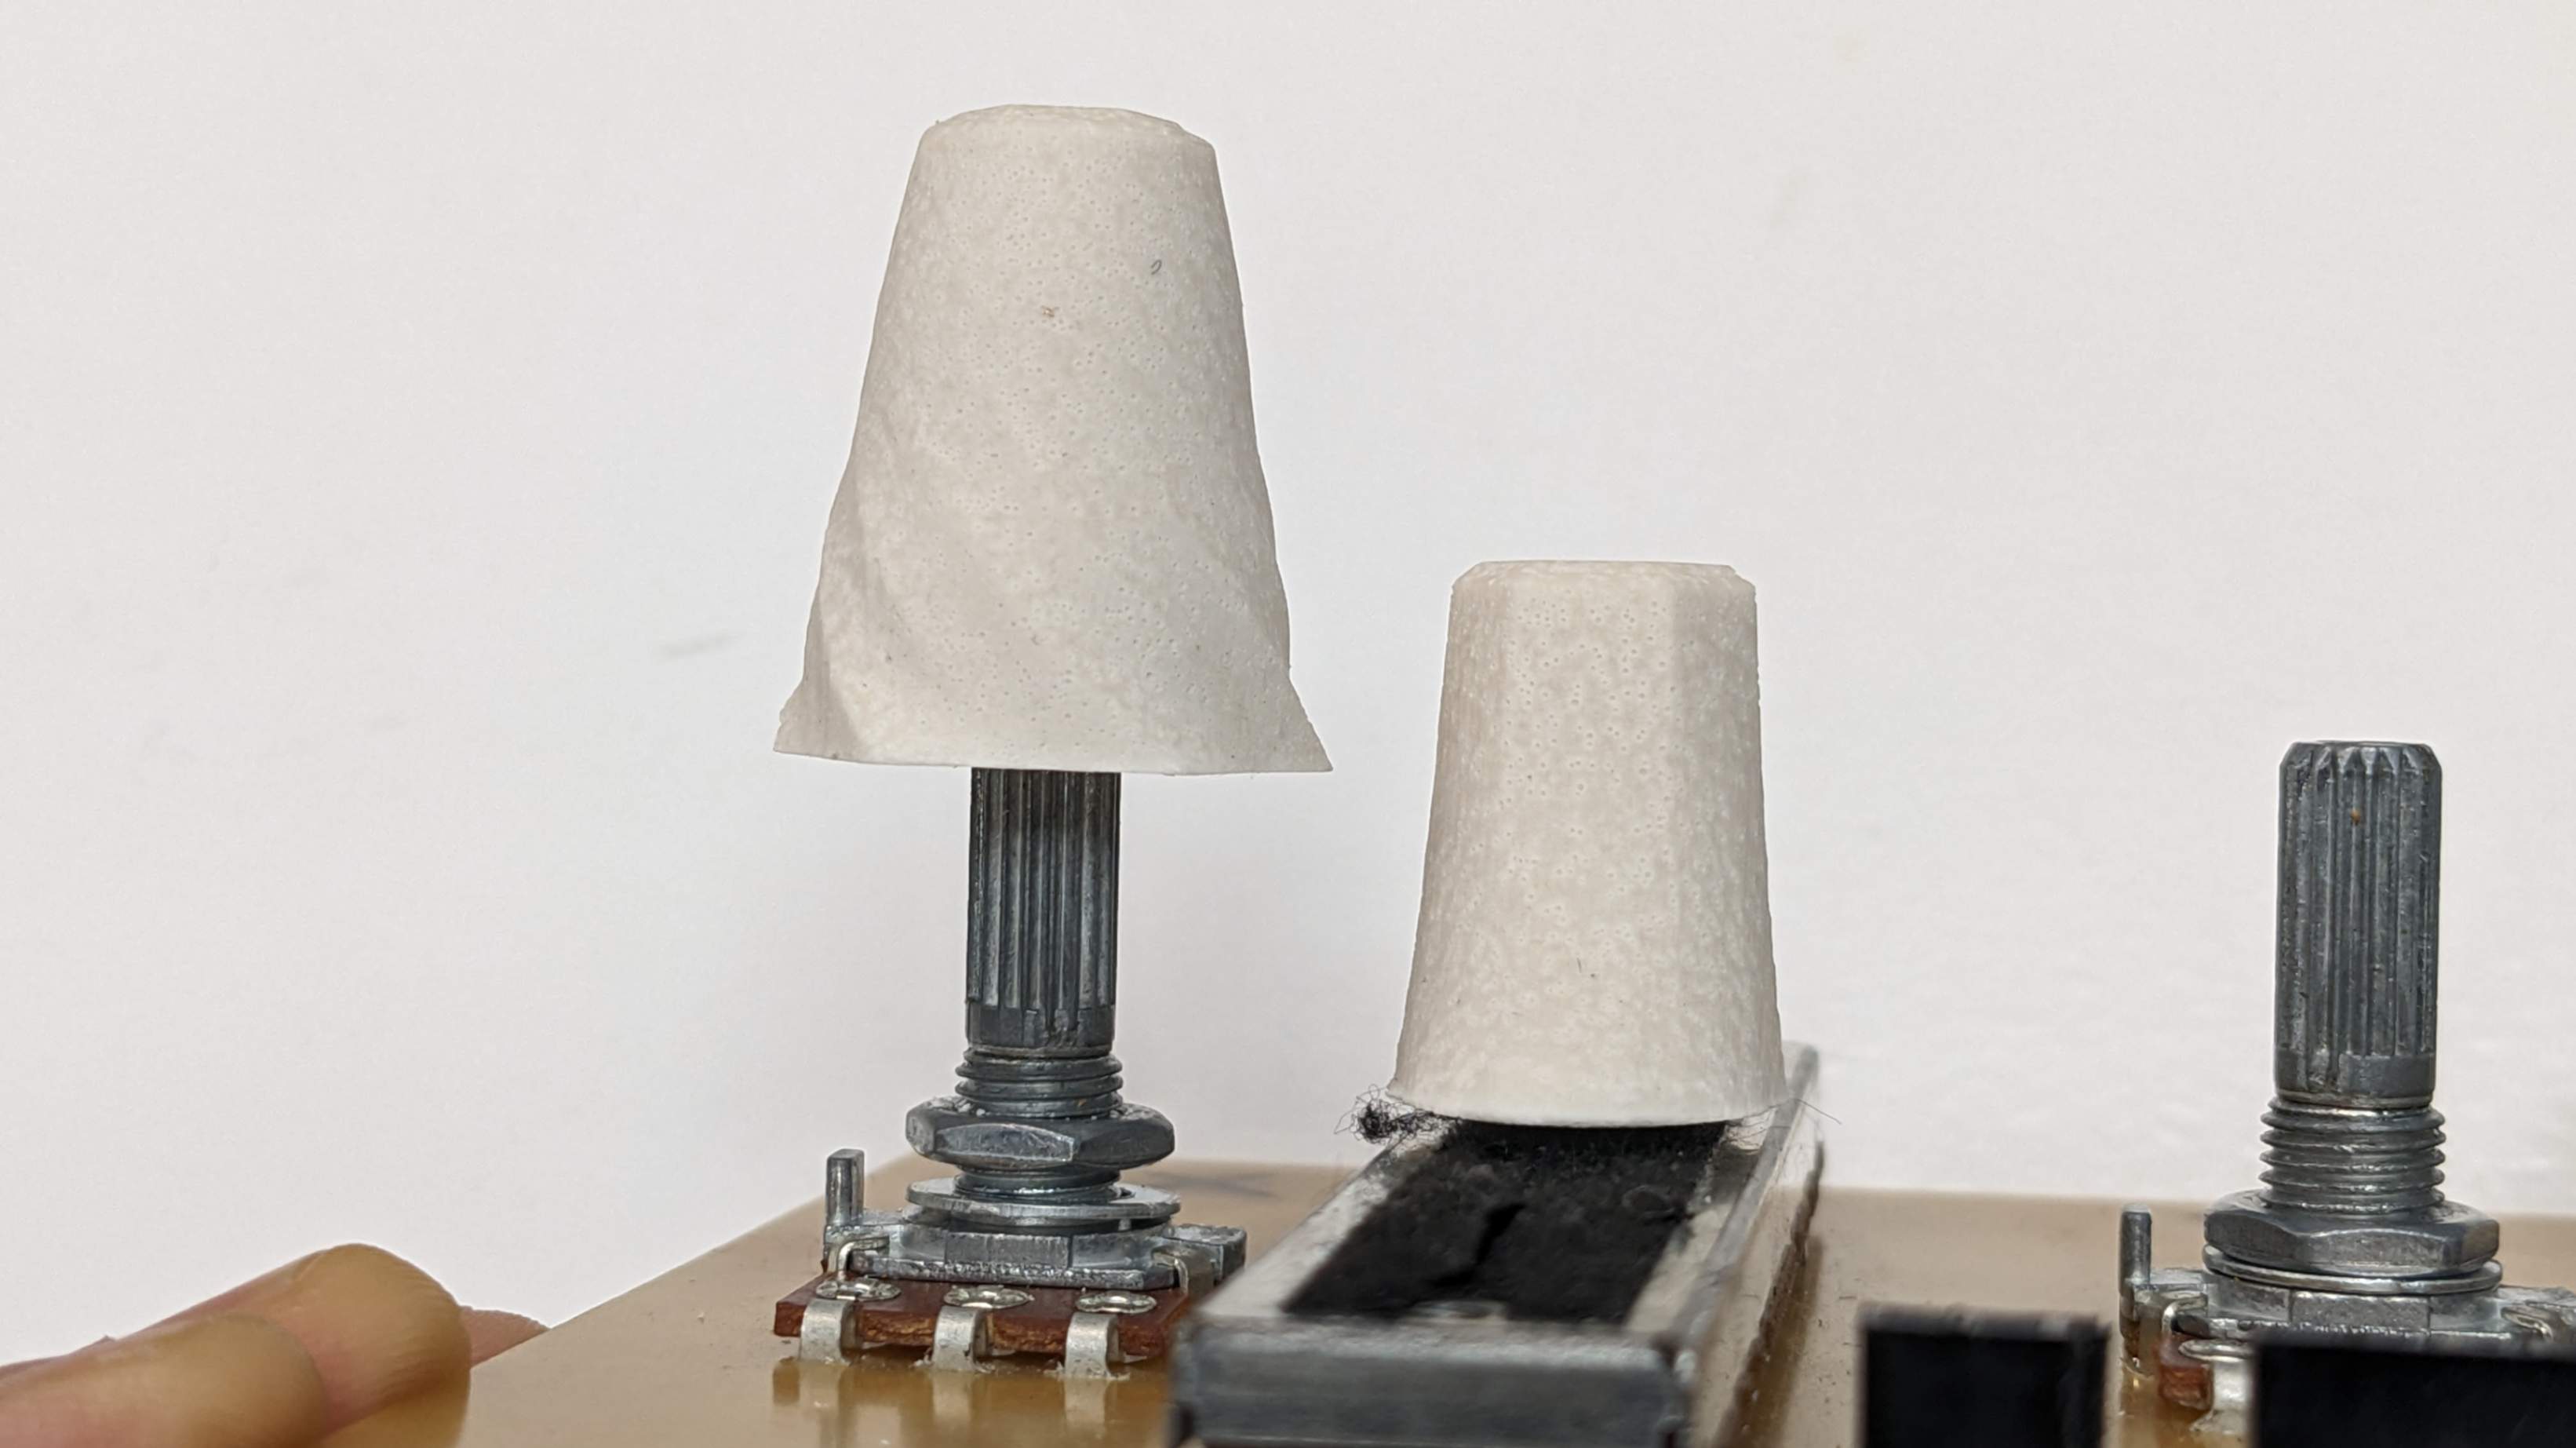
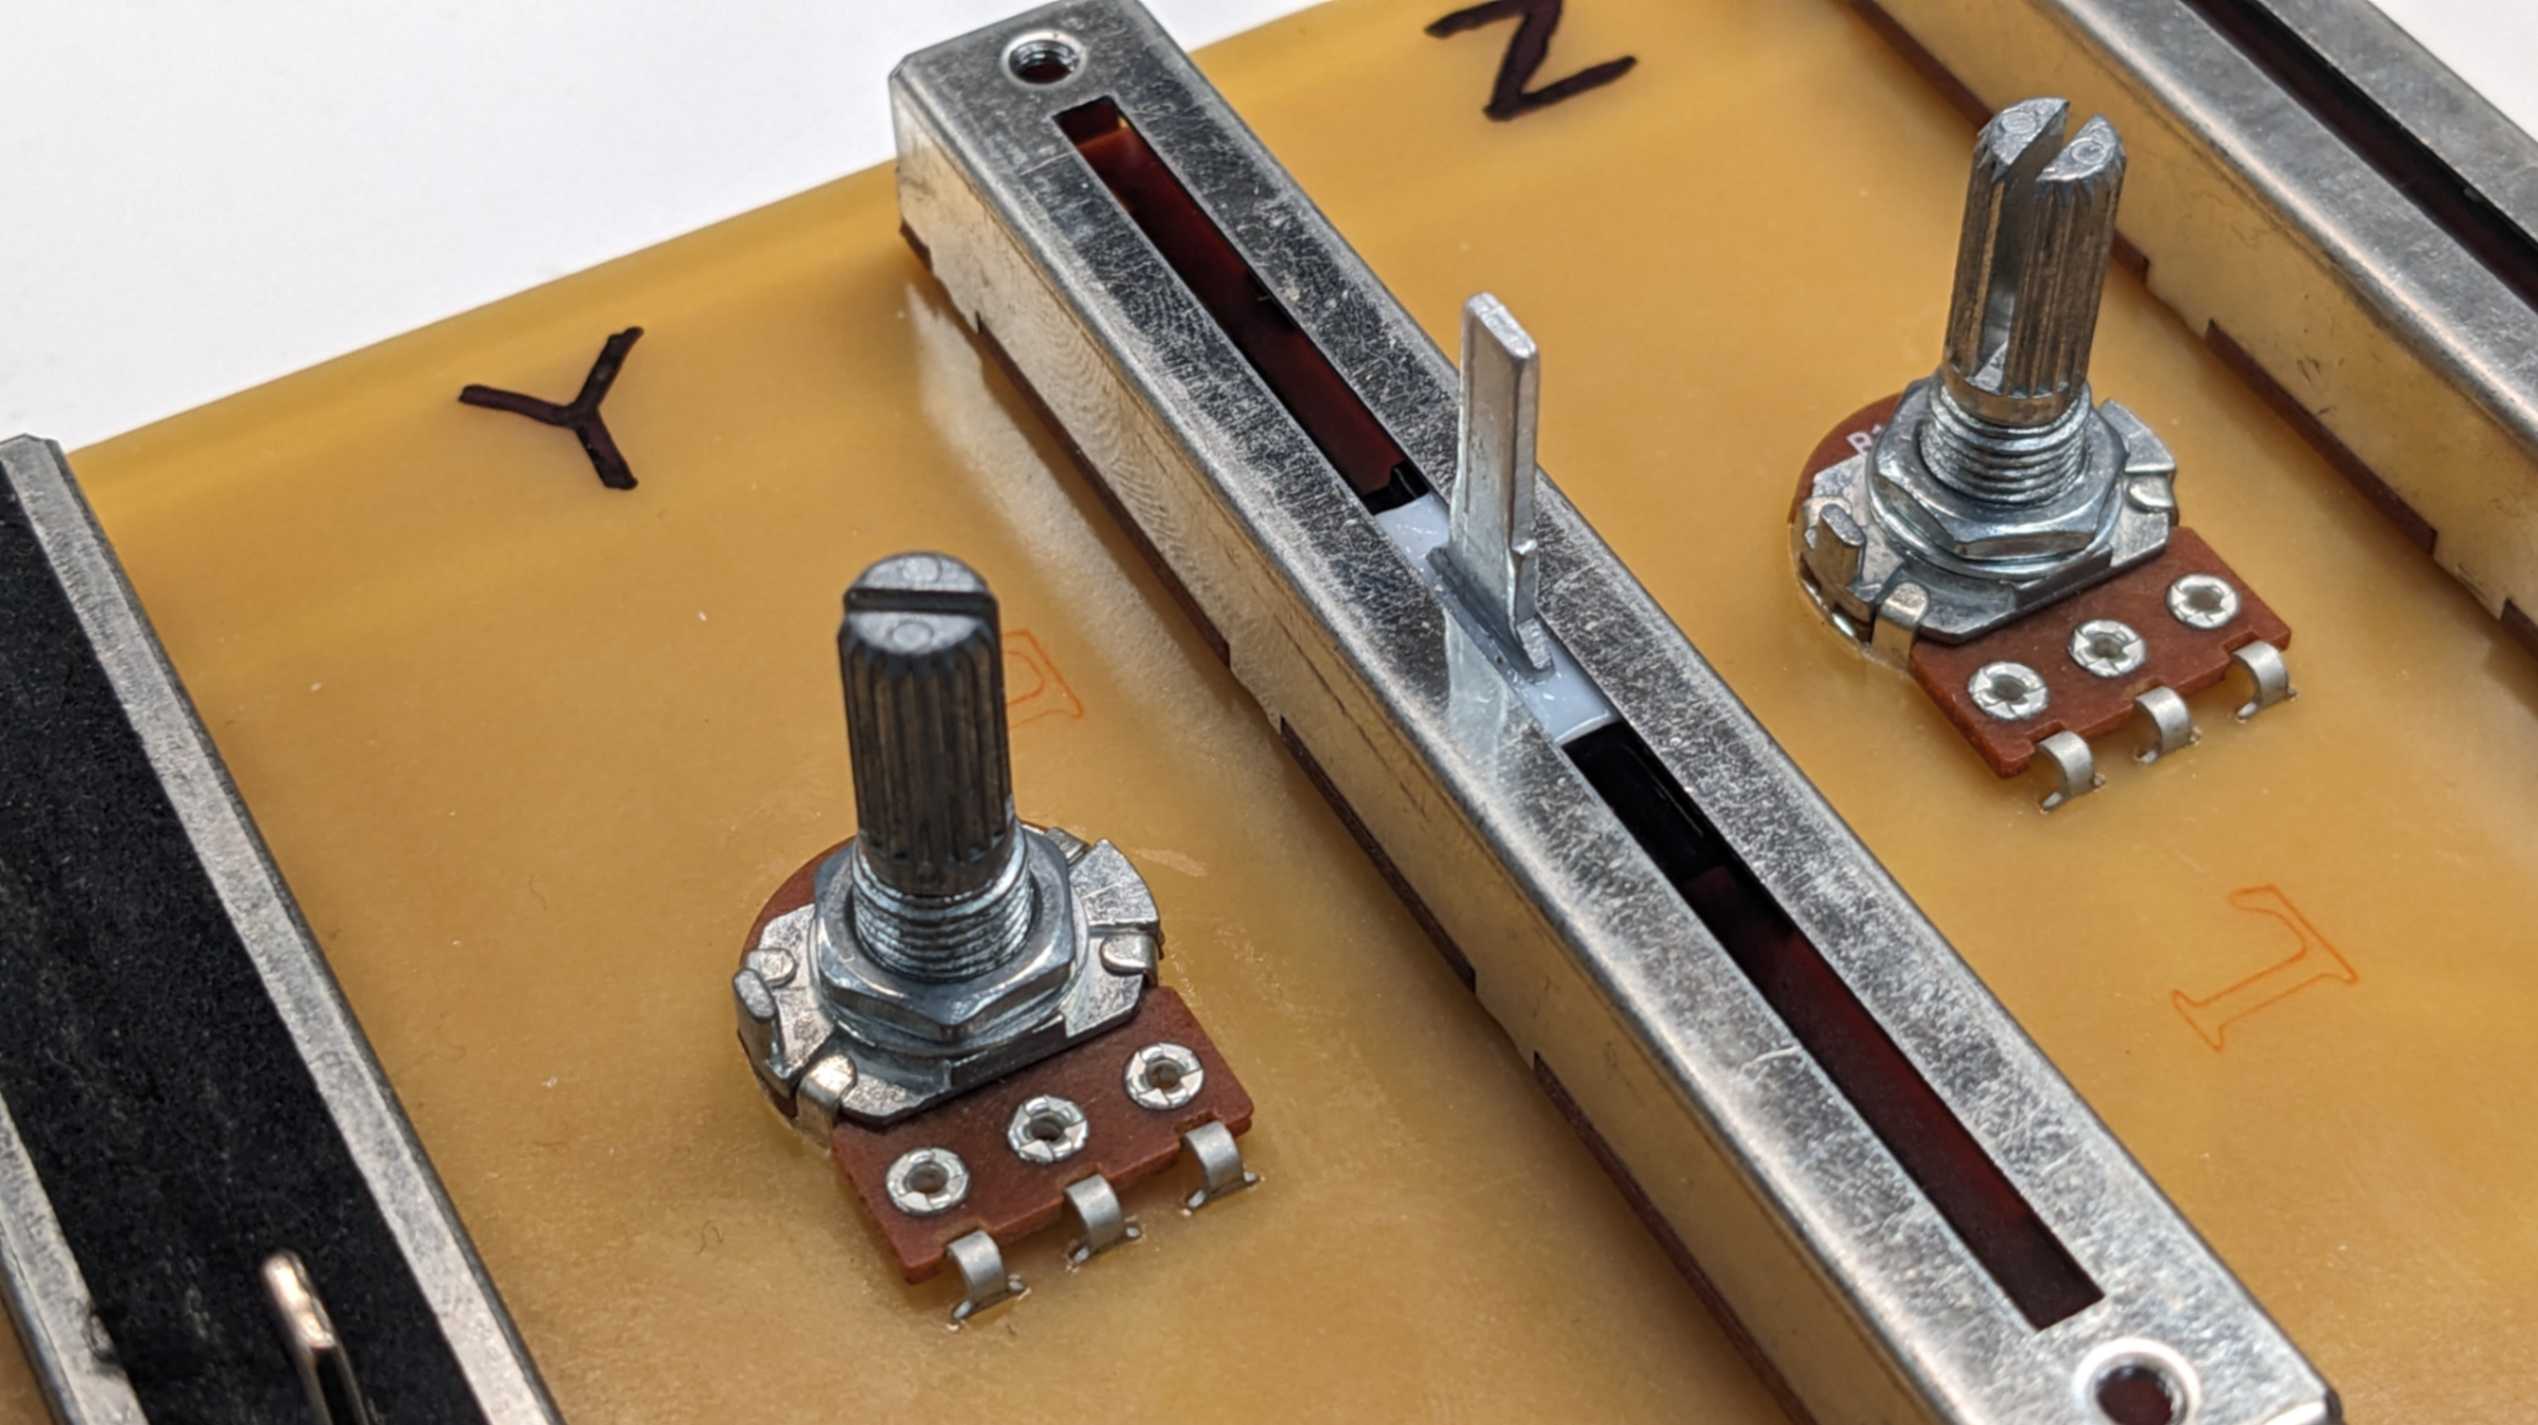
For this week’s assignment, I decided to make knobs for the potentiometers which I used in Week 11 Input Device for this motor driver ( Allegro MicroSystems A4953ELJTR-T )
The basic workflow of molding and casting that I did is below
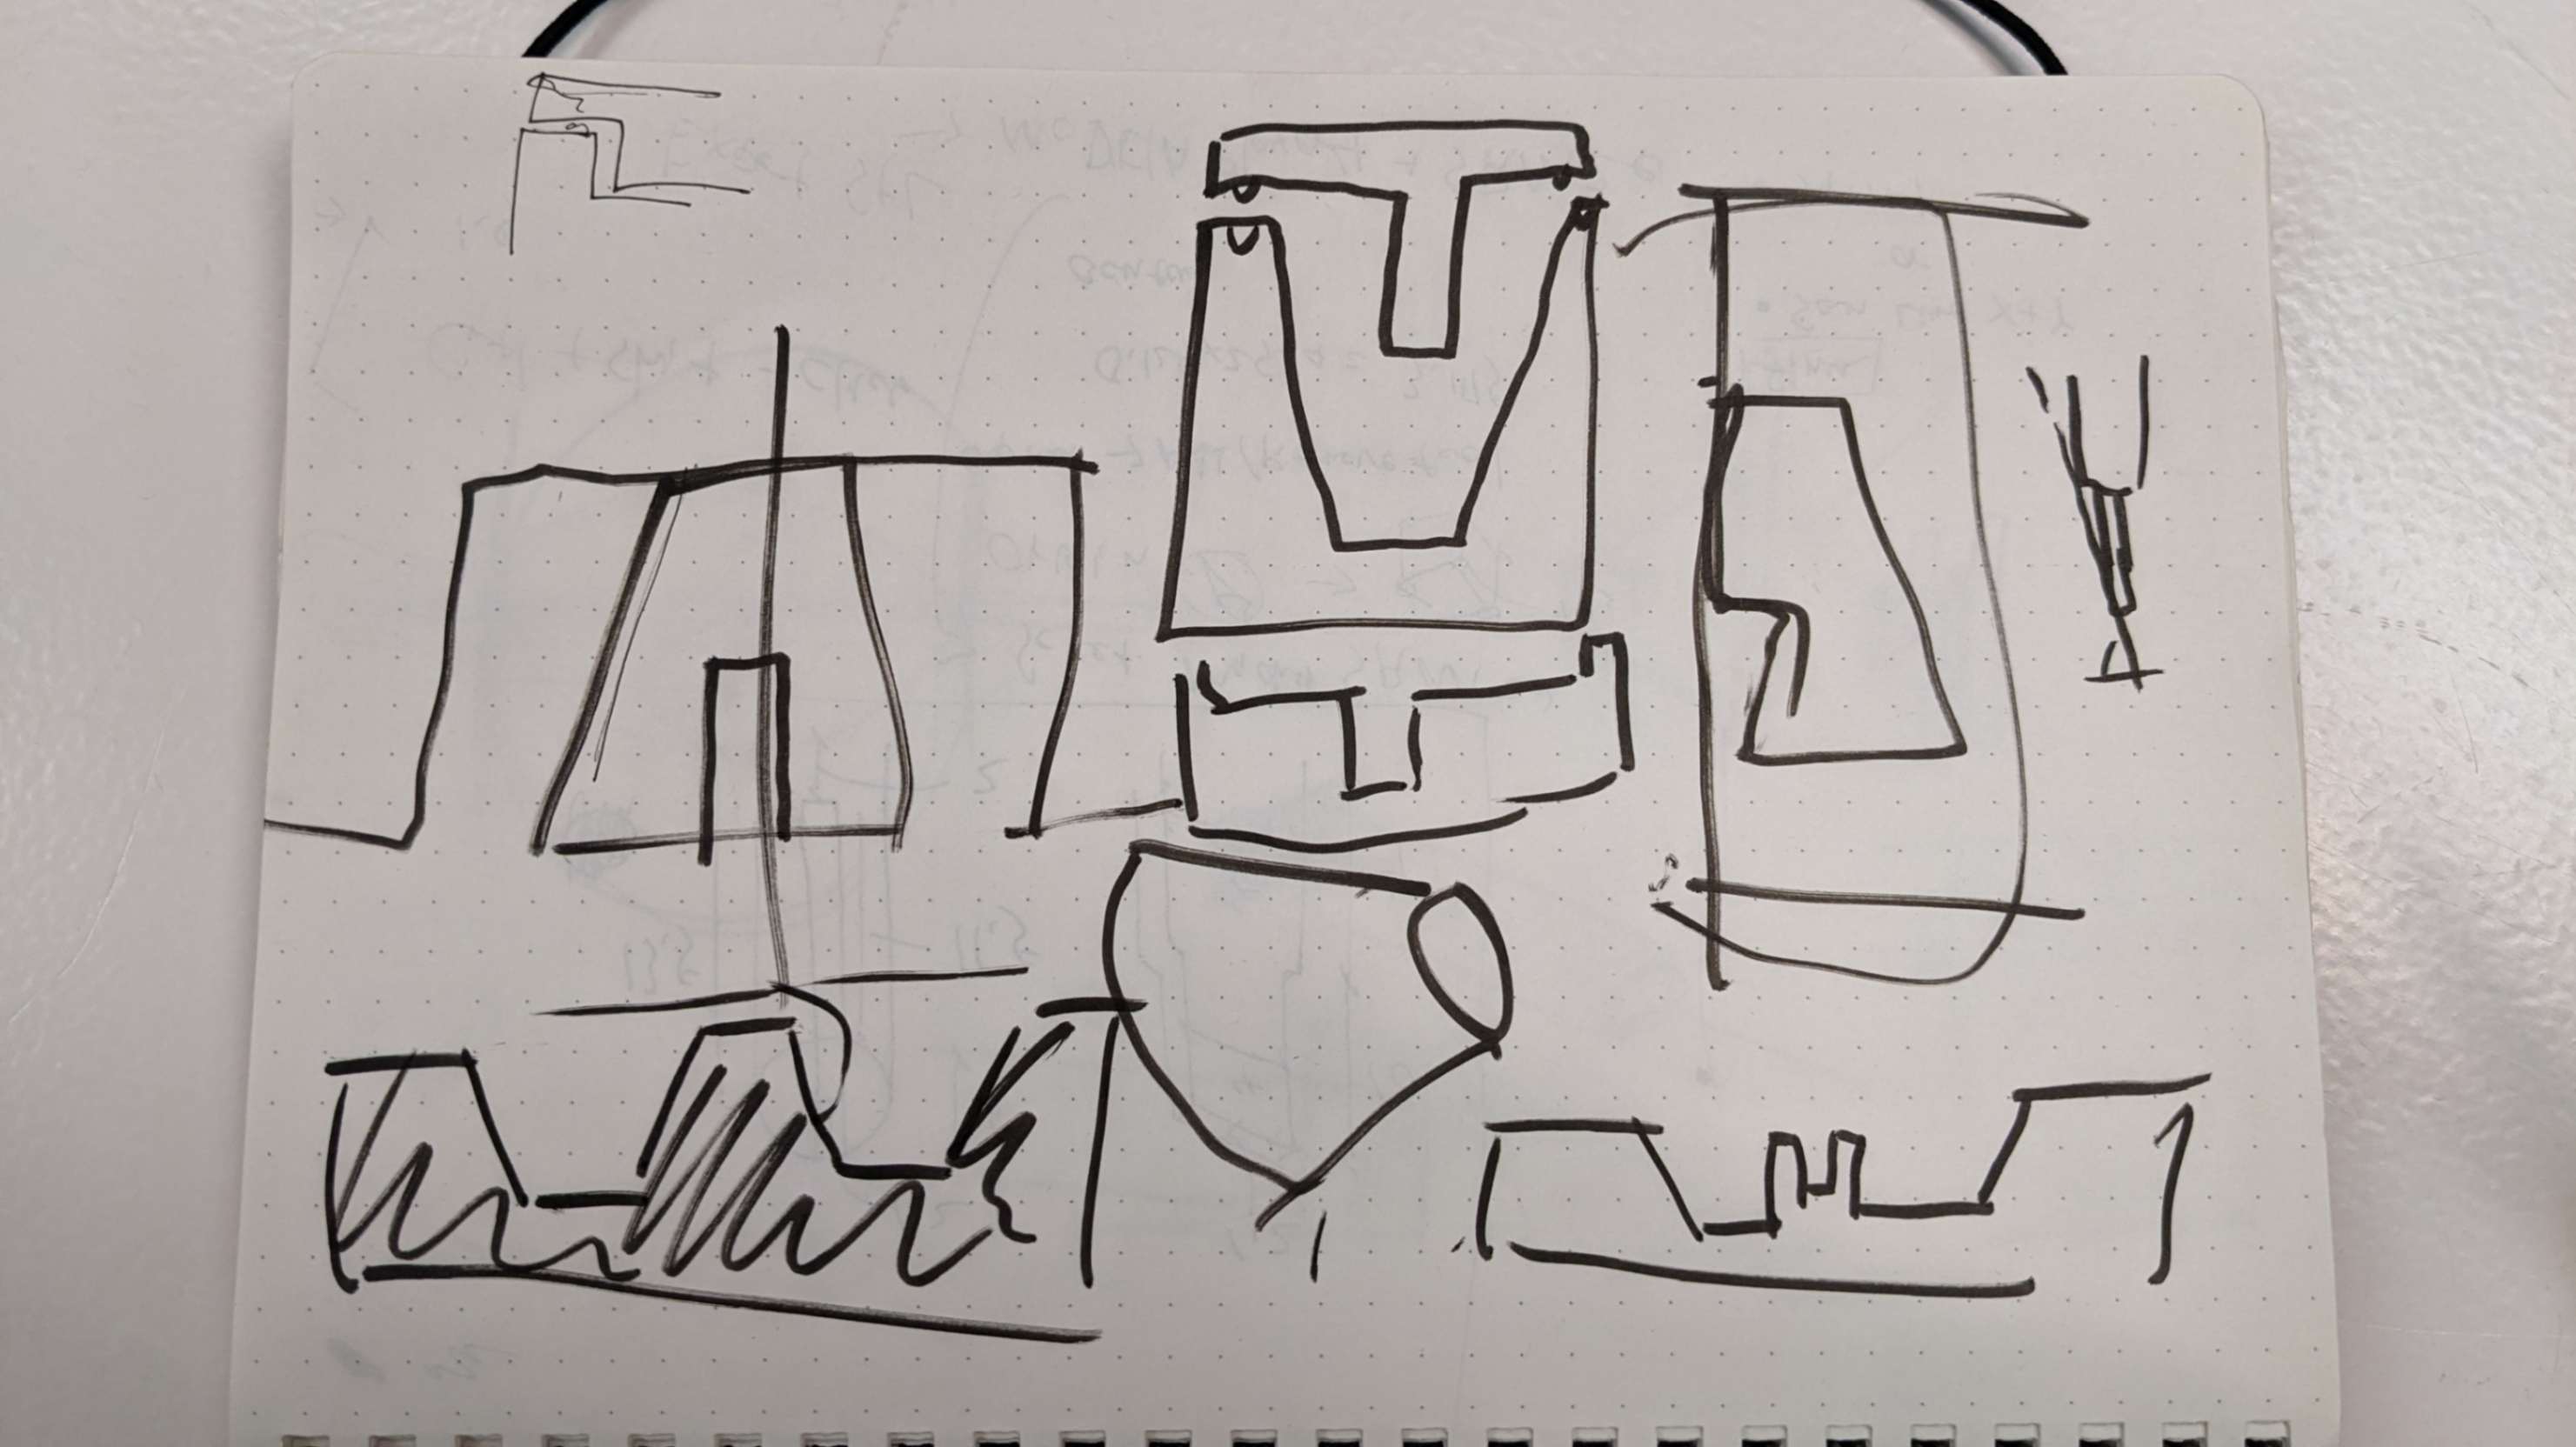
- Create a 3D model of object (positive)
- Create a 3D model of a mold of the object (negative)
- Create a 3D model of a mold of the mold (positive)
- Mill the mold of the mold (positive)
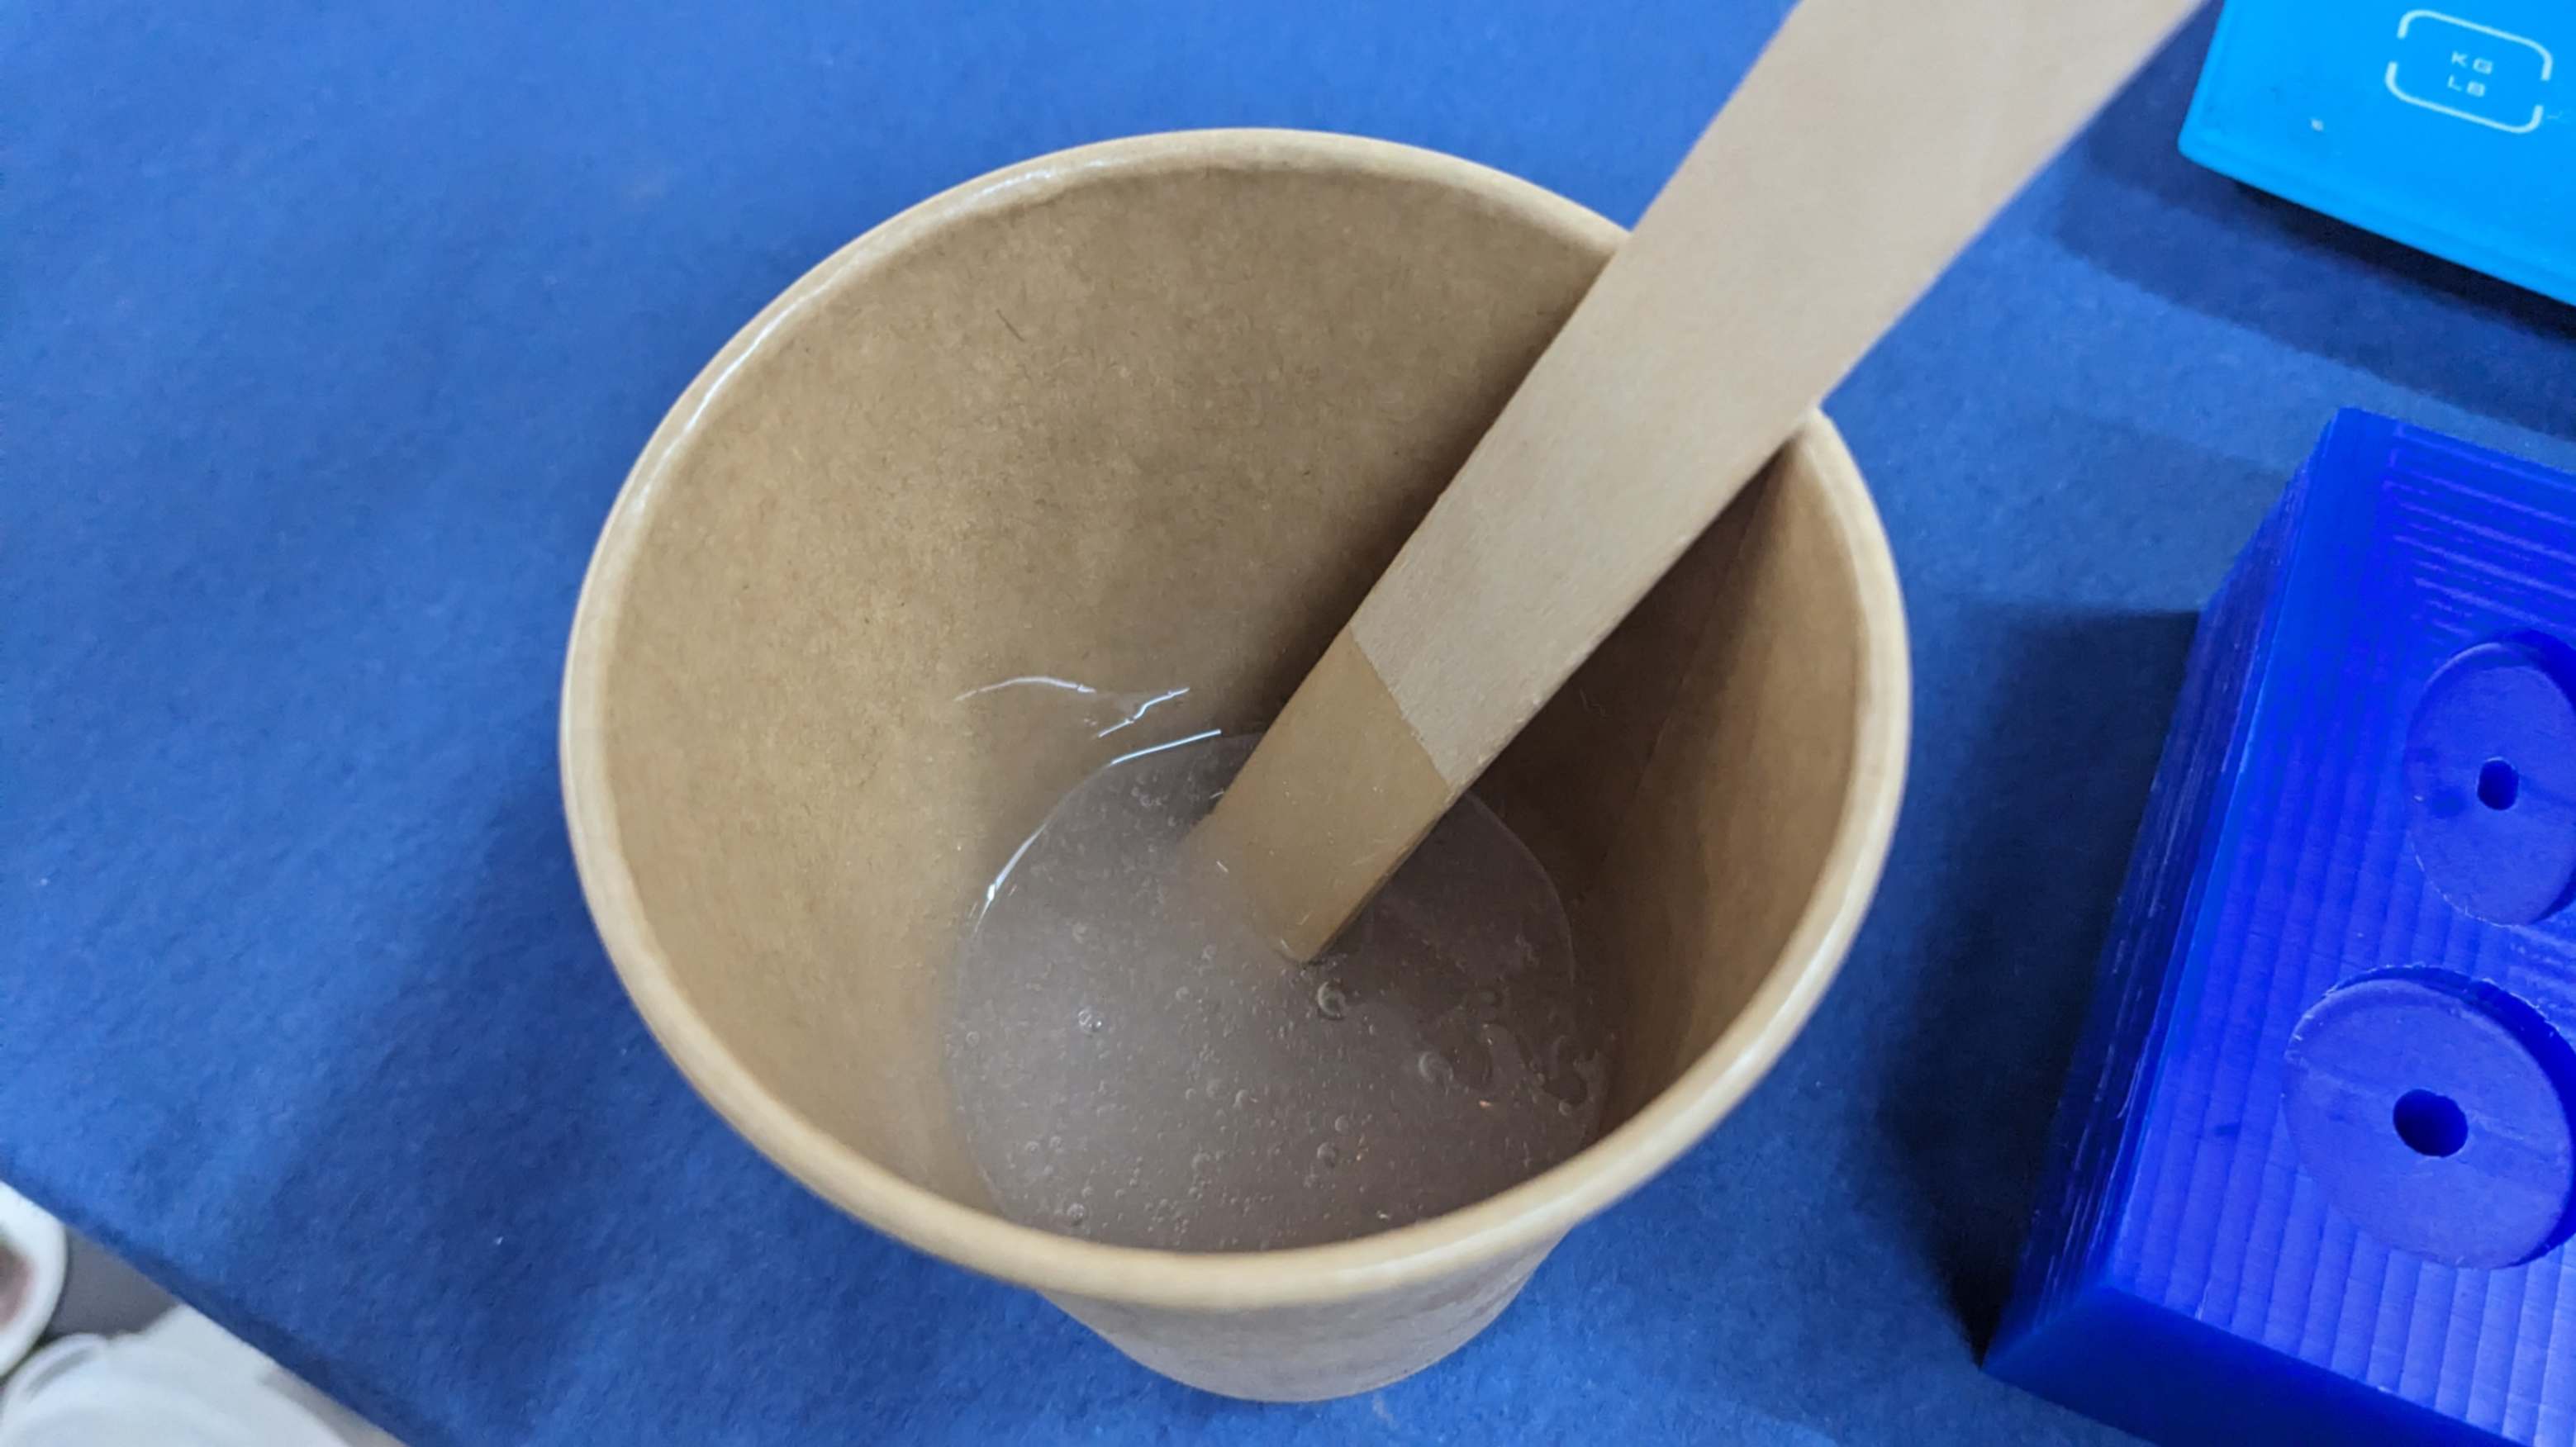
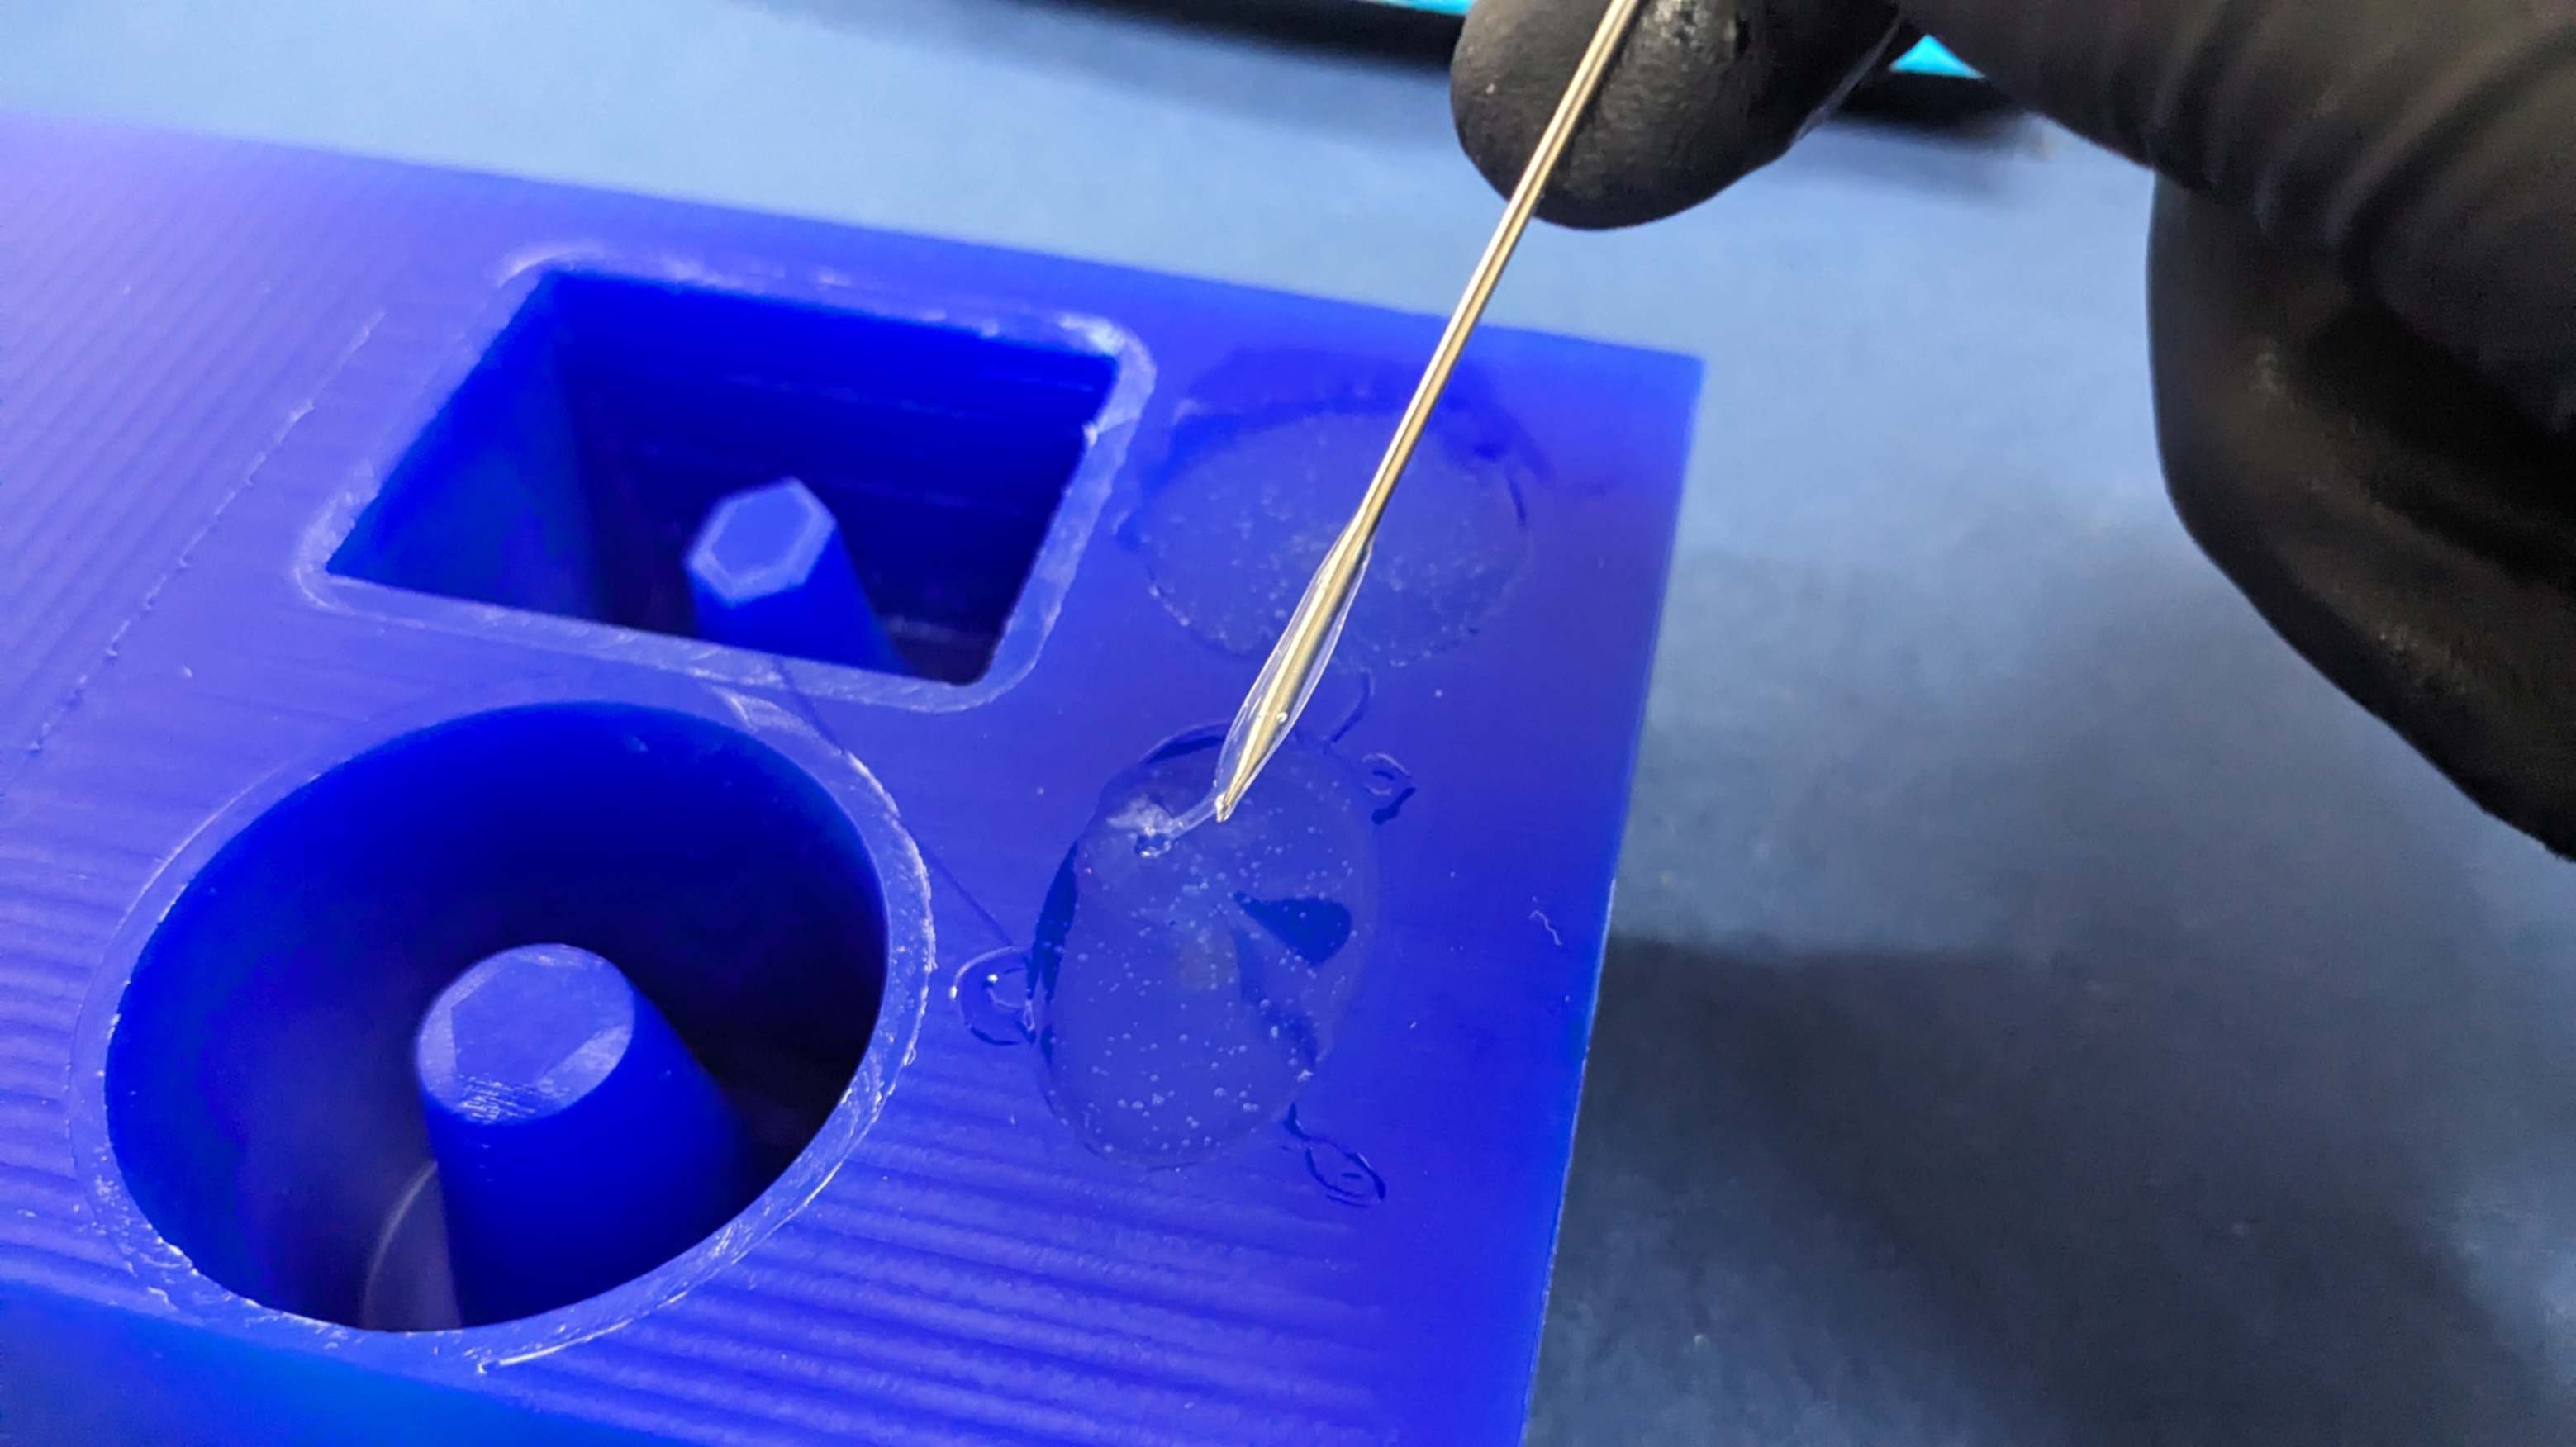
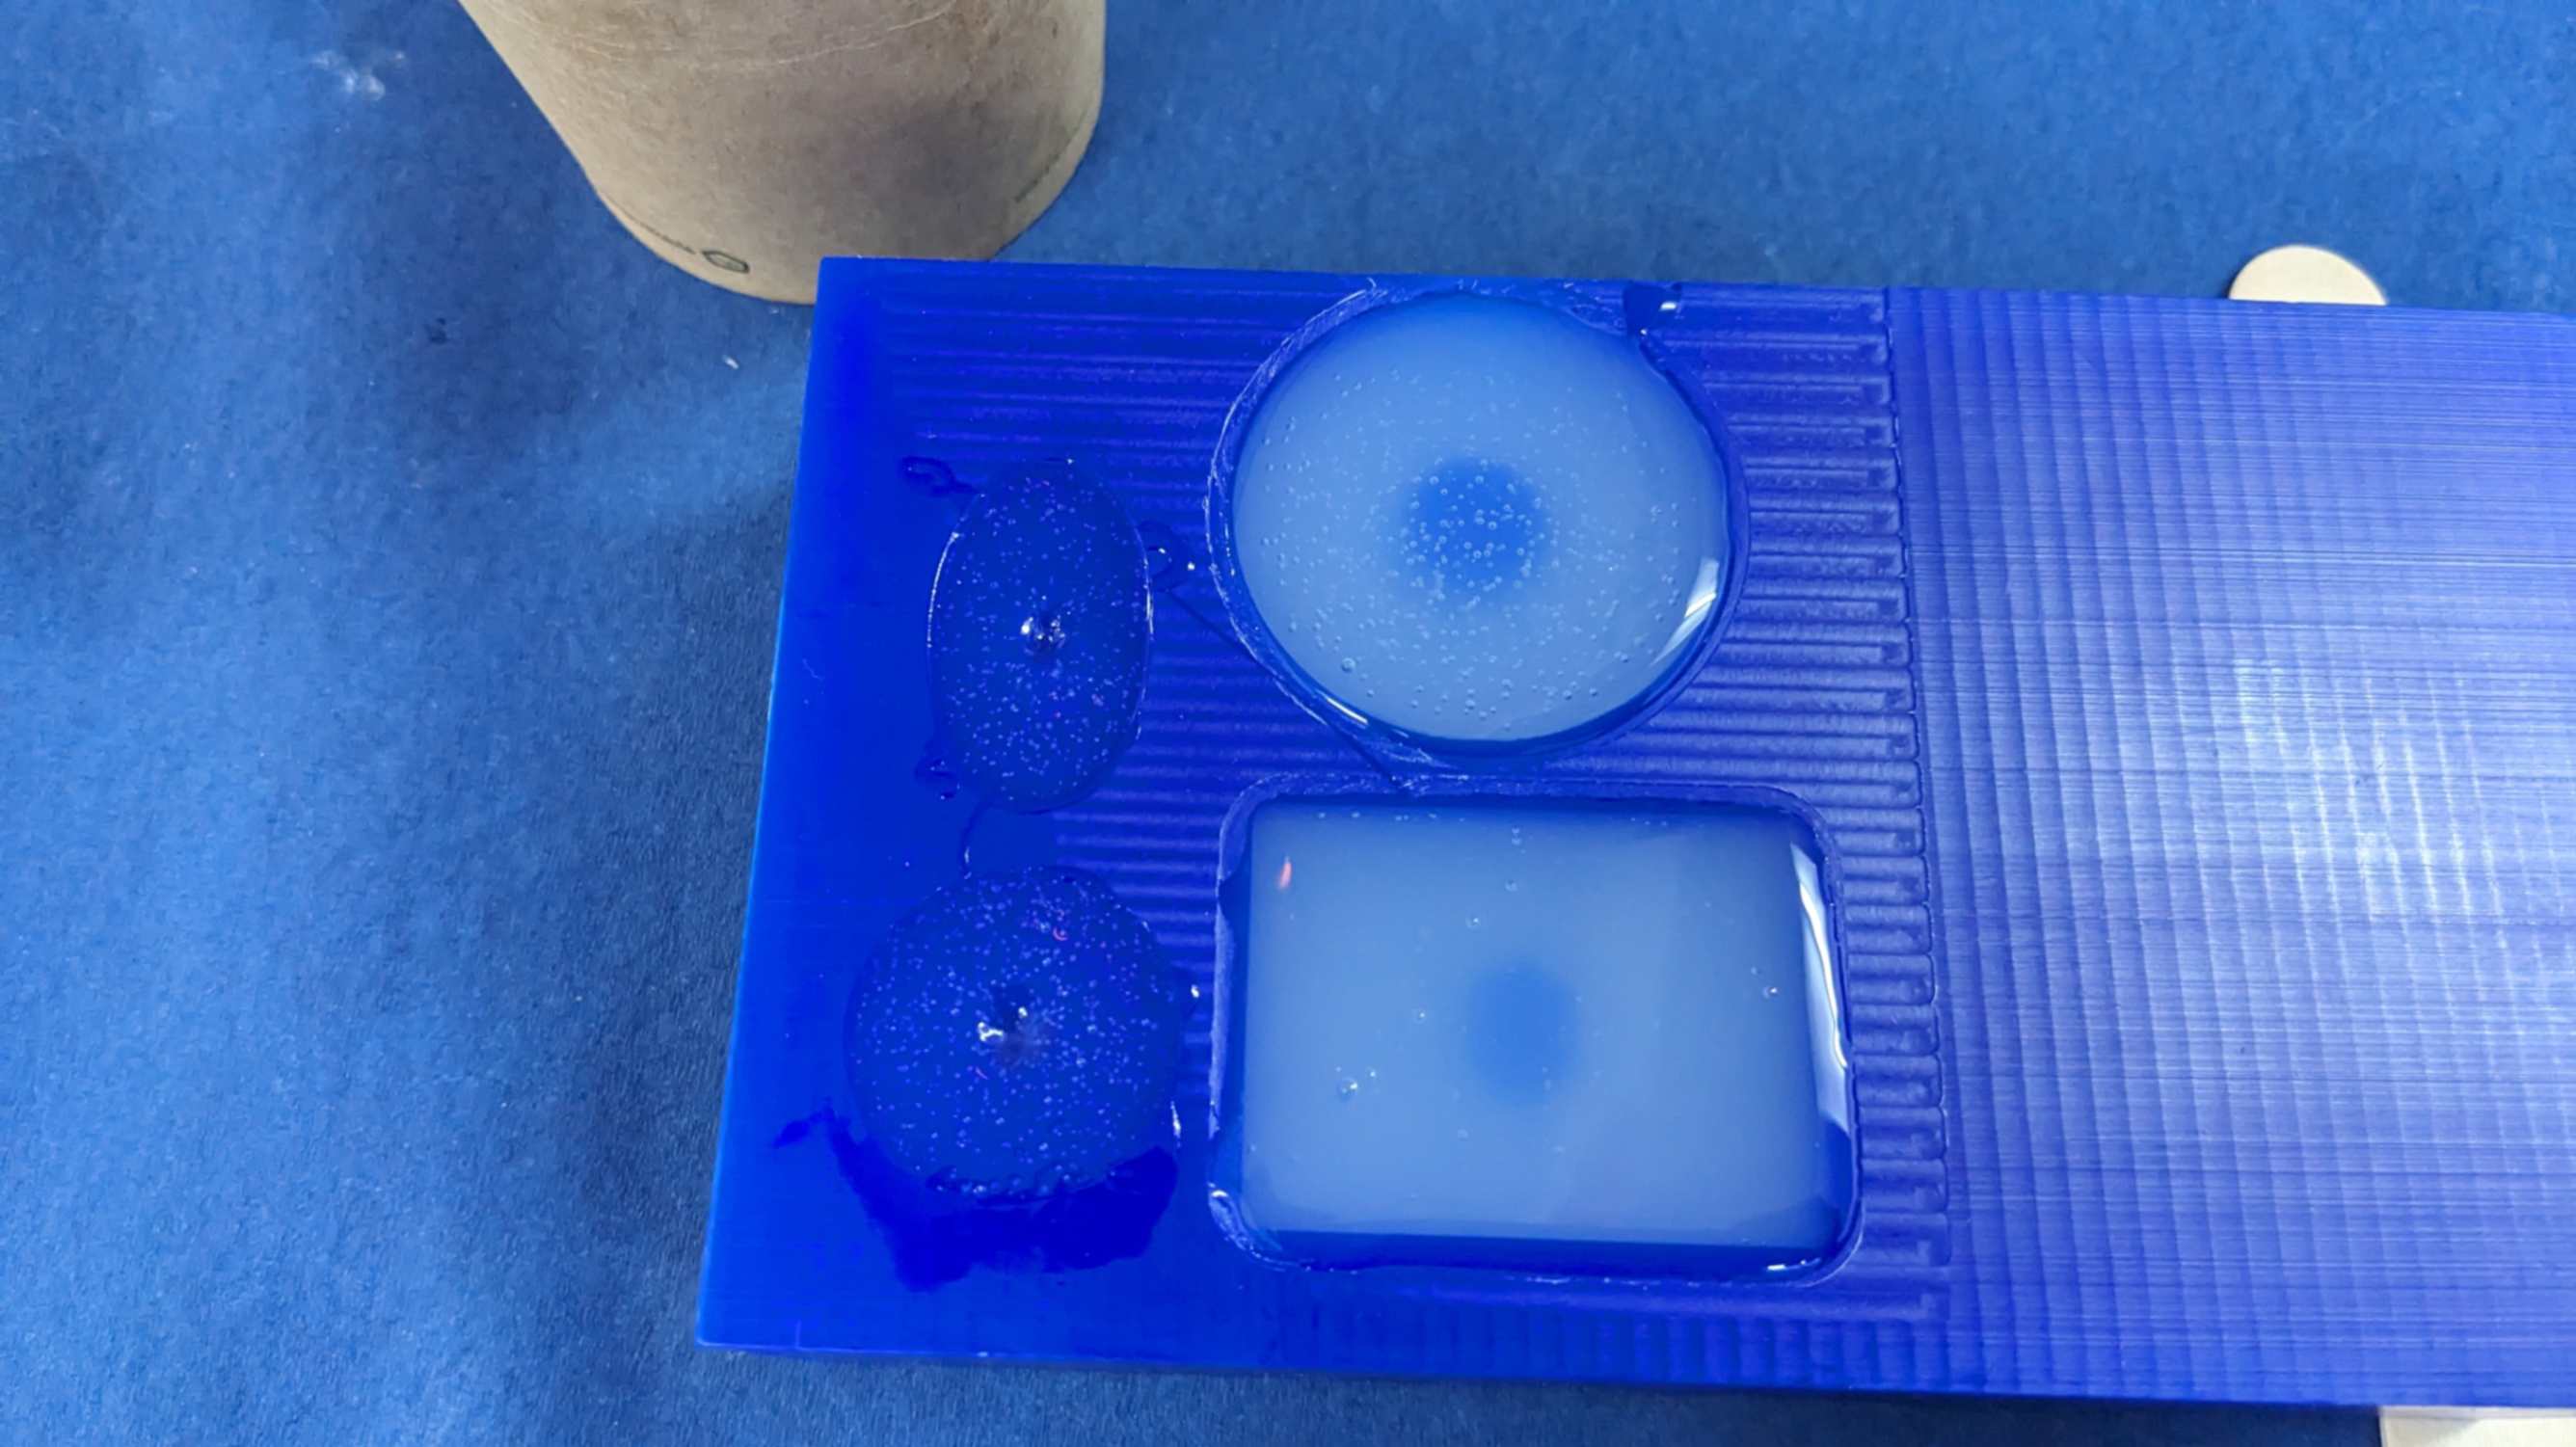
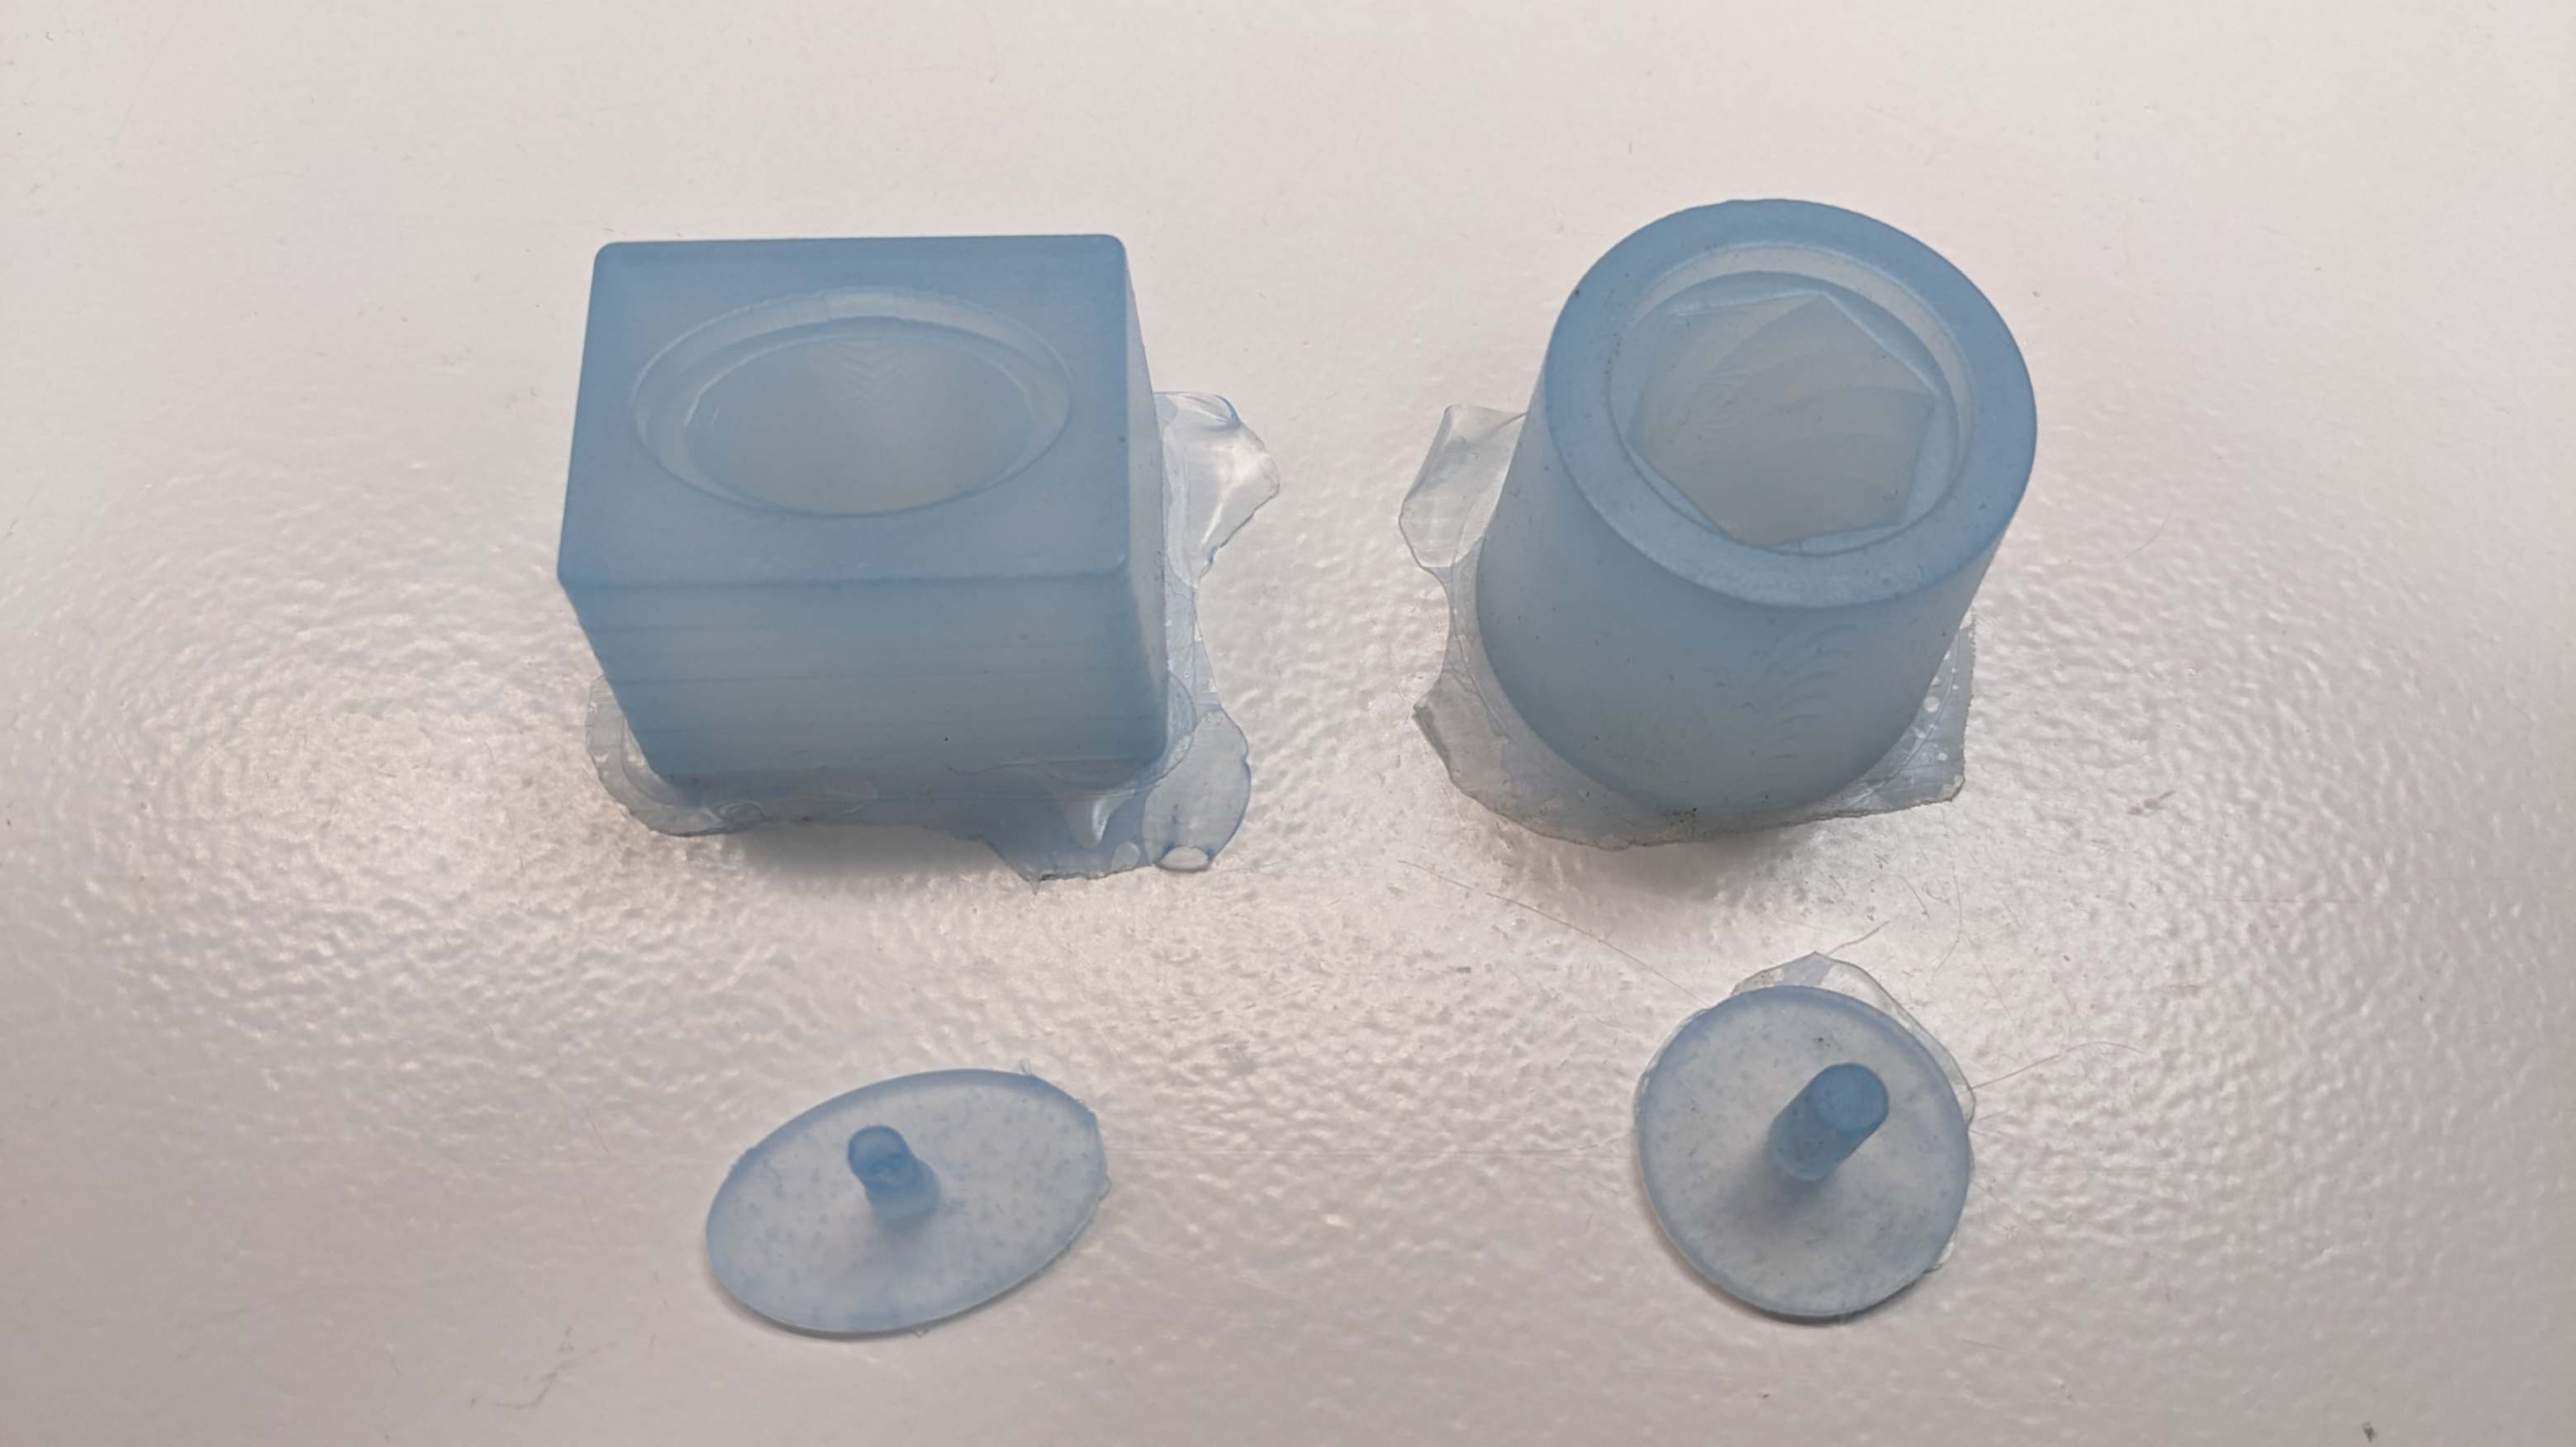
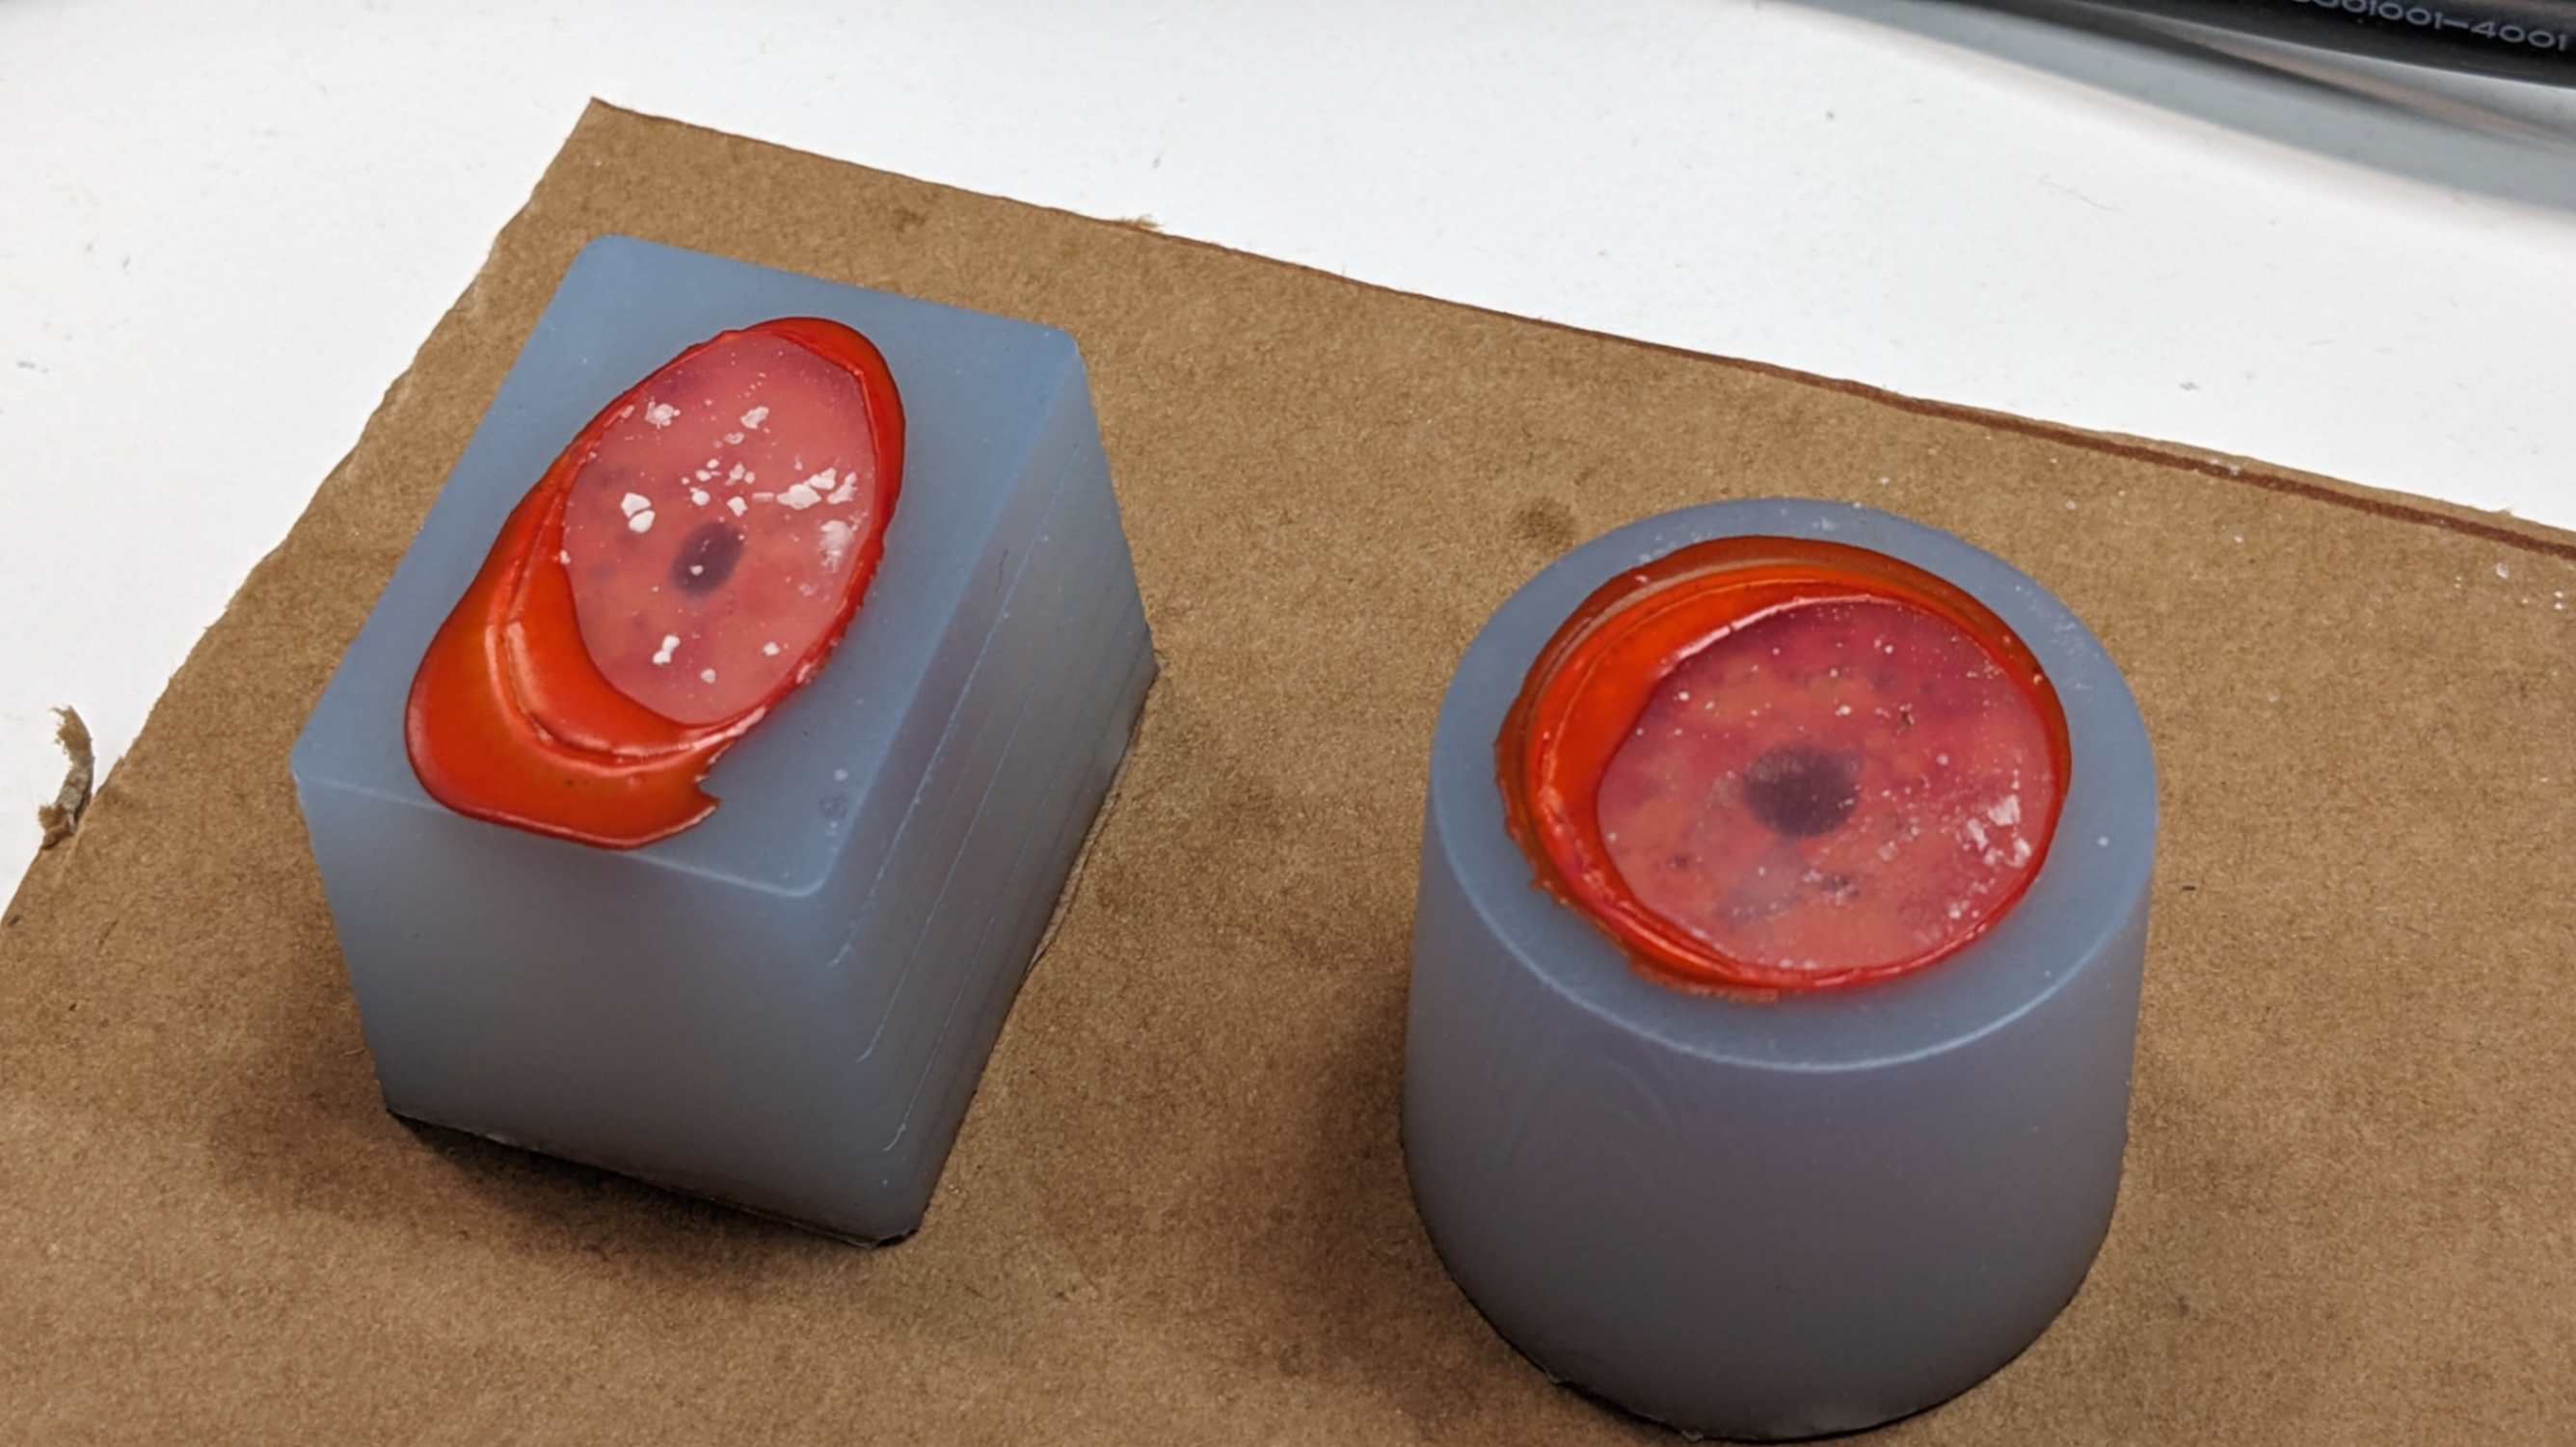
- Cast the mold (negative)
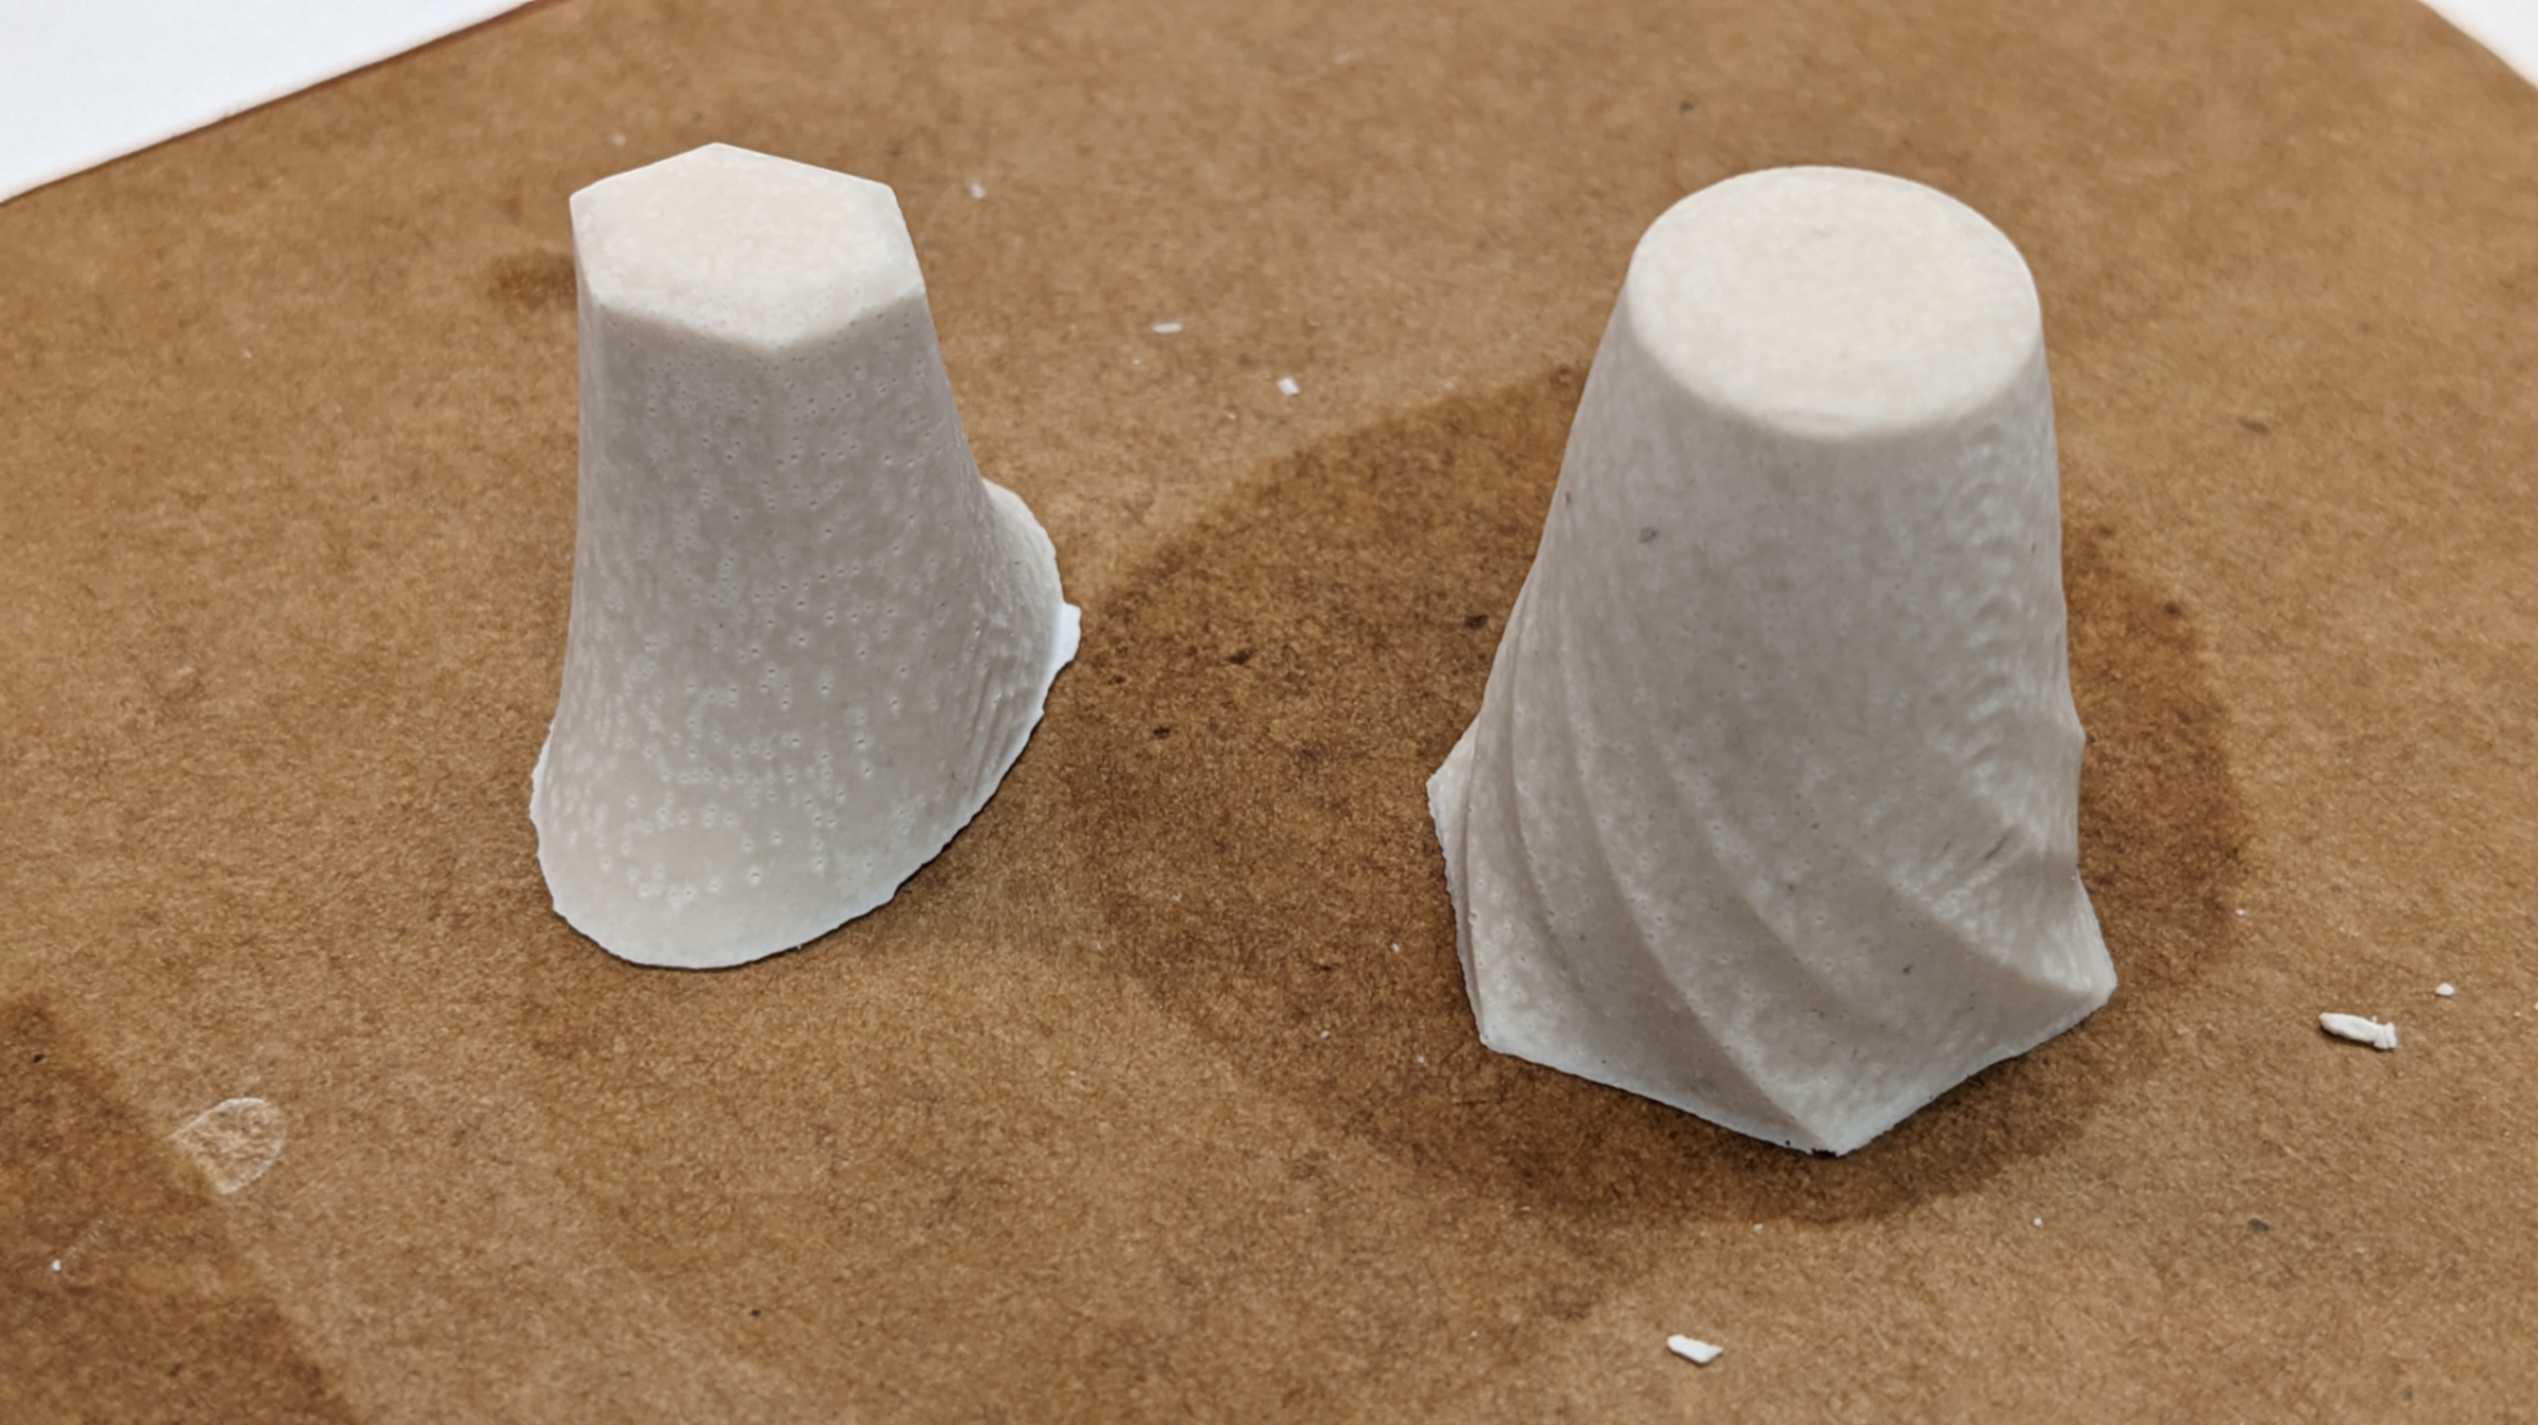
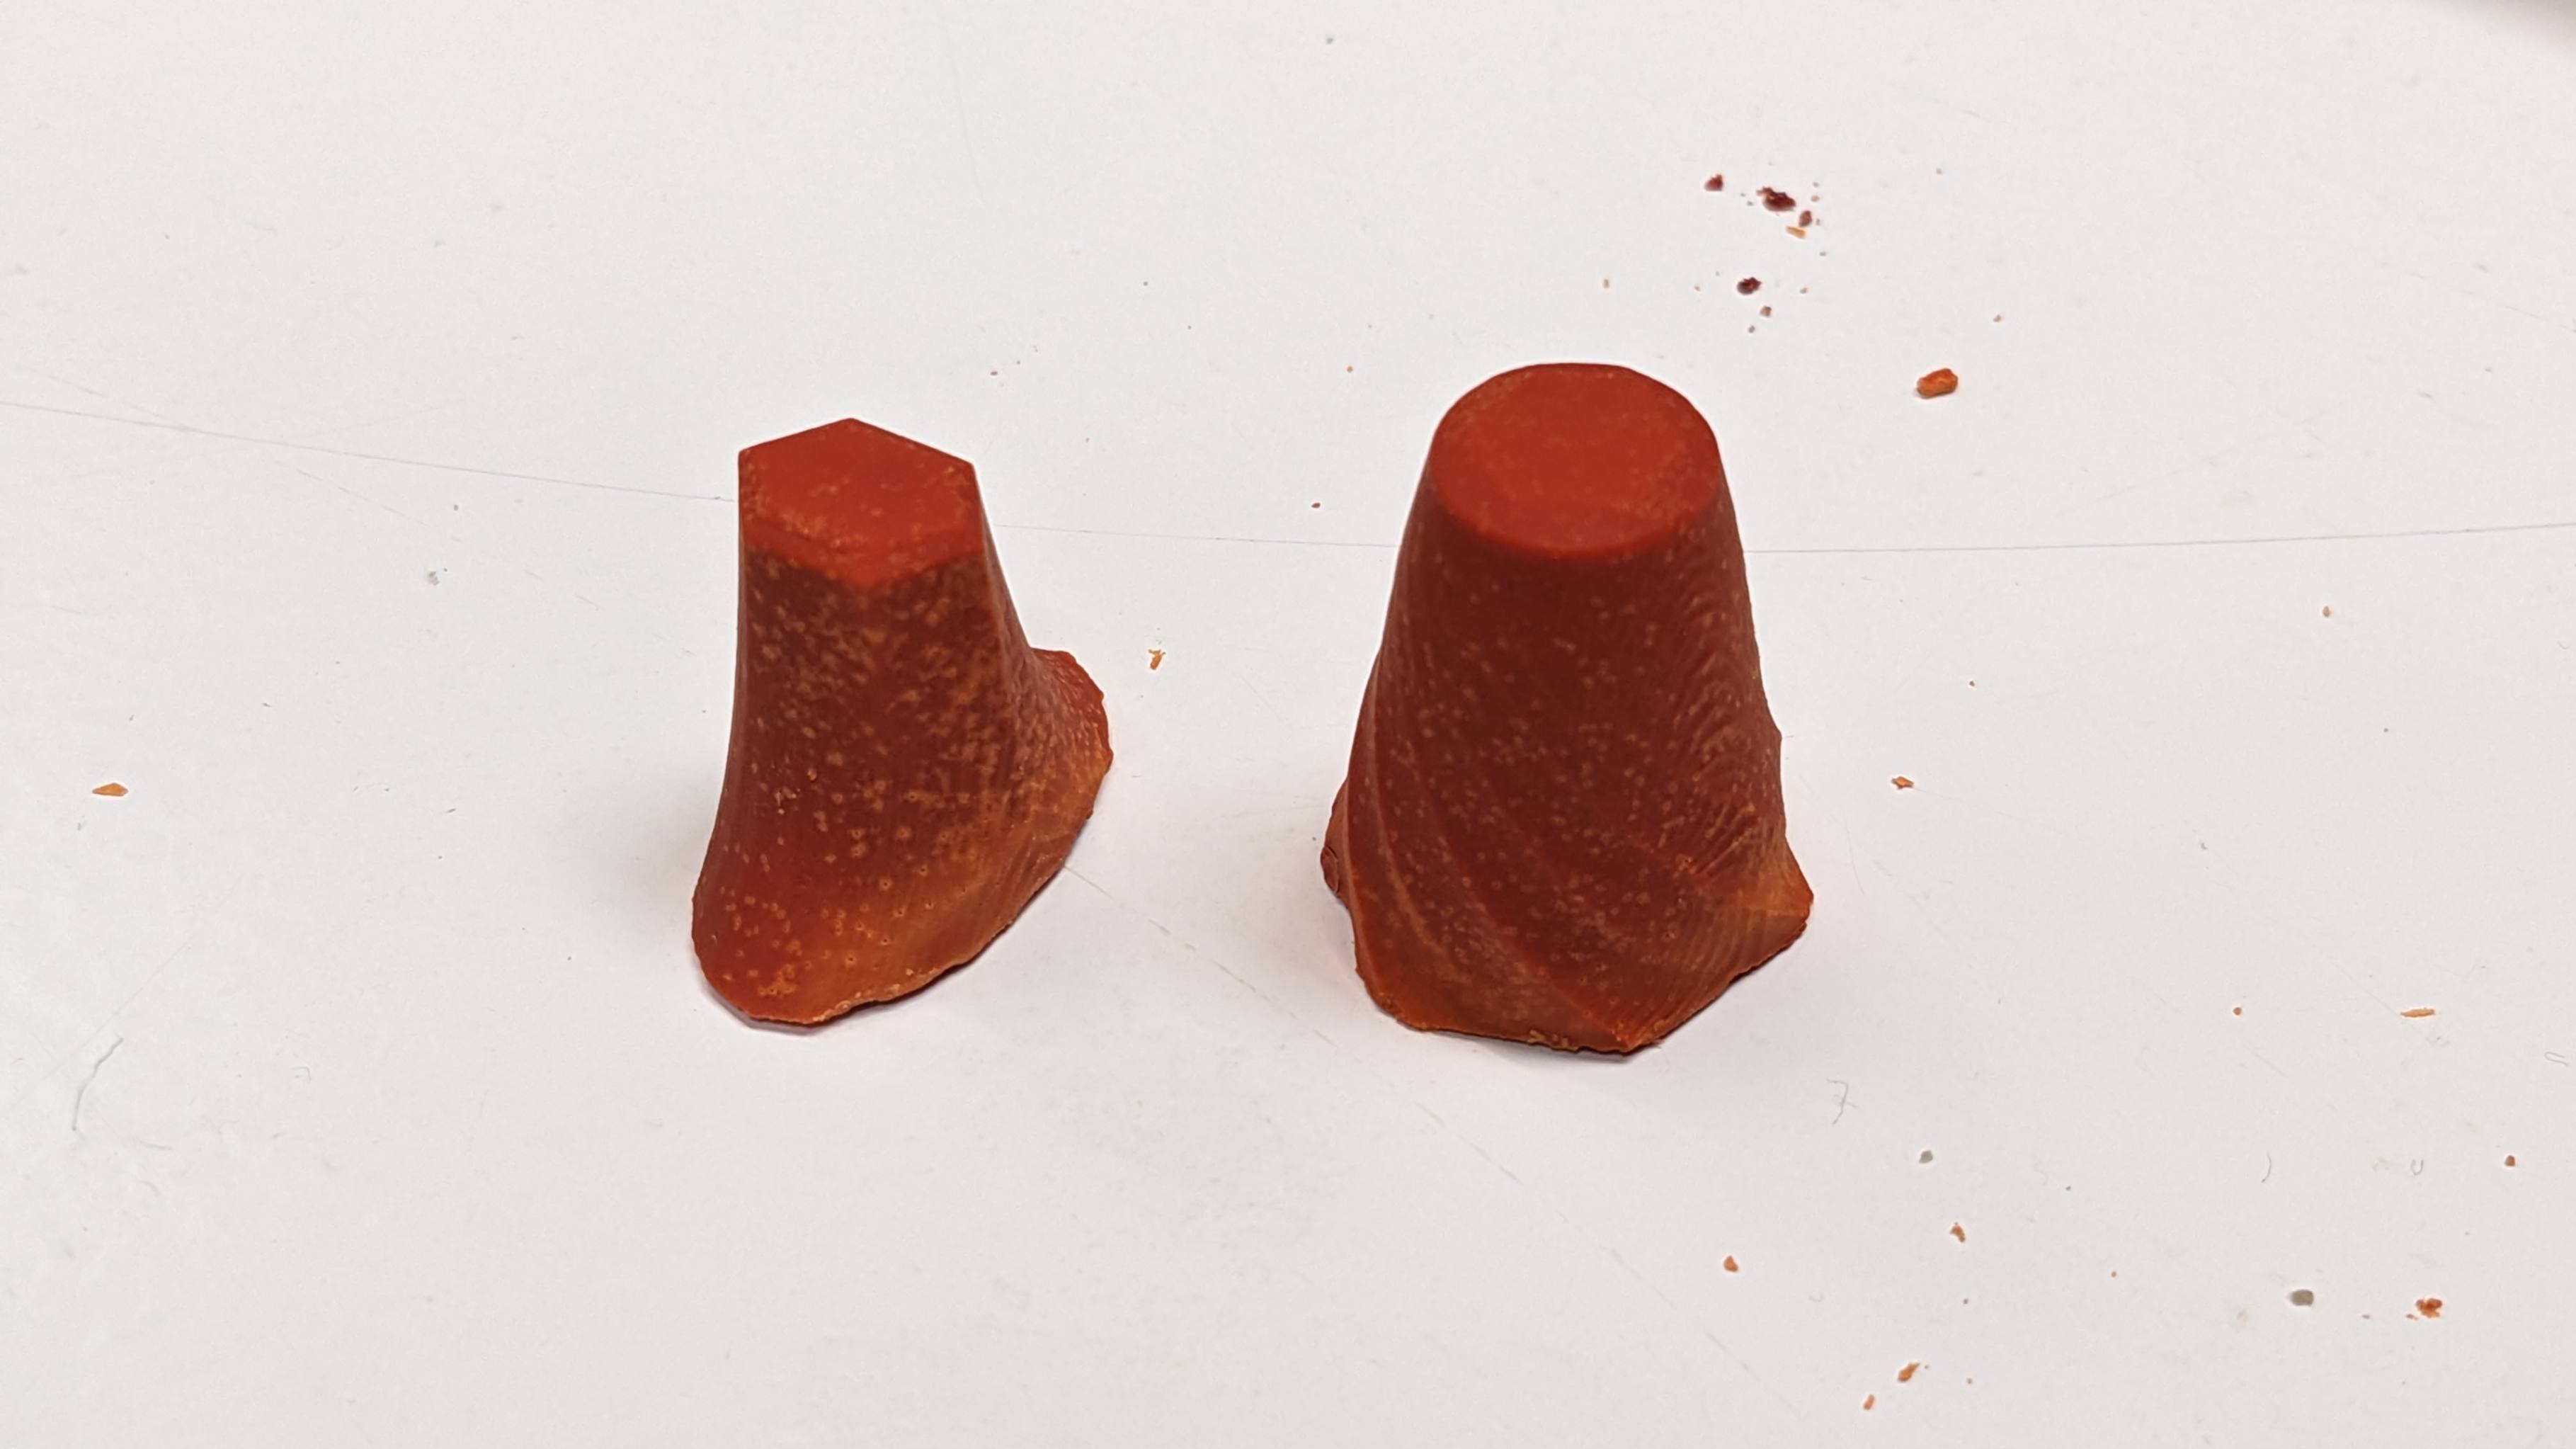
- Cast the object (positive)
3D Modelling
3D model of object (positive)
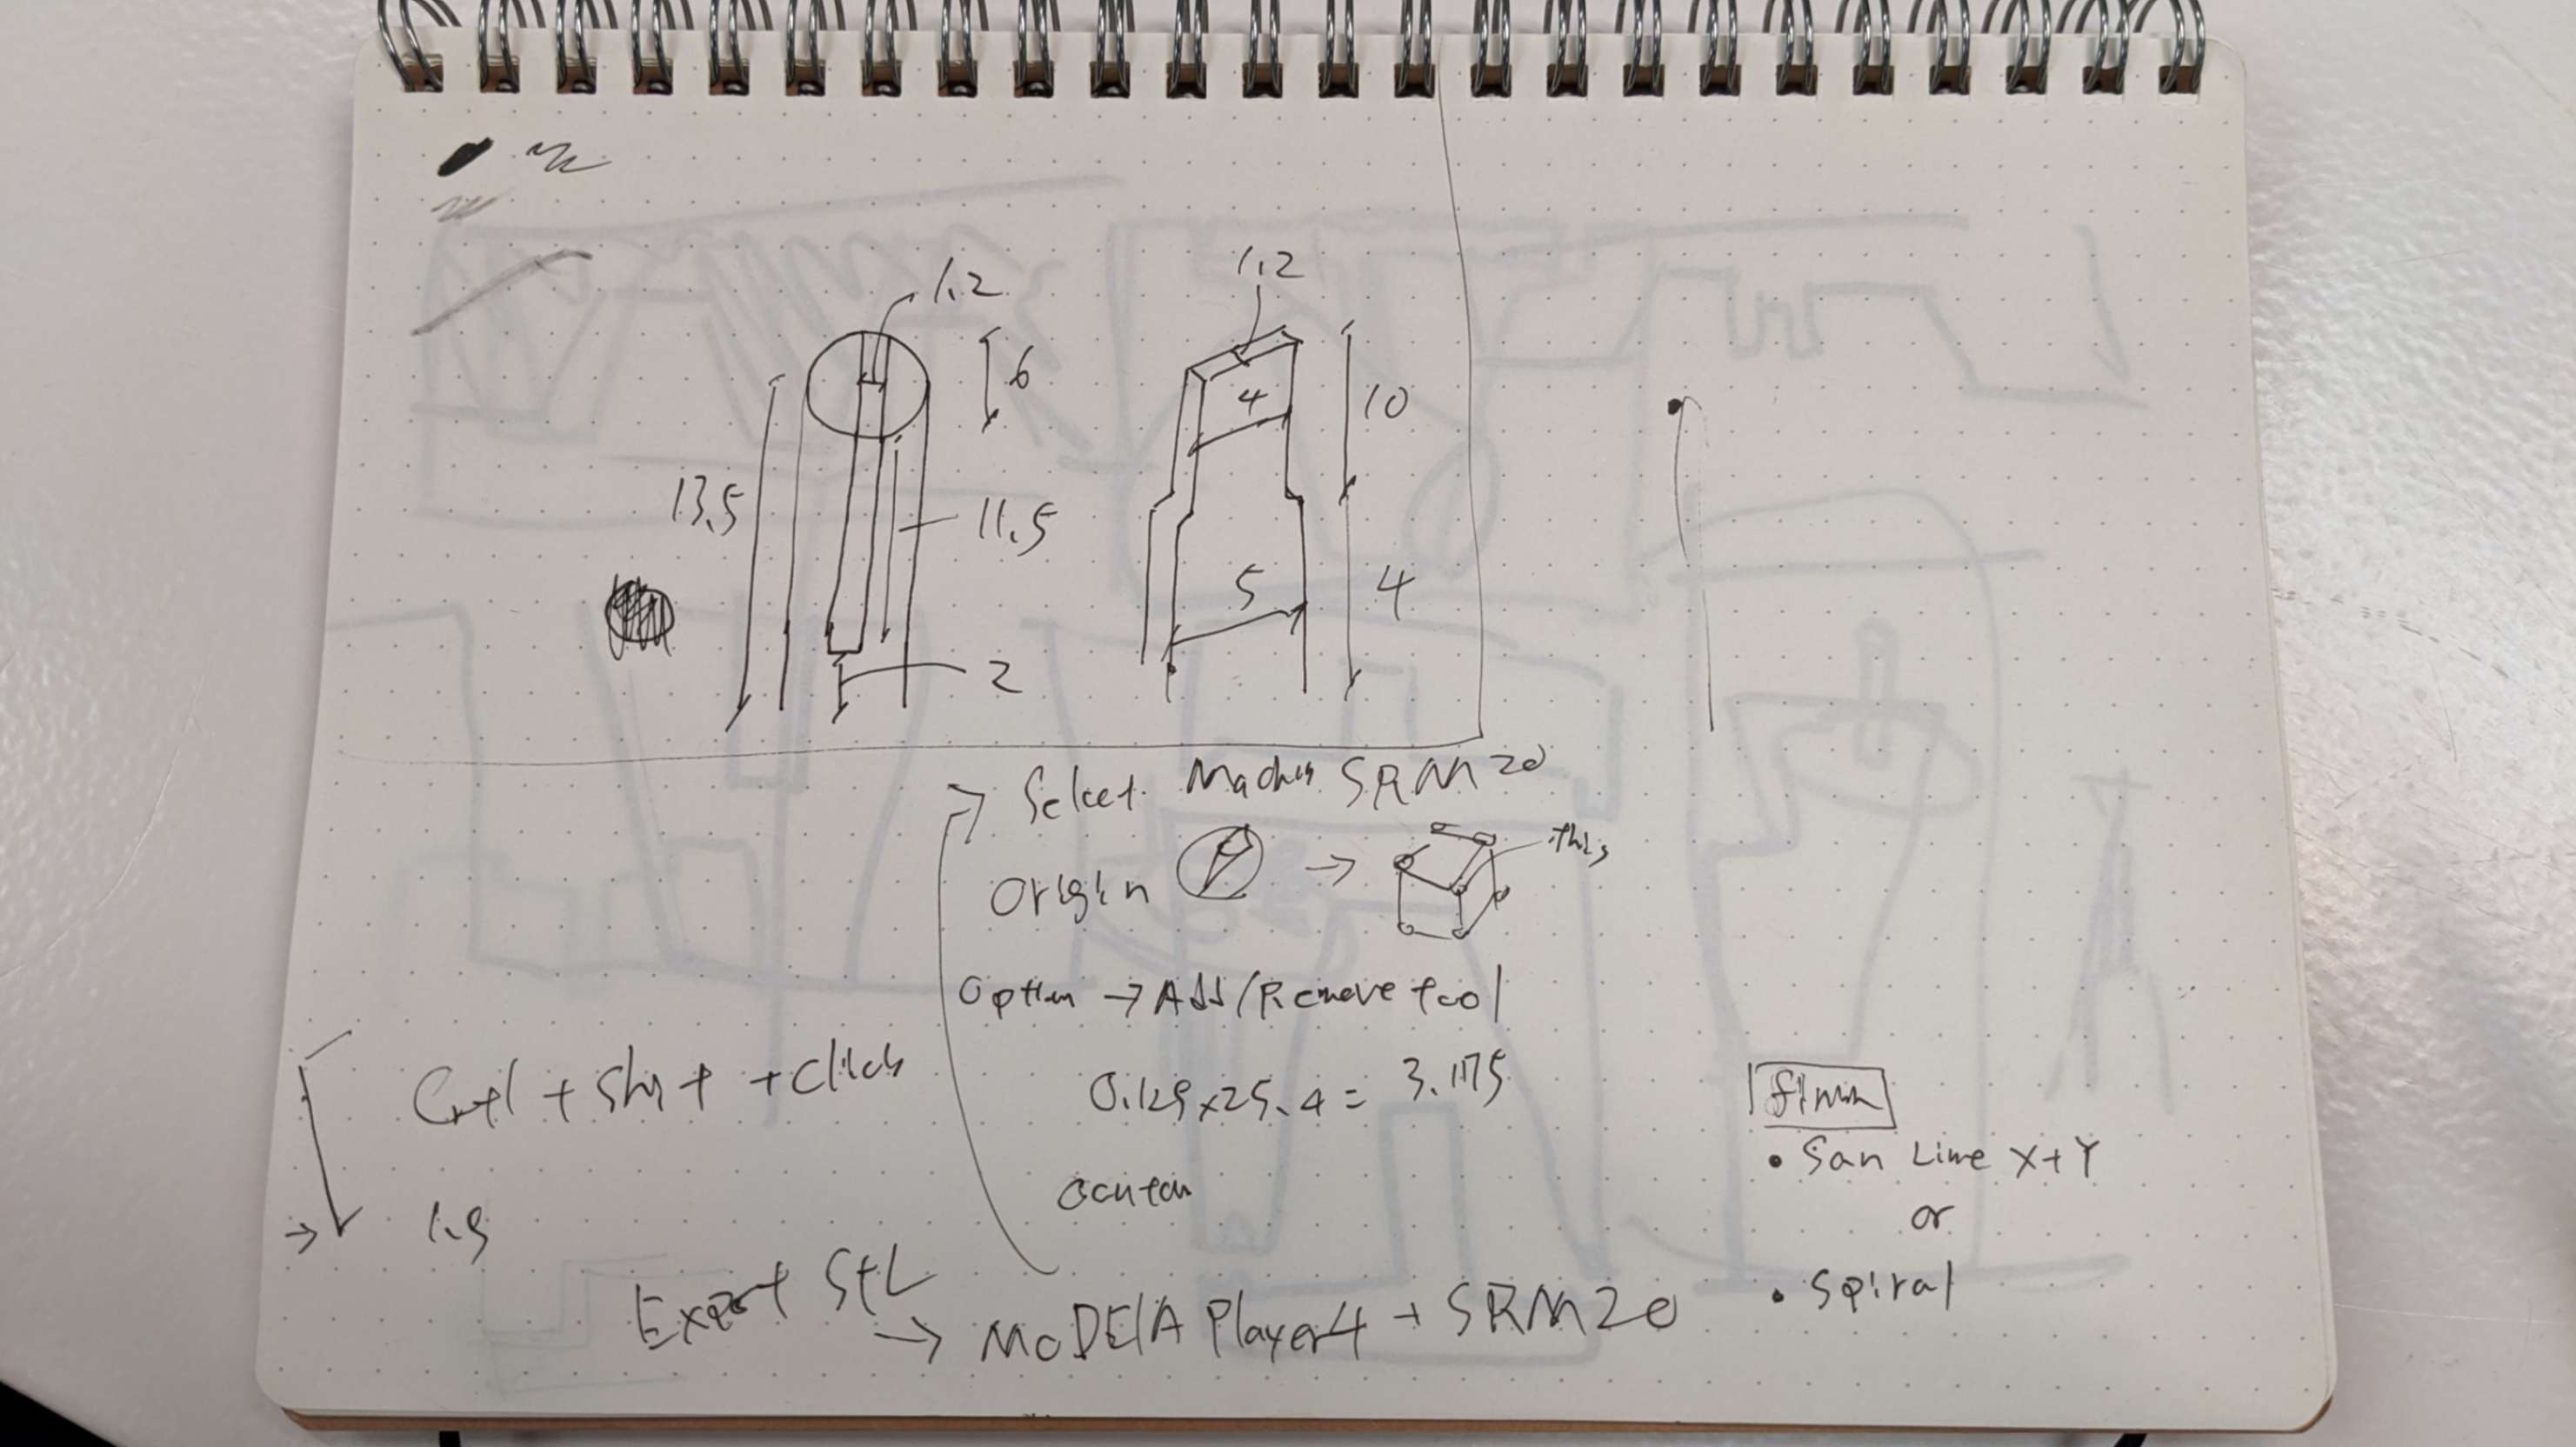
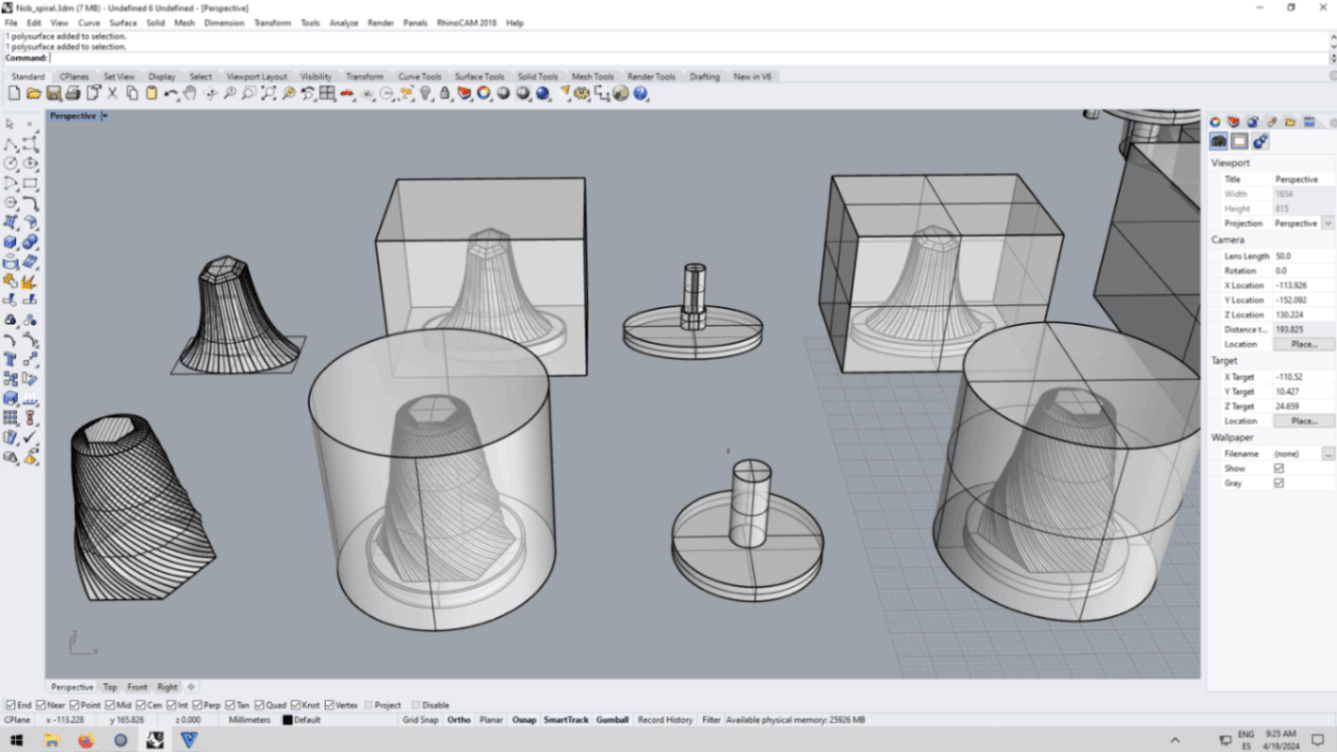
First I made a 3D model of the knobs in Rhino. A few things I needed to be careful of any overhang shapes and long straight vertical shapes, because the machine would not be able to mill. Also, I needed to take into account the diameter and length of the end mill.
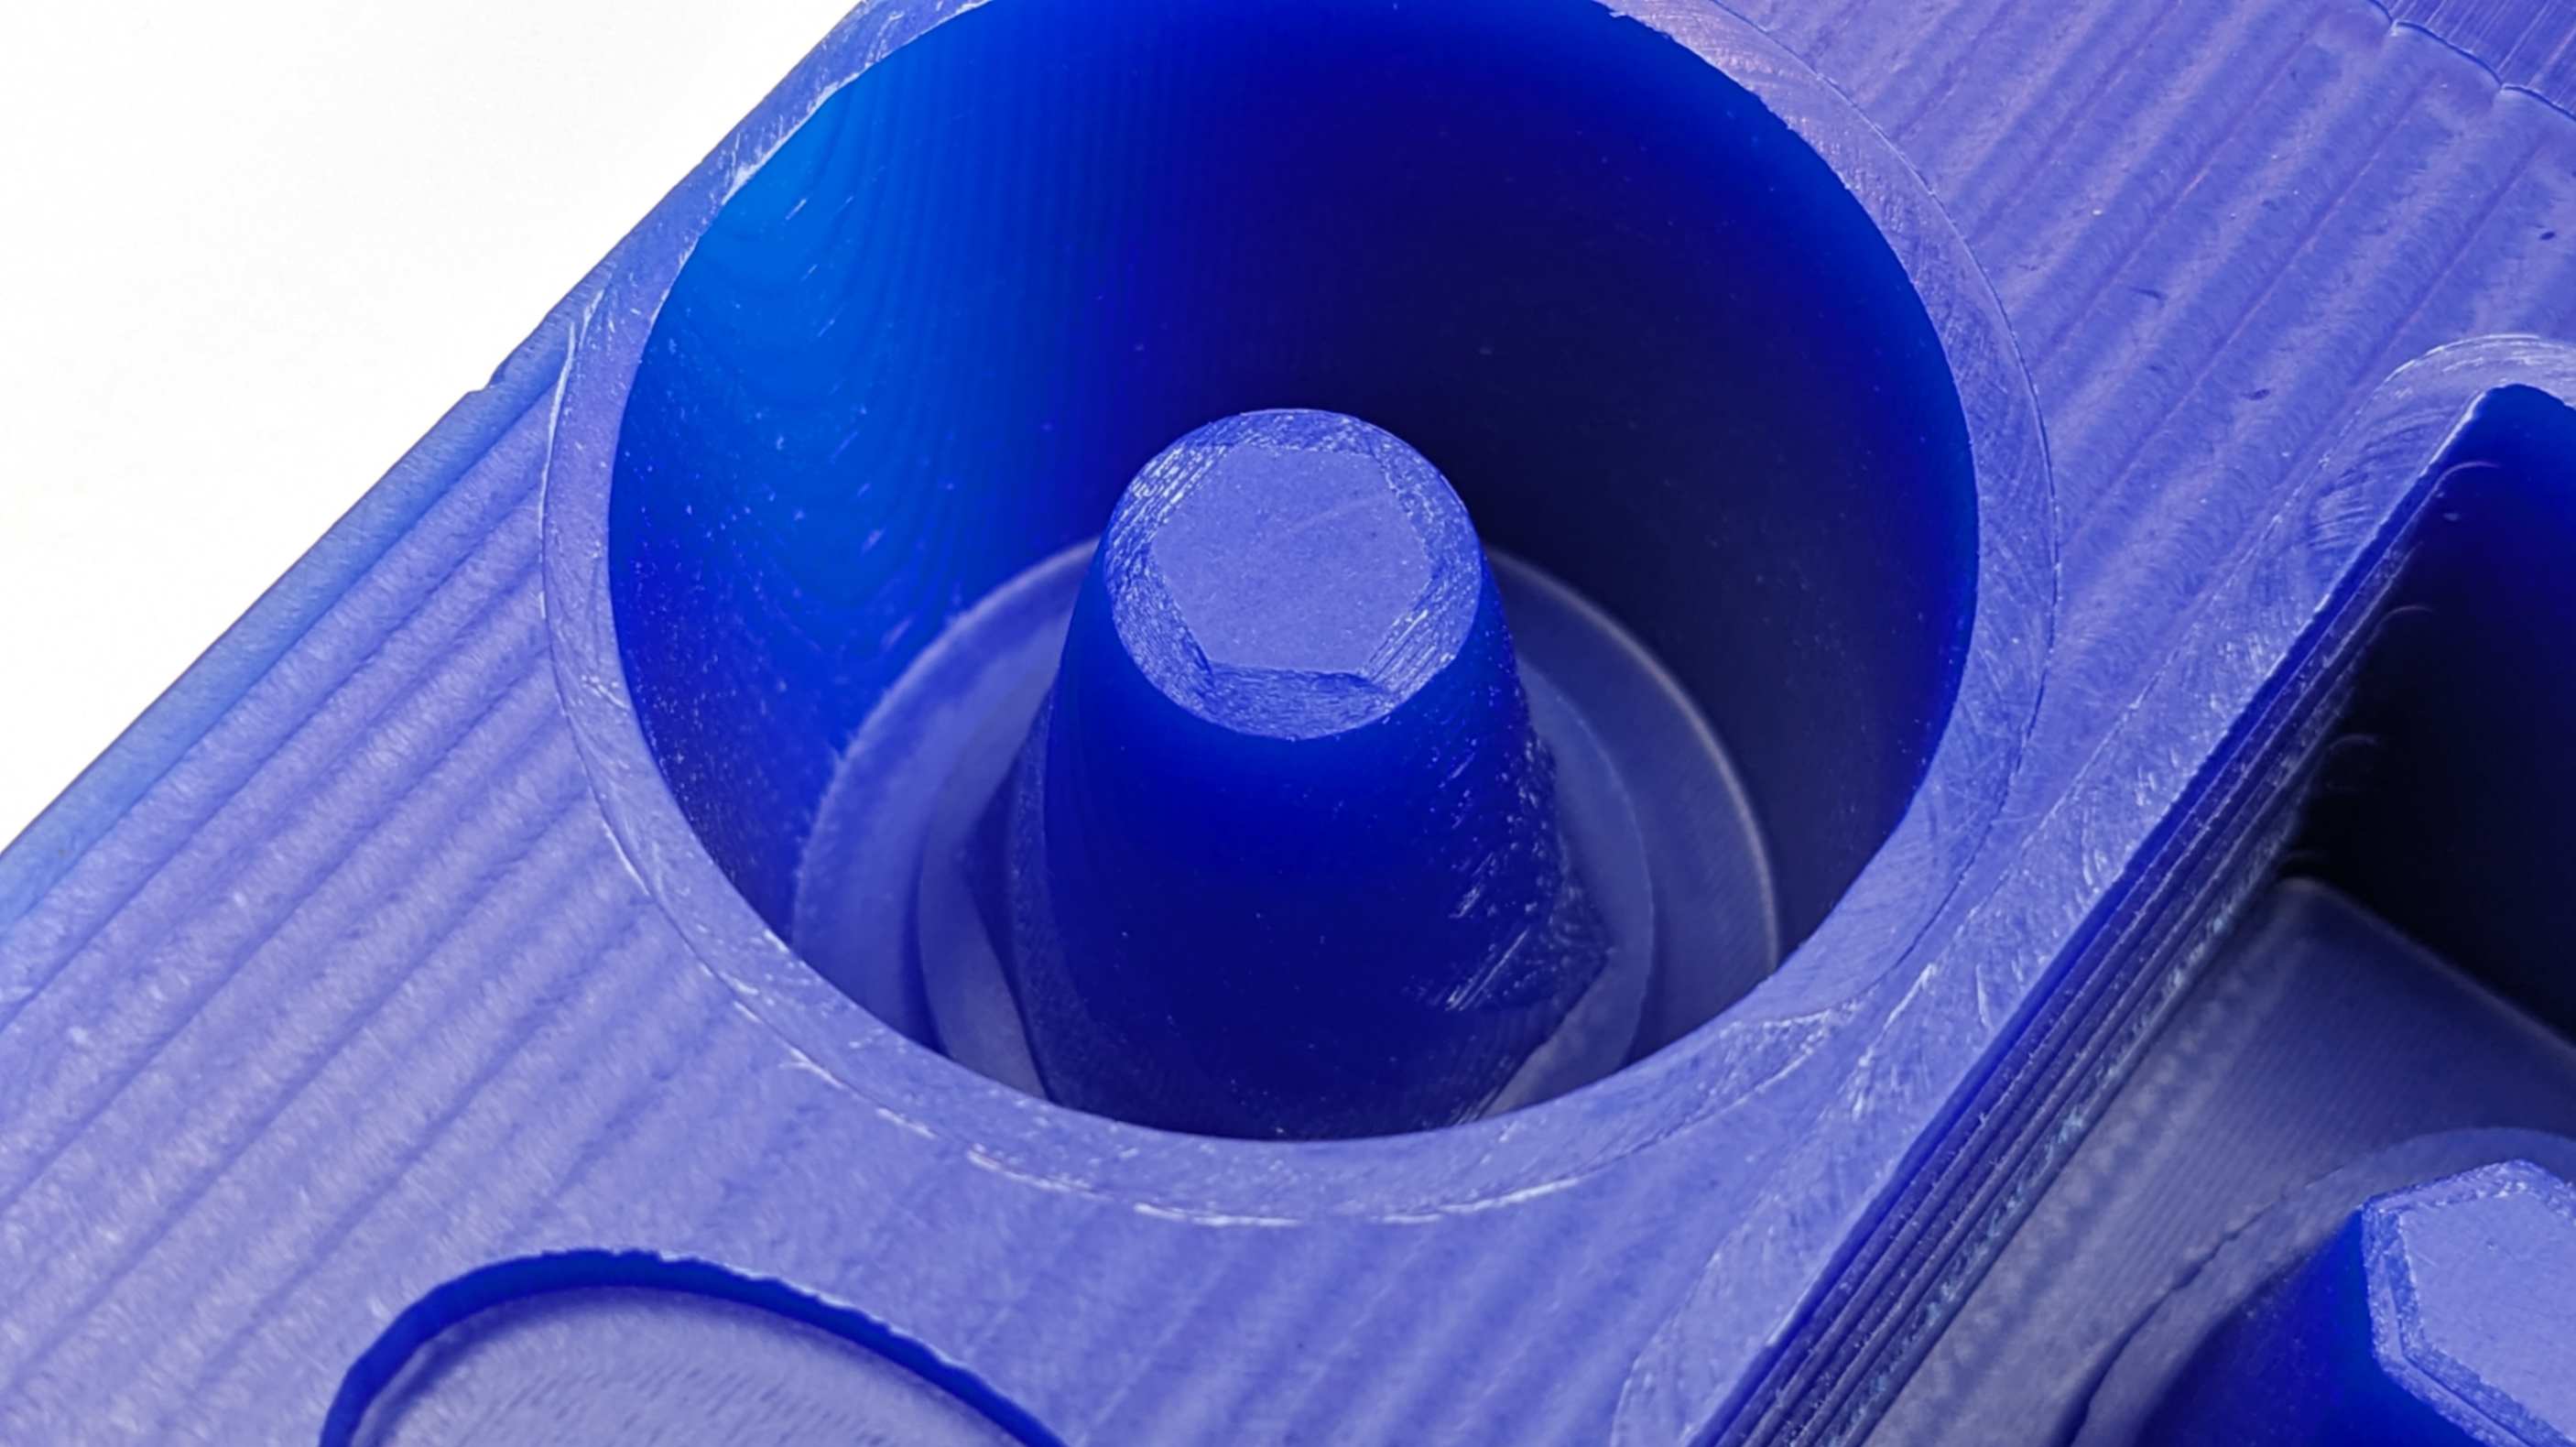
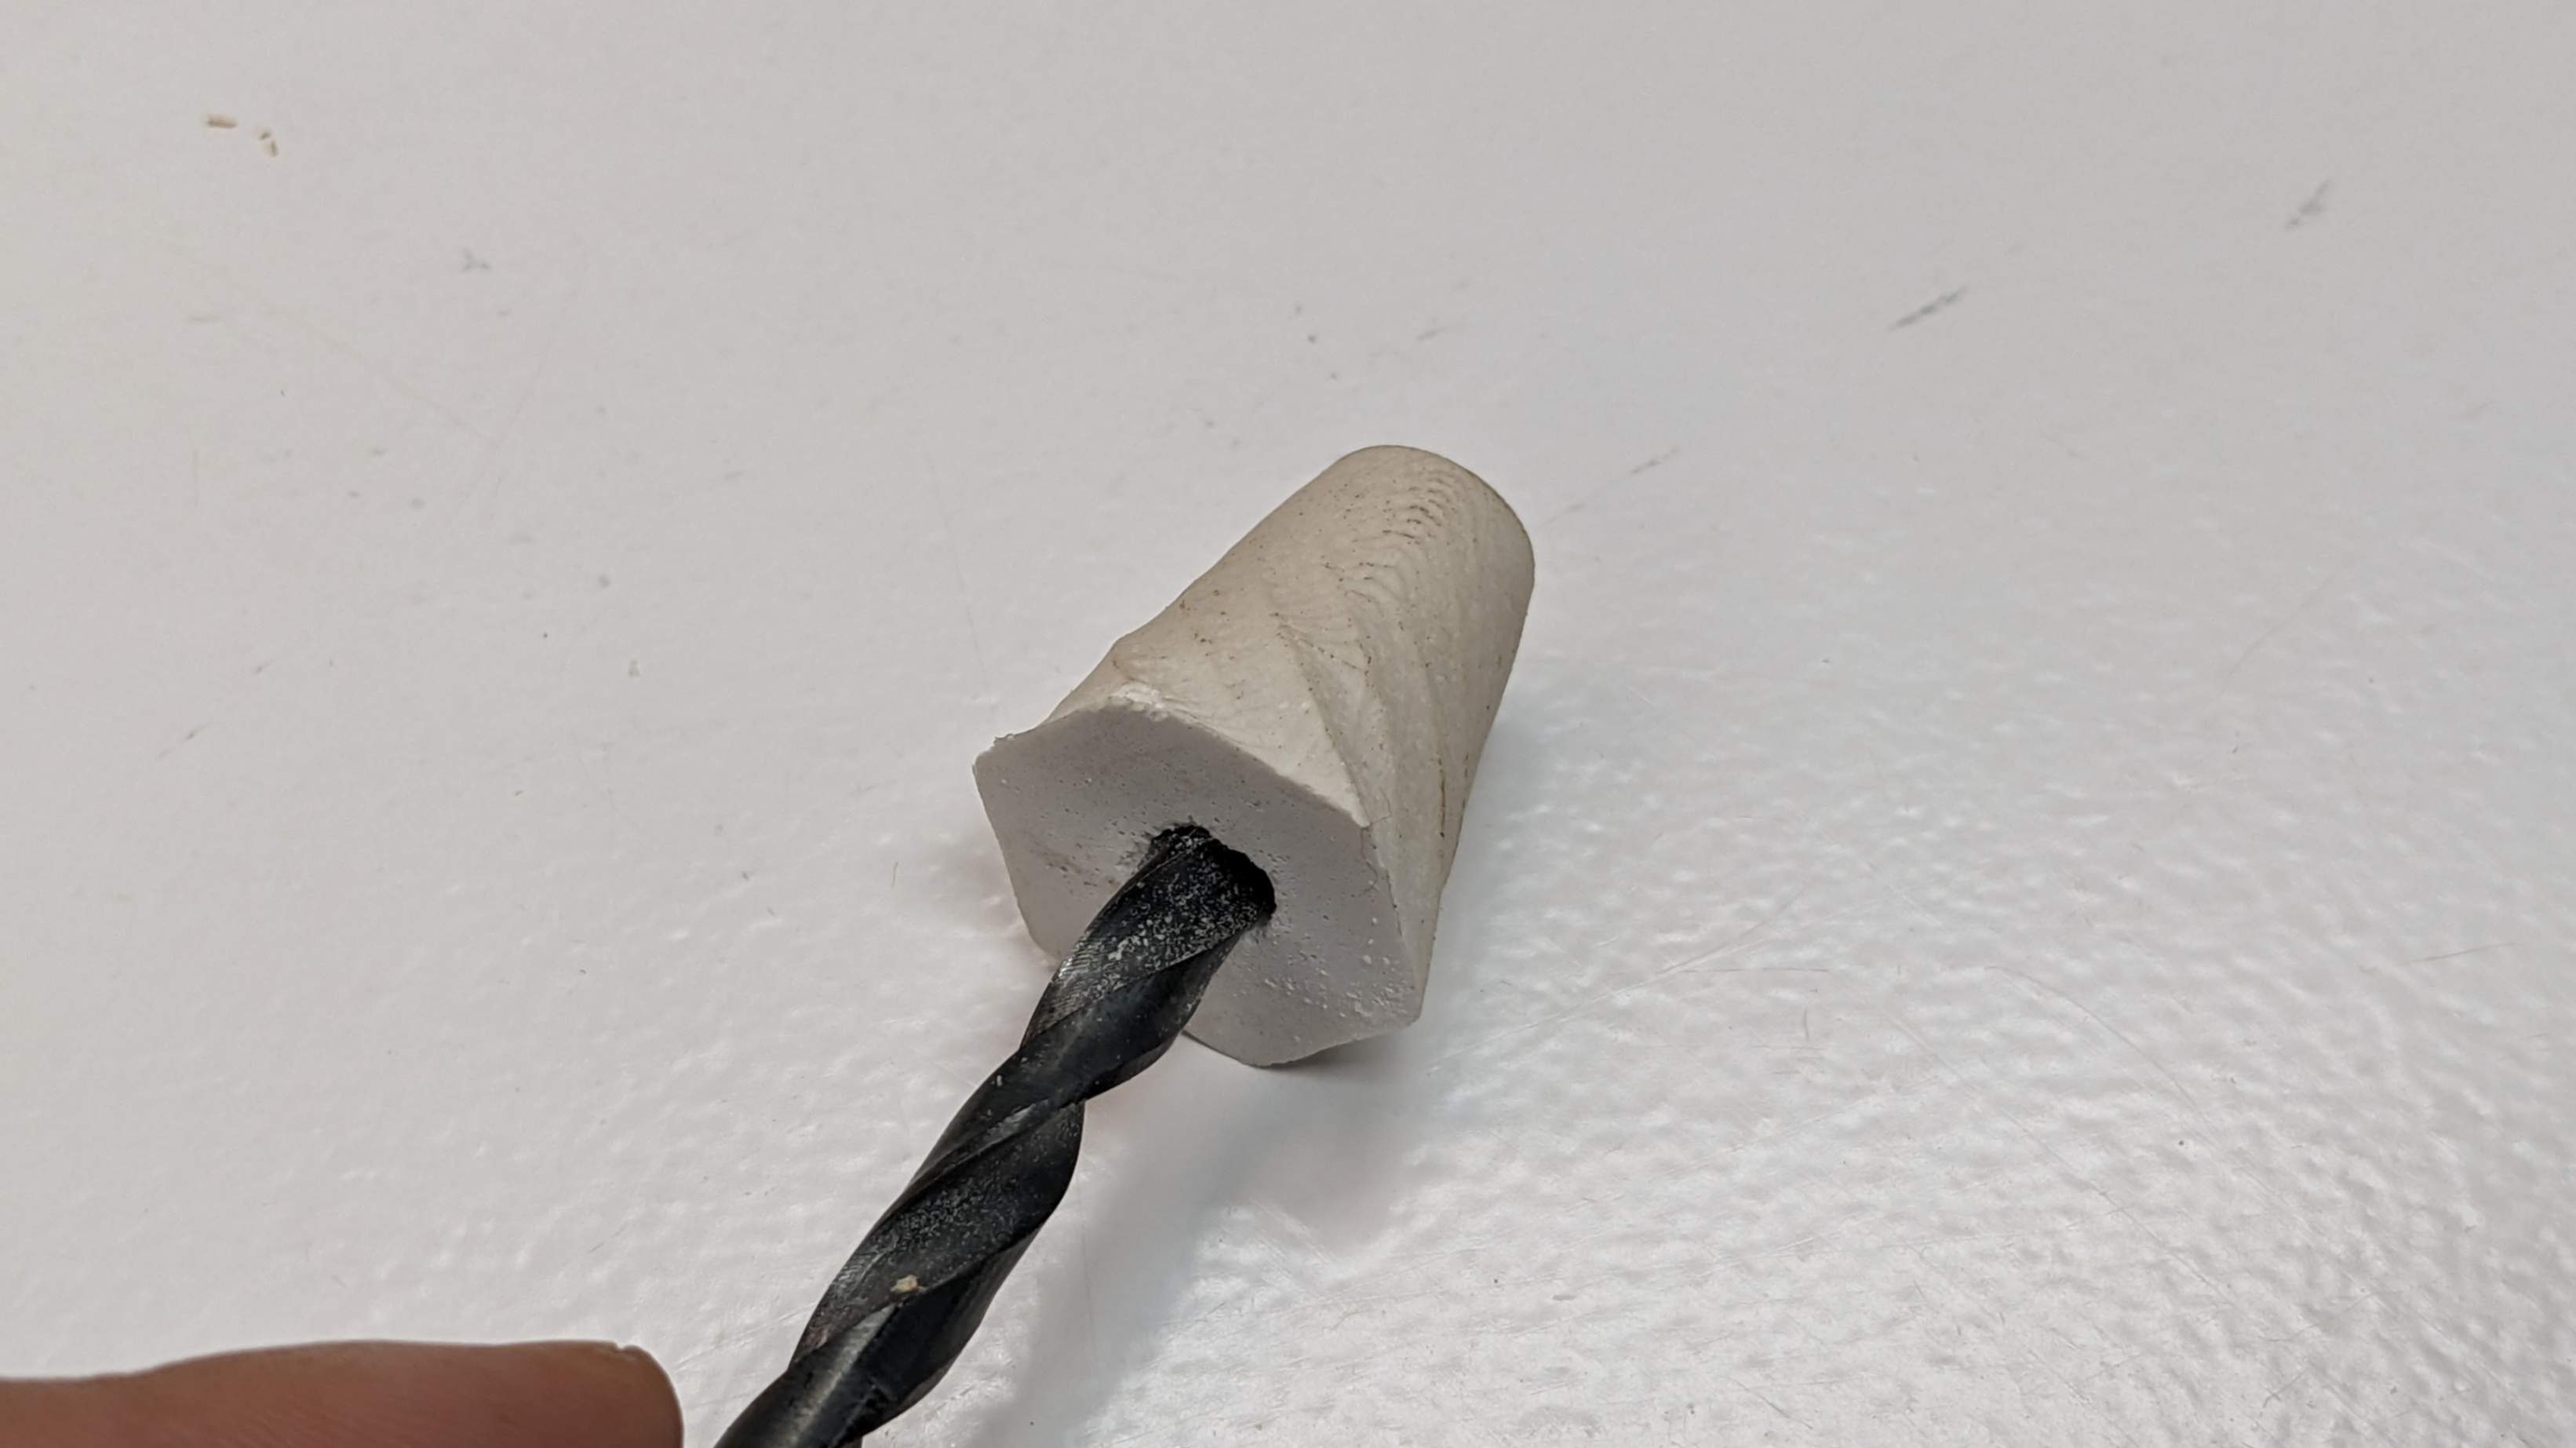
My cast object needed to have a small hole, which allowed the potentiometer to be connected to it. However the hole is smaller than the diameter of the endmill, so I modified it as big as the diameter of the end mill.
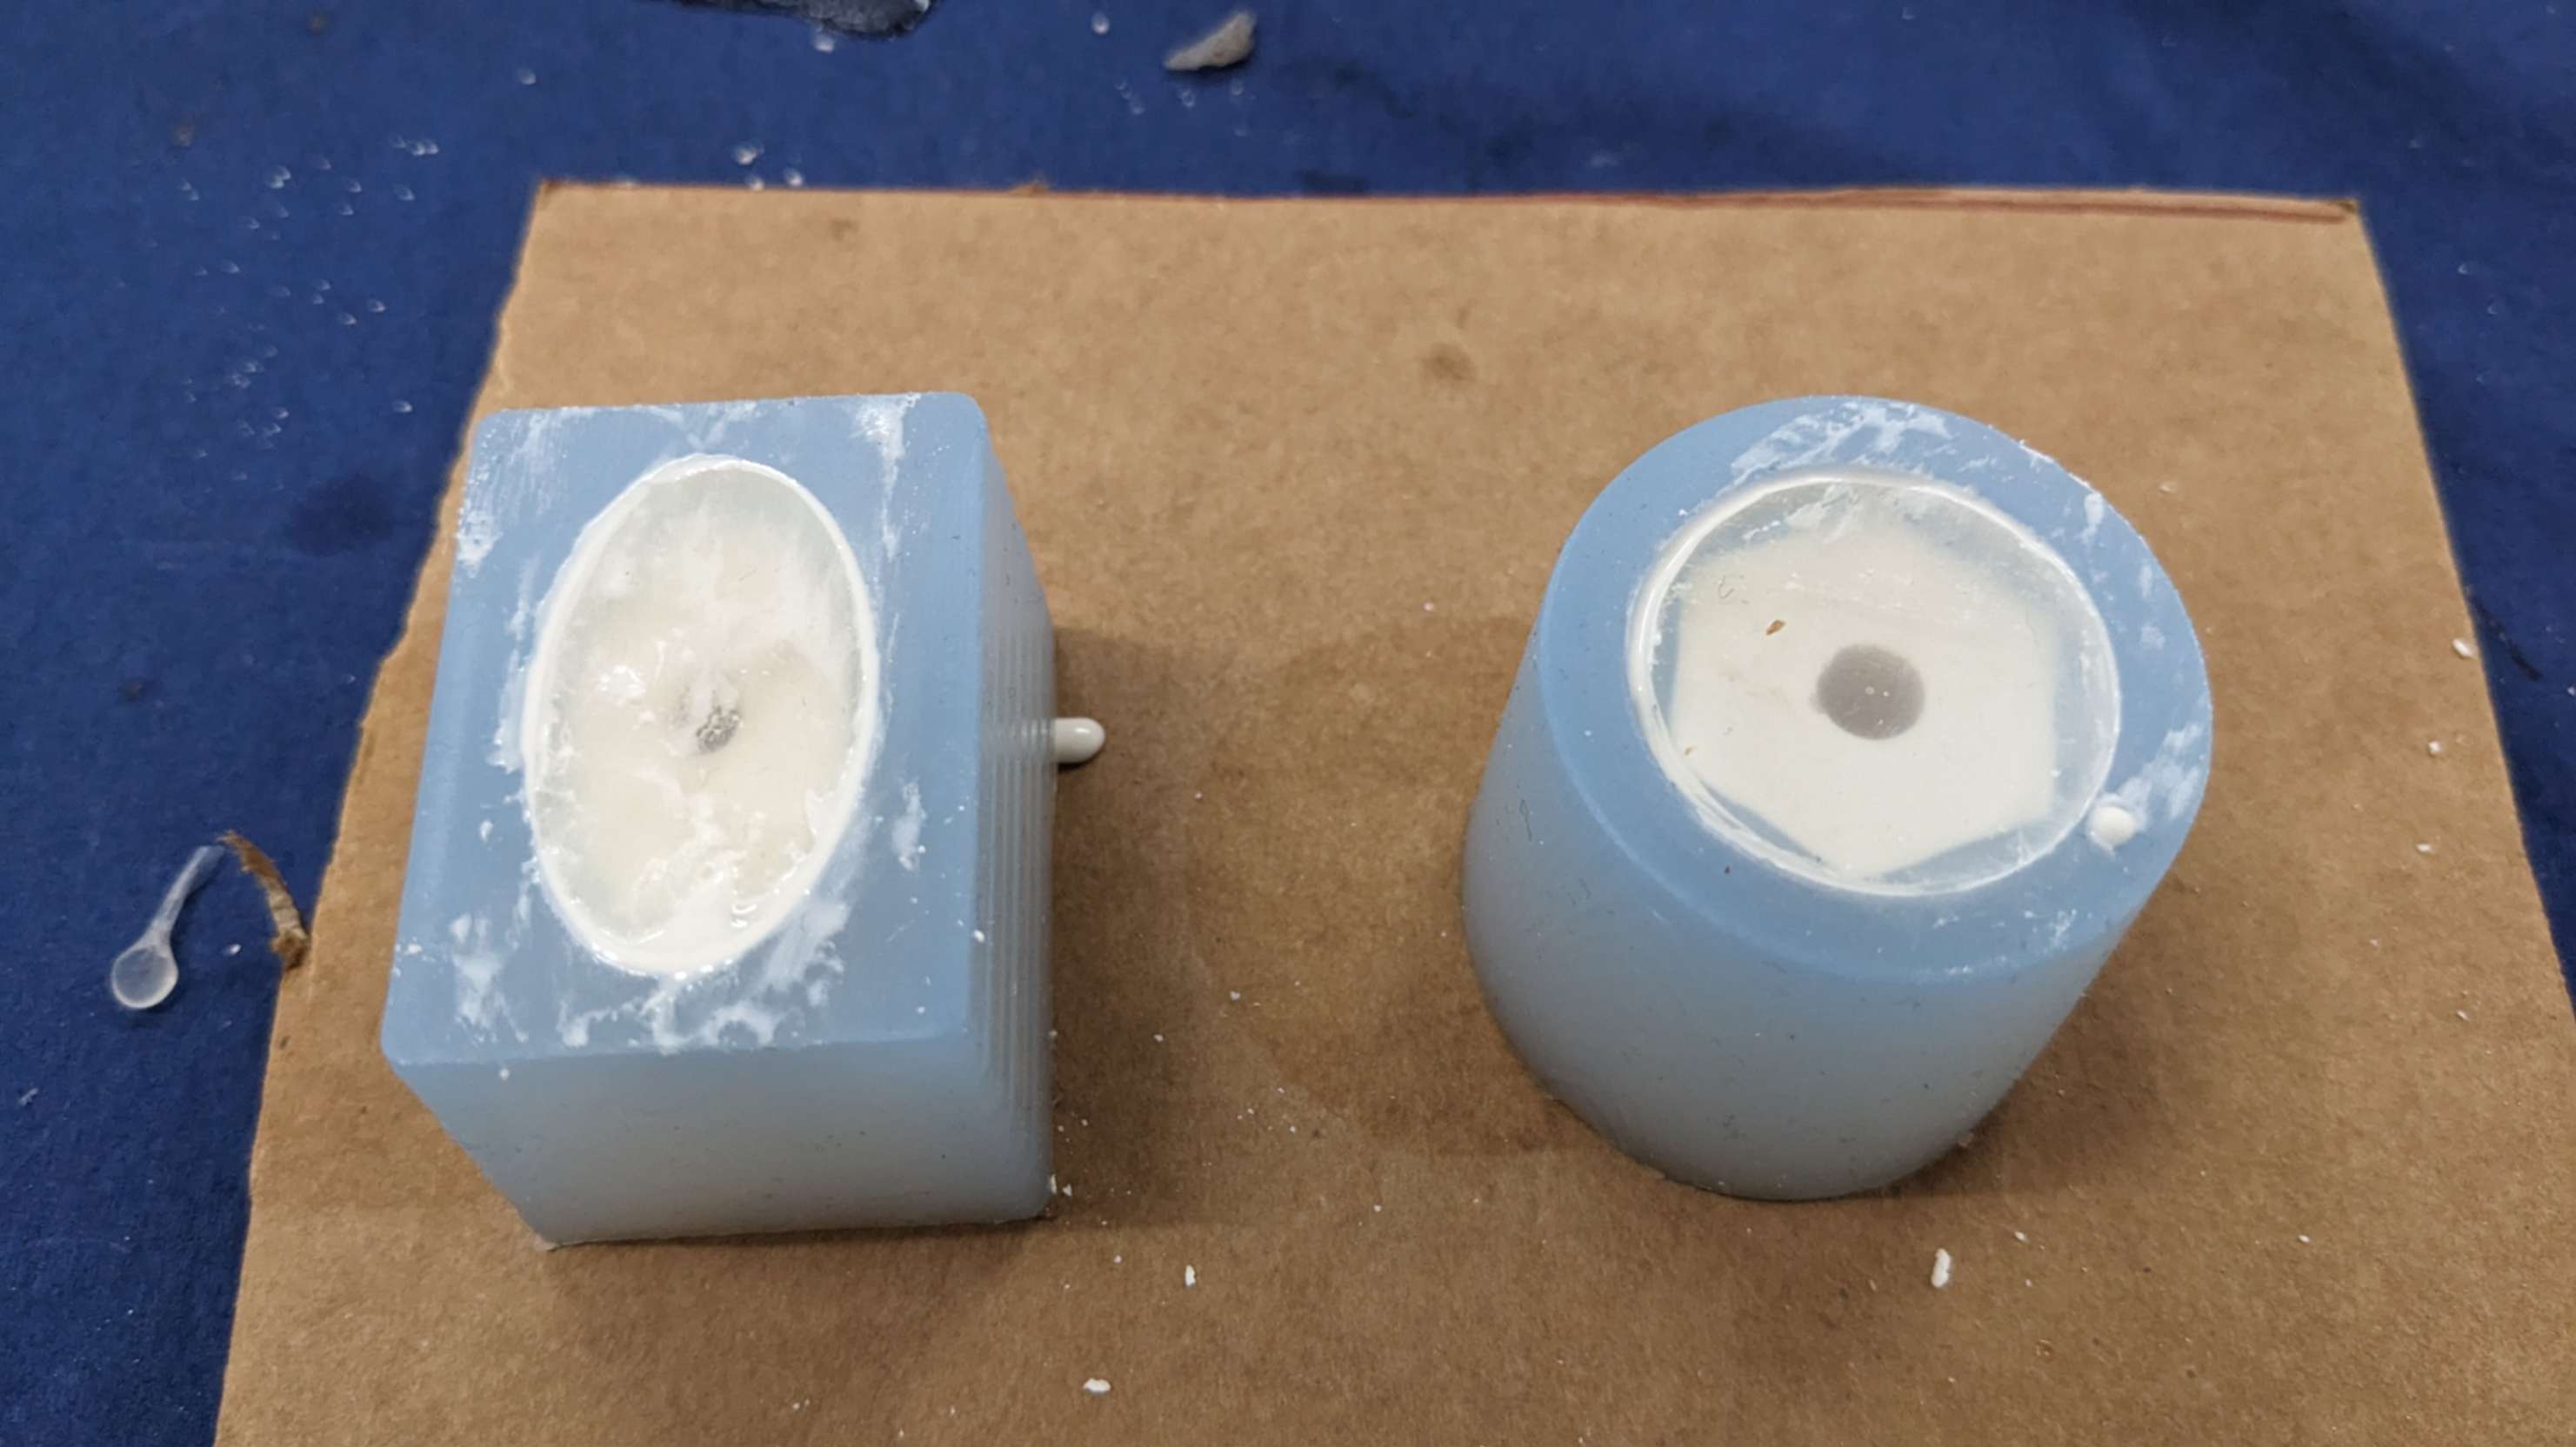
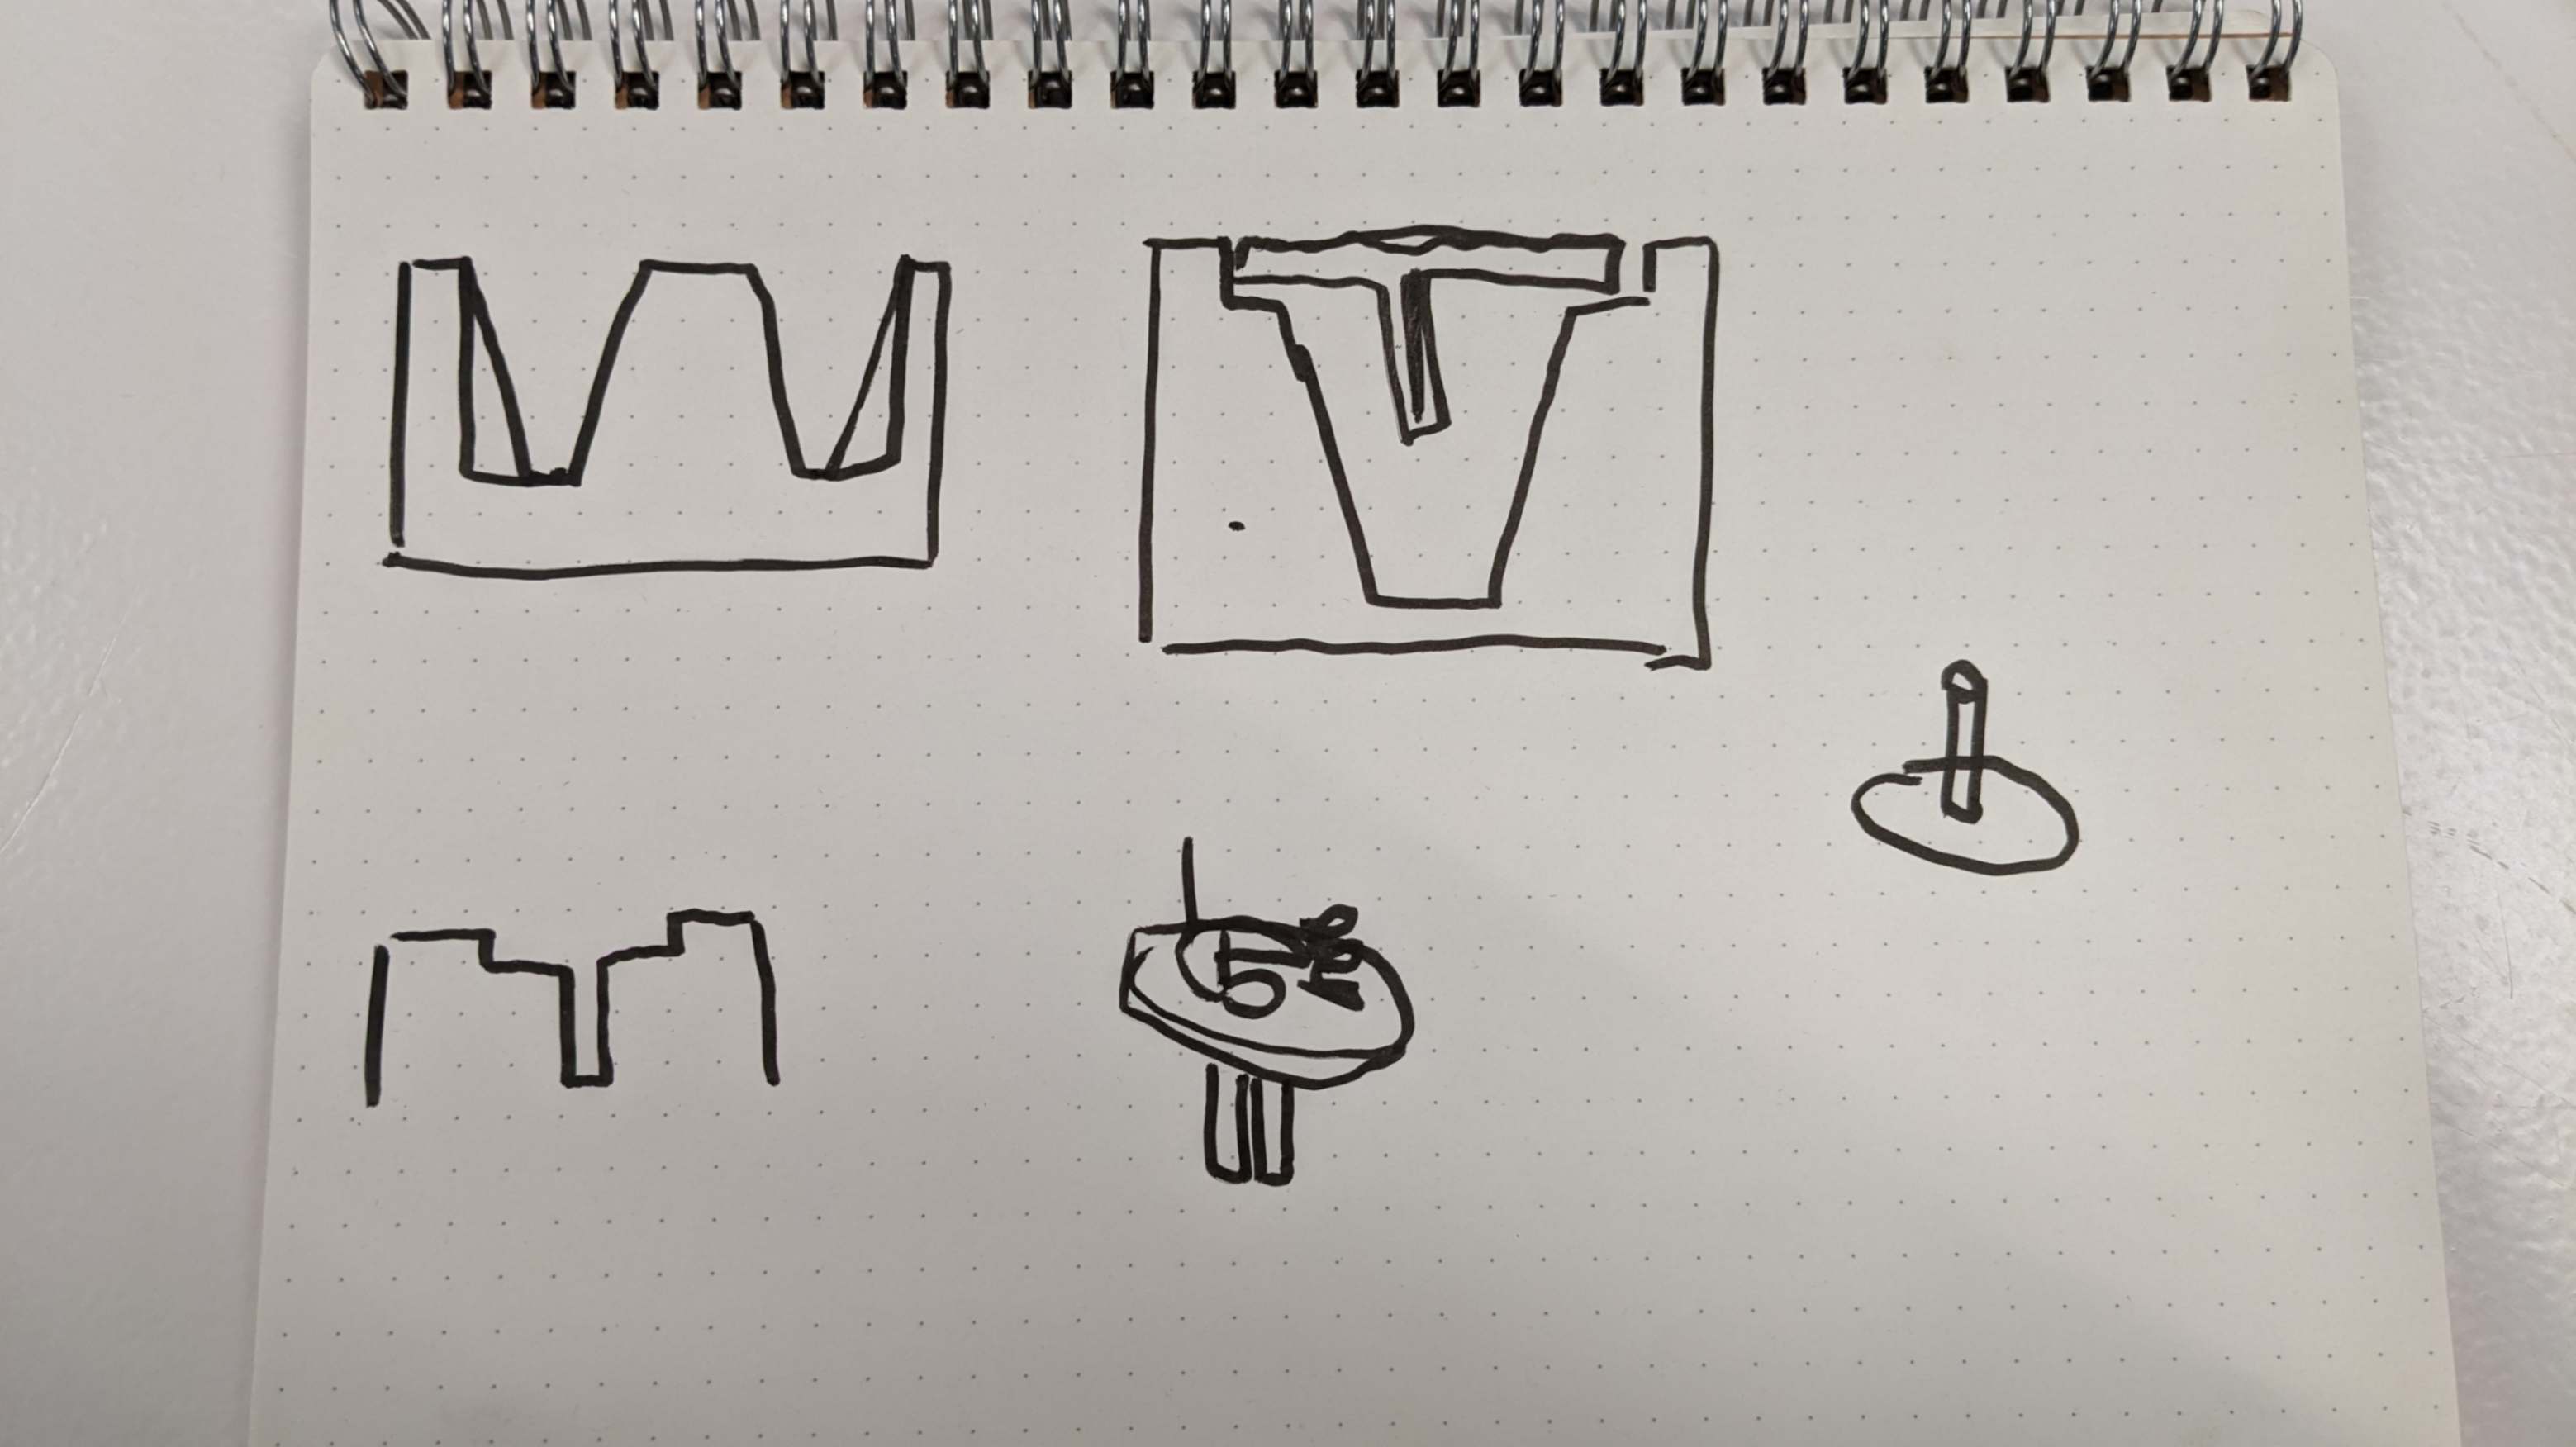
I was advised to create a mold for the outer shape of the nobs and a cap that goes on top of the mold with a part that makes holes.
3D model of a mold of the object (negative)
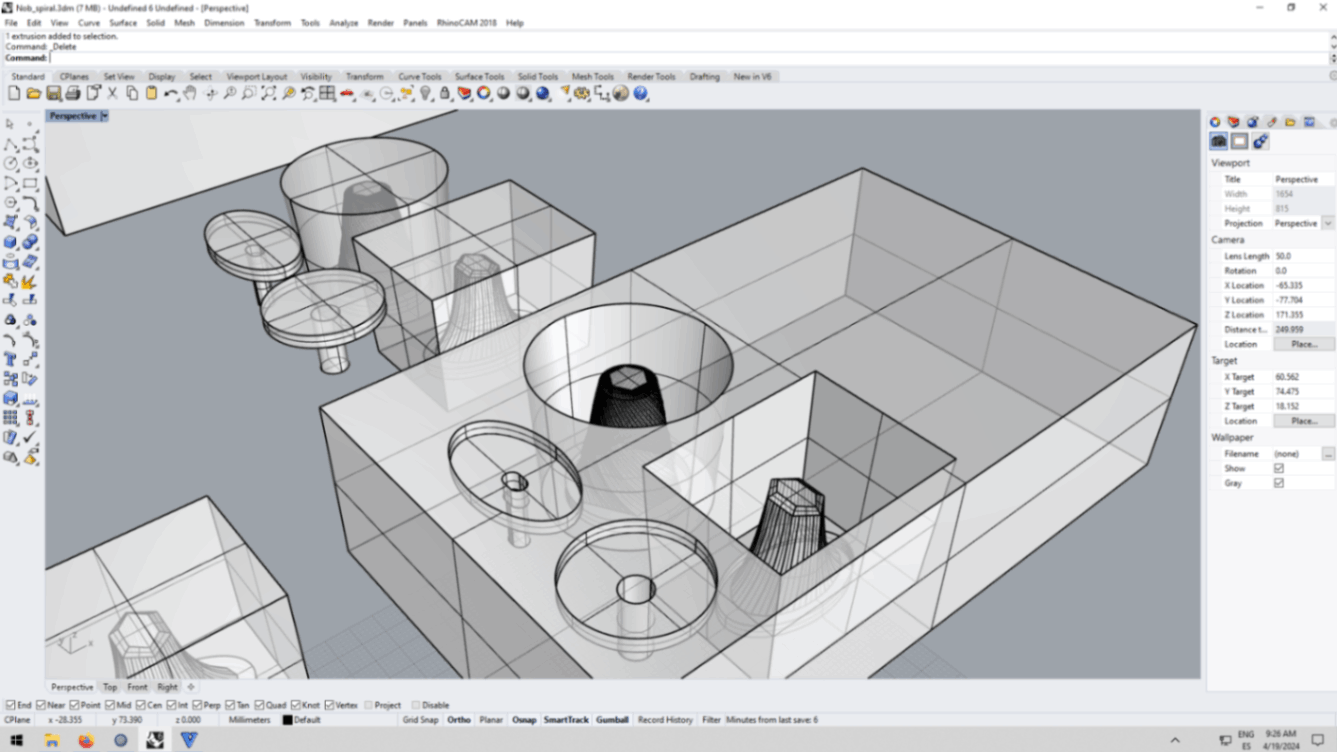
Then I continue in Rhino to create a 3d model of a mold around the object. I needed to be careful of having more than 5mm offset from the object. Also, I was advised to make the surface of the box slightly angled (more than a 1.5mm difference) to make it easier to demold.
My tutor shows me some useful commands for this task.
- Bounding Box: to create a box around an object
- Ctrl+Shift+Left Click: to select only a part of an object.
Files
Nob_spiral.3dm
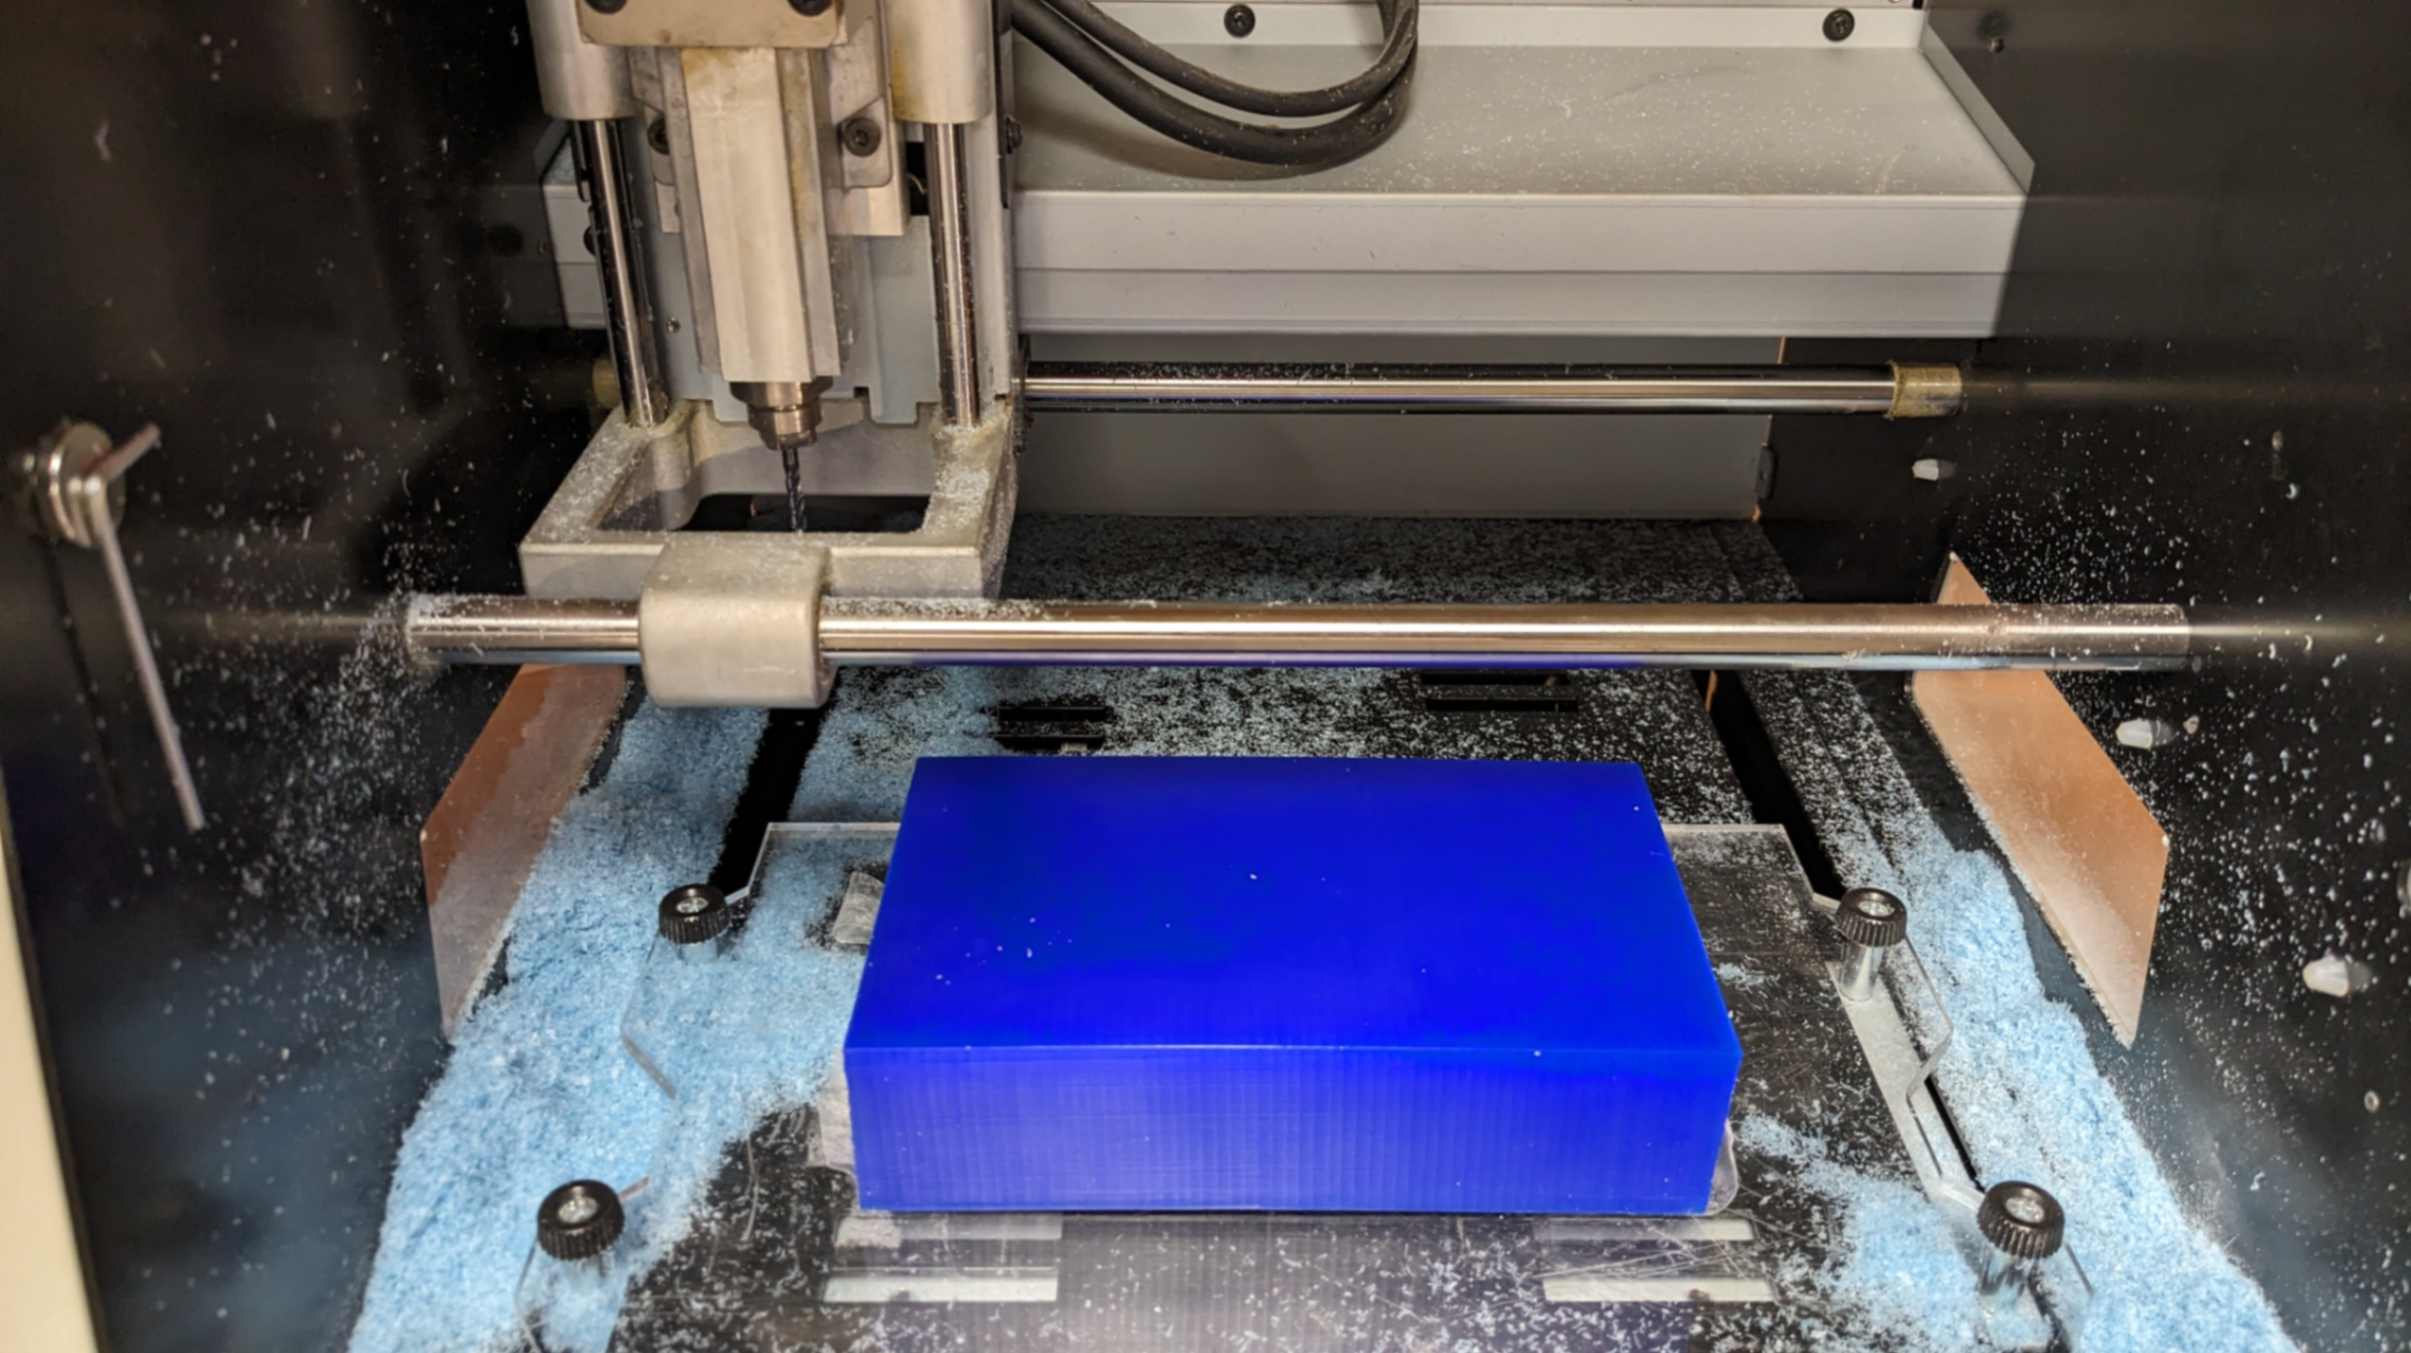
ModelaPlayer4
After the modelling, I exported the mold of mold as an STL file and opened it with a software called ModelaPlayer4 to prepare a file for milling. I will explain the workflow step by step below.
- Import a STL file
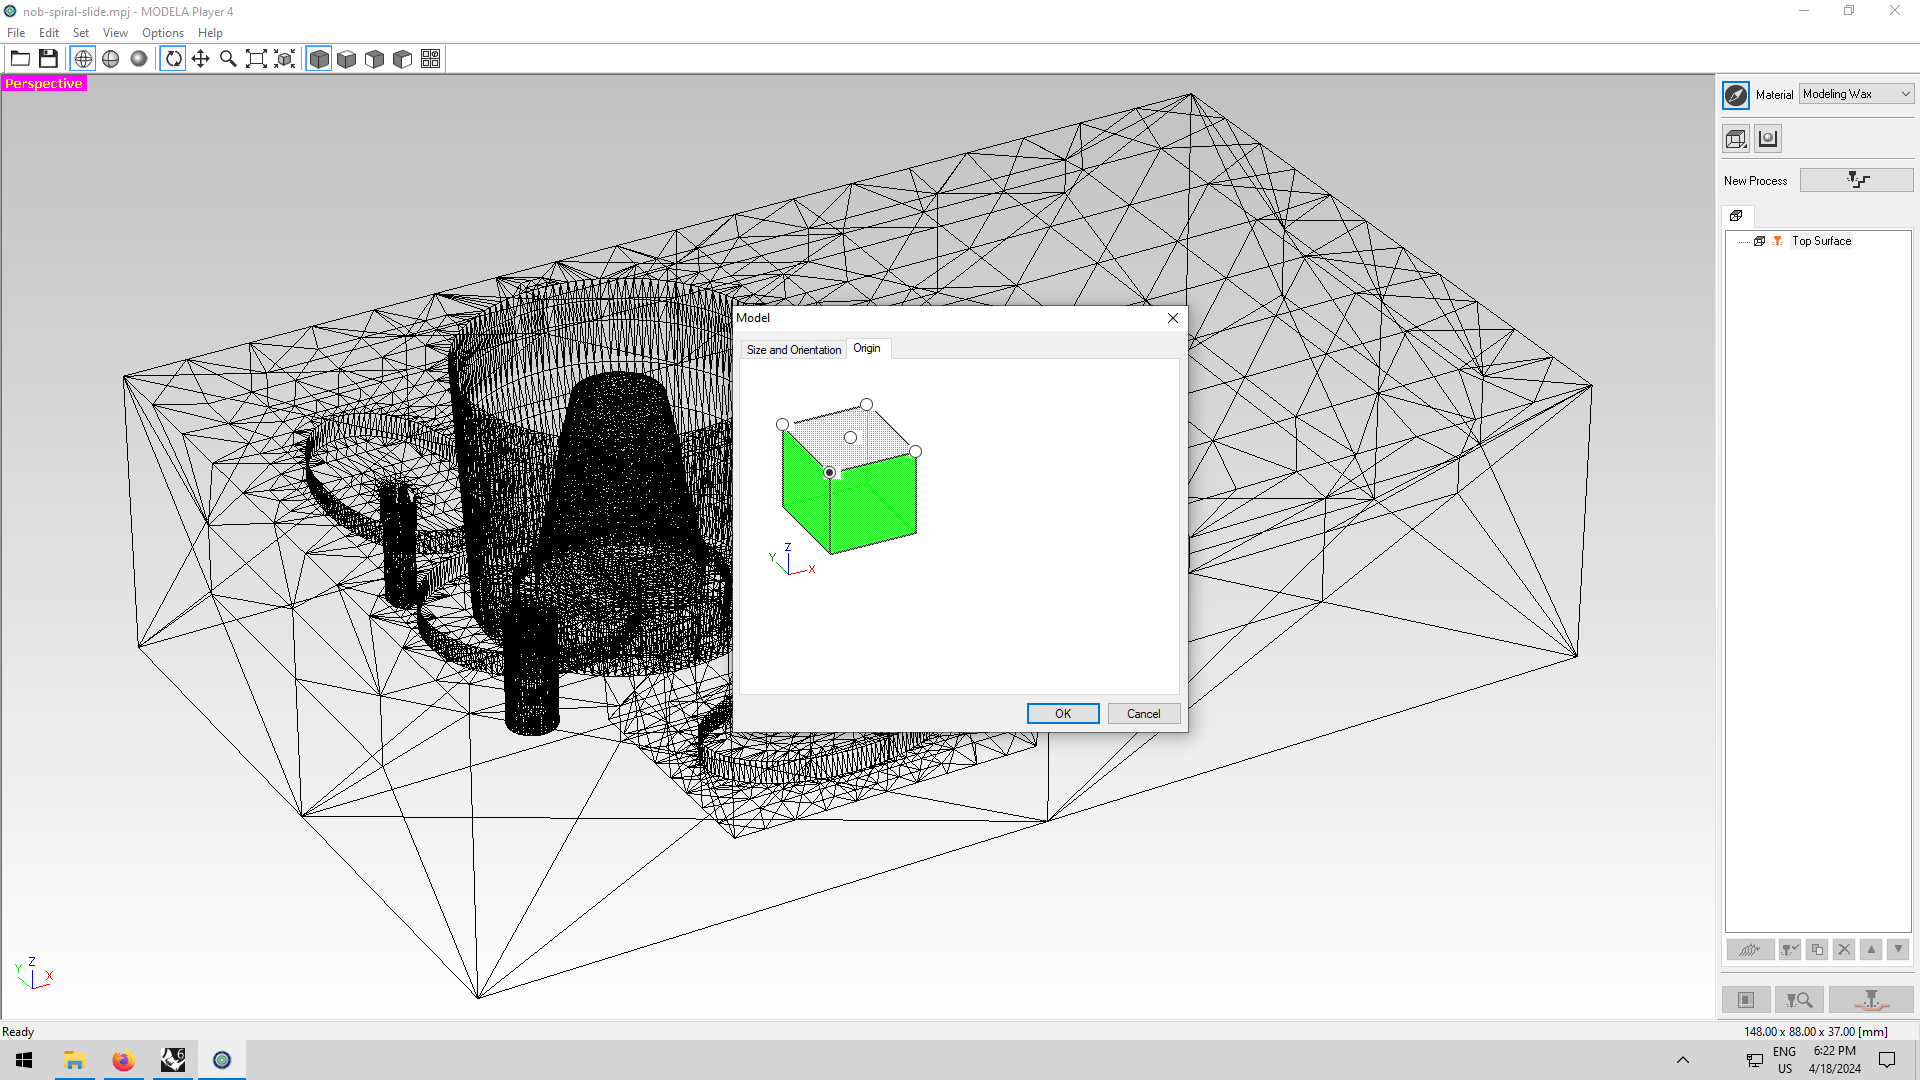
- Use the Compass button to set Origin to button left upper corner
- Material to Modeling Wax
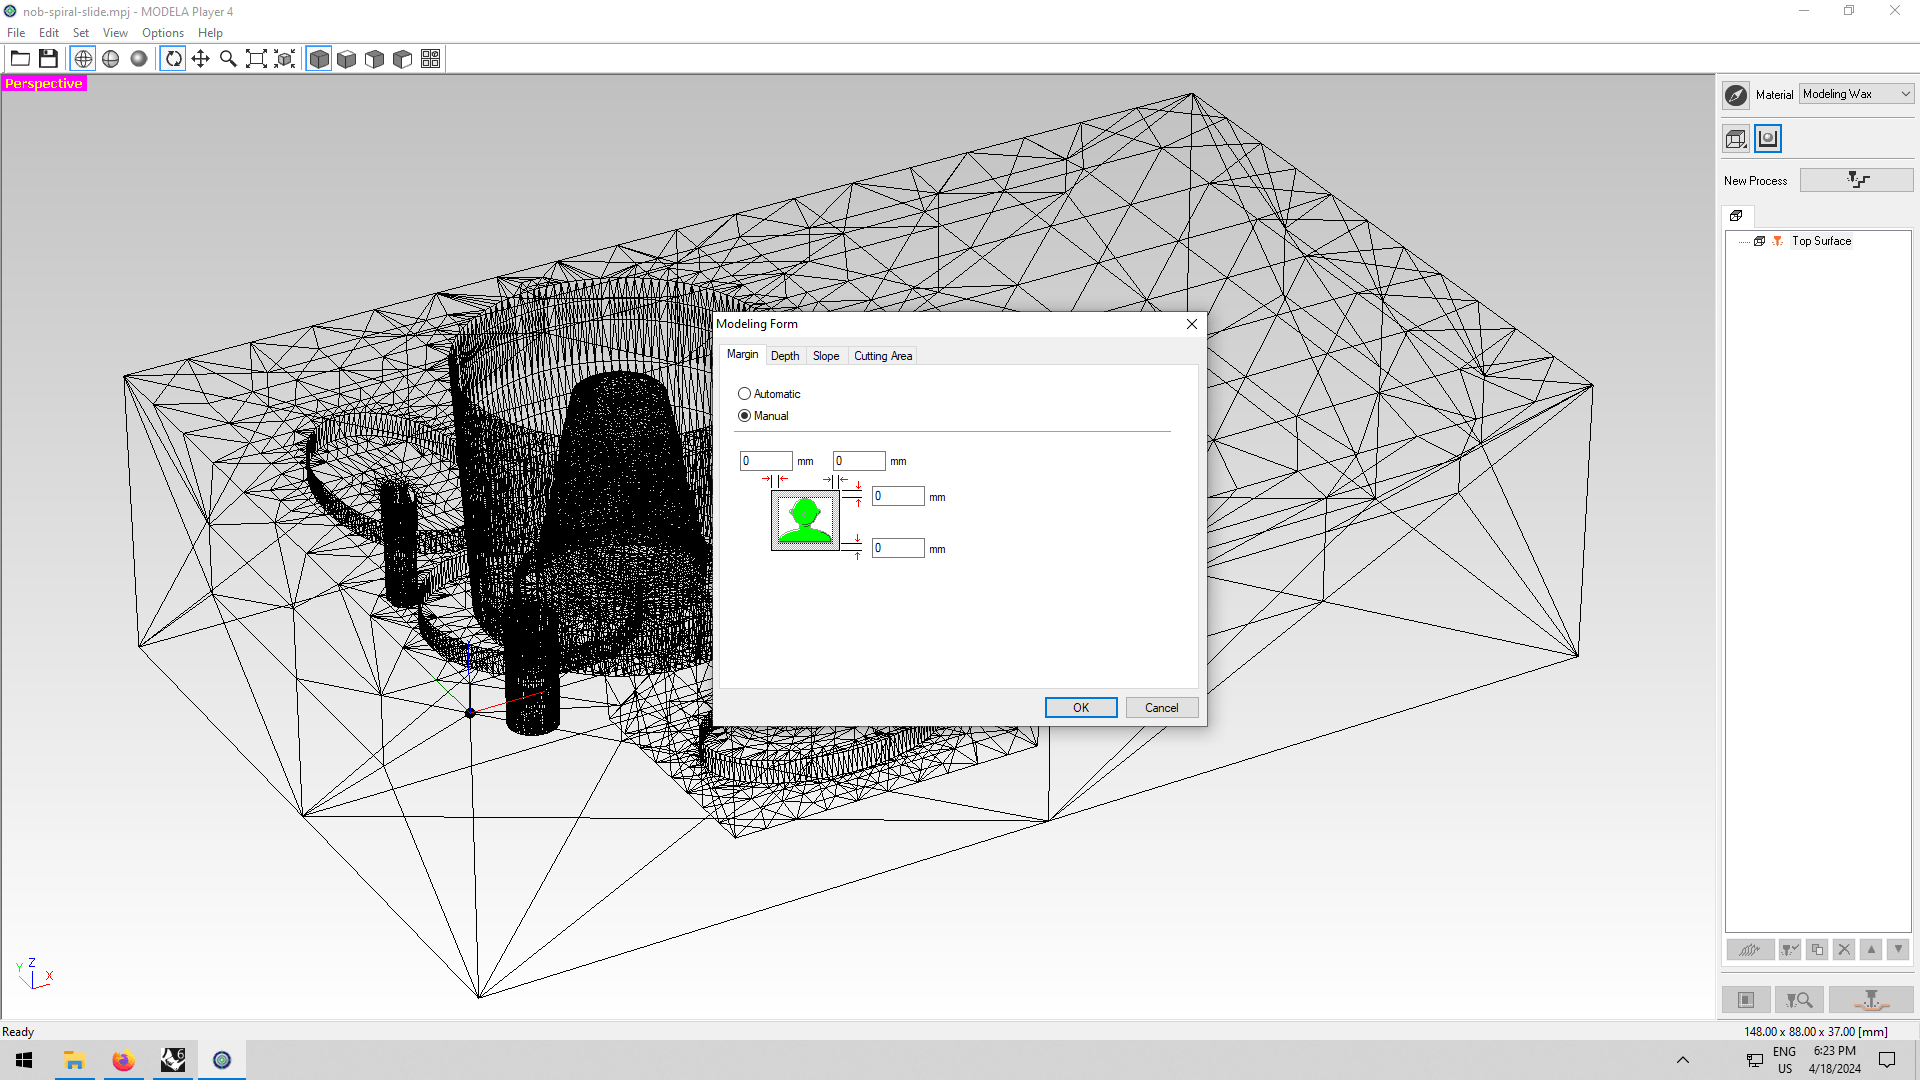
- Modeling Form, Set all margins to 0
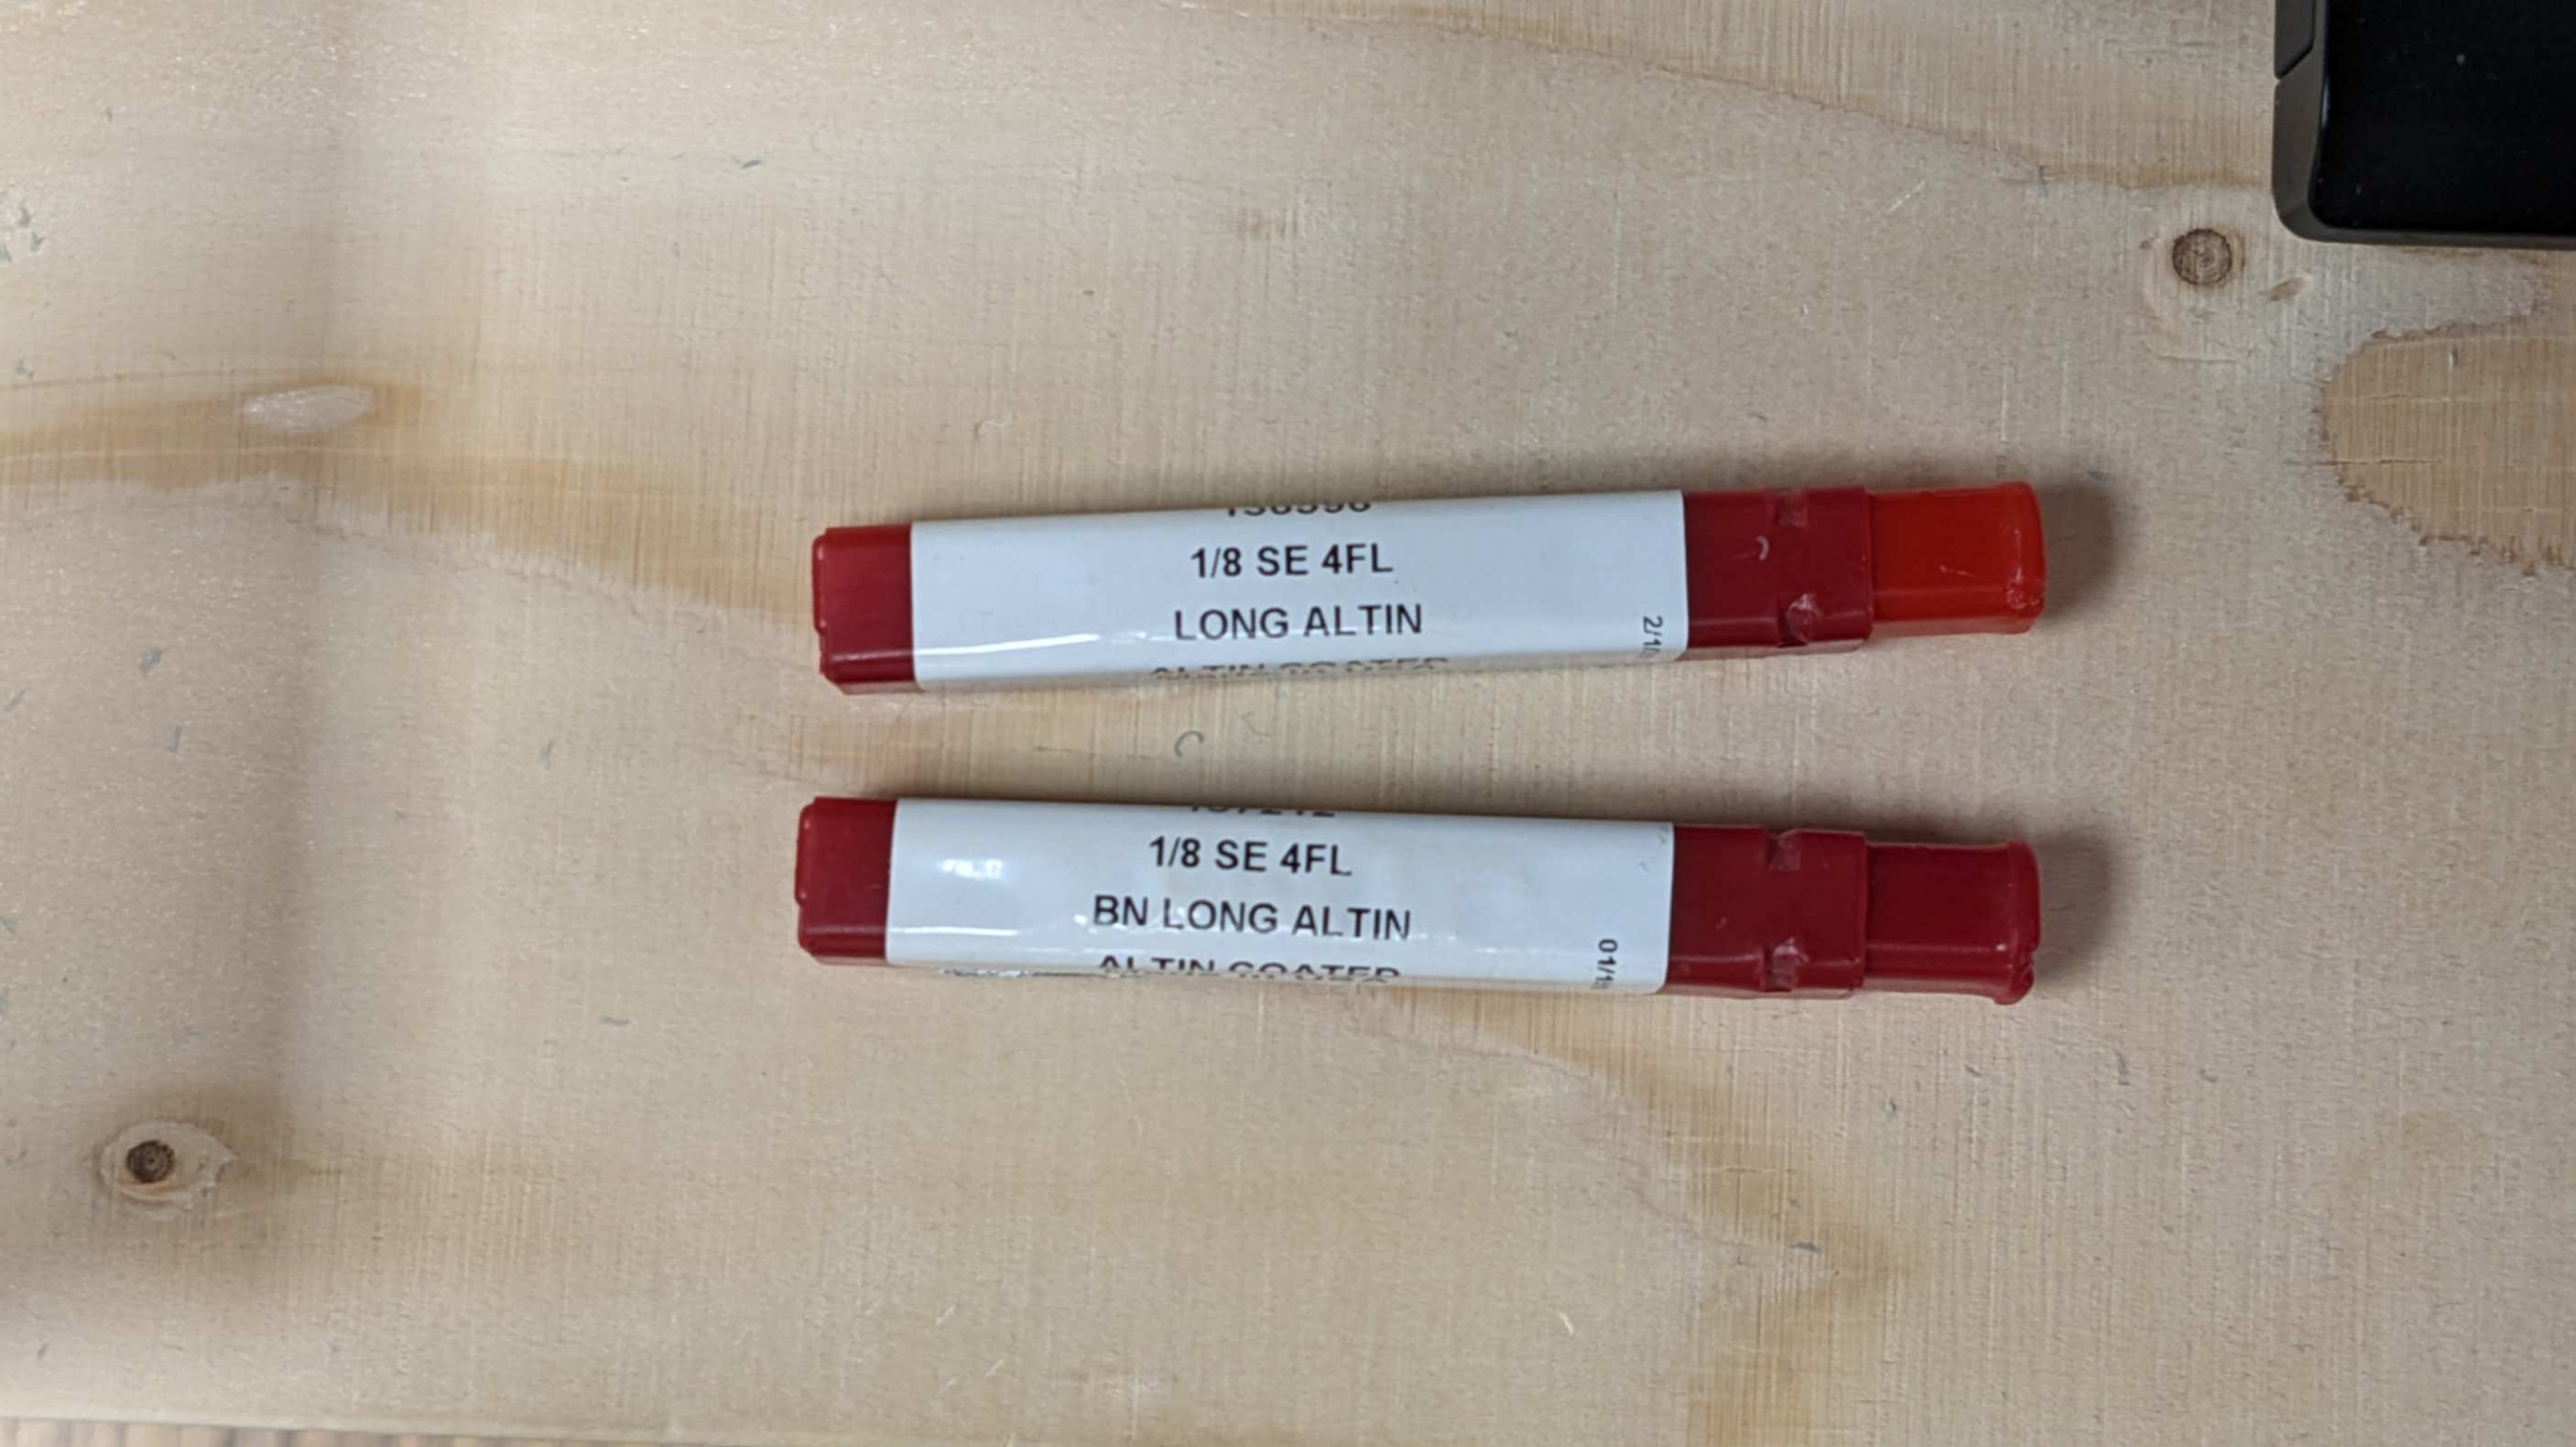
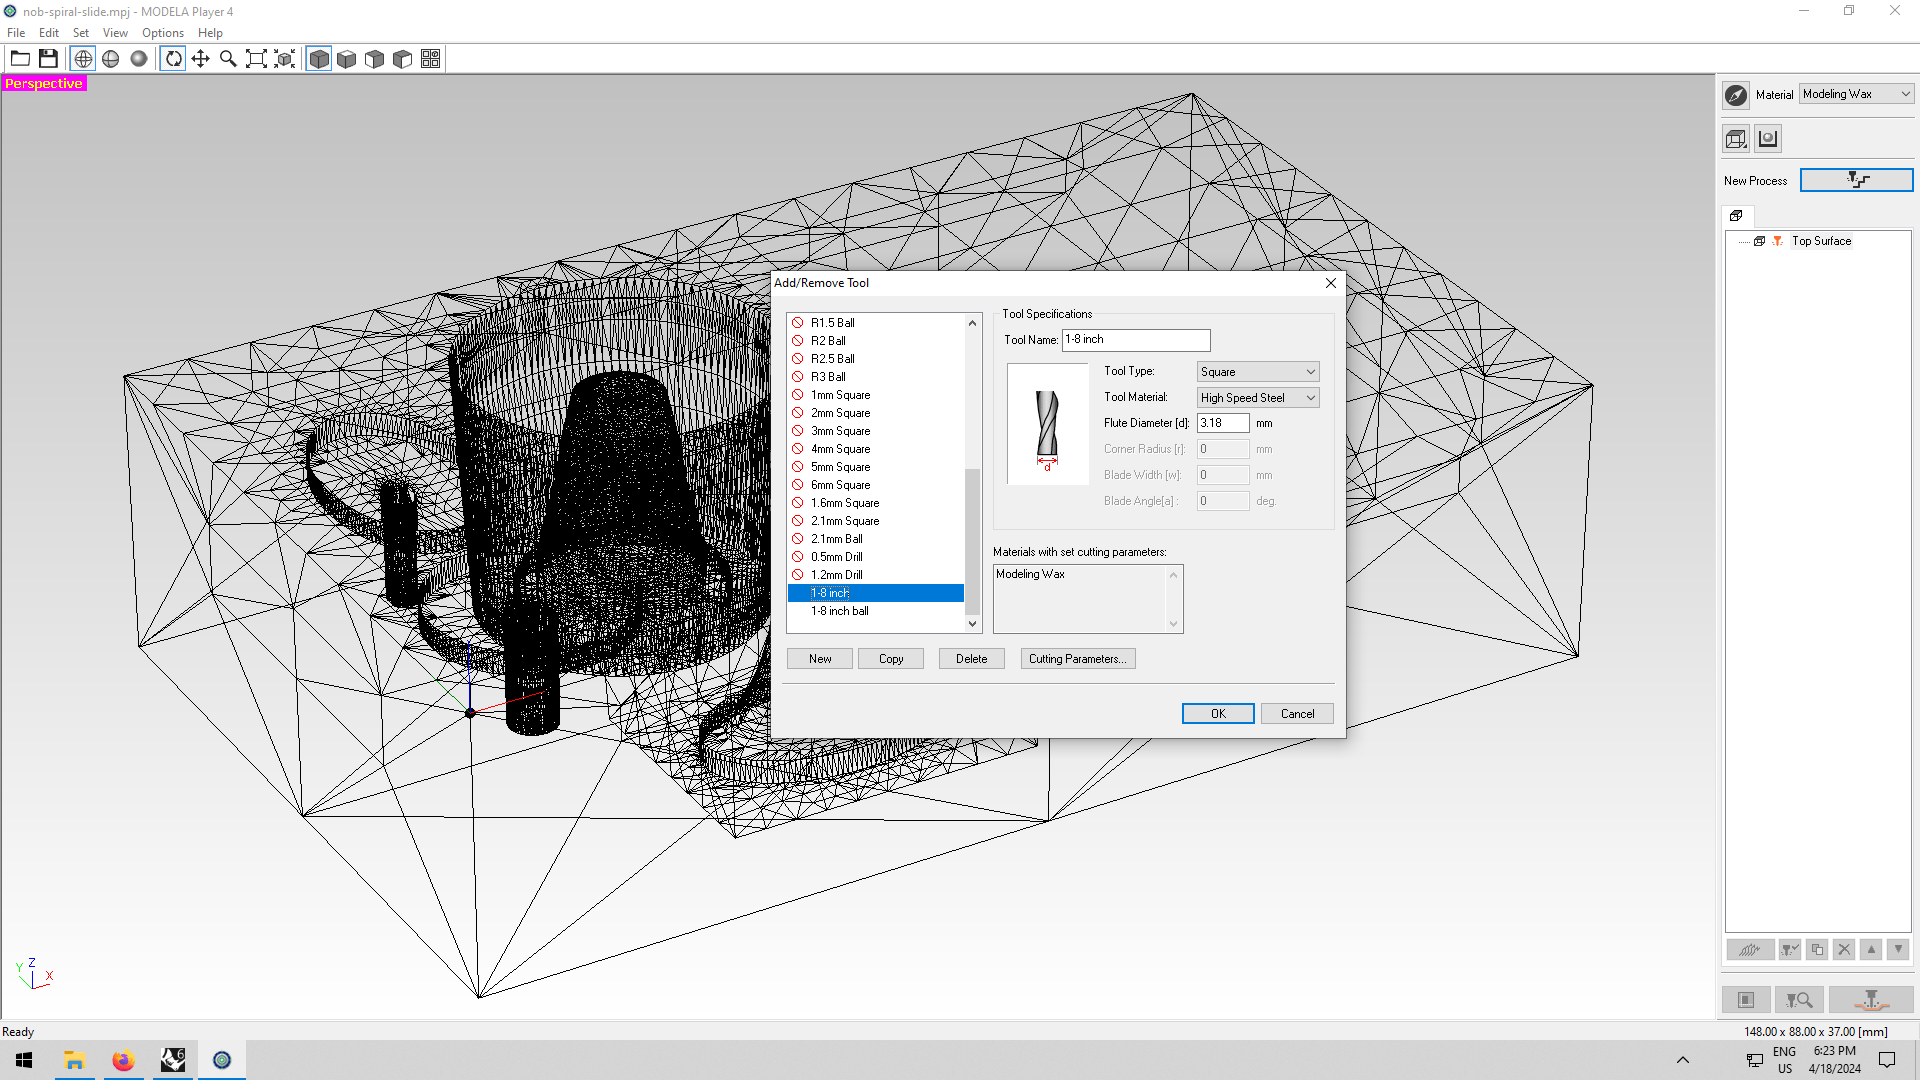
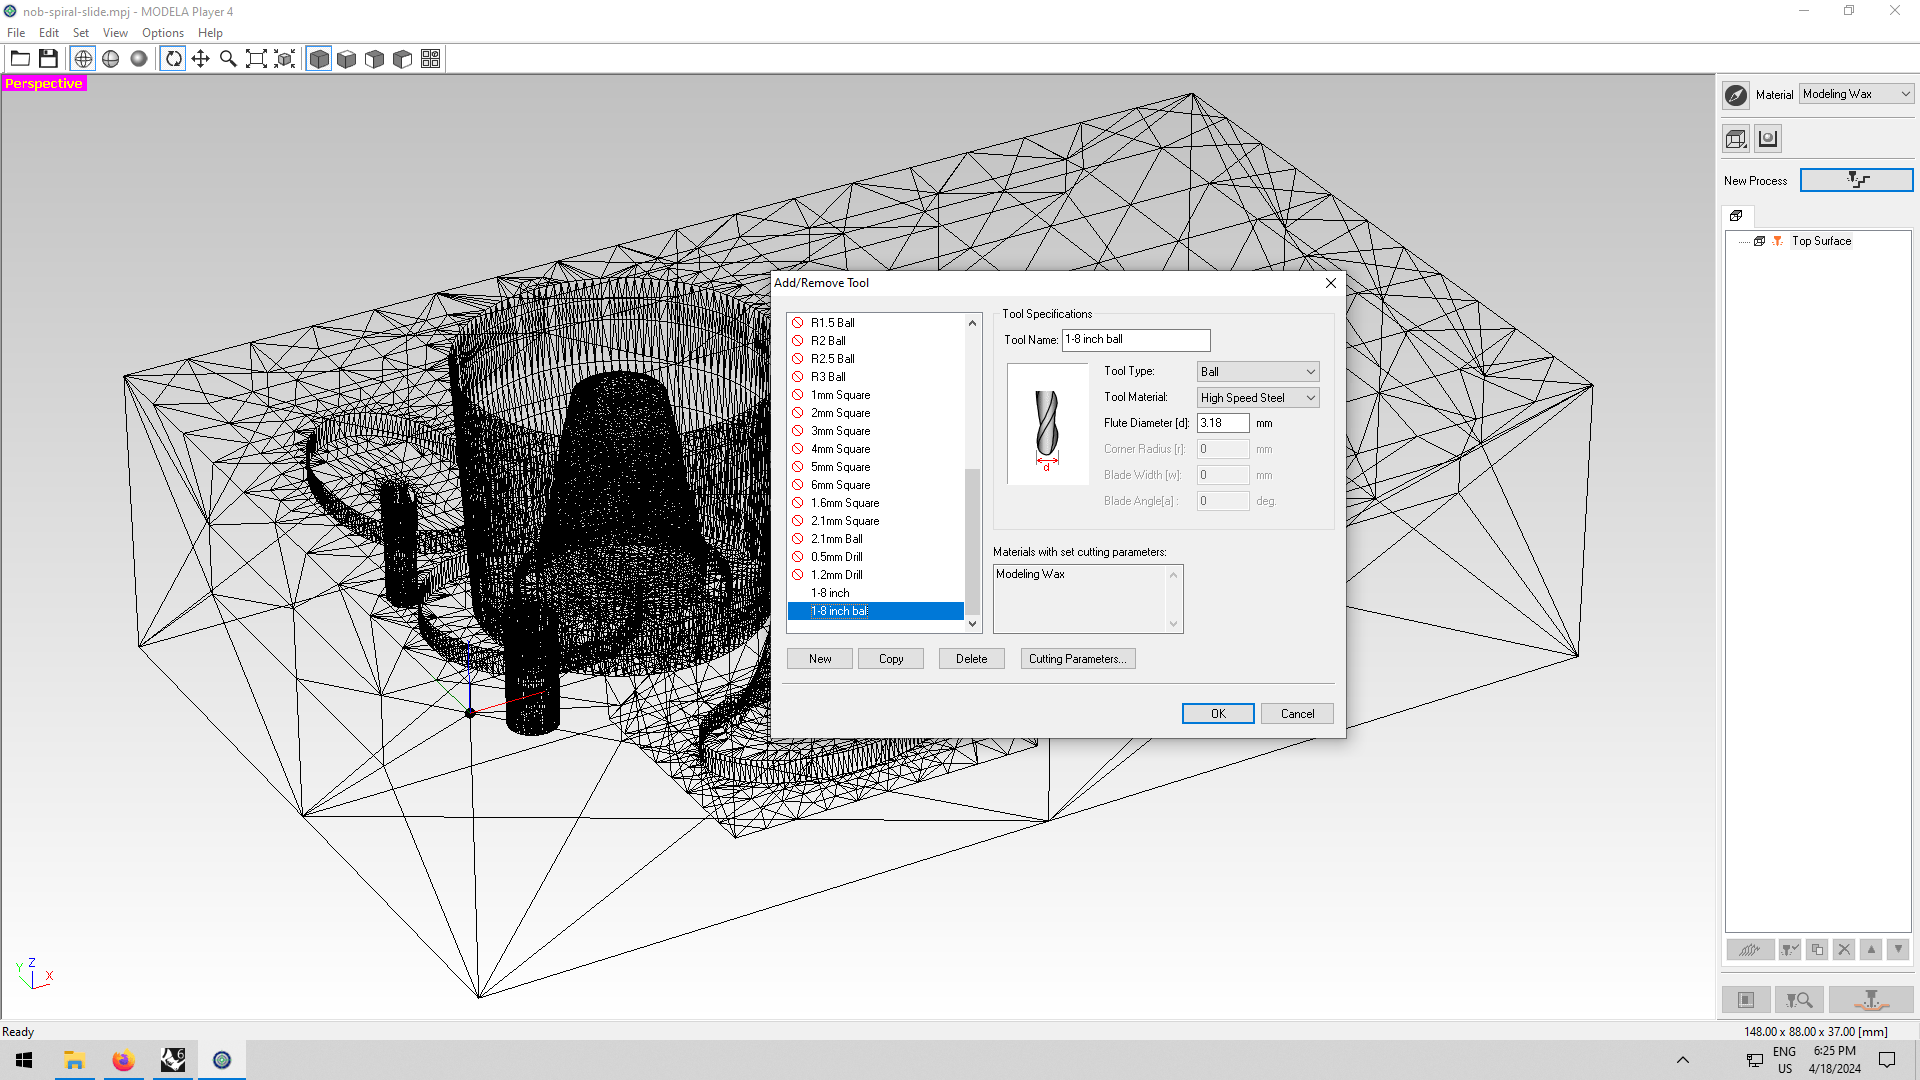
- Option, Add/Remove Tool, Create a new tool (Name: 1-8inch, Type: Square, Material: High-Speed Steel, Diameter: 3.18mm)
- * If it doesn't allow 3.18mm, go to Preference, and check if it is set for SRM-20
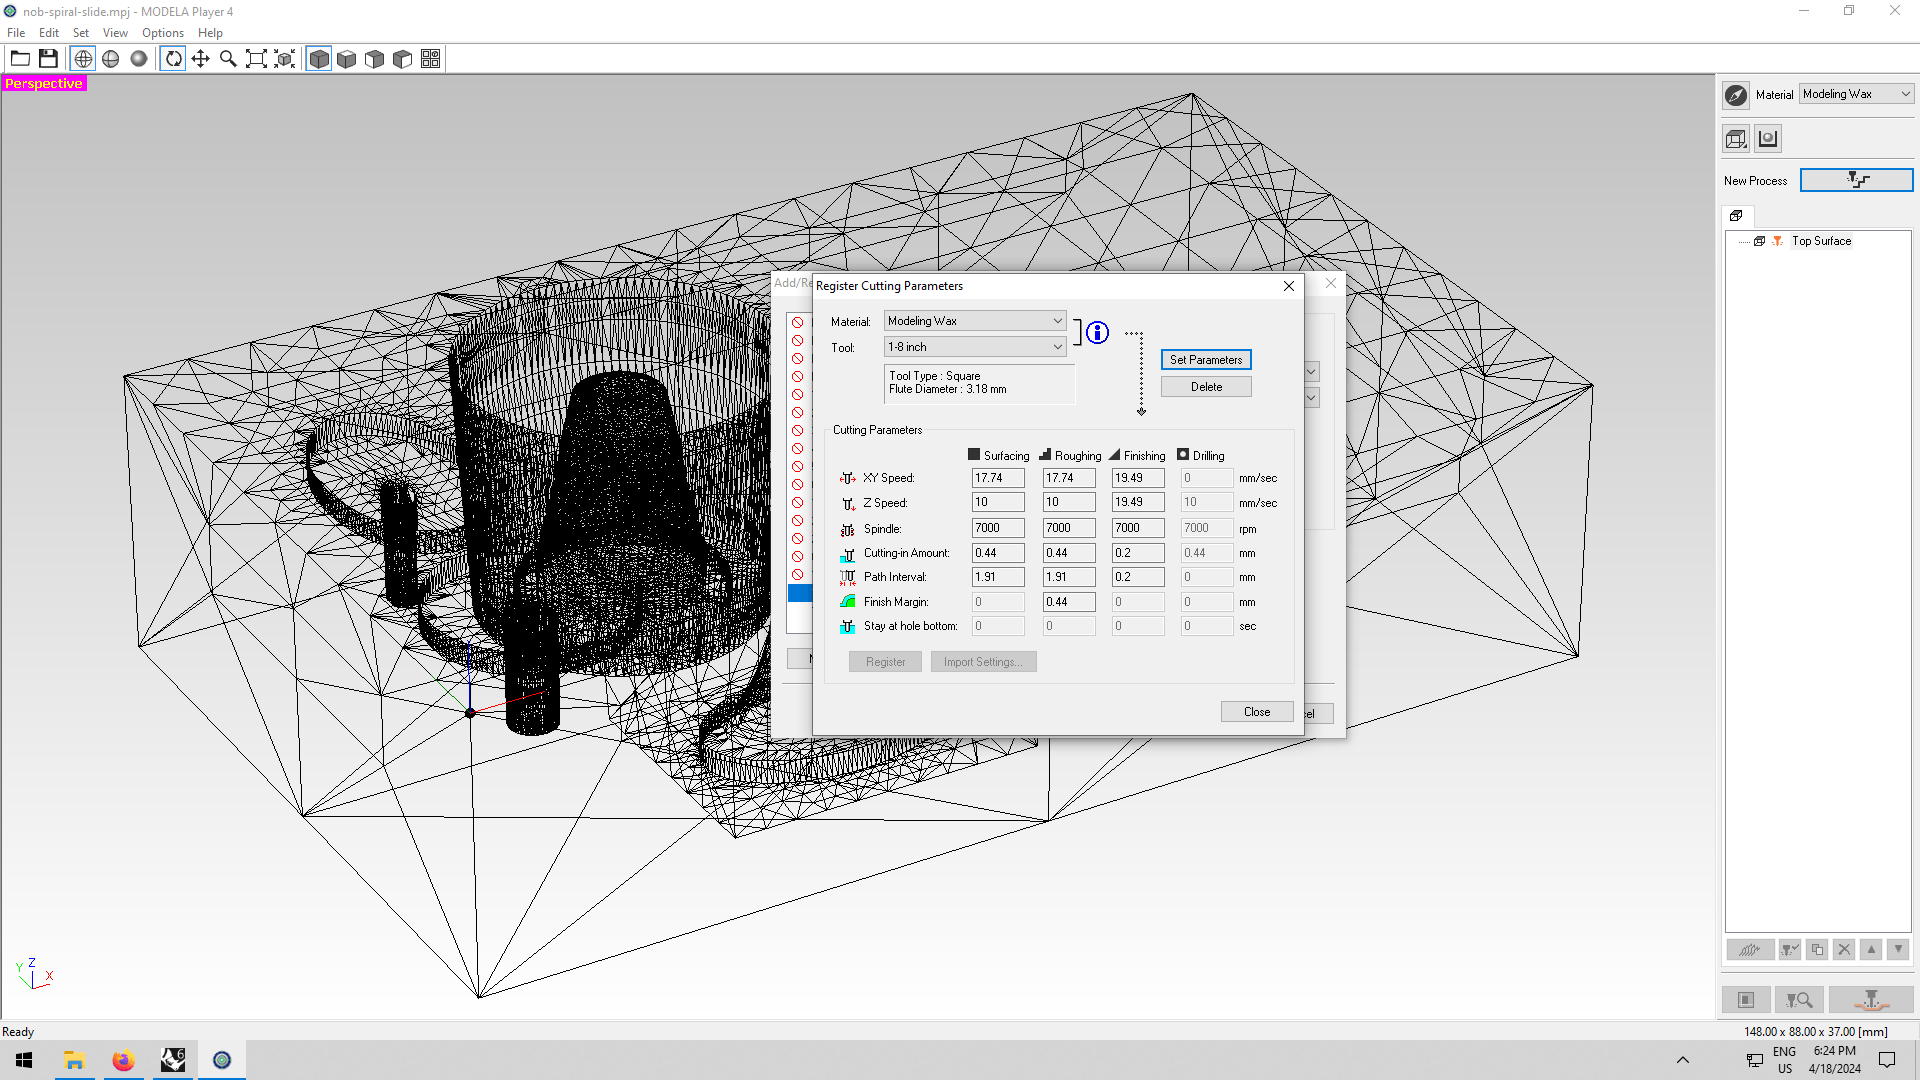
- Cutting Parameter, Set Parameters, Register, Close
- Do the same process for ball end mill
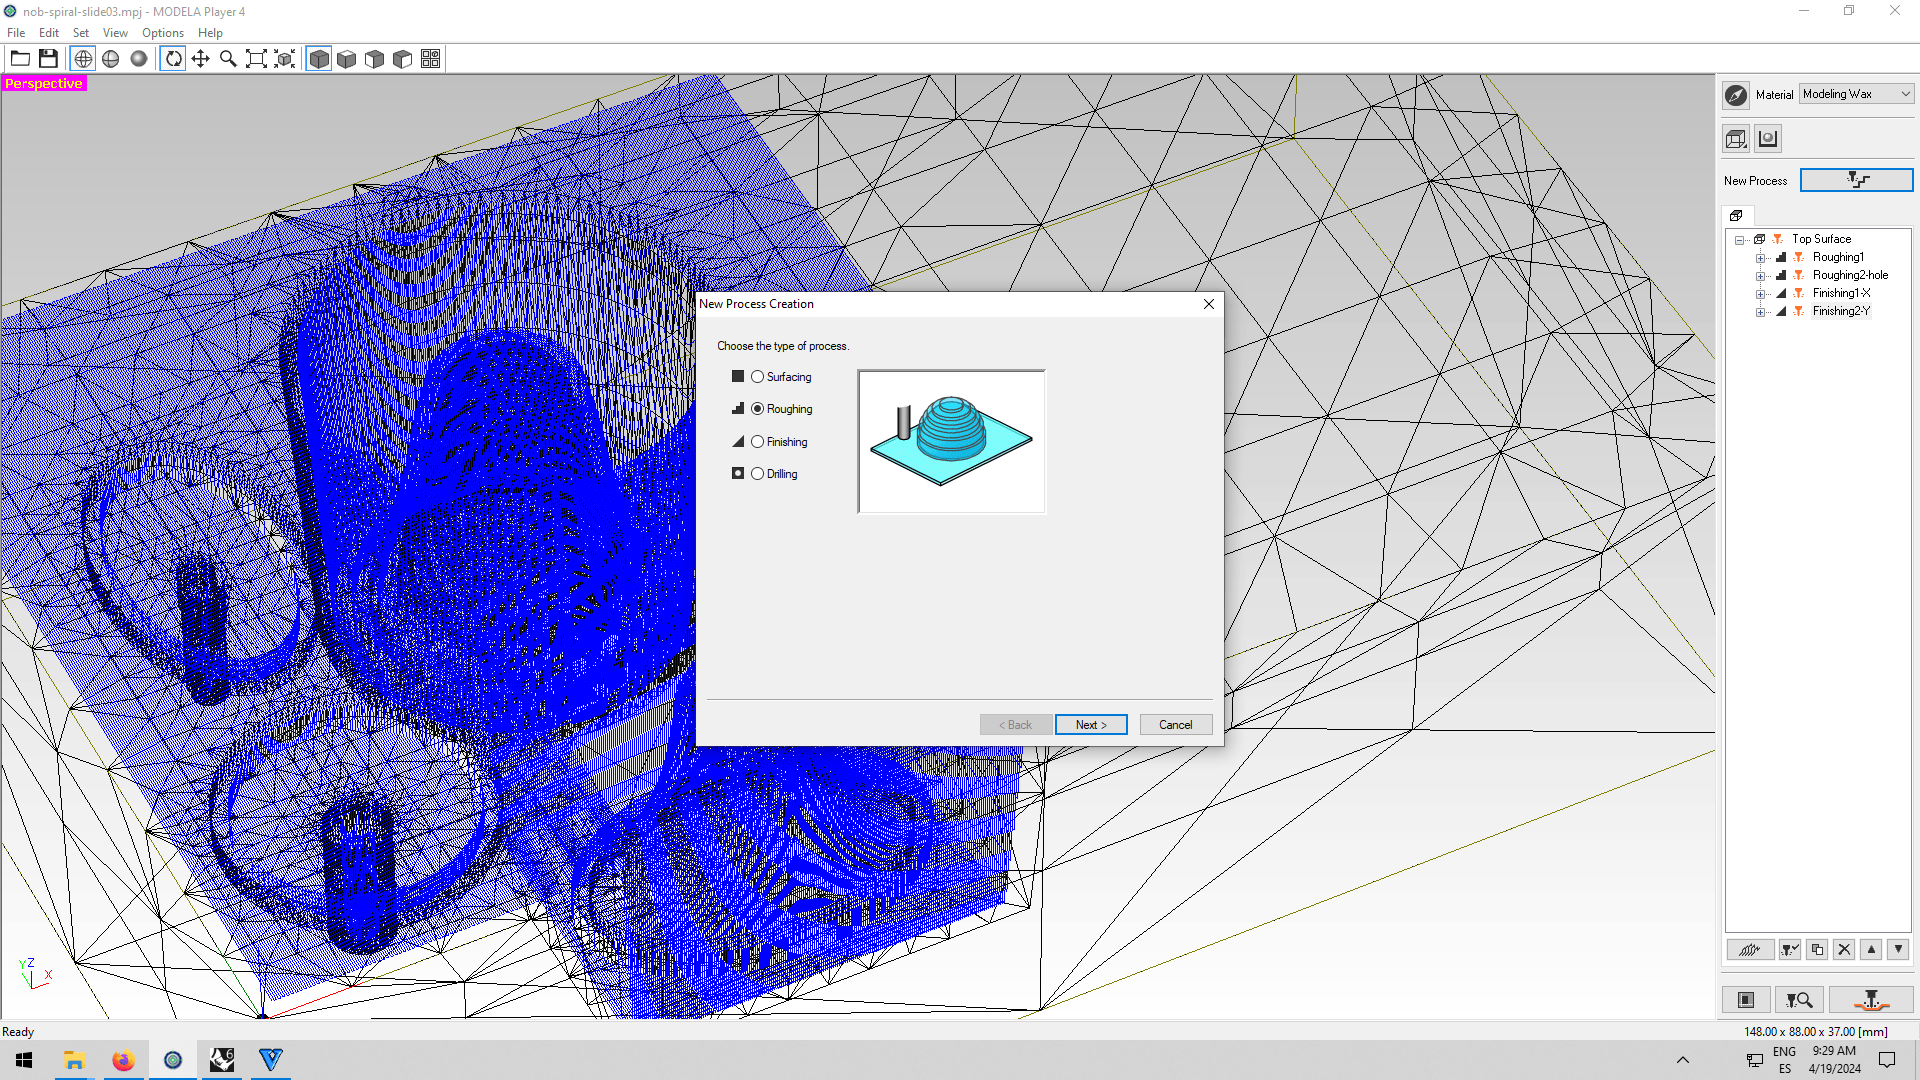
- New Process: Roughing
- Cutting surface: Top
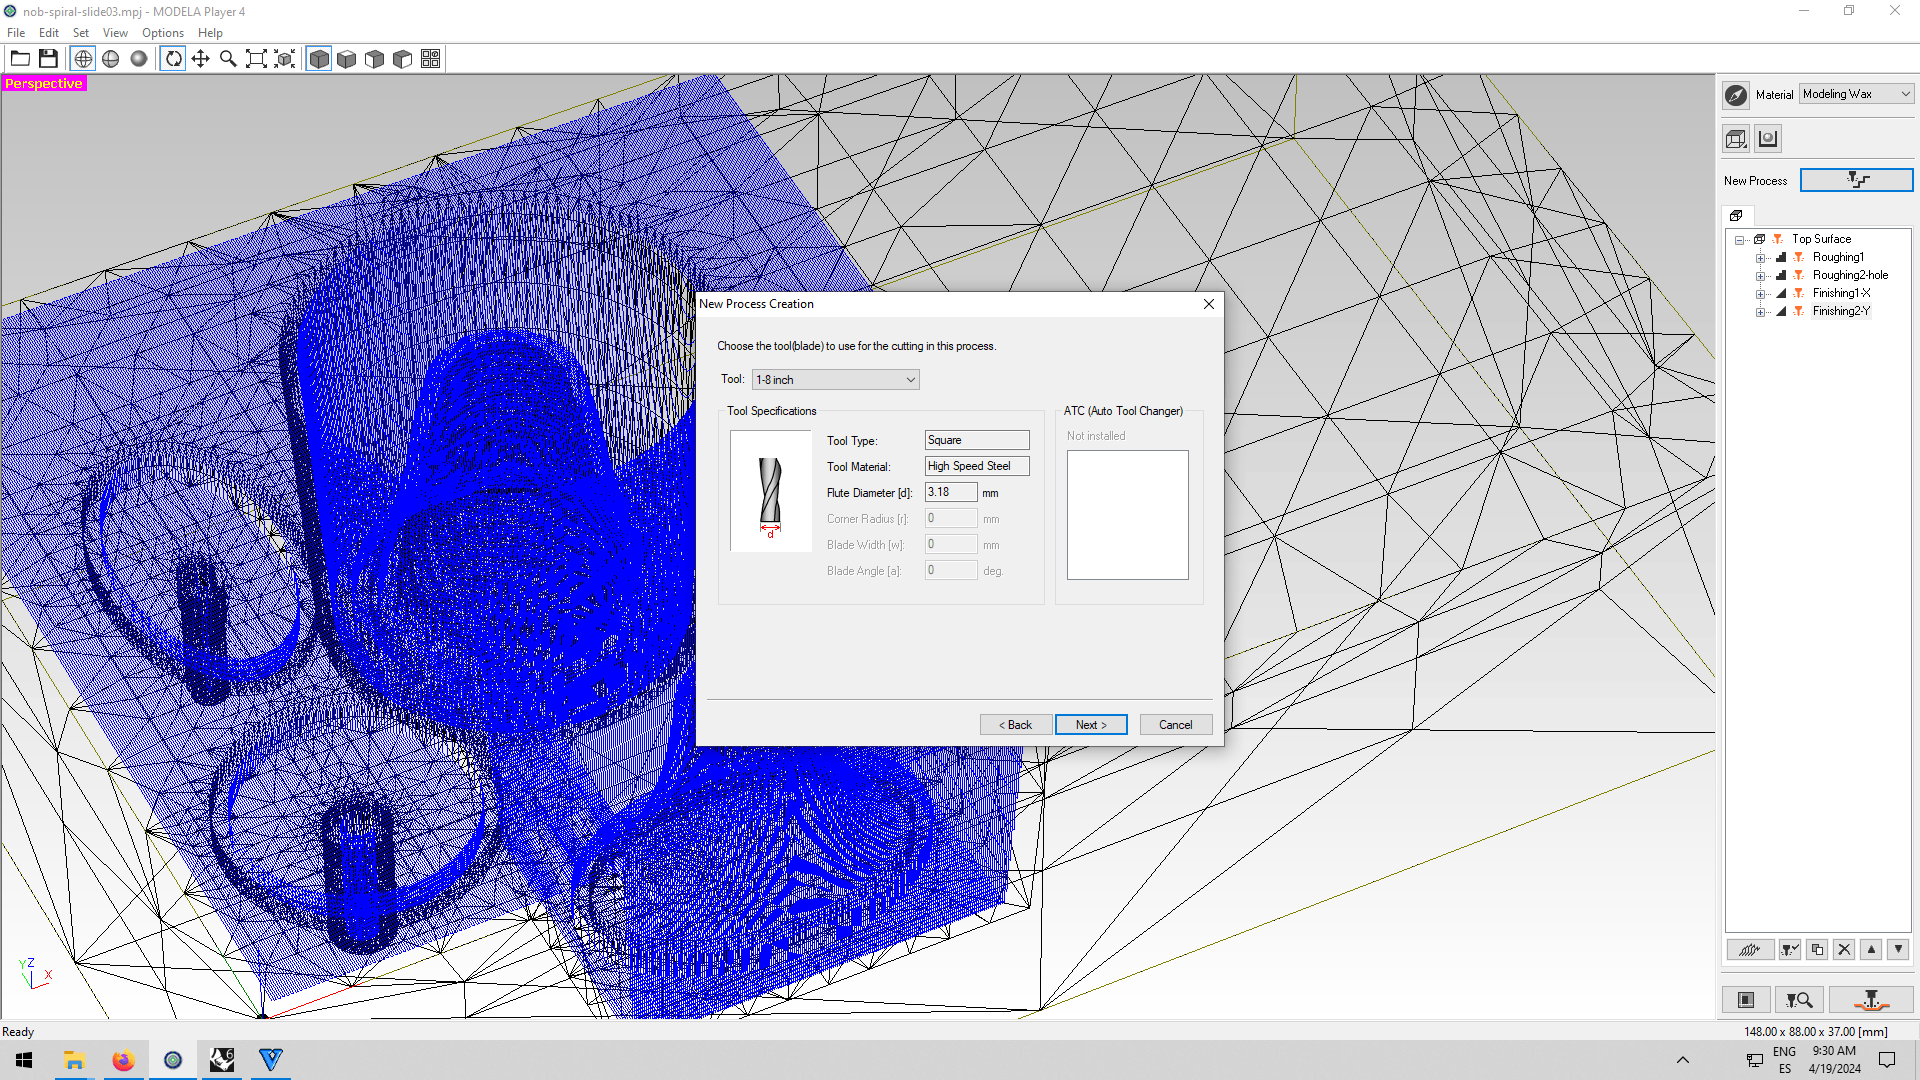
- Tool, 1-8inch Square
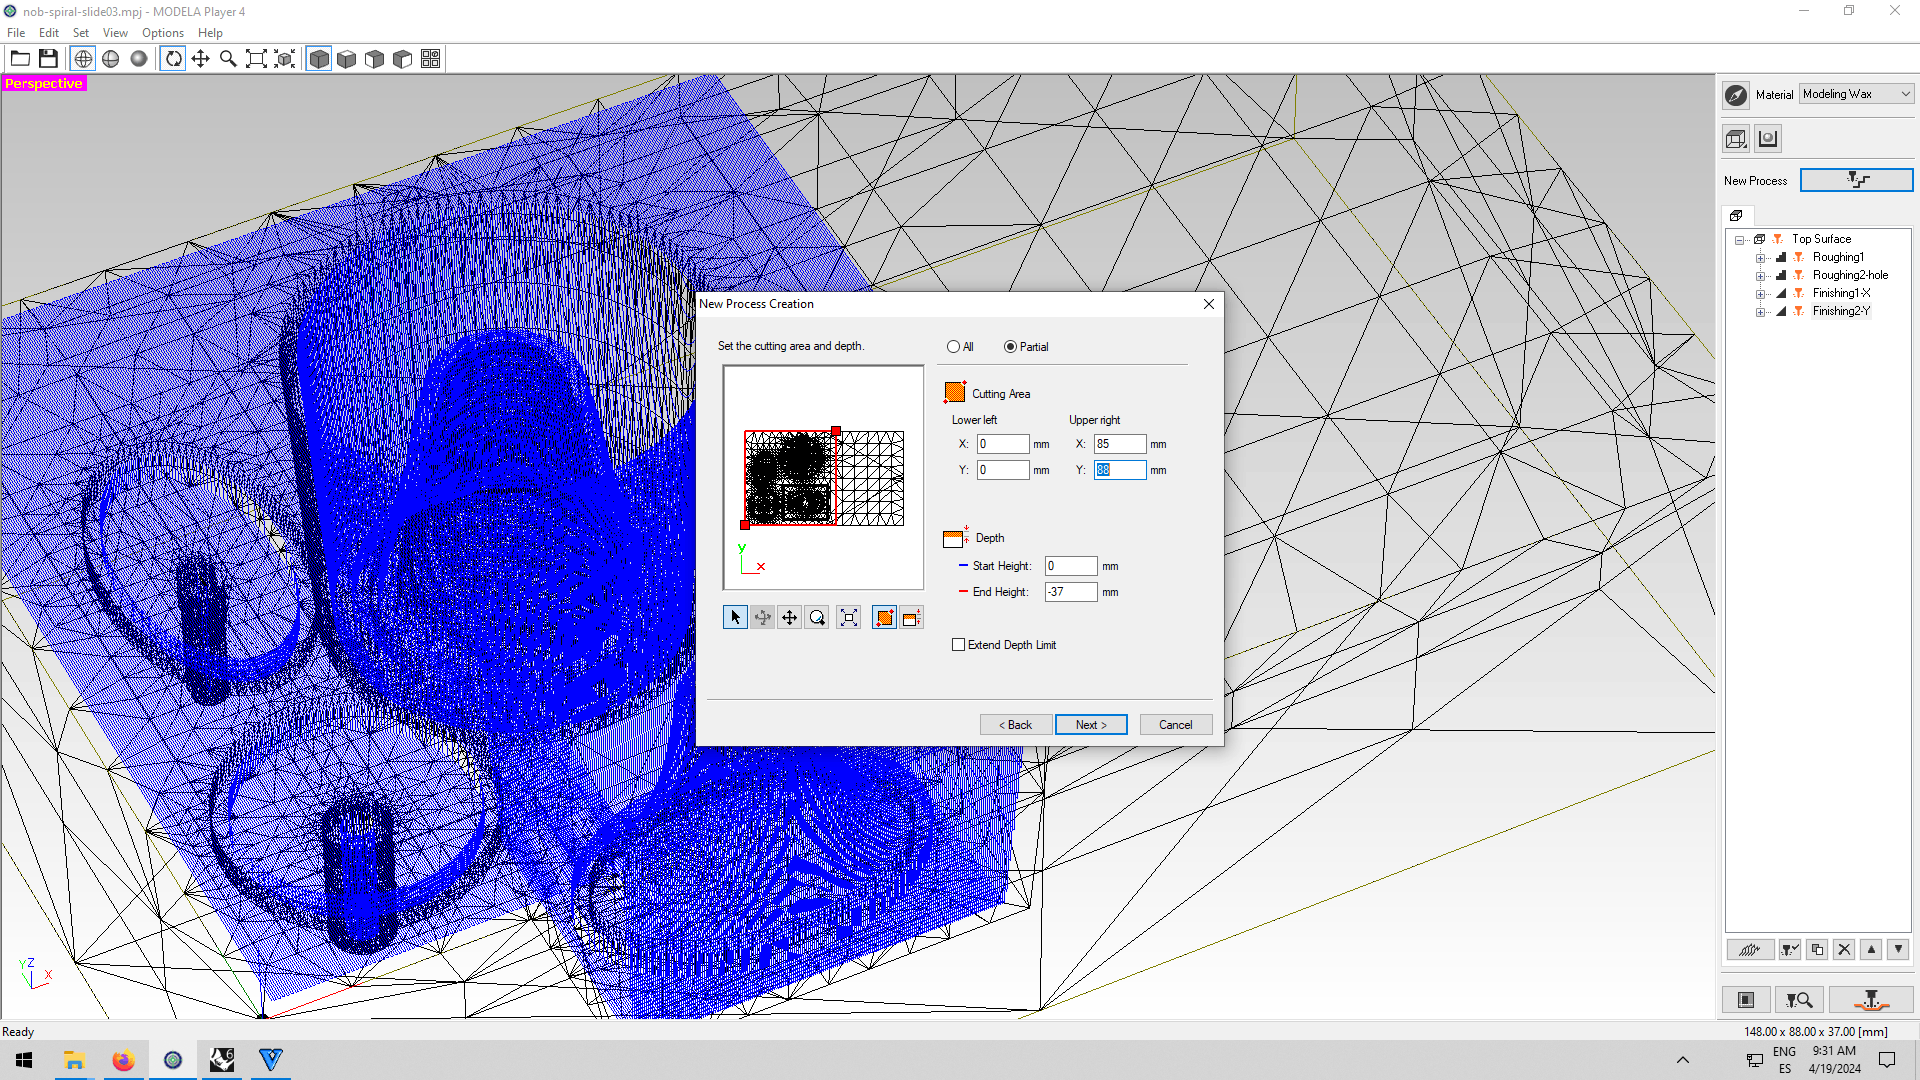
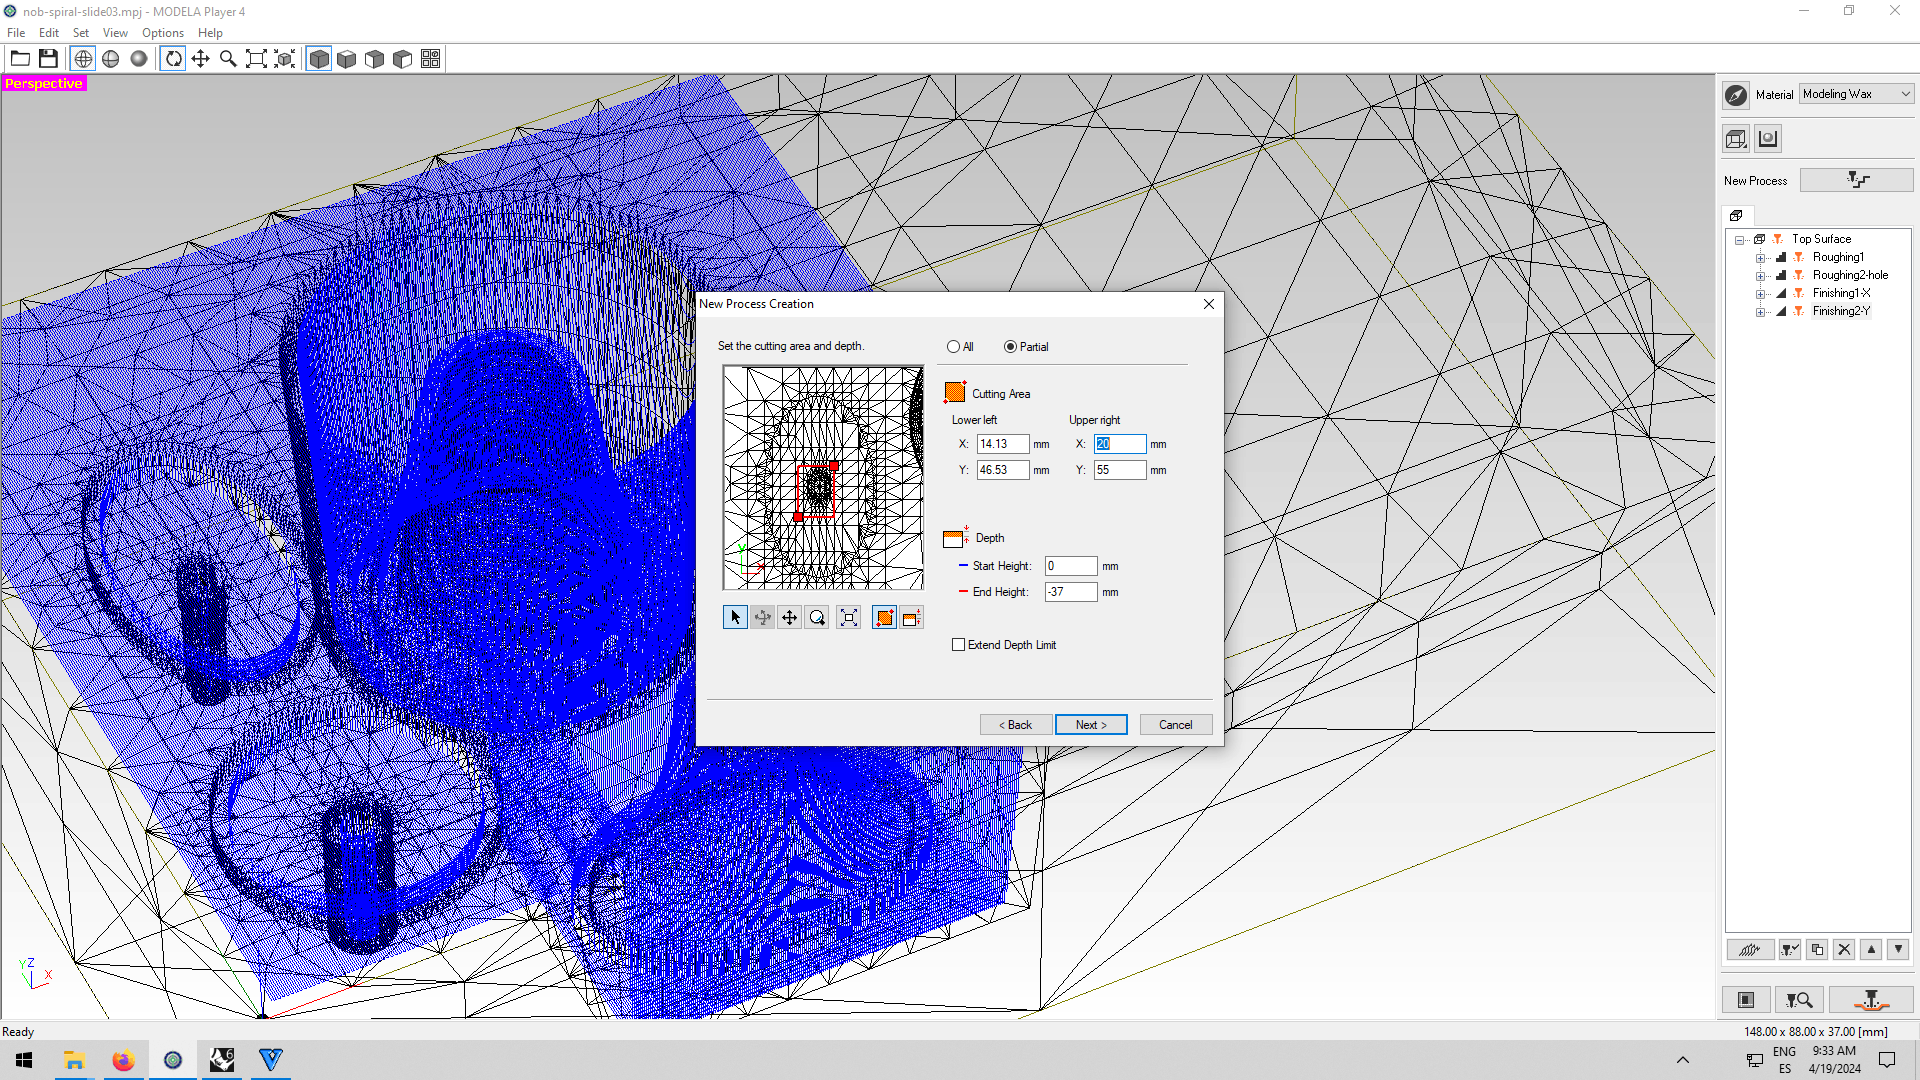
- Cutting Area: Partial, set area by window or number
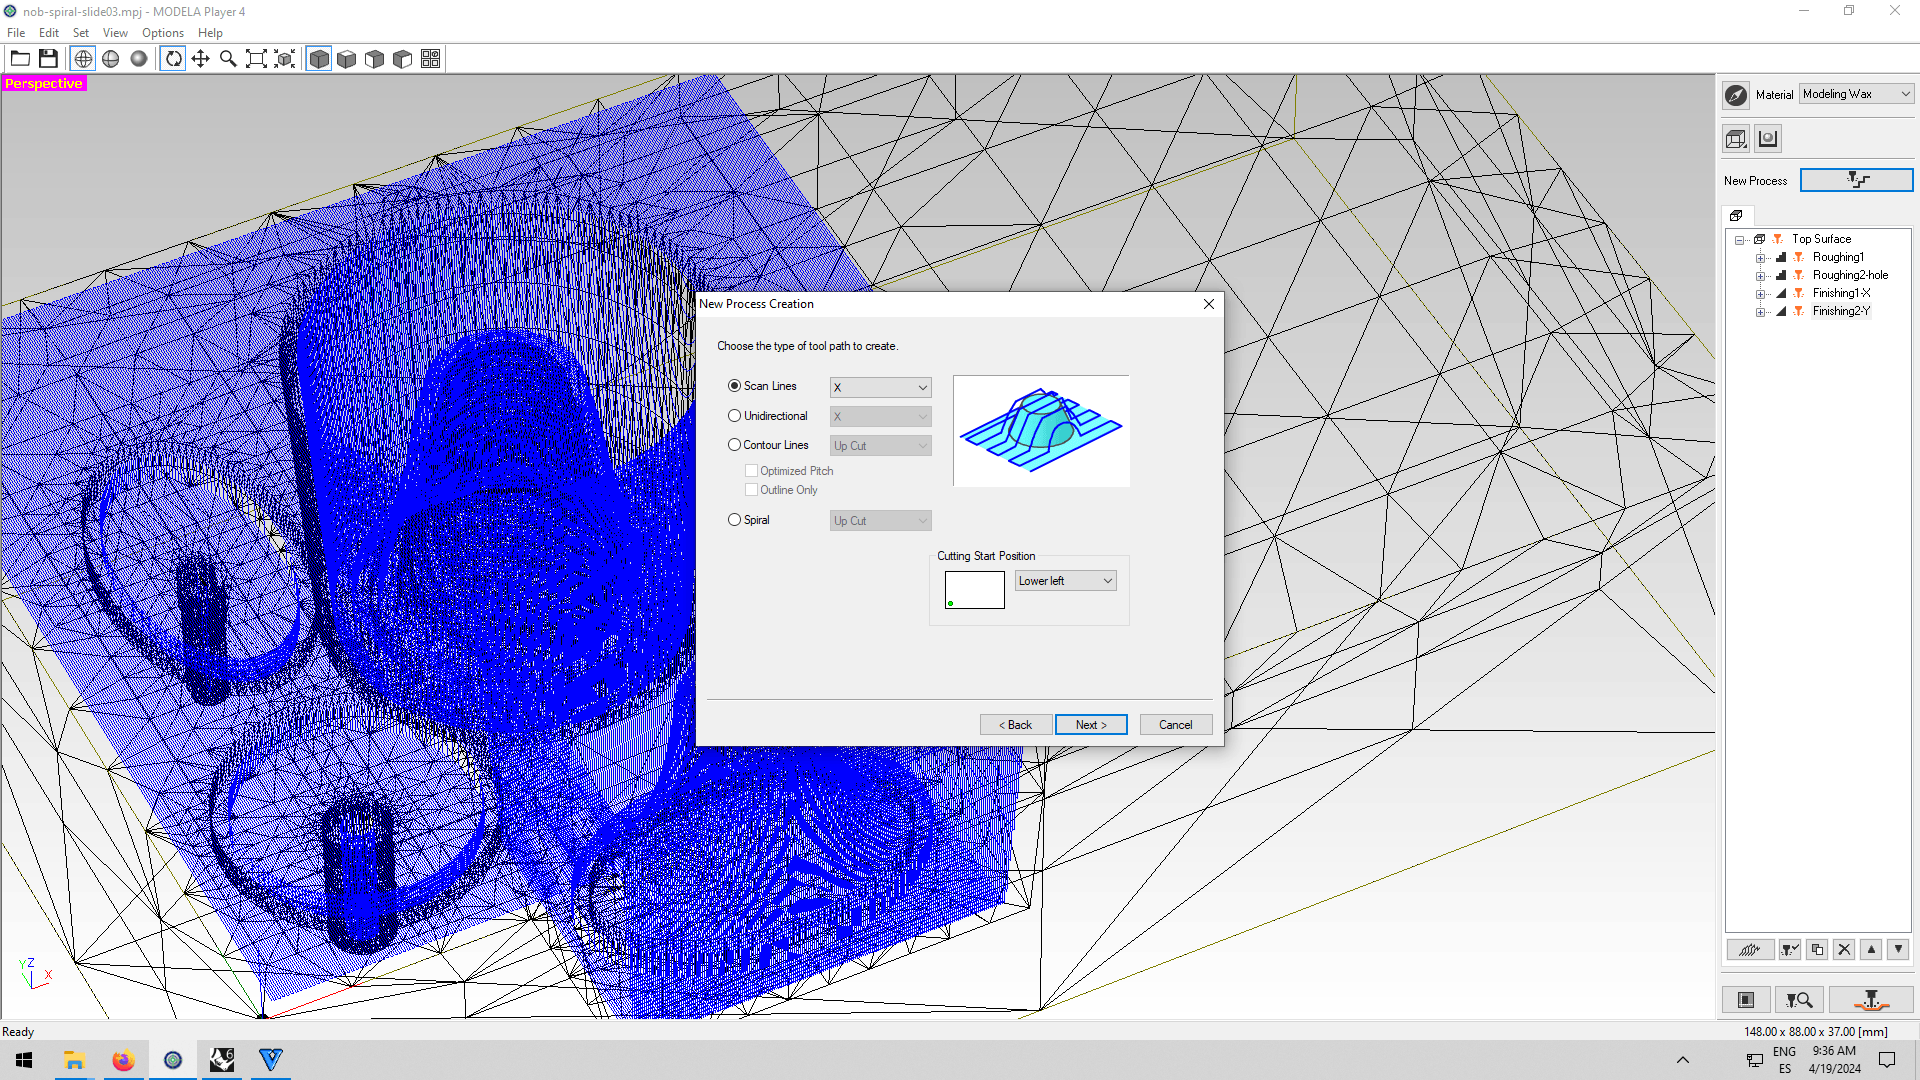
- Tool Path Type: Contour Line
- Cutting Parameters: automatically filled,(If you want to make it faster set the Cutting-in Amount to 1.2mm but not more than that)
- Name tool path, and create tool path
- New Process: Finishing
- Cutting surface: Top
- Tool, 1-8inch Square or Ball
- Cutting Area: Partial, set it the same as Roughing
- Tool Path Type: Scan Line X, (if you want to make a higher resolution use X+Y or create another finishing with Y separately so that you can decide after when milling)
- Cutting Parameters: automatically filled
- Name tool path, and create tool path
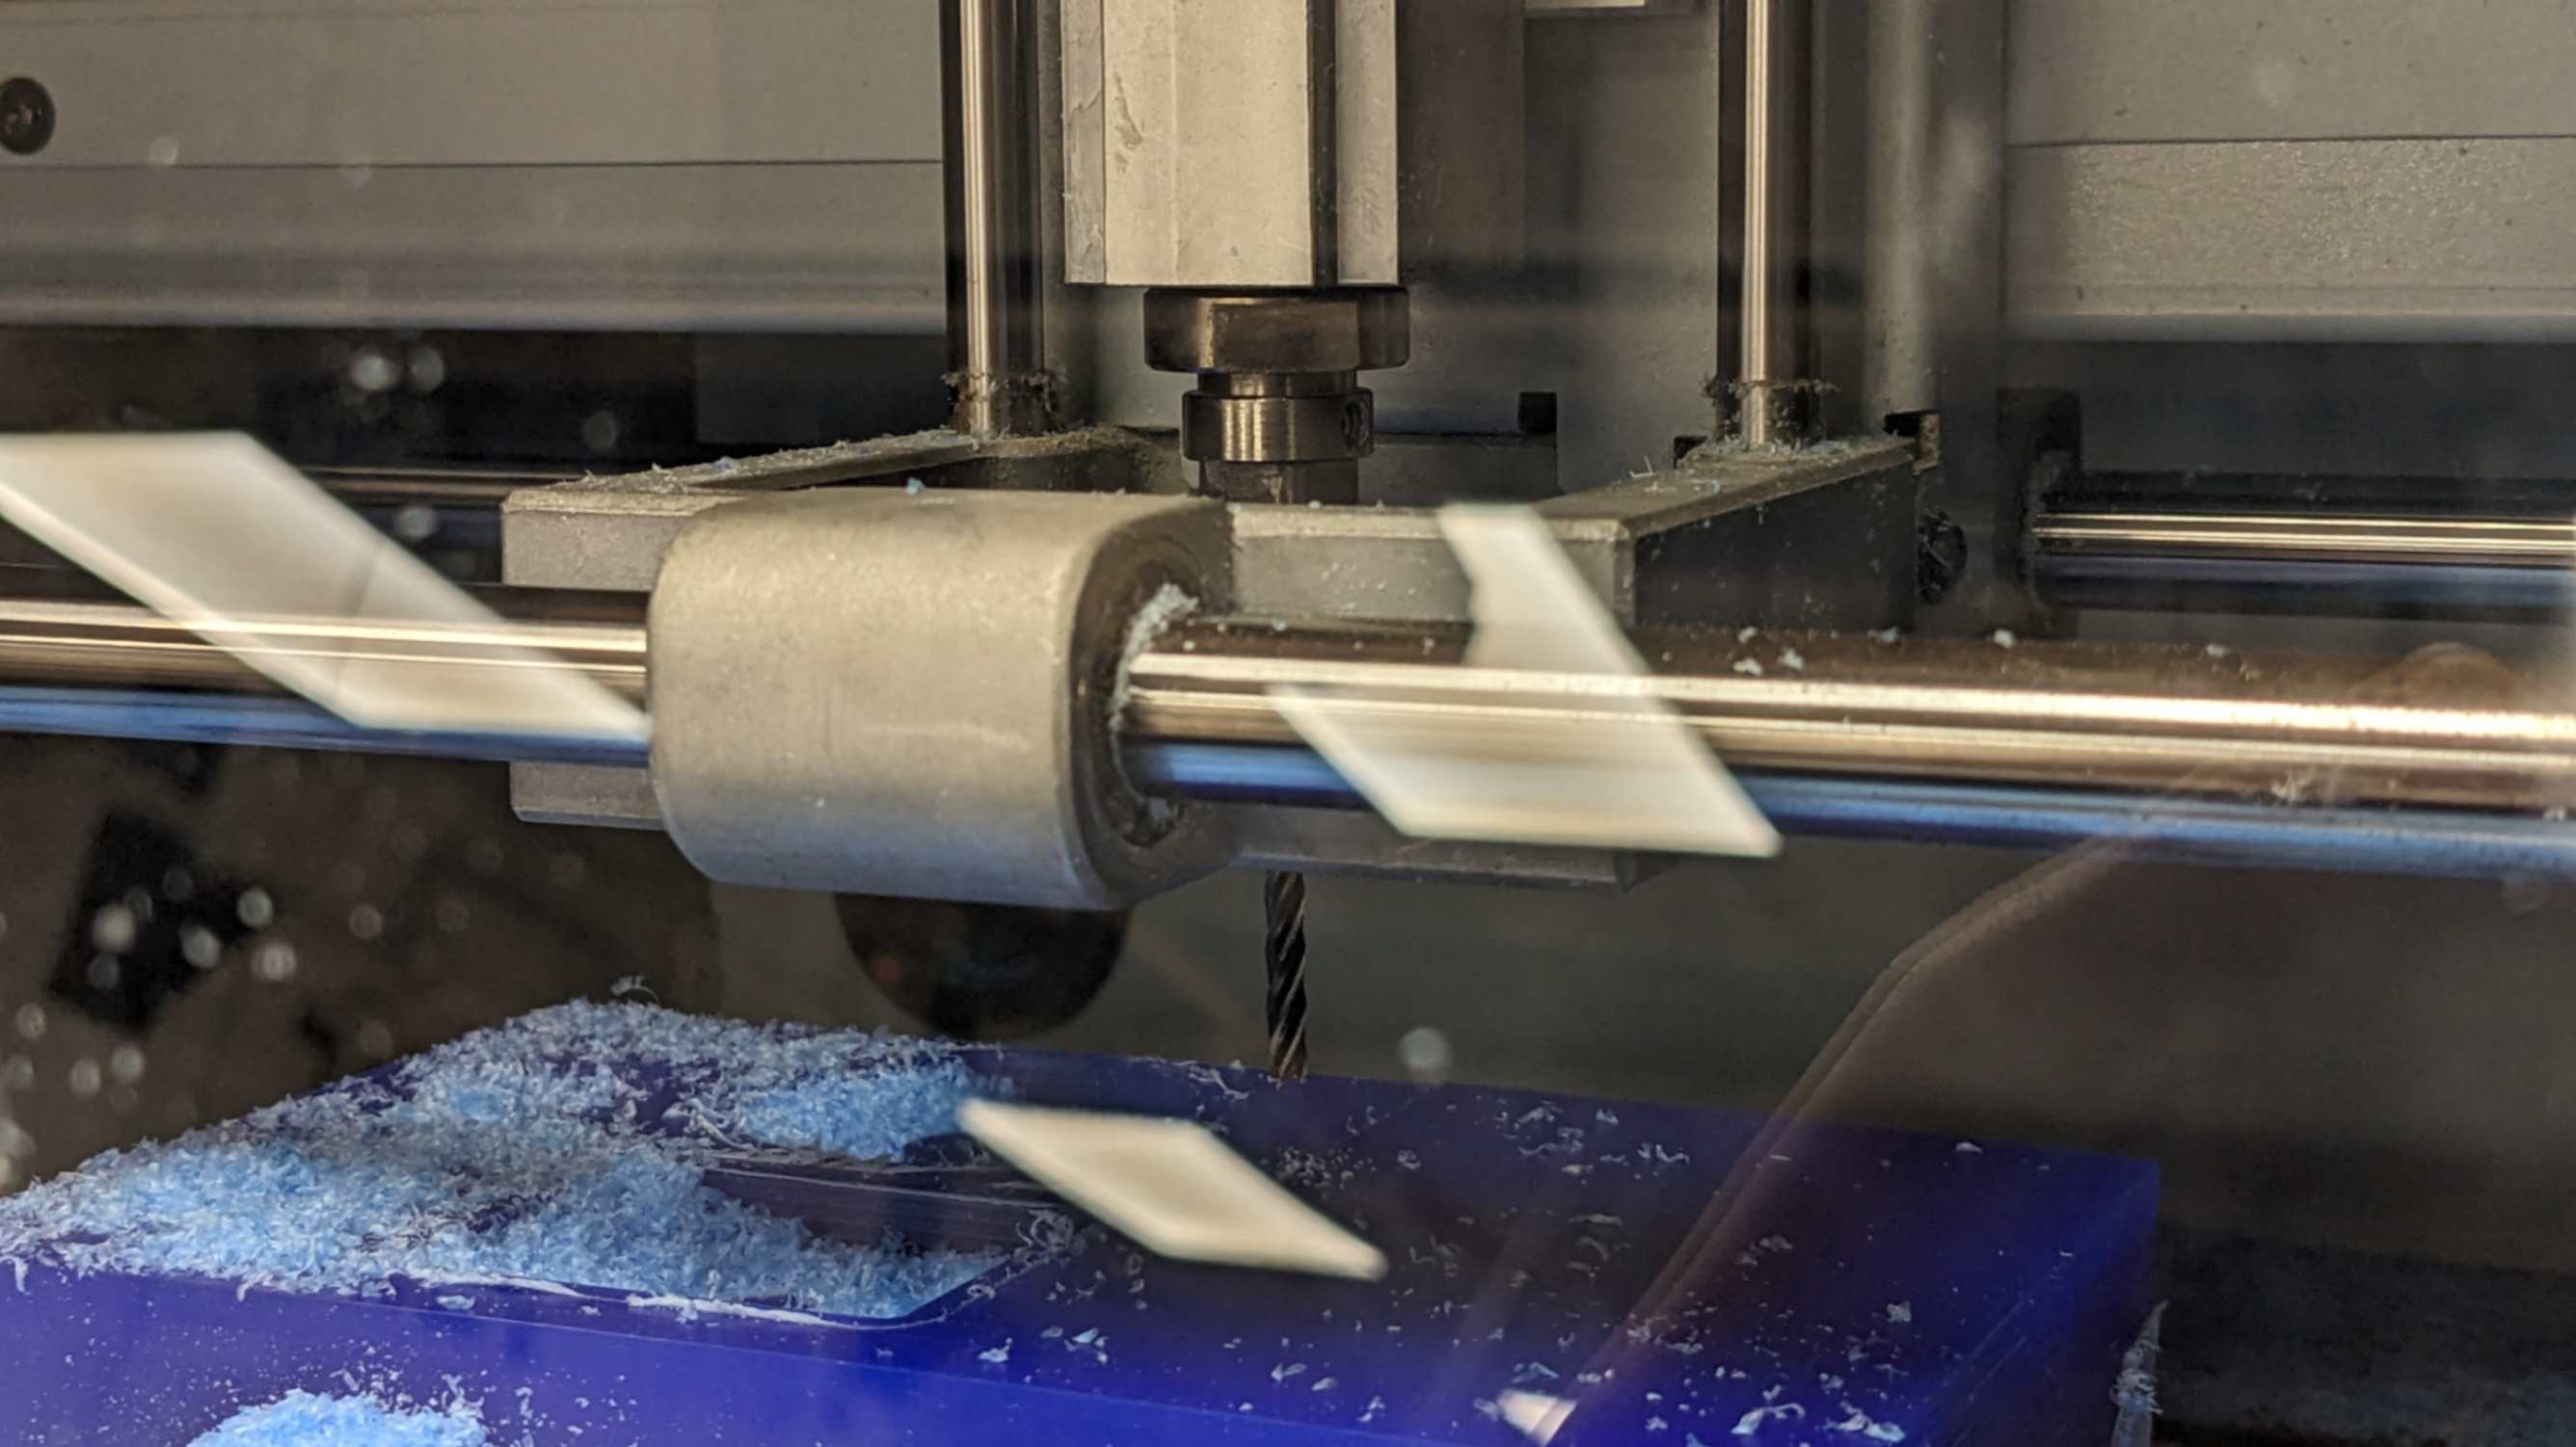
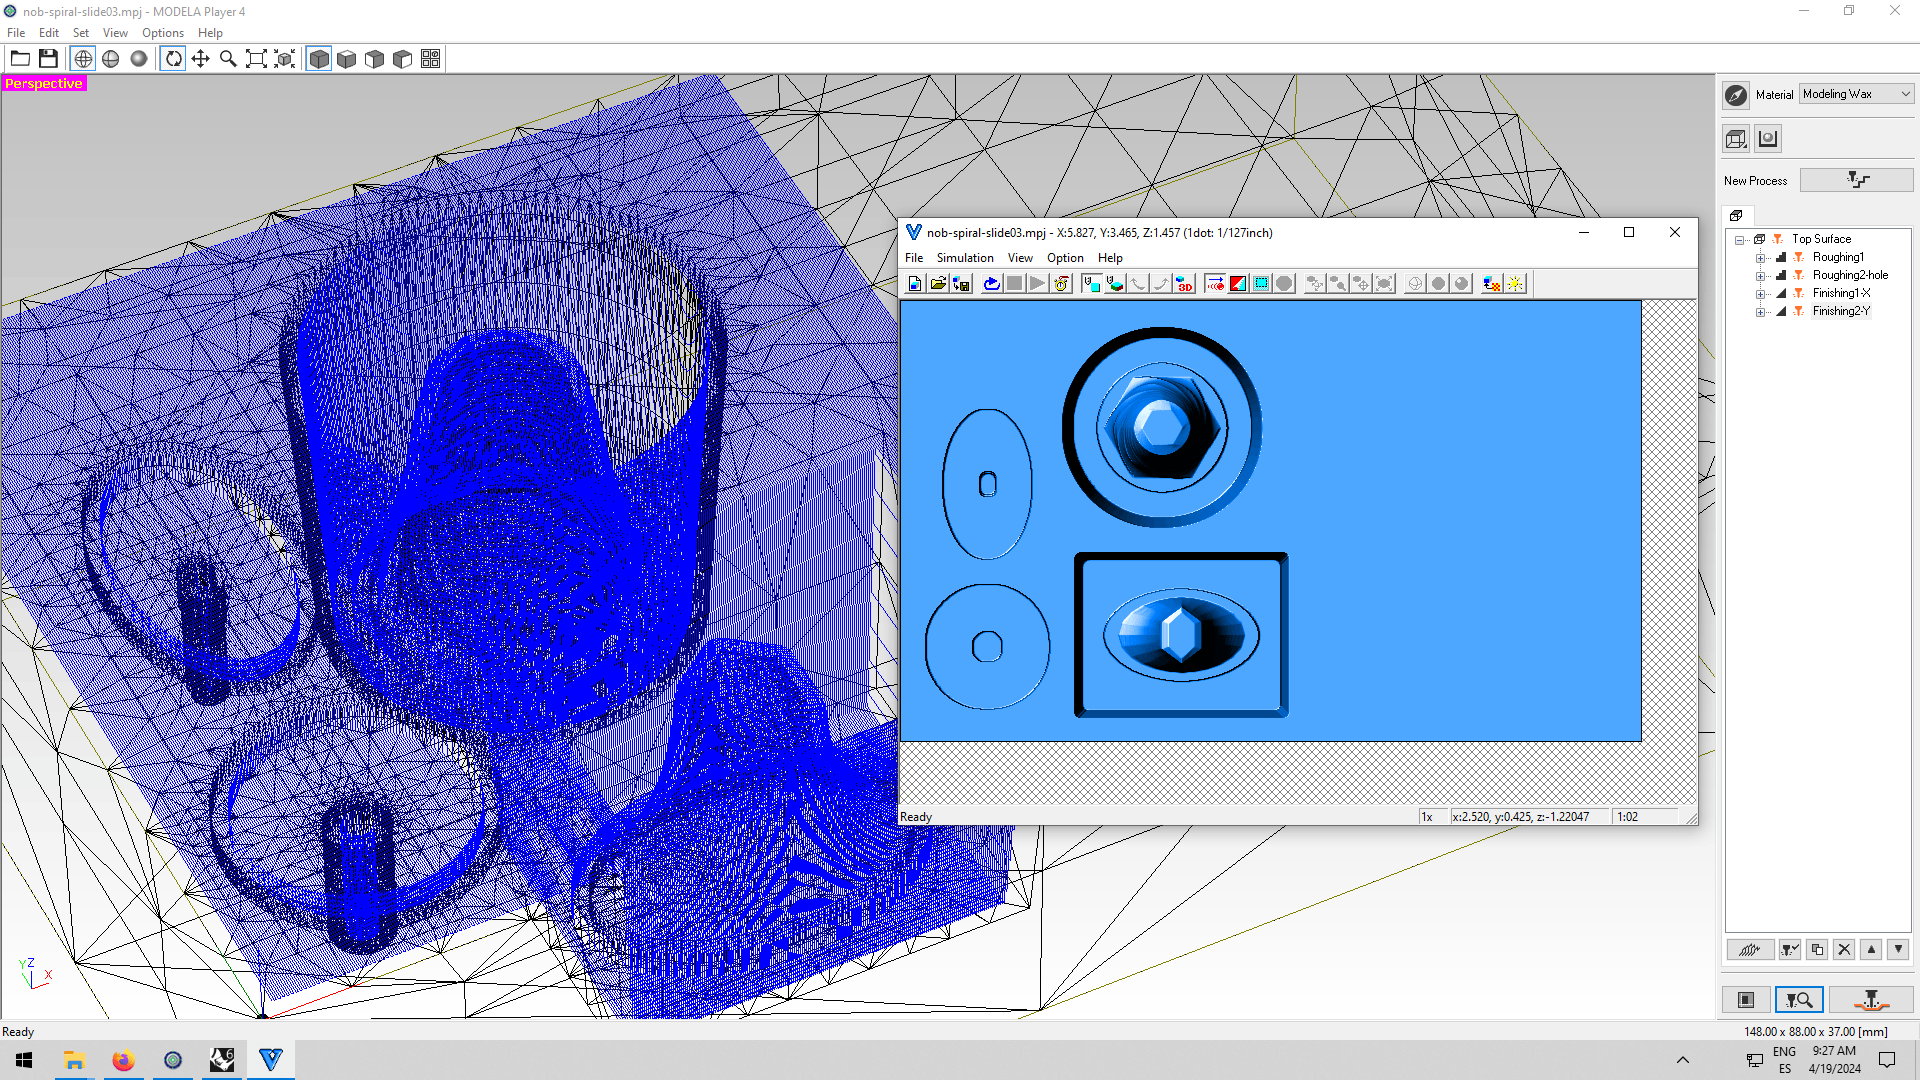
- Check the tool path with a visualiser
- Cut, check Output to file and save all the files
Files
nob-spiral-slide03.stl
Finishing1-X.prn/ins>
Finishing2-Y.prn
Roughing1.prn
Roughing2-hole.prn


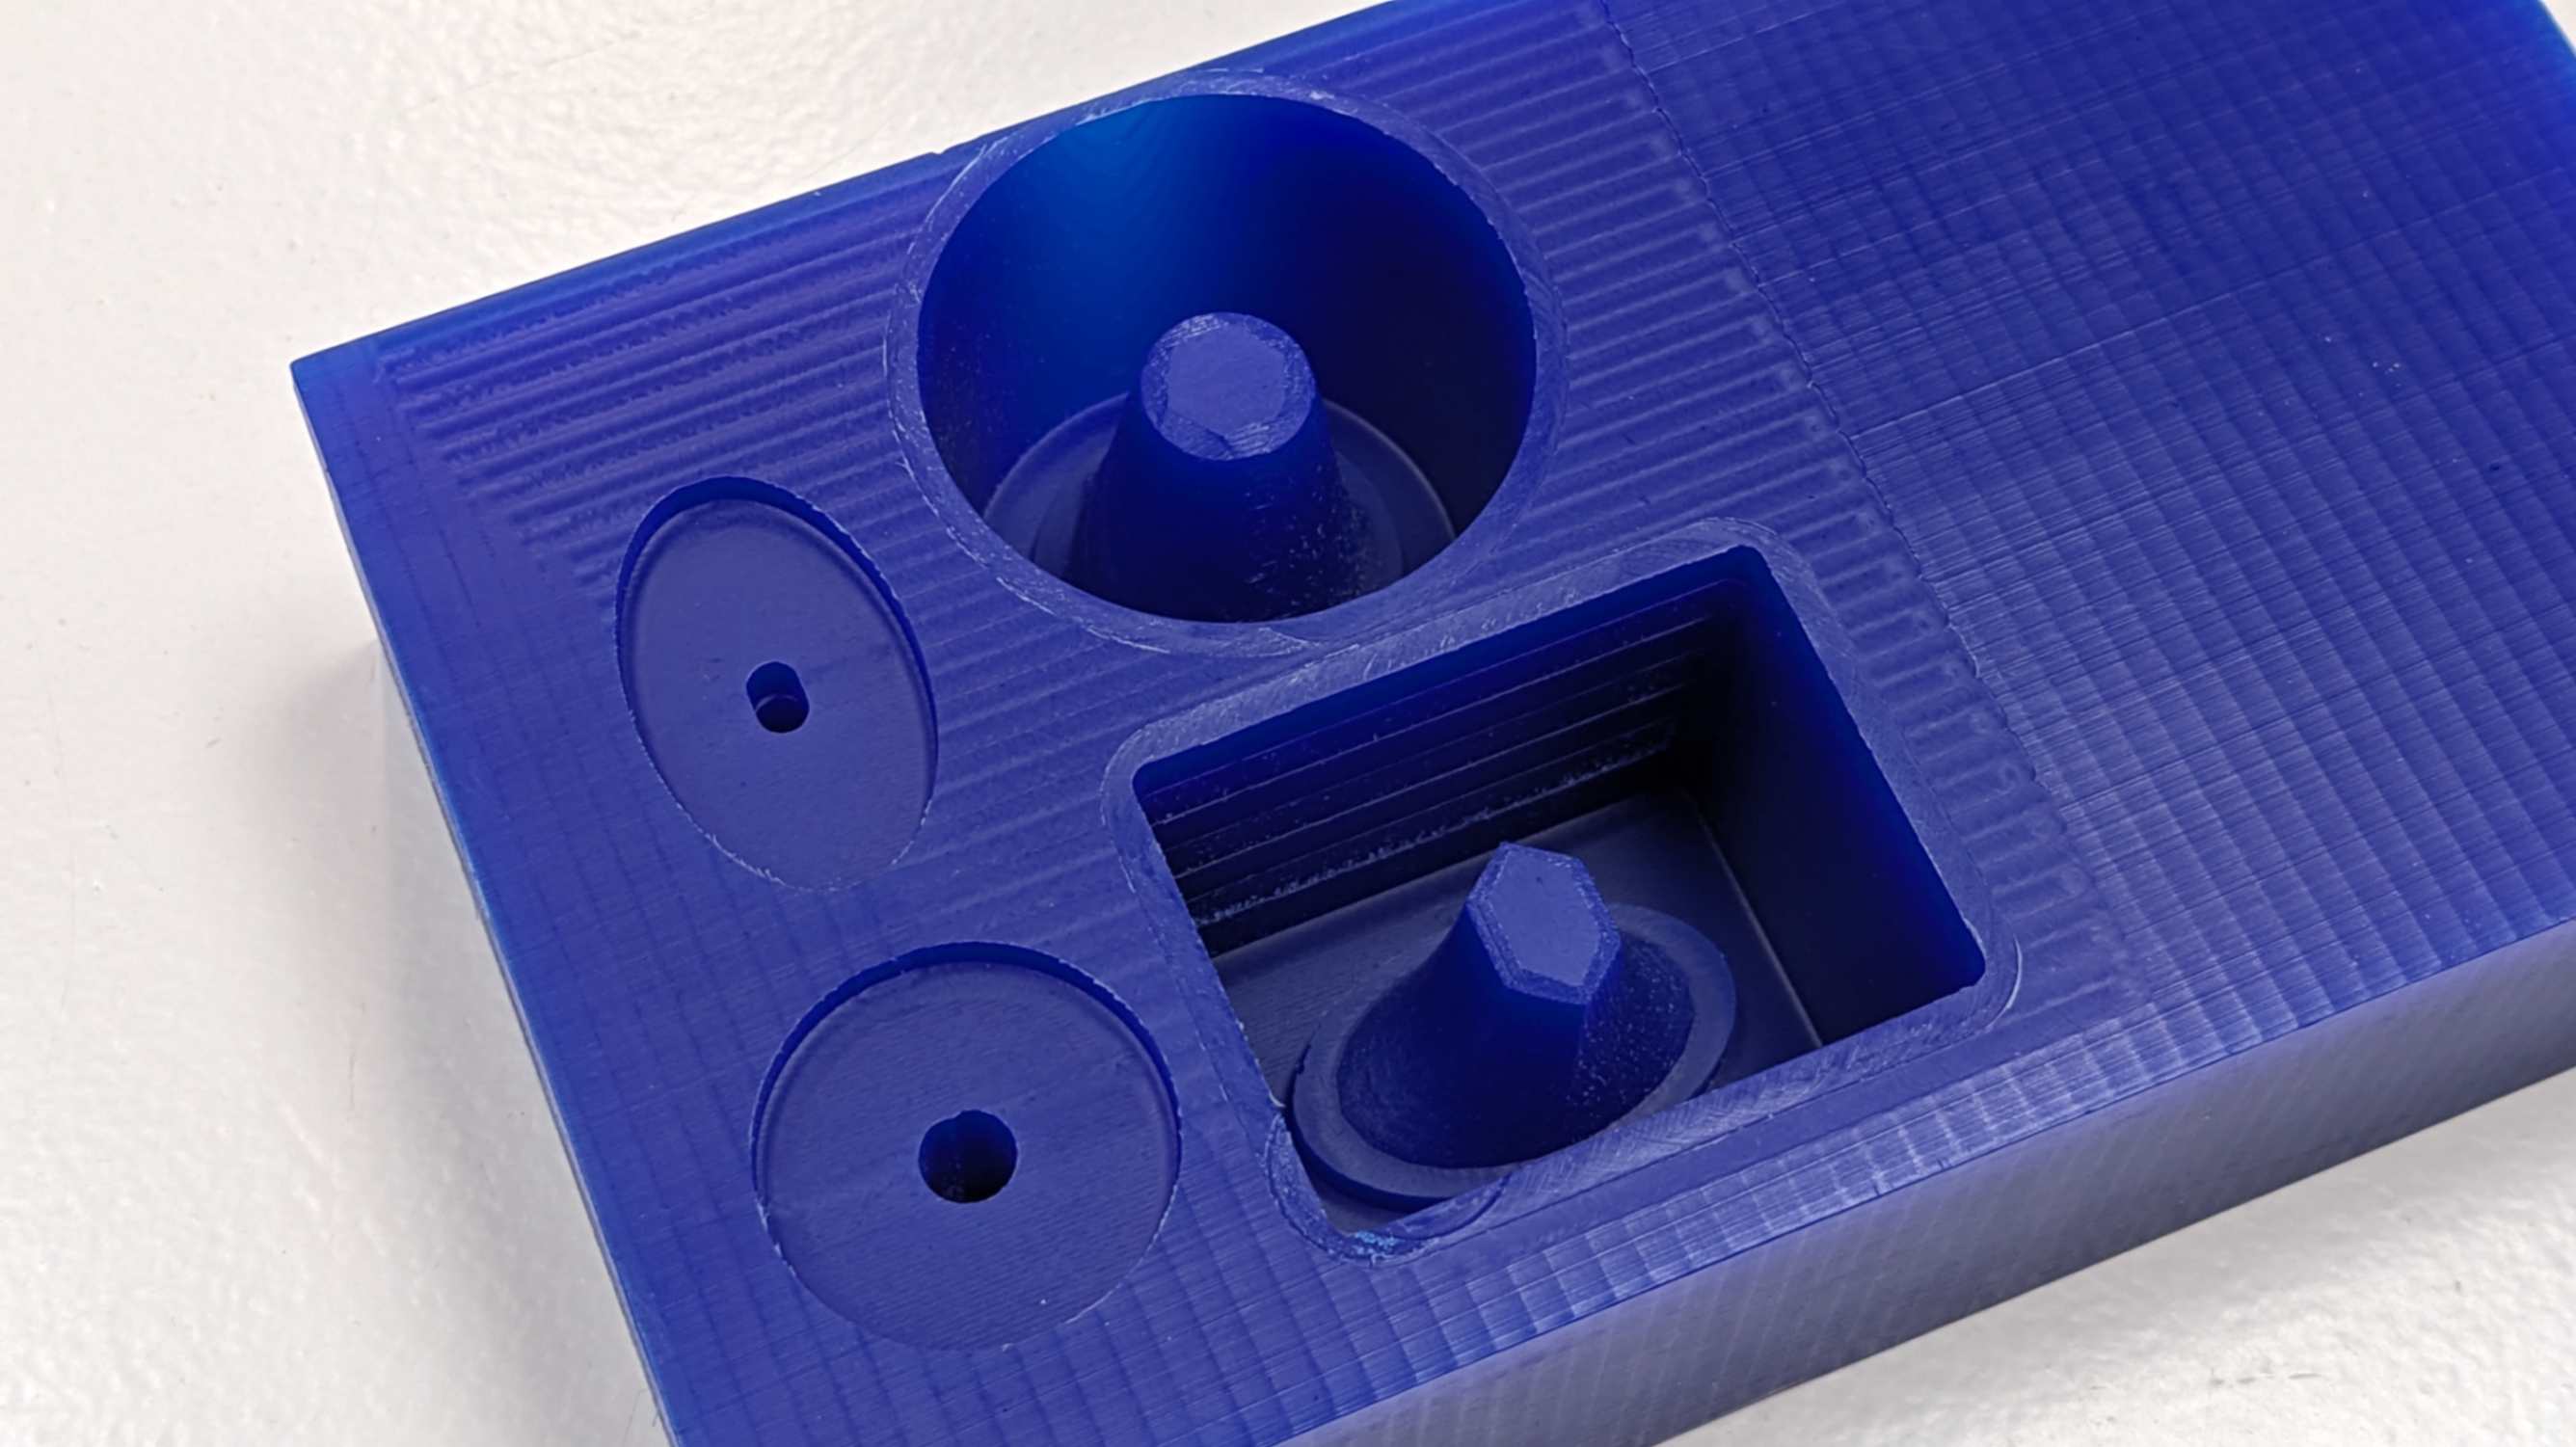
Problem
With the normal setting, the software was not making a tool path for the small hole, so my tutor advised me to do another roughing only the area around the hole and set the Fnish Margin to 0mm. This method is useful but it didn't make a tool path because the hole is exactly the same width as the diameter of the endmill. Then I made the hole slightly bigger than the diameter of the end mill, and the software was able to make a tool path for the hole.