02 Computer Aided Design
This week's assignment is to explore different 2D and 3D software tools and render final project ideas. The goal is to understand the thought process in the respective tools and find the ones that I feel comfortable with.
3D Software
I had used 3D software in my Bachelor degree of Design & Product Management about 10 years ago. Generally I can say that I forgot almost everything, the software had advanced a lot - obviously! and my stress level of not being able to follow up was still high.

During the local class we built a lego brick in Tinkercad, Blender, Rhino and Fusion 360. I felt Blender was too big a tool to master in one week and having used Solidworks, I felt more familiar with the Fusion 360 workflow. So I decided to explore Tinkercad and Rhino and start again with the basics: navigate, change measurements, align, build a concentric shape: my mirror ball base and a free form: the "lamp shade".
Tinkercad
During the local "lego" class I got stuck at the alignment of the inner elements of the brick. Since Tinkercad was supposed to be the easiest tool I started building my lamp in this tool. The file can be found here.
Navigation & Settings
- In Tinkercad the cube on the top switches between the different views.
- Moving mostly on one dimension in the file can be done while pressing the mouse-wheel.
- Quickly swapping between a flat/orthographic view and a perspective view can be done on the left sidebar.
- Settings can be easily changed in the right corner or the view.
Mirror ball base

In general Tinkercad works with pre-existing and basic shape building blocks, that are assembled/extraced using the only existing boolean function "Group". So you start thinking in 3D - and break down your shape into simple shapes like rectangles.
The ruler let's you easily edit measurements during and after the creation process directly on the object. While once the objects refer to zero, it was easier to calculate the difference instead of measure. This will be a massive limitation with a more complex structure.
Once I understood with the help of this youtube tutorial how the boolean function works again, the object to be subtracted needs to be on the "hole" setting, I was able to build the basic structure. A nice find was that with a double click you can even edit the measurements of single parts of the structure again. Trying to extrude on a path I realized the limitations of this tool, since this turned out to be a weird workaround with extrusion.
Lamp Shade
I had not even started on the freeform because I had already realised that I hit the tool's limitations here and it would be just much easier for me to work with a tool that supports a 2D to 3D process.
Sum up
Tinkercad is a great free online tool to just ideate "quick & dirty" in 3D or for very simple structures, but it would be harder to build free forms since the tool only supports one boolean operation.
Rhino
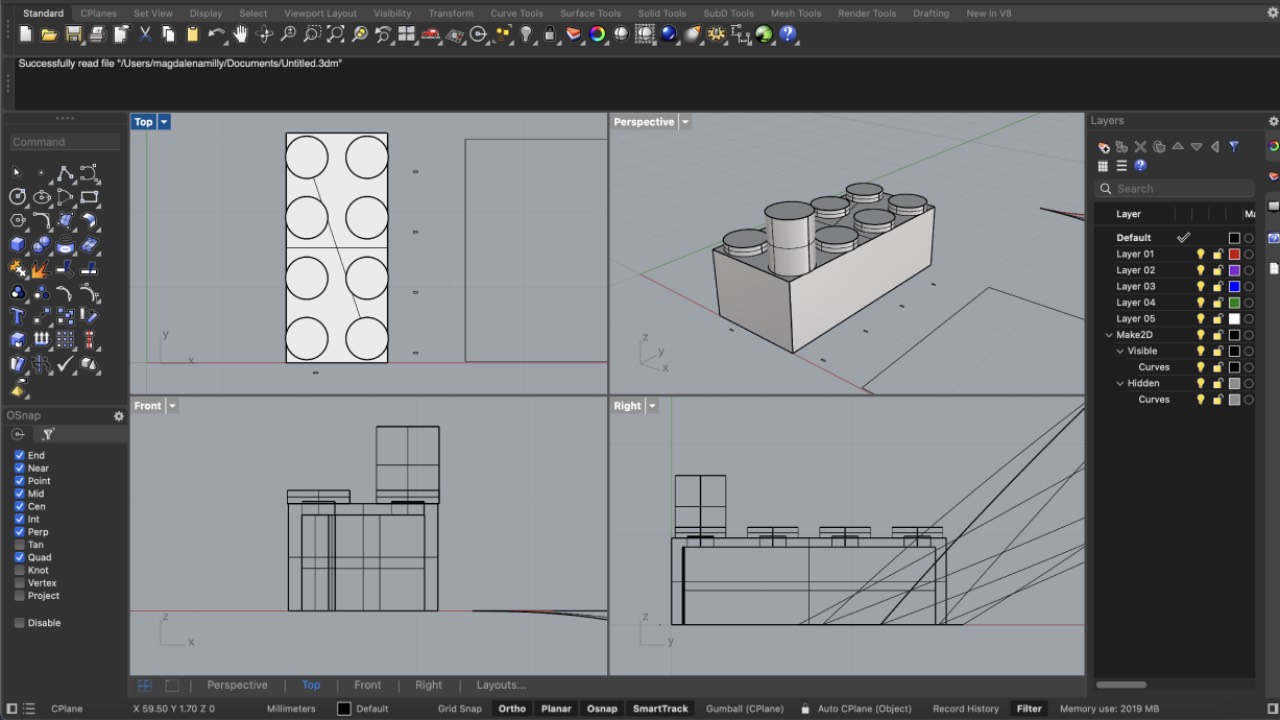
Building the lego piece I had mistaken the measurements, the array was displaced and the alignment was a little off. Since I want to create a lamp and the in-tool renderer is quite nice I wanted to experiment with the tool. Additionally Rhino is used for some machinery in the lab, getting used to the interface would come in handy soon. The file can be found here.
Navigation & Settings
- The view in Rhino is composed of four dimensions: top, front, perspective and right. Doubleclick opens and closes one view.
- Moving in all dimensions in the file can be done while pressing the right mousekey.
- On the bottom toolbar Onsnap and different options like: ortho, planer etc. Be aware if gridsnap is activated you can only start drawing on the grid.
- Settings can not be easily changed, measurements need to chosen upfront, when setting up the file.
Mirror ball base

Rhino gives you several options to build a shape. I wanted to draw the shape directly in 2D and extrude along an axis to 3D, but did not manage to find the command, so I quickly swapped to a boolean approach. It's definitely important to understand the extrusion in Rhino can be a surface and only if solid is ticked a form.
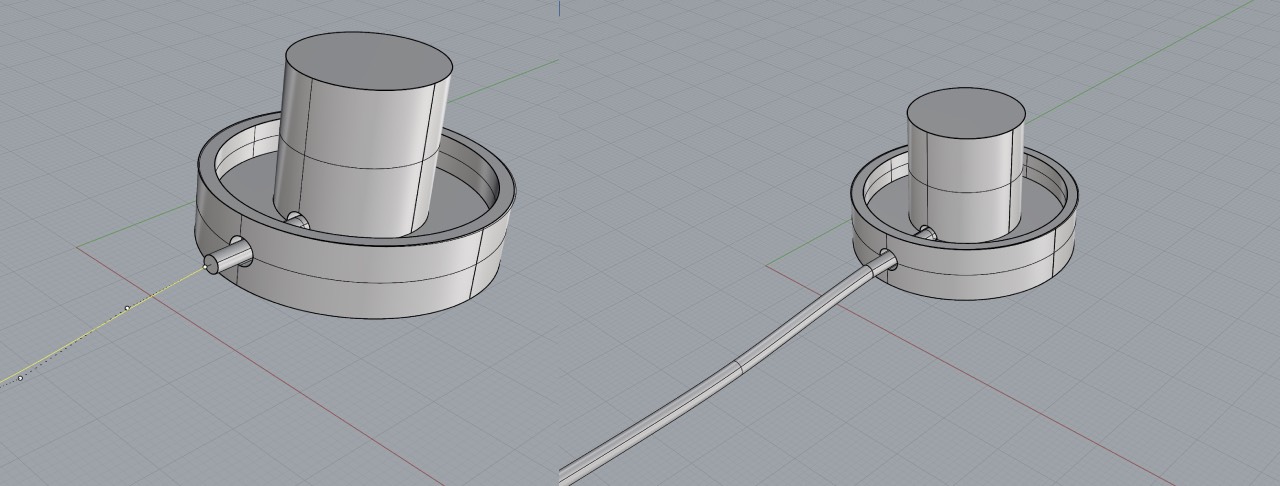
Eventually I arrived with the basic form and continued to extrude along a path - the step I realized Tinkercad's limitations. Once I understood the general alignment options again, I could place the circle along the path, but it only extruded along the first part of the line. Lesson learned to always join the lines!
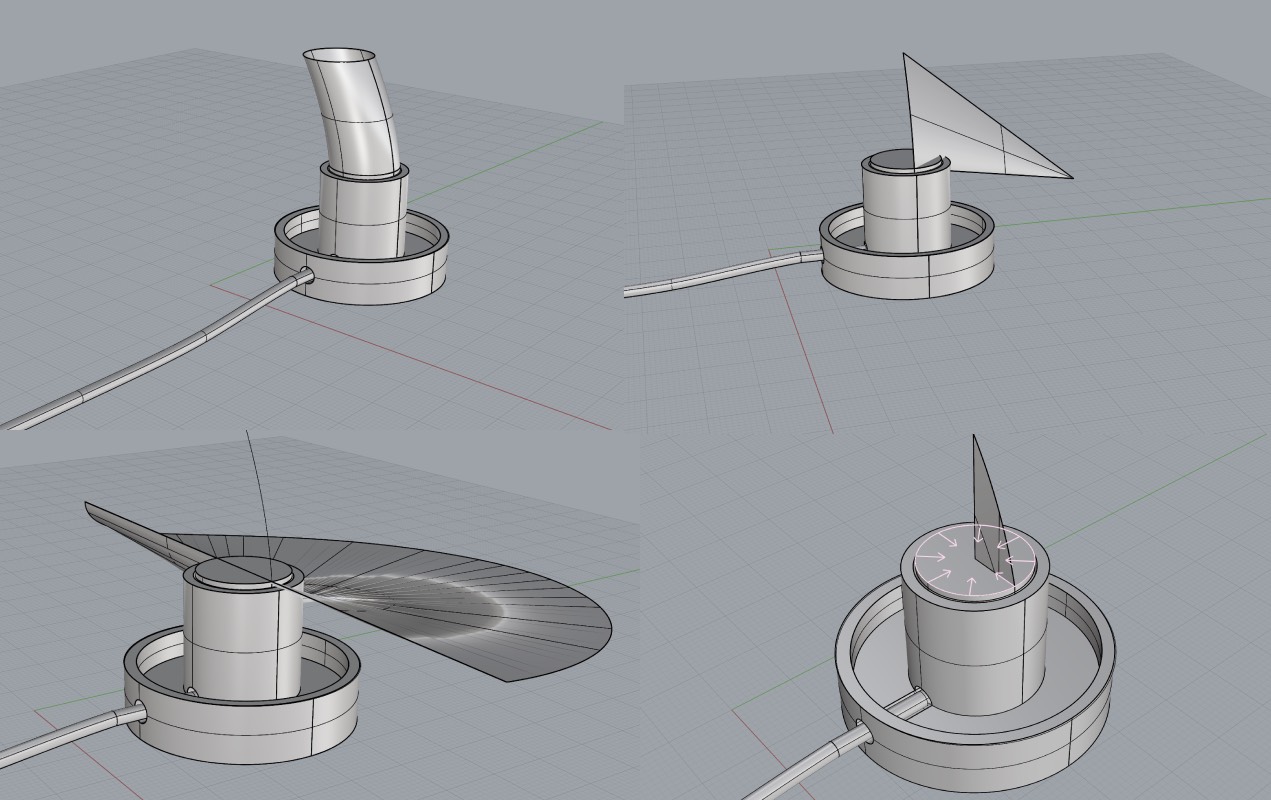
Since I wanted to use a light source to experiment with the cut-outs of the lamp. I realized I was back to extruding a 2D to 3D surface. I experimented
a little bit with the different options and could not come up with the result I wanted. Thus eventually I followed
Design Upgrade's Lightbulb Tutorial and finally understood how to revolve
lines around a surface.

When I placed the lightsource I quickly realized that it was crazy important to work with different layers. I hope I will remember to keep an extra layer
for the linework as shown in the tutorial. Versioning with layers is highly recommended and having a good plan of measurements from the beginning, since once
a boolean is operated the shape is melted in one. Initially my lightbuld was ten times smaller and I had to use scale to proportion it again.
Lamp Shade
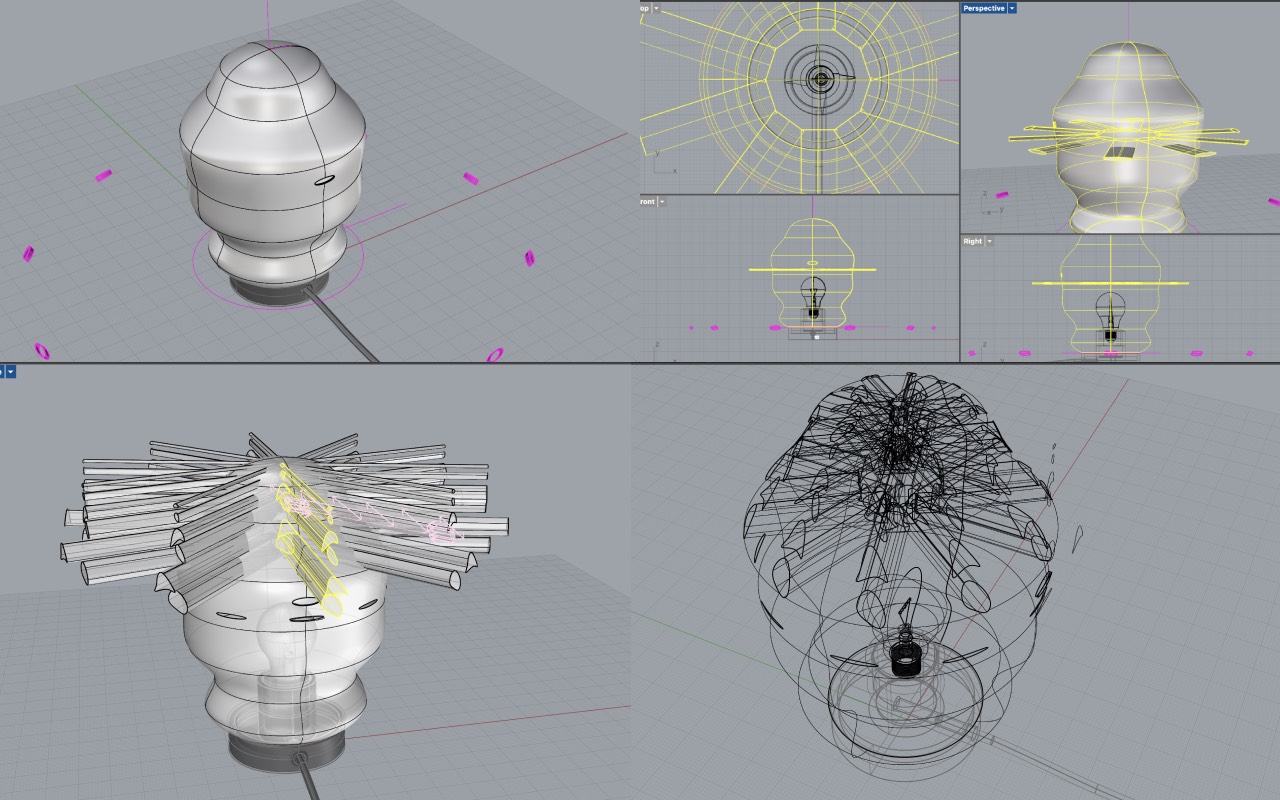
After the tutorial it was easy to revolve a quick line. I had to repeat it because I already forgot to create an extra layer for the linework. I started with
the cut-outs to create the "mirror ball effect" but got really stuck on the array curve on surface. After googeling without any proper result I
asked extrude the surface and work with boolean difference
and array polar.
Follwing her advice I managed to create a circular array of holes, but the inner structure had become part of the main part. I used explode to
chop the structure into singular pieces again. Now I was able to delete the inner pieces. Having understood the way to go I continued sketching the patterns in 2D,
extrude the surfaces, create a boolean difference, explode, delete the inner pieces and eventually add materials.
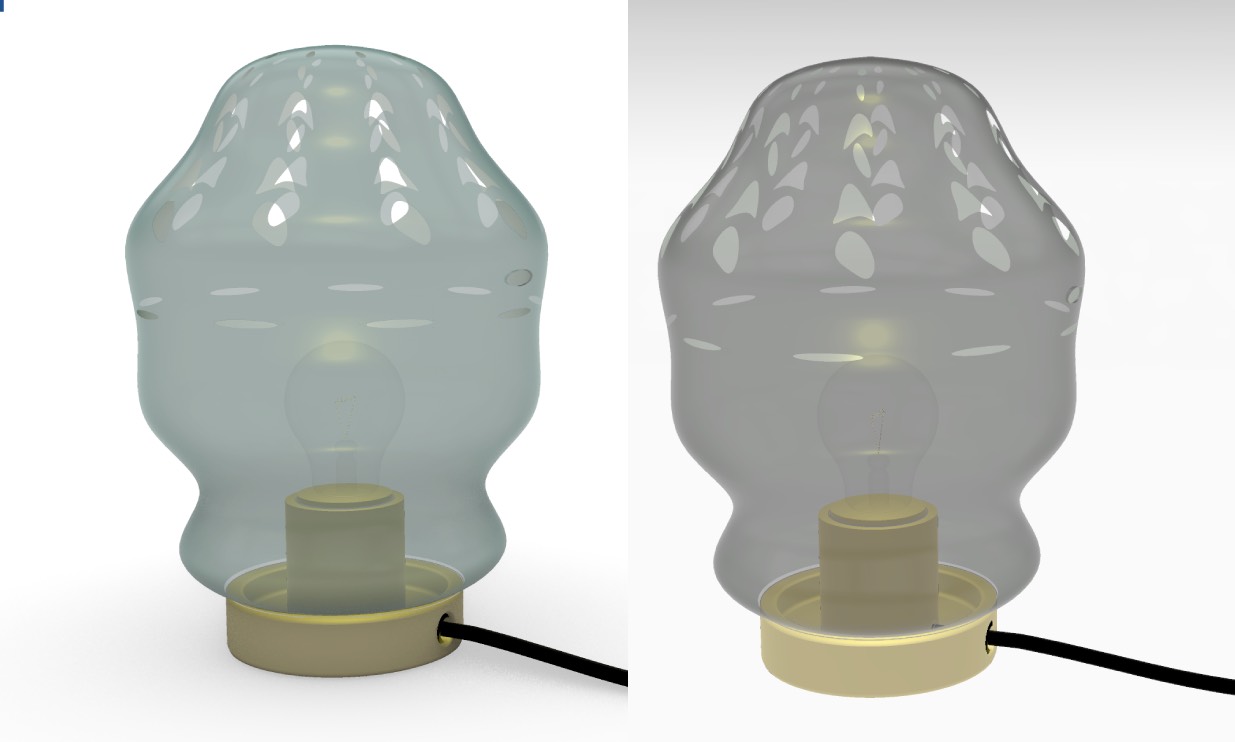
Sum Up
Rhino is a really powerful tool. The amount of options in the toolbars give that away. Nevertheless it comes with a few limitations. First of all it's not a free tool and after 3-month I am not sure I want to pay a lot to use it. Secondly there is no real option to trouble-shoot, change measurements afterwards or go back in time to change the shape without saving layer copies, which I am aware is necessary for my personal workflow.
2D Software
Being a UX designer I am very familiar with Adobe products since my high school years, but since I was not willing to pay their huge monthly fee I had to replace them with an open source software tool. Honestly it kind of feels like switching from manual to automatic driving - not great, but it's a means to an end.
Replacing Illustrator with Inkscape for Vectorwork
I had done the linework in Rhino initially following a 2D to 3D approach, so I wanted to just quickly test out the different options I needed for 2D work. I took a Screenshot from Rhino and modelled it in Inkscape, the file can be found here. Initially I gave myself one hour to do this, but ended up using two, because I had to google to following commands I had internalized over the years in Adobe:
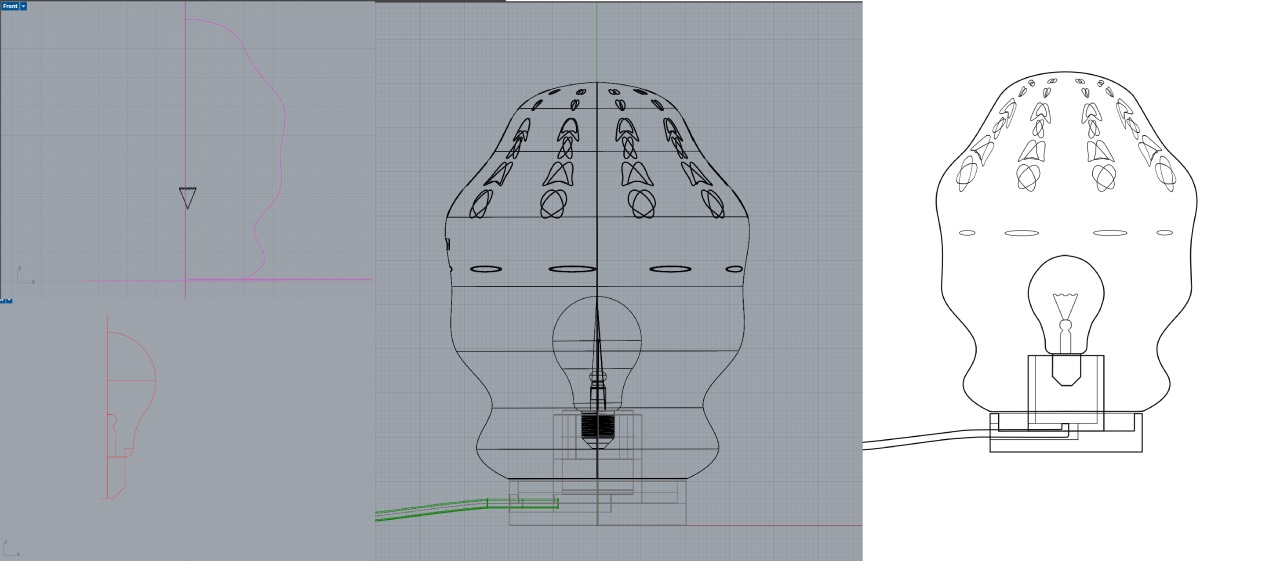
- navigate and zoom:
Crtl + scroolwheel(option + scroolwheel in Illustrator) - paste on the exact same position:
option + command + V(control + command + V in Illustrator) - transform objects:
shift + command + M(command + T in Illustrator) - rotate objects: double click object with
selector tool(command + T in Illustrator) - link different nodes: select objects in node tool selected and use the toolbar
- Mirror objects under Objects/Flip (right mouseclick in Illustrator)
- Text on Path under Text/Put on Path (own command in Illustrator)
Replacing Photoshop with Photopea
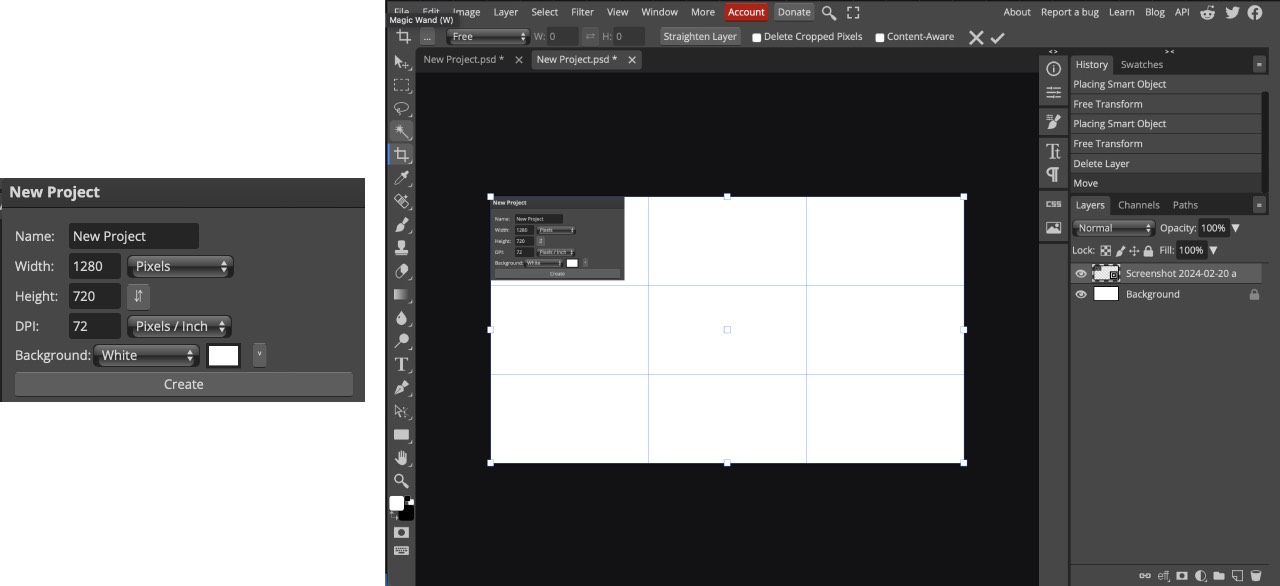
For a smooth photo flow I tried Photopedea. Once I realized that option + command + T is
Photoshops command + T it was fine to use the tool instead of Photoshop.
Lessons Learned
Practice is key! I thought I had the CAD skills built during my training as a product designer, but not having practiced for some years the thought process is there but I miss the short cuts and tricks. Secondly not having the Adobe license I was really annoyed of software not having universal short cuts, it would make life easier. Since my days didn't have more hours I still would like to explore the following tools:
- Try and build my mirror ball in Fusion 360
- Rendering with Keyshot