
Week 15: Wildcard Week
On wildcard week, we were introduced to a variety of different methods and fabrication types that we had not yet seen. Our task was to make something using a fabrication method/technology that was new to us. I decided to play and test the digital embroidery machine.
There was a good amount of troubleshooting involved to set it up correctly, so it was actually quite an involved learning process, especially because I have never worked with a traditional sowing machine or sown much by hand.
One major takeaway is that, after weeks of setting up and interacting with machines, approaching a traditionally hand crafted discipline for the first time that has intimidated me in the past, was way more seamless (haha) via digital and machine process. I felt comfortable using and setting up the files and machine and approaching it digitally.
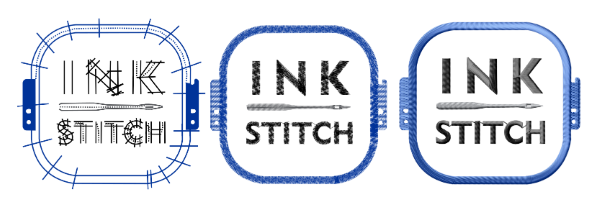
We start by downlaoding an extension for Inkscape called Ink/Stitch. As described on their website:
Ink/Stitch aims to be a full-fledged, cross-platform embroidery digitizing platform based entirely on free, open-source software. Our goal is to be approachable for hobbyists while also providing the power needed by professional digitizers.
Basic Usage
Try the following steps in order to test the extension and to learn the basic functionality:
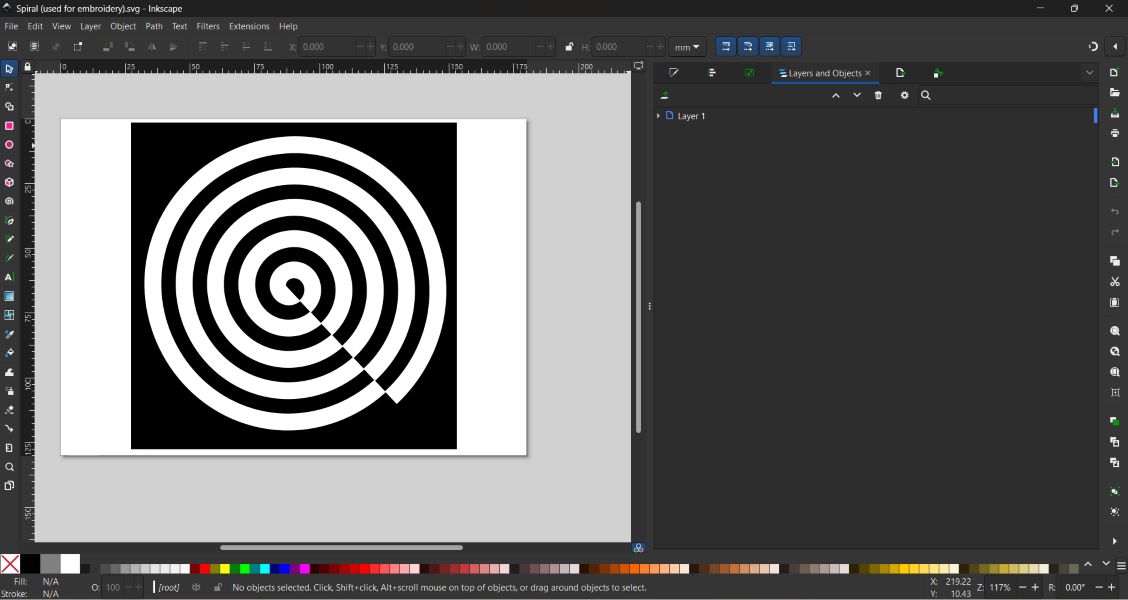
Step 1 - Draw an Object. Create an object and make sure it has a fill.
Step 2- Parametrize SVG Path for Embroidery. Select at least one object. Open Extensions>Ink/Stitch> Params. Play with the values. The simulator will update whenever you change the settings. For now, close without saving.
Step 3- Create the Embroidery File. Run File> Save As... Navigate to the folder where you would like to save the file. Choose the correct file format for your machine. Click Save. Copy the file to your machine. Make sure to also save the file as an SVG, so you can always modify it easily.
Workflow
Step 1
- Create a Vector Image. Inkscape offers various tools to create vector images.
At first you need an idea
or an image that you want to transfer into an embroidery file. You can either paint it from scratch or use an
existing image.
-Create/edit your paths
-Use existing picture/graphics. When basing a design off an existing picture or graphic, load it into Inkscape in its own layer. Some graphics are amenable to Inkscape’s auto-tracing feature (Path > Trace Bitmap or Shift+Alt+B), especially if you simplify the image in a graphic editor first (e.g. with GIMP).
-Text. For text, choose a font carefully. It’s quite hard to make satin look good when it’s 1mm wide or narrower. Sans-serif fonts tend to be the easiest. For text smaller than 4mm tall, you’ll have a very difficult time making lowercase letters look good, so consider block-caps. Cursive/script fonts can work well, but it’s not going to be as easy as you think.
Ink/Stitch offers ready to use fonts which can be inserted into your document through Extensions > Ink/Stitch > Lettering
Step 2
At this point, you’ll have a vector graphic representation of your image. The next thing to do is to convert your vectors into the kind that Ink/Stitch understands.
-The object panel: It is recommended to make heavy use of layers and groups at this point.
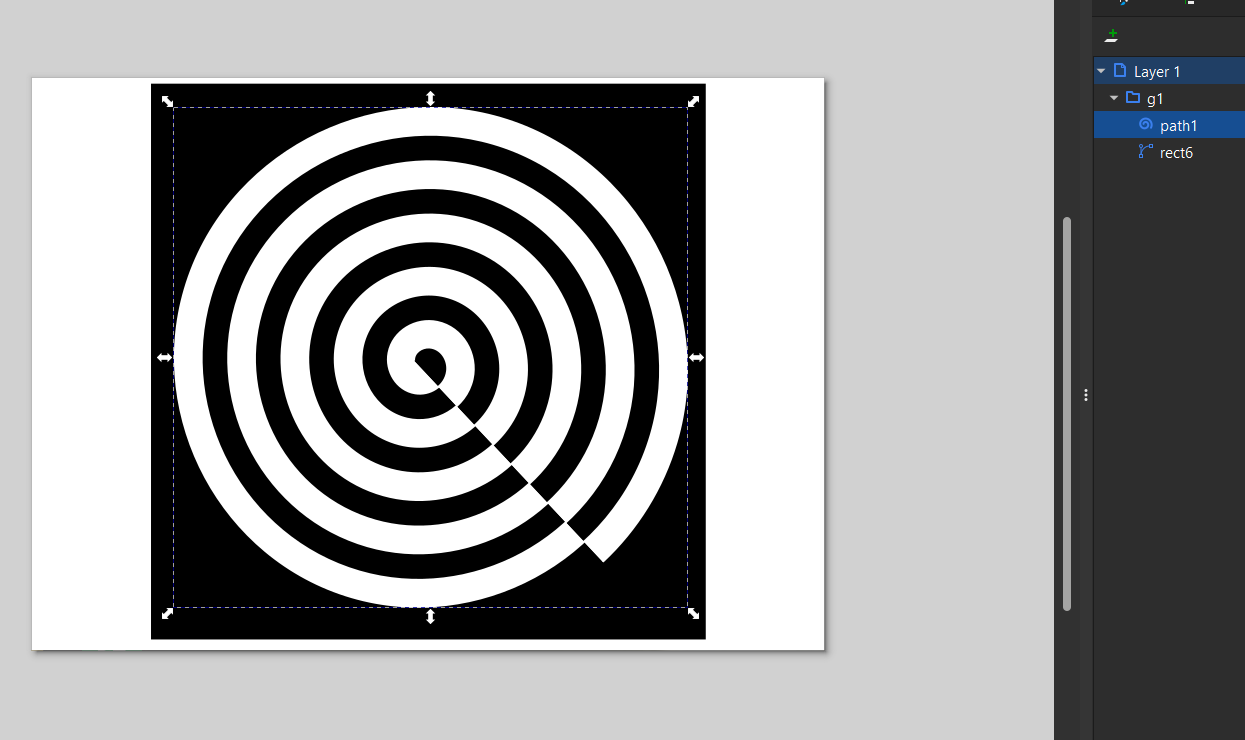
-Groups: Use groups to structure your document. Select objects with your mouse. Add or remove objects with Shift + Click, then hit Ctrl + Shift.
-Stitch types. Ink/Stitch offers various stitch types. Depending on which stitch type you are willing to use, you have to set the fill color, or stroke parameters with Object > Fill and Stroke... (CtrlShiftF).
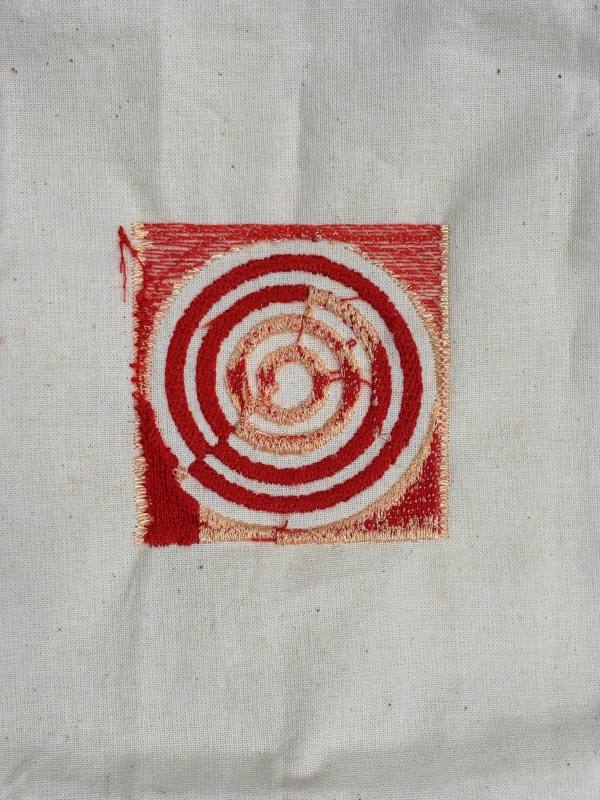
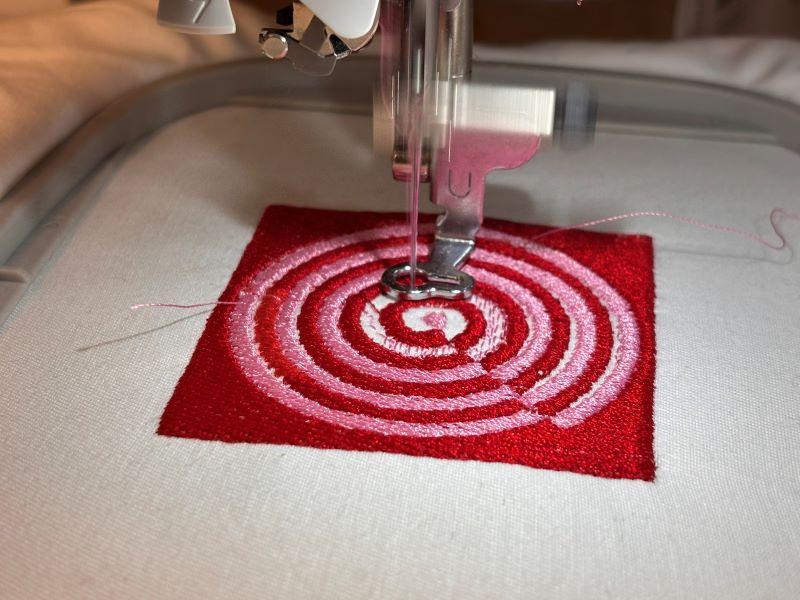
I personally started with circular sitch pattern, and then used auto fill.
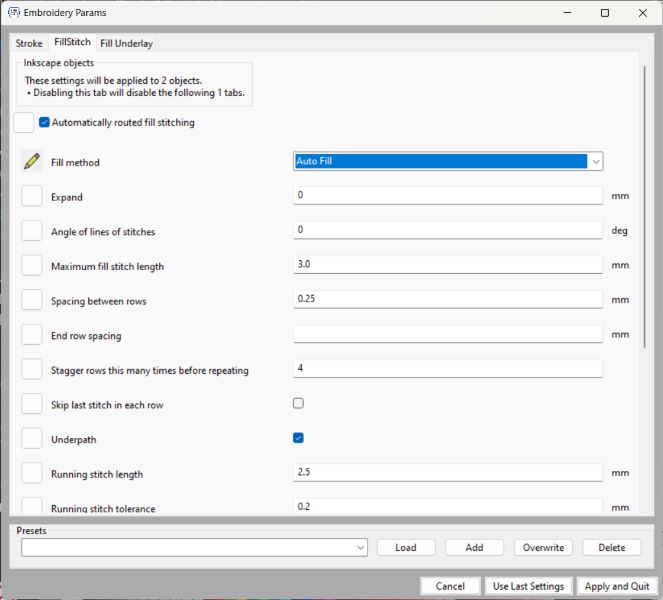
-Parametrize. Set parameters using Extensions > Ink/Stitch > Params. You find a description for each parameter in the Params section of this documentation. Each time you change parameter values, you’ll be able to see the simulated result in a preview window. Once you are satisfied with the result, click Apply and close to save the values into your SVG-file.
At this point, save your SVG file. If Inkscape is starting to become sluggish (due to an Inkscape memory leak), restart it before continuing.
Step 3
-Stitch Order. When you’re designing for embroidery machines that can’t cut the thread mid-sew or switch colors automatically, you’re going to want to optimize your stitch path to reduce or hide jump stitches and make minimal color changes. Also try to avoid stitching over jump stitches when possible, because it’s a total pain to trim them by hand when you do.
I set up my file into two layers/colors, each one with different fills and not overlapping eachother in the Inkscape file.
-Commands. Commands also help to optimize your stitch path. You can set start and ending points, push the frame into defined positions or set trim and cut commands, etc.
Step 4
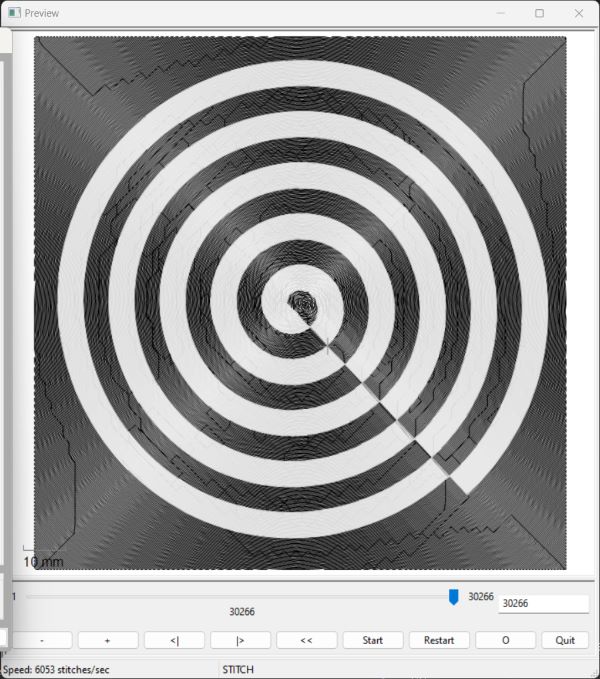
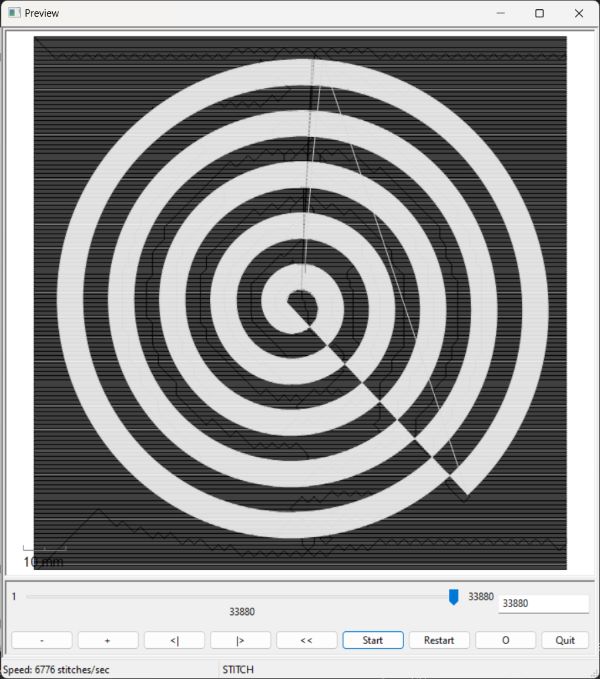
-Visualize. Ink/Stitch supports 3 ways to preview your design: Simulator, Print Preview, Stitch Plan Preview.
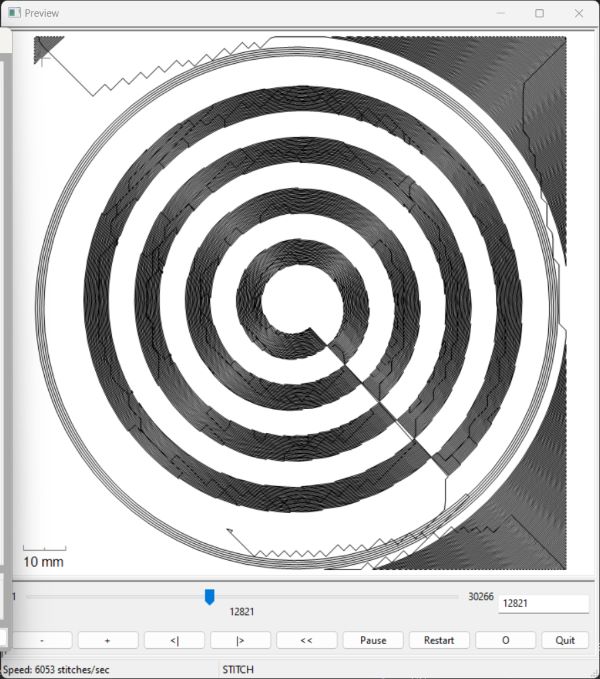
This is the preview window as it loads stitch results...
Step 5
-Save the embroidery file. To export to a file format supported by your machine. Most machines can support DST, and some Brother machines prefer PES. Do not forget to also save your file in the SVG-format. Otherwise it’s going to be difficult to change details later.
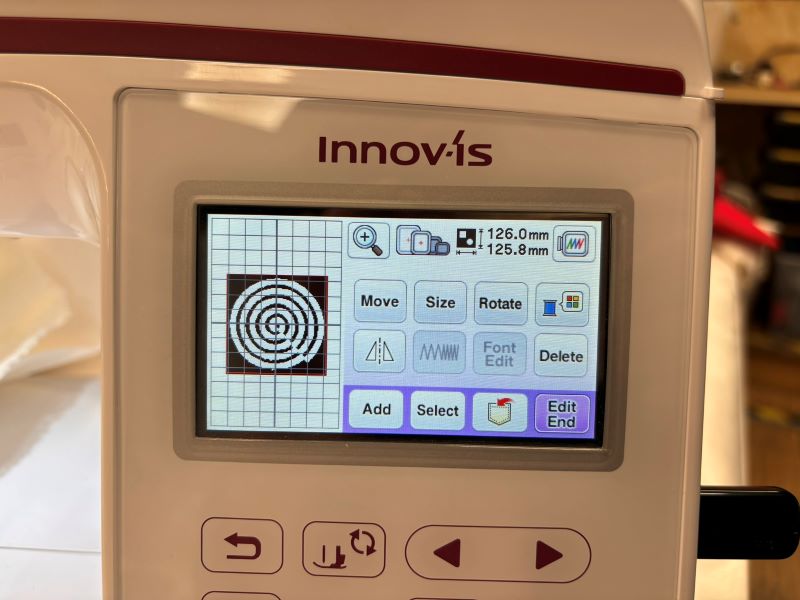
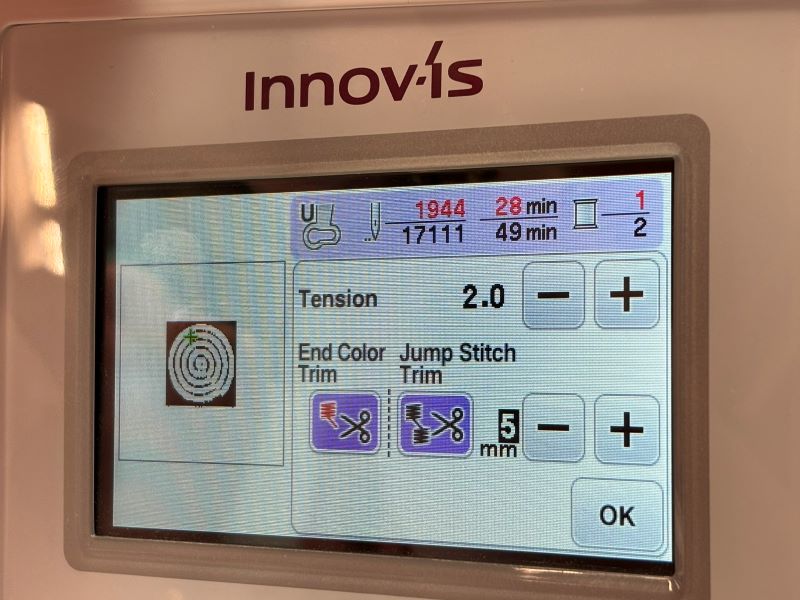
Once the file is loaded onto the machine, you can do final setups before sending to print.
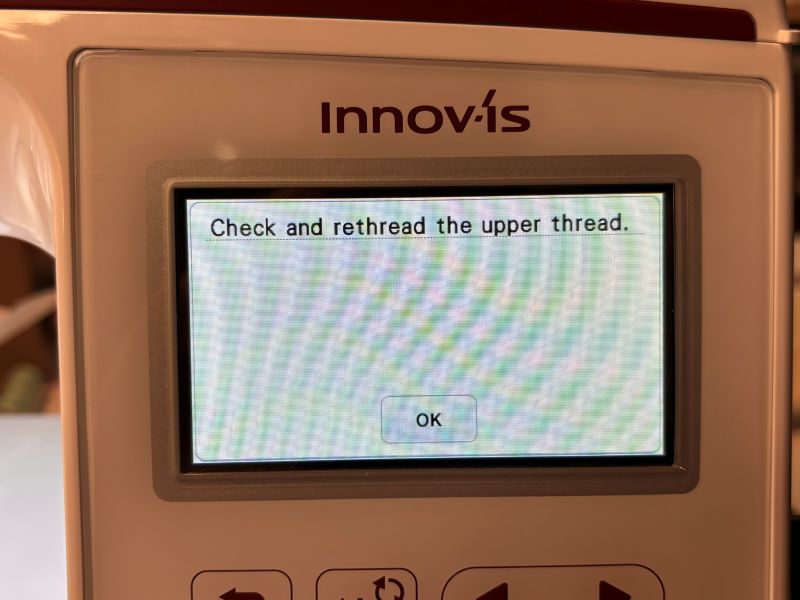
If there is any technical issue, expect an error message and further indications.
Step 6
-Test sew. There’s always room for improvement! To test out your design, prepare a test piece of fabric that matches your final fabric as closely as possible
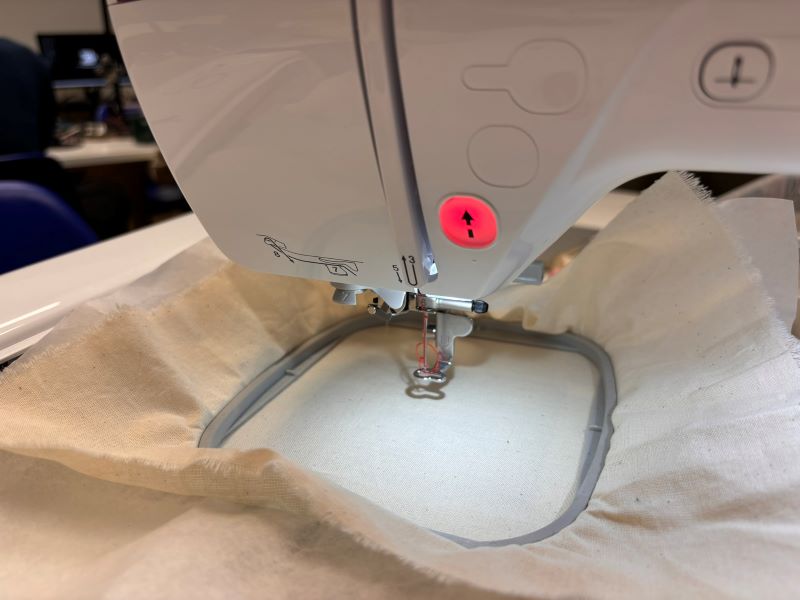
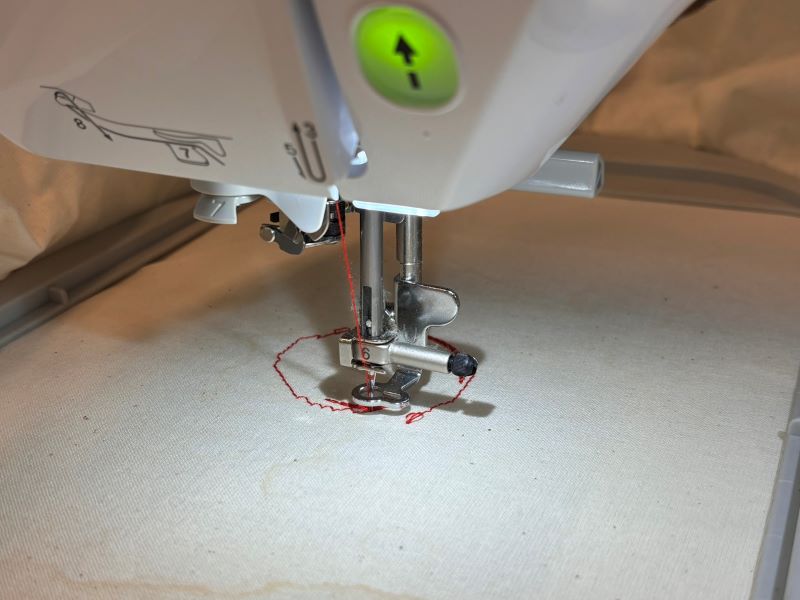
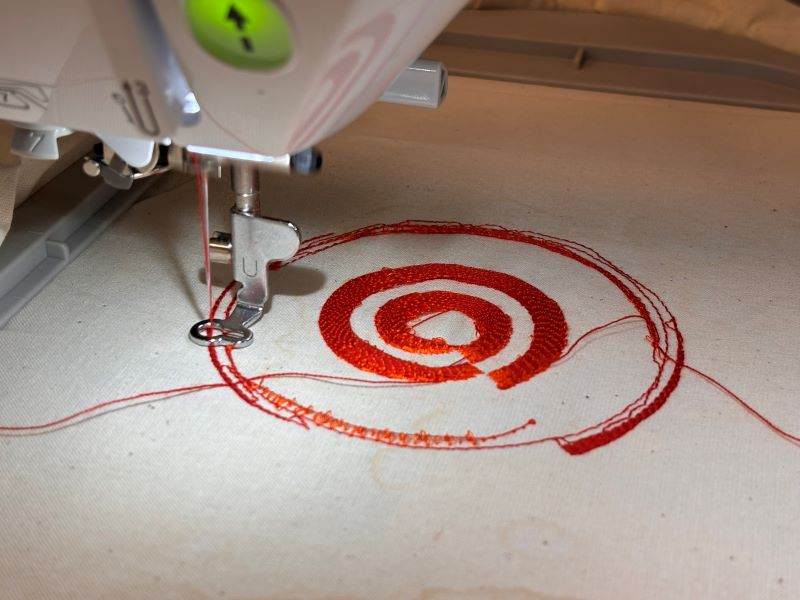
When the threader head is pulled down, the send button turns from red to green. On the right is my first (failed) test.
Step 7
-Optimize. Adjust your design until desired result. Test!
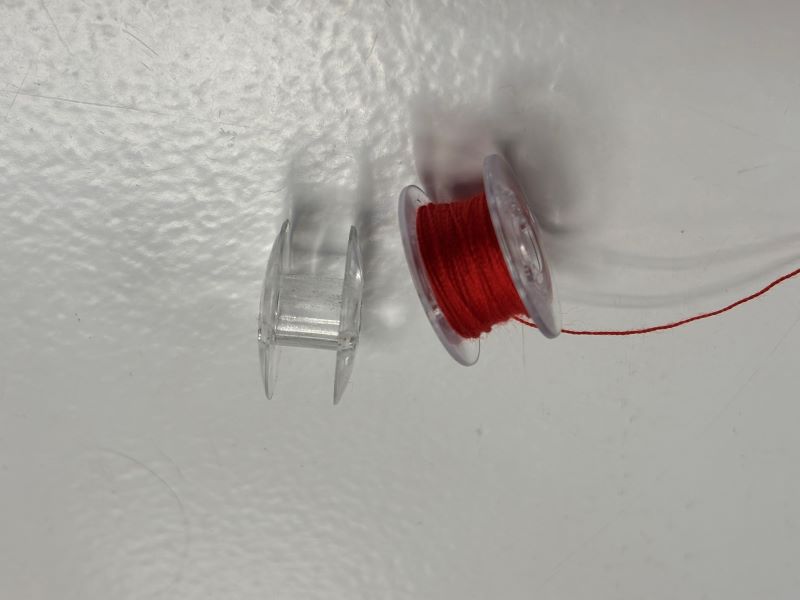
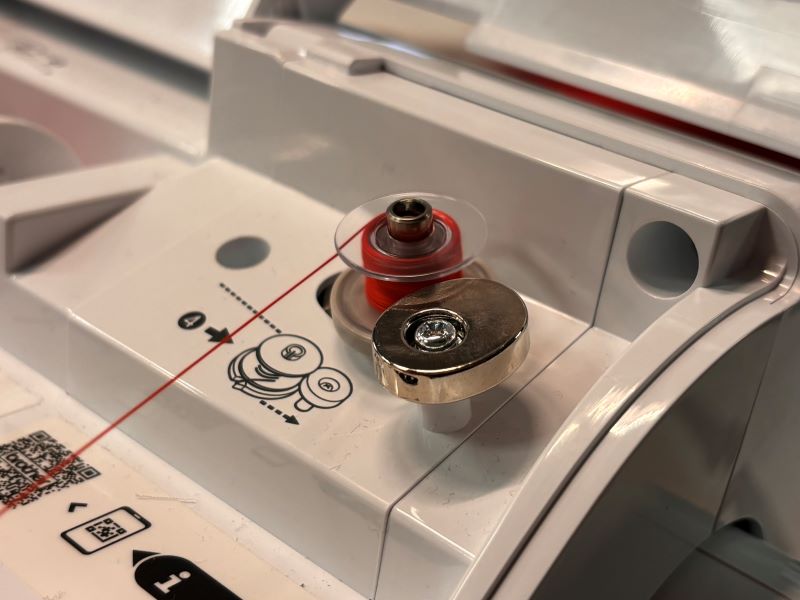
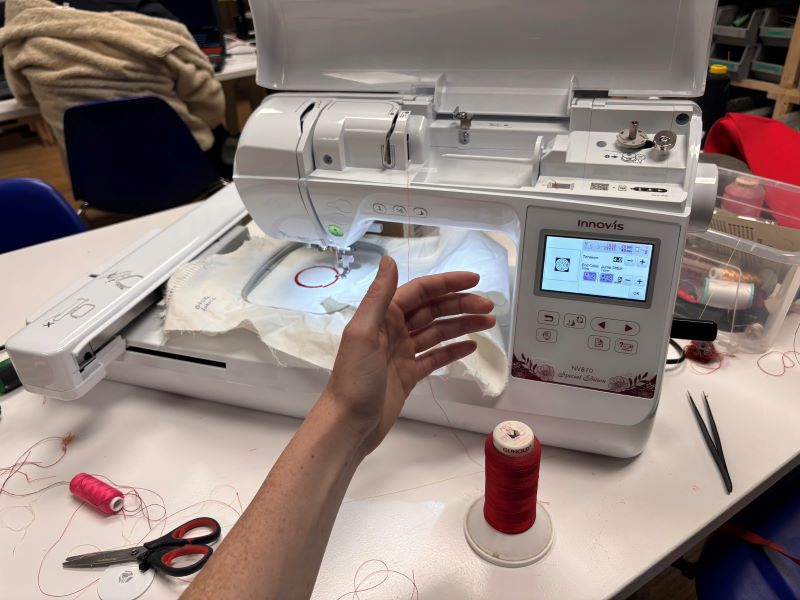
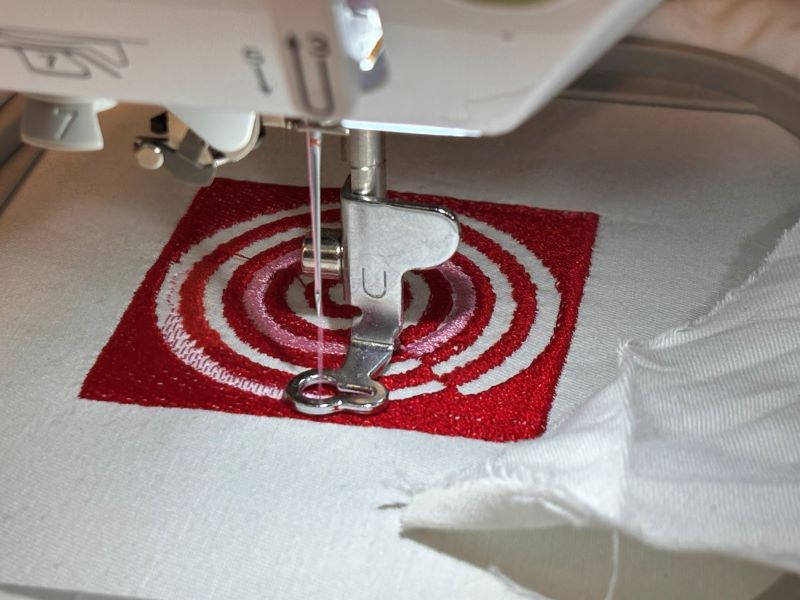
For example, there were constant issues in my workflow with the needle becoming unthreaded and the bobbin thread showing through the top of the design. This is not supposed to happen. Our fab lab interns were savvy enough to realize the bobbin spool that was being used was incorrect. It should be a flat sided bobbin. We also realized that the thread was regular sowing thread, which is too brittle to be threaded and tensed by the embroidery machine - we tried detensioning and keeping it low, but there were still issues. To get my final and best test done, I resorted to guiding an appropriate thread with my hand while the file ran because we did not have any available spools to thread the correct thread with.
We were using the Innov-is
F540 E Embroidery Machine