Week 12: Molding and Casting
This week we learned about different methods for making molds and casting materials.
This is the group assignment for the week!
Molding and casting is a manufacturing process in which a liquid material is typically poured into a mould, containing a hollow cavity of the desired shape, and then allowed to solidify.
The solidified part is also known as casting, which is ejected or broken from the mold to complete the process.
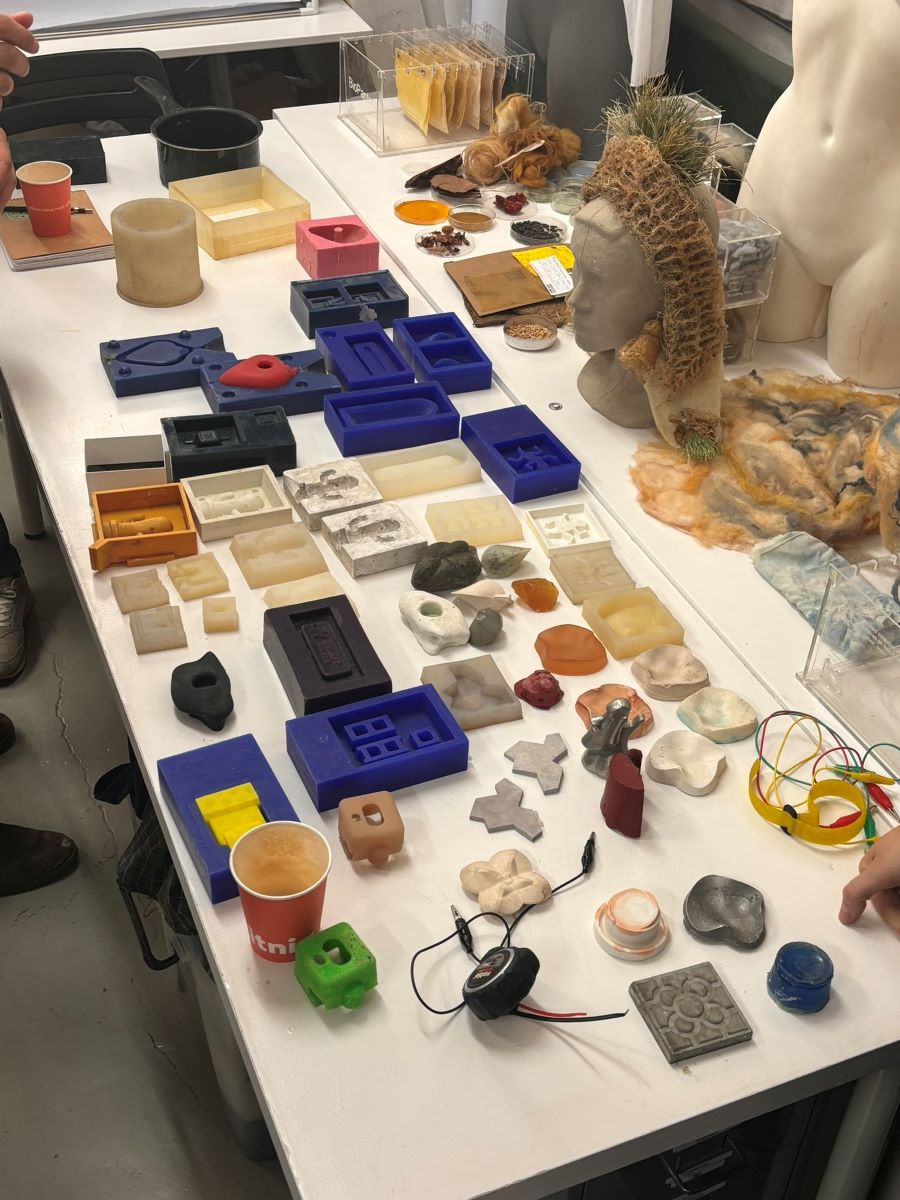
As a group, we tested different materials including:
- machinable wax
- silicones
- rigid foam
- gesso
- epoxy resin
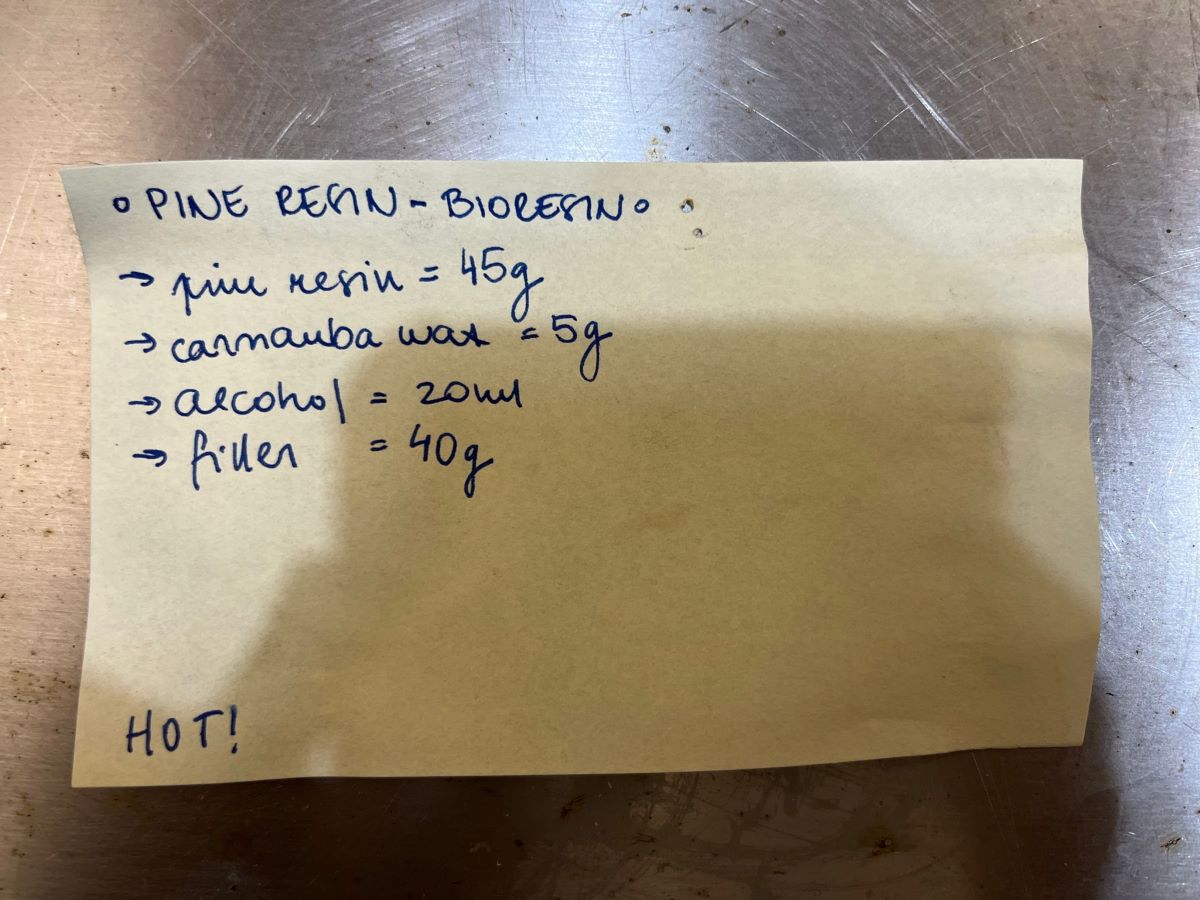
- pine resin
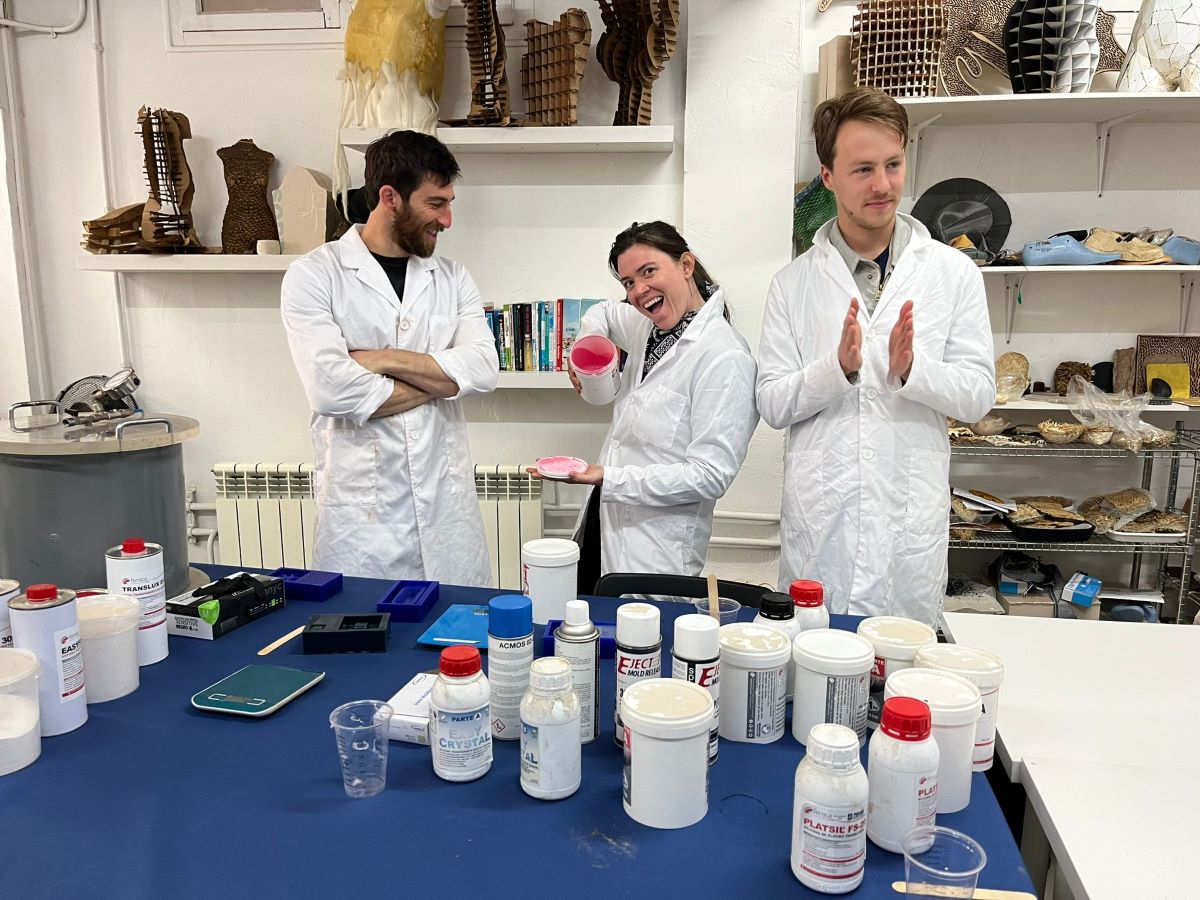
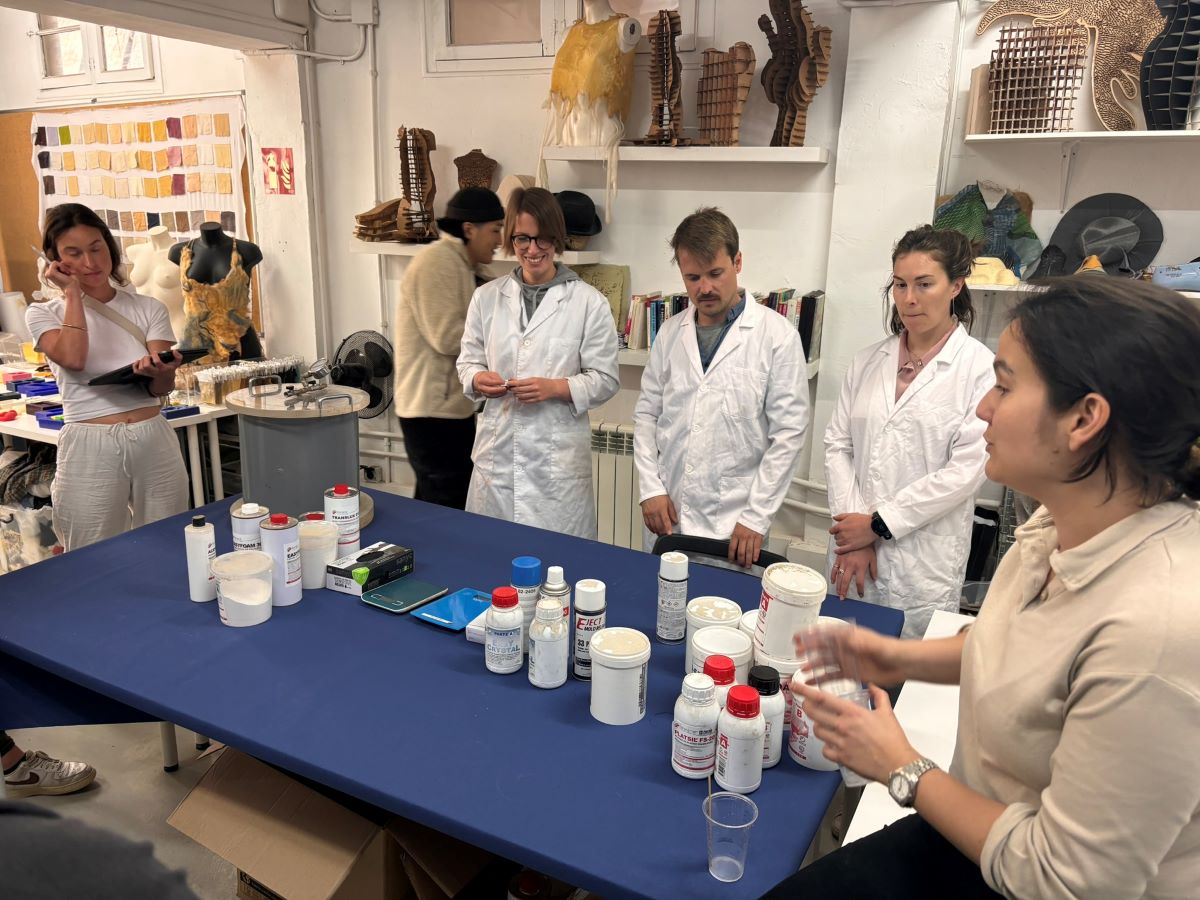
The test findings and datasheets are available in the group assignment page linked above.
The workflow for this week was to create a design to cast and mold. I started in Fusion 360 designing a pair of potentiometer knobs to possibly implement into my final project.
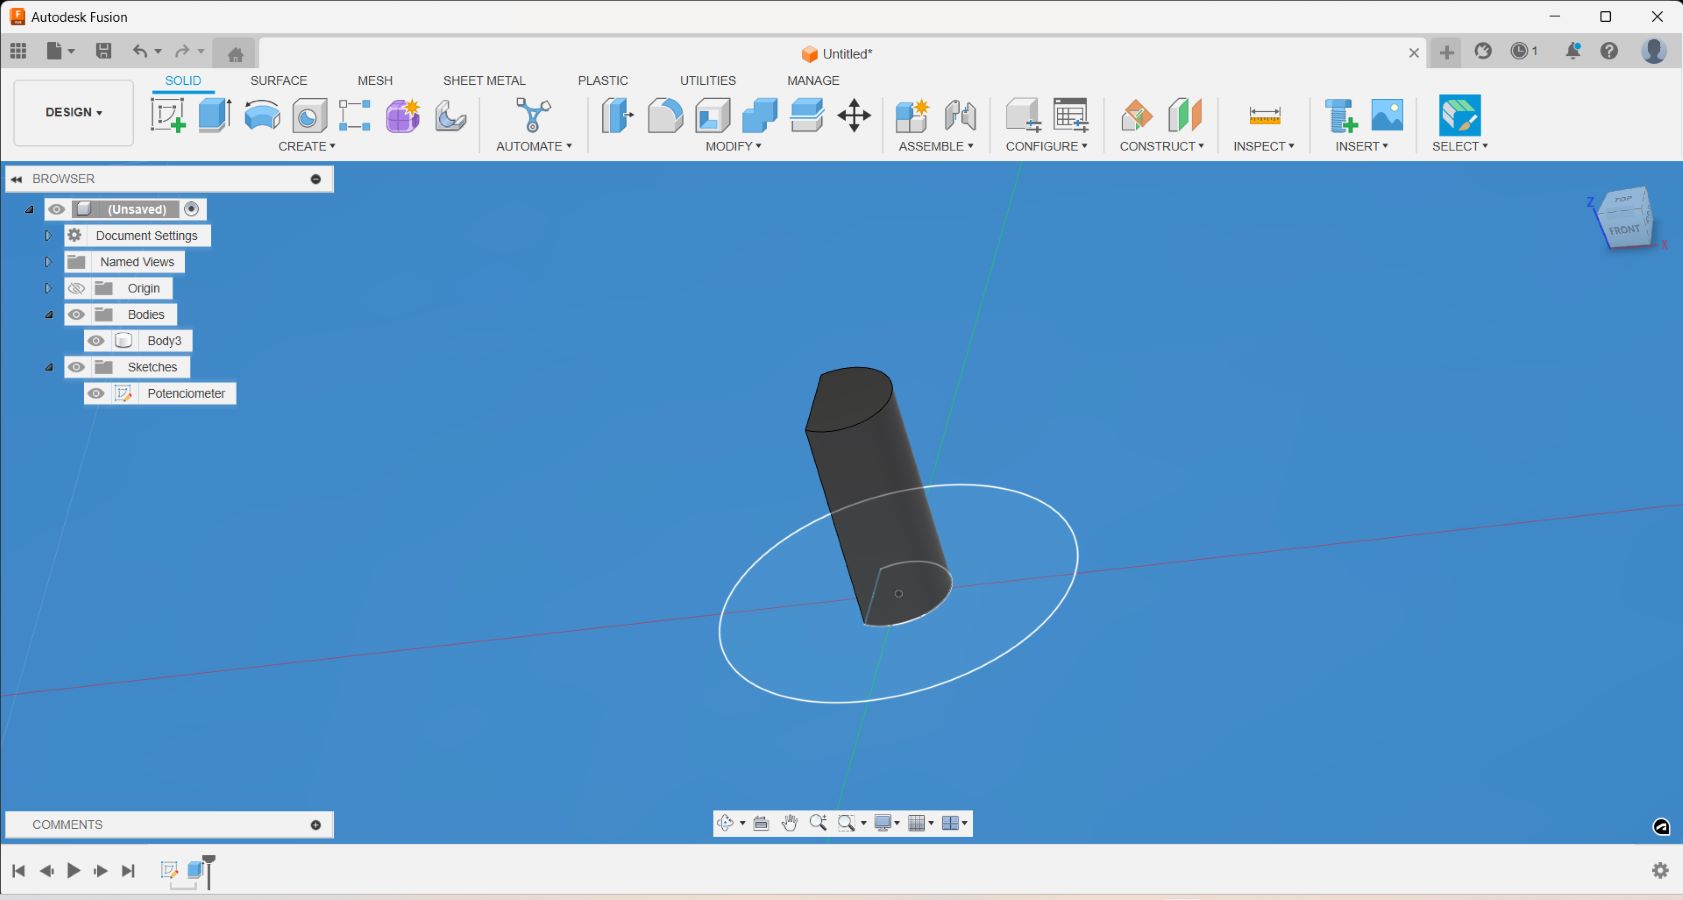
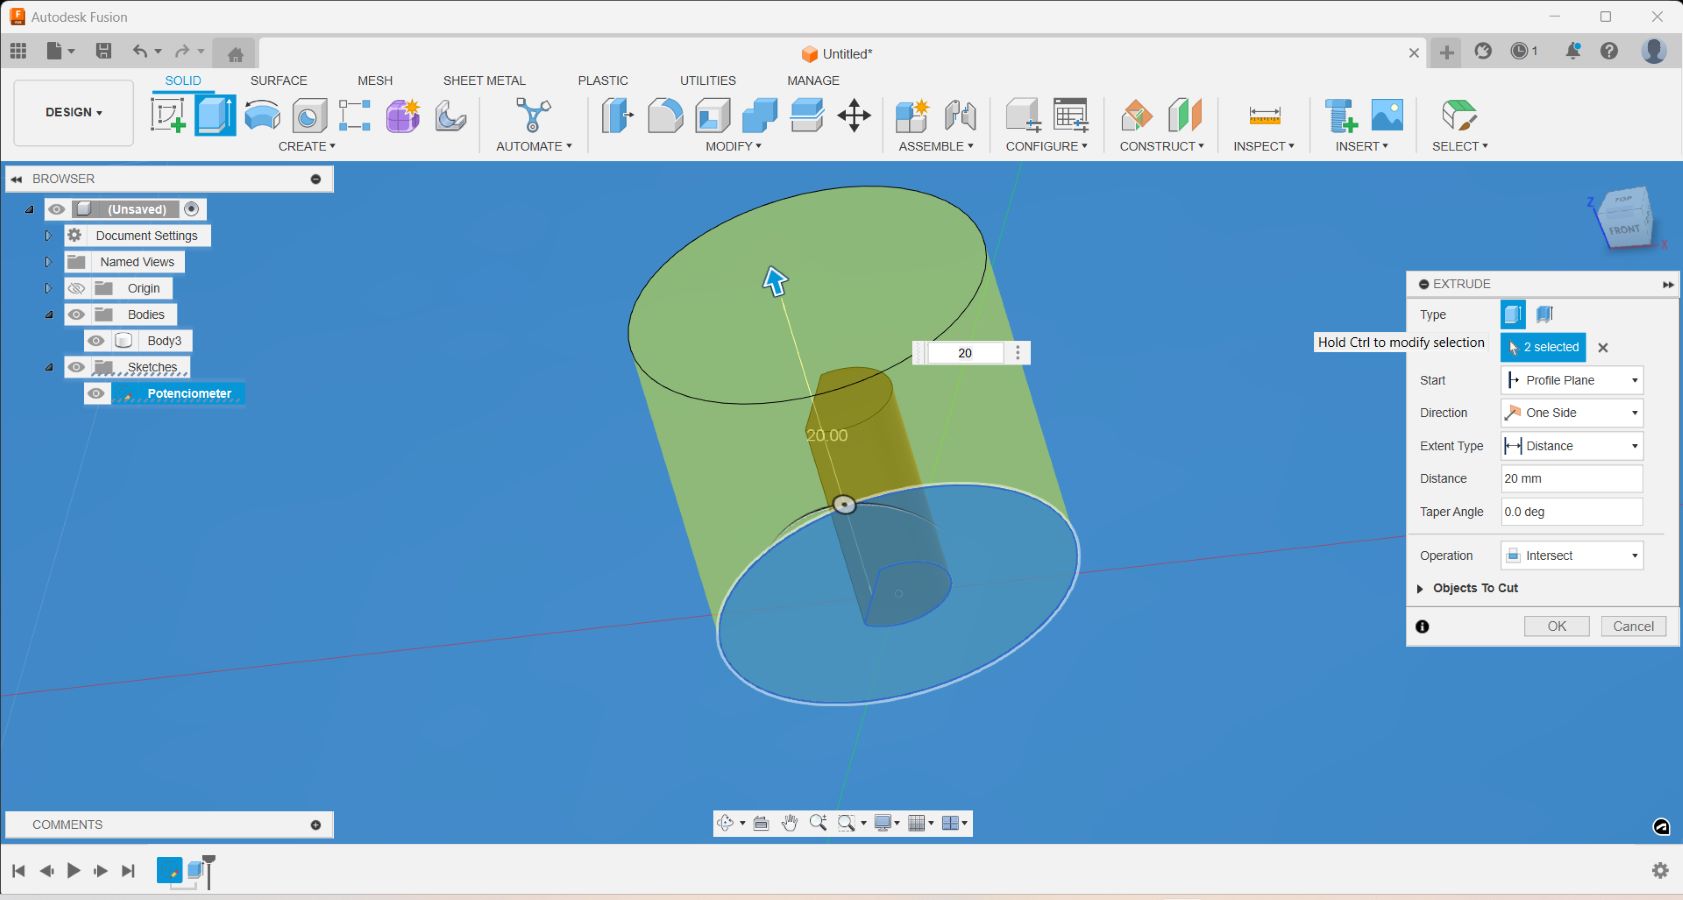
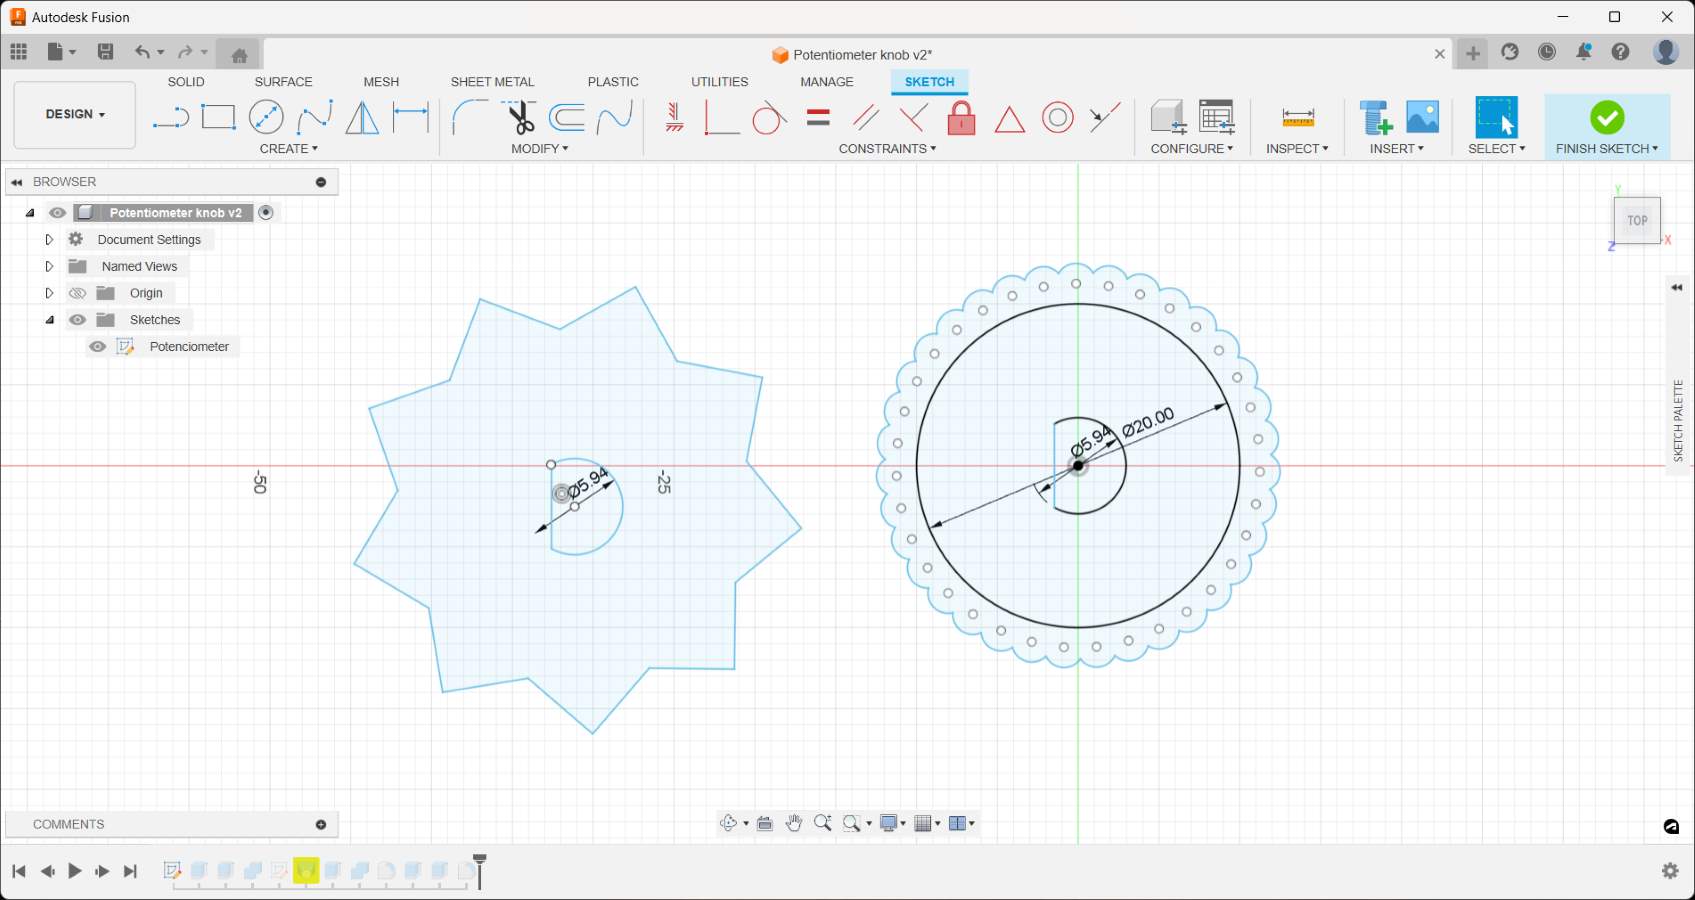
Designing the shaft for the potentiometer to fit through first.
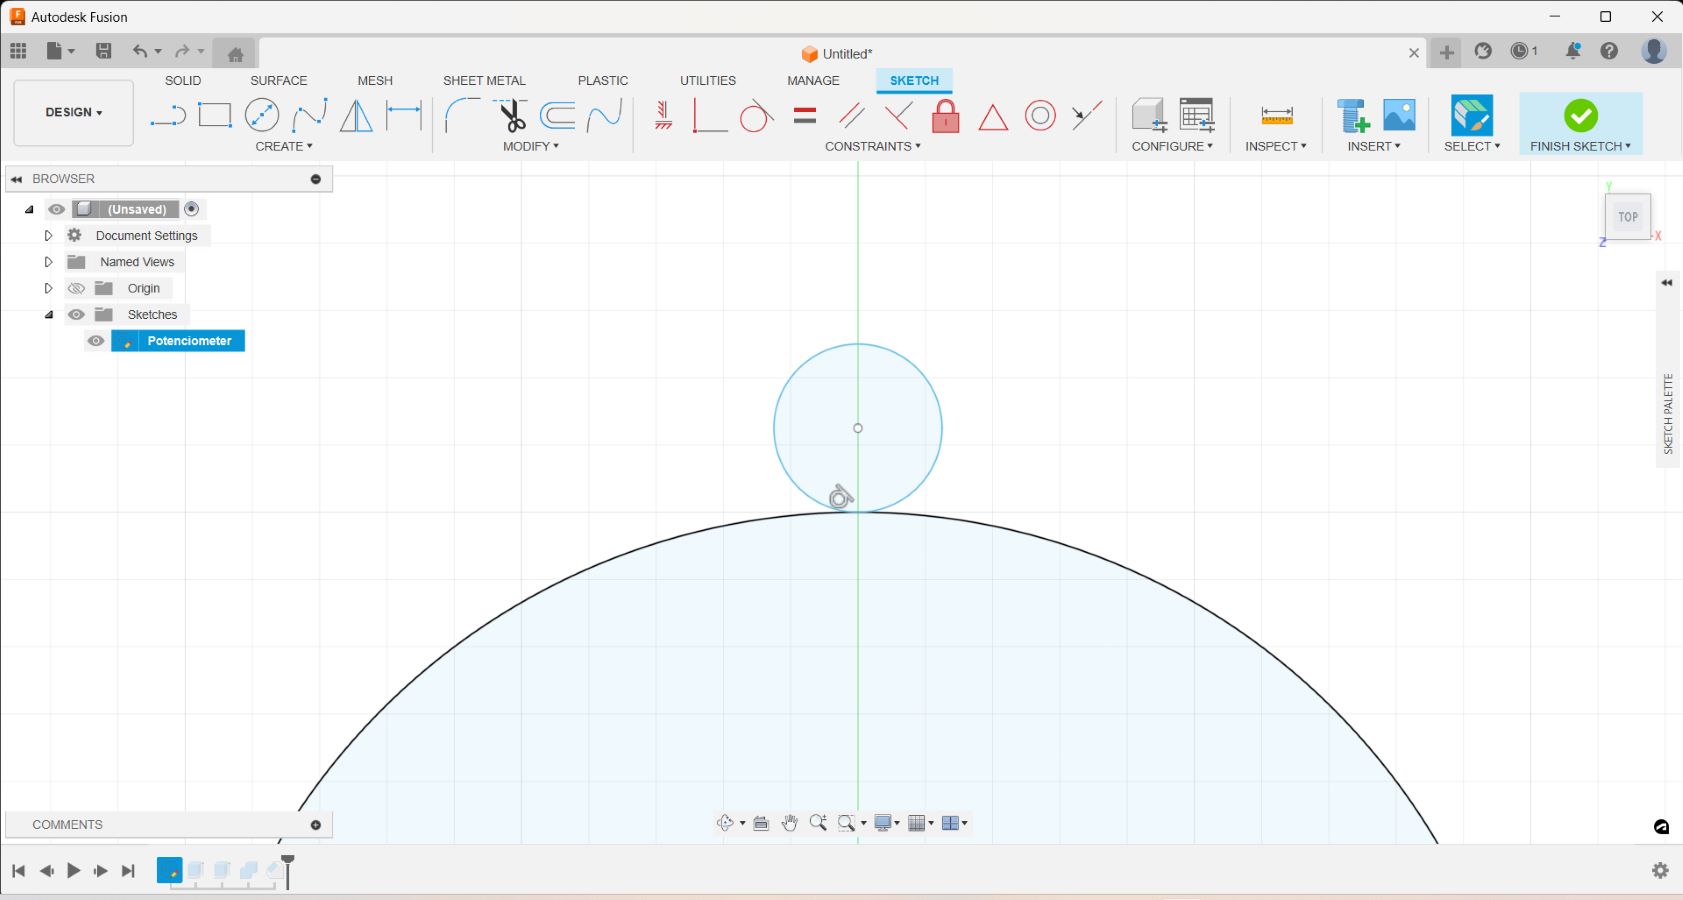
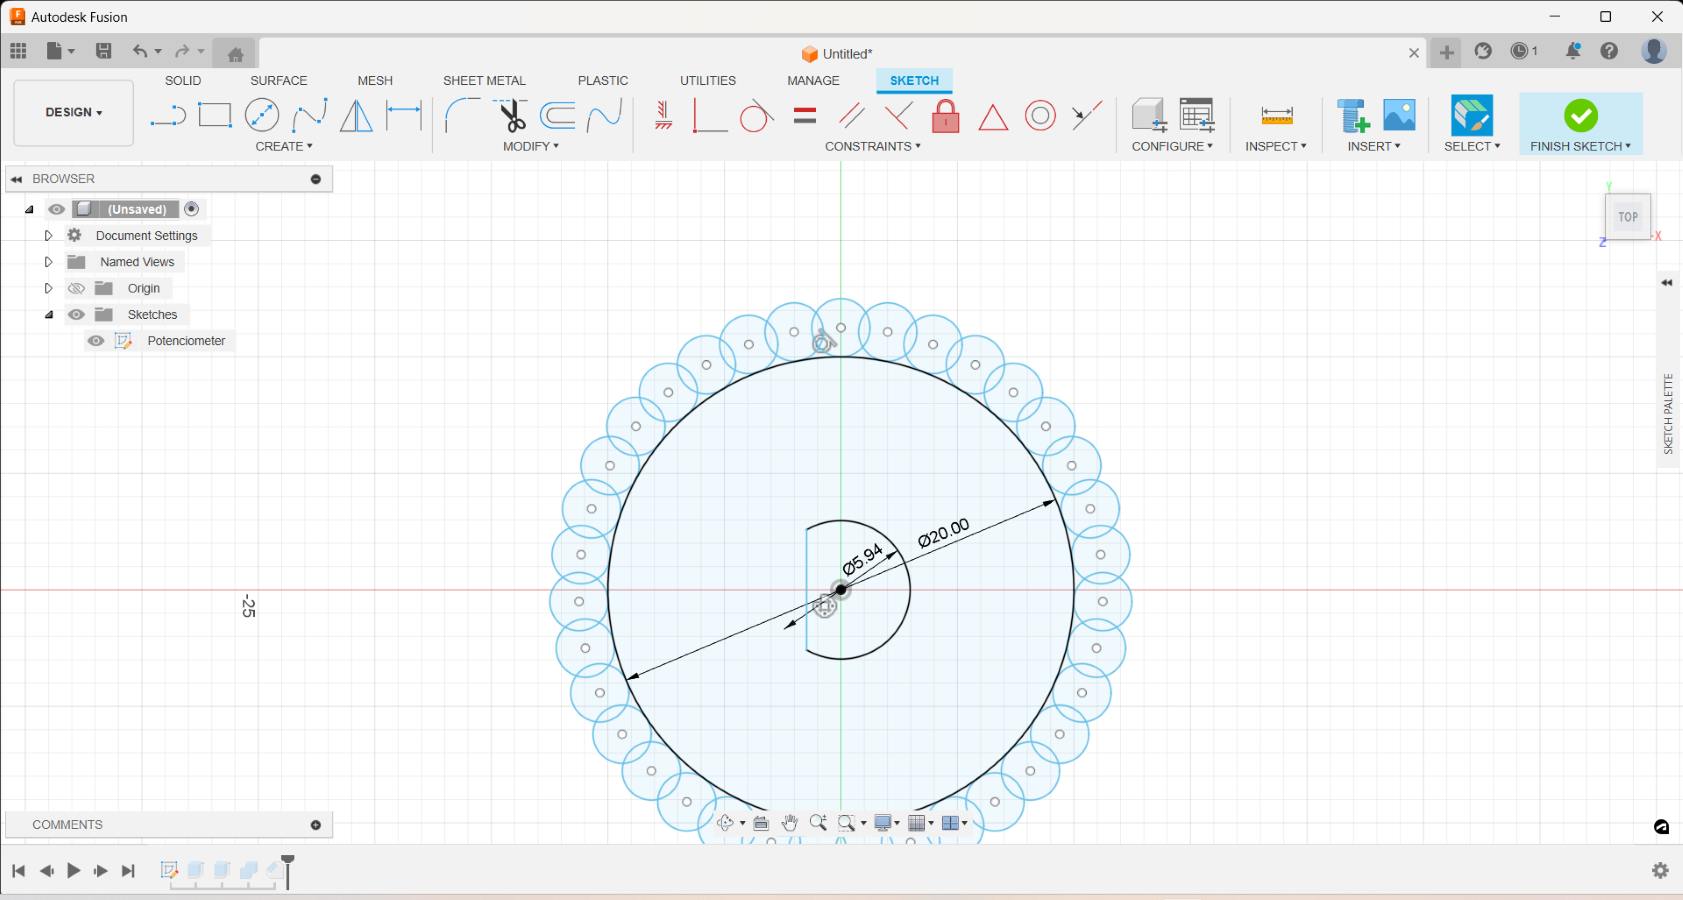
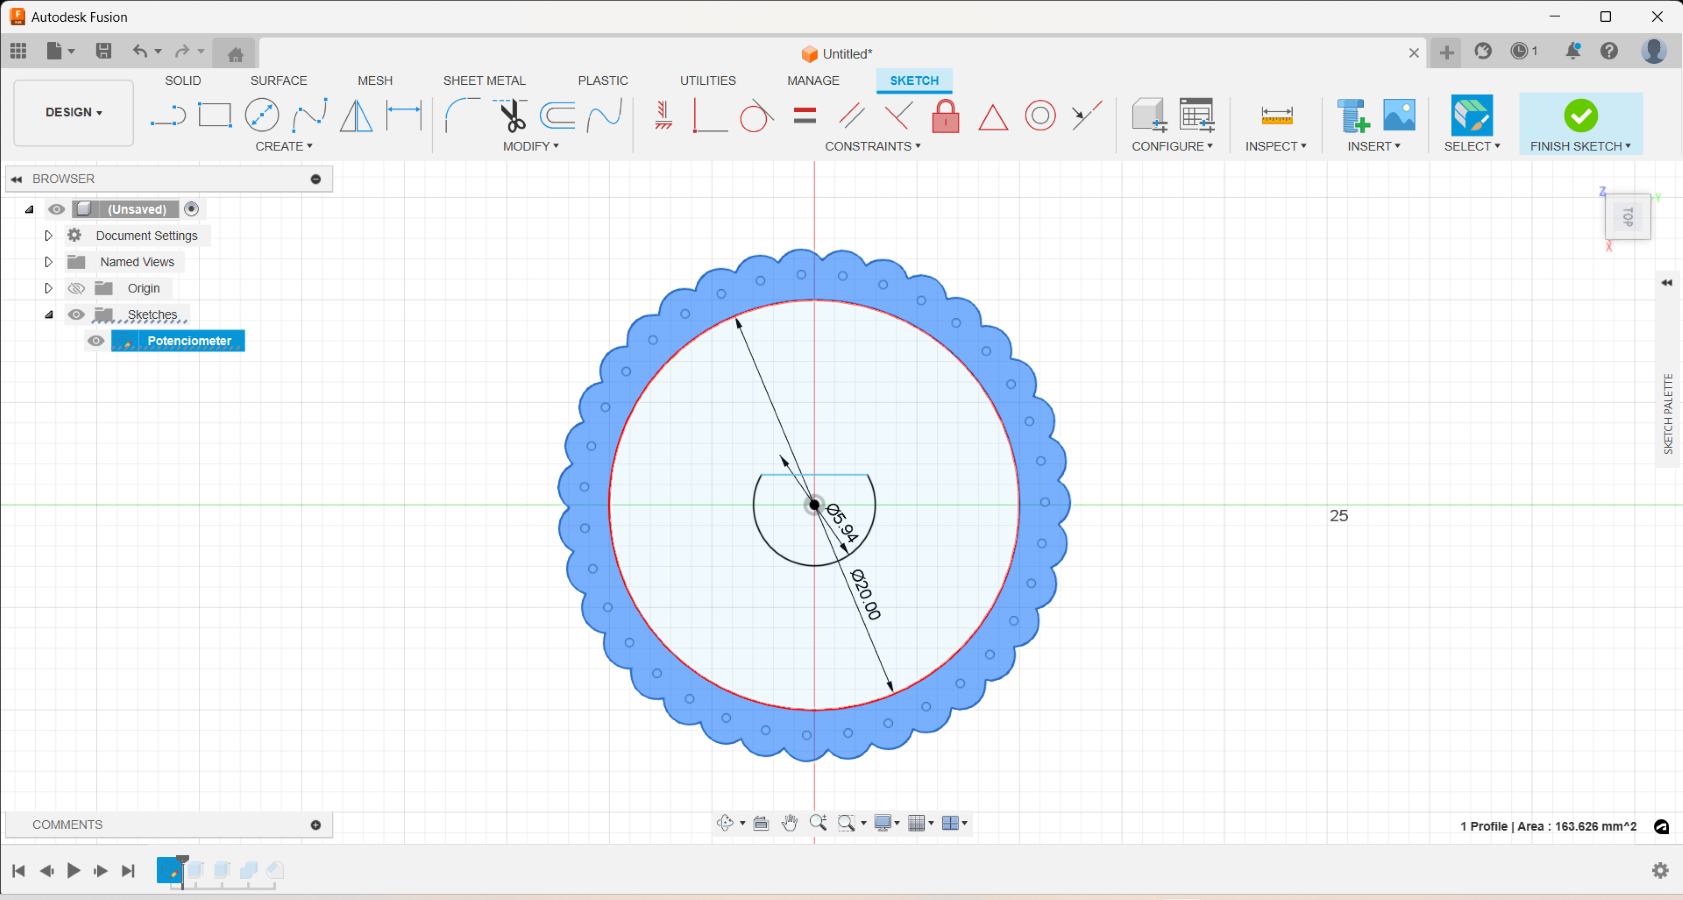
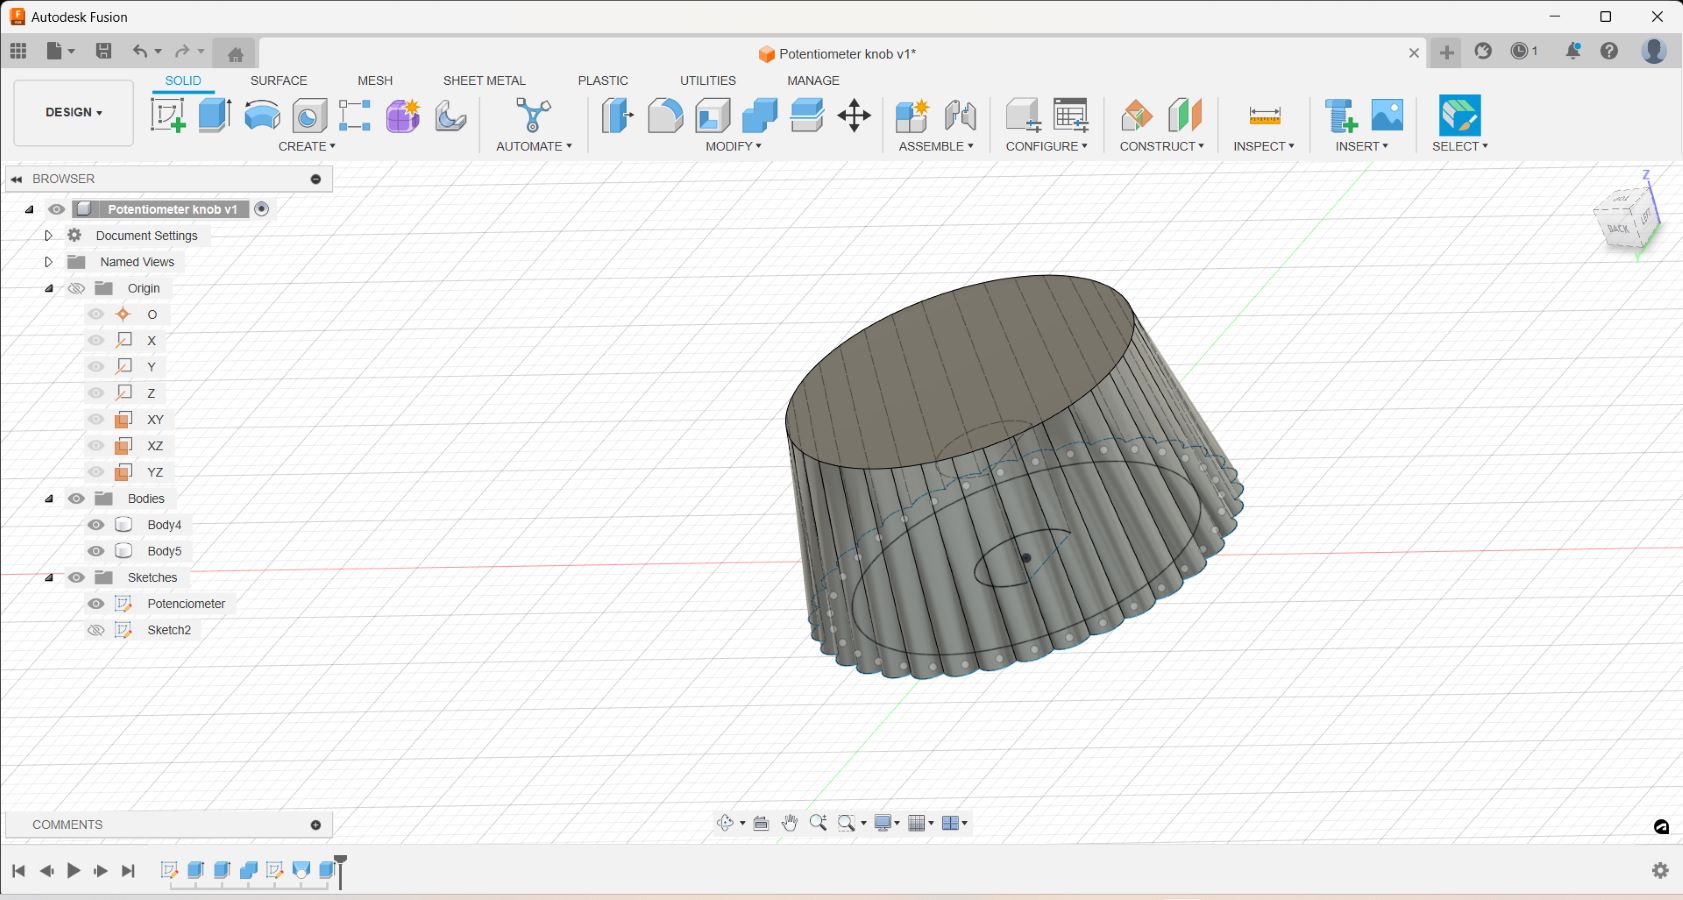
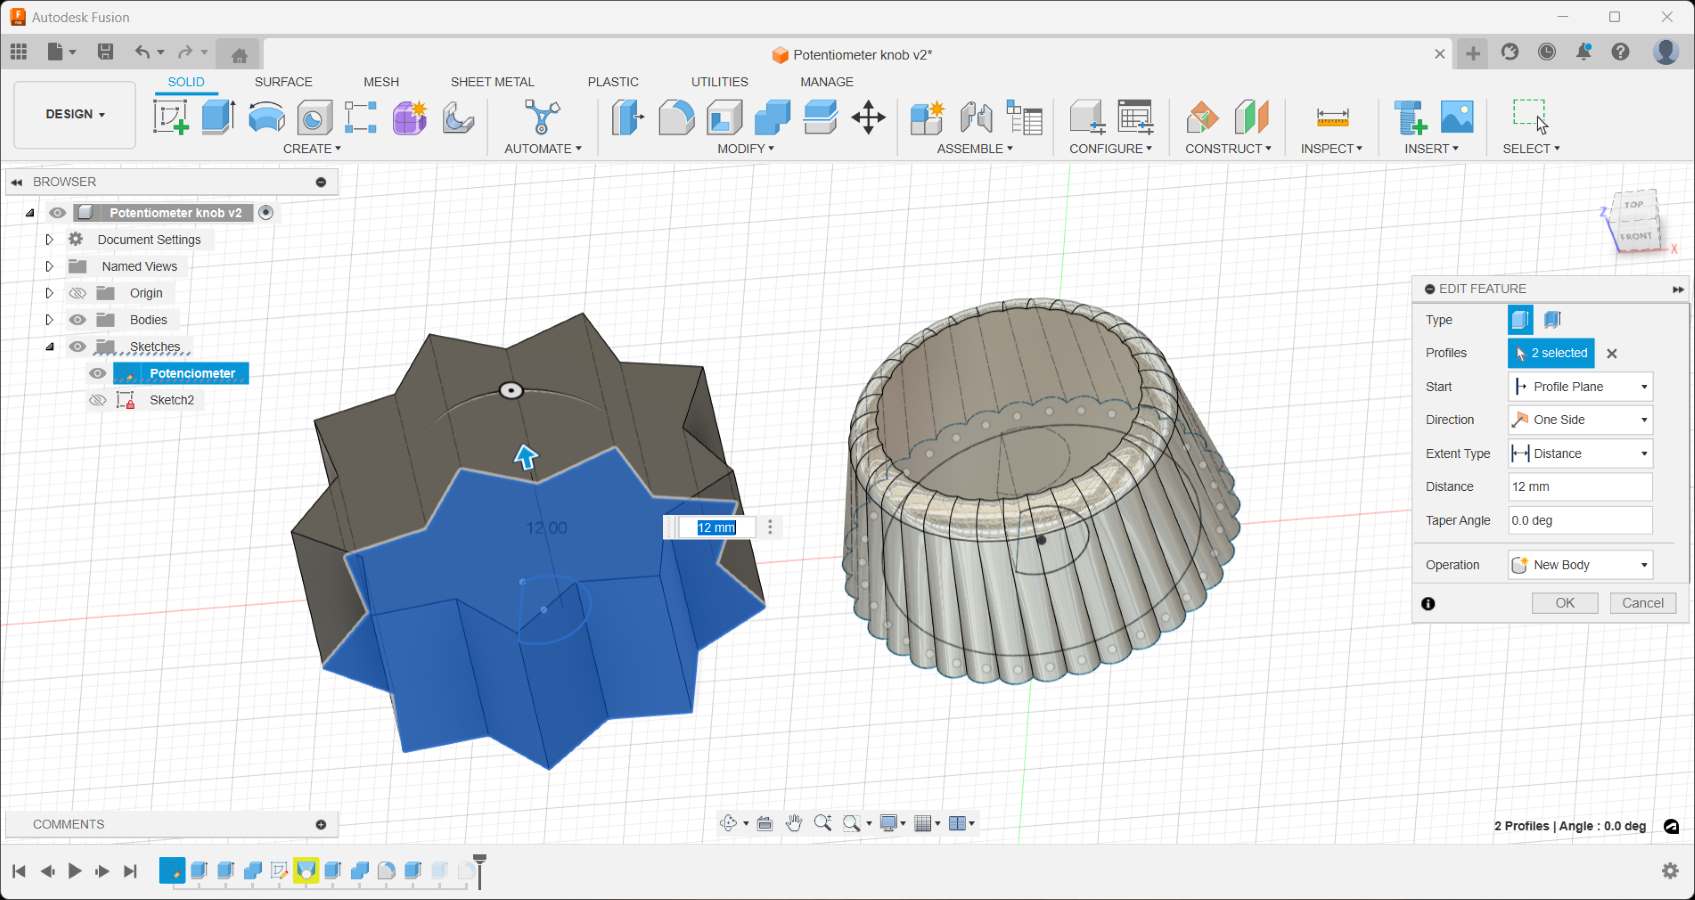
Designing a profile for one of the knobs.
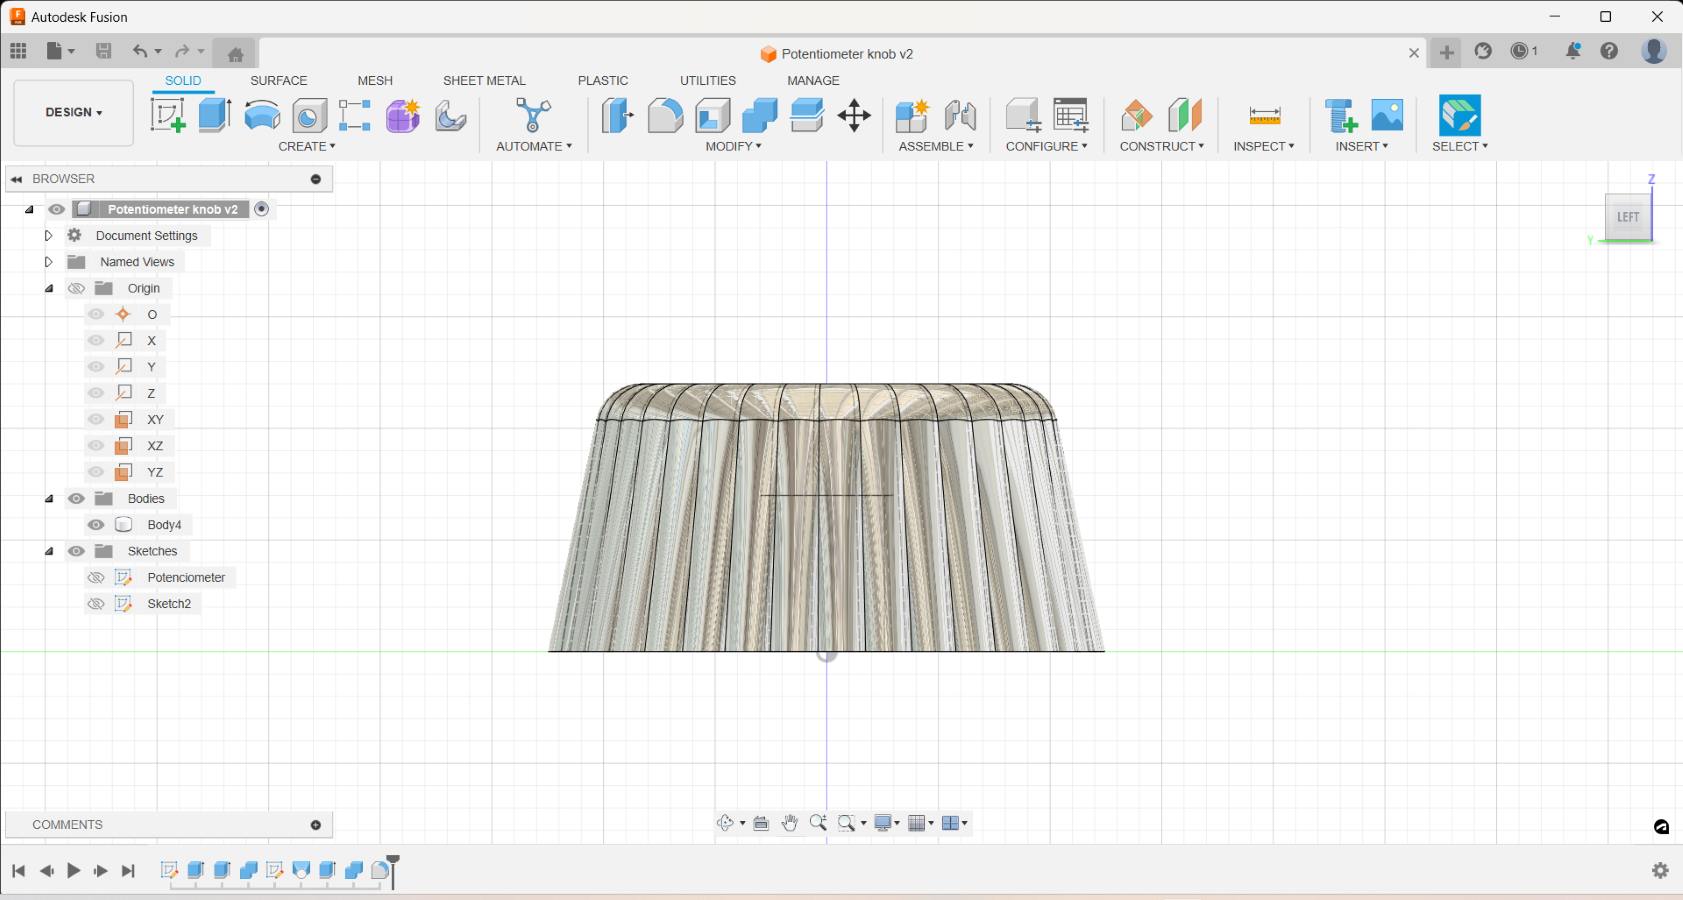
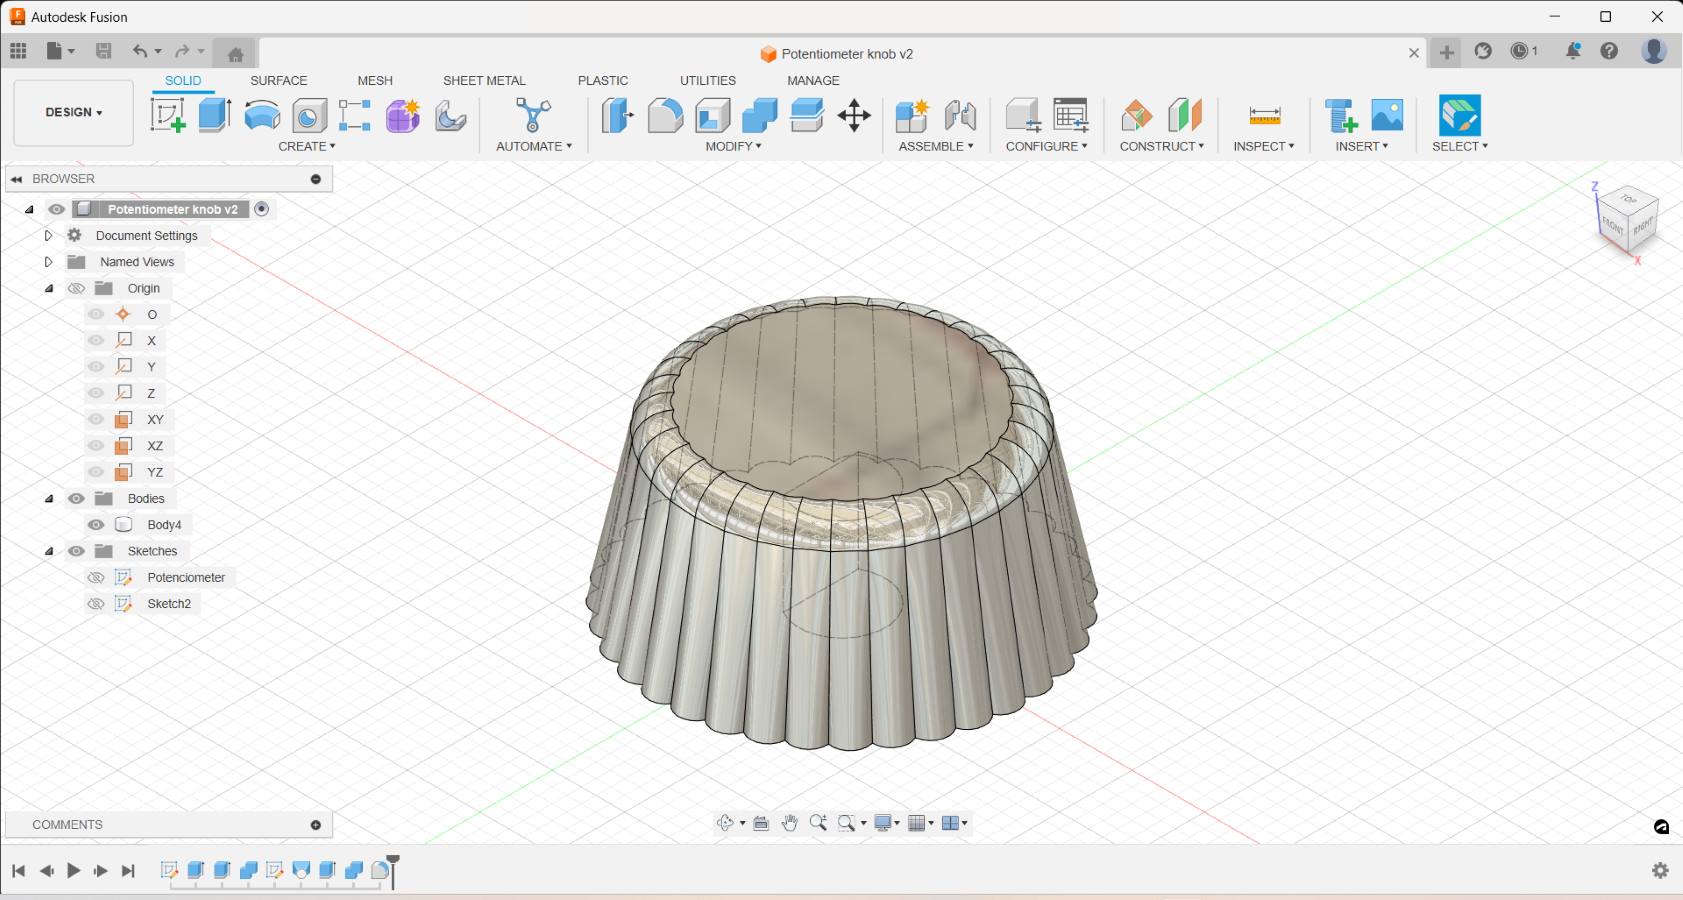
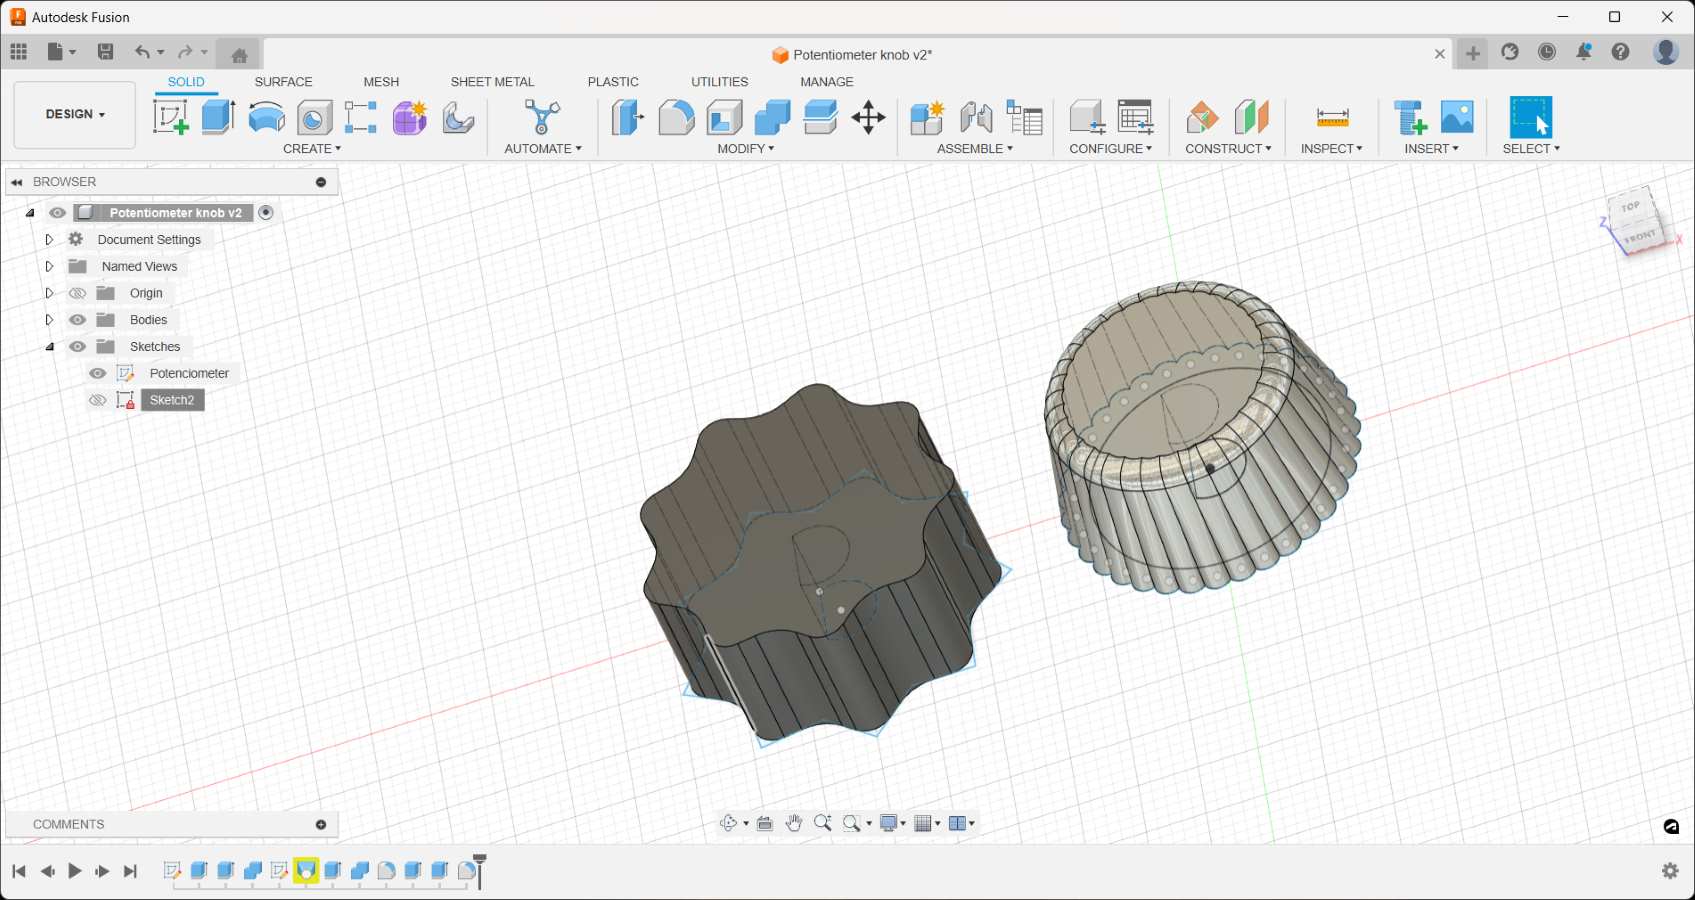
Refining designs, filleting curves.
Placing finished knob designs on flat piece before sending to SLA printer
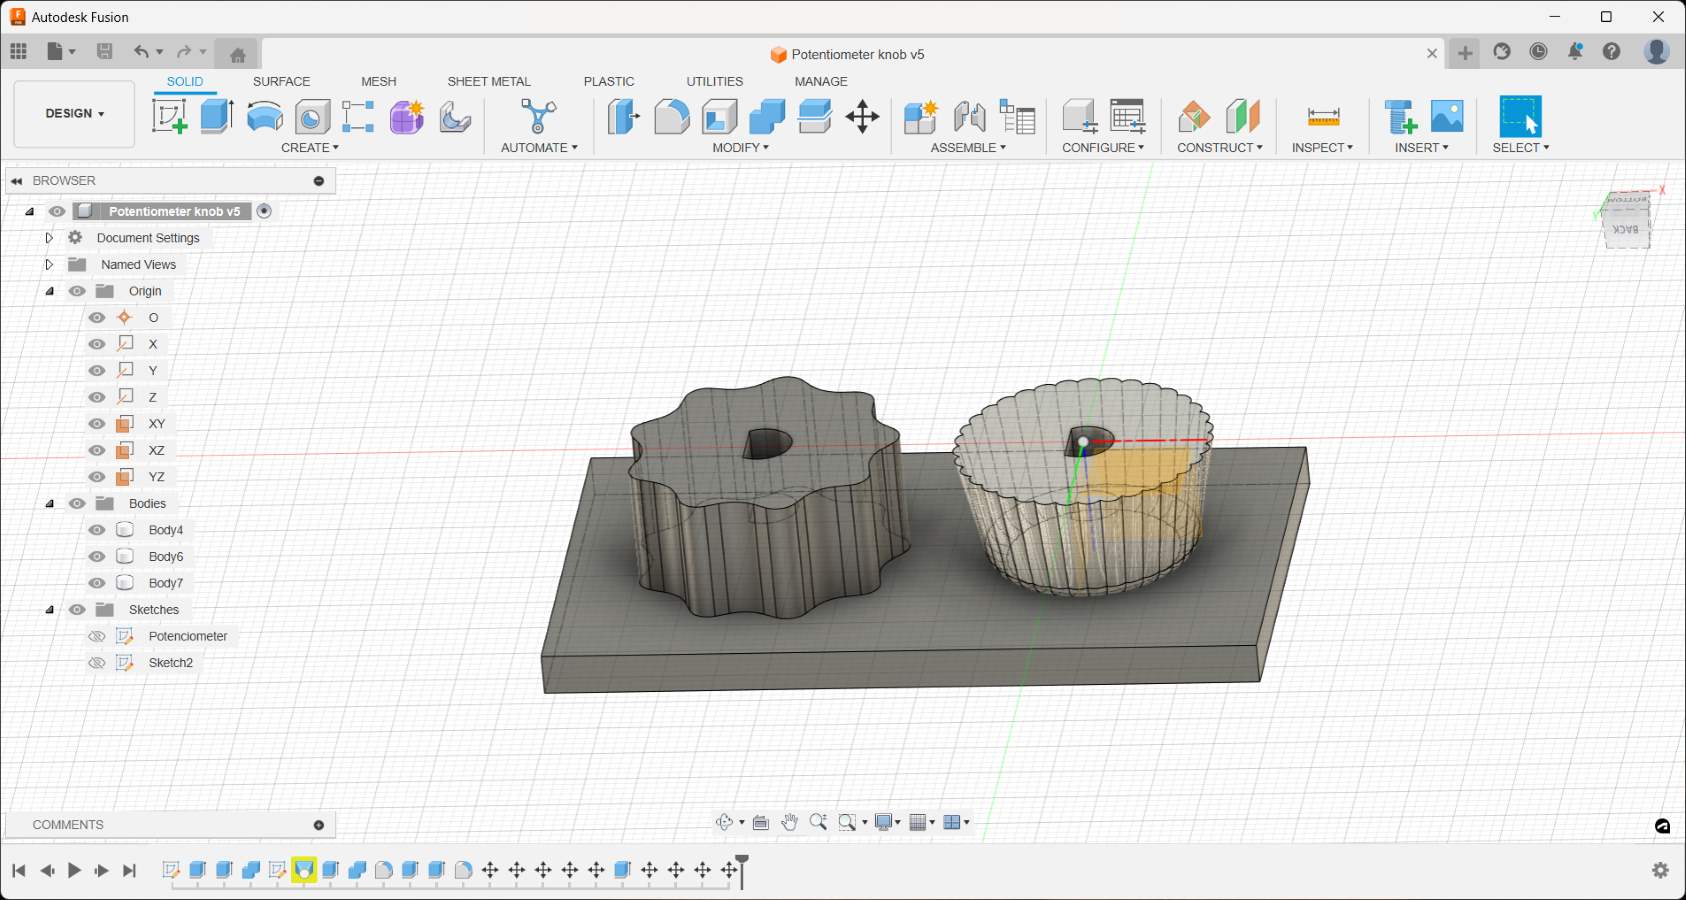
Here's the Fusion 360 file: Download Document
I used 3d printing (FLA, SLA) for creating my casting piece into which I poured food-grade silicone to make my mould. Here they are in the 3D modeling software, which I exported into the Cura and Anycubic clicer, respectively:
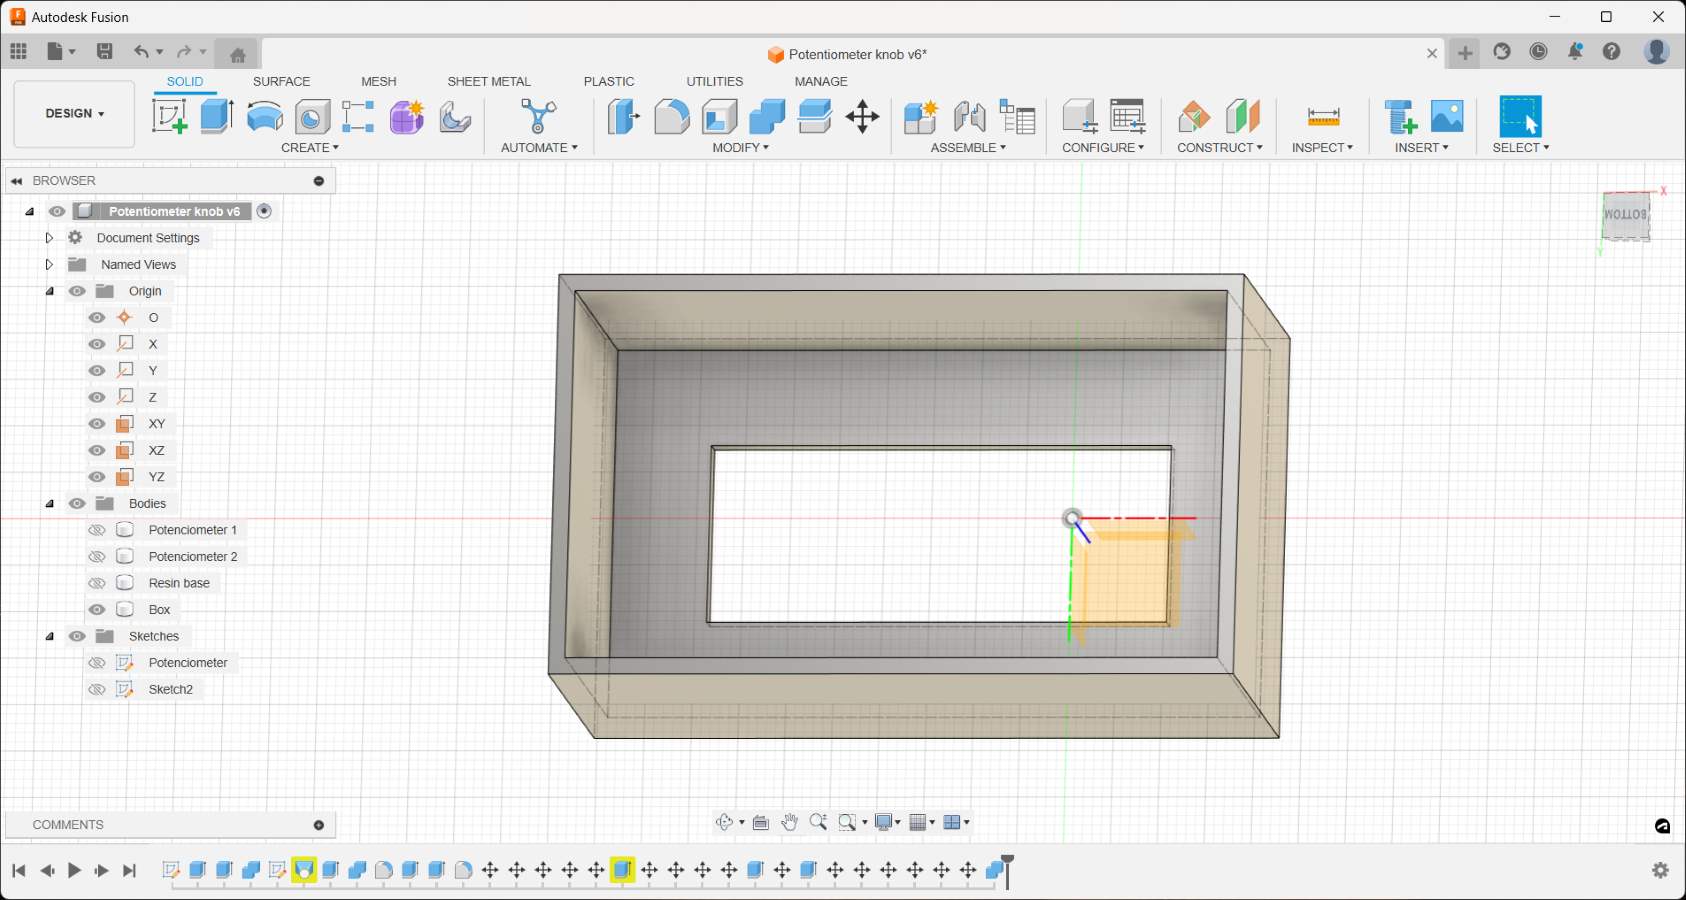
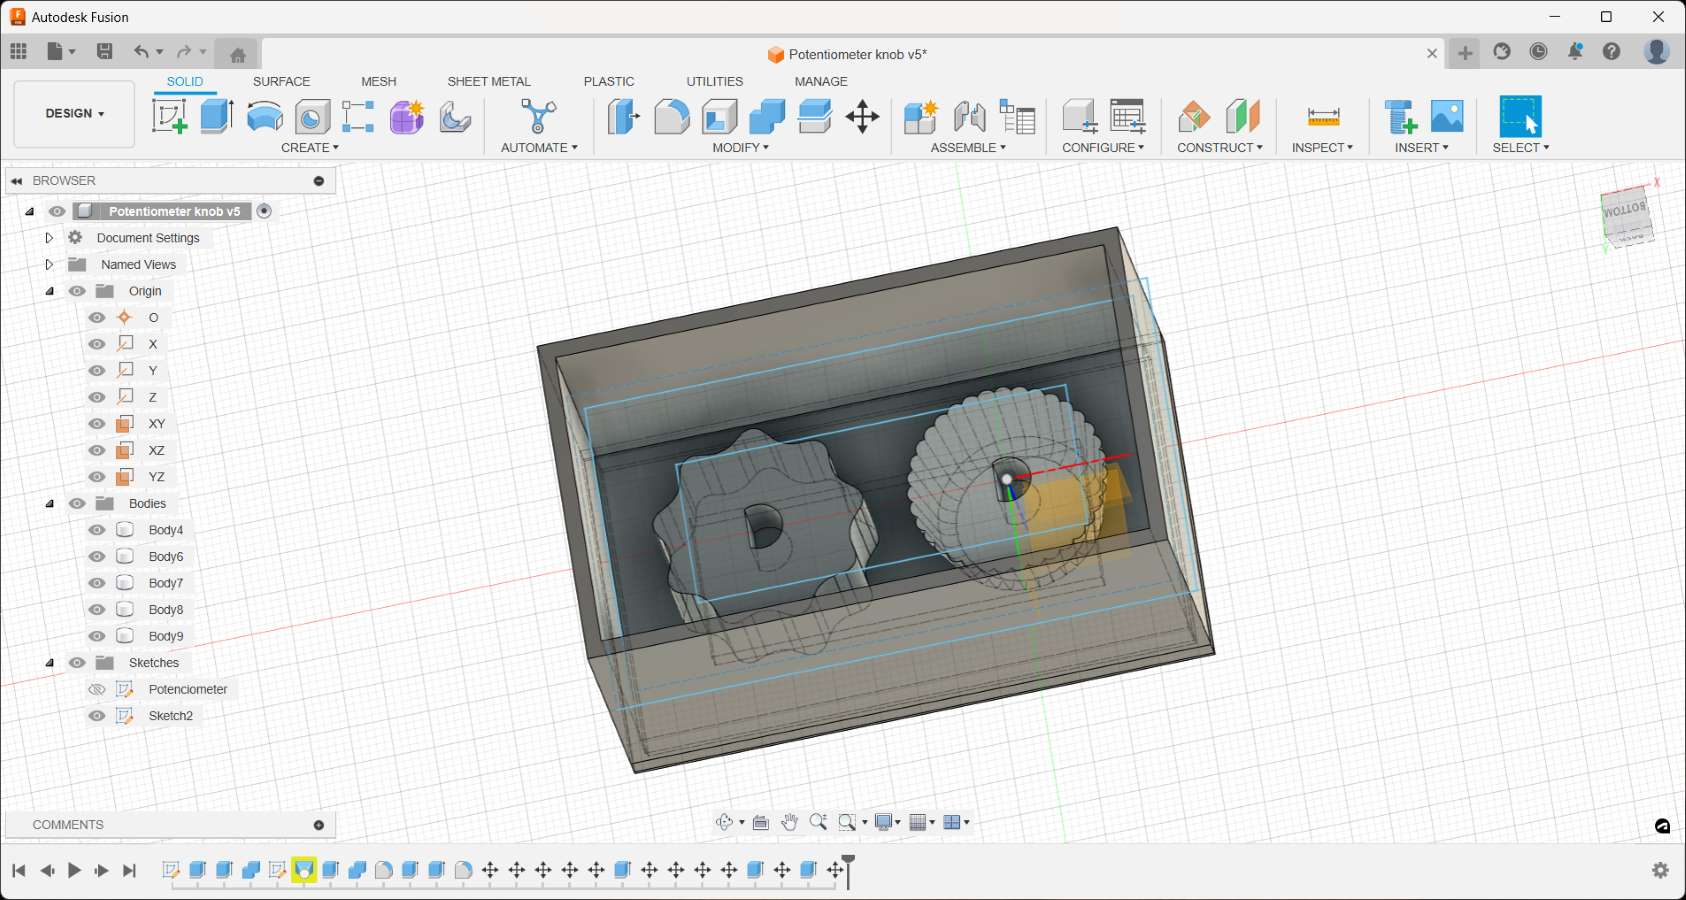
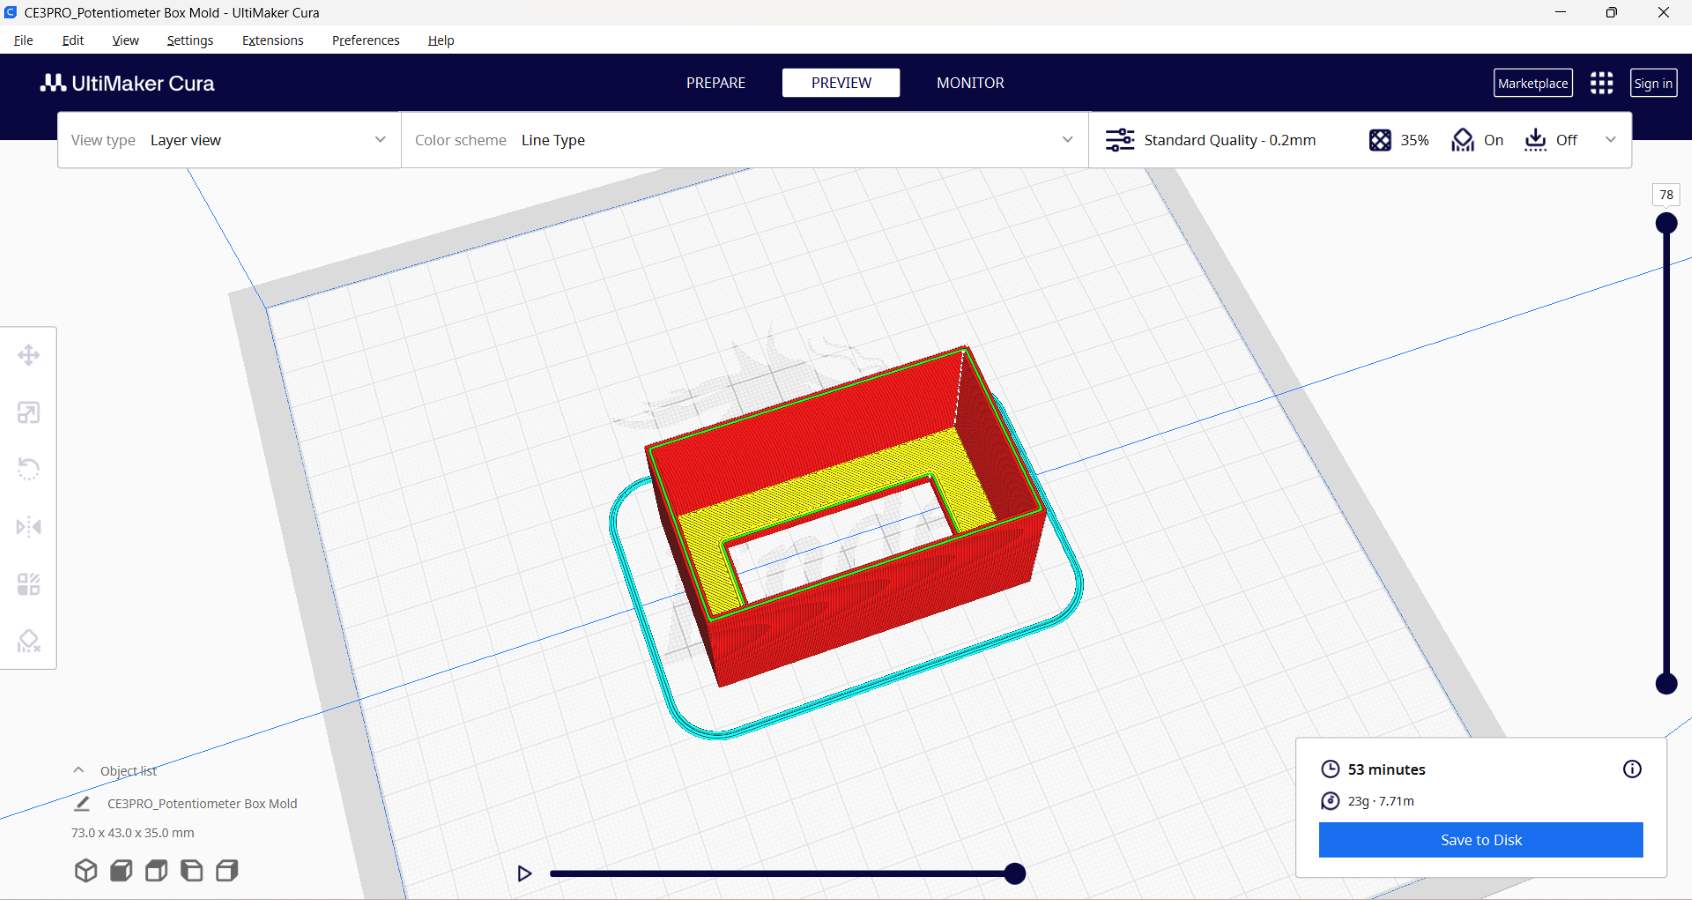
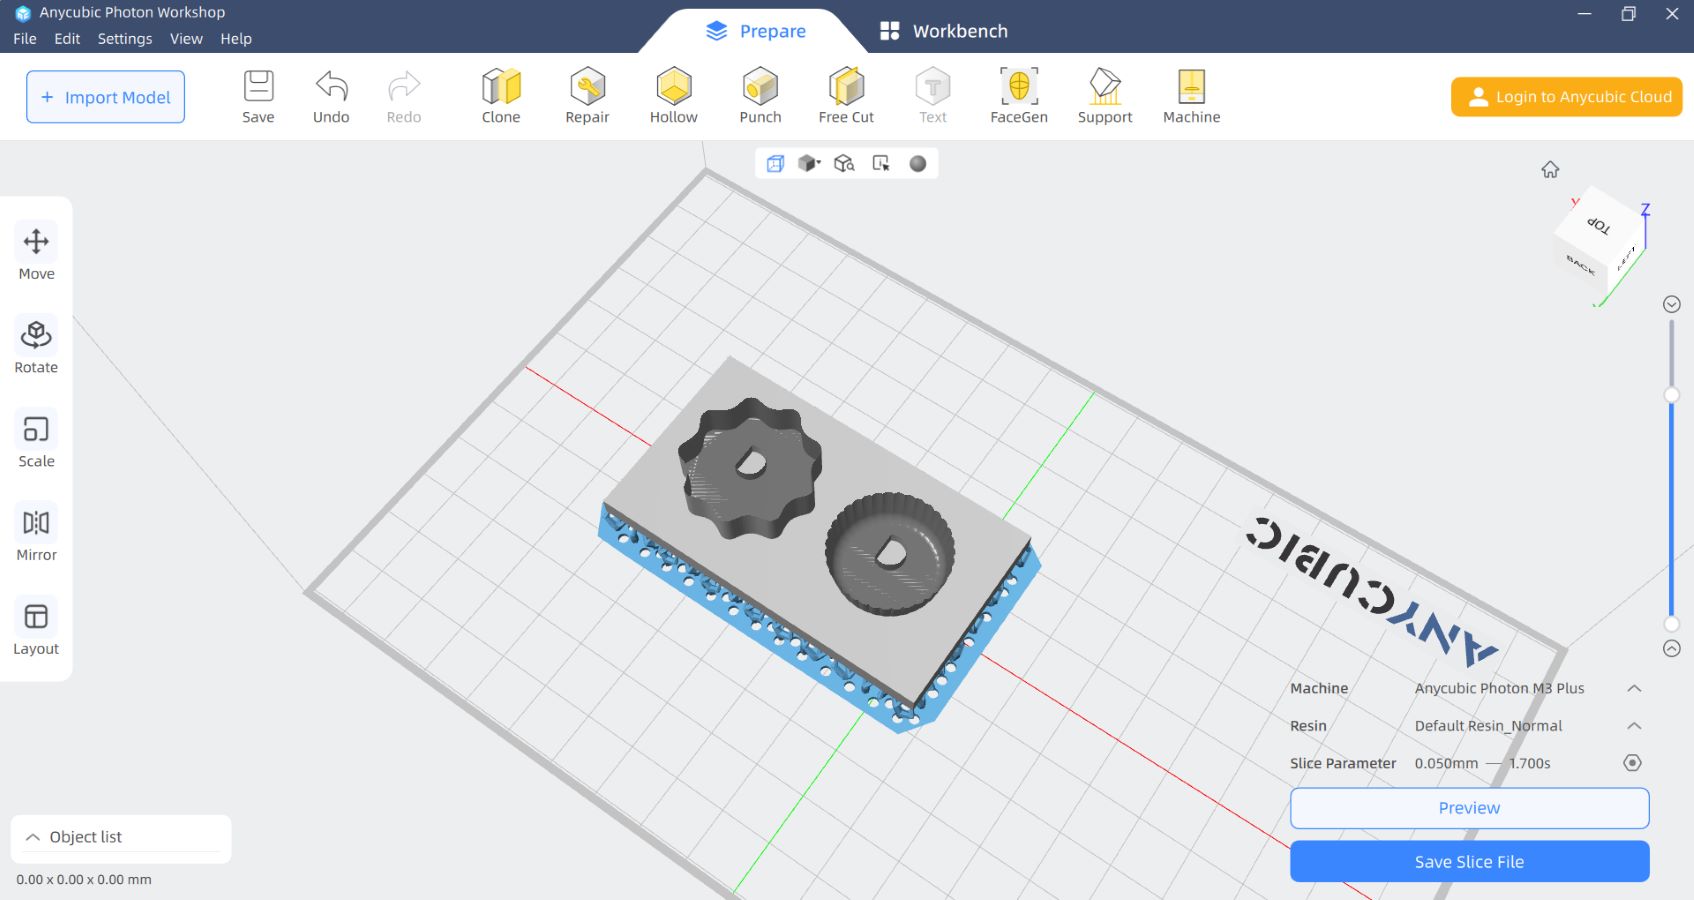
Here are the 3D print slicer files: Knobs / Box
After 3d printing the box and the casting mould, I proceeded to seal the SLA print to prevent the food-grade silicone from sticking to the resin; this is a common risk when making silicone moulds out of a resin casting mould, and vice versa.
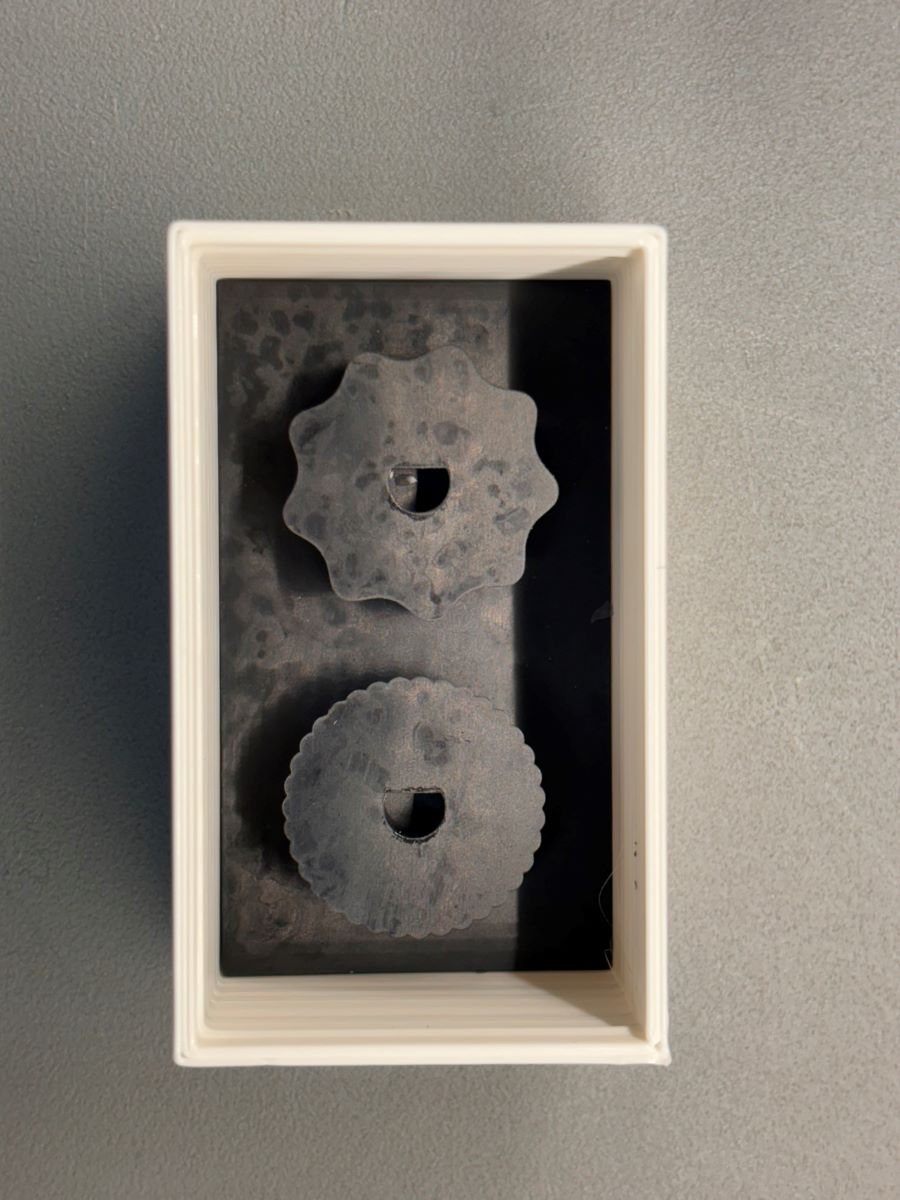
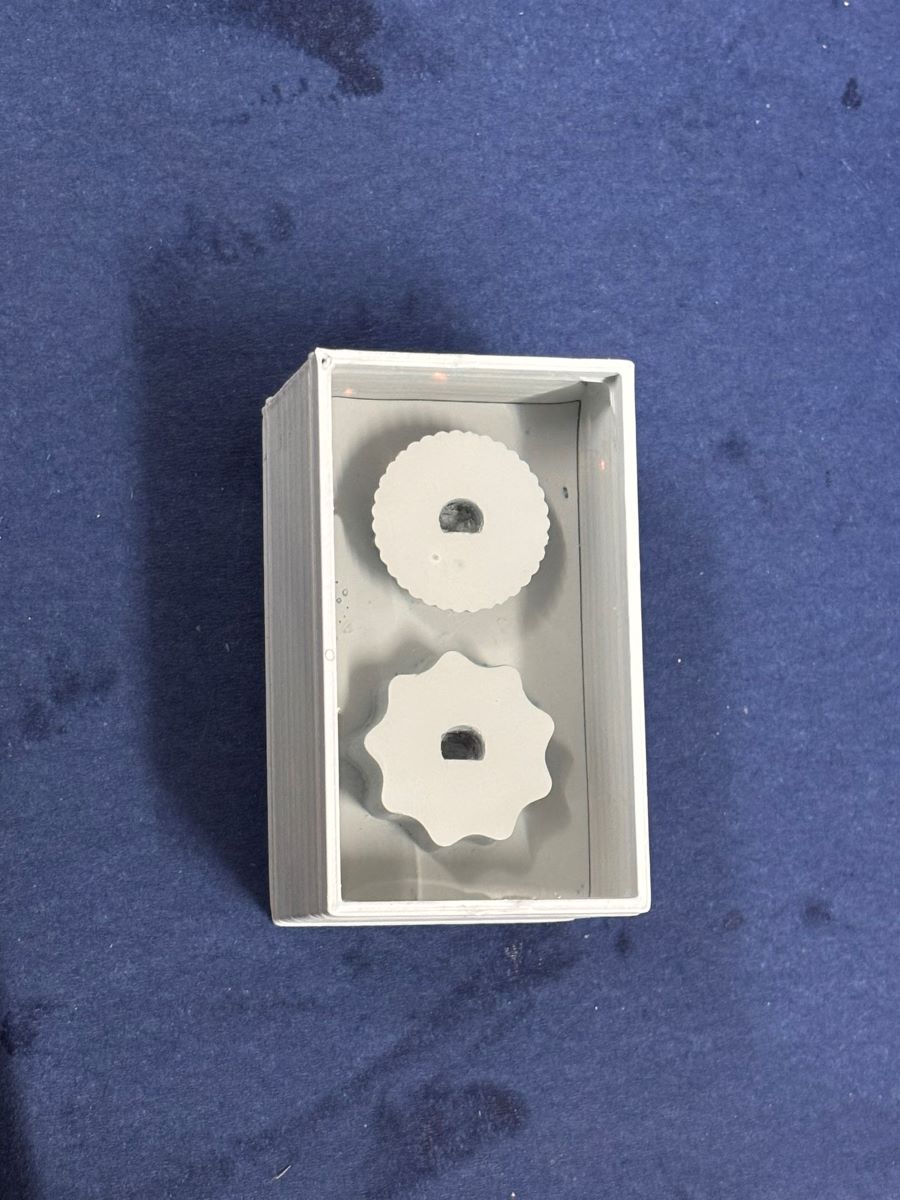
Applying the sealant is tricky and a defining factor for ease of application is of course the shape of the casting mould. Mine was small and had holes and subtle textures on one of the knobs, which was at risk of being modified by the thickness of the sealer when applied.
You also have to cover it so that air/dust particles don't stick to it while drying, thus adding some imperfections to the mold. You want to seal it fully while being as light handed as possible. It worked out in the end but I did lose some definition. After testing this out, I would chose to go the wax mould route or go for a method that altogether avoids spraying.
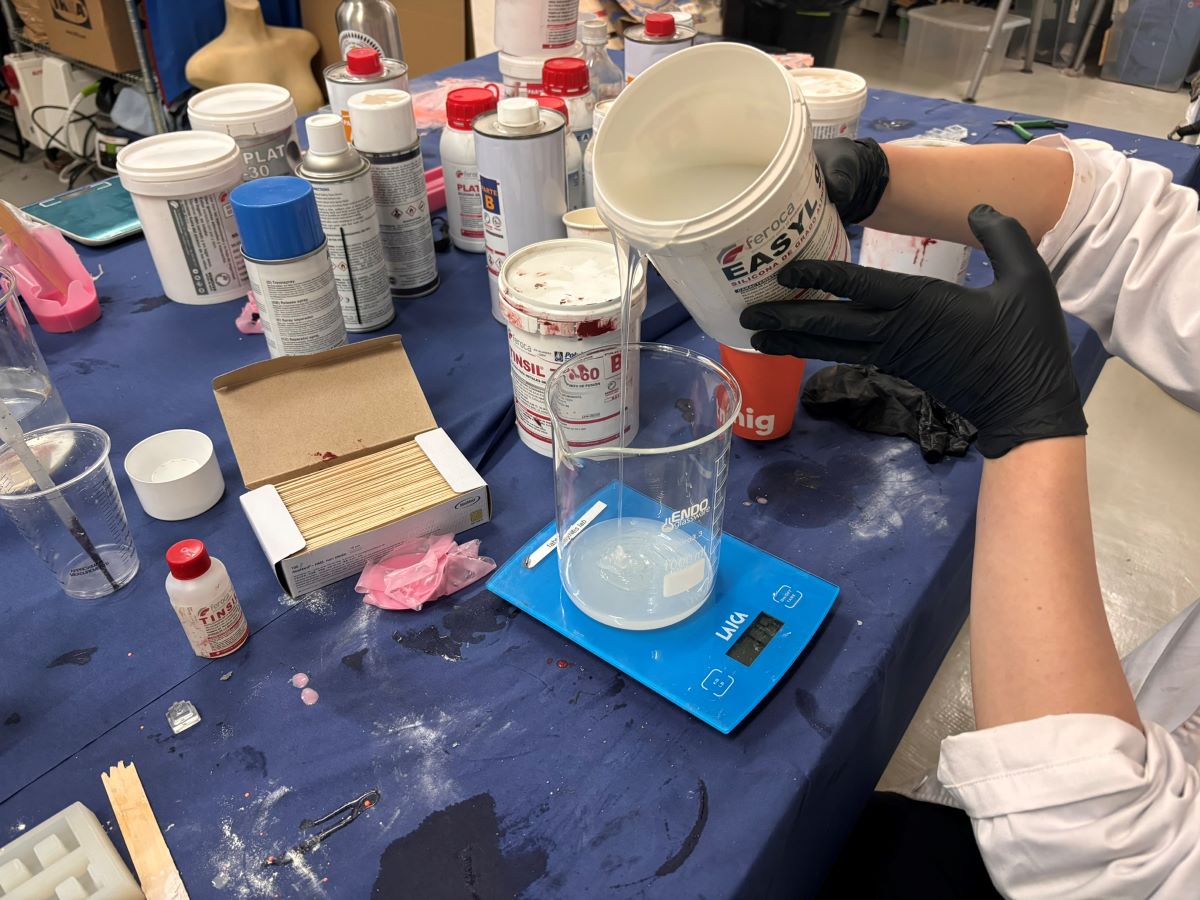
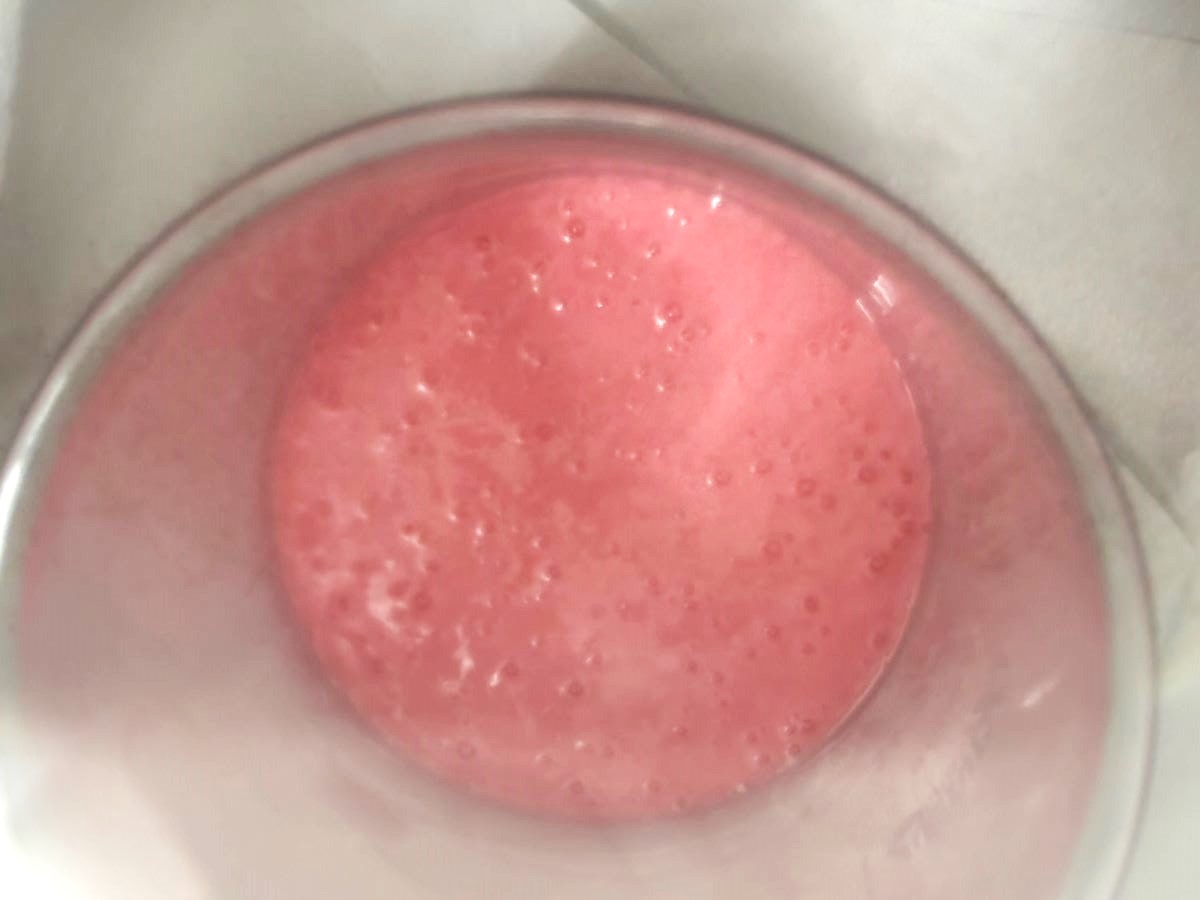
Lena and I teamed up to mix the food-grade silicone we were both using for our tests. The silicone comes in Part A and Part B, with a 45 min working time after fully incorporated at a 1:1 ratio. After mixing by hand vigorously for 5 minutes, we placed the silicone mixture into the vacuum chamber to degass it - this released most of the trapped bubbles, and we took 3 pases at it (vacuumed and reintroduced air into the chamber 3 times) and then poured it into our molds.
It's important to fill the molds from a certain height to degass the mixture by impact with the mould surface.
Next up was to pour epoxy resin into my silicone mould:
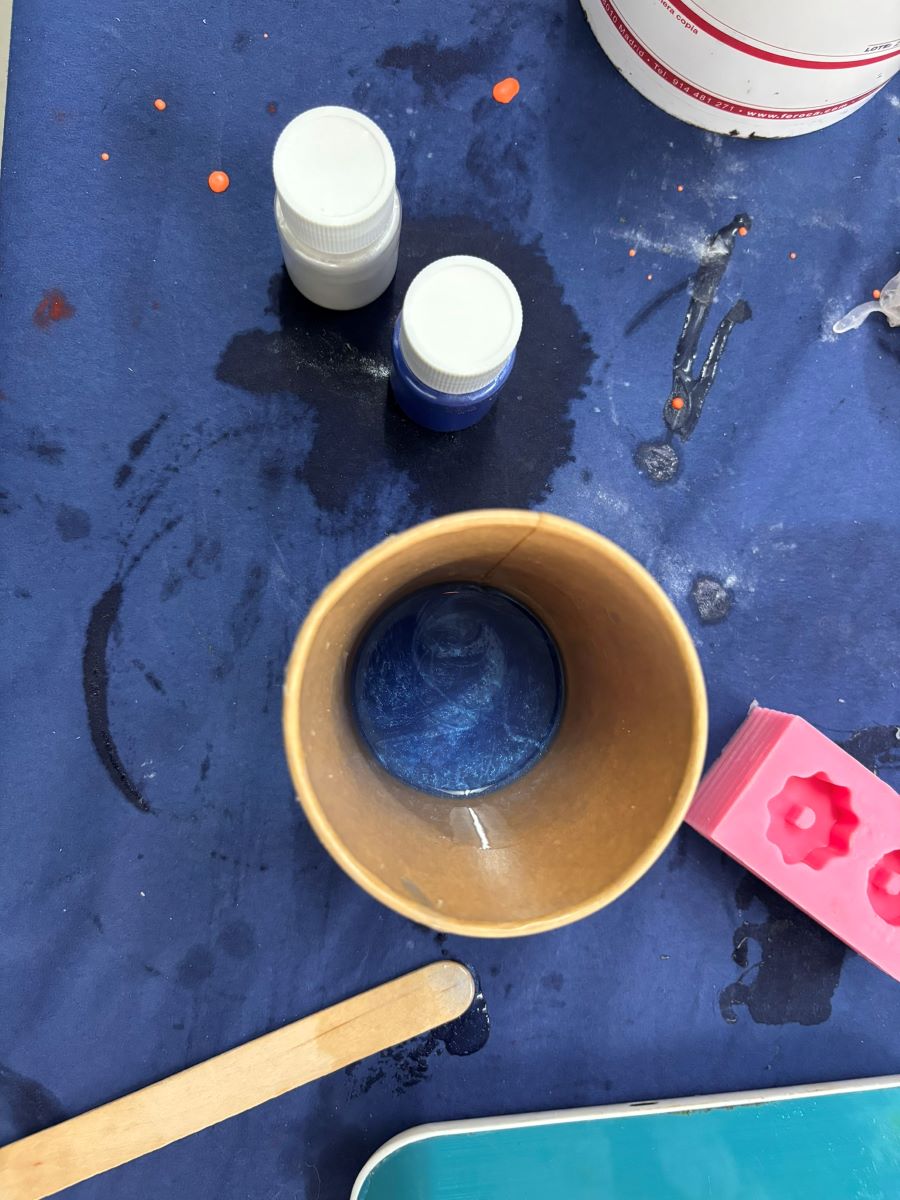
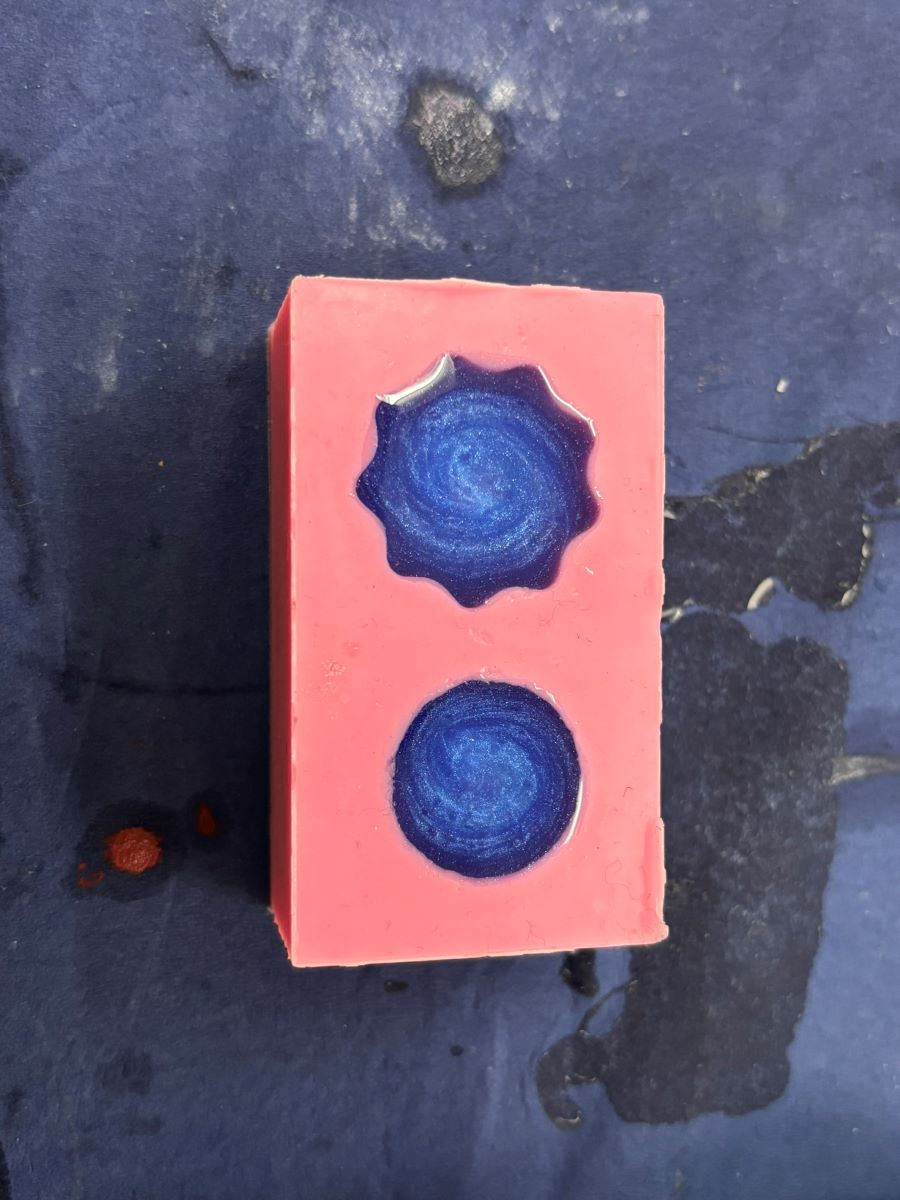
This is epoxy resin, mixed with blue and white mica powder for pigmentation. The resin is a 2:1 ratio of Part A to Part B, the latter being the hardener. The working time depends on the user - to fully cure this material takes 72 hours. I try to keep my working time to 20 min max, mainly because I want to pour it and cover it ASAP to protect it from dust particles.
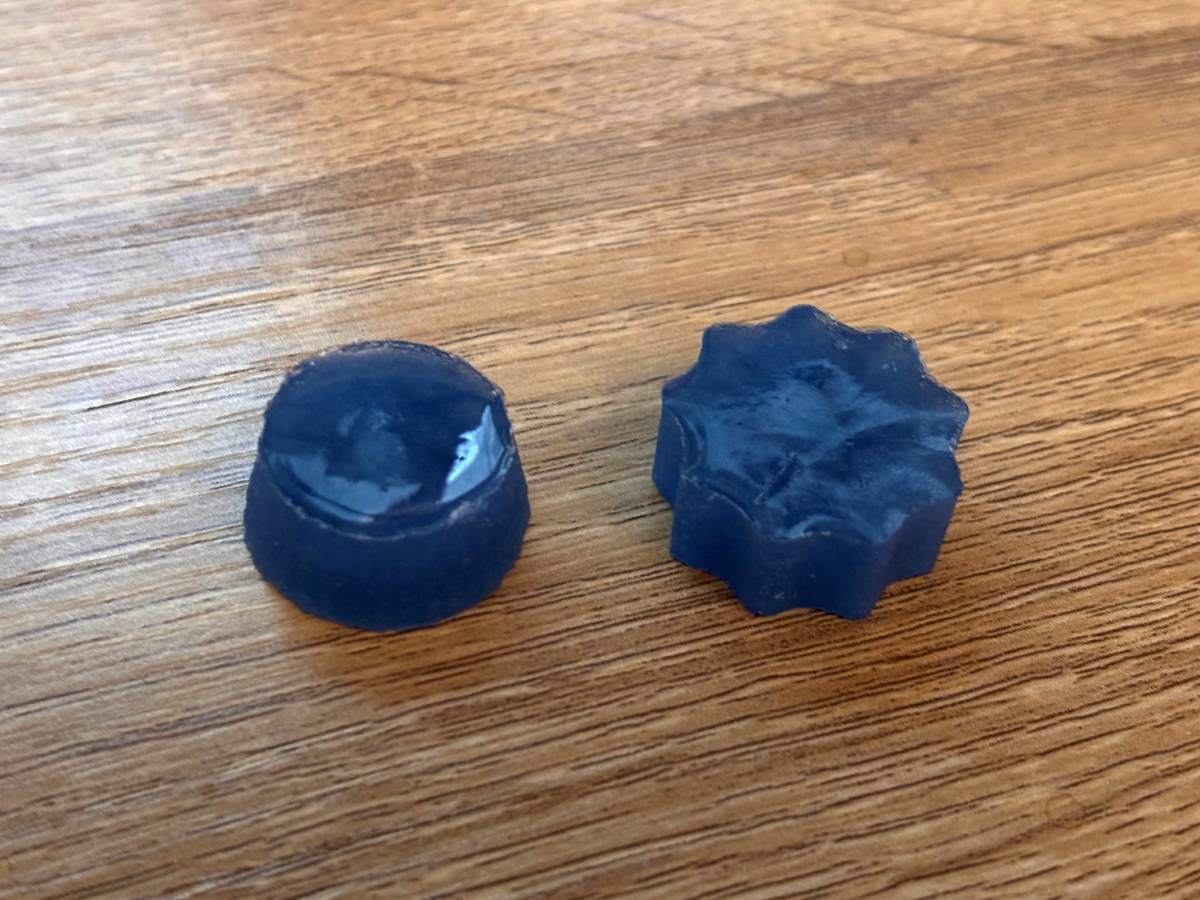
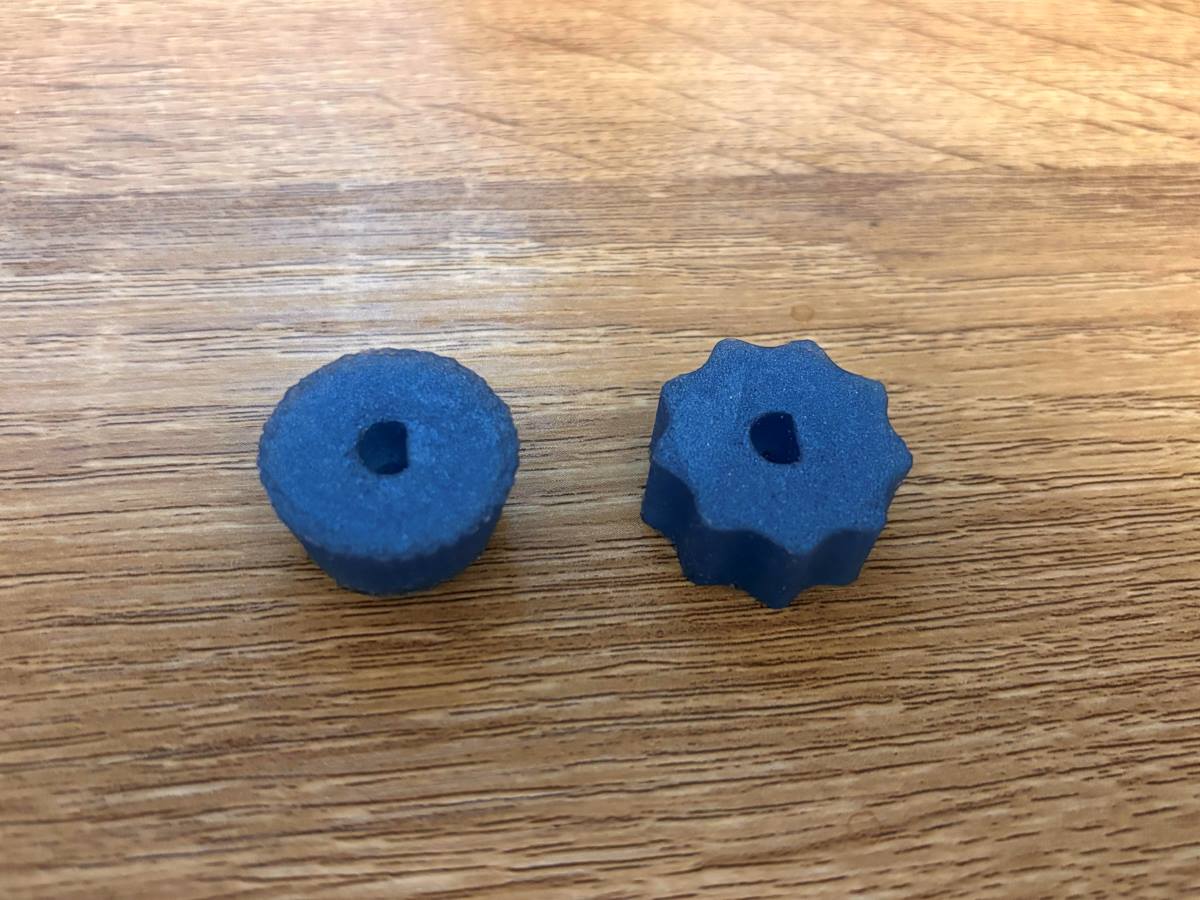
The end result was good - some definition loss but nothing dramatic. I would definitely take a Dremel tool and shape them further and level the tops with sandpaper - the good thing about epoxy resin is that you can sand it to any grit essentially, and by adding a thin, finishing layer, the sanding marks/tracks are immediately filled by the fresh resin, which avoids sanding down to finer grits progressively to get a clean finish.
Lastly, I would want to do more experiments in casting and moulding, particularly recycled plastics and other re-purposed materials. This was good practice to understand especially the casting mould process, but I would opt for a process with less steps that would avoid sealants.
Here is a recipe for pine resin from the materials lab:
