Week 5: 3D Scanning and Printing
This week my objective was to get more acquainted with 3d printing and scanning in general. I've had some experience with it, but really it was mostly happening around me and after this week, I now have a flood of ideas of how and where to use these technologies.
As for my final project, I plan on implementing 3D printing for some detail and component work to complement its look and feel. I have yet to design these, but smaller pieces like furniture pads made with flexible filament, cable guides, clips and wiring leaders come to mind.
This week, I experimented with making a music thingie since my final project is centered around sound. I decided to go with a shaker - PLA can be resonant in a similar way as an egg shaker.
3D Printing
3D printing is the manufacturing of solid objects by the deposition of layers of material (such as plastic) in accordance with specifications that are stored and displayed in electronic form as a digital model.
We were introduced to 3 different printing methods:
- Light Polymerized/Stereolithography (SLA): The approach of stereolithography is realized by a localized photopolymerization process, which is triggered by ultraviolet (UV) radiation and takes place within a bath containing liquid monomers, oligomers, and photoinitiators.
- Fused Deposition Modeling (FDM): Fused deposition modeling (FDM) 3D printing, also known as fused filament fabrication (FFF), is an additive manufacturing (AM) process within the realm of material extrusion. FDM builds parts layer by layer by selectively depositing melted material in a predetermined path. It uses thermoplastic polymers that come in filaments to form the final physical objects.
- Powder Bed Fusion (PBF): Powder bed fusion is an additive manufacturing approach that is the basis for some of the most versatile 3D printing methods. In PBF, a heat source fuses a powdered material together in a layer-by-layer process. Some PBF processes sinter the material, which is when a powder coalesces into a solid without liquefying; others truly melt the material, heating it above its phase transition point.
The material possibilities are vast and have been evolving over time. 3D printing can generally be a very low waste process. A very important consideration and constant thing to keep in mind in 3d printing is weighing resolution vs time; the higher the resolution, the more time it will take.
Materials
- PLA: popularly used as a material in 3D printing, specifically in fused deposition modeling (FDM). The molten filament is extruded to form fused layers, which build up to form 3D objects. PLA makes good cosmetic results possible, even with limited tuning/skill in the operation of the machine. Made from biodegradable materials like corn starch.
- ABS: Acrylonitrile Butadiene Styrene is a popular and durable thermoplastic material that can be used for 3D printing in the form of a 1.75mm spool of filament. It has great mechanical and impact-resistant qualities, as well as great heat resistance. It used to be the most popular 3D printing material.
- Nylon: Nylon 3D printing filament is a synthetic polymer known as a “thermoplastic,” which means that it softens upon heating, liquifies upon melting, and hardens when cooled – and is able to repeat these processes.
- PETG: This type of printing uses PETG (Polyethylene Terephthalate Glycol) (a thermoplastic material) as a build material for 3D printing, especially in FDM (Fused Deposition Modeling) printers. The “G” in PETG indicates that the glycol molecule in PET, a familiar material used in the production of plastic bottles, has been modified.
- TPU: TPU or Thermoplastic Polyurethane is an extremely flexible 3D printer filament that’s growing in popularity. It is a mixture of rubber and hard plastic that makes this material highly durable with enhanced physical properties such as impact and abrasion resistance. TPU is an ideal choice for parts that require flexibility, strength, and durability.
- HIPS: HIPS stands for high-impact polystyrene. High impact polystyrene is a synthetic copolymer that is strong, durable, non-toxic and recyclable. In addition, HIPS is soluble in Limonene, an easily obtainable solvent that is derived from the skin of lemons. Chemically, HIPS is a graft copolymer incorporating pure polystyrene and polybutadiene rubber. It combines the hardness of polystyrene with the elasticity of rubber to produce a high impact thermoplastic that is tough and strong without being brittle.
File Workflow
3D model files: STL, OBJ, AMF, 3MF, etc.
to
Slicer Software: Set printer and material data/slicer settings
to
toolpath files: g-code, x3g, .cbddlp
My file workflow started in Fusion 360:

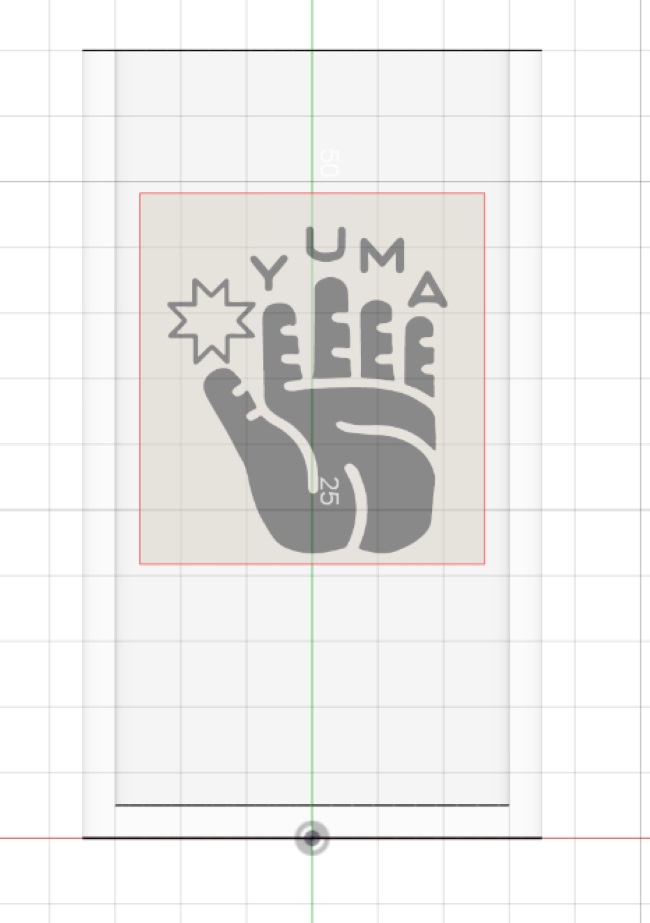
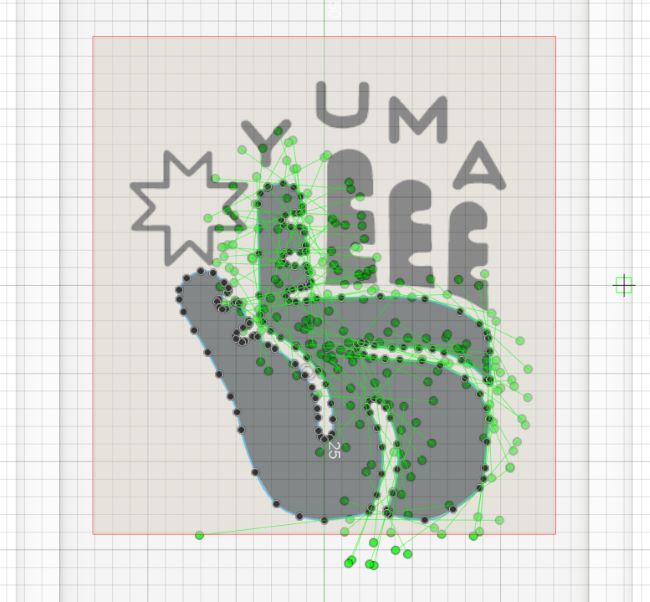
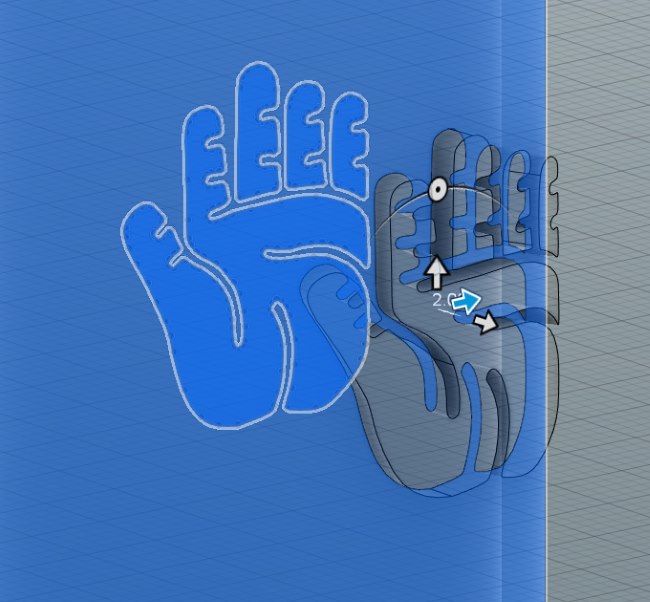
I inserted my logo image and traced it with the spline tool:
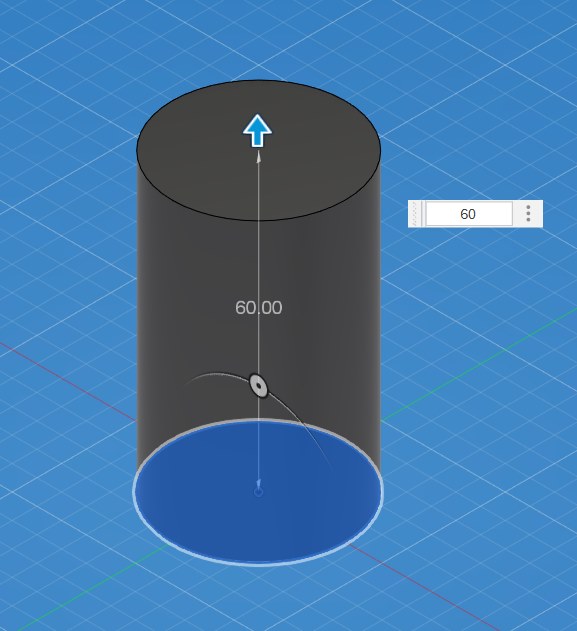
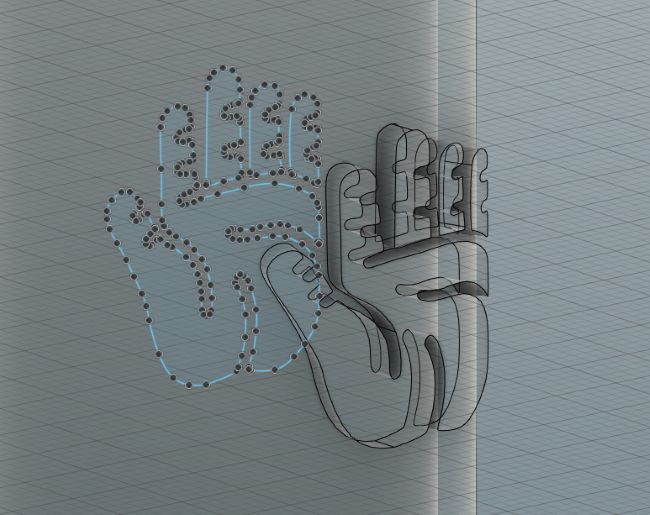
And then embossed it on the surface of my cylinder to create a protrusion:
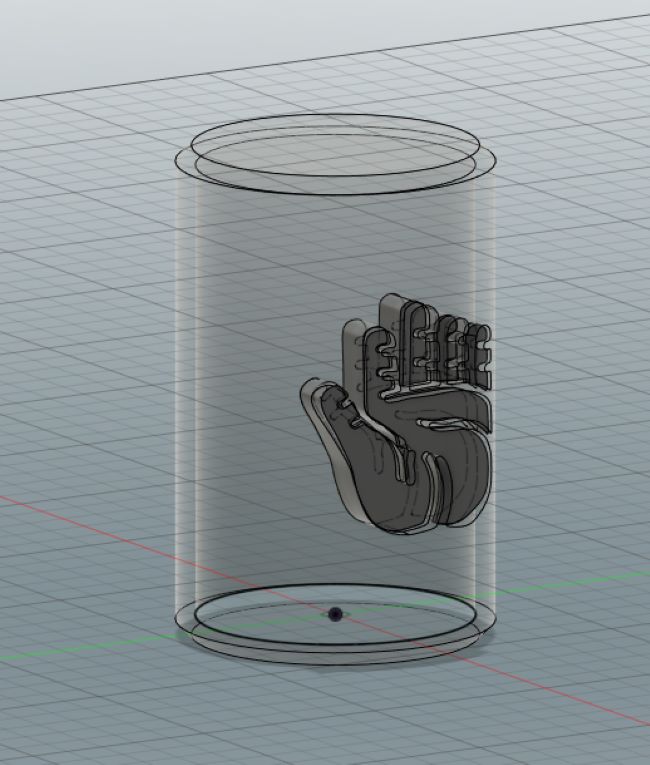
Yuma Shaker file: Download Document
I then saved my model as an STL file and opened it in Ultimaker Cura 5.6.0
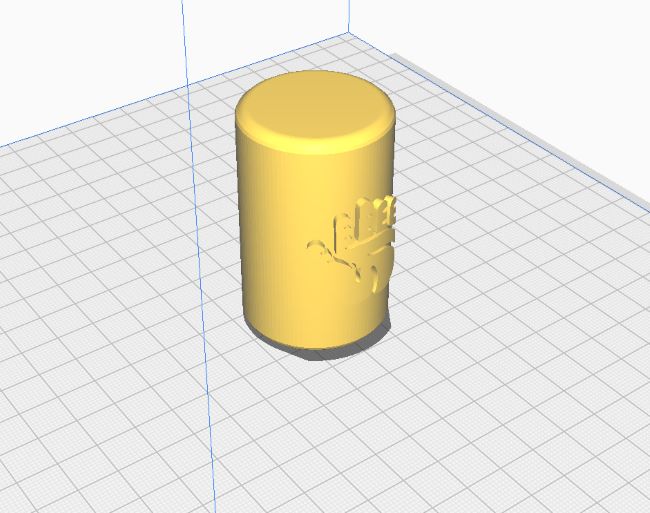
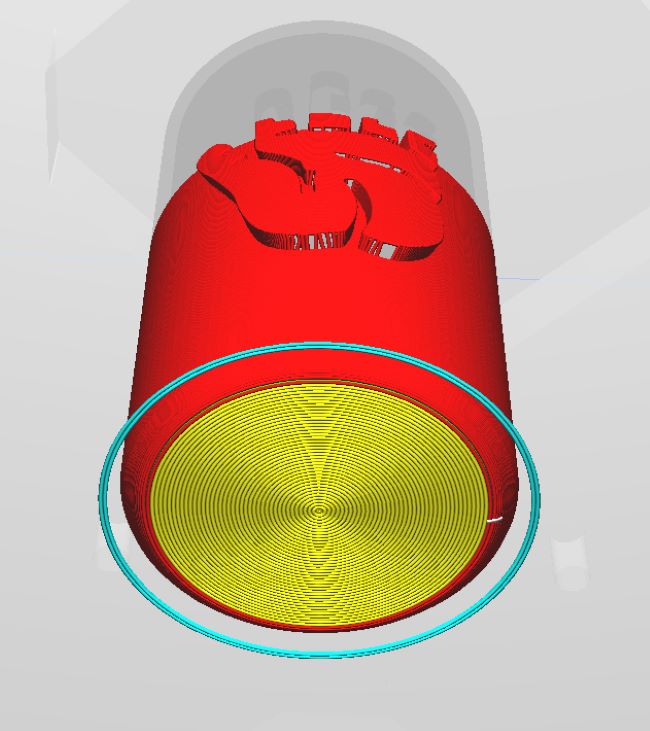

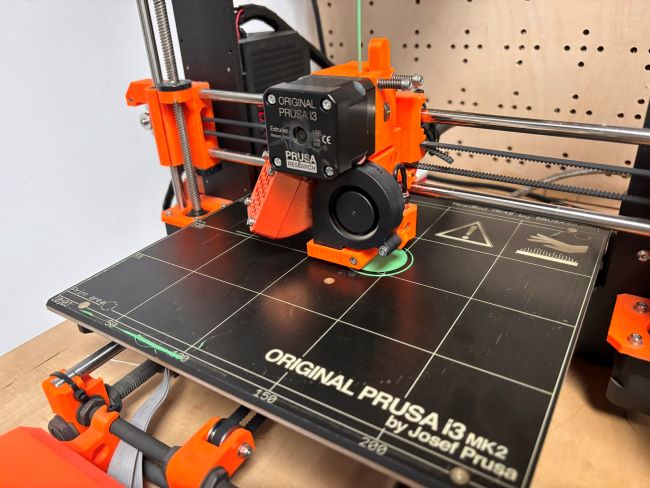
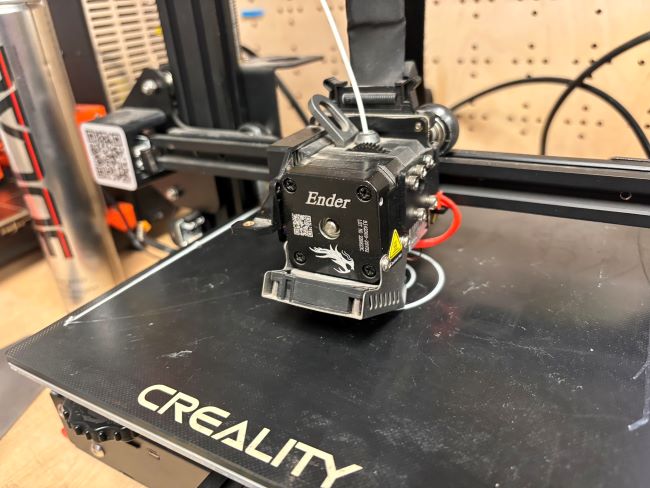
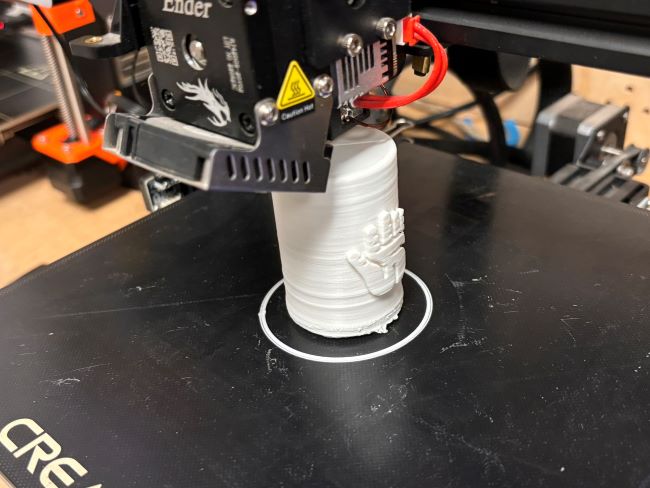
I tested two versions on two machines. One had support for the embossed logo and was printed on the Prusa printer. The other had no supports and was printed on the Creality.
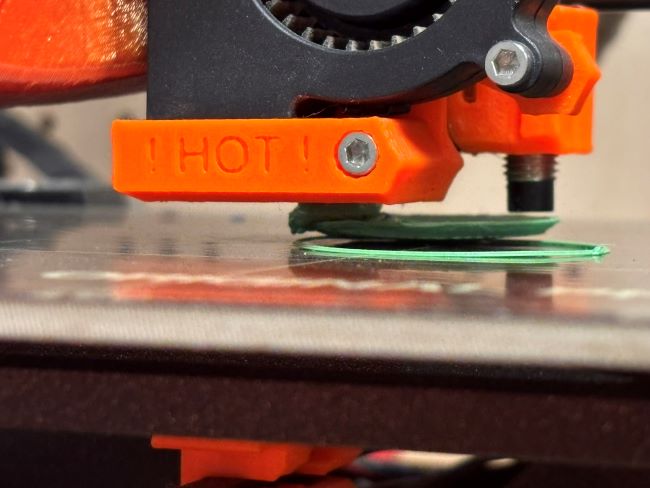
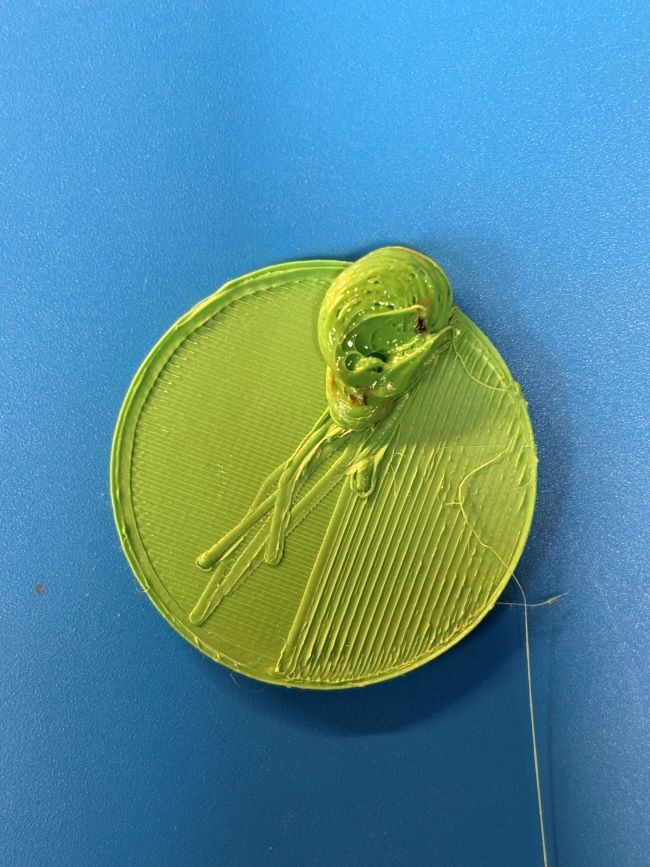
I had to calibrate the machine a couple of times because of improper adhesion and then extrusion temperature
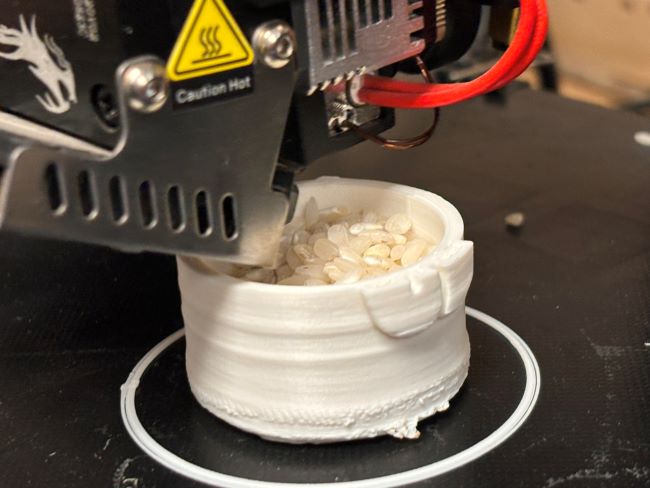
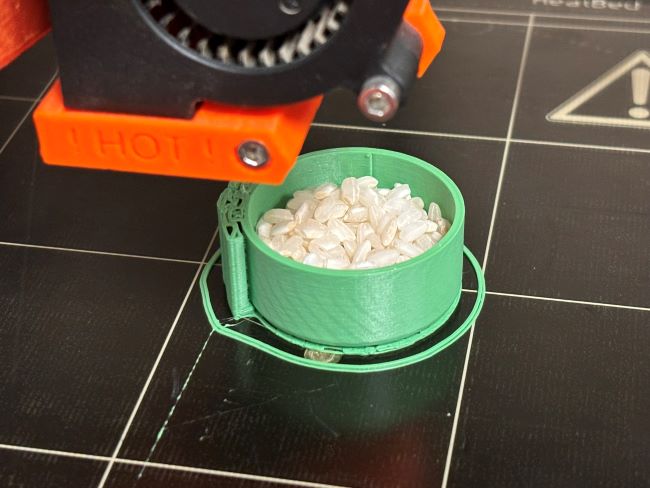
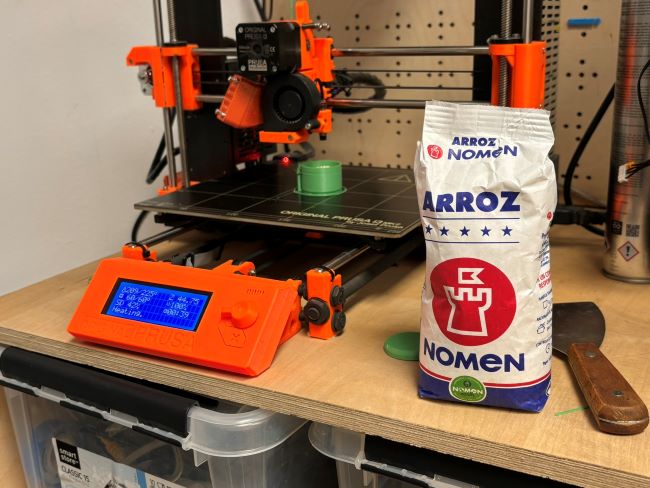
Finally, got it working better and partway through the printing I paused the machines and added rice to get a fully enclosed shaker
I designed this piece with my final project and future explorations I want to do in mind. Since I am exploring making instruments and sound producing objects, it made sense to make something like a shaker. I was thinking about your typical (and well-known) egg shaker while also thinking about how to make it as a fully enclosed piece without the need to design a joint or lid. This could not have been done subtractively and also presented a unique opportunity to make enclose something inside another. The nature of this additive 3d printing processes was really how this idea came about, which also coincided with a way to not spend hours designing a joint since I am only learning 3d modeling.
So in Cura there are plenty of setting to calibrate the working piece with. Ultimately it depends on how deep/involved you want to go with it, but here are the most critical settings for successful 3d printing:
1. Start with Extrusion Multiplier
2. Retraction Distance 3D Printer Settings
3. Set the Retraction Speed
4. Check the Extruder Temperature
5. Temperature 3D Printer Settings for Heated Build Plate.
6. 3D Model First Layer Height
7. First Layer Print Speed
8. Fan 3D Printing Settings
9. Infill Percentage Settings
10. Coasting Settings
3D Scanning
We have reviewed different methods for scanning objects in class:
- Projection: A structured-light 3D scanner is a 3D scanning device for measuring the three-dimensional shape of an object using projected light patterns and a camera system. The light source from the scanner head projects a series of parallel patterns onto the scan target. When light projects onto the object's surface, the patterns become distorted. The cameras capture these images and send them to the 3D scanning software for processing.
- Laser: Laser triangulation involves projecting a laser beam onto an object’s surface and then using
sensors
to detect the reflected light from the laser. These sensors are positioned at a known angle and distance from
the laser source and detect the light reflected.
When the laser light reflects off the object, the sensors capture the reflection at a specific angle. The scanner then determines the distance between the scanner and various points on the object’s surface using trigonometry. This data is then used to reconstruct the 3D shape of the object, including textures and surface features. - Lidar (Light Detection and Ranging) Scanning: LiDAR technology is used in advanced applications, and the latest iPhone 15 Pro and 15 Pro Max include LiDAR sensors. It works by emitting laser beams towards an object or surface and then measuring the time it takes for each beam to bounce back to the sensor.
- Photogrammetry: Photogrammetry is the science of extracting 3D information, such as measurements,
from
photographs. The process begins with taking photographs and inputting them into photogrammetry software, with
the output being a drawing, measurement, map or 3D model of a real-world object or scene. The best
photogrammetry software can automatically generate 3D models from photos.
Photogrammetry uses the parallax obtained between several overlapping images taken from different points of view. It works by extracting the geometric information of a 2D image, such as the shape, volume and depth of an object. Photogrammetry software can then align, texture and mesh multiple pictures to create a 3D model.
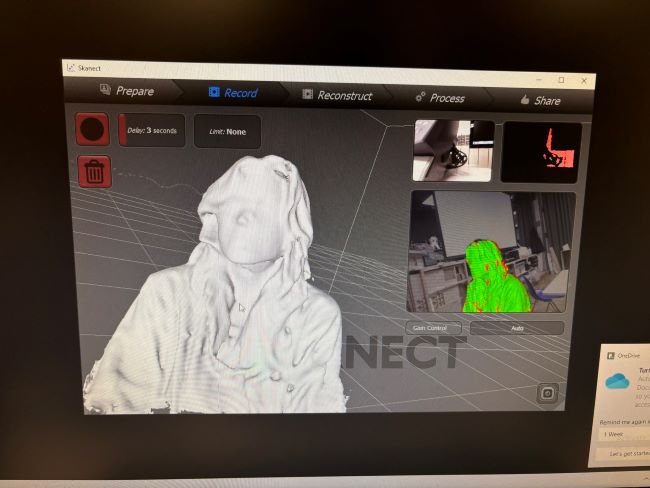
Skanect

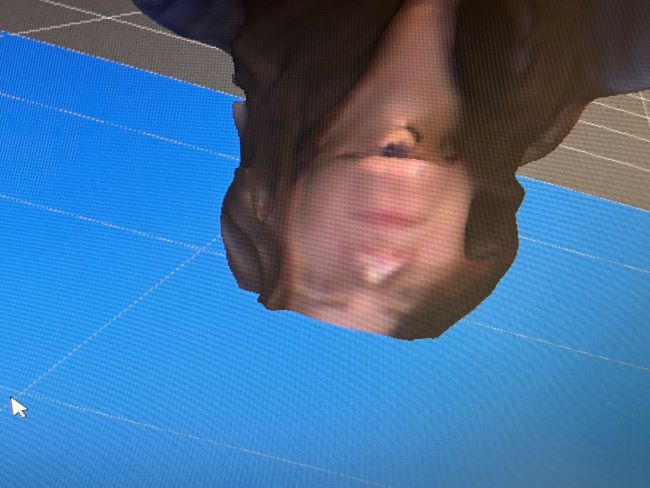
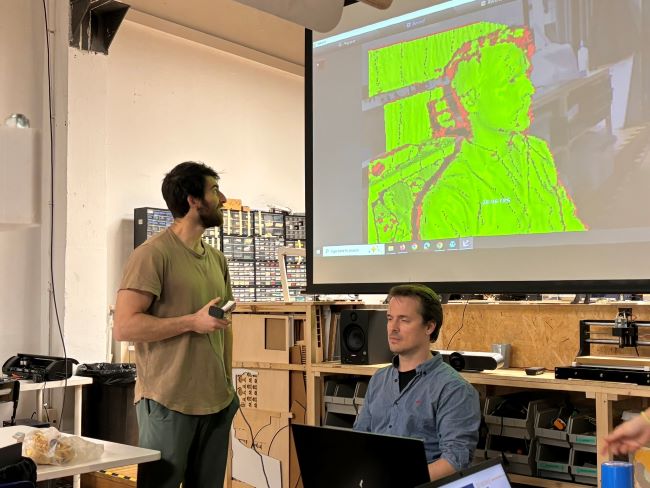
For mutual scanning of our faces, we first connect the camera and then open the Skanect program. We perform the exercise in pairs, with one person scanning and the other person holding the camera. We start the program and are then asked what we want to scan, for example, an object or body. We chose the body option.
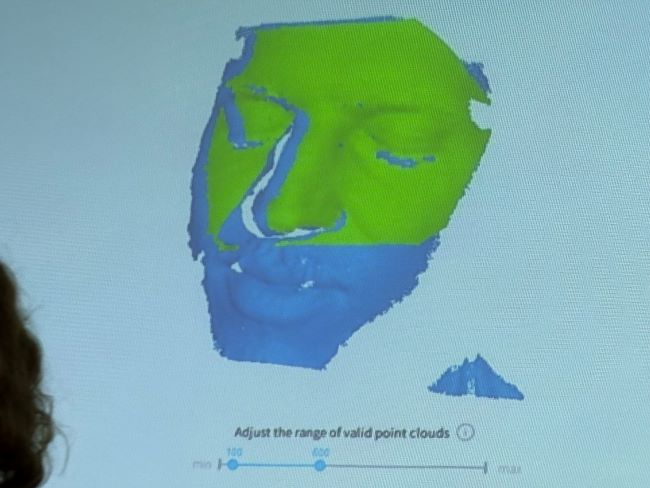
We then clicked on record and walked around the person. It is important not to lose sight of the object, not to walk too fast, not to get too close to the object, and to scan all important areas (e.g., also the head from above). On the screen, the scanned object is displayed in green if everything is going well and red if, for example, you are too close to the object. This option can be used to correct yourself while scanning. We had to perform the scanning more than once because we lost the object on the first try, and it is very difficult to find the point again with the camera where we lost it.

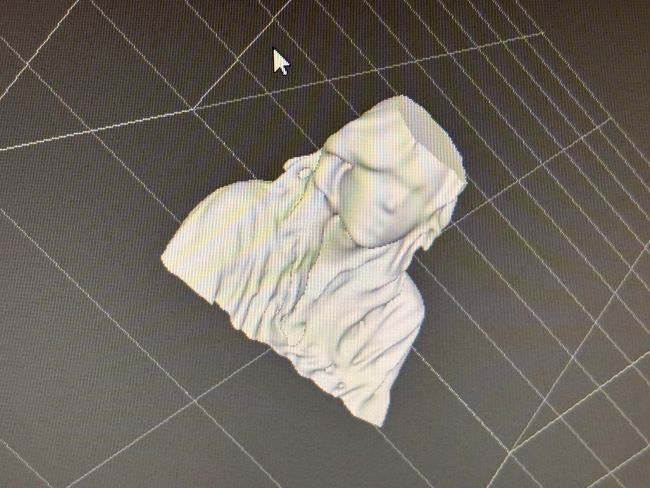
Once the object is scanned, the file can be edited. For editing, I chose the "fill holes" option to fill in smaller holes. Additionally, I trimmed the object and closed the bottom, as the object was open towards the bottom, since my body does not end at one point. These options were offered to me by the program, so I only had to select them. Then I exported the file and stored it in the IAAC Cloud.