
Week 3:
Computer Aided Cutting
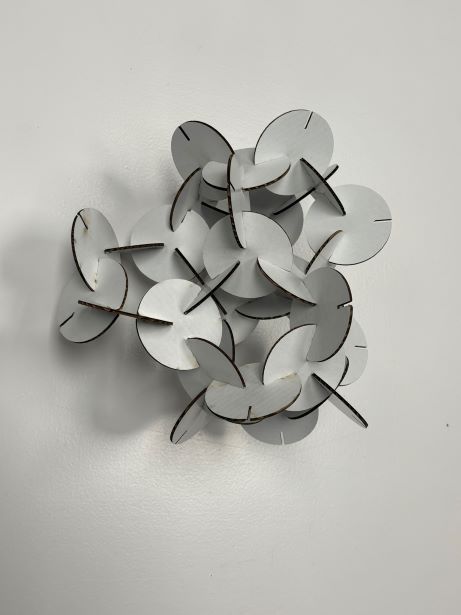
This week, we had our first group assignment! Our task was to test different materials and learn how to operate the laser and vinyl cutter. This week sets the tone for the rest of the program in that the collaborative aspect of learning is absolutely essential in this program (and beyond). It's barely been a month, and I would not have made it as far as I have without the help of my peers and dare I say, intersecting learning spirals.
Barcelona Fab Lab week 3 group assignment
Vinyl Cutting
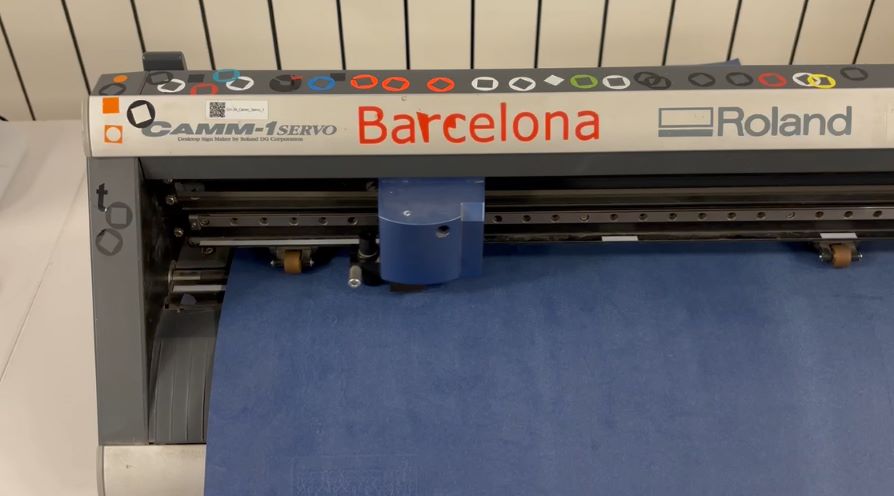
We were introduced to the Roland CAMM-1 GX-24 and the Silhouette Cameo vinyl cutters. Here's a helpful link:
Barcelona Fab Lab Roland CAMM-1
GX-24" Vinyl Cutter Tutorial
Steps:
1. Load Material
- Unlock the lever behind the machine and feed your material roll through the back.
- Adjust the machine rollers that will feed your material through. There are literal guidelines in the front of the machine that indicate where you can position each roller.
- The machine understands that the size of the material is the distance between the two wheels.
- Once all that is set, pull the lever up to lock the material down and finish the loading process.
- Press the ON button for a second. Select "roll" from the internal menu if you are using a roll. You can also select "sheet" if your material is just one sheet.
2. Adjust the blade
- Release the blade tool by unscrewing it from the cutter head.
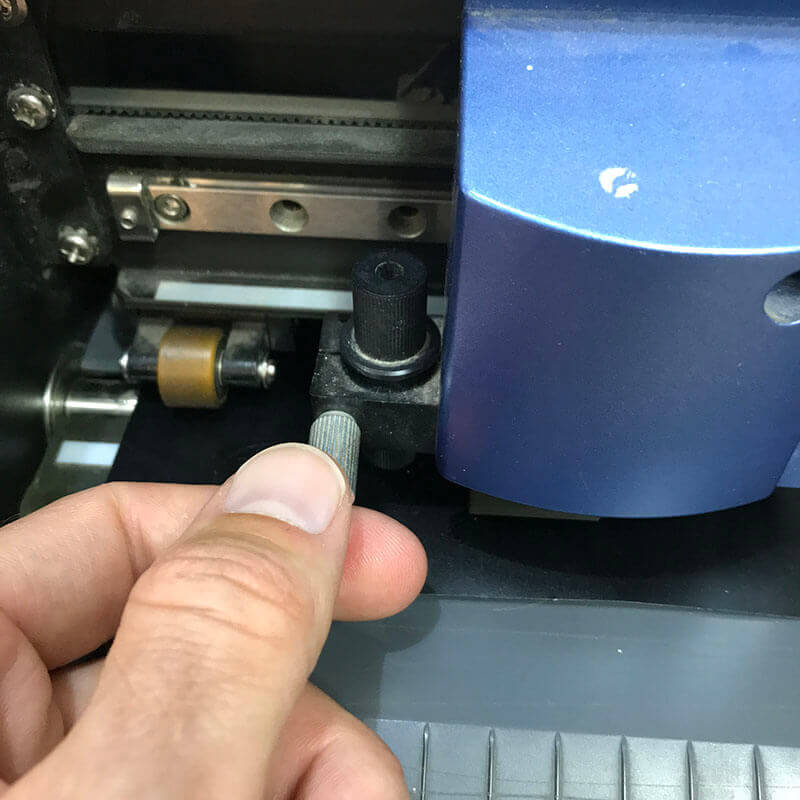
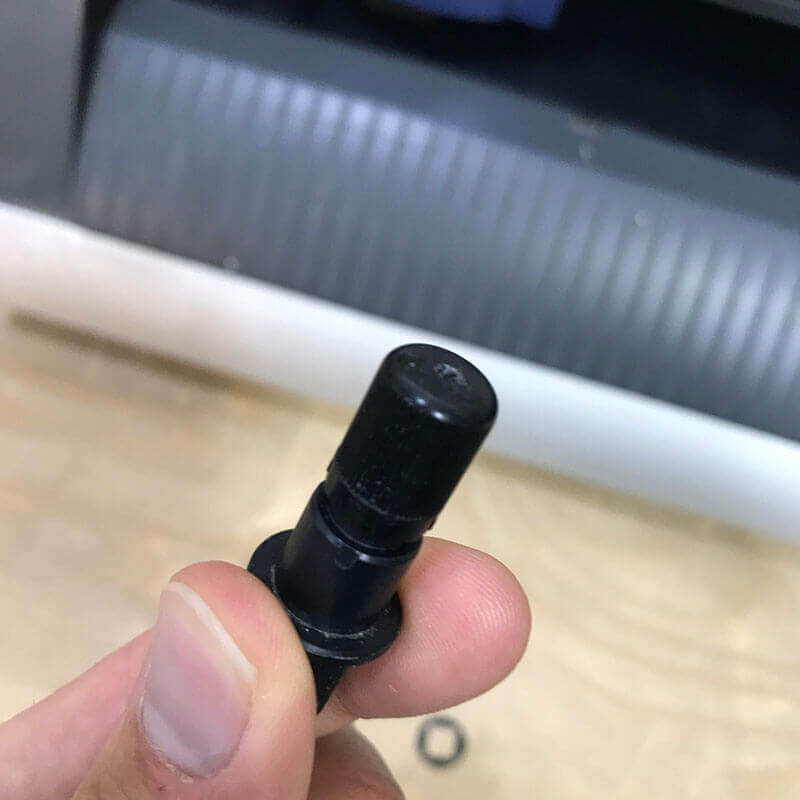
- Test it against your material by manually cutting a line into said material. If the blade cuts through the material but stops short of cutting all the way through the backing, your blade depth is good to go.
- Screw the blade tool back onto the cutting head.
3. Set force and speed parameters
- Press "Menu" twice. This will access the "Setup" menu on the machine.
- Search for "Conditions", click right arrow to navigate to "Force". Choose your material weight (measured in grams).
- Click down arrow to access "Speed". It works in cms/s. A good speed is between 18 and 20. You can test what speed suits your project here. If your design is very detailed, you should use a lower speed.
- Once you are done, press "Menu" twice to exit setup and begin your test.
4. Test
- Perform the first test by pressing the "Test" button. You need to press and hold it for a second for it to actually activate the test, which is a square inside a circle. If the circle peels off from the square without peeling off the material backing, you are good to go.
5. Prepare computer file for cutting
- You can use different softwares to cut with. Cut Studio is Roland's proprietary software. For this first cutting exercise, I used Rhino 5 to layout my vector design and saved it to the IAAC cloud to print.
- From Rhino 5, command "Print" and select the machine as printer if it isn't already.
- Select "Properties". Select "Get from Machine", which tells the machine to measure the dimension of the working area A.K.A. the material dimensions.
- Make sure the scale, view and data type are correct.
- Select "Window" to position your design on the available cutting area.
- Send to print!
I was originally going to cut a custom QR code, but was reminded by Julia, one of our instructors, that
while very doable, I would be spending a lot of time peeling off the negative bits of the design.
I did not account for this. Think about material output. If you like peeling grapes, you might enjoy this
kind of work.
I personally do, but I have to practice time management because all these new processes are
taking
me a long time to figure out.
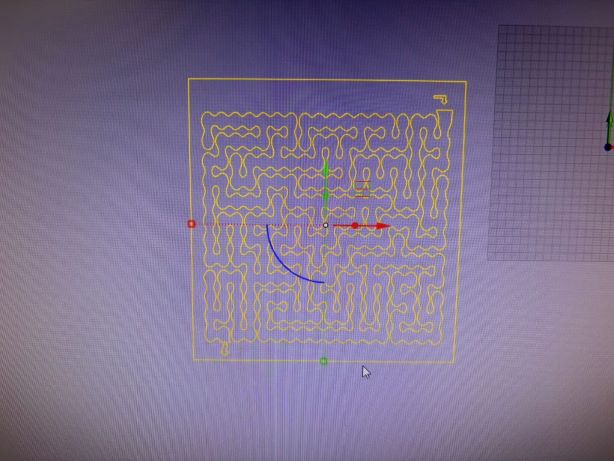
So, I prioritized doing the cut and going through the vinyl cutting exercise. I searched the internets for labyrinth vector images and found that there are a number of labyrinth generators so you can easily design your own mazes. I went through Pixabay, a site from which I ultimately sourced my design.
Link to image file:
Trippy Labyrinth (or how I now address my monkey brain).
6. Cut your design
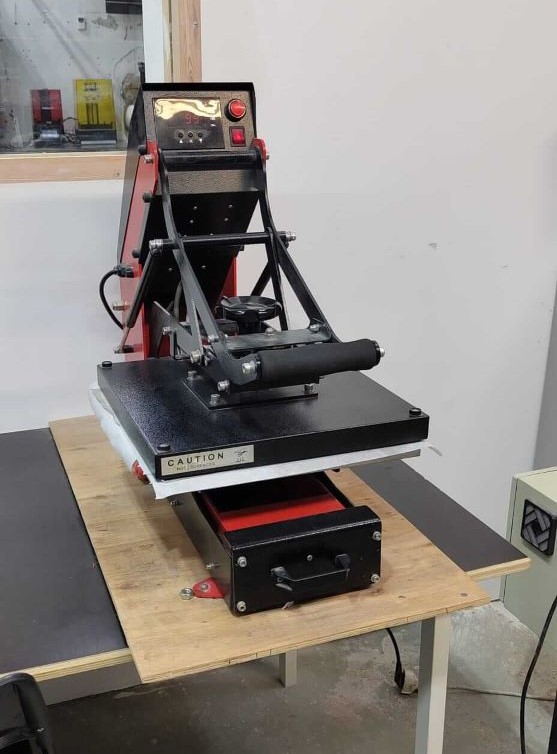
Where I got more "creative" in this process was in choosing textile vinyl to cut my design from and use the hot press to stick it to a piece of canvas.
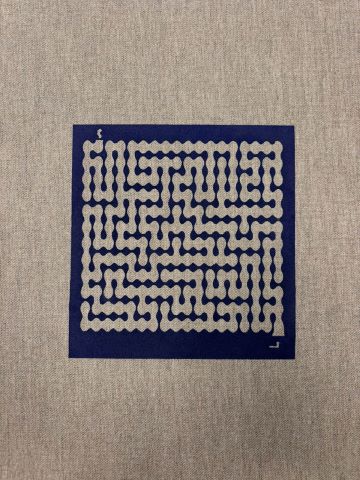
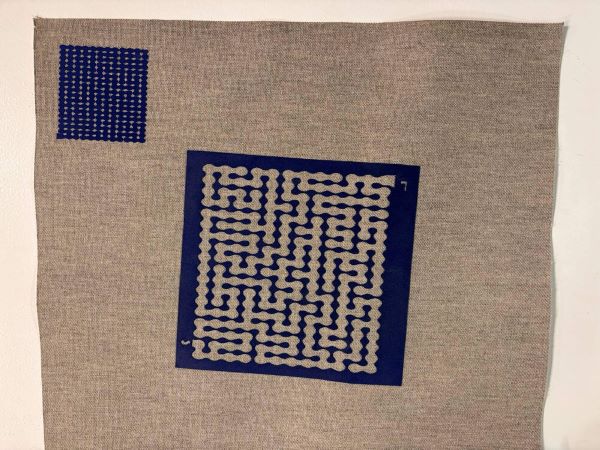
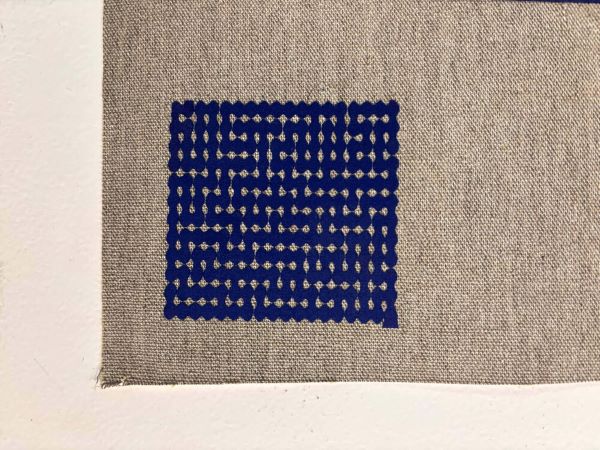
I did two versions, one where I peeled the path away and another where I peeled the maze walls and left the path.
Press Fit Test
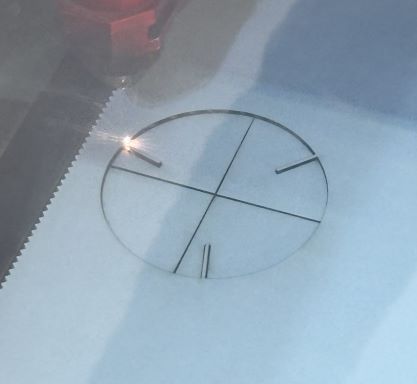
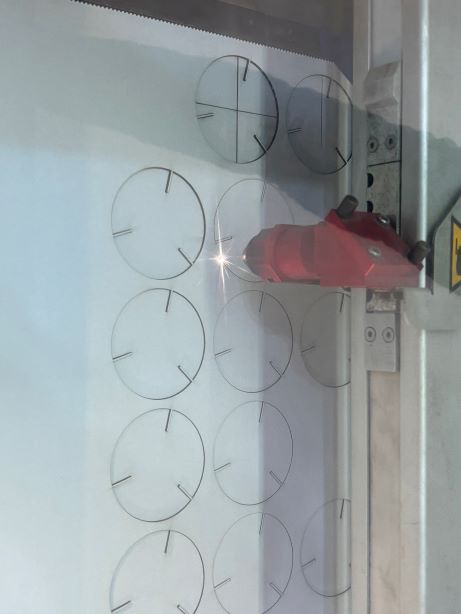
This week we also had to use parametric design to create figures/modules that we can use to make a 3D design using press fit way of joining.
Process shots
I've been focusing on using Fusion360 mainly throughout the course. I highly recommend you find tutorials for learning the program as it will answer your questions. I had a hard time creating a parametric design on my own after doing the class demos - there's just much to learn and the program can be a bit frustrating with the constraints if you are going into it blindly like I was.
Check out this YouTube page for tutorials:
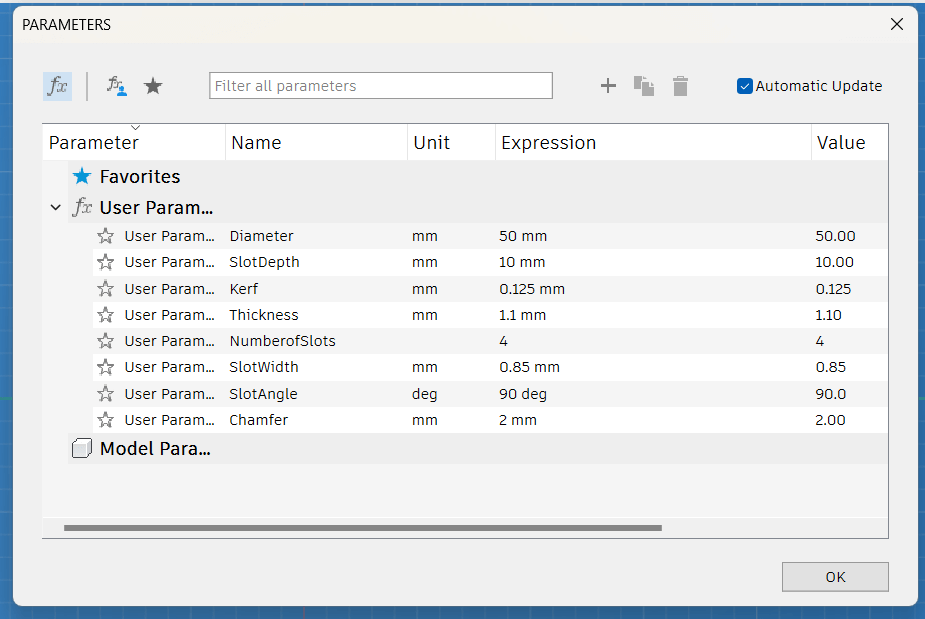
Set your parameters in the 'parameters' dialog box:
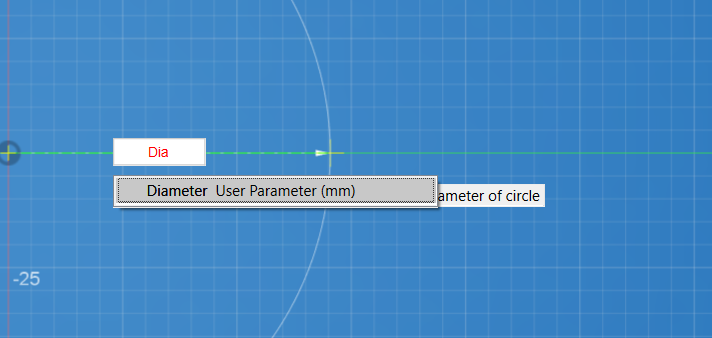
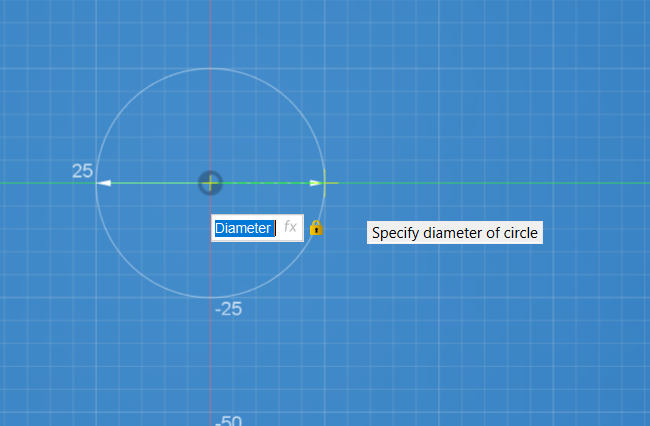
Then your parameters appear as input options when you start creating your sketches:
This is when I started running into issues:
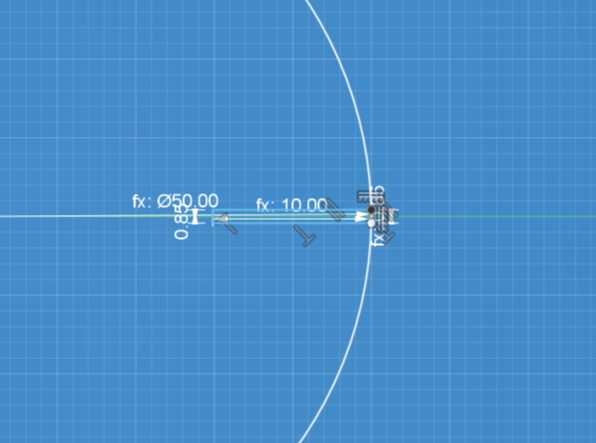
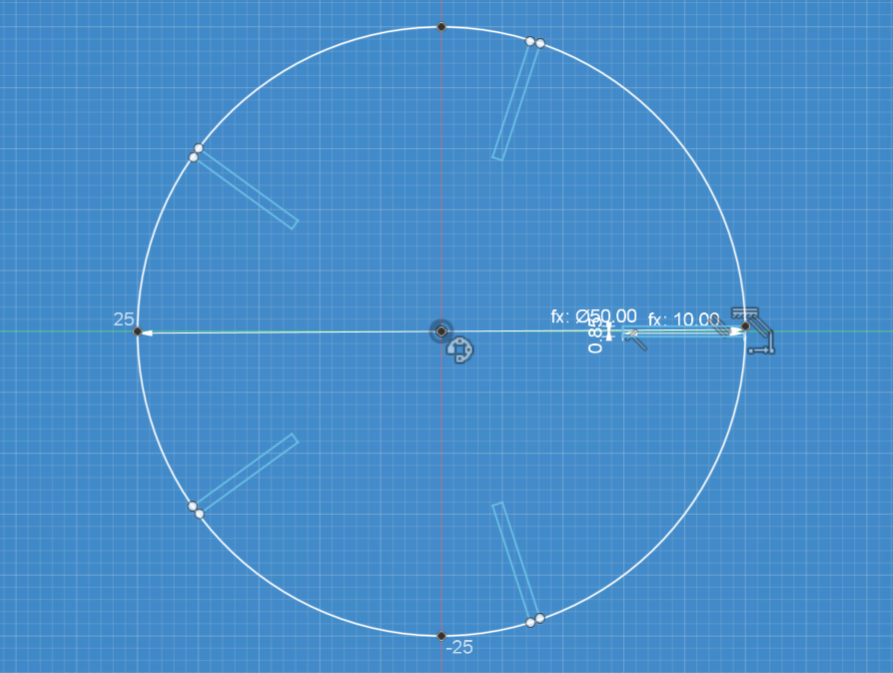
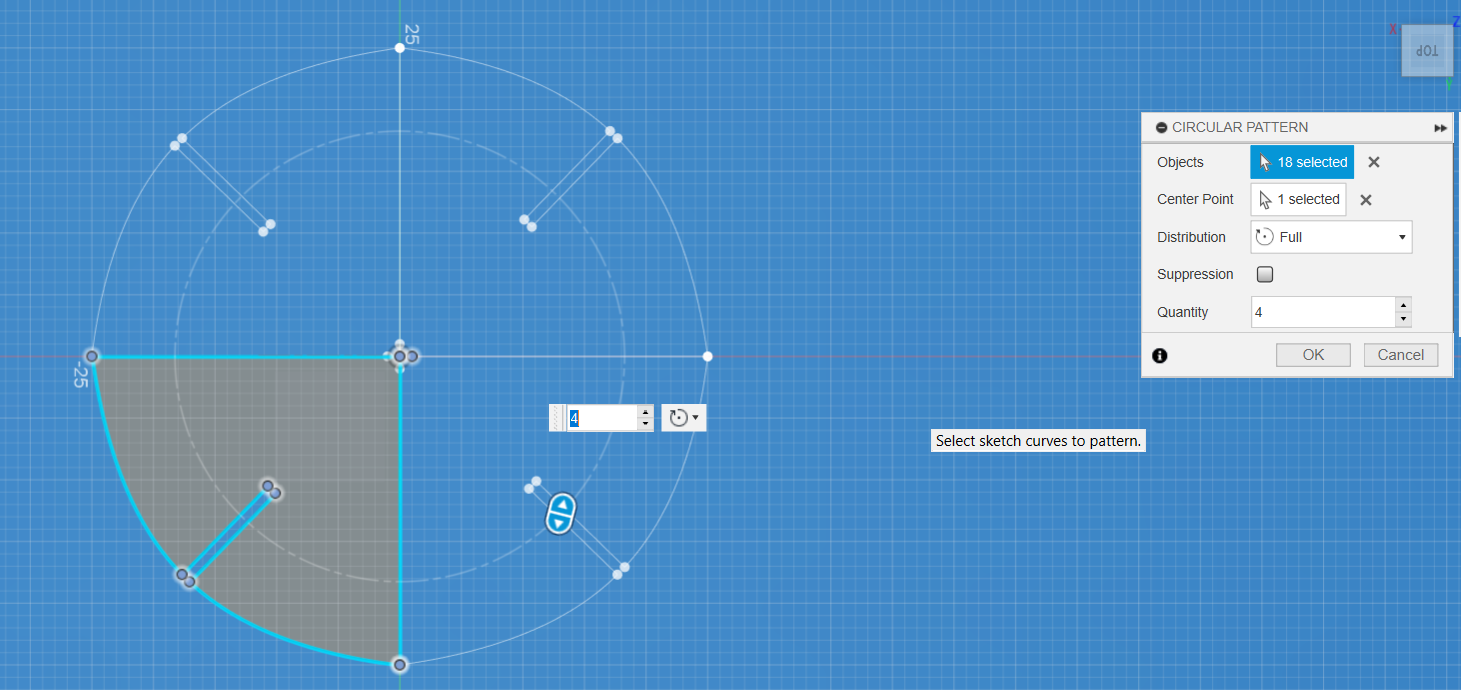
The problem here was I created a circle and added my slots, the dimensions of which were already set parametrically. When I then created a circular pattern with the slots, the lines did not touch the circle and thus didn't close their sketch properly. This is before I did all the above mentioned tutortials...
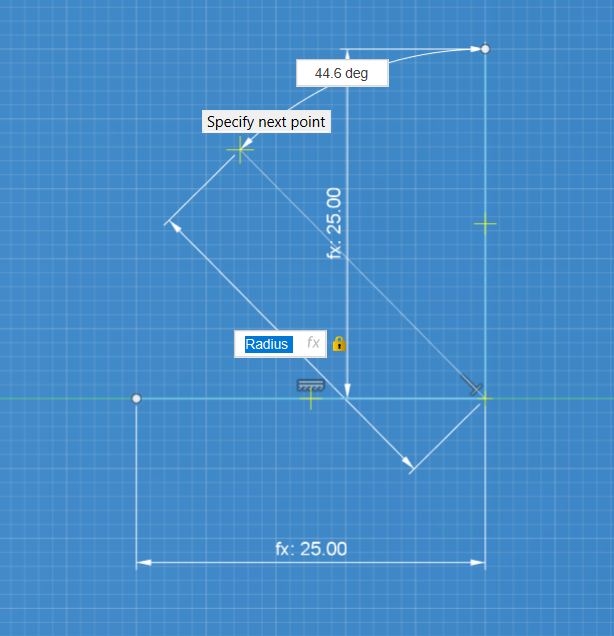
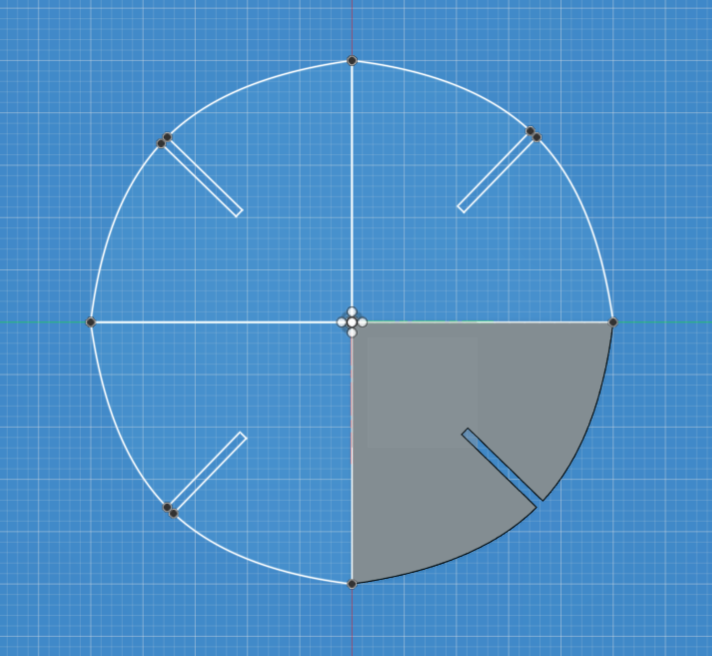
Anyway, I decided to re-draw and use the method taught in class to create the example press-fit., which involved starting from a triangle and multiplying it with a circular pattern so that it ended up being a square. I really wanted to make a circle, so figuring that out was more challenging since I wasn't just starting from a circle
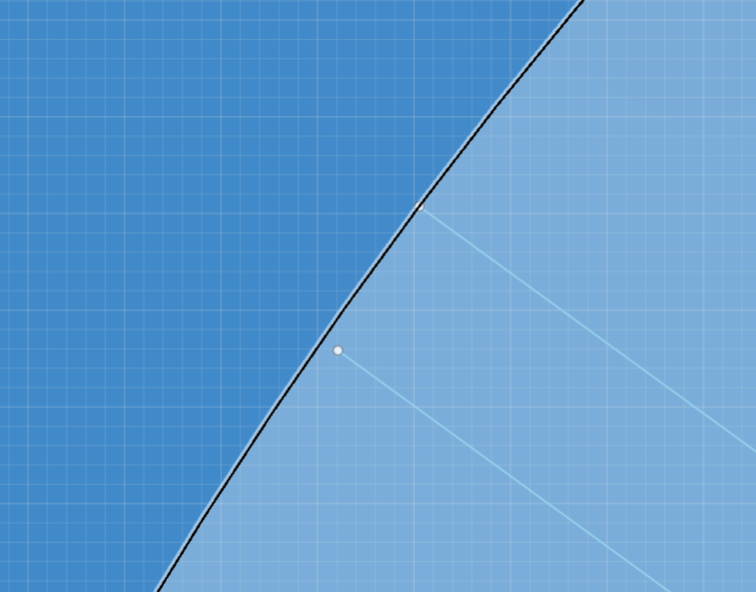
That ended up being weird and unnecessary:
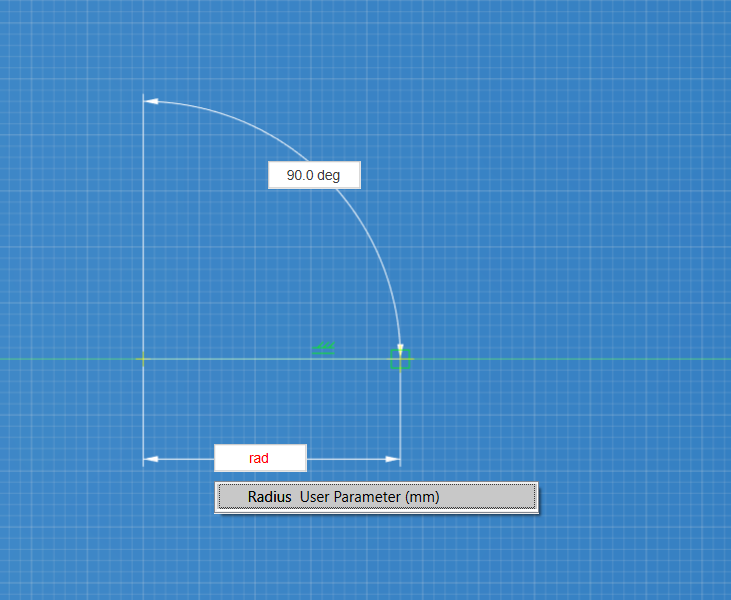
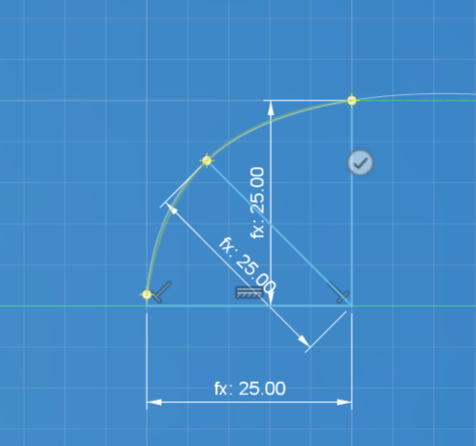
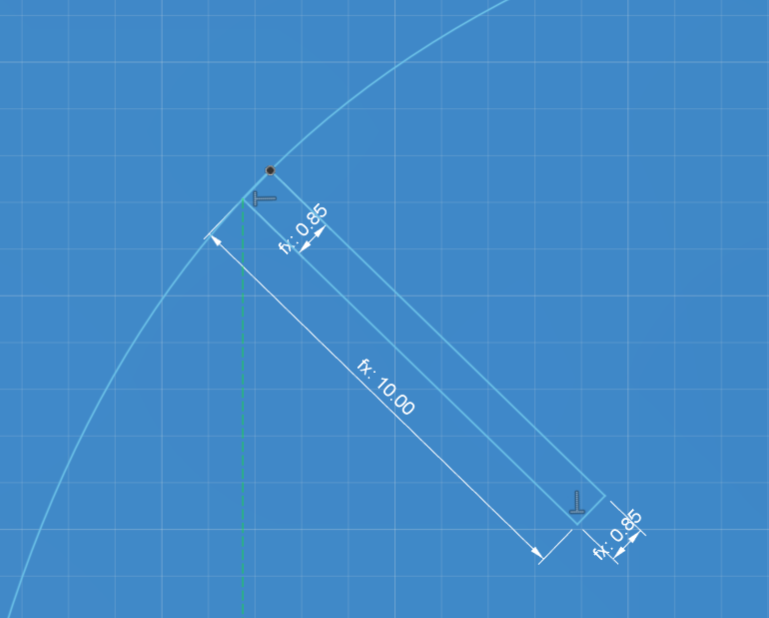
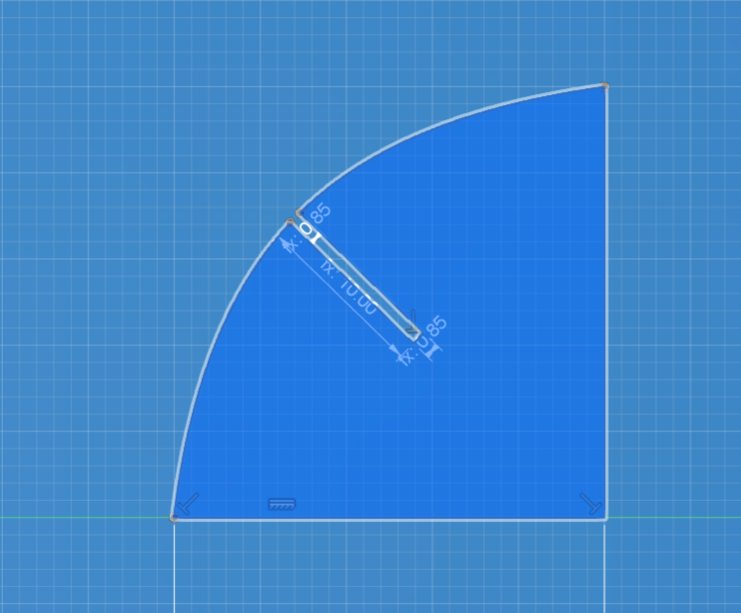
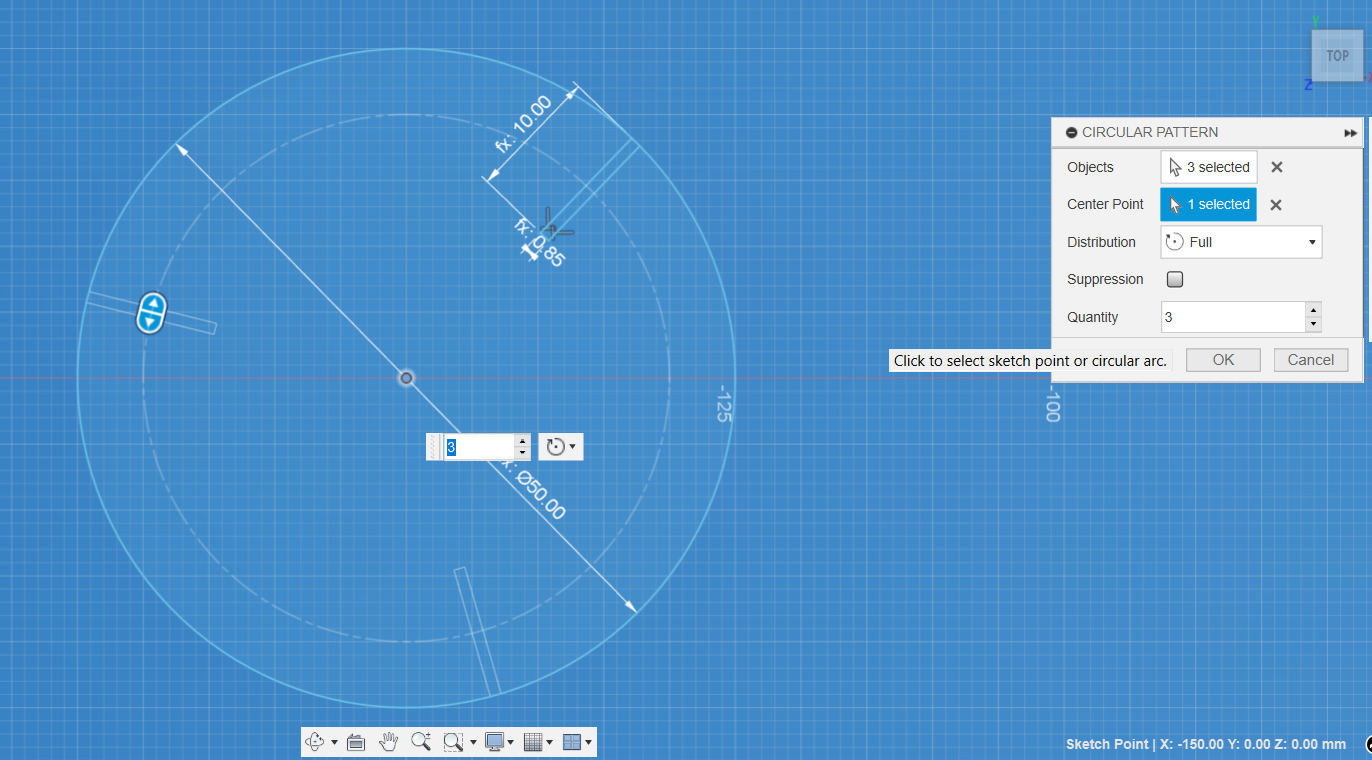
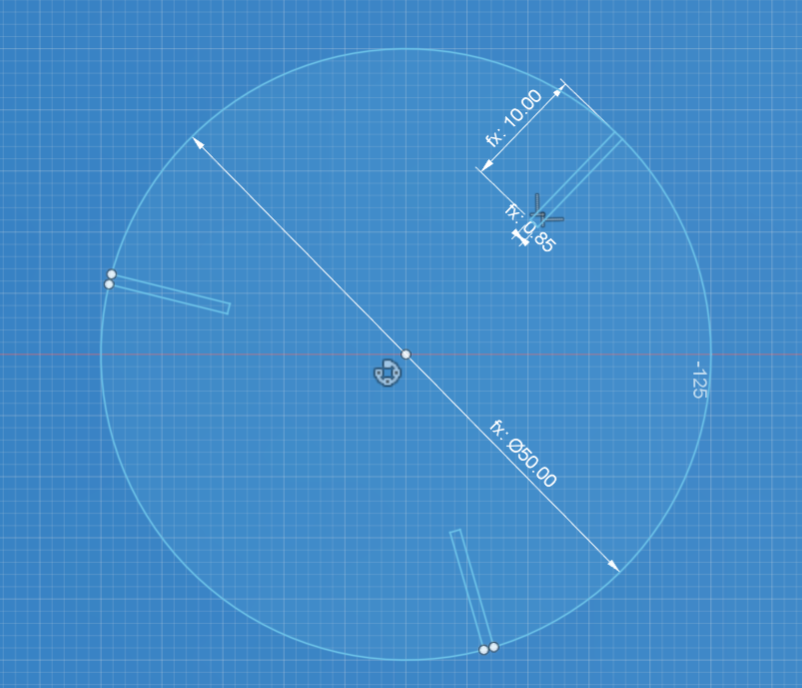
I reverted back to a simpler method of starting from a circle and re-parametrizing:
Here's the file: Download Document
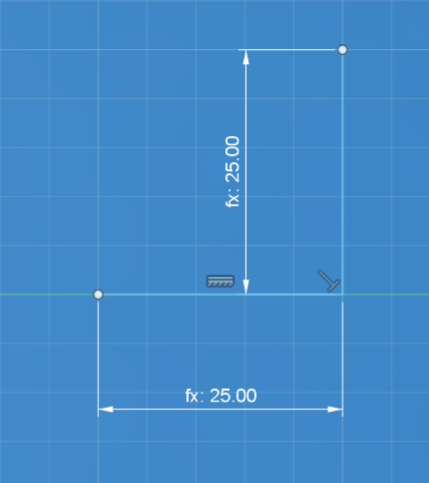
Here I forgot to "project" my sketch from Fusion 360 before sending to Rhino:
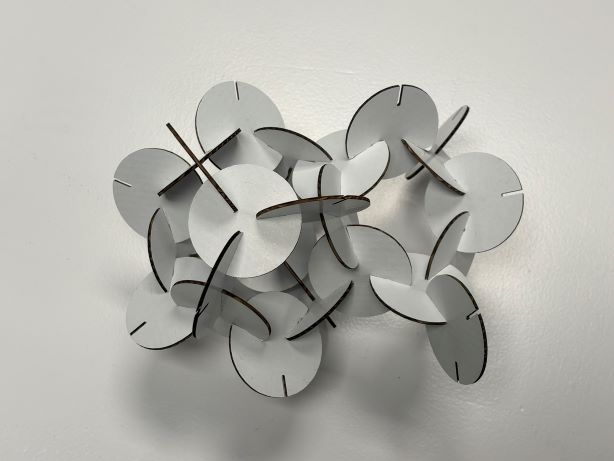
Second press-fit test was much better:
It's alive!
This is my laser workflow
- Focus the lens using the measurement pin
- Place the laser to our starting point
- Close lid and turn air compression on
- Open file on local computer: Download from Fabcloud and open in Rhino
- Go to File/Print and “Rayjet Manager” opens
- Import File to working area
- Set material thickness and settings
- Double check for air extraction/compression and settings
- Test a square for cutting and engraving
- Start cutting your design
- Follow tutorials, they are helpful.
- Get in the habit of labeling components, bodies and sketches as your design evolves in Fusion 360.
- Go for a walk and touch some grass.
Lessons learned Cardboard 1,45mm
Initially, the cut was not done very nicely in the material sheet so we changed the power from 20-25 for cutting, which gave a better result cutting the kerf test. Slot Size: 1mm Kerf Result: 0,225mm
I later did a spiral, sending to cut from Inkscape just to see how it would come out:
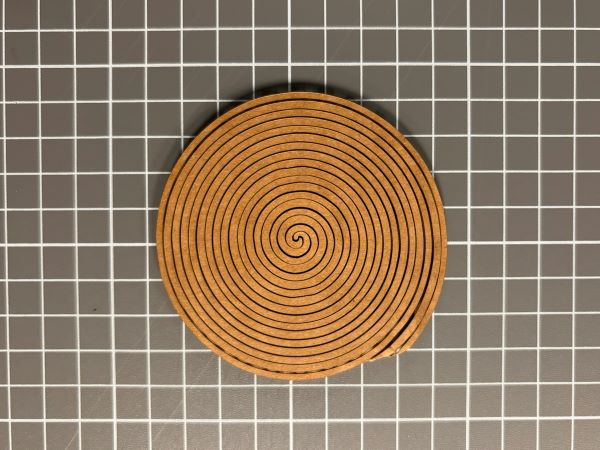

Here's the file: Download Document
Takeaways
My major takeaways here are: