Week 1: Project Management!
Hi!
Note: I want this website to be a work in progress and subject to incremental changes as specific needs
arise.
My strategy moving forward is to address specific design/script challenges as they come along, rather than
attempt to front-load my website/html/coding knowledge, which was my initial preocupation (terror!) coming
into this.
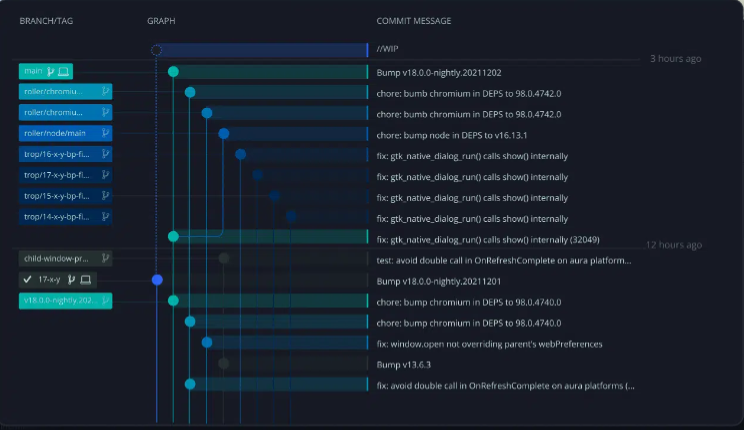
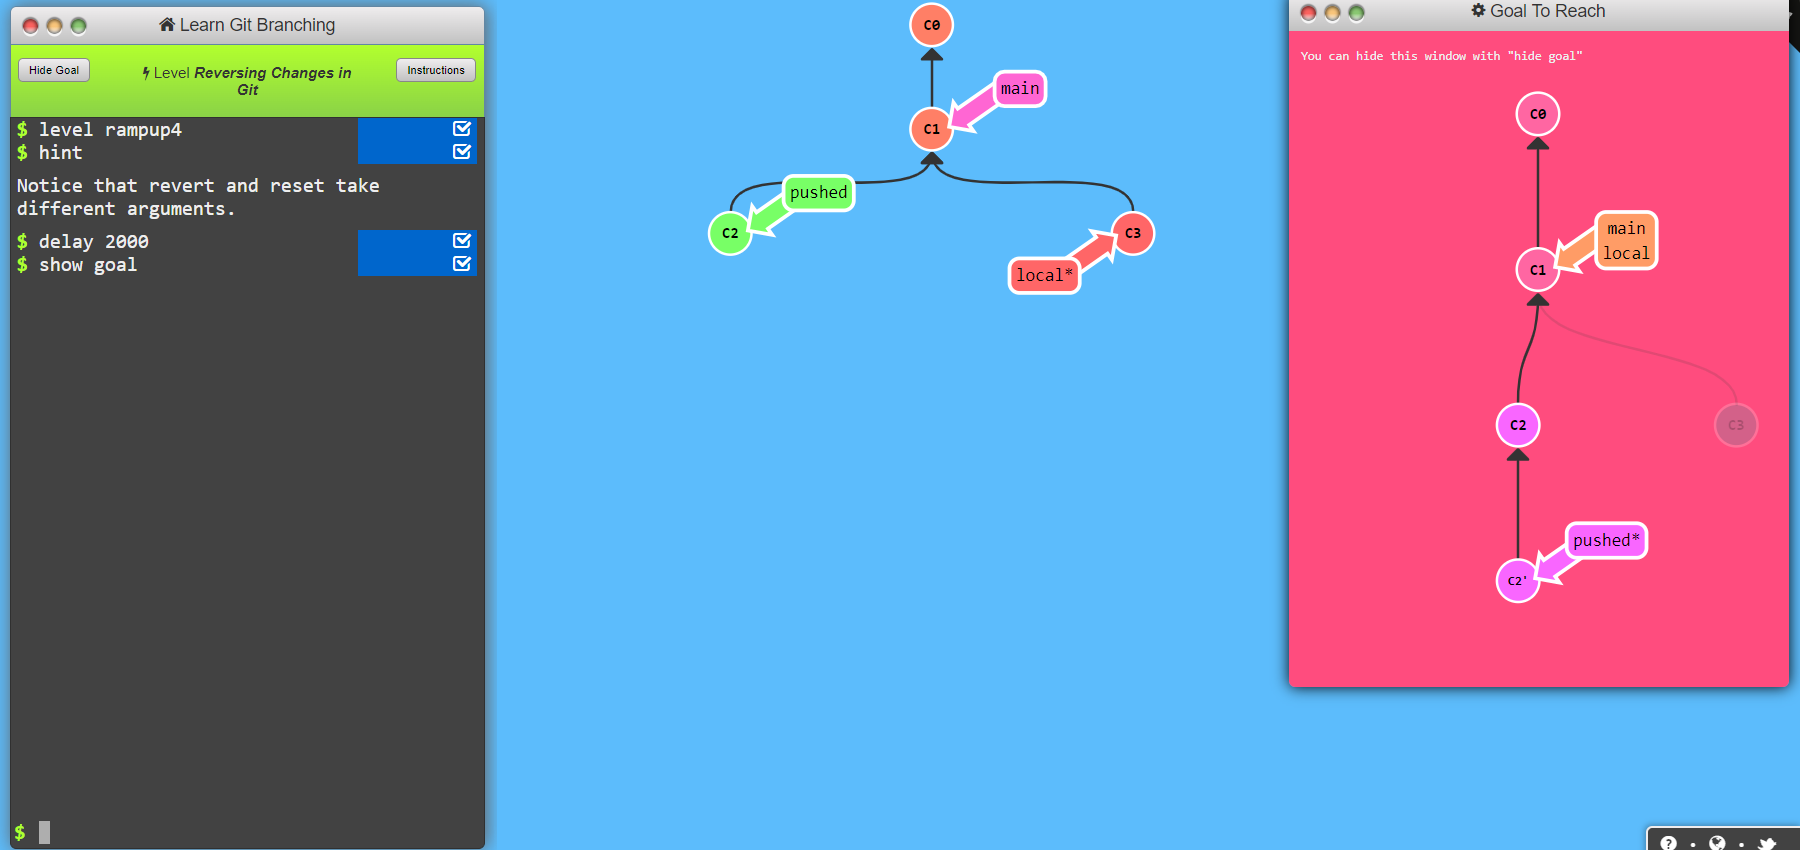
Git and friends
Before classes began, I browsed tutorials available on Fabcloud and also asked tech savvy friends what sites they recommended for getting learned on Git. I went with learngitbranching.org because it's visual and uses intense colors.
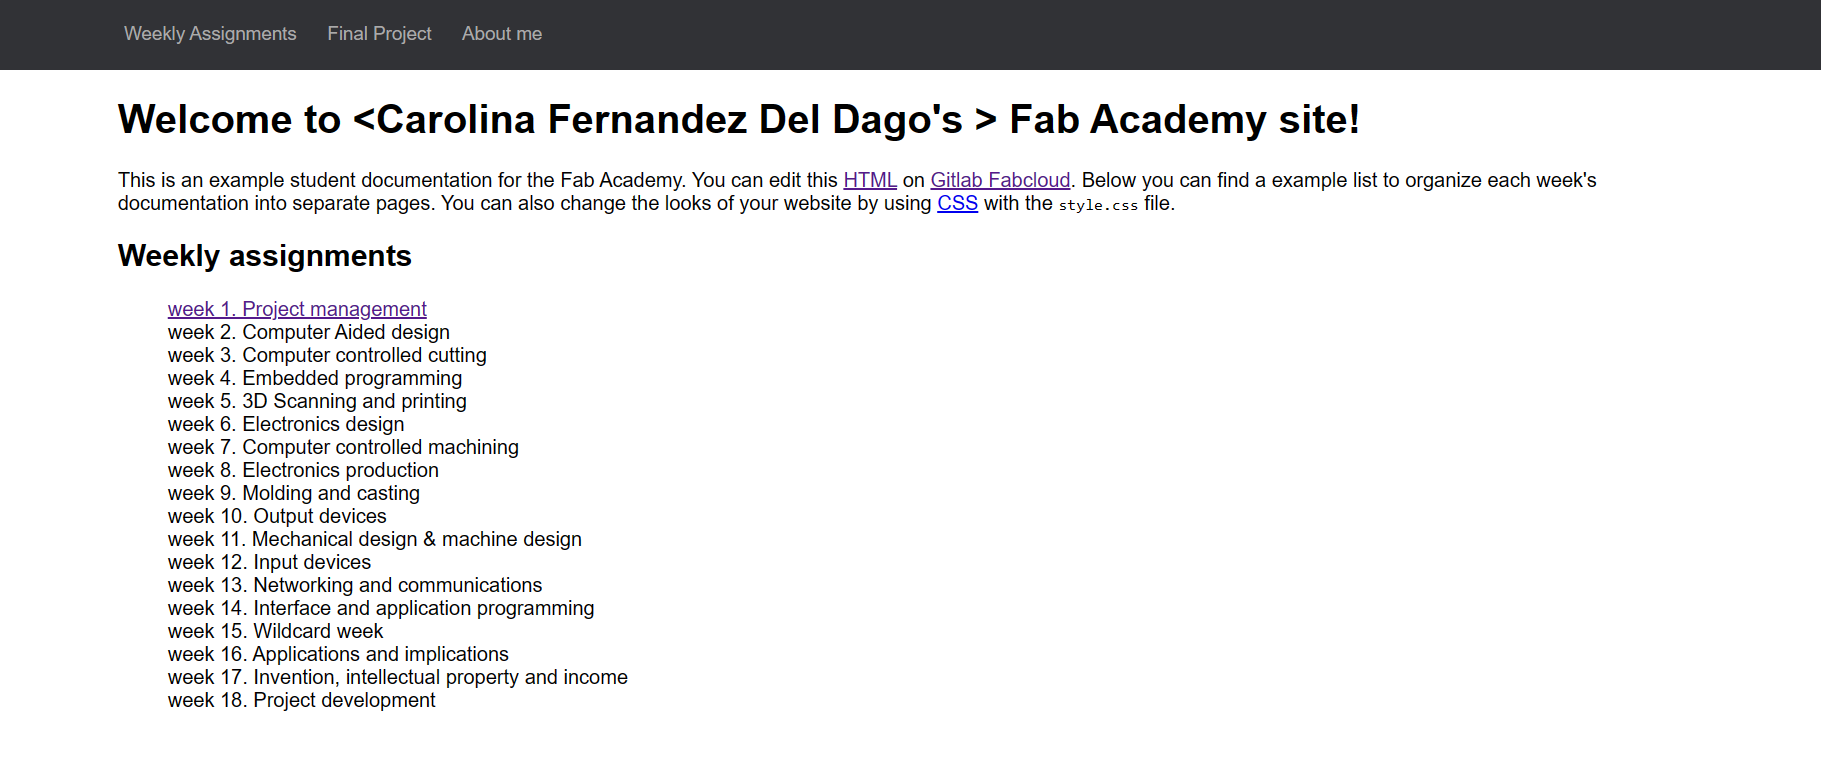
Website Building
This is how I started building my website.
GIT Setup
I installed GitBash for Windows and downloaded cmder, a portable console emulator for windows. I then installed Visual Studio Code to simplify workflow.
I then installed GitBash for Windows and added my Git username and set my email up.
These are the steps.
Source: Fabcloud
- git config –-global user.name “YOUR_USERNAME;”
- git config -–global user.email “jSmith@mail.com”
- cat ~/.ssh/id_rsa.pub (If you see a long string starting with ssh-rsa,
you can skip the ssh-keygen step) - ssh-keygen -t rsa -C "$your_email"
- cat ~/.ssh/id_rsa.pub
- Windows:
clip < ~/.ssh/id_rsa.pub
Mac: pbcopy < ~/.ssh/id_rsa.pub Linux xclip -sel clip < ~/.ssh/id_rsa.pub - git clone git@git.fabacademy.org:fabacademy2017/yourlabname/yourstudentnumber.git
- git add index.html to upload file by file git add . to upload all the files at once
- git pull (for downloading the last copy of the repository)
- git merge (to have a working copy)
- git commit -m ‘change you did’
- git push
Configure your email address for uploading
Check if you have an SSH KEY already
Generate your SSH key
Now let's see your keygen
Copy your key
Finally, add the copied key to GIT on the web version
COPY YOUR ACADEMY PERSONAL REPO. Navigate to the folder where you want to put or create your repo. If you don't know how to follow this guide we recommend creating it on the desktop so you don't have to dive into a million folders each time
Clone your student repository
UPLOAD YOUR REPO ONLINE. Add the new files you added to git
To download the last copy from the repository
To have a working copy of your repo
Now name your update, so you know what you changed with this push.
Upload to the Repository
Getting into it
I'm learning HTML/CSS basics in order to start absolutely fresh and, while I don't expect to "master" it, starting from zero insteaed of with a static site generator has made me see that it's more approacheable than I previously thought.
On to editing the webpage using the format provided for students:
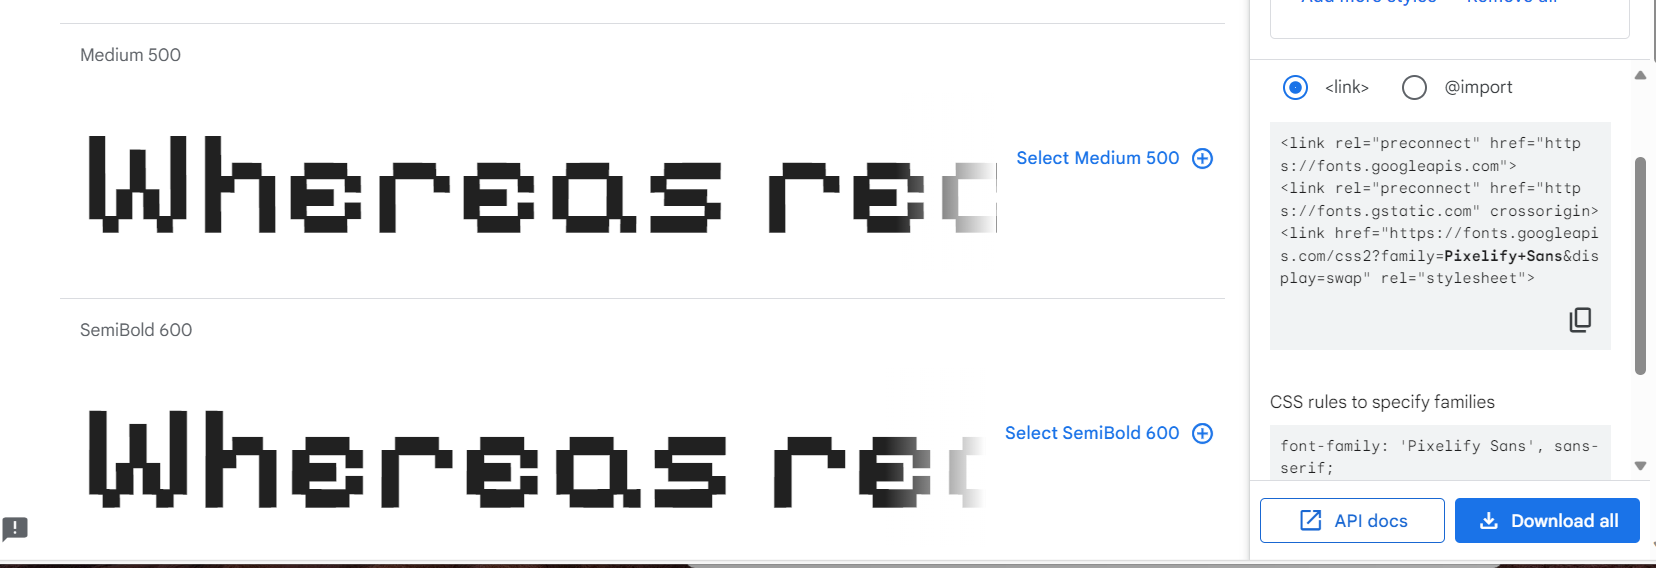
Learning to switch fonts with a Google Fonts selection:
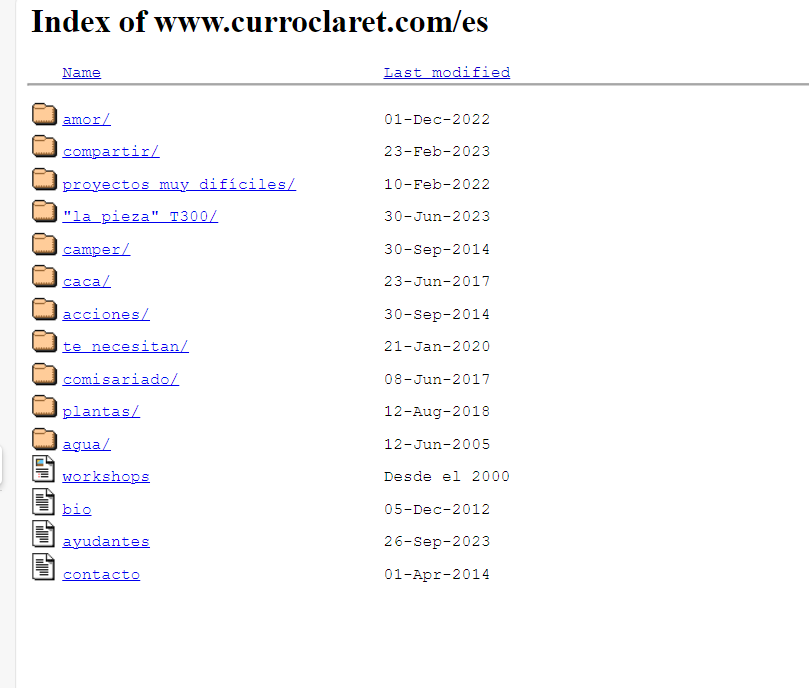
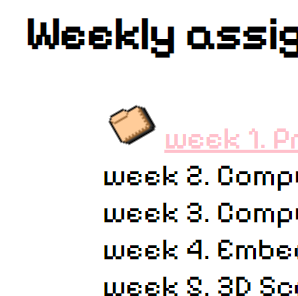
Taking a cue from Curroclaret.com to keep it simple. I saved both icons he uses in his site and applied them to mine.
Then I wanted to add an effect to the icon when hovered over to make it interesting:
This is the code for the tilt effect
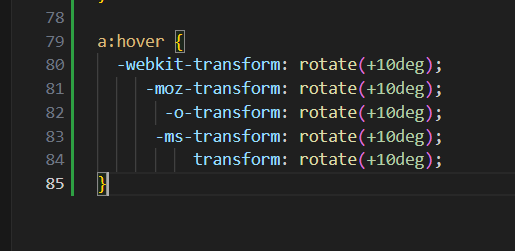
  a:hover {
  -webkit-transform: rotate(+10deg);
     -moz-transform: rotate(+10deg);
       -o-transform: rotate(+10deg);
      -ms-transform: rotate(+10deg);
          transform: rotate(+10deg);
}
Same went for the navigation bar text:
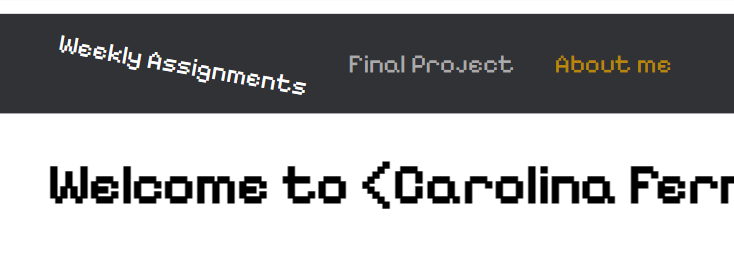
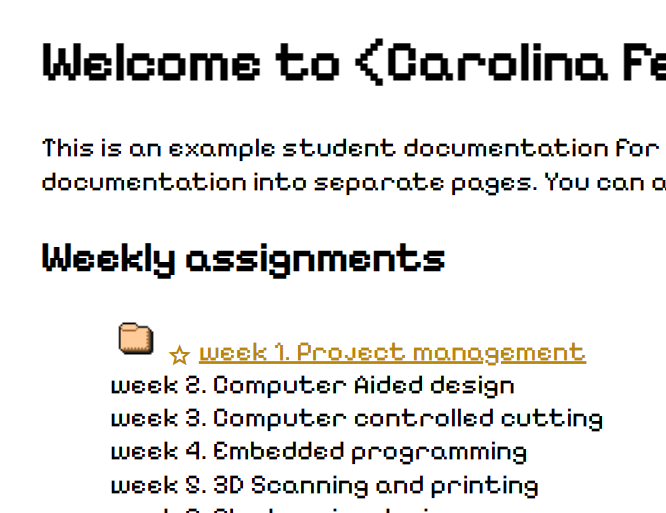
I modified the navigation bar and added the document icon from Curro's website to replace the navigation bar text, but when hovered over, the text is revealed!:
Here's a snippet of my CSS:
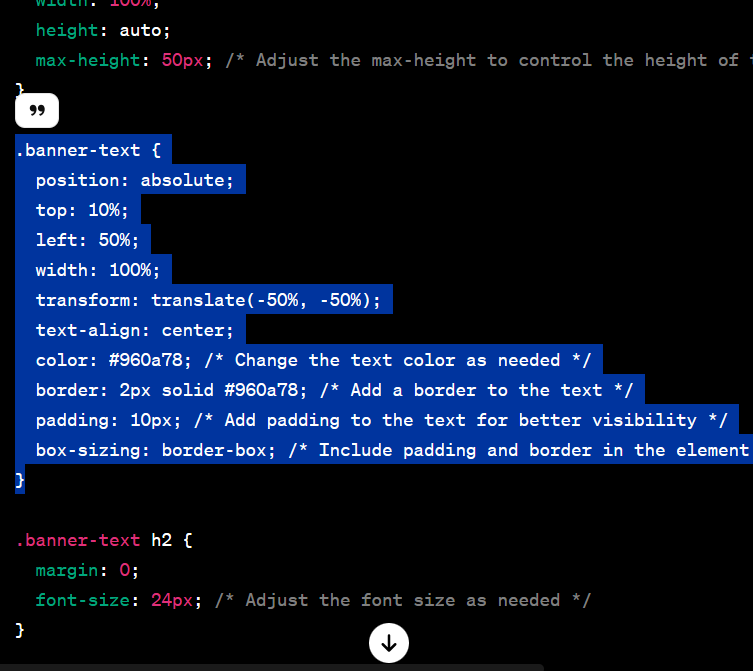
And how it is as of this draft:
  .banner-text {
  position: absolute;
  top: 8%;
  left: 50%;
  text-align: center;
  width: 100%;
  transform: translate(-50%, -50%) rotate(0deg) scale(1.2); /* Add rotation and scale effects */
  font-size: 16px;
  color: #800665; /* Change the text color as needed */
  padding: 10px; /* Add padding to the text for better visibility */
  text-shadow: 2px 2px 4px rgba(93, 3, 67, 0.5); /* Add a shadow to the text */
}
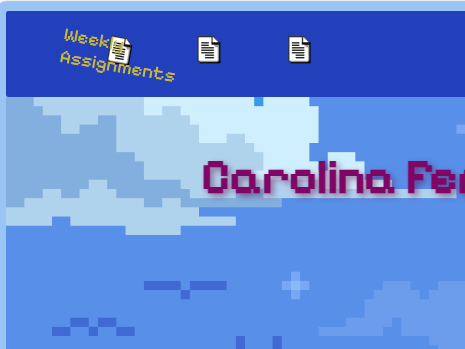
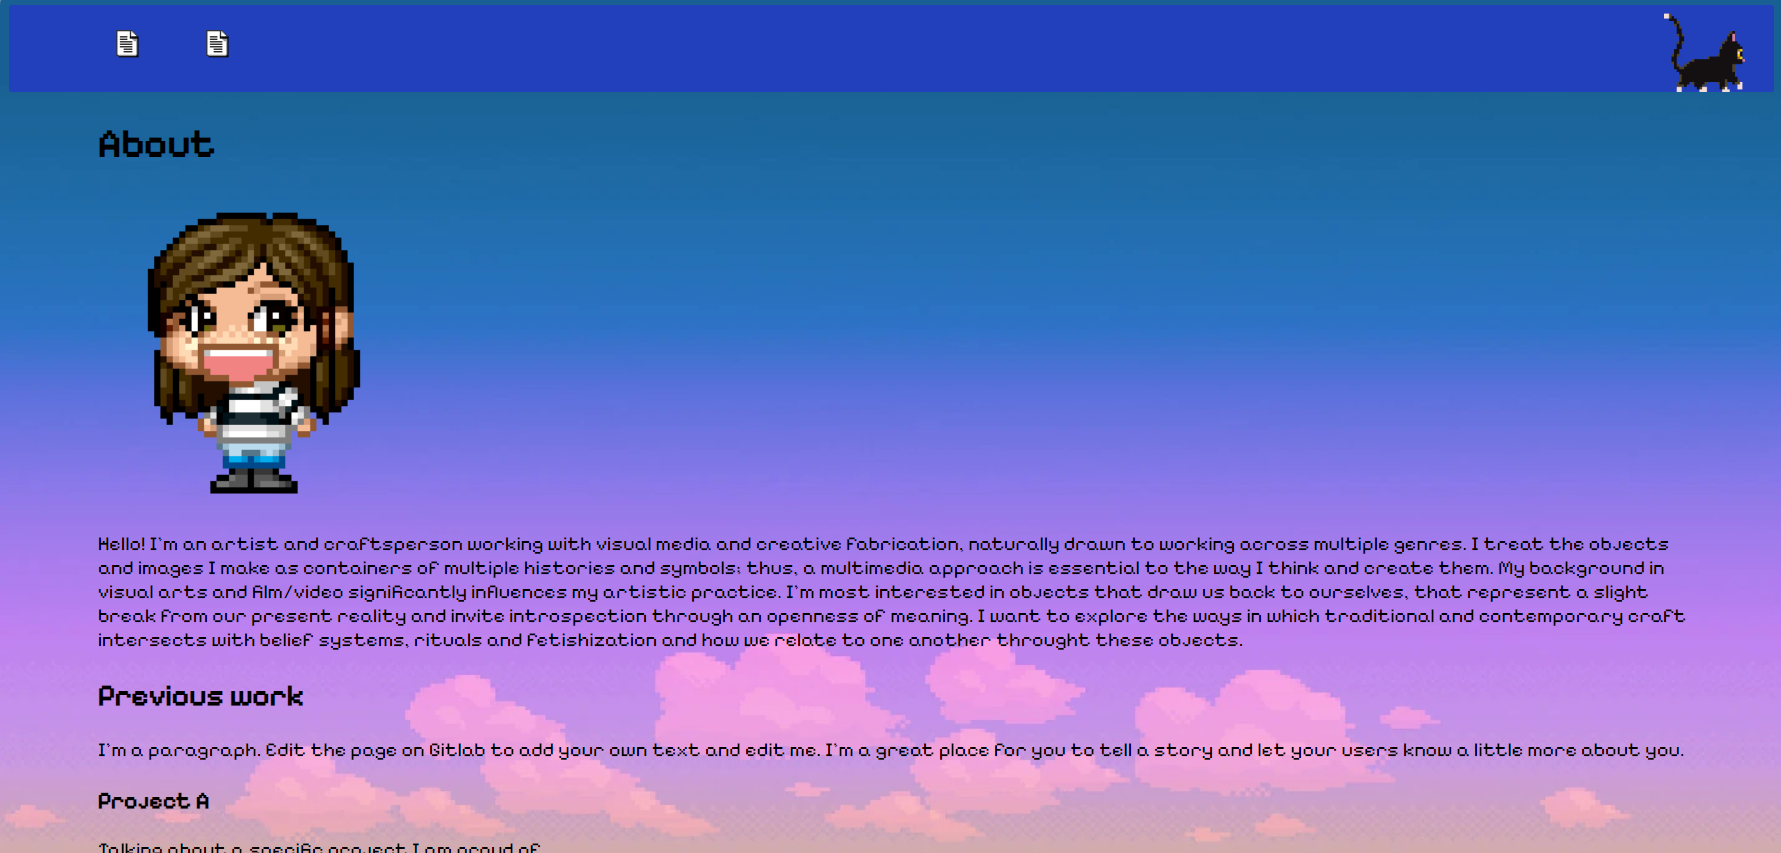
I added a banner to go below the navigation bar and used a pixel art gif file inspired by Miyazaki's Kiki's Delivery Service to make it cute:

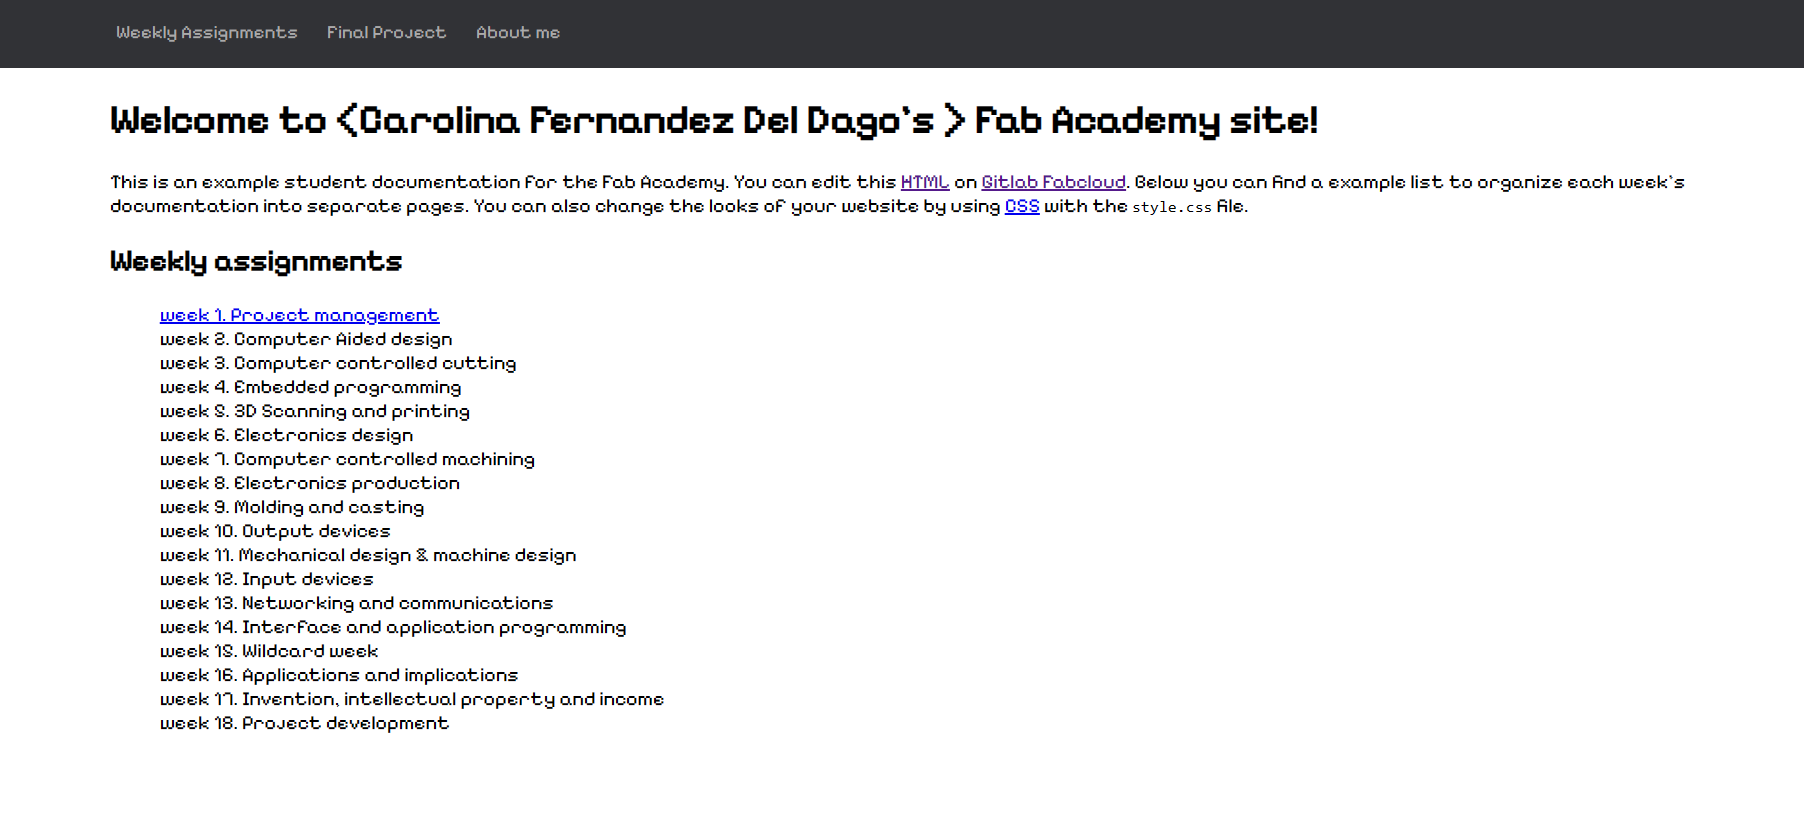
Now that I've figured out how to do basic things like add and modify my page elements, I am applying that throughout the website:
Google and ChatGPT have been very helpful resources for learning how to write code.
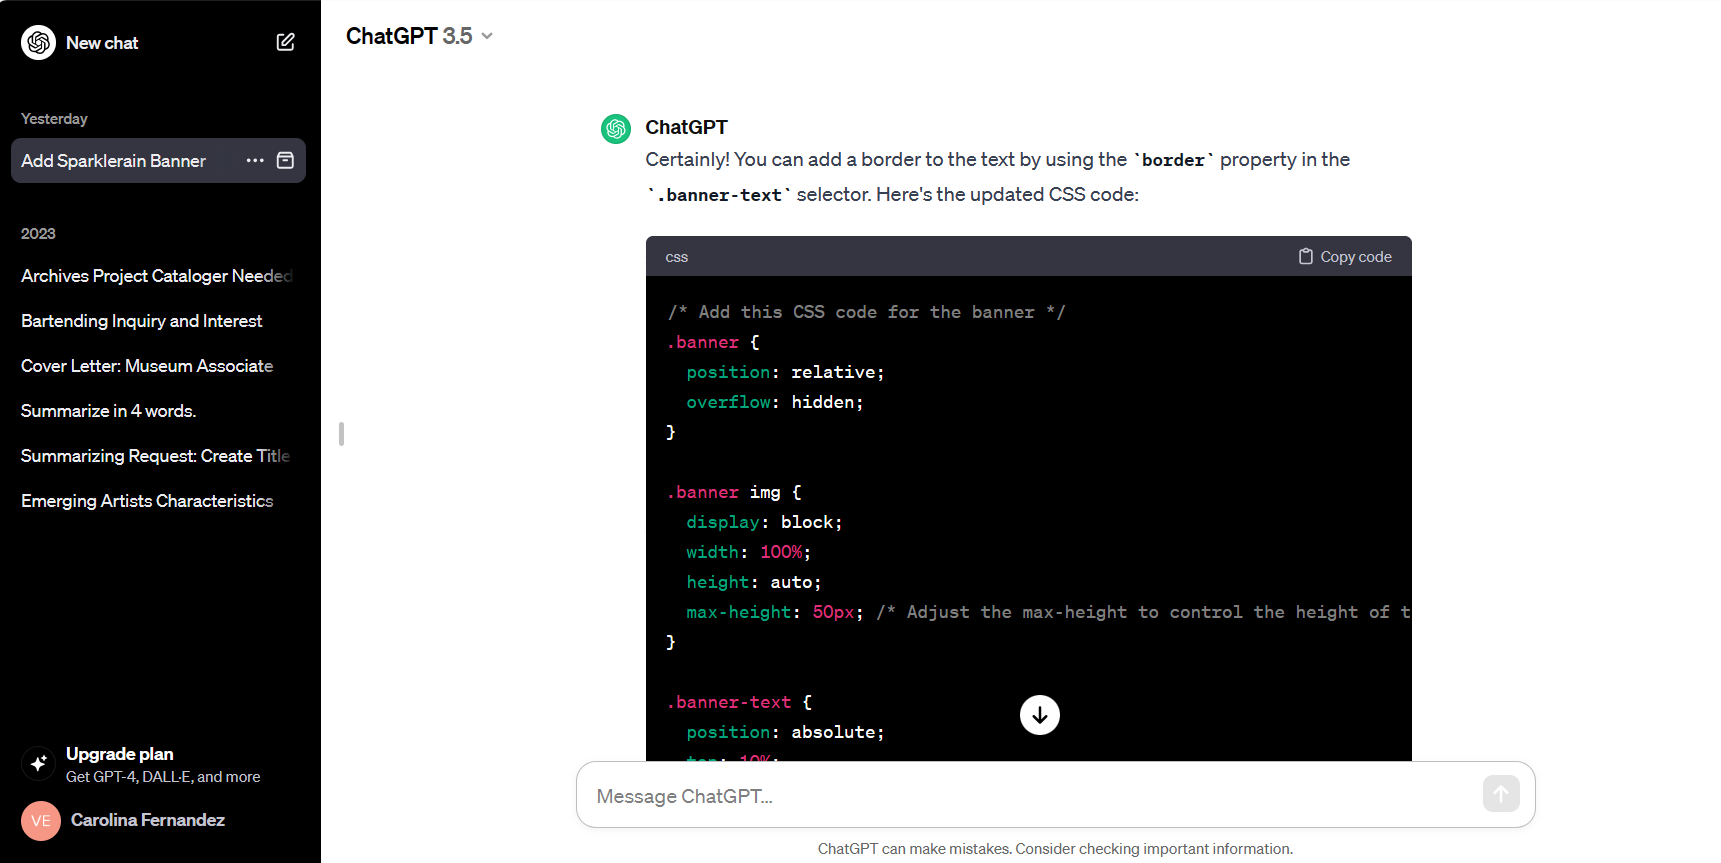
I searched how to add a gif file that moved across the navigation bar and I relied on ChatGPT for that one.
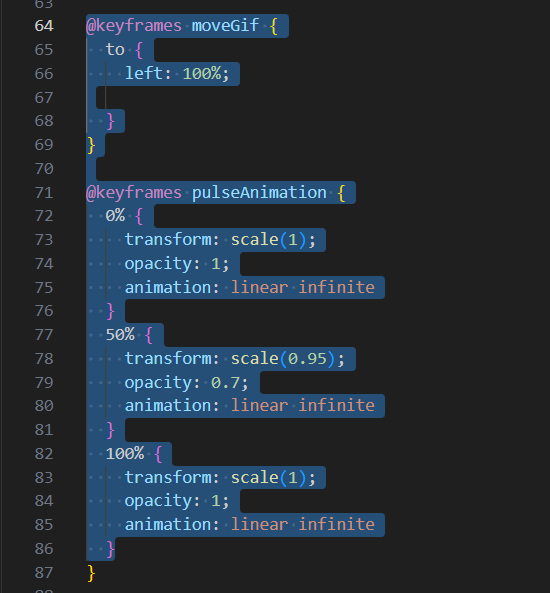
  @keyframes moveGif {
  to {
    left: 100%;

  }
}

@keyframes pulseAnimation {
  0% {
    transform: scale(1);
    opacity: 1;
    animation: linear infinite
  }
  50% {
    transform: scale(0.95);
    opacity: 0.7;
    animation: linear infinite
  }
  100% {
    transform: scale(1);
    opacity: 1;
    animation: linear infinite
  }
}
Takeaways
My major takeaways here are:
And on a final note, I have downloaded GitKraken to better understand Git moving forward. We love a free command line interphase!